5. E-textiles
Week 05 _ the light
The fifth week began with depression. Fabricacademy is a multidisciplinary platform that requires you to dedicate 100% of your time to it to get great results. But I am constantly involved in various activities. It's complicated. But...
My experience
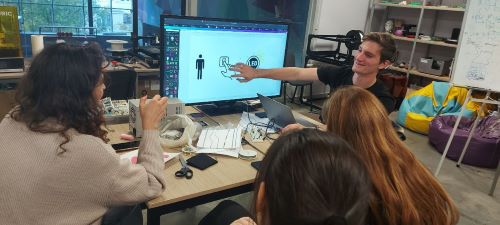
This week we studied electricity and electrical circuits. The course E-textiles given by Liza Stark was quite explicit. But when you don't know much about the field, you think you won't succeed. That's why we decided to work in a group. Together with my colleagues from ZipHouse and with the help of our onsite instructor from the microlab we started doing the two circuits. Of course, I took into account the tutorials presented by experts in the field.
Research
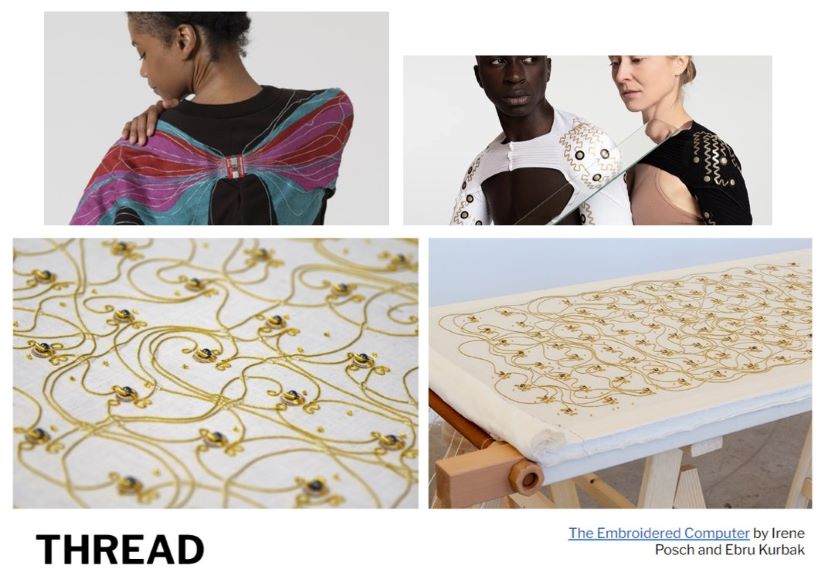
As per usual, my first source of inspiration is Pinterest. In the next image i gathered some of the photos that inspire me.
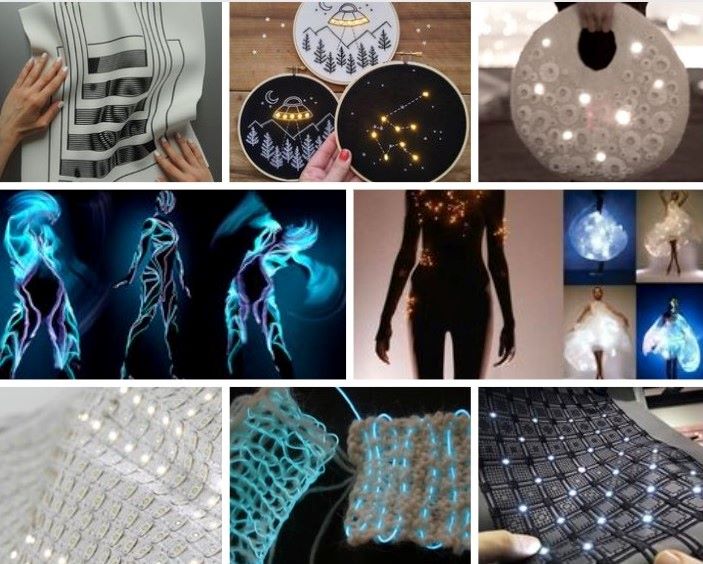
Here you can find some links for sources of inspiration: 1, 2, 3, 4, 5, 6.
Process
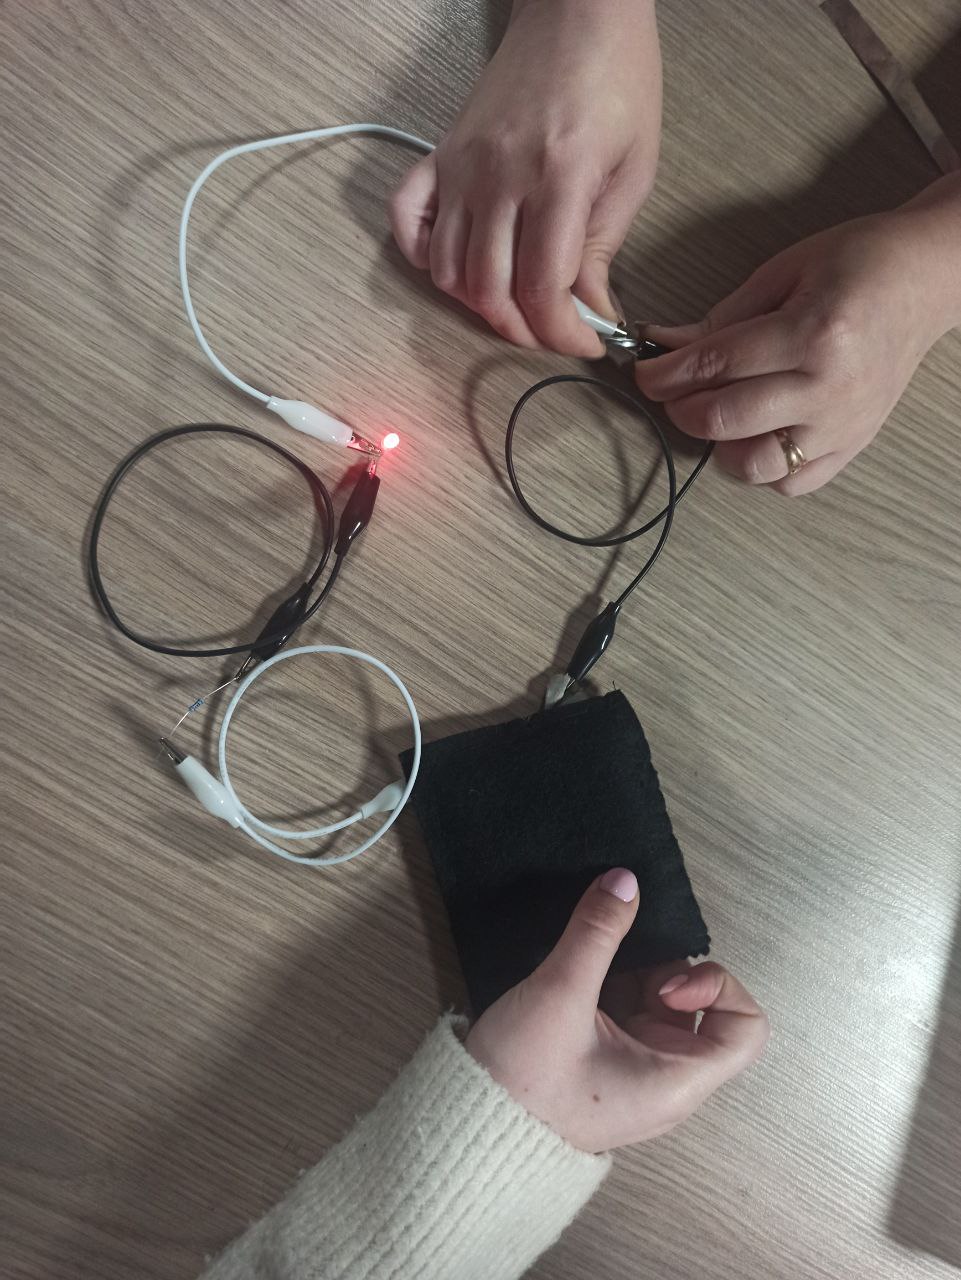
With our local instructor from Microlab we started to do one digital and one analog soft sensor experimenting with the materials available at the lab. We tested different material and wires, because we didn't have the conductive thread so we had to substitute it with other materials.
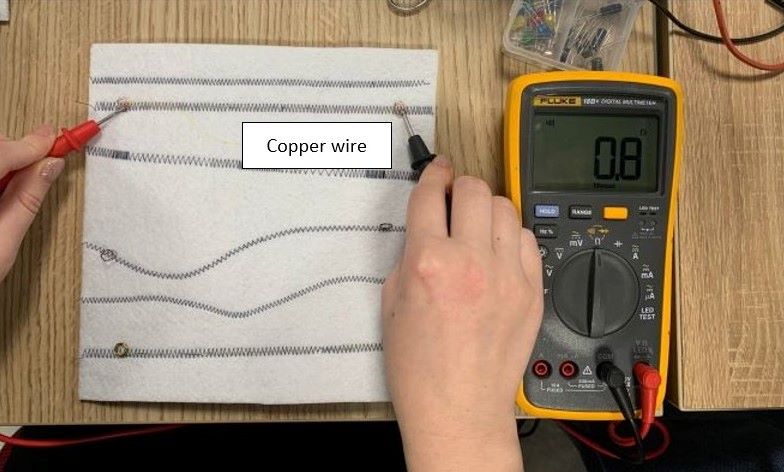
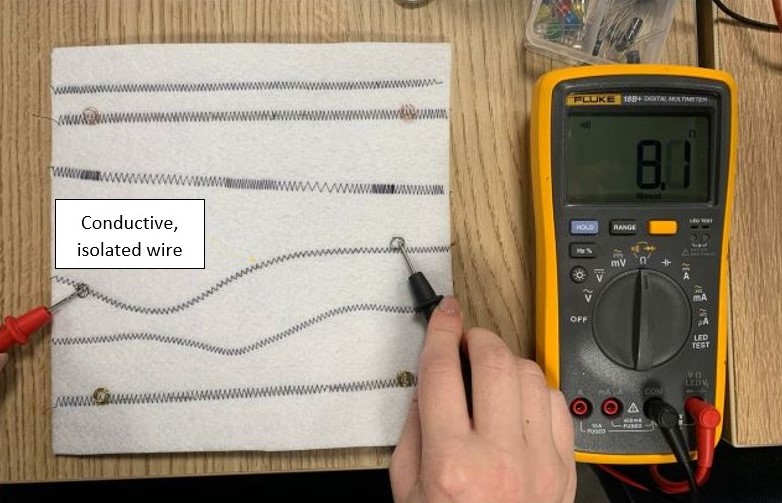
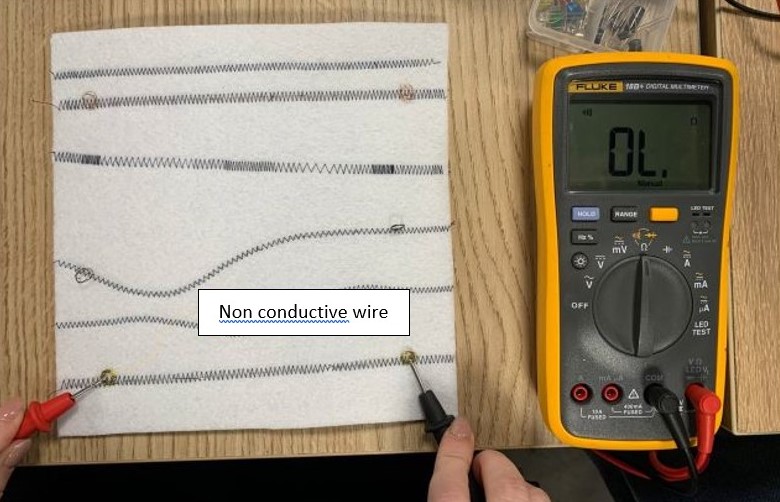
Of course, I started with testing the conductivity of the wires.
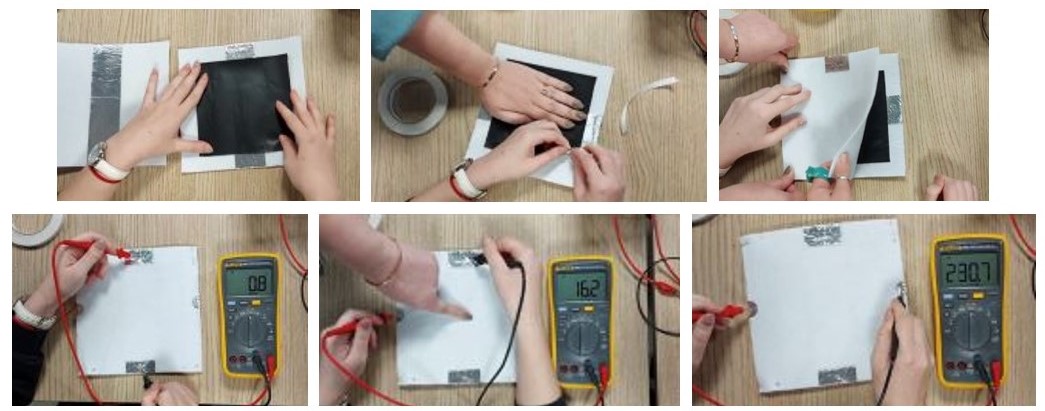
The next thing we did was to create a digital sensor. For the first one we used felt, conductive tape, velostat, double sided tape and some safety pins to keep the sandwich together.
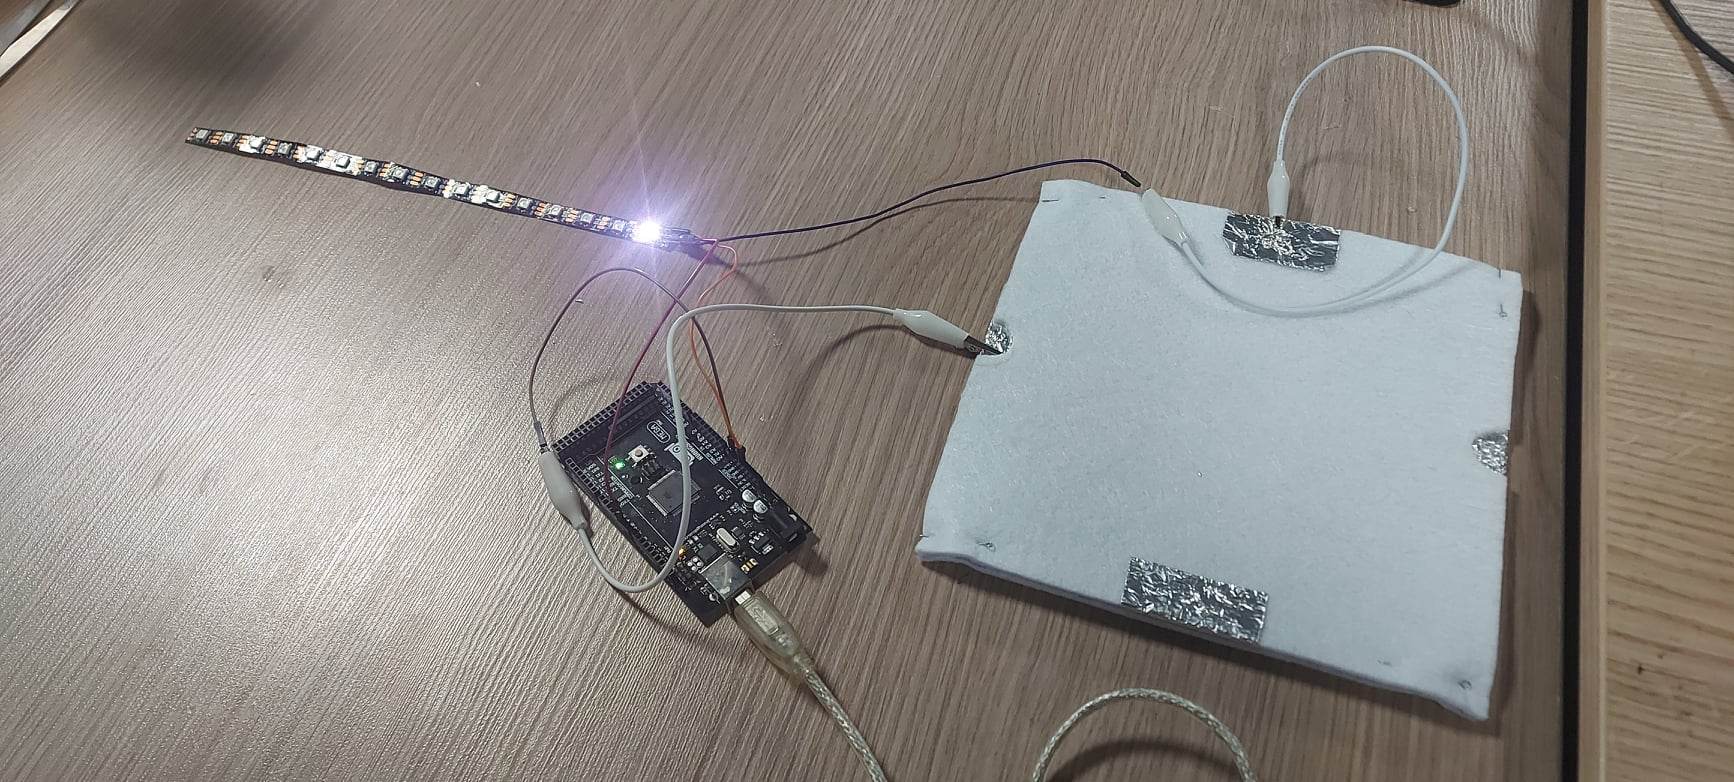
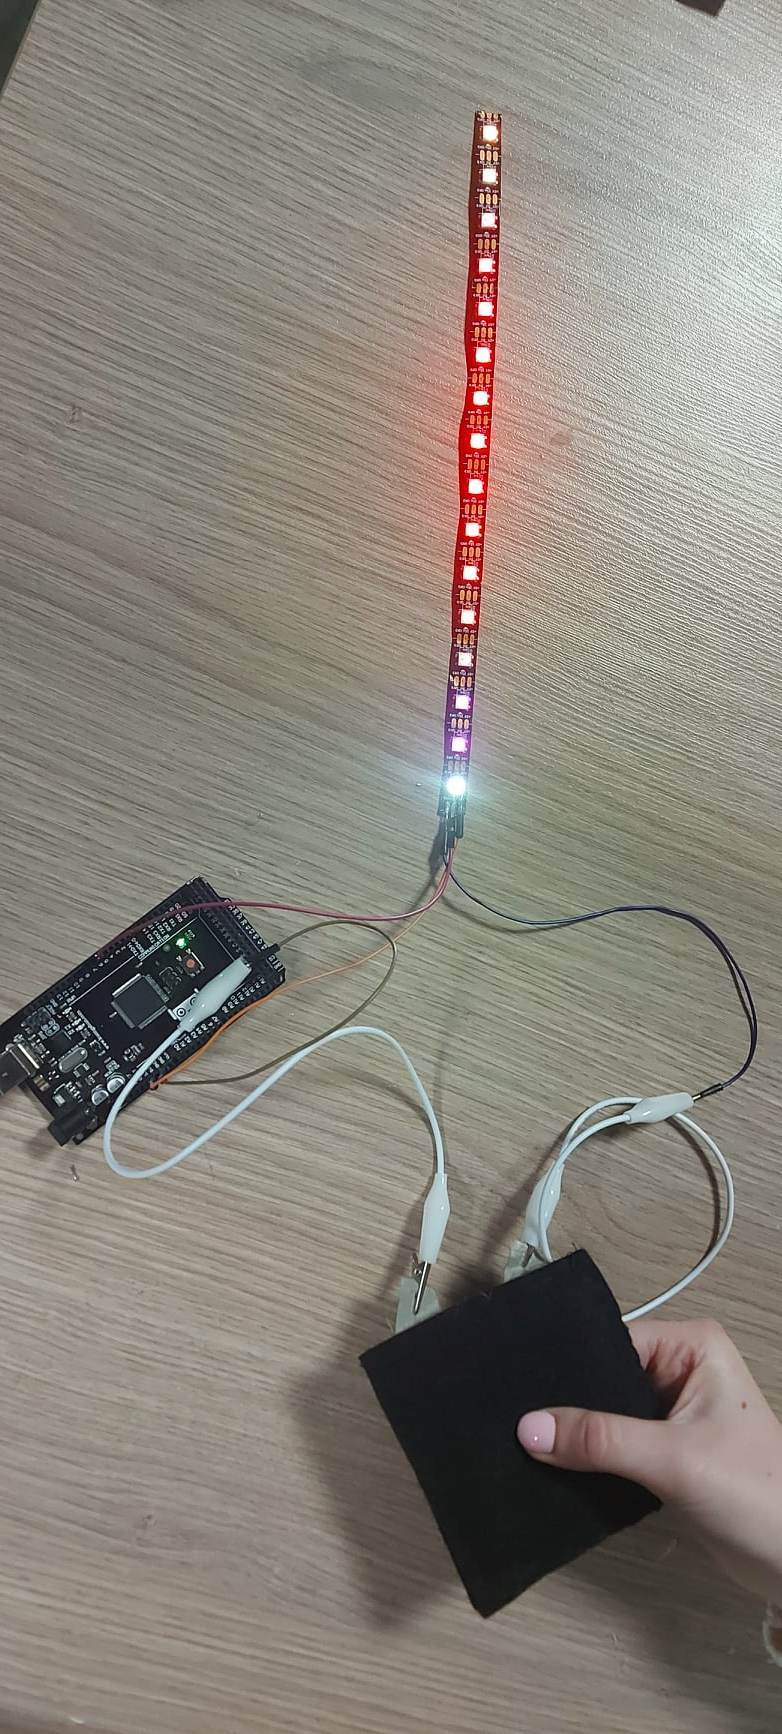
After confirming everything is ok we used the arduino to see the code needed and the difrent values a preasure gives it. This code maps on the Serial Plotter the Analog values taken from the velostat swatch. I used this code guided by Valentina Frunze
#define velostatPin A7


void setup() {

   // initialize digital pin LED_BUILTIN as an output.
   pinMode(velostatPin, OUTPUT);
   inMode(2,INPUT_PULLUP);
   Serial.begin(9600);
   int val = 0


}

// the loop function runs over and over again forever
void loop() {

   digitalWrite(2, HIGH);
   int val = analogRead(velostatPin)
   val = map(val, 0, 1023, 0, 500);
   Serial.println(val));

}
This circuit was attached to the led lights. At maximum pressure, all the lights come on.
I created another digital sensor, but this time I used a conductive material and a sponge.
My project of this week
After making the necessary circuits in the group, I plucked up the courage and decided that I would make my own project. It all started with a few images presented during Tuesday's lesson.
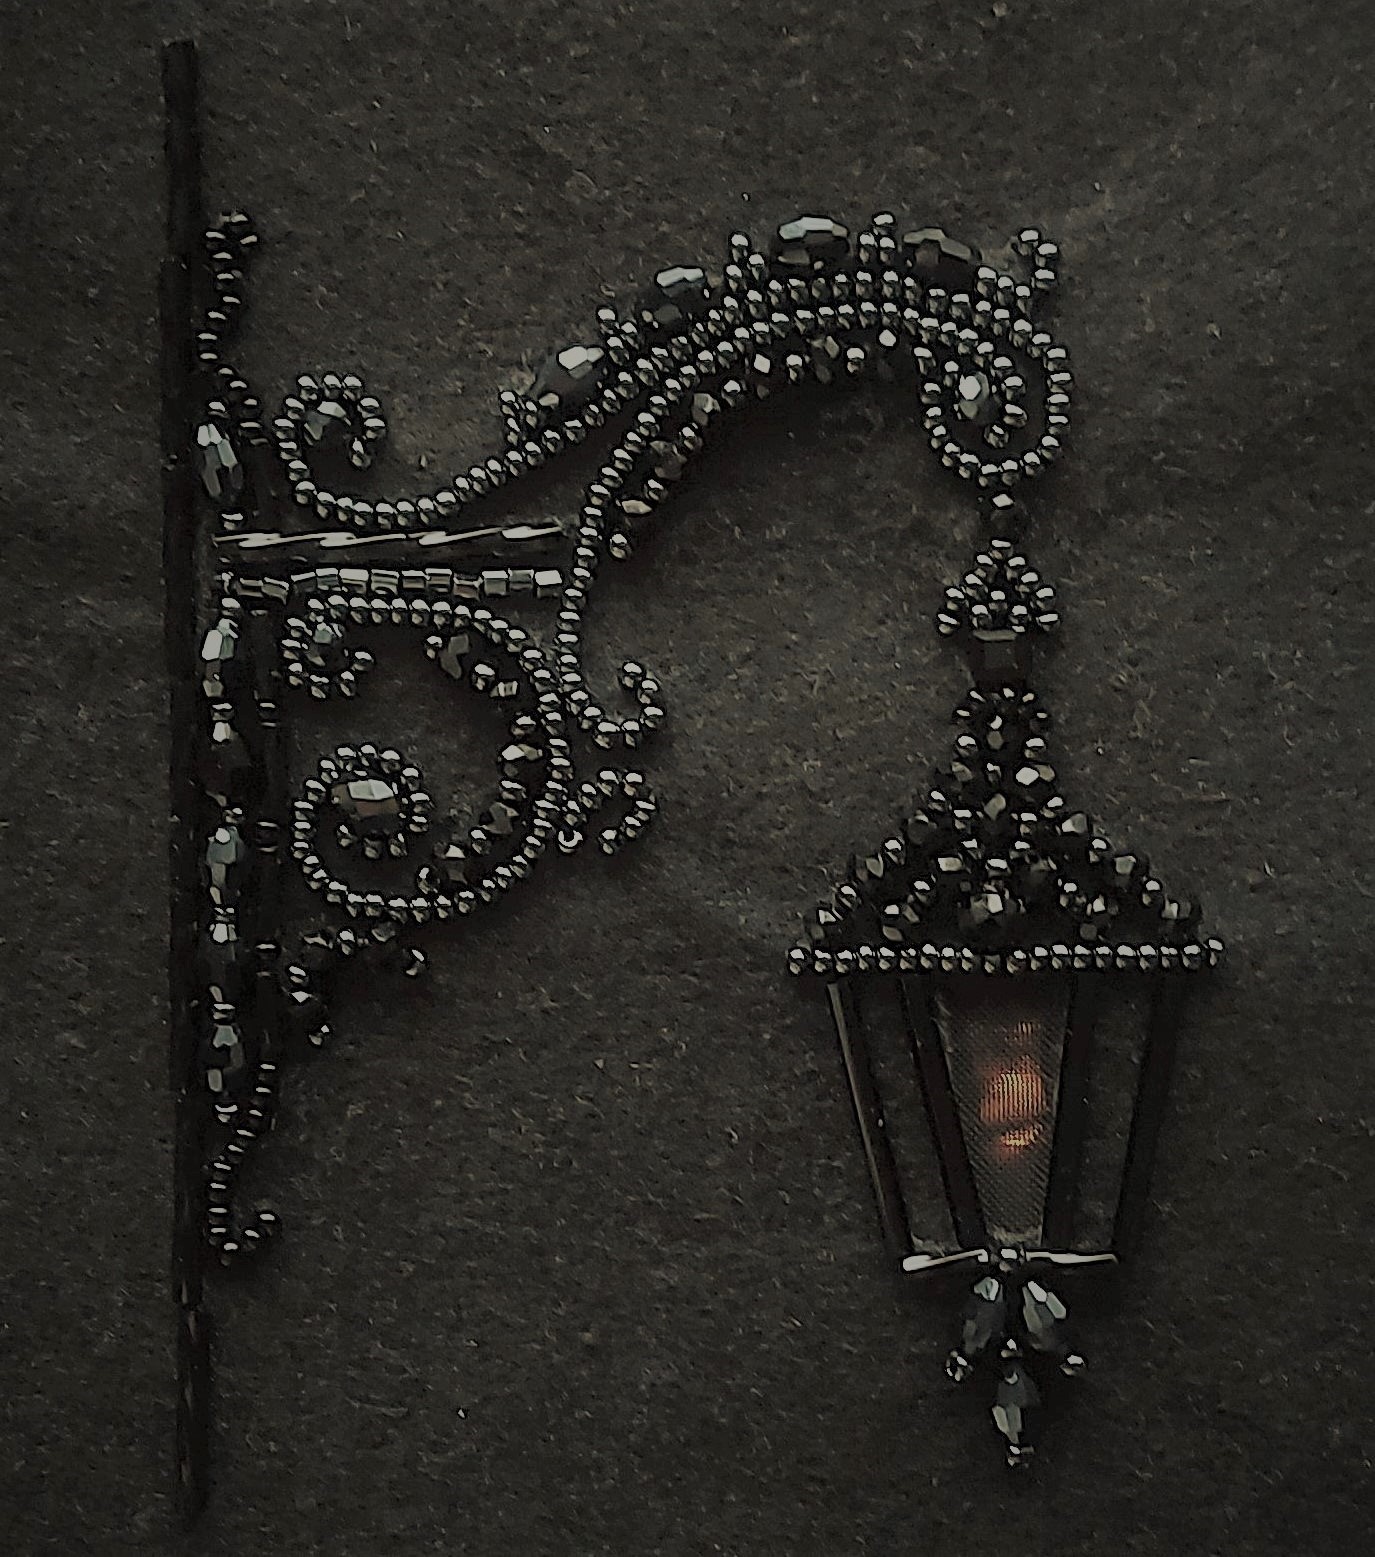
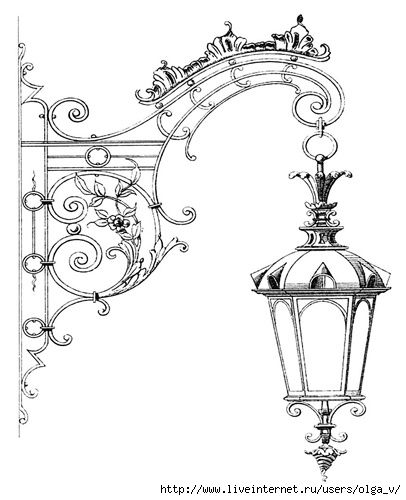
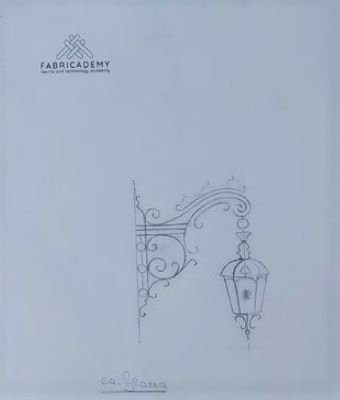
Then doing an internet search, I was able to find an internet image of a street light.
The process started with drawing the sketch on paper.
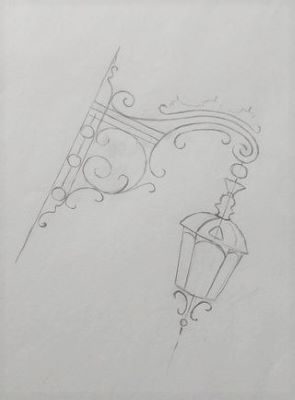
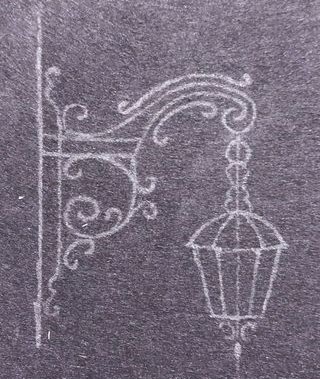
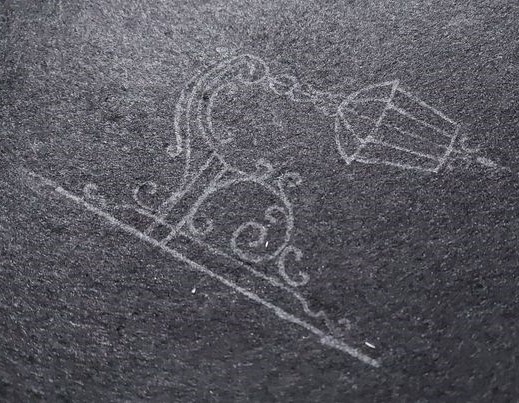
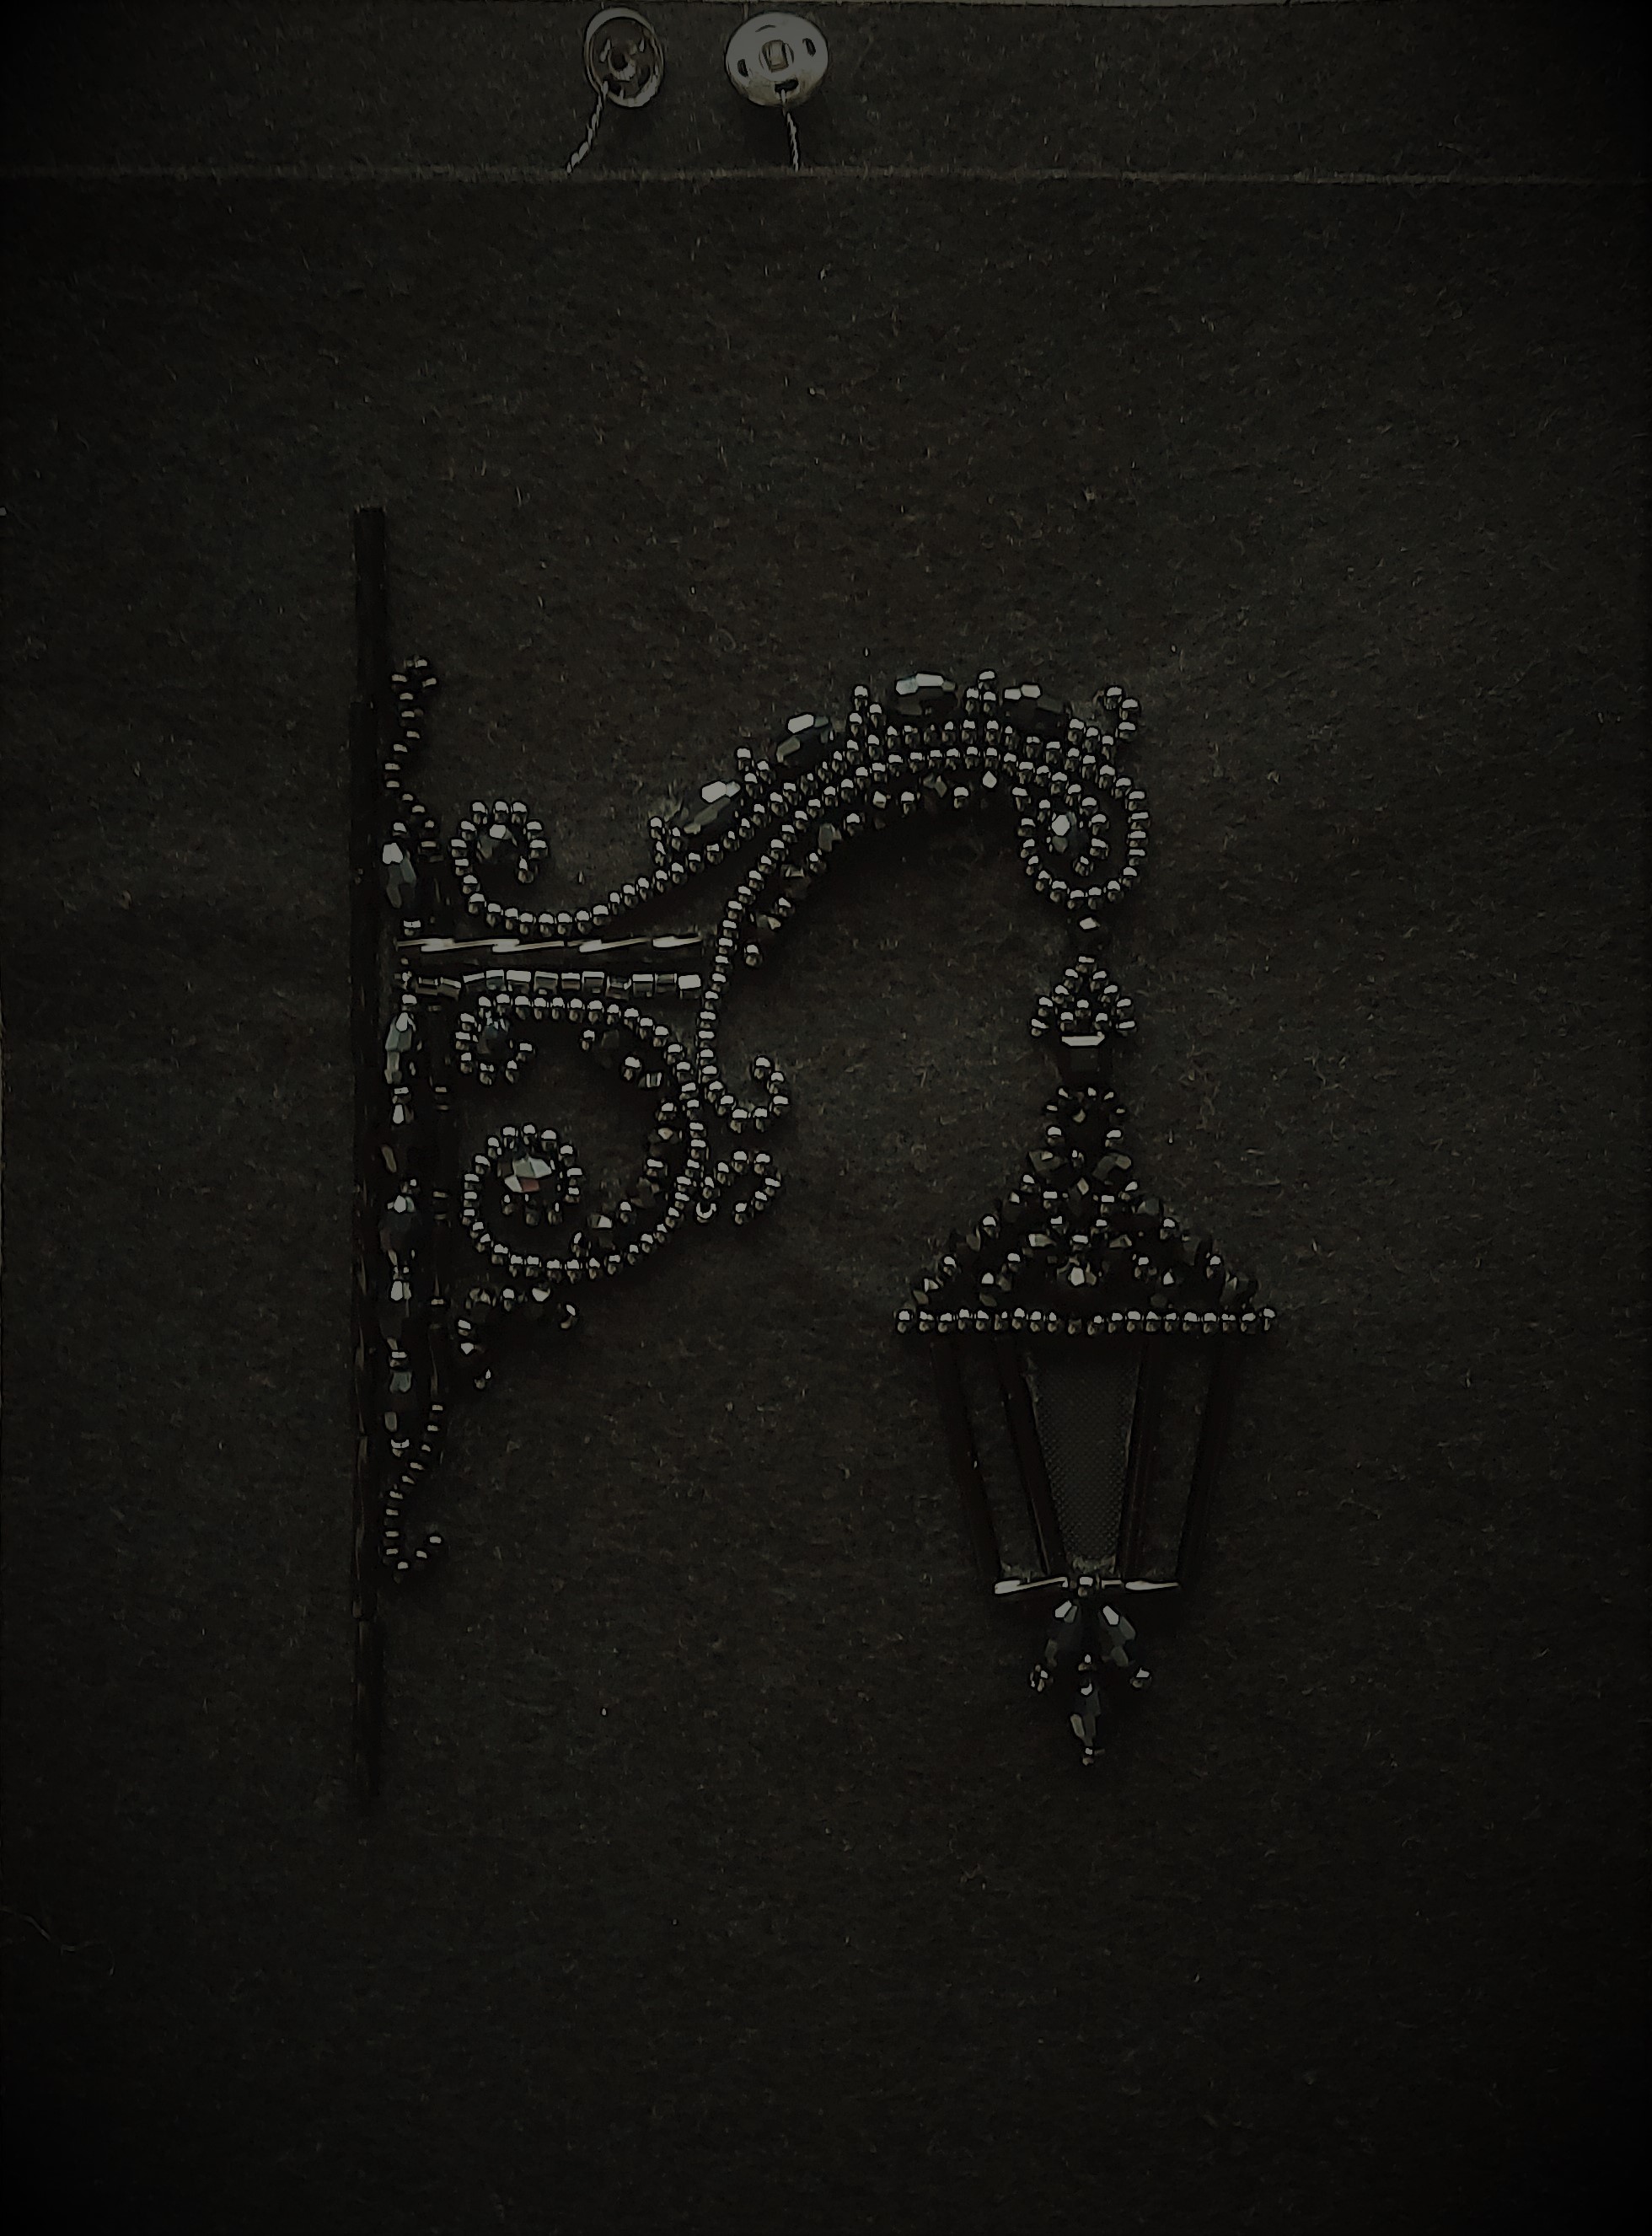
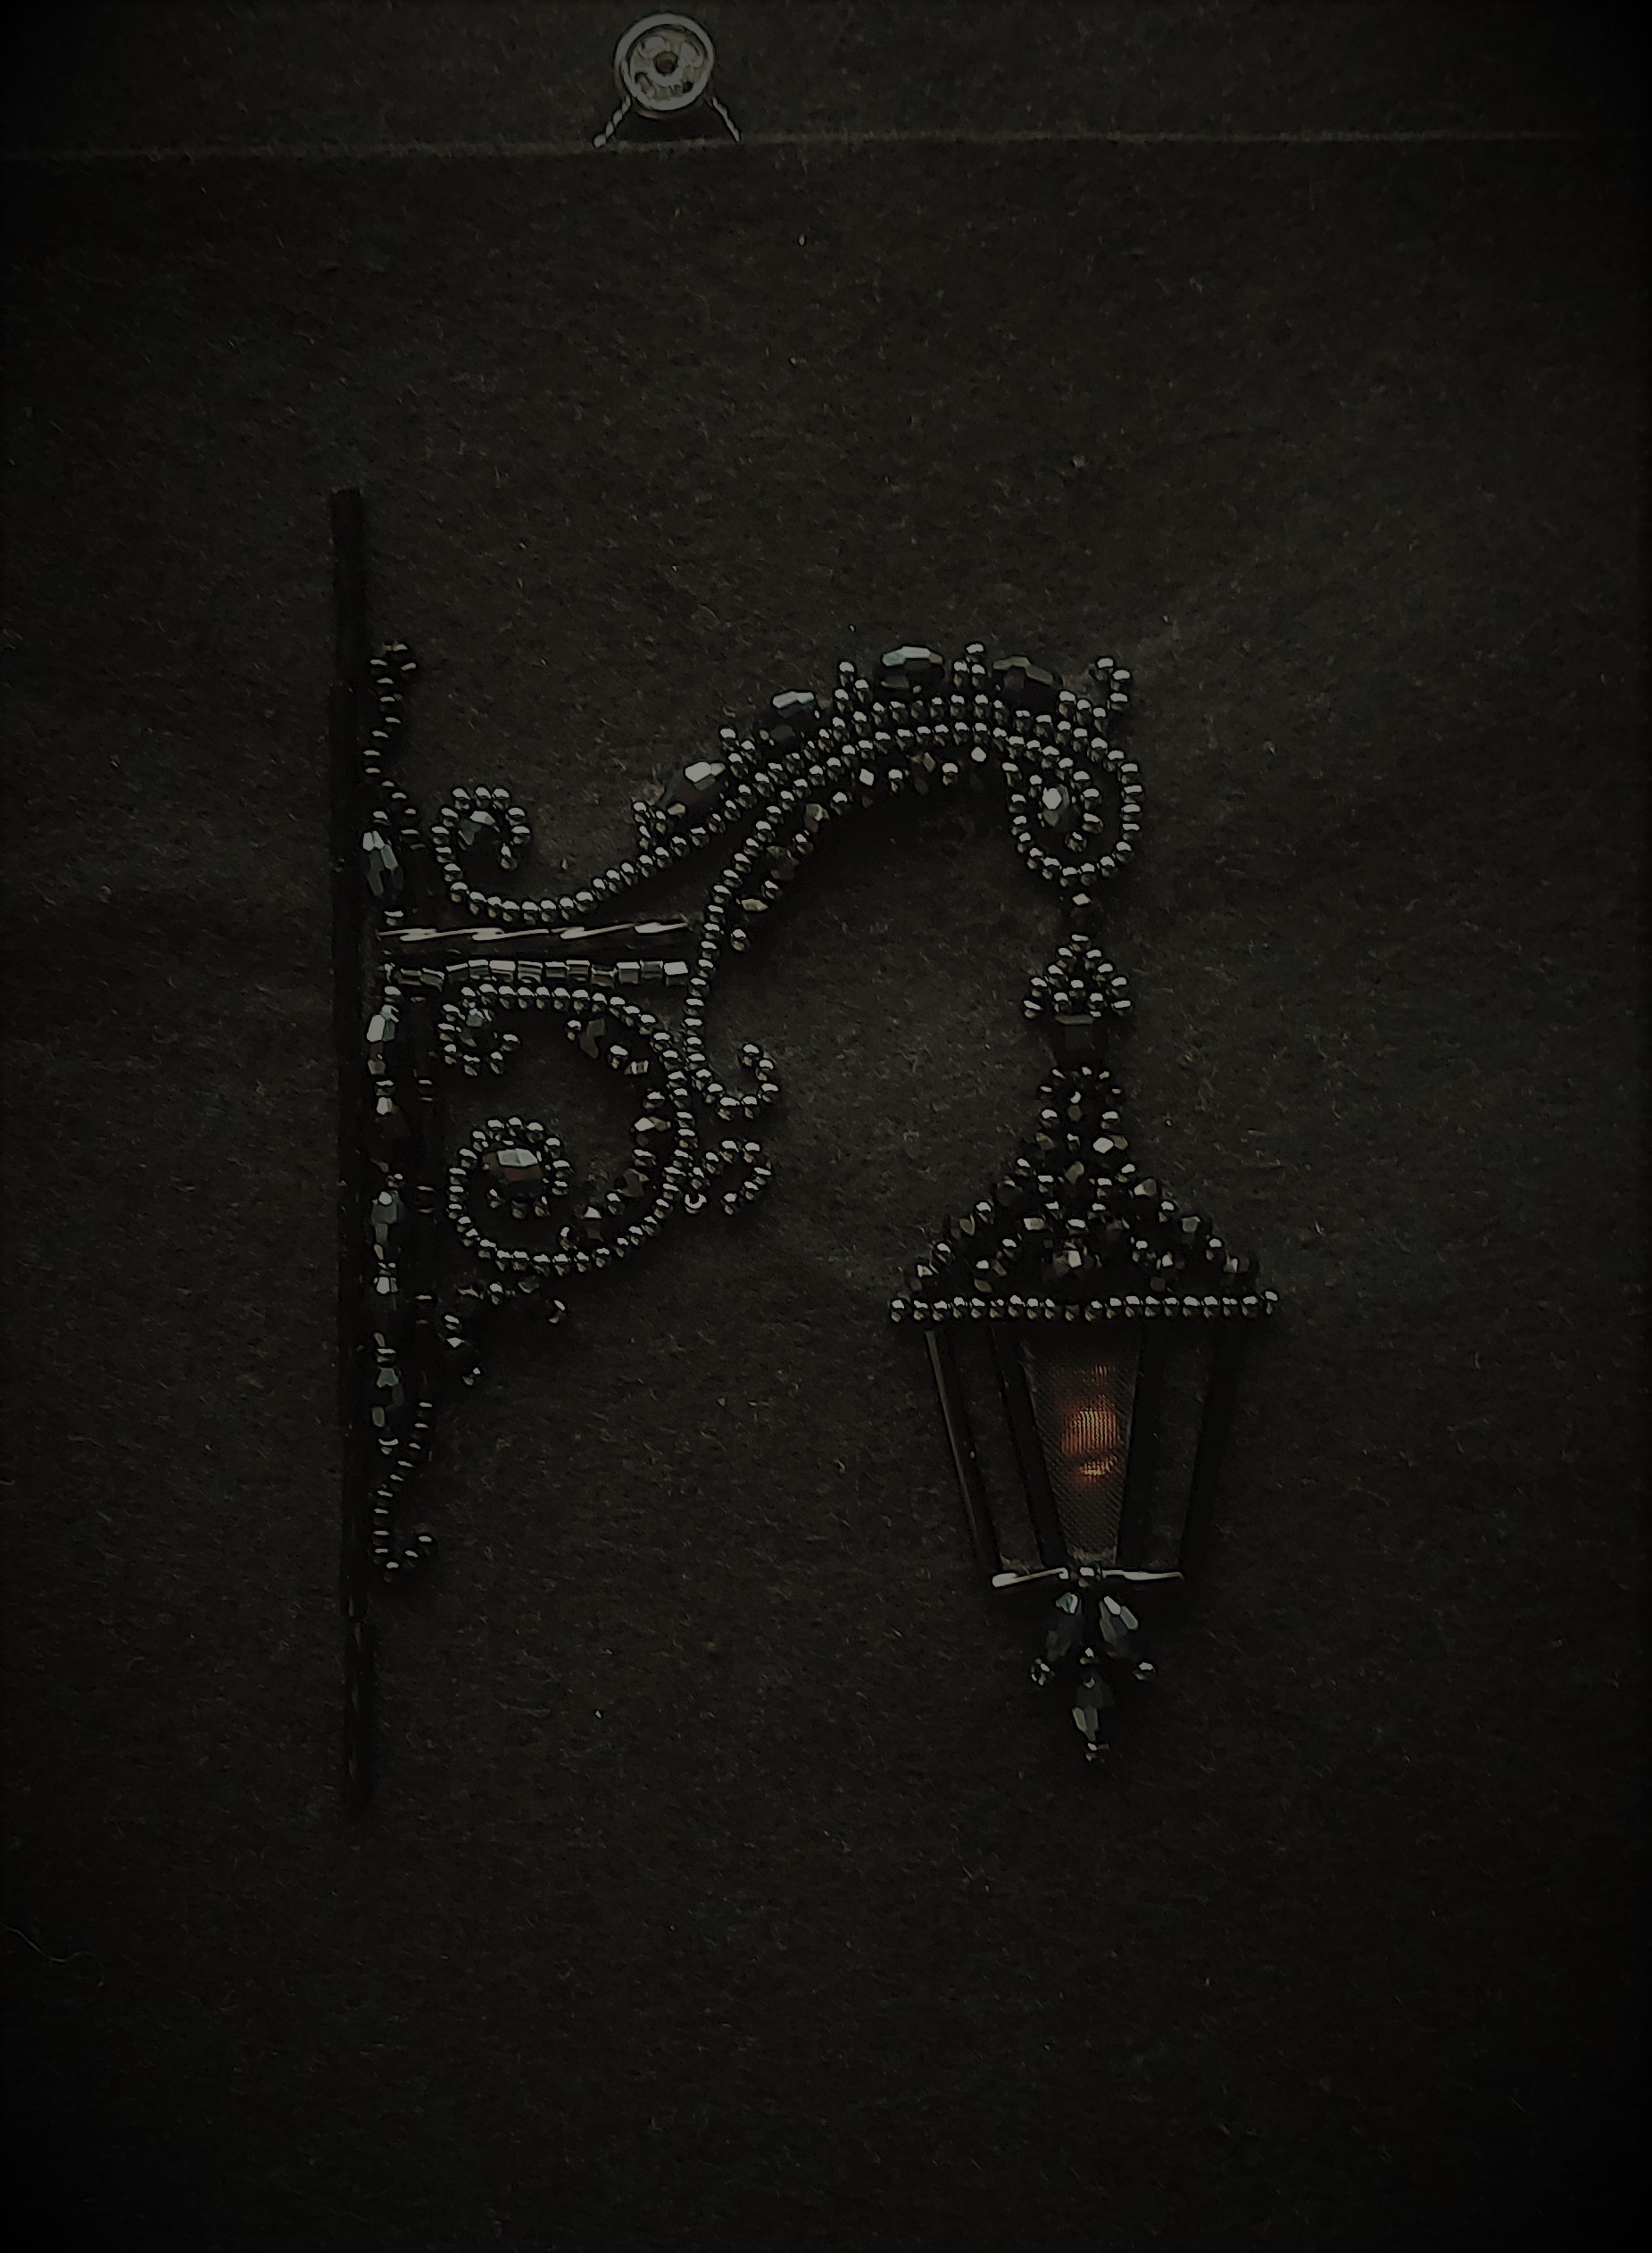
Then for the copying process, I chose felt material.
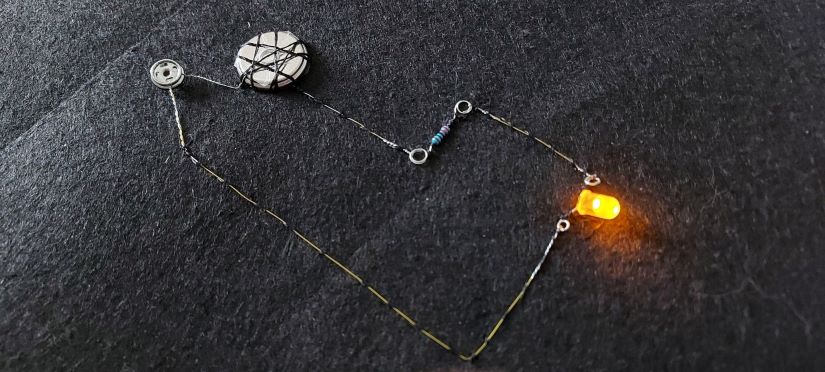
After establishing the sketch, I started working on the circuit. Everything was very simple and I succeeded from the start. The scheme is shown below.
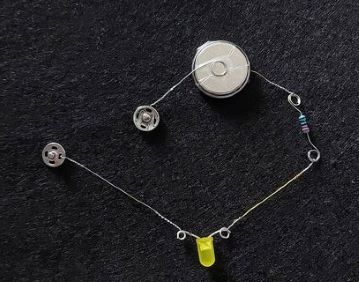
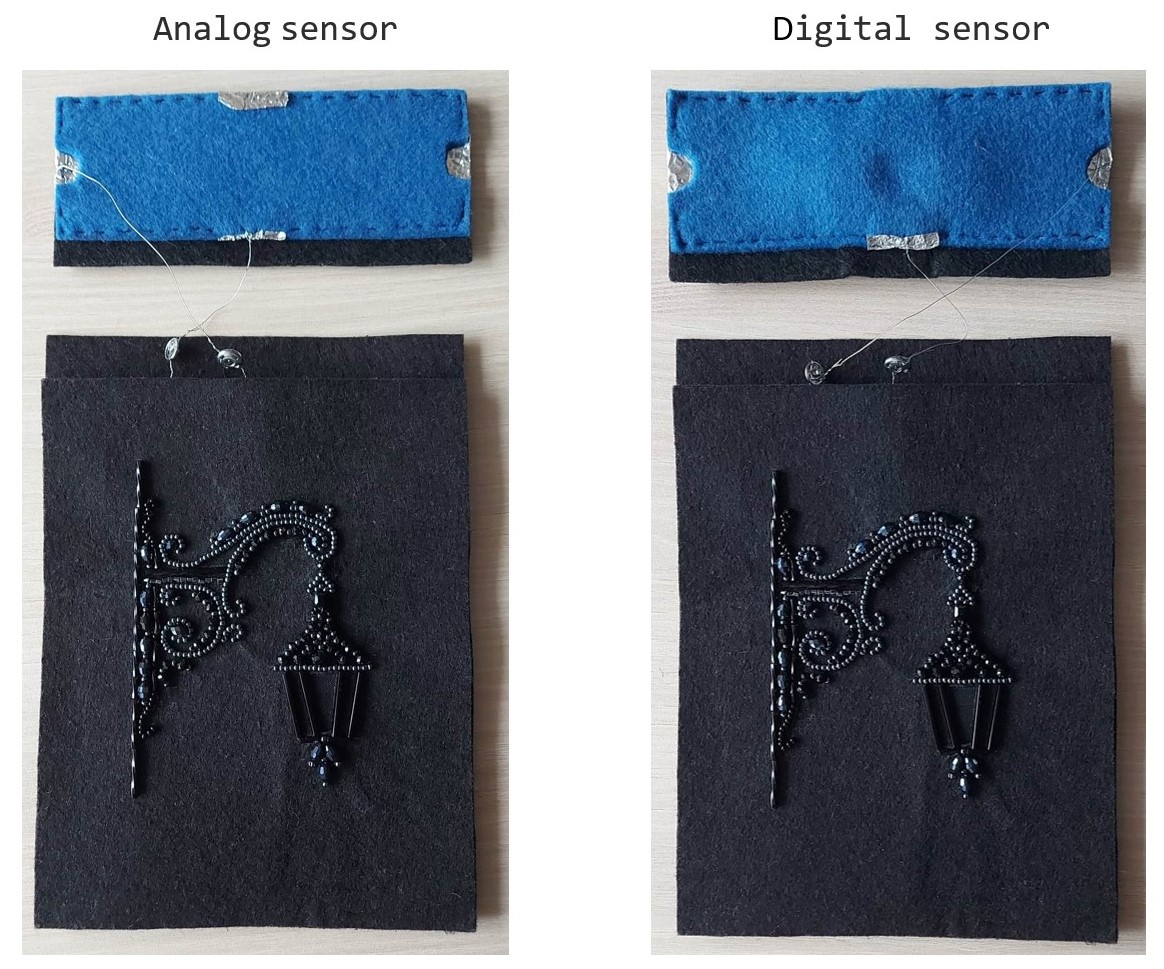
It was more complicated to introduce this circuit in my creation. All the elements are arranged and assembled by felt.
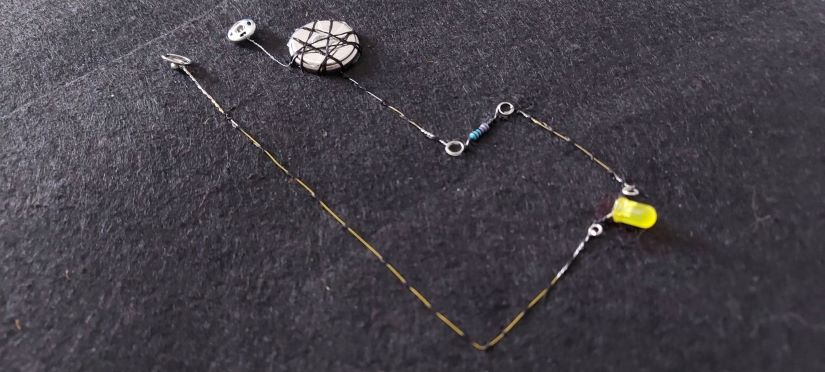
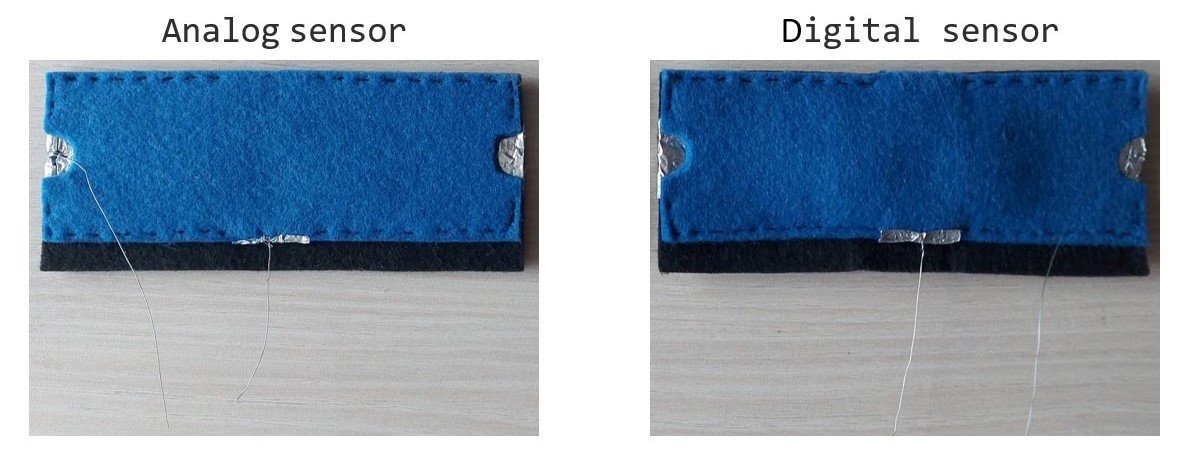
Then I created two circuits. The first circuit - analog circuit with velostat. The second circuit - digital circuit with foam.
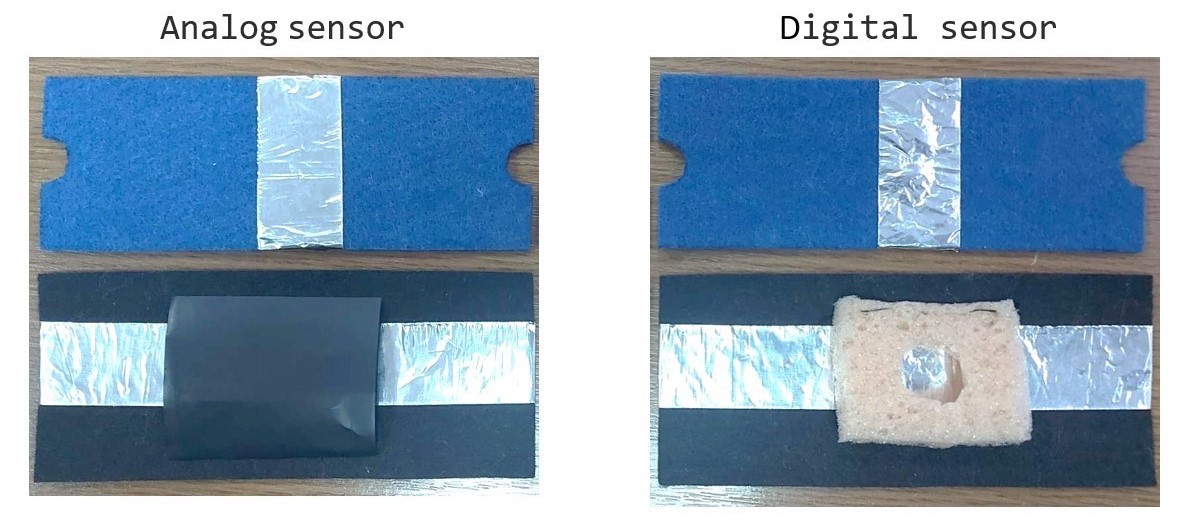
These circuits have been checked for conductivity.
Metal wire conductors were connected to these circuits.
Then they were joined to the base circuit
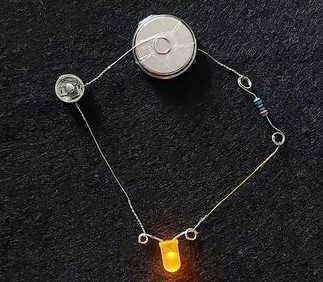
And here is the final result!