7. Computational Couture
Week 07 _ pleasure
A new week and a new challenge. A challenge that seems very easy at first glance, but...
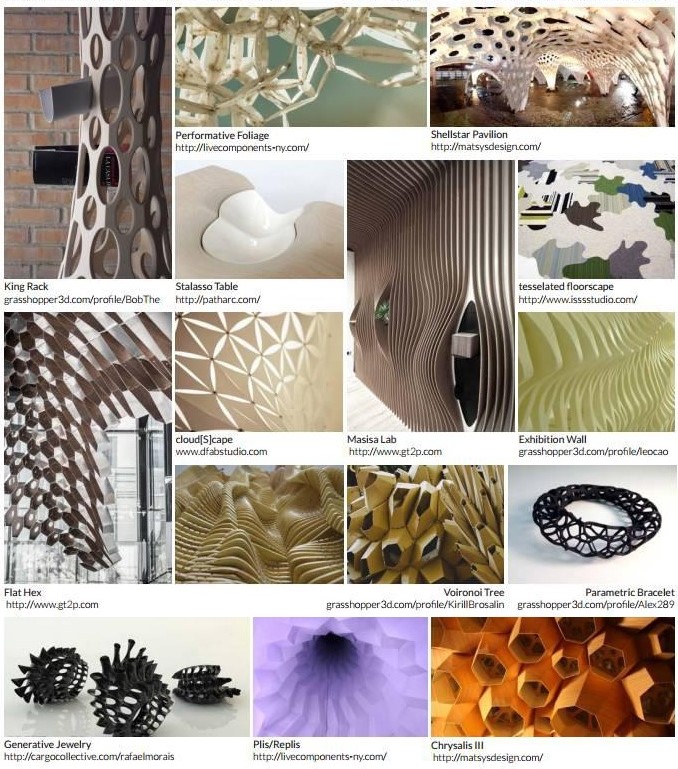
Research & Ideation
This week I started with a study of a new software. The course Computational Couture by Aldo Sollazzo highlighted the beauty of using information technology in the process of creating a clothing product.
A special emphasis on the use of information technologies in fashion can also be admitted in the special collections of the designer Iris van Herpen. She was one of the first designers to adopt 3D-printing as a garment construction technique. Iris van Herpen takes fashion into the future. Combining craftsmanship with digital technology, she creates an entirely new way to experience clothing. Most notably, the Dutch designer was one of the first to present 3-D-printed dresses in both static and flexible forms on the runway, in a collaboration with the Belgian company Materialise.

To be able to make a combination between fashion and international technologies, it is necessary to know both fields. Being specialists in clothing design, there is a need to acquire new knowledge in the use of software, such as Rhino. Rhino is a very complex software that is used in various fields. The use of this in the fashion field allows the creation and parameterized diversification of clothing, footwear, accessories, etc.
Experiments in Rhino
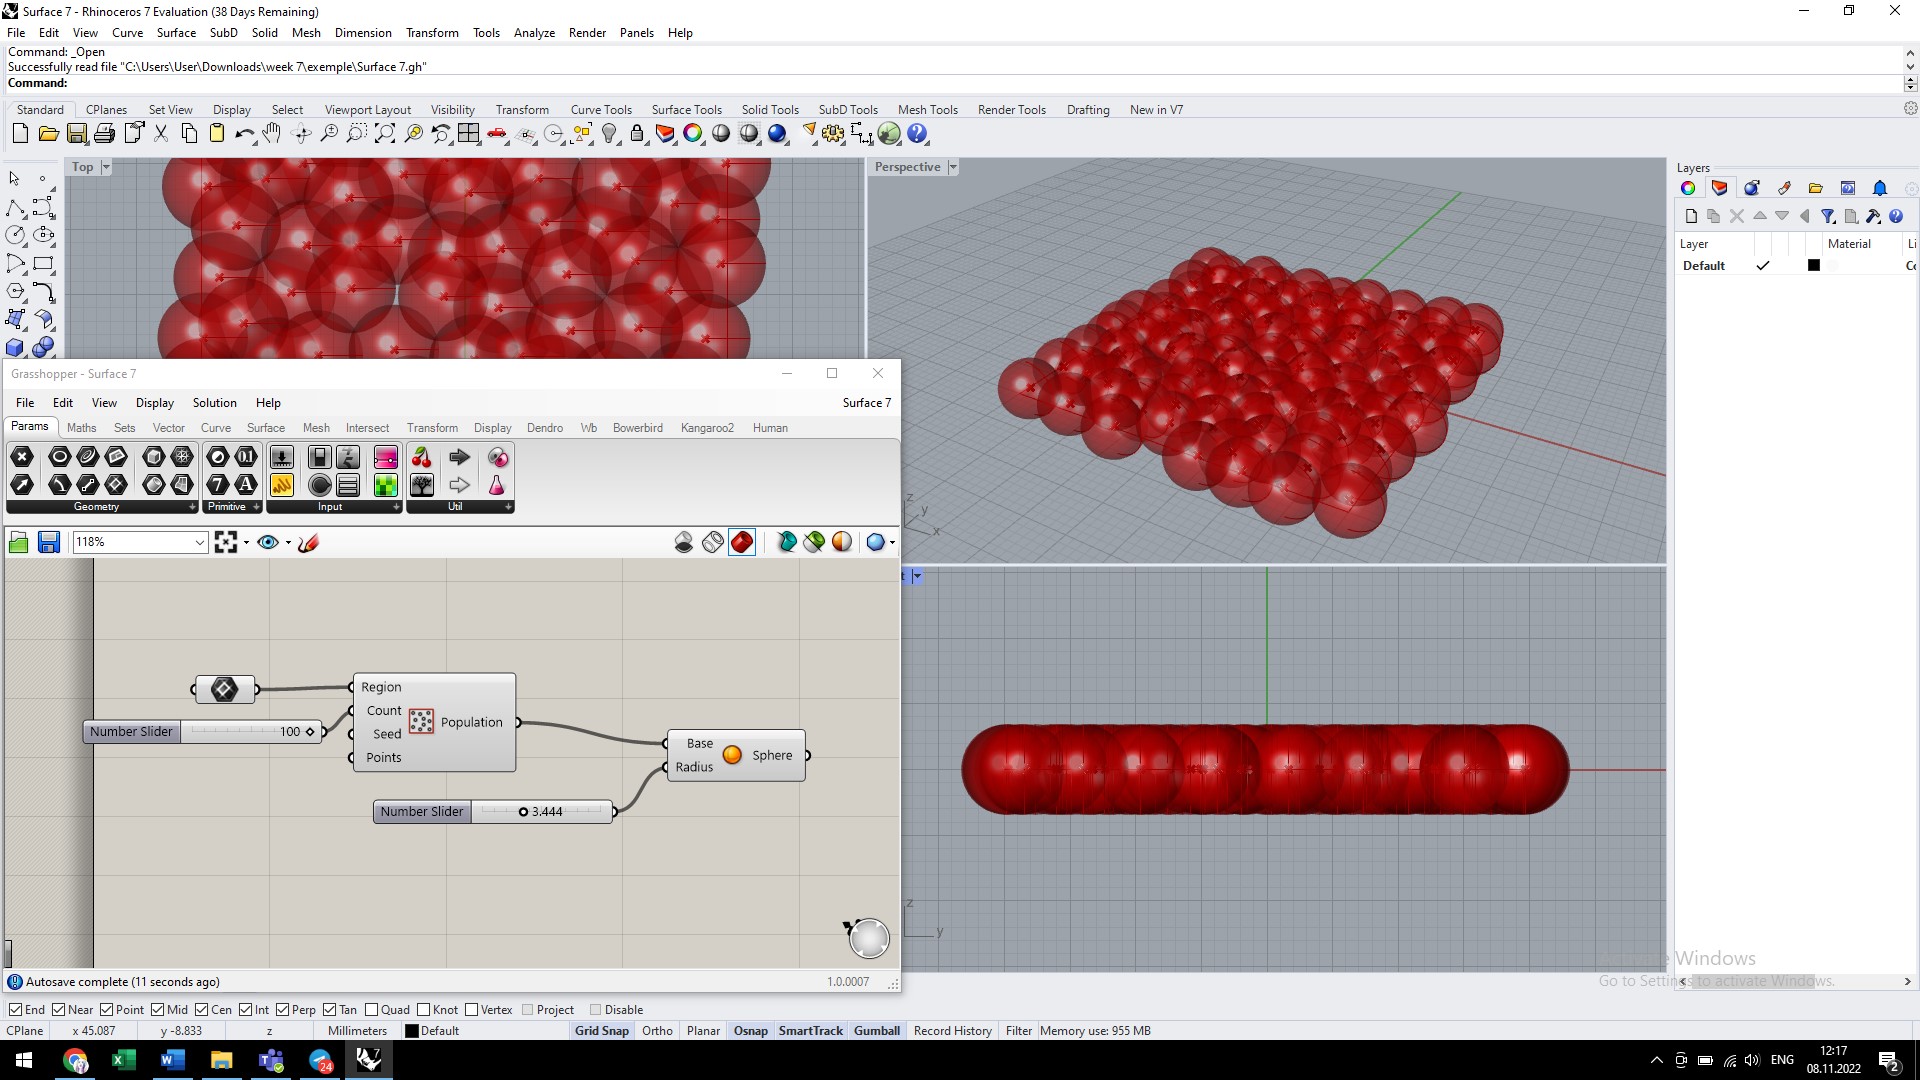
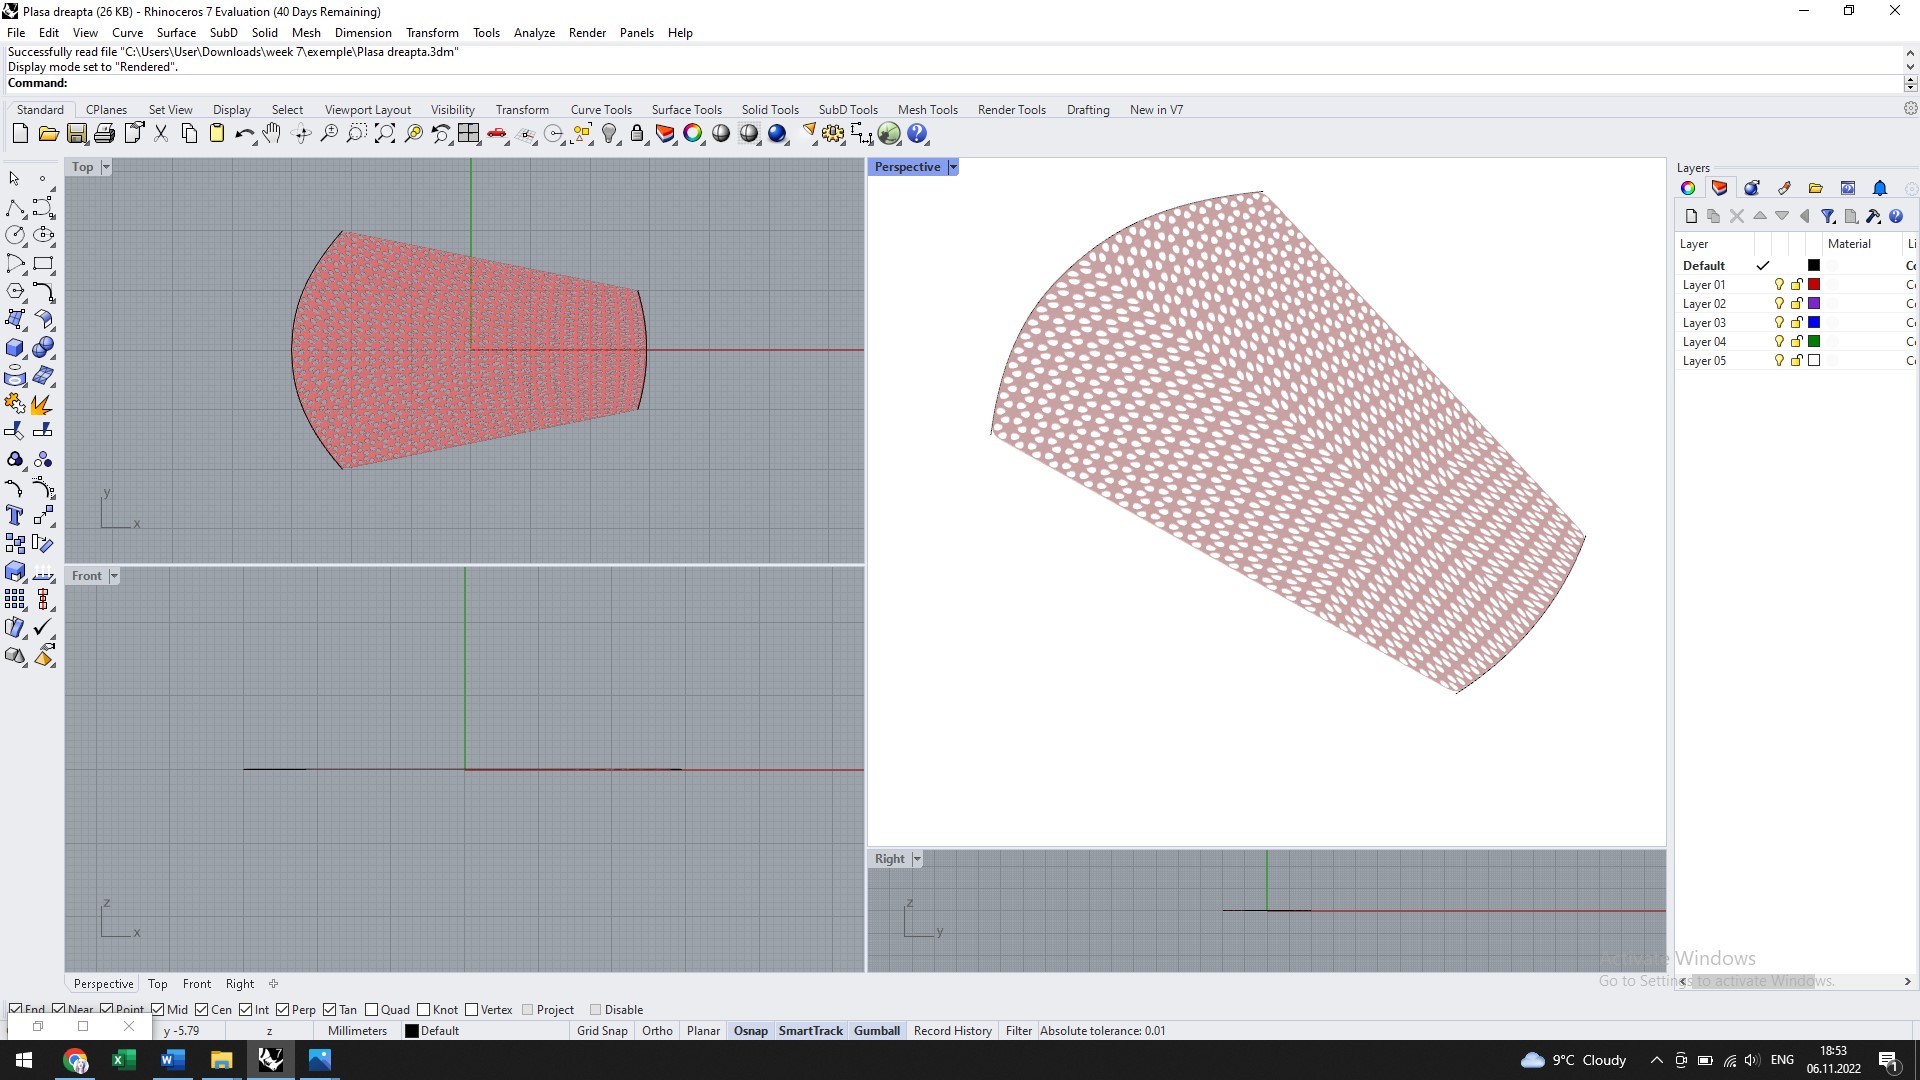
I tried Rhino for the first time in the summer of 2022 at the Fabricademy Bootcamp in GENEVA. Of course, the time was short but I managed to get to know this software and understand the stages of use. But now, it is necessary to create an algorithm for creating a creative surface that can be 3D printed. The first attempts were created based on some tutorials used in the Bootcamp. They easily allowed me to create the necessary algorithm and the creation of volumetric shapes using the grasshopper module.
Then using some tutorials on YouTube I created other types of shapes.
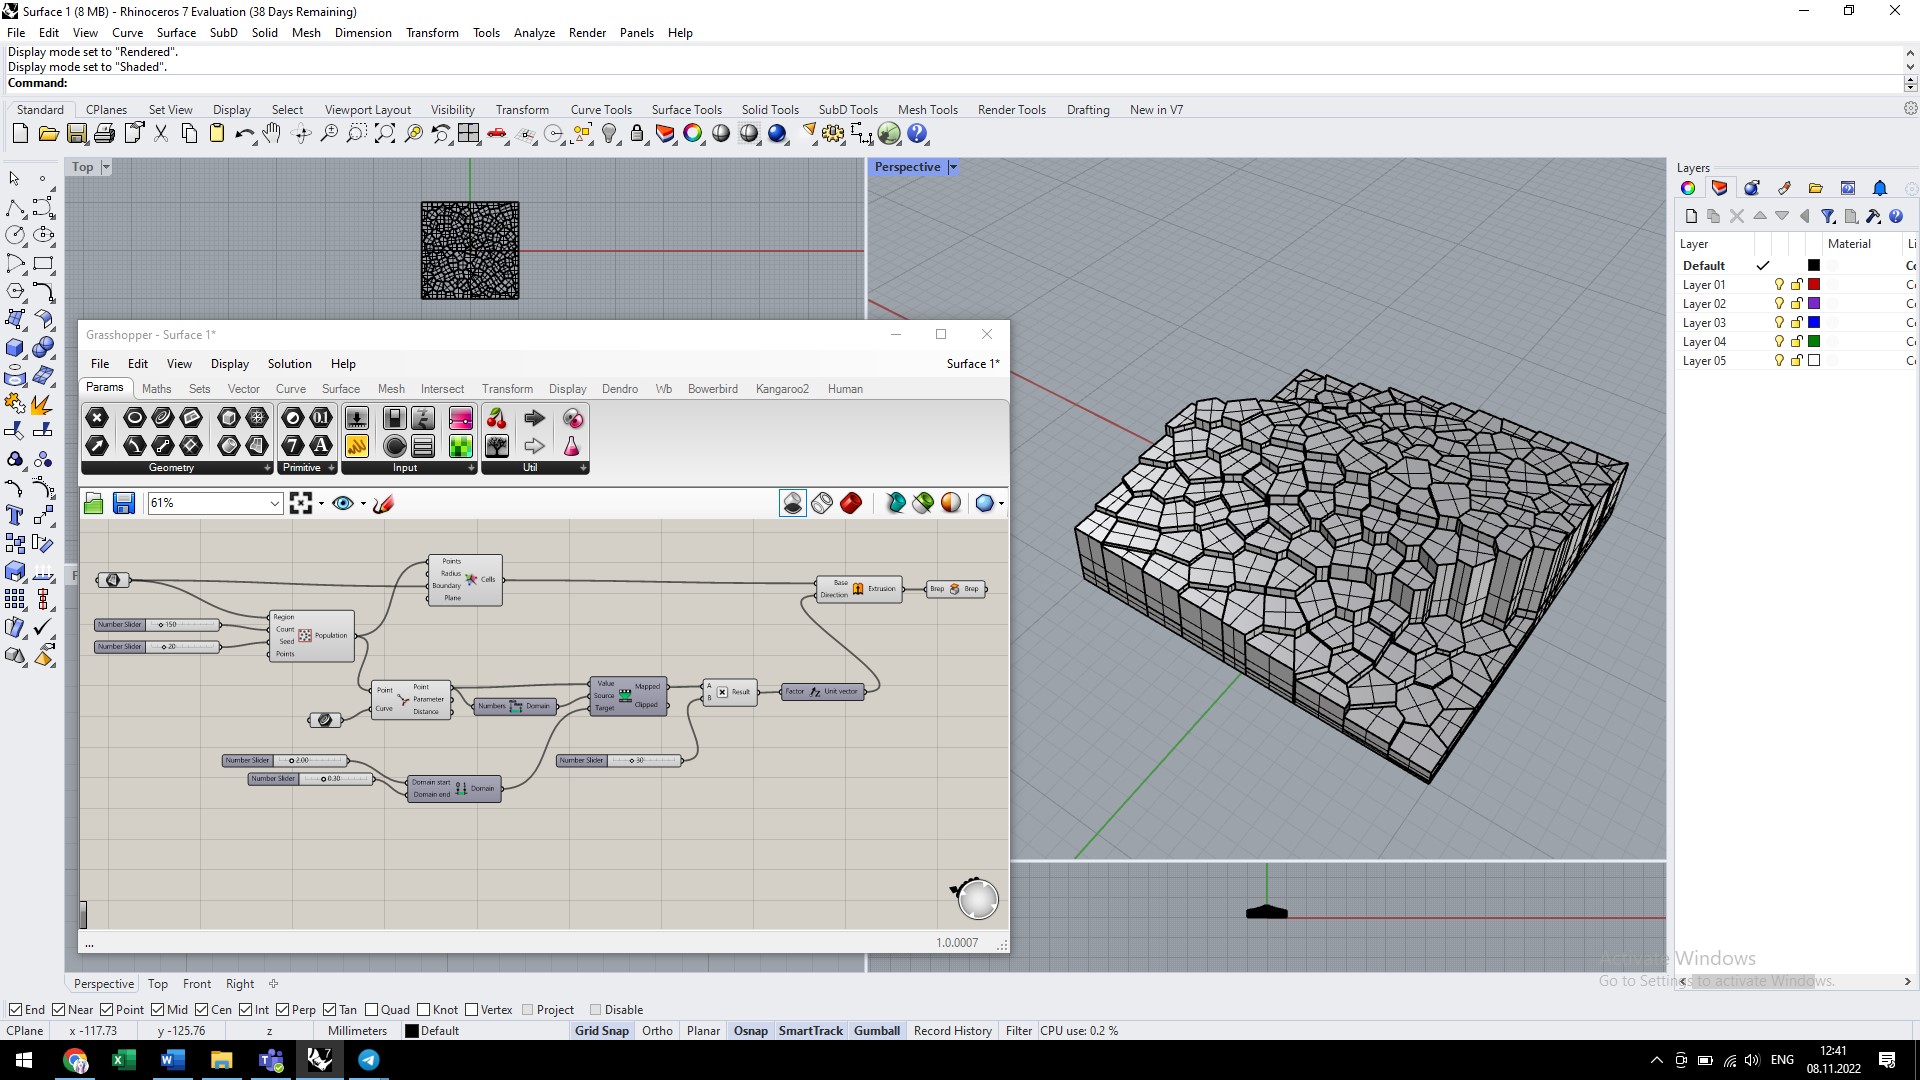
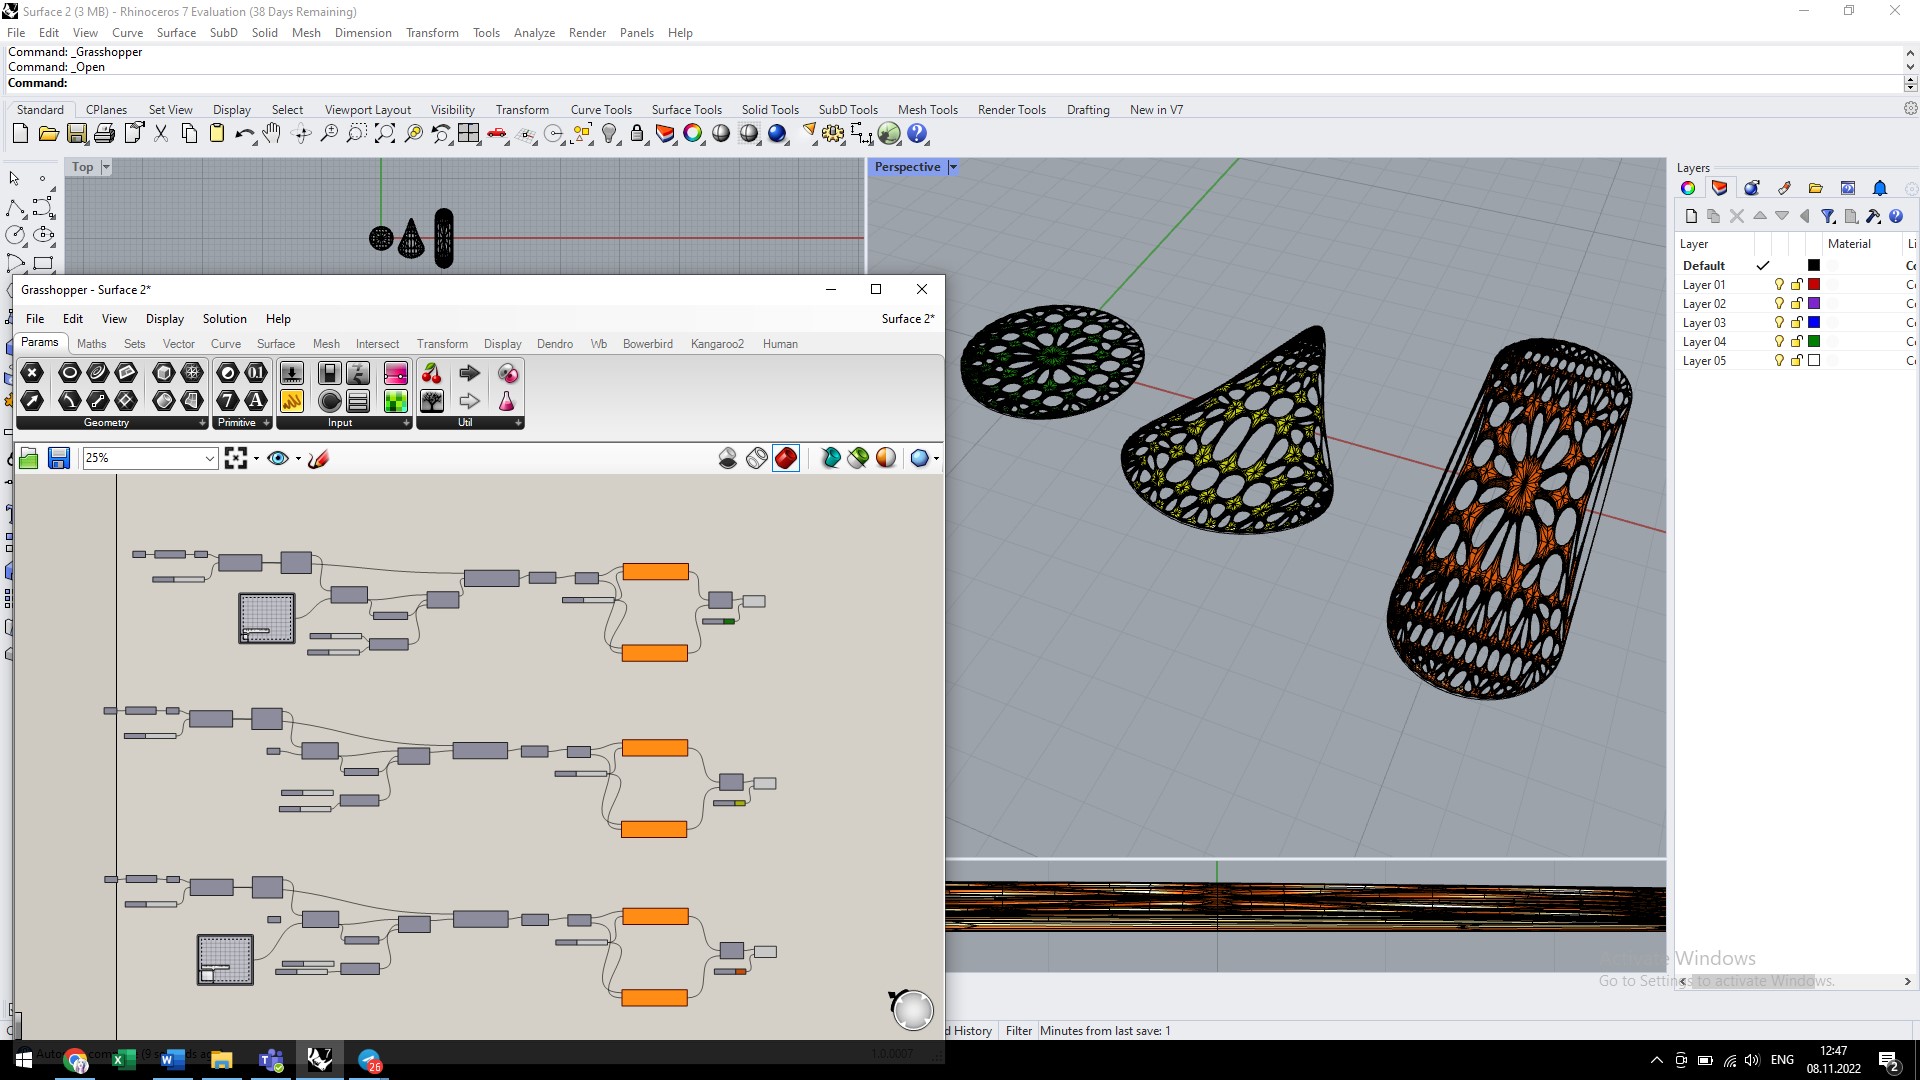
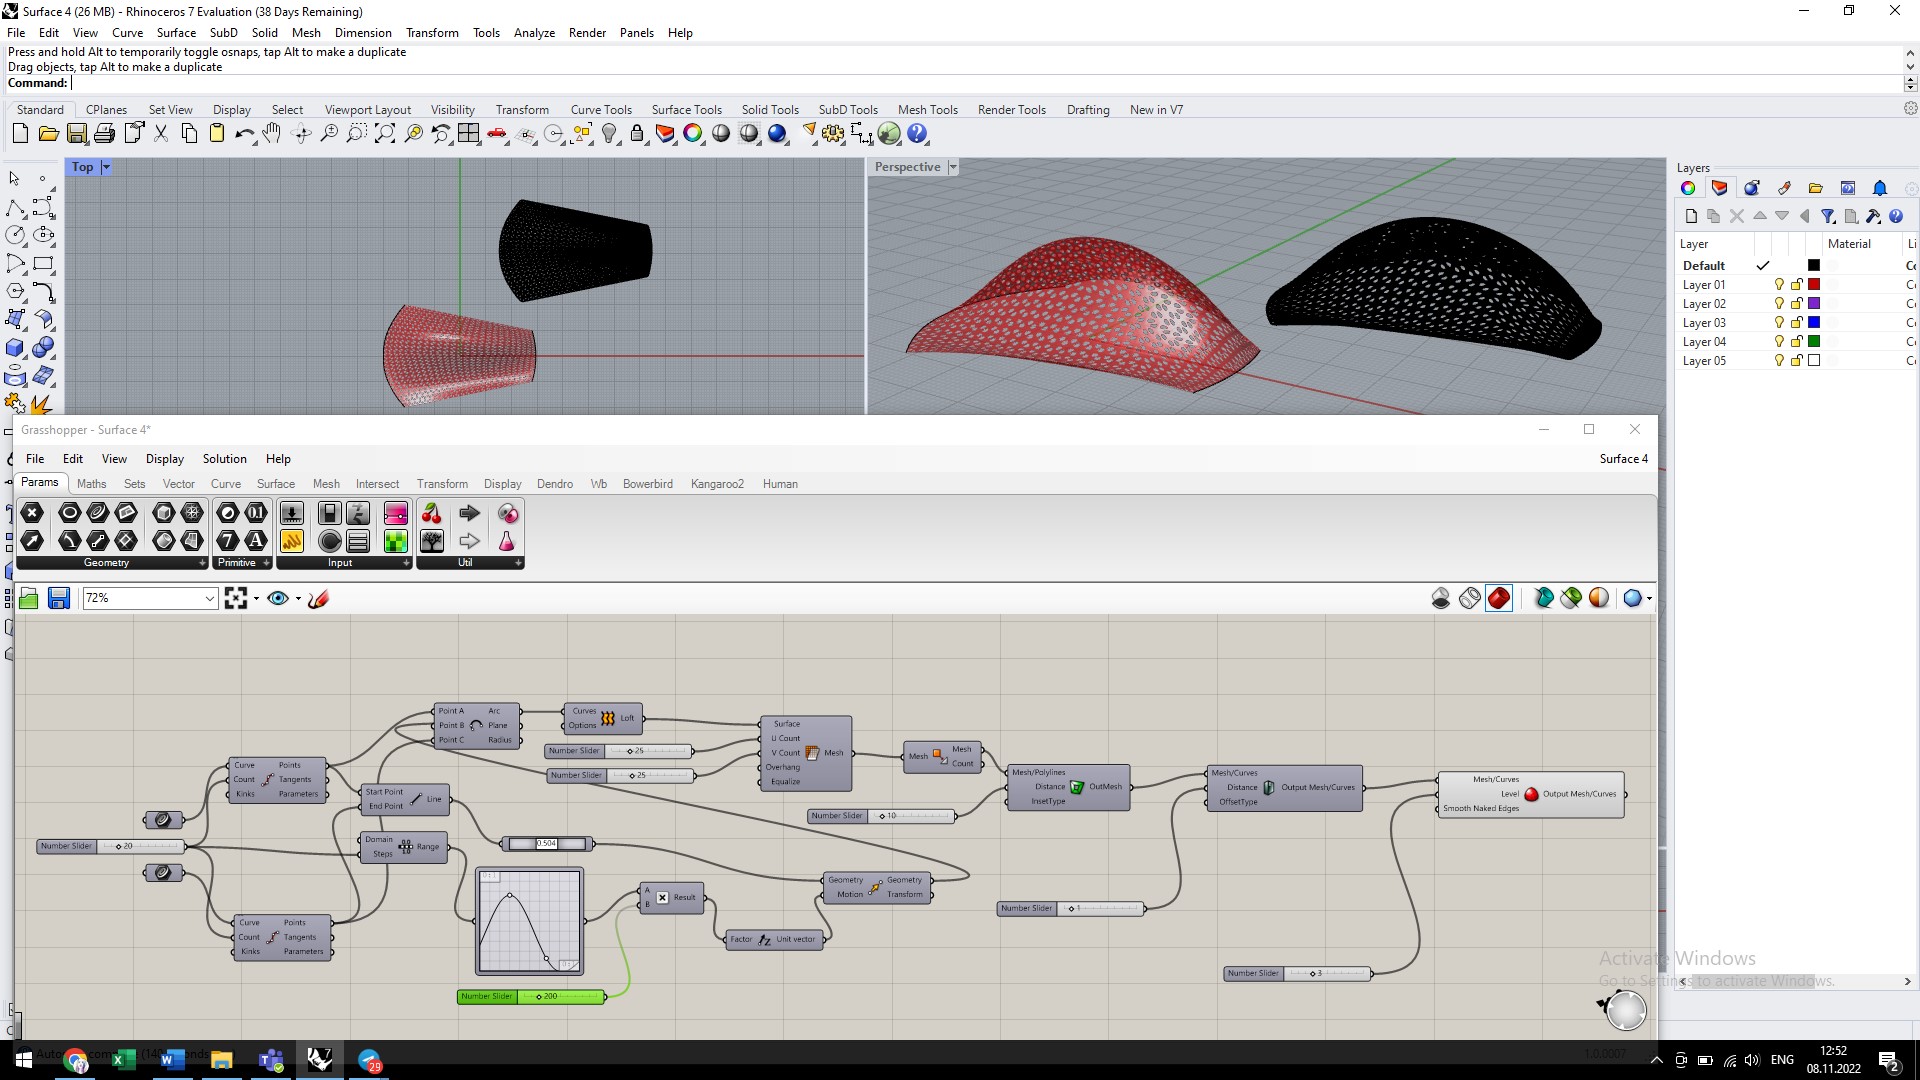
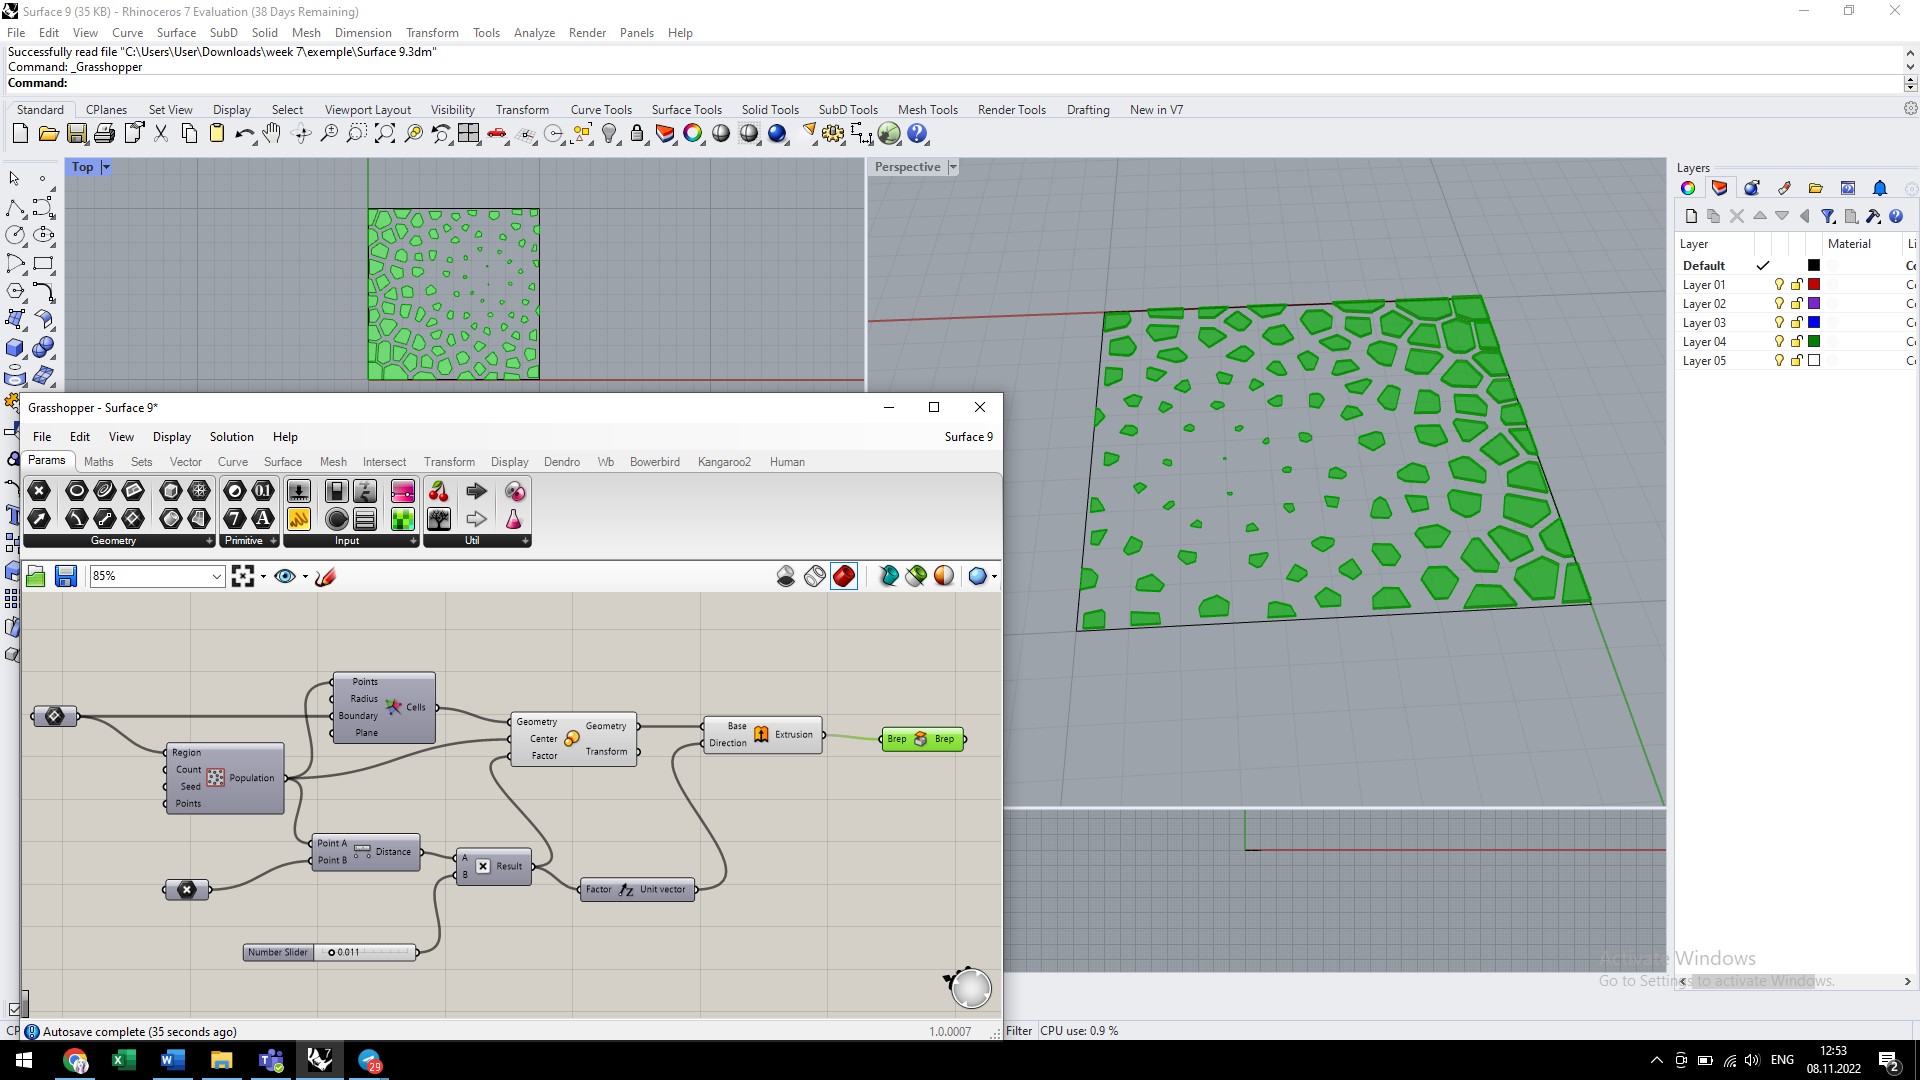
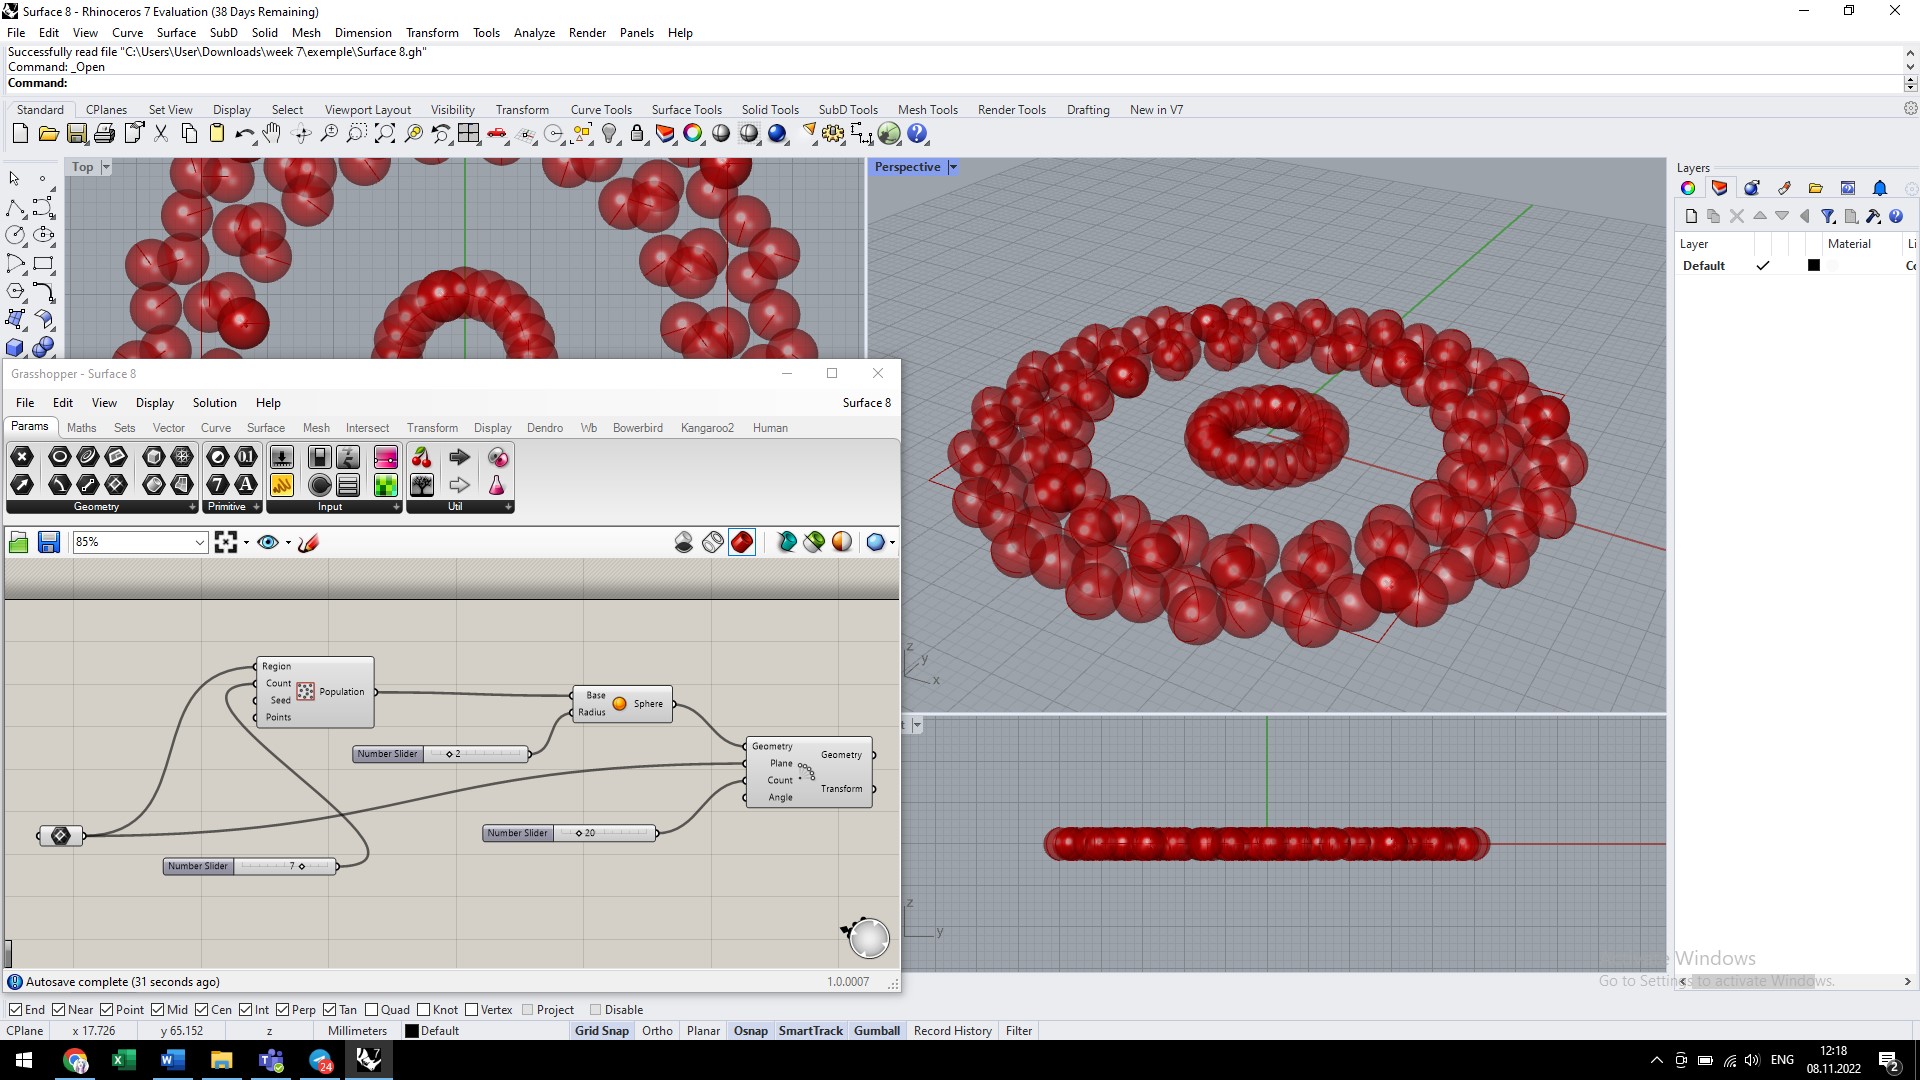
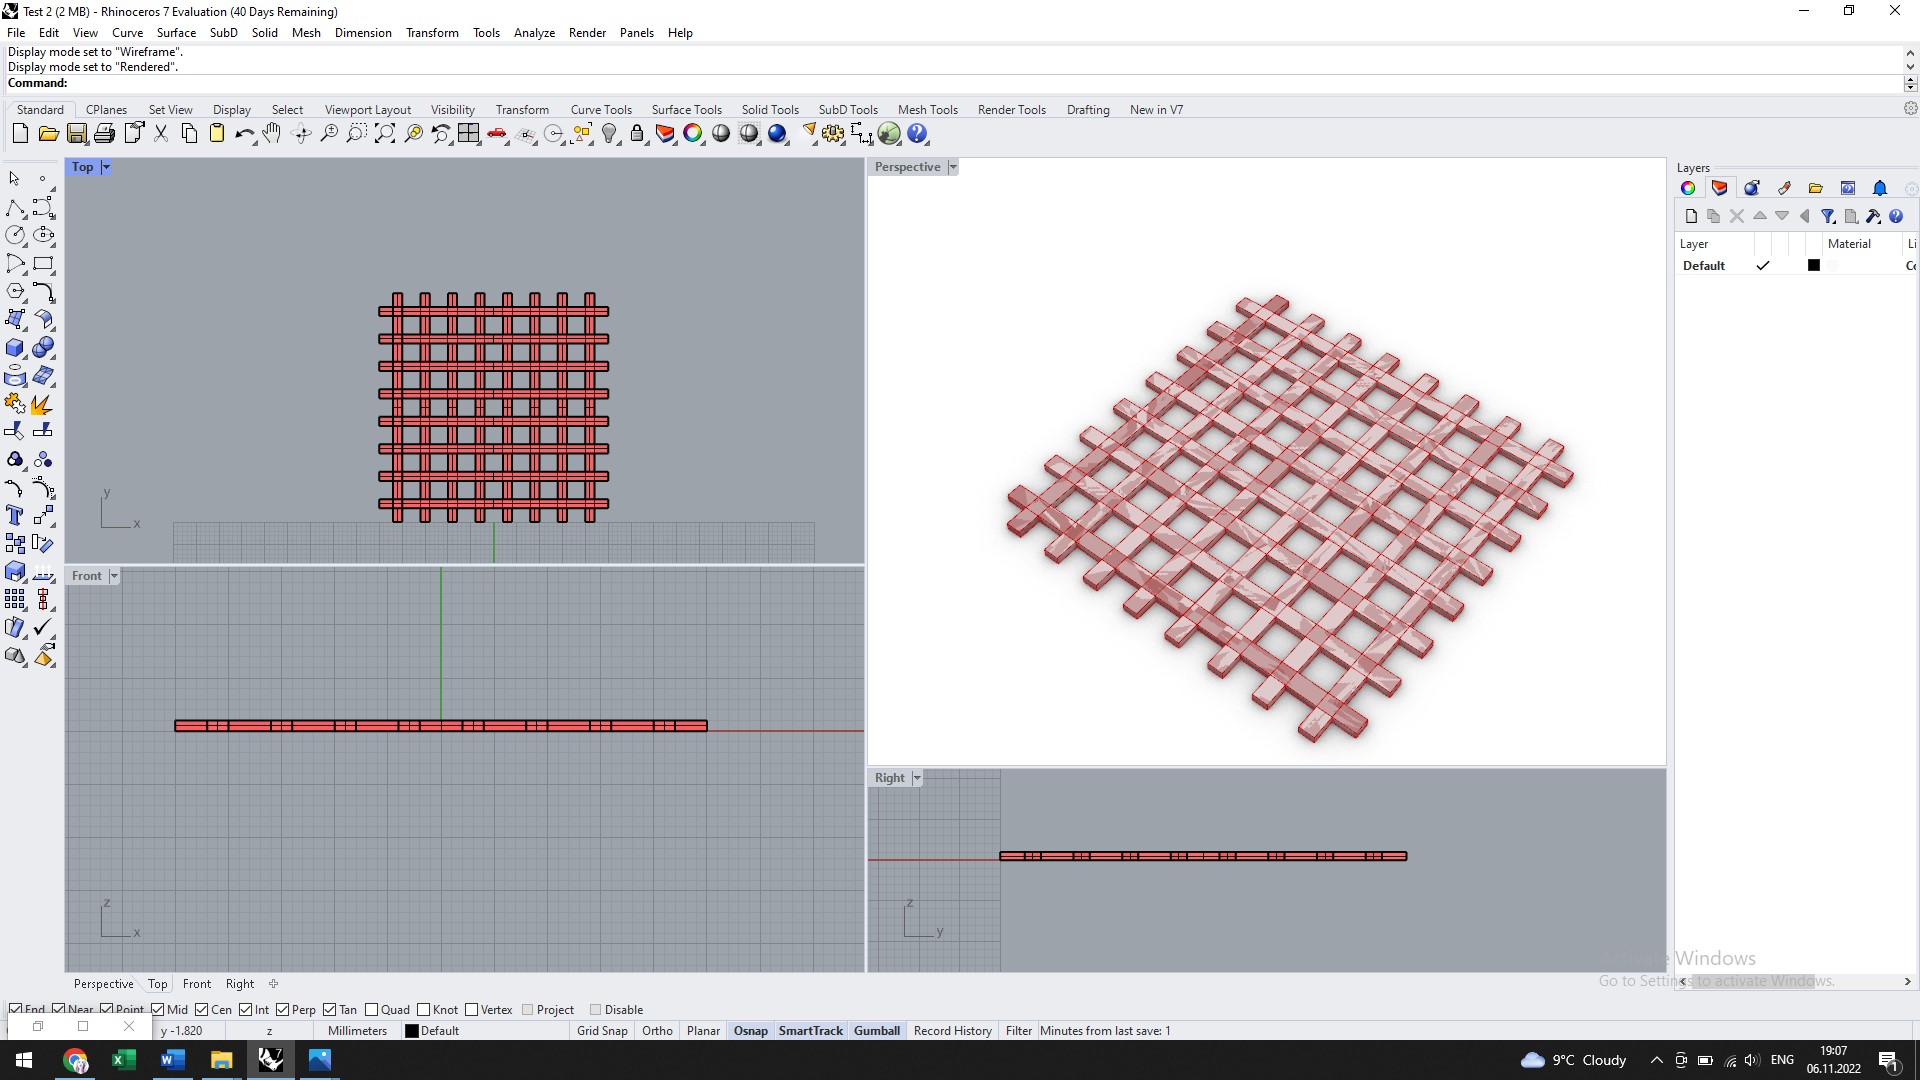
Then some samples were created that we'll try to print on textiles. The examples made for the printing process represent a mesh made up of various geometric shapes. They can be viewed below.
Test 1
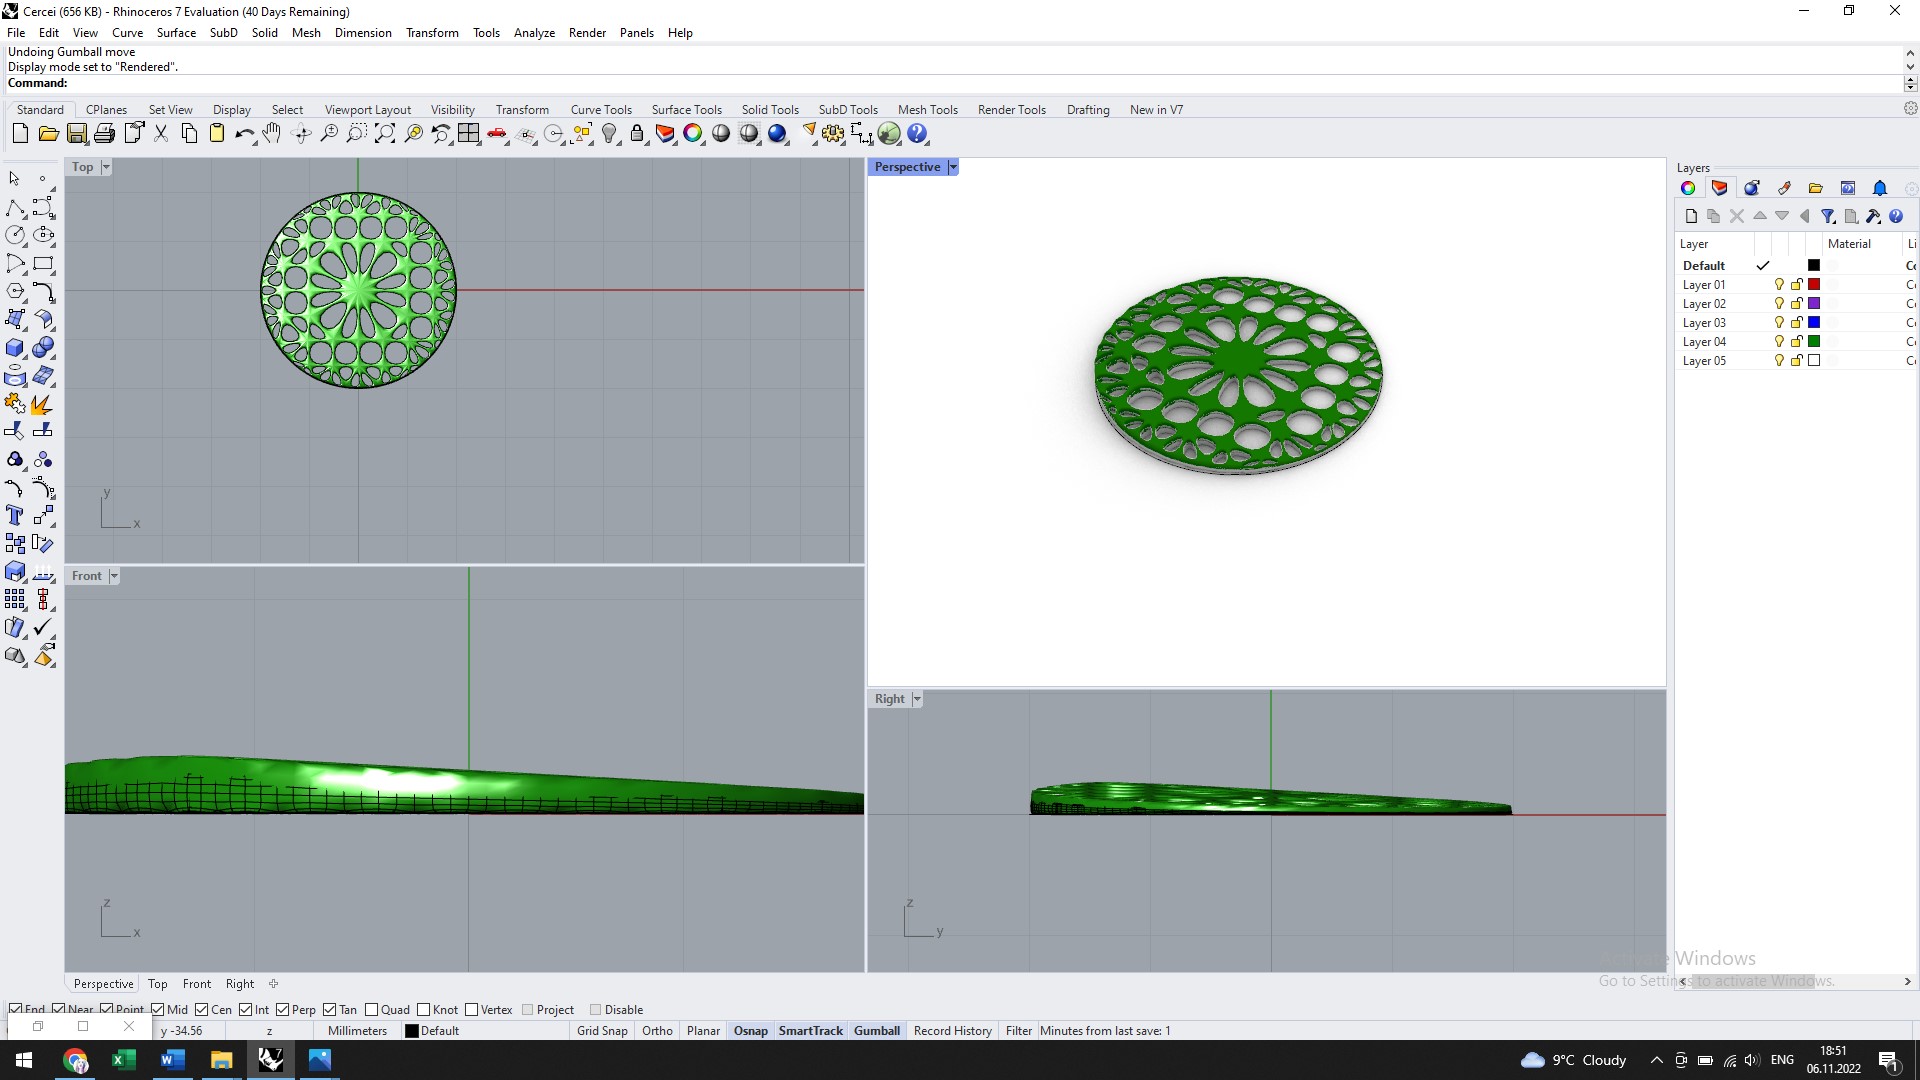
Test 2
Test 3
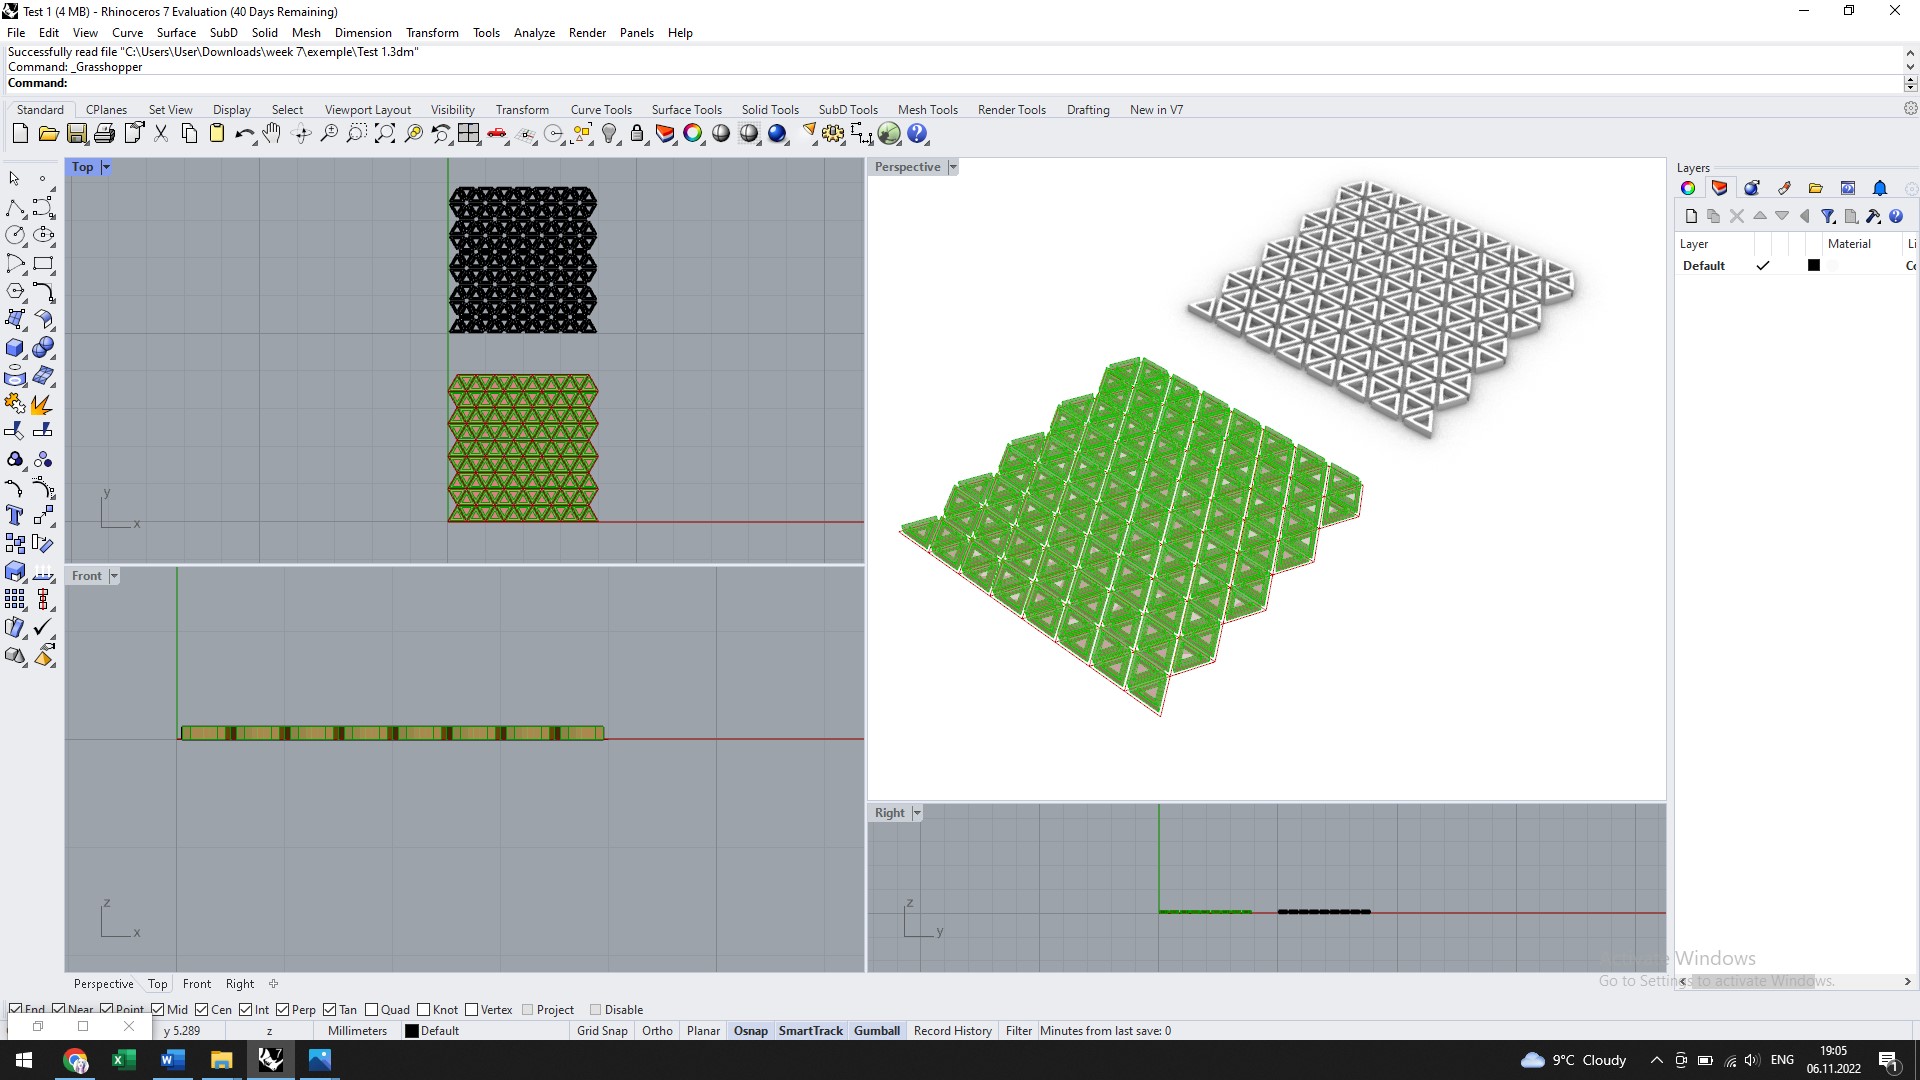
Test 4
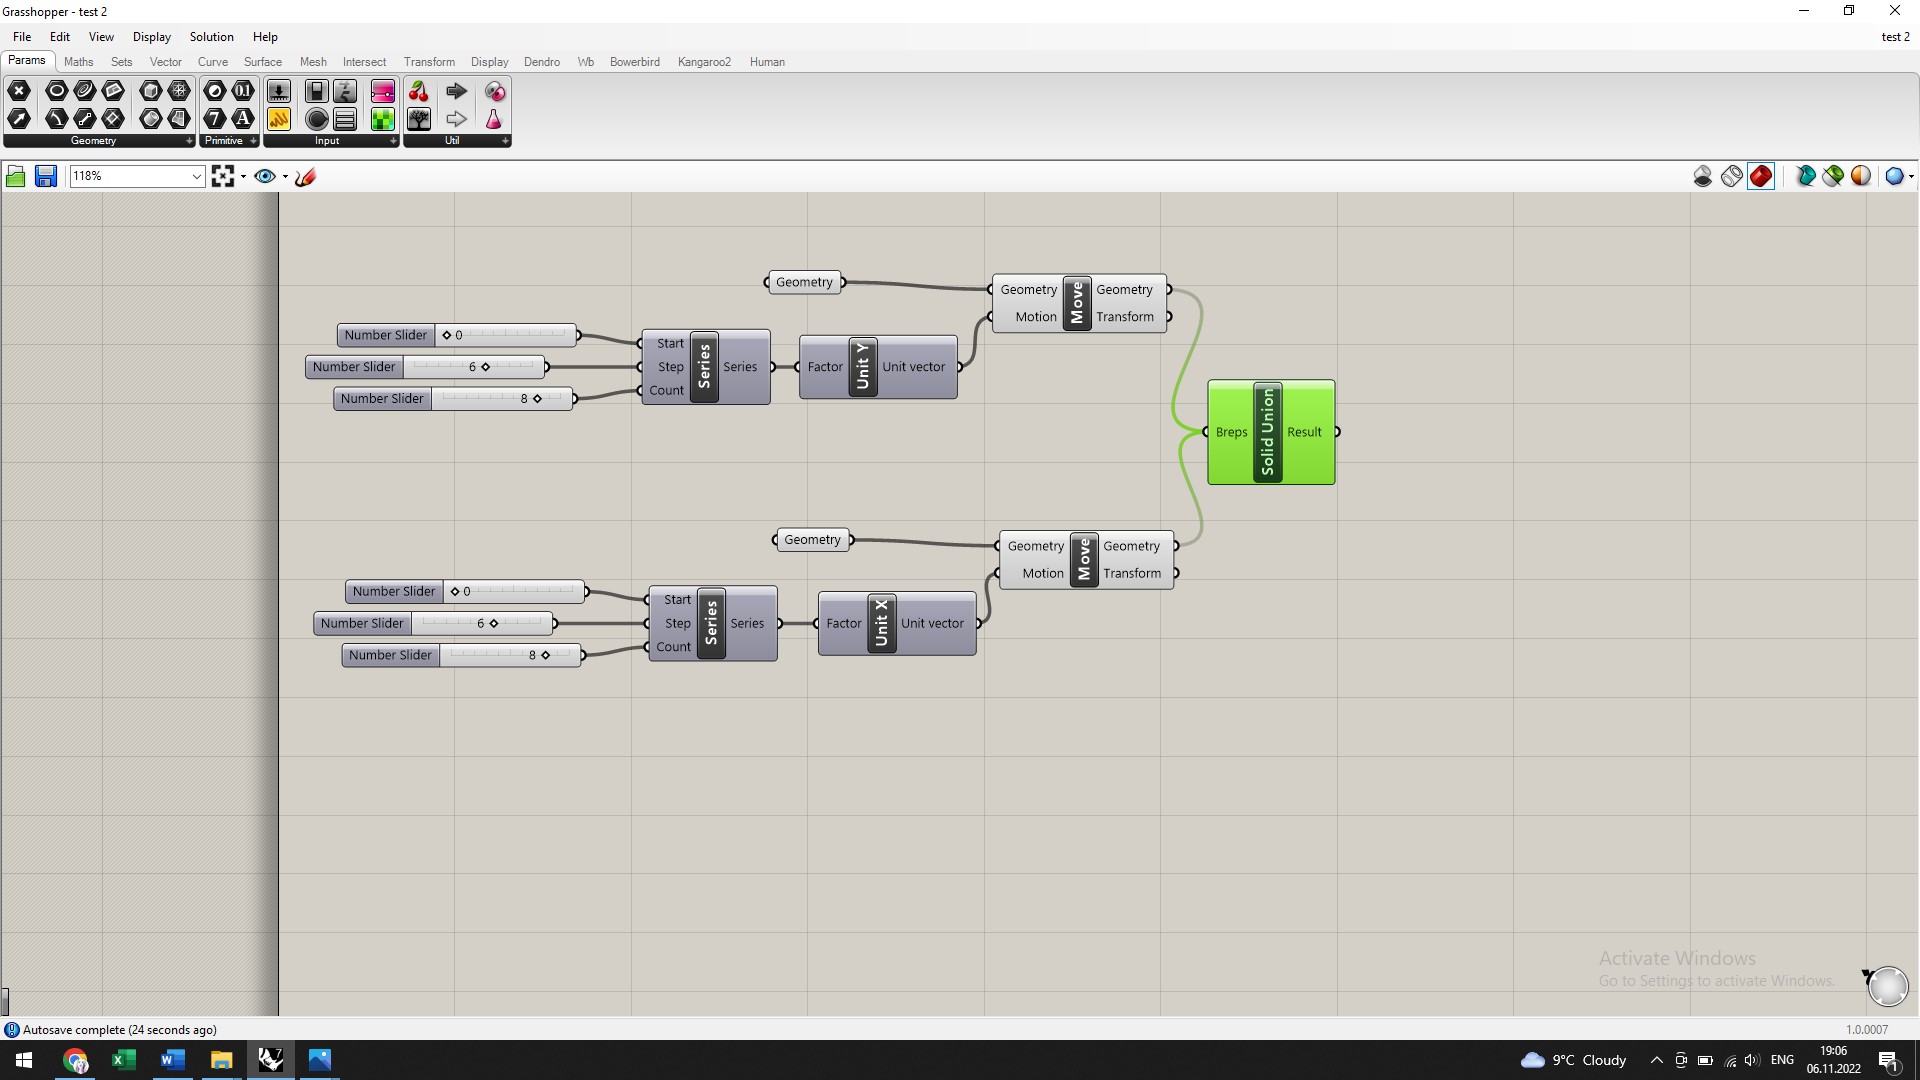
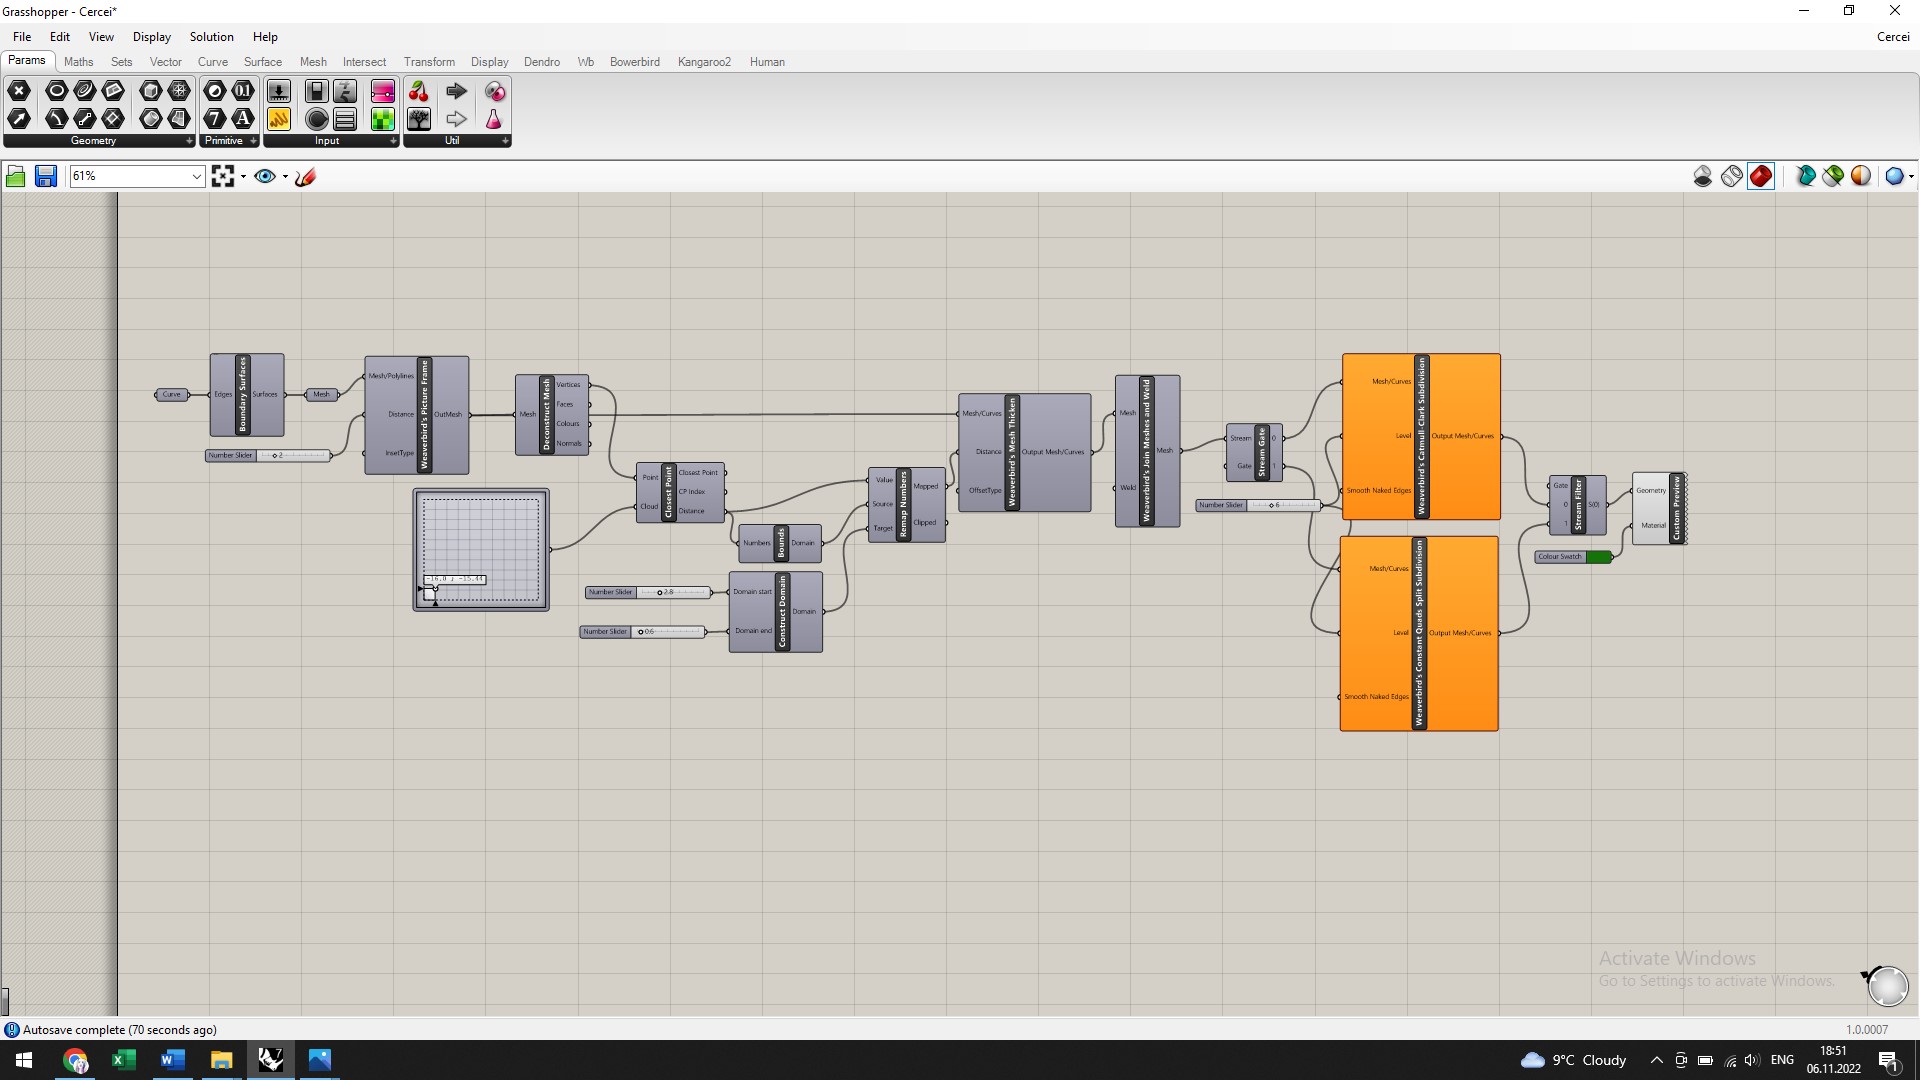
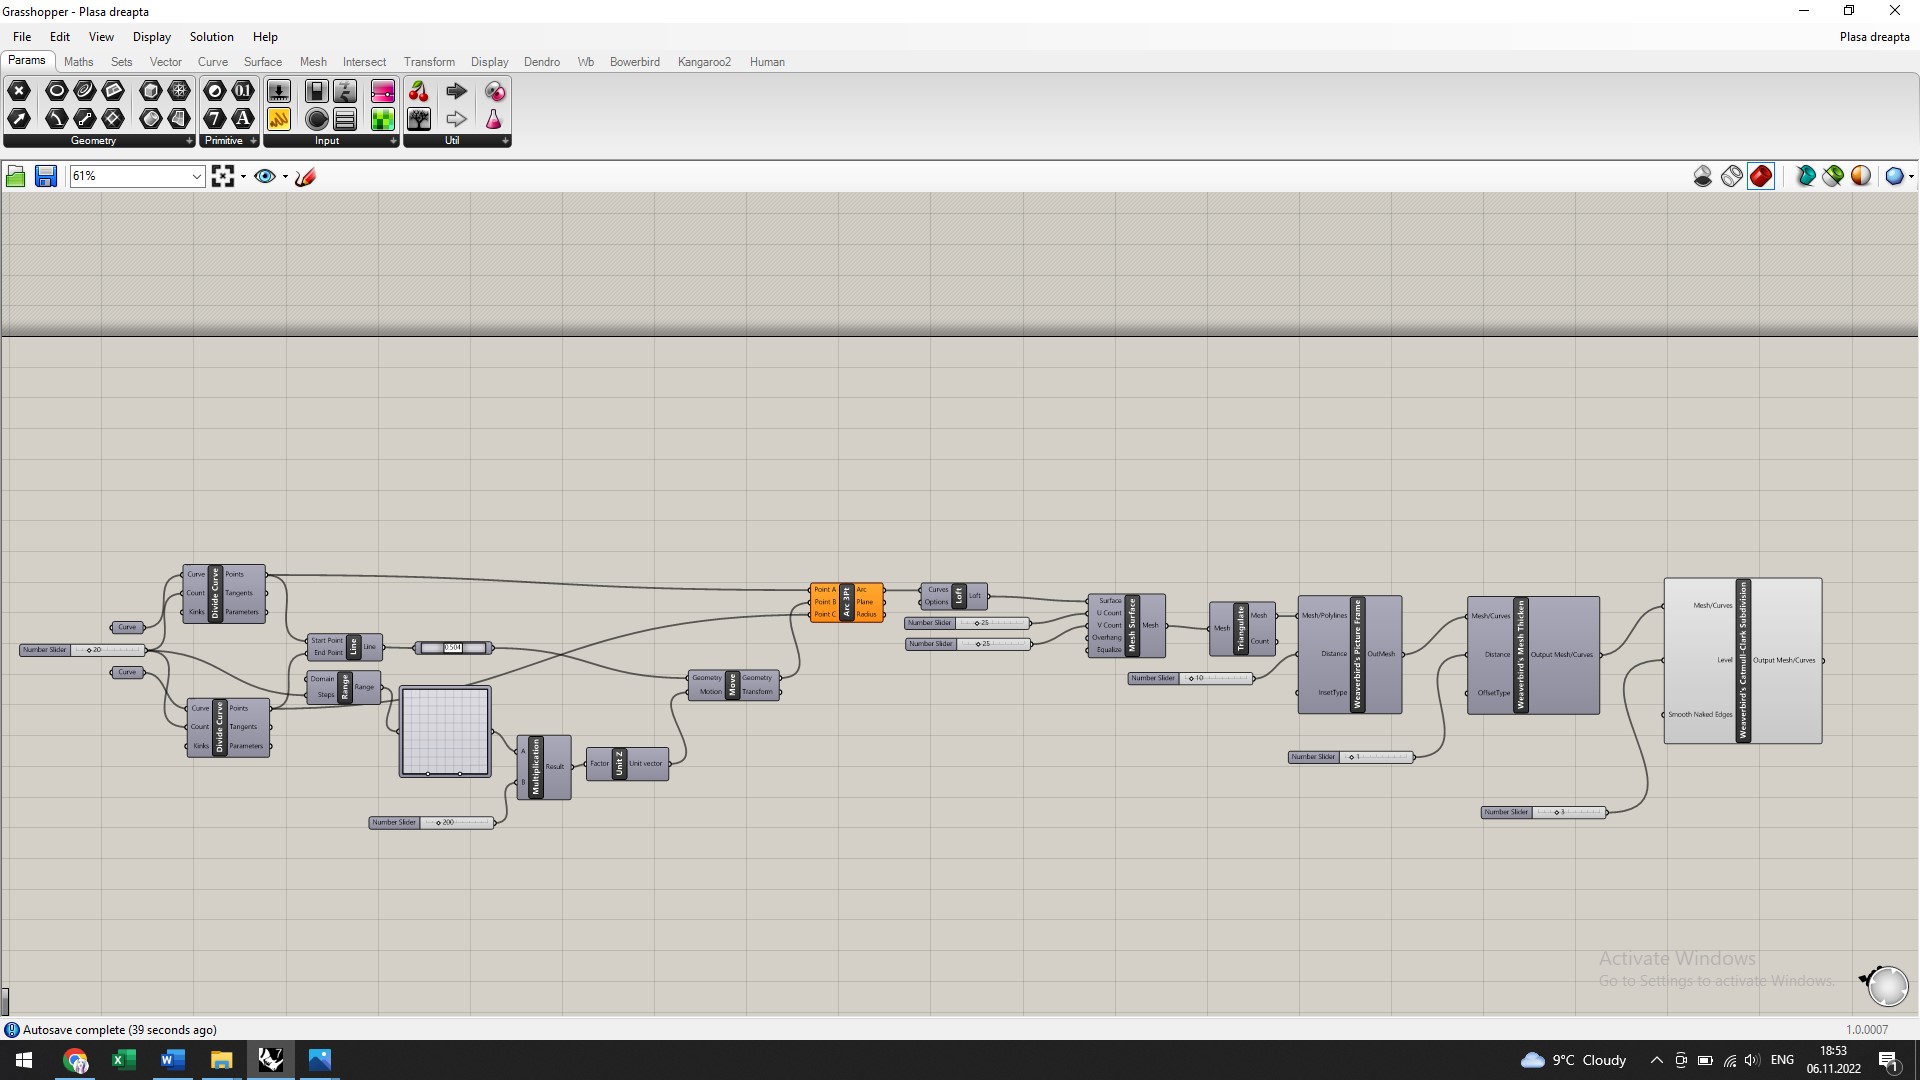
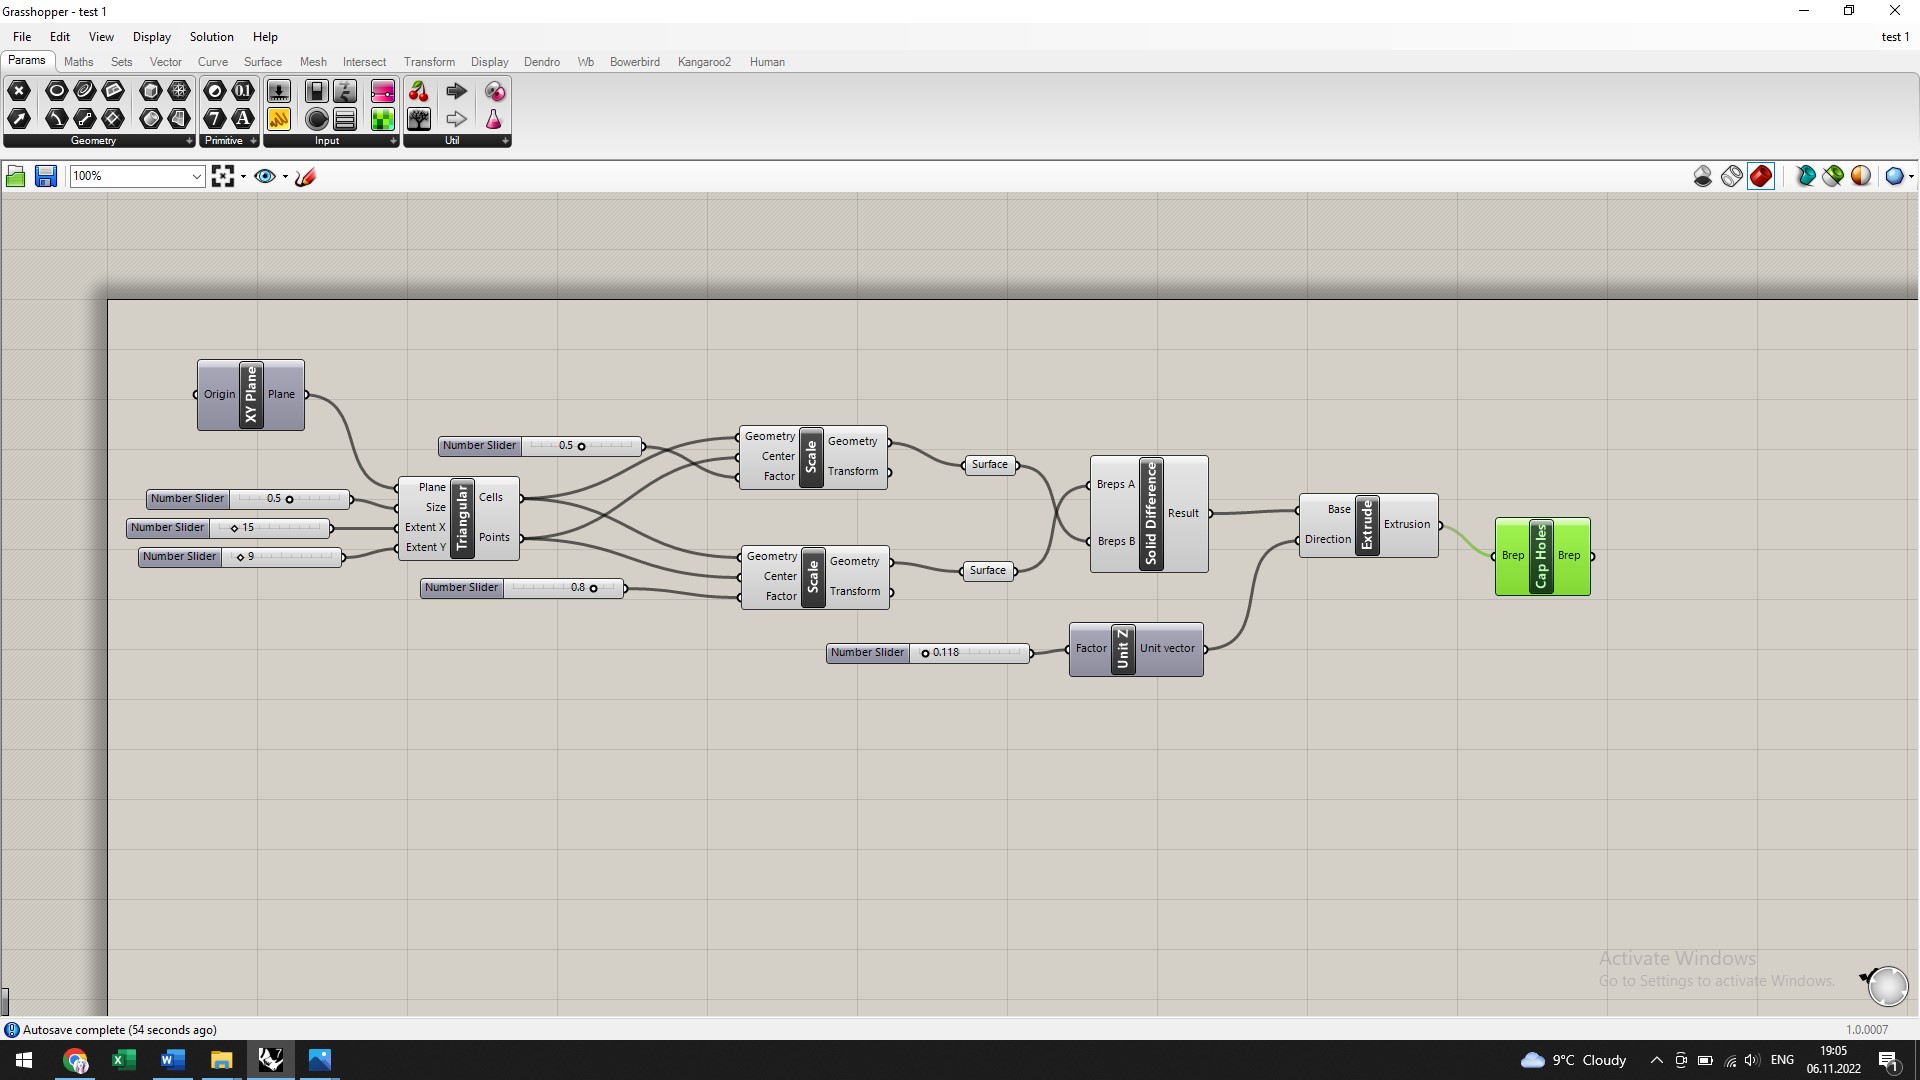
Below you can see how the sliders work for the designs in grasshopper
After this, the Stl files were imported to Ultimaker Cura, where we prepare our 3D model for printing by simply choosing the speed, the height. We can make some changes to the proportion of the printed design and set the quality settings. Now we can start printing, after saving the file again on the printers flash.
Experiments 3D print
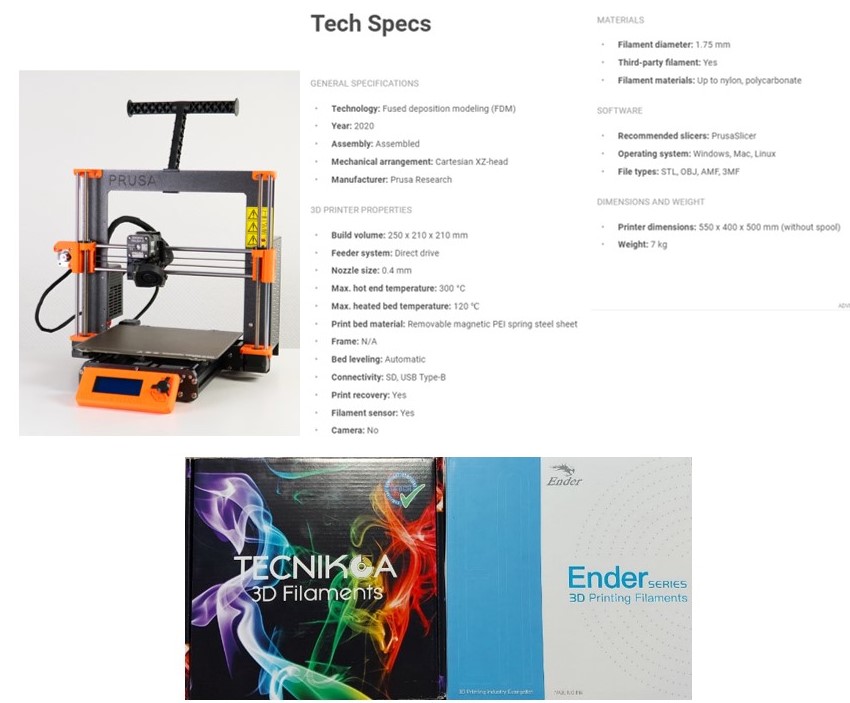
The printing step was a tricky one because I didn't have much experience using a 3D printer. With our local instructor from the Fablab, we got to know the 3D printer. The 3D printer is of the Prusa i3 mk3 s type. Cafilament uses 1.75mm TPU and PLA wire. The features are shown below.
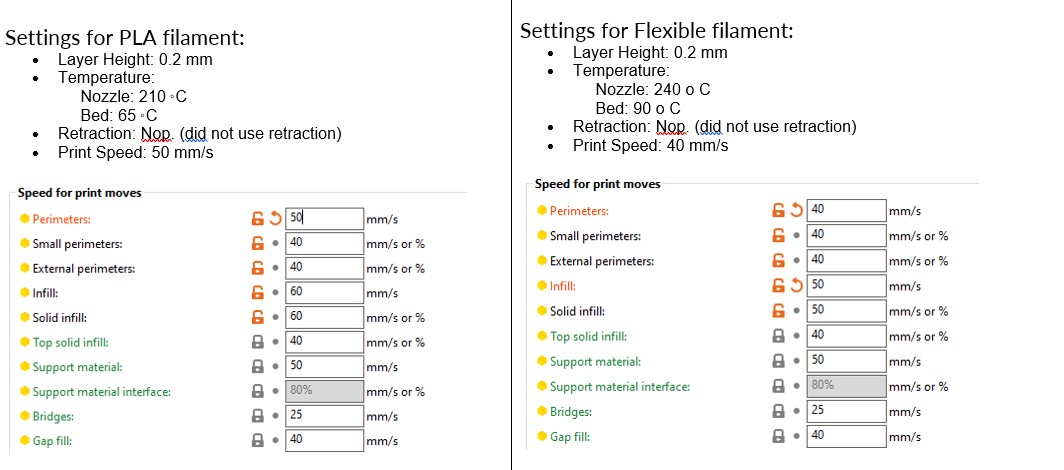
The main parameters were set according to the type of material used for printing:
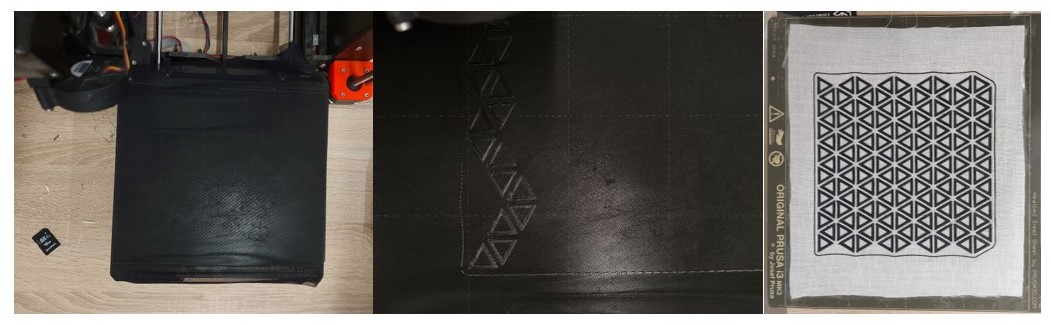
The first printing attempts were made with tests 1 and 2. They were printed simultaneously, then glued on the textile. The first attempt failed because of the incorrect height placed for printing. The second print was successful.

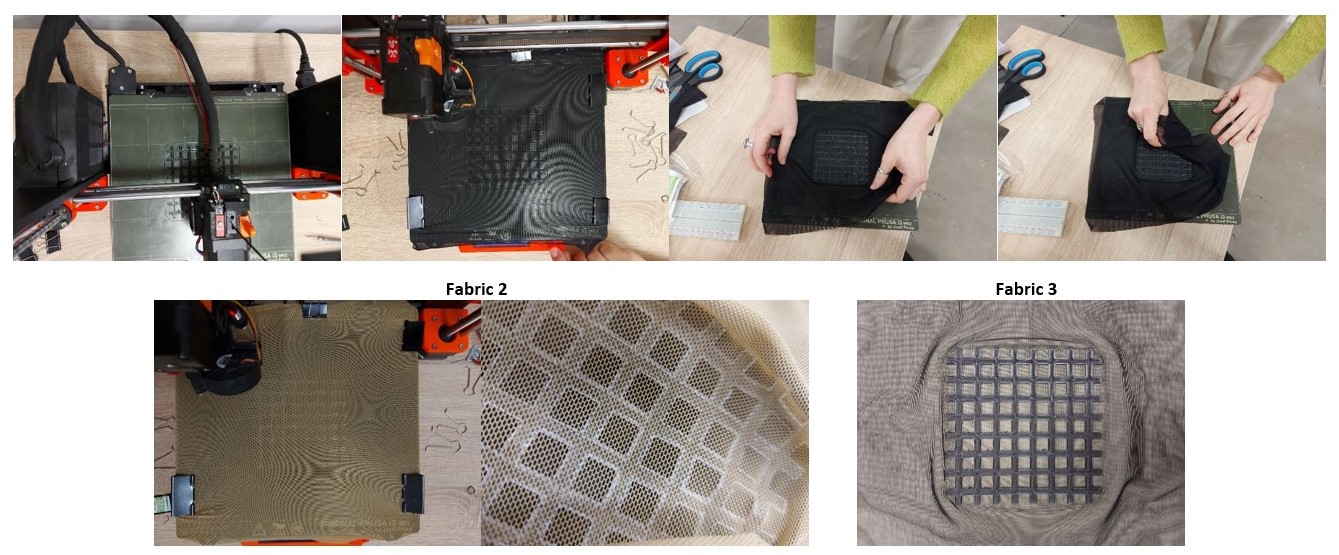
The 3D printing of test number 3 and 4 were performed on an elastic and non-elastic fabric. I experimented with the 3d printing mode. On the non-elastic one, it was printed above the fabric. But in the same way, I obtained a not very durable assembly. On the elastic fabric I used al mod. I printed a layer, then placed the fabric, then continued printing. The last method gave very good results.
Individual tries
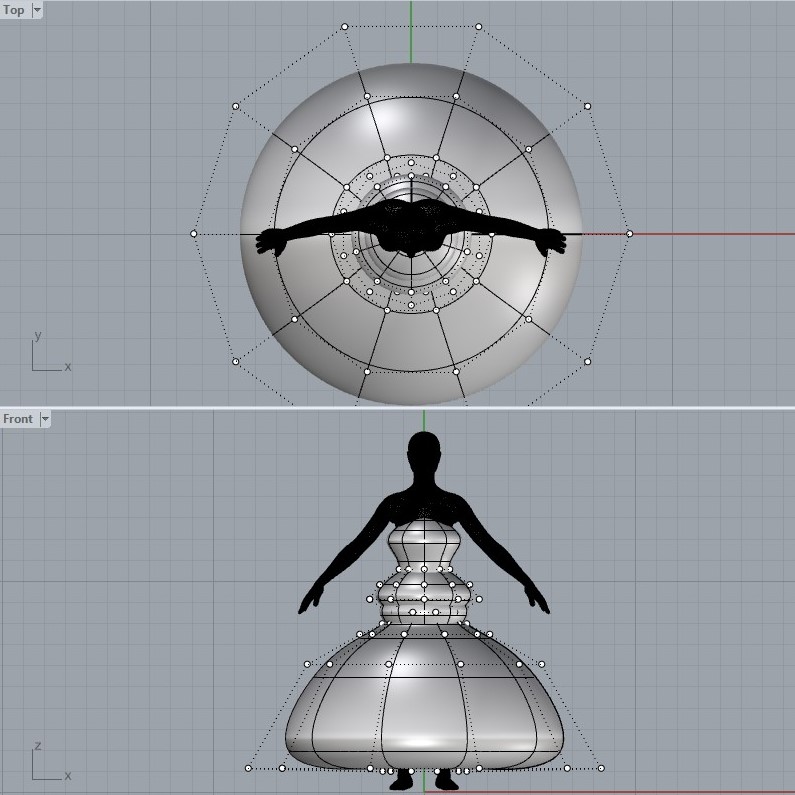
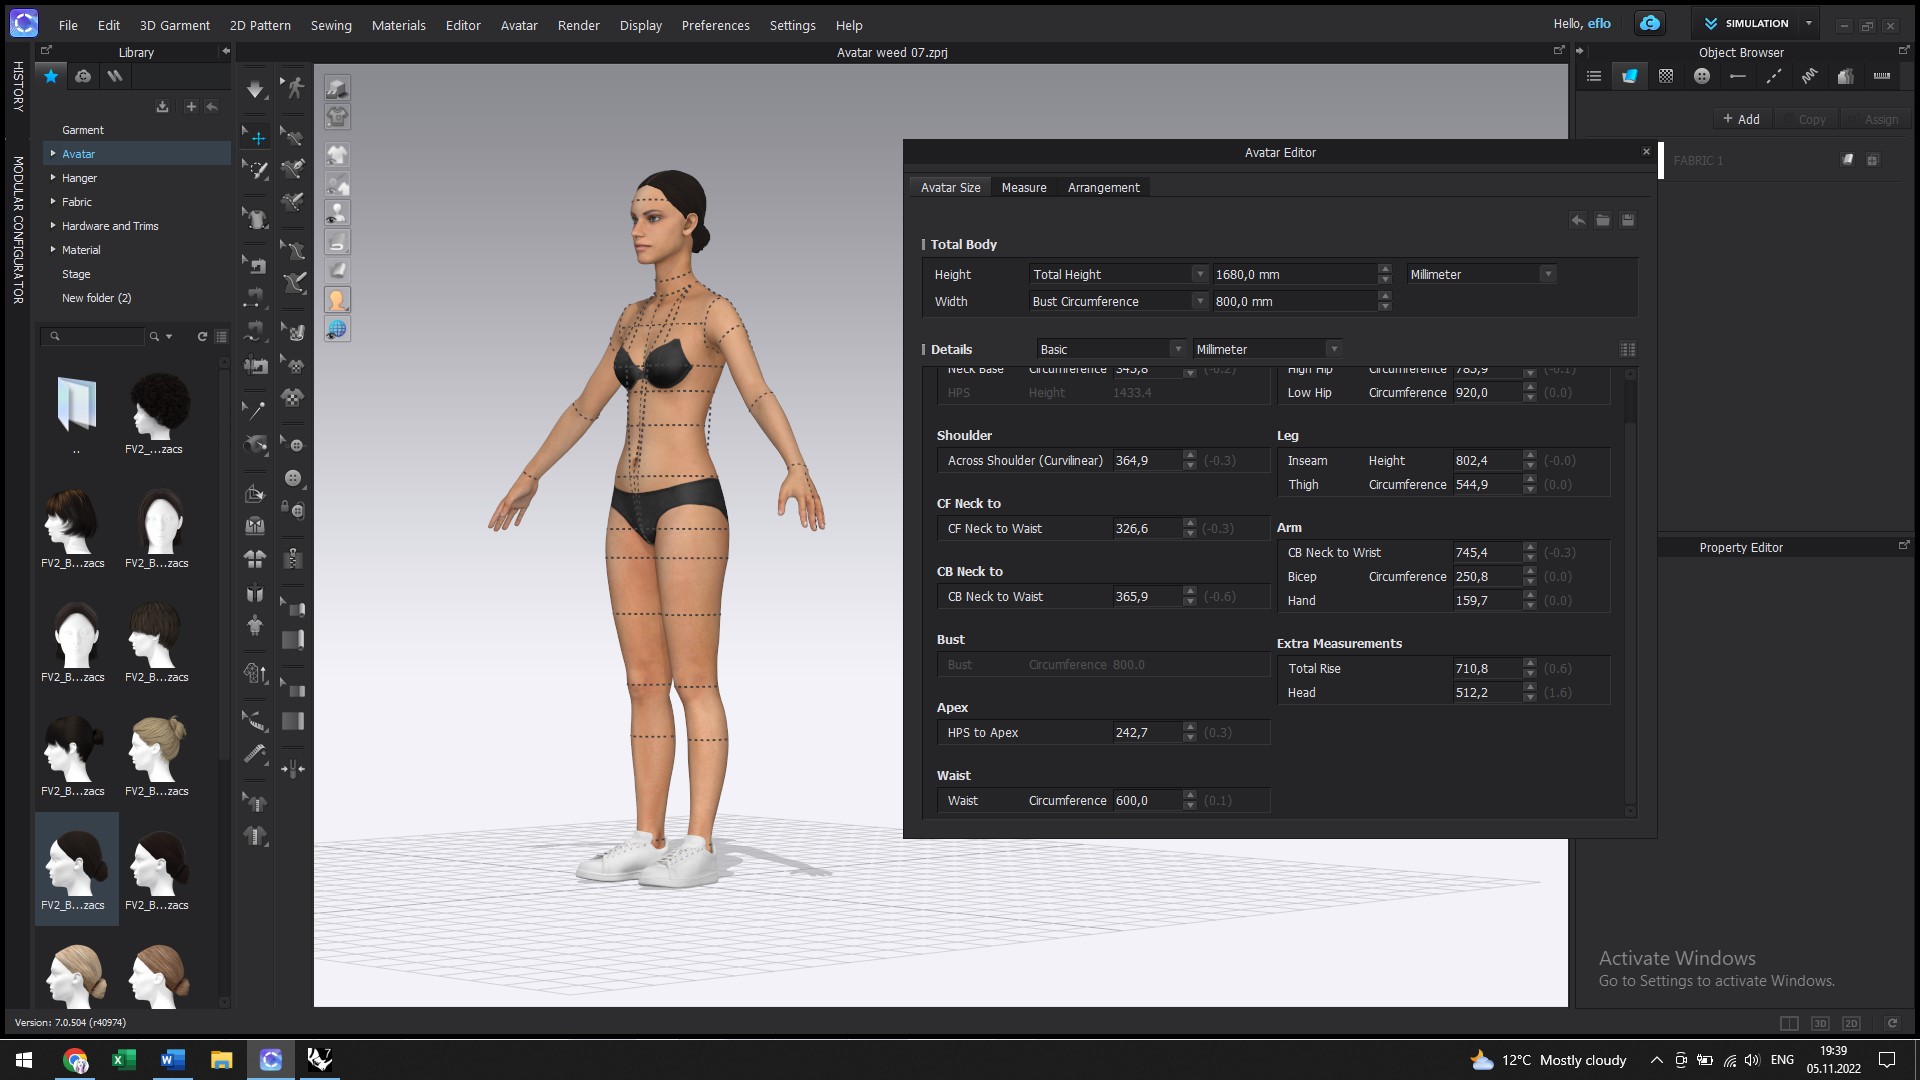
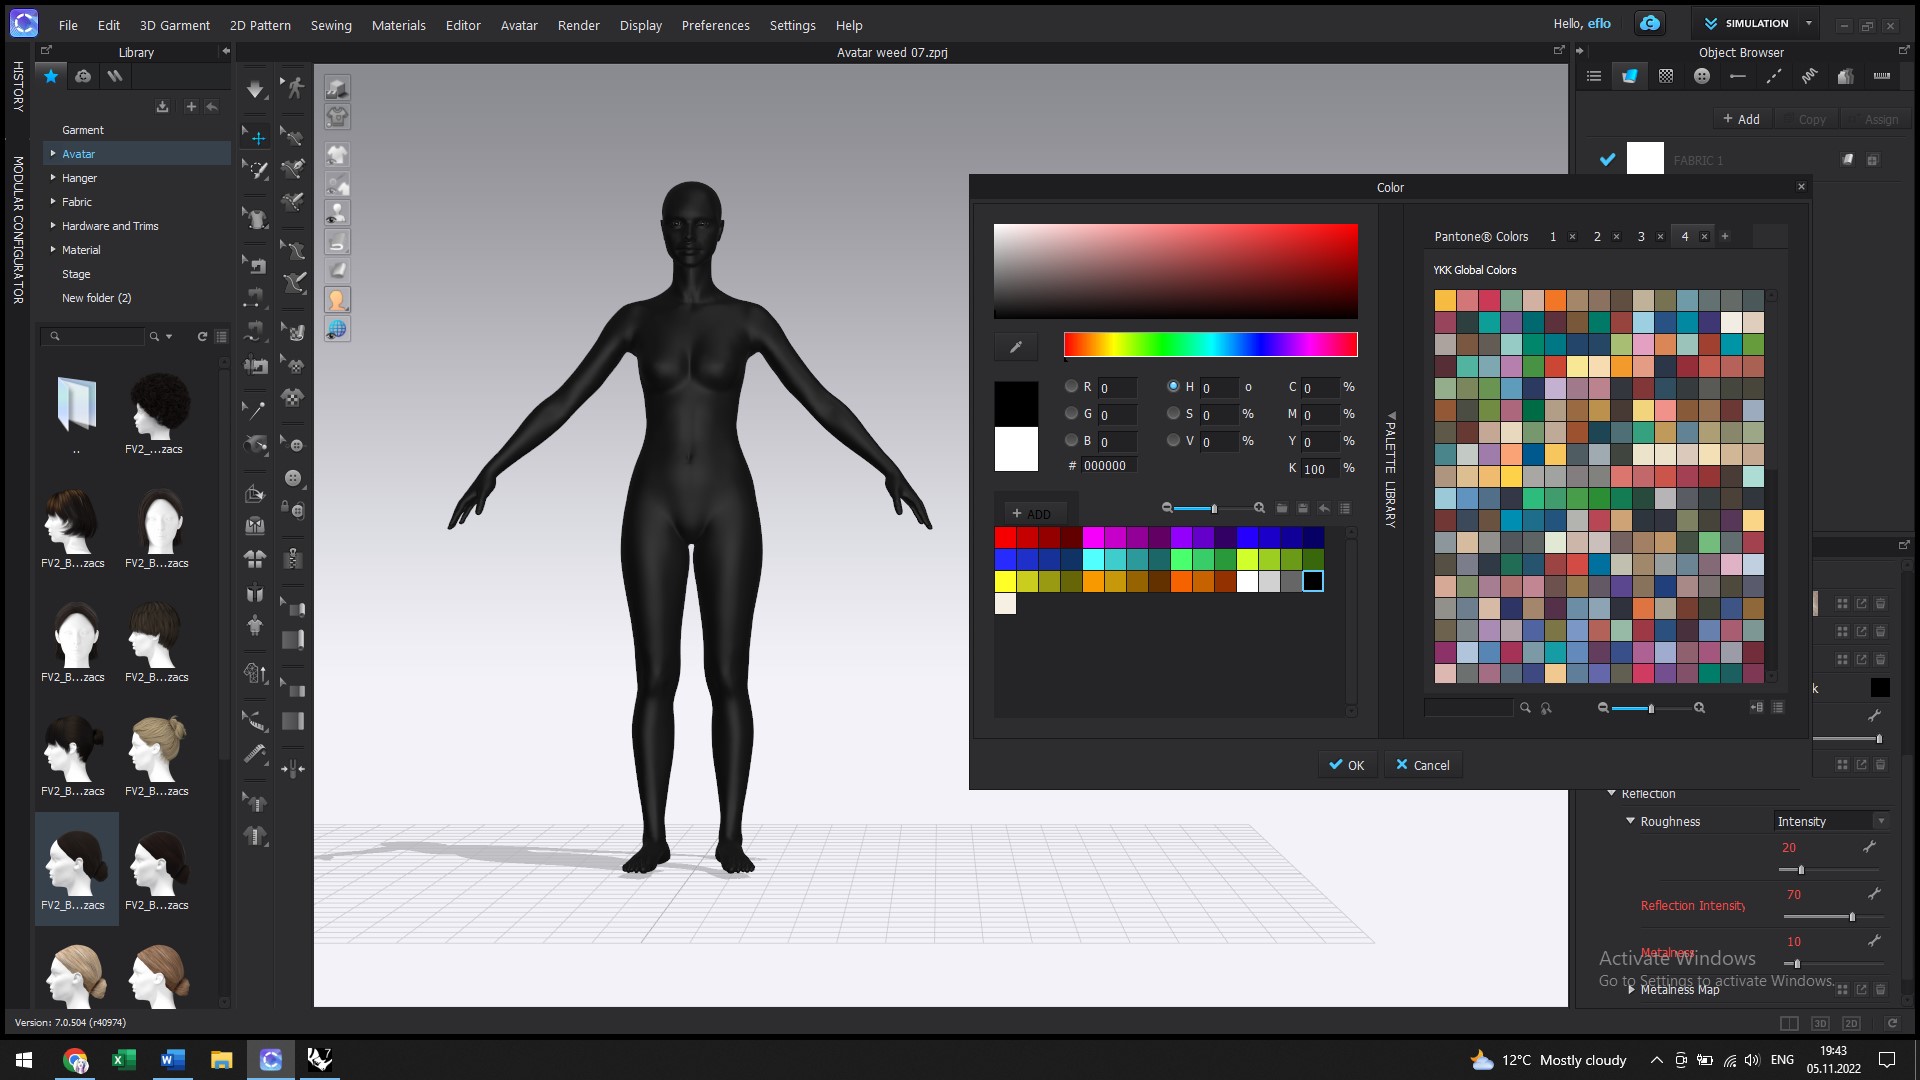
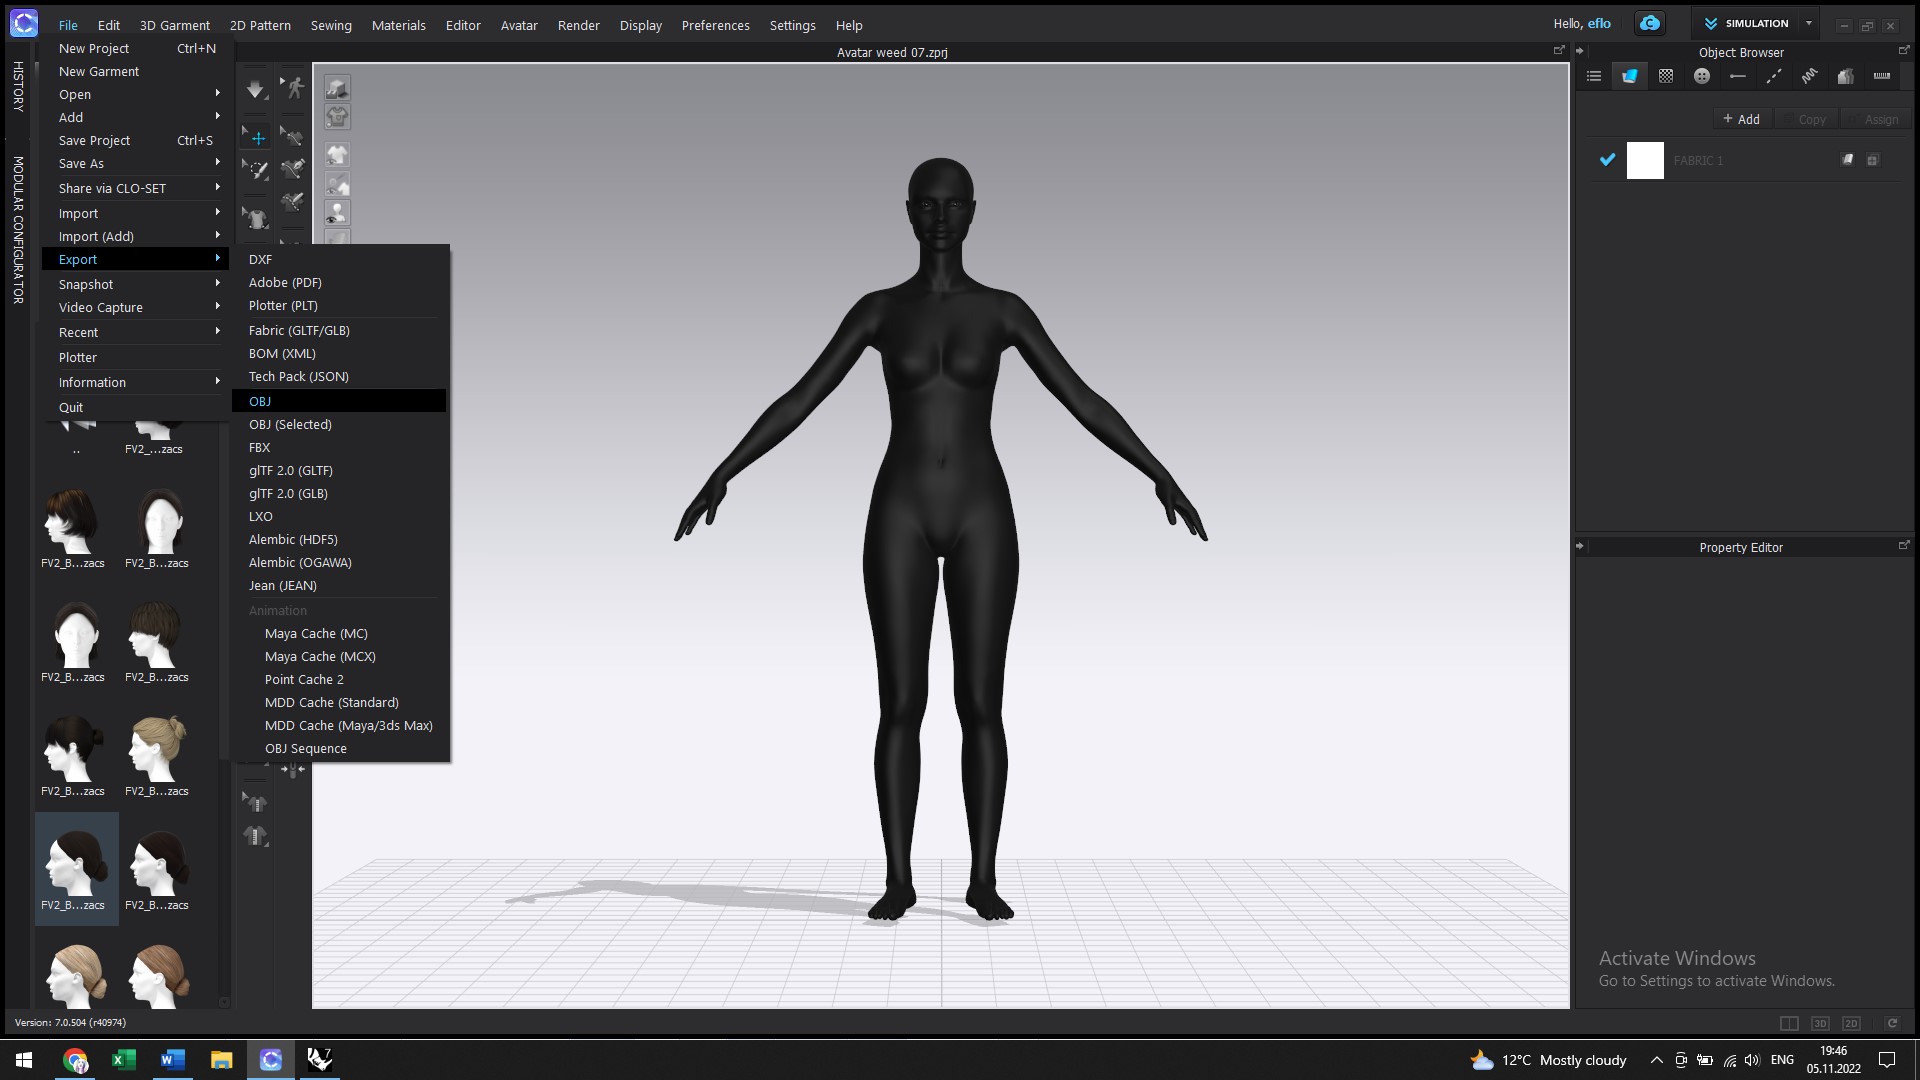
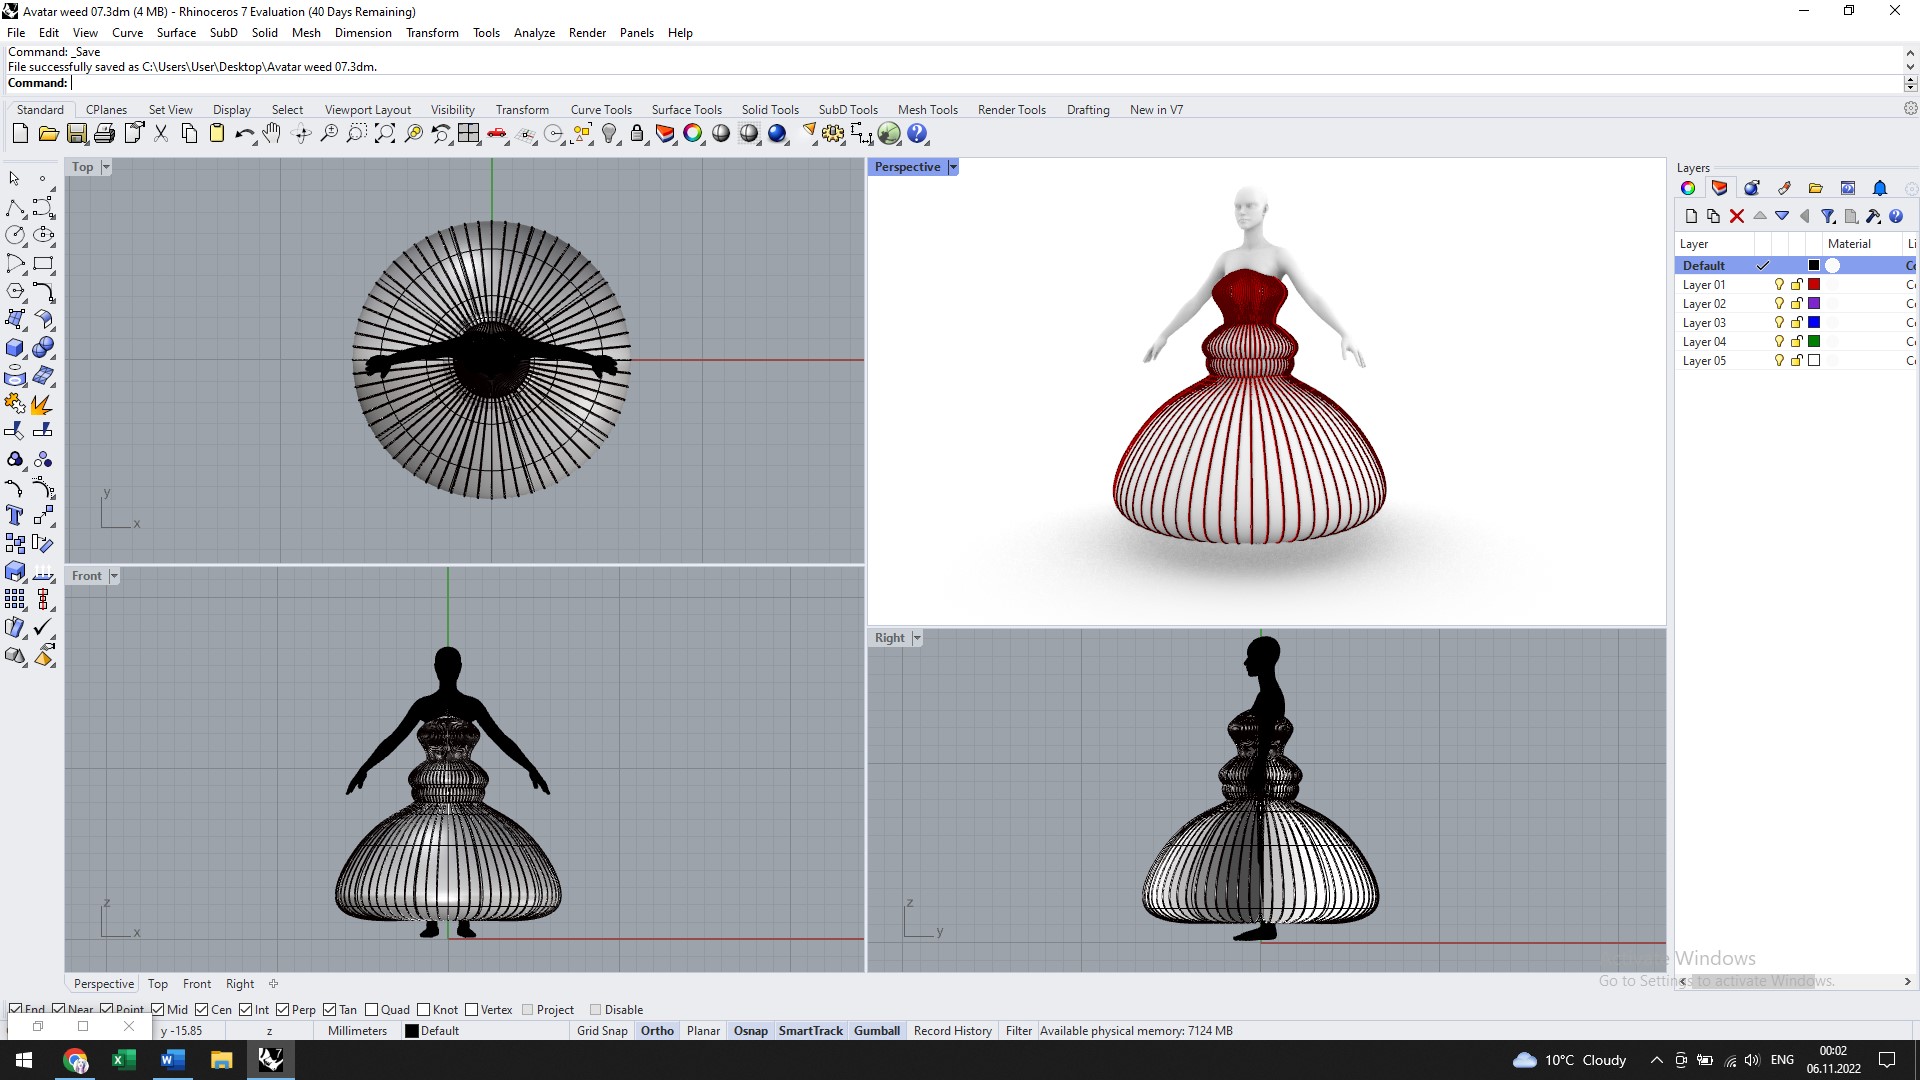
Analyzing several tutorials from various platforms, I tried to create a dress using Grasshopper mode. Initially, I selected an avatar from CLO3D. The avatar's dimensions and color were changed, and its shoes and hair were deleted. Then, it was exported in the obj format.

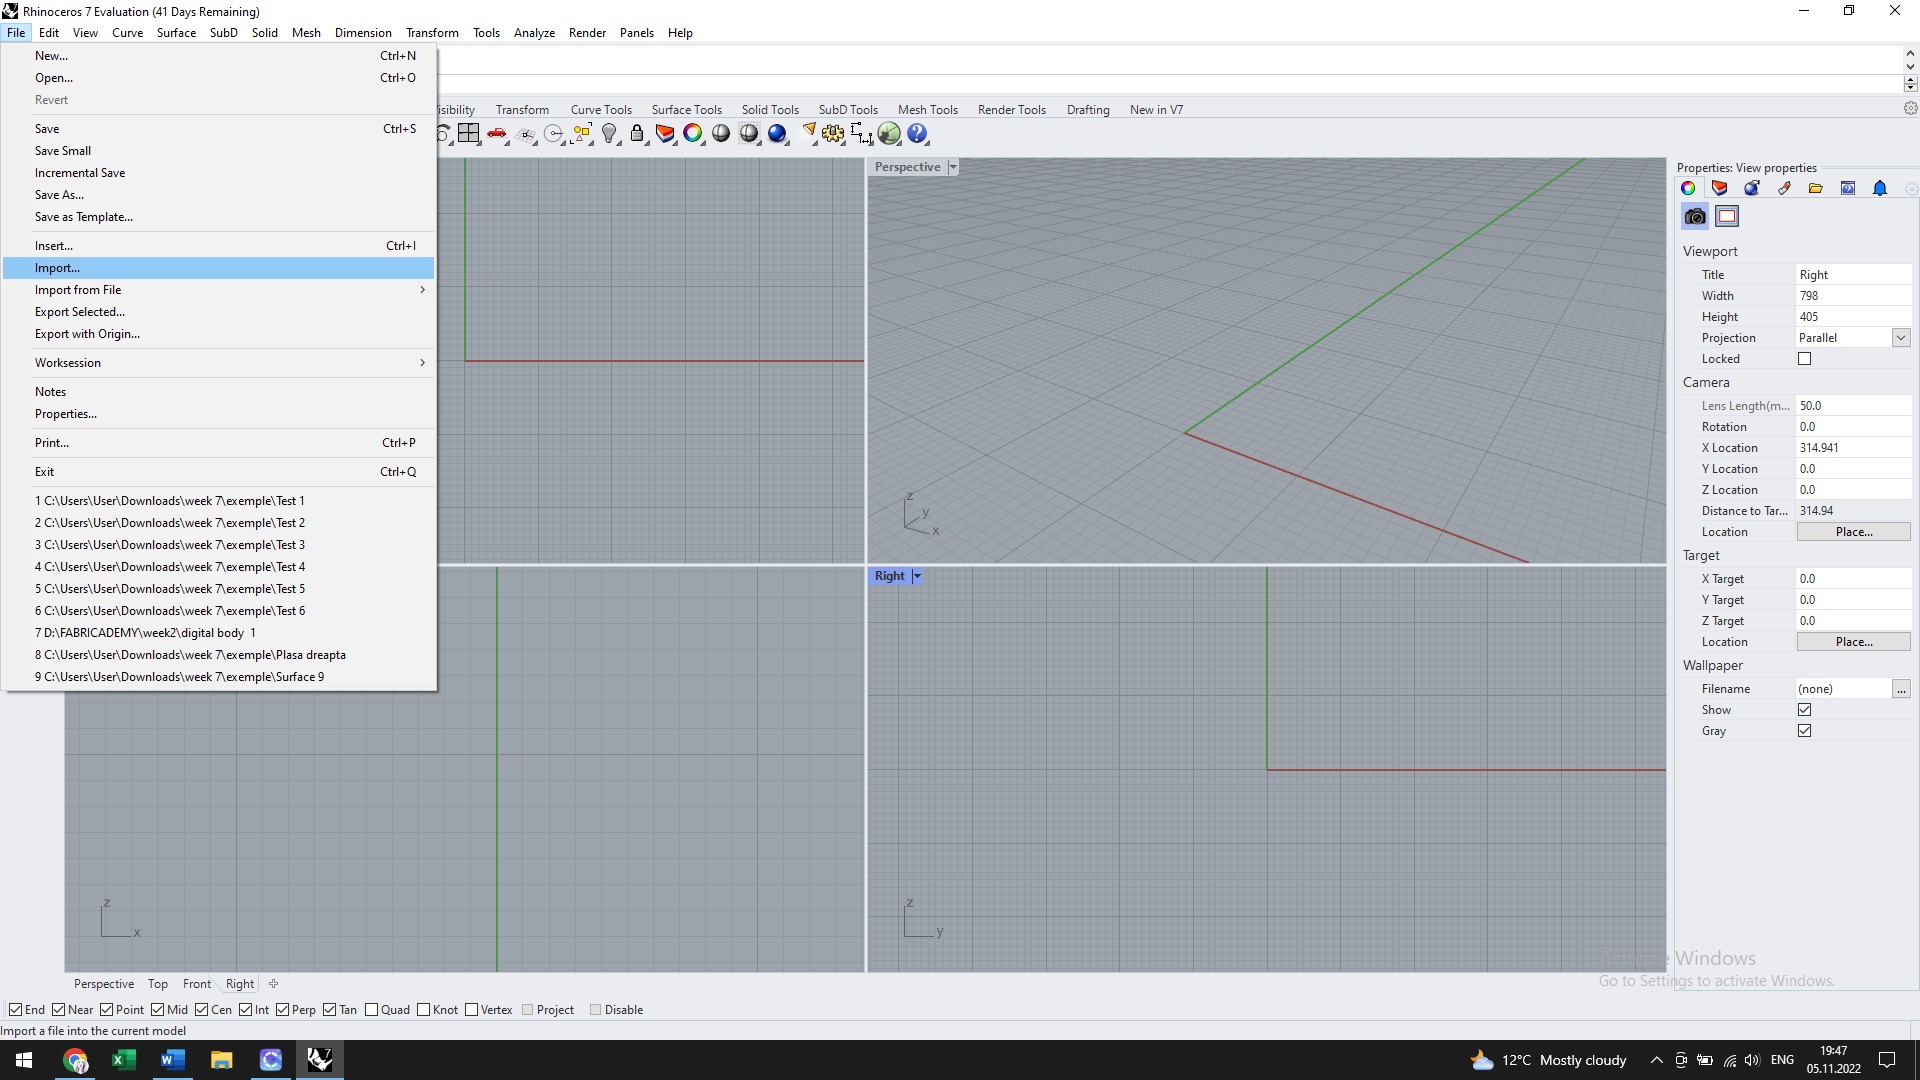
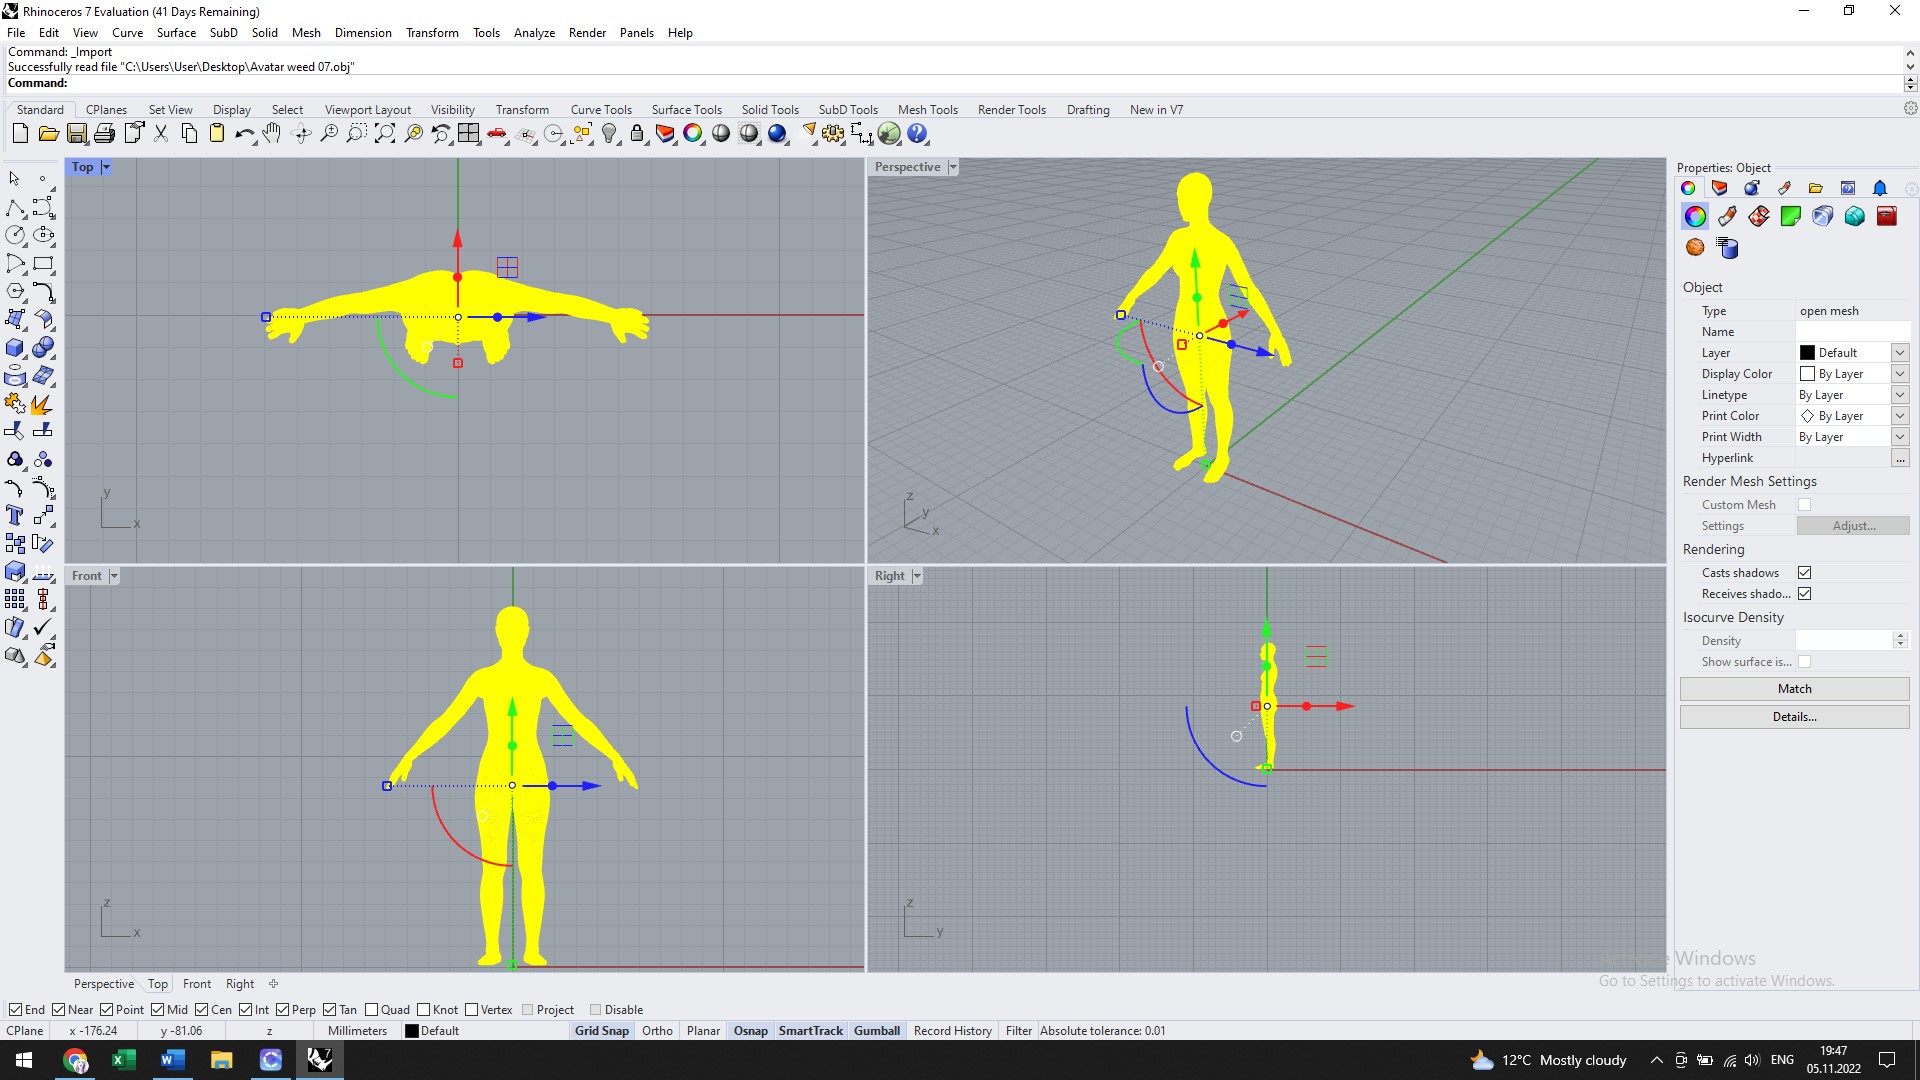
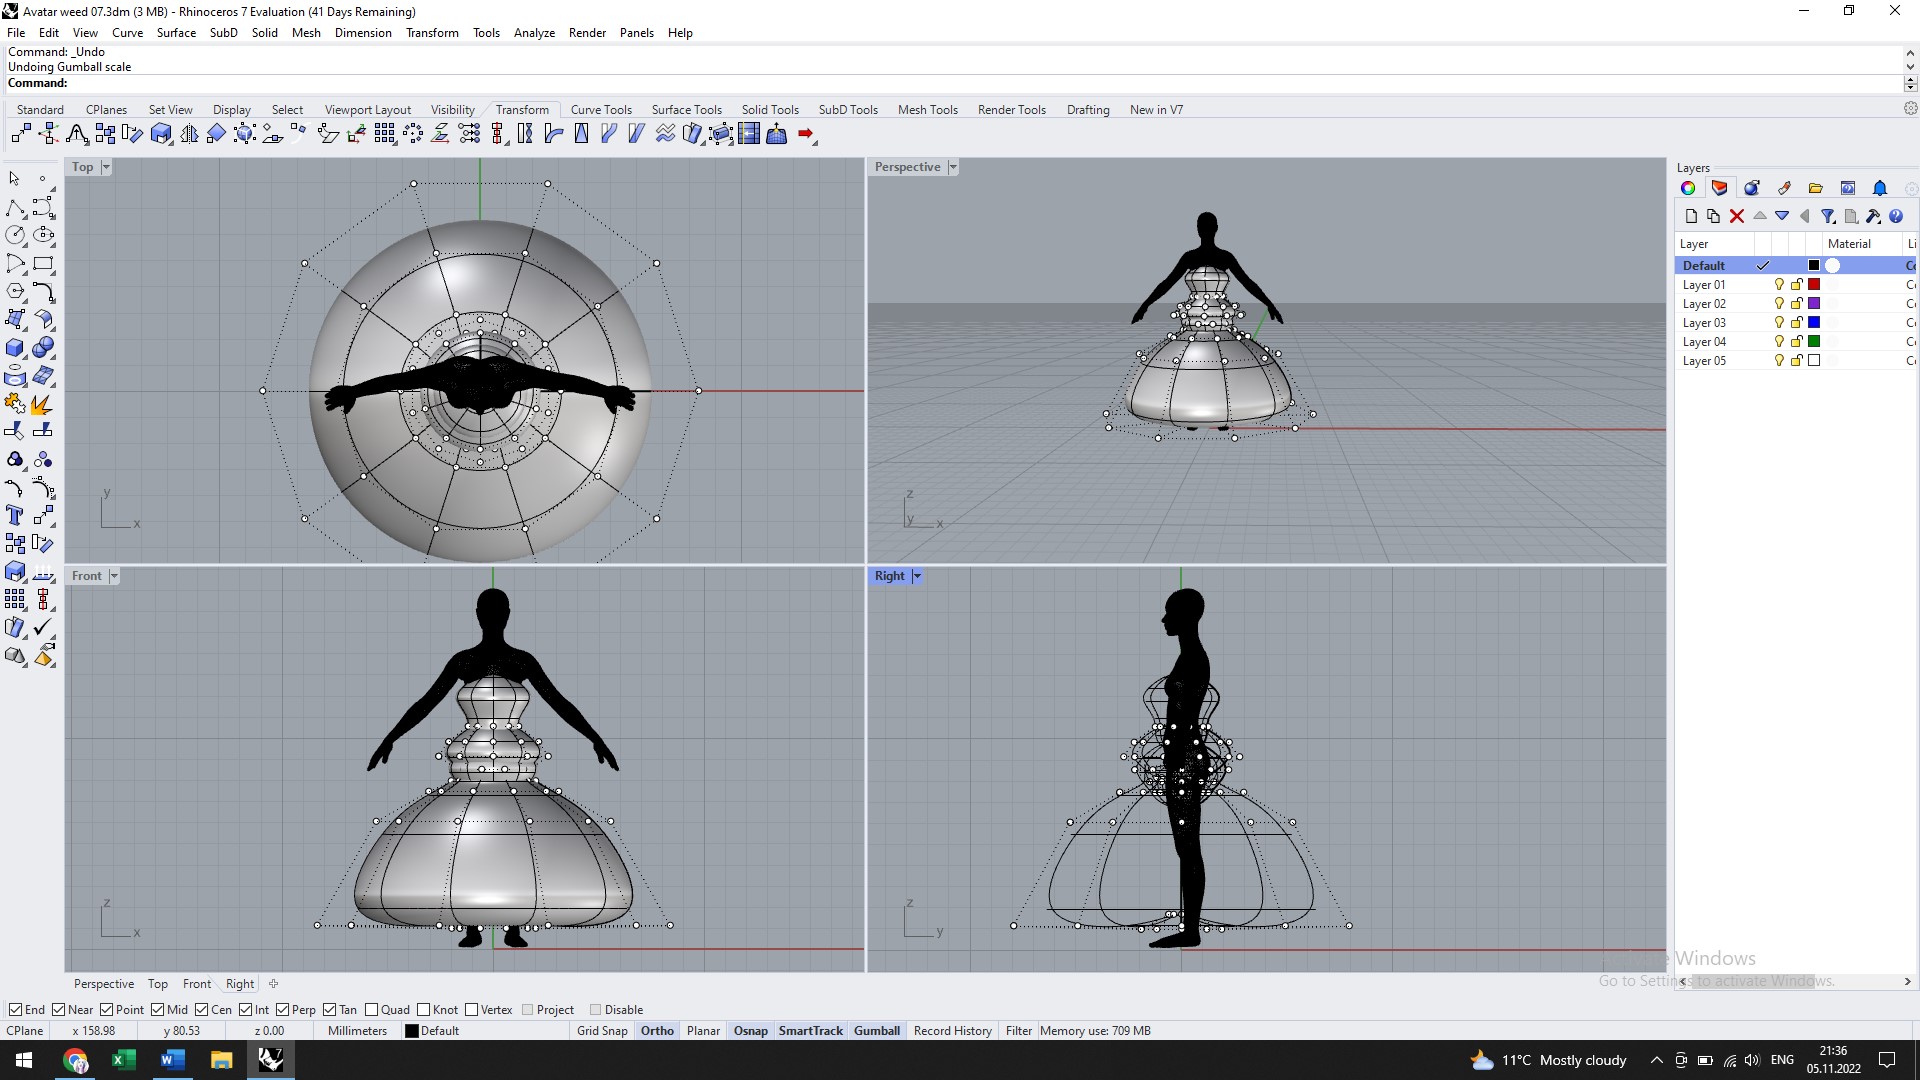
The avatar was imported into Rhino in obj format.
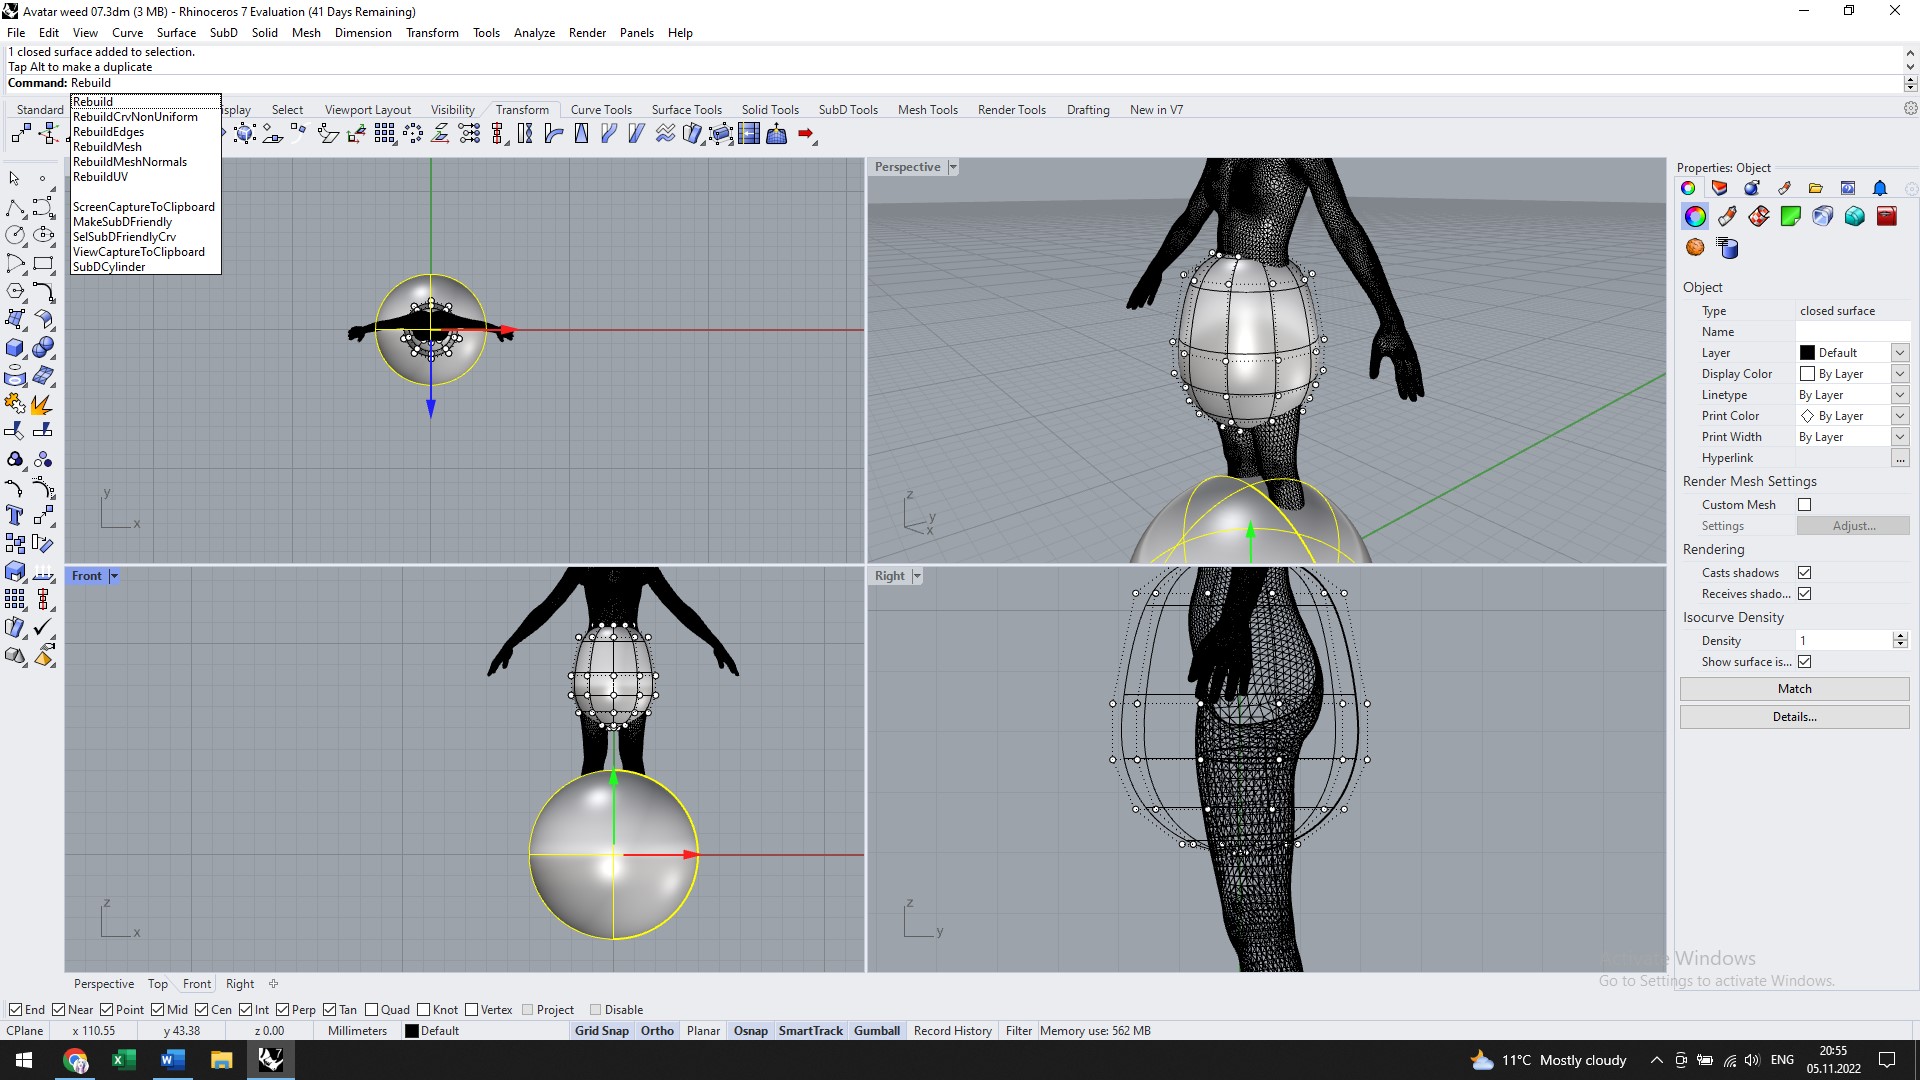
In Rhino, the avatar was dressed in 4 spheres. These spheres were modified volumetrically so as to obtain the spatial shape of the avatar's dress.
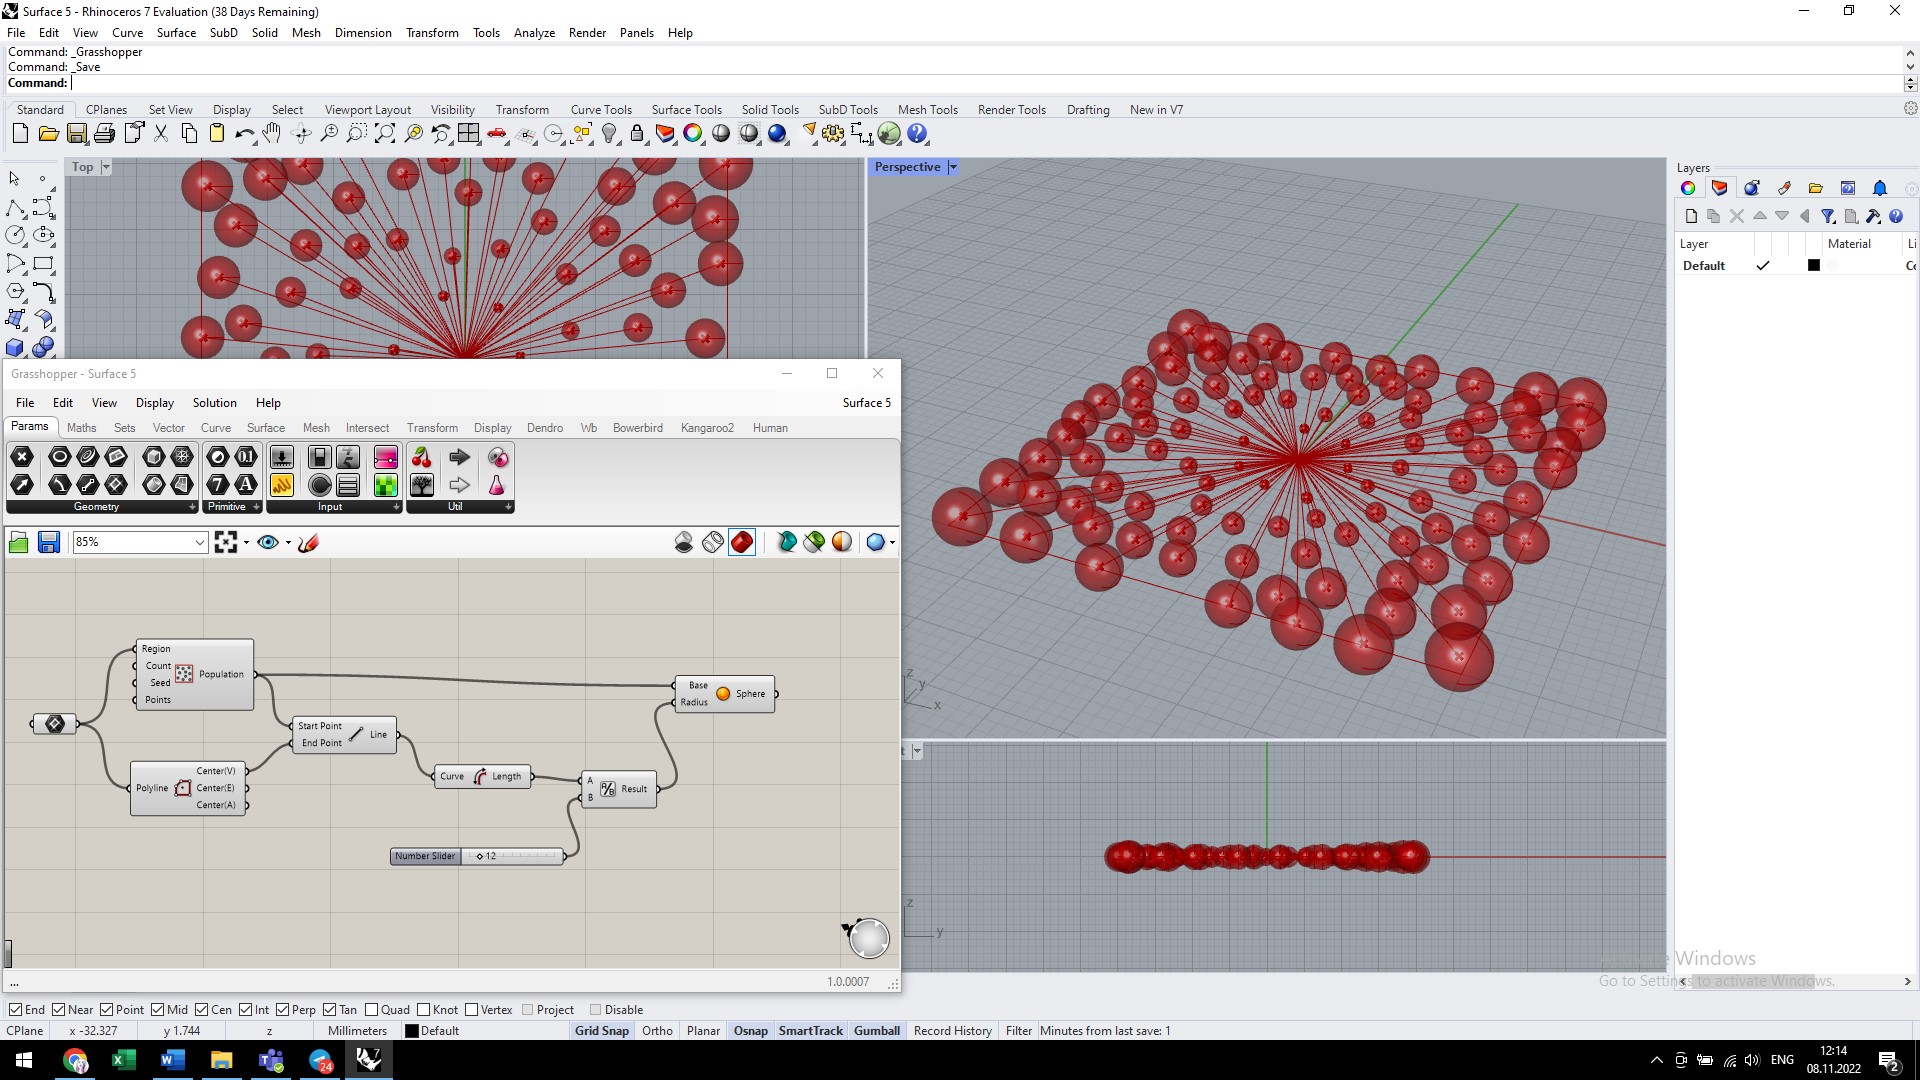
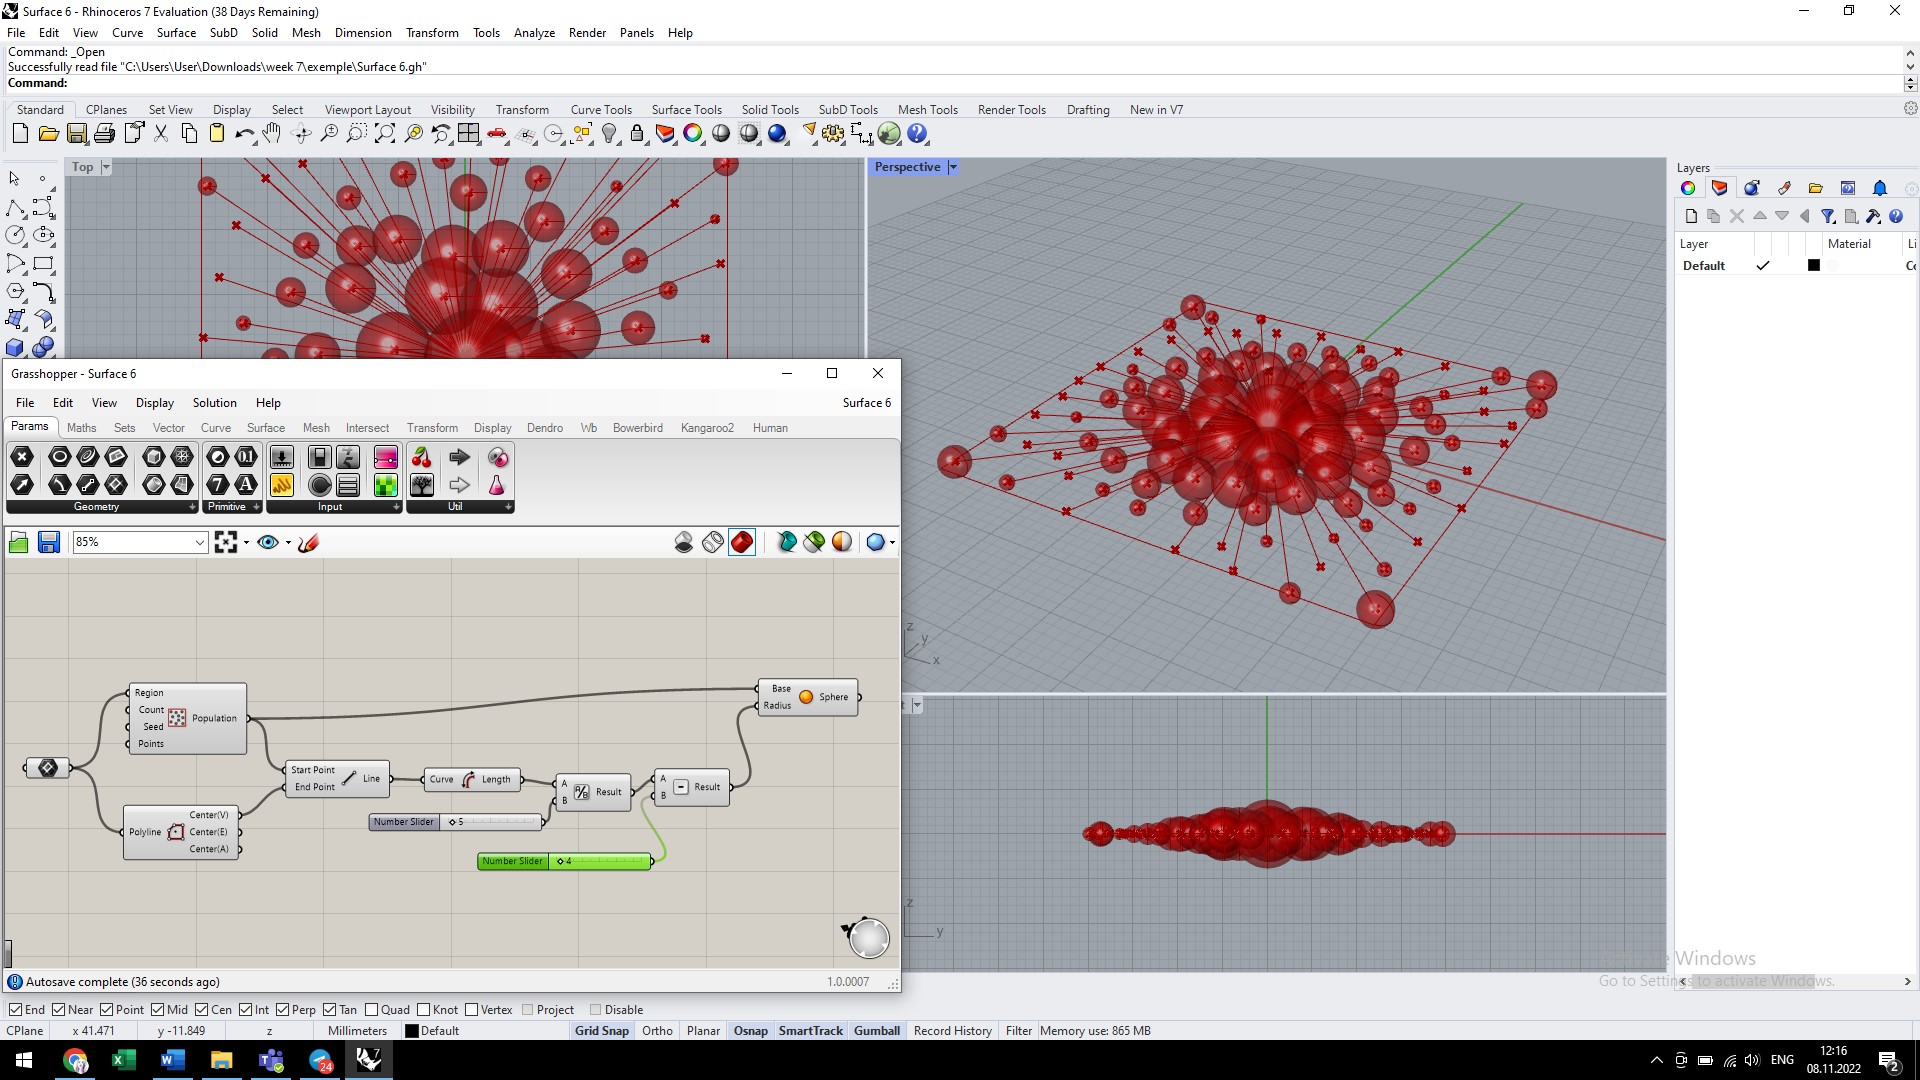
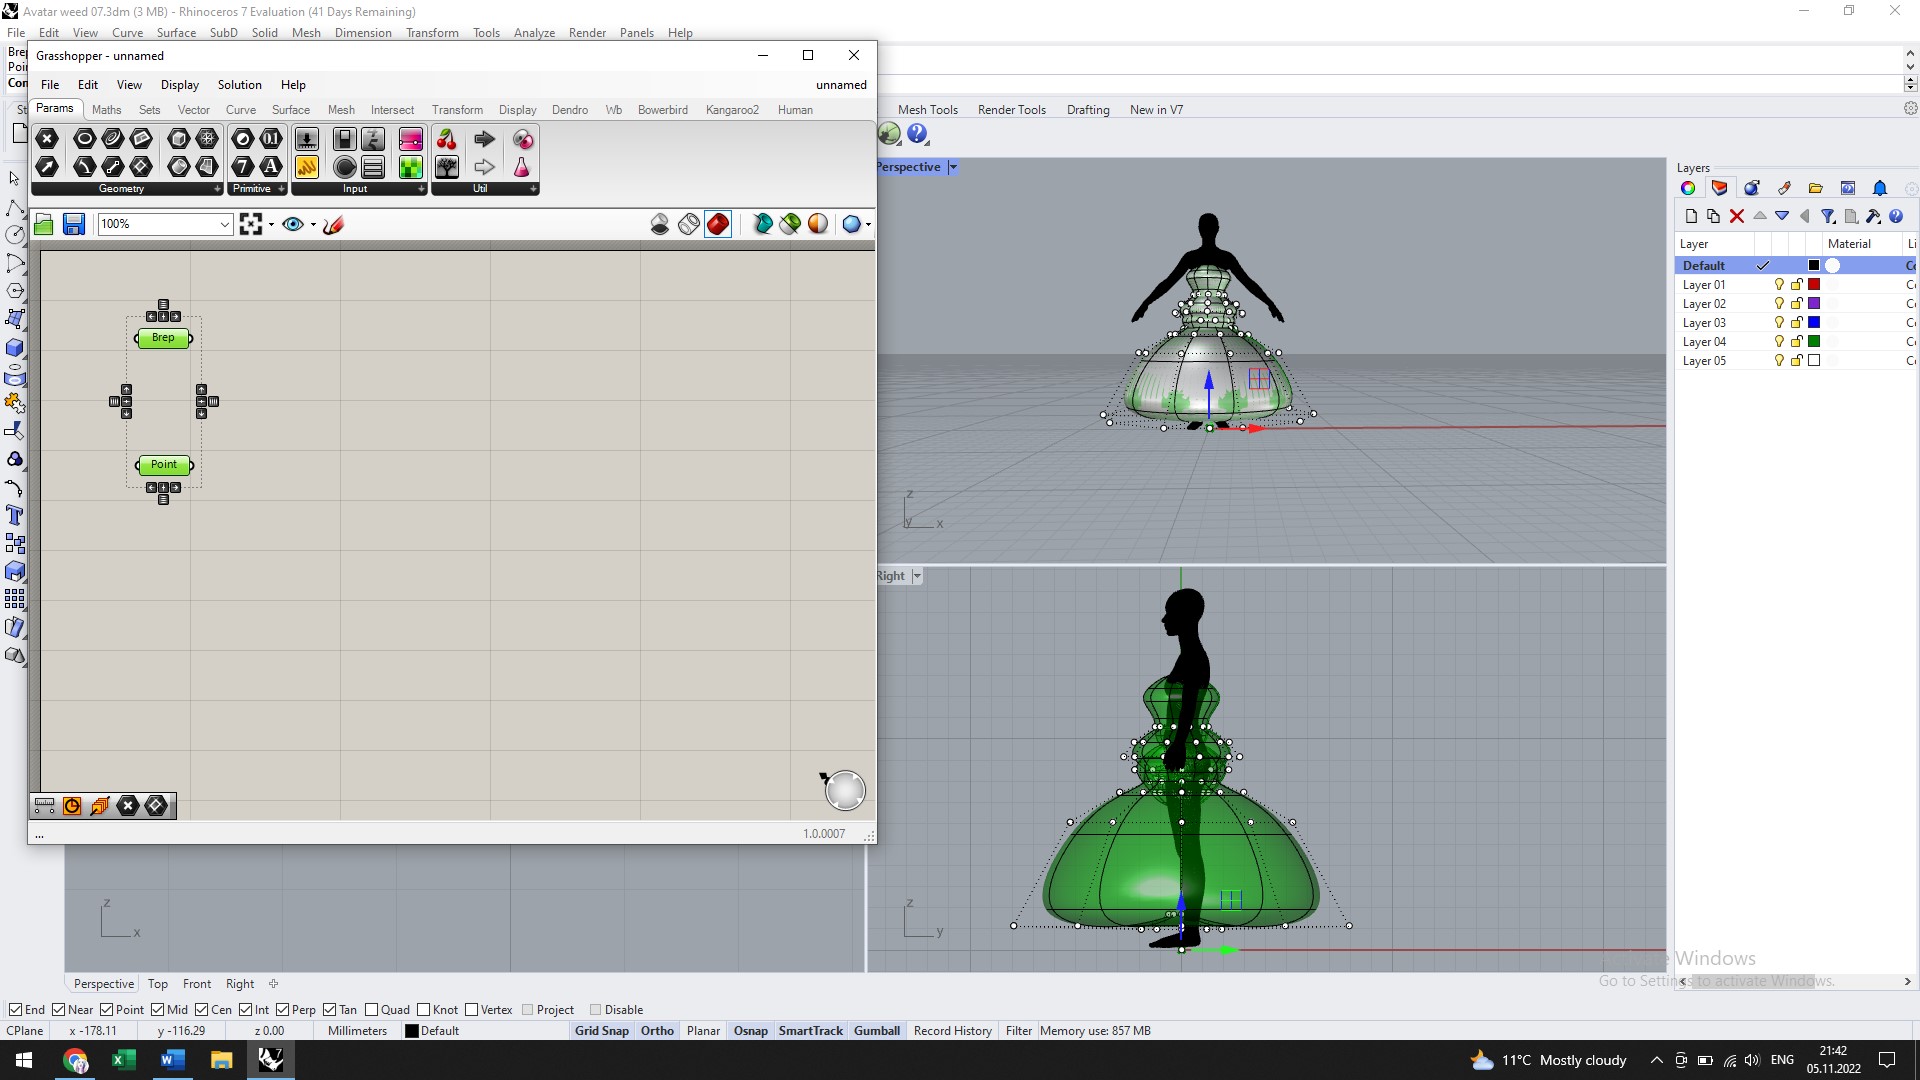
The next stage is working in Grasshopper. Here, the four tips (Brep) and a point of origin (Point) were selected as initial objects. Then a flat surface that intersects the surface of the dress was created.
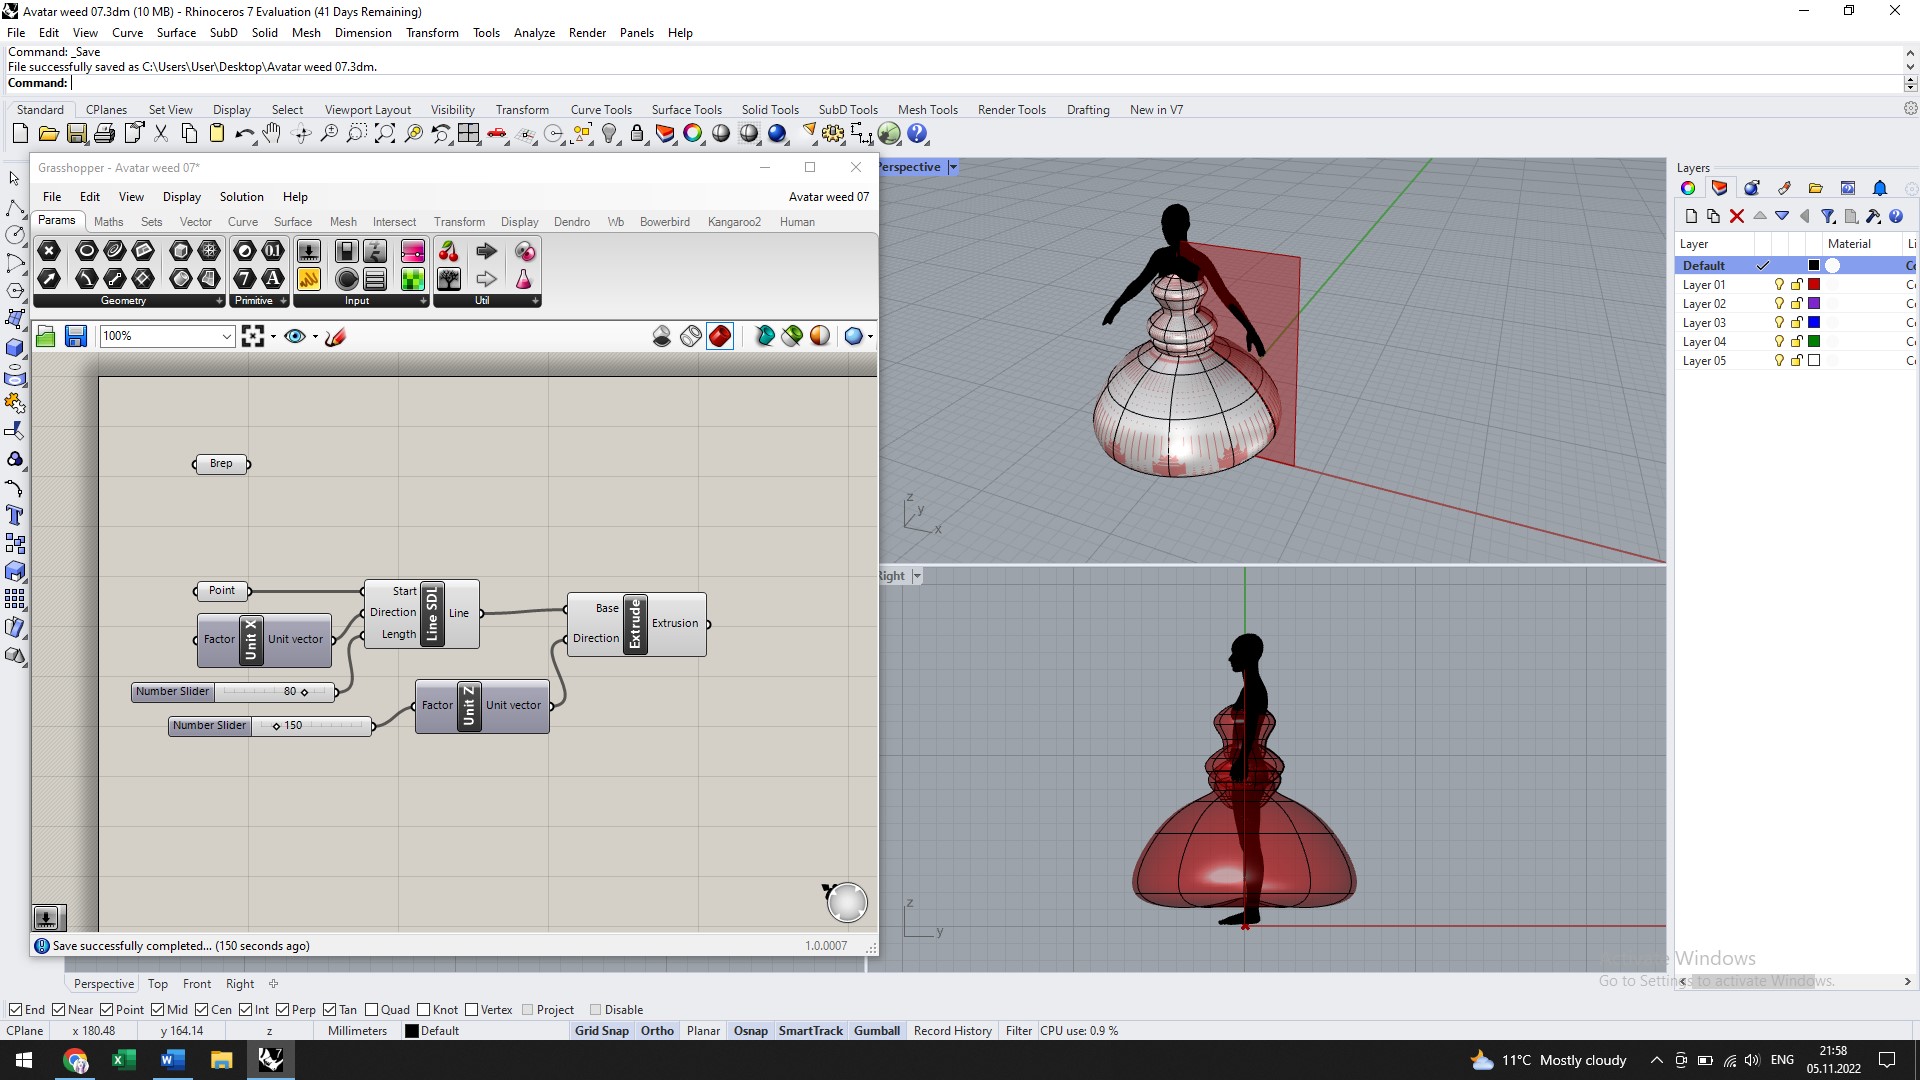
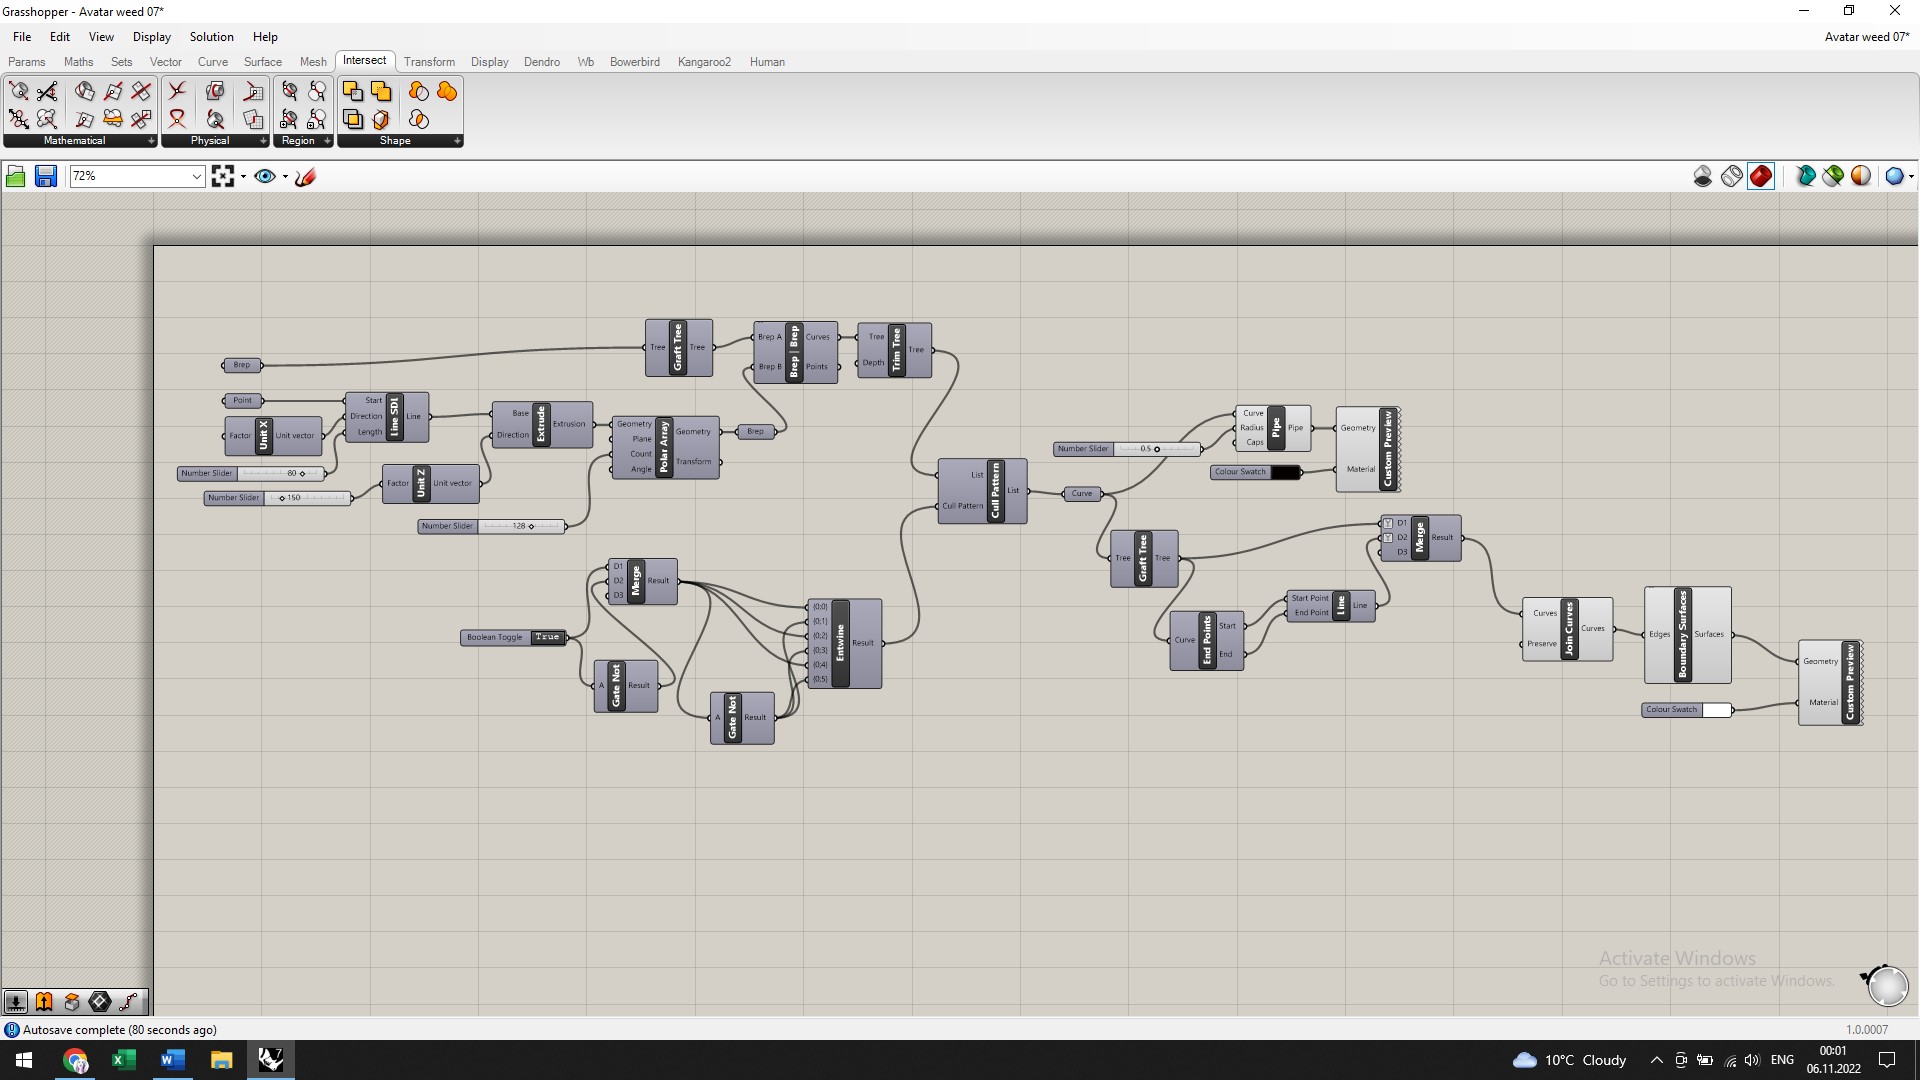
This surface allowed the creation of vertical intersections of the dress. The Grasshopper algorithm and the final result obtained is presented below.
Fabrication files
-
File: Test 1 in Rhino ↩
-
File: Test 2 in Rhino ↩
-
File: Test 3 in Rhino ↩
-
File: Test 4 in Rhino ↩
-
File: Test 1 stl ↩
-
File: Test 3 stl ↩
-
File: Test 4 stl ↩