12. Soft robotics
Week 12 _ thoughts
In the twelfth week, we had a very interesting topic. In this theme, special attention is paid to people with health problems, as well as serious disabilities. Here we can perform experiments with various materials and circuits, to solve complex problems such as muscle atrophy. We can also create soft accessories for various psycho-physiological problems. The field of implementation is diverse, which gives you the confidence that the results can be easily obtained. But...
Research & Ideation
After a lecture with Lily Chambers and Adriana Cabrera, I have analyzed the field of use of this theme. I tried to understand the development and operation of these soft elements. I also looked for various materials that can be used in experiments.
I started from the idea found on internet page.

Experiment 1
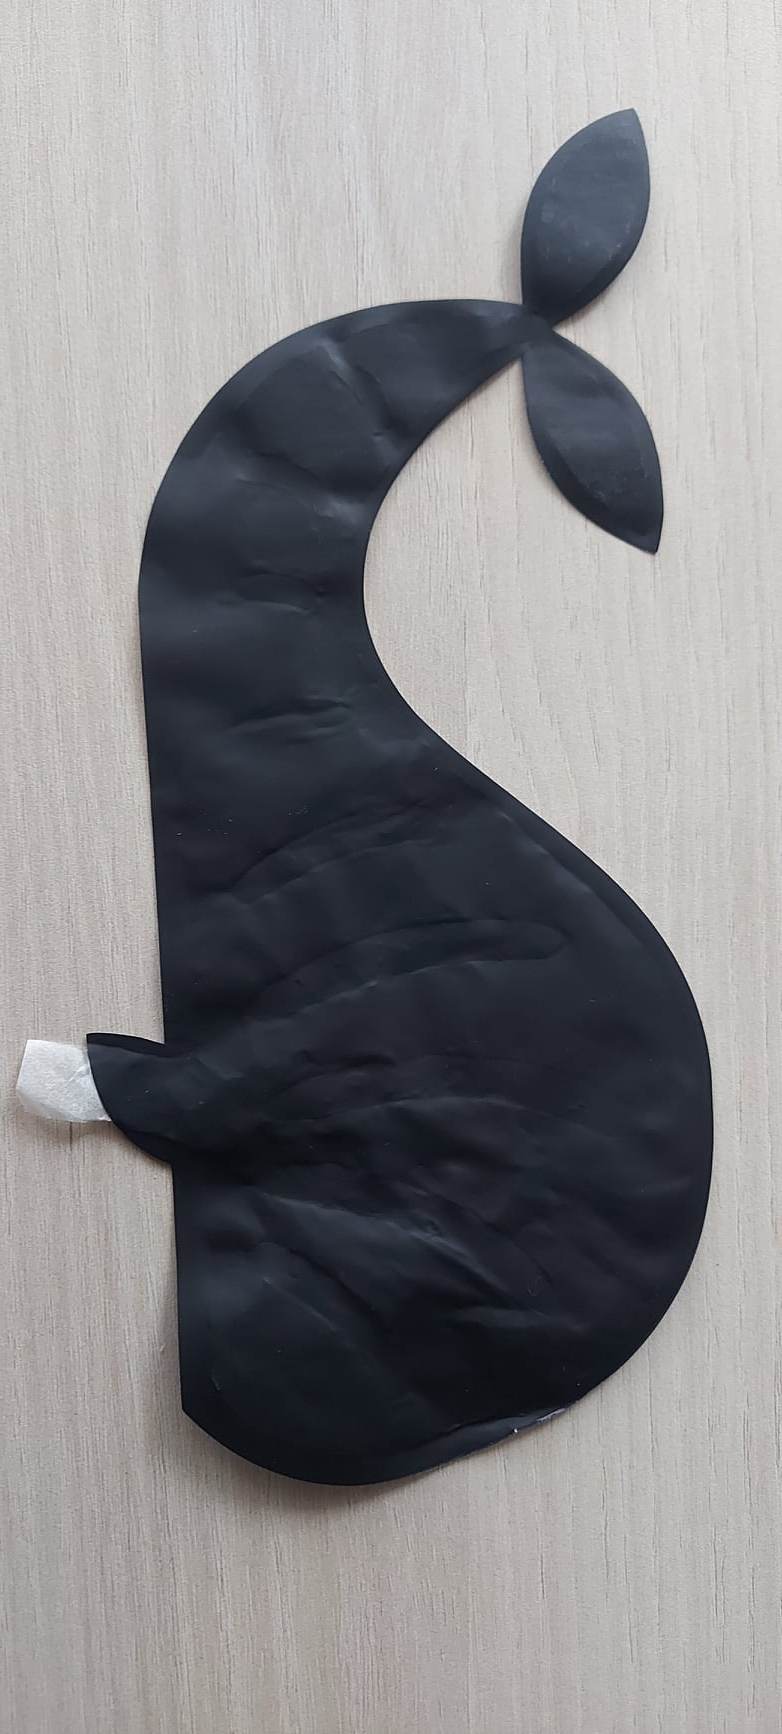
Initially I tried to develop a simple form. I tried to understand how the soft element works. Vinyl was used as the base material. For this experiment I made a simple pattern of a flower petal by hand.
The elements were placed one on top of the other' A simple sheet was inserted inside. With the help of the iron, at a medium temperature, the vinyl parts were glued. A juice straw was inserted at the end of the vinyl element. The joint cap was thermally sealed with a rubber tube.
The mode of operation of the soft element is presented below.
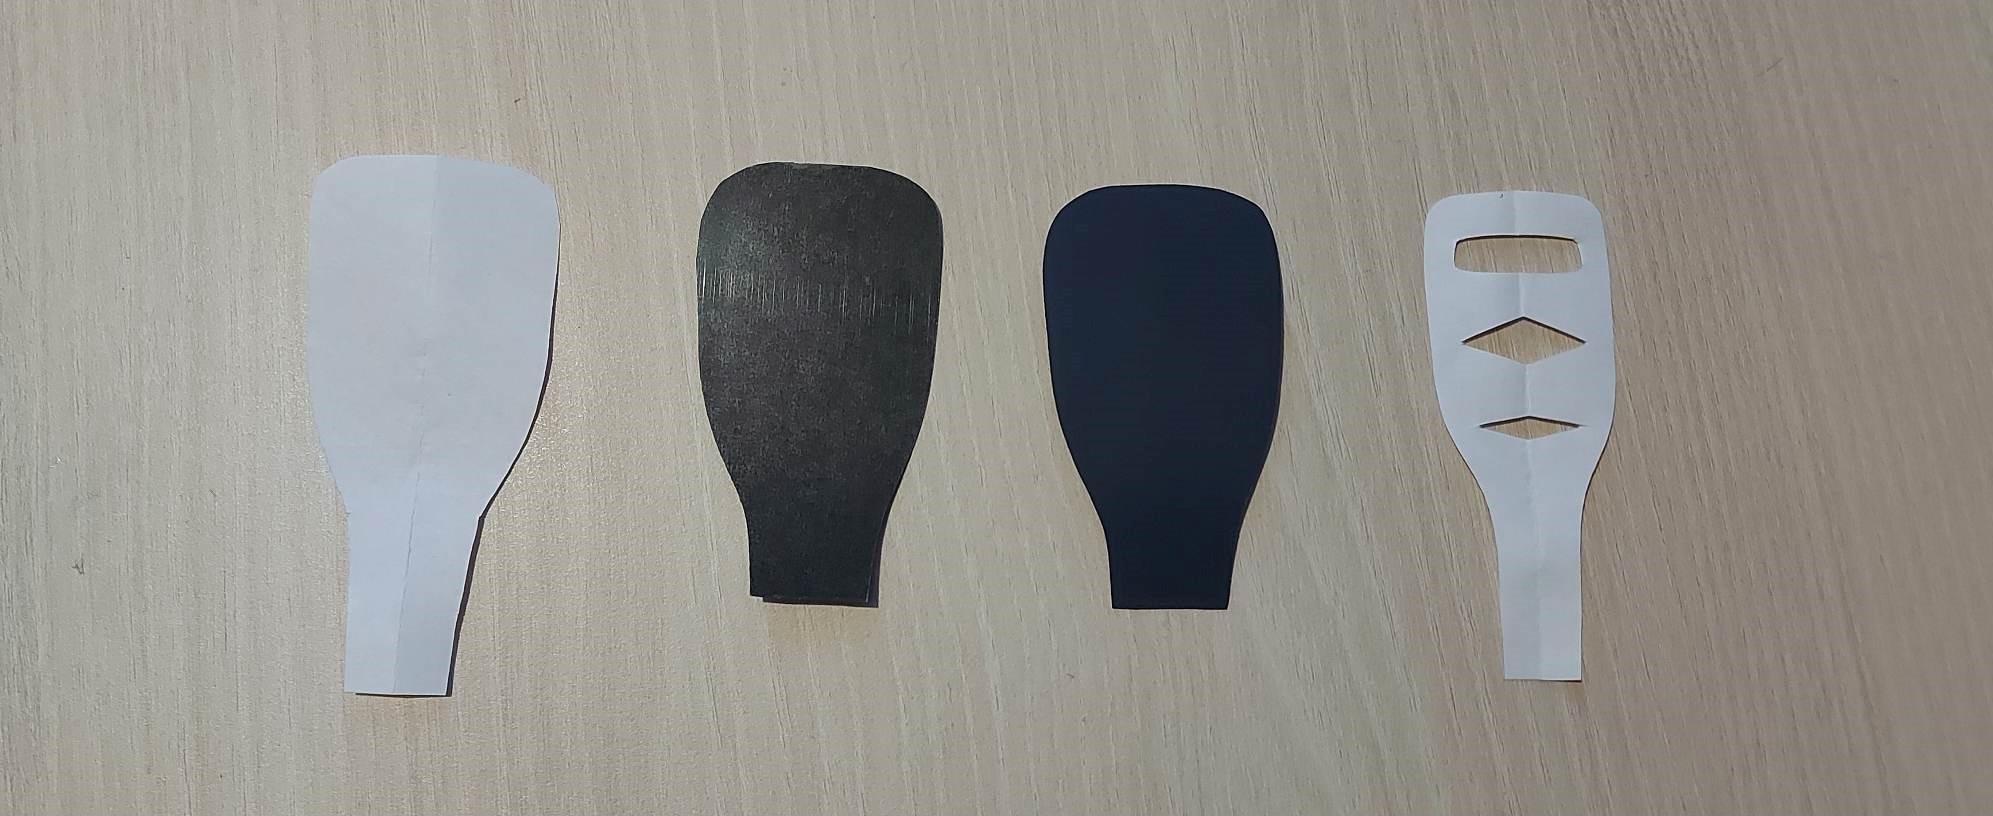
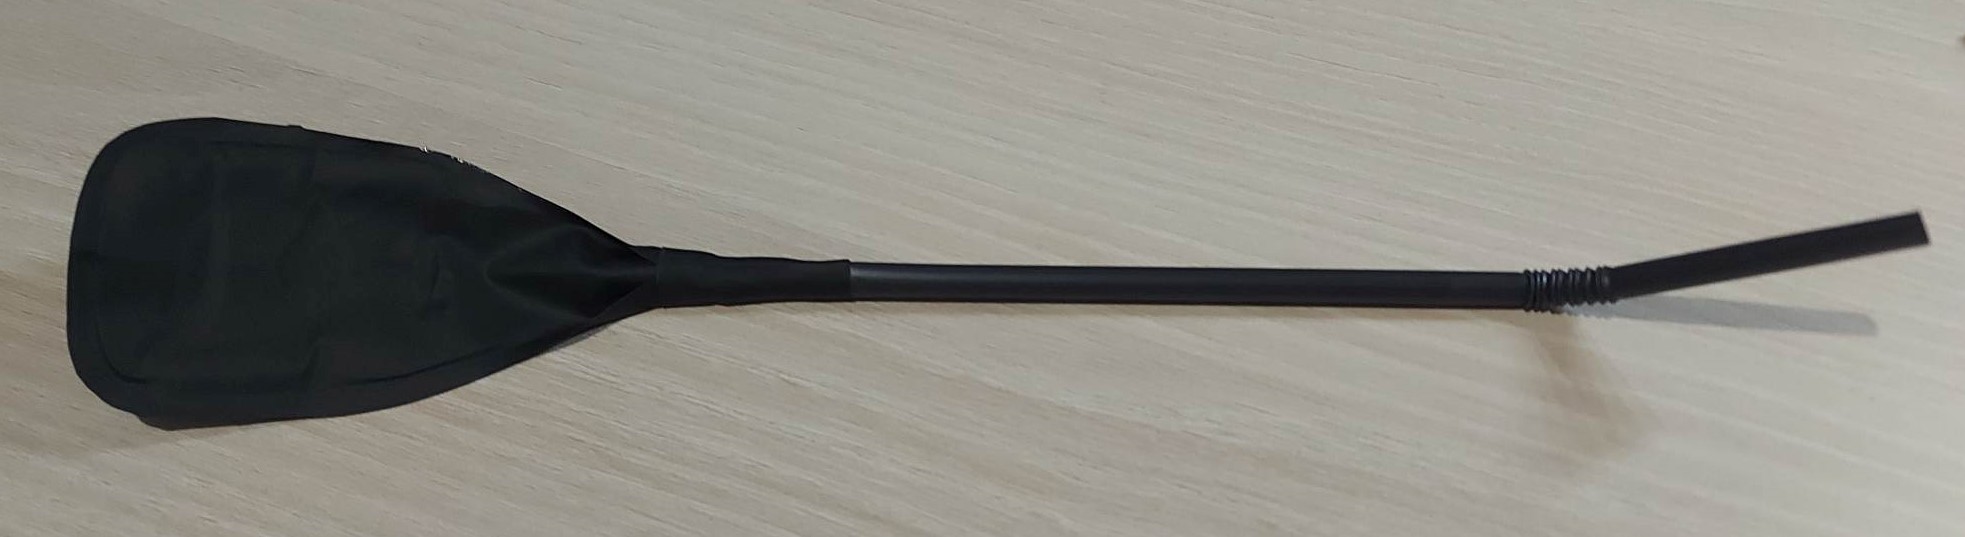
Experiment 2
For experiment 2, I used the vinyl sheet cutting machine.
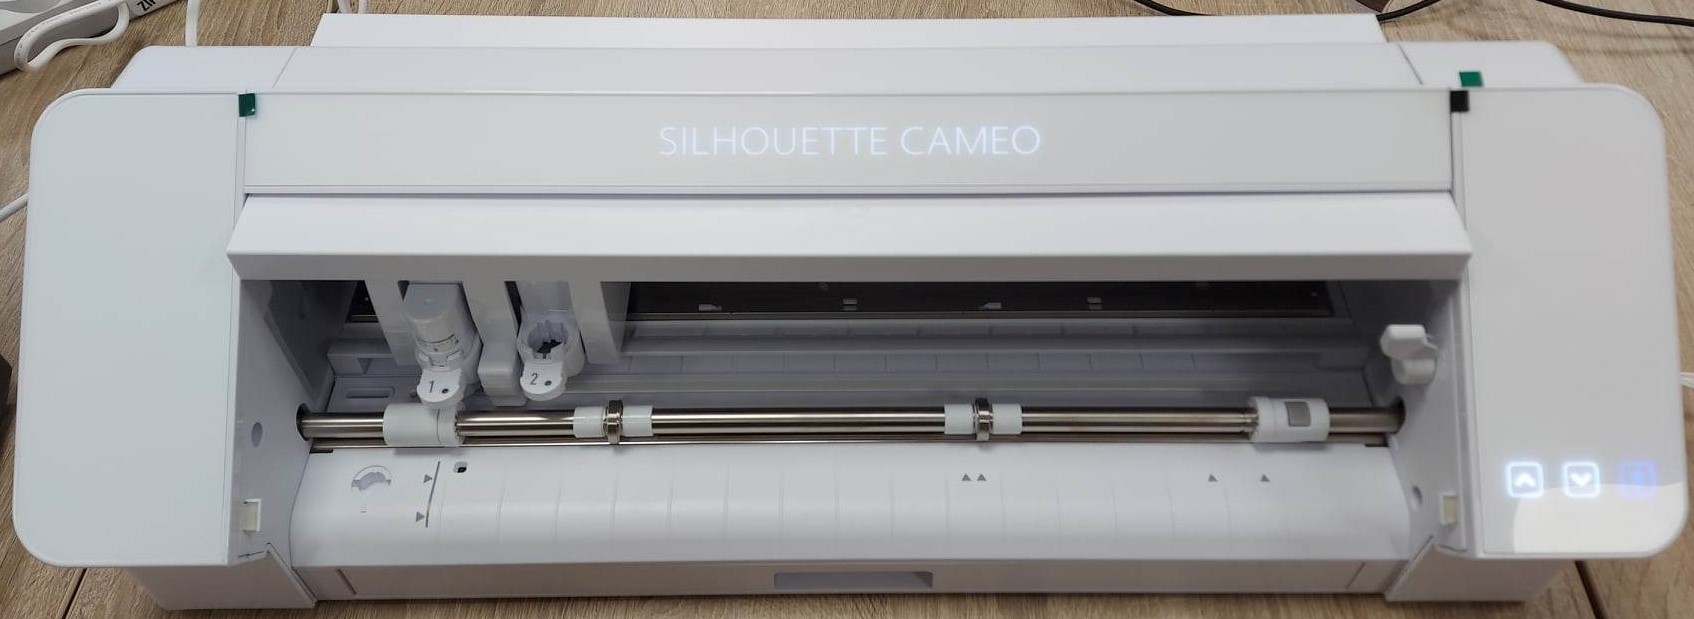
First we reed the instruction and installed the app needed for the Silhouette machine. After that we started to experiment to get used to the machine and to understand how it works. All these steps were done by following this link. Ihen from the library of the Silhouette application I selected the drawing of a fish and cut it with the help of the vinyl cutter.
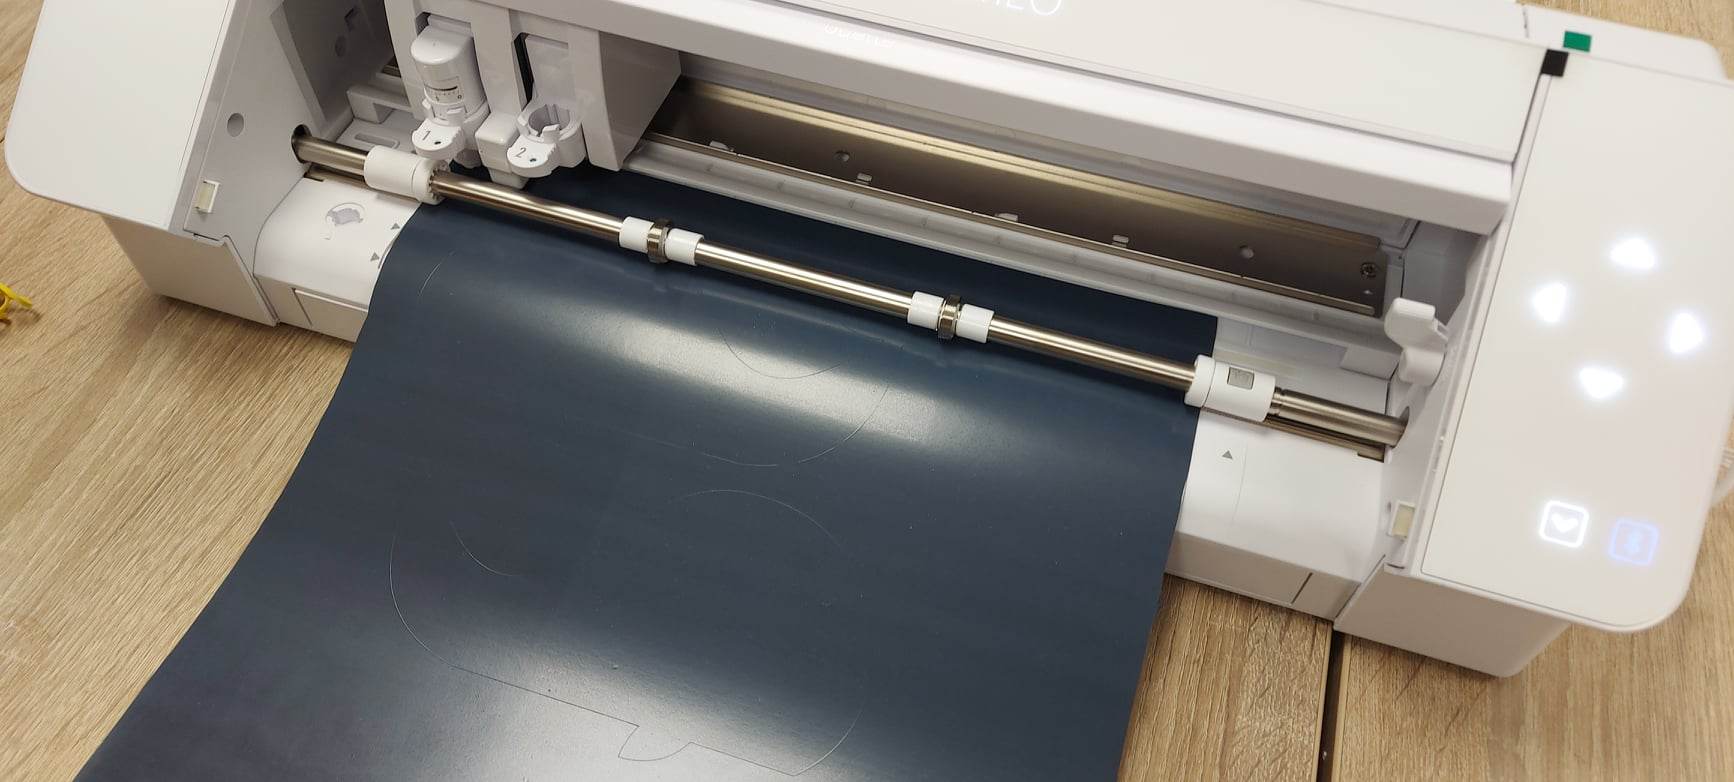
The pattern of the layer inside the vinyl sheets was made from tracing paper.
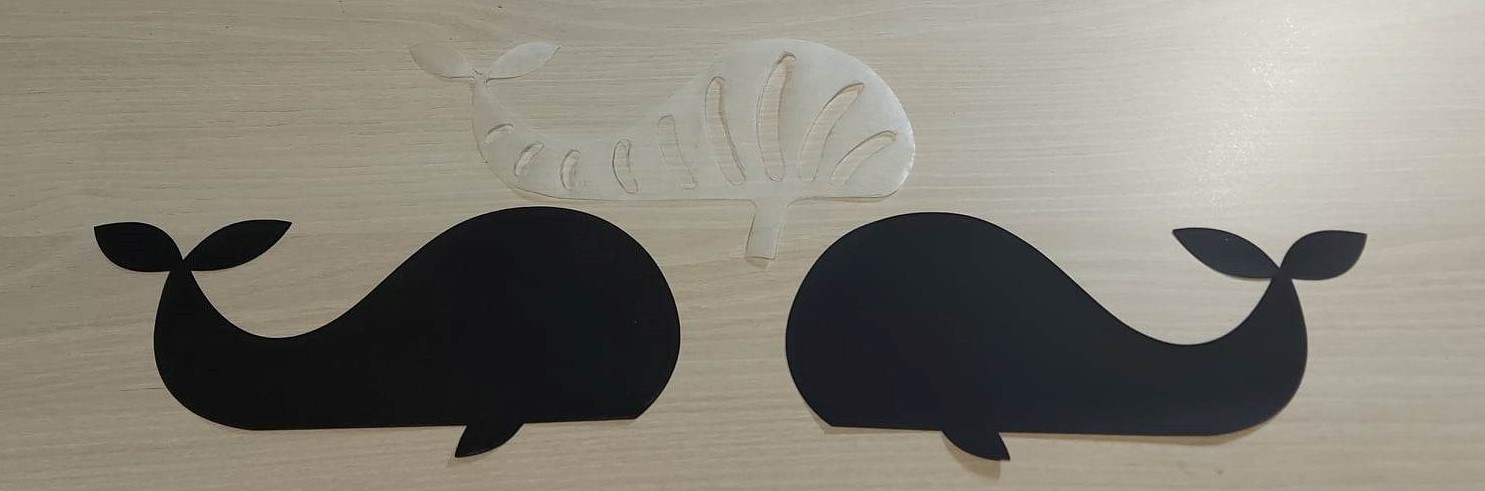
But due to the use of the tracing paper or the high temperature in the gluing process, we obtained a gluing on the entire surface of the fish.
I made another attempt. I used paper used for cooking inside. I put two layers. And here is the result.
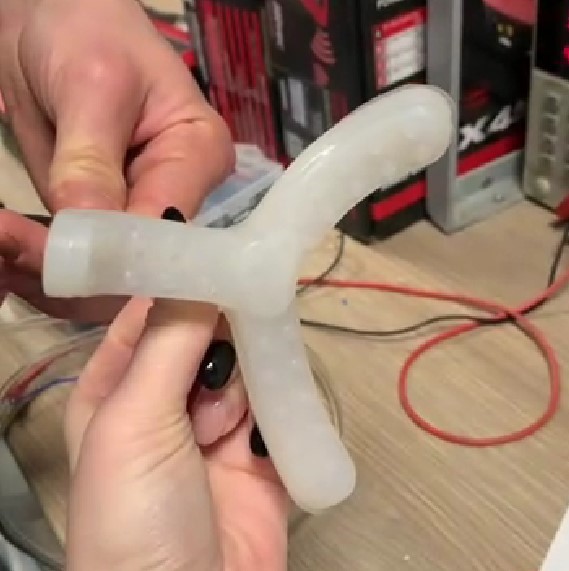
Experiment 3
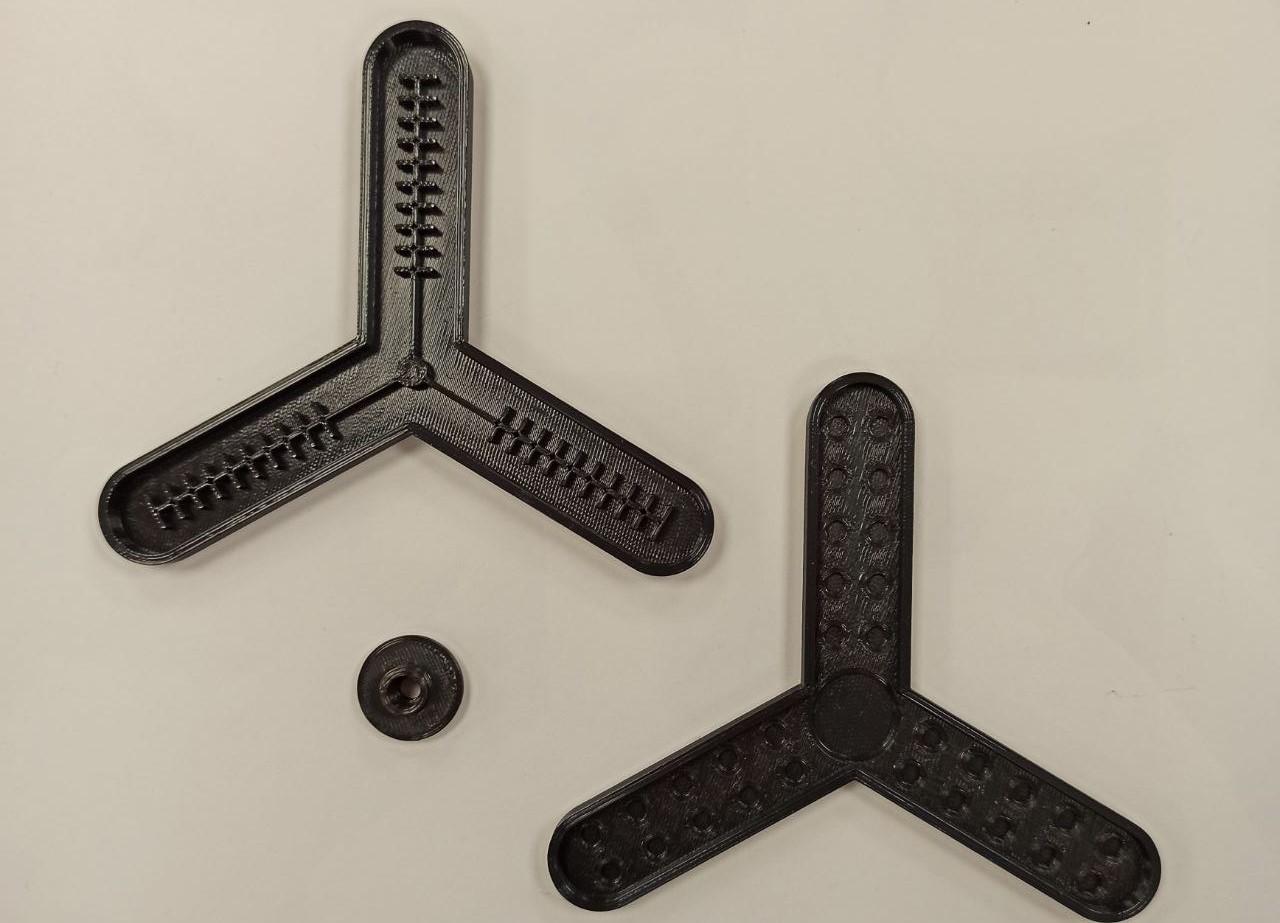
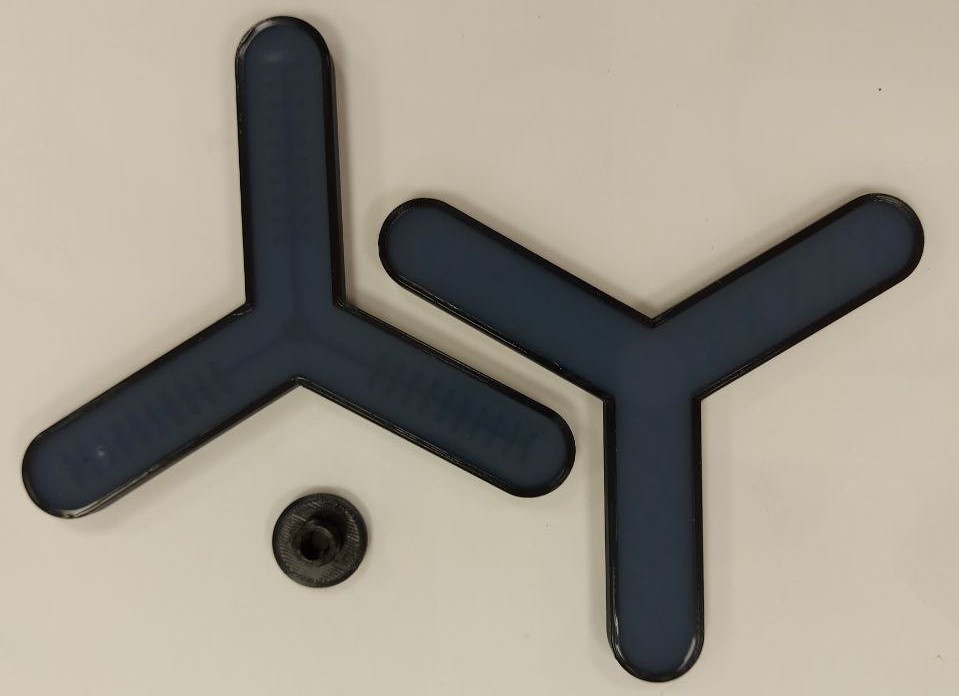
The element for experiment 4 was made of silicone. Initially, I searched the Internet for special forms for this theme. The printable form was found on thingiverse page. This was downloaded and modified as needed.

I printed the forms at one of the FabLab printers. Here are presented the forms prepared for casting.
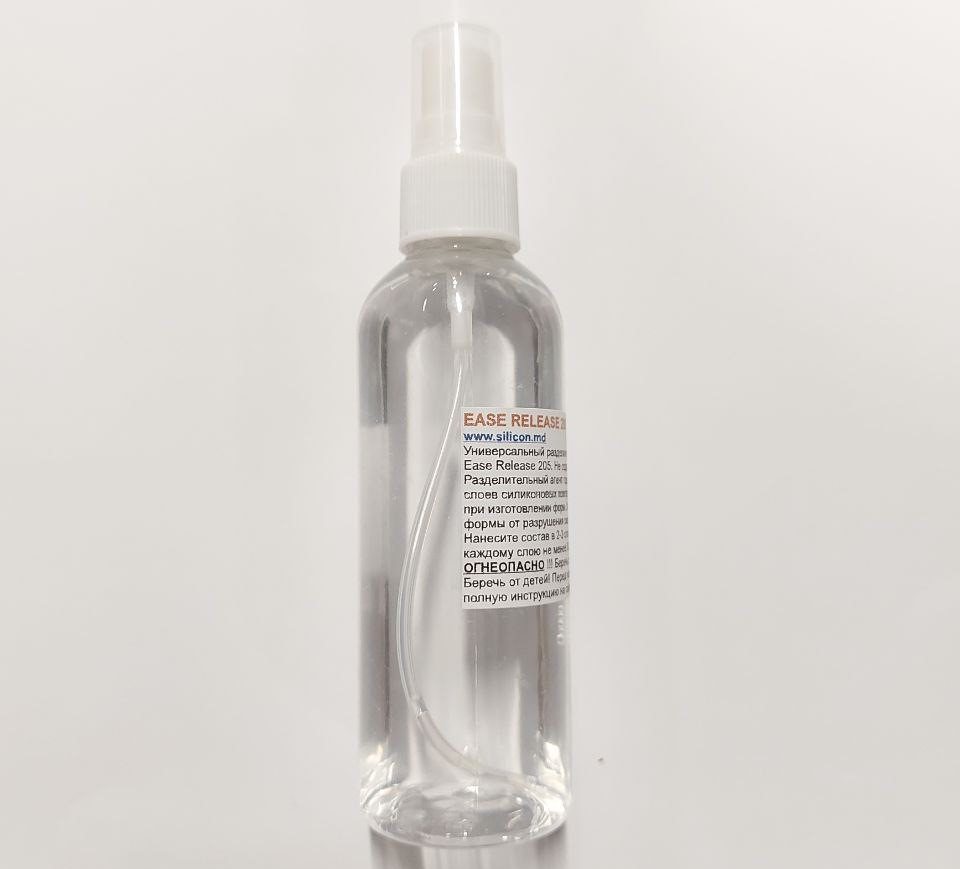
The next step was to spray the mold with a solution that prevents the silicon from sticking to the plastic. We sprayed 2 times, at the interval of 30 minutes.
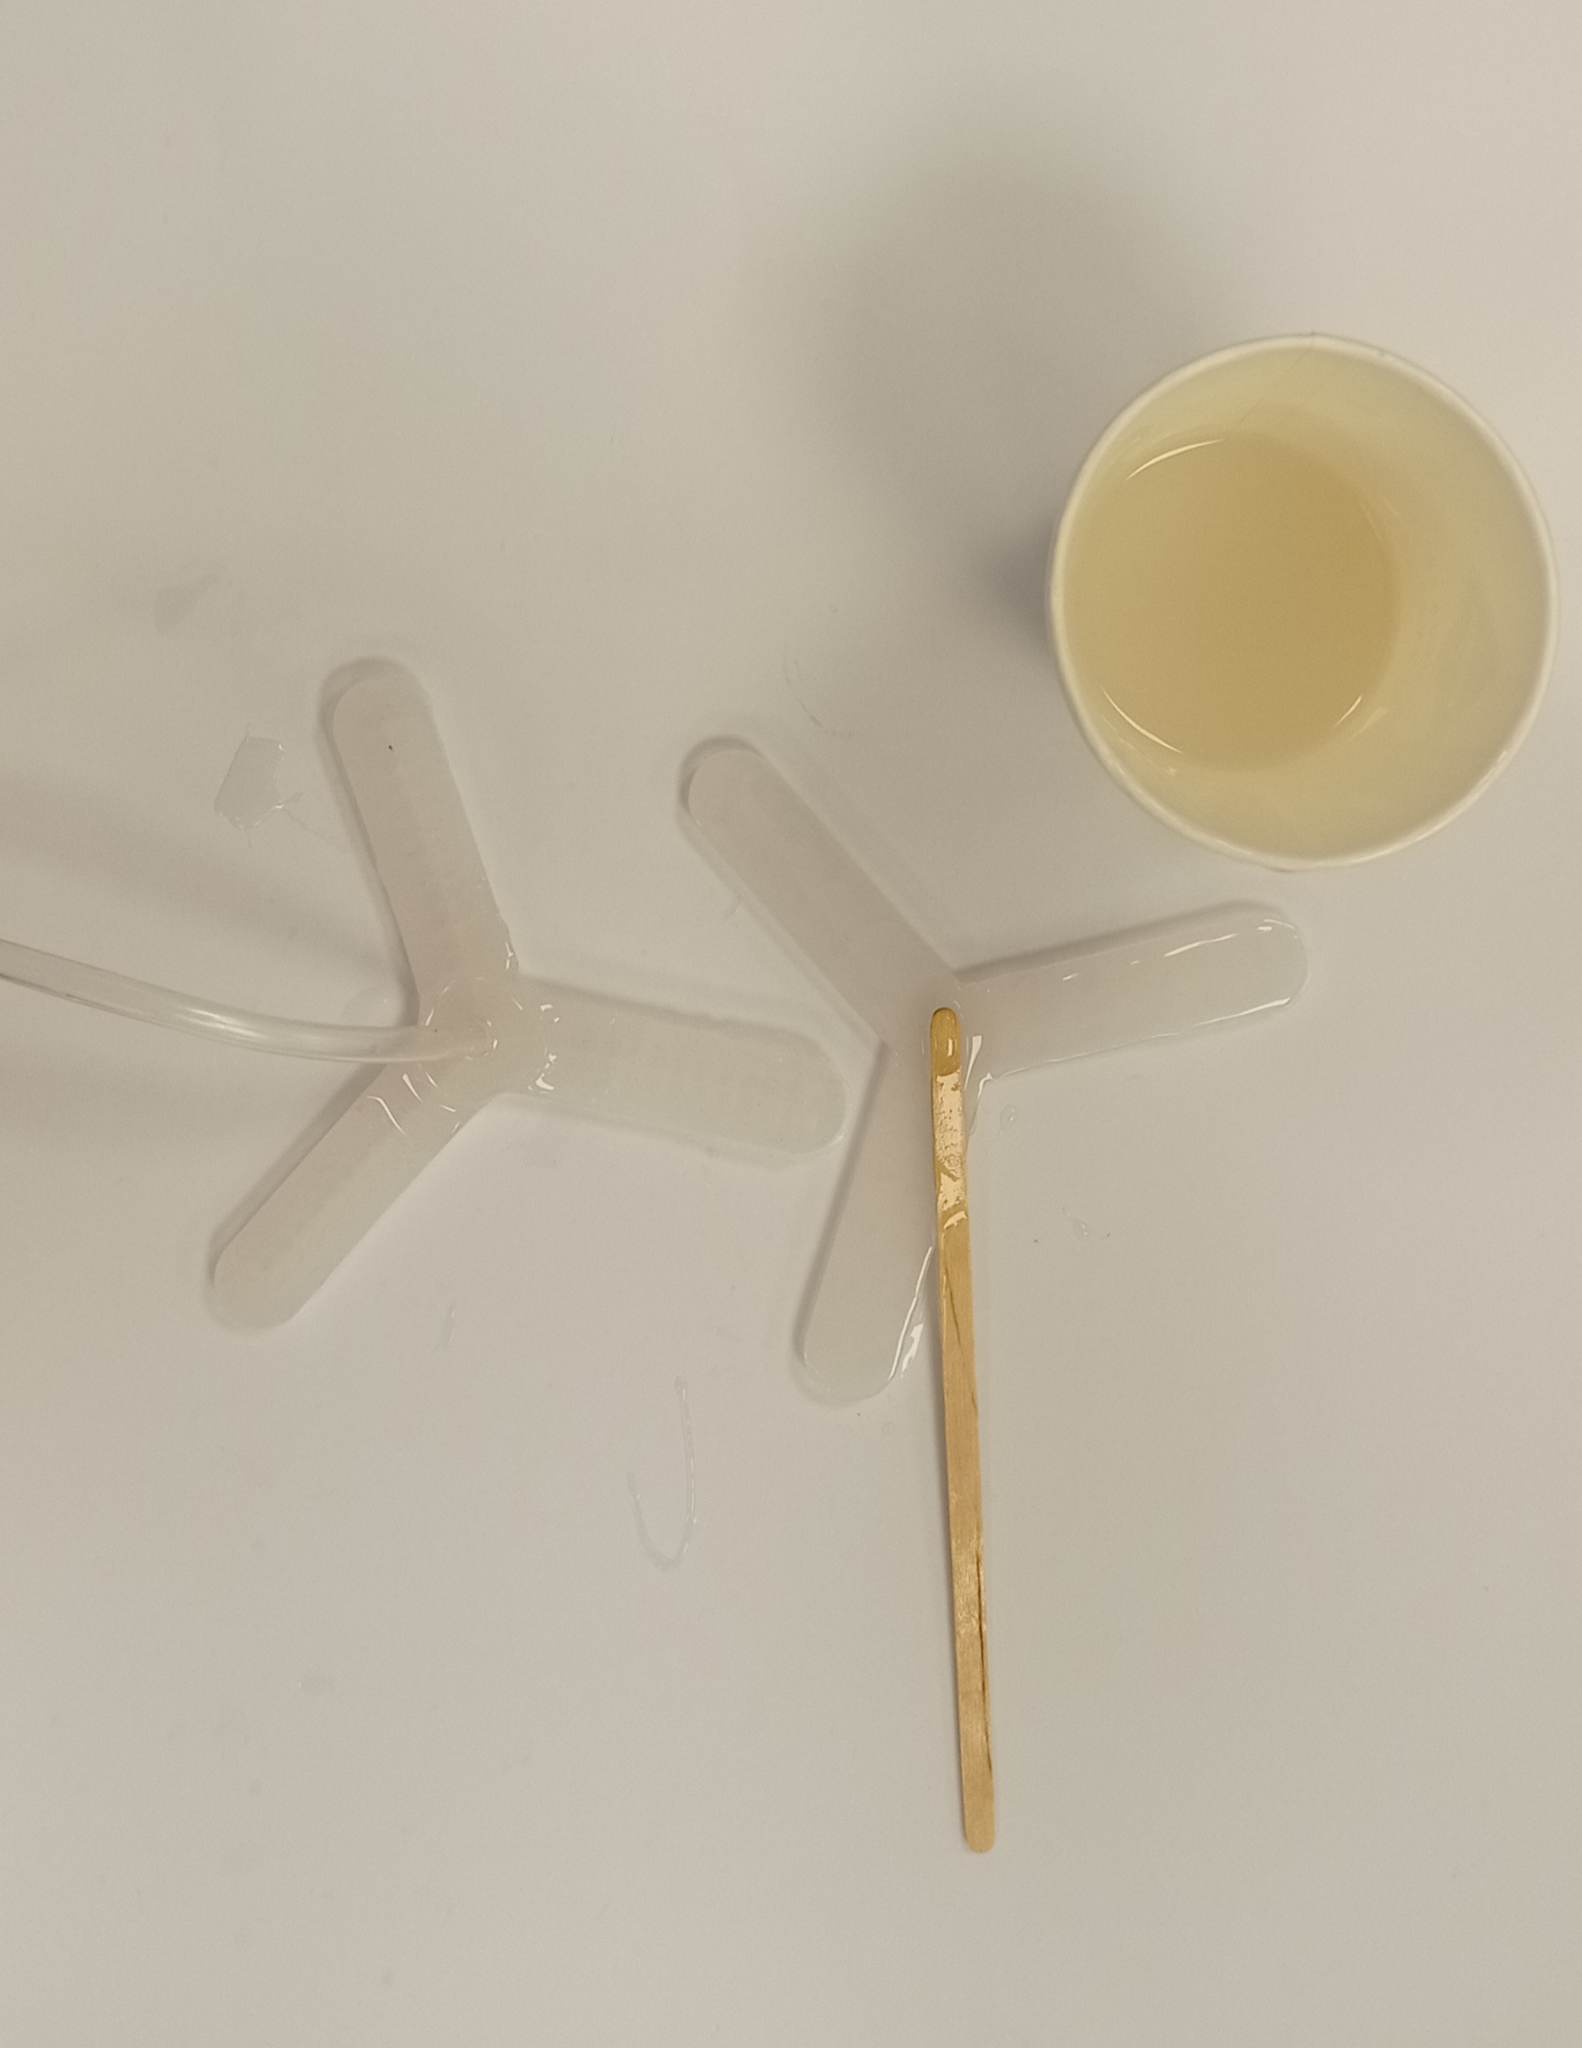
Then I was to prepare the silicone mixture, using the substancesfrom the two bottles you can see above. The needed ratio is 1:1.
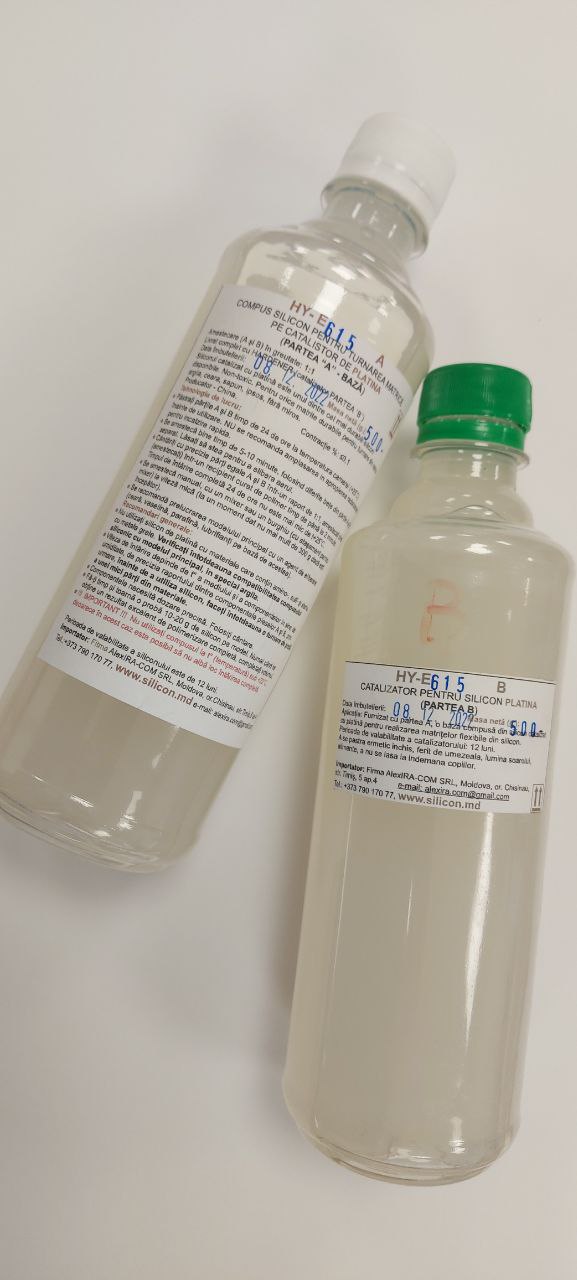
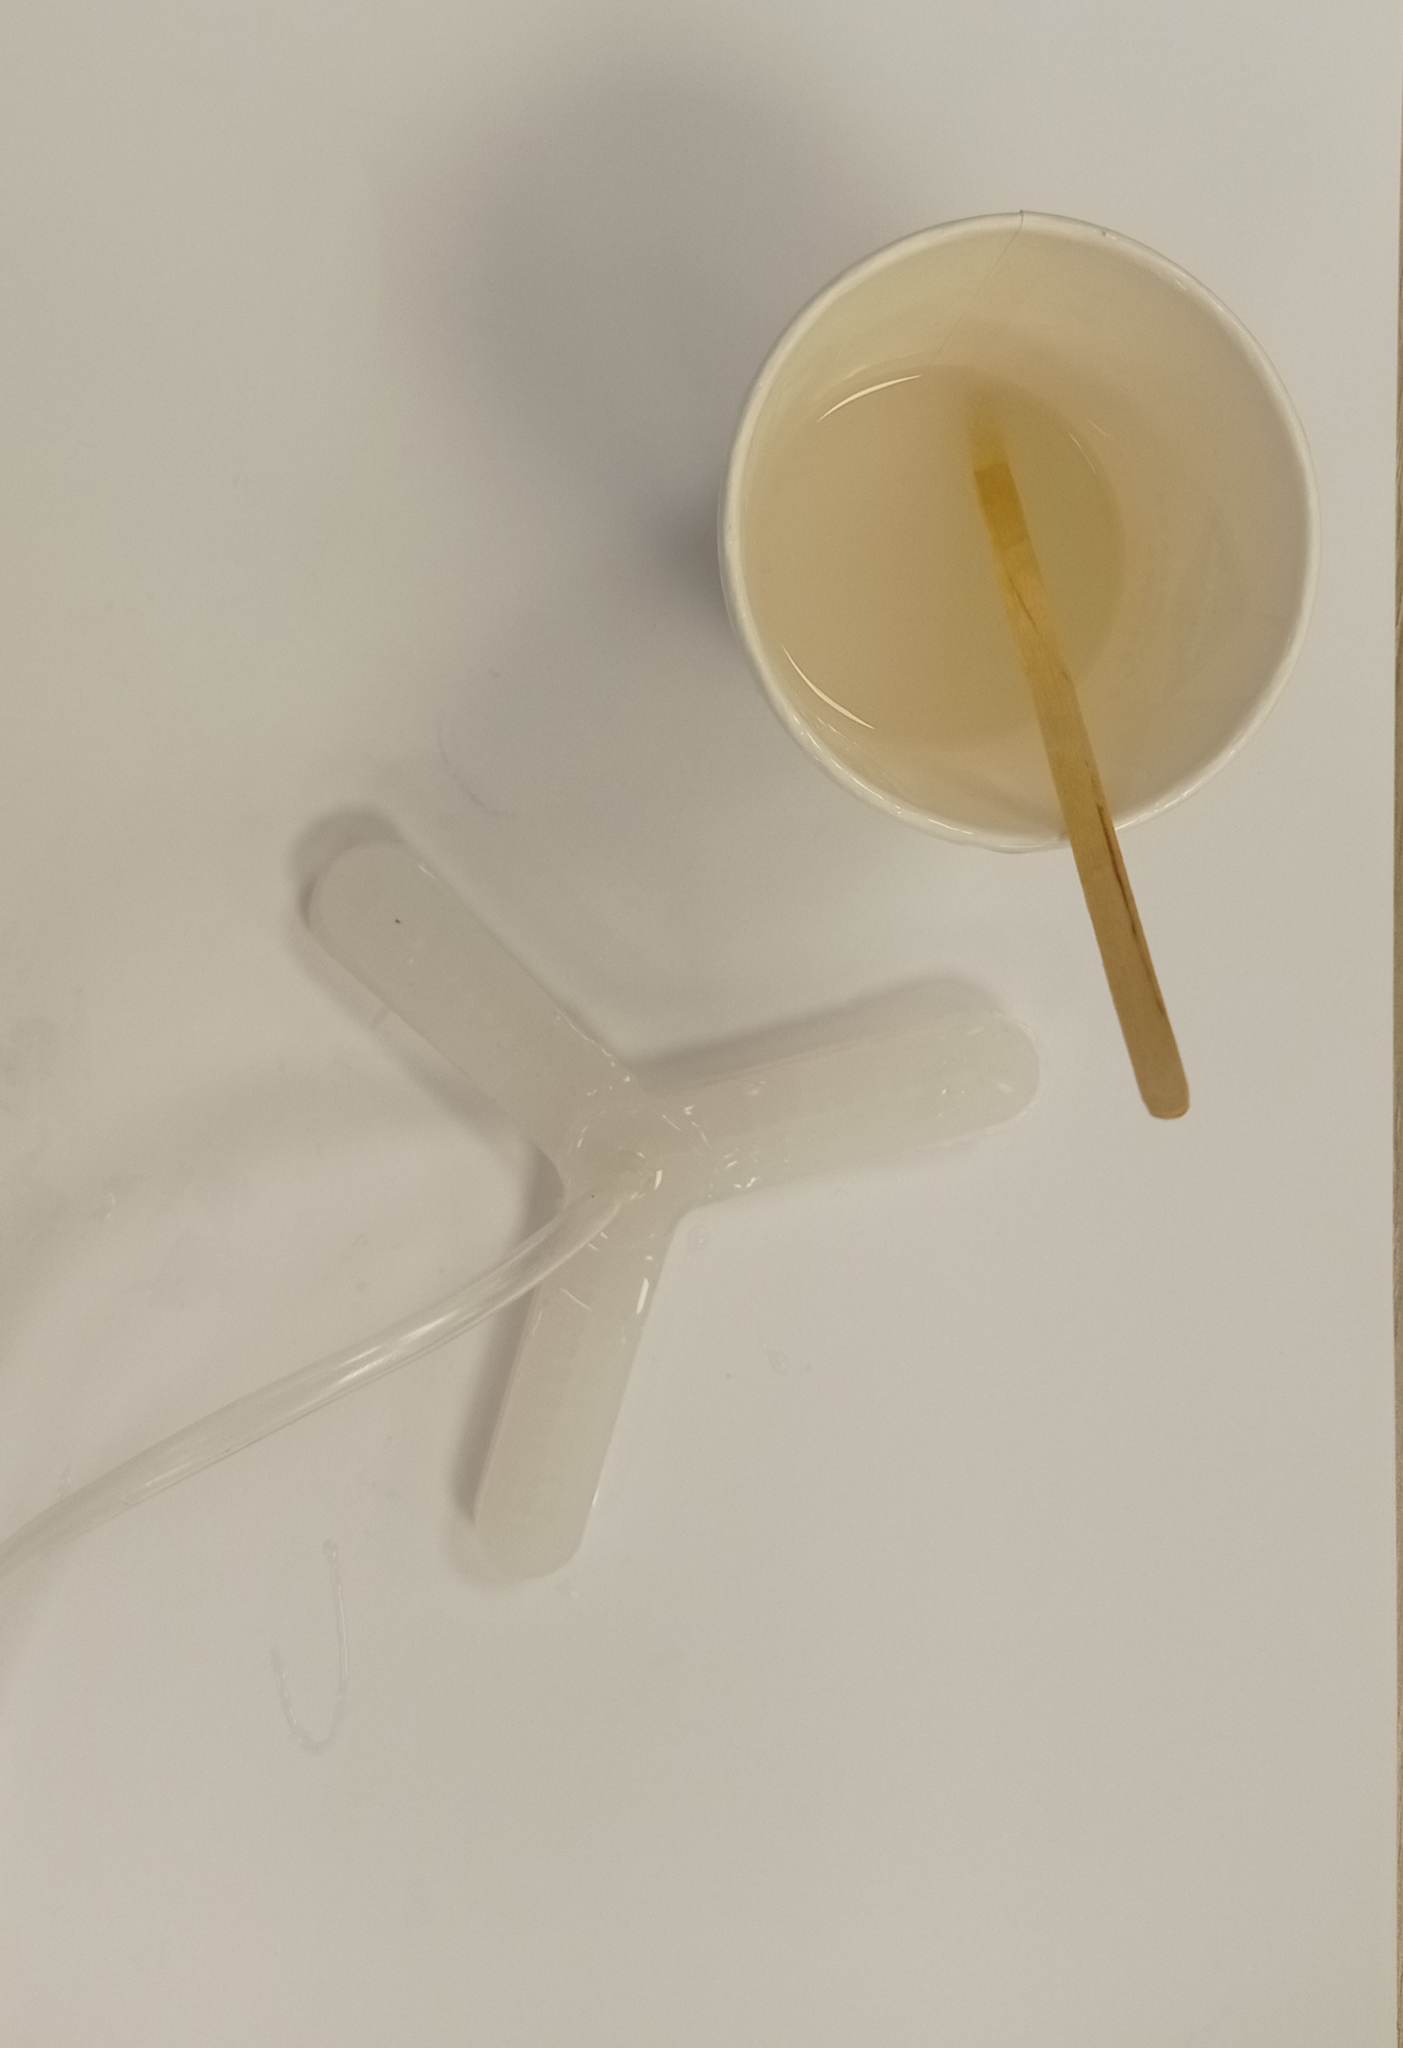
It should be mixed well and slowly, for aprox 2 minutes, to minimize the formation of bubbles. The process of mixing and pouring into the moulds, should not take more than 20 minutes. The time in which the silicone dries completely is up to 24h, and it depends on the temperature of the room.
After drying the elements, they were glued and assembled to a plastic tube. Air will be introduced through it.
To inflate the silicone mold I used an electric air pump. I managed to get the desired movement of the silicone elements.
Fabrication files
-
File: Gripper, part 1 stl ↩
-
File: Gripper, part 2 stl ↩
-
File: Gripper, part 3 stl ↩