3. Circular Open Source Fashion
Week 03 _ absence
The week started well with a business trip to Athens, Greece. It was very beautiful. Interesting trainings, different trips, new people...all new. But here I understood that Fabticademy is something I miss. But...
My first experience
Cursul CIRCULAR OPEN SOURCE FASHION with Zoe ROMANO showed me the direction and parallel to all the activities of this week, we are making various attempts to create the modules.
But this was not my first experience in this field. For the first time we created modular elements in the summer of 2022, when I participated in the Fabricademy bootcamp in Switzerland, Geneva. There I tried to create an element consisting of modules, with geometric elements used in the decoration of the Moldavian folk port. From the beginning, a rhythmic ornament was planned, without accents. But due to incorrect scaling, we got elements of various sizes, which had to be adapted by design. This process seemed very creative and very interesting.


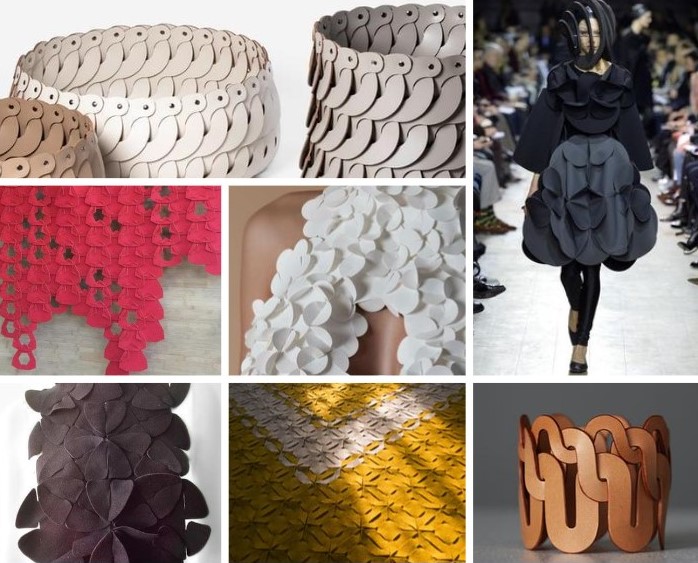
Step 1 - inspiration
The week was a very creative one. I learned how I can create modular elements, structures and connections. But as a first step was the starting inspiration namely the geometric elements presented by rhythm and scale. Below is my inspiration and links to these sources: 1, 2, 3, 4, 5, 6.
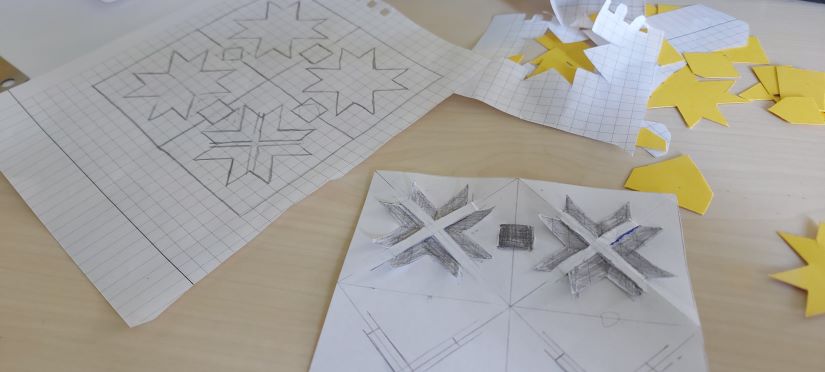
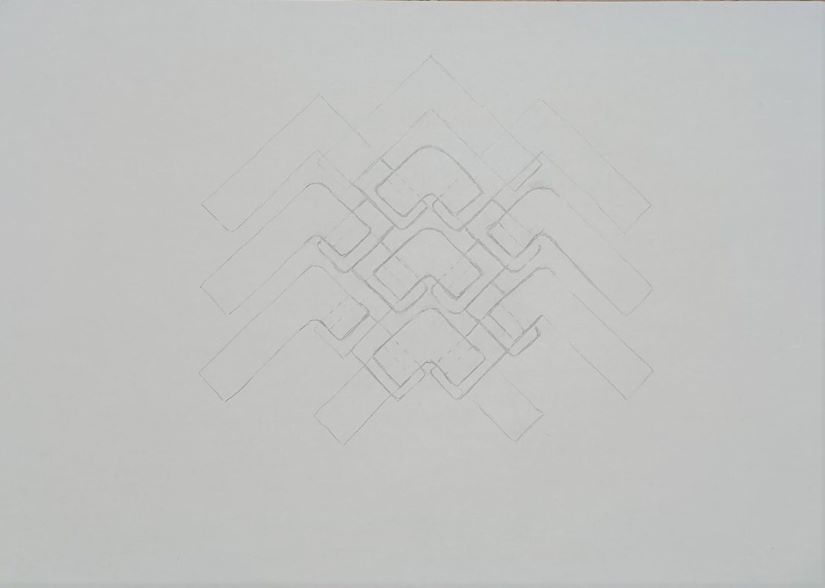
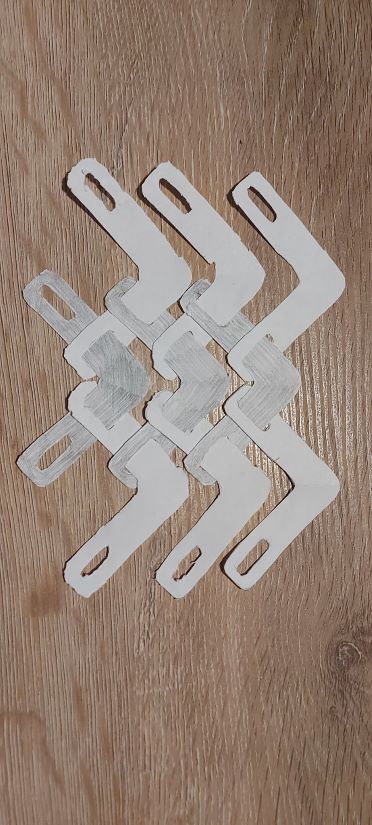
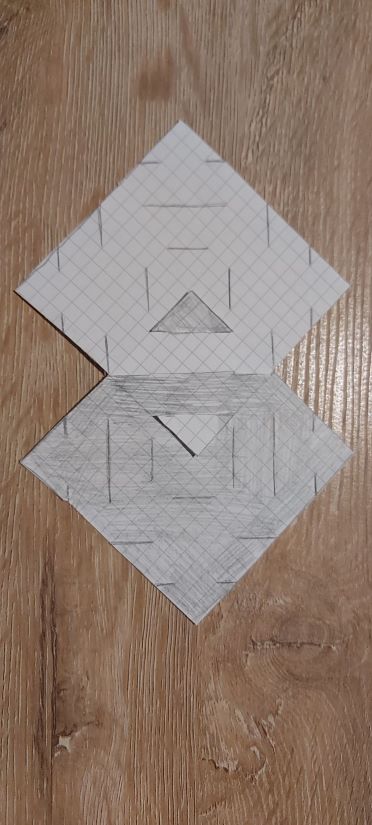
Step 2 - design of the paper
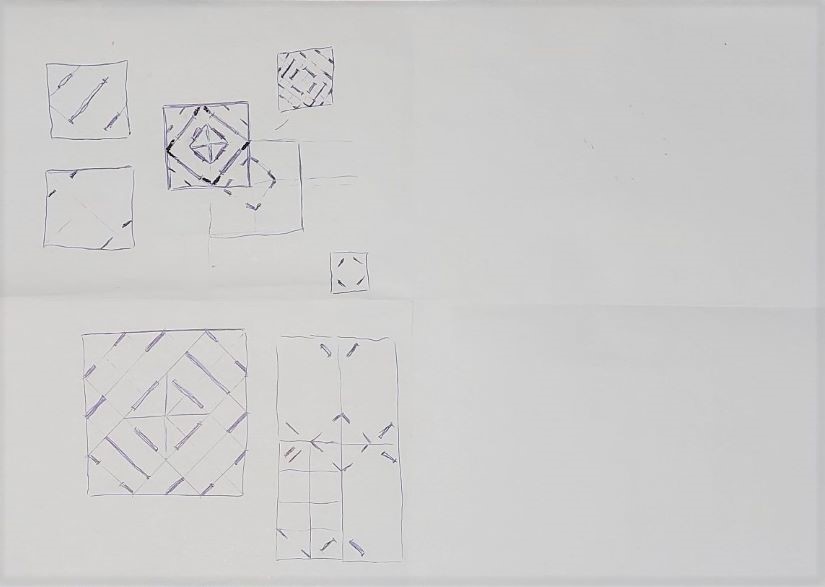
Many sketches and drawings were made, but I stopped at three of them. I will call them model 1, model 2 and model 3.
Model 1
Model 2

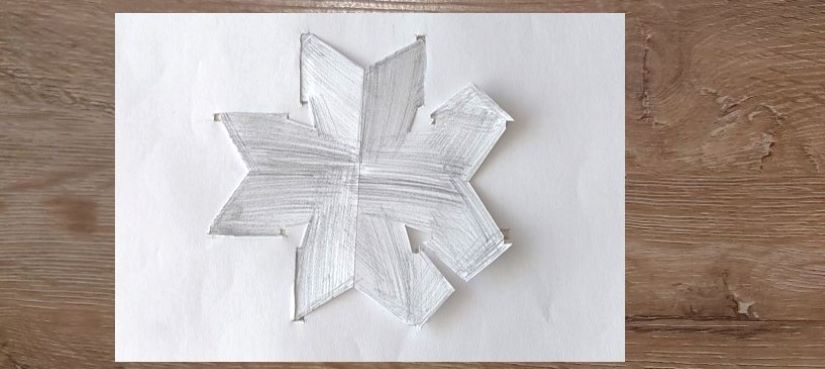
Model 3
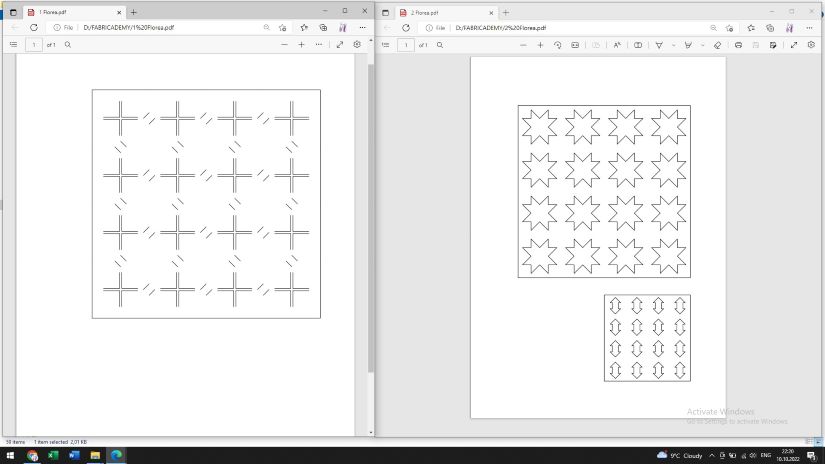
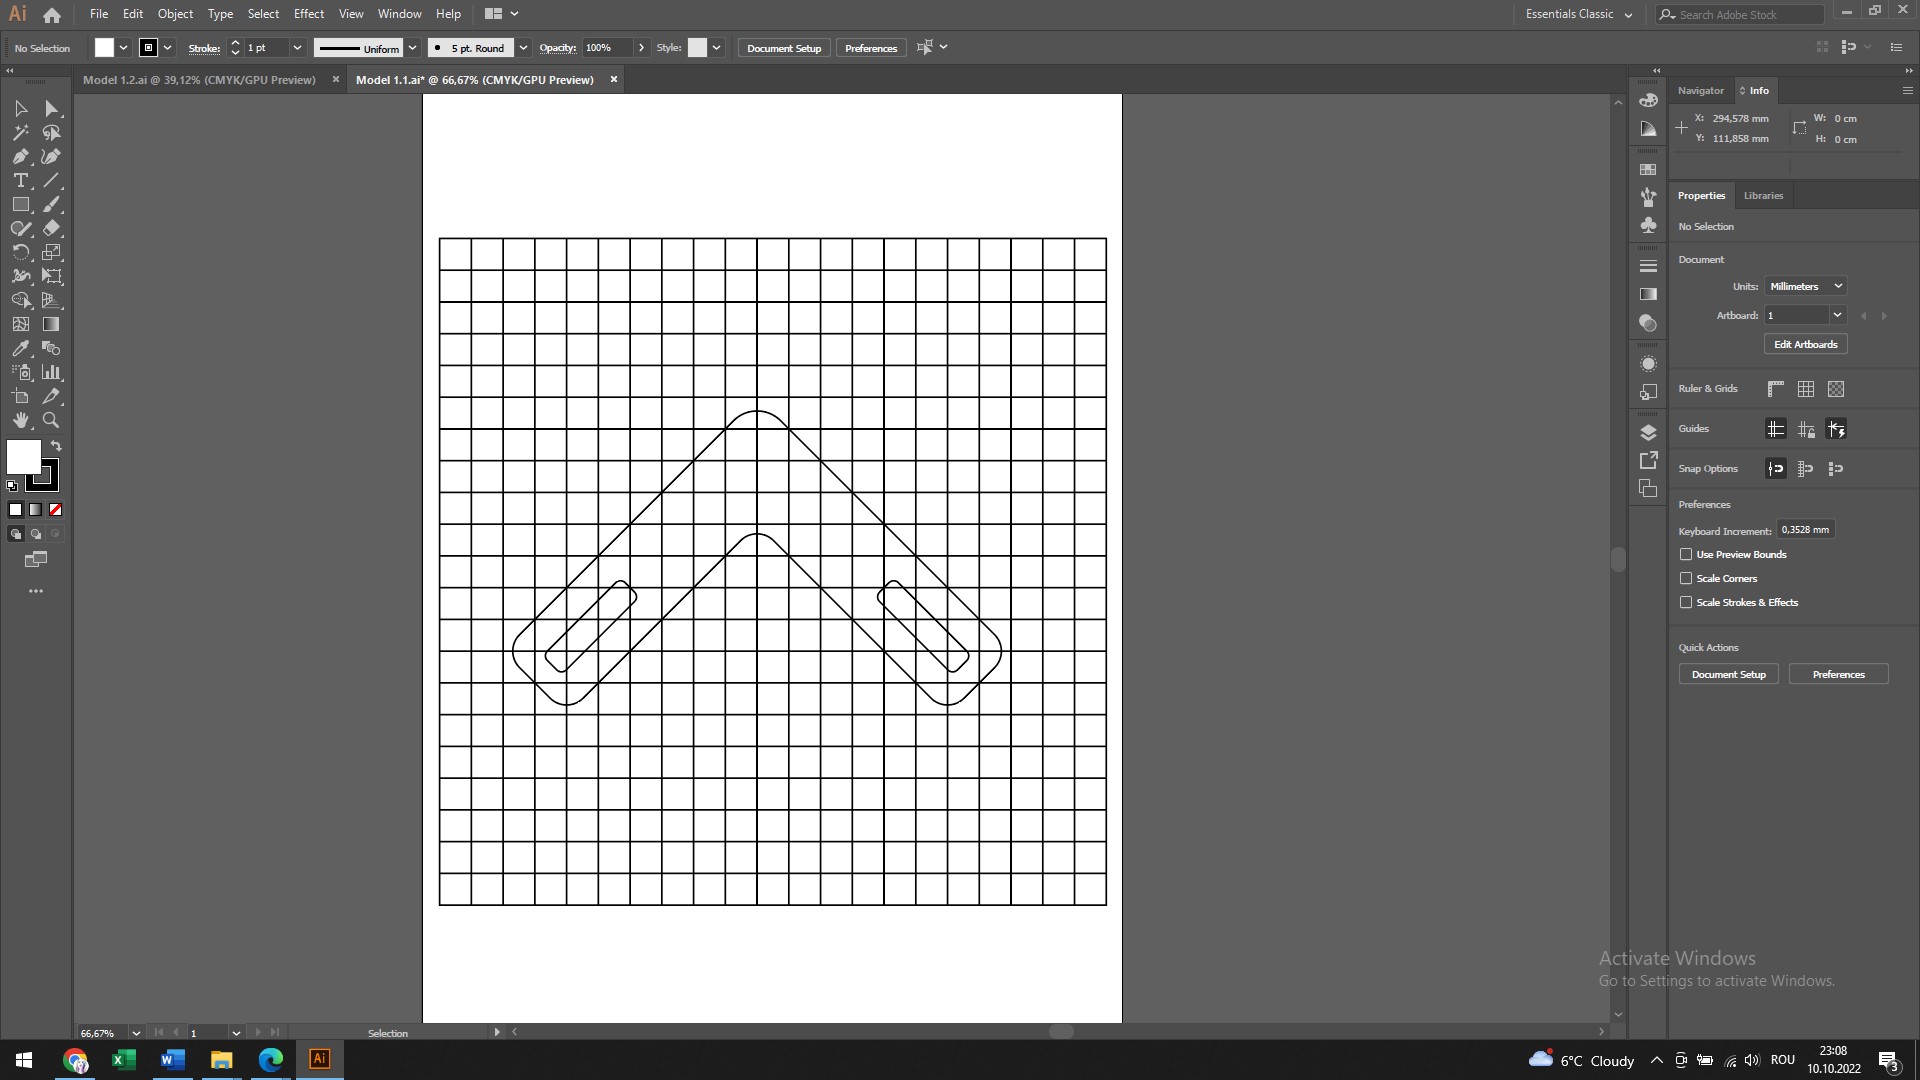
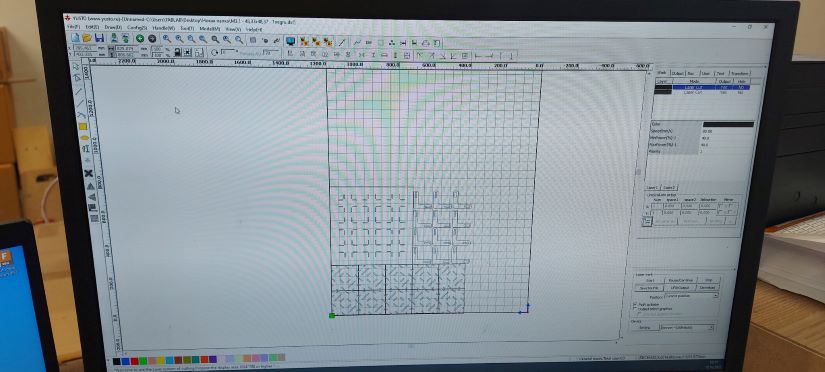
Step 3 - design in the software
After testing the shapes on paper I started working with 2D software. For model 1 and model 2, I used Adobe Illustration.
Model 1
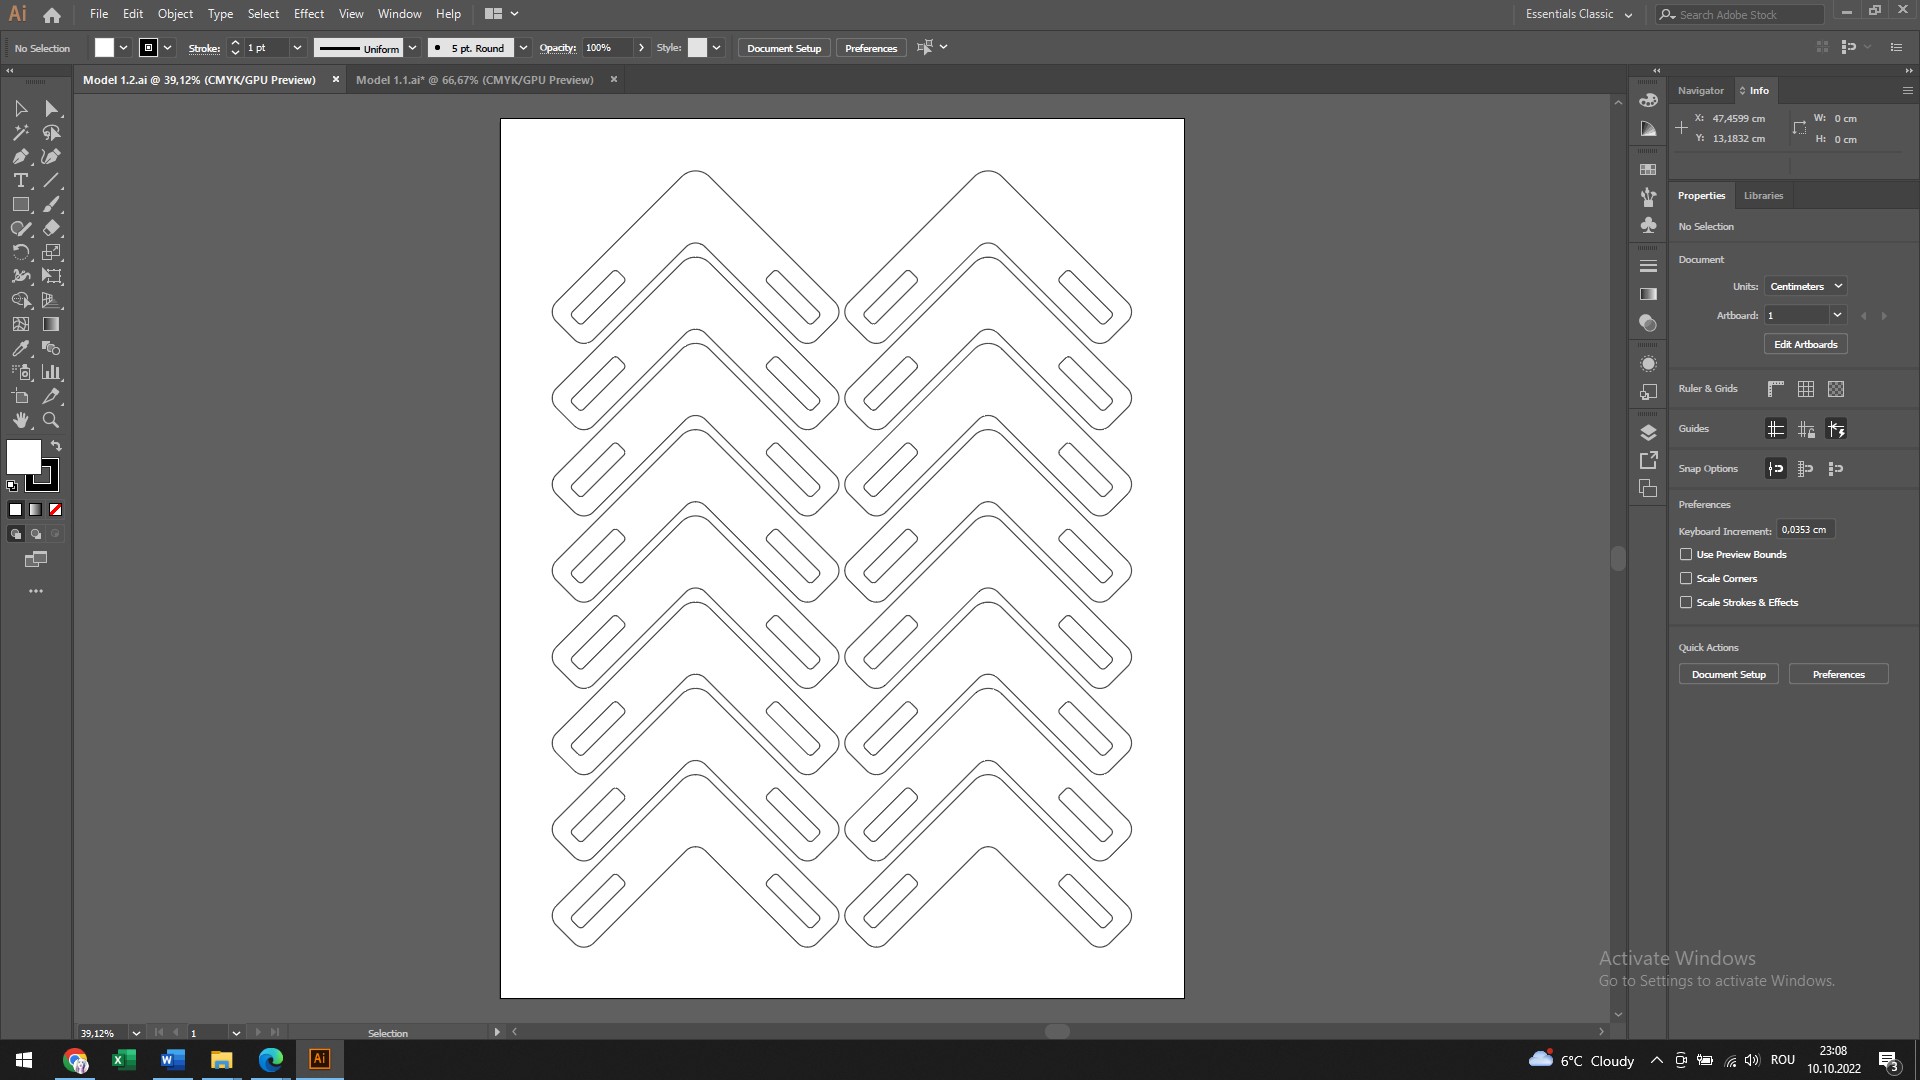
Model 2
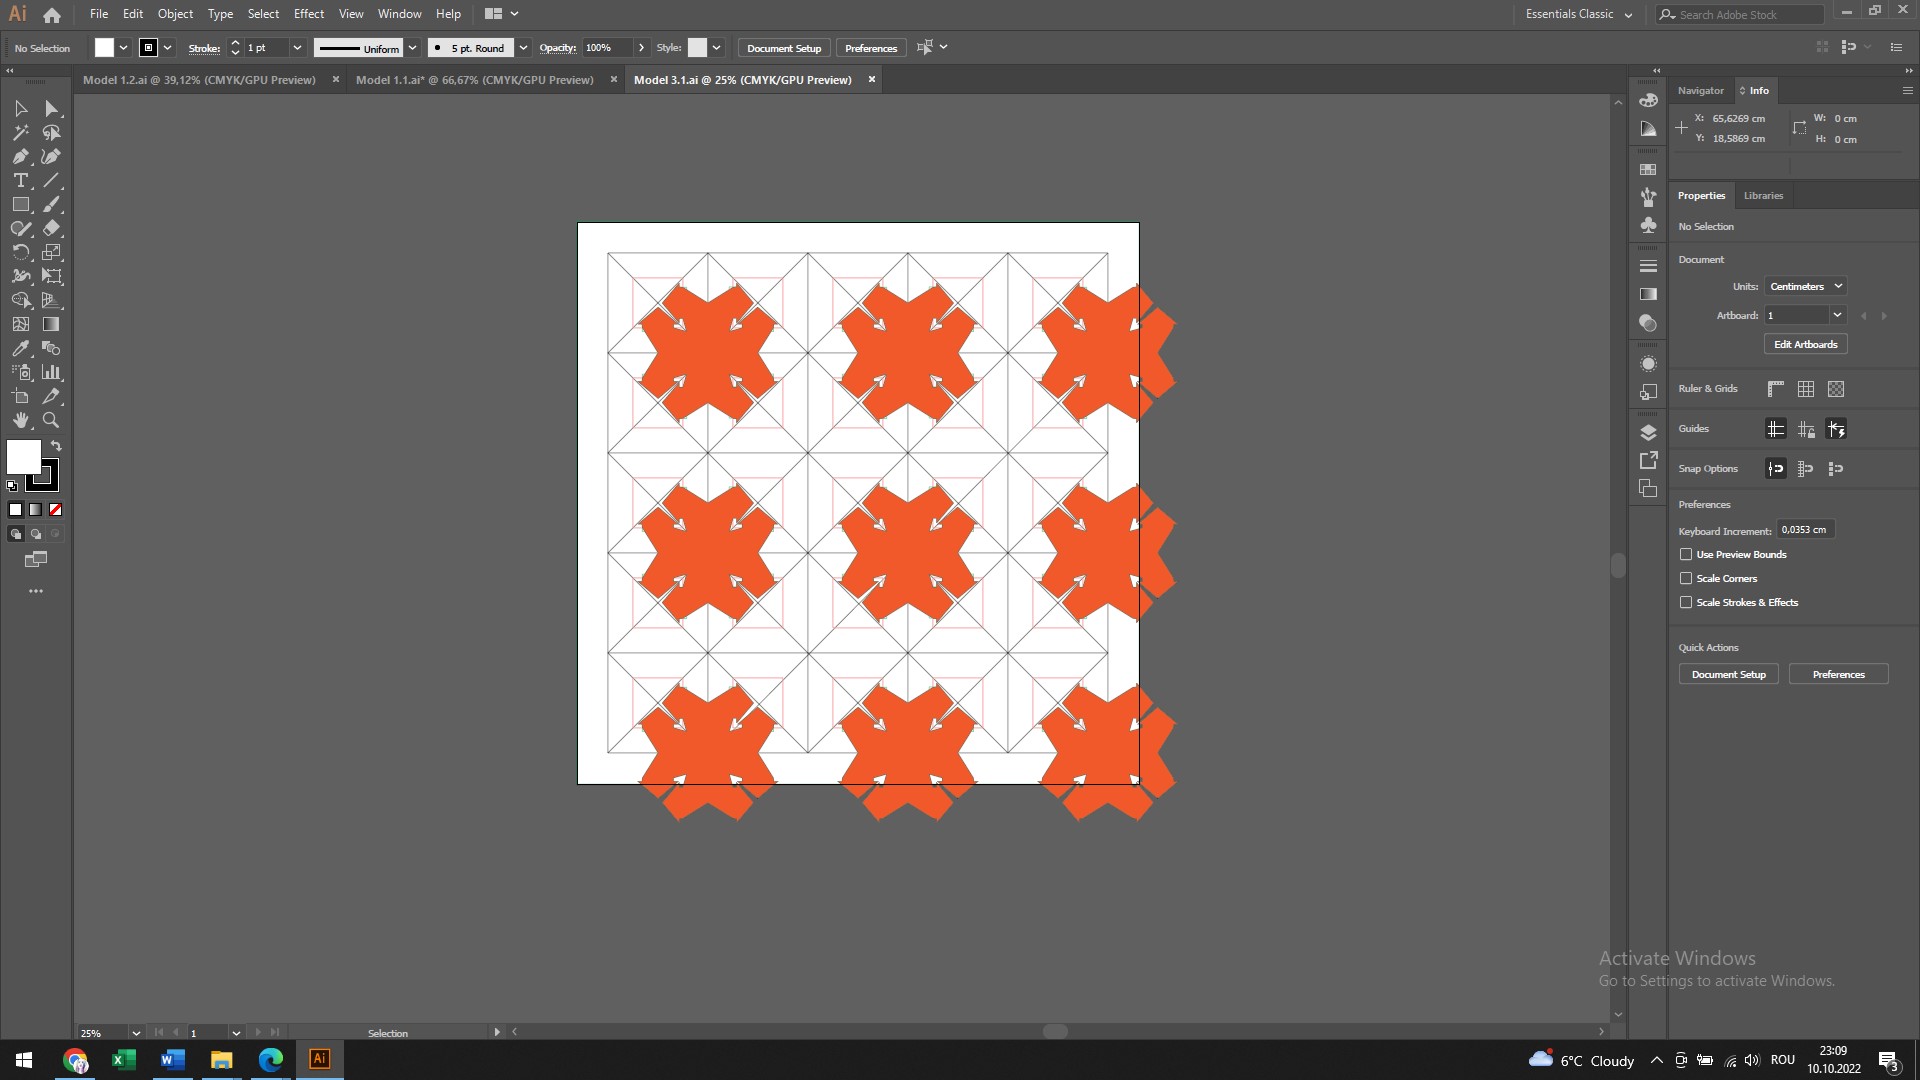
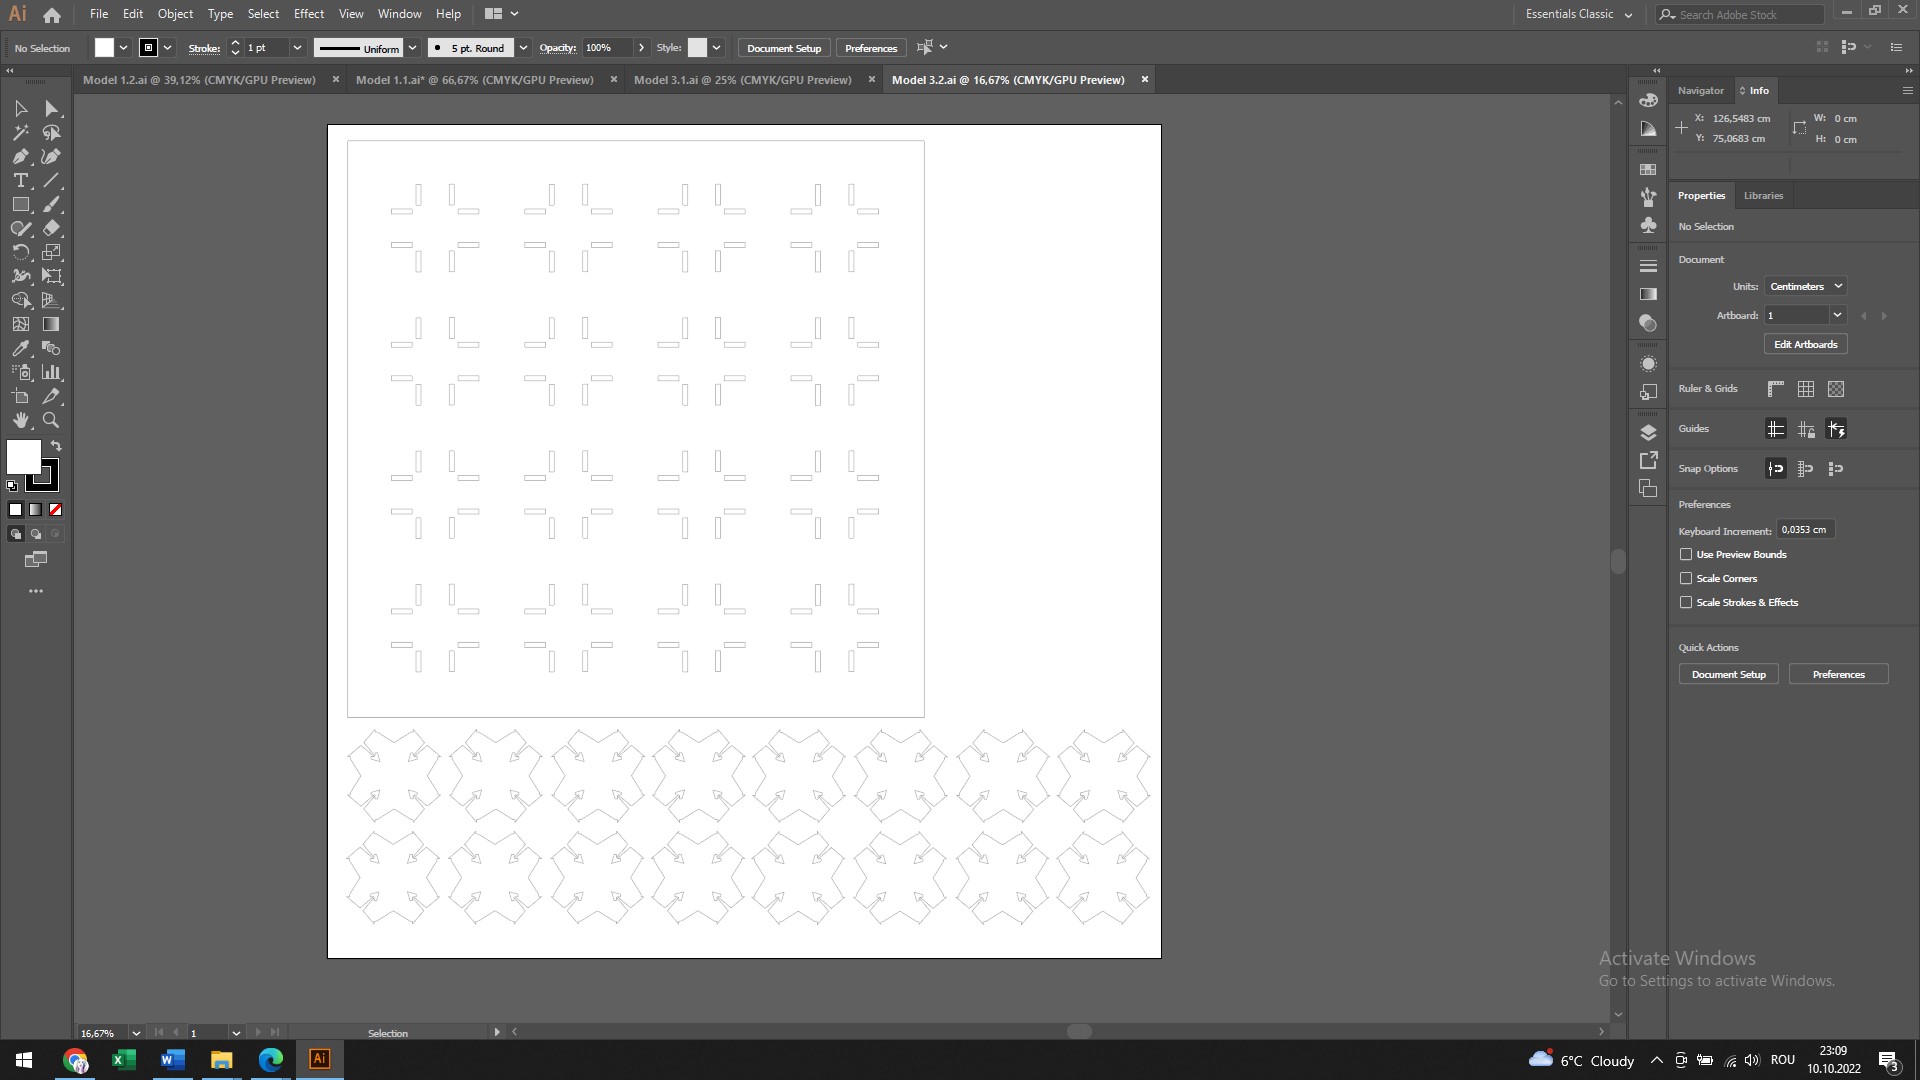
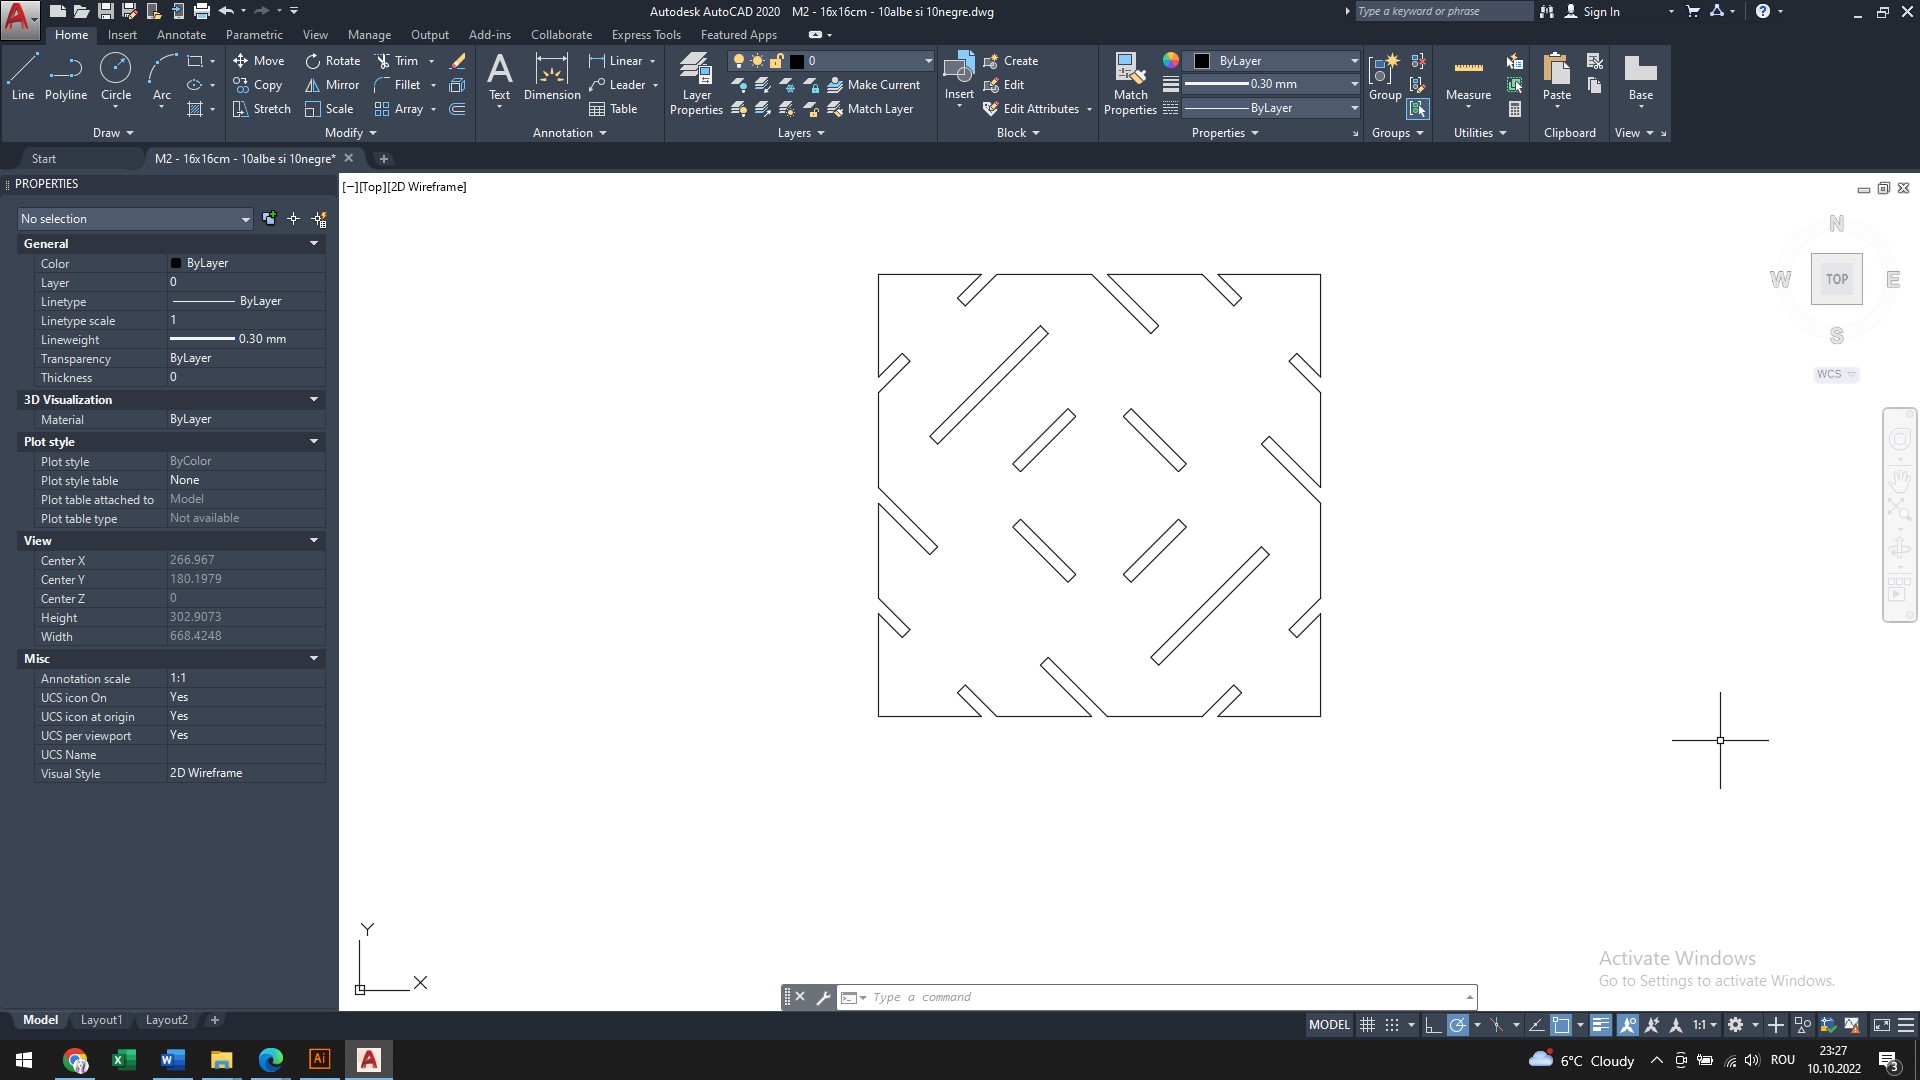
For model 3, I used AutoCAD.
Model 3

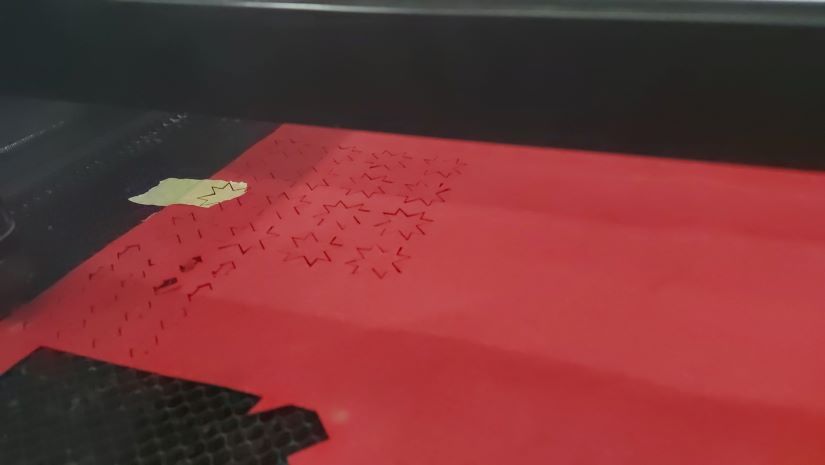
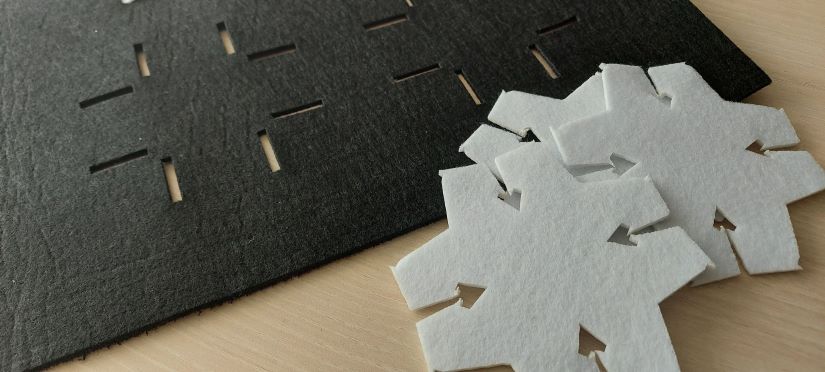
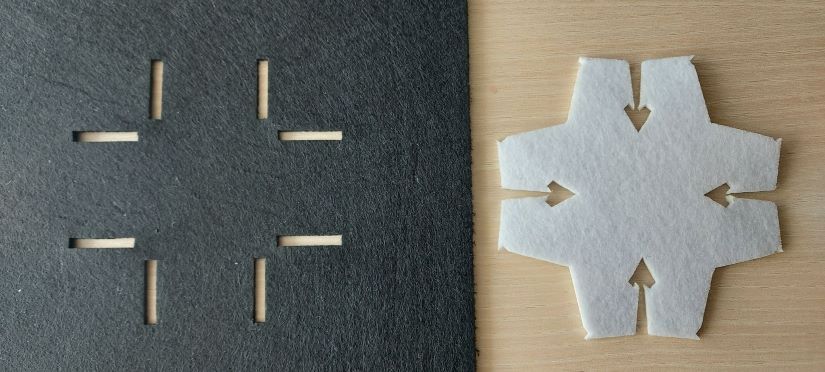
Step 3 - laser cutting
The cutting process is a very important one.
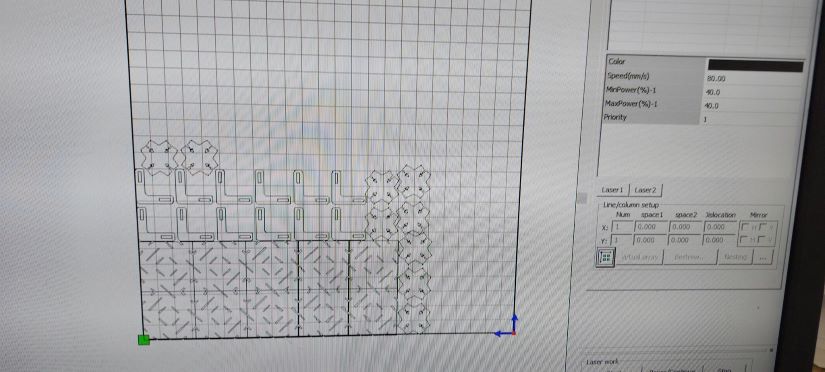
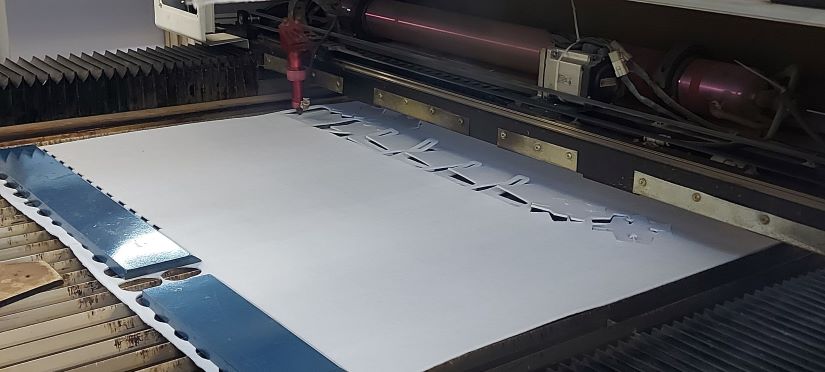
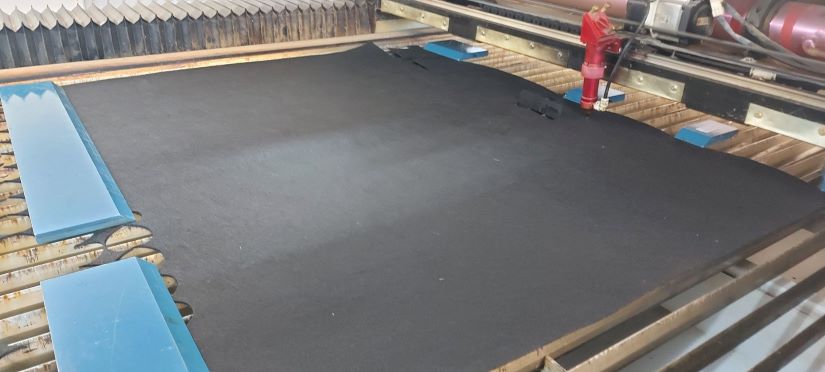
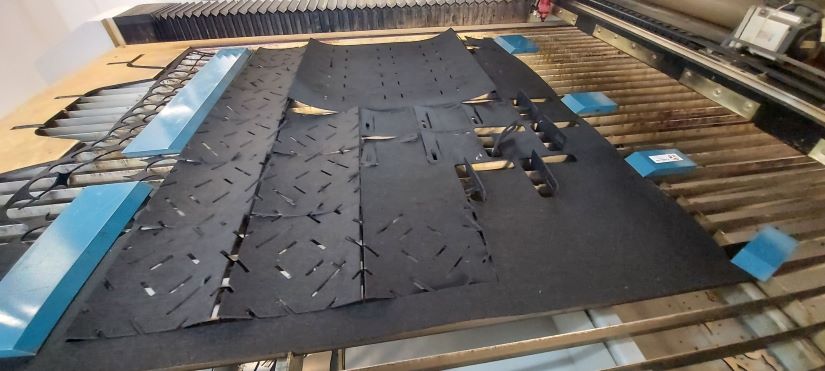
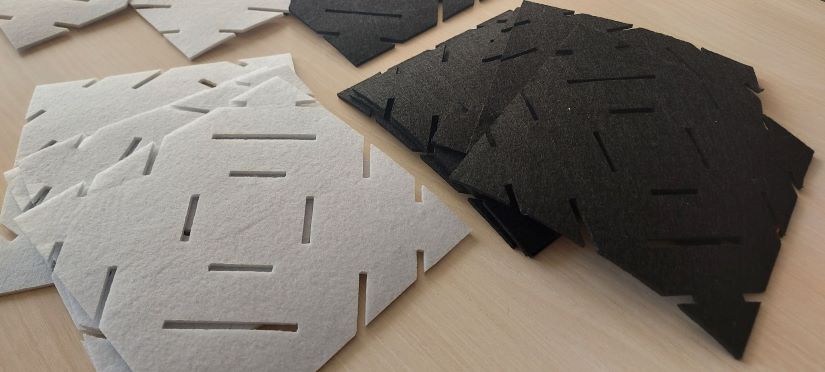
As material I used felt of two colors, white and black. Felt is a textile material that is produced by matting, condensing and pressing fibers together. Felt can be made of natural fibers such as wool or animal fur, or from synthetic fibers such as petroleum-based acrylic or acrylonitrile or wood pulp–based rayon. The dimensions of the felt are 200 x 101 x 0,4 cm.
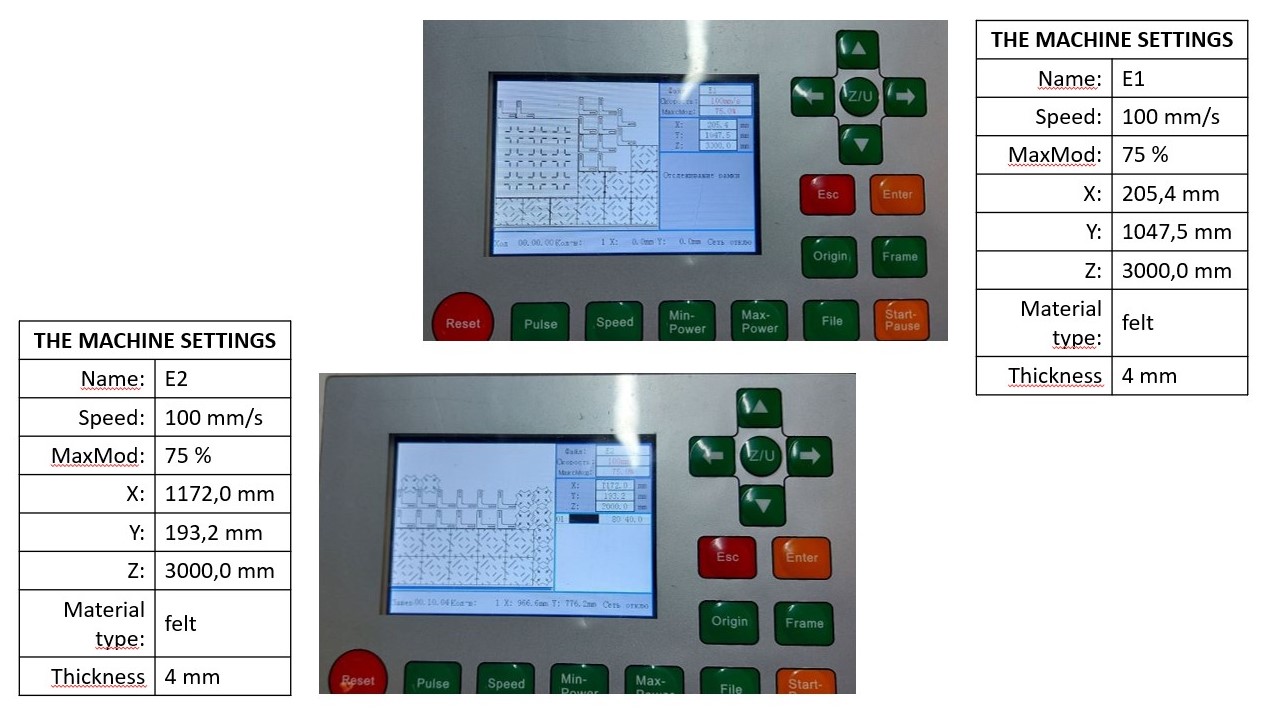
Here are the data of the laser used to cut the felt.
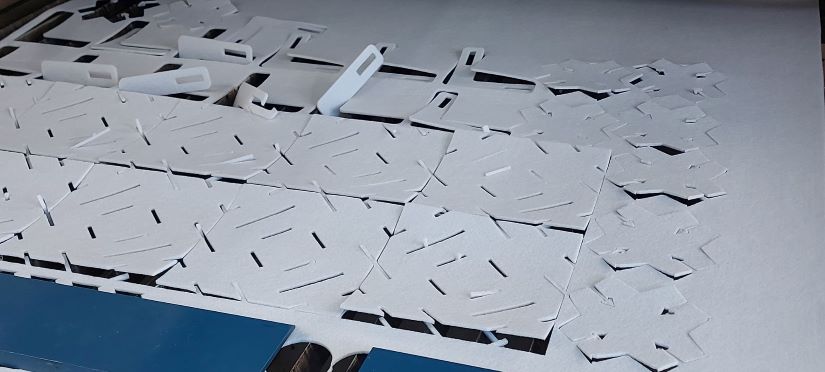
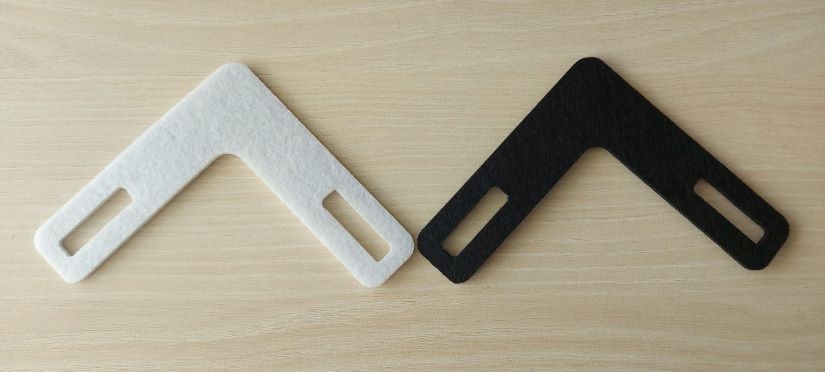
Step 4 - assembly of modules
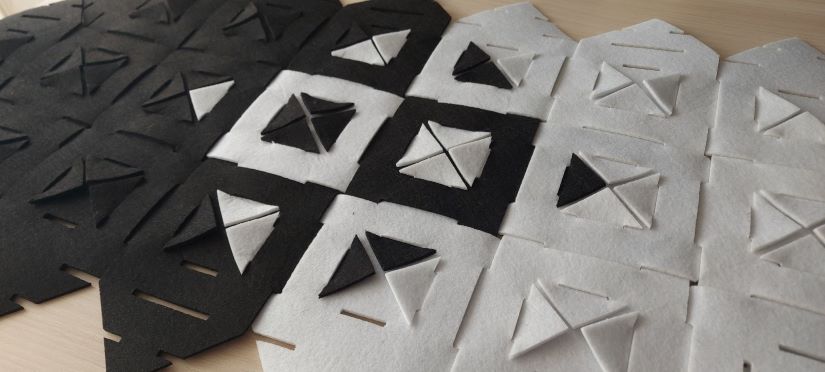
The assembly process was one of the simplest. But there was always the feeling that something was wrong. But in the end I got what I wanted.
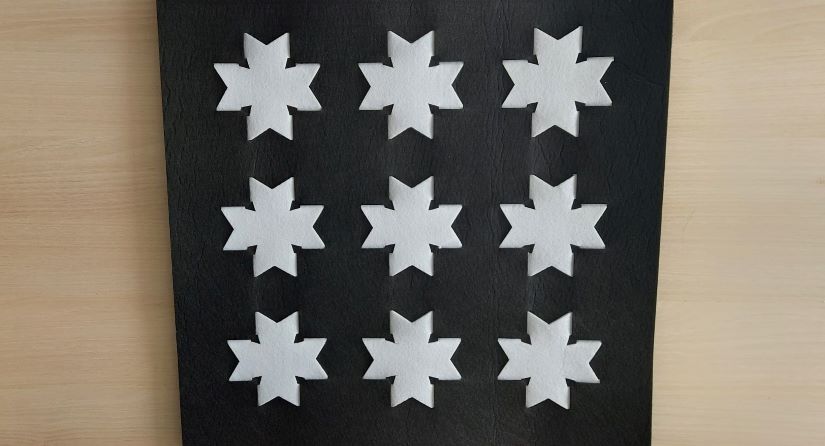
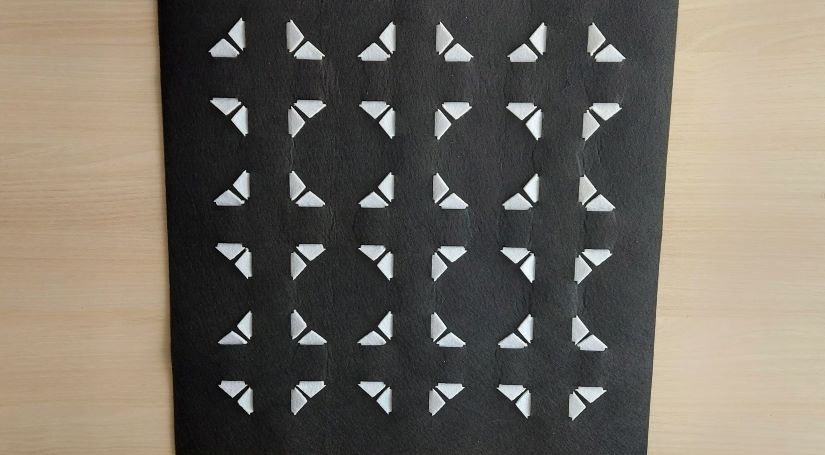
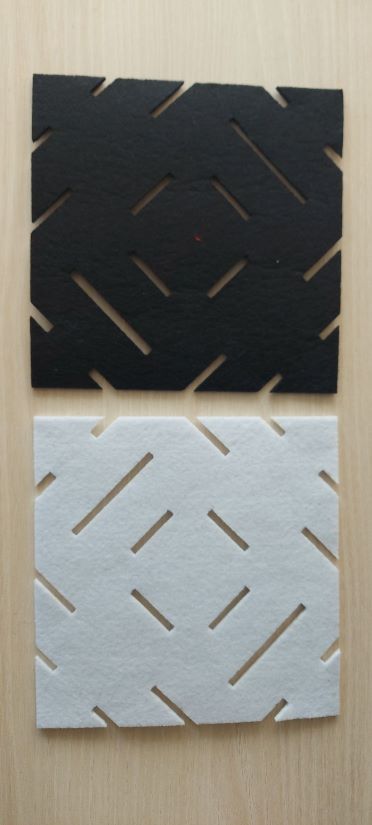
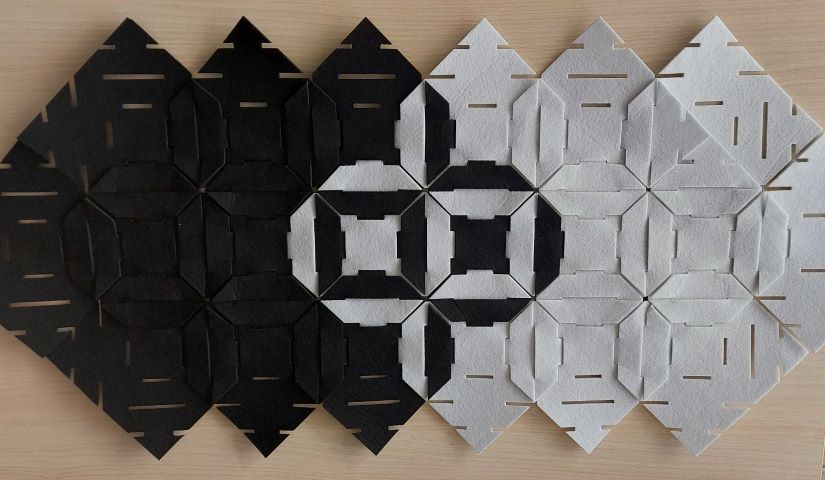
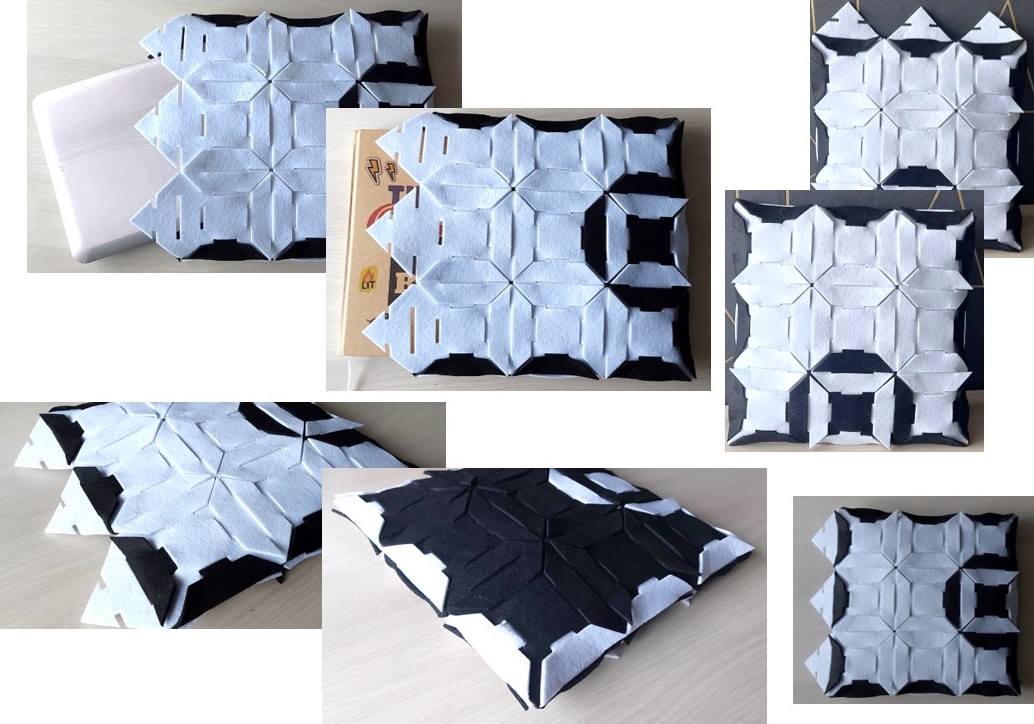
Below are all three models made by me. I used two colors to emphasize the play of shapes and the contrast of the modules. Each model made can be integrated into the creation of a clothing product or as a component part of an accessory. It can also be easily integrated into the interior design.
Model 1
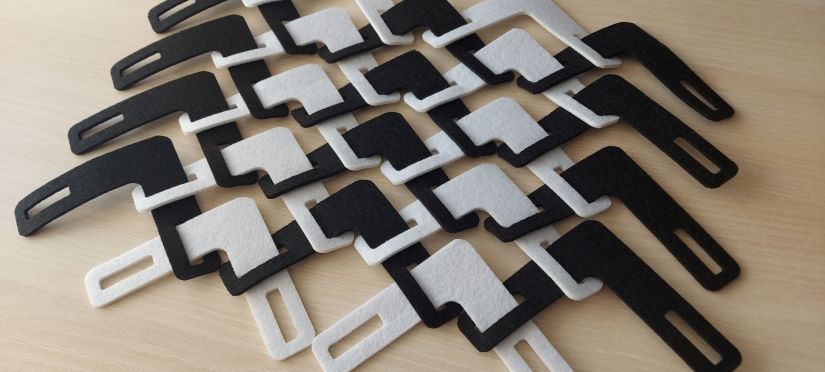
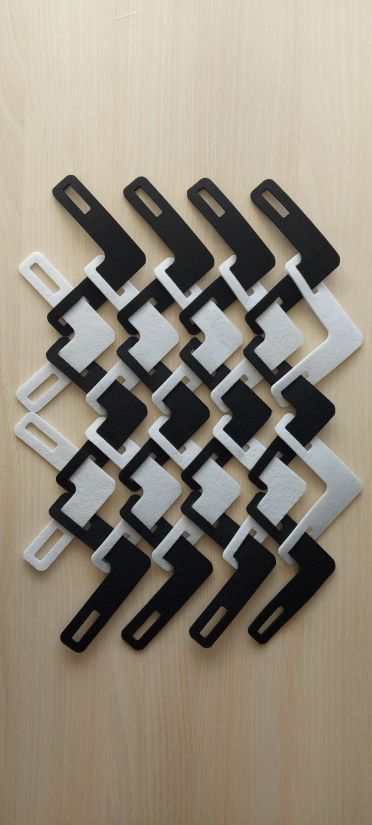
Model 2
Model 3
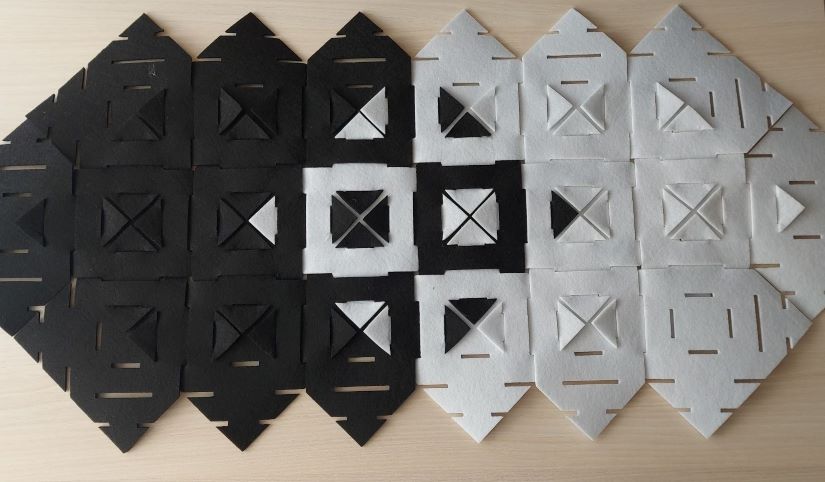
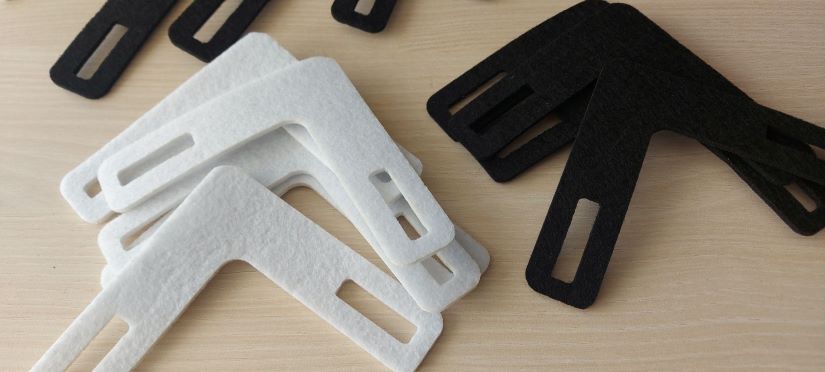
Model 1 is a not very successful model. The elements of the model are joined well, but have a large distance between them.
Model 2 is a model created from a surface with elements placed on it. This provides rigidity.
Model 3 is the most successful. It is made up of well-connected elements and with a well-presented ornament. This model passed the pull-stretch test very well.
Due to the thickness of 4 mm, these models can only be used as decoration elements inside a room (decorative floor or wall carpet, textile component for a lamp, etc.) To insert the models into clothes, it is necessary to use another type of material.
Also, this model can be used as a notebook, tablet or book cover. To create this cover, it is necessary to interlocked the sides and the top.
weekly assignment!!!
Inspiration is everywhere!!!
attention!!!
Important! Don't touch the laser!
inspiration!!!
Fabrication files
-
File: Model 1 - 10x10 cm ↩
-
File: Model 2.1 - 48,37x48,37 cm ↩
-
File: Model 2.2 - 10,97x10,97 cm ↩
-
File: Model 3 - 16x16 cm ↩