Class 1 - Margiela Dress
For this first tutorial, the pattern of the dress was already completely realized, there remained only the assembly, the finishes and the properties of the fabric to be arranged.
1 - Assembling pieces of clothing
To assemble the pieces, I went through the 2D window and I used the sewing tool to assemble the different pieces between them. We can assemble pieces with the Segment Sewing Tool, then just click on the 2 extremities of the segments that the have wants to assemble. For more specific assembly techniques, there is another free sewing tool.
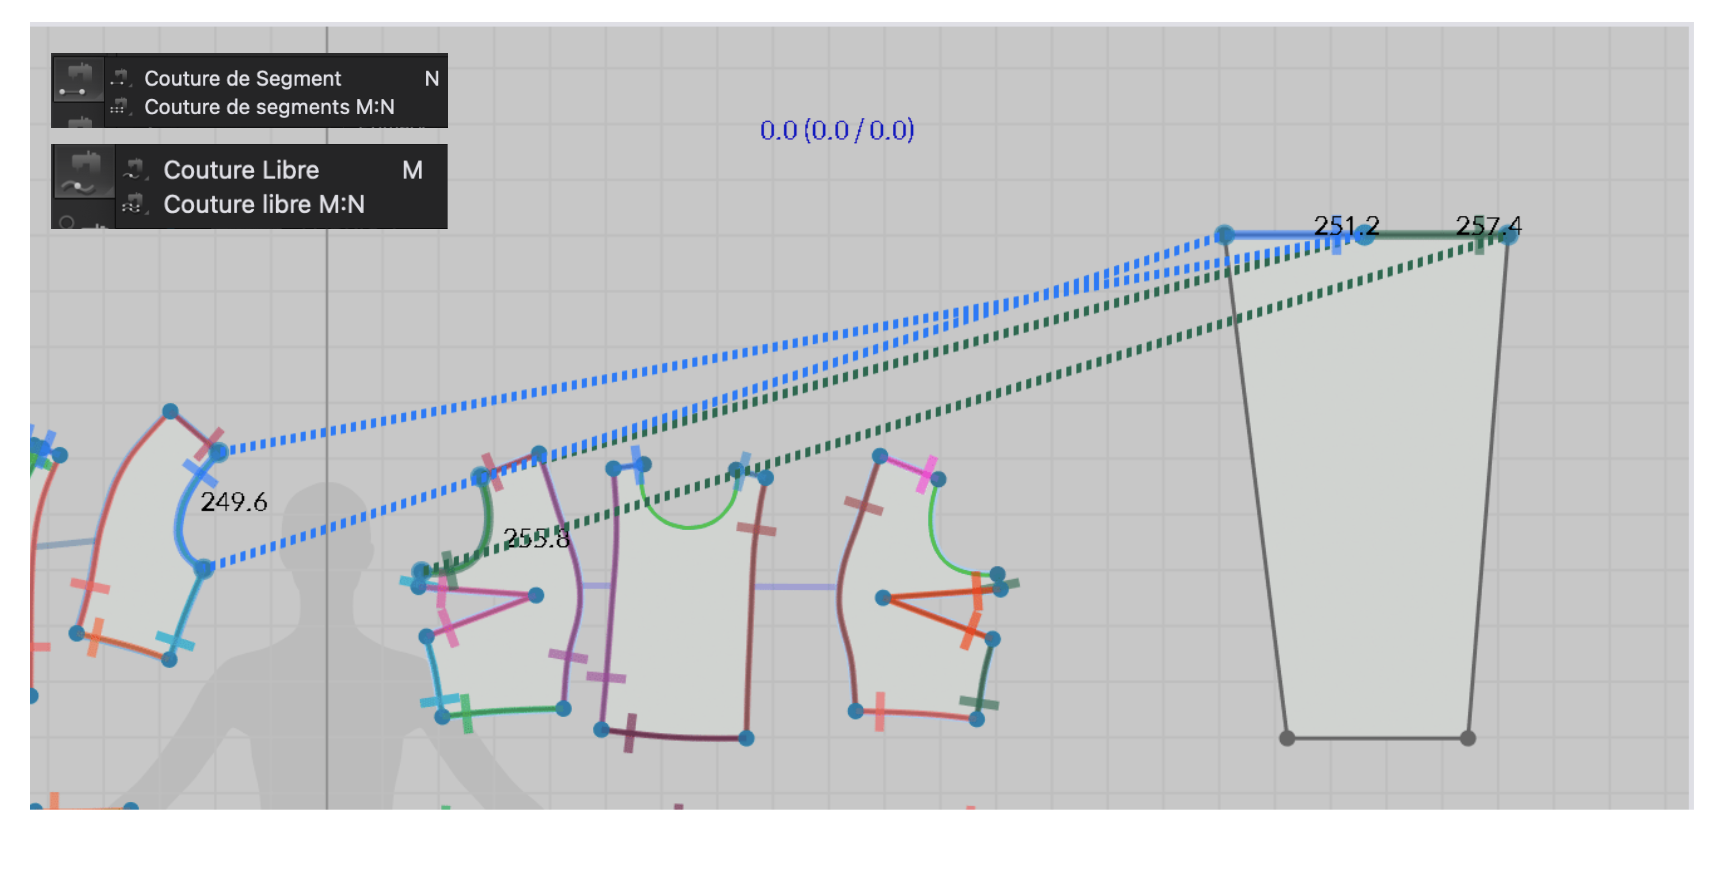
Then simply place the pieces on the avatar thanks to the reference points and press the simulation buttons.
2 - Modification of a pattern
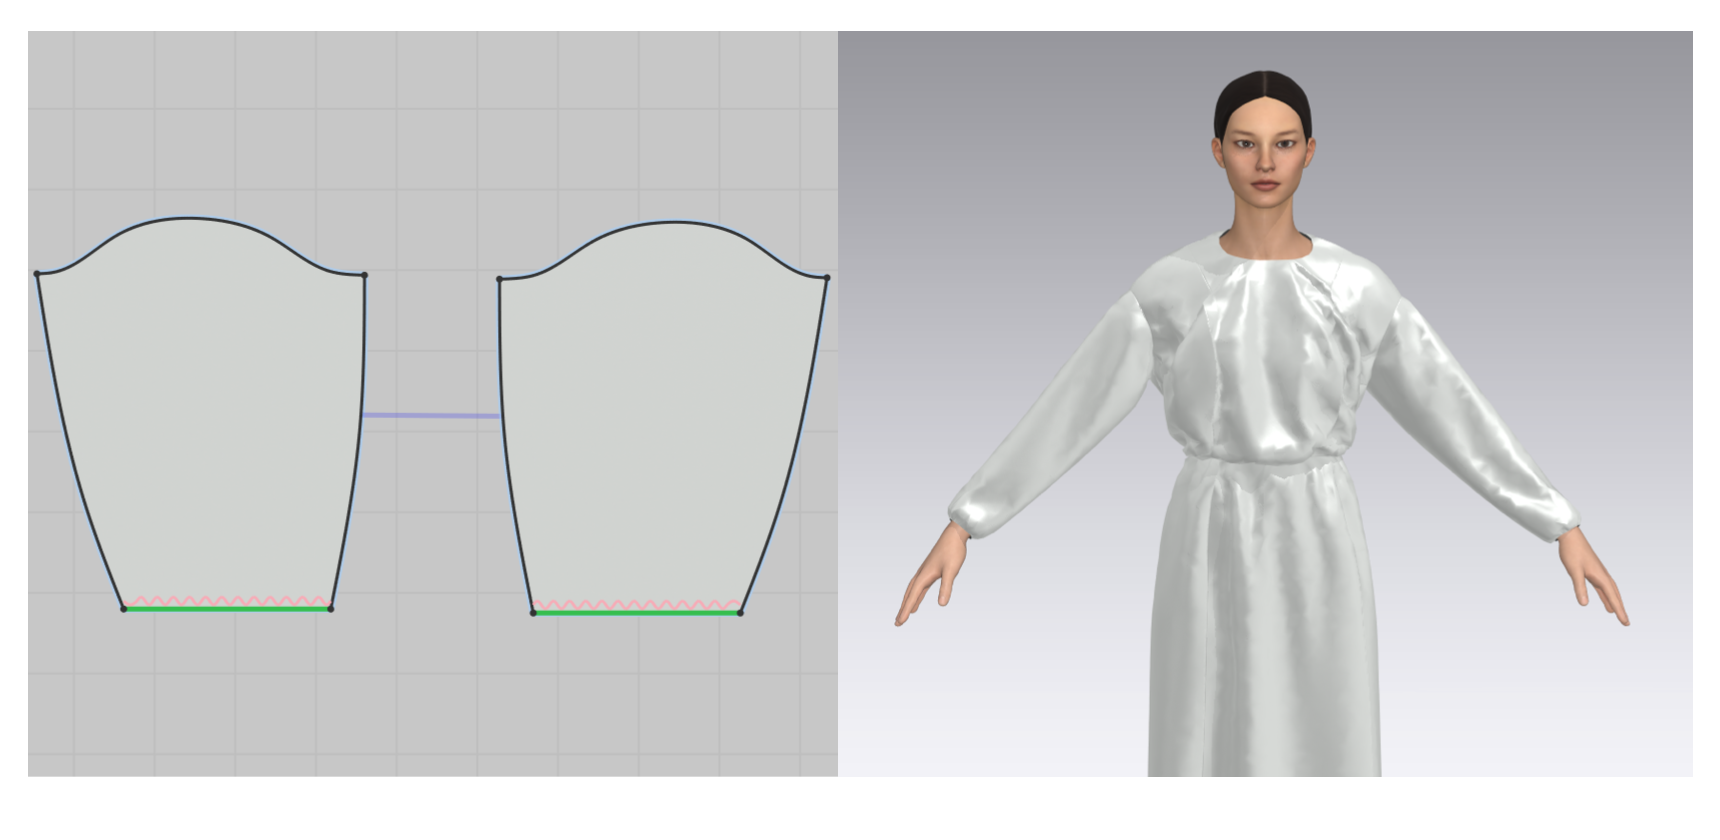
Then I slightly modified my pattern thanks to the editing tools in the 2D window. I started by changing the length of the dress, for this I pressed shift and I selected all the parts that I wanted to reduce or lengthen to obtain an equal length on all the pieces of the pattern.
![]()
![]()
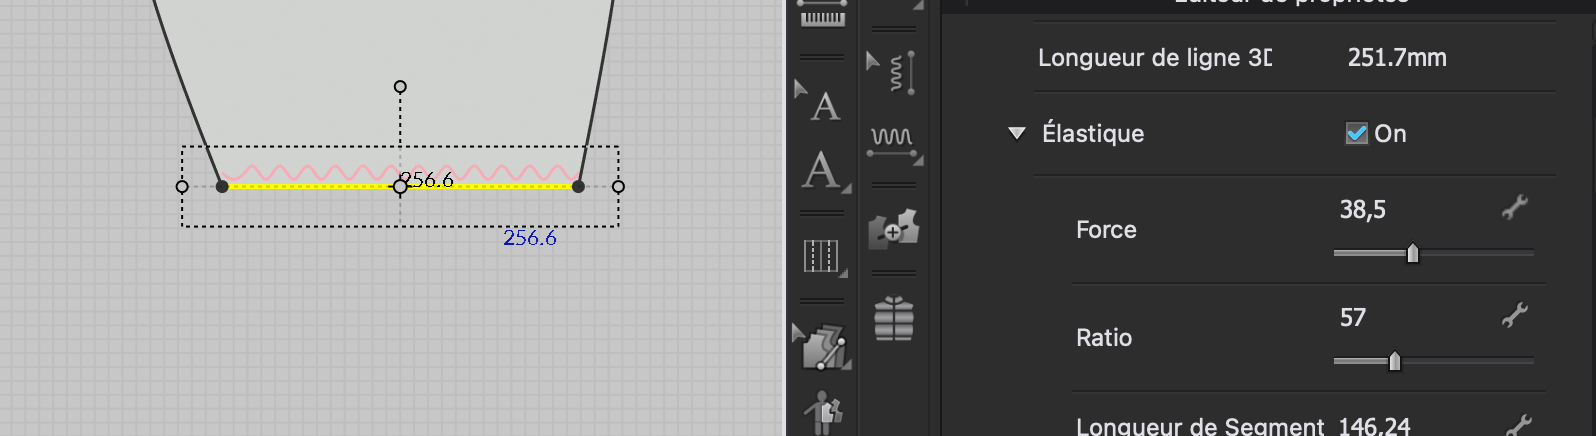
3 - Waistband
I learned how to add elastics, change their width and strength thanks to the property editor.
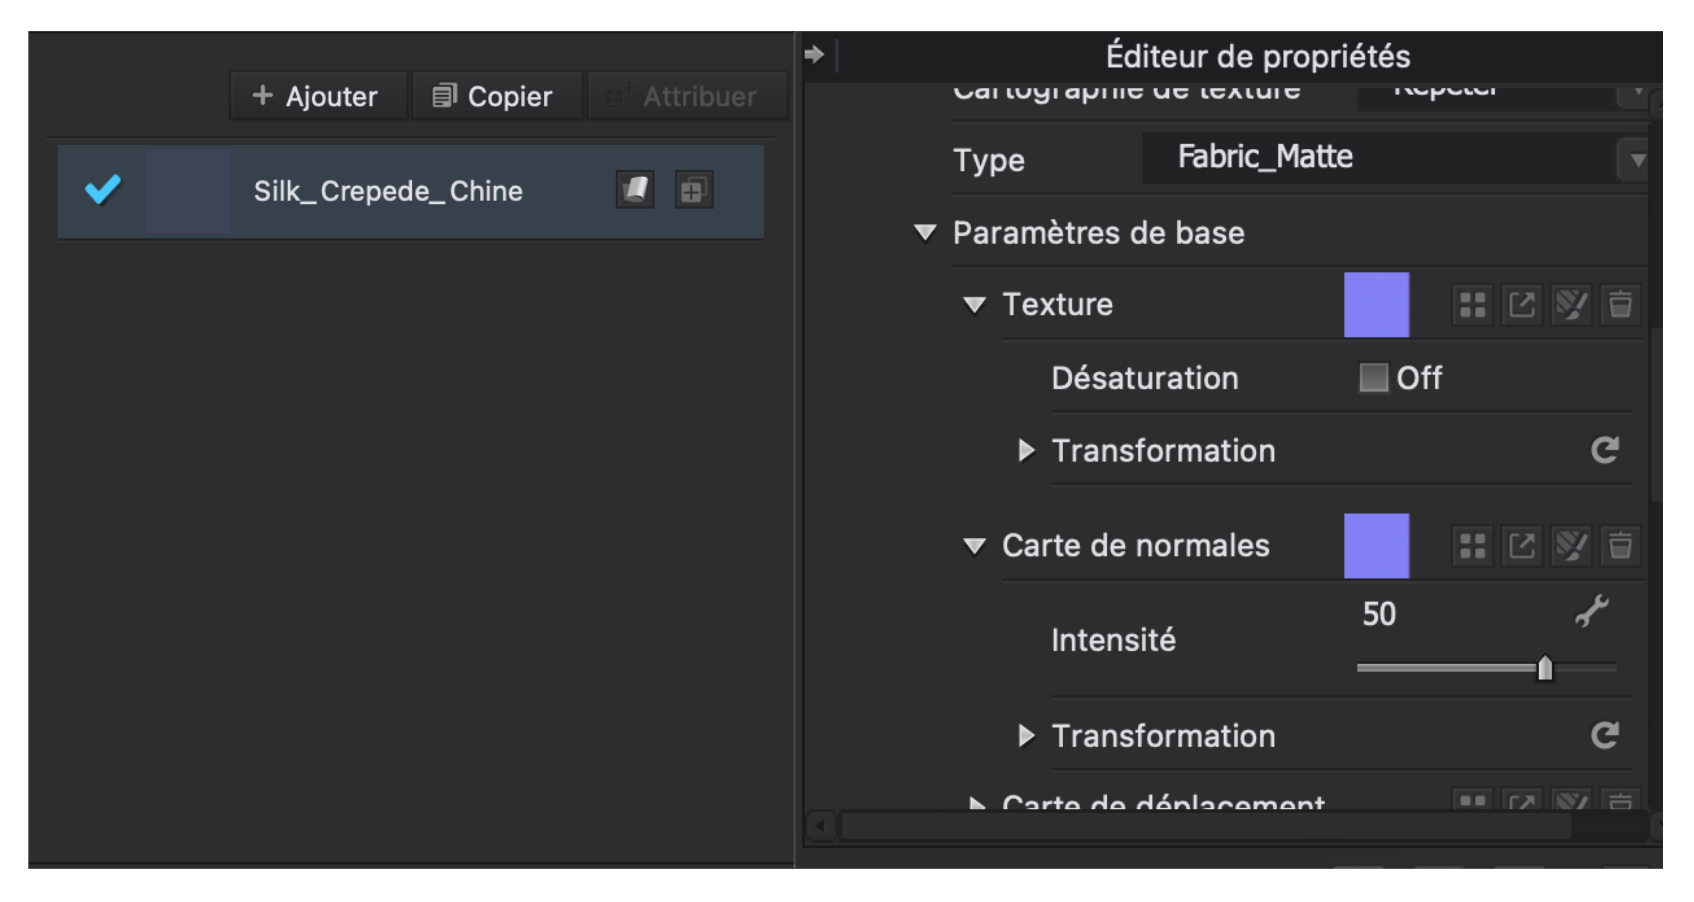
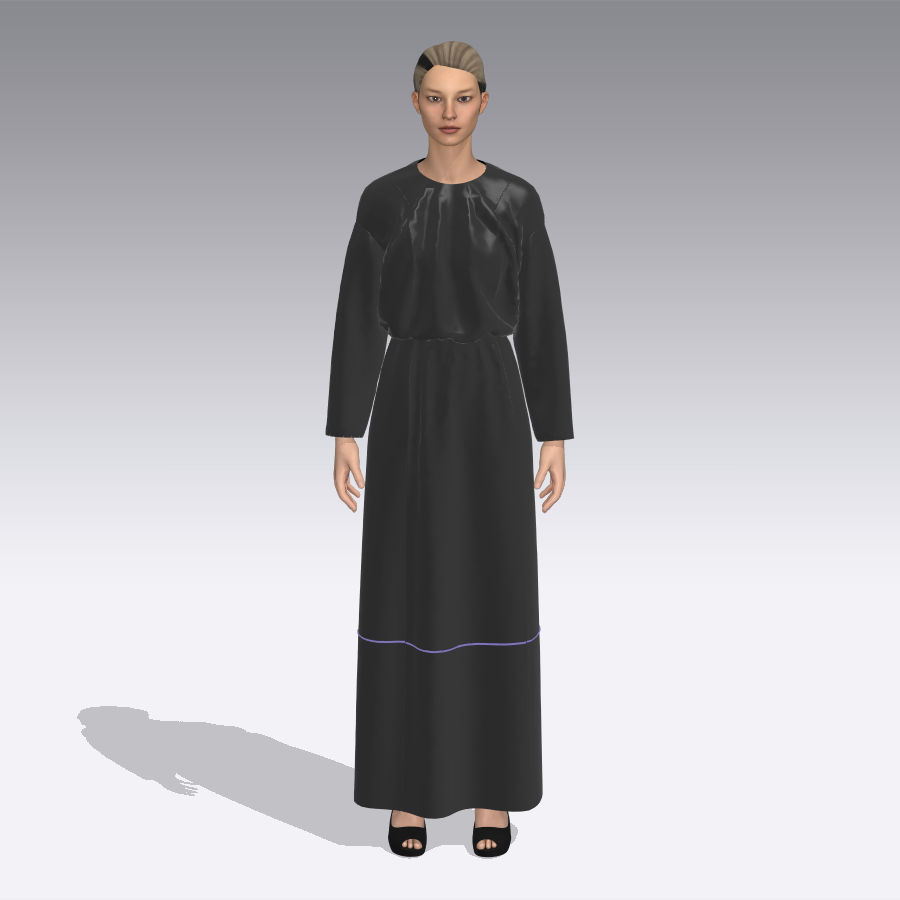
4 - Material properties
I also saw how to import a material and I had fun with the property editor to change its characteristics (if you want a matte, metallic, glossy, transparent, colorful fabric, etc )
Class 3
1 - Zipper
Firstly, we learnt how to put a zipper on a garment. We just have to click on the zipper button on the 3D window, followed by selecting the part we want to close. Then it's possible to change zipper properties like the width of the braid, the size of teeth, the shape and the color thanks to the editor properties.

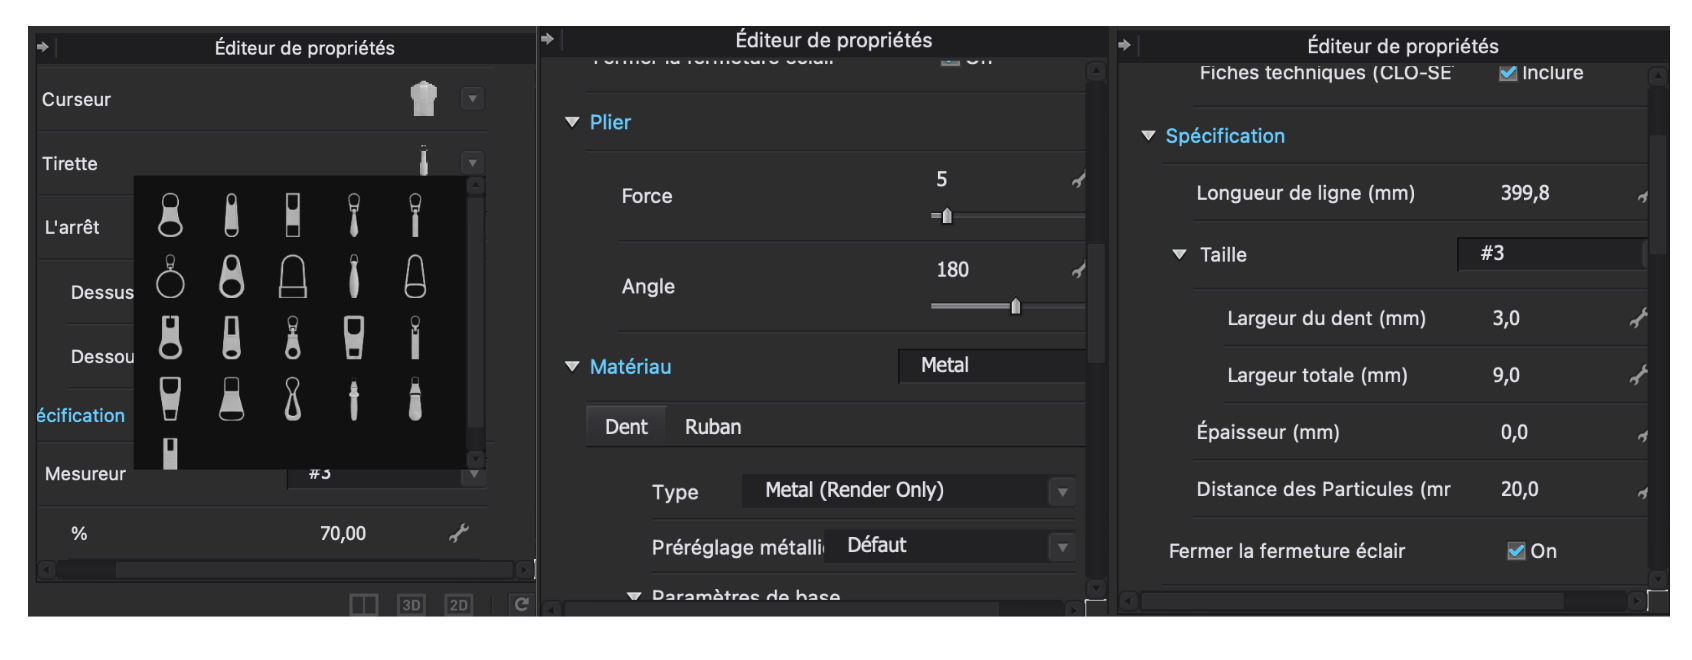
Pay attention to the base of the zipper so that it starts at equal height on both sides and that the space not sewn at its extremity is as small as possible.

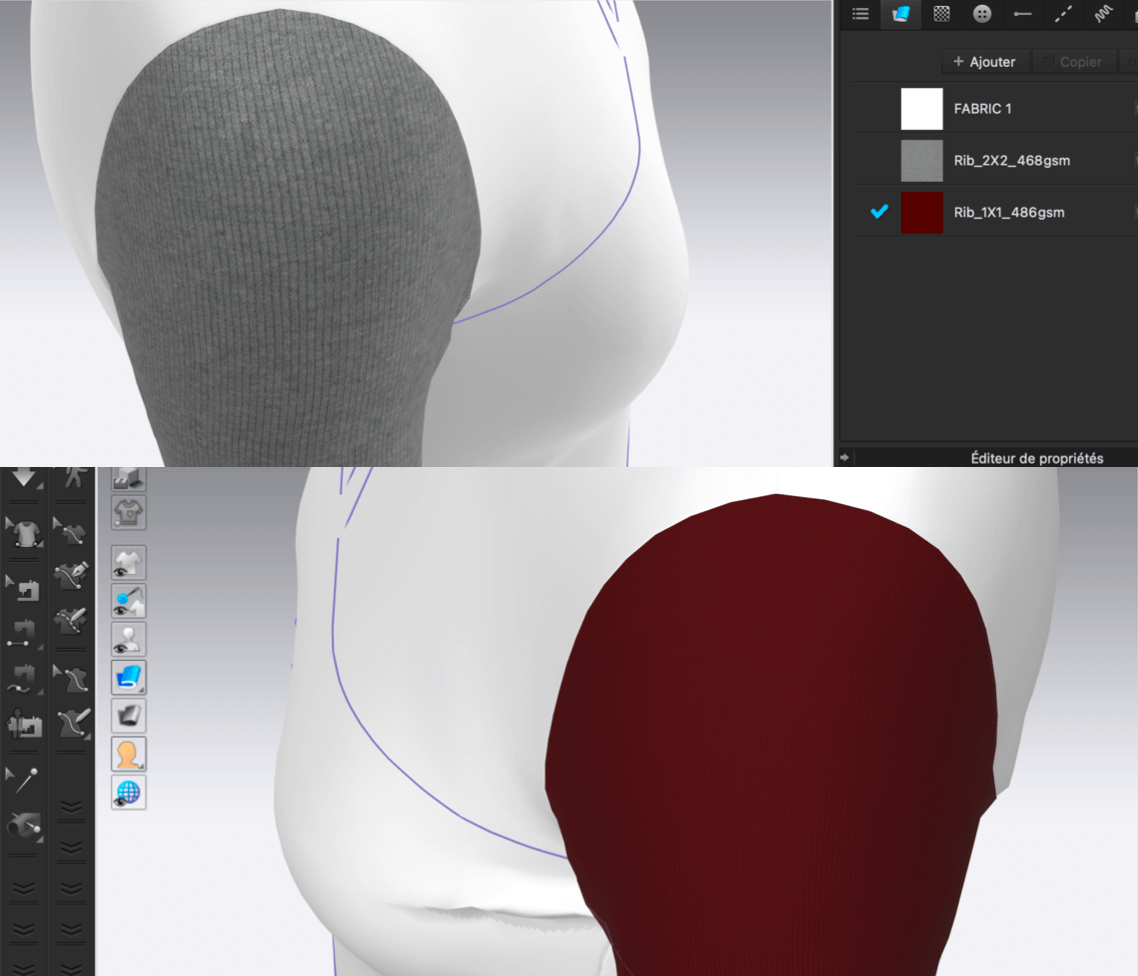
2 - The material and it's finishes
We worked on the properties and finishes of the materials. To do this, I started by importing 2 different materials on the sleeves to have fun with the textures, thicknesses and colors of these. It also makes it easier to see the visual differences between the two sleeves.
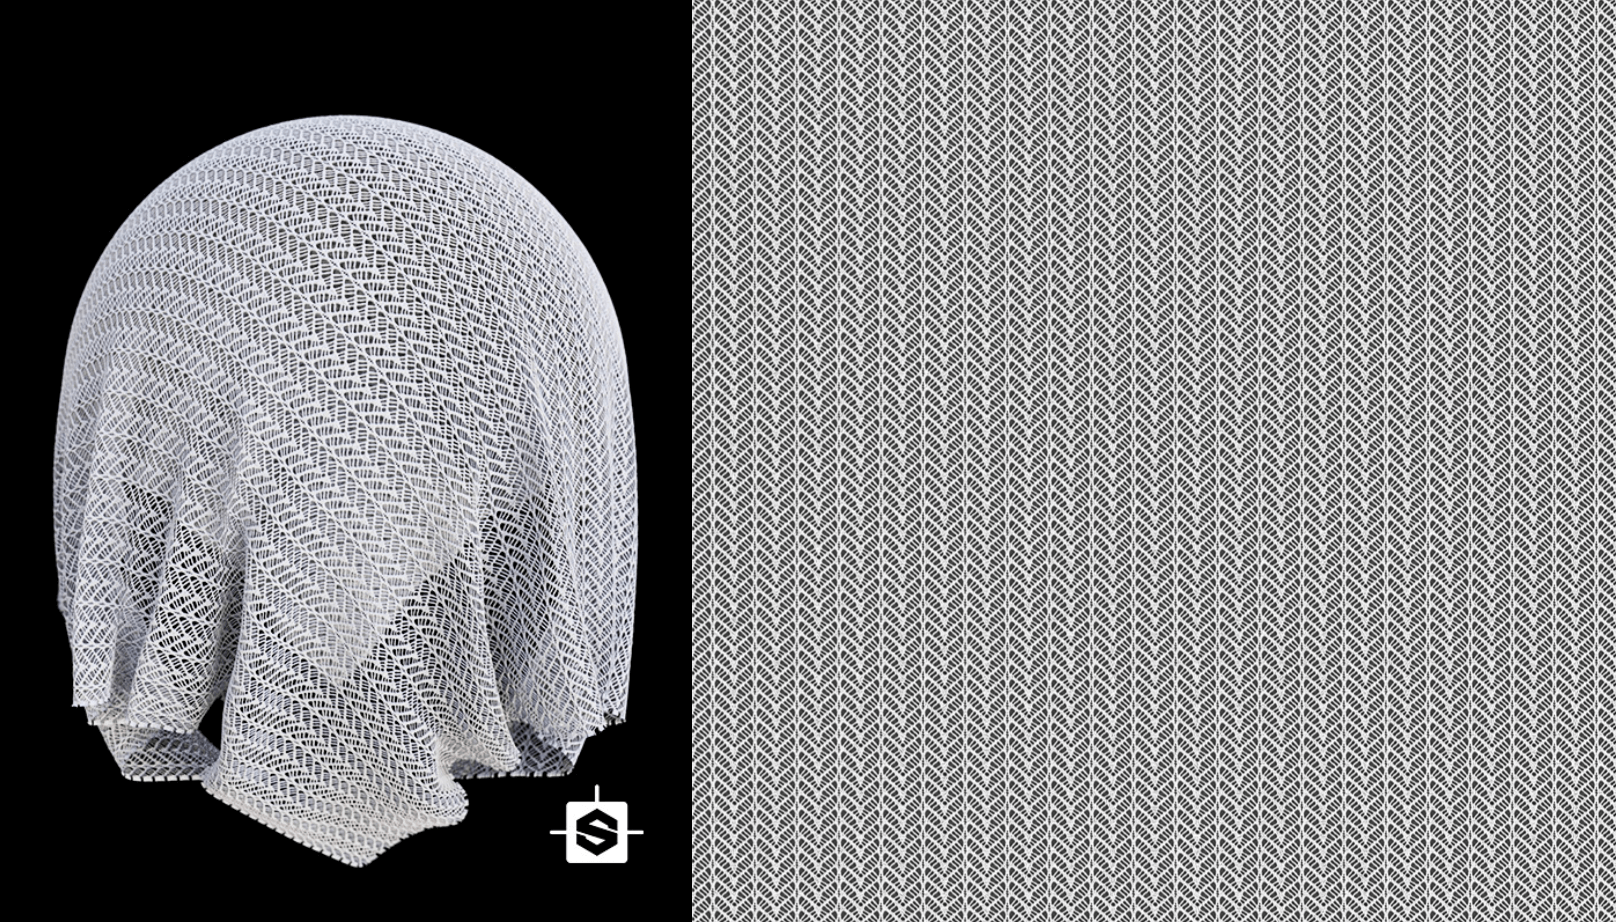
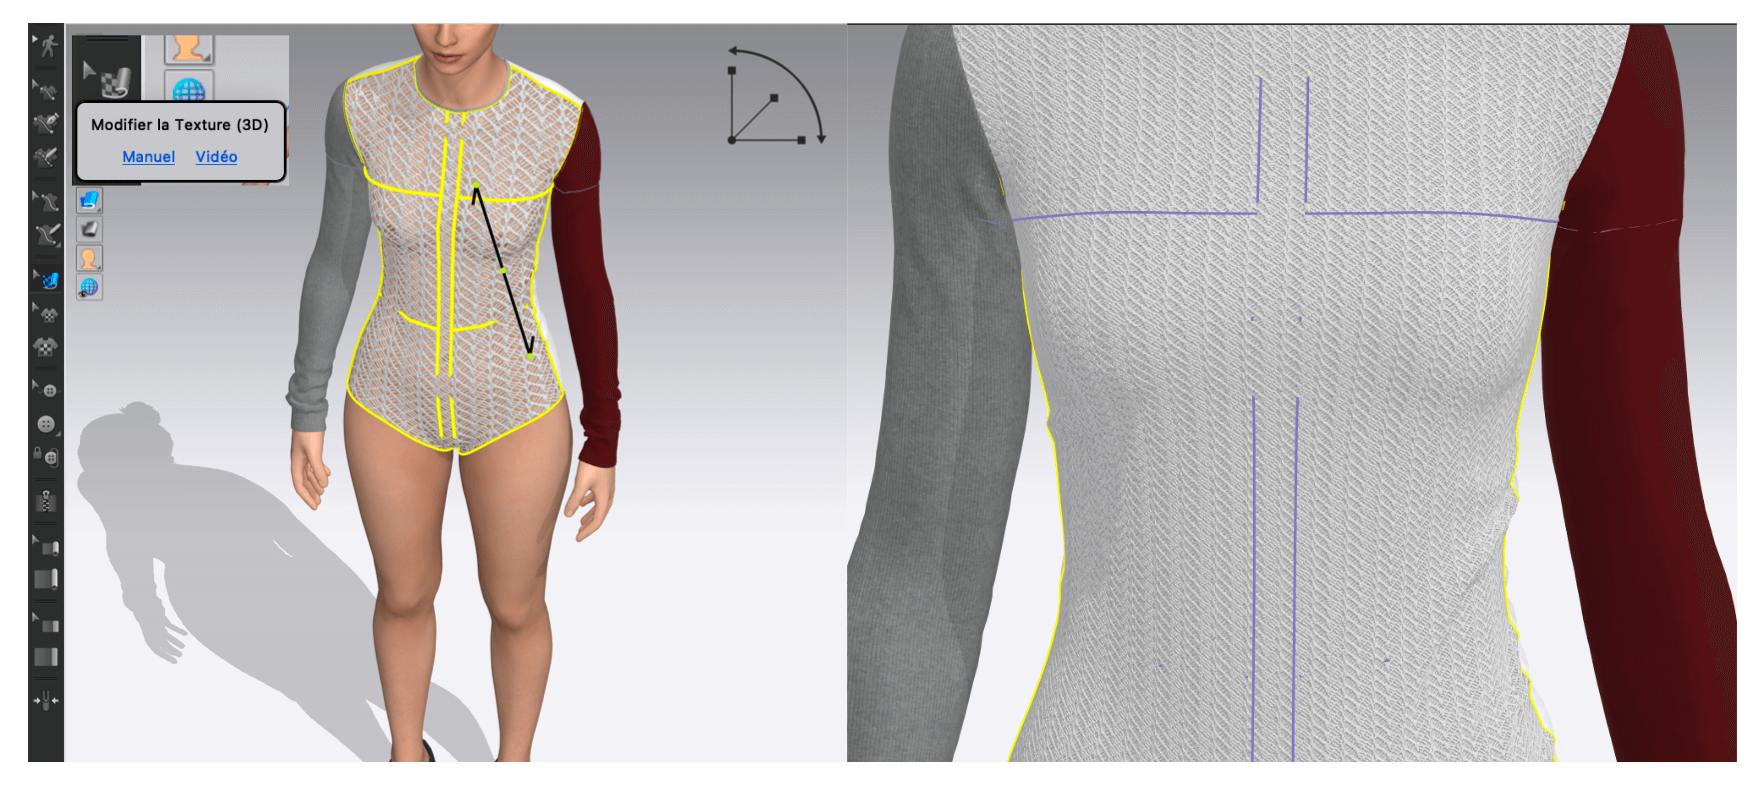
Then I uploaded this textile that we were shared on google drive. An openwork fabric allowing a great diversity of renderings according to the characteristics attributed to it.
Thanks to the “modify texture“ button, we can adjust the size of the patterns and its layout.
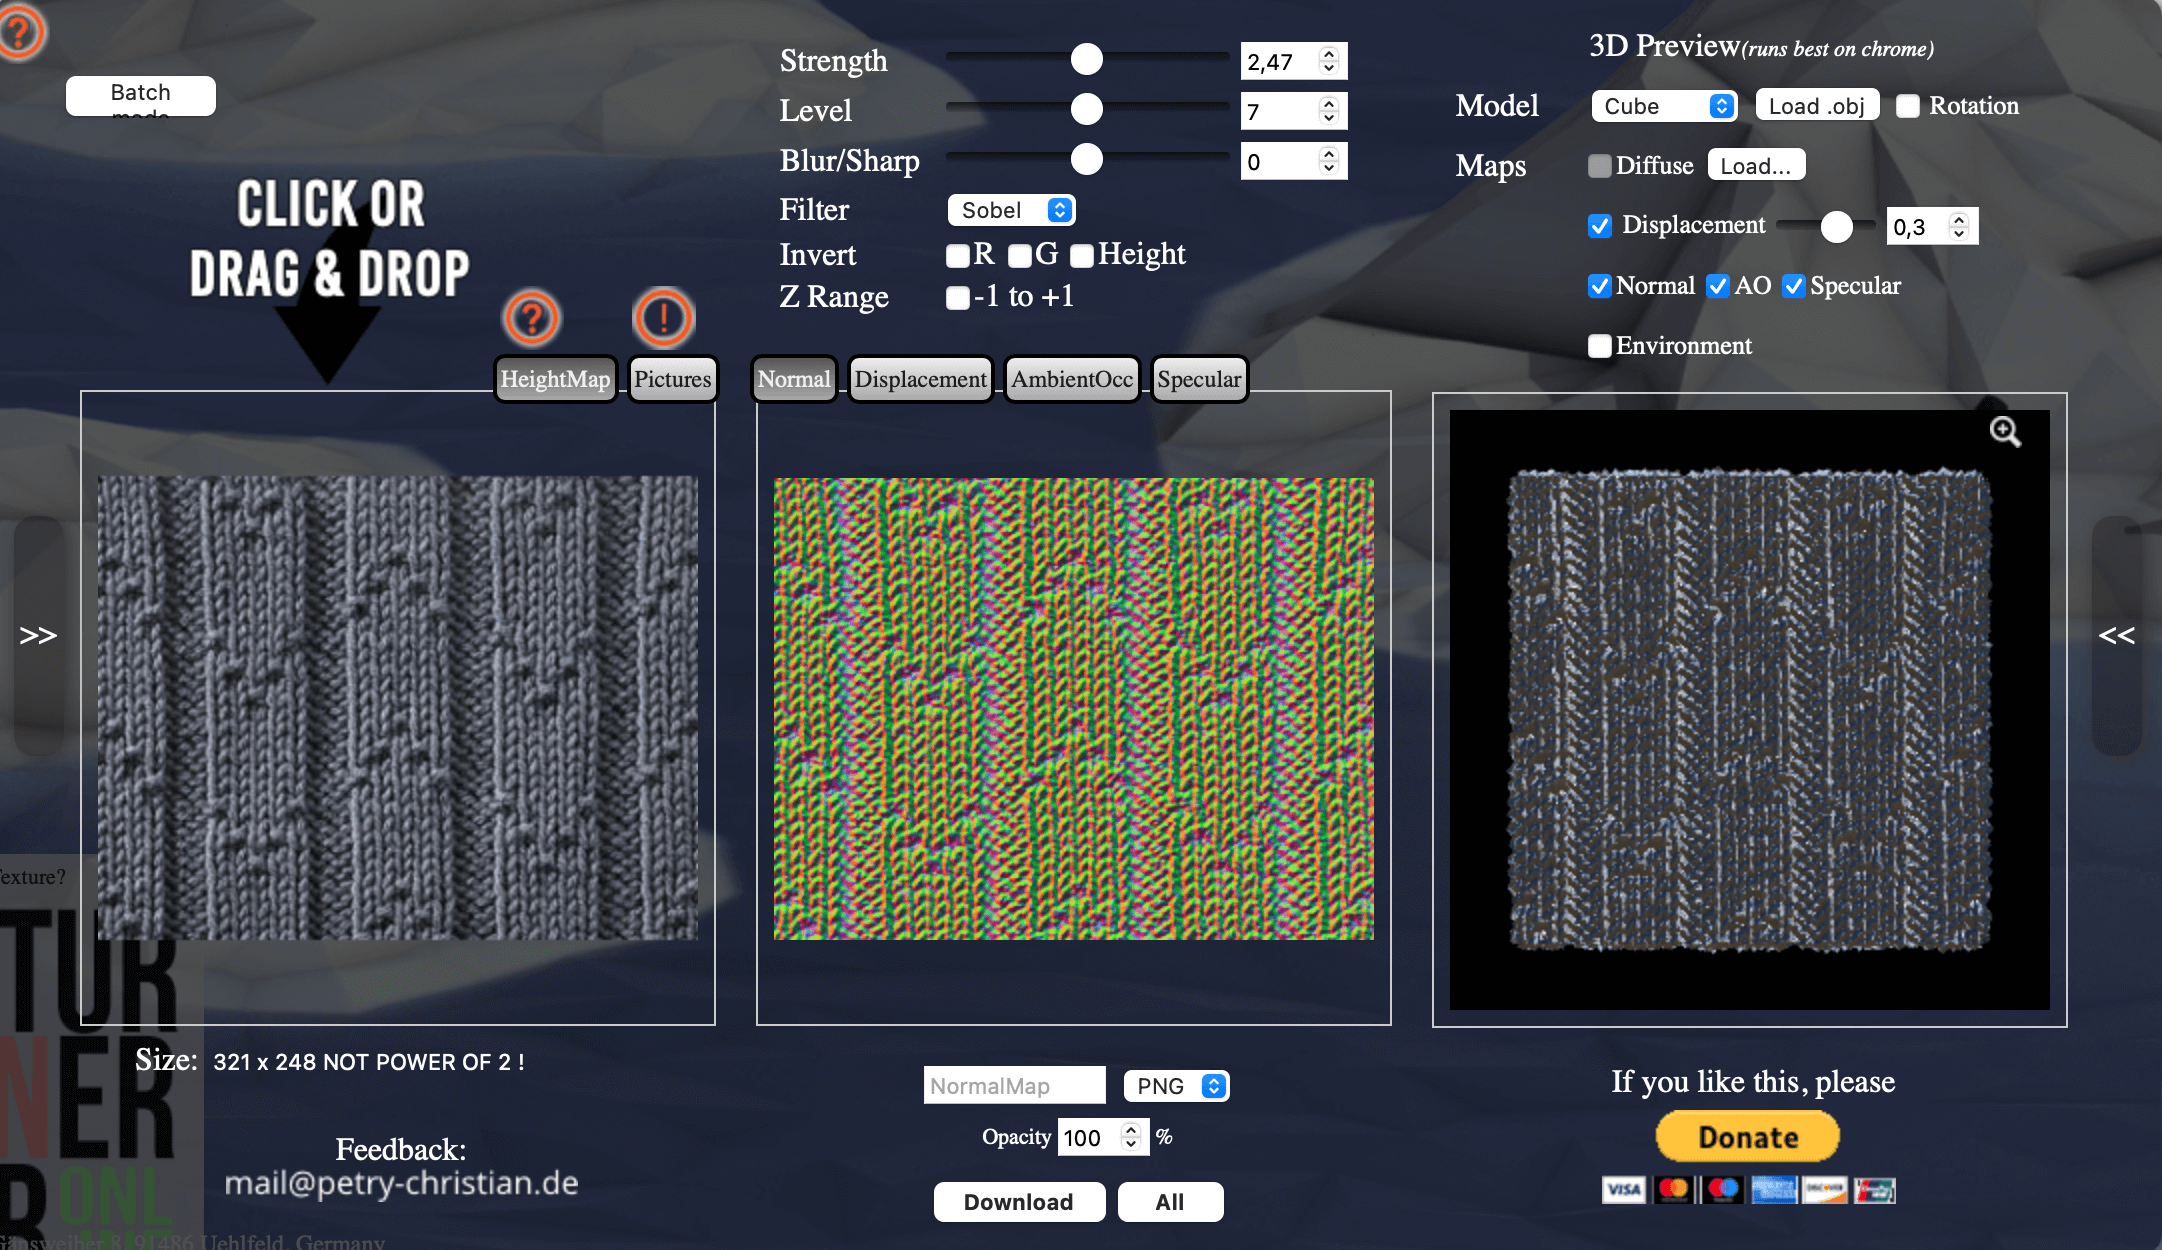
There are websites on which we can download different materials and then import them on Clo3d as the 3D Texture website. There is also a website called Normal Map Online made to modify the properties of a material.
3 - Add a logo
Finally, we saw how to add a logo or a drawing on a garment. Here we uploaded a logo in png format and then we imported it directly from the Clo3d software. Then just place it as we please... it’s no more complicated than this.
![]()
4 - Add a pocket and stitching
As for the rest of the garment, just trace the pocket shape you want, add seam values and assemble through the Free Sewing Tool or by segment.

Then we add the topstitch or seam for finished rendering and representative of the reality. To do this, simply go to the object browser and then to the topstitch menu. All that remains is to choose what type of seam you want and place it.

Class 4 - Fold and pleats
There are different ways of creating folds, depending on the type of folds one wants or its arrangement. In this course we have seen several ways to do this.
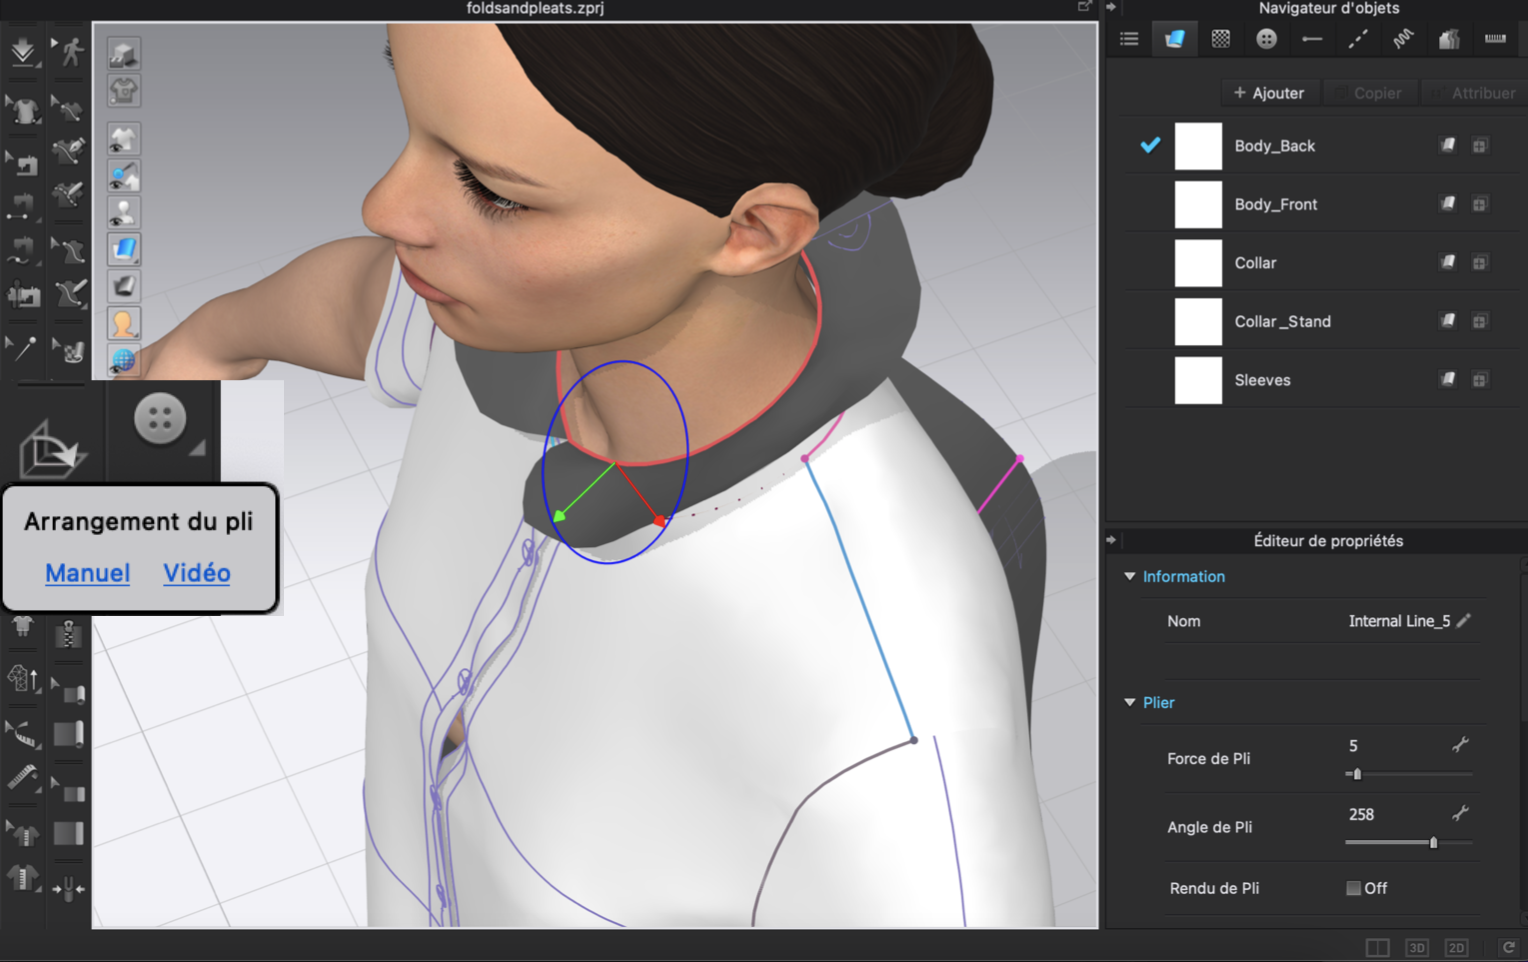
1 - Shirt collar
The first way of doing this is rather suitable for simple folds such as sleeves or collar lapels. Simply select "fold arrangement" in the 3D window and choose the angle you want manually with the arrows.
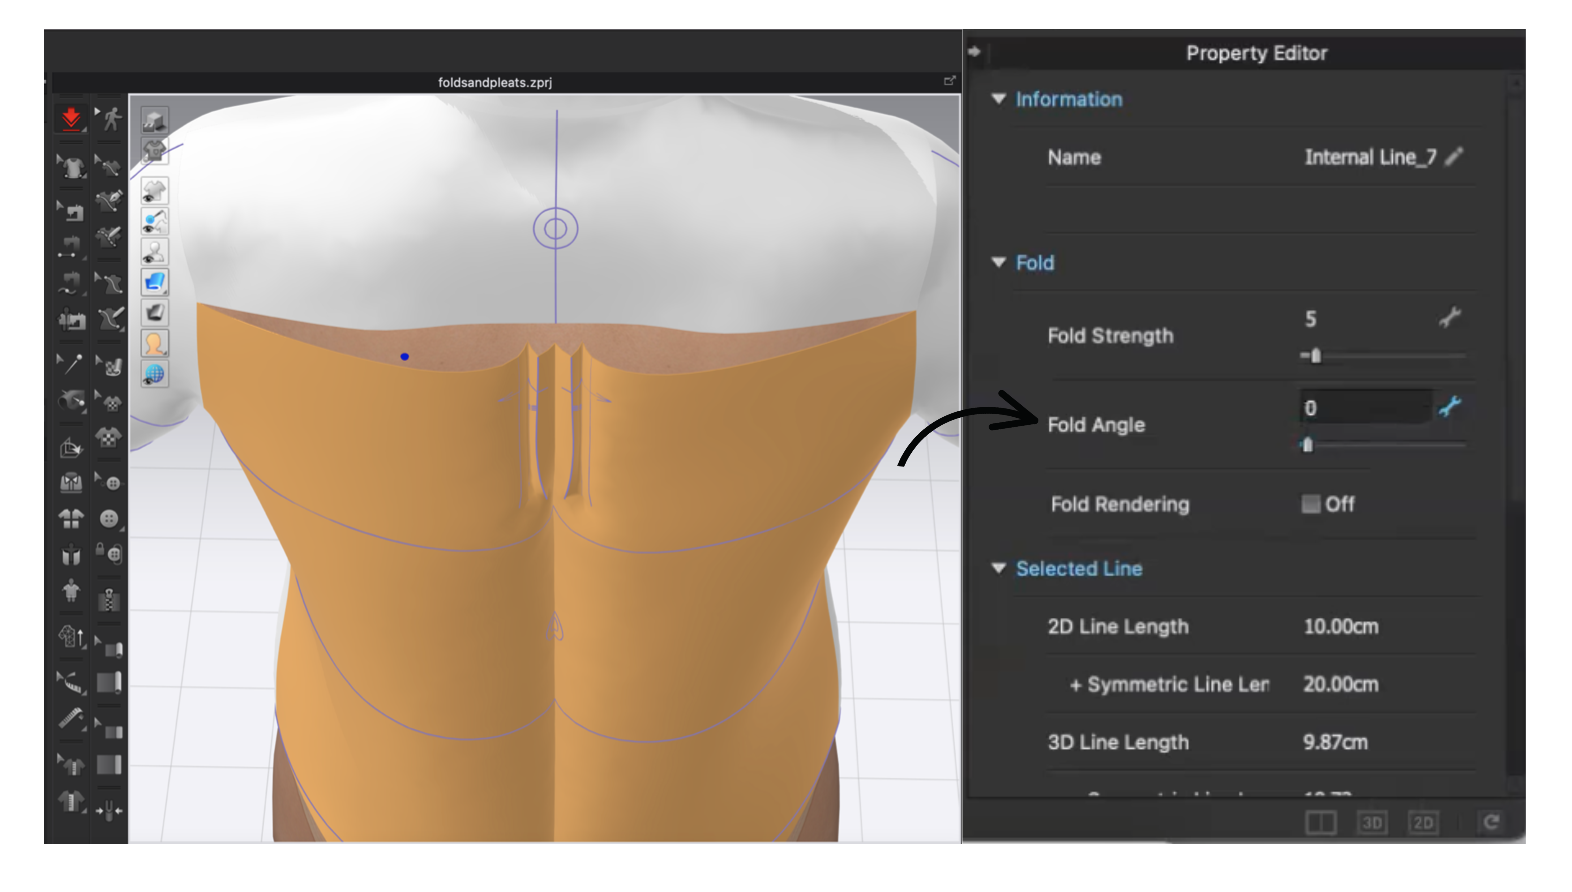
2 - Folds on the back of the shirt
The second way to make folds is from the property editor. You must then select the lines that you drew previously and that represent the future fold, then just adjust the cursor "Fold Angle"
Unfortunately, I think I had a problem when assembling, since the folds are not as I wanted at the beginning...and I didn’t really manage to solve the problem.
3 - Pleated skirt
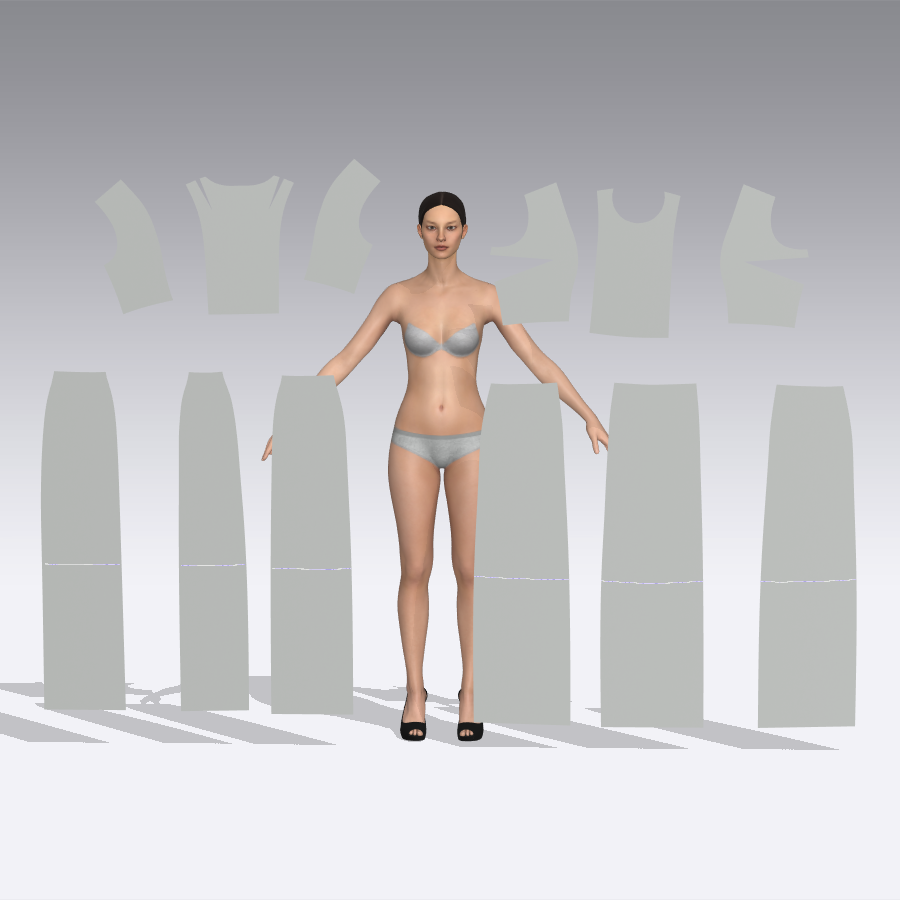
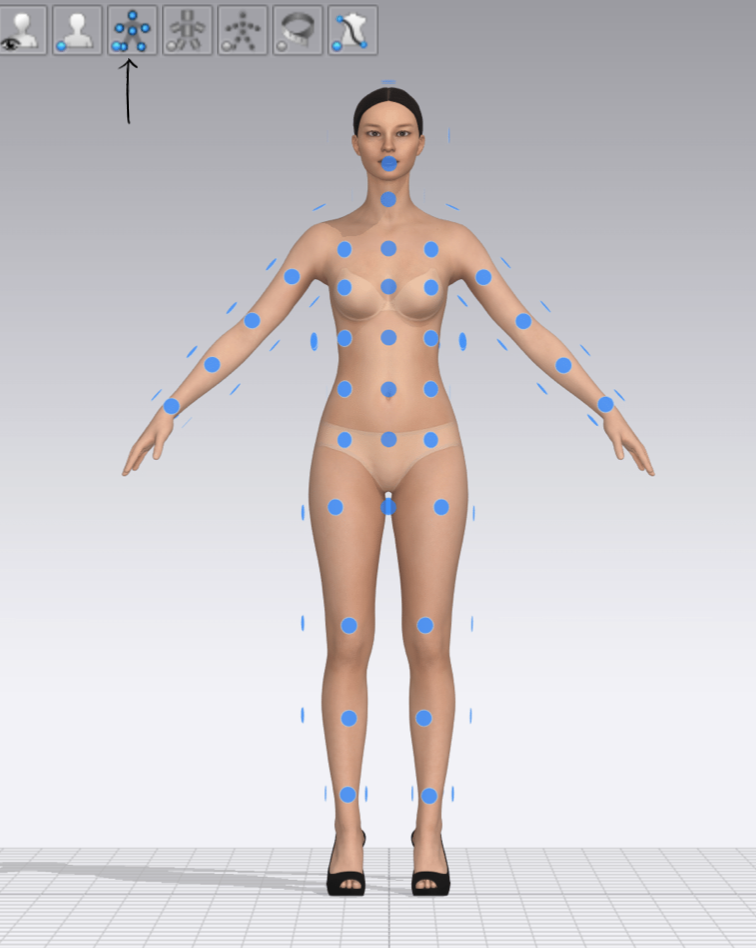
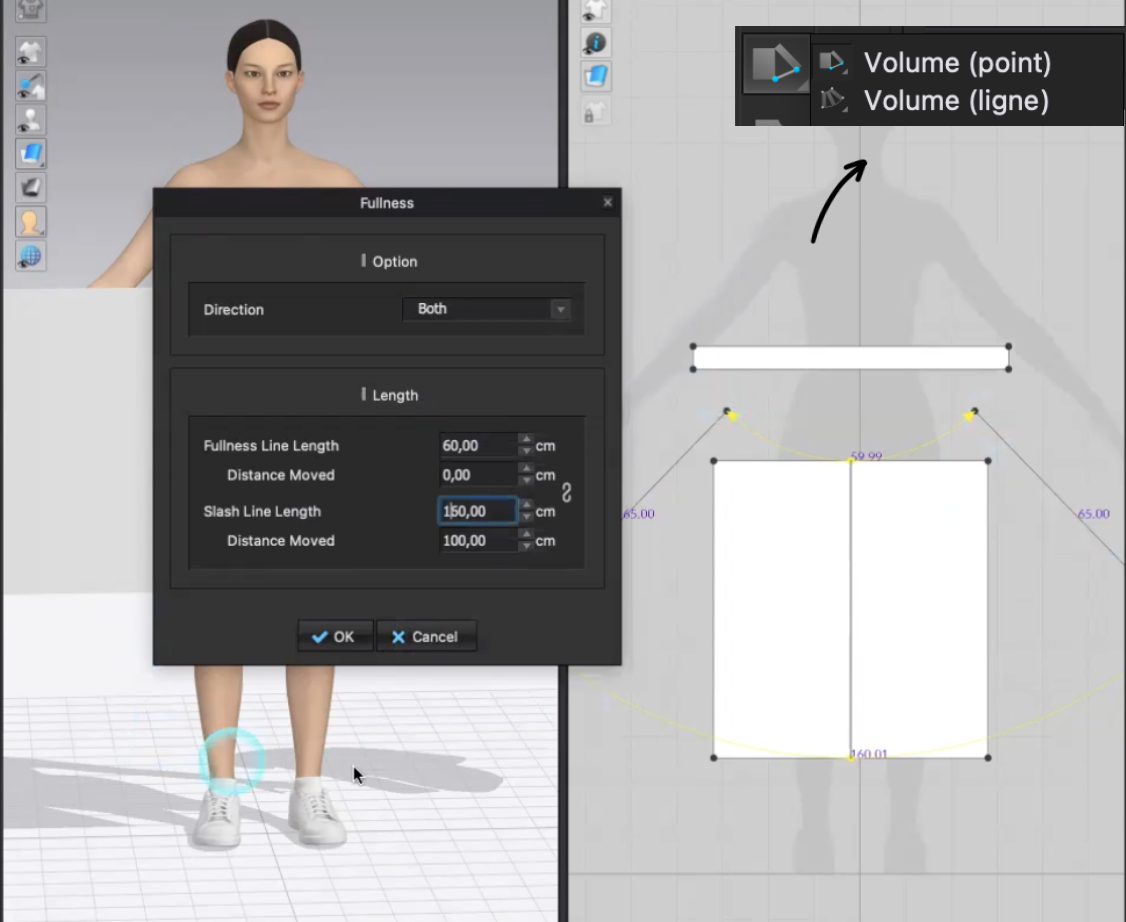
First, to design the skirt, we use the body measurement tool to identify ourselves and build a skirt to the size of the avatar.

Then we draw a square and then use the fullness tool to turn this square into a skirt pattern.

In this third case, we want to make a multitude of folds, regular and over the entire length of clothing. We will not use the two previous techniques as it will take far too long.
We must start by creating internal lines that will serve as reference points for future folds.
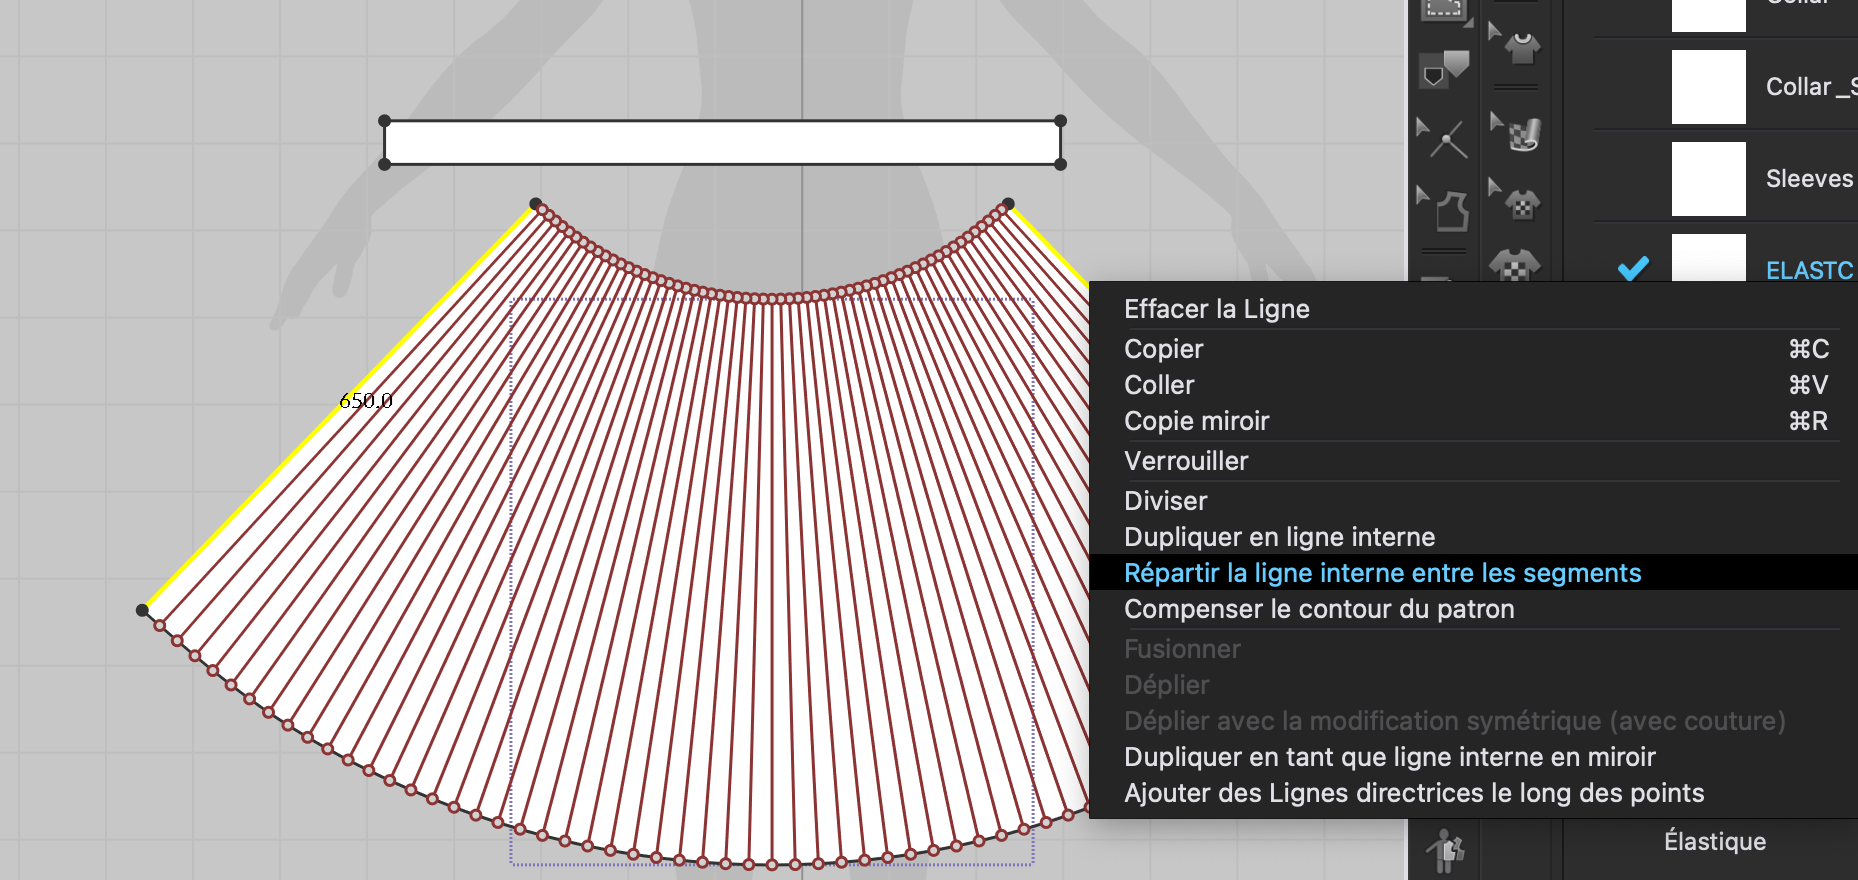
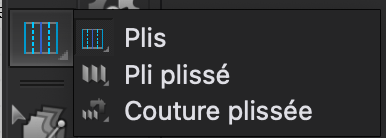
Then, just click on “folds” and select the type of folds I want.
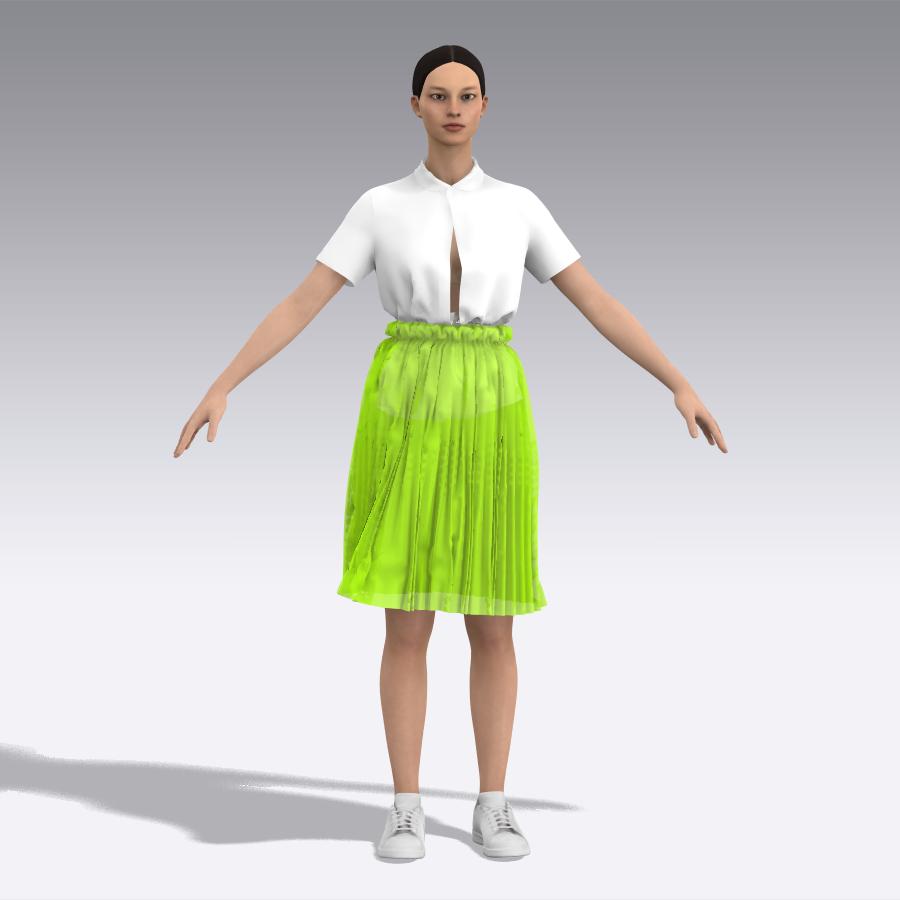
Final Result:
Class 5 - Rendering Scene
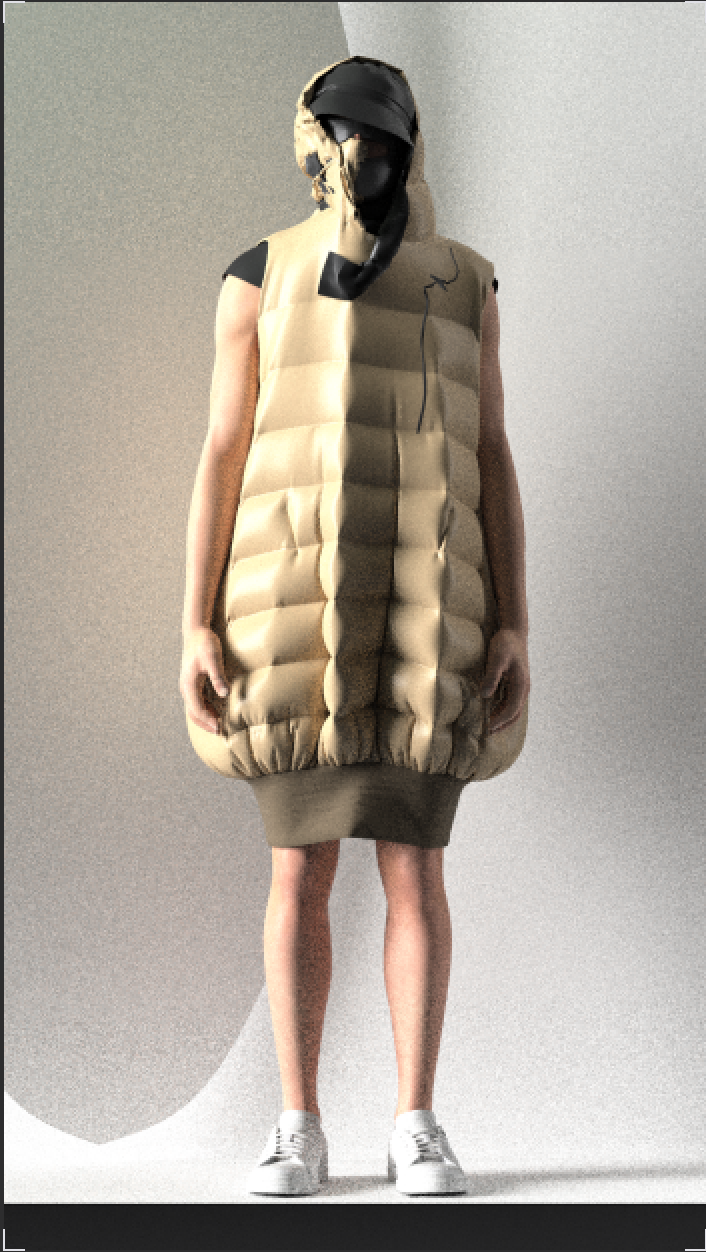
1 - Quilt a down jacket
In this tutorial we learned how to add a puffy aspect to a garment. Here we work on a jacket.
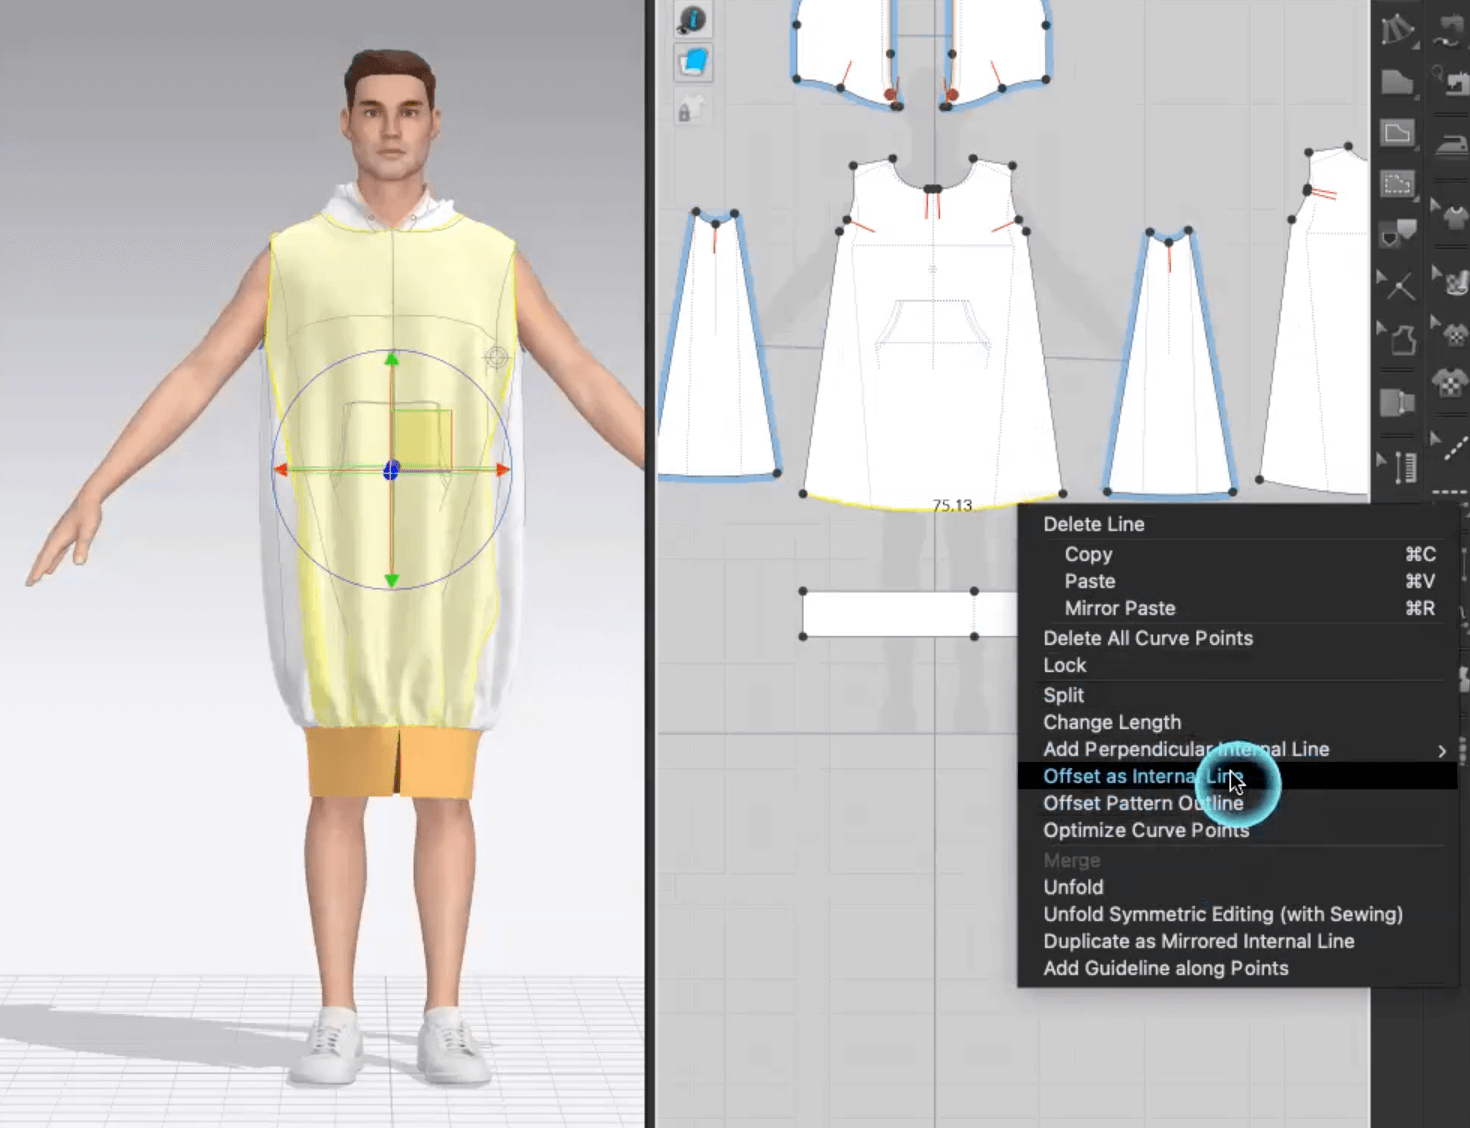
The first step is to create several internal lines thanks to the offset as internal line command. This allows to delimite areas that will create different reliefs afterwards, in the way of a jacket.
Then you have to create a second layer of clothing, in order to create the swelling. To do this, we select the pieces we want to double, then right click and select "Layer clone (under)".
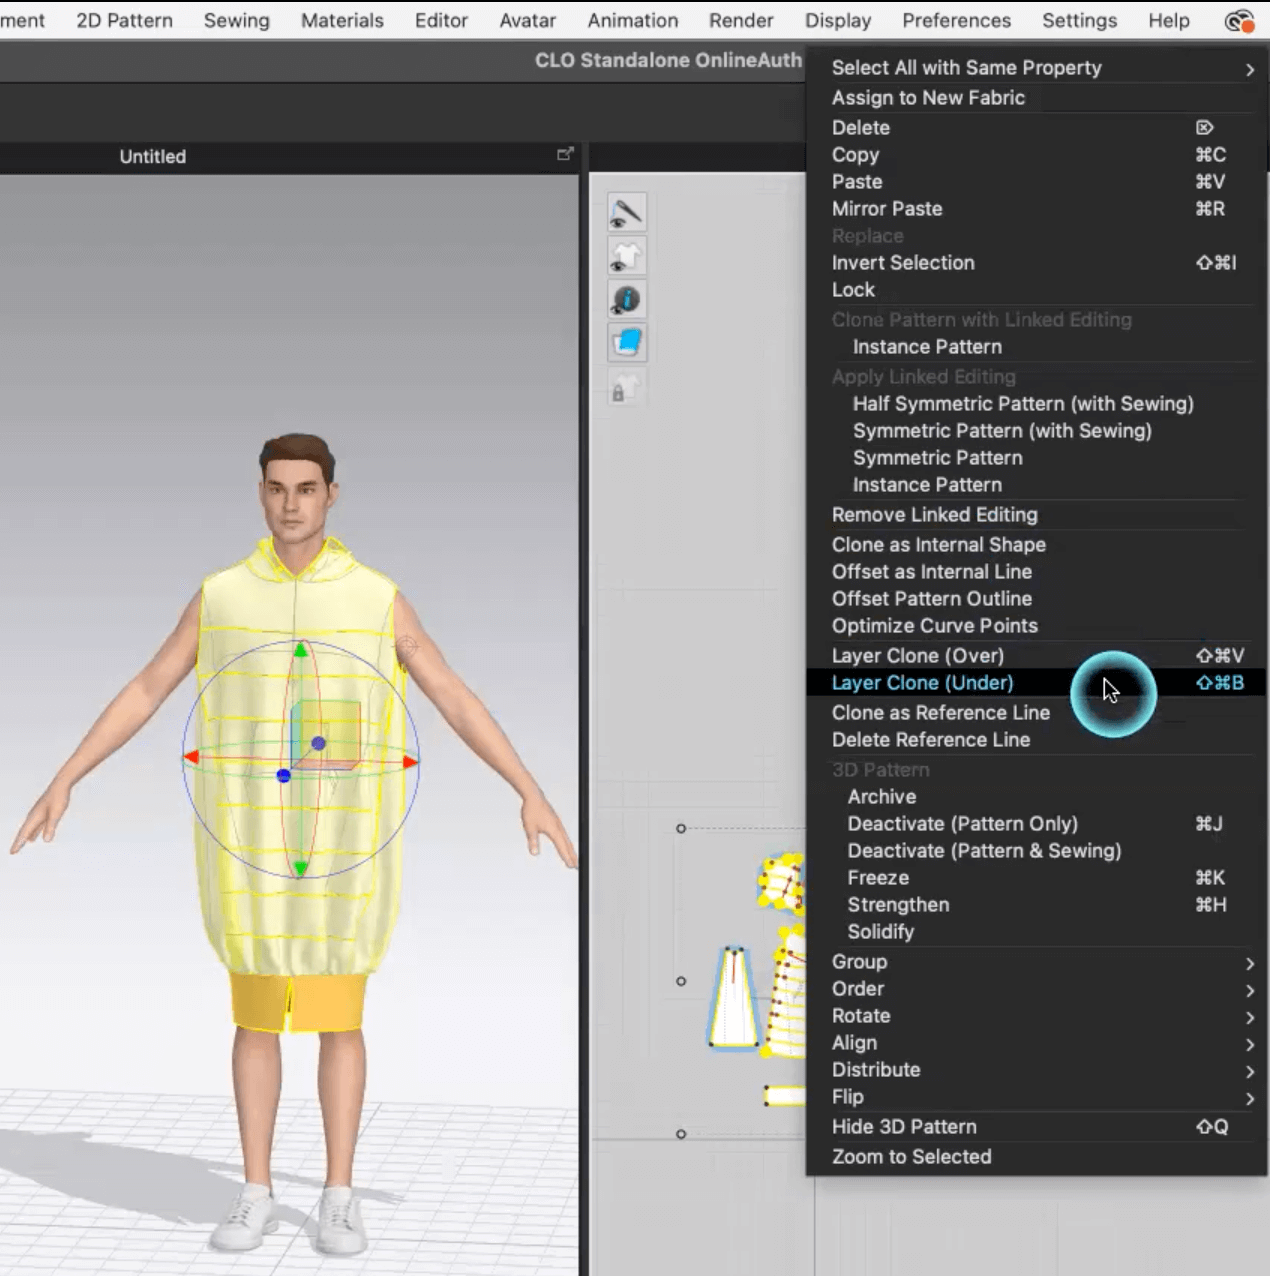
Select a first layer of clothing, and modify in the property editor the pressure level. (here 20). Finally, select the second layer of clothing and change the pressure level in the same way, this time in negative way. (here -20).


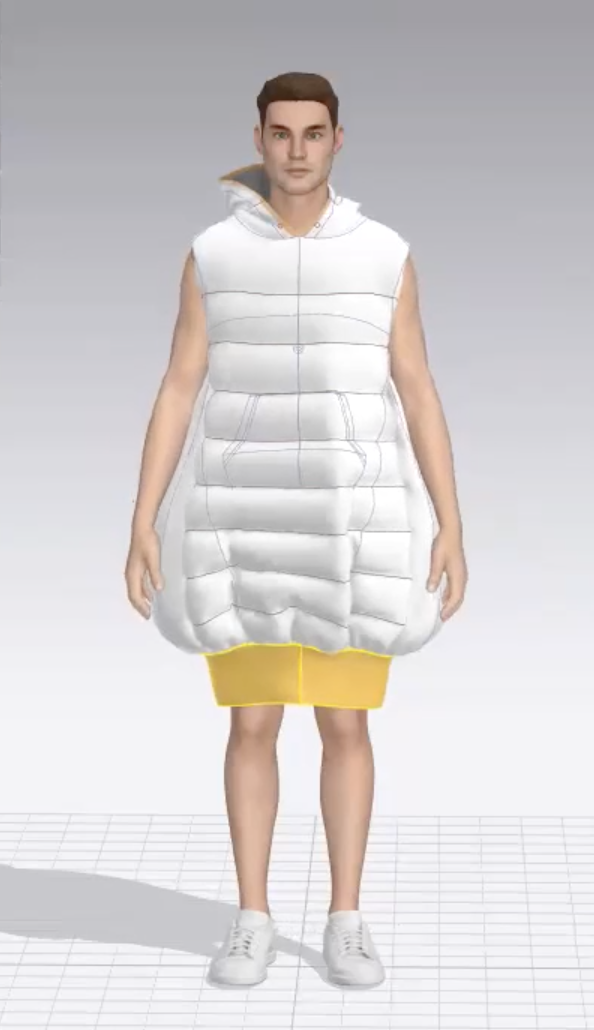
Simulate to see the result and...tadam.
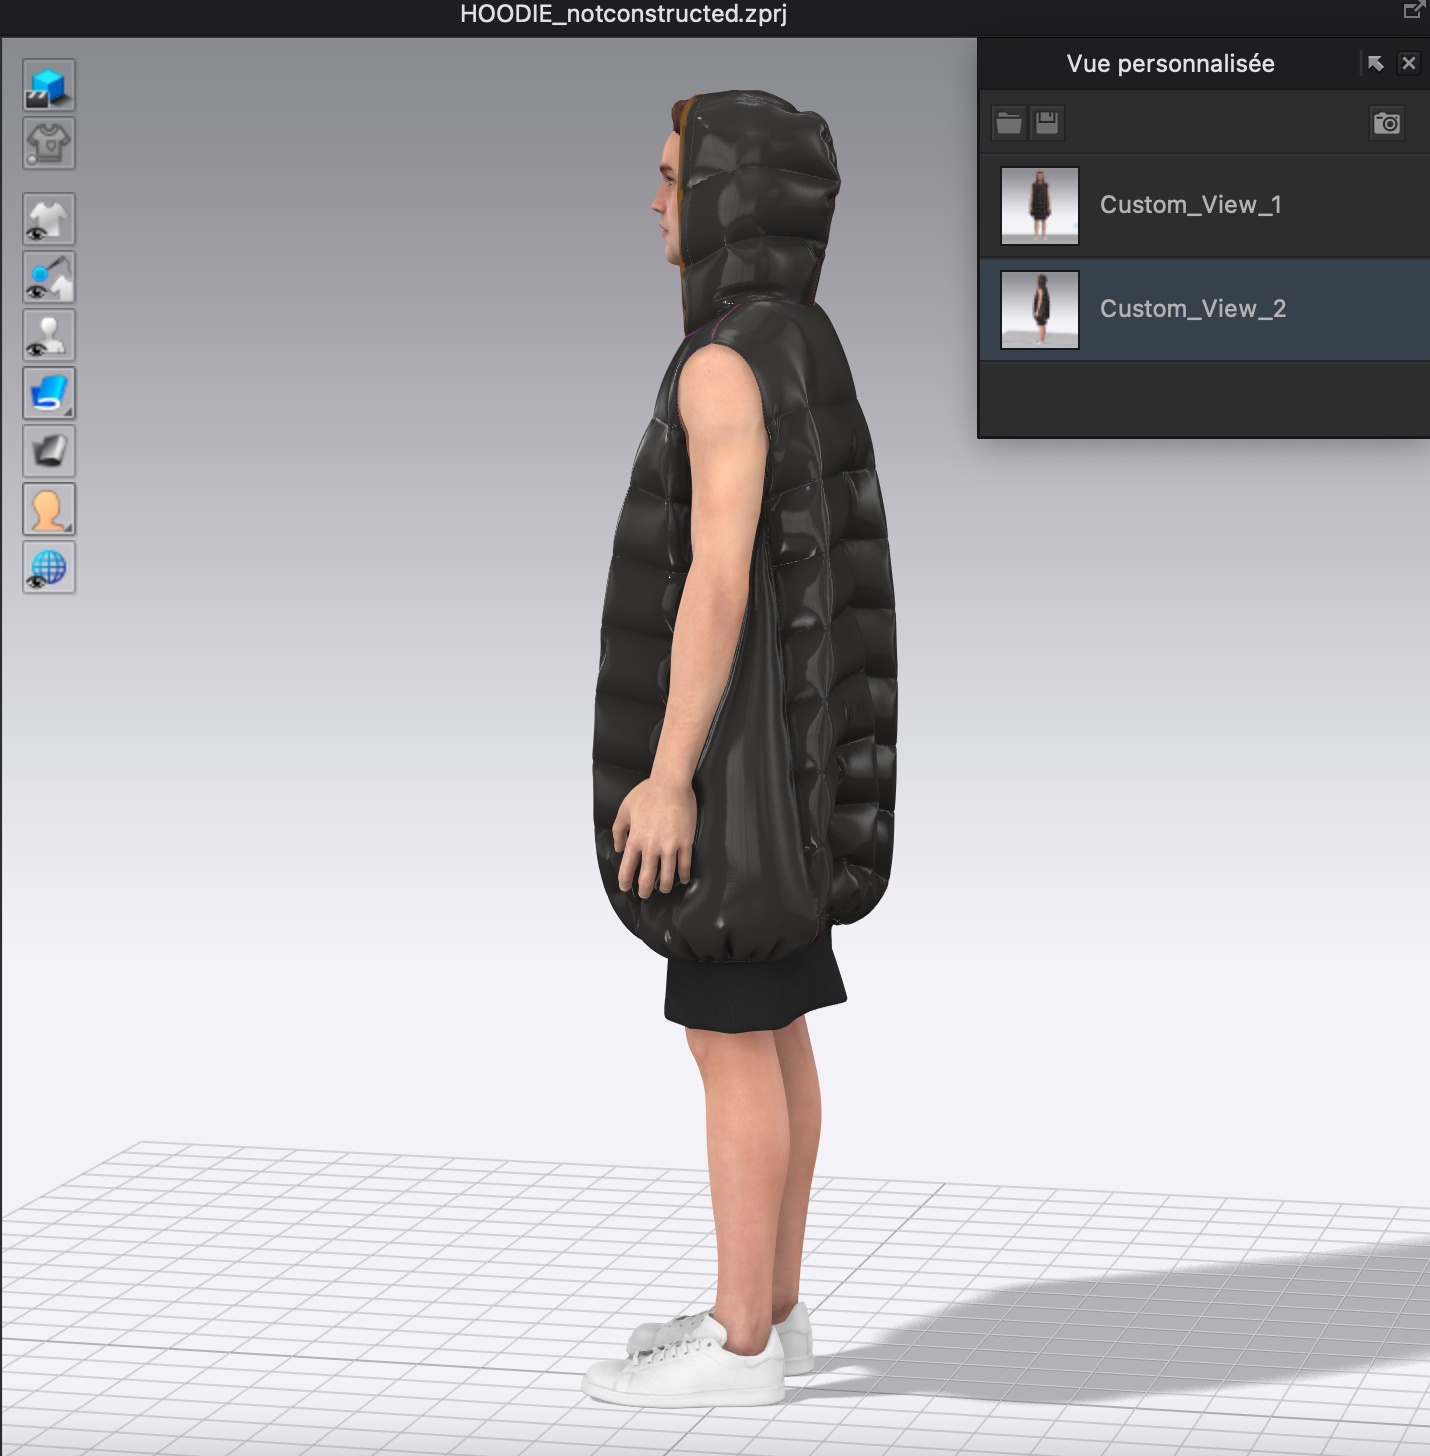
2 - Custom views
There is a way to create several custom views. Each of the views can be modified in its own right. This feature can be useful if you want to compare different colors, or different materials for example. (open the rendering window)

3 - Lighting
The light is very important and can change the visual appearance of the garment. So we saw how to change the color of the light, or its layout. Unfortunately my computer was getting tired and slowing me down a lot. Indeed, the Clo3D software is very heavy and my computer is often a pain. It took me a long time but with perseverance... I got there.
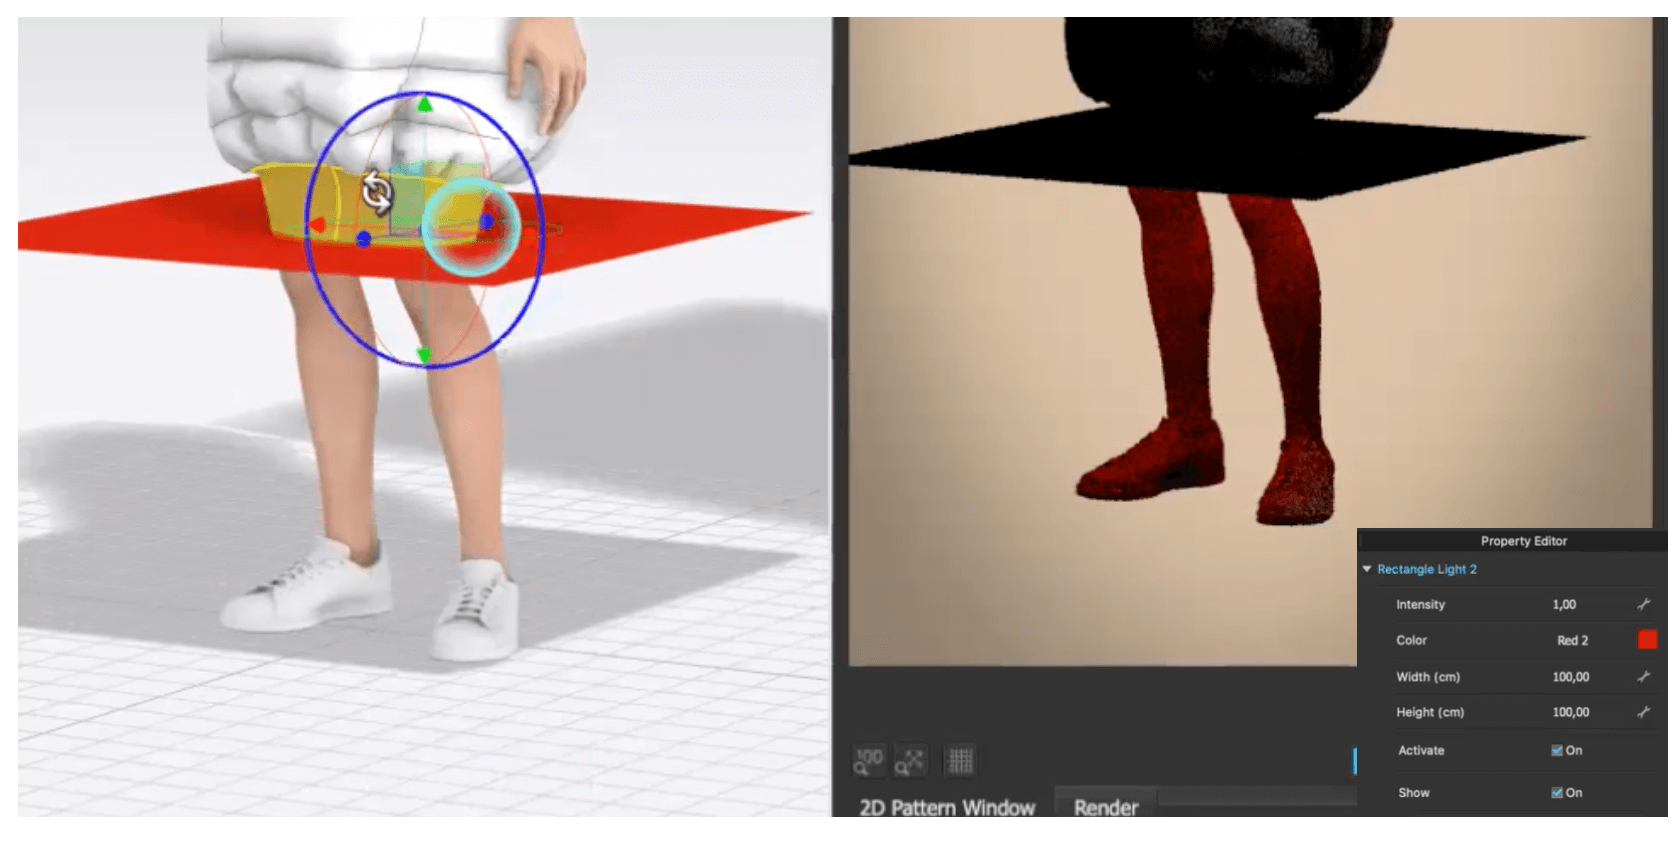
- In the rendering window, select "rectangle light" and move it according to the light you want to obtain.

- Depending on the type of light you want to obtain, it is possible to change the color in the property editor.
4 - Scenery
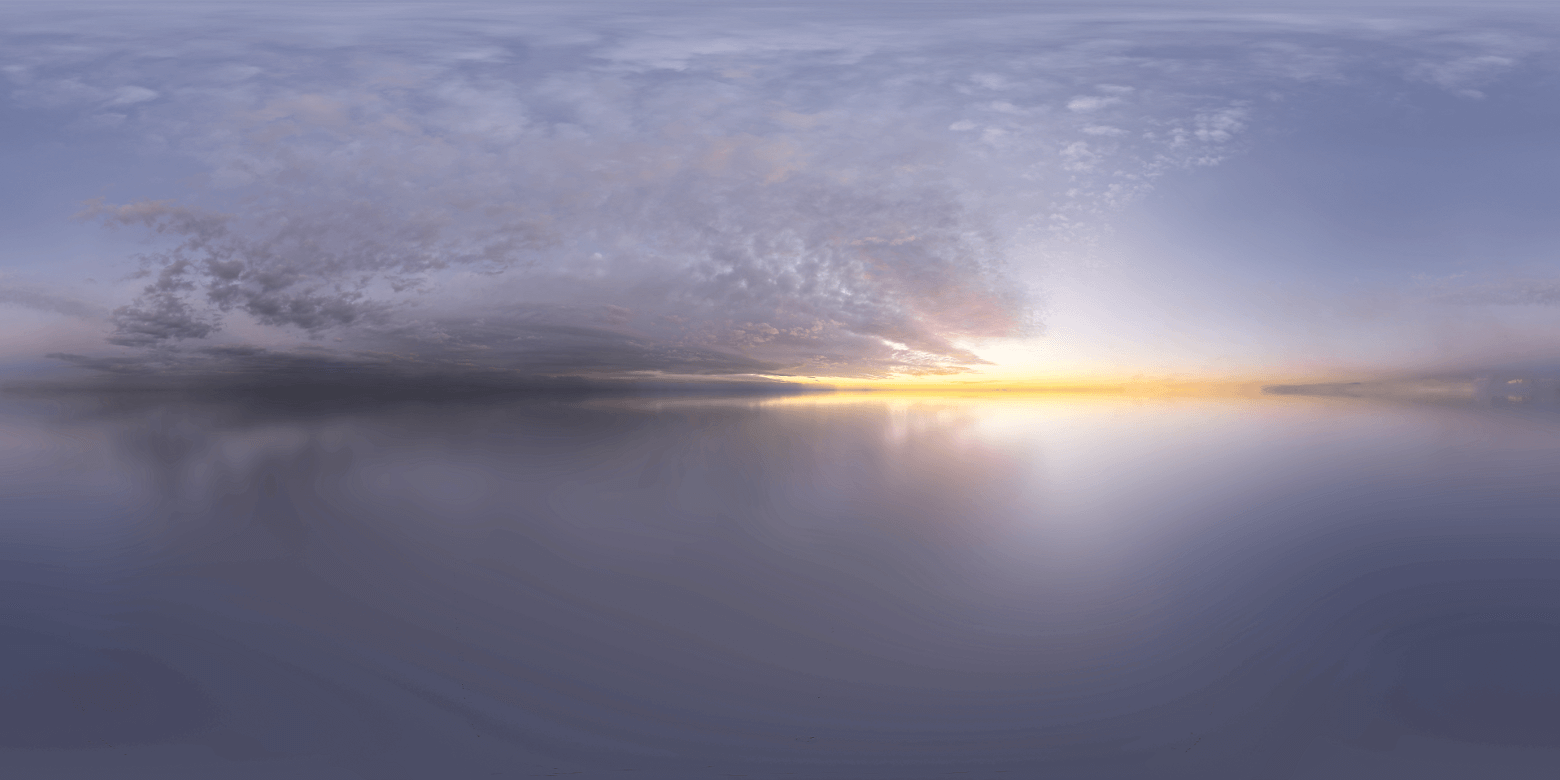
- Polyhaven There is a site called Polyhaven on which you can directly download a scenery and then import it on clo3d. I used for the experimentation the decors called "Belfast sunset puresky".
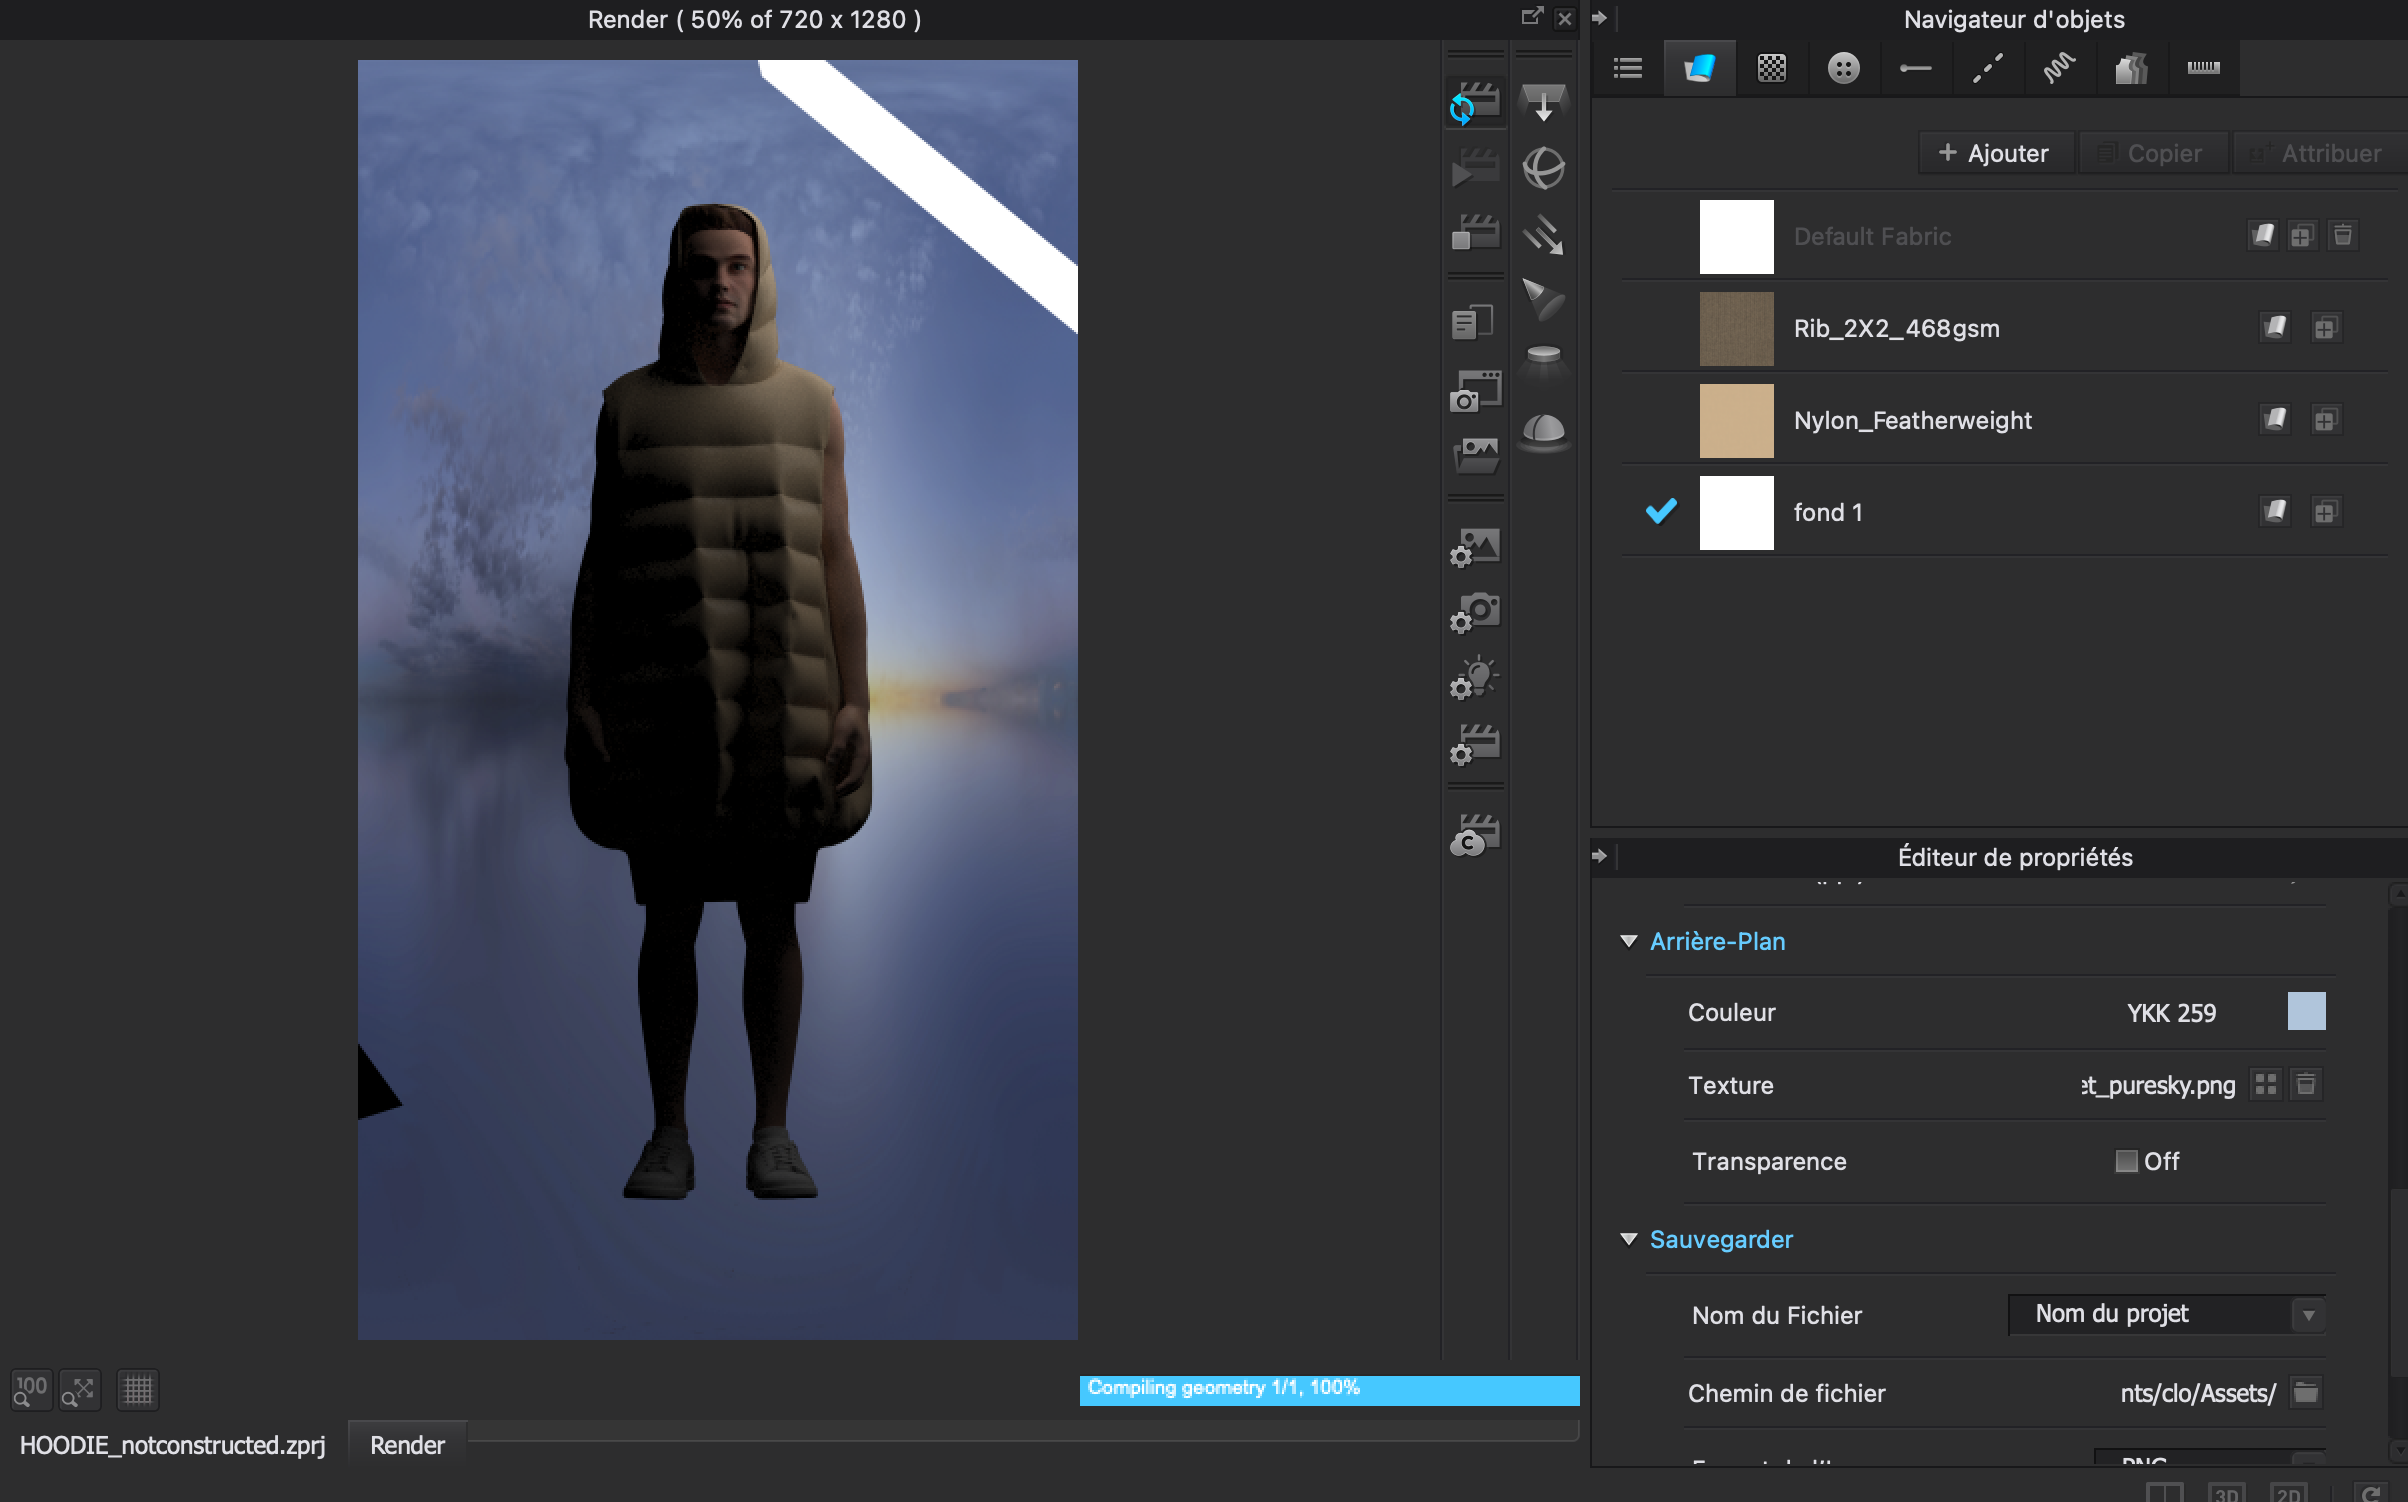
- Create your own scenery
That's when the relationship between me and my computer started to deteriorate...Every time I clicked on something, it took about 5 minutes for my computer to react. After persevering for at least 2 hours...I concluded that it was important for my mental health to stop there.
I still managed to create a background, and to create the mirror, which finally looks more like a surfboard than a mirror since I didn't manage to get a reflection. I don't know if it was because I forgot to do something or if it was just my computer refusing to obey me...
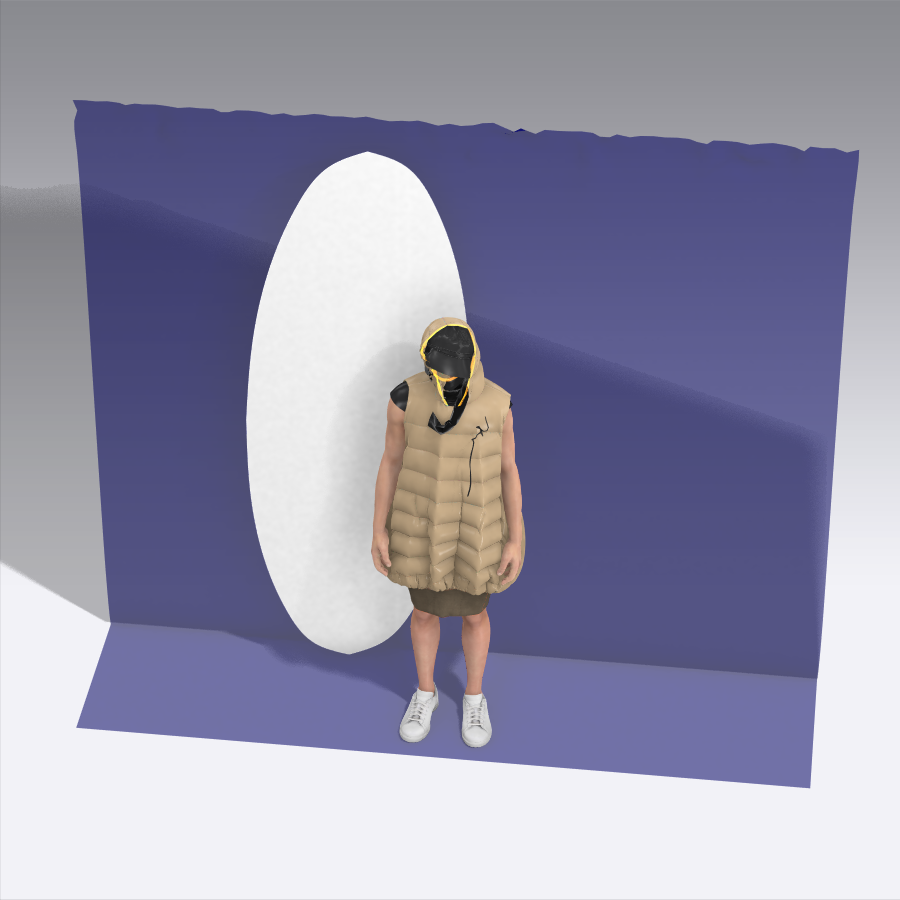

as you can see, I also had a problem with the hood when importing the headpiece, I tried to put it back on but without success.
It seems important to me to summarize the steps of the mirror below.
If I understood correctly, you just have to create the shape of the mirror you want, then select in the property editor the metal render (visible in the render window only), then set the roughness slider to 0 and the reflection to 100
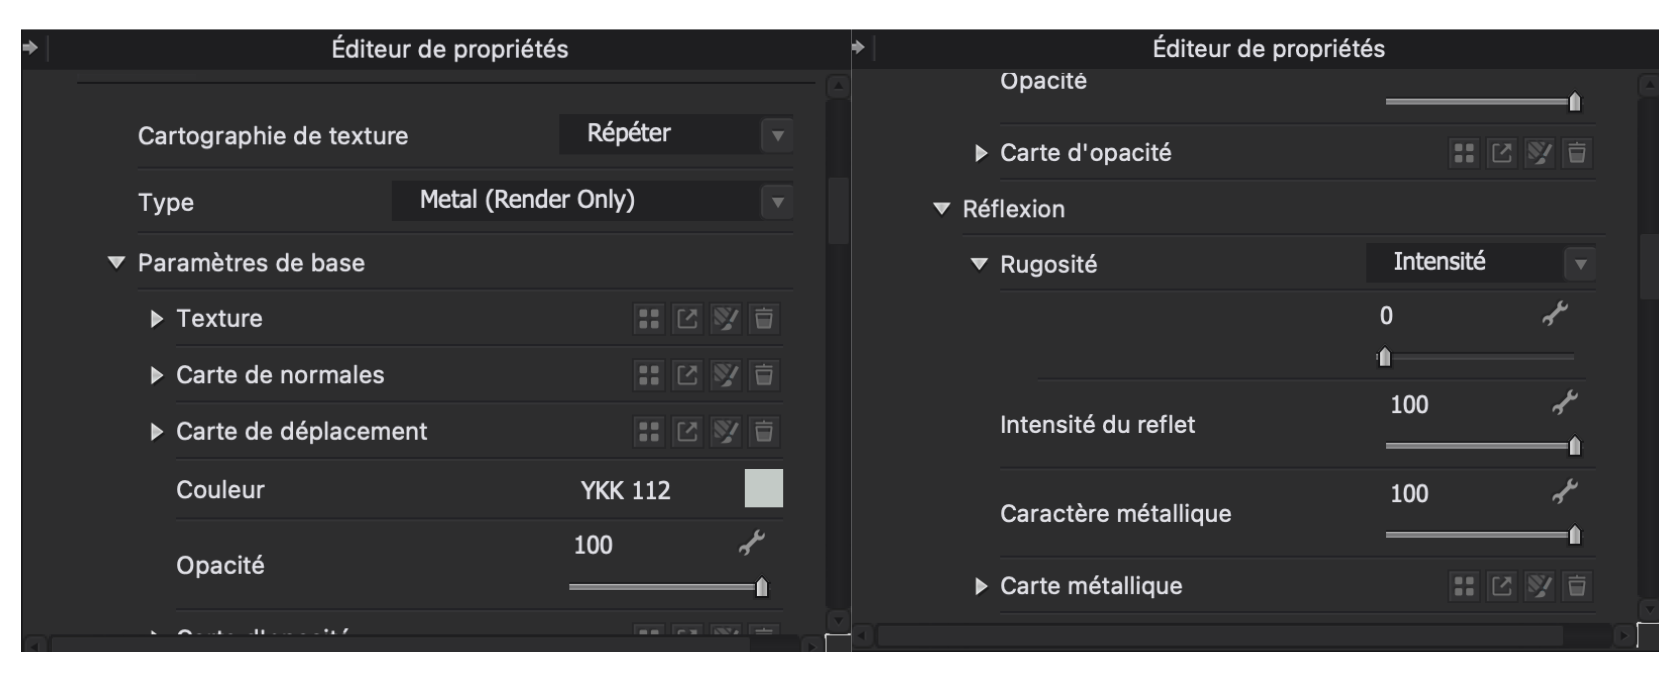
And then we are supposed to get something like this:
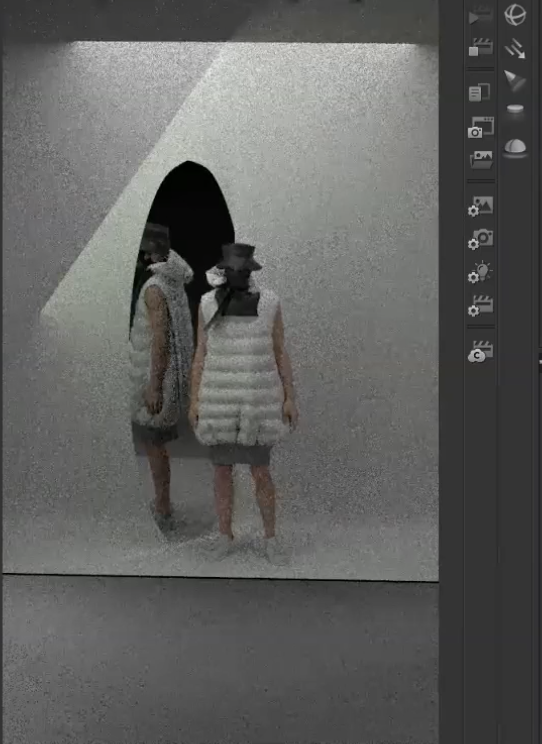
Unfortunately I got this: