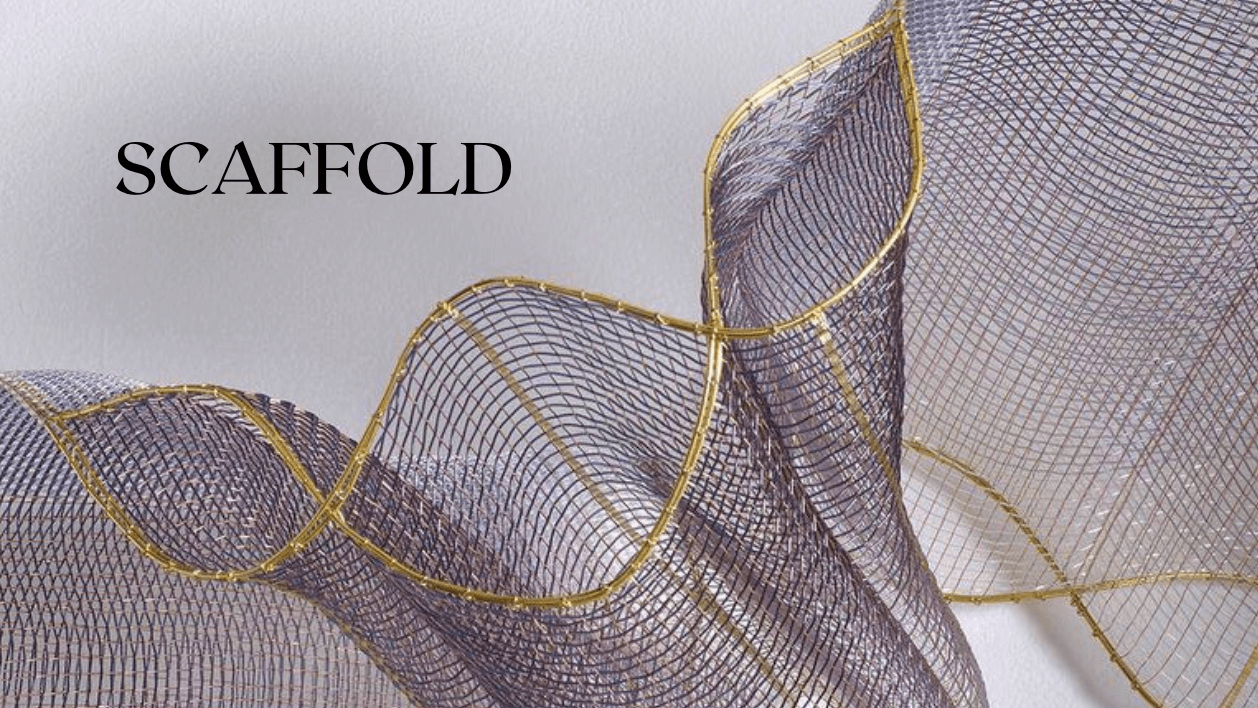
9. Textile Scaffold
REFERENCES
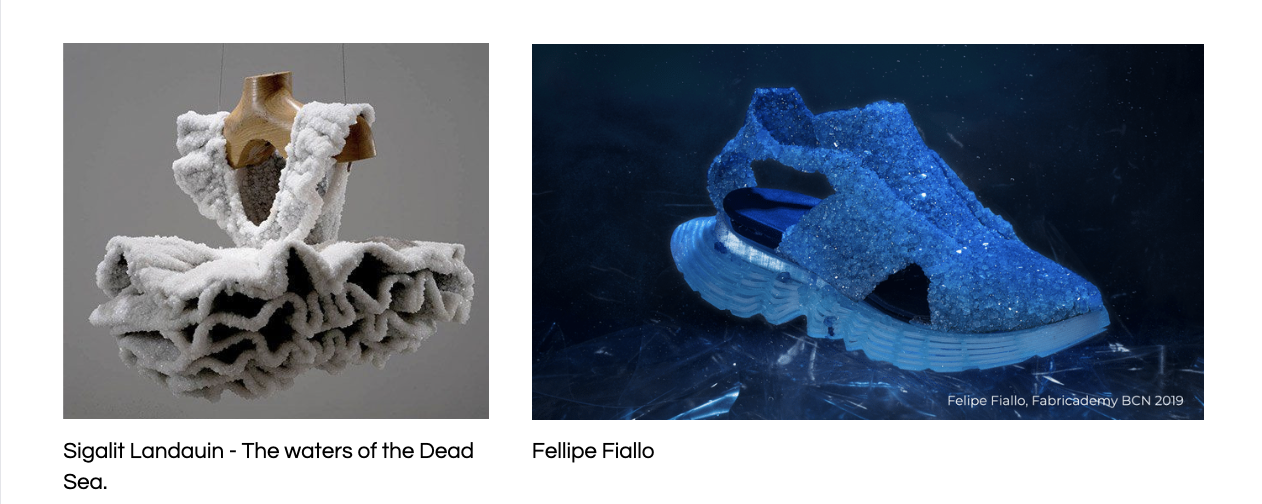
CRYSTALLIZATION
LEATHER MOLDING

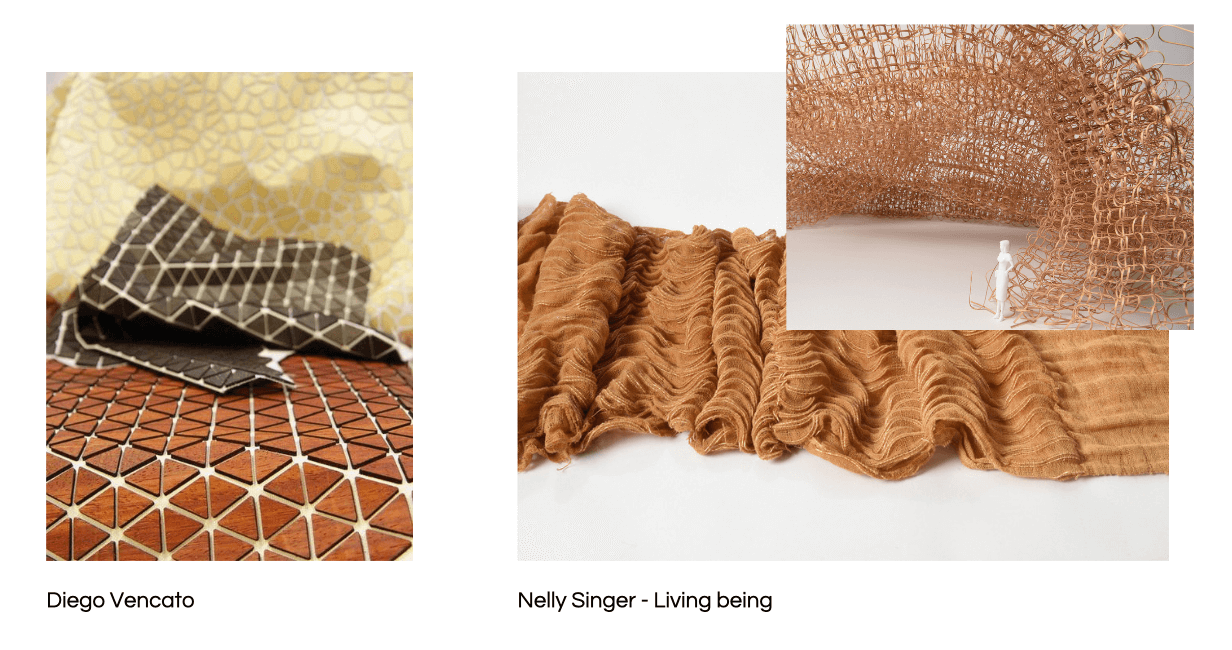
WOOD + TEXTILE
EXPERIMENTATIONS
Crystallization.
Potash Alum Recipe
-250gr of alum -1L of distilled water -Starter crystal -Glue or varnish -Coffee filter
Process:
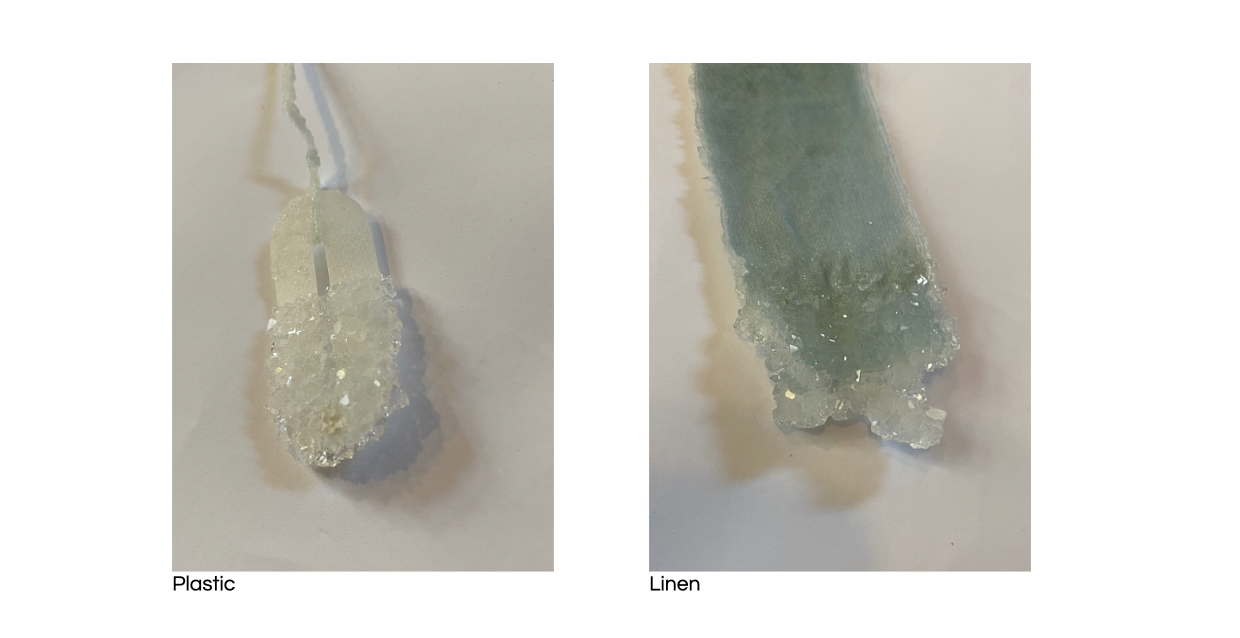
For our first test we wanted to try a recipe from alum. For this we simply mixed the alum with hot water to dissolve it. Then we filtered the solution through a coffee filter to recover only a perfectly homogeneous liquid. To ensure that the crystals cling to the fabric, we use what’s called a “starter” crystal that we’ve glued to the fabric, in this way, the other crystals will naturally form around it. We did several tests, one with plastic printed with a 3D printer and another with linen.
Observation: The crystals form very quickly, some formed in the bottom of the jar, Camille therefore quickly removed them so that they can form correctly on the fabric and not next to or at the bottom.
⚠️ To avoid this, the fabric must be suspended in the solution and not touch the bottom or the walls of the container.
Copper sulphate recipe
-400gr of copper sulphate -1L of distilled water -Starter crystal -Coffee filter
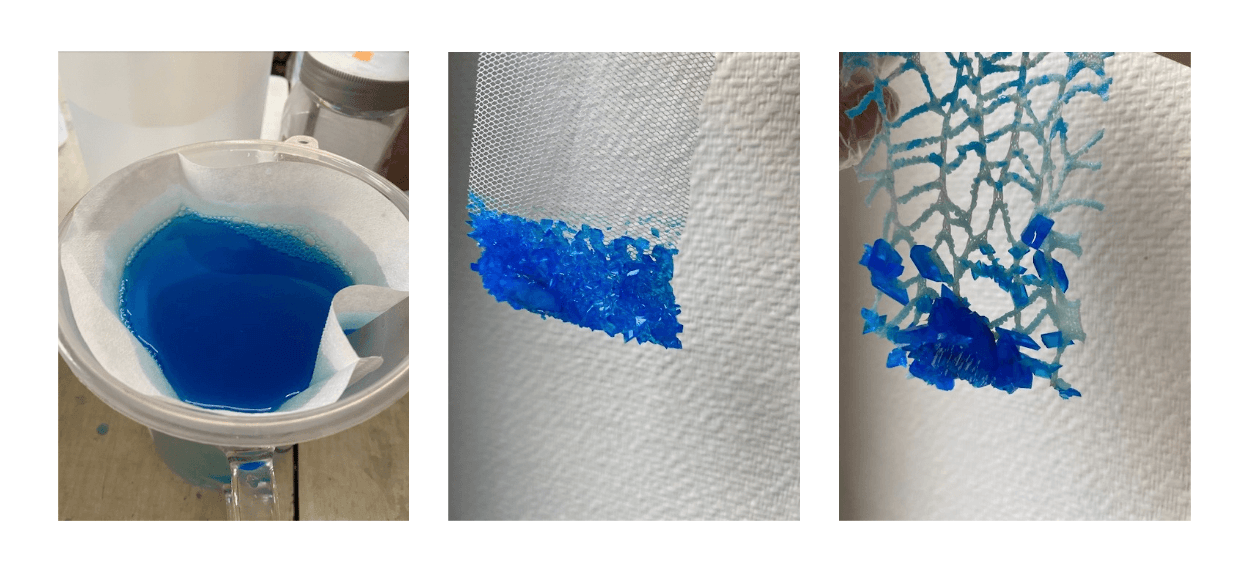
Process: For the second test, I wanted to try another recipe from copper sulphate, which produces this time blue crystals, The process is exactly the same as for alum, only the quantities change. I wanted to test with two different fabrics, both perforated. The first is tulle, therefore composed of a multitude of tiny little holes.
The second is a fabric that reminds me of lace, made of much bigger holes.
Observation: We can see that with the same solution the crystals do not consist at all of the same way on the two fabrics. On the tulle formed small crystals that completely covered the part of the textile that was dipped in the copper sulphate. On the second fabric, large crystals have been formed which seem to me to have been agglomerated in the same place, in fact this fabric being much perforate may make it less possible for the crystals to disperse.
⚠️ Copper sulphate before crystallization is toxic to health, therefore it is very important to wear gloves and a mask.
Epsom recipe
-Half distilled water (500gr) -Half epsom saltm (500gr)
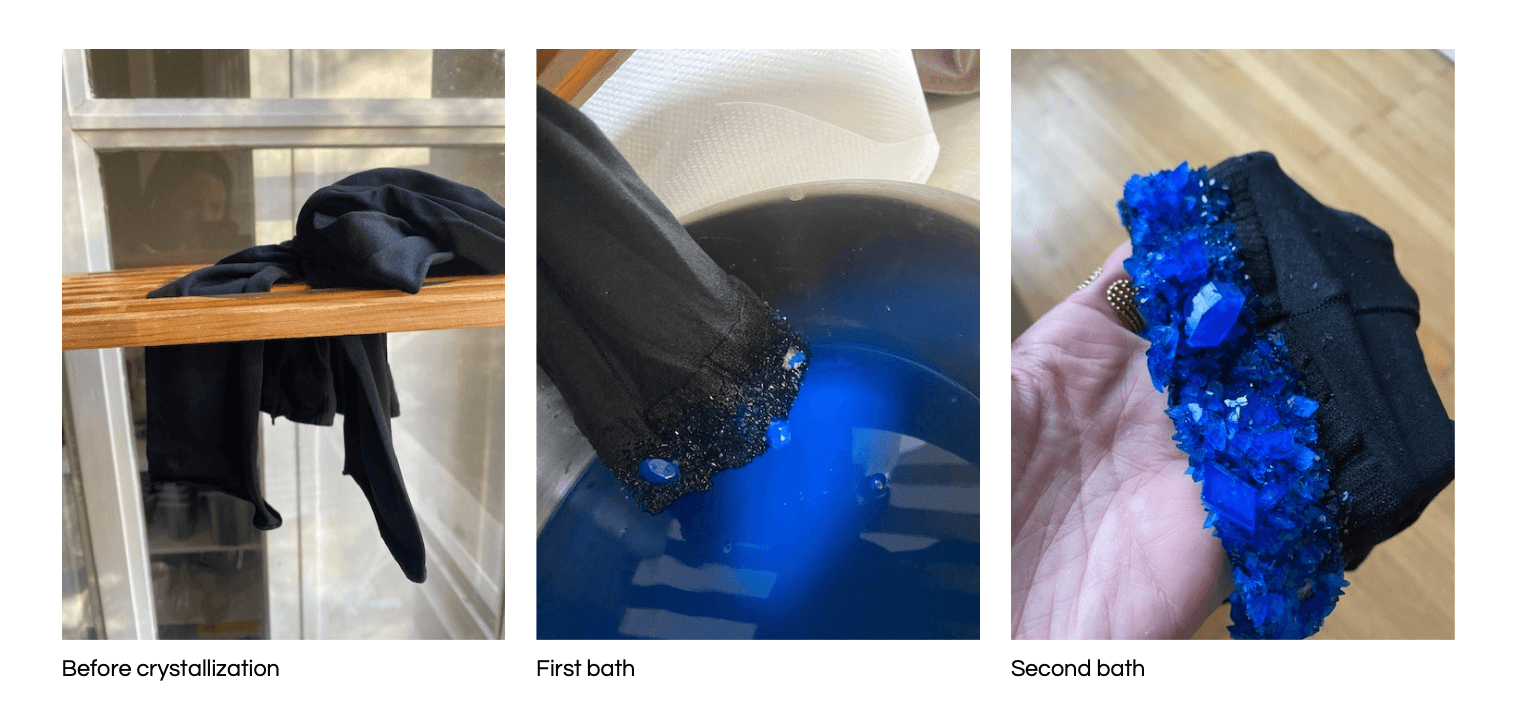
For my 3rd experiment I used a tights and another recipe from Epsom salt, then I remembered a tights upcycling I had done some time ago. Simply cut at the crotch and feet of the tights and it is possible to make a long sleeve top close to the body. From this memory I thought I would reproduce this upcycling by adding crystals at the waist and wrists.
Process: So I started by realizing my recipe by adding 500gr of hot water for 500gr of epsom salt. Then I made sure to only dip the tights parts I wanted to cover with crystals in the solution.
Unfortunately, after 24 hours, still no crystals. There are several possible reasons: there was not enough epsom, I did not filter the solution, or it would have been necessary to glue starter crystals beforehand, however I did not.
Somewhat disappointed with the result, I decide to start again, with copper sulphate this time, to be sure to master the recipe. I boiled the tights again to disinfect it, then i dip in the same way only the parts I wanted to crystallize in the copper sulphate bath.
After a little more than 24 hours, I went to see the result, small crystals closed on the places that interested me, I was rather satisfied but the crystals were really small and it seemed to me that they were no longer evolving, I therefore repeated a small bath of copper sulphate in order to obtain larger or more numerous crystals.
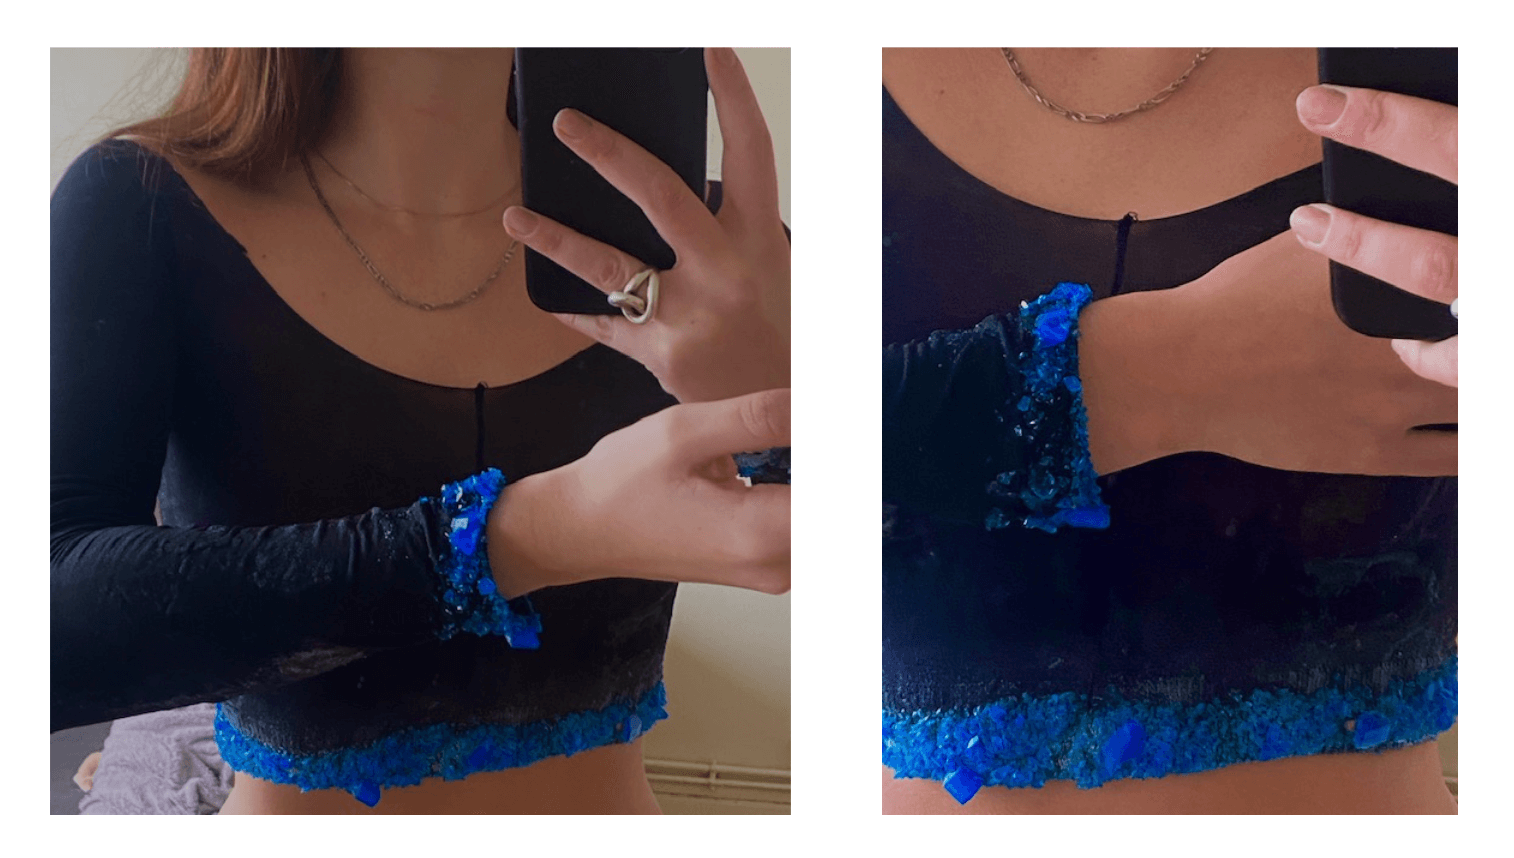
Observation: The crystallization worked very well and I am rather satisfied with the result. However I did not anticipate the fact that I will need to stretch the faric to wear the top, therefore when I pulled it several crystals fell. It would therefore have to be done on matters are stretch. I also have the impression that it is a little less solid than on the tulle, the crystals cling a little less to the material and therefore fall rather easily.
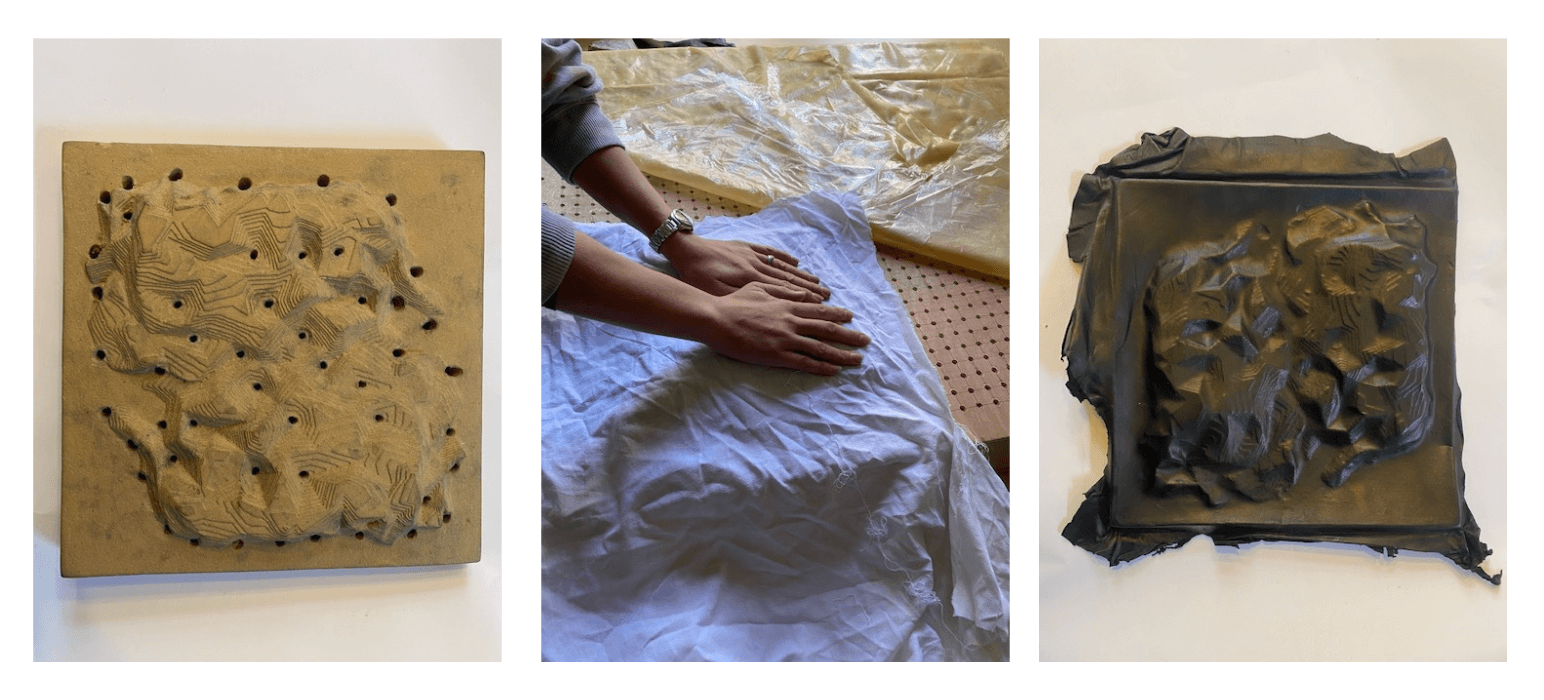
Leather molding
1 - The first step was to choose the leathers that we wanted to use, I chose two different ones, the first one is a black leather that seemed to us to be lamb leather, the second one was a dark green but I don’t know the origin.
2 - hen, we plunged the leathers into a water bath at 80 degrees (It is important not to exceed 80 degrees in order not to cook the leather.) to which we added a teaspoon of baking soda to further soften the material.
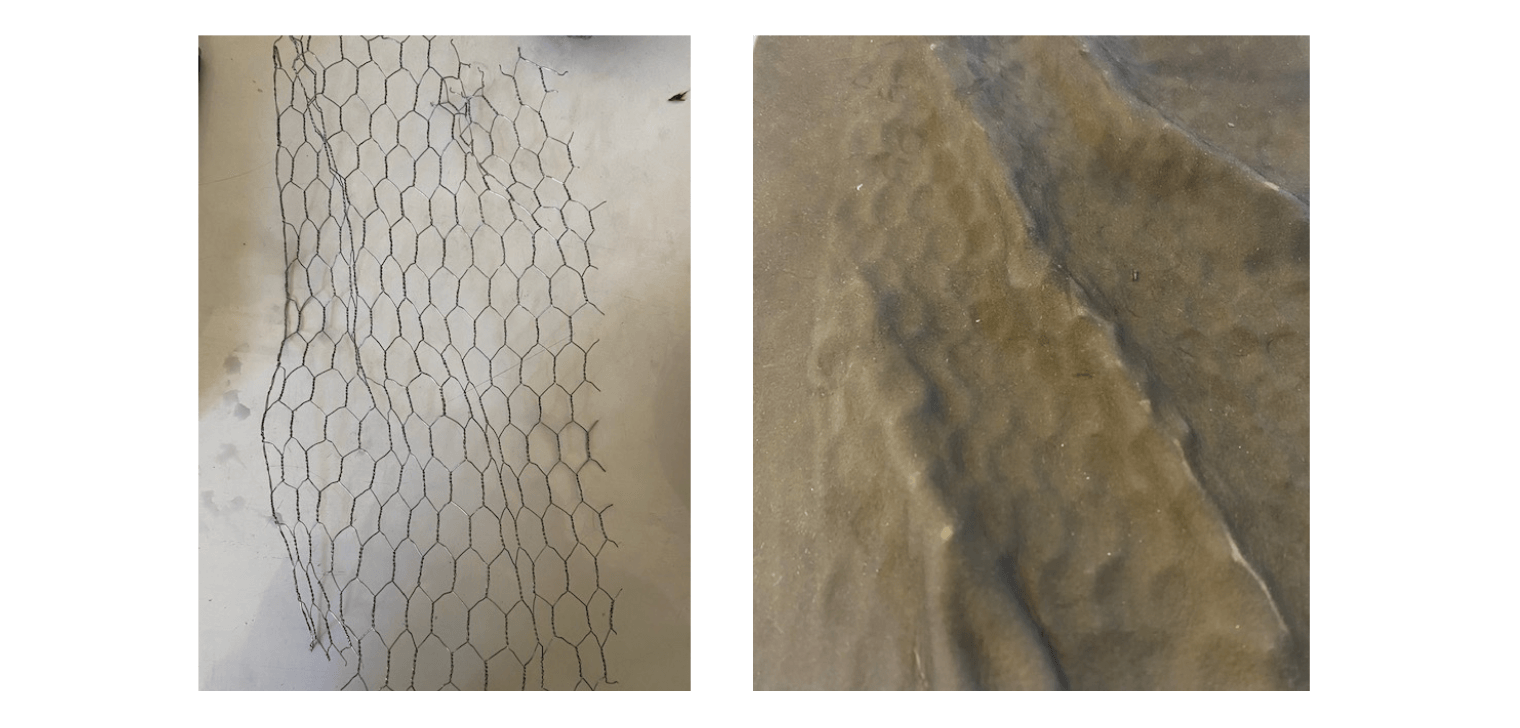
3 - After a few minutes, I put the material on the moulds chosen beforehand. Not having had time to create one myself at the CNC or the 3D printer, I decided to use an existing mould as well as a barbed wire that I slightly deformed to obtain patterns and reliefs.
4 - We then stretched and massaged the leather for several minutes to properly take the shape of the mould.
5 - The last step is to place the moulds on a suction table. This is why it is important that the mould be perforated in places in order to let the suction pass. To do this we simply used a perforated tray and a vacuum cleaner. The tray is then covered with fabric (here cotton) to absorb moisture and latex on top.
Observation:
The longer the suction takes ( 12 hours or more ) the more resistant the molding will be. It is still possible to speed up the process with a thermal decanter or a hair dryer. Regularly massaging the leather can also help the molding process.
Some leather is more suitable than others, especially sheep and lamb leather, which is thinner and softer.
The molding worked better with lamb leather than the second leather. Indeed on the second test Barbed wire and leather were not necessarily very suitable for this technique.
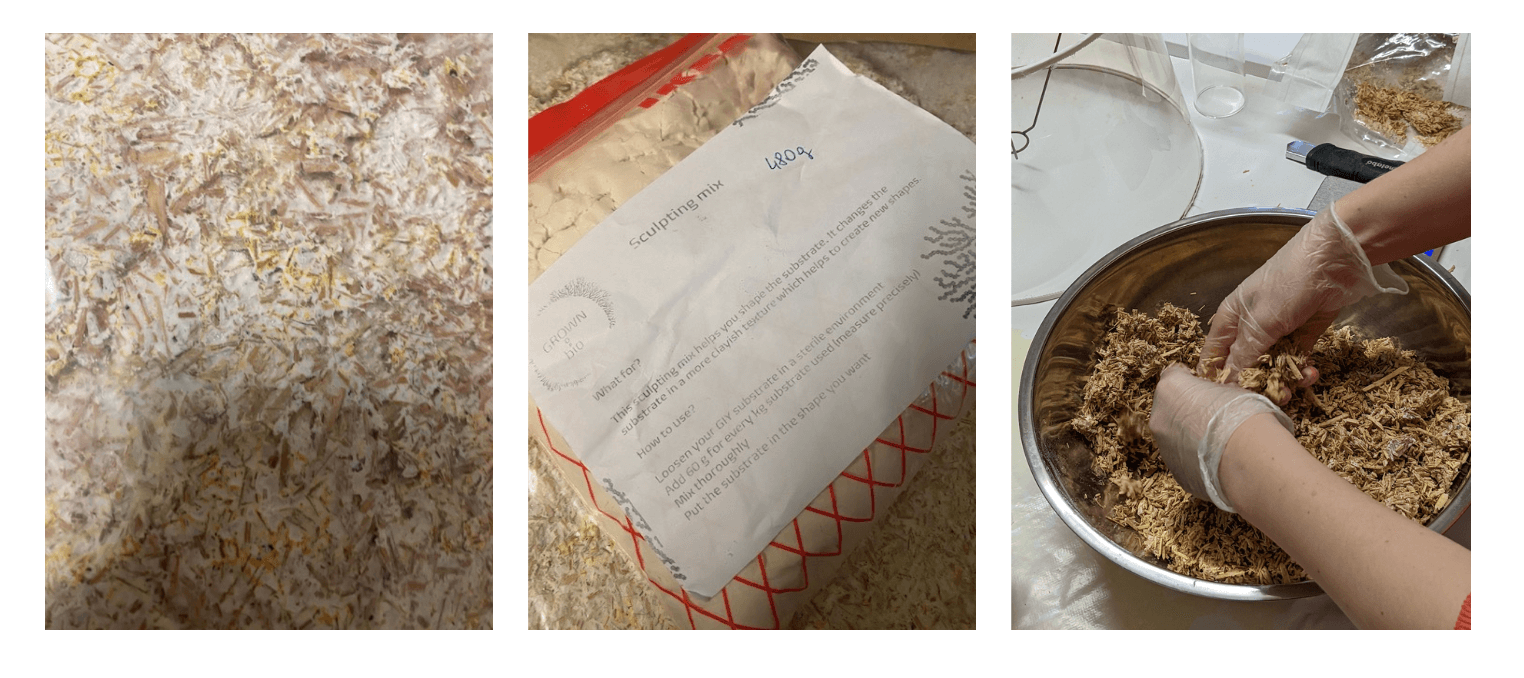
Mycellium
We received mycellium having already been prepared, we only had to mix the mycellium with a kind of flour allowing to sulpter and shape the material more easily.
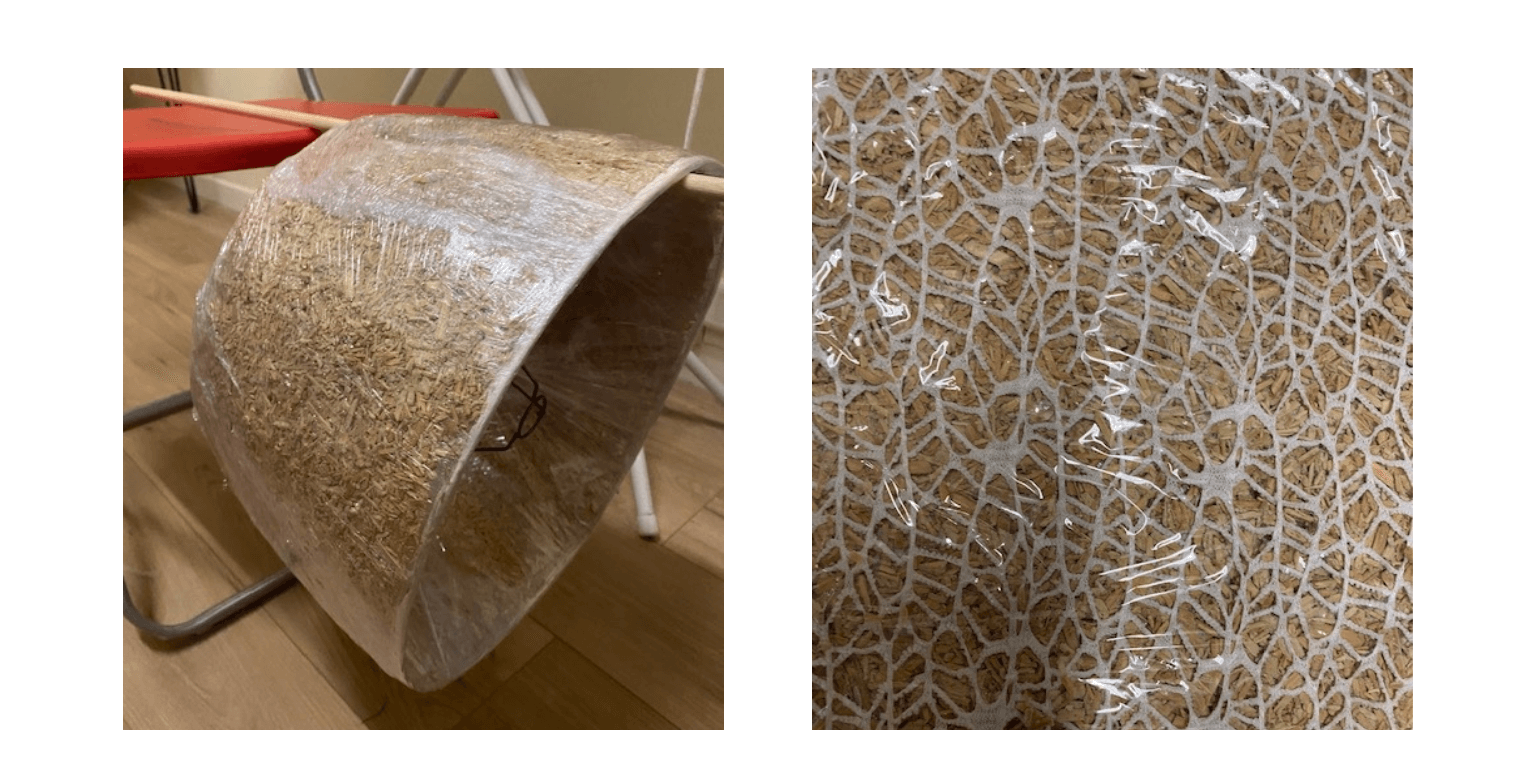
Lucia Javicoli found an old plastic abajour that we used as a mold to sculpt the mycellium, The material was not easy to shape and we therefore have it well wrapped in plastic film so that it stays in place.
I was surprised by the wood chip-like material and expected that the mycellium would still evolve, but I learned that the material would remain approximately the same.
I wanted to see if the material was still modular enough to mold a pattern. I therefore took mycellium molding test on a fabric with openwork patterns.
Paper and composites
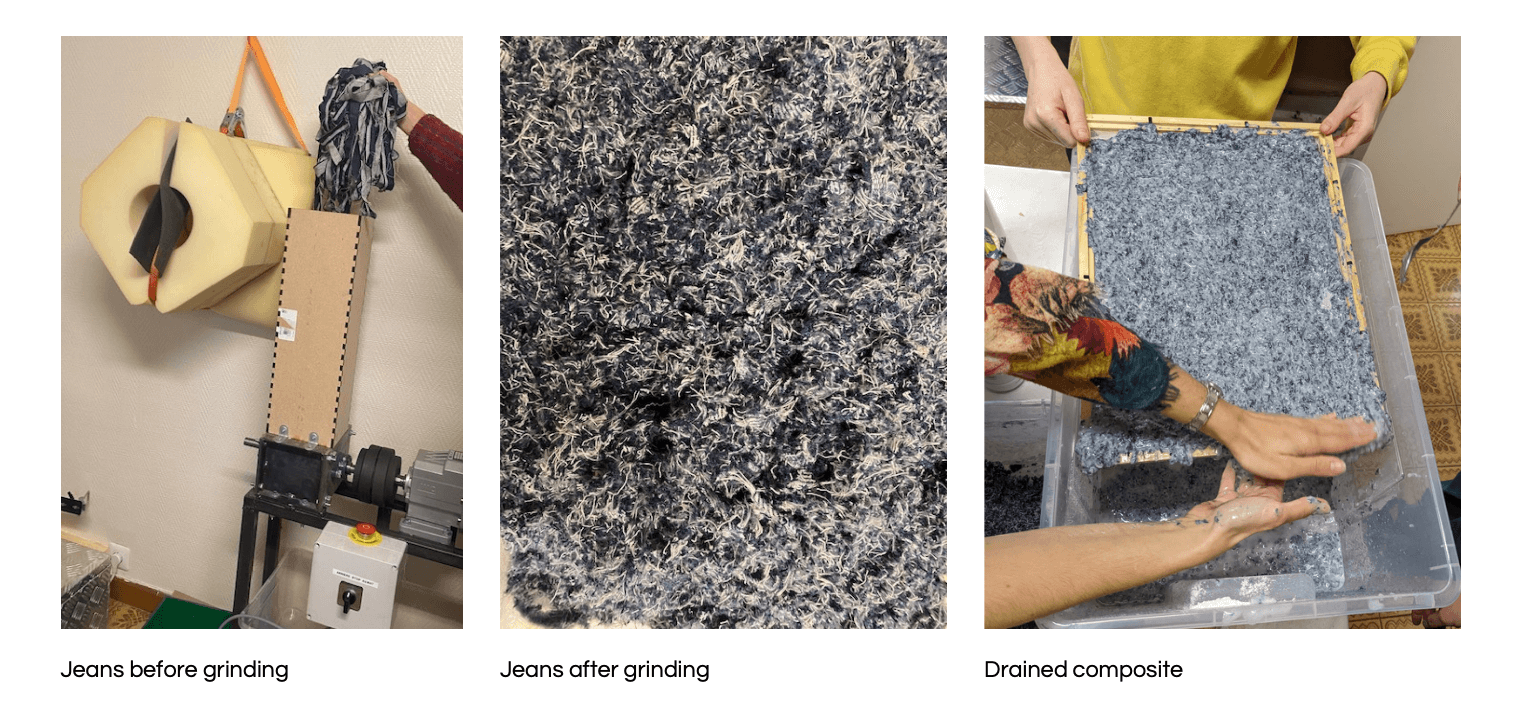
For our first experiment we decided with Laura Guillerm and Marion Banon to use scraps of jeans and to create this composite by taking a recipe of maché paper, the only difference that we use not paper but...jeans. We found two different recipes, one with flour, the other with maizena.
We first tested the flour recipe by mixing about 1kg of flour for 3L of hot water. Then we added the crushed jeans.
We tested several ways to use the composite, in a flattened, more or less thick, moulded around a salad bowl, or even random forms created by hand.

This is the result about 2 days later.... The textiles molded...and contaminated the fungi that were present in the room. Those of Berenice that she made with synthetic glue have however not molded. Conclusion: maizena- or flour-based composites are not reliable in the long term

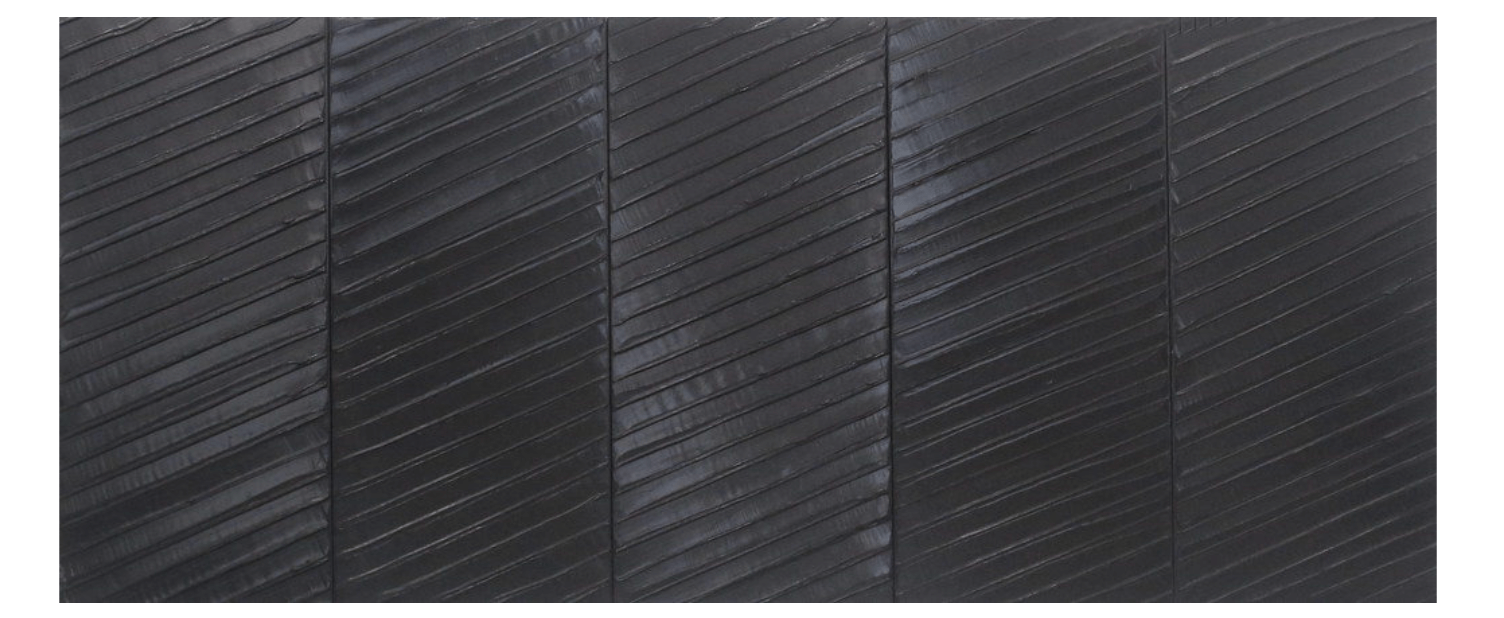
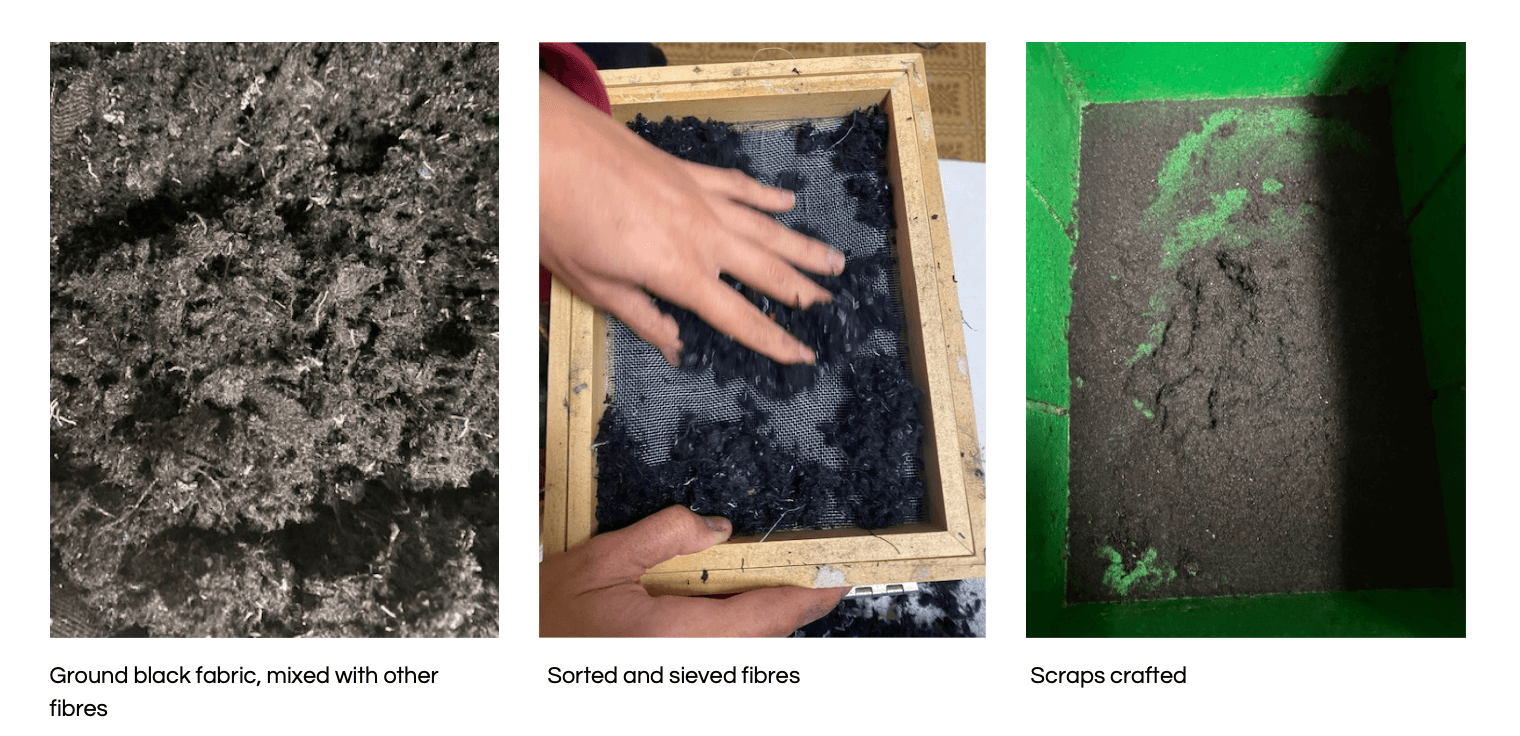
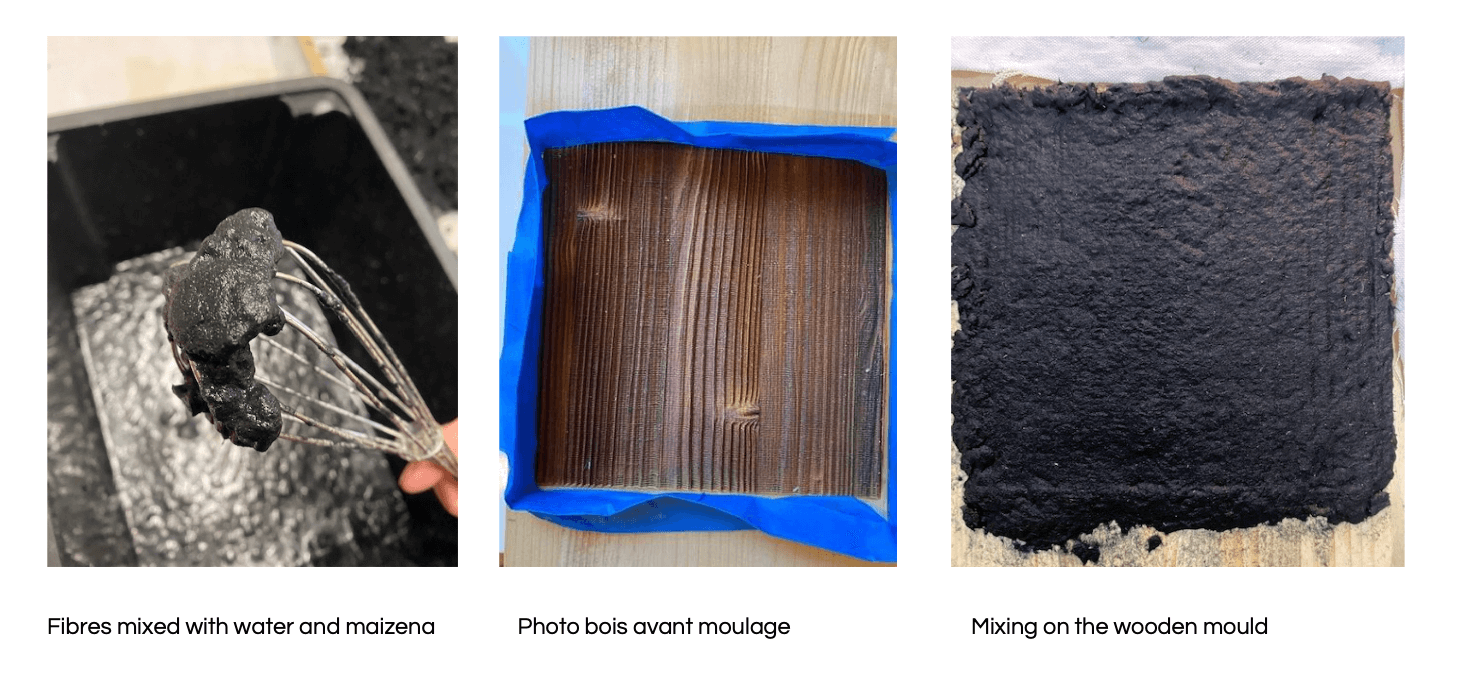
For our second experiment, we used with Laora already ground fabric, it was a beautiful intense black, which I think was jeans as well. However, when we wanted to put it back in the crusher a second time to get a finer result, other fibers that had to be stuck in the machine are mixed in black. We were a bit disappointed and had the feeling that we had spoiled this intense black that we liked before. In order not to spoil, we therefore did not sift all the way in order to obtain debris similar to powder. Then we realized the recipe of maché paper with 110gr maizena, for 1L of hot water. The process is the same as for the first experiment. We obtained a soft and homogeneous material with a touch, which we poured into a mould created by Melanie at laser cutting. This mould was cut into wood, which allowed to obtain the subtlety of the reliefs of wood, with its striations and knots.
While talking with Laora, I discovered the work of Pierre Soulages on black color, these different reflections and these different shades. I really like his work and some of his works made me think a lot about our experimentation.