11. Textile Scaffold
 Learning outcomes
- Research skills: the participant has acquired knowledge through references and Concept development
- Design skills: the participant has learnt through sketches, 3D modeling skills, mould design
- Fabrication skills: the participant is able of executing from file to production workflow, through 3D modelling, 3D milling (optional) or lasercutting, crystal growing or casting
- Process skills: Anyone can go through the process, understand it and reproduce it
- Final outcome: Various samples created using different techniques
- Originality - Aesthetics: Has the design been thought through and elaborated?
Student checklist
- Document the concept, sketches, references also to artistic and scientific publications
-
Produce 2 techniques of textile scaffold choosing from the following:
- fabric formwork with casting
- crystallization
- wood-textiles composite
- resin & bioresin -textiles composite
- leather molding
- other
-
Document the process from CAD to CAM, the step-by-step instructions for CNC milling, mold making, vaccum forming and textile composites
-
Upload your design and fabrication files, including the 3D model and CAM file
- Document at least 2 processes from design to prototyping, fabrication, materials used, document your achievements and unexpected outcomes
- Make a stop motion of your crystal growth or use 3D modeling software to simulate your design (extra credit)
Research
 Link1, Link2, Link3, Link4,Link5, Link6, Link7, Link8

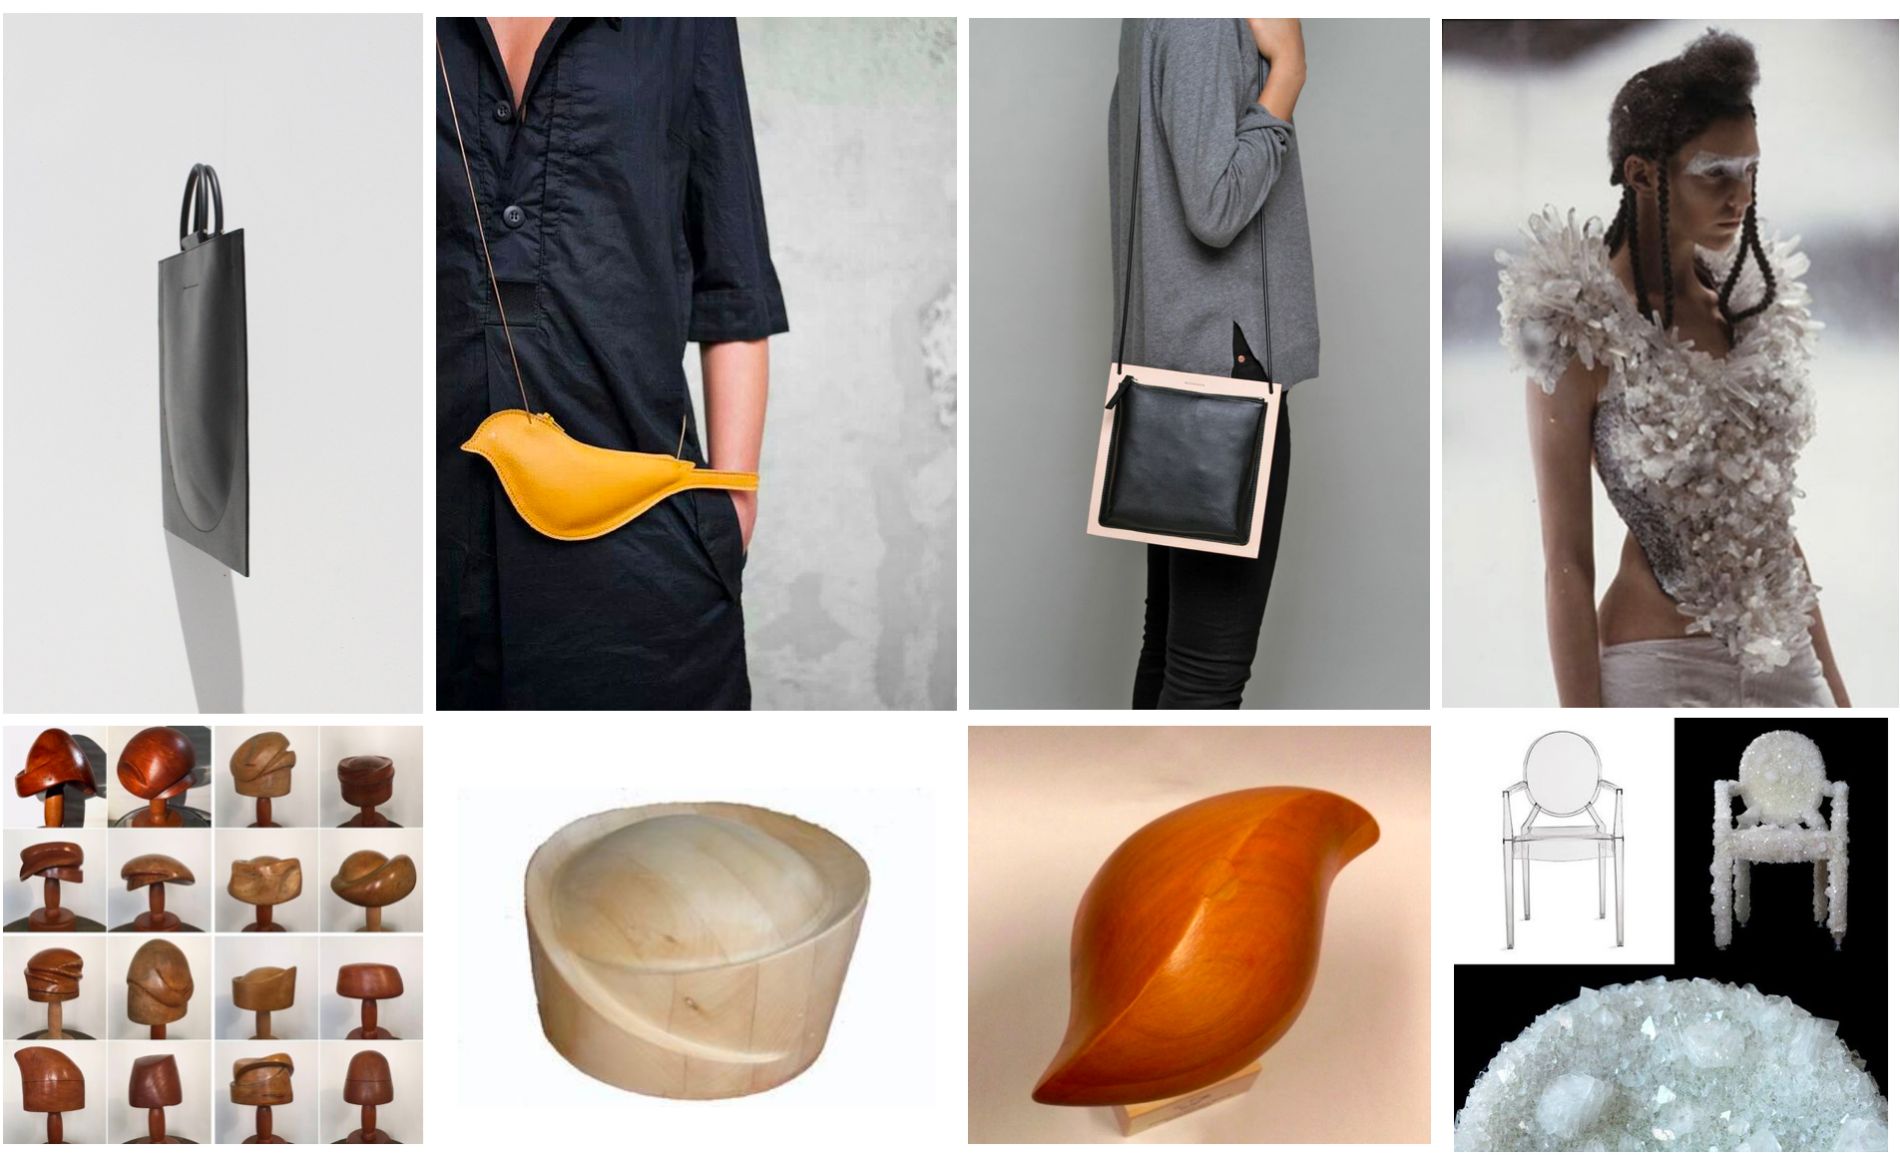
References & Inspiration
For this week's assignments, I would like to try making unimaginable crystals, growing kelp tea leather, Wood & & Textile, etc.
Process and workflow
Crystallization
I tried alum, which takes less time to crystallize than salt or sugar (you can try again if you make a mistake).
1 Alum Crystallization Recipe
* Alum 16g
* Hot water 200ml (60°c)
* Scale
* cup
* stick
* styrofoam box  ( to cool slowly. option )
* cotton string
* conductive string
* Measure 200ml hot water(60°c), then pour into clean cup.
* Measure alum, then put into the hot water while stirring little by little
* Cover the cup with coffee filter, then place it in the styrofoam box for two days.
* Choose a large crystal from the bottom of the cup
* Return the rest to the alum solution and heat it in the microwave to 60 degrees to dissolve the alum.
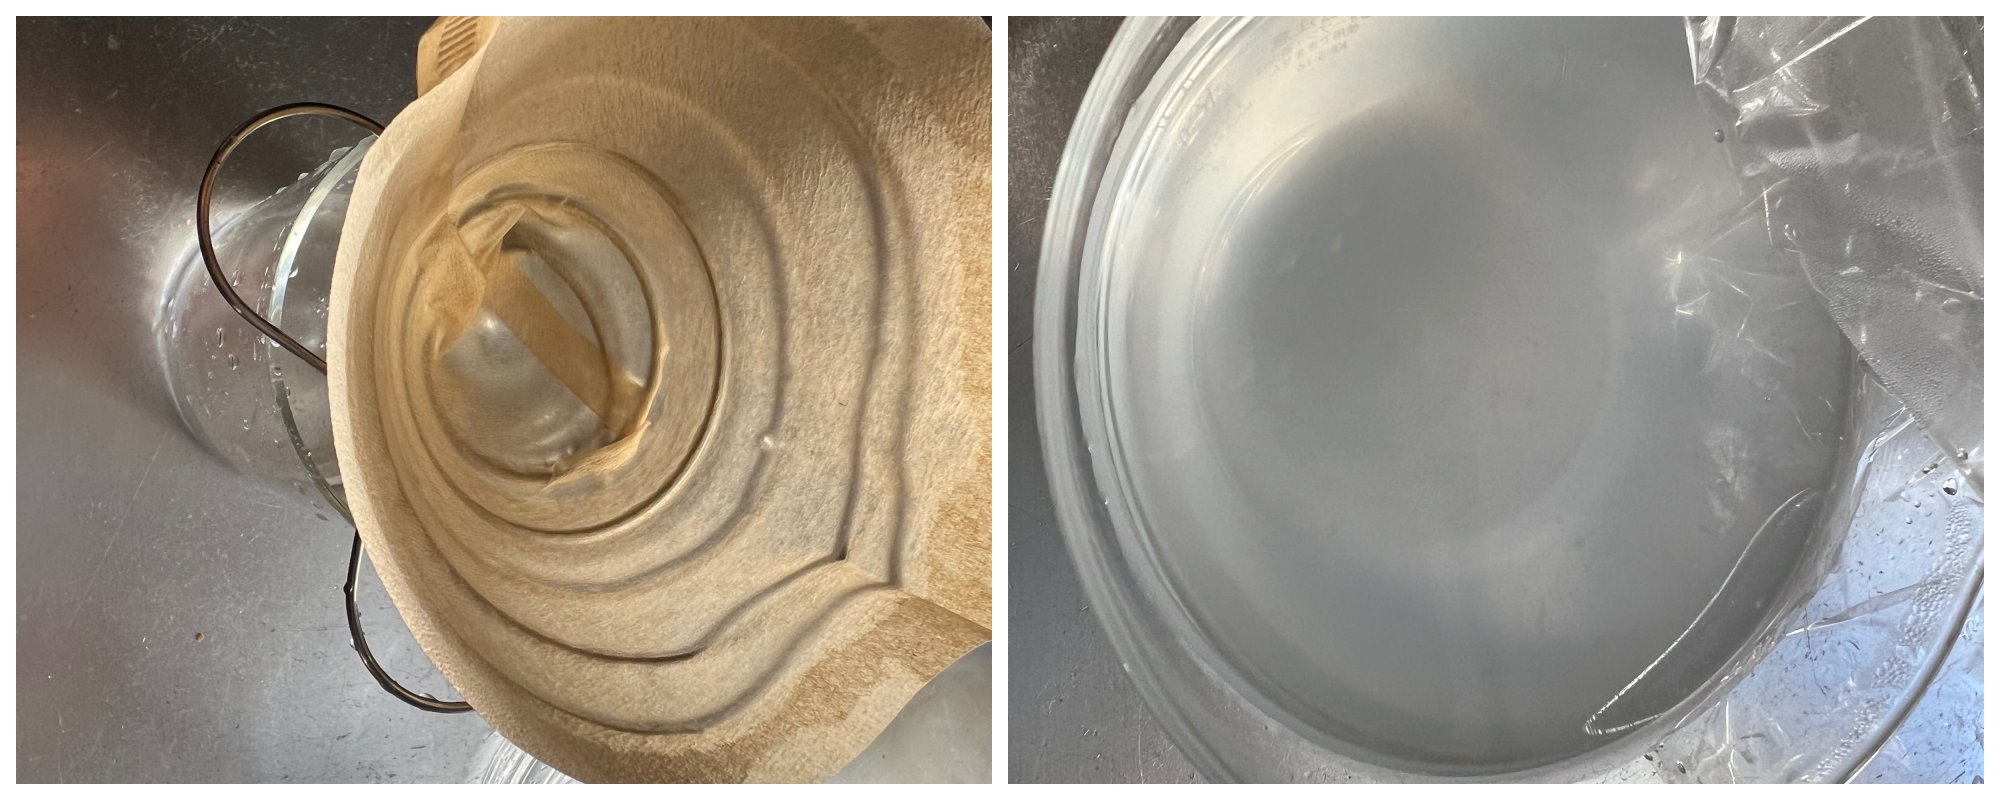
* Filter through a coffee filter
* Cool the alum solution to 30 degrees
* Tie a string around the crystal and hang it so it doesn't touch the bottom of the cup.
* Pour the alum solution until the crystals are covered.
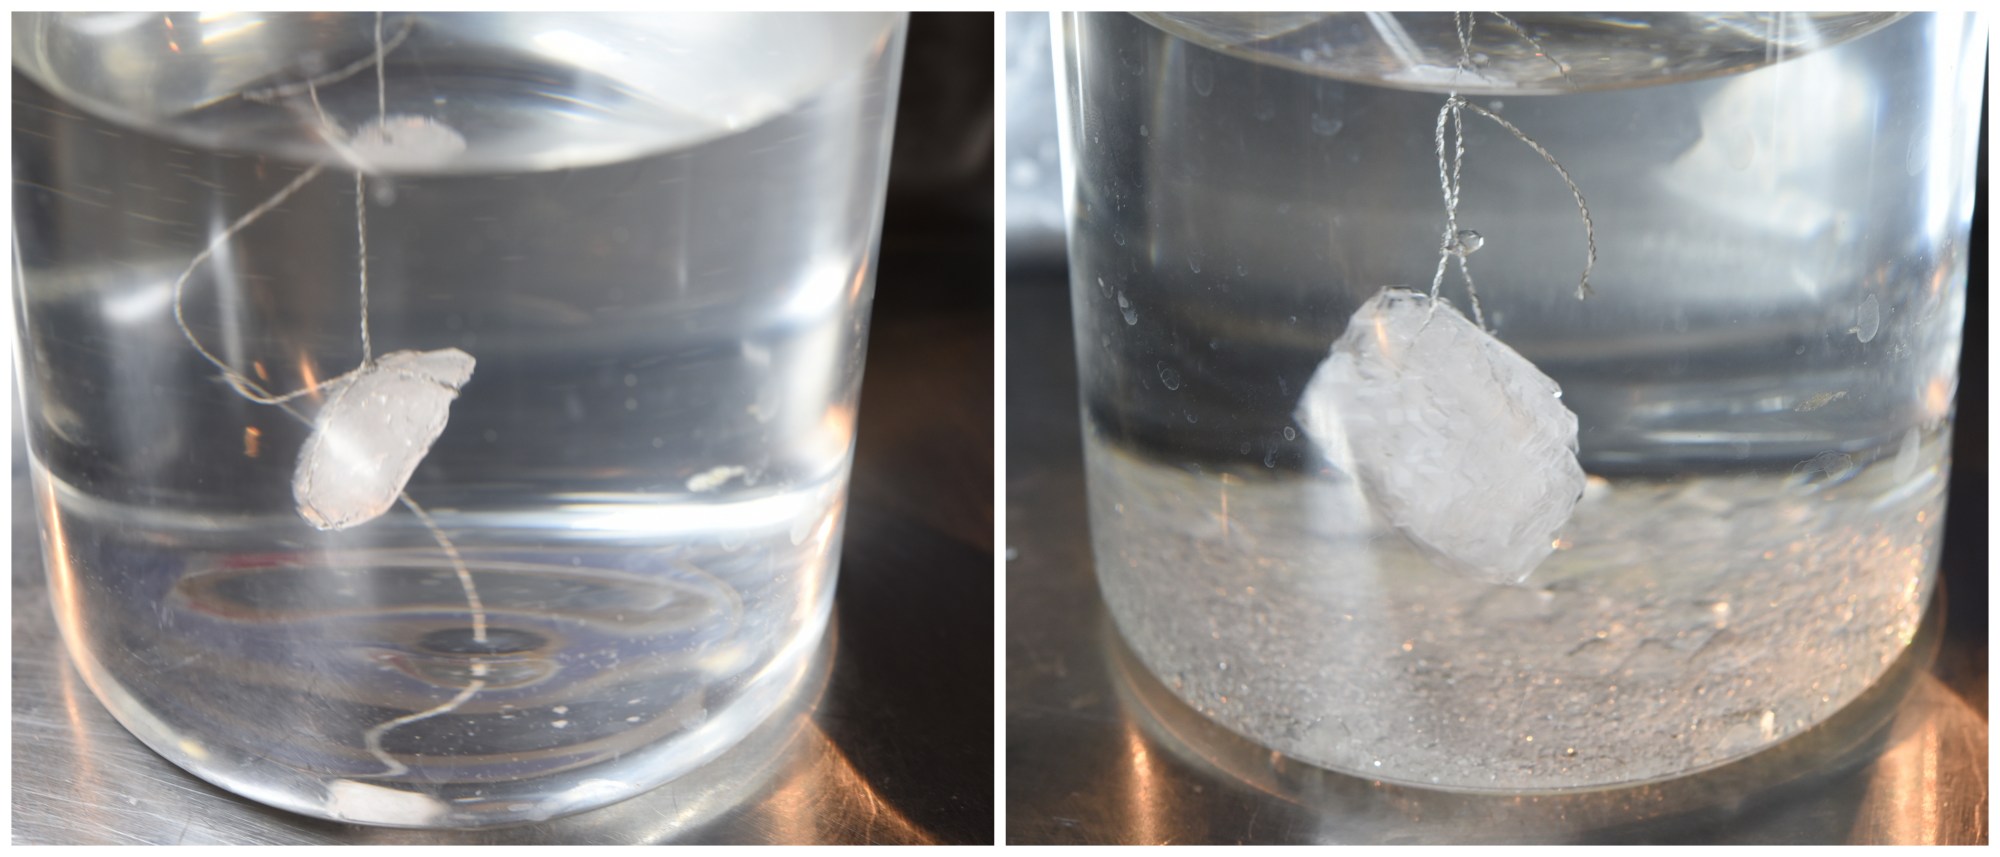
1st trial
Place the alum solution in a Styrofoam box
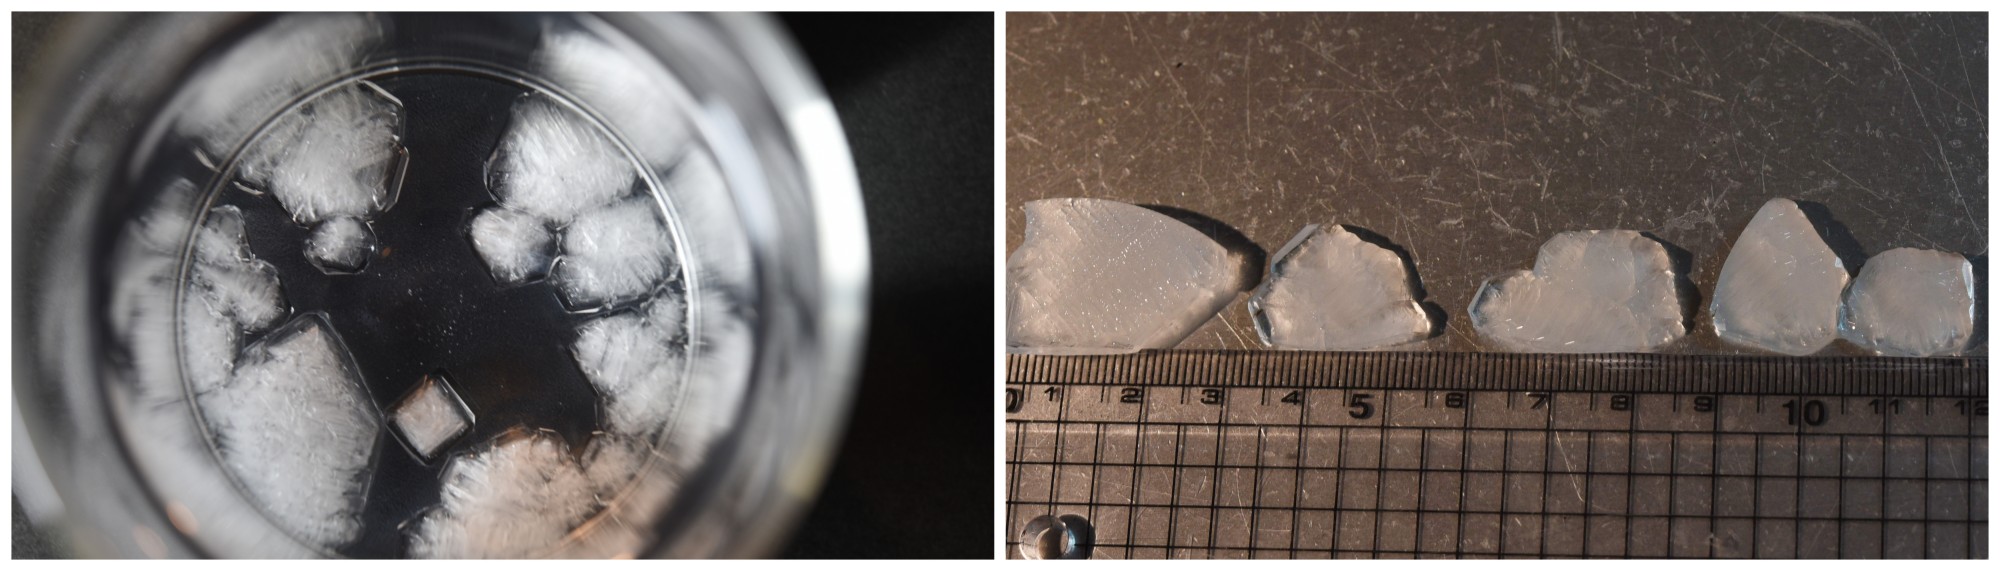
 48 Hours passed
There were crystals all over the bottom of the glass.
48 Hours passed
There were crystals all over the bottom of the glass.
 When I touched it with a stick, it broke into crystal grains.
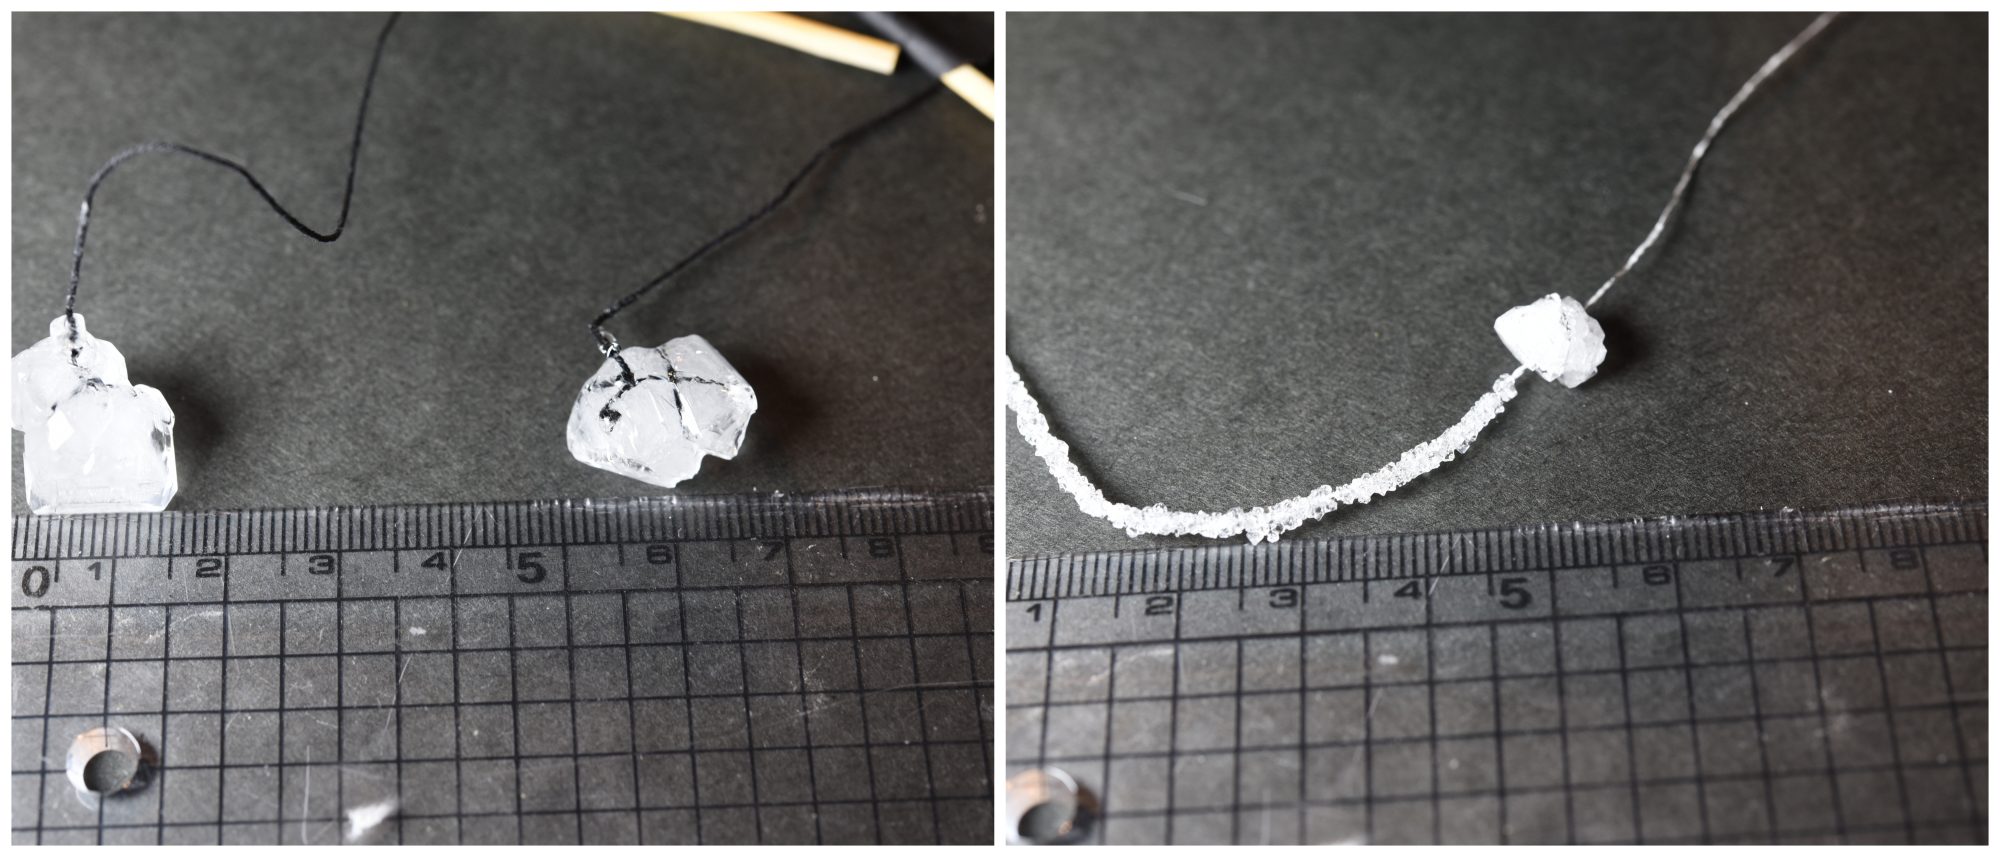
 I chose three large crystals, and tied thread.
The other crystals were placed in an alum solution and heated to 60 degrees in the microwave to dissolve the alum.
The alum liquid was filtered through a coffee filter. Then poured in the glasses.
I chose three large crystals, and tied thread.
The other crystals were placed in an alum solution and heated to 60 degrees in the microwave to dissolve the alum.
The alum liquid was filtered through a coffee filter. Then poured in the glasses.
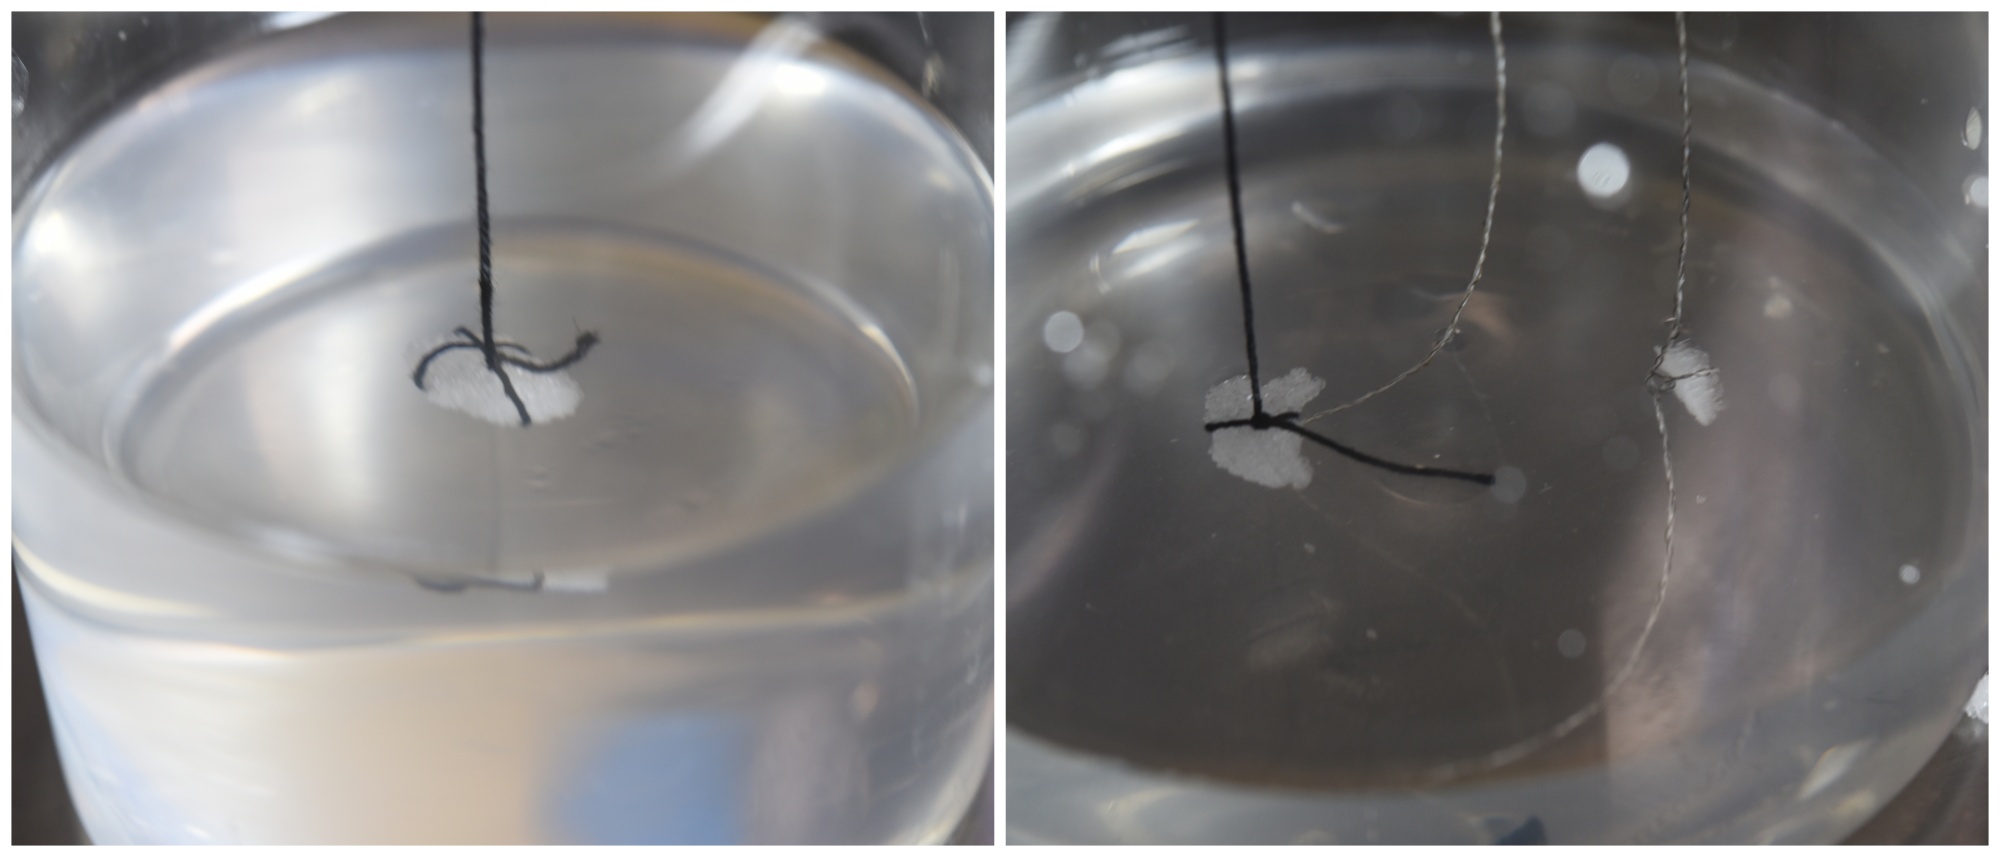
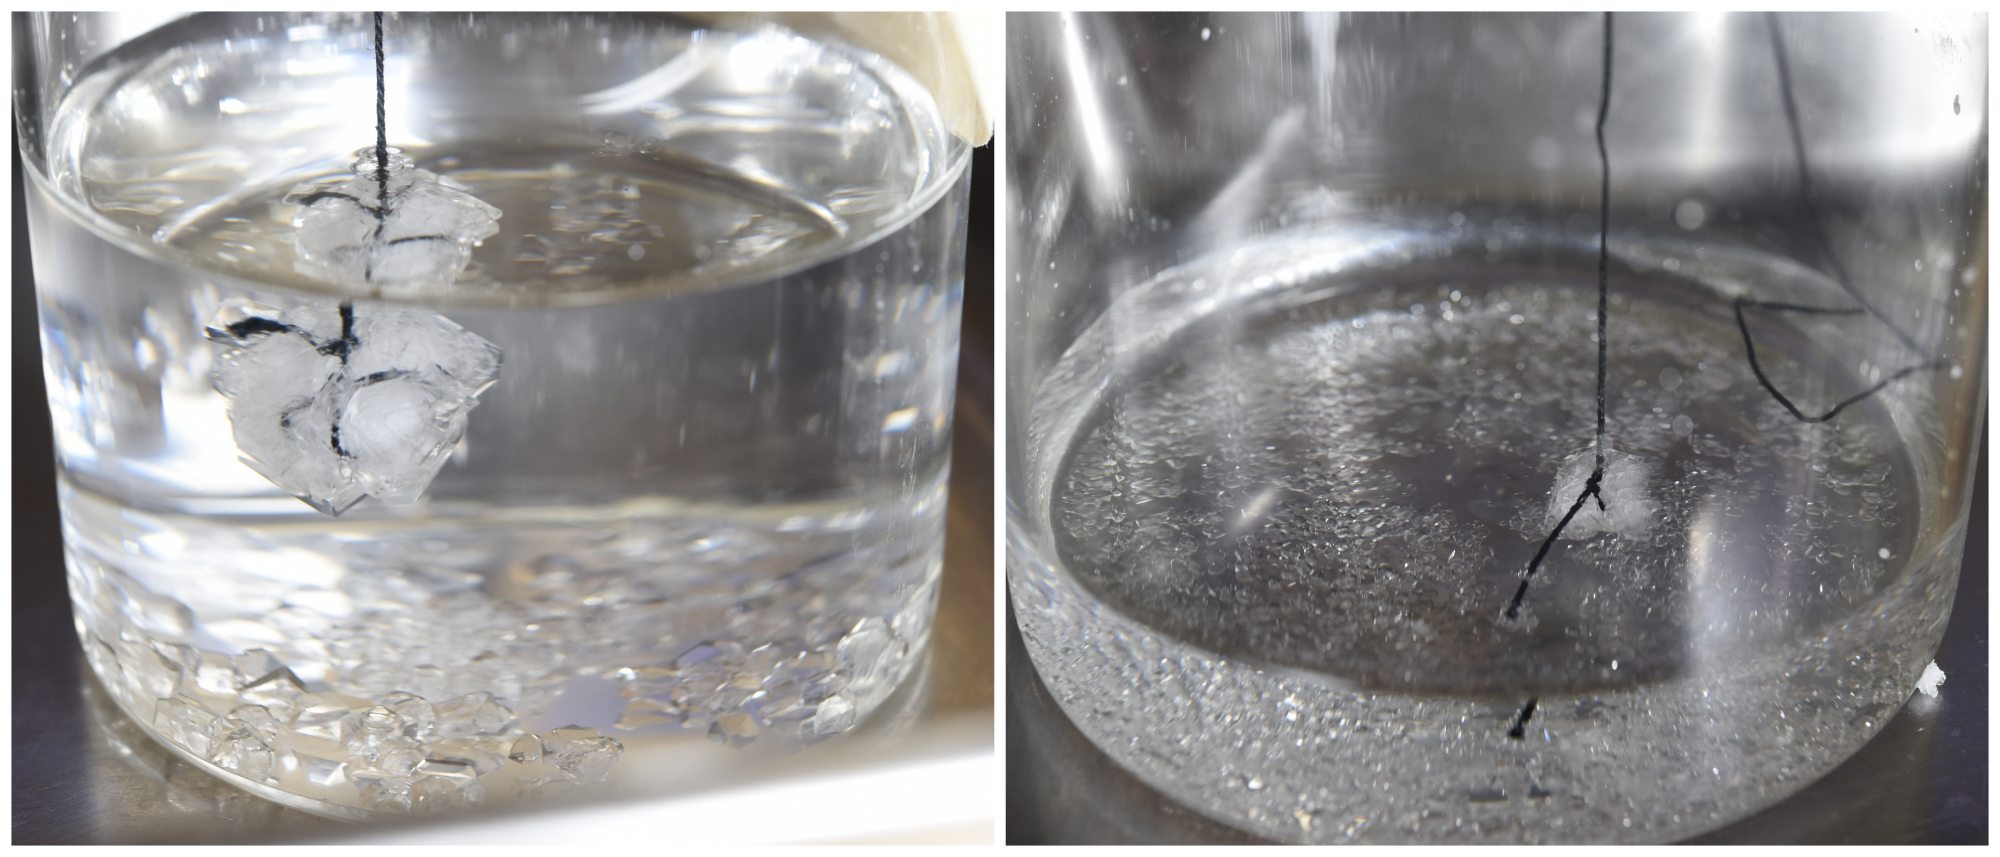
- Glass1(left) Alum seed with cotton black thread
- Glass2(right) Alum seed with cotton black thread, Conductive thread.
Glass 2 had 2 Alum seeds, so it was expected that it would grow poorly. I tried it as a reference.
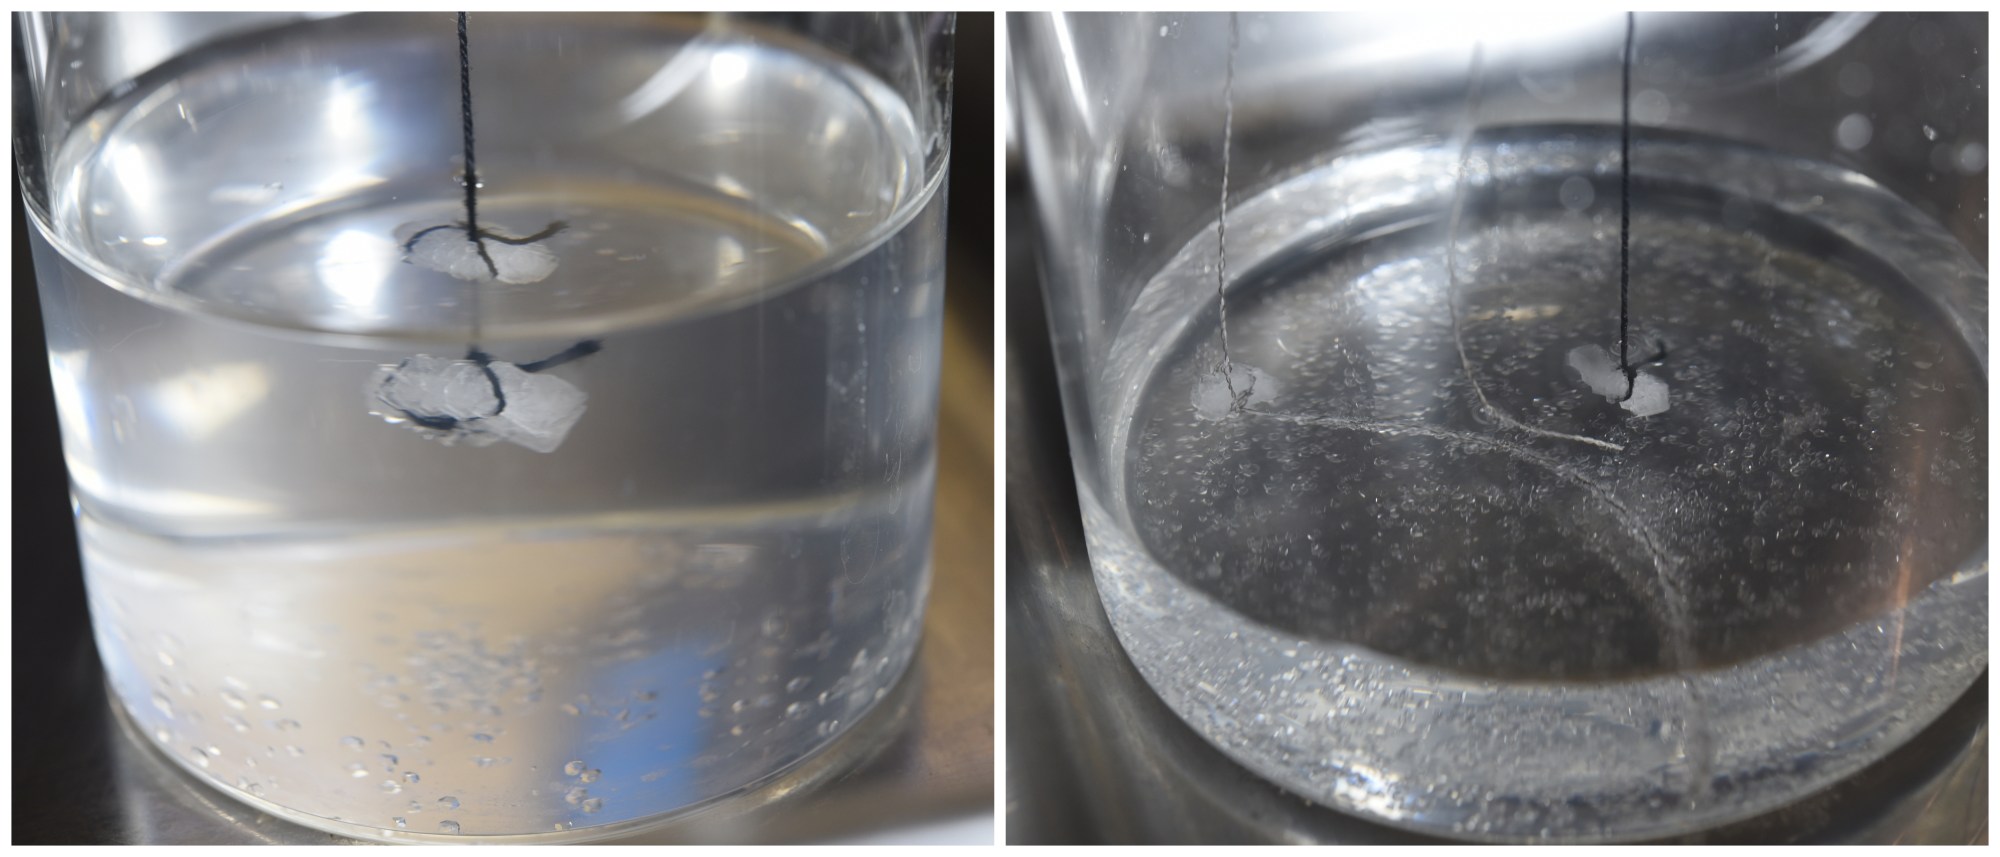
51 Hours passed
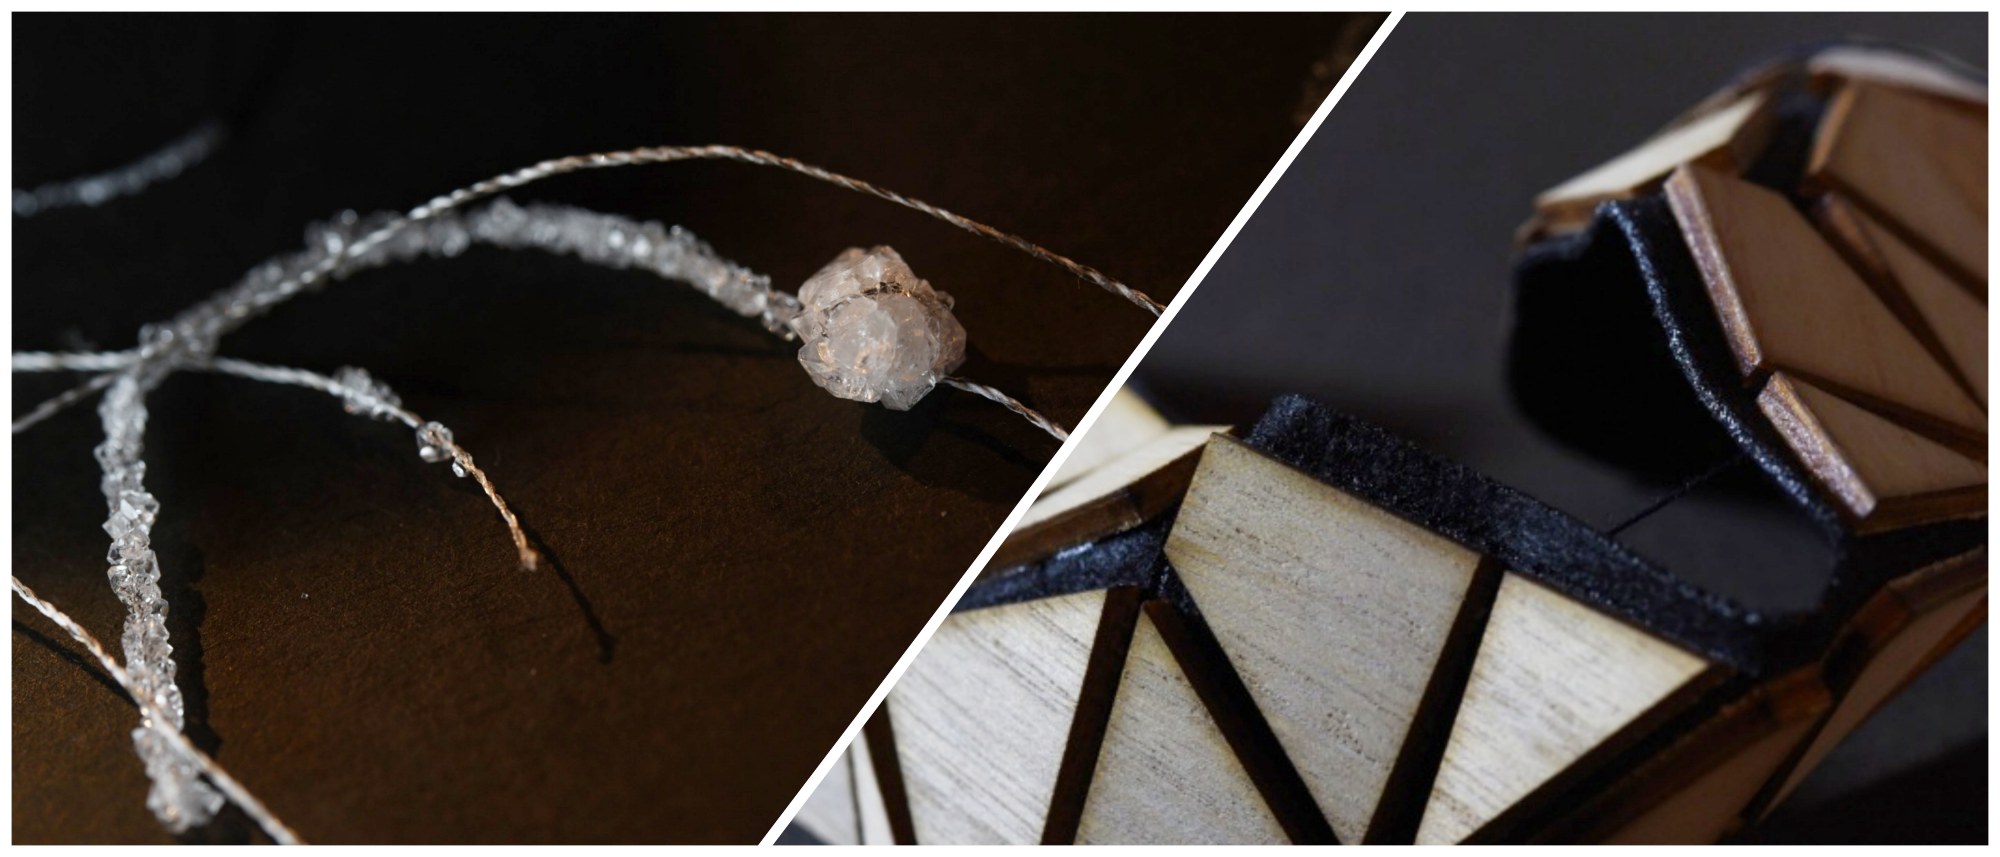
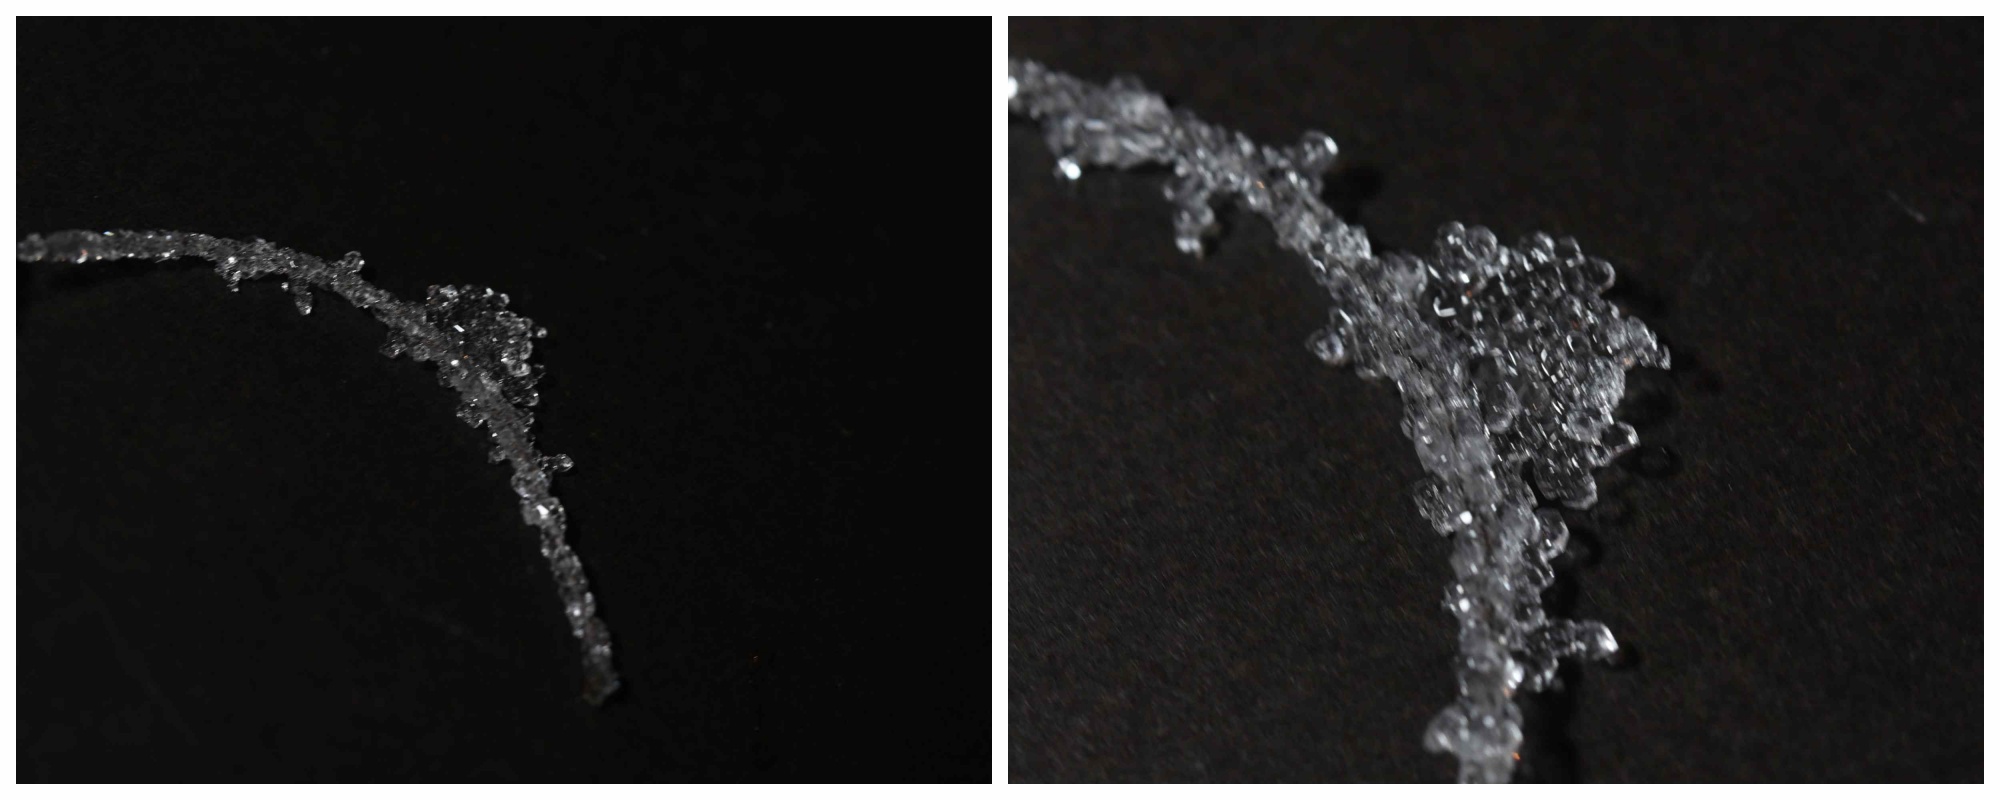
The alum of glass1 grew faster than glass1. And in the Glass2, crystals have started to form on the conductive thread hanging at the bottom.
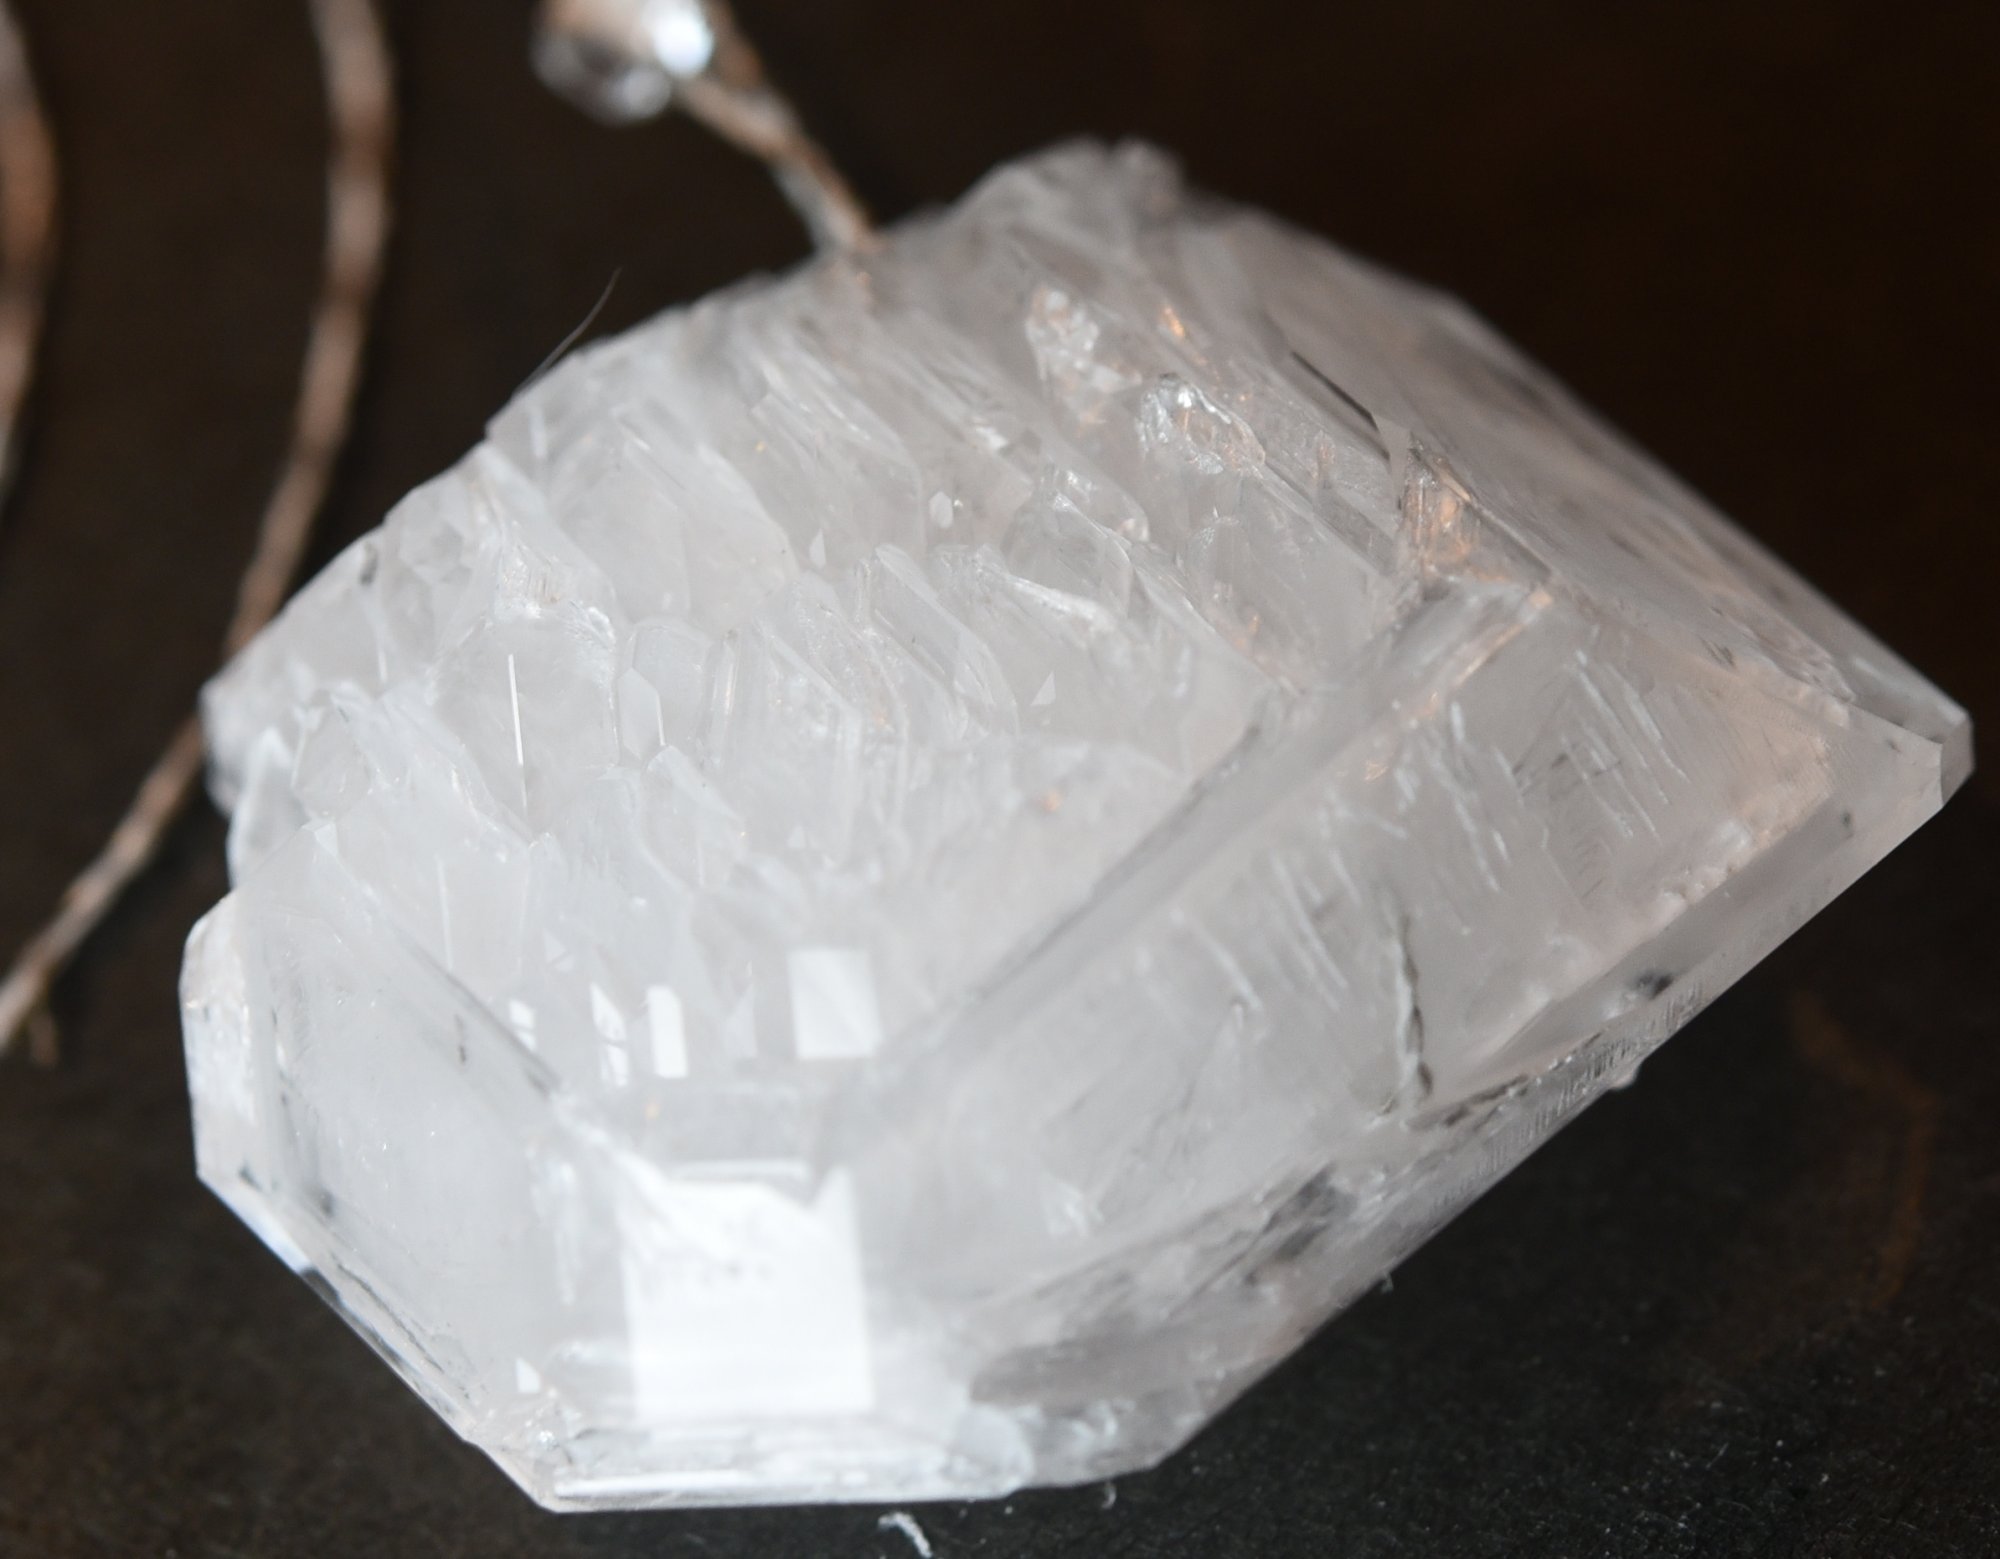
56 Hours passed
I didn't intend for the crystals to stick along the conductive thread, but it was beautiful.
At this point, I decided to take out the conductive thread from the glass 2.
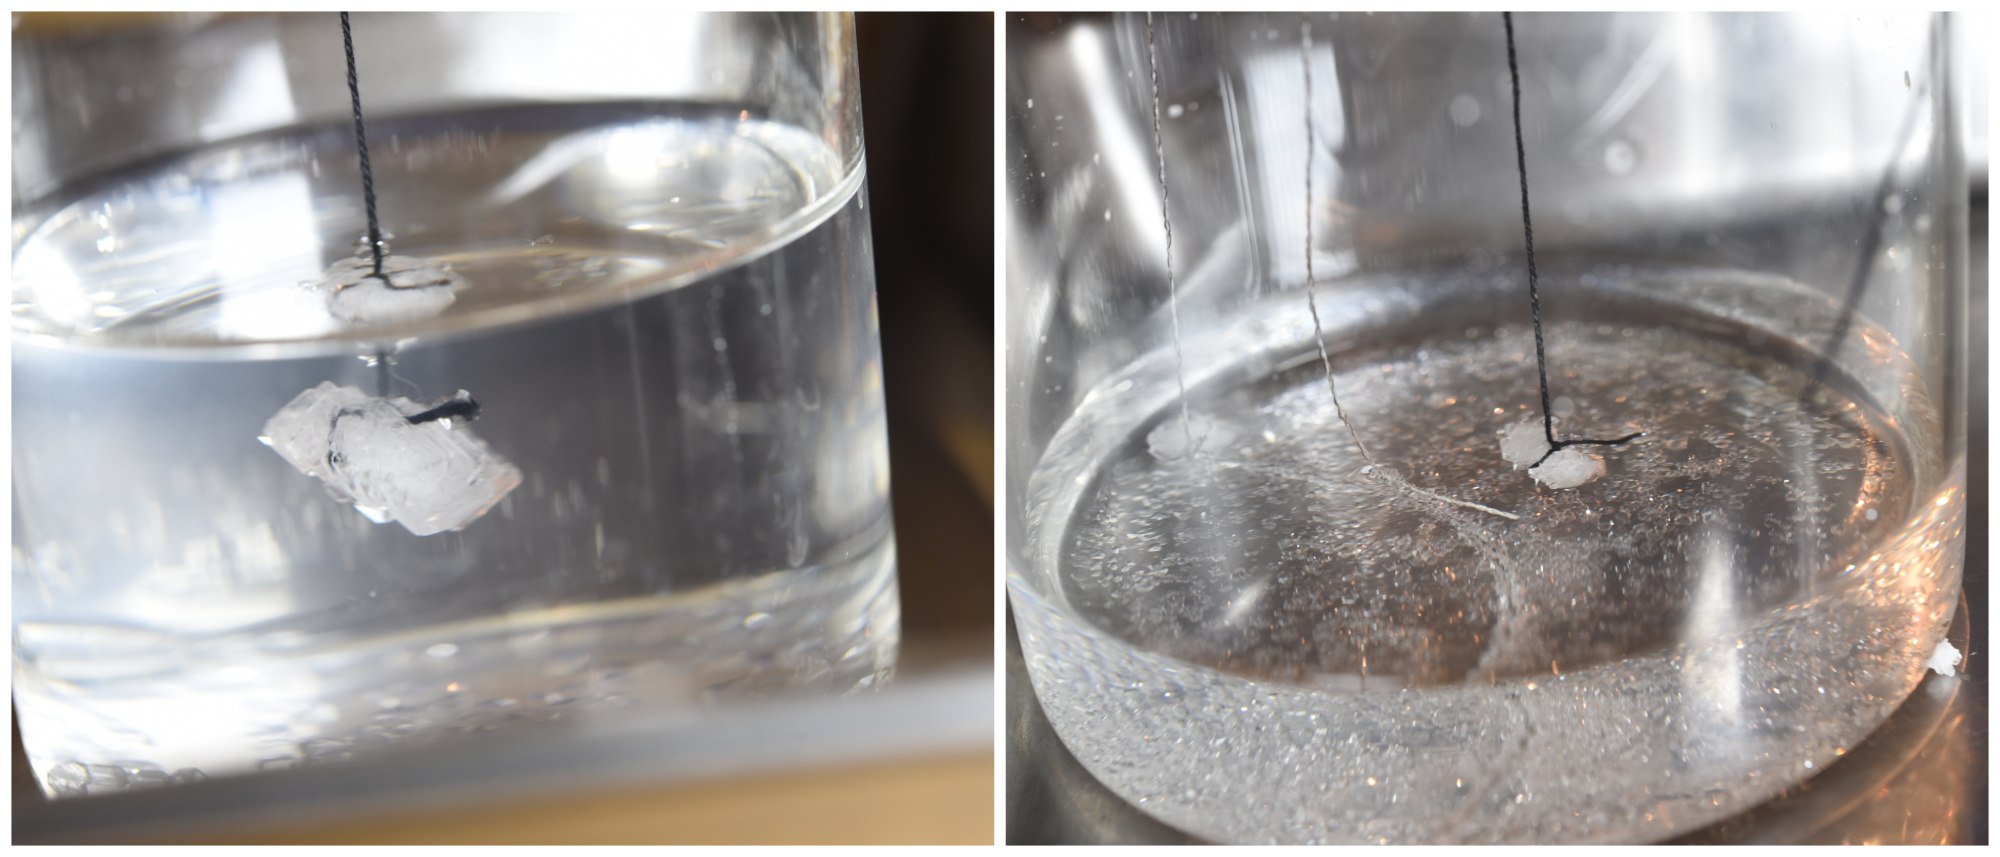
67 Hours passed
The alum of glass1 grew larger, but that of glass2 did not grow well and crystals had accumulated at the bottom, even though I took out the conductive thread and made it into one.
77 Hours passed
For Glass 2, the conductive thread was taken out, but the growth was still poor.
So I decided to dissolve the alum solution again.
I took out the hanging crystals, heated the crystals and alum solution at the bottom in the microwave to 60 degrees, melted them, cooled them to 30 degrees, put them in a cup, and hung the crystals. Also, I made a cup with a smaller bottom than the previous cup to make the alum liquid deeper.

87 Hours passed
The Alum of glass 2 began to grow rapidly.

99 Hours passed


2nd Trial
I tried the same recipe again with conductive thread. The seed crystals grown in Styrofoam for two days had formed into large clumps. The first time, it was spread thinly all over the bottom, so even though it's the same recipe, it's quite different. Maybe it was a good thing that the temperature was getting colder.
 12 Hours passed(left) and 21 Hours passed(right)
Although the transparency was not high, it grew significantly compared to the Trial 1.

Wood & Textile
Using Paul Jackson's origami as a reference, I decided to try working with wood and textile.
Tool and material
- Fusion360: CAD
- trotec laser
- Plywood 3mm
- Felt
- Glue
- Stick / Toothpick
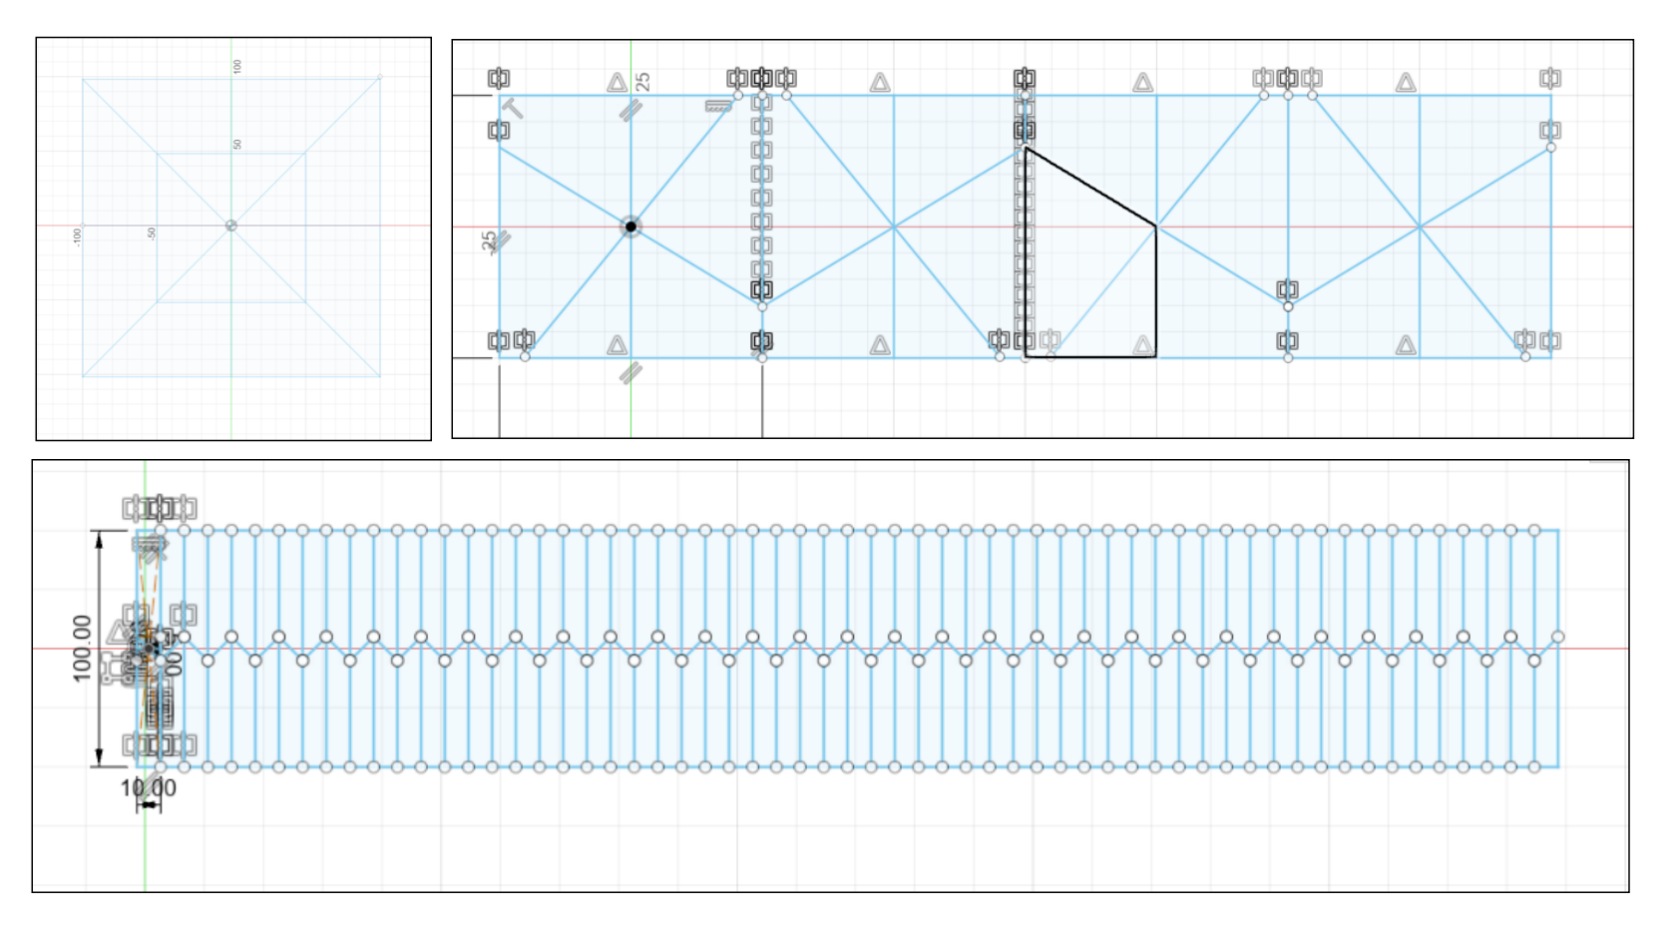
I designed the patterns using Fusion360 and cut using laser cutter. I didn't use a roller to apply the glue, but I used a thin stick to spread it flat.

At first, I didn't consider the thickness of the board when I applied it, so although I was able to make the fabric stiffer, it lacked flexibility.
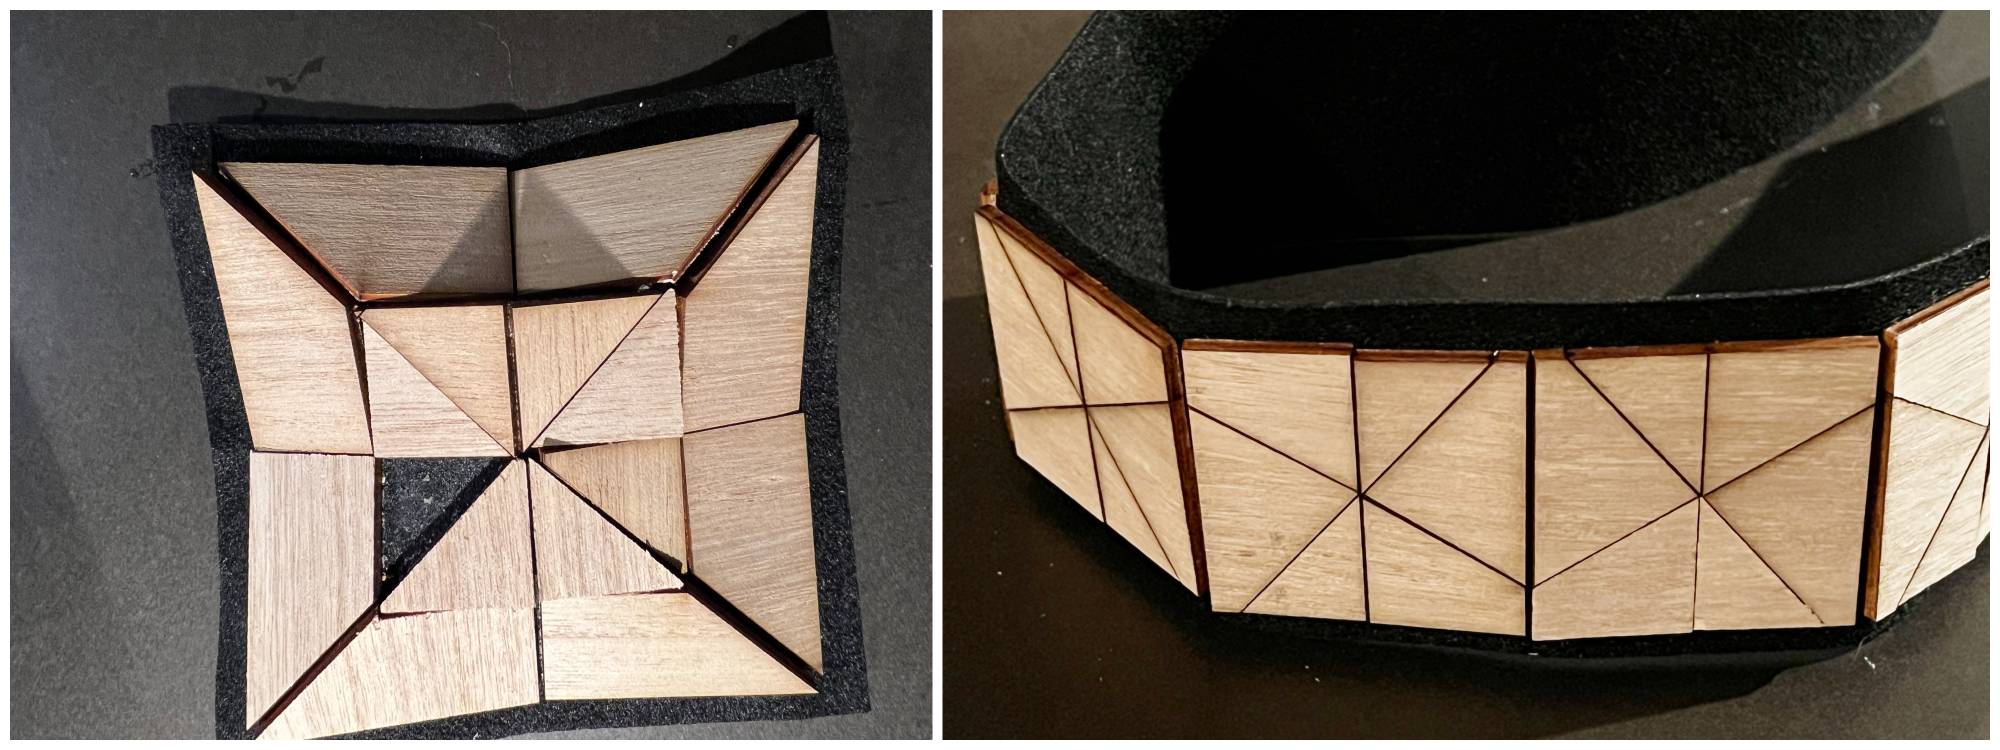
Considering the thickness, I left gaps between the wooden parts and pasted them.

 I tried to shape it like a chair.

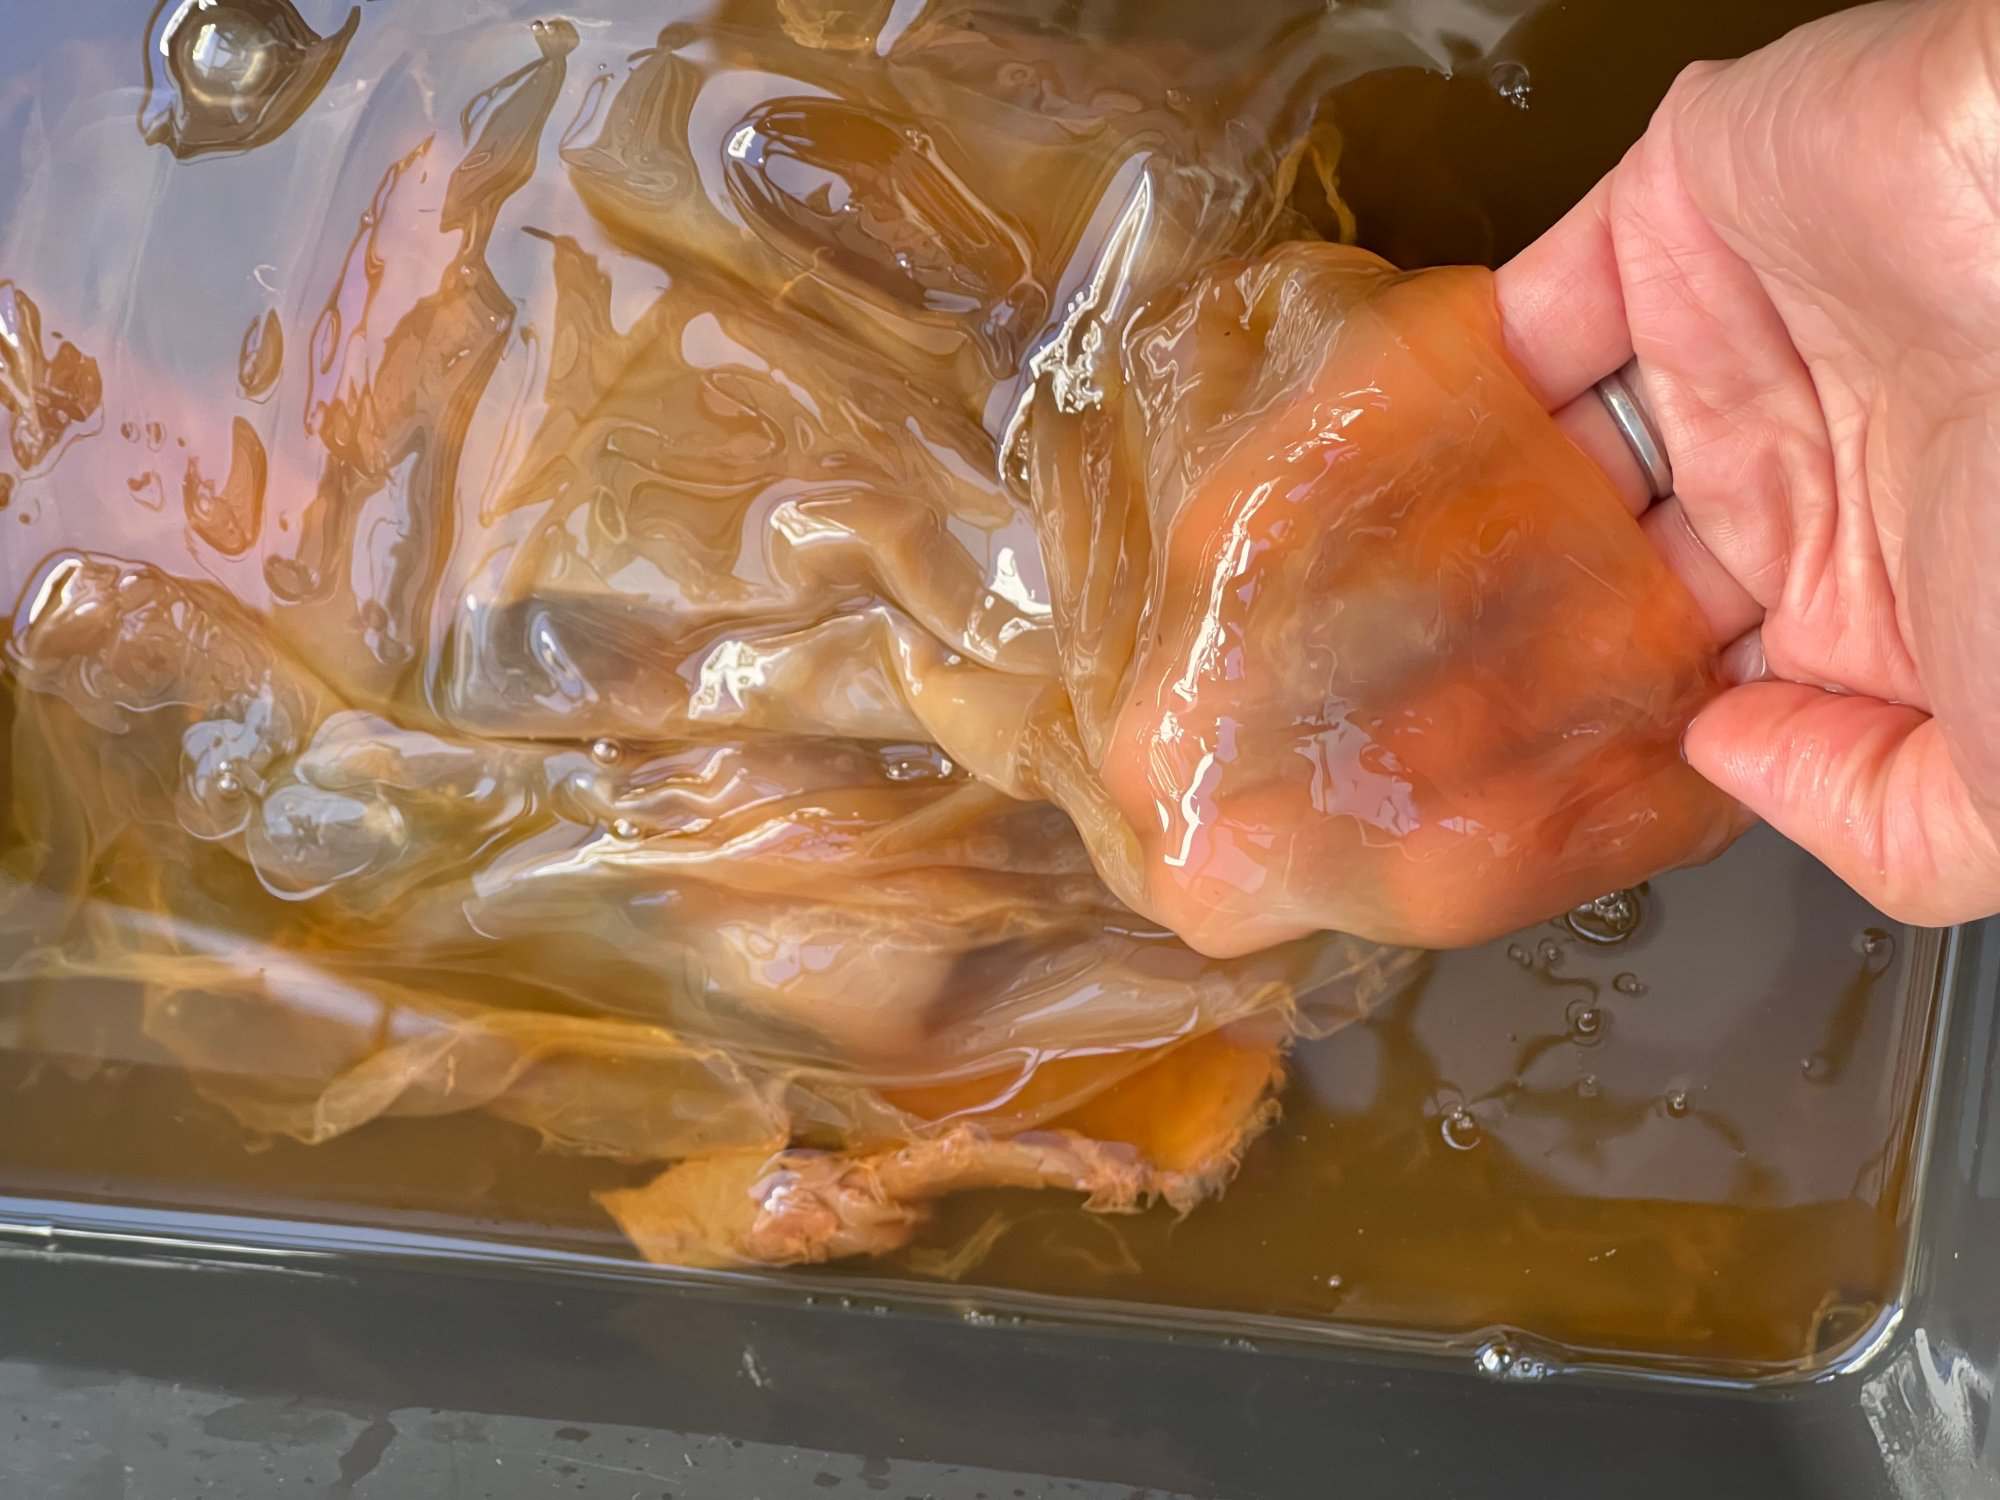
Kombucha Leather Forming
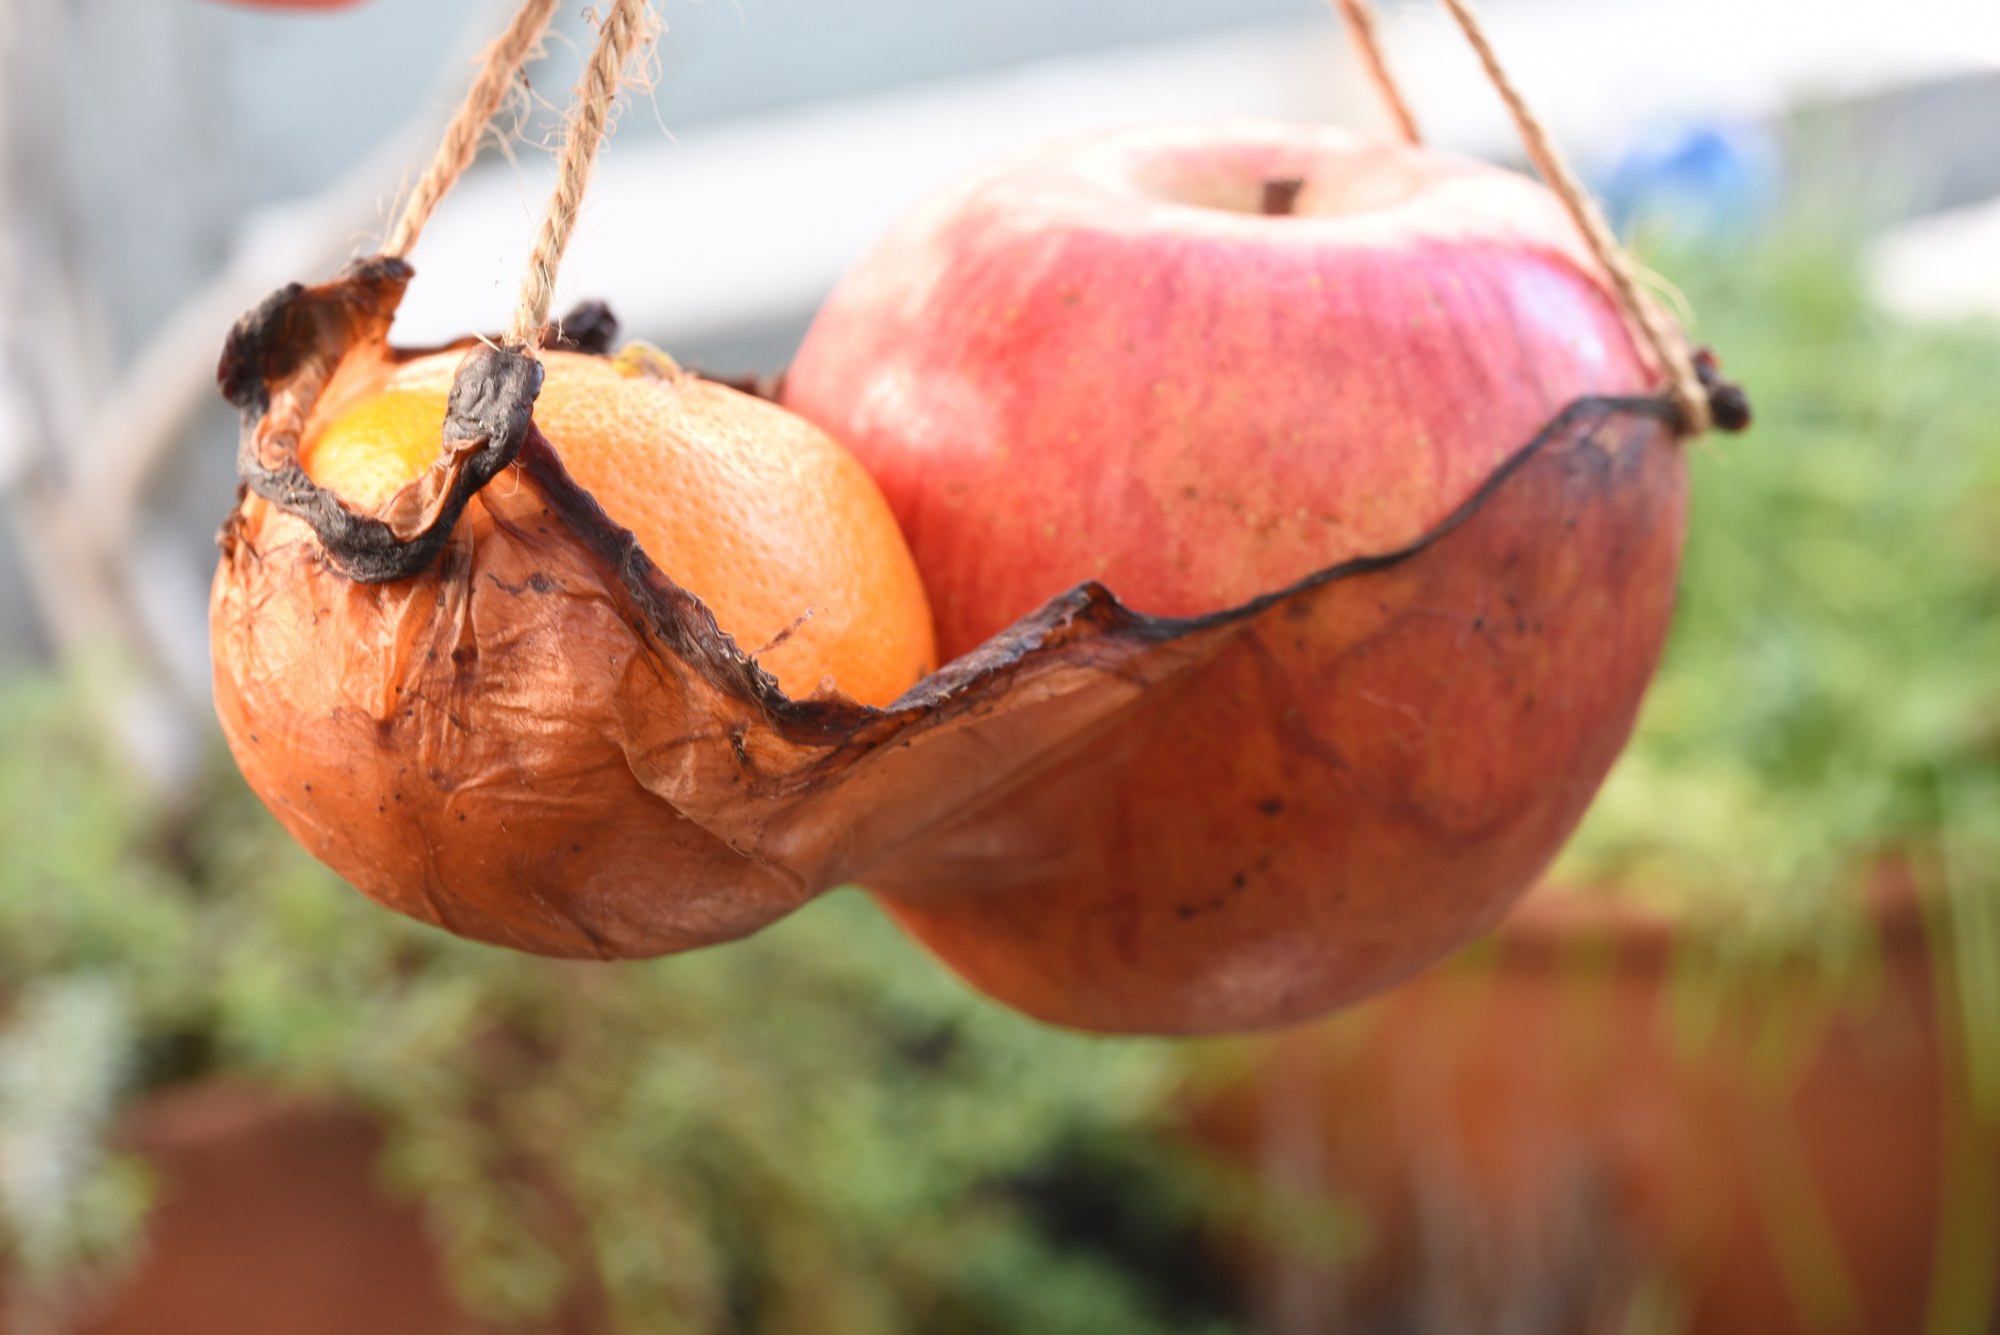
I love this store's ``Enjoy Carrying'' series, which designs bags that carry interesting things such as snowmen and stones. Inspired by this bag for carrying watermelon, I made the kombucha bag for carrying an apple and an orange.
Material
- Kombucha leather 25cmx 34cm
- String
- Apple, Orange
I used the kombucha that I had been growing since BioChrome week. As the weather has gotten colder, growth has slowed, but it is getting thicker.
At first, I thought about 3D printing an apple model. However, I thought it would be interesting to use real apple and orange, so I decided to make them into molds.
I washed the kombucha leather with water, squeezed it out, wrapped it around the fruit, and secured it with a string.
 7 hours later
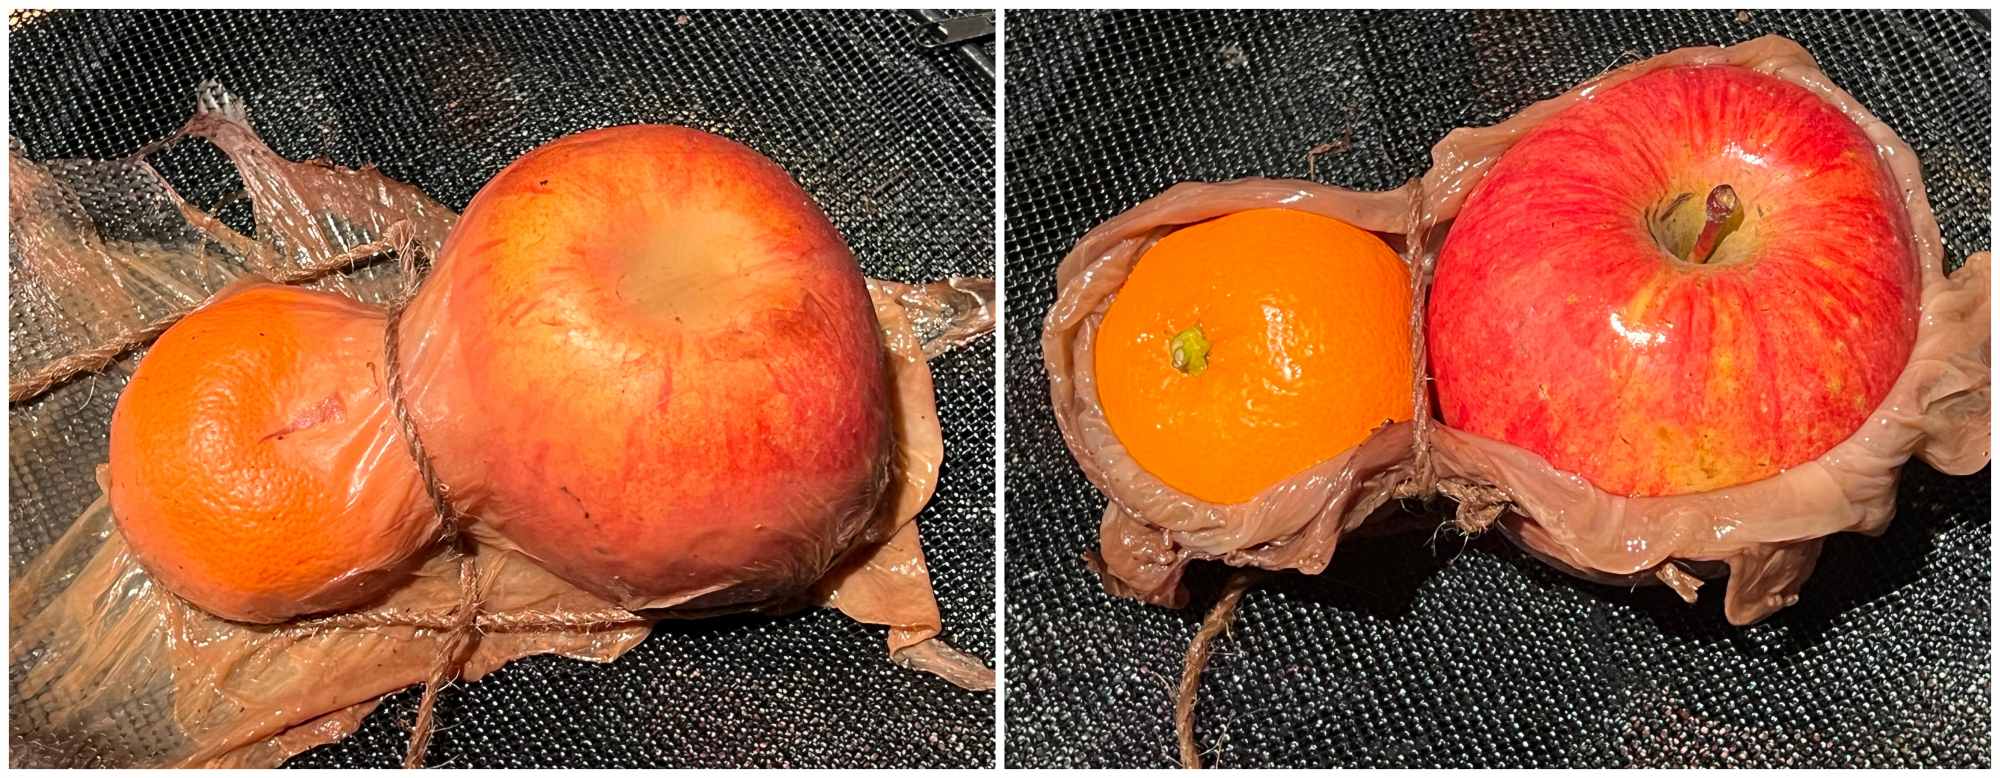
2days later
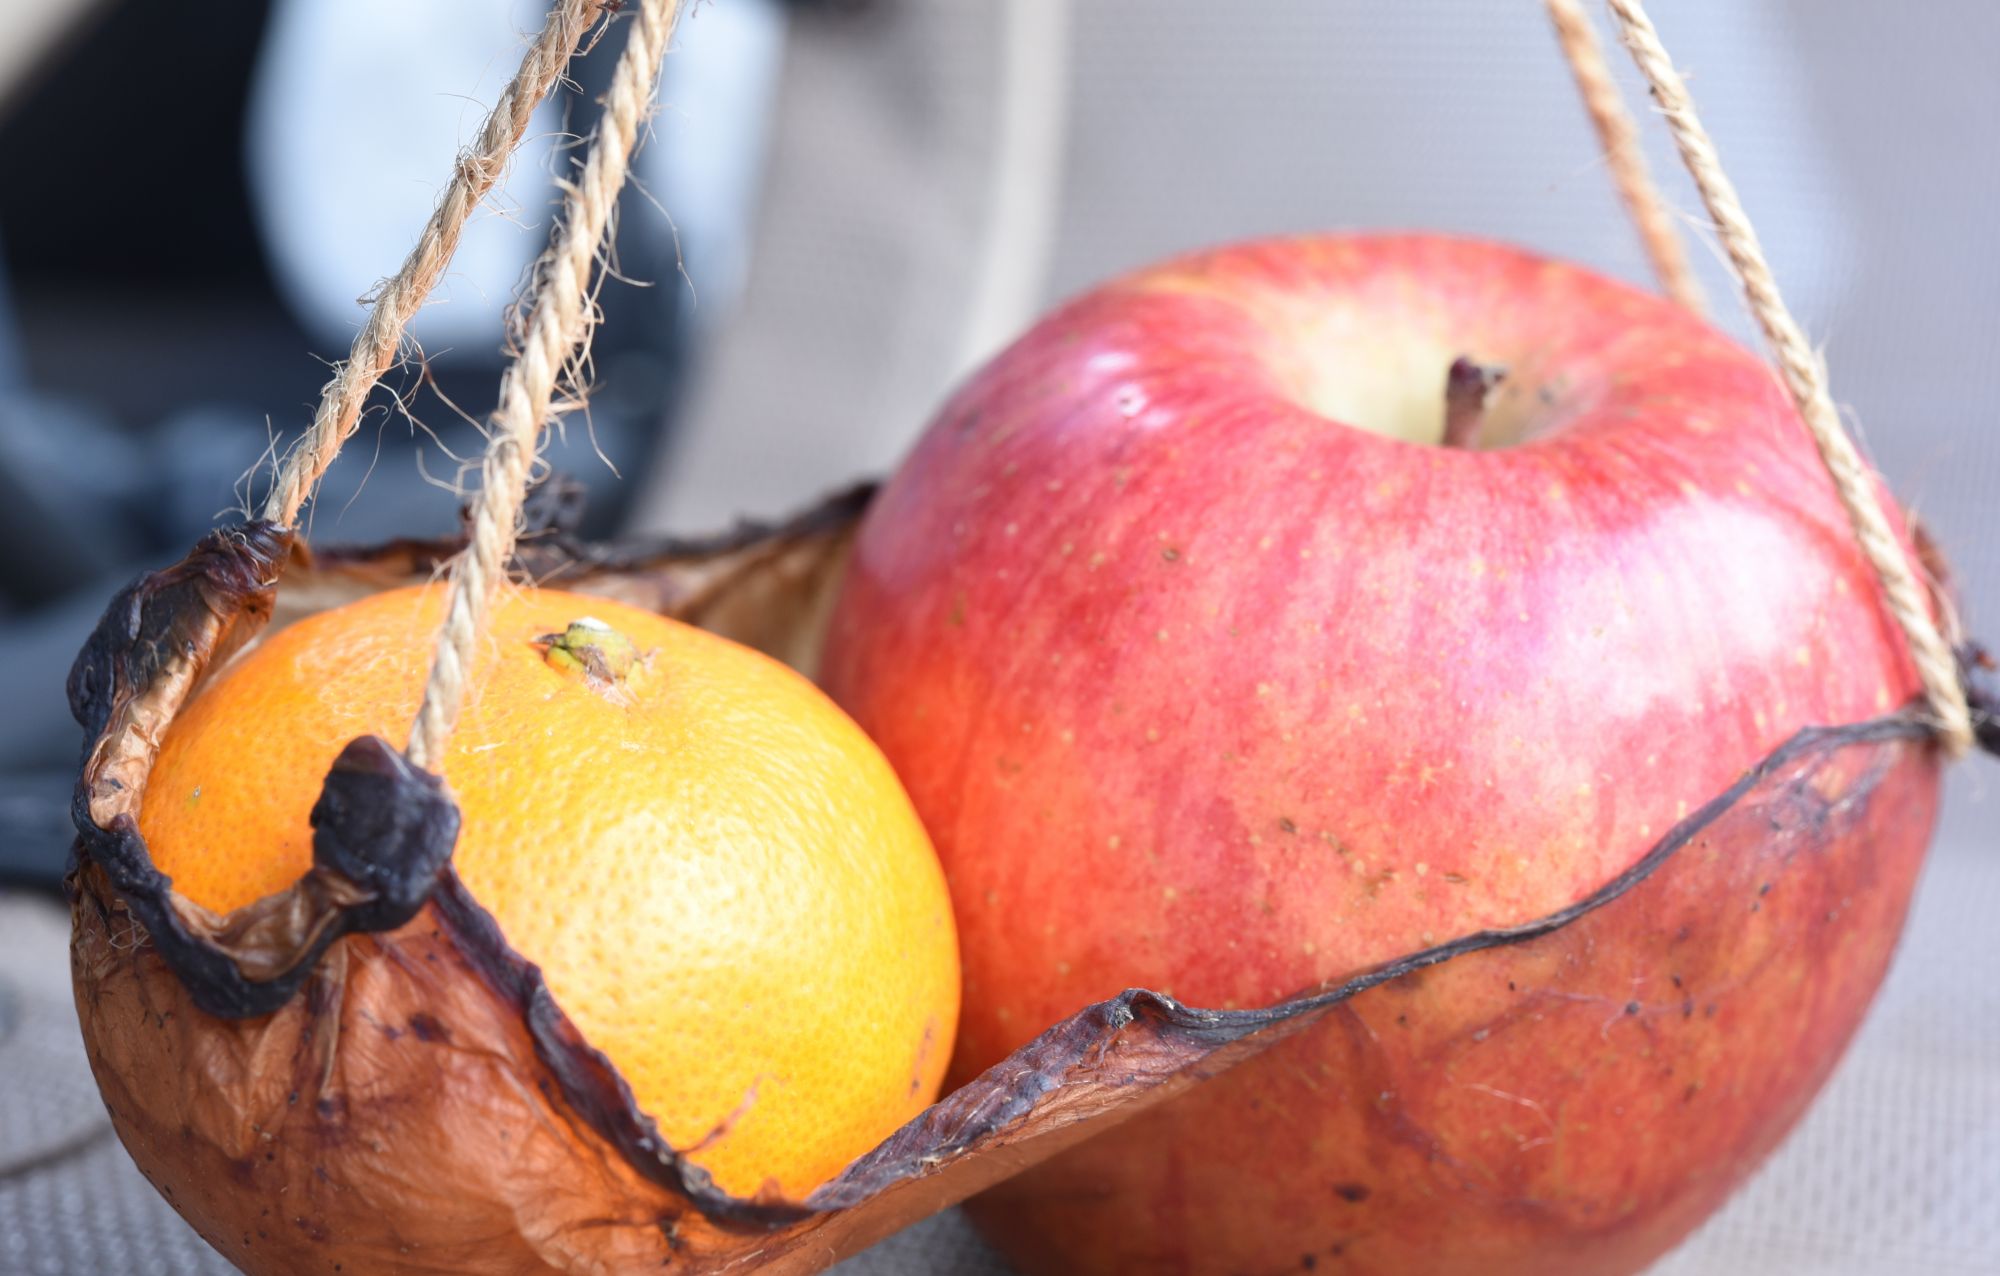
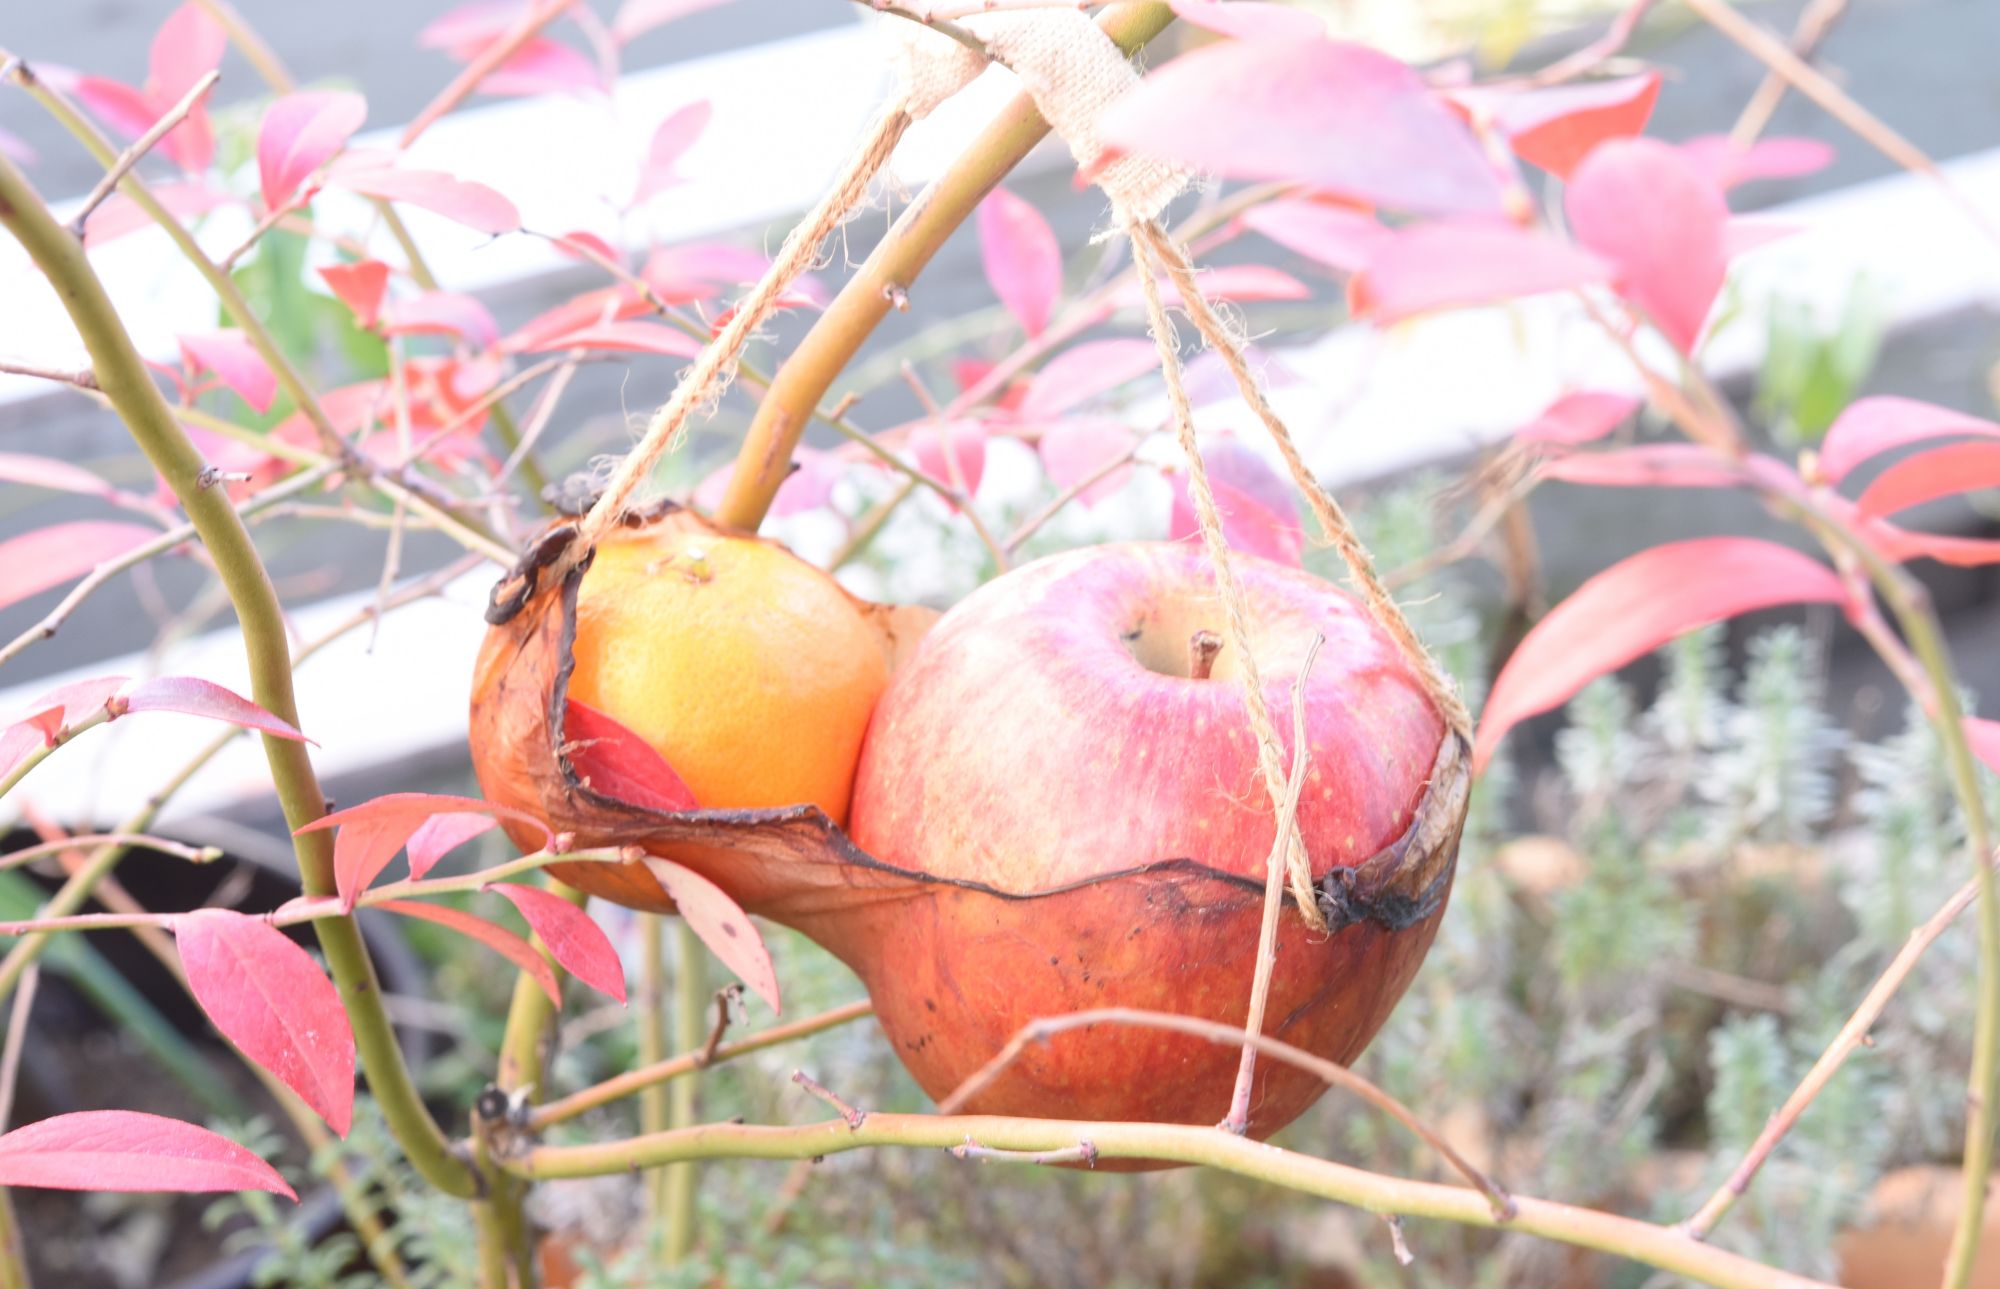 This bag is versatile and can also carry an egg !

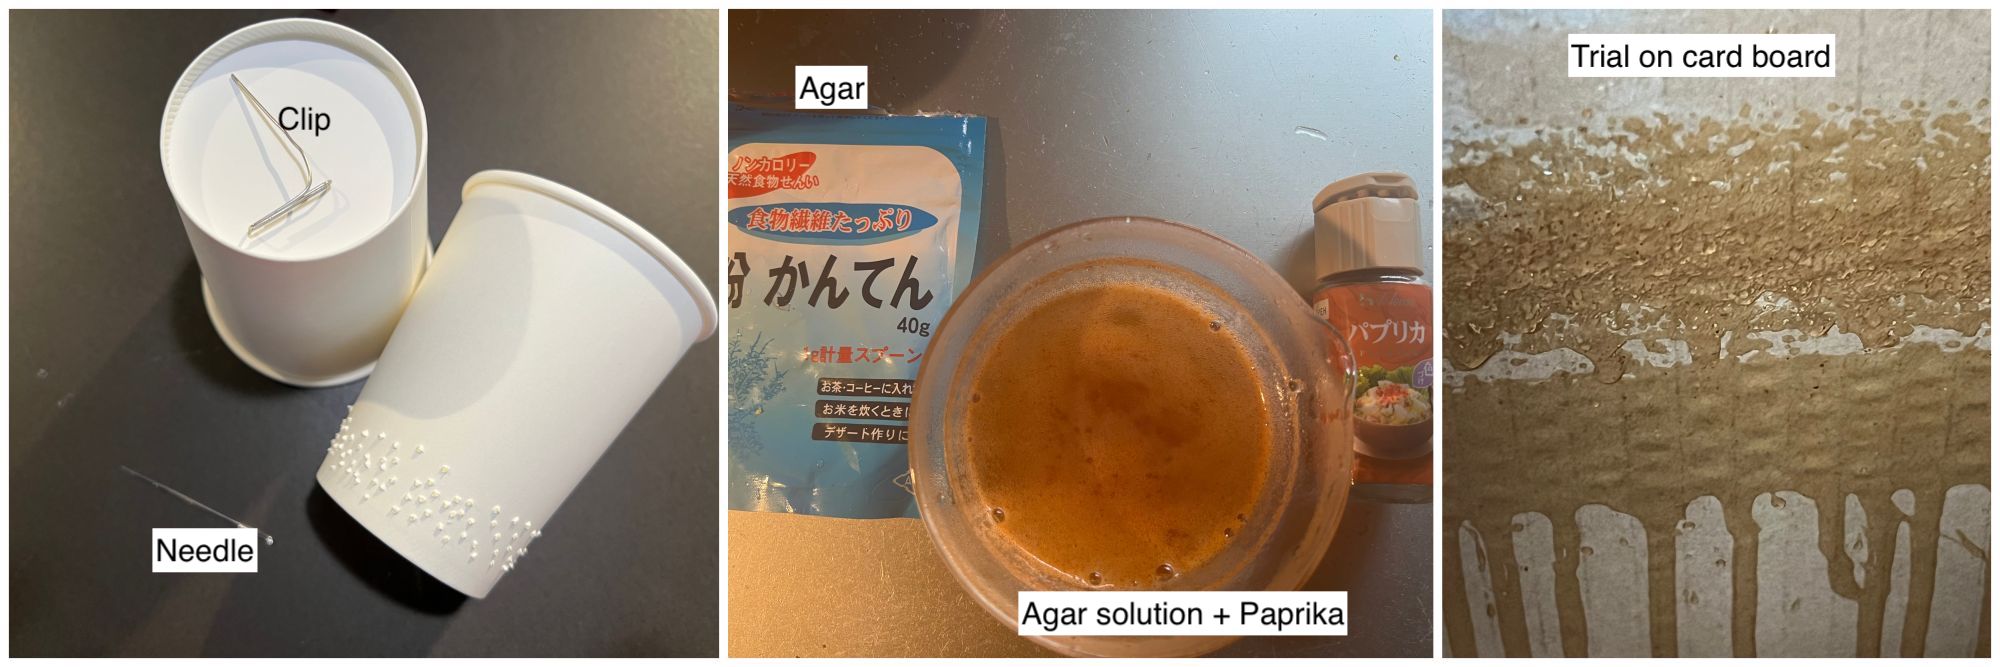
Trial like Cotton candy machine
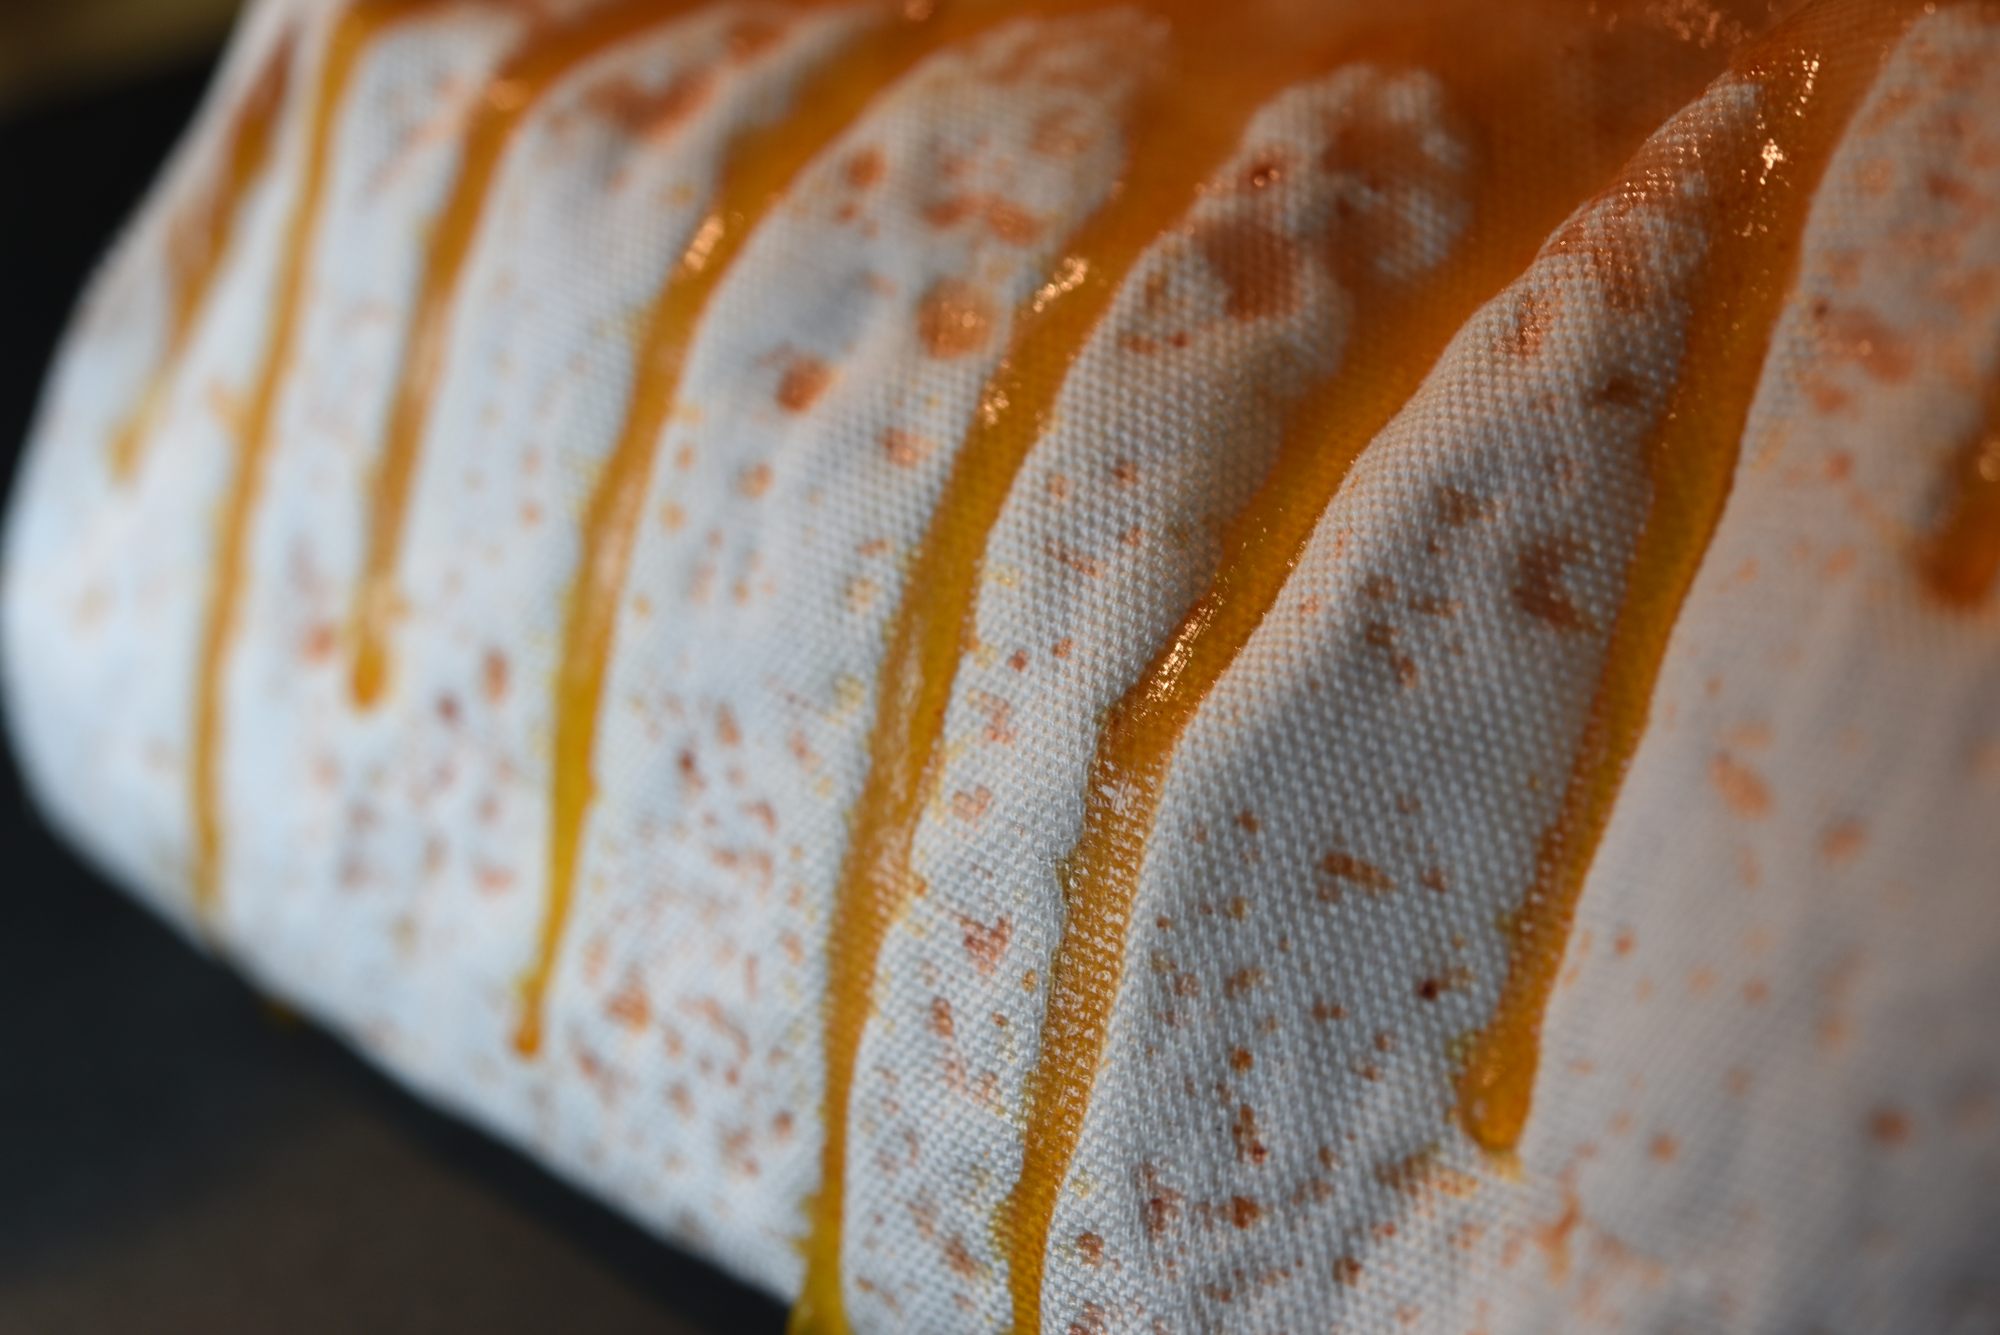
At the end of the class, we talked about machines that spray thread. I was intrigued when I heard that it probably had a mechanism similar to a cotton candy machine. In the case of cotton candy, the grain is melted and released onto a thread using centrifugal force. Therefore, I conducted an experiment in which Agar solution was released through a small hole using centrifugal force.
2 Recipe
* Agar 5g
* water 100ml (60°c)
* Paprika / Turmeric  1/2 tea spoon
* Fabric  20cm x 10cm
* Scale
* cup
* stick
* Mini Router
* Paper Clip
* Tape
* Box
* Needle
* Make a hole in the paper cup with a needle.
* Bend the end of the paperclip 90 degrees so you can insert it into the router.
* Prepare a paper cup without holes and attach it with tape so that the stem is in the center of the bottom of the paper cup.
* Measure Agar 5g, then put into 100ml water. Stir it.
* Put it in the microwave for 2 minutes. If the water is about to spill, open the door to stop it from boiling. A larger cup is better.
* Add paprika or turmeric for color.
* Pour the solution into a cup with holes. Cover with a cup with a clip. Secure the cups with tape so that the mouth and mouth of the cup meet.
* Attach a cup with a clip to the end of the router.
* Attach the cloth to the box with clips.
* Turn on the router and rotate the cup. The solution will come out of the hole and stick to the cloth.
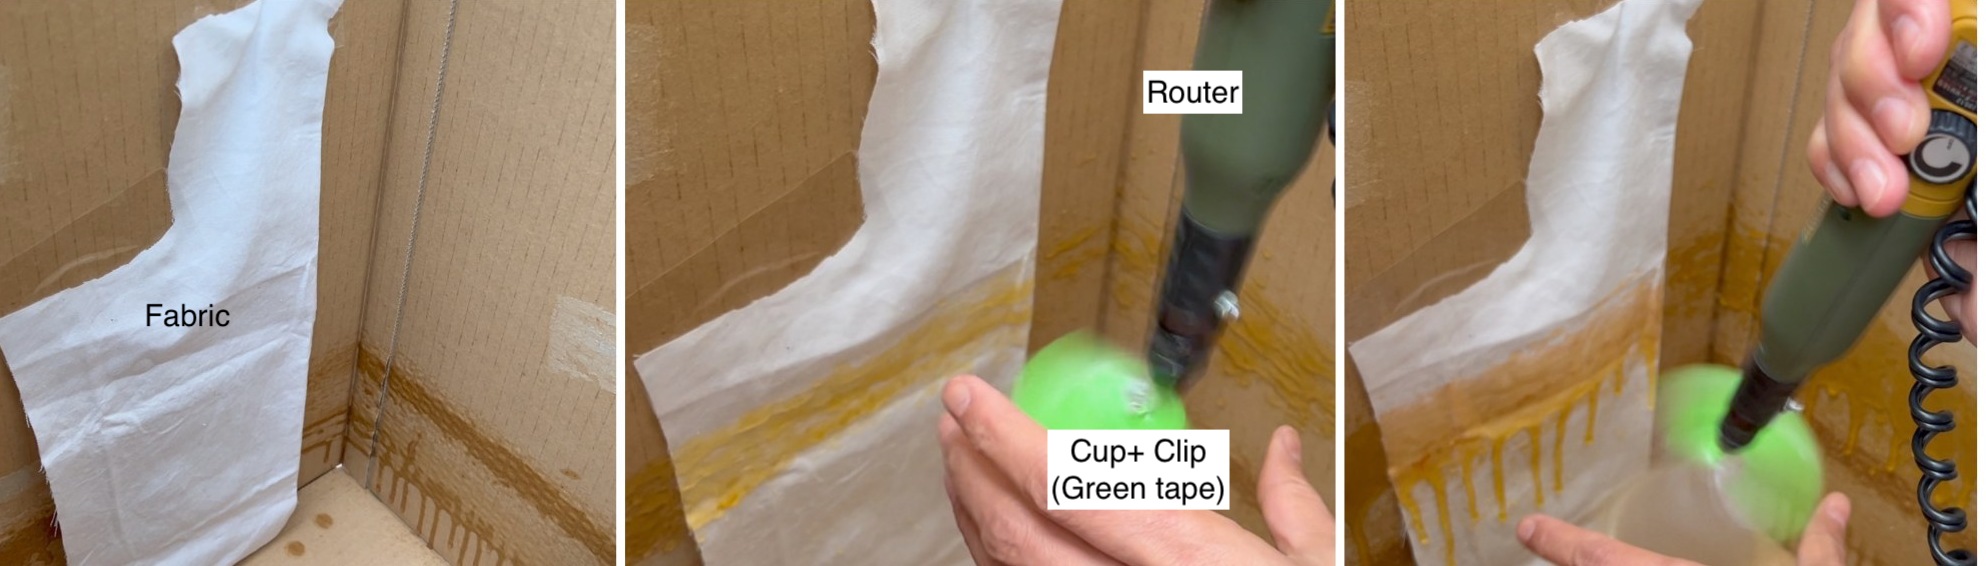
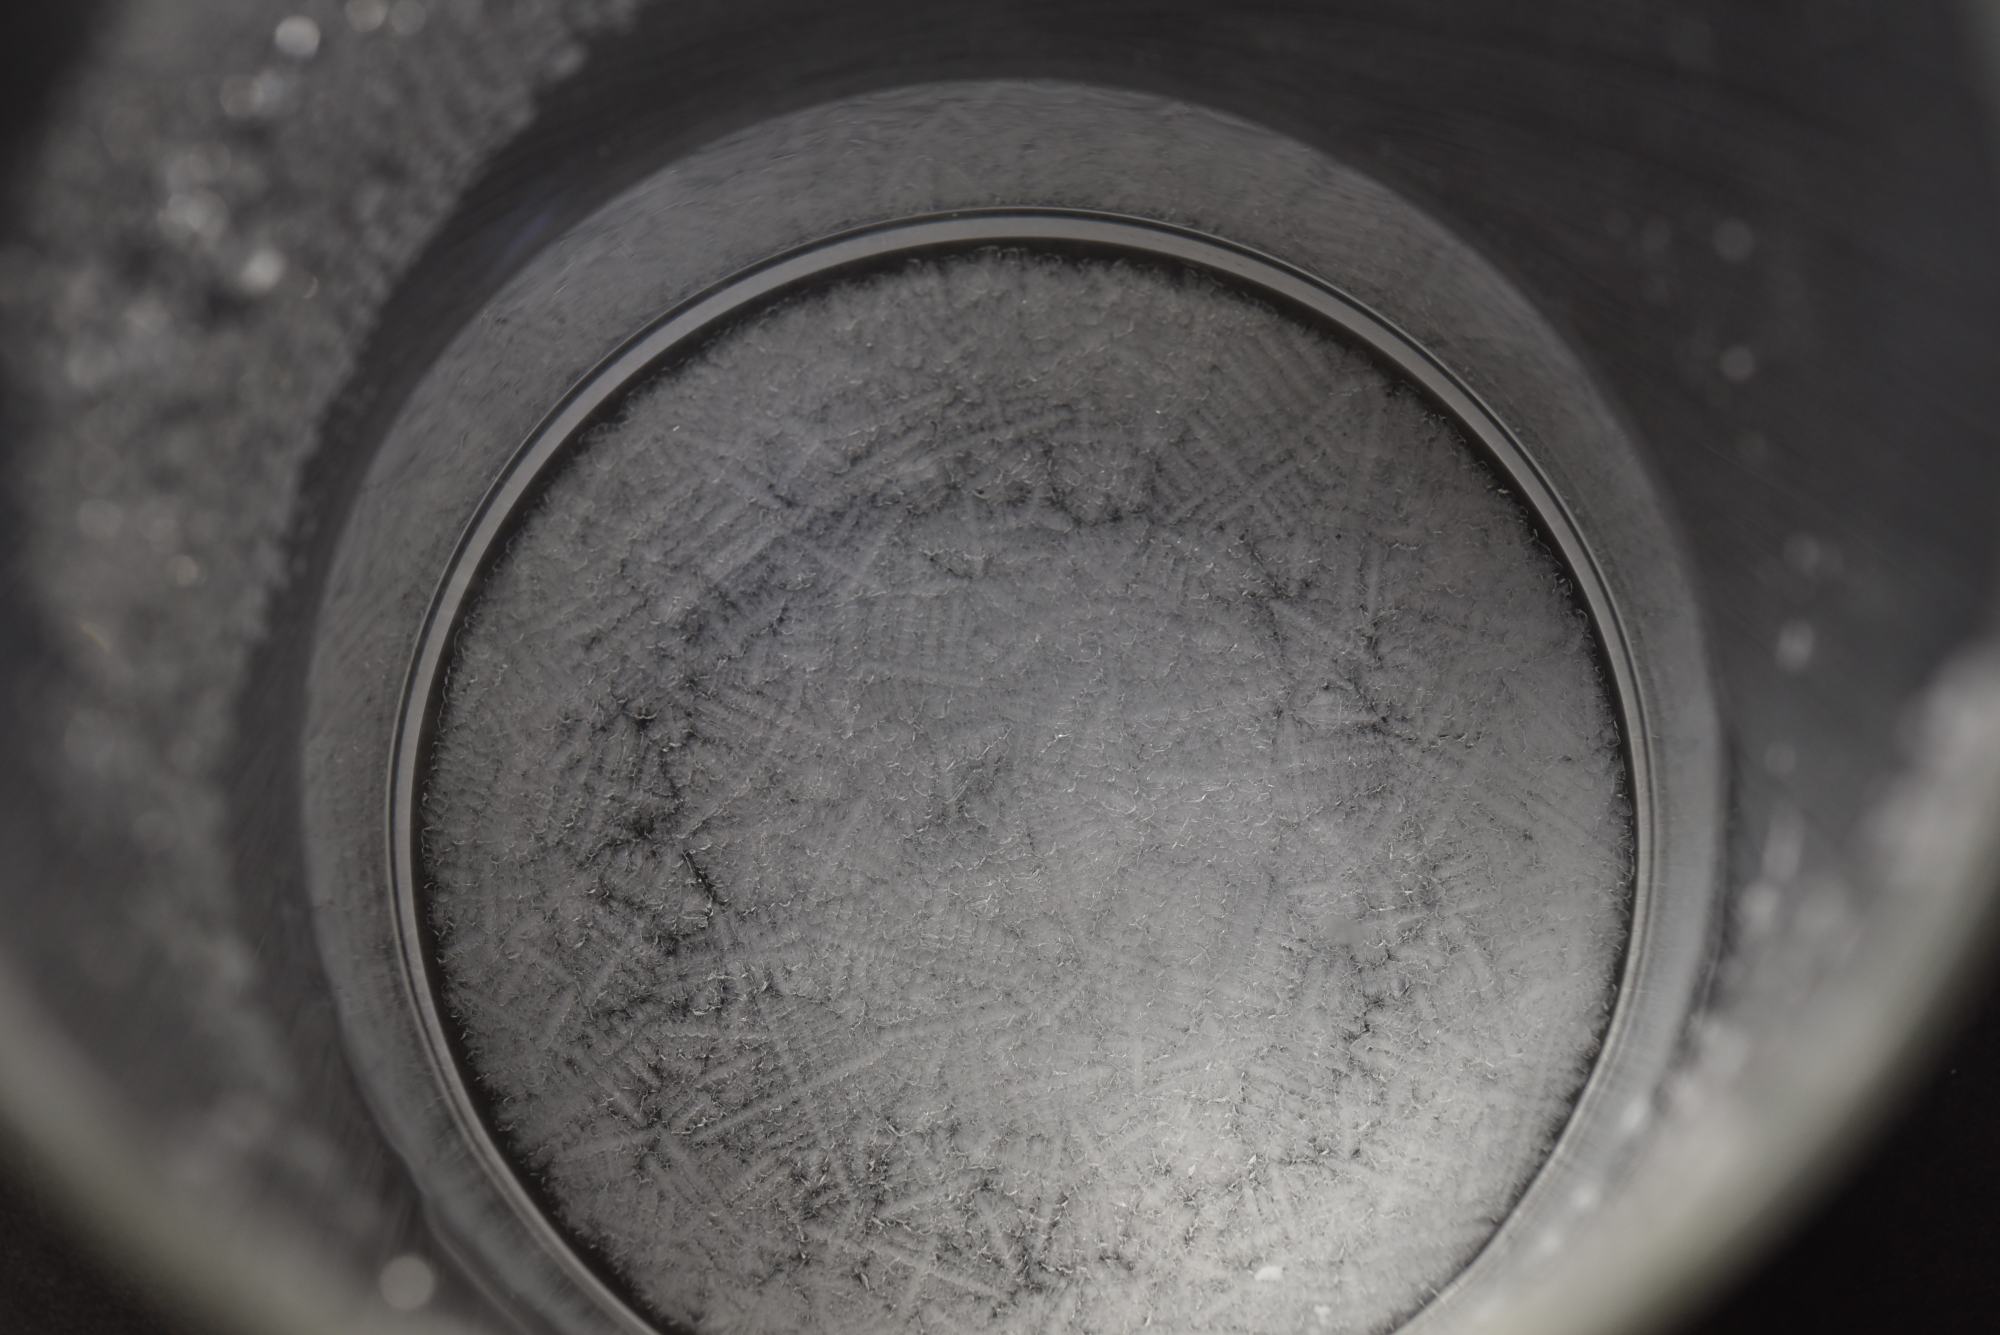
Result:
It didn't become stringy and the paper cup came off right away. However, it turned out to be an interesting expression when sprayed or dripped.


Fabrication files
- Wood Textile Pattern1
- Wood Textile Pattern2
- Wood Textile Pattern3