2. Digital bodies
References & Inspiration
Representations of the body that I like best are those that remind me not to take my body too seriously. That the body lives and breathes as its own entity. Sure, I have a certain influence on how it changes from day to day according to what I choose to consume, but there is so much beyond my own power and control that enables it to function on its own to keep me alive. I may still think I am my body, but I’ve come to believe that that sort of thinking is singular. Microbiome for one, is not a single cell. It is a living and breathing community that lives inside and on top of me. And they don’t even make up a single community, there are probably up to a million different communities of bacteria that help my body be.
Our bodies are both fascinating and mysterious. And because I often forget to celebrate mine from time to time, seeing the body in a way that catches my interest only enables me to feel grateful, amused, and conscious of it in ways familiar, new, and inspiring.
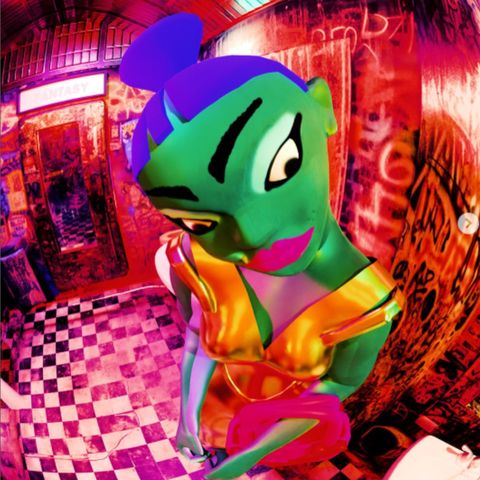
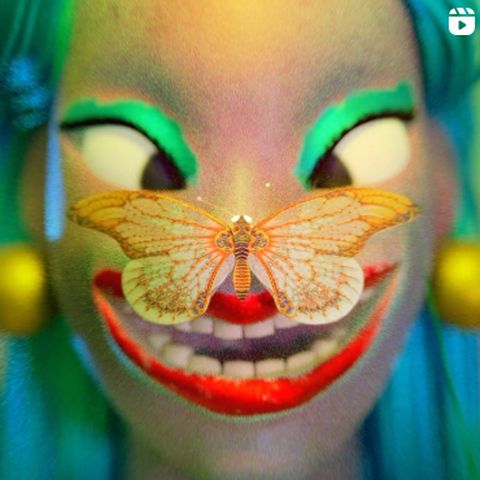
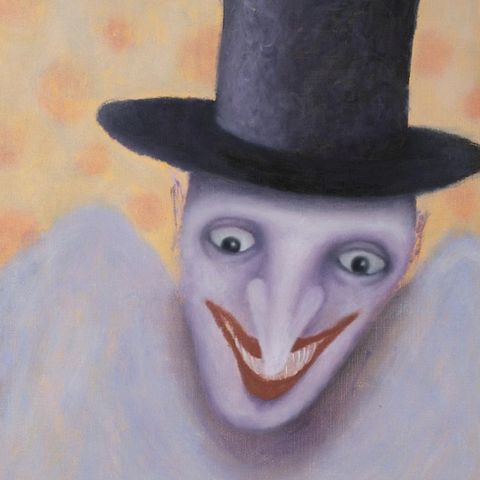
Jack Wedge is a creative based in NYC. I met him through a mutual friend and kind of fell obsessed with his work. He does mostly 3D animation – and his characters are buoyant, frantic, colorful and borderline creepy. I have so much fun scrolling through his instagram. Although, or perhaps, because they are hyper-surrealist animations, they allow me to identify myself in their psychedelic flair that make me feel glamorous.
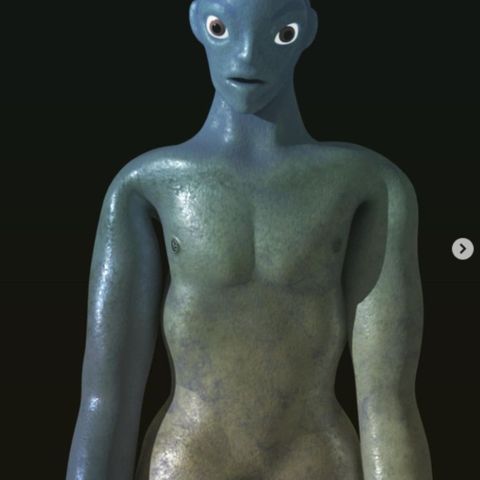
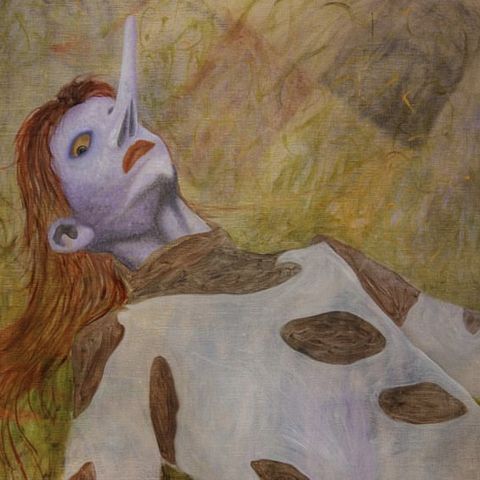
Adam Alessi is another artist based in NYC that I’m very fond of. In the words of Sahir Ahmed for Office Magazine, Alessi’s creations employ “an uncanny blend of grotesque and fantastical elements,” which I love. I like to embrace humanness, and by that I like to embrace that humans can be, and are actually innately, really gross. Even Bella Hadid takes sh*ts. Here are some examples of Alessi’s work that inspire me:
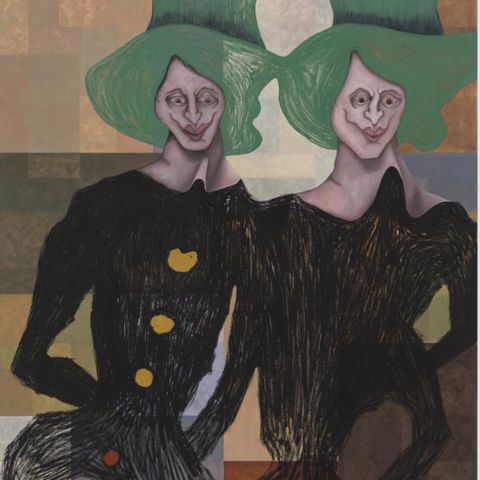
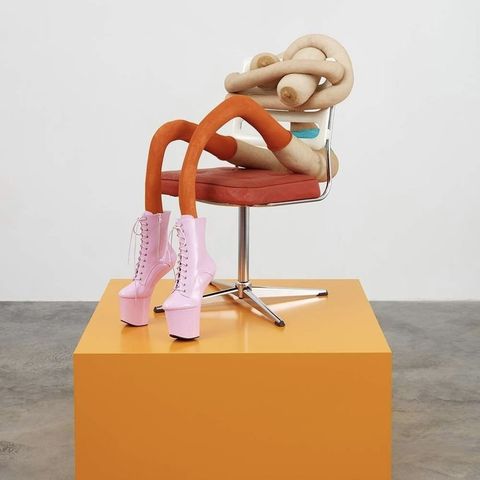
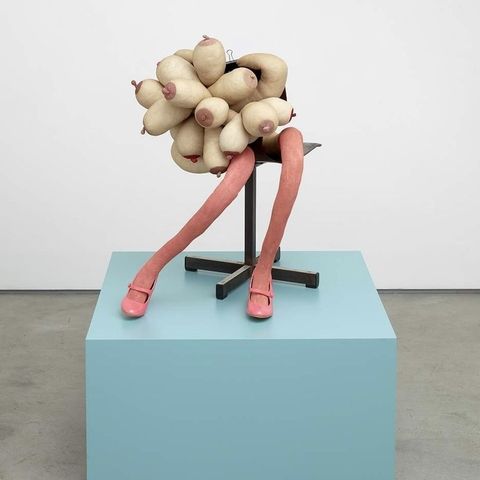
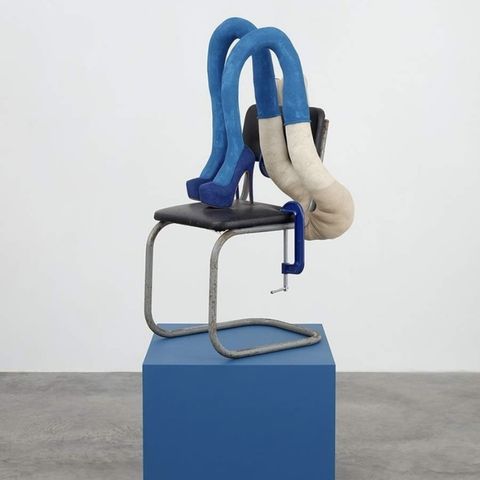
Sarah Lucas is another artist I discovered by scrolling through Instagram. According to Cultured Magazine, “over the past 40 years, [Lucas] has made work that utilizes visual puns and humor to explore and challenge representations of the human body, feminist discourse, and British notions of sex, class, and gender.” In her new exhibition at the Tate Britain entitled Happy Gas, she displays depictions of female figures in puppet form. I like the absurdity, amplifications, and exaggerations in her work.
Last, but not least, Janine Antoni is an artist that explores self-portraiture. In her exhibition, Lick and Lather, she created 7 busts of herself in chocolate, and 7 in soap. In one way, her work represents her self-sufficiency, she feeds herself with herself by licking the chocolate, and washes herself with herself in soap form. However, while both acts of licking and washing are loving acts, she is simultaneously erasing herself. According to Antoni, this work represents the love/hate relationship she, and many women, have with their bodies and their appearance. On top of that, her work also touches upon societal and cultural narratives about women. The soap is essentially an “idolized” state of purity sought after in a woman, contrasting with the messy chocolate, which in another way, symbolizes the desire for a woman's body. In her own words, “the work is about looking at the flip side of those two states and not feeling comfortable with either."
This representation is so poignant to me because I really relate to having a harsh inner critic that loves to jab at my self-esteem. But although it stems from a painful, lonely and confusing experience, by listening to it and observing it, I also feel seen, and a lot less inclined to be so harsh with my own appearance.
See this one minute video to hear the artist speak about her work.
Or you can read the full length version of her interview with Art21, here.
Research & Ideation
Everyone likely has a feature of themselves that they fixate on a little too much. If not, what’s that like?
For my project, I am going to target my number one insecurity: my nose.
Western beauty standards tend to point towards small button noses as the epitomy of beauty in women. I don't have one of those, which caused me to feel a lot of shame thoughout my life. Coming to accept my nose as it is has been a long, ongoing, and gratifying journey. As a result, I want to highlight and poke a little bit of fun towards this very central and defining feature in my appearance.
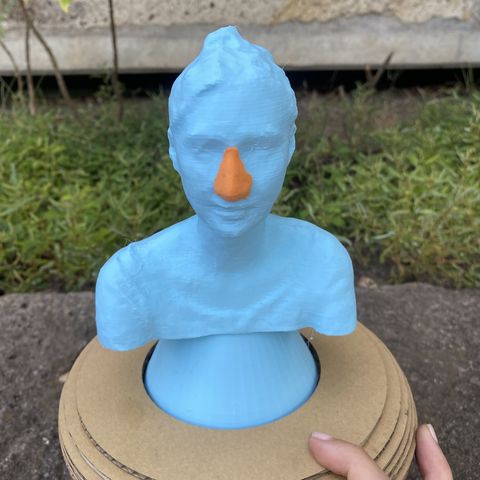
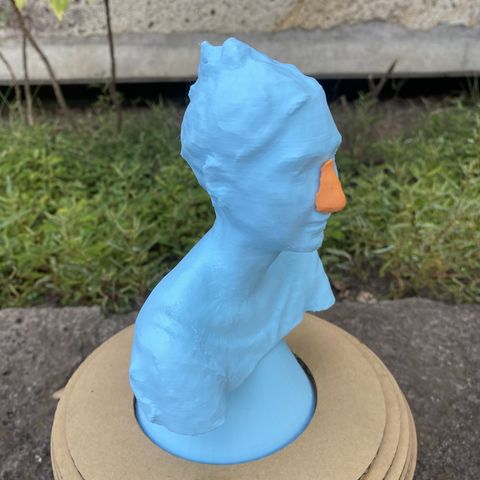
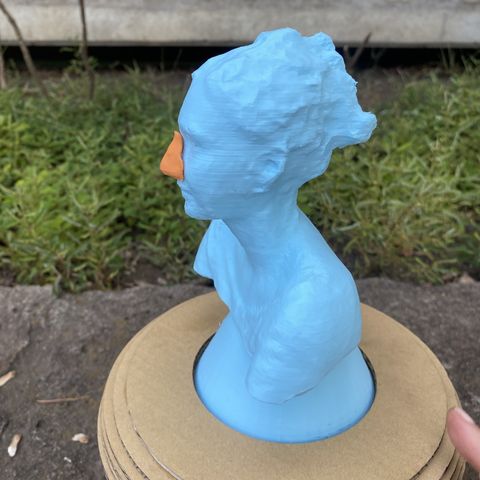
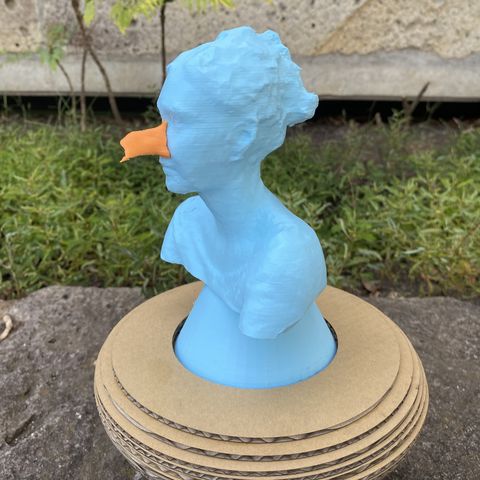
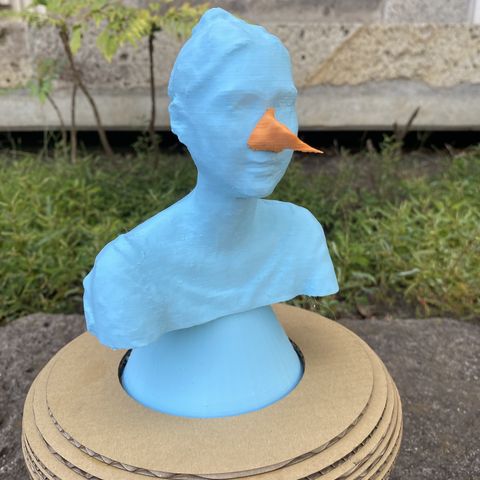
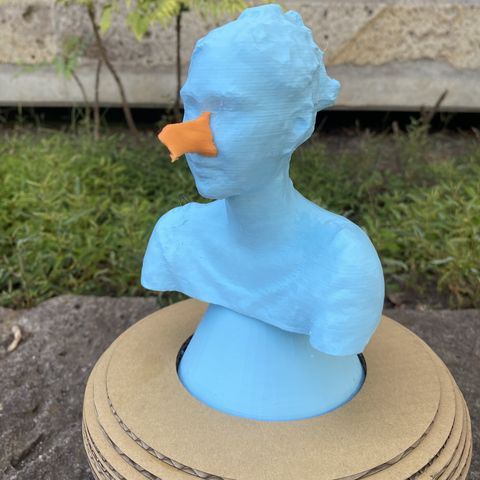
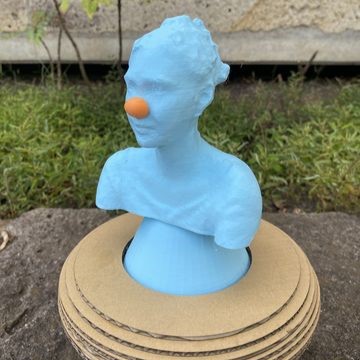
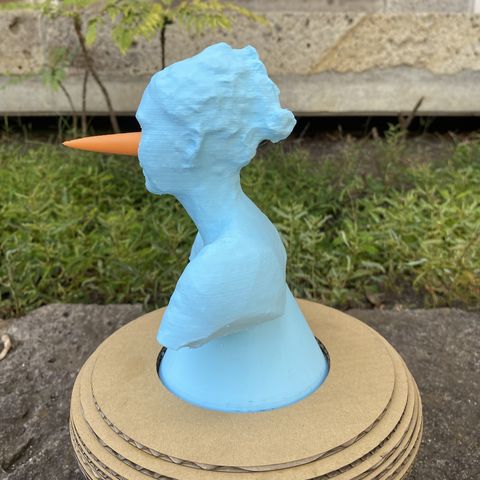
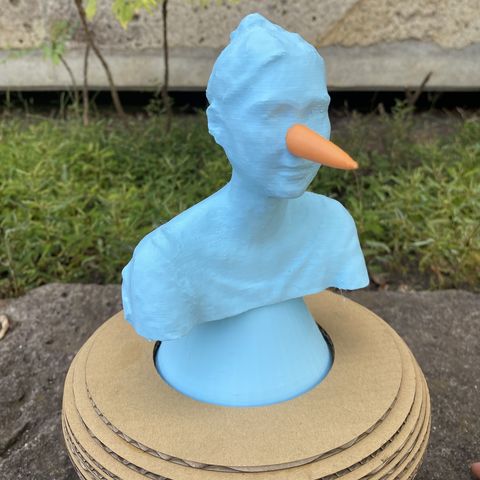
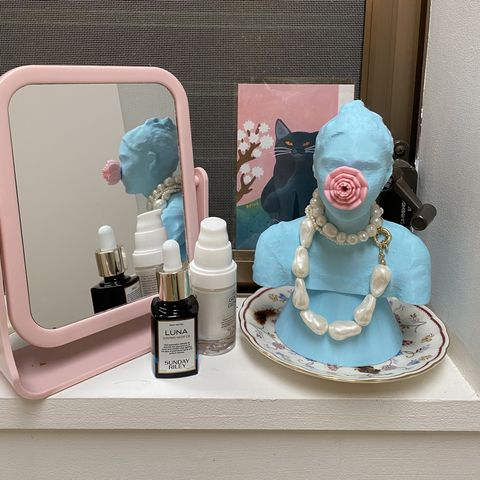
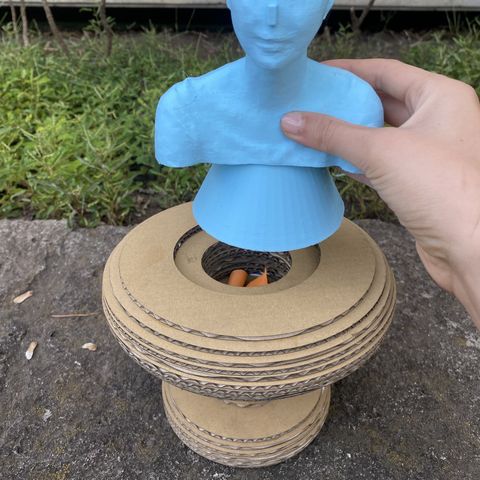
I am going to make a bust of my head where my nose is going to be a portion of my face that has the ability to be detached and replaced. Not only is this experiment going to be a hell of a lot cheaper than getting a nose job, it’s going to be a chance for me to play around with the idea of what a “perfect body” means to me.
As you'll see, my mannequin will allow me to try-on these different exaggerated noses that will only highlight the idiocy of my body-dysmorphia.
Process and workflow
Before I go into creating my conceptual idea - a bust with a removable nose and replaceable nose pieces - I will show you how the technical side to 3D scanning and 3D printing.
Step 1: Photogrammetry
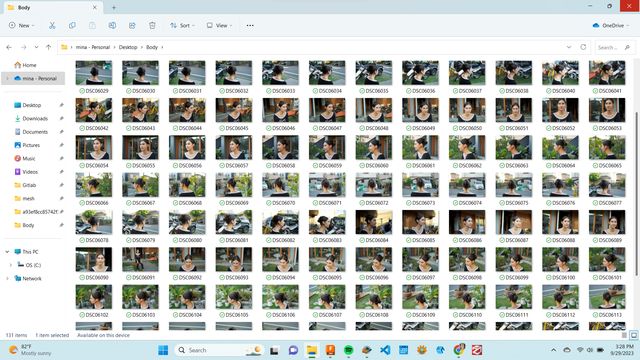
The first step is to create a 3D model of my head. I’ll be using the method of Photogrammetry, which essentially involves another person, in this case, Rico, to go around me in circles taking pictures of my face from every angle.
Step 2: 3D Scanning with Meshroom
We gathered about 130-something photos of my head before dragging and dropping them into a software called Meshroom.
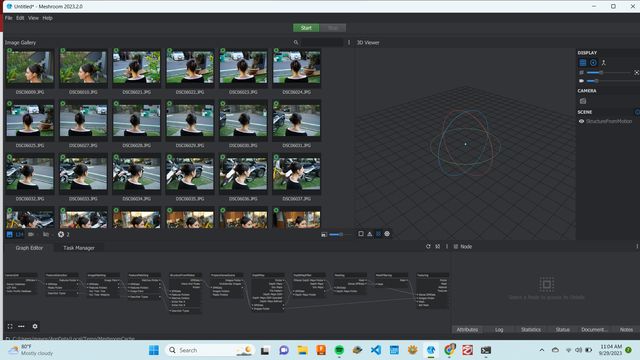
In Meshroom, all I had to do was click on the very enticing green button: Start. However, there are methods that are more meticulous to the one I took, which you can learn about in this video.
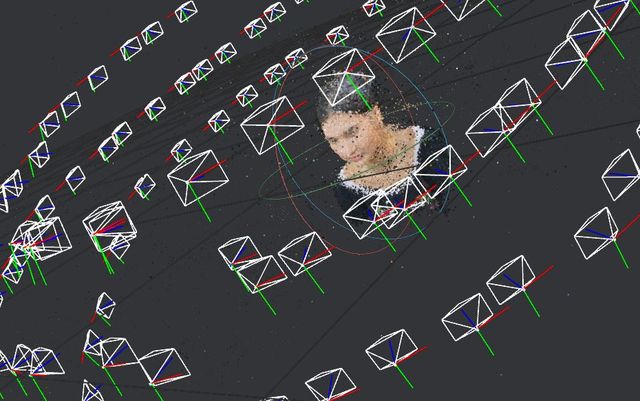
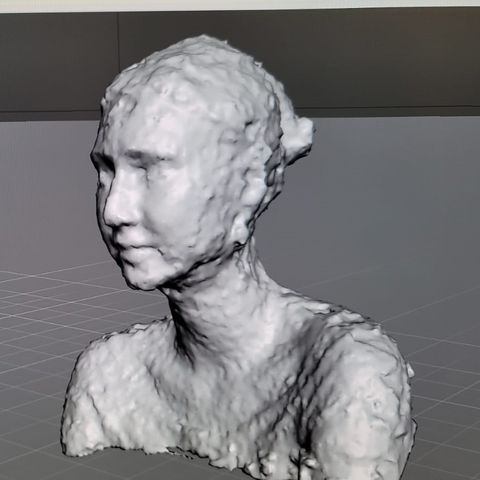
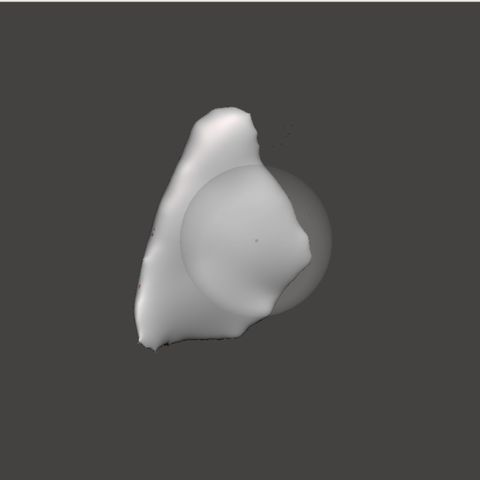
After my data was done processing, I was left with a Sparse Point Cloud, which I then saved as an .OBJ file.
Step 3: Repairing my mesh with Meshmixer
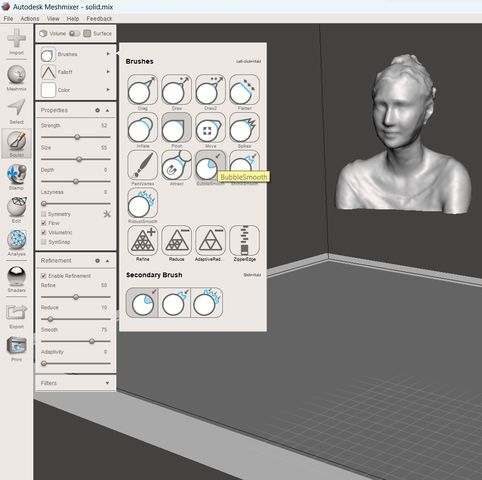
I then imported my .obj file to Meshmixer, another open-source software I downloaded onto my computer.
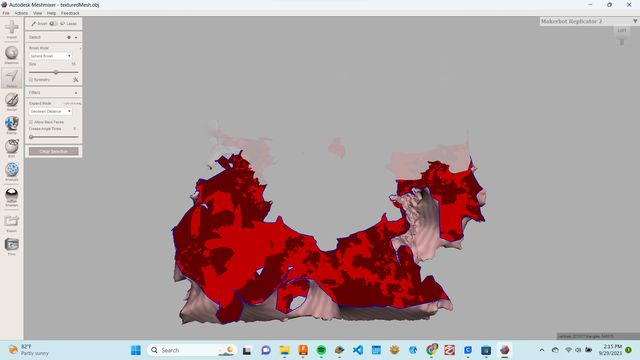
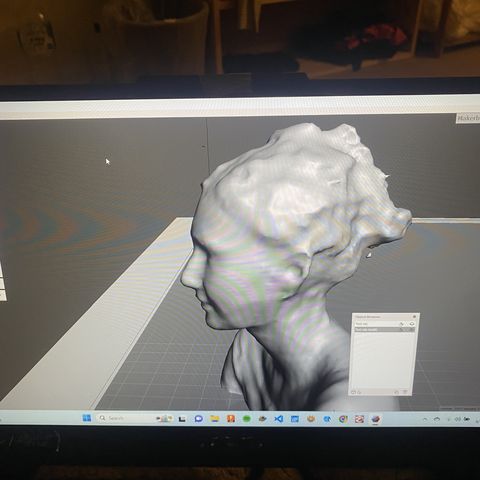
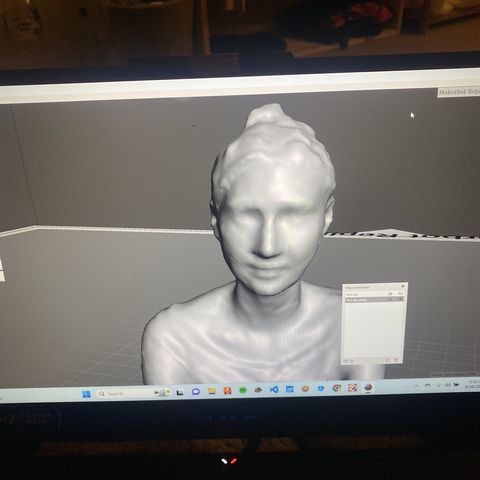
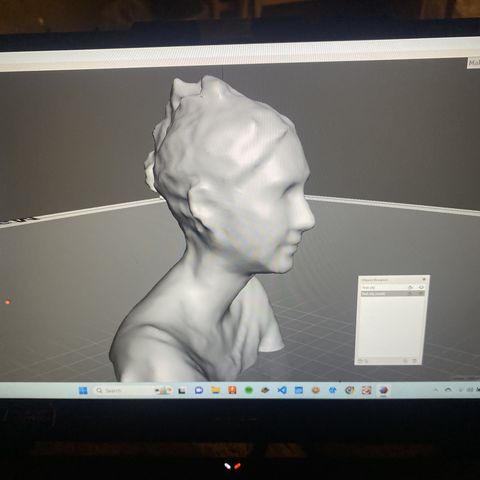
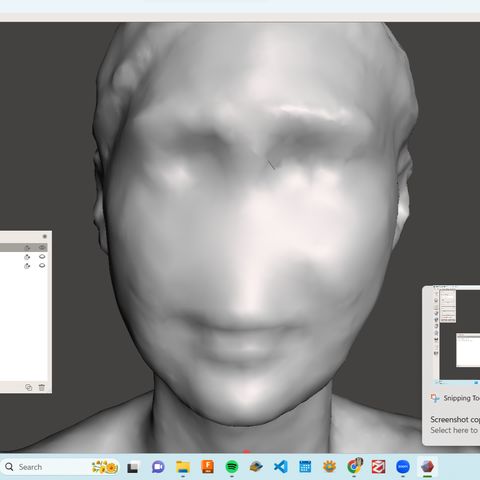
In Meshmixer, I started cleaning up my file. With the Select tool, I selected all the areas I wanted to delete, like the background. With the Edit>Transform tool I moved and rotated my object to a more central area on the plane. Finally, to smooth out the scan, I used the Sculpt tool and selected the Bubble Smooth brush to lightly smooth out the texture of my object.

Last revisions
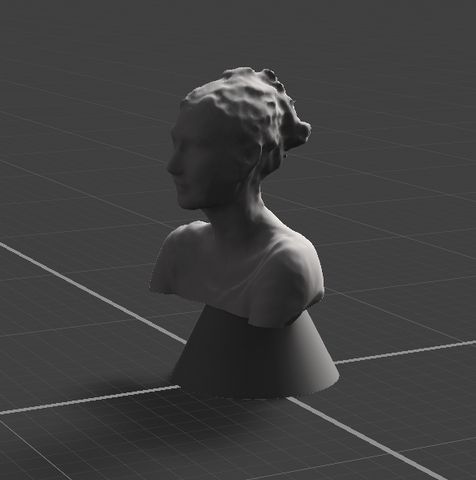
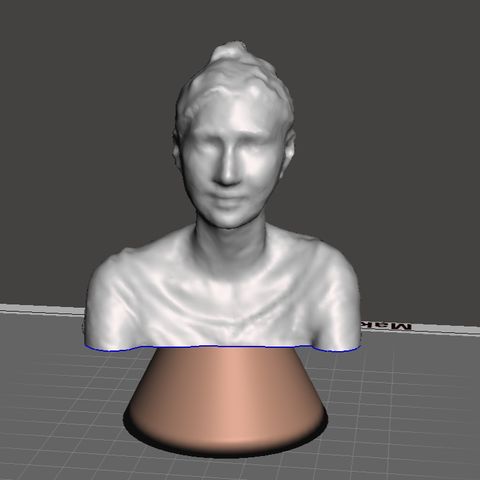
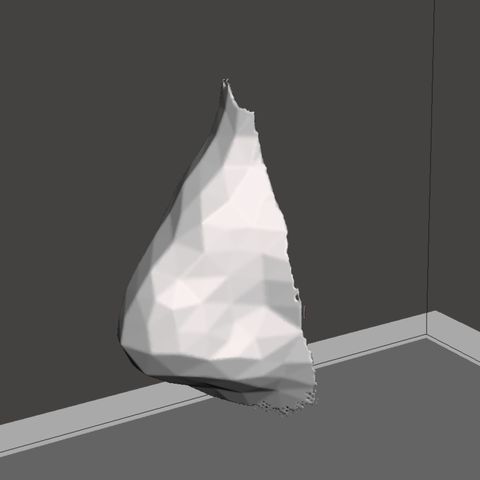
Because I wanted to add a base to my bust, I opened my .OBJ file on Adobe Substance 3D Stager (but you can also do this on Tinkercad, or any 3D software) and built a cone shaped base.


Finally, once the object looked vaguely like how I wanted it to, I saved it again as an .OBJ file. And moved it into the software to slice it before 3D printing: UltiMaker Cura.
Step 4: Slicing With Cura
After downloading UliMaker Cura, I imported my .OBJ file into the software. I made sure to choose the correct printer. In this case, it was AnyCubic Kobra. Once again, with the tool bar on the left of the screen, I was able to rotate and scale my object to my preference. And most importantly, lay it flat by clicking the Lay Flat button.
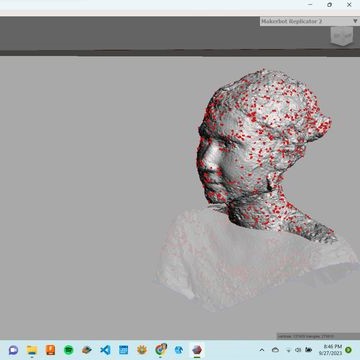
Some areas of my object were marked in red, which means they were going to need some support. To add supports, and adjust other settings for your print, this is a good tool bar to double check.
Firstly, I needed support, otherwise my object could topple over and the whole print could be messed up. So I clicked on Support>generate support, and chose Touching Buildplates for the Support Placement.
I chose the Tree Support, or Organic Support. Even though it doesn't use significantly less filament, it provides support where it is most needed and allows for a cleaner print. They are also way easier to remove.
Another setting I checked was the Infill – which computes how much filling goes inside of the structure. I chose 15%.
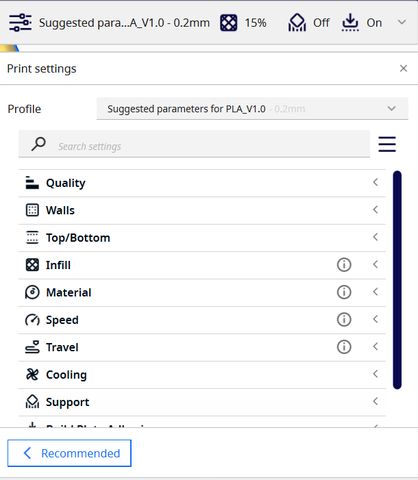

Next, I clicked Slice.
Step 5: 3D Printing
Finally, it’s time to print. To transfer the sliced version of my file from Cura to the 3D Printer, I saved my file on an SD memory card that I then plugged into the printer.
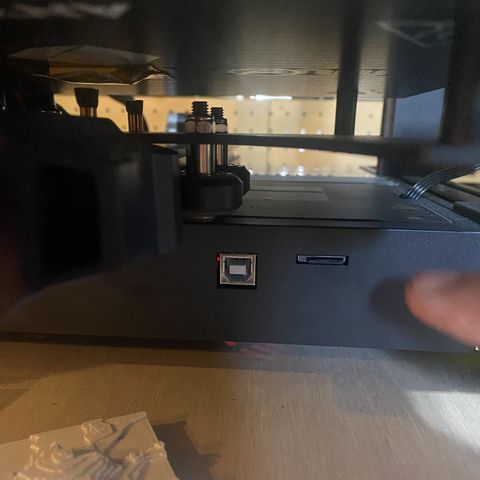
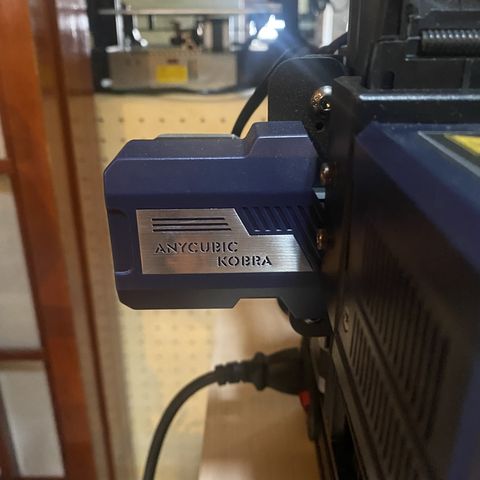
The printer I used is called AnyCubic Kobra.
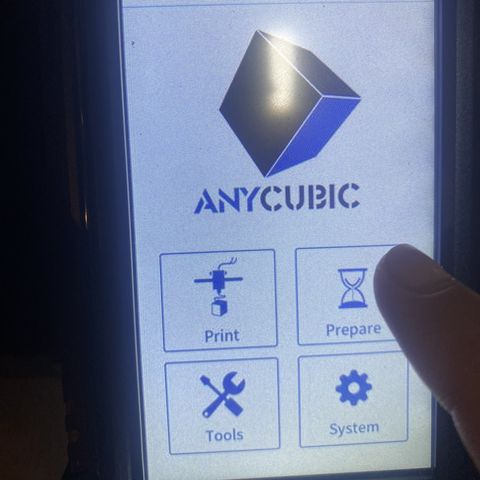
The first step in using the 3D Printer is installing the filament. This is what it should look like:
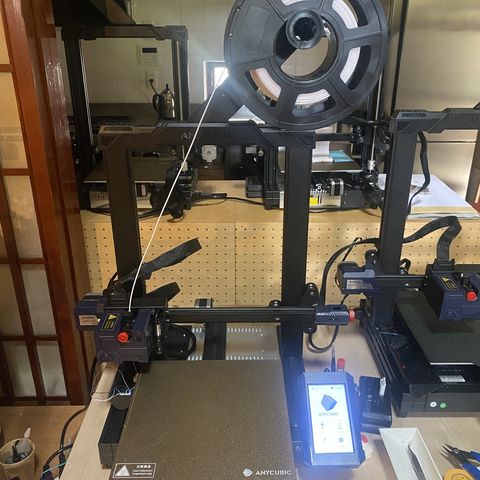
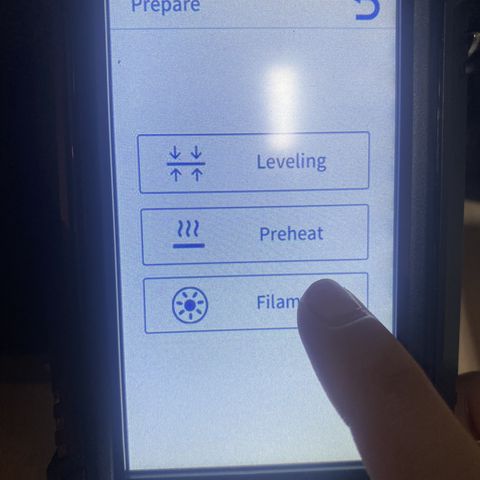
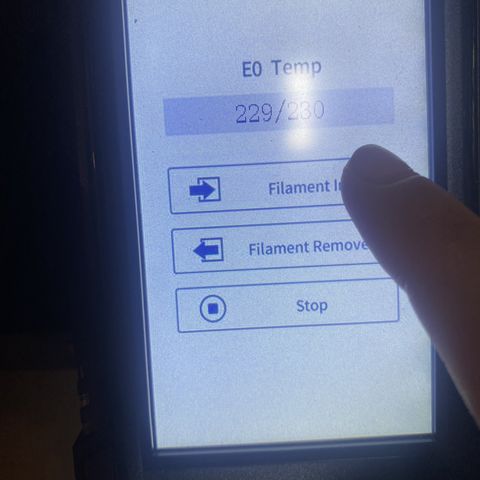
On the little screen, press System>Prepare>Filament>Filament Install. This will call the machine to start heating up. Give the machine a moment to heat up then insert the filament into its feeder.
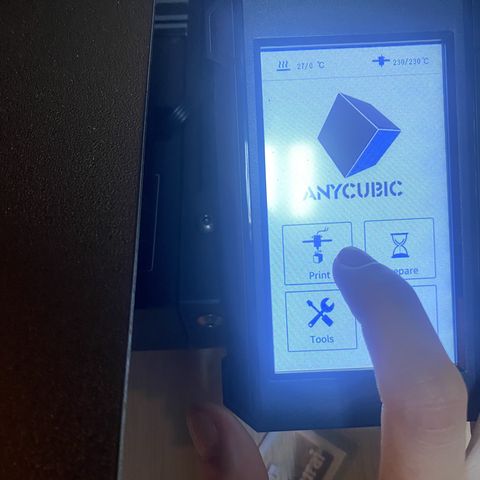
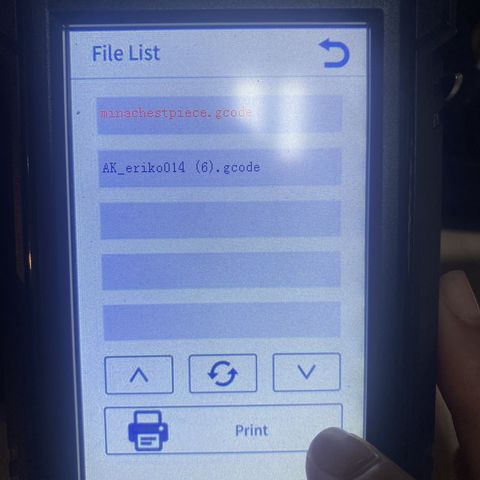
When the Filament is done installing. Go to the menu on the little screen again, and press Print. Select your file. And then again, Print.
Going further
Now that I've documented the technical steps on how to 3D scan and 3D Print. I'm going to take this project a little further by actualizing my initial ideation/conception for this project - a bust with interchangeable noses.
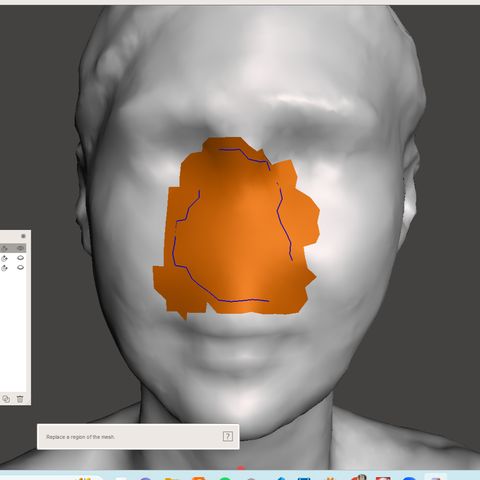
Step 6: Meshmixer
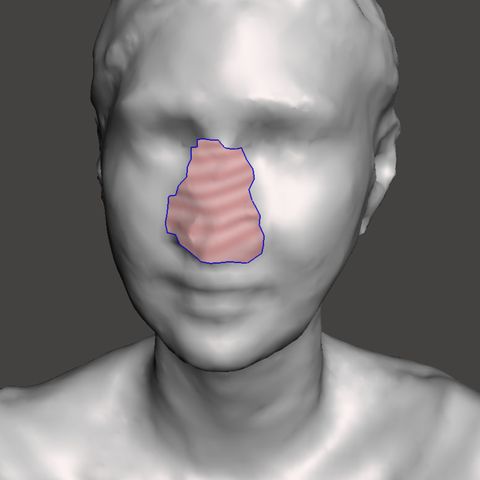
First, I'm going to separate my nose from the rest of my bust by lasso-ing my nose and choosing the edit tool: Separate.
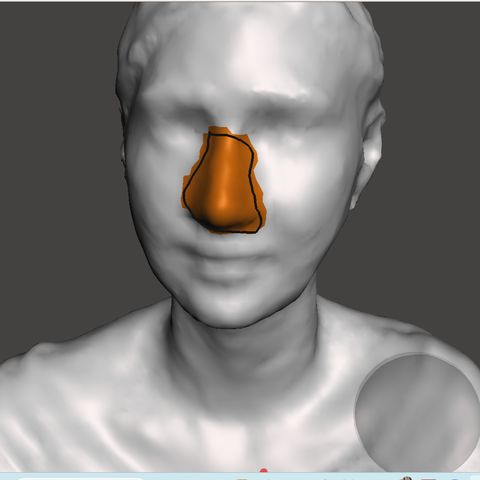
This is going to change the mesh of both the bust piece (1) and the nose piece (2).
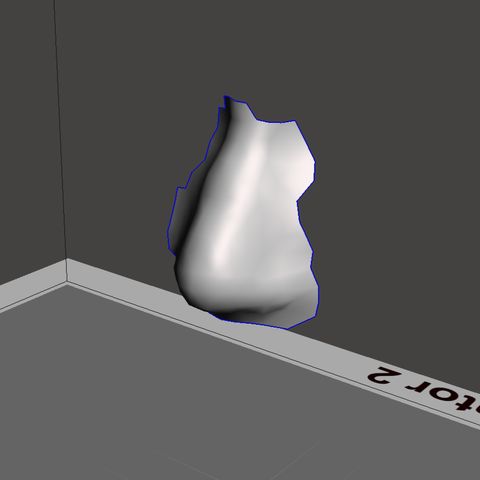
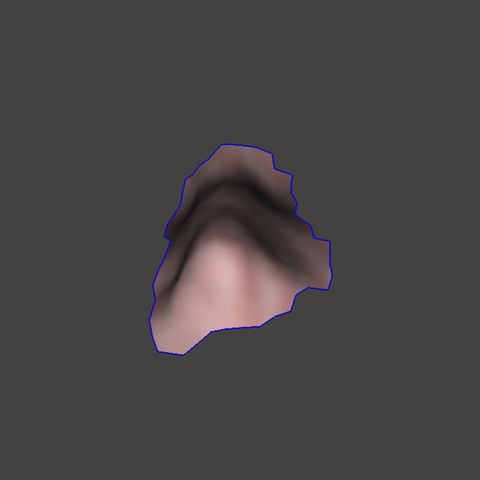
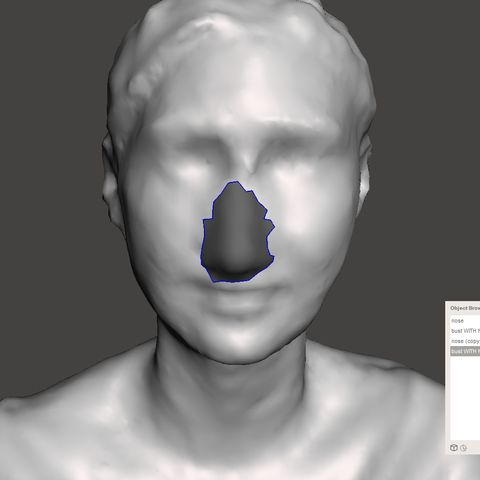
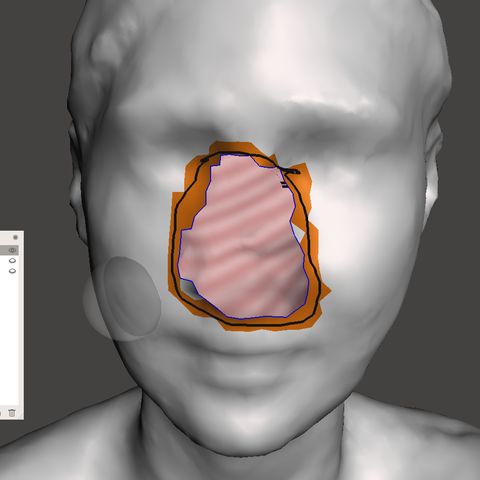
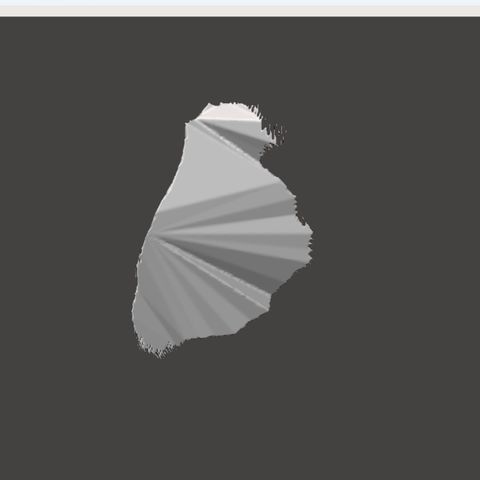
In order to turn them back into solids I need to fix the mesh of both objects. For the bust, I am going to lasso the area around the hole of my face and select the erase and fill under the Select tool. This will turn it back into a solid object.
To fill in the hole of the nose piece, I just need to go to Edit and select Make Solid.
After I clean both of those objects up with the Sculpt tool, I will export each piece separately into .OBJ files. And move them both into the online platform, Tinkercad.
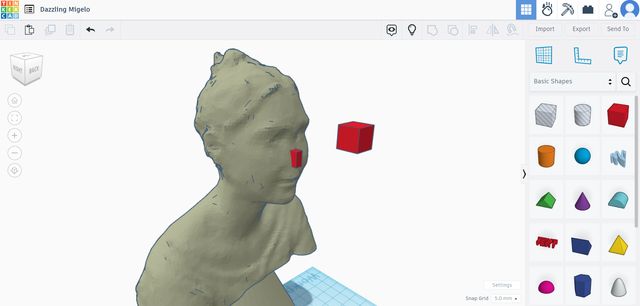
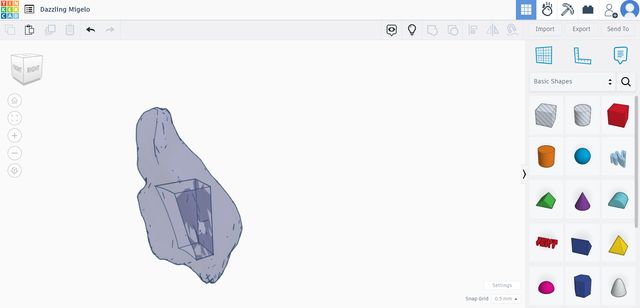
Step 7: Tinkercad
This is where I'm going to create a rectangular peg on my bust onto which different nose pieces can be attached.
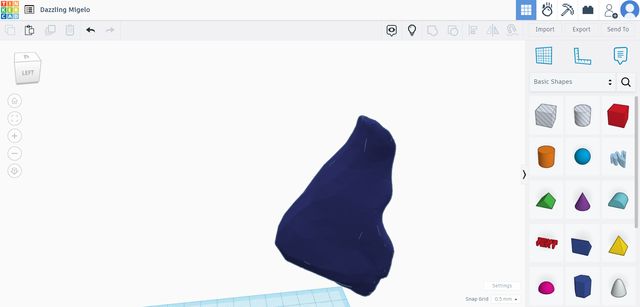
Firstly, I'm going to import my bust piece (sans nose) into my workplane. To move it, just use the navigation keys. There is also a black arrow at the top of every object in the workplane that allows you to move it up and down the z-axis.
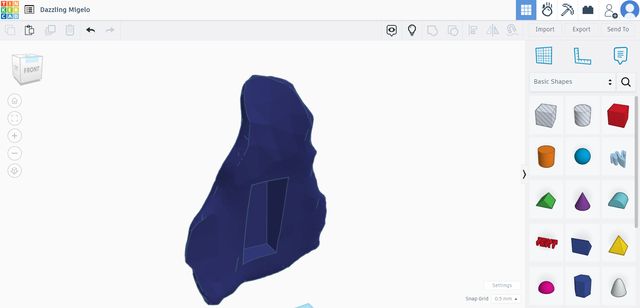
Next, I'm going to choose a rectangular box and form it into the peg.
To combine it with my bust, I'm going to select both objects using the shift key and clicking on the buttong Group or ctrl + G.
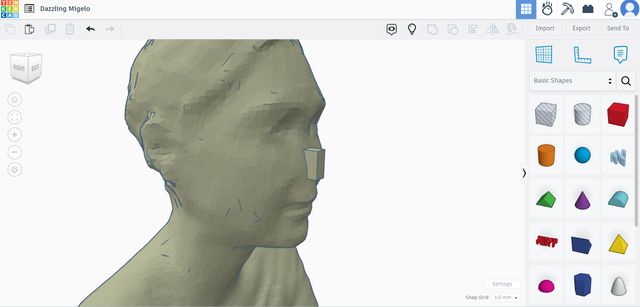
Now I can import the different noses I've created on Meshmixer, or create a nose on Tinkercad for my bust.
First, I'm going to import my original nose that I separated from the bust on Meshmixer. After importing the nose, I want to align it to the bust.
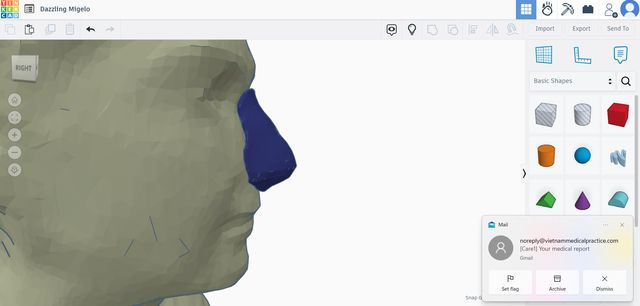
Then, I want to duplicate my bust before turning it into a hole, which in Tinkercad, means becoming the object that cuts into the other object. Because I want the peg on the bust to make a negative space in the nose that is shaped exactly like the positive of the peg, I will turn the bust with peg into a hole. I can then select both objects (my solid nose and my hole bust) and click Group.

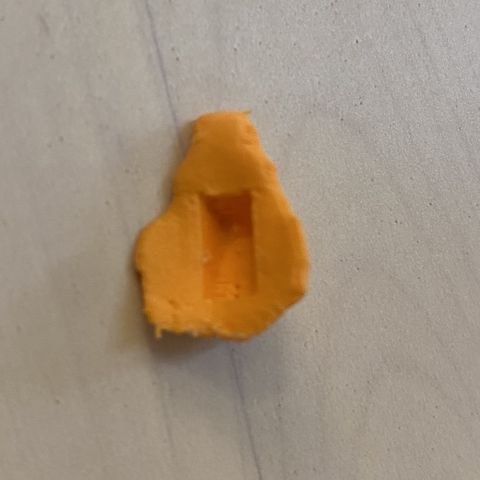
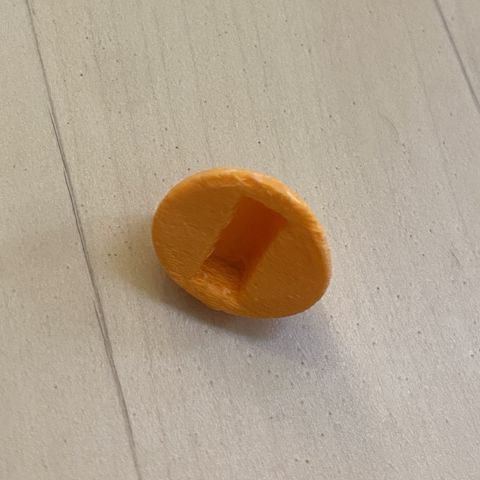
Now the bust that was the hole has cut into my nose piece. You can turn the nose around and see that there is now a negative space where the peg of the bust will fit into.
I just repeat the process for all my different noses.
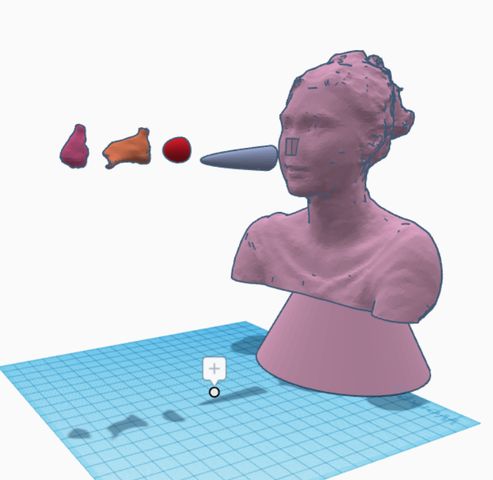
Most of them I created on Tinkercad using the Basic Shapes, and manipulated them into a shape I wanted.
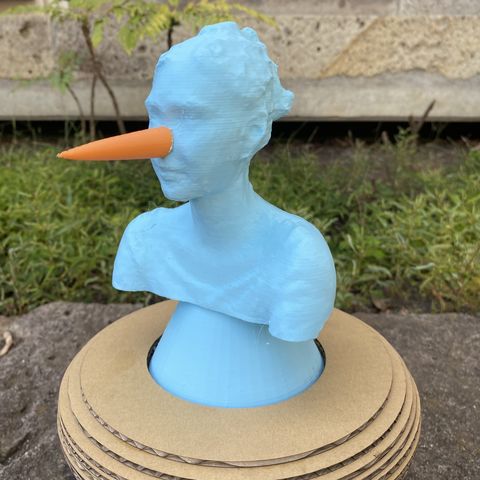
I ended up with 4 (5*) different noses, including my original nose (see Fabrication Files at the bottom of the page).
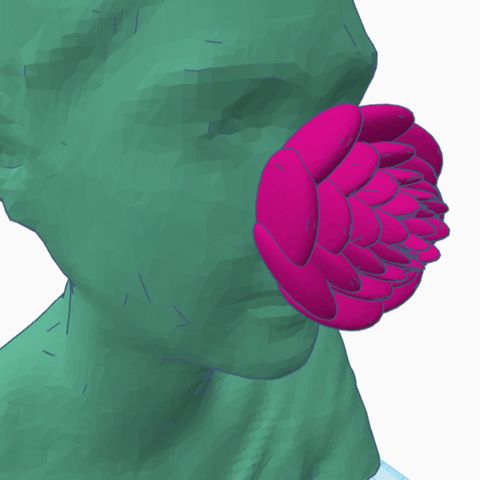
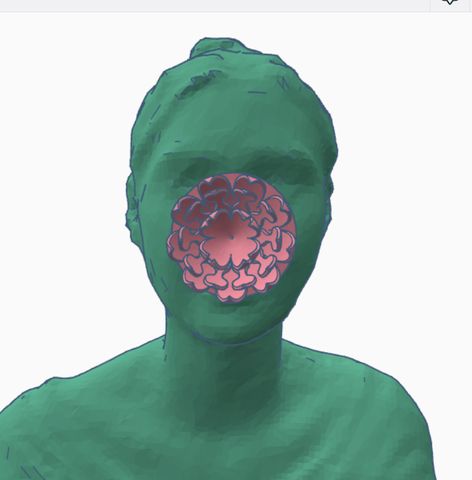
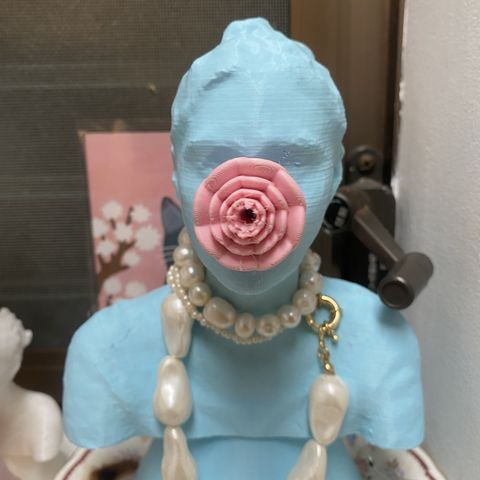
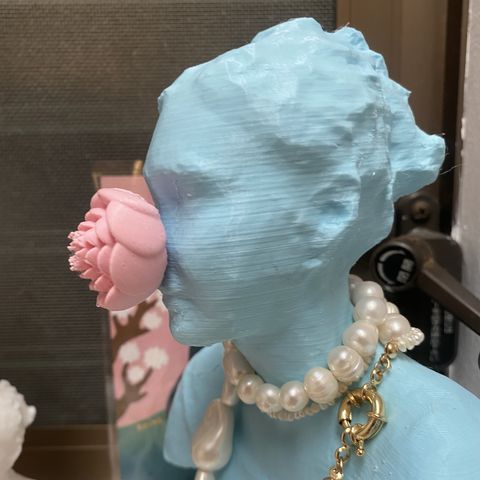
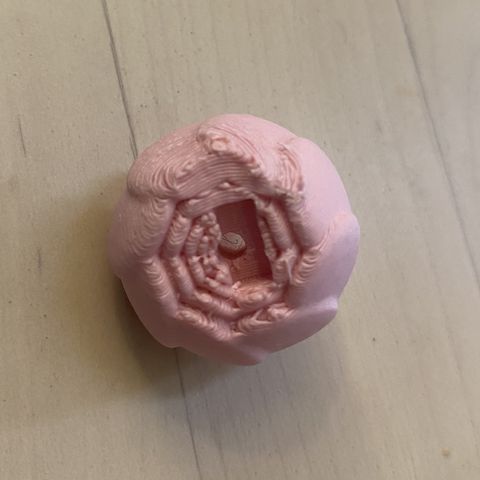
After using my bust as a jewelry holder, I realised I wanted to create a nose that was really pretty. And I thought, what if I had a flower nose. So I used Tinkercad to play around with a few different flower noses. For one, I used a flower I found on the software, and the other, I downloaded a file from Sketchfab.
Next step: To 3D print each .STL file!
My 3D Models
Technical Model
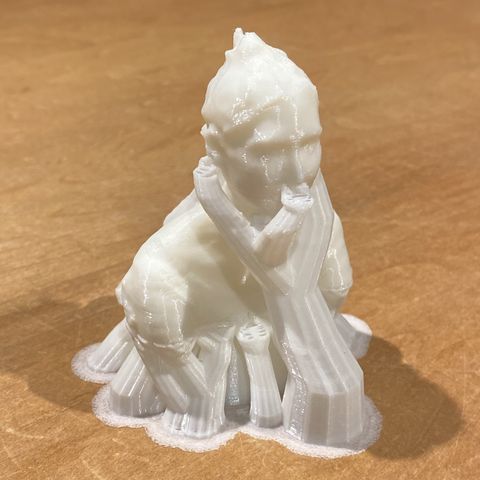
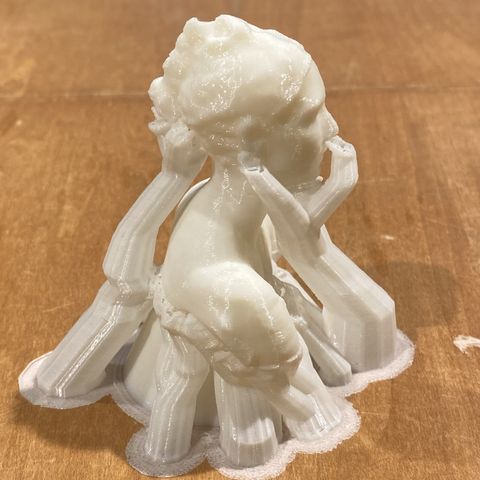
This is the 3D print of my technical model with the supports still attached. I like the way the Tree supports on this model look like hands strangling me, sort of symbolic to the suffocation of beauty standards. It looks like some of the hands are trying to perfect my posture, or shaping my body in a very specific and restrictive way, while covering my mouth to silence my internal suffering.
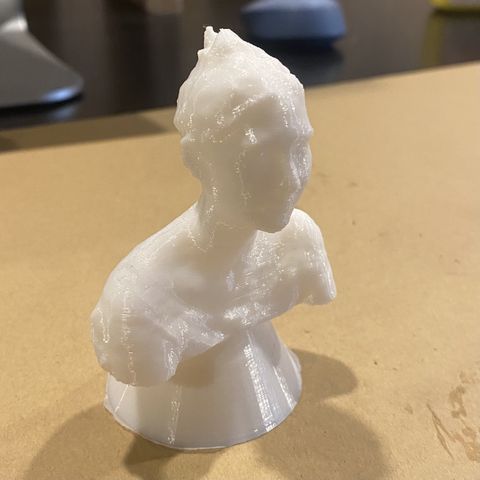
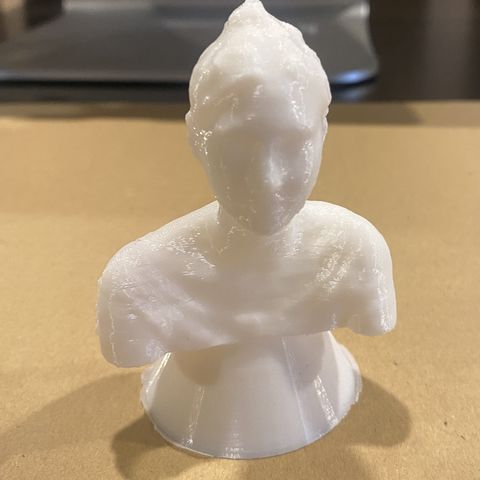

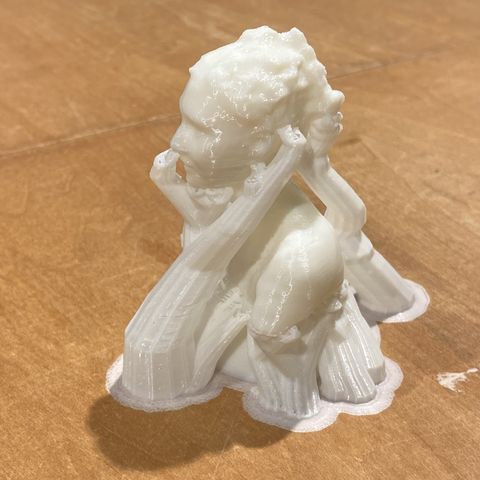
This is my technical model after I removed the supports.
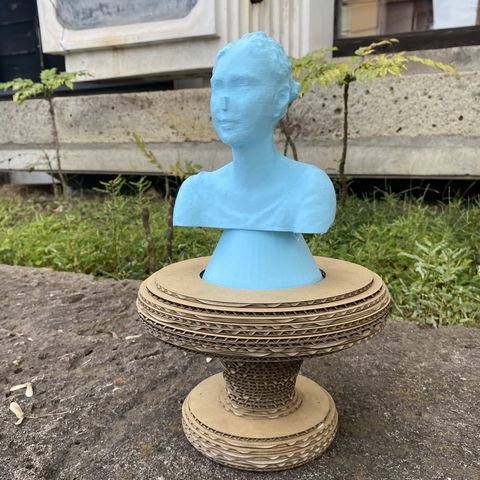
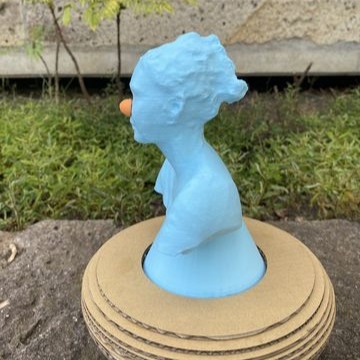
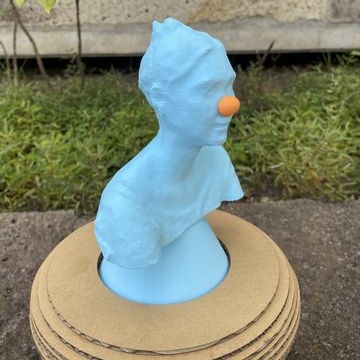
Conceptual Model
Laser cutting
For this project, I opted out of Laser cutting because I wanted to try out a new method of modeling a digital file: 3D Printing.
However, laser cutting is very fun. And in my experience, it’s been the most convenient and time-efficient way of moving forward with a project.
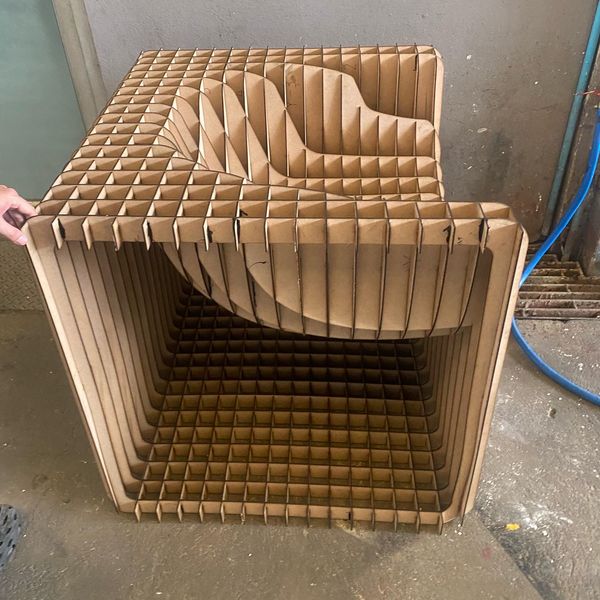
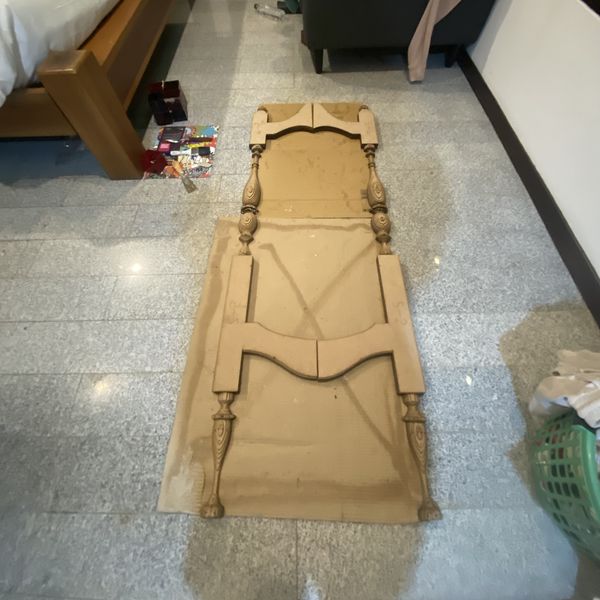
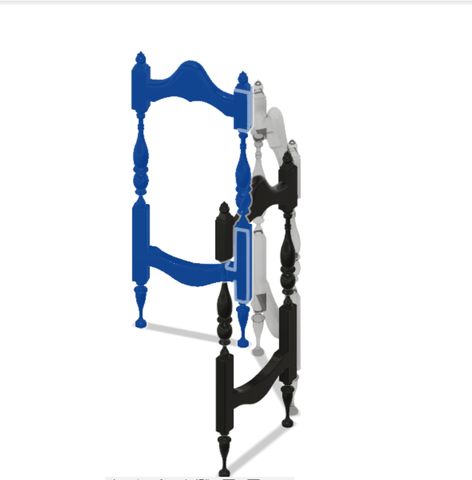
I’m going to show you two examples of projects I created with Laser Cutting, one in which I cut and assembled into a waffle pattern, and the other in which I stacked the pieces on top of the other to produce furniture!
In both of my projects, I started off with Fusion360.
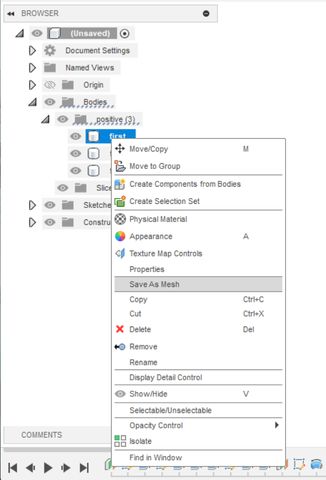
Once I was done designing them, I saved the objects as Mesh (.stl).
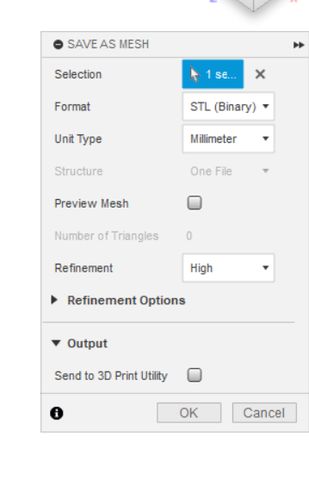
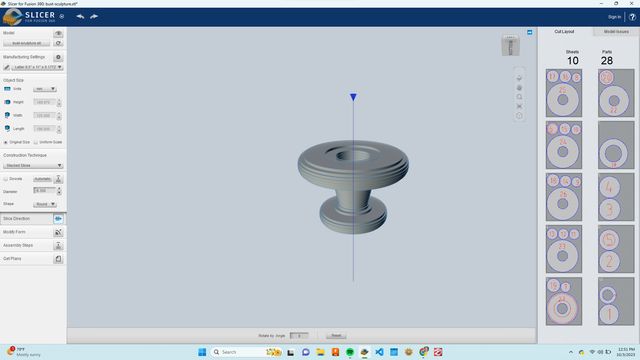
Next, I needed to slice the object, using Slicer for Fusion360. I imported my Mesh file. Then adjusted all the settings in the left hand side bar.
The Manufacturing Settings detail the size and thickness of the sheets you are going to use to laser cut. I used large MDF sheets for both projects that measured about 120x60cm and were about 2.5mm thick.
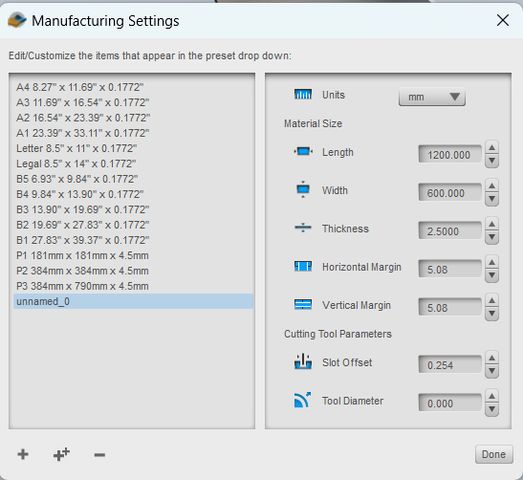
If you worked in mm, make sure to change the Units to mm, if you used cm, change the Units to cm. And don’t worry about logging the exact measurements of your file, just make sure you click Original Size, and un-tick Uniform Scale.
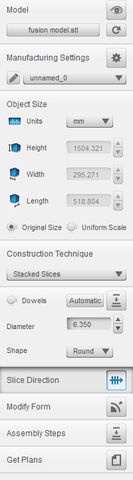
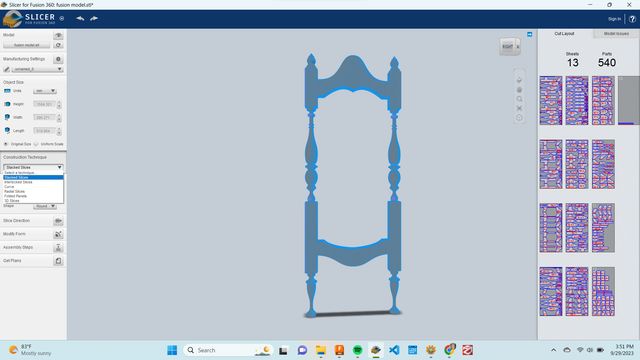
Next, there are different methods to slice up your work. I’ve worked with Stacked Slices, and Interlocked Slices. Stacked slices is pretty self-explained, Interlocked slices are like the waffle pattern.
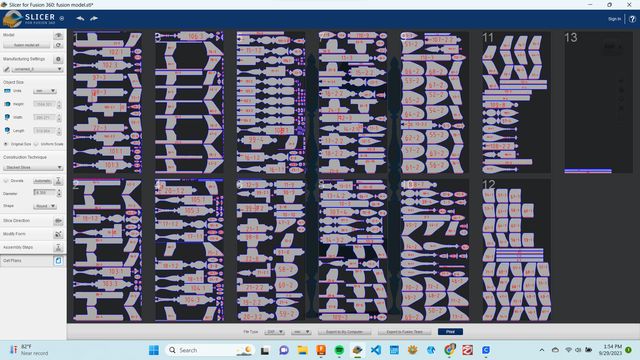
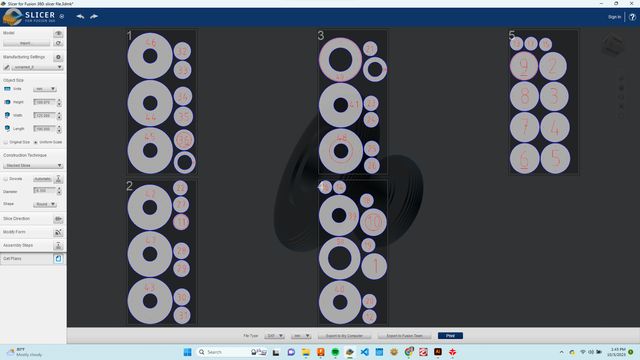
If you don’t like the ways in which the lines cut your object, you can rotate the angle in which it slices, or the Slice Direction. On the right side of the screen, you can see the cut layout. As you're changing the slice direction, the layout of the 2D pieces that are going to print changes, along with the amount of sheets you need.
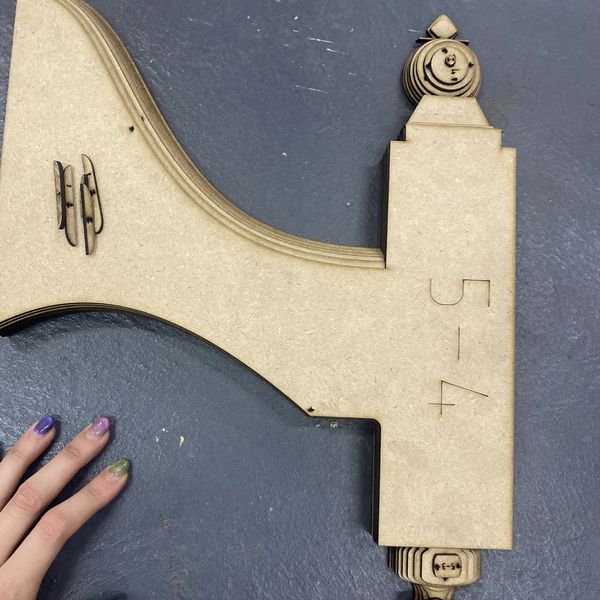
Once you’ve found the layout that you like best, click Get Plans at the bottom of the left hand side bar. Here, you’ll see your entire plan. Make sure you save these files into a folder on your computer and choose file type DXF.
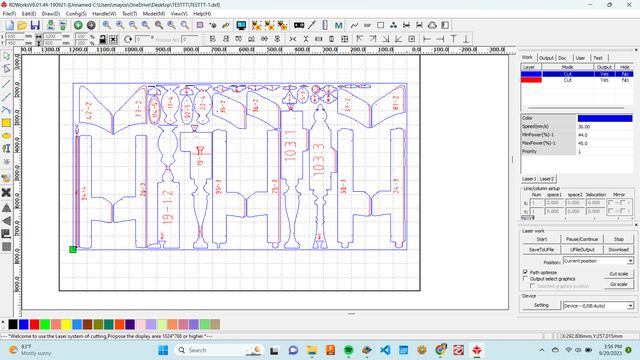
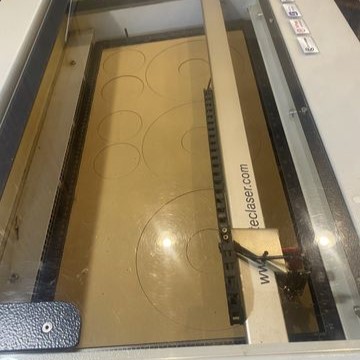
Depending on how many sheets you have, you’re going to have the same amount of files saved into a folder. You’re going to slowly get through printing all the sheets one by one, by importing them onto this software called RDWorksV8, where you’ll choose the Power and Speed of the laser. These settings should be different for every material. For MDF, I believe the power was around 34-35% and the speed 30mm/s.
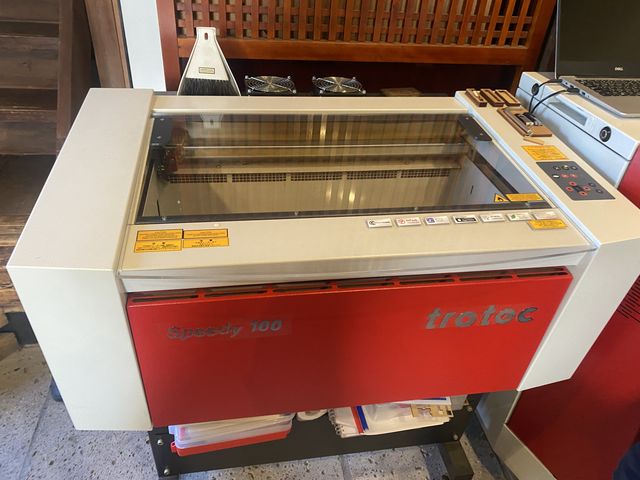
Laser Cutting at FabLab Kamakura
FabLab Kamakura uses a different laser machine. Theirs is called Trotec Engraver and the workplane measures 600mm by 300mm. Also, instead of using the software RDWorksv8, I'm instead going to open my .DXL files on Adobe Illustrator. Otherwise, the process is practically the same.
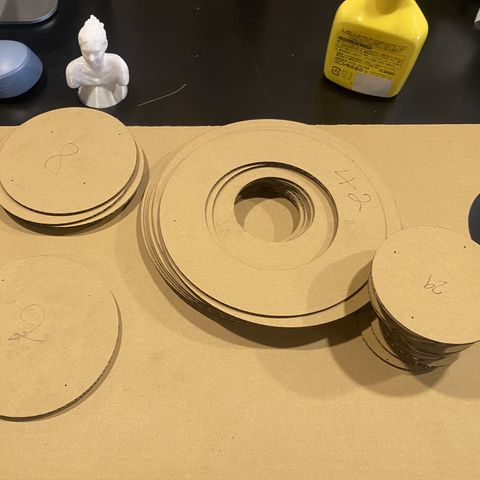
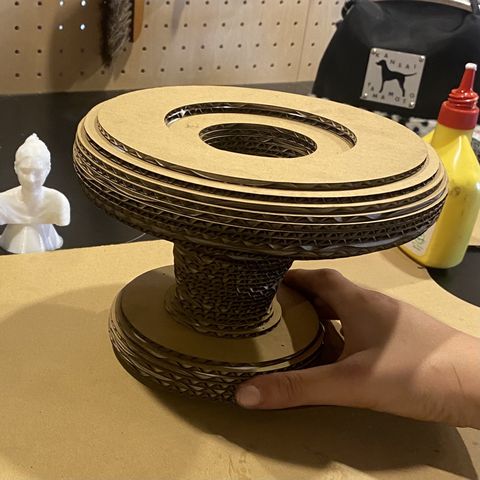
Since I had some extra time, I decided to elaborate and elevate the base of my bust by laser-cutting.
First, I modeled a base in Fusion 360.
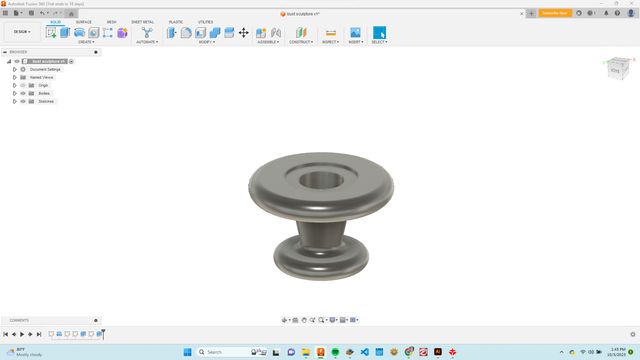
Then I saved the body as a mesh file and imported it into Slicer for Fusion360. After deciding on the material and the slice direction, I saved my Plans as .DXL files onto my computer.
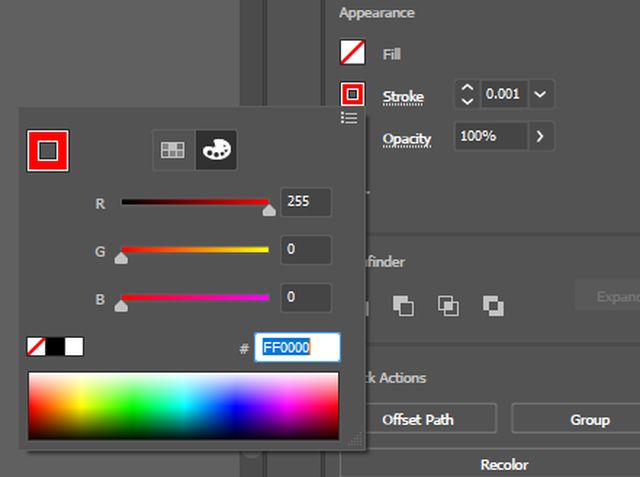
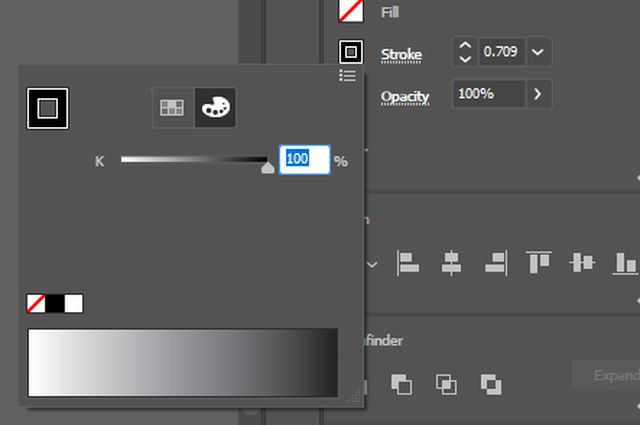
Once I imported those files onto Adobe Illustrator, I had to do a couple things. Firstly, I rotated it 90 degrees to fit my Artboard (which I changed to the measurements of the laser cut machine - 600mmx300mm). Changed the color of the laser-cut lines and the engravings to suitable ones the laser-cut machine would understand - in this case red for the cut, black for the engraving. I also made sure the stroke for the laser-cut lines were set to 0.001pt. Finally, I wanted to merge all the layers into one.
Printing
- Turn on the printer using the switch in the back
- Bring the plane upwards using the navigation key (make sure pause button is off) (pause button turns off the fan and takes away the noise!)
- Depending on what material I'm using, measure the distance between the laser and the plane using the measuring tool (then push pause)
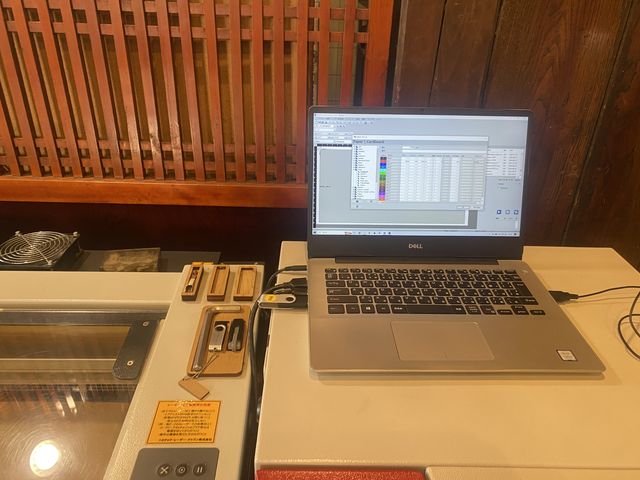
- Turn on the computer connected to the printer
- Open my Adobe Illustrator file then select Print, select the right printer
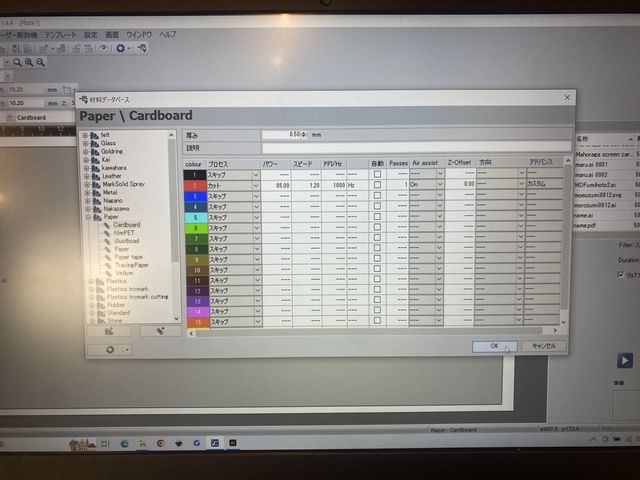
- Open Trotec Job Control and import your file
- Double click white background to change the Power and Speed of laser - there is a key for this next to the printer
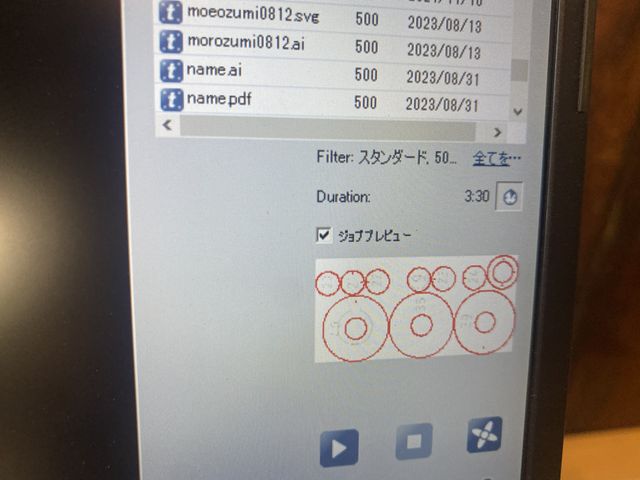
- Align the file on the computer with the laser origin point
- Check the estimated time it will take to print
- Make sure the lid of the machine is closed before pressing play !

Tools
---
Fabrication files
-
File: 3D model of bust ↩
-
File: 3D model of nose ↩
-
File: 3D model of beak nose ↩
-
File: 3D model of Pinocchio nose ↩
-
File: 3D model of Clown nose ↩