9. Soft Robotics
I was a little underwhelmed by the topic this week, but as expected, the more I learned, the more excited I grew. This week is all about using soft materials to apply compliant movements such as twisting, rotating, bending, and squishing to create soft robots.

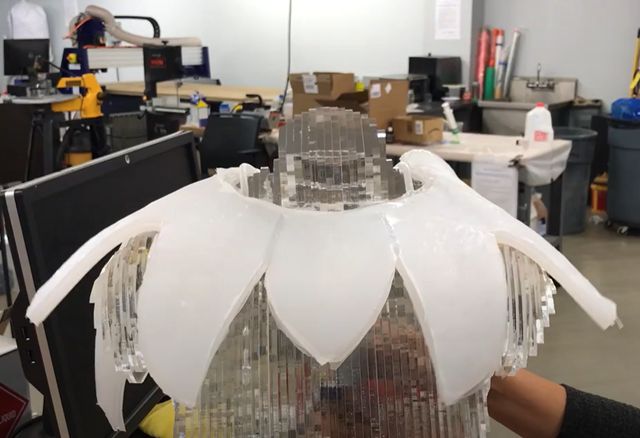
Many of us may think of robots and visualise these mechanical toys, made with hard shells.
But this week's explorations will get us to think about robotics as something that could be soft and potentially even wearable.

useful websites
Useful Websites to Explore Soft Robotics:
- Fabricademy Class Wiki
- Vicky Luan Fabricademy Website
- MIT soft robotics Toolkit
- Open Soft Machines Recipes
references & inspiration
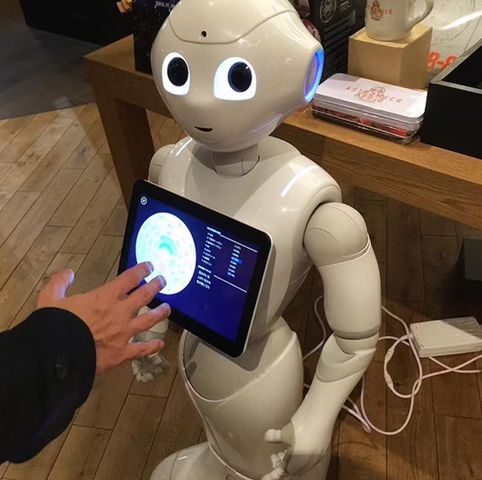
I really enjoyed watching the process of this wearable being made.
This robot is "firm and delicate." I love the way it prepares to pick up an oject. It is adorable. And functional.
tools
- Ecoflex
- 3D Design Software (I used Fusion 360)
- DC Submersible pump 6V
molds
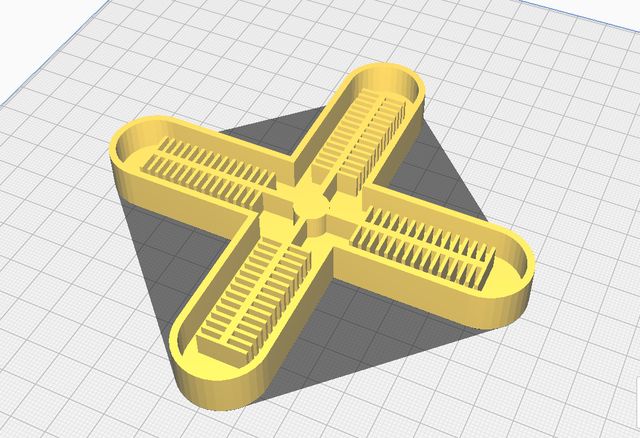
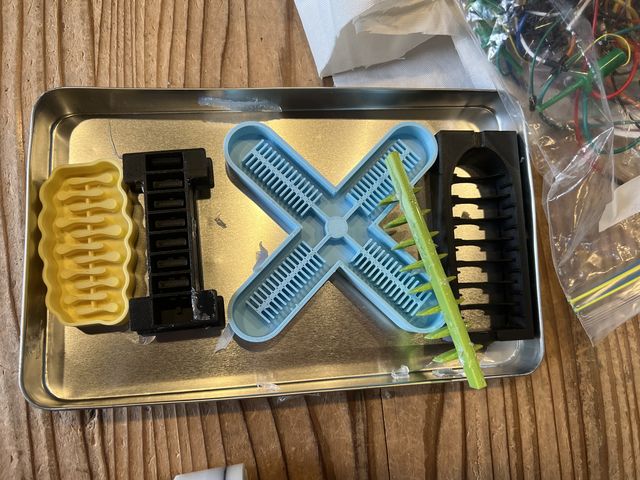
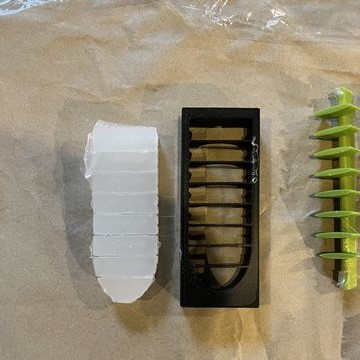
This week, I only had enough time to start experimenting with EcoFlex. Reading alumni's websites, I gathered that this silicone properties rendered the most successful results for this week's assignment. I also started on creating my own mold to pour silicone in, but due to the time constraint, I had the most success carying out exeriments with pre-existing molds that I found on the internet, through previous Fabricademy students' websites.
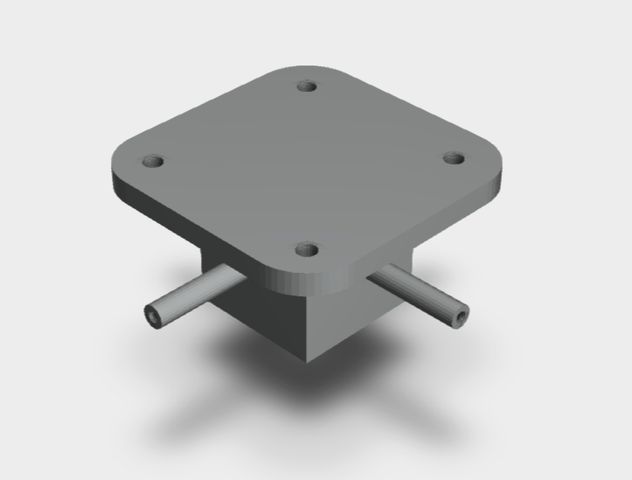
The molds I downloaded and 3D printed (STL files):
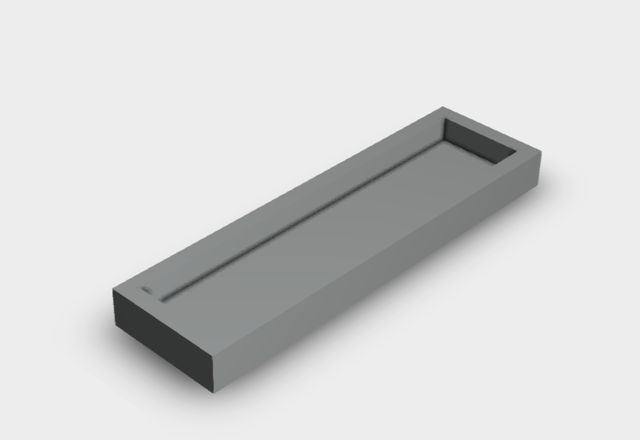
gripper 1
here's ben finio's tutorial to make this gripper
gripper 2
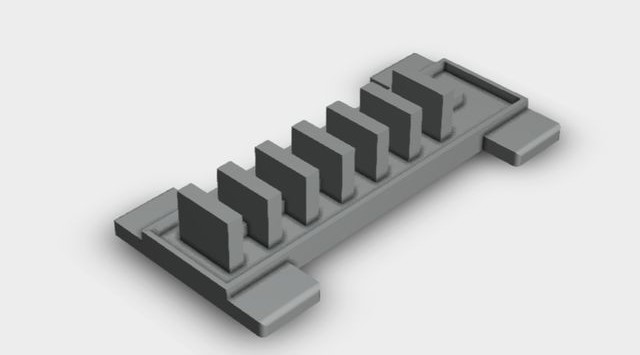

bODY 1 stl
bODY 2 stl
bODY 3 stl
bODY 4 stl
here's jessica ganley's tutorial to make this gripper
I also found this video really helpful
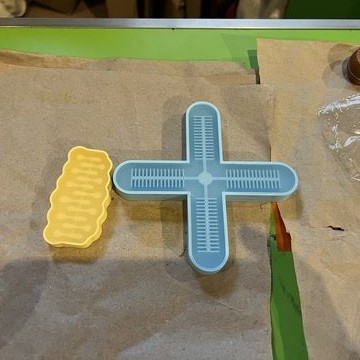
rico's mold
my unfinished mold designs
i wanted to try out circular air channels, not rectangular
i wanted to create a more appealing shape, this one sort of reminds me of a throwing knife. it's unfinished-- i still have to add the air channels
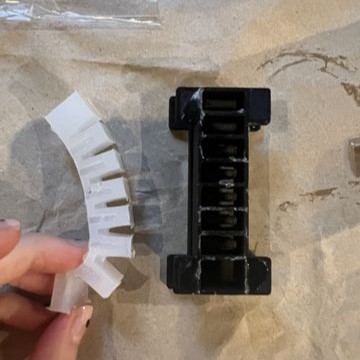
steps to make grippers
step 1
All the molds 3D printed.
step 2
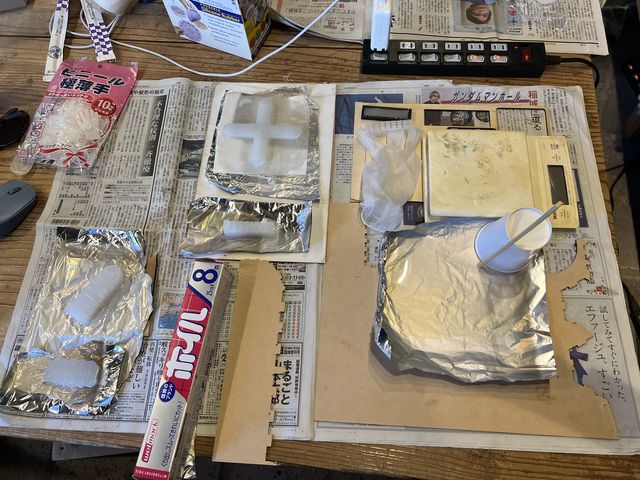
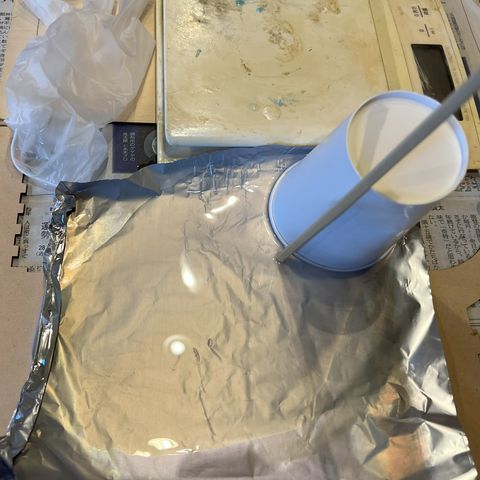
Pouring exo-flex into the molds.
step 3
after it cures, (approx 4 hours), make the "lid for it" -- you want to seal the open side with a flat layer of ecoflex
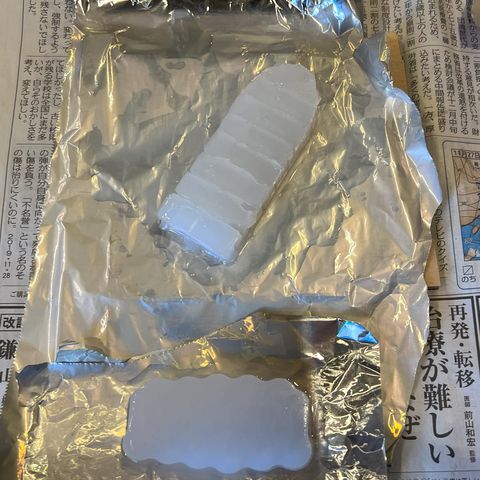
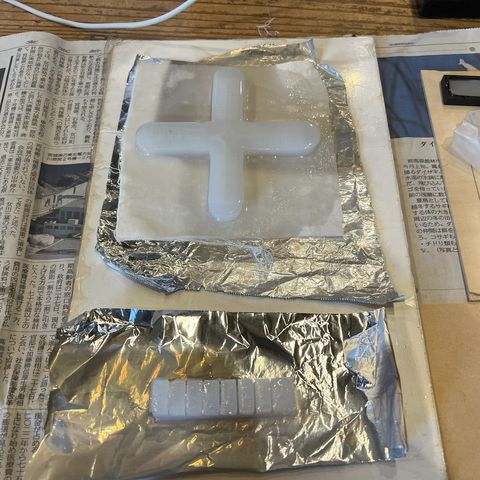
For the 4_leg_grippers, i used a piece of fabric to seal so that it would create some resistance for the bend
results
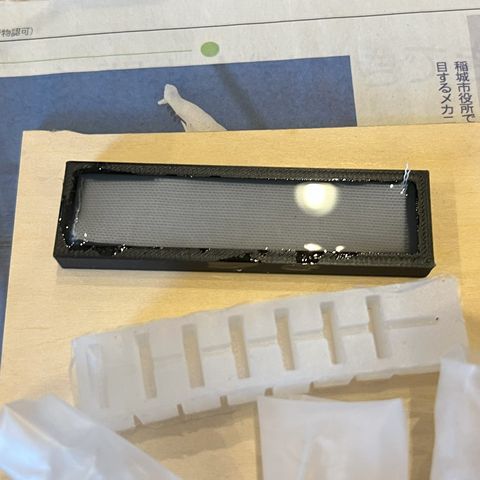
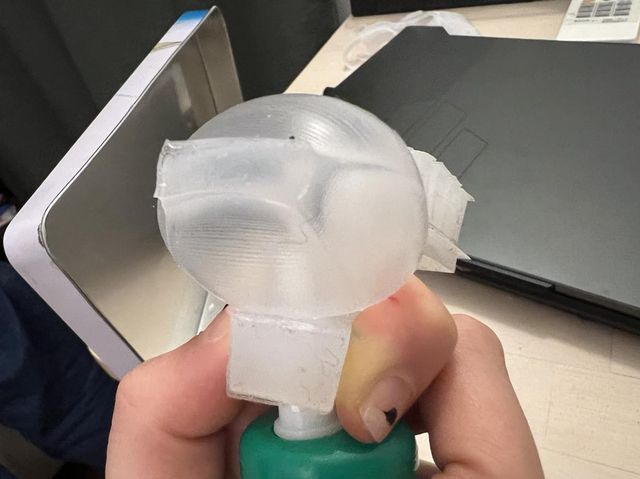
gripper #1

it was fun to get this simple 4-leg gripper to work. be careful with poking a hole, it's easy to puncture it all the way, or for air to leak out depending on what sized tube for the air pump you're using. probably a better idea to create a air pump channel, using another mold for another part that you would insert above where i made the hole. like in the video tutorial above.
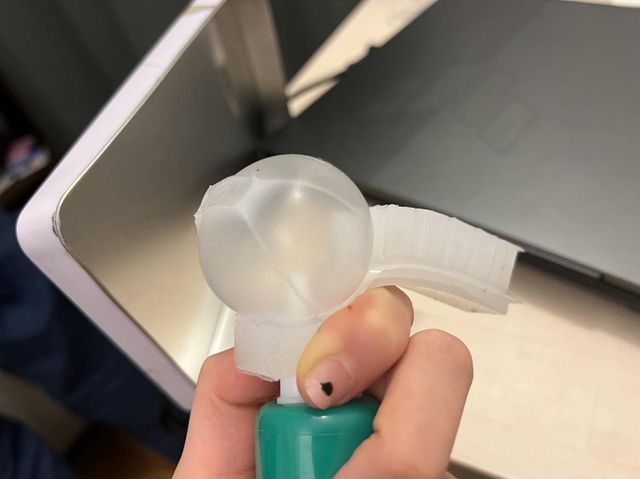
wendy mold
this is from the wendy mold. i love it, it looks like a cobra when you add air to it. it wasn't perfect however, and the more air i pumped into it, the more it got weird. I think it matters how fast and how much air you pump into it. the second attempt shows how i pumped air a bit faster and i think it might have caused a pop somewhere because the air sort of got trapped in the middle, and wouldn't travel to the furthest point. anyway, i love how the asymetry of the air channels in this mold creates lovely rounded pockets when air is added.
gripper #2 (without fabric in the seal)
failed attempt...#? i think the fail here was due to silicone entering the air channel and blocking the passageway when I was trying to seal the casting
gripper #2 (with fabric in the seal)
this one was working for a second! you can see it at the very start of the video - i managed to capture it with air in it and when it was already curled/ bent. after that i pumped more air in and popped it, resulting in another failed experiment.....
paper robot
Nagano-san and i were both at FLK this week on Sunday , and while we were waiting for our silicone to cure, we decided to play with a BMX (bioMetal helix) to make a paper robot, inspired by this origami robot on Open Soft Machines website (I linked it above under "useful websites").
we decided to use a cup and cardboard to make a simple robot of a puppy yawning:
code:
reflections
- i felt really rushed this week and if I had more time, I would like to spend it on designing my own mold on a 3D design software
- playing around with different patterns for air channels like in the bodymicry video I shared under "references and inspiration"
- i'd like to document how to code for the control of the air pump using arduino ide and transistors