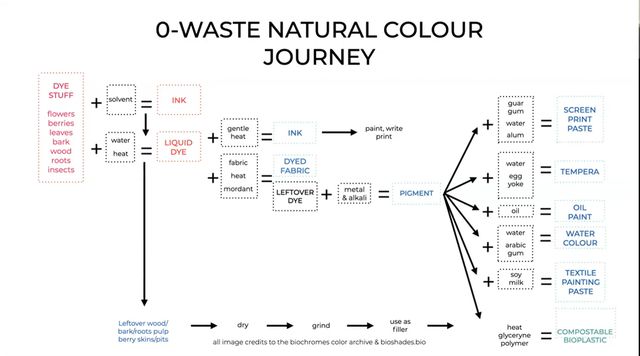
4. BioChromes
"THE CHILDREN OF LIGHT."
I really liked that part of the quote Cecilia shared with us in this week's tutorial. Like children, light is maleable and can be reproduced in so many ways. We are so far from our attempt to capture, understand, and identify all of them. One thing we know is, we like having them around, they brighten our days, and add value to our lives.
This week, we explored how to make our own natural dyes with roots, flowers, fruits, and other matter from our local environment. This experiental topic not only enabled us to see the beautiful colors nature has to share with us, but also to look critically at how we integrate color into our lives, whether that be in the garments we wear on our bodies or use to decorate in our homes.
Natural dyes have been around since the beginning of humankind. Cave people used colors they found in the ground or around them to paint the walls in their caves, color their hair, skin, and fabrics. But nowadays, in the days of fast-fashion, we have come to rely on synthetic colors in which the proccesses of dyeing our clothes create a lot of harm to our planet, especially by polluting our water-ways.
The values that we will carry throughout this week as we learn how to produce dyes, inks and pigments, are:
- being Locally Positive: sourcing materials that are locally growing, or from local waste streams (such as onion skins or avocado pits from our local cafe), accumulating heritage knowledge, and taking into consideration bio-diversity and endengered species
- using Biobased/Compostable materials that are unharmful to the earth: Botanical, Bacterial, Fungal, Mineral
- Zero waste: recycling leftovers to generate new materials (such as leftover dye to make inks and/or pigments)
Learning Outcomes and Student Checklist
Learnign Outcomes
* Research skills: the participant has acquired knowledge through references and concept development
* Technical skills: Master techniques mordanting, dyeing (botanical or bacterial), pigments
* Process skills: Anyone can go through the workflow and recipes, understand them and reproduce it
* Final outcome: the participant understands various stages of color as: dye, inks and pigment
* Originality: Has the research been thought through and elaborated?
Student checklist:
[x] Include some inspiration: research on artists or projects that on natural/bacterial dyeing, local ingedients and resources
[x] Produce at least 1 natural dye with modifiers on fabric
[x] Produce 1 ink OR 1 pigment
[x] Document your recipes, the ingredients and process and if there have been changes, document your unexpected discoveries
[x] Submit some of your swatches to the analog material library of your lab (20cm x 20cm approx)
Research
get inspired!
Check out and research alumni pages to better understand & get inspired
- Alve Lagercrantz
- Margret Guttormsdottir
- Tess Larquemin
- Beatriz Sandini TextileLab Amsterdam 2019-20_
- Kate Reed Dassault Systems 2020-21
- Petra Garaiová FabTextiles Barcelona 2021-22_
- Olatz Pereda Basque Design Center 2021-22_
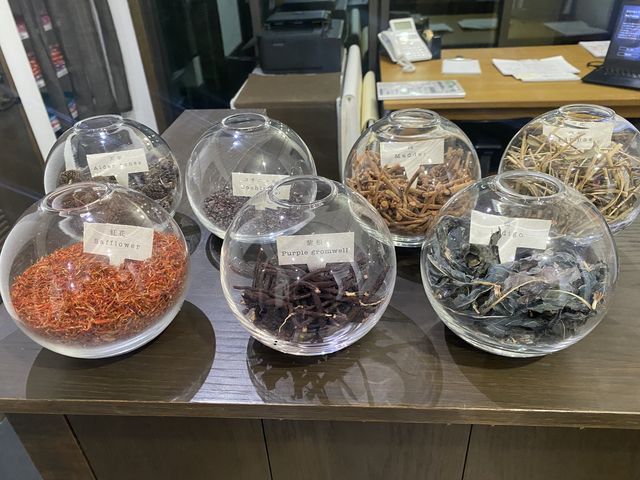
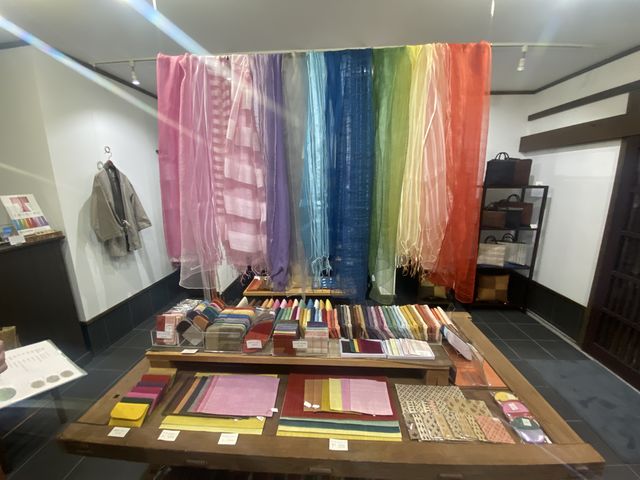
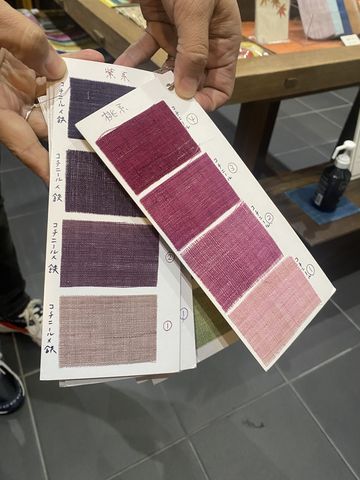
Somenotsukasa Yoshioka
"Somenotsukasa Yoshioka, located in Kyoto, is a dye workshop reviving these traditional processes and dyes to discover pigments that have been forgotten. The workshop has been dying fabrics for five generations and has been led by colour master, Sachio Yoshioka, since 1988. After turning to synthetic dyes, themselves, the workshop has recently returned to natural dyes. Yoshioka is committed to the process that he believes offers richer, better colours."
Read more about this shop in Kyoto, the practice of traditional dyeing and how it "follows the seasons closely."
Aizome
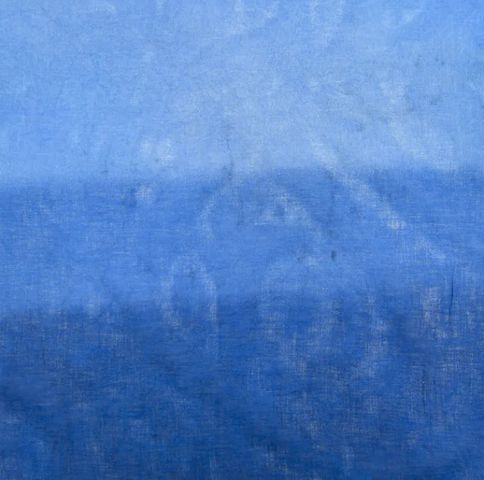
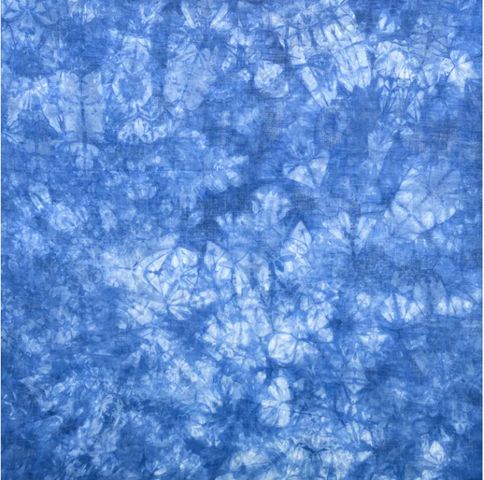
Japan has a very extensive history with natural dyes. The practice of aizome, or traditional indigo dyeing, dates back 800 years.
- Natural indigo is born from plants and microorganisms.
- The plant grows in abundance in Tokushima Prefecture
- It takes five months for the plant to grow, and three months of fermentation to get the blue color
- The material produced by fermentation is called "sukumo"
- Sukumo is then put through a process called "lye fermentation" which consists of adding: natural wood ash, sake and wheat bran
- The color is deeply affected by the microorganisms that thrive in Tokushima's environment
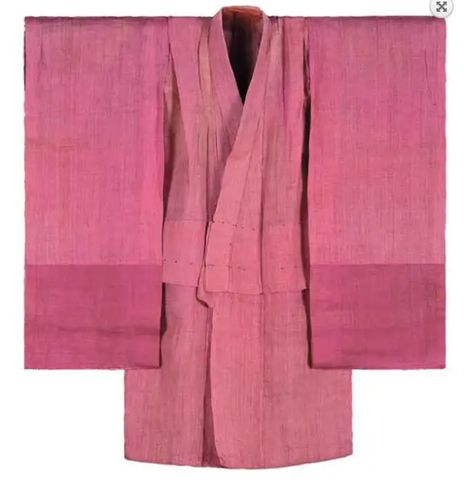
Benibana
Another natural dye that has a prominent place in Japan's history is Safflower, known as Benibana.
- The earliest use of the safflower dye in Japan was first seen in Nara period (710-784)
- Widely used as rouge by the ladies during the Heian Court (794-1185)
- Exploded during the Edo period, with its emergence in fashion and art
- The fresh orange/yellow petals are made into patties (beni-mochi) to shades of yellow, red, and pink
- Only 1% would produce red, and the other 99% yellow, as a result, red was very valuable
- In Heian period, a roll cloth of a deeper red dyeing was said to be equal to a residence of noble men.
- To get the red in safflower, you need to boil out the yellow _chromophores_
Traditional Japanese Dyeing Techniques
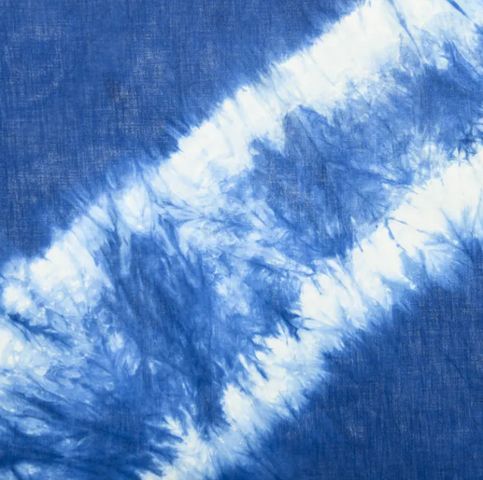
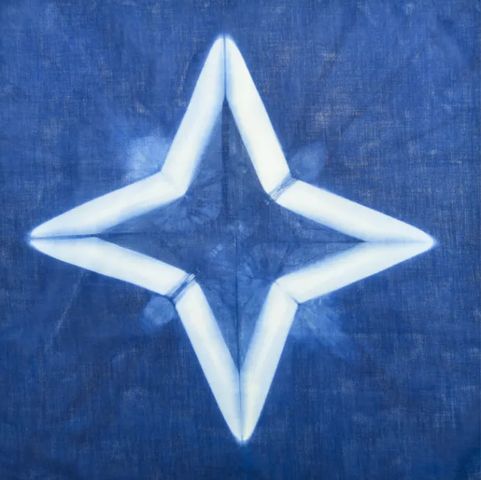
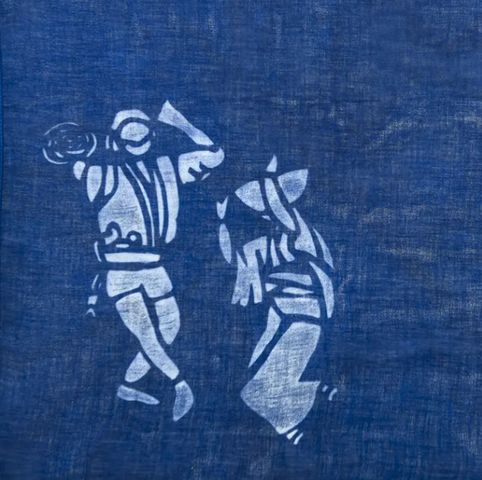
There are a number of different ways to indigo-dye in Japanese culture. Here are some examples:
- Danzome: produces a gradient effect
- Shiborizome: Japanese tie-dye
- Murakurazome: bunching up fabric to create uneven patterns and shade patterns
- Itajimeshibori: uses pieces wood to produce geometric patterns
- Bassen: dyeing with stencils
References & Inspiration
Cavan Jayne
According to her website, Cavan Jayne is a "Scottish designer working in Natural/Low Impact Colour Pigment Application in Fashion and Textiles." Her services include bespoke palette creation, sampling, and production.


Huda Abdulmughini
Huda is a photographer who experimented with the "infinite hues that nature has to offer through anthotype printing - a sustainable art form that harnesses the beauty and pigments of plants."
Natural Color Pastels
Liz Spencer is an artist who explores growing plants for color. Here is a reel of her using pigments from natural dyes to make pastel crayons.

Process and workflow
Step 1: Get Fabric , Collect dye Materials
Natural dye only works on Natural fibers, cellulose or animal. I chose to go with
* A scrap of 100% cotton
* A scrap of potentially 100% linen
* A fabric that's 25% silk, 75% cotton that was on sale
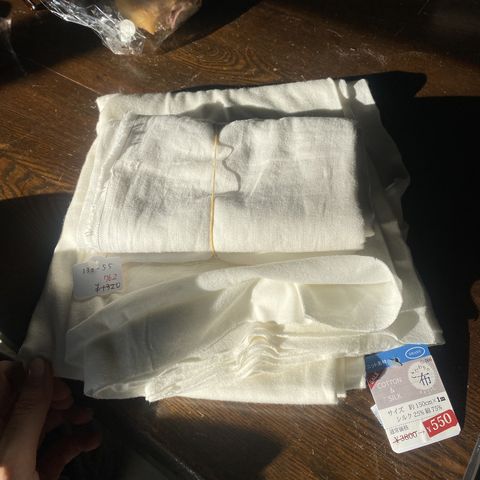
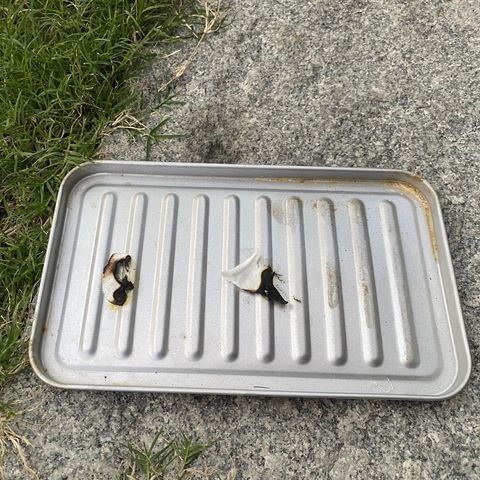
A good way to test whether the fabric is 100% natural is to set it on fire. If the fire stays orange, contrasting to changing colors to purple for example, it should be good to go. This is a more accurate Burn Test Chart to look at if you want to be more meticulous with it.
In terms of sourcing the Natural Dye Materials, Rico already had a collection of
* Gromwell root
* Onion skin
* Homegrown Indigo from FabLab Kamakura
* Rosemary
* Olive tree leaves
* Safflower
Rico and I also found locally sourced – in other words, we sketchily walked around the neighborhood with a bag and scissors in hand, clipping off flowers that we thought
I also went to the grocery store to get some
* Purple Cabbage
Step 2: Prepare Fabric: Scouring + Mordanting
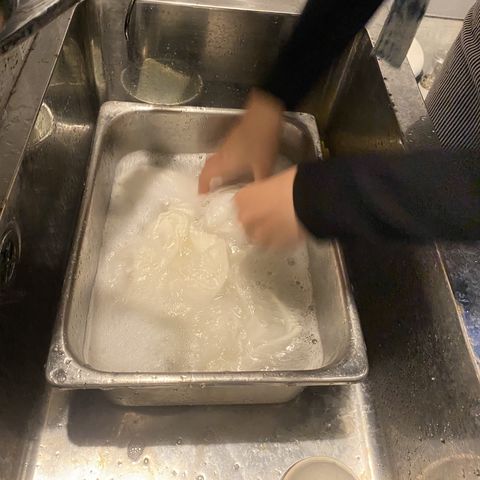
Part A: Scouring
Because I bought some fabrics from the store, I need to scour my fabric. In other words, deep clean it, to get rid of any manufacturing excess (dirt, wax) that may still be on the fabric when I picked it up from the store.
To scour my fabrics, I first need to figure out the WoF = Weight of Fabric. Below is a list of ALL the things you’ll need to scour your natural fiber fabrics that contain cellulose.
To scour, you will need
- A scale
- Stainless steel pot
- Stainless steel tongs
- Water-proof, heat-resistant gloves
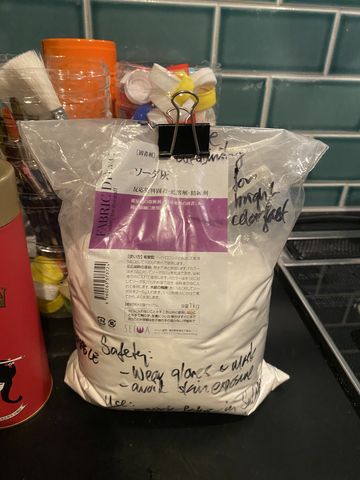
- Sodium Carbonate, AKA, Soda Ash, Washing Soda (Avoid touching this with bare hands / wear safety goggles)
- pH neutral dish soap
- Enough distilled water to cover your fabric
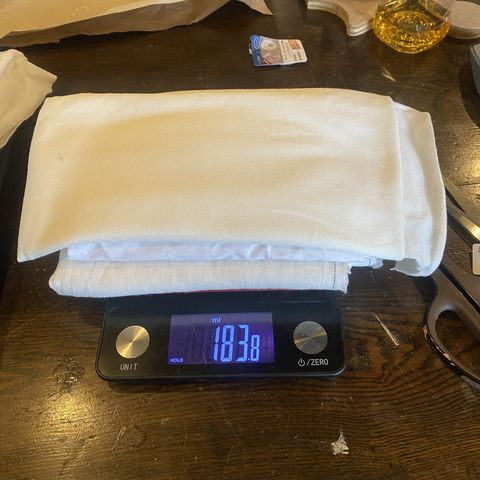
Step 1 - weigh your fiber on your scale. Make sure it is DRY!
Step 2 - the soap should weigh 25% the fiber weight.
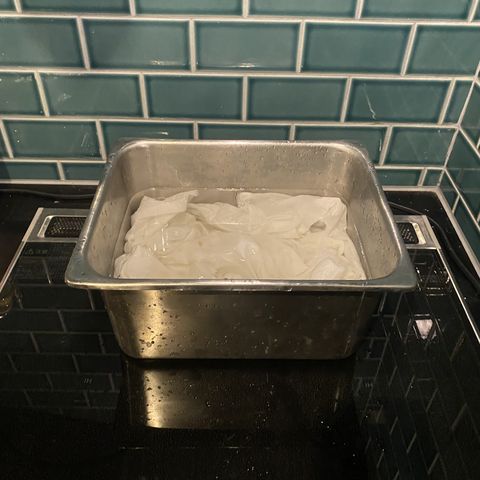
Step 3 - Cover your fabric with distilled water in the pot.
Step 4 - It is recommended by Botanical Colors that the amount of Sodium Carbonate, aka, soda ash, you use is 1-2% of the WoF
Step 5 - Simmer for two hours.
Step 6 - Rinse and wash with ph neutral soap. Make sure to always wear gloves!!! Your fabric is now ready for mordanting!
This is a really helpful 1 min video that explains Scouring!
My Recipe
My Weight of Fabric (WoF) = 183.8 g.
25% of 183.8 = 45.95 g (of Soap)
Pour water into Pot.
2% of 183.8 = 3.676 g (of Soda Ash)
Simmering for 2 hours:
After it’s done, I want to rinse the fabric with pH neutral soap.
My Fabric is now ready for Mordanting.
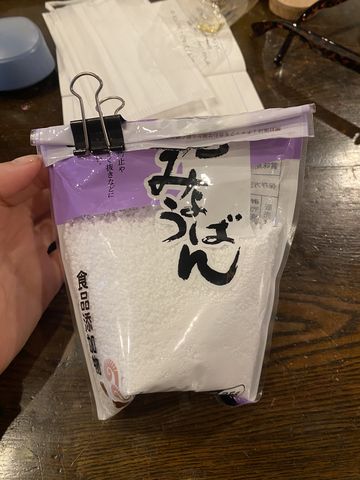
Part B: Mordanting
Mordanting comes after scouring. It is the MOST IMPORTANT part in preparing your fabric because it helps the color BIND with the fiber of the fabric.
Botanical Color provides great instructions on how to use Alum as a Mordant.
I am using ammonium alum.
First I prepare the water, put it on heat, then add the alum. Then I add the fabric, stir, and try to get it to a temperature of around 82 Celcius for about 1 hour. Then I left the fabric to soak in the solution overnight.
Step 3: Making Dyes

Dye Bath Process
- Weigh Dye Stuff
- Combine Dye Stuff with Water
- Simmer for 1-2 hours or longer
- Strain it!! You don’t want to add your fibers to water with Dye Stuff!
- Add Fabric to Dye bath
- Simmer
- Remove and Strain dyed material
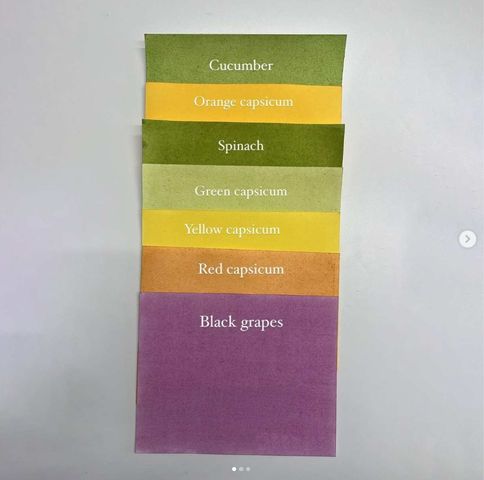
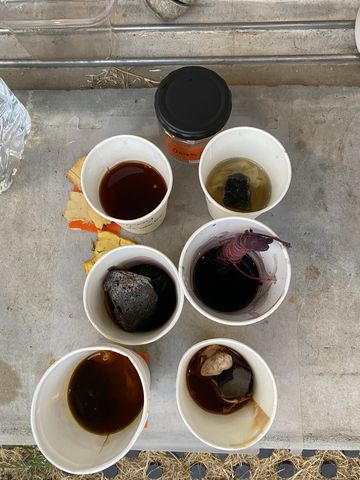
I will be producing Dye Baths using the following Dye Stuff:
- Safflower
- Onion Skins
- Avocado Skins
- Avocado Pits
- Kakishibu (fermented persimmons)
- Rosemary
- Purple Cabbage
Ingredients & Recipes
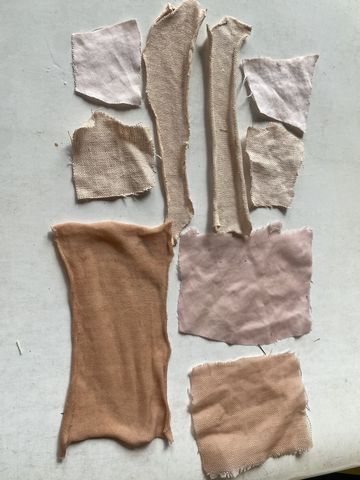
Recipe for Safflower
- Add 1g of Alum to every 10g of Safflower
- I used 10g of Safflower and 1g of Alum, 600cc of water
- Simmer for 1.5h
- Result = sunset yellow
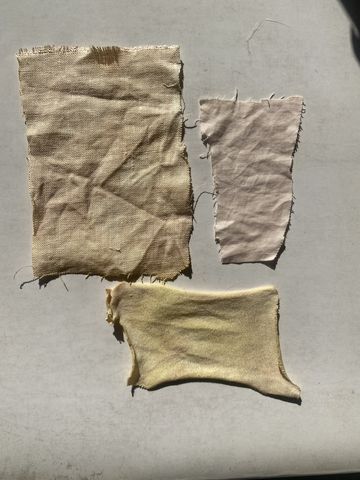
Recipe for Onion Skins
- I used 10g of Onion Skins, 500cc of water
- Simmer for 1.5h
- Result = orangey yellow
Recipe for Avocado Skins
- 70g of avocado skin, 500cc water
- Simmer for 1-2 hours
- Result = light brown, hint of green

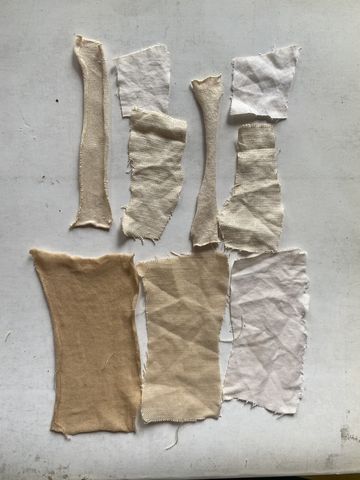
Recipe for Avocado Pits
- 300-400g of avocado pits, 500cc
- Simmer for 1-2 hours
- Result = light pink, salmon, peach
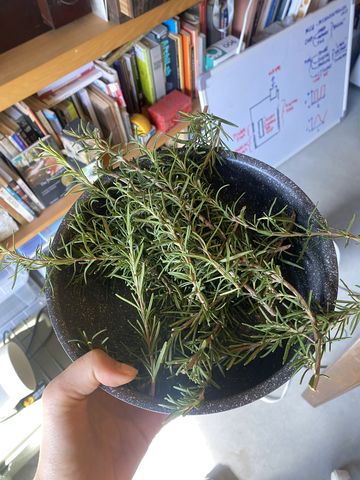
Recipe for Rosemary
- 300-400g of Rosemary, 500cc
- Simmer for 1 hour, let it steep overnight
- Result = light green

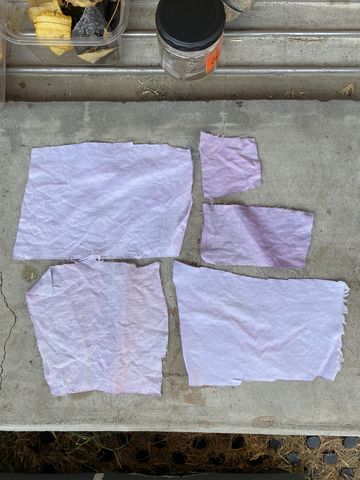
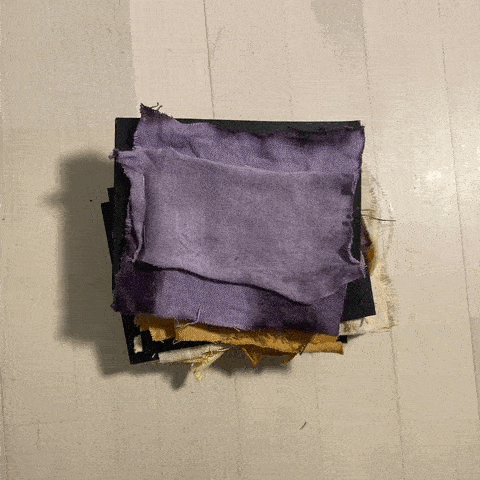
Recipe for Purple Cabbage
- 1/2 head of Purple Cabbage, 500cc
- Simmer for 1 hour, let it steep overnight
- Result = a gorgeous lilac
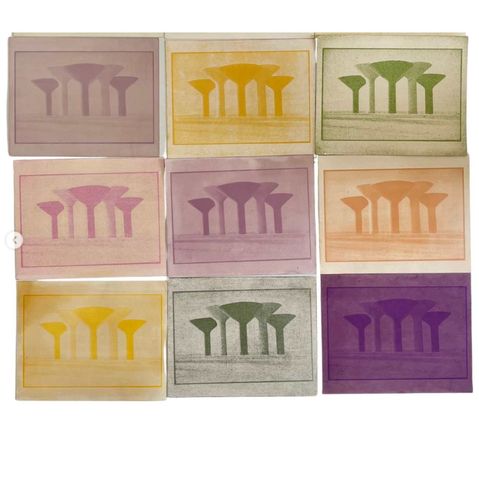
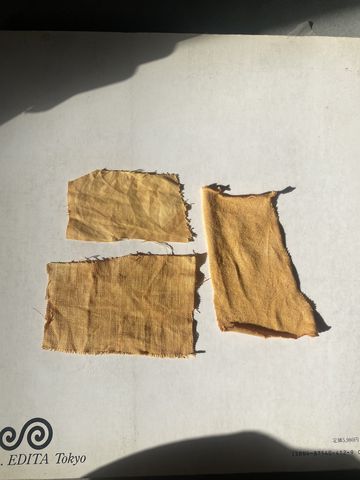
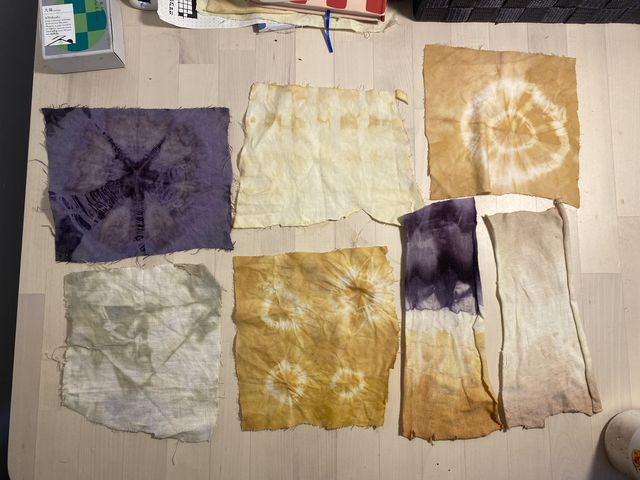
Step 4: Modifications

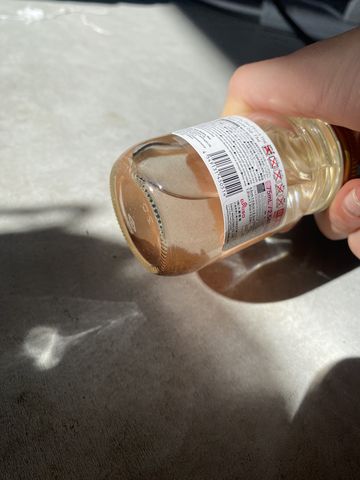
Modifying your dye colors, means you can change or modify the pH levels of your natural dyes using acids like vinegar and lemon juice, and alkalines like baking soda.
This is a great tutorial and experiment on how to modify the pH levels for Natural Dyes.
I Used these Four Modifiers
- Lemon (acid)
- Vinegar (acid)
- Baking Soda (alkaline)
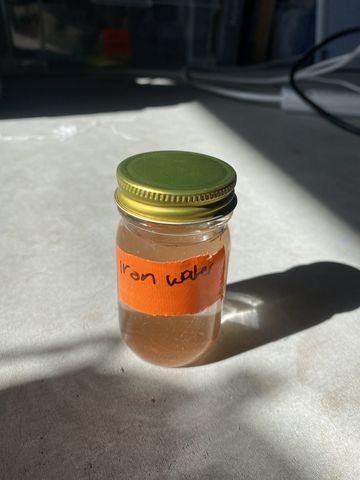
- Iron Water (metal)
I made Iron water by collecting rust from some metal and put it in a jar with some water.
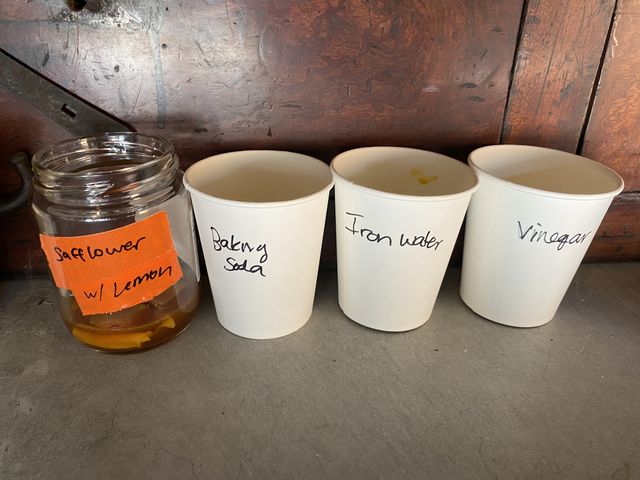

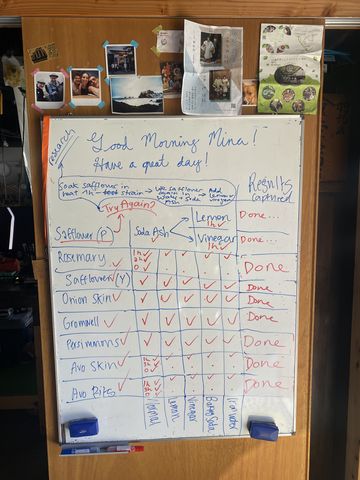
Modying Purple Cabbage was the most fun because the changes showed up immediately and produced the most range in colors.
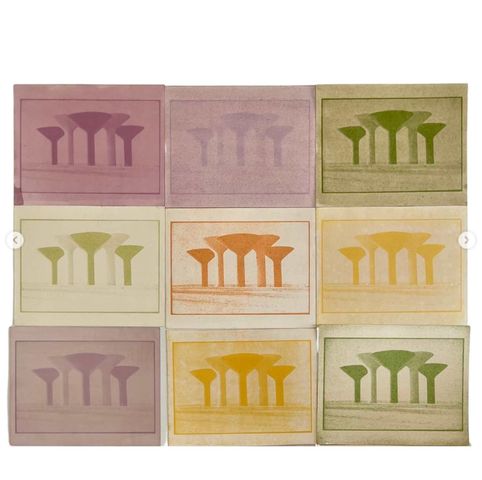
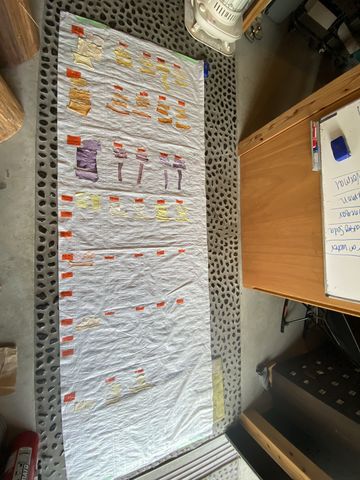
I made a little booklet of all my natural dye colors.
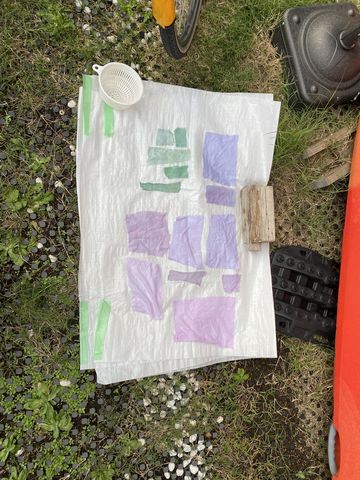
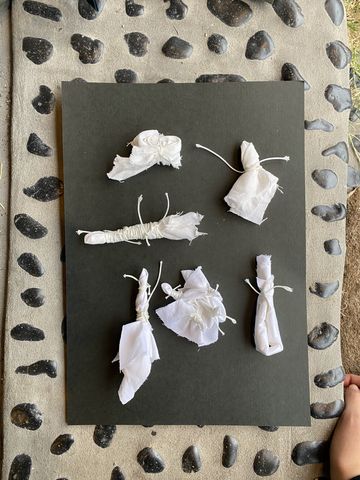
Step 5: Experimenting with Dyeing Techniques
I had some fun trying out Shibori on the fabrics with my natural dyes.
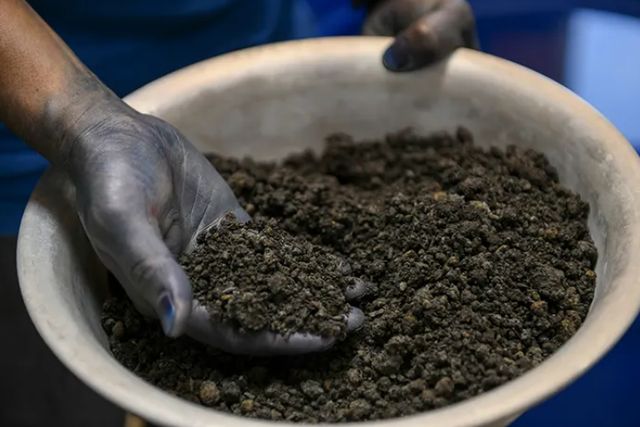
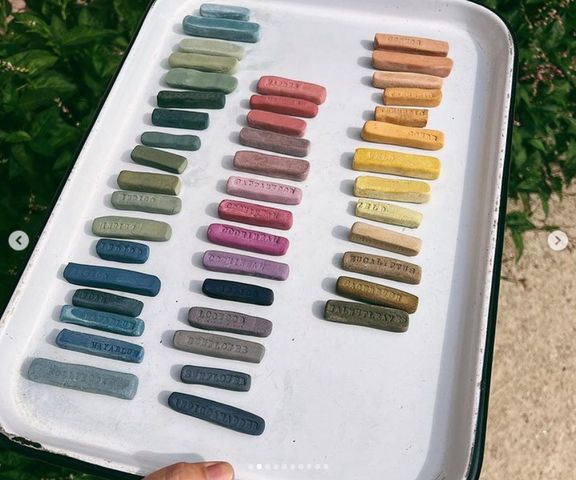
Recycling dye into pigments
pigment from left-over dye bath
You'll need
- Your leftover dye bath
- Alum
- Soda Ash
- A coffee filter
Steps:
- Boil your dye bath to evaporate some water
- Add alum slowly and soda ash slowly until it foams (alum:soda ash ~ 2:1 ratio)
- Allow it to drip overnight
- The pigment will be the leftover in the filter
- Ground the pigment