7. Computational Couture#
The week began with a lecture by Aldo Sollazzo discussing the impact that generative design modelling and other new technologies is having on the fashion industry. He pointed out some great examples of the impact of digital design methodologies like the items in the Reshape competitions and challenged us to enter the competition next year. He focussed on the qualities of Rhino and a number of plug-ins, especially Grasshopper.
It is an amazing suite of software, which I have experimented with in previous projects. Unfortunately, it’s like jogging for me - I want these both to be instantly effortless for me, and don’t want to do the hours of training to become ‘fit’. Teresa said she found a great set of tutorials here, so maybe I’ll come back to it later.
Our task this week is to create three dimensional patterns to 3D print.We can make rigid or flexible structures, print on fabrics or create 3D prints that perform as fabrics.
We looked at some previous examples where people have used the qualities of lycra to create 4D structures, which was interesting. And also, a company called Labeledby that prints fastenings and decorative elements onto their garments. I’m inspired to re-visit my Circular Fashion project and see if I can make some satisfactory adaptations.
I’m going to use Fusion to create one test, and test out Processing to (maybe) create another.
things for the future#
-
Magicavoxel one day…
-
3D Hubs 3D printing Handbook
analog 3D printing#
Nicolas is from Chile and is an intern at Fab Lab Amsterdam. He has been developing a clay printer over the last couple of months. A printer that you move manually. He kindly allowed me to have a go - but I think we were all curious to see how it did with fabric - at making a print on a piece of the net neoprene fabric that I used in Modular Fashion. The fabric is kind of 3D so it took about 5 layers before it printed on top of the fabric.
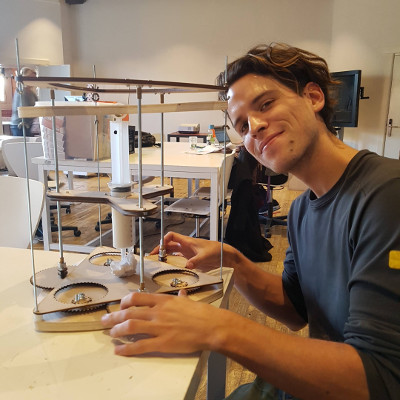
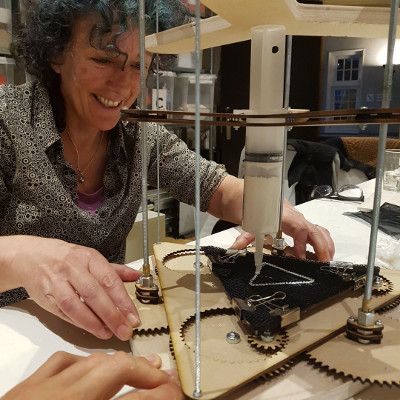
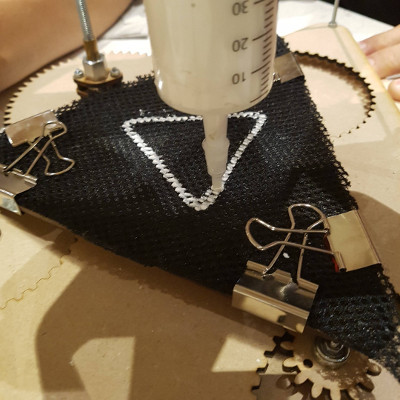
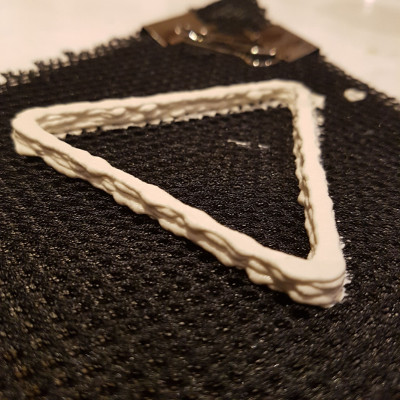
It was super-fun, and although I had very sore thumbs afterwards, I’d do it again. I look forward to seeing the progress of this project. Unfortunately, I can’t share my file for this project, because it was completely analogue. However, Nicolas will be changing the printer to create different shapes, so I hope to stay updated.
3D printing#
Nothing is able to bring more grumpiness in a digital space than 3D printing issues. I actually prefer electronics, and that’s saying something. I always end up hangry (hungry and angry), fixing issues with the printers and wish that I was sitting in the sunshine instead. However, because I’ve done this before, at least I know that it’s not always my fault, so there’s one bonus.
button test#
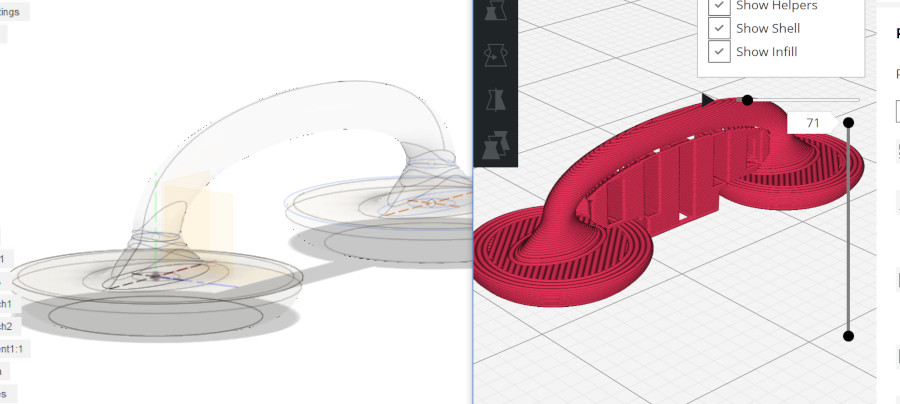
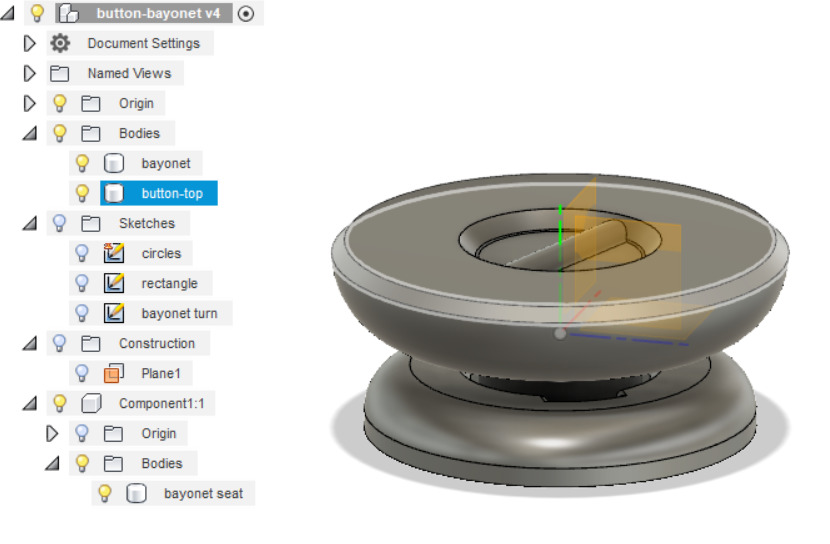 I generated a basic three part model that I will test tomorrow if I have time. The tests are to check for offset - I haven’t used this material or these printers before, so I need to know what size the actual objects will print as. Mainly so that I know whether my snapfits will snapfit and if the fabric will fit in the space I’ve allocated. Then I can modify and multiply. If you’re curious about how I made these and you have fusion 360, the files are in the download area below and you can ‘press play’ and see the steps I took to make the objects.
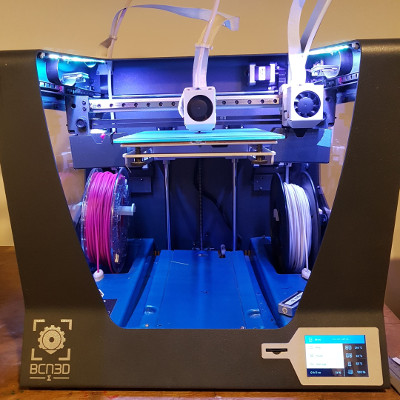
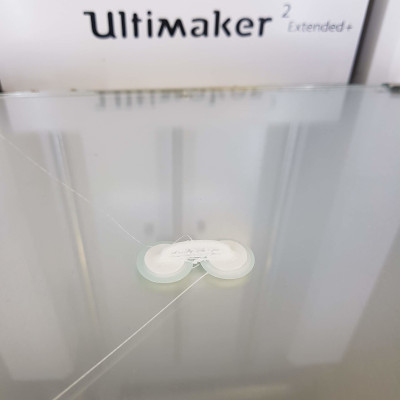
So I got involved with the BCN, which is a dual head printer, but I only used the one head. I didn’t need a support material and I hadn’t generated a file that needed two materials, but I may in the future… It was a simple and familiar interaction, mainly because you generate your gcode in Cura, but it’s the cute old version with the tree on the left hand side. I made up settings that I would consider fairly conservative for the Ultimakers, and cranked up the machine. It was already loaded with a magenta flexible filament, so all I had to do was push play and wait for 10 minutes. A dream 3D print experience. I also printed it on the Ultimaker 2+ in black PLA with similar settings.
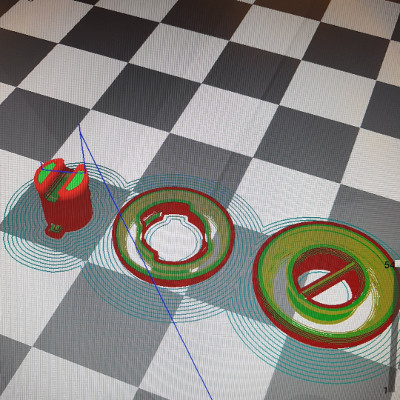
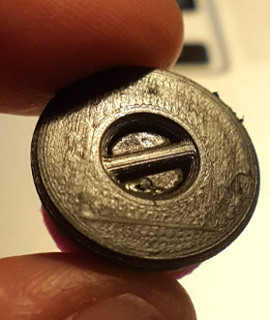
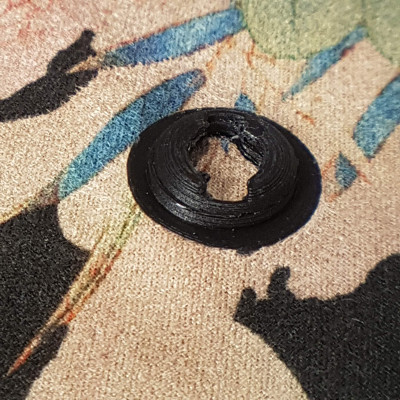
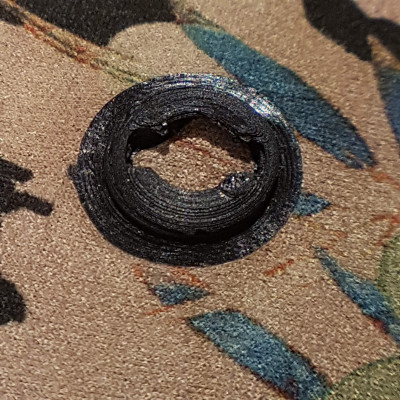
You can see in the Cura shot that I chose a large brim - way too big, but I wasn’t taking any chances of it floating away. In the images below, you’ll see that I haven’t been able to remove it properly, but that it’s turned into a strange feature where the internal brim on the pink base is sealed nicely around the black stem. I won’t choose a brim for the next iteration. I chose a Z height of 0.1mm, which was enough for the size of the print, but I’d go finer in a final print at this size. The speed was 35mm/sec, and the infill was 20% for both prints but the flexi print had a grid, and the black had concentric infill, which you can see below.
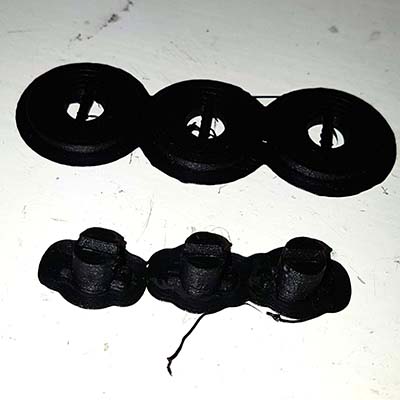
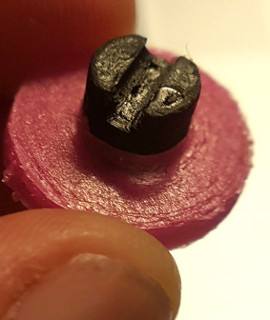
I might go a little slower next time. As I said, the prints were ~12 minutes, so finer detail in the Z axis and a slower speed won’t really be a big deal. The bayonet fitting for the stem to connect to the base worked well but the snapfit between the stem and the top was a bit tight, so I modified that.
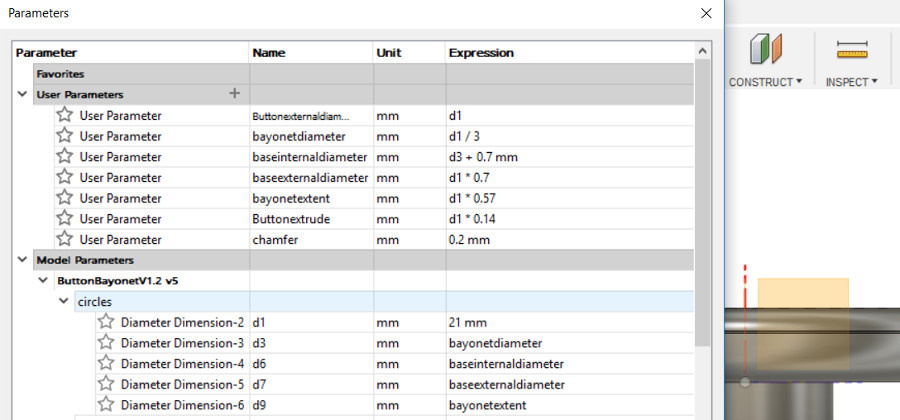
I think I mentioned in Circular Fashion week, that I prefer to quickly sketch and test my ideas and then draw them up properly in the second or third iteration. Fine Arts and Design background, remember? Now that I’ve worked out that I’m happy with the overall idea, I’ve redrawn the file from scratch. It’s annoying when you realise you’ve made a poor decision early on, but often I find it’s better just to start again than to try and fix it. It’s good practice for me, as I’ve only been using Fusion (occasionally) since January this year. I’m considering my parameters so that I can adjust one and the rest update accordingly - there’s always a few that I miss, but I’m getting there…
button test #2#
Two things I want to test here - whether my adjustments make the necessary difference, and whether the base prints nicely onto fabric. Bella gave me some fabric before she went back to Essen, and I think this is the opportunity to use it. I’d like to revisit the Circular Fashion project, with a little help from my pattern-making colleagues, and get that garment sorted out using this week’s design.
I’ll print them all in the rigid PLA, and we have some slightly less flexible black filament (less flexible than the pink stuff) that I’d like to try out. I found that the flexible filament created some friction that meant I didn’t have to be too detailed in the bayonet fitting. Then I’ll combine the components in different ways and see what works best.
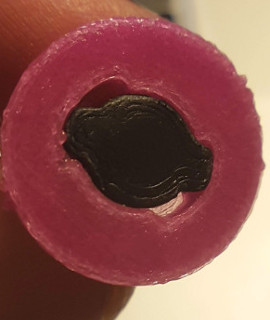
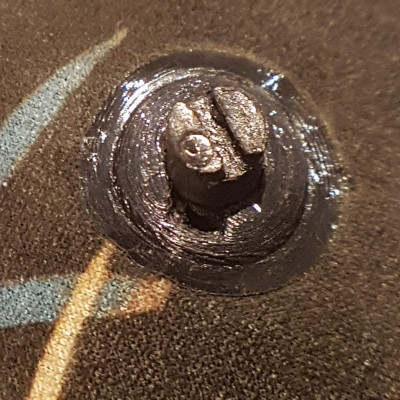
And this is what it looks like with the bayonet fitting inserted.
I have a number of other samples of this, however, I left those samples in the TextileLab in Amsterdam, knowing that it’s easy enough to print some more, now that I’m back in Wellington. Warm, summery Wellington…
clasp test#
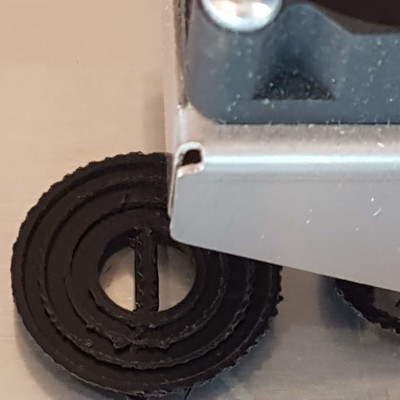
This next test is for binding two pieces of fabric together, or two parts of a piece of fabric together - all part of my new iteration of the modular fashion assignment. I’m going to print the clasp out in flexible TPU and PLA to see which material suits this object best.
I did a couple of different settings, and found that unticking retract, having no support and a 3mm brim worked the best. The support was too hard to remove afterwards and the dribbles from not retracting sort of work as support but are easier to remove. Printing without a brim meant that the object wouldn’t stick to the bed.
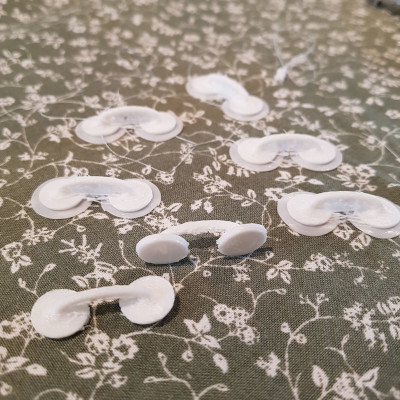
To see these in action, please check out my third modular experiment where I’ve used them to join, or button, my garment but I’ve printed them in red instead of the white ones shown here. And check out the file in the download section of this page.
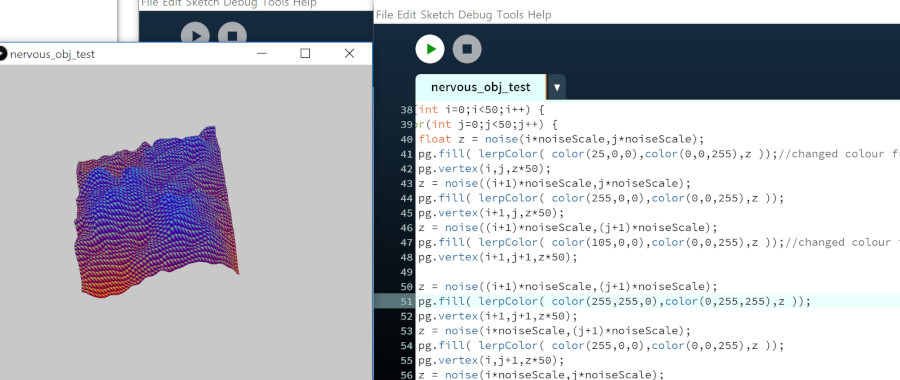
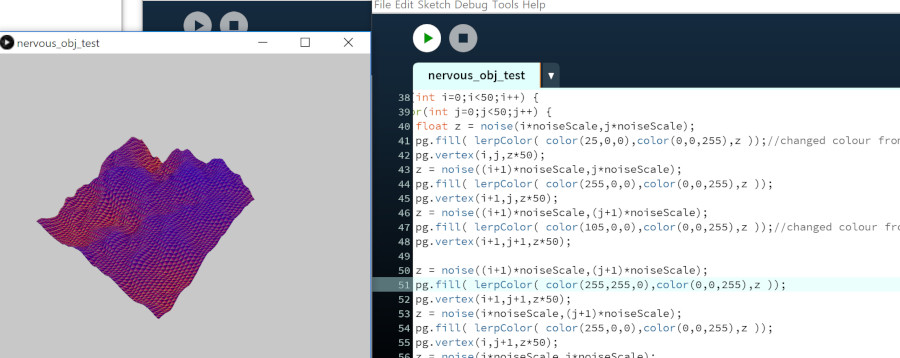
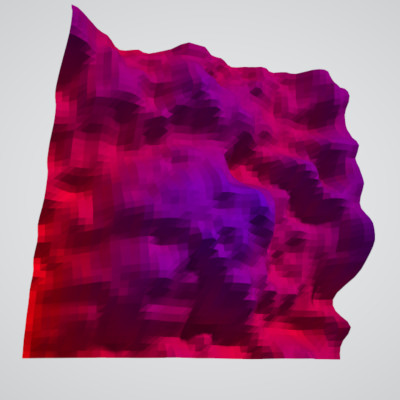
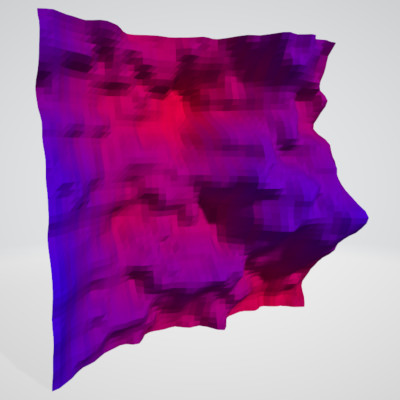
processing test#
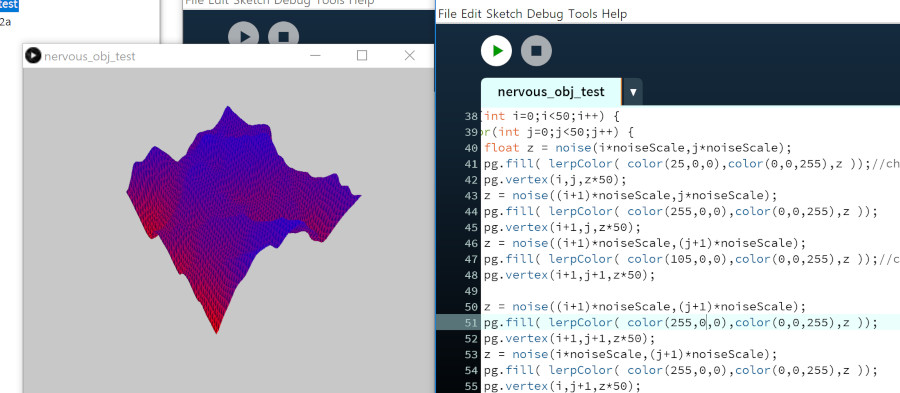
So I ran out of time (a familiar refrain) to do much with processing, though I did play around with a processing sketch by nervous system, where you can export an .OBJ which was fun. The sketch and OBJ files are below - I changed just a few things in the sketch, seeing how the colours affected the height map, and any changes I made are commented in the sketch.
download files#
Test button components, 3 x stl zipped
2nd test button components, 3 x stl zipped
bonus section - water & computers#
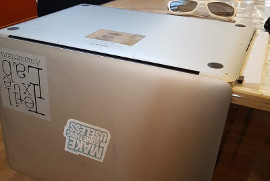
Well, we all know that they don’t mix, but unfortunately, I gestured wildly and a glass of water was thrown across my computer. With lightning reflexes I unplugged it and turned it upside down and turned it off. Or so I thought. Every time I moved I seemed to accidentally push the start button and it would start again. It felt very dramatic. It made little sizzling sounds as well.
The sizzling sounds made me very doubtful about whether it would survive this, and I had one file I hadn’t yet uploaded to this repository. I should always always always back up my work straightaway.
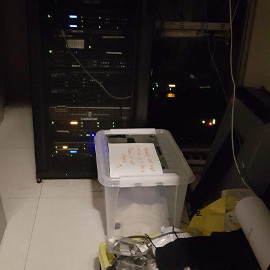
Anyway, following the ifixit instructions, I removed the SSD and disconnected the battery then put it, in a plastic box with 2 kilos of rice, into the server room for 16 hours. And while I had no computer, I did a bit of analog 3D printing.
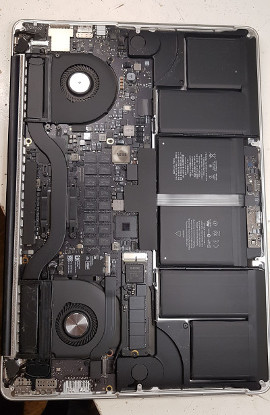
It was a scary moment, when I started it up - but it still works. And I have a couple of extra screws left over … :) Everything so far seems to work - the USB ports and everything! What a relief. Everyone talks about their phones being their exo-brains, but at the moment I feel like my computer is as well. I’ve stored very little information on this machine, but have installed a lot of software on both the windows and ubuntu side. Creating a new set up would be quite time consuming because I’m not even sure what all of the software is, I would just miss it when it’s not there.
Resolution: The next time I have a new computer, I will write a gist (or something similar) that allows me to keep a record of the software I have so that I don’t have to stress so much.