12. Skin Electronics#
Skin is conductive. Inks, paints, be careful of the impact on your skin, so check a small amount first. PDMS (Polydimethylsiloxane) to embed conductive materials inside.
Flexible to allow for skin and body movement.
Cosmetics. Hair - public, malleable, personal. Capacitive ‘chemically metallised’ hair extensions. FX e-makeup - raising an eyebrow, smiling, sensors attached. Winkymote. Technails - embedded function in nail.
Camouflage and conceal interaction with device.
initial ideas#
I thought of doing either:
-
a tattoo-type interactive element on my lower leg, partly because I wanted to focus on a different part of the body but partly also because it was the only part of my body that I was prepared to wax
-
an interactive device that included a silicone mould from the previous week.
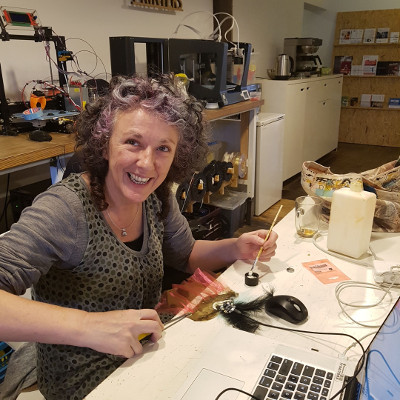
But with all the other things going on in my life - doing tests for the wenduino kit, making tempeh, hosting lovely visitors from other countries and getting ready to leave Amsterdam to go back to NZ - I decided to do a forehead mask. I was giggling away as I painted latex and gold onto my mask template, reminded of the time I dressed up as a drag queen…and a blonde…and a cowdie…and that time I dressed up as a hippie…
O wait, I really did dress like that.


I think this is going to be a fun project.
research#
I have looked at Venetian and Masquerade masks, particularly the filigree style with feathers but also 1920s flapper.


I spent some time reading about the history of the Venetian mask here and here, and was interested, after my experiments with waxed cloth, to discover that the Larva or Volto mask was often made of waxed cloth.
tentative plan…#
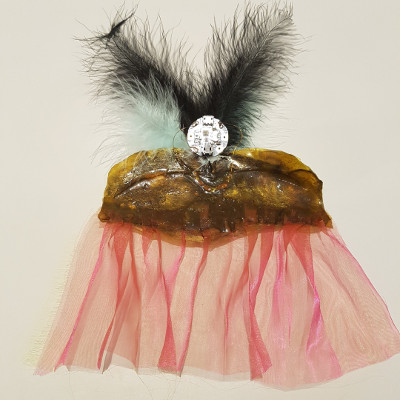
I will embed neopixels at the hairline area of the mask, surrounded by a few feathers, and include the gemma and battery in a (hopefully) decorative way, maybe as an earring.
I will use 3 neopixels (preferring uneven numbers) and maybe modify the rainbow theatrechase sequence in the examples for neopixels in the Arduino IDE. I’d like to include a soft switch as part of the design and will crochet a battery holder. I think that a beaded tilt switch will match the style of the mask.
Integrating or obscuring my glasses is always a challenge - I hate wandering around in unfamiliar places without them, but they don’t have the most carnival like style. I think a small veil might do the trick, but it could look a little out of place, so I’ll evaluate that when the base mask is complete.
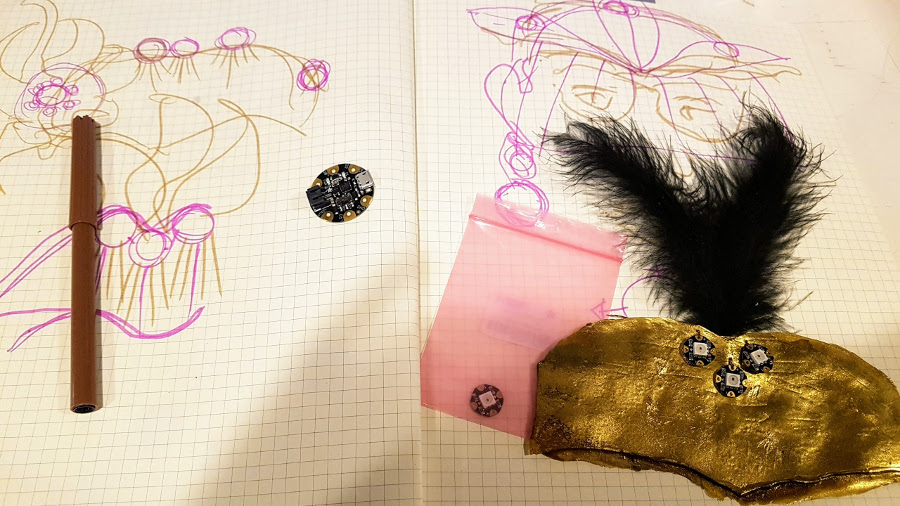
sketches & casting#
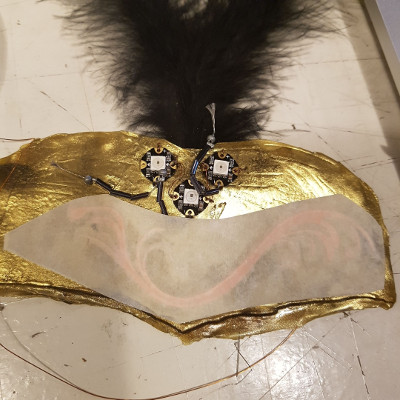
I made some basic sketches and then started making. First of all I painted the forehead of a plastic mask with a thin layer of latex. I trimmed an existing sheet of latex and stuck it on the thin layer of latex. I sprinkled some gold/copper/nickel powder over it. It looks great, but it isn’t conductive.
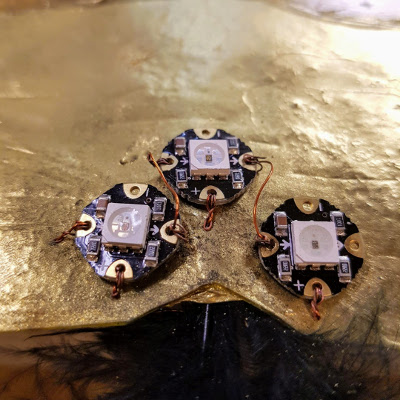
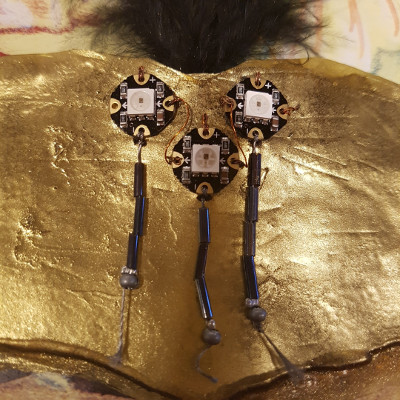
making connections#
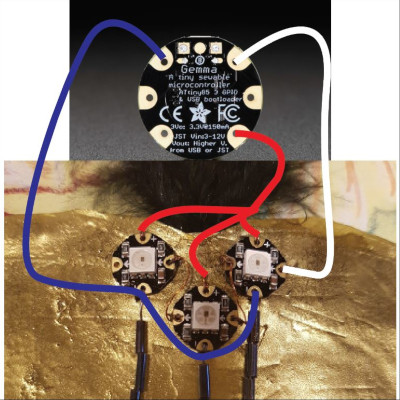
Using an enameled copper wire I connected the data lines of the three neopixels and the positive lines. Because the wire is insulated already, I didn’t need to consider adding insulation For the ground lines I made tassel tilt switches with conductive thread and glass beads threaded over to insulate the individual tassels. I put a metal bead at the end of each tassel. I found sewing into the latex was nice especially because it holds the conductive thread well, and I didn’t have to seal the knots.
You can see from the sketch diagram below that I turned the gemma around to make the connections, all of which are at the back of the mask, and latexed over to seal them away from skin contact.
filigree ground#
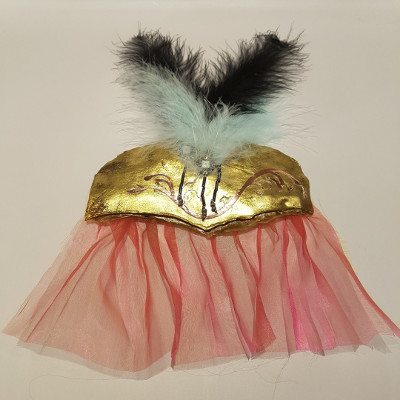
I drew up a filigree pattern for the ground plane, cutting it from copper foil - doing the usual thing of laying the tape on to epoxy film before I cut it on the vinyl cutter, but this time I increased the force to ensure that I cut through the epoxy film as well(force 150g, speed 6cm). Weeding was challenging, but not too problematic. I covered the filigree with transfer tape, not entirely convinced that the epoxy film would adhere to the latex, but it was just fine.
Ready for the next step, which is crocheting a battery holder and integrating a gemma or an attiny.

gemma addition#
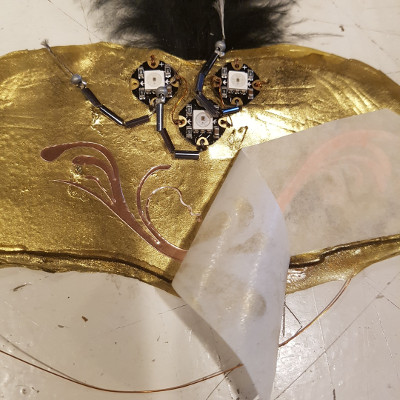
The gemma is behind the black feathers, above the latex part of the mask. The connection was variable, so I by-passed the tilt switch thinking it was that. It worked better, but even when I latex-ed over the wire, it was still variable so I took a closer look at the 3V connection. Because it’s three wires and they don’t solder easily, I found that the variation was coming from there. I re-arranged them, and pressed a scrap of copper foil over them with pliers. That seemed to fix the problem.
I did some more tests using and adapting the Adafruit sample code called strandtest.
If the videos aren’t loading and say you have to download them, refresh the page instead…
I latex-ed on the veil, which I made by ironing a scrap of chiffony-type fabric into pleats.
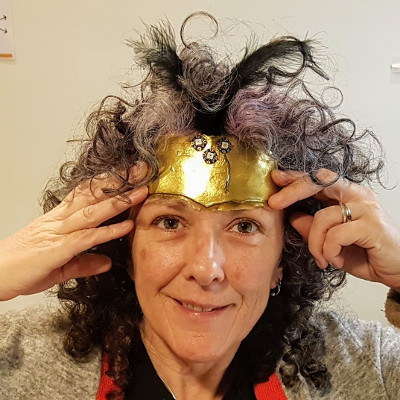
This is what it looks like front and back.
Frank kindly allowed me to stick the mask to him and this is what it looked like. The connection to 3V was still dodgey so I had to use tweezers to press where the copper tape was and keep the connection. You will see that I have the gemma hooked up to the laptop in the video below.
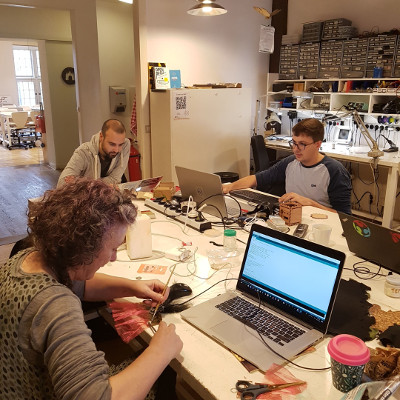
Then we all had to pack up and leave because it was the end of the last day that Fab Lab Amsterdam was open for 2018.
download files#
bonus section#
I left Amsterdam a couple of days before Christmas to fly to London and spend a few days with family there. It was sunny and warmish (12 degrees), and great to have my first ever winter Christmas in a small family festival. Then I flew to Perth to spend a few days with some very good friends before heading back to New Zealand. I’d managed to catch a cold before leaving Amsterdam, so it was all very low key and relaxed.
And I got to try out the Go Sun Go portable solar oven that David Ott gave me when I visited him and his family. Super fun!
So I went from this:
To this: