Research: wenduino kit#
the aim#
To make a kit of ‘books’ that allow me to travel and do soft electronics, to make the incubator and to teach others a range of skills and techniques. Each book will be made using different skills, increasing as they go. if you attend the workshops for the wenduino kit and the incubator, you can do them in a particular order and end up knowing how to use the different equipment and processes in a fab lab, textile lab & DIYbio lab.
a handy toolkit exploration from Kobakant, thanks for the tip, Anastasia
the ‘books’#
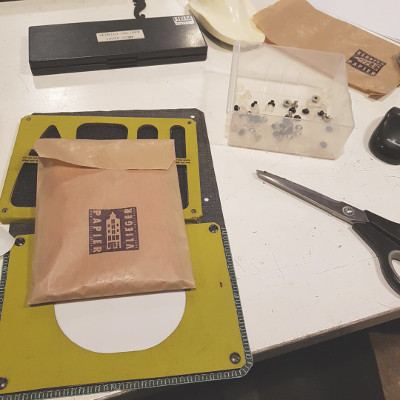
- soldering station
- materials library
- wenduino
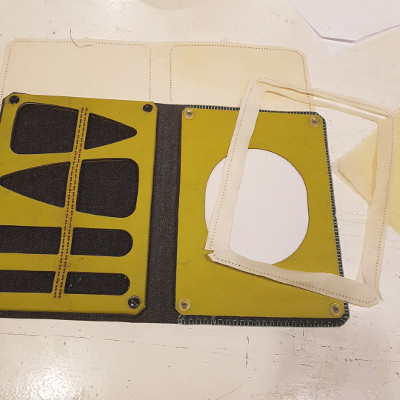
soldering station#
techniques: 2D modelling, laser cutting, hand sewing, wax infusion
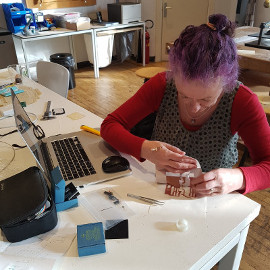
Although this book is not yet where I want it to be, I think that it shows enough of the system I want to create.

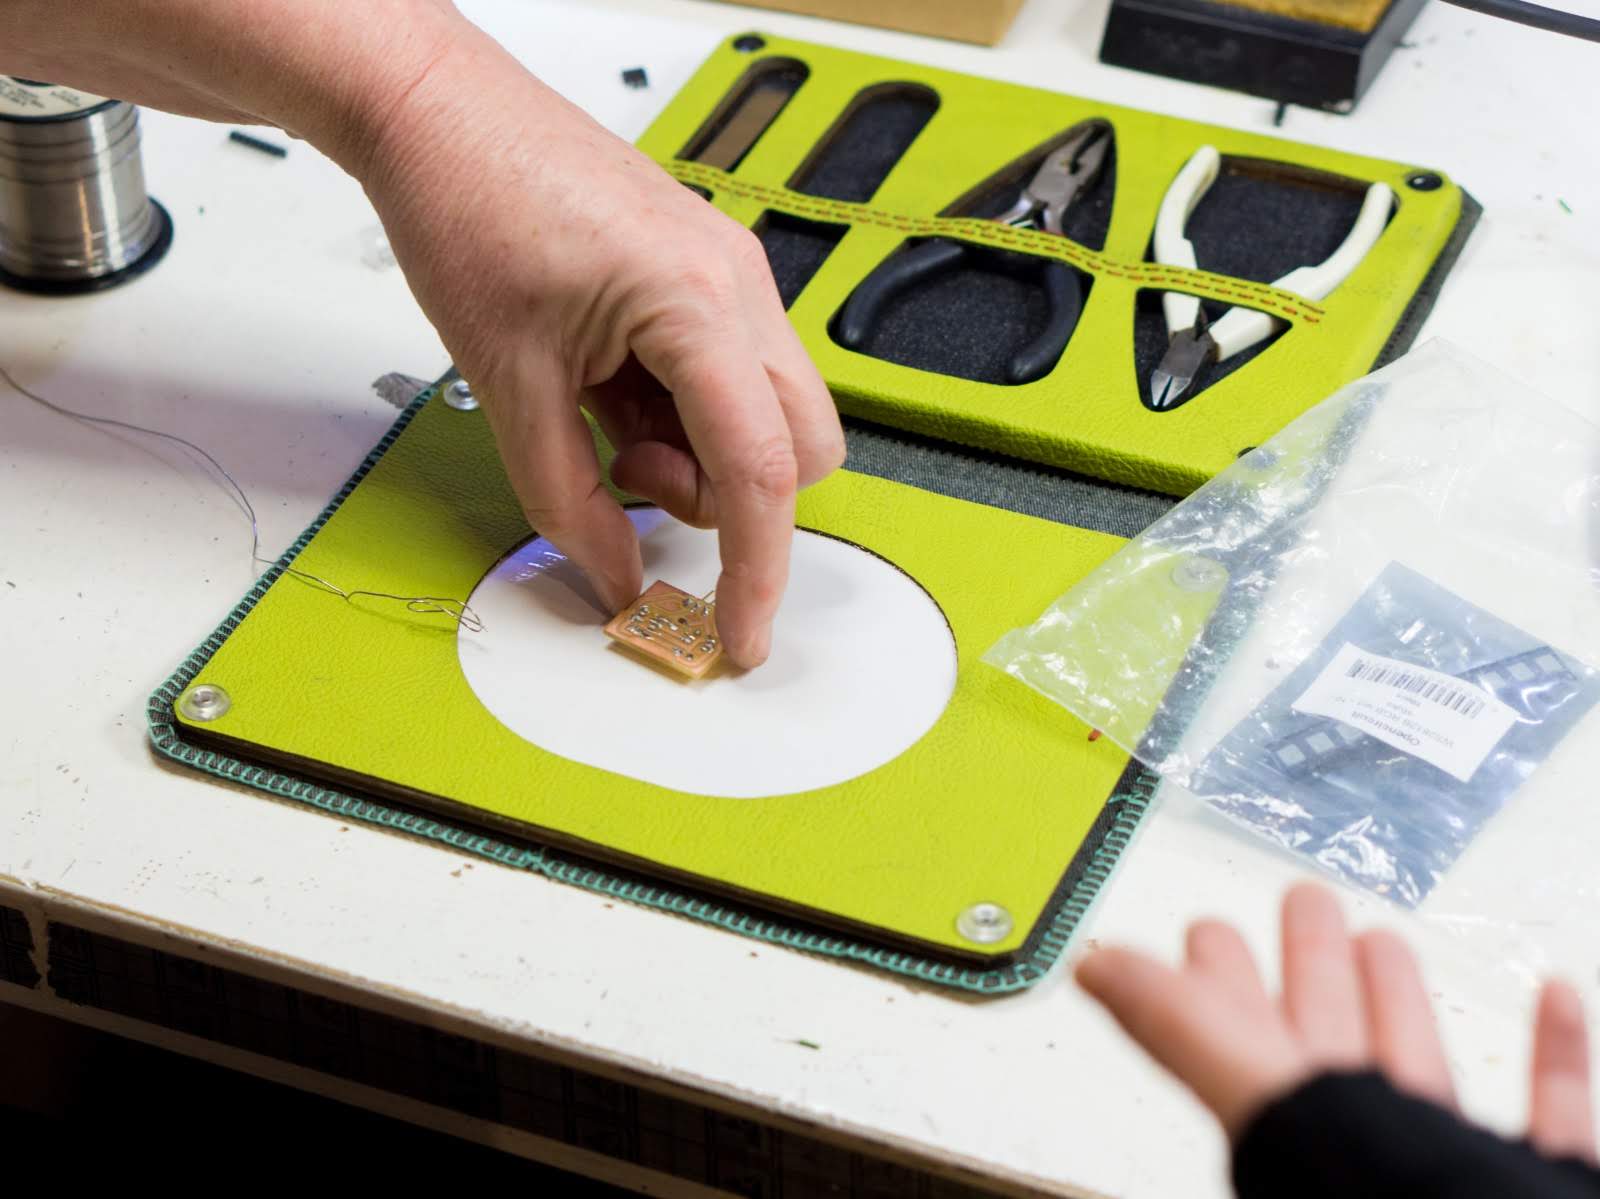
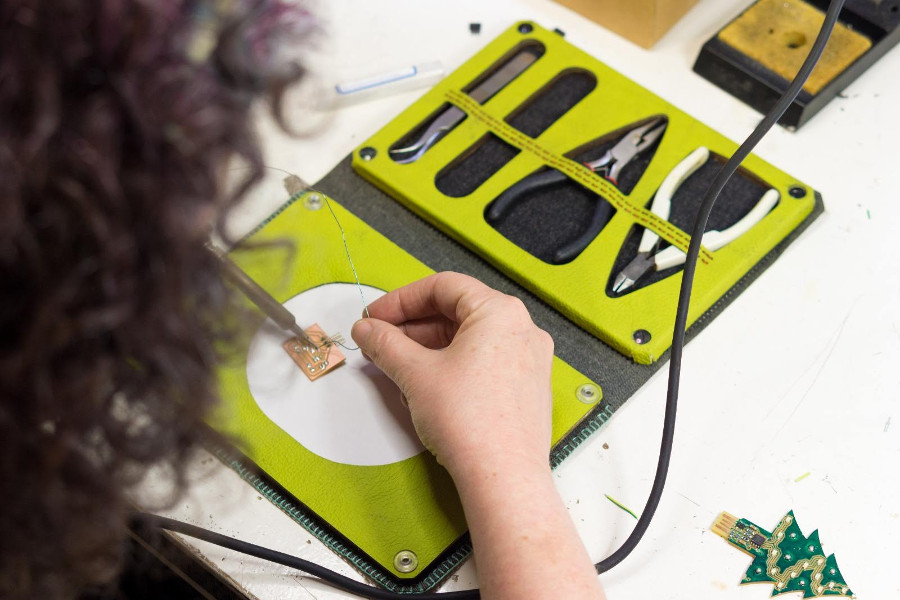
The last two photos were taken by the lovely Conor, currently an intern at Fab Lab Amsterdam.
materials library#
techniques: 3D modelling, laser cutting, 3D printing, moulding and casting, hand sewing, wax infusion
wenduino#
techniques: copper foil cutting, circuit diagrams/kicad, electronics basics, laser cutting, wax infusion, hand sewing, soldering, multi meter use.
Thanks to the Waag Schoolduino the wenduino is on its way…! In Fab Academy, you’re encouraged to make your own Fabduino, which I didn’t do at the time, so I thought I might try making one now. However, I really wasn’t sure about how to shift from 2D thinking to 3D thinking with different materials. I chatted with Emma about it, and we looked at the Fabkit and a couple of others. Then I found out about the Schoolduino and I thought it would be nice to re-imagine that, given that I’m studying at the Waag. Emma kindly sent me the board files of the Schoolduino and did a quick sketch of the schematic, so I got started.
As I said, I’m quite pleased to be trying out the sockets for the ATs, and I also found the Karl Grim solderable thread. The review I read led me to feeling a bit cautious, but I found soldering it very easy and satisfying. I’d definitely avoid using it as the top thread in a sewing machine after seeing their test.
first test#
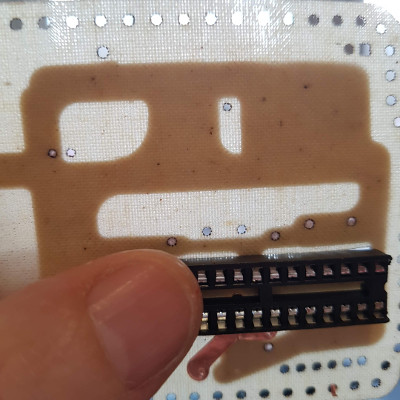
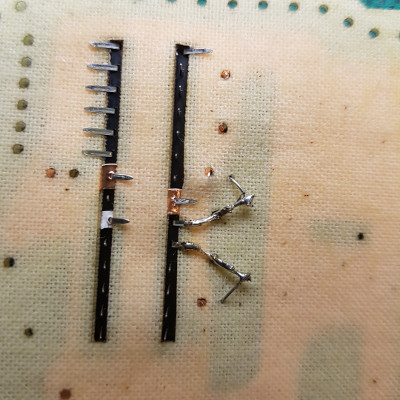
I used bits of FR1 to help me both balance the ATmega socket in the fabric on the table and to protect the fabric while I was soldering. I had pushed the socket through the medium/heavy weight denim and then bent the pins flat to hold it there. I had a rather large piece of fabric because I was tentatively imagining that I could make a whole bag/workspace with the wenduino in the middle of it. A travelling electrickery system.
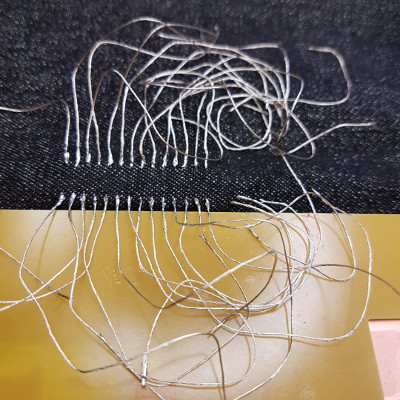
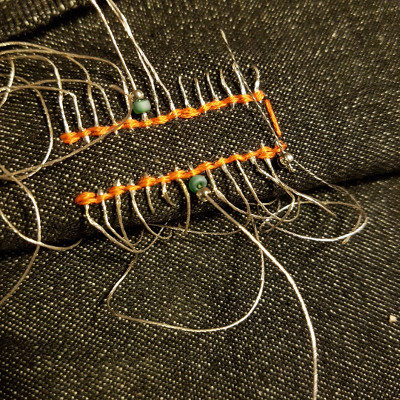
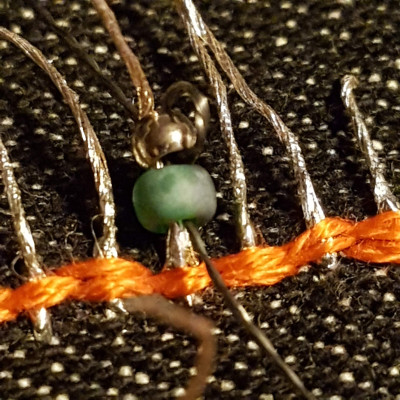
I found soldering the pins really fast, and then I started to add beads. I went to a great bead shop on the Rosengracht near my house and bought some matt glass ones. (I also bought some hematite beads but I gave them to the others to play with). They’re a bit big for what I was trying in the image below, but I’ll use them later in the project. Once I soldered the threads to the socket pins, I tried out sewing some reinforcement along both sides.
While I was doing this, I was trying to imagine how to make a two sided board in soft materials and realised that I was thinking about this all wrong. That there was an opportunity for me to explore some different techniques and make the most of the opportunity where I’m not limited to hard materials and 2D systems. Even so, I didn’t really have any idea how or where to begin this thinking. I started to draw up what I was imagining in KiCad, but either my skills in KiCad weren’t sufficient or KiCad just doesn’t work that way. I gave up and (ahem) started working in Illustrator. I even considered using Fusion but it felt easier to use a graphic programme so that I could colour code the layers and objects (like they are in KiCad).
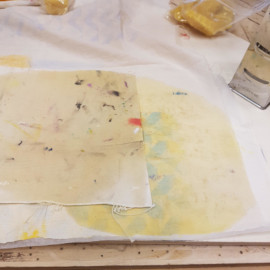
second test#
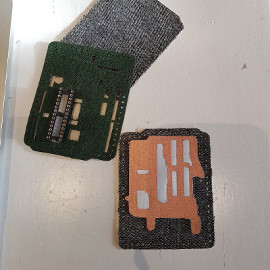
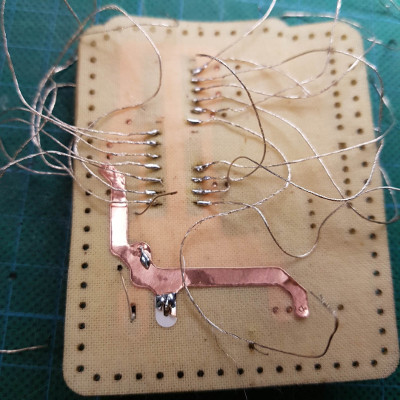
I’m still not entirely convinced that I’m on the right track, but it’s been a lot of fun. It’s still too soon to call it the wenduino, but I think of it as an aspirational name. I barely modified the shape of the original Schoolduino, just slightly enlarging it to allow for sewing the layers together afterward. I lasercut a couple of the layers out of denim, and then realised that it was going to be too dark to see the detail I needed, and also that it would fray very easily. I also had some fun with attaching the copper taffeta to the sticky side of the epoxy film and vinyl cutting it. You can see that sitting on top of the denim tests. It worked but I didn’t like how easily it frayed, so I abandoned that in preference for the sturdier copper foil on epoxy film.
You will see in photos below that this sticks to the wax, but it doesn’t stick convincingly. However, it sticks well enough and then the layers of calico sort of hold hands with each other and with the components pressed through different layers, it all works out pretty well. There’s one capacitor that I’m not convinced is sturdily connected, but it might last long enough to test the system.
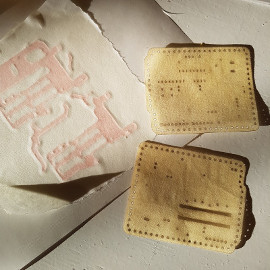
As I’d just been making my calico beeswax tempeh wraps on the lasercutter, I knew that this composite material was less likely to fray and also that it behaved well in the the lasercutter. Wax has been used historically as an insulator, I discovered after a quick preferred search engine search, so I went ahead and cut some pieces out from the leftover sections of the wraps.
Although it would be good to use smd components to keep the form factor discrete, I used the components that come with the Schoolduino kit. Doing a project like this always reminds me that testing must be fast and iterative. The layers that I’d imagined weren’t quite right, so I adjusted as I went, feeling a bit like I was wasting materials, but at the same time, knowing that i needed to keep iterating until it was working for me.
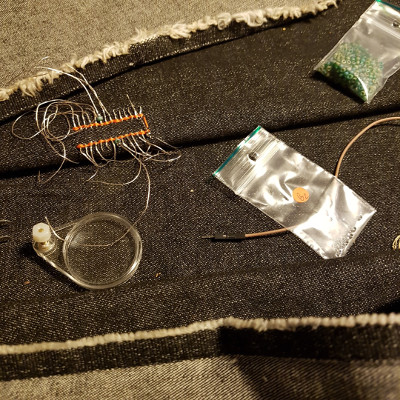
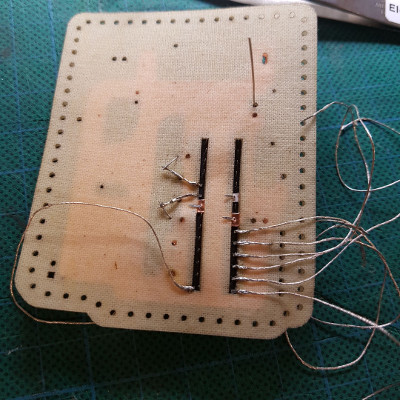
I made notes as I adjusted, doing things like modifying GND planes, reversed a VCC line and attached it to the underside of a calico layer instead of the top. It was really useful to hold the calico up against the window when placing the copper foil as it has a translucence. I kept going up to the last minute on Friday evening, the same Friday evening that I carried the incubator home for tempeh tests and brought it home looking like a tangle of wires.
The wires are the same wires I soldered in the first test - I just de-soldered then soldered them onto the new socket, one at a time so I didn’t lose any of them. I was a production machine. I have some concerns that I might have made too many layers and that I could be creating a capacitive sensor by doing so, and have put this project on hold so I can focus on the incubator.
material experiments#
If you’ve looked at E-textiles II, you might remember that I wax infused calico to make a composite material. This has continued since I returned to New Zealand, but as well as infusing calico that I’ve sourced from the fashion department’s toiles, I’ve been infusing the canvas which was used to cover the screenprinting tables in the textile department.
We’ve used this material a bit around Fab Lab Wgtn - made bags, chair covers etc. It’s a lot thicker than calico, and I’m trialling its use instead of the plywood I used for the first iteration of the wenduino books.
I sourced two kinds of beeswax - one unfiltered and one filtered. I’m testing the unfiltered one infused into the canvas and the calico and I’ve layered it into the latest wood tempeh tests to see how it grows. You can find out more about that here.
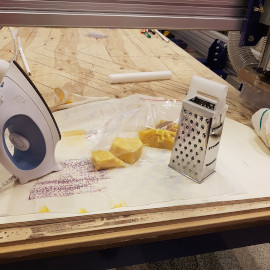

I’ve realised why I automatically did things on the shopBot bed in Amsterdam - I often use the shopBot bed as a surface at Fab Lab Wgtn because it’s the only clear, flat surface in the place…it’s habitual.