2. Digital bodies
RESEARCH & INSPIRATION
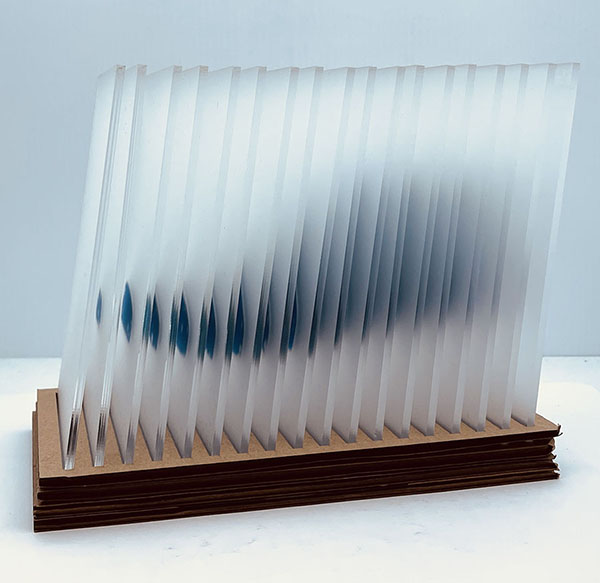
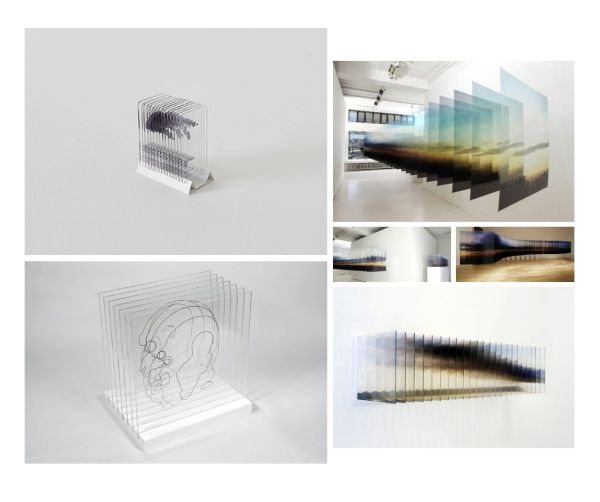
For the fabrication assignement, I wanted to do something a little different than what has been shown in the class presentations. I was inspired by artists who utilize the stacked construction, but who also include the negative space around the object. I thought it was interesting how they use transparency in order to create an art object that looks like it is floating.
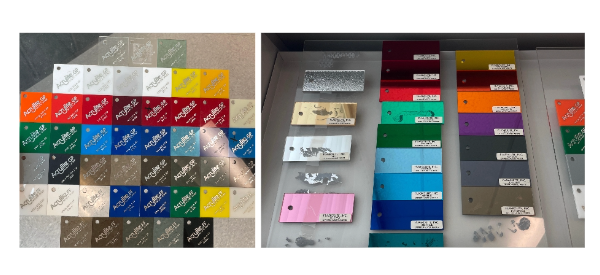
After gathering some images for inspiration I looked for materials. The lab didn't have any clear plexiglass so I went to visit Piedmont Plastics. They had some pretty interesting options for different colors, translucent and opaque, mirrored, glossy or matte. I ended up choosing the P95 option, which is an uncolored clear plexi with a frosted finish.
TOOLS
- Thingiverse shoe last 3d model
- Altering the 3D model with Rhino
- Slicer for fusion 360
- Trotec Trotec Speedy 300 Laser cutter
- Roland CAMM-1 PNC-1000 Vynil cutter
MATERIALS
PROCESS AND WORKFLOW
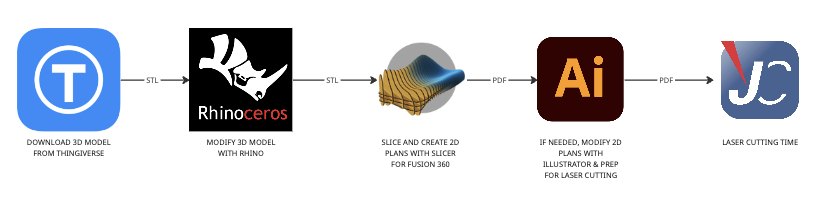
Download 3D file
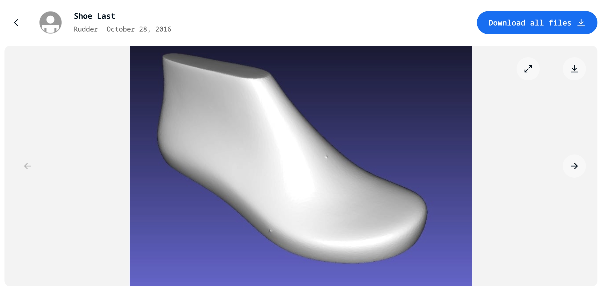
I started out by downloading a 3D file with Thingiverse. I decided I wanted to work with an athletic shoe last to honor my time spent working in footwear.
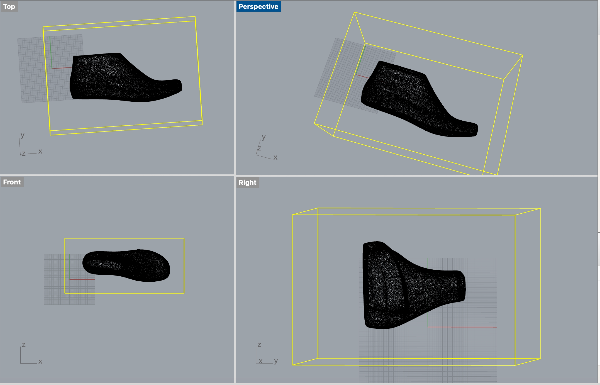
Modify file in Rhino
Once I downloaded my 3D file, I opened it using Rhino. The only thing I did here was to add a box around my shoe last. Once I finished my modifications, I exported my rhino file as an stl file.
The model is downloadable as an .stl file 1 from Sketchfab.
Create stacked constsruction with Slicer for Fusion 360
I imported my stl file into Slicer for Fusion 360.
Here, I entered various specifications such as:
-
My material dimensions: 17" x 29" (431.8mm x 736.6mm)
-
The thickness of my material: The material i am using is 0.125" thick, but i wanted to create some spacing in between the sheets of acrylic, therefore i entered 0.125 x 3 = 0.375" as my material thickness.
-
the ultimate dimension I want my object to be (5.4" x 3.6 x 8)
-
The stacked construction technique
-
The slice direction
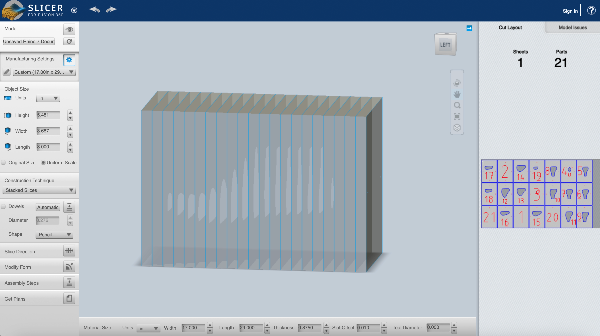
Once I finished entering my manufacturing specifications, I exported the construction plans.
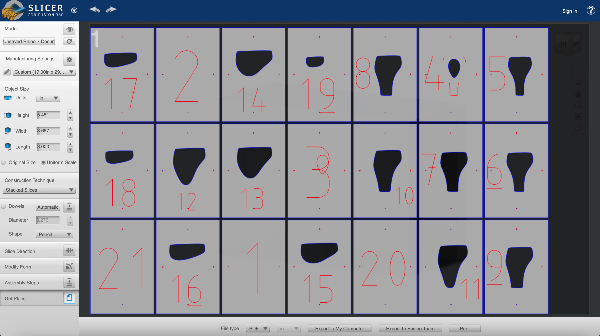
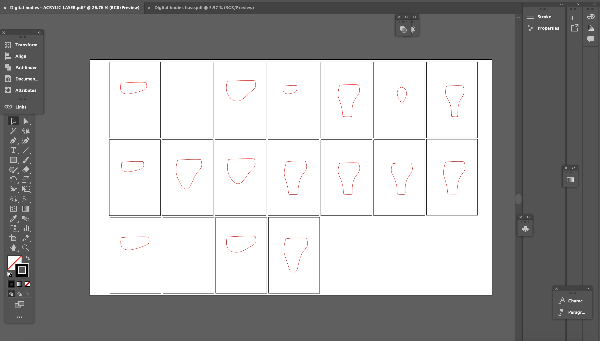
Edit plans in Illustrator
I had a few things i wanted to edit in the plans, and i couldn't do this in Slicer so instead I edited them in illustrator:
-
I removed the numbers completely and decided to use my plans as reference in order to figure out the order of the slices. I figured I could do this since my construction isn't too complicated.
-
I removed the registration marks because i don't need them anymore (my box border creates the registration).
-
I changed the path colors because i wanted to have 2 different laser settings for the border box and the interior artwork.
This file will help me cut the frosted acrylic plexiglass sheet.
The laser cutting file is downloadable as a .dxf file 2 from Sketchfab.
Create placement for the film with illustrator
Now that I have my acrylic cutting file, I can create my placement for cutting the adhesive film i will use to highlight the shoe last form inside my box. To do this, I created a new illustrator file where I deleted the border boxes for each piece, and figured out a new optimized layout with my shoe last pieces.
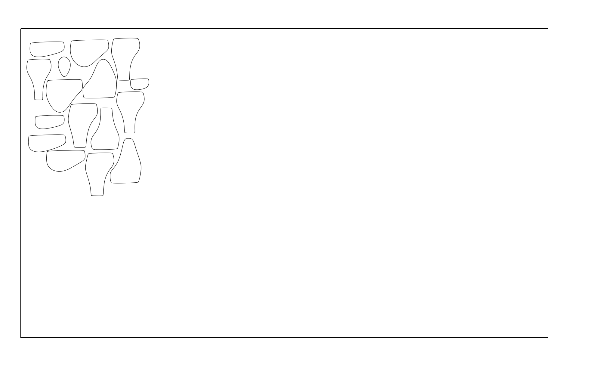
The laser cutting file is downloadable as a .dxf file 3 from Sketchfab.
Laser cut the files
- The laser cutting file for the acrylic plexiglass parts is downloadable as a .dxf file 2 from Sketchfab.
Here are the settings:
Trotec Speedy 300
Material: Cast acrylic plexiglass (through-cut)

Power: 100
Speed: 0,95
PPI/HZ: 5000
Passes: 1
Air assist: On
Z-offset: Manual
Here are the settings:
Trotec Speedy 300
Material: Dichroic film

Power: 80
Speed: 60
PPI/HZ: 5000
Passes: 1
Air assist: On
Z-offset: Manual
Assembly
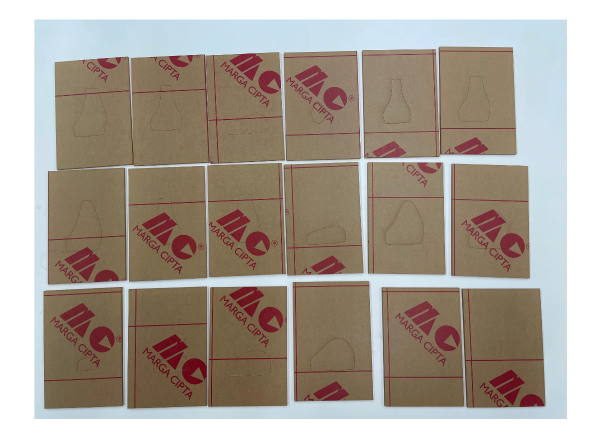
Here are my acrylic sheets that have been laser cut. I kept the protective film on them in order to avoid getting laser burn marks on the acrylic or damaging them somehow.

I can now start peeling away the protective film. I decided to peel away the internal shape first, and stick the dichroic film right away in that spot. Then after that i remove the entire protective sheets.
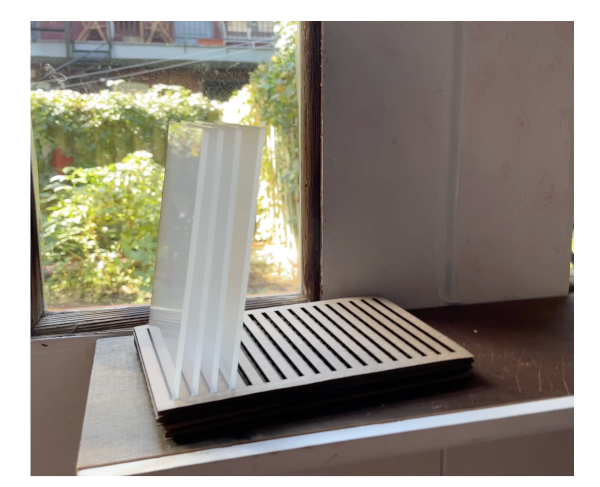
I verify my work by assembling a couple of layers and looking at the result. In my opinion it is too subtle, i can't really see the internal shape because the acrylic is frosted and the dichroic film is very light and transparent. I think i will need something that is more contrasted and opaque.
The laser cutting file for the cardboard base is downloadable as a .dxf file 4 from Sketchfab.

I decided to cut some black vynil film. This time I couldn't use the laser cutter, since the material emits toxic fumes when lasered, so I used the Roland Vynil cutter instead.
RESULT
Overall i'm happy with the way it turned out, I think the ghosted effect is interesting, it feels more abstract. I also like how the object looks very different from all angles, it creates a more dynamic observation experience. I would still like to try a version where the plexiglass is completely clear, without the frosted finish, and where we can really see the dichroic film.
FABRICATION FILES
3D SCANNING
I started this project out by trying to use the Artec scanner. One of my instructors at the fablab set me up with a laptop to use and I started by downloading the software. Once I downloaded it, something was wrong with the computer and it wouldn't work and we couldn't figure it out.
To be honest, the 3D scanning technology is not what really interests me about this week's assignment. Since my time at the lab was very limited this week, I decided i did not need to spend more time trying to figure out what is the issue with the software.
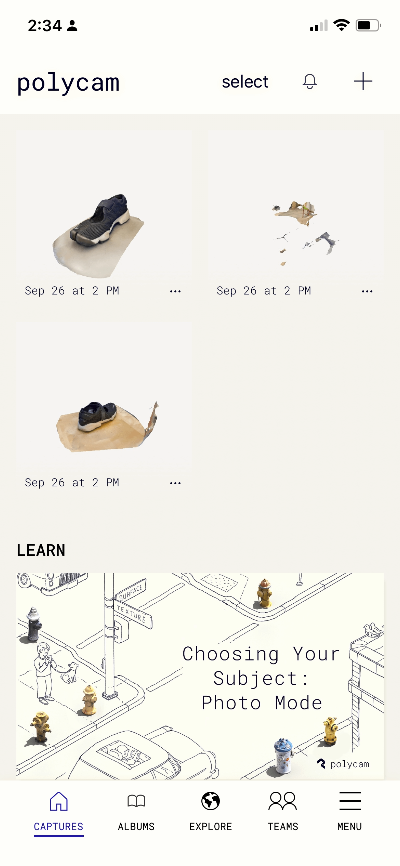
So I decided to document using the polycam app instead.
You can download the app on your mobile phone and there is a trial period. Here's polycam's website.
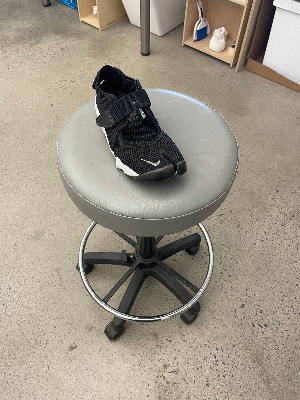
As a first scan, I placed my shoe on a chair from the lab and started scanning. The app is very intuitive and easy to use, you simply aim your camera at the article you want to scan, and the app gives you instructions on what to do (get closer, rotate around the object, move slower, etc). Below is the result of the first scan. As you can see there are some weird things that happenned, mainly under the toe tip of my shoe, it looks like the shoe is blending with the wood. So, I theorize I might not have taken enough photos of that area.
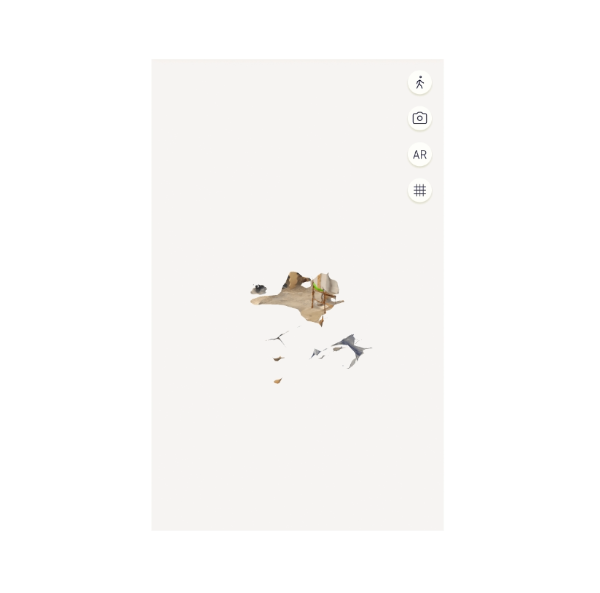
I was also annoyed by the chair, as it got in the way of the scanning process so I reached for a swivel chair that doesn't have a back. I thought i couldnt also use this as a means to rotate my object instead of having to move the camera around the object.
This is the result. So, i think the app's algorithm is made specifically for rotating around the object and it got confused by the fact that i stayed still and rotated the object instead.
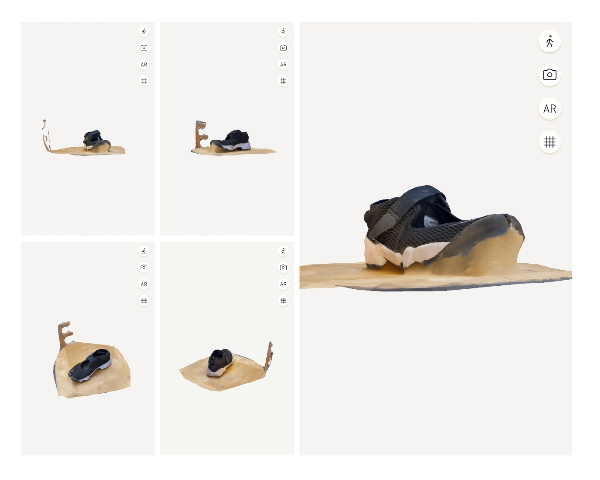
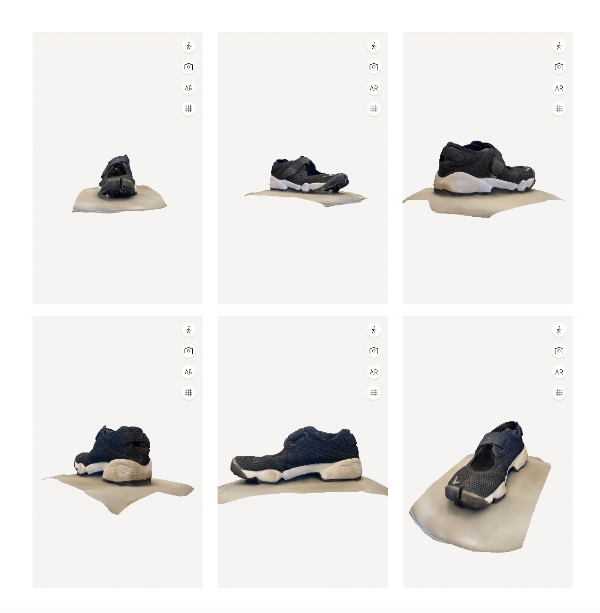
So next I went back to rotating around the object. This time i also paid more attention to what the instructions on the screen were saying. I went slower and i sent a bit more time under the shoe, tried to get every angle of the shoe in detail. This scan ended up a lot cleaner.
-
File: Acrylic laser cutting file ↩↩
-
File: Cardboard base cutting file ↩