3. Circular Open Source Fashion
Inspiration research
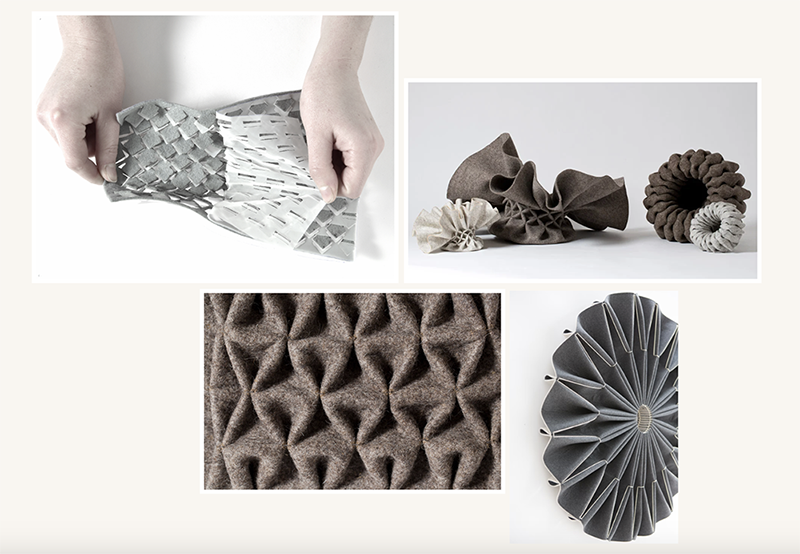
During my research I stumbled upon a computationally smocked textile designed by Tamara Efrat. It inspired me and got me thinking about how to create a modular smocking.
Process and workflow
Ideation
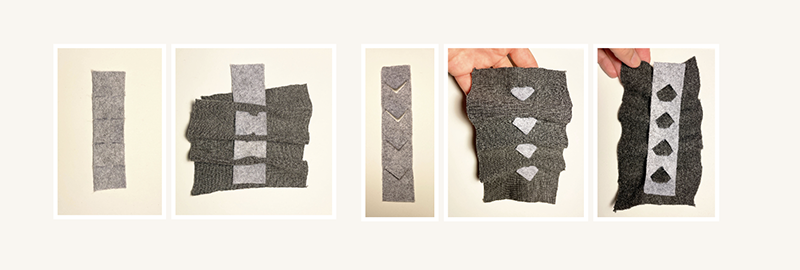
I started off by doing some very simple handmade investigations with whatever materials i could find.
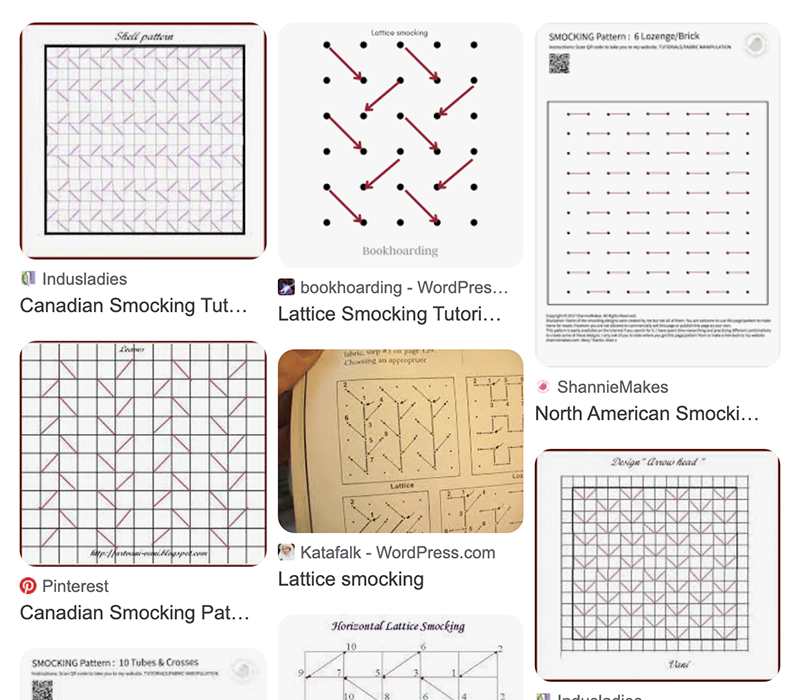
Then i looked into how smocking patterns are created? I did a quick google image search and realized that most, if not all, smocking patterns are simply based on a rectangular grid. I love how this simple grid allows for so much variation in the pattern.
Design
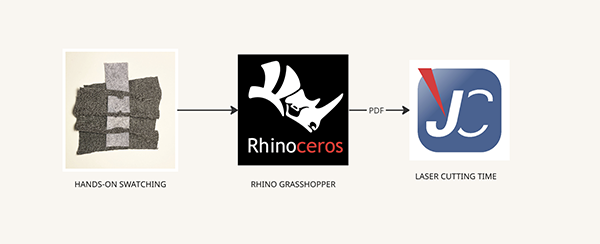
I started by creating a grid using grasshopper. I'm a beginner at using grasshopper but i figured a grid couldn't be that hard to make, and I wanted to practice. I also thought it would be a good tool to use because you can rapidly adjust some of the dimensions simply by using sliders. So if I need to adjust anything, it should be very quick.
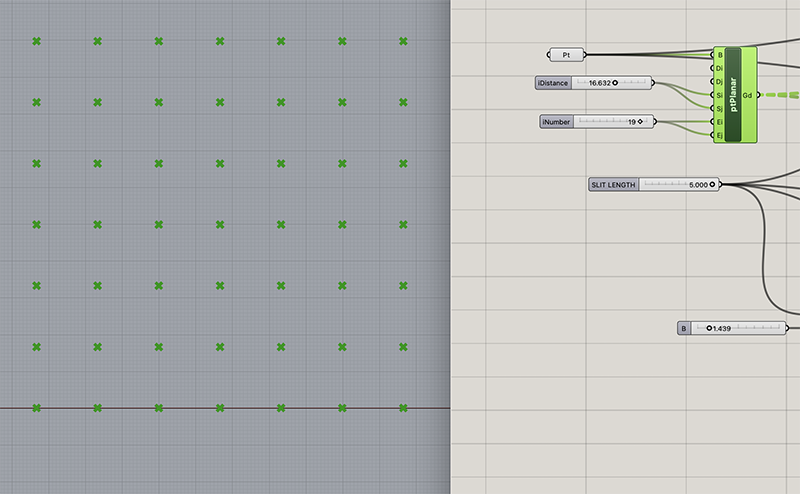
Here I decide to add slits to the grid. I can rapidly adjust the length of the slit as i please with a slider.
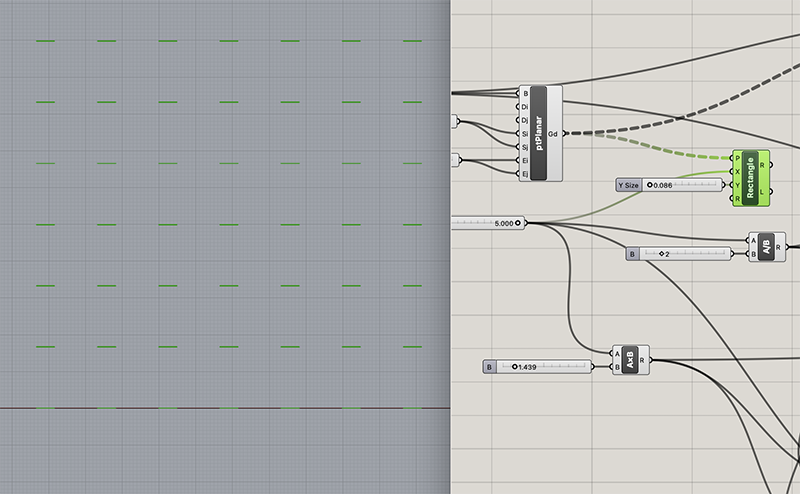
I'm also adding an option using circular perforations instead of slits. My handmade explorations are made with slits, because i only had a knife at my disposition. But I'm not sure if the slits will be as versatile as circles for creating the multi-directional smocking patterns. I will try both.
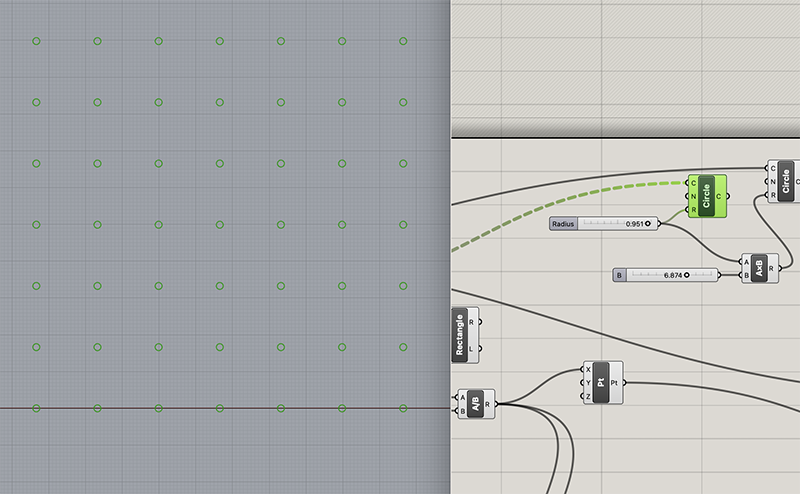
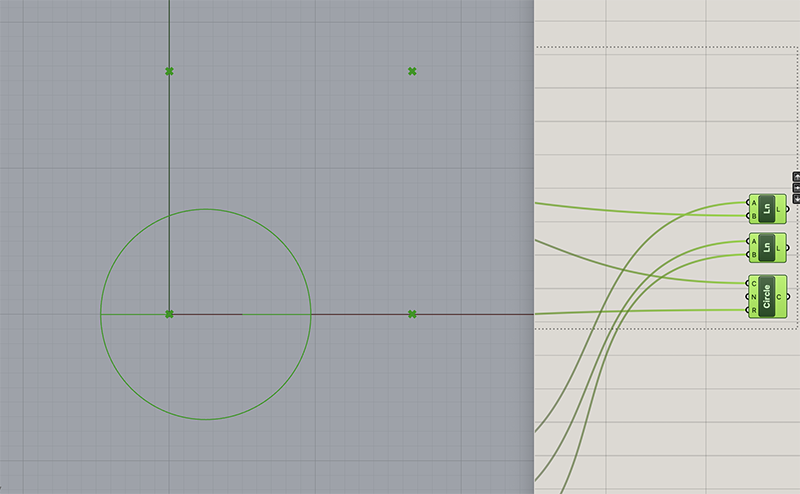
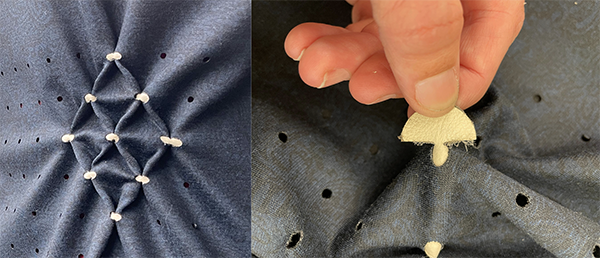
I am also designing a very simple module that will attach the wholes together (or slits) and create the smocking. What's interesting here is that i can link the design of the module to the size of the slit, so if I end up modifying its size, the module will automatically adjust as well.
I am keeping the design very simple, mostly because my grasshopper skills are not advanced enough to create a more interesting shape.
Fabrication
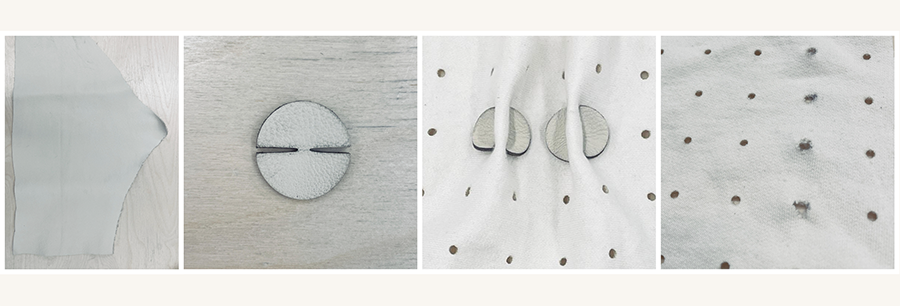
Leather was the best option on hand at the fab lab for my module. I cut as many modules as I could get out of a 7"x7" square. You can download the fabrication files 1 on oscircularfashion.com.
First test
I also tested a grid on a piece of cotton fleece and tried assembling a couple of smocking pleats. I quickly realised the cotton fleece was not an appropriate choice because it ended up stretching and not recovering.
Second test
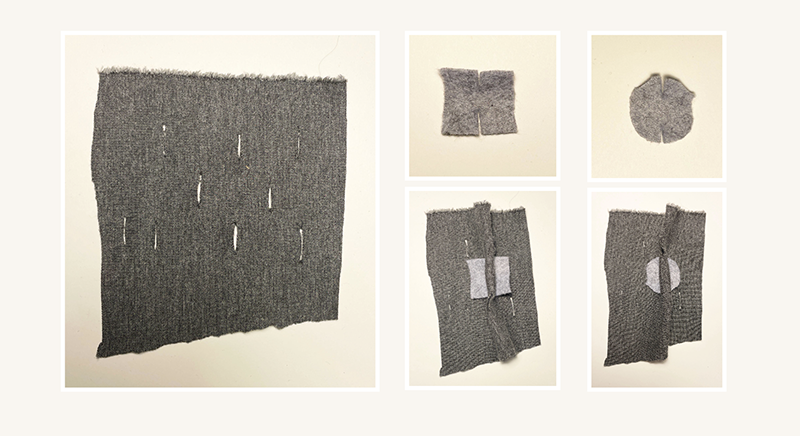
I need a fabric that will melt with the laser cutter and have clean edges that won't get damaged. So I found a different fabric, it is a synthetic double sided knit and re-tested my modular smokcing in swatch form:
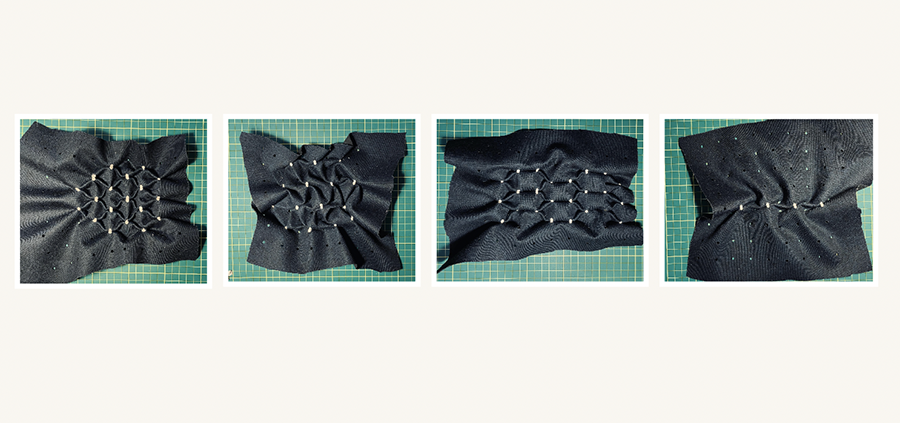
Testing variations
Here, I was able to make a couple of quick variations:
Applying concept to full garment
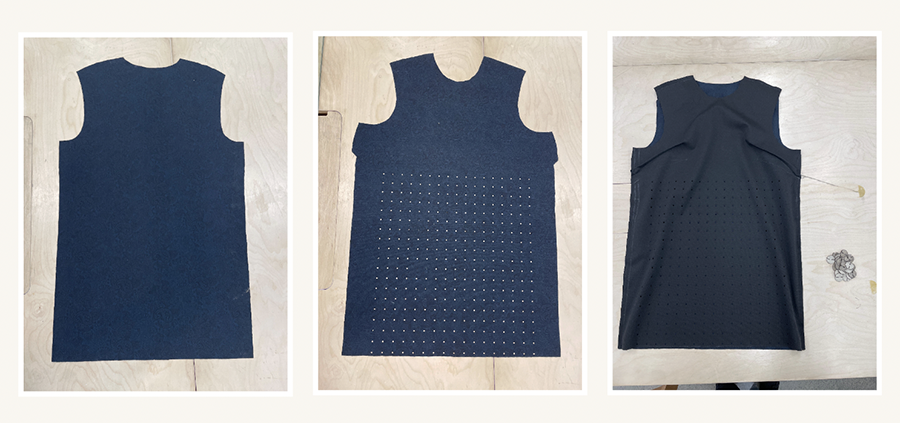
Now I want to apply this concept to a full garment. I ended up quickly hand tracing a basic pattern directly onto the fabric, with a tailor's chalk, but this concept can be applied to any clothing pattern you find online.
Before assembling the garment I placed the back and the front pieces in the laser cutter and cut-out the grid of holes. I wish the garment could be entirely covered in this grid, but the laser cutter bed dimensions were too small for this.
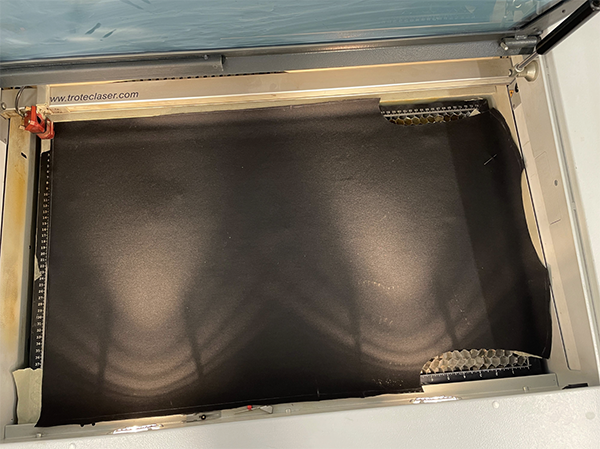
Here are the settings:
Trotec Speedy 300
Material: Double Knit

Power: 15
Speed: 60
PPI/HZ: 1000
Passes: 1
Air assist: On
Z-offset: Manual
Trotec Speedy 300
Material: Leather

Power: 30
Speed: 60
PPI/HZ: 1000
Passes: 1
Air assist: On
Z-offset: Manual
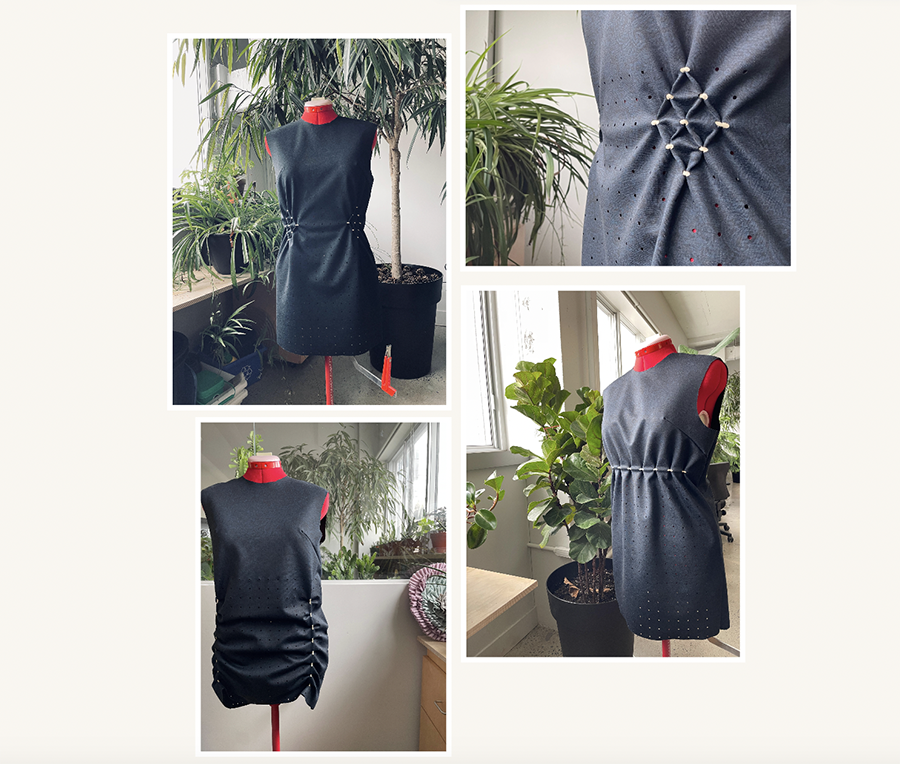
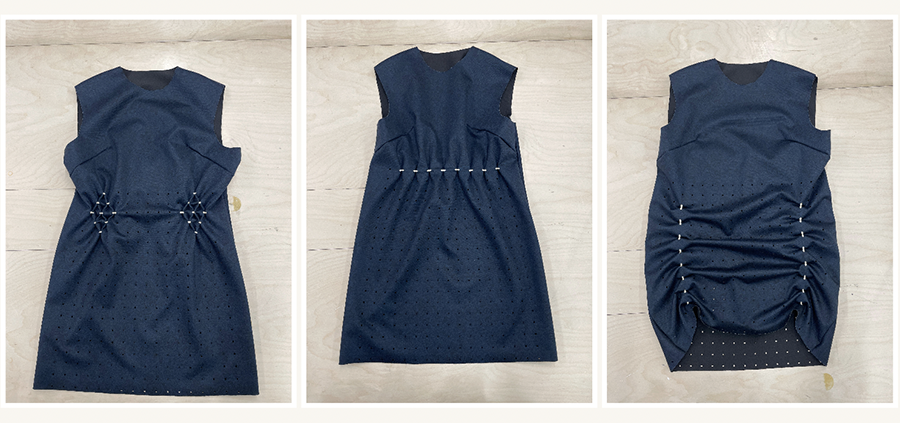
Once my garment was assembled I quickly tried out some smocking variations. What's interesting are the differences in the overall silhouette of the garment. These are just 3 quick examples, but i think the possibilities are endless. I would like to make some examples that utilise more modules. I only had about 20 modules.
Final thoughts
Here are some variations seen on a mannequin. I am happy with the result but would like to experiment with different materials. I think there are some limitations with the type of fabric that can be used, it needs to be stretchy and it needs to melt in order to create a solid edge where the laser cutter cuts the holes. This concept works with a thin fabric only because the grid holes are much smaller than the size of the module. I'm not sure the module would fit in the hole if the fabric weren't stretchy. Anyway, more experimentation needed.
Another concern is that over time, the connection weakens. The more you manipulate the fabric and the module, the more the connection becomes fragile. The connection holds together enough for the way it is being used on the garment, but it can't withstand a lot of force or it disconnects.
I would also like to push the design of the module a little bit further and enable more variation in the smocking pattern. Right now, the module allows you to connect only 2 holes together, but some smocking patterns connect 3 even 4 holes together. So, there's opportunity to create different modules.
I think this concept is interesting for a few different aspects:
- Transforming garment
- Flexible Sizing
- DIY tayloring/customizing
- Less patterning involved in the design of a garment
- Less fabric waste generated from awkward shaped pattern pieces (since there are less curves in the garment pattern shape)