3D Loom
Process
Materials
Plywood board with 50cm x 28cm | 200x inox nails or screws with 20mm x 2mm | LaserCut machine | hammer or screwer
Rhino
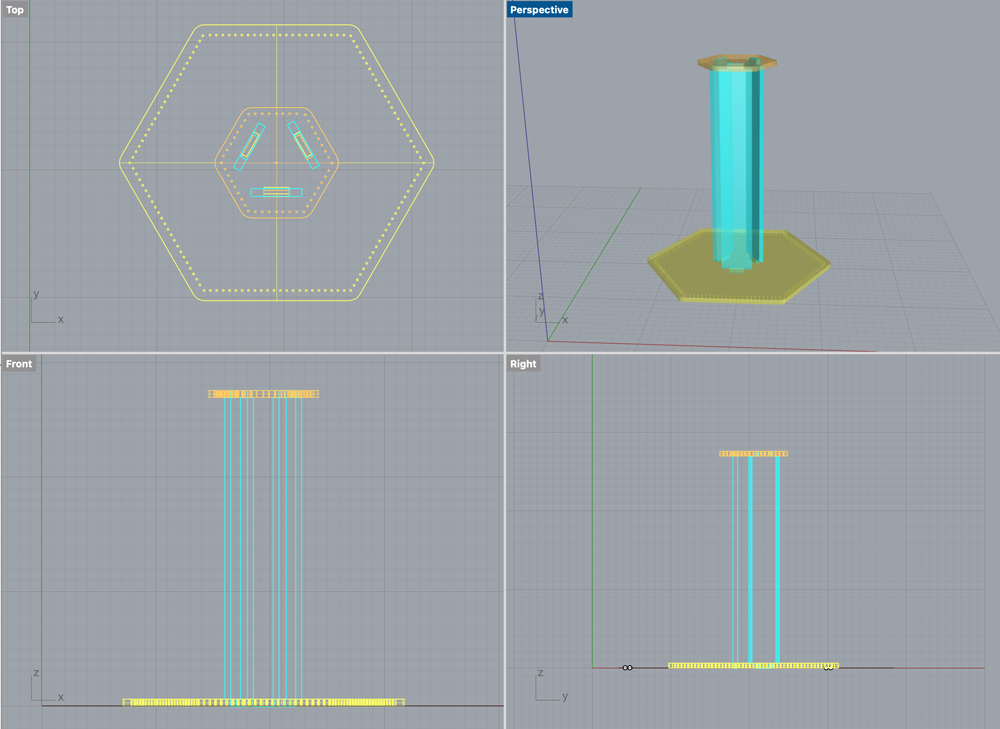
3D Loom views, Carolina Delgado
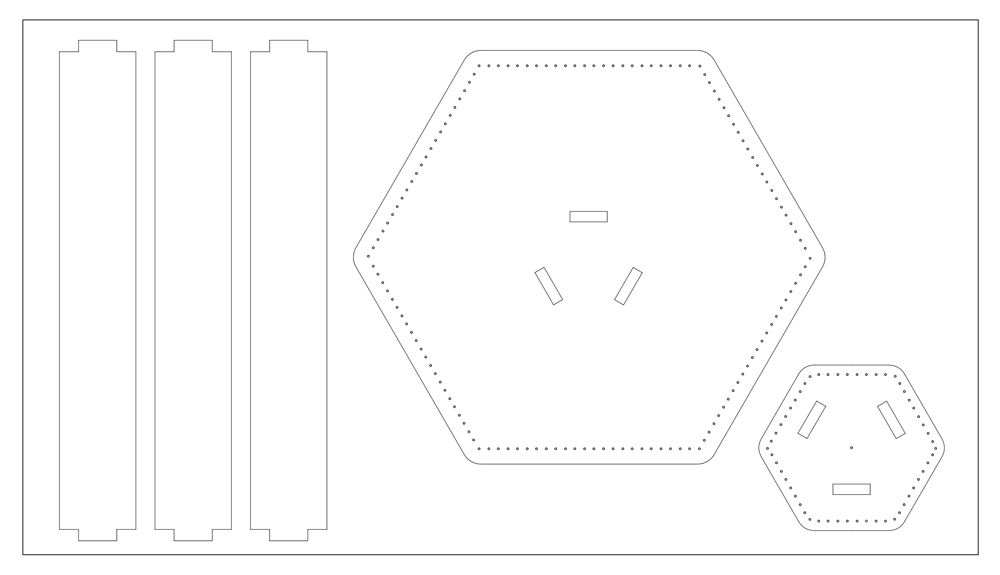
3D Loom cutting plan 50x28cm, Carolina Delgado
Laser Cut Plywood
- Speed 60
- Power 25
- Corner 20
- Mode: cut
1. Put the Plywood on the machine.
2. Turn on the machine on the Key. Then Power On (button green).
3. Turn the ventilator on (green button on the black block). Warning! Never leave the machine unwatched!
4. Using the arrows of the machine Anchor the laser head on the corner of the Acrylic [to reset press ESC].
5. Use heavy woods or metals to fix the material (I did not need this).
6. Put the laser head manually on the spot (use the wood foot).
7. Press Test.
8. Don't forget to download /upload your file to the Laser machine after deleting the previous work done by the same.
9. Close the tamp with both hands.
10. Switch on air bomb to filter the air.
11. Laser Schitch on!
12. Press Start.
13. Is the job done? Wait a minute to turn off the ventilator.<br
14. Turn of the Laser and switch off the power.
15. Open the door using both hands, remove pieces and let it clean.