1. State of the art, project management and documentation
In this week we are going to explore the process of uploading the information to the network. A web based upload and a Git form command line is also included, as a upload system and a version control.
Edit from the web
For making changes in the remote repository form the web, we need to navigate to the fabricademy students’ page and clic on the gitlab button/link on the upper right corner.

Then, you will be redirected to a sign in page. Hit the fablabs button for signing in using fablabs.
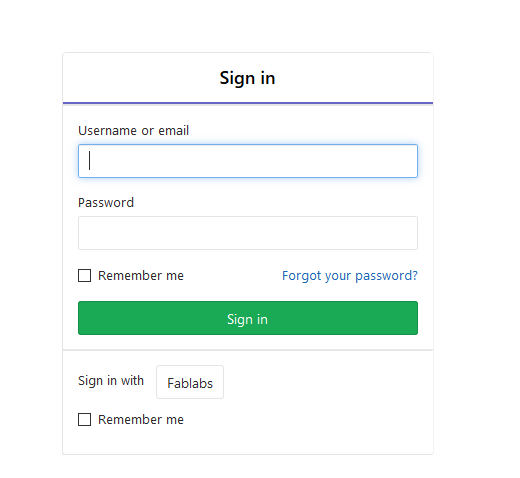
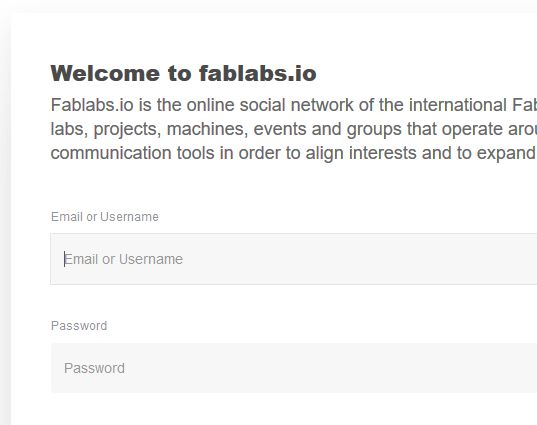
We get redirected to the fablabs network community. Sign in there.
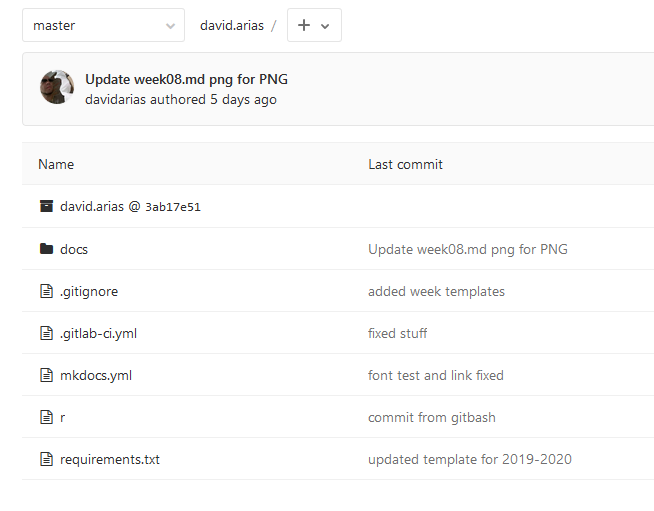
Then navigate to the files of your repository. You should be the master of the repository.
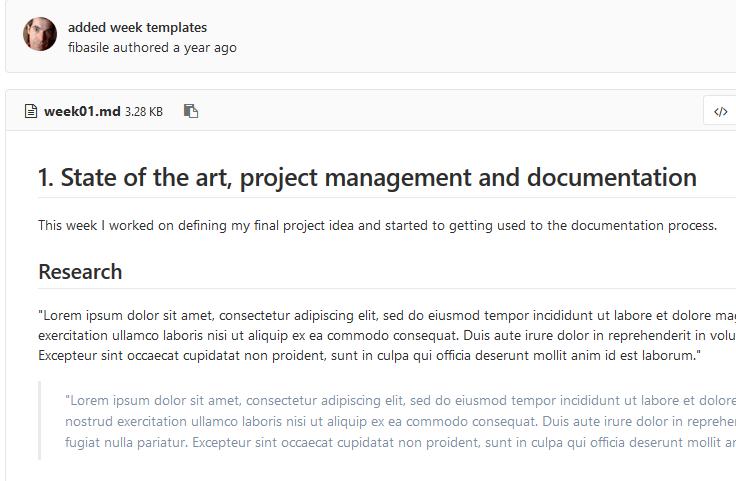
We can see that the templates were created a year ago by Fiore Basile. It is hard to believe Fiore is not with us anymore. He was one of the team that created the Fabricademy, a ninja bit master. We are going to miss him.
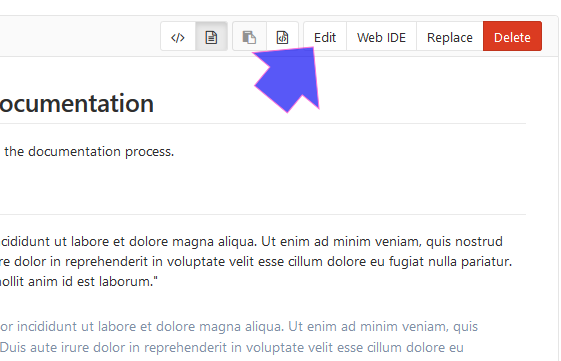
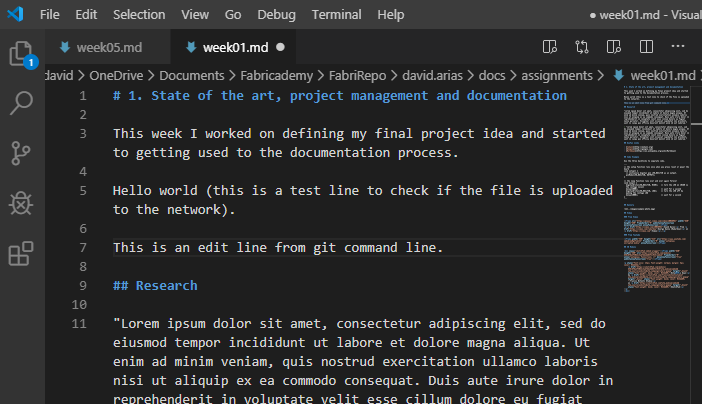
To edit the content of the text/HTML/markdown files we have to clic on the Edit button.
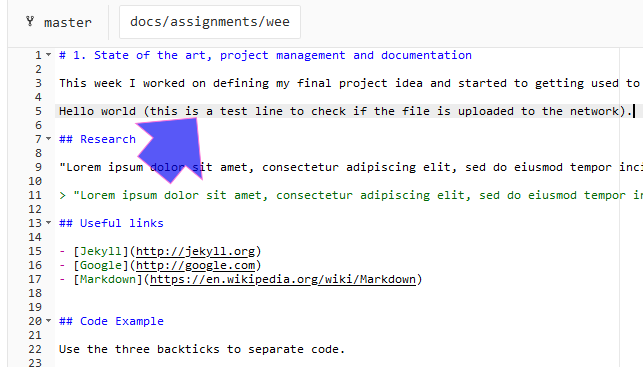
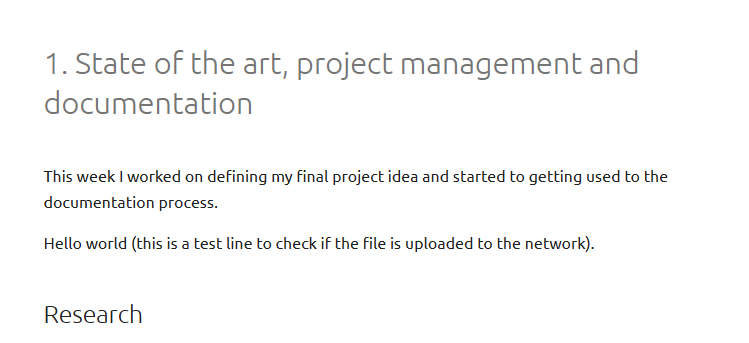
Once there, it is possible to make the changes on the files, using html or markdown code. In this case, we added the line "Hello world, (this is a test line to check if the file is uploaded to the network)."
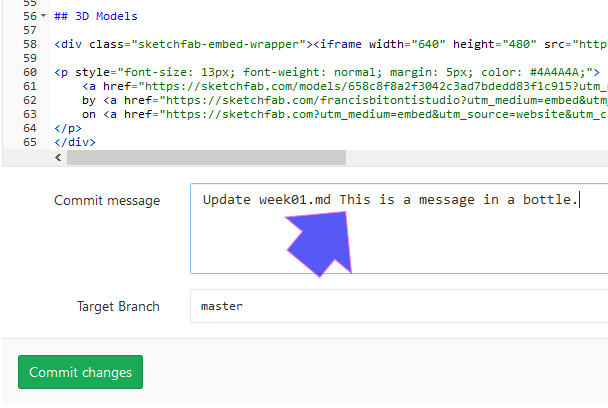
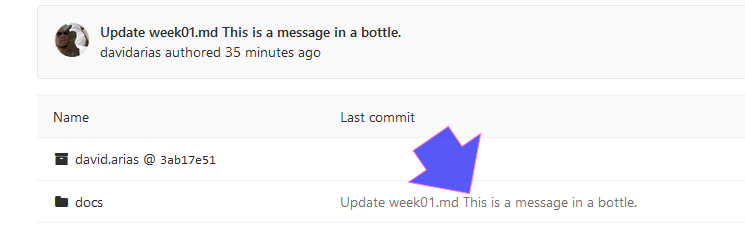
Once we are happy with the changes, we commit them to make them effective. It is goog practice to define the changes made of the commit, shown it the "Commit message" window.
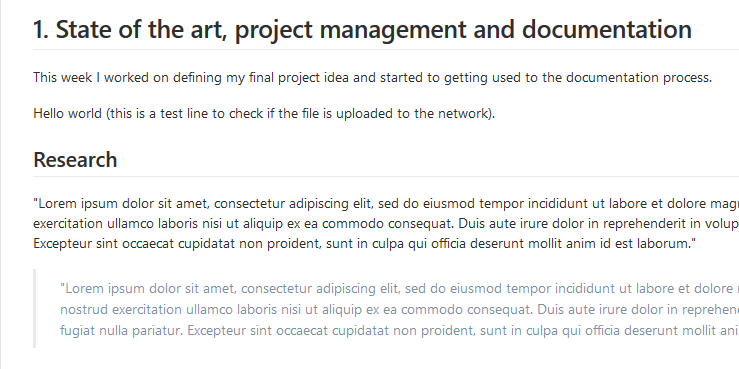
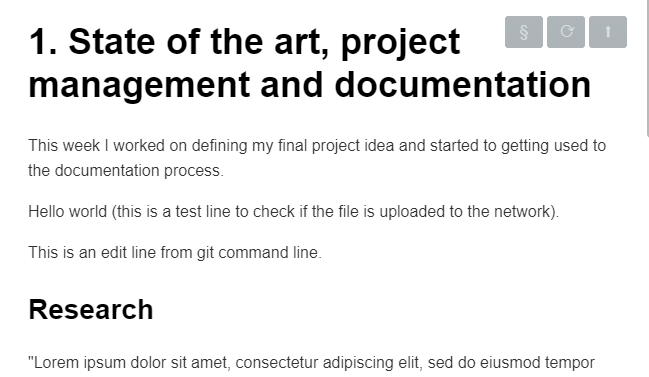
Once commited, after usually a few seconds the changes are reflected in the webpage.
The changes will be coded in the shown page also.
In the files tree system the commit is also reflected (whit the description we made)
Edit from git (gitbash)
Editing from the web is simple and practical, but some times it is usefull to work offline, specially if we are working with java code. Then, when we are happy with the changes we just upload all the files changed once. Also, collaborative work and version control are very well managed. We use git (from the command line/gitbash). The settings are a little more complicated, but they are worth it on the long run.
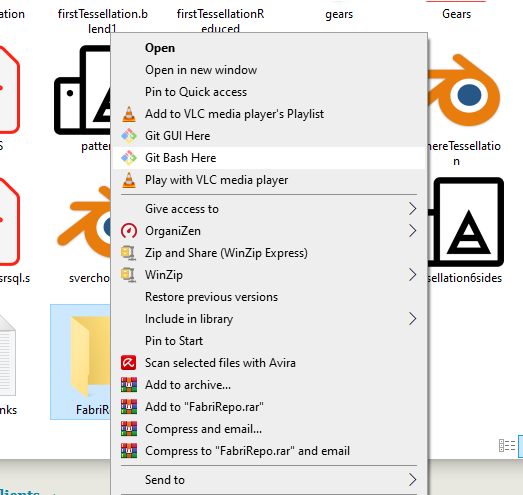
First, we downlad the git application in Git webpage and install it. Then we create a folder, in this case called "FabriRepo".

If we right-clic on the new folder, we can find the "Git Bash Here" option in the menu.
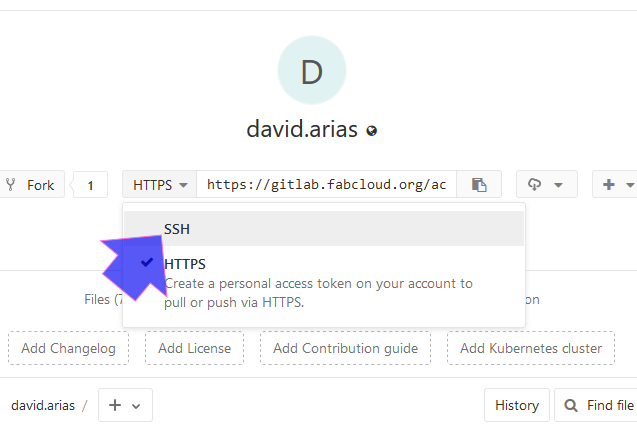
In the personal repository we can find the https and ssh remote links to the repositoty. We need to change it to the ssh version to use private and remote keys. Save this address... we are going to need it latter.
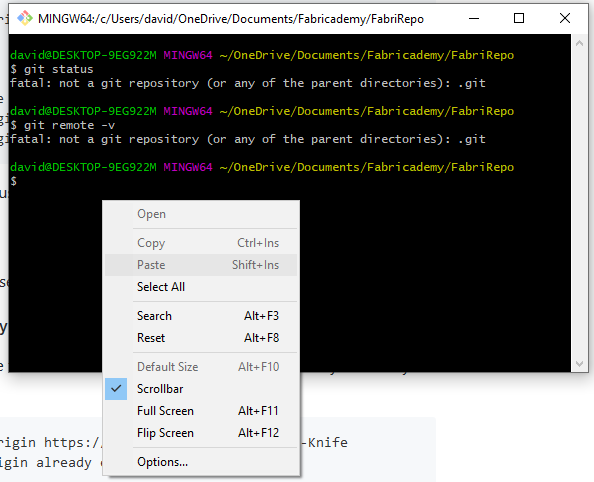
We can copy and paste commands and addresses. Just remember that shorcuts don`t work as usual in the command line. Instead, use the right-clic in an empty space and choose "Paste". Here we can find that the shortcut is Shift + Ins, instead of the normal ctl + v.
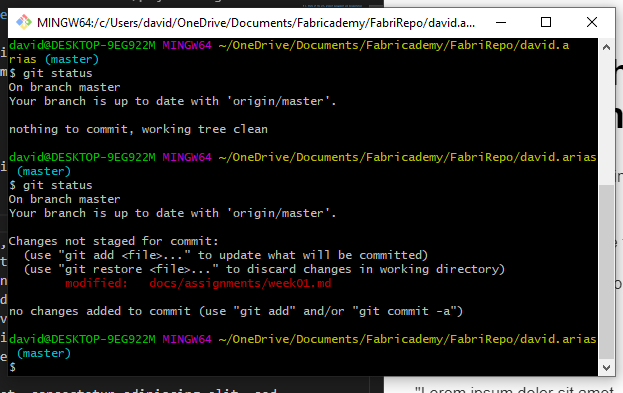
Then in the gitBash window, we can excecute commands preceeded by the git invocation. "git status" is a useful one.
With "git remote -v" we check for repositories. By now, we don´t have any.
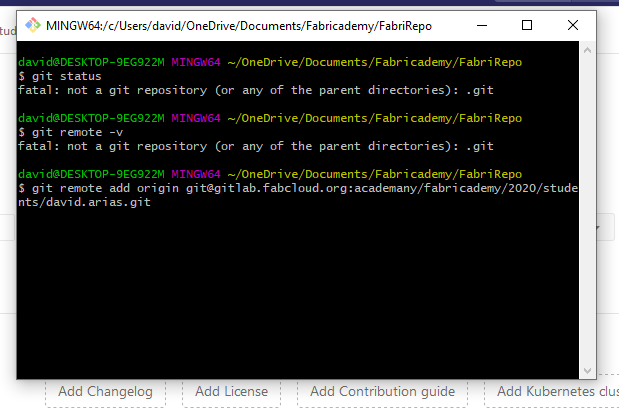
Using the command "git remote add origin, followed by the address we saved from before (online gitLab webpage). In this case, I had an error. We need to be in the right repository (.../documents/Fabricademy/FabriRepo/david.arias).
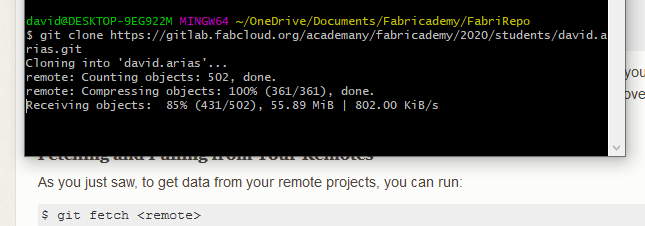
Before I registered the remote, I cloned the repo. It is possible to clone any repo, but for making changes, the autentification (with the permits) are needed. We clone with "git clone and the address).
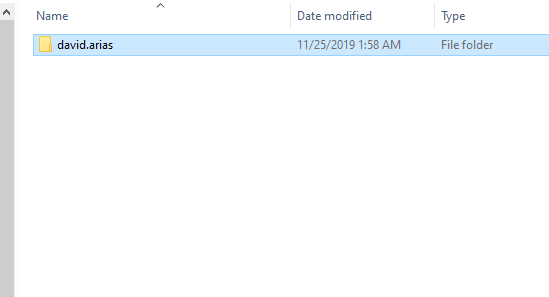
Here is the actual path to open with git-bash. The name will be yours.
Then, it is possible to make changes in the code and see the result offline, in a parallel window. Here we can see the code:
And here the parallel window.
Don´t forget to resister your username and email address (that you provided for the Fablab network), usin the command "git config --global user.name "youruser.name", and check it with "git config --global user.name", and also generate the private and public keys and add the public key to the webpage remote repository following this instructions.
If all is correct, you will see a "(master)" in blue at the end. Then, the "git status" command will reflect that.
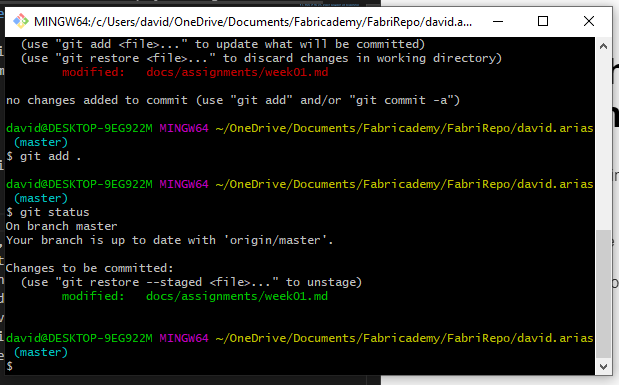
Once the system tell us that there are changes, we need to add them to the stage. We do that with the "git add ." command (all the chages.) Your changes will be then green.
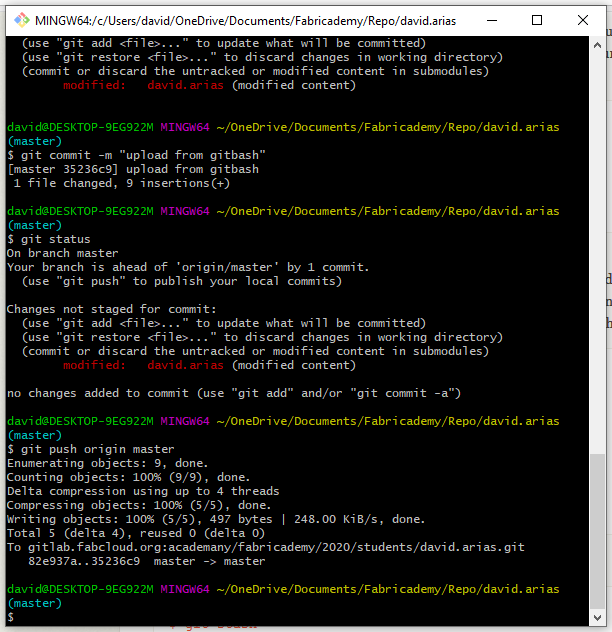
Finally, we commit our changes using "git commit -m "description of the commit". -m is for "message".
After the commit you´ve got a message telling you that you are ahead of the repositry by one commit. For make it effective, we use the command "git push origin master". Your information will be on the cloud. It will be reflected in a short time.
Coustomization
The base page configuration allows the user to customize the webpage. This could be done using the traditional HTML/CSS system, or changing the mkdocs.yml file, located on the main personal repository. I did it changing the parameters in the file. I did not try the HTML/CSS method. I think the design is optimized for mobile and web viewing, and I didn't want to mess up the view.