3. Circular fashion
I have been always fascinated by how nature is full of patterns. Some virus make their capsides by assambling together identical pieces of somehow simple protein structures. Fish scales and snail spirals, all follow mathematical and geometrical rules.
And of course, Escher is allways a good inspiration. He is the proof that math and ant could be a nice combination.
In this experimentation class I chose to create my own abstract tile/module, using not the traditional mode with scissors and tape, but digitally, using the open source vector graphic editor Inkscape.
Tessellation experimentation.
1D and 2D tessellation
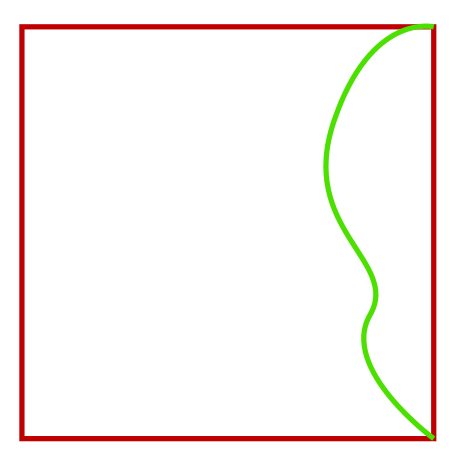
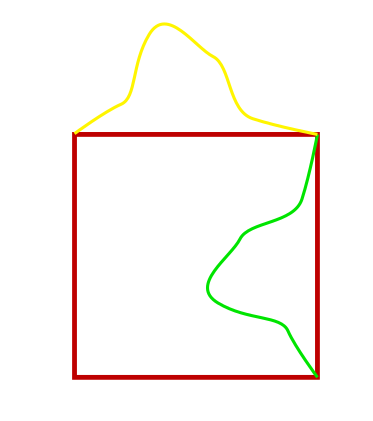
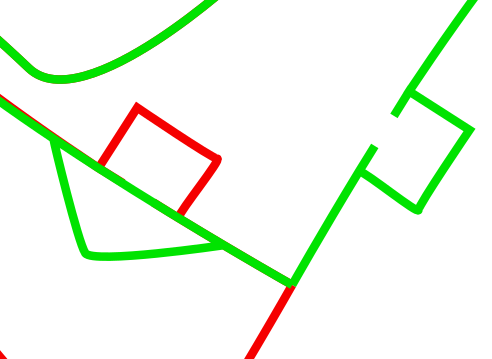
First, I started with a square.

Then, using the spline tool I drow a green line from the top right corner to the bottom righ corner. The shape of this spline could be changed.
Then, we copy the spline to the oposite side of the square.
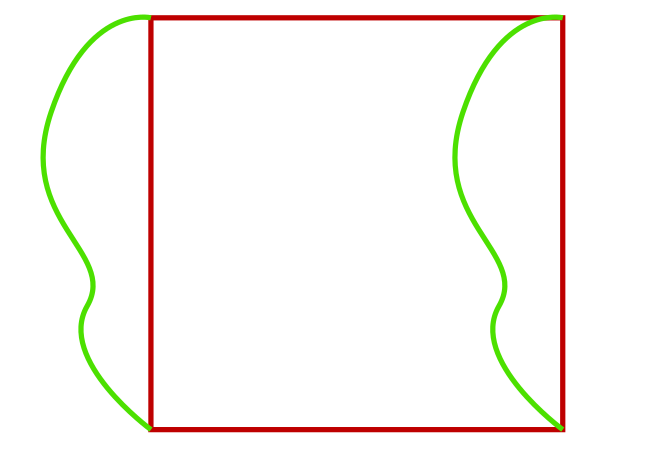
Finally, we join the lines and delete our square.
This a simple way to obtain 1D tessellation.
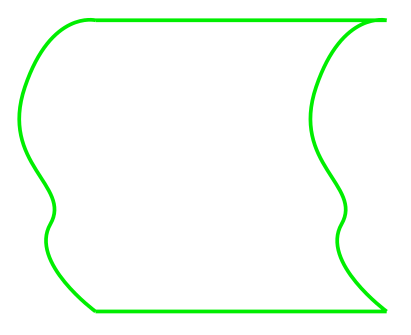
If we repeat the process in the top and bottom sides of the square...
We obtain a more organic shape.
And the tessellation goes 2D.
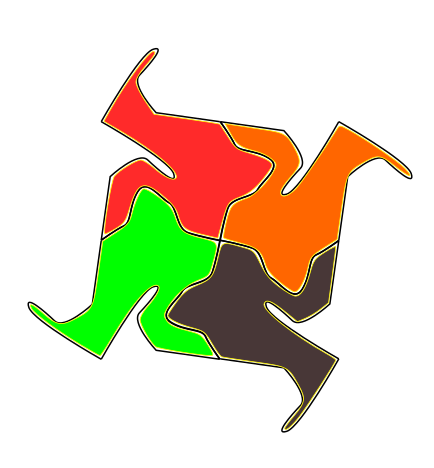
Radial tessellation
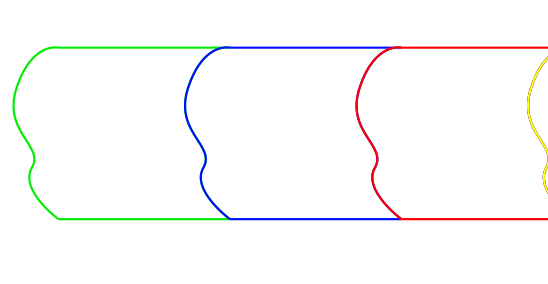
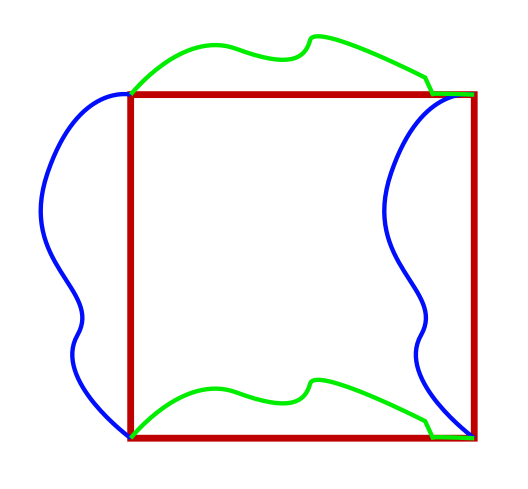
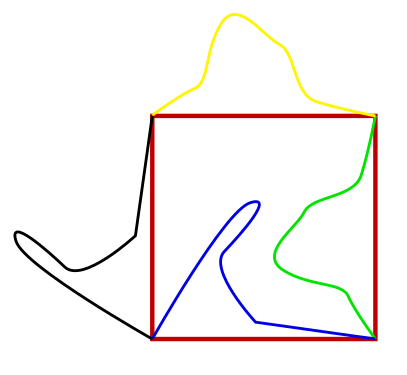
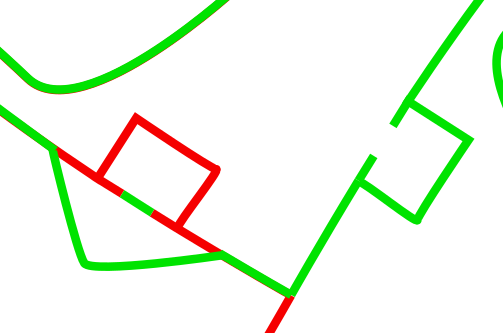
For the fabrication I went with the radial tessellation design. As before, we create a random curve on the right side, and copy it. But this time we rotate it to the right 90 degrees and then paste it to the top corners. The green is the origina curve, and the yellow the copy.
Then, we repeat the process with the rest of the corners. Here the blue line is the original, the the black is the copy.
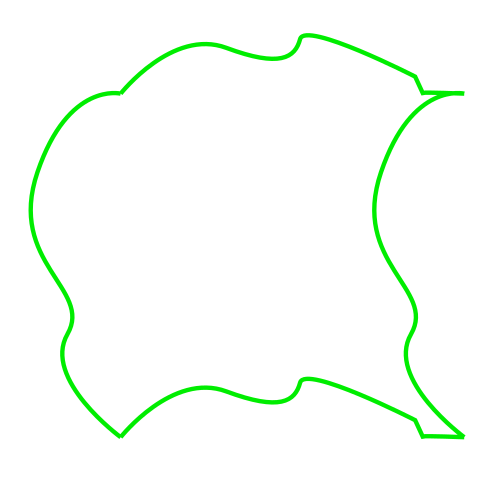
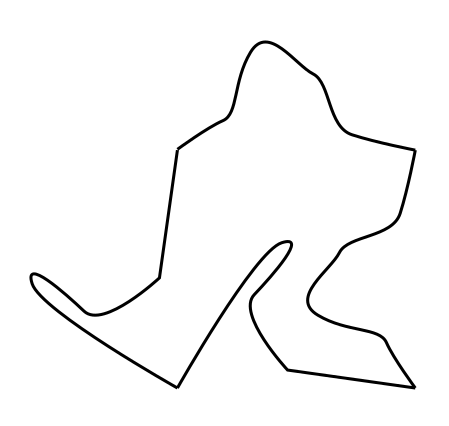
We don't need our square helper anymore. Don't forget to convert all the lines to paths and to combine them, for routing purpouses.
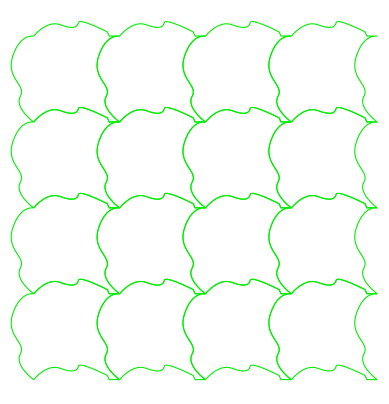
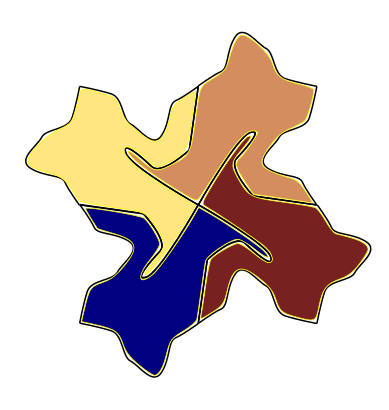
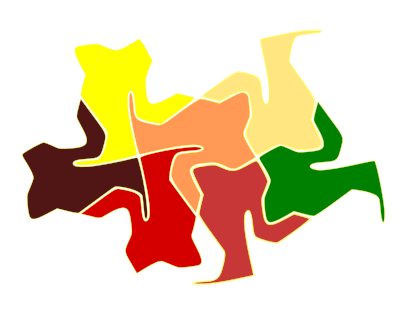
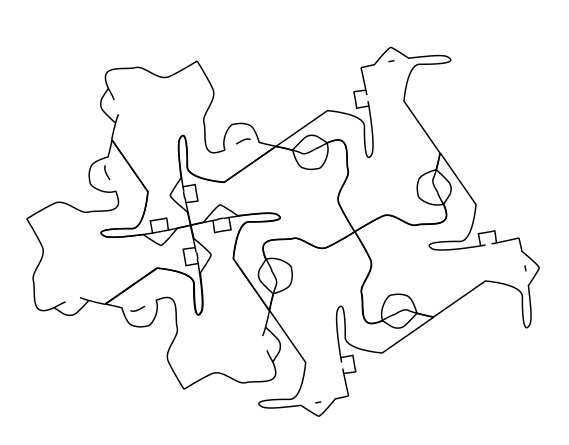
We can start now to make copies and to fit them where they share shapes. Here we put four of the modules toghether.
We can join four of them also this other configuration. This makes our system based on two vertices.
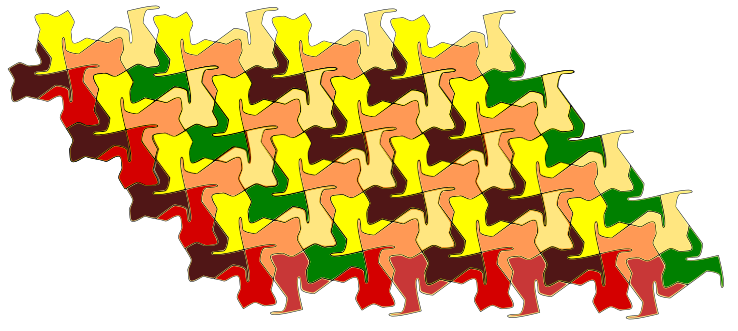
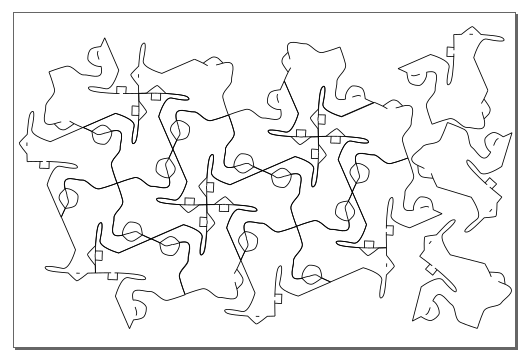
It is also possible to copy and paste them in pairs, and then copy and paste the result.
This algorithm goes exponential, so it is posible to fill large surfaces very fast. Maybe we can create an algorithm with Blender dedicated to this pourpose.
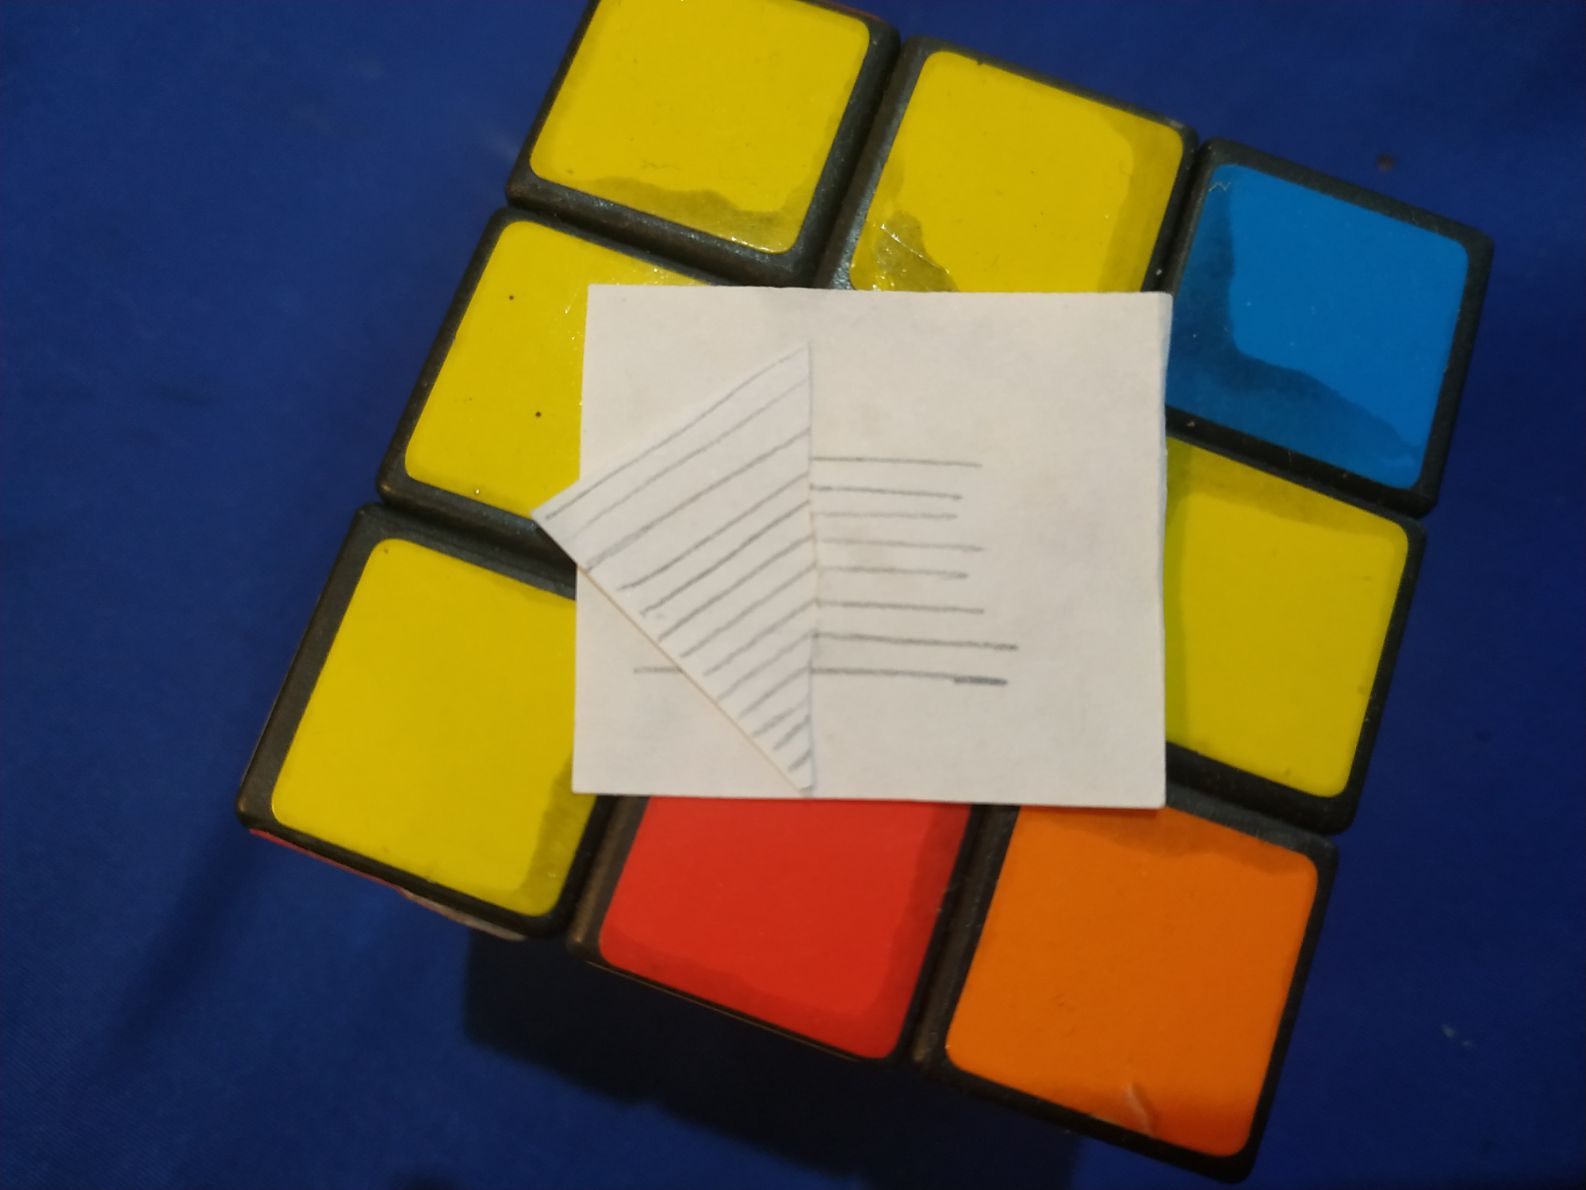
I had the shapes for my pattern, but I needed to join them. For that, I made some paper/scissors tests. I tested this arrow and sloth.
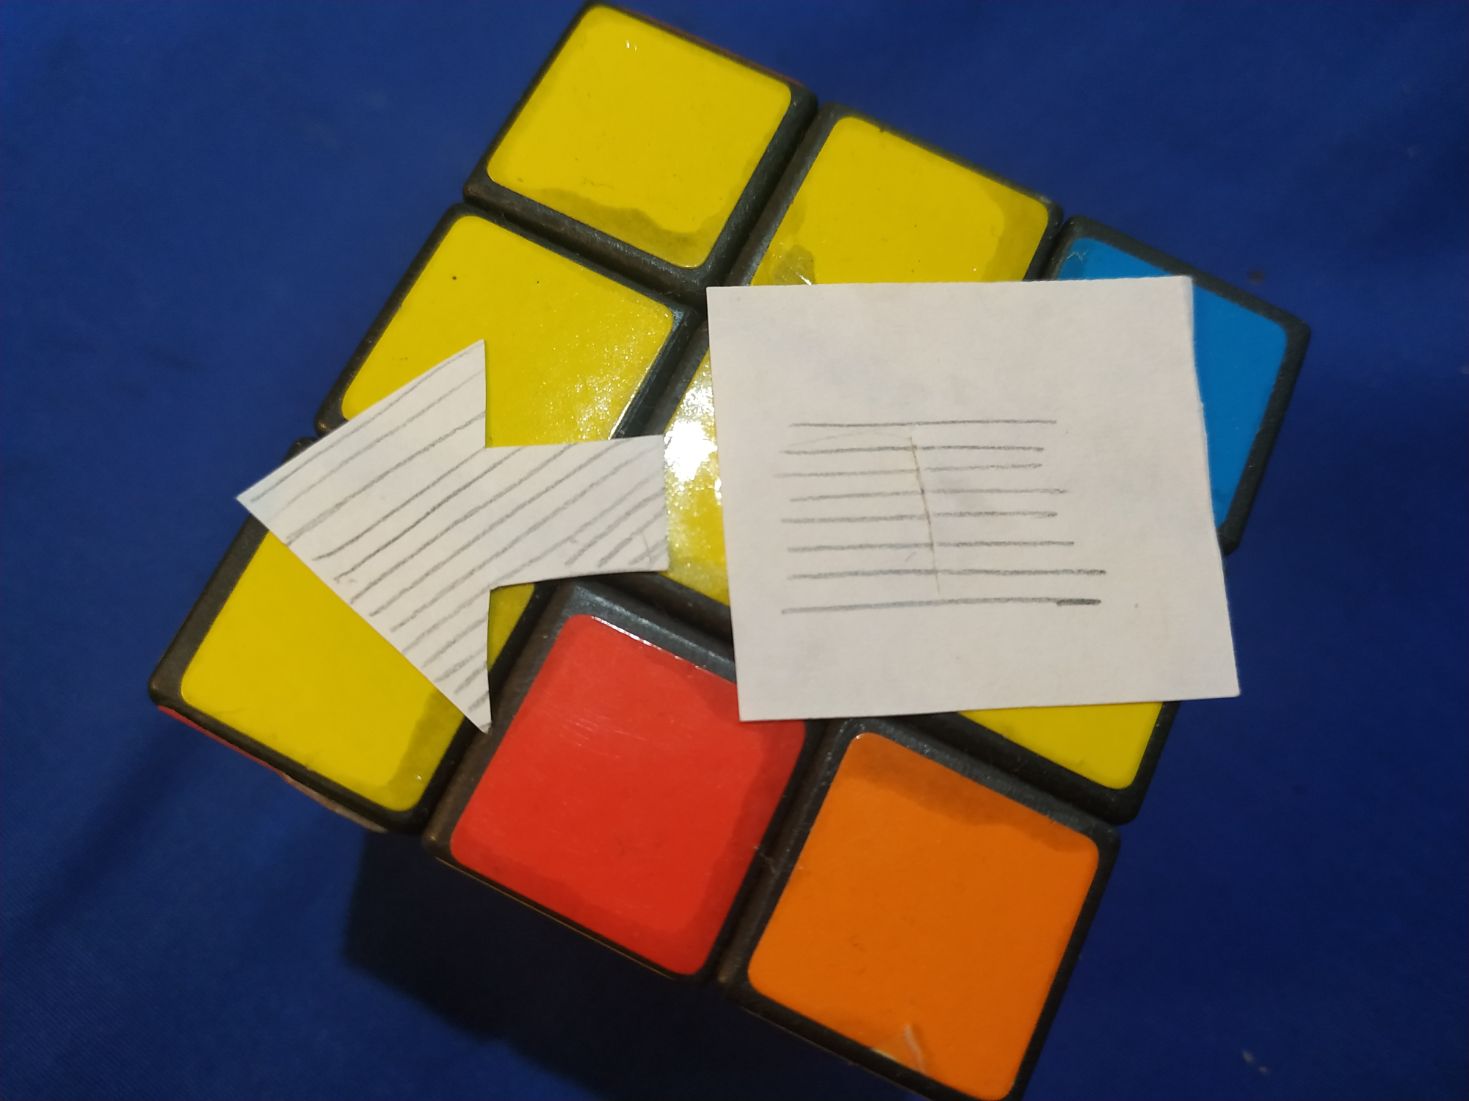
And here they are together. The fit was firm, but easy to separate.
I tryied this other, with just a line of diference and the need to fold to assemble.
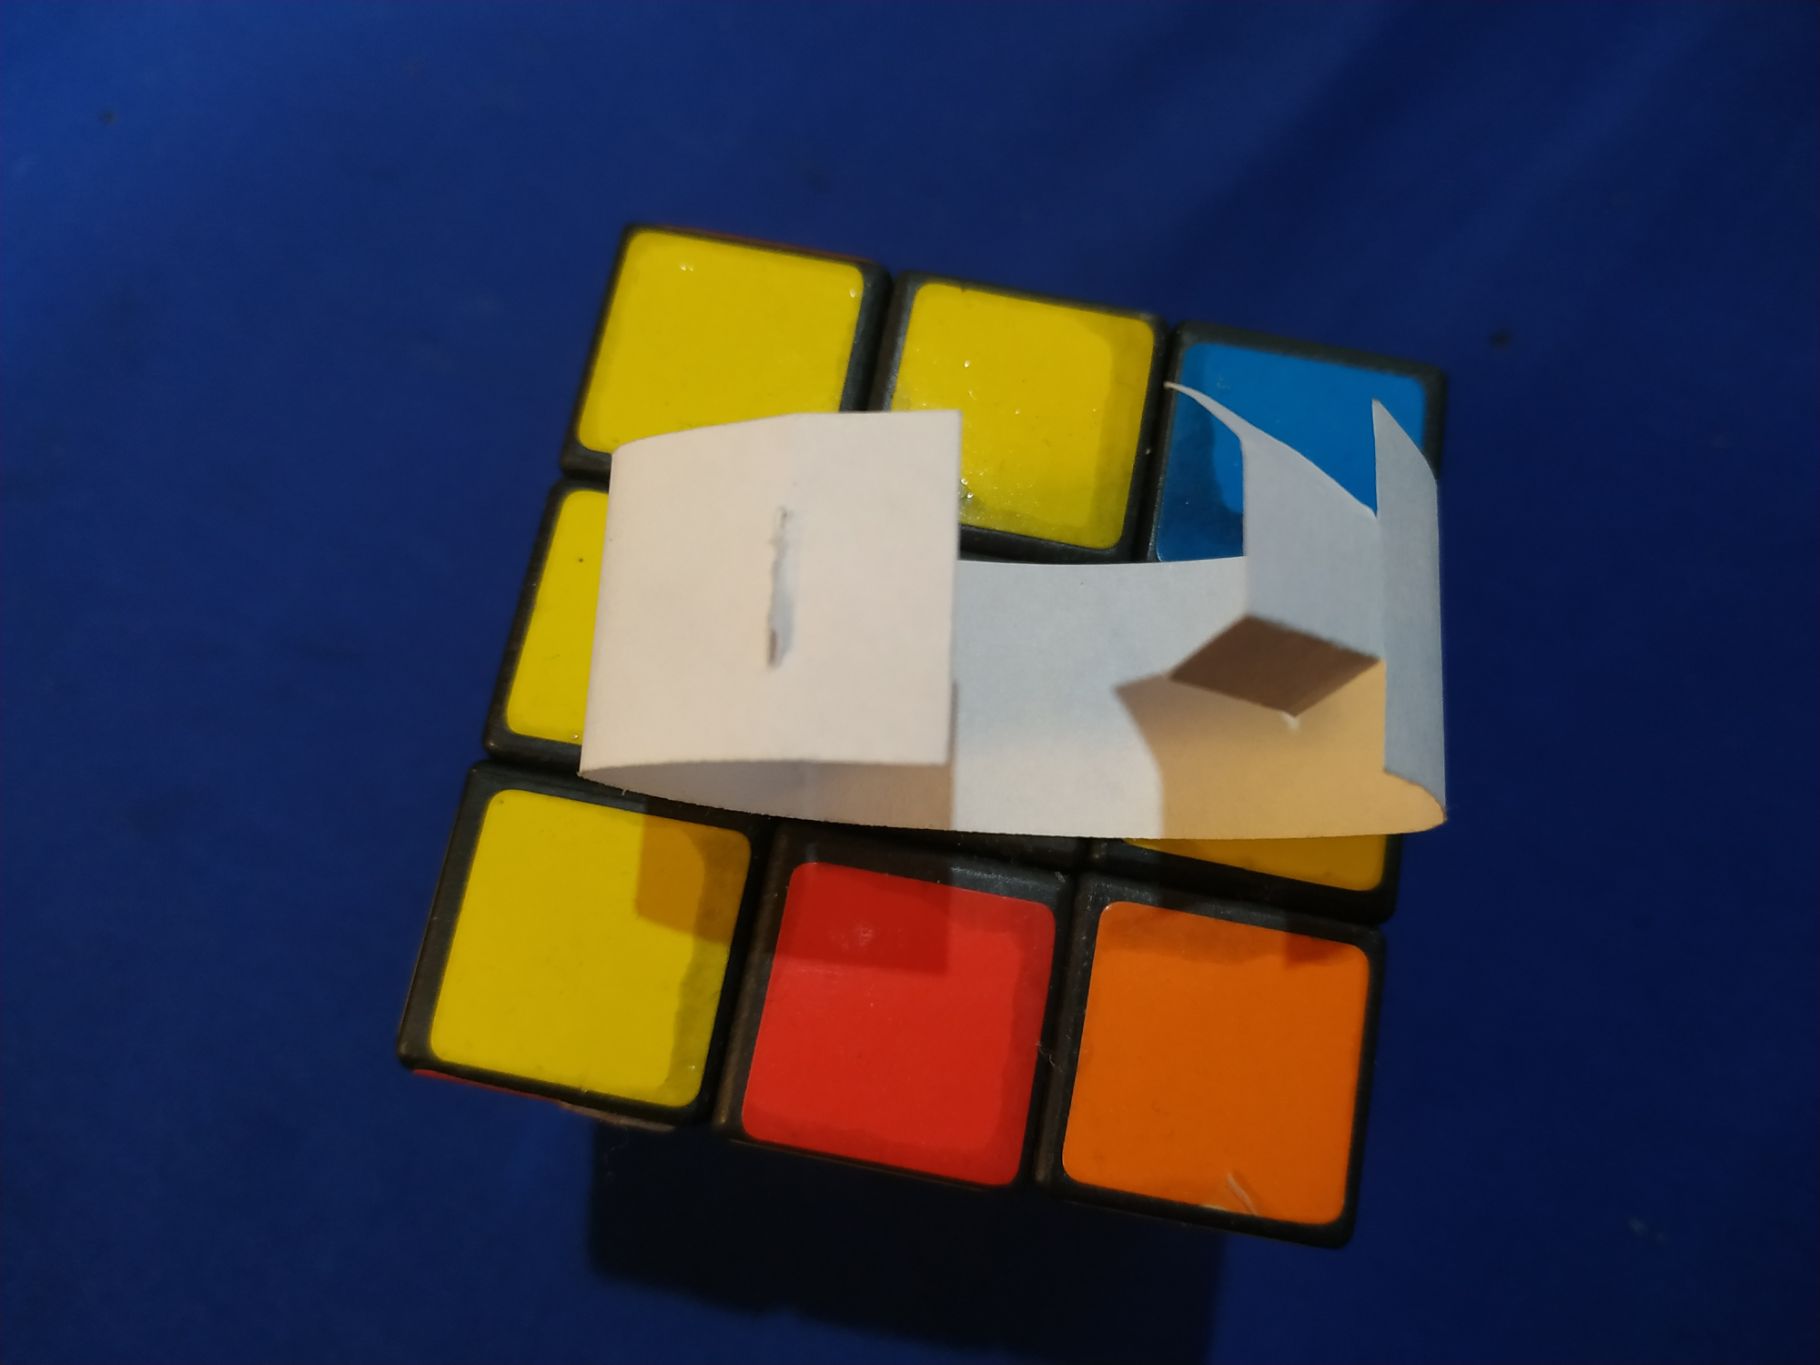
And that one resulted on a very strong hold. Better for paper than for the cloth I used, though.
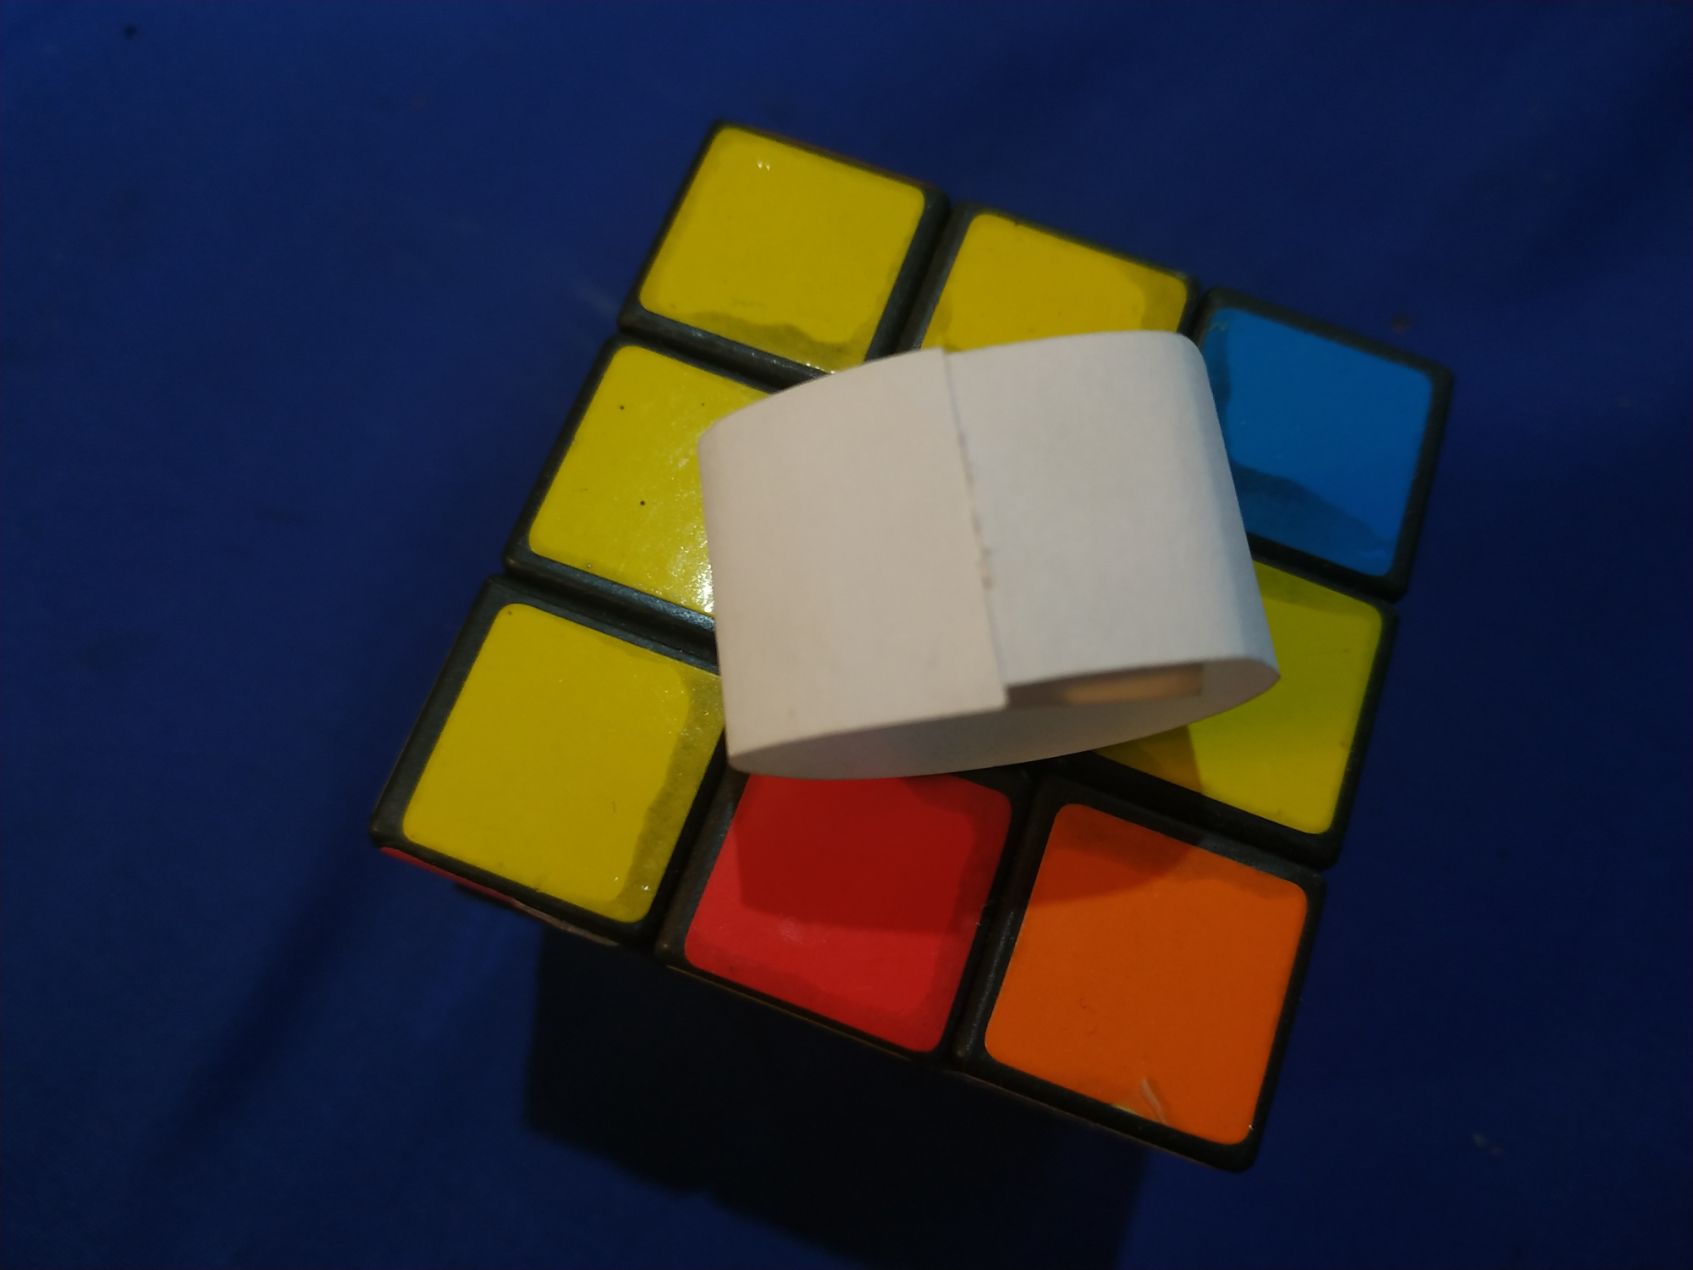
I ended up to make a sort of combination of both. One join as an arrow, and one as an oval. For making it I just supersposed the geometry.
And then cut the sloth at the right lenght.
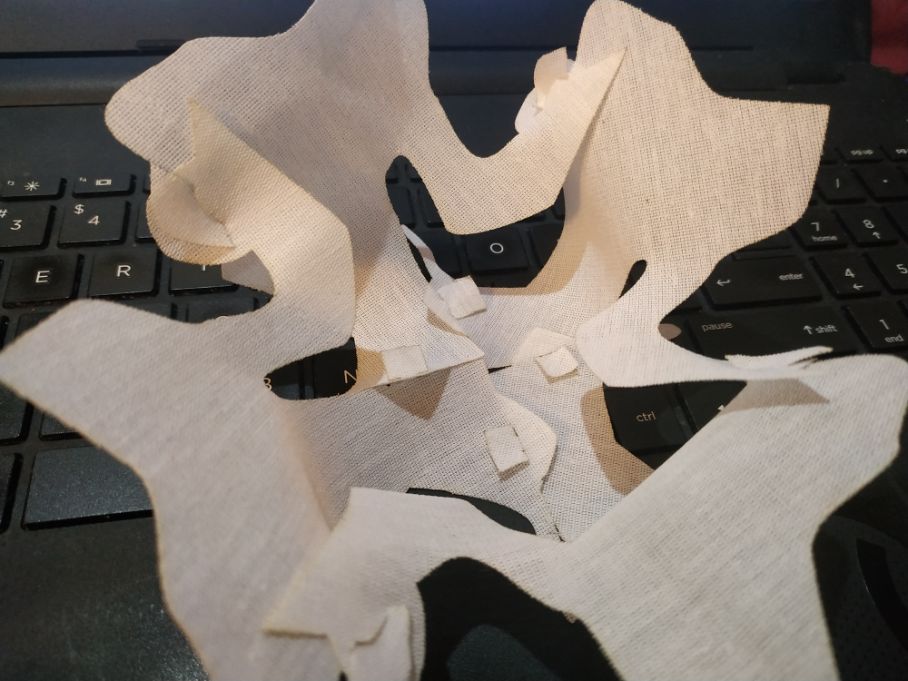
Here we can see the two vertices and the arrow and oval joints.
For cutting, we have to separate the pieces. This in unfoutunatelly not good, because we have to waste material. If we could join the pieces as they are, by the borders, it would be a way to maximace the surface. Here we see three of them on the right, already separated for cutting.
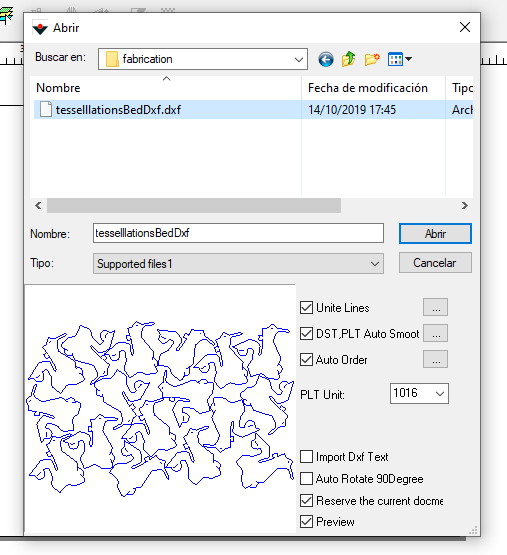
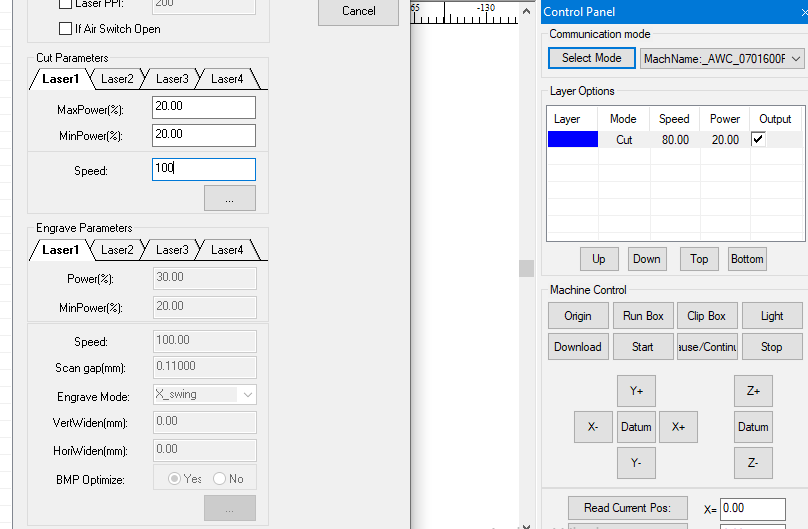
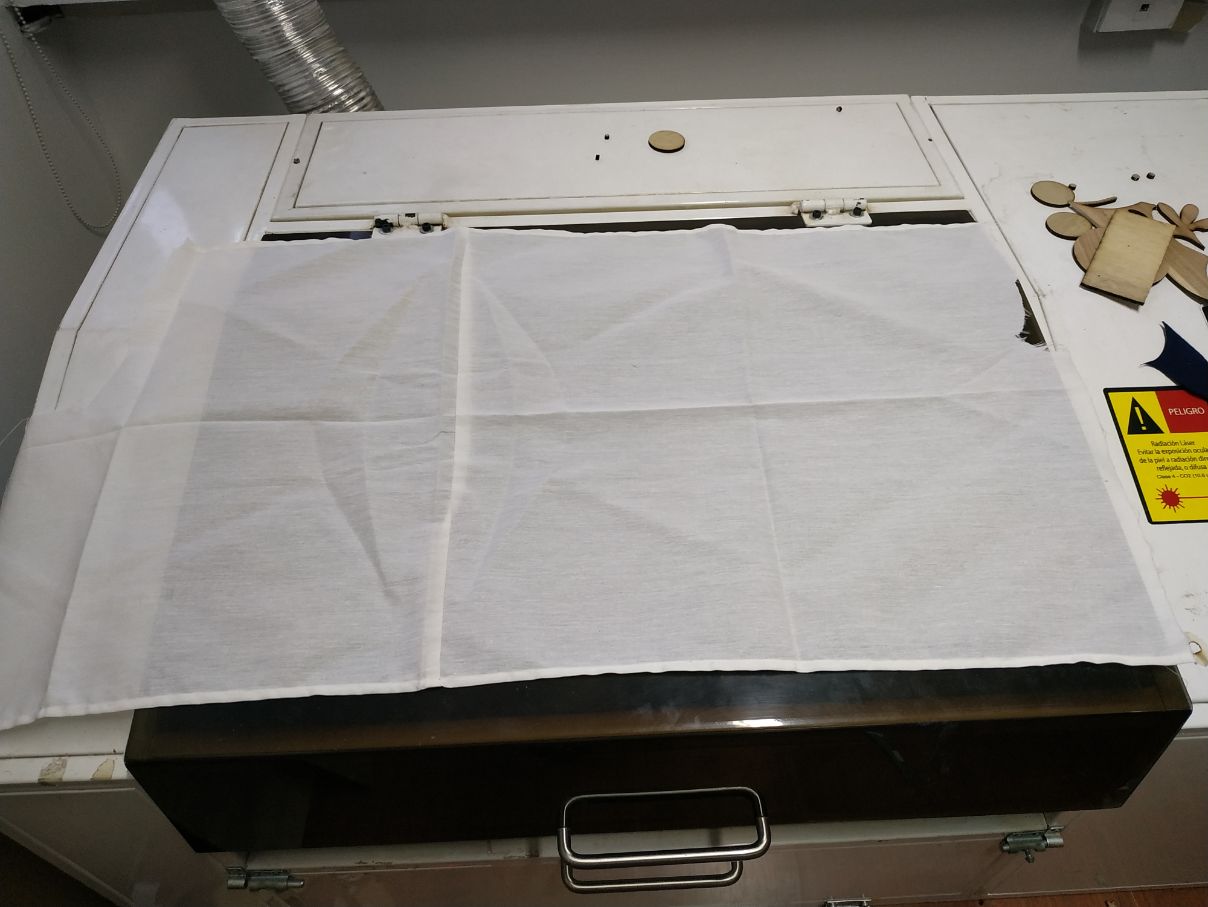
After saving the file in dxf format, we import it to the laser cutting program.
And we set the speed at 100 and the power at 20%.
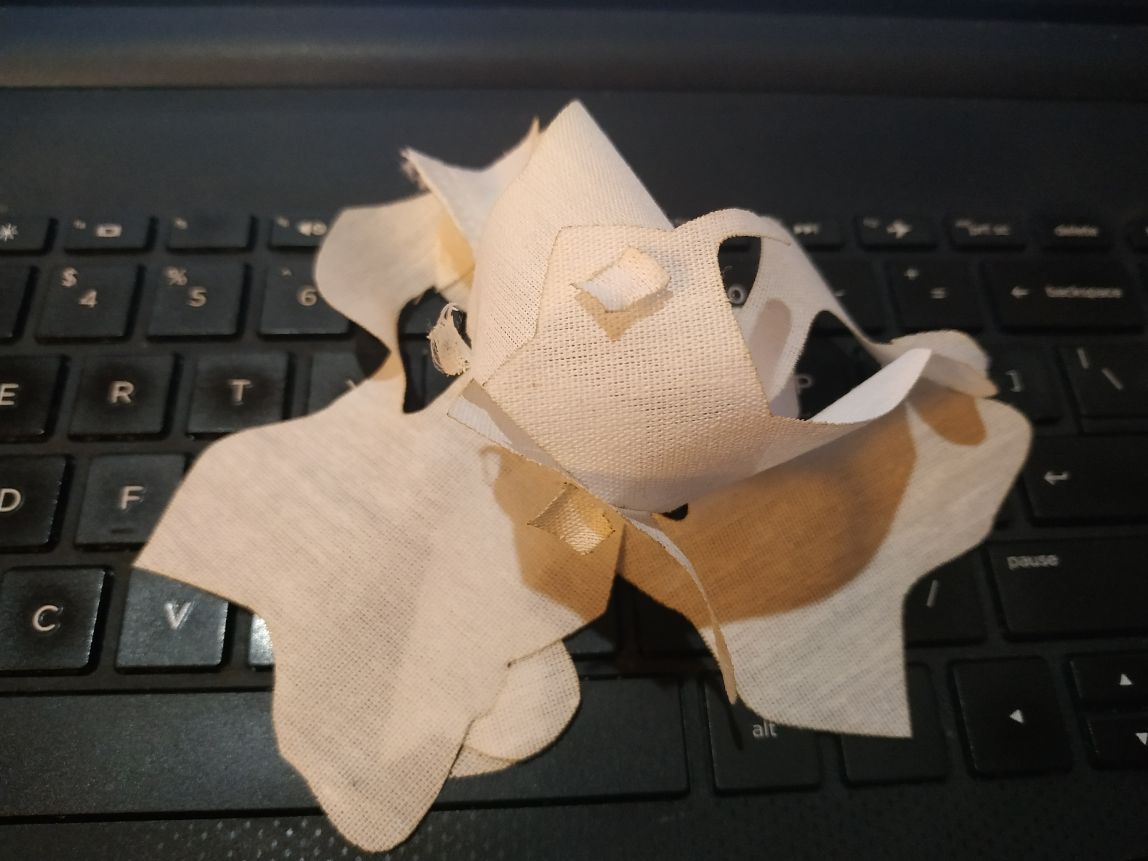
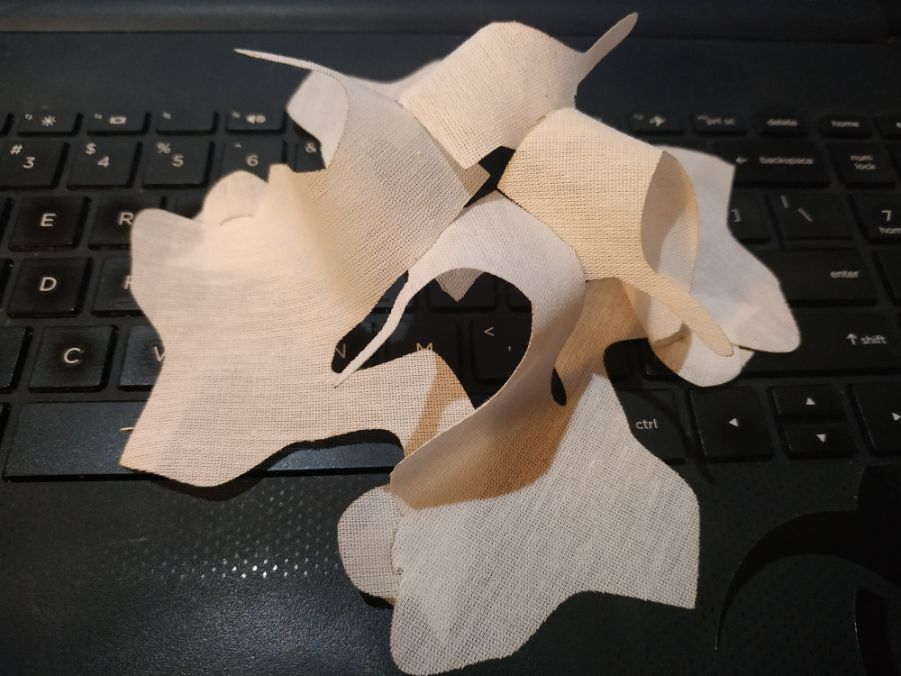
Here are some comfigurations.
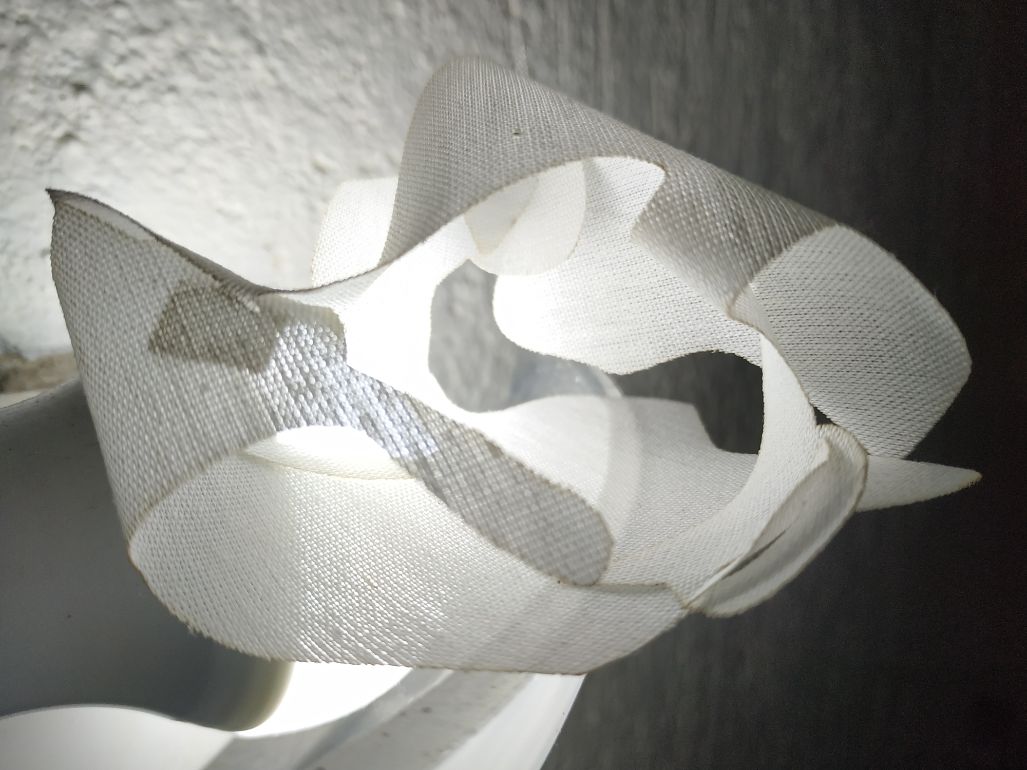
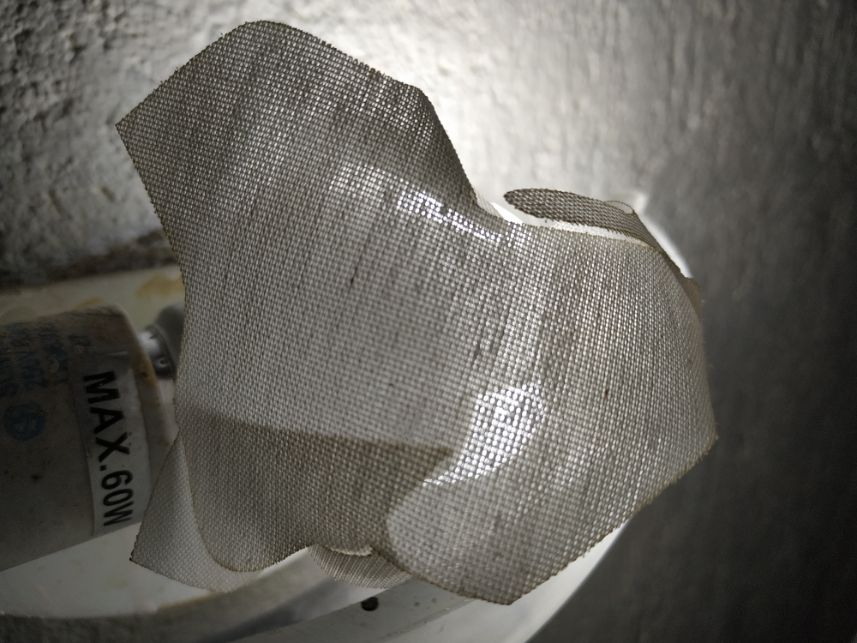
I tested the constrction with a light. It might become a nice lamp.
Altooght the cloth is soft and maleable, the geometry provides structure.
Here again, with the light.
Another structure made of four units.
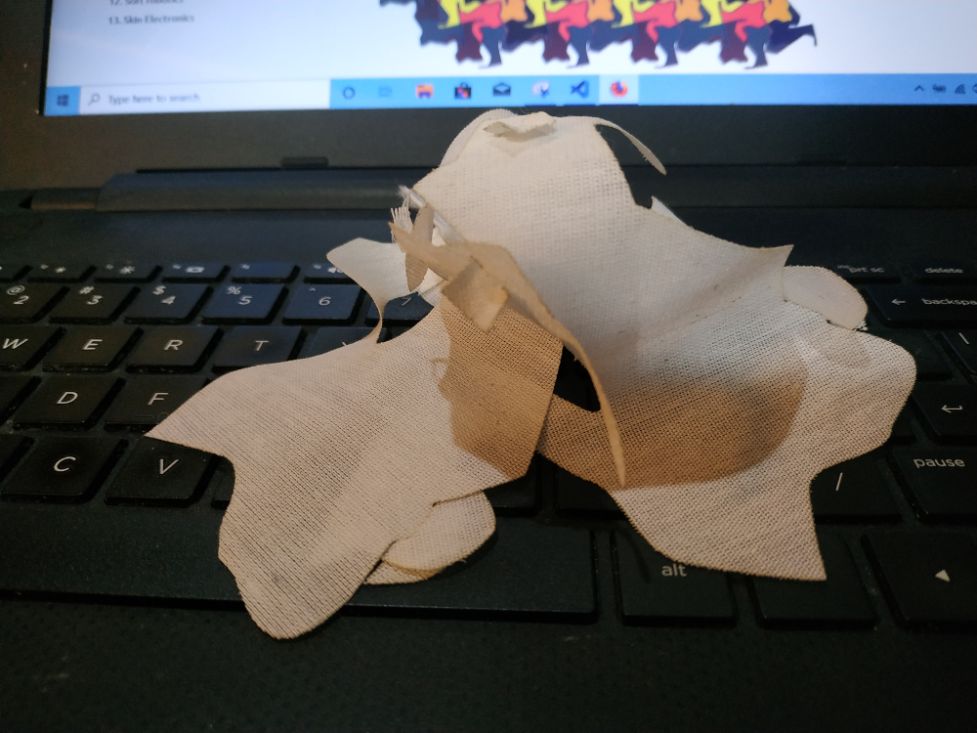
From another angle.
Here is the material used.
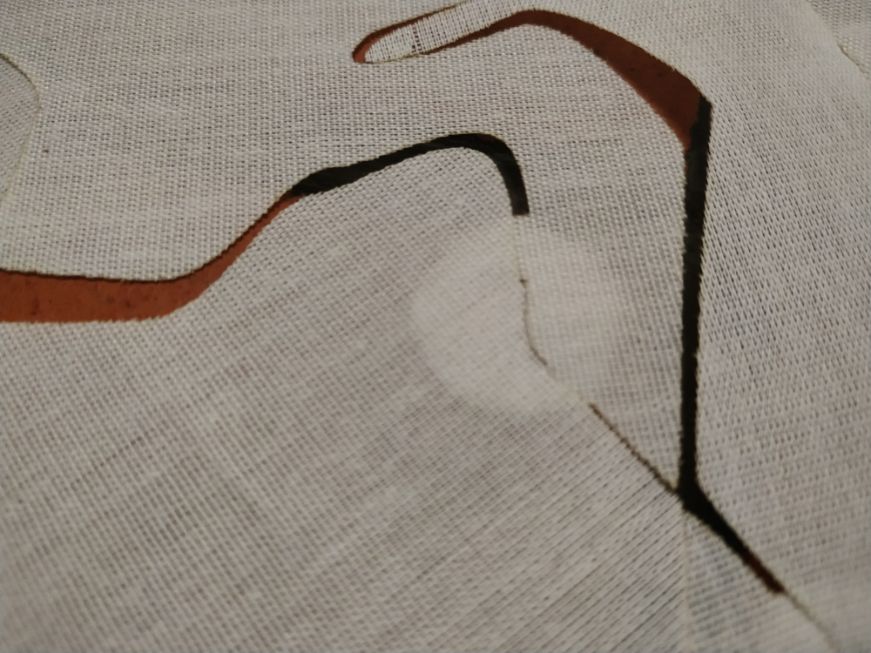
A close up of one of the fittings.
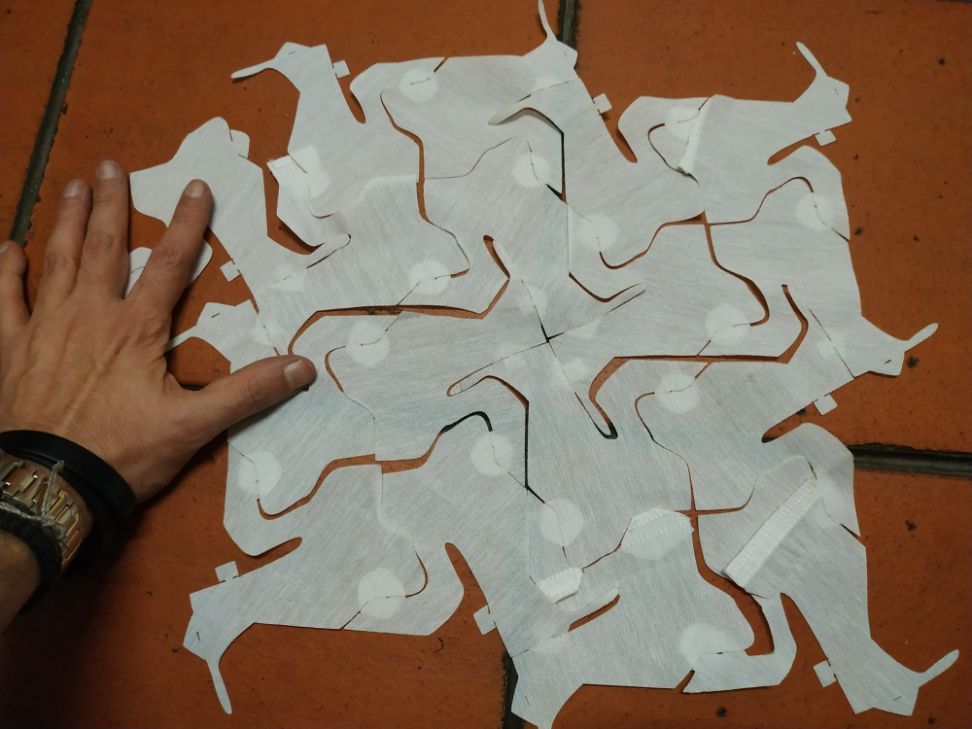
The flat version, with a hand, for perspective.
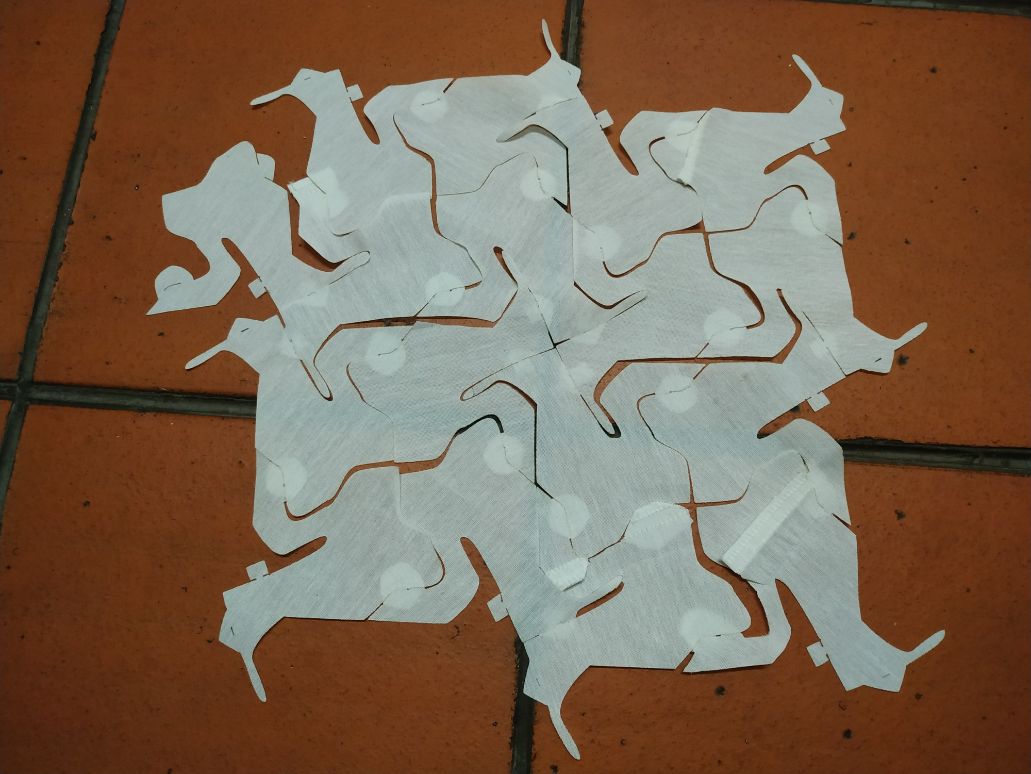
Alone.
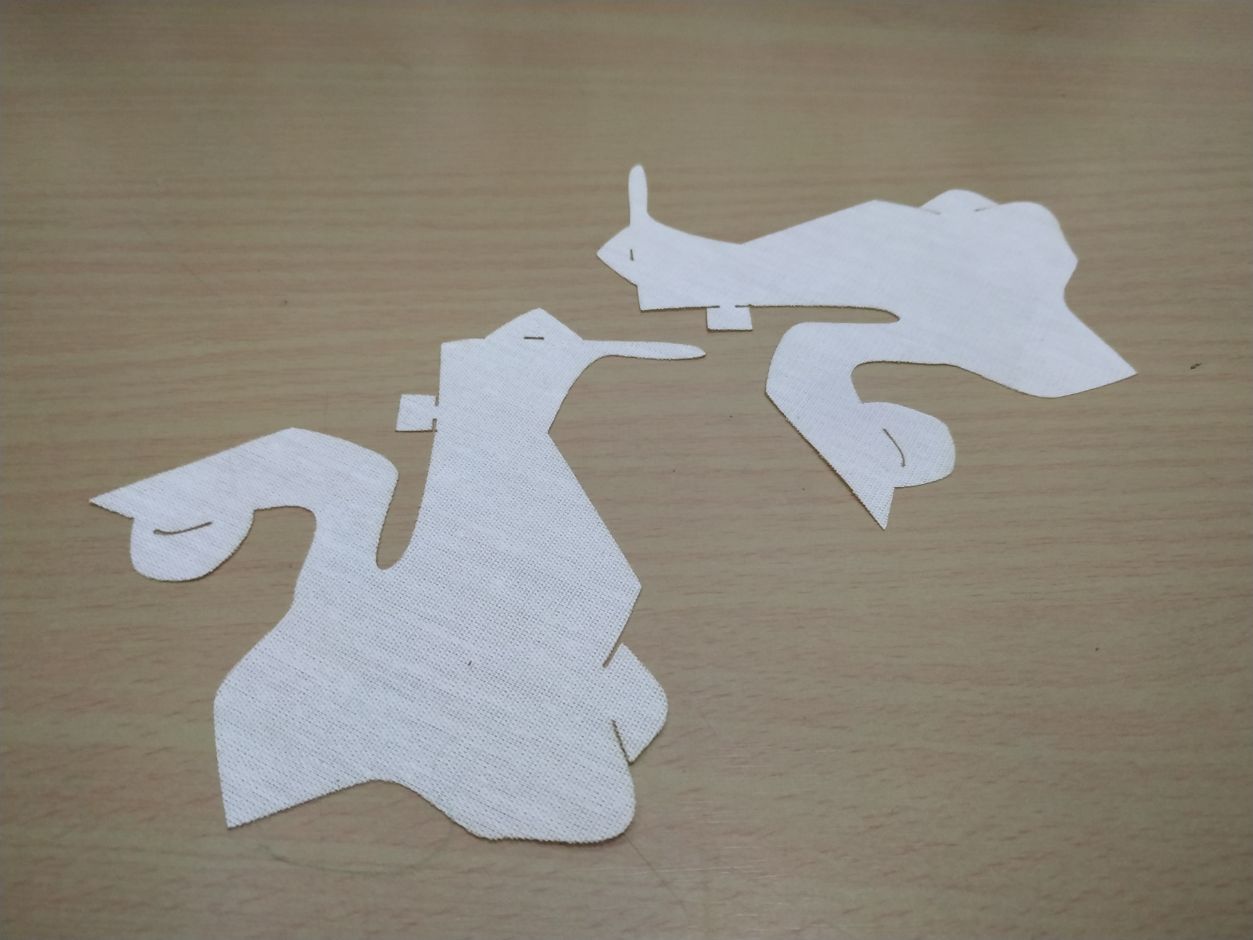
Two pieces.
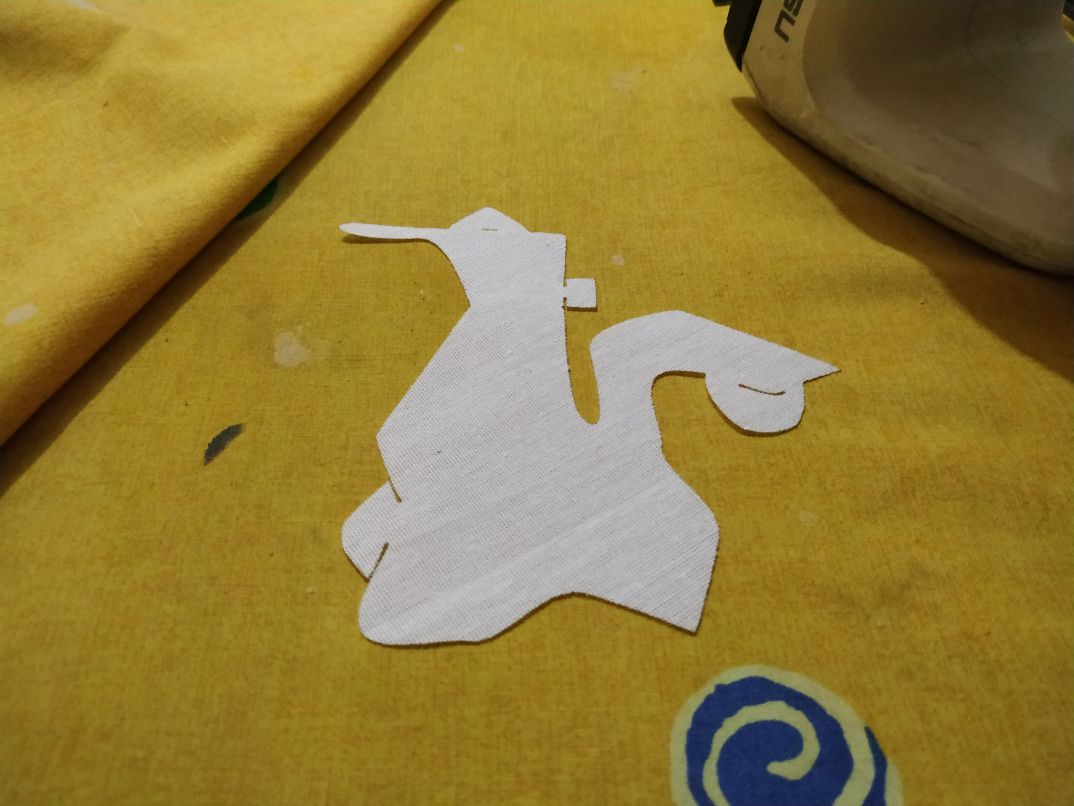
A single module with an Iron.
Here is the file to be laser cut in svg format.
Here is the file to be laser cut in dxf format.
And Here, and Here, are the files showing the process and are available to make the changes that suit the needs of the downloader.
Felt version
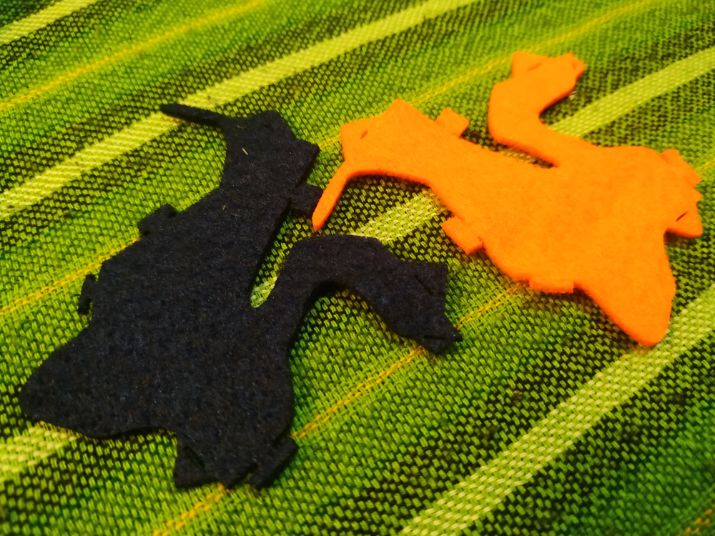
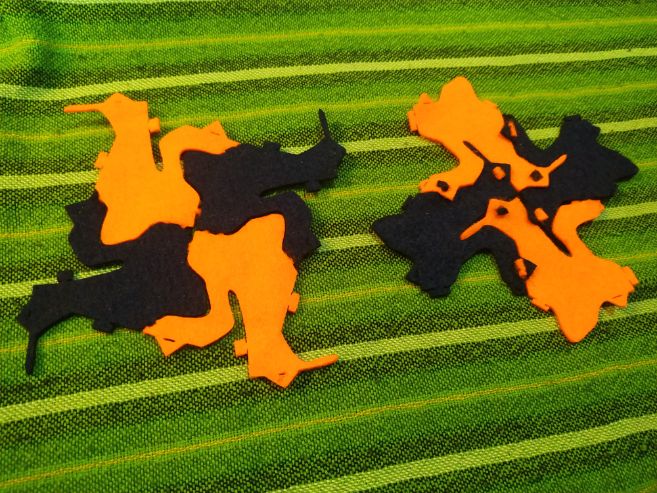
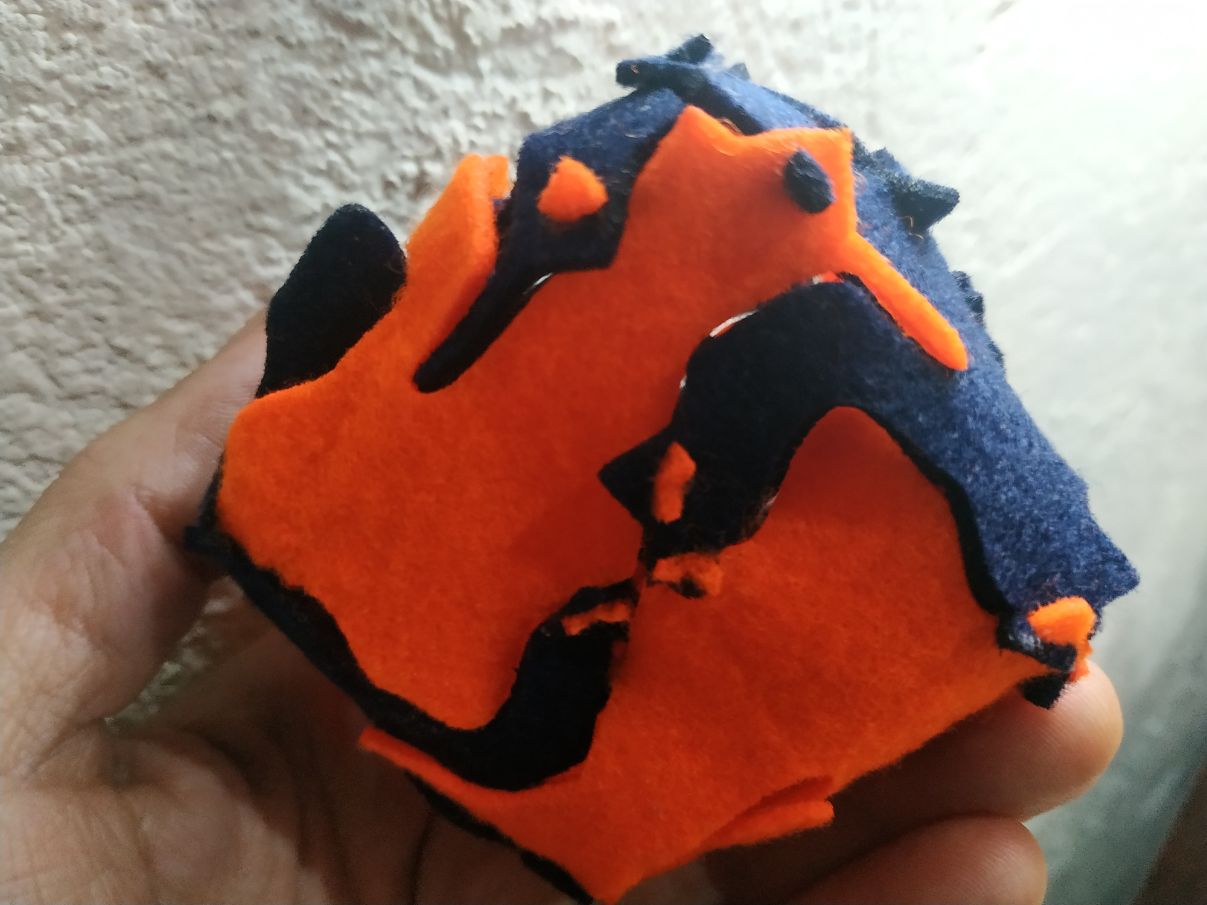
With the idea of exploring and to create a usefull product, other material, size and tag configuration was used. We had some felt material in two colors around, so I changed the units a bit. More tabs were added, they were scaled down to fit on a hand palm. Here we can see two pieces, separated.
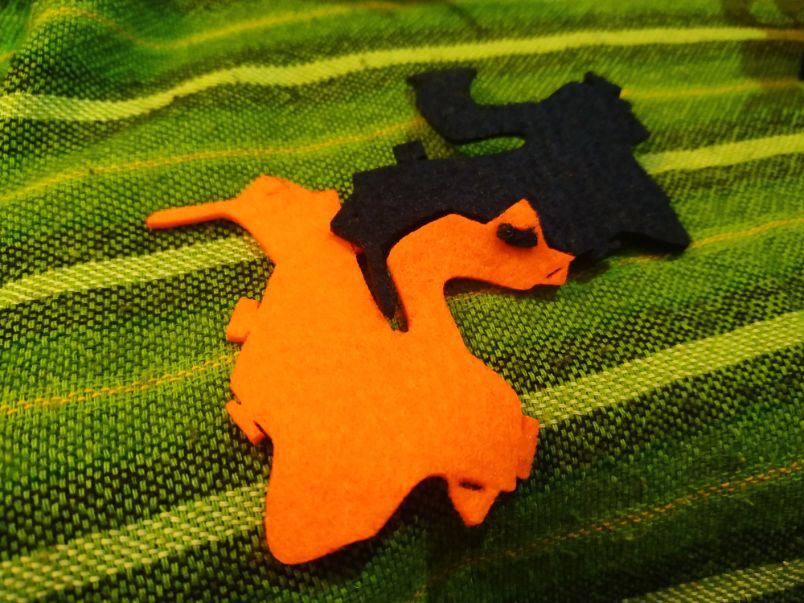
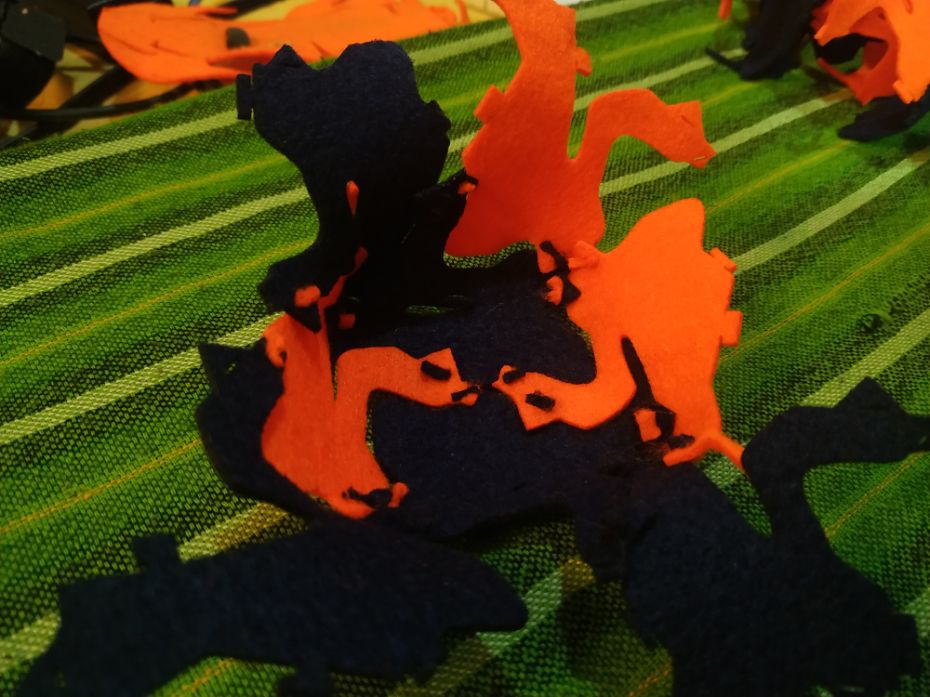
And here we one fit hole/tab.
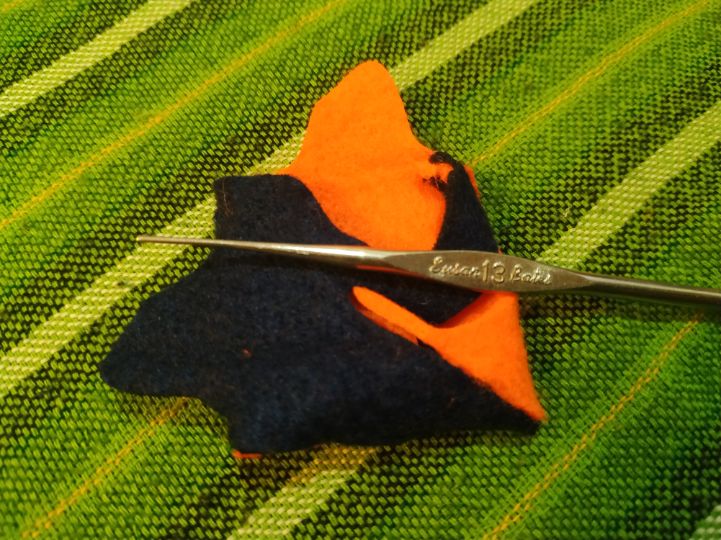
Whit just two pieces it is possible to make a little bag. Actually, geometrically they could be represented as two paralell squares. I also found that, for this material and size, a crochet tool could be usefull.
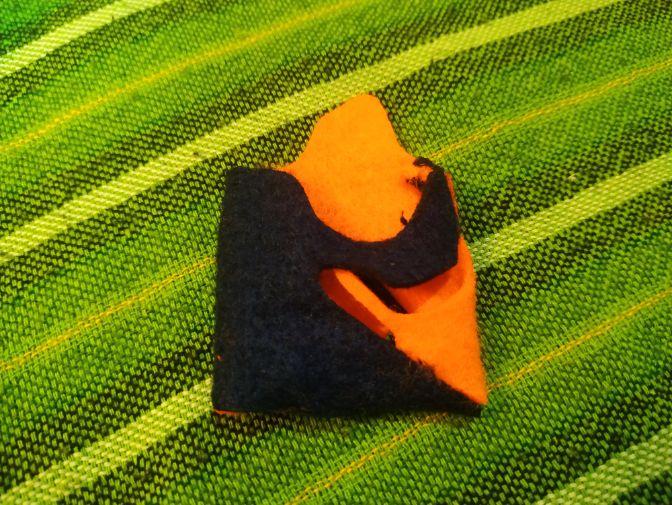
Almost all tabs fit. Scaling it at human size would allow us to make an utilitarian bag.
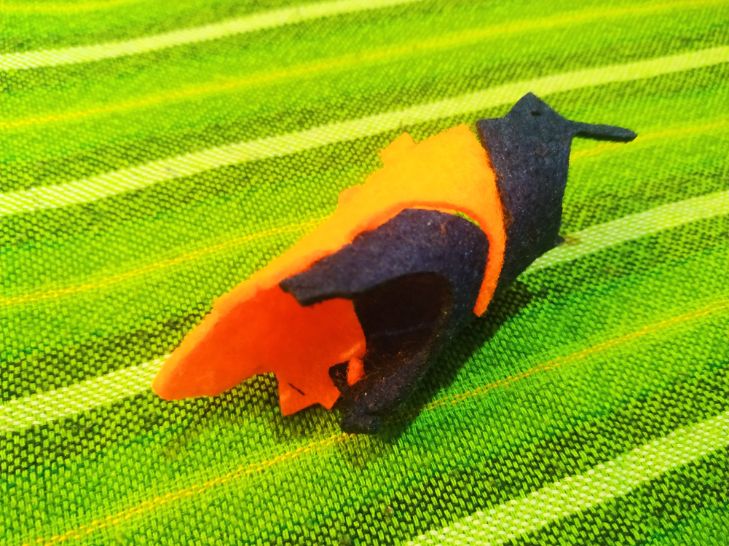
Whit two units we can make tubes that are captable to grow from both sides.
The planar design of four units, from the front and the back.
If we join tree units, we obtain a 90° normal angle. Whit that, we go 3D.
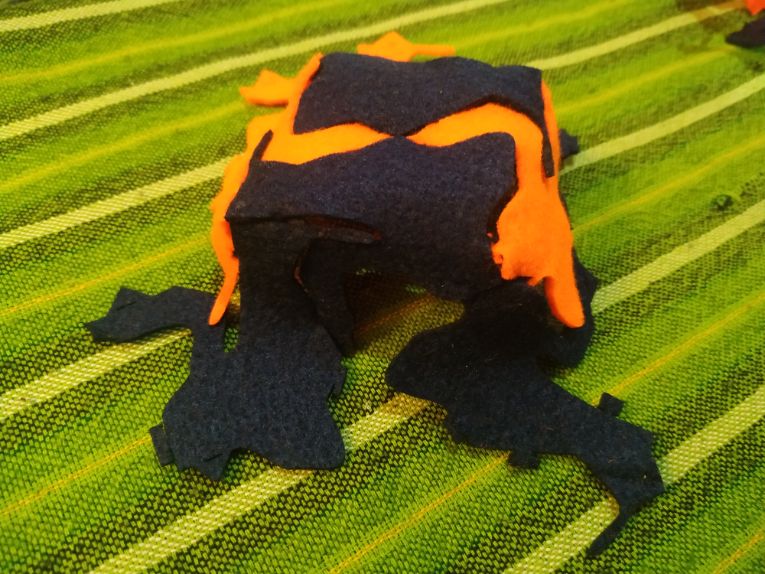
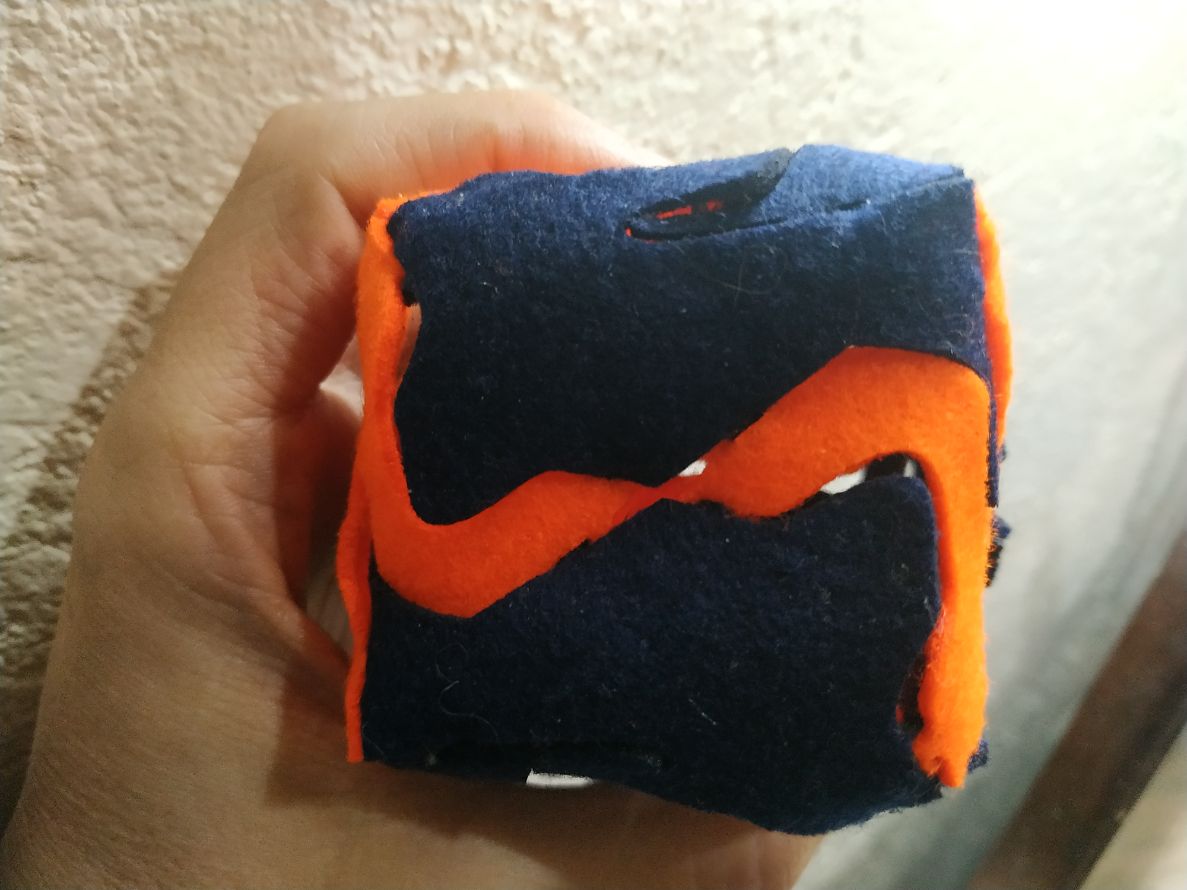
If we still add more units, we can turn the angle to the inside. A cube shape starts to appear.
If we continue with the process, we can close the cube. We use 14 units.
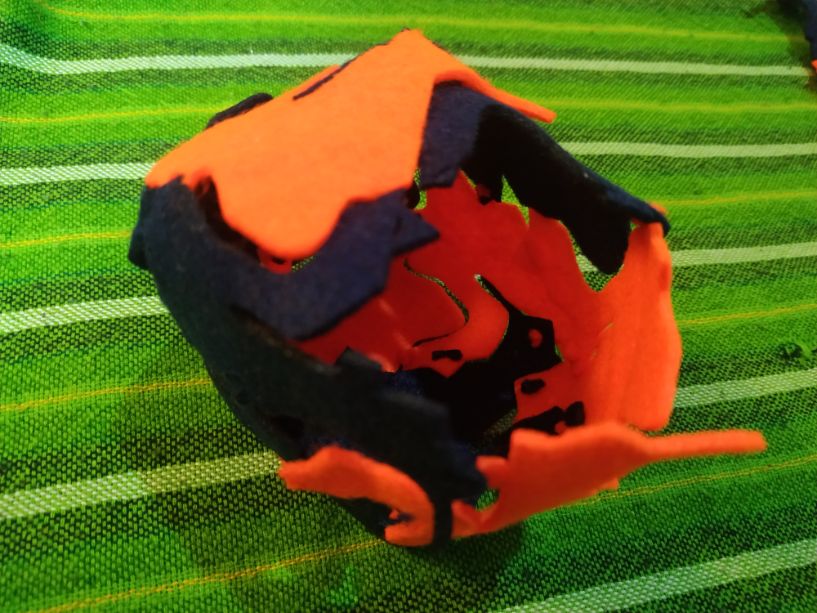
The figure is not so good at let light through...

But the geometry is pretty exact.
Here form other side.
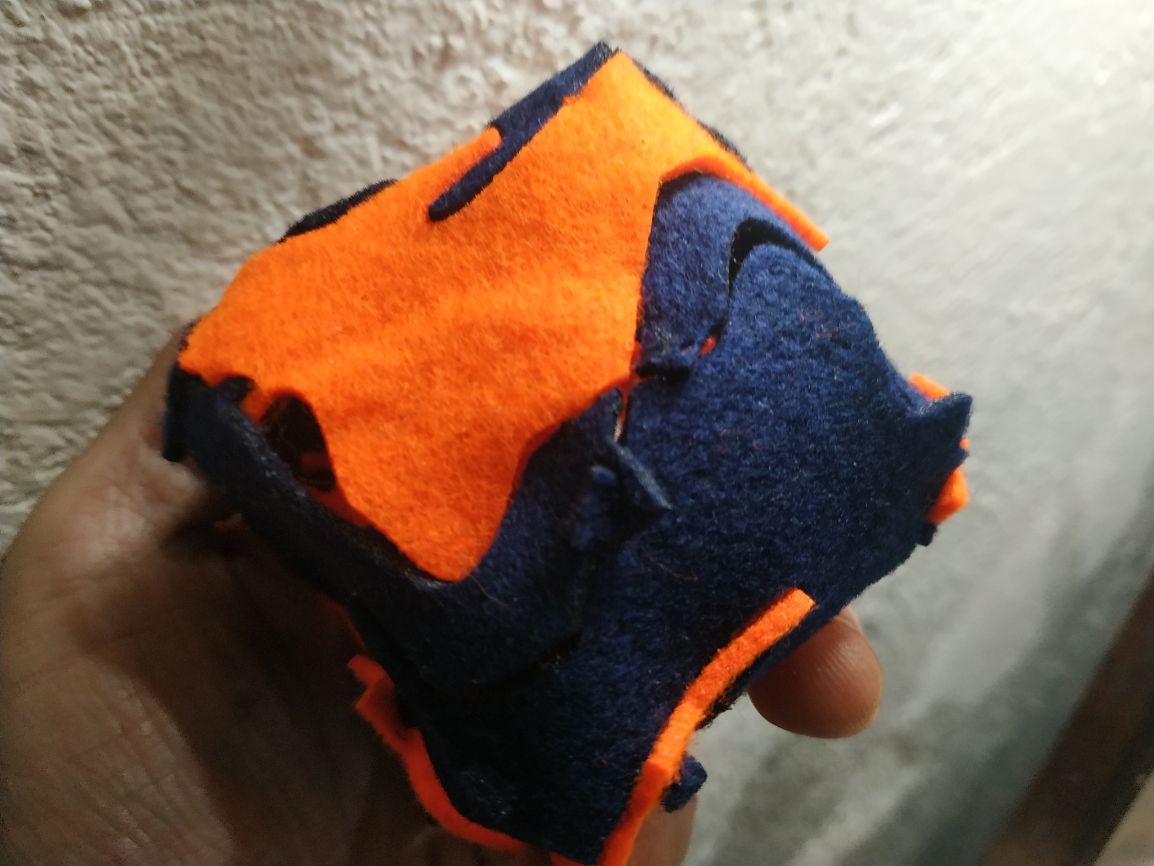
All tabs and shapes fit together like a puzzle.
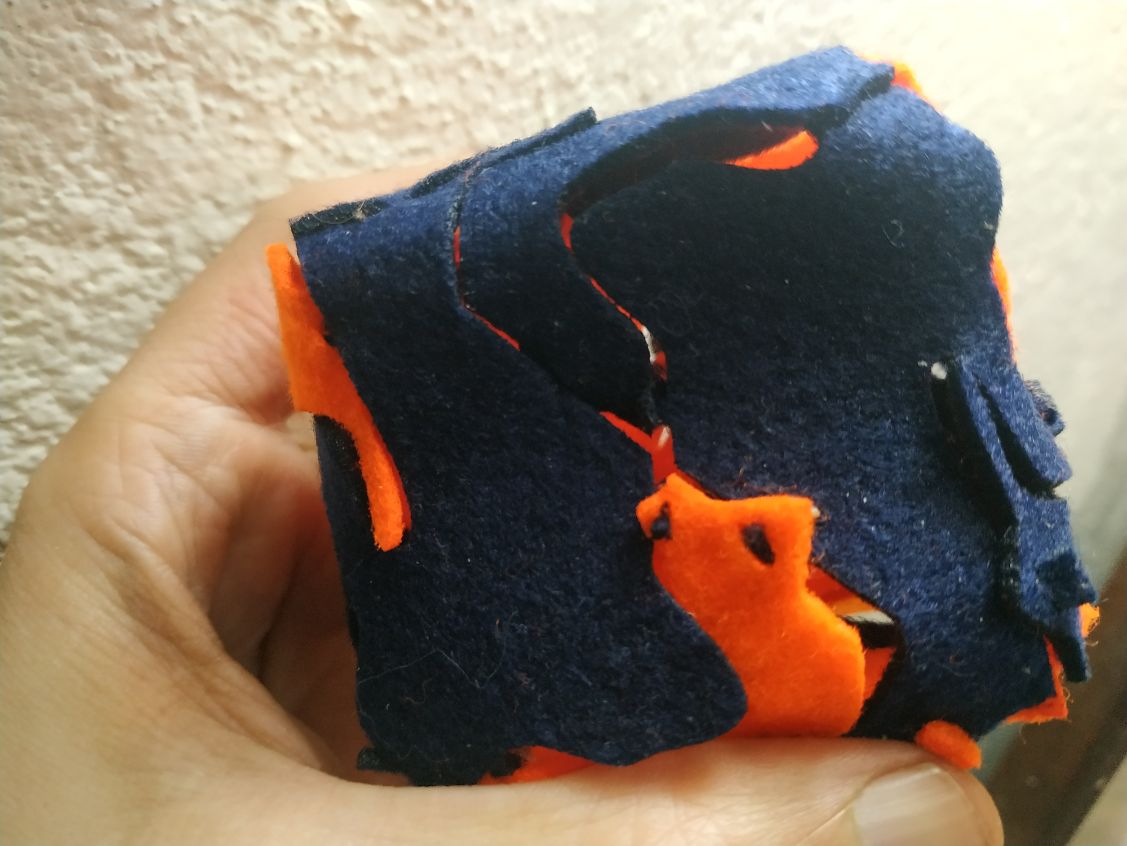
It is easylly to set the geometry inside-out. We can see the tabs that were hidden in the other configuration.
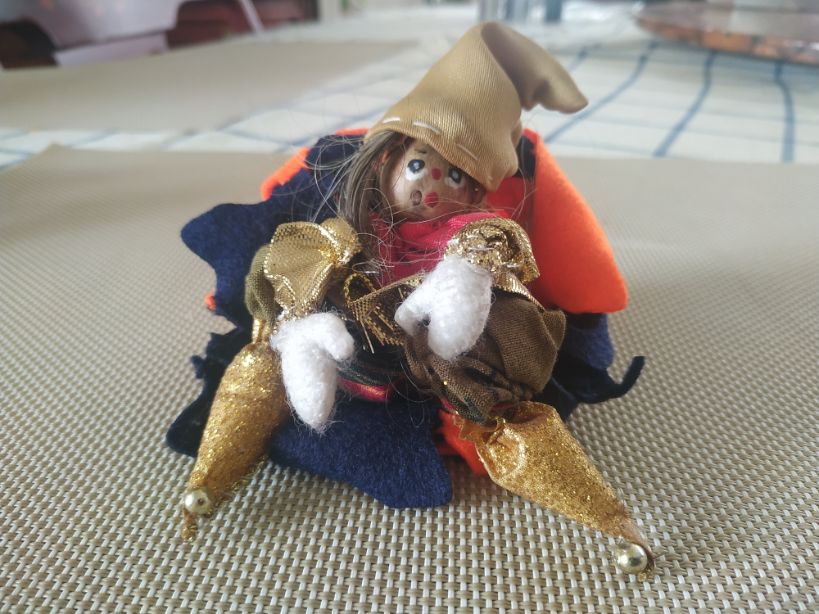
The cube could be partially filled with a cozzy material to make a puff. Here our model (one of my mother´s pieces) is sitting in the little soft furniture. Of course we can scale the model to fit the human realm.
Of course if we fit five pieces together, we can also go pitagorian, and make some dodecaedron-like structures.
Working with repetitive unitis could get tedious fast. A way to automate the assemble of the units could be a nice improvement.
Fortunately, for molecules the process goes in a more stochastical way. An interesting analysis of how this rather simple pieces assembly in more complex structures at molecular modular level is shown in the following video.
For this and more projects related to circular fashion, you can visit the Circular Fashion webapage.