7. Open Source hardware: from fibers to fabric
From the needle to the cnc driven kniting machines the tools for gardments fabrication uses ingenious devices.
On the other hand, in the lab we need a vaccum forming machine, and I think this is an opportunity to develop one, we we went for it.
Design
Negative preassure chamber
For the design of the negative preassure chamber decided to try FreeCad, an open source 3D design program alternative to Solid Works and Fusion 360.
FreeCad is open source, works with Python and has a strong and supportive community that grows every day with the contributions. Is also compatible with KiCad, also an open source CAD program focused on printed electronic boards (PCBs).
FreeCad can be downloaded here.
Public link for the adapter design (two components) here.
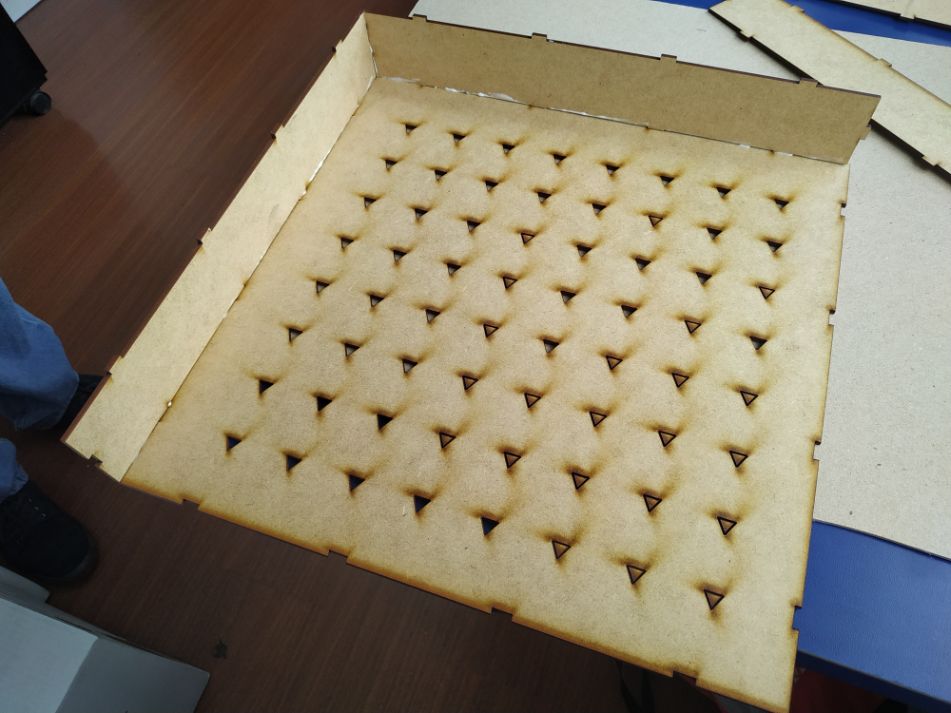
With the help of the interlocked boxes add-on of FreeCad the basic form was created.
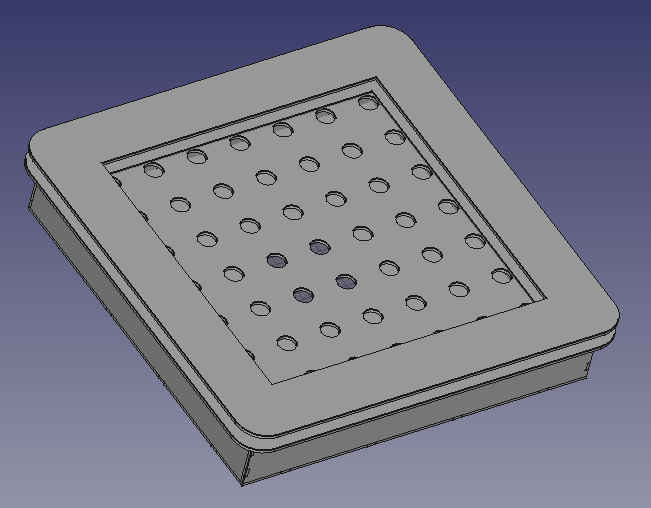
Then, we just need to make the holes.
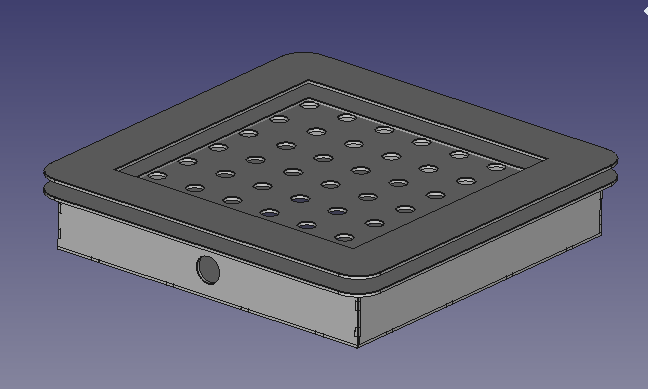
adapter
For the adapter I used Fusion 360. I am more familar with this aplication, and we needed the design quickly.
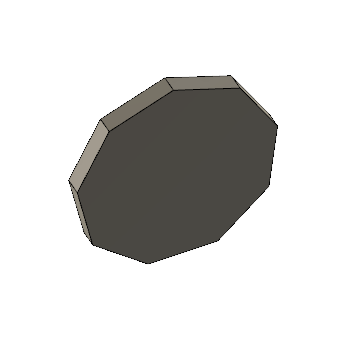
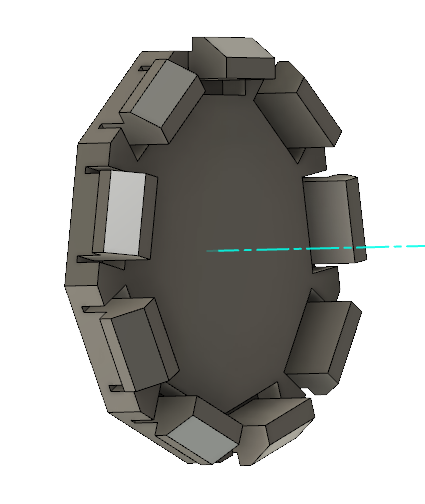
Also, for an error in exportation of FreeCad, the holes changed to poligons. So we needed an adapter for the vaccum source tube, based on a nine sided poligon.
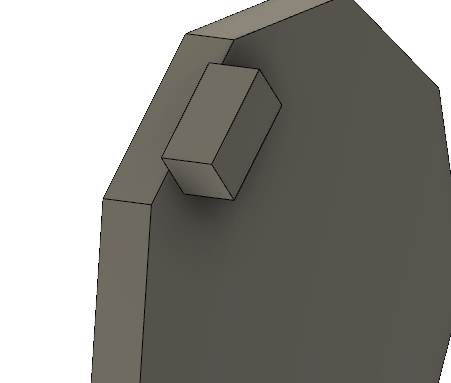
Then the holding tab was extruded.
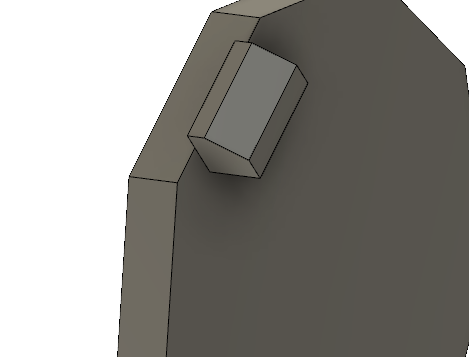
And cut diagonally.
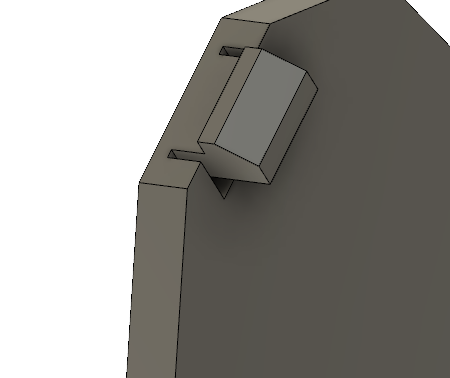
Some relief pockets where cut.
Then a circular pattern was used.
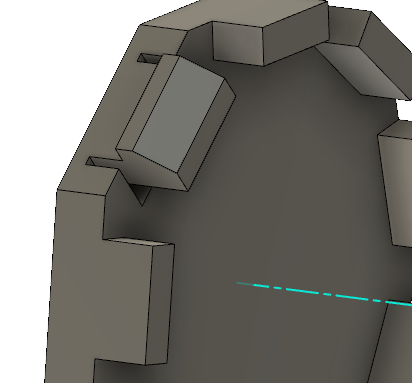
And all the features were also patterned.
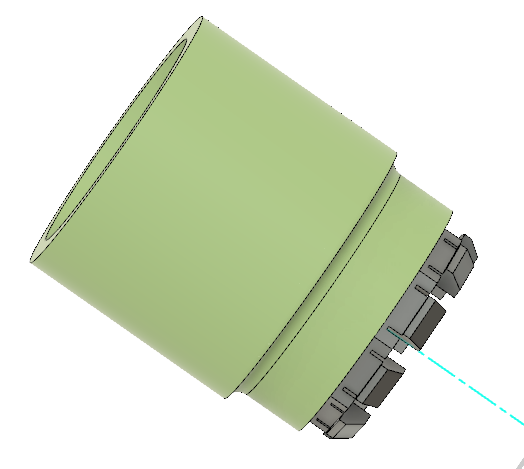
Then we extruded the tube that is going to be inserted in the vacccum chamber.
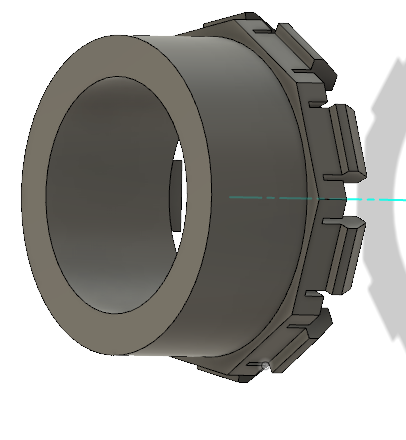
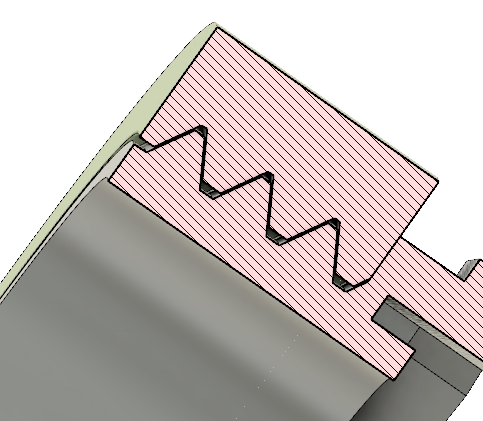
For the fitting, a thread was created.
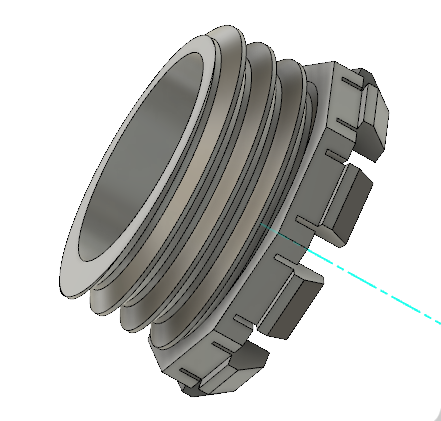
Then, we create a new component, based on the previous geometry. We apply the a thread with the same setttings, but inside the cilinder.
Here we can see a cut in the design. Note the space between the threads.
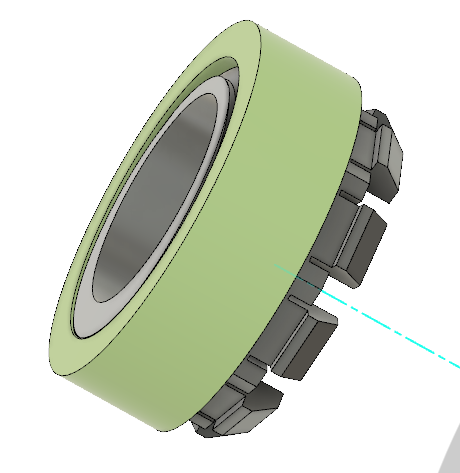
And finally we have our pieces, ready for export to the printer as STLs.
Fabrication
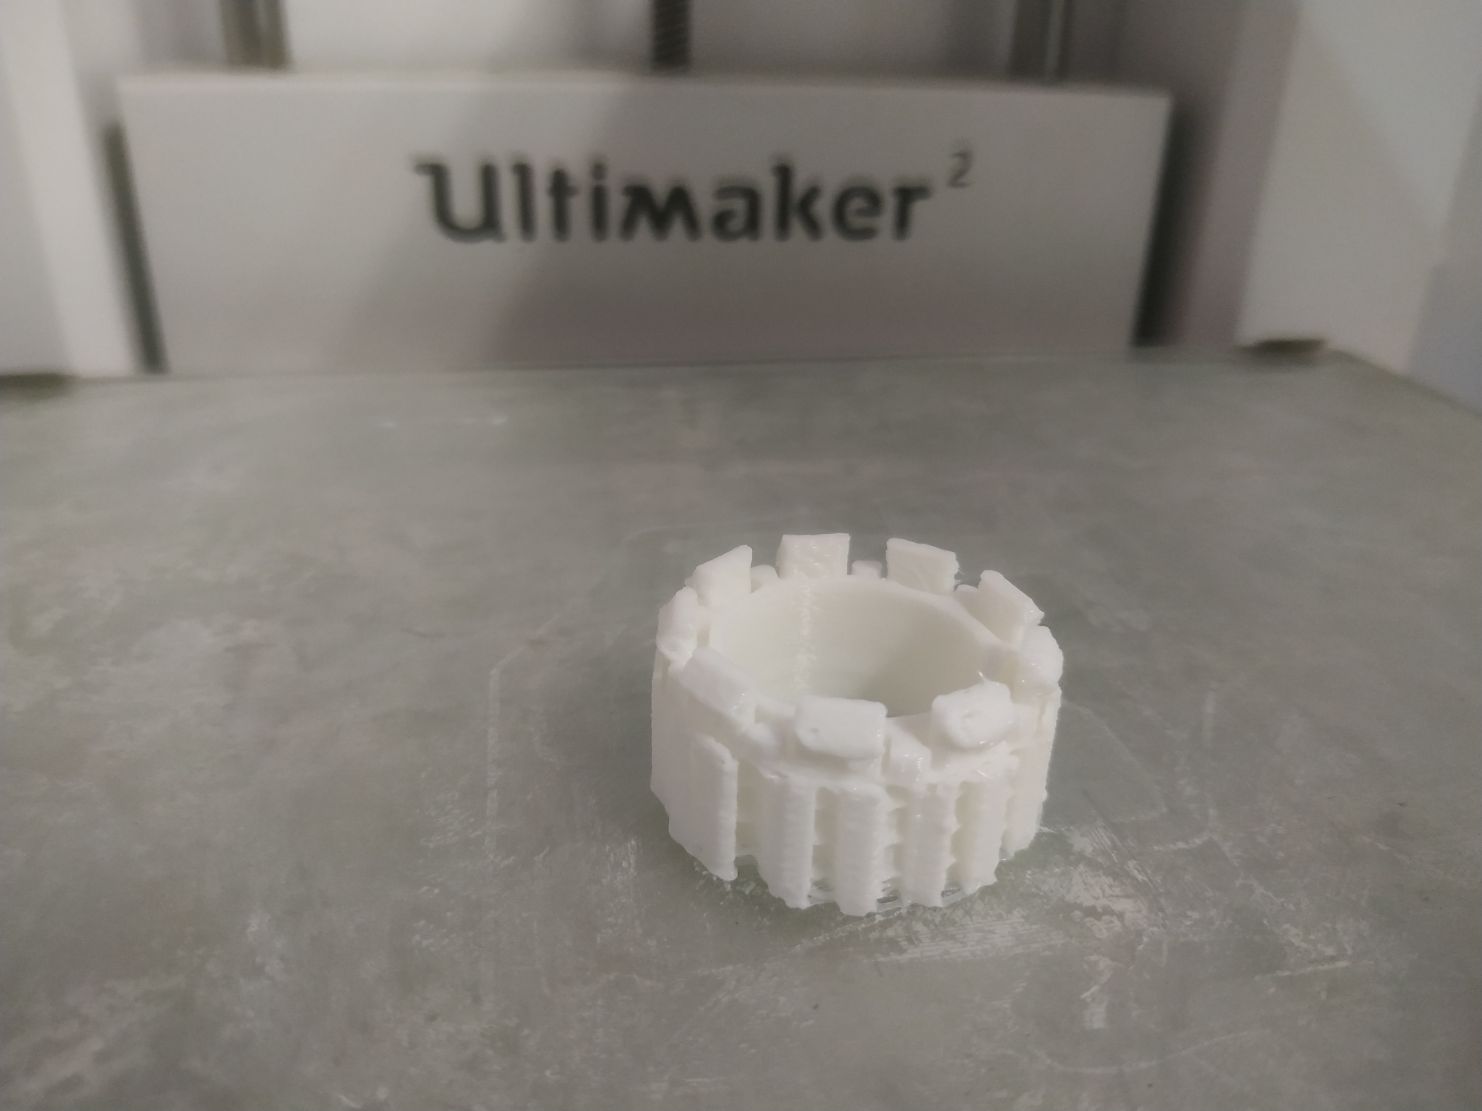
This is a 3D printing of the inner adapter. It has supports on it, but the model could be printed without them.
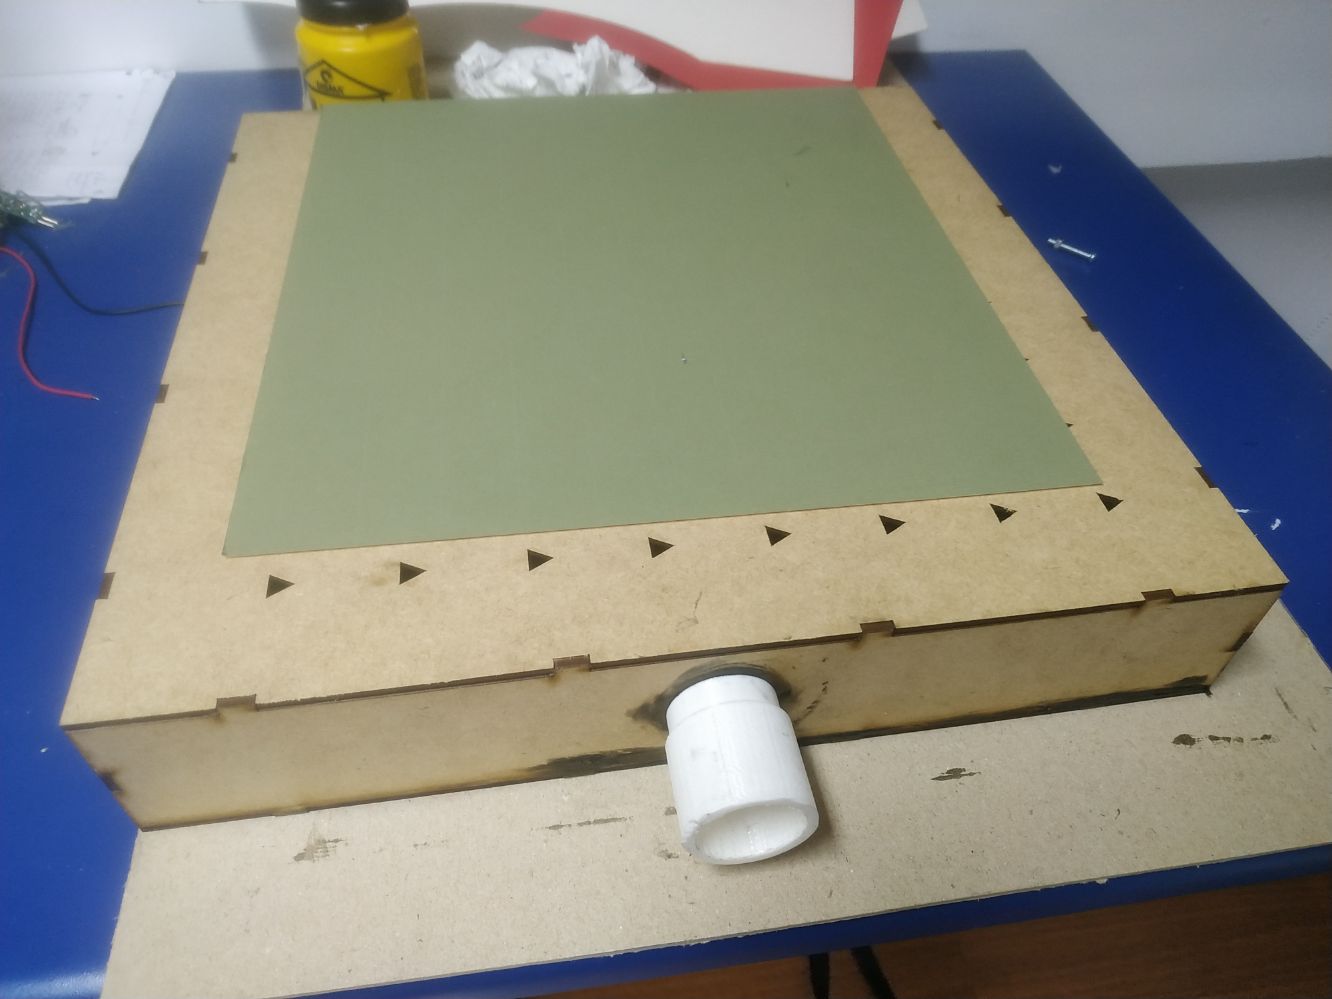
The chamber is cut from MDF, and hold together with Elmer´s glue (acetate polymer).
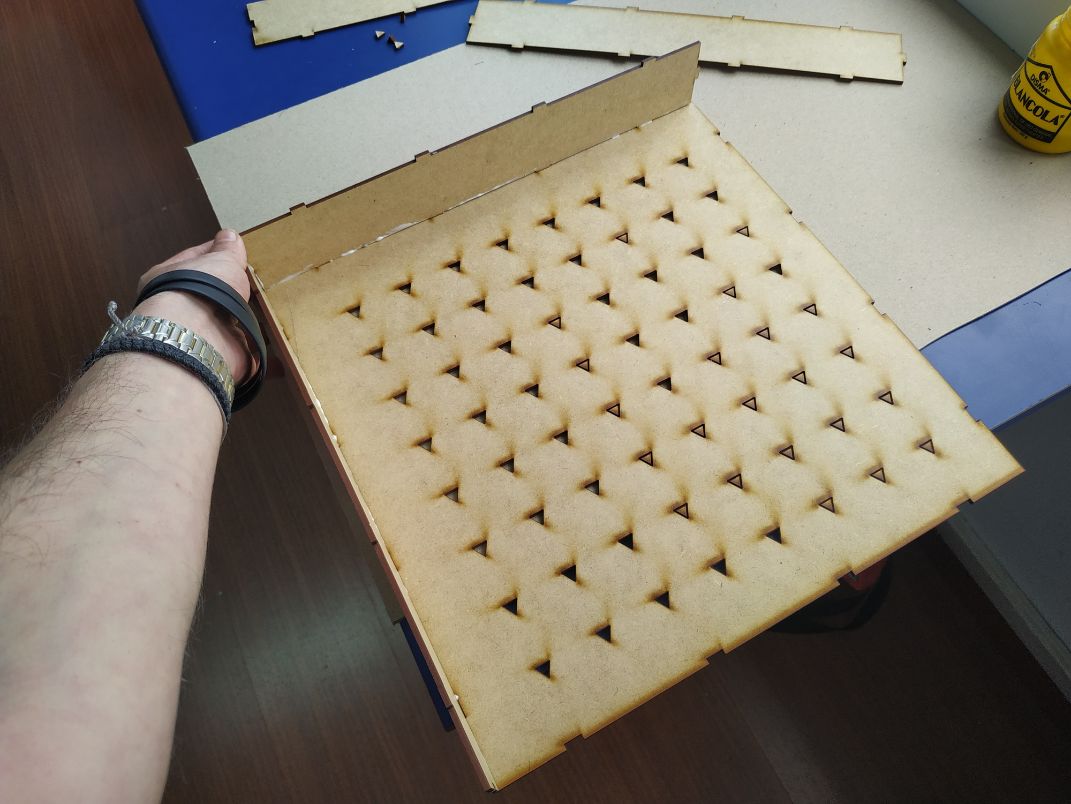
From the inside
Four walls and base together.
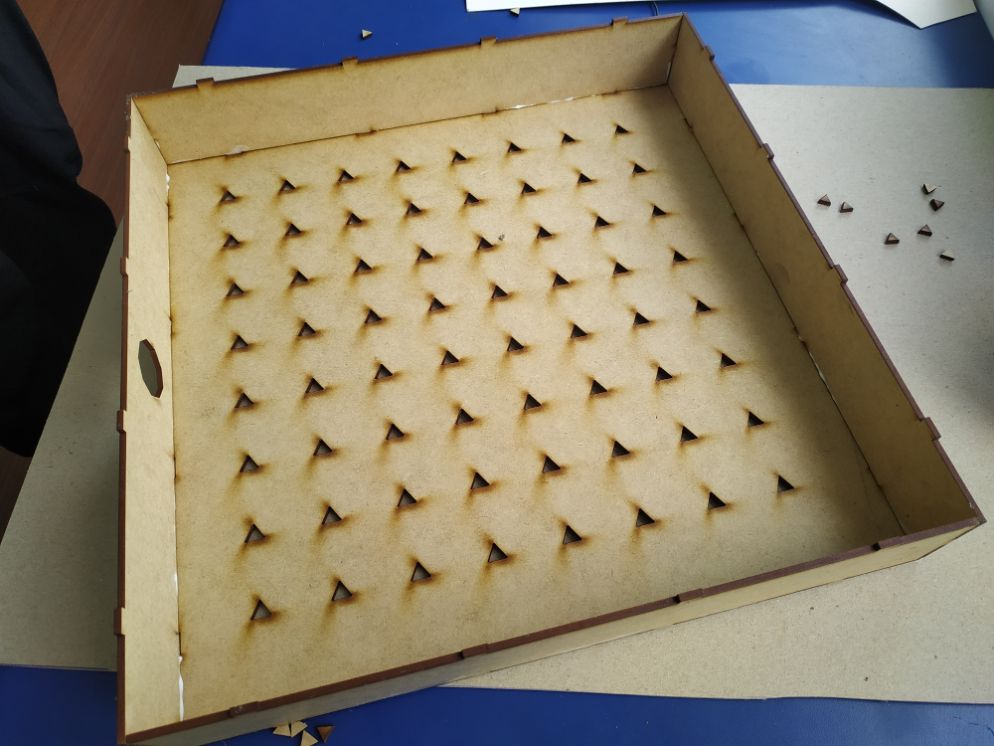
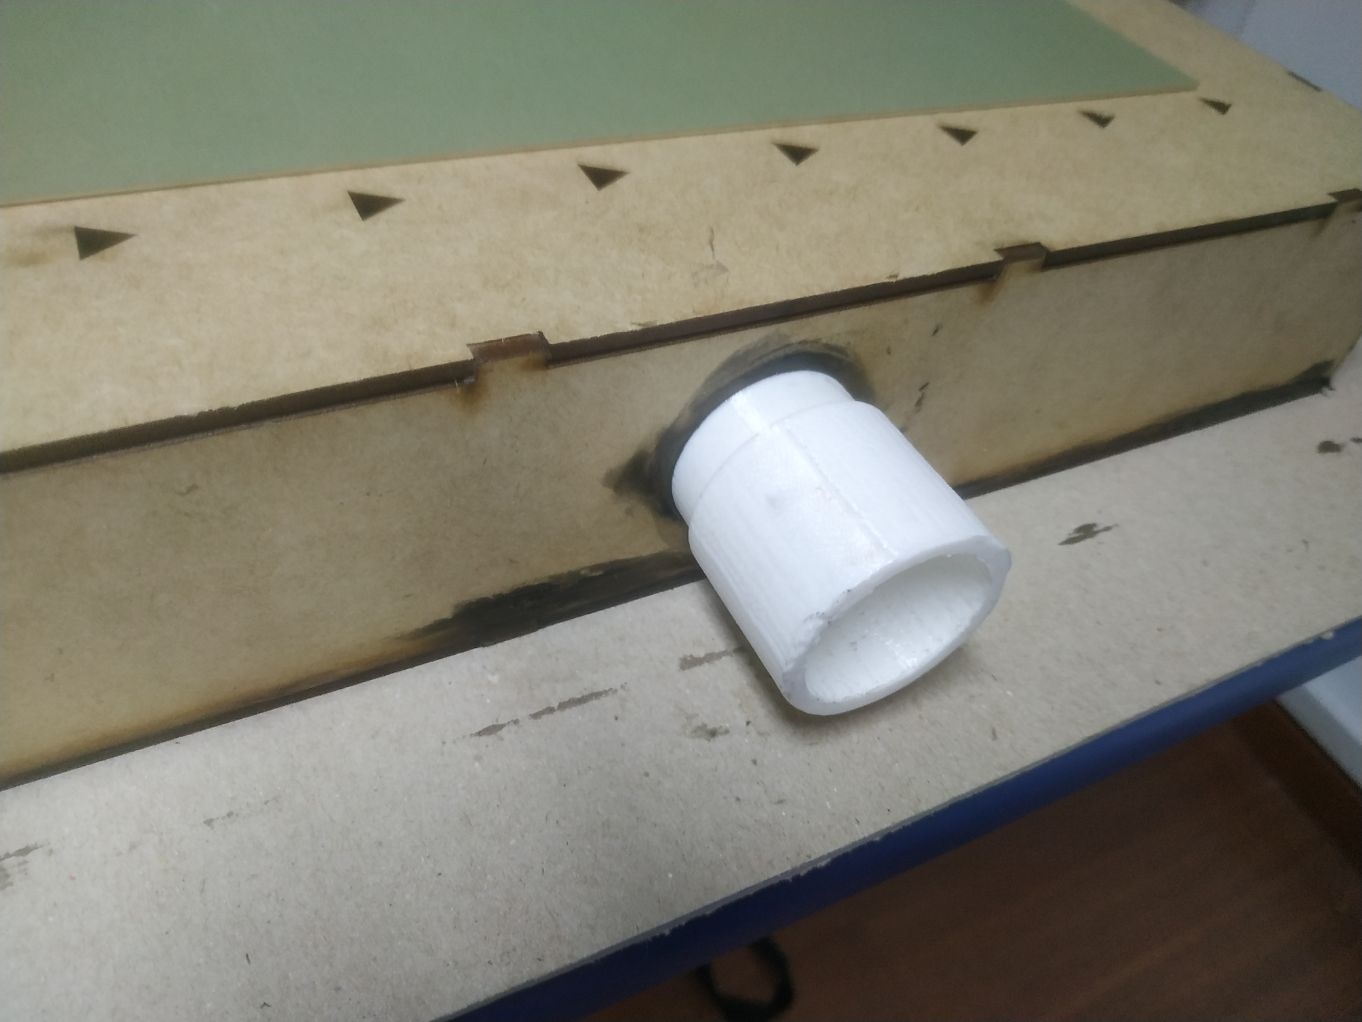
The inner adapter then fits tightly in the hole.
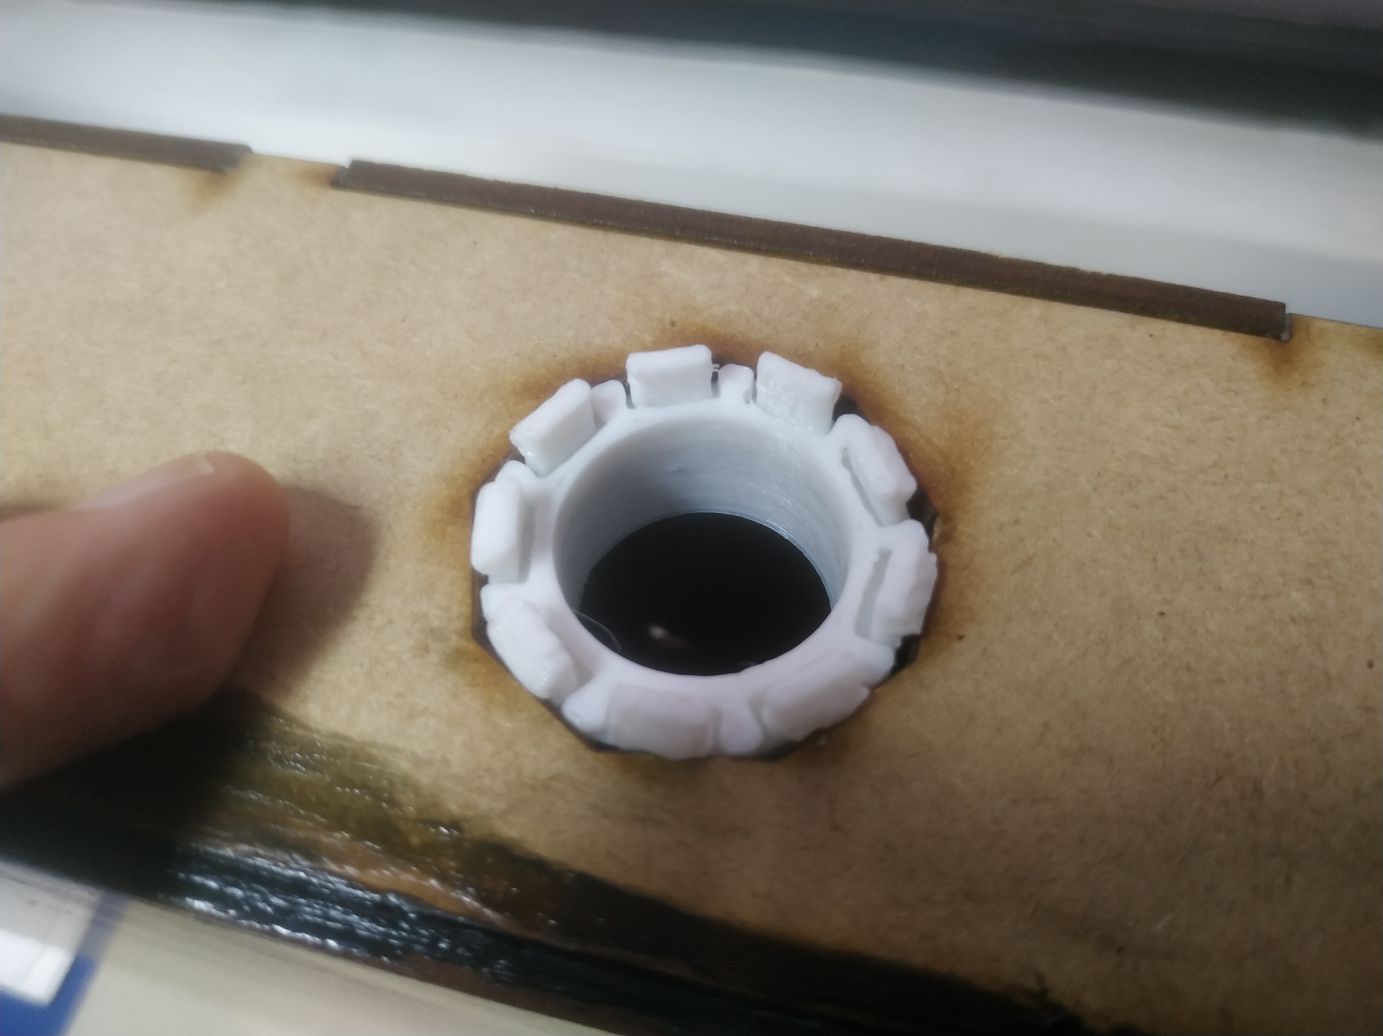
Then we seal the junction with silicone.

The chamber needs to be watertight (hermetic).
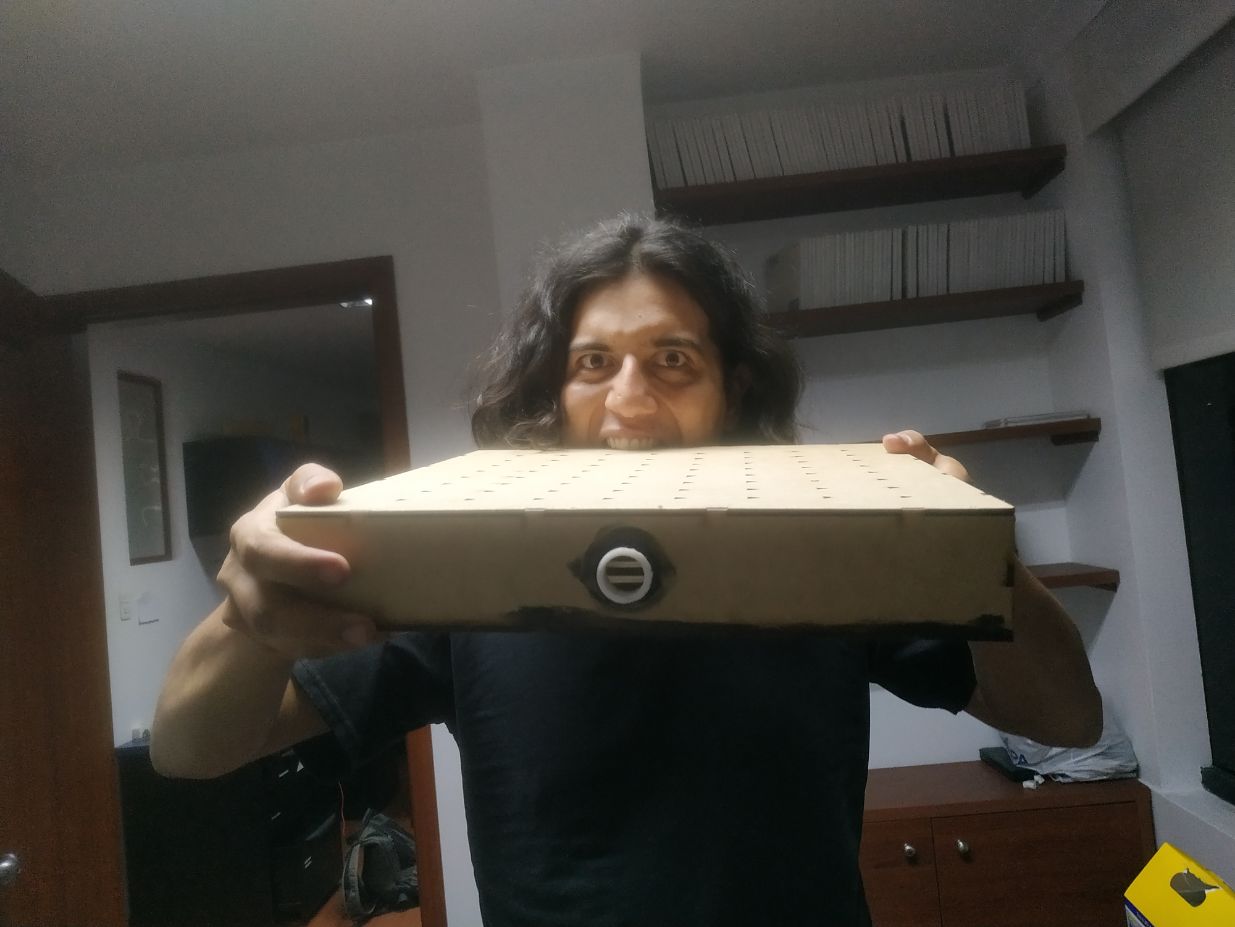
Finally, we connect the outter adapter to the inner adapter twisting the corresponding threads toghether. It provides a pretty tight seal.
Then we have the chamber ready to use.