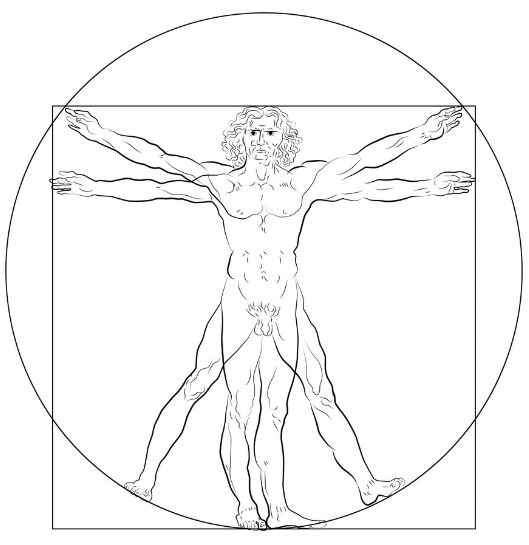
11. Implications and applications
MIDI suit (Steampunk style)
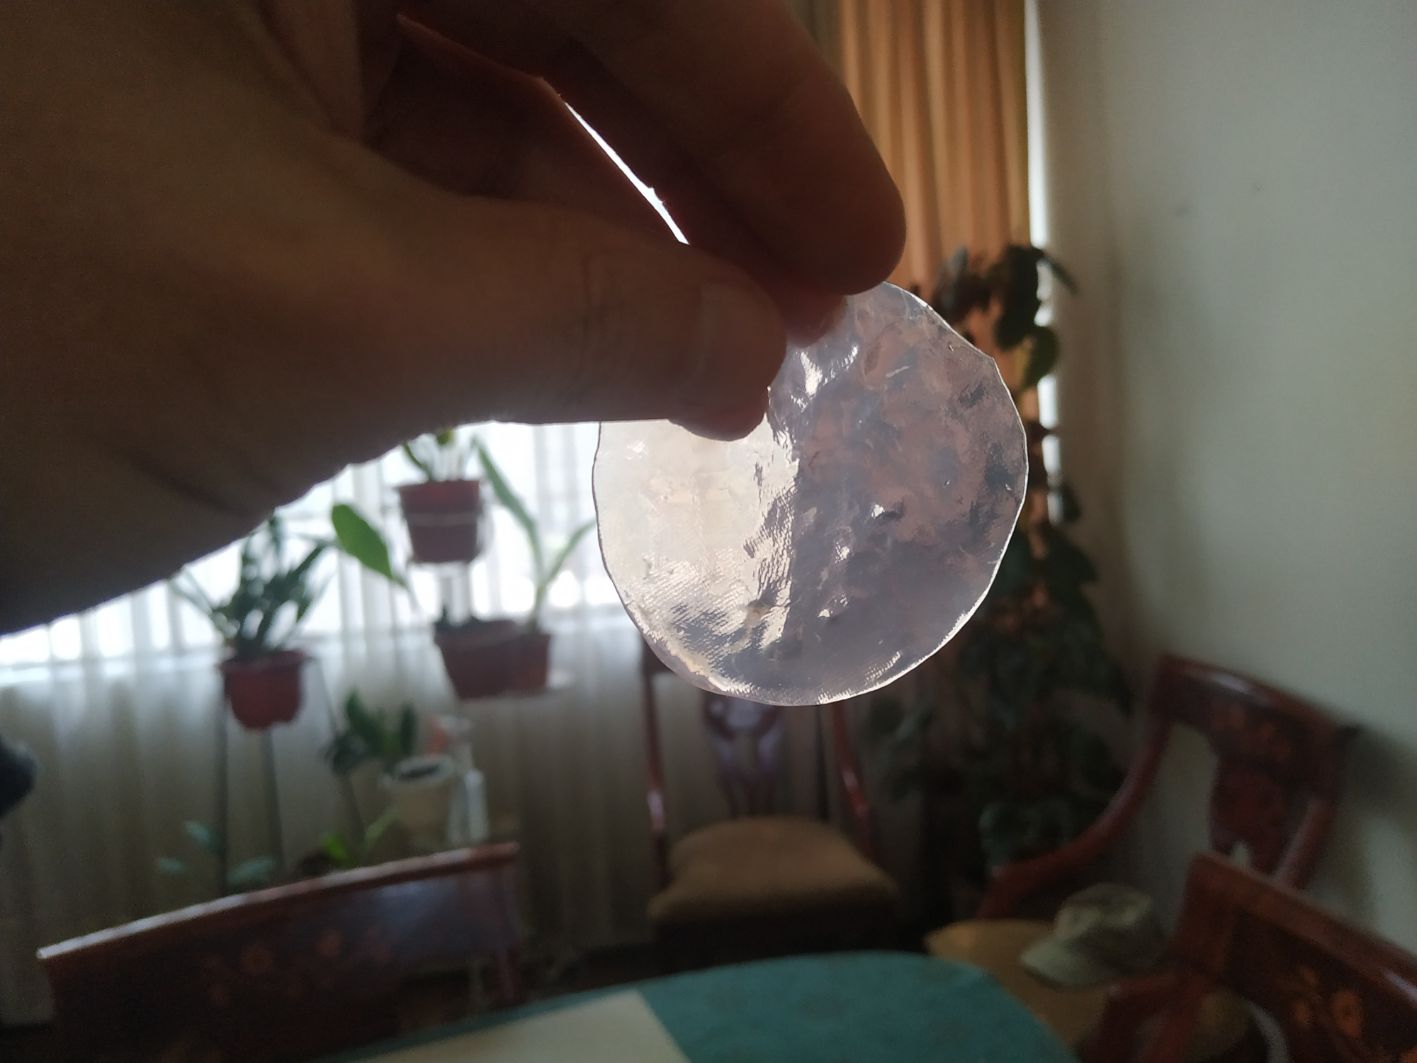
Project Idea and previous symilar products
The MIDI suit will be wearable device to control remotelly a DAW, (Digital Audio Wokrstation), using soft sensors to transduce analog signals to digital signals, and then to MIDI (Musical Instrument Digital Interface) commands.
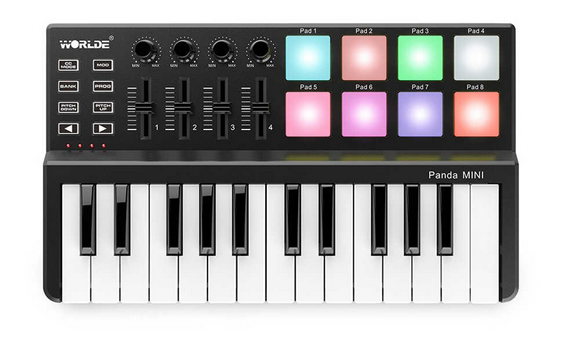
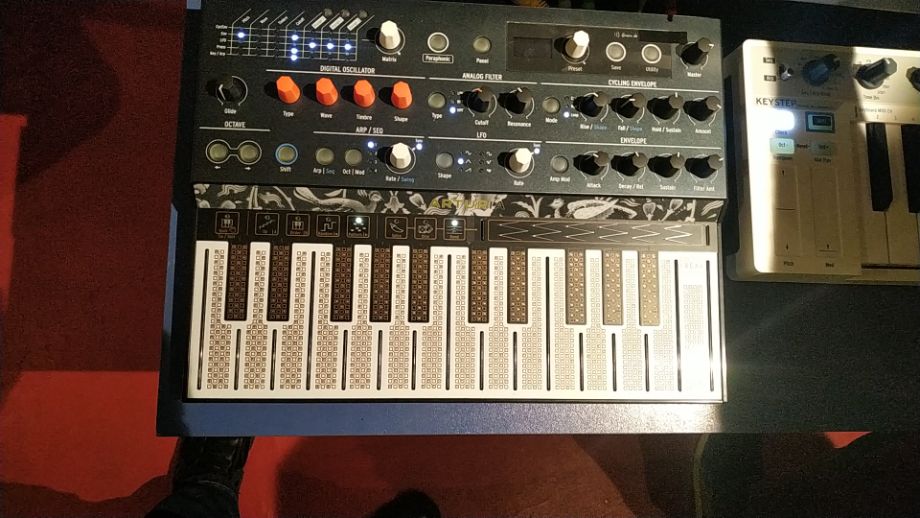
From the user´s point of view, a midi controller could be a console, like this one, what is basically sense buttons and potentiometers, digitize them and convert them to MIDI signals.

Found here could its characteristics from one vendor.
But traditional (and hearable) frecuencies and tones used in music generation can be also maped to MIDI. That is why we can have digital instruments, like a traditional MIDI keyboard, where you can actually play the digital instrument like a piano.
Some of them can actually sense the preasure, and simulate the intensity of the note hit (called velocity, in MIDI). A huge improvement in expresiveness.
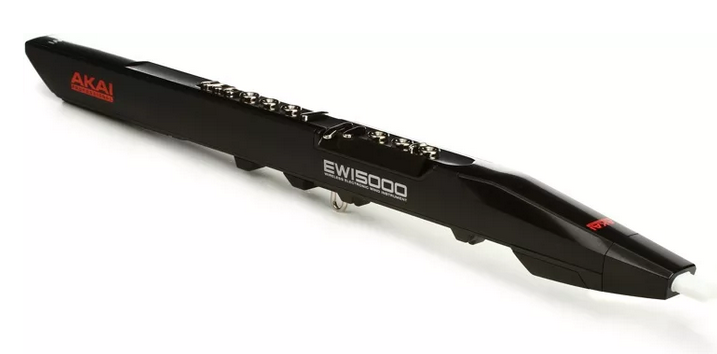
Some got a little experimental, and created guitar-like interfases, (I used own one), drum-pads and even flutes and wind instruments. Some examples of new guitar interfaces can be found in the link.
Here is an example of a MIDI flute, by the company Akai.
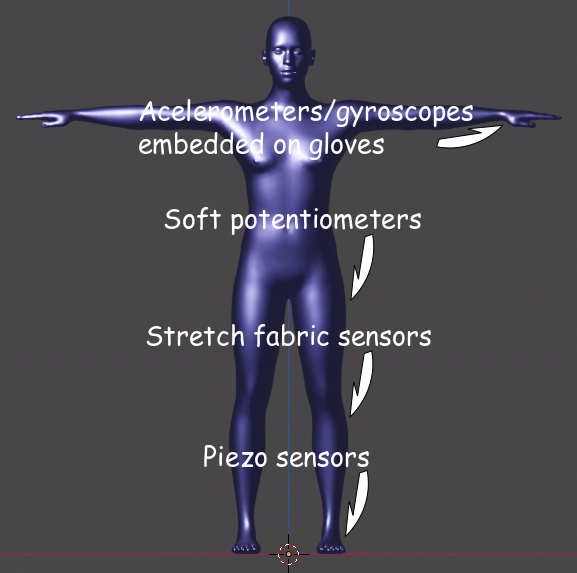
I think the next step is to use sensors as new inputs for instruments (and lights?) control, as this example by Musician Imogen Heap.
Concept
The idea for this project is to explore the mew sensing textile technology linked to MIDI control, and also explore aesthetically the concept of Steampunk, as a Hi-Low technology approach that contrasts the 19th century fashion and gardments with advanced devices, often mechanical.
Also I believe that the interfase between hard and soft technology goes hand on hand with the Steampunk spirit.
This product will be personalized for me and for Steampunk aesthetics, but could be applied to many generes and clients.
It could be used for electronic music composers and perfomers.
The variety of signals that we could sense makes the potential number of controllers very high. On the other hand, there are also multiple hard and soft actuators. This open the posibility of very high coustomization.
Also, in the gardment fabrication itself we can use the resources Digital Fabrication provides, as using the application Make Human for designing the clothing according to the shapes and measurements of the body.
The client could just provide this measurements and a personalized digital manequin could be generated. Using it, the personalization in the gardments could be achieved.
For the design of the gardments I am planning to use the trustable Blender and this new add-on that I found, that allow us to design gardments (and open source).
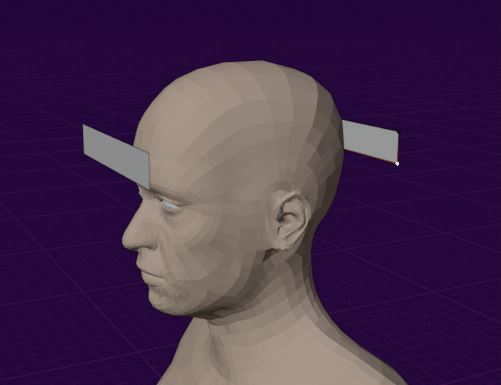
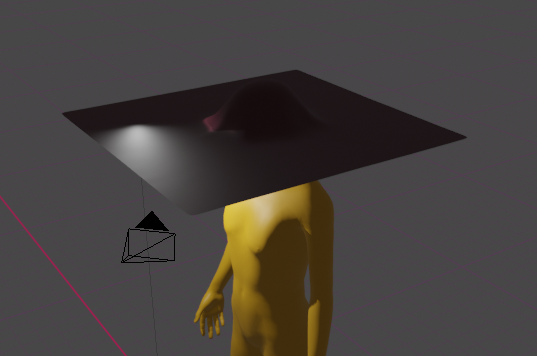
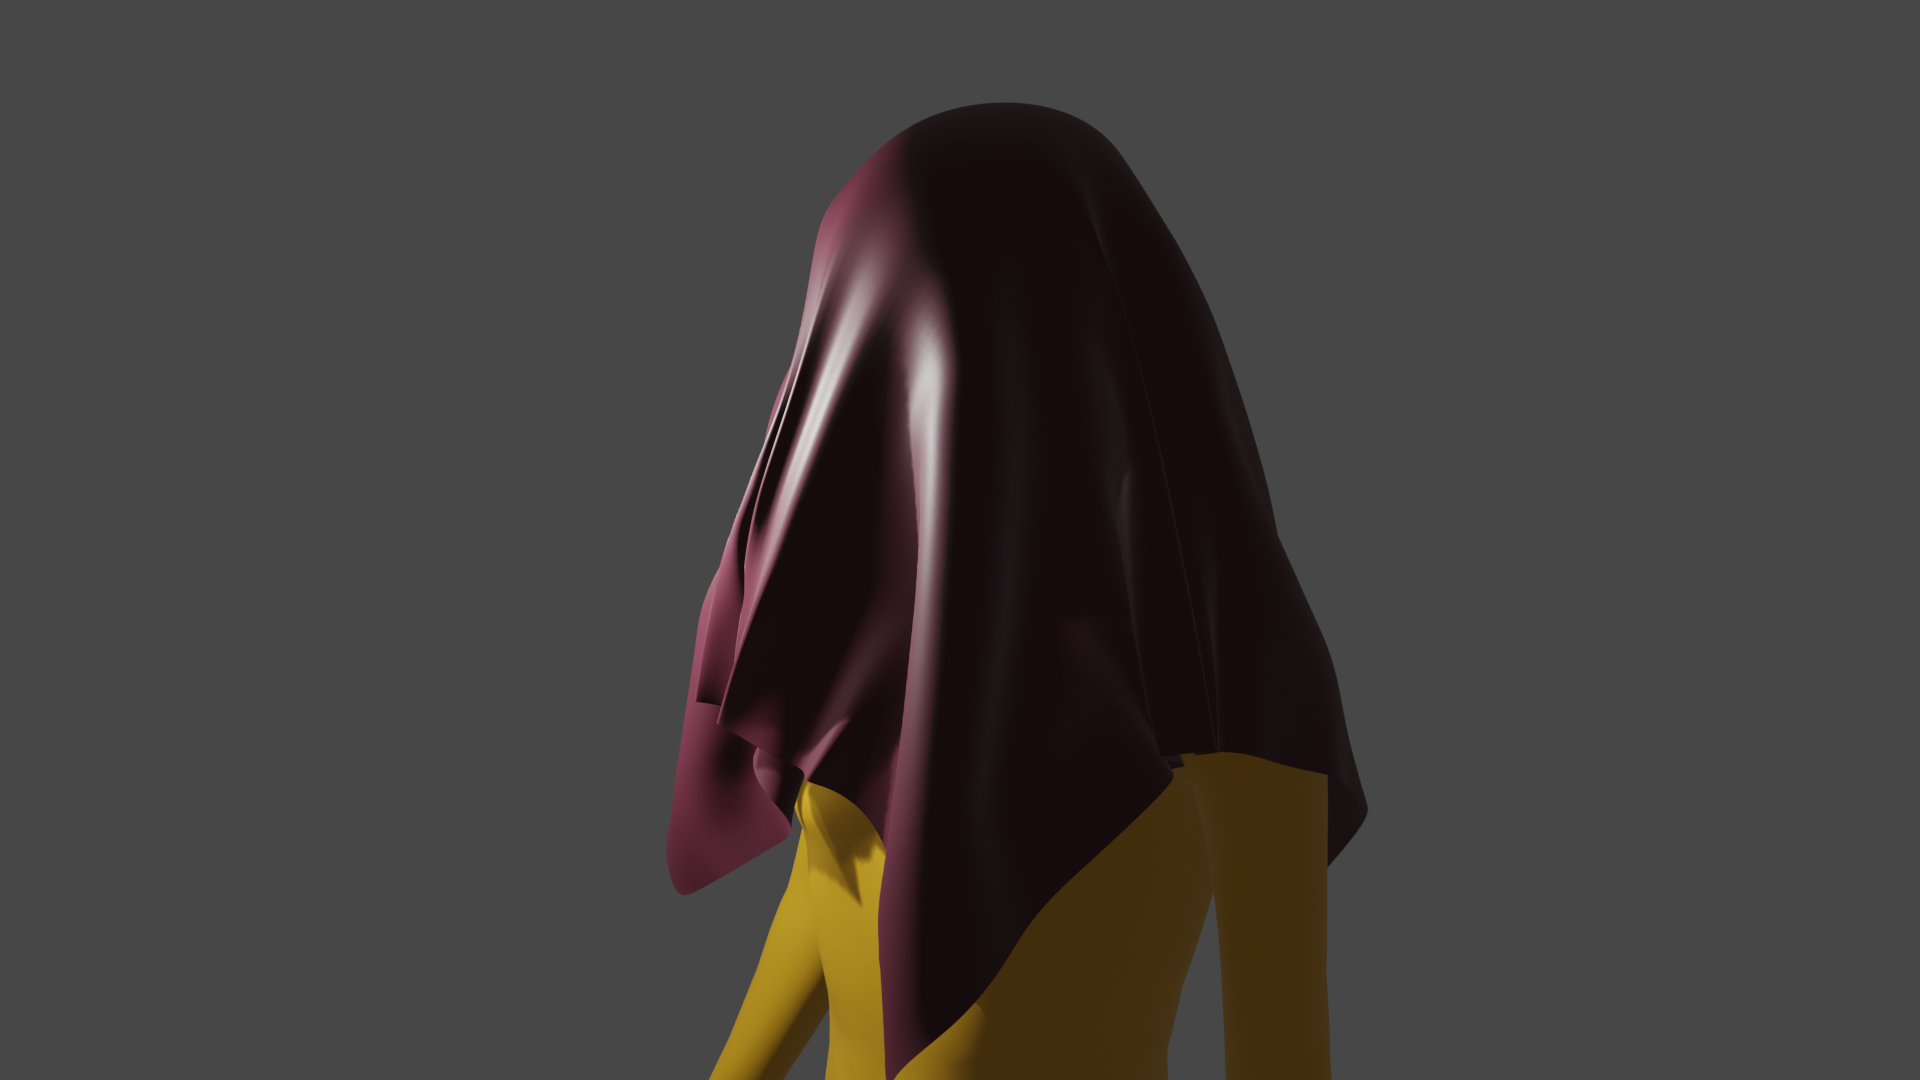
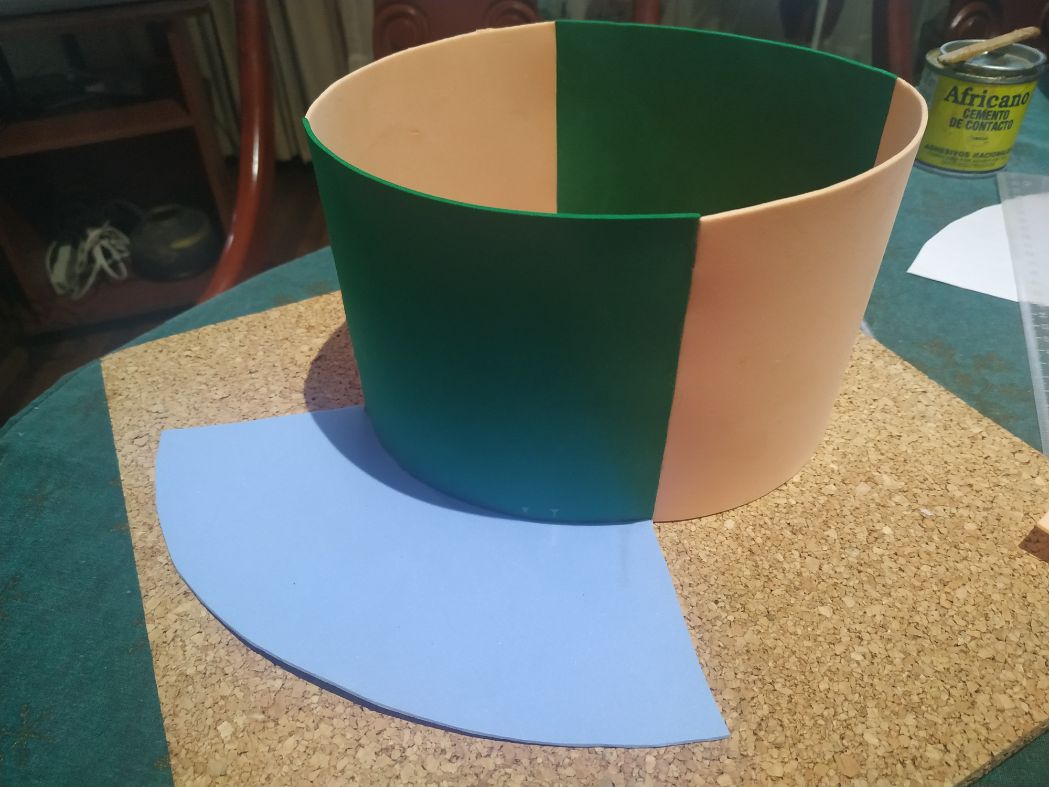
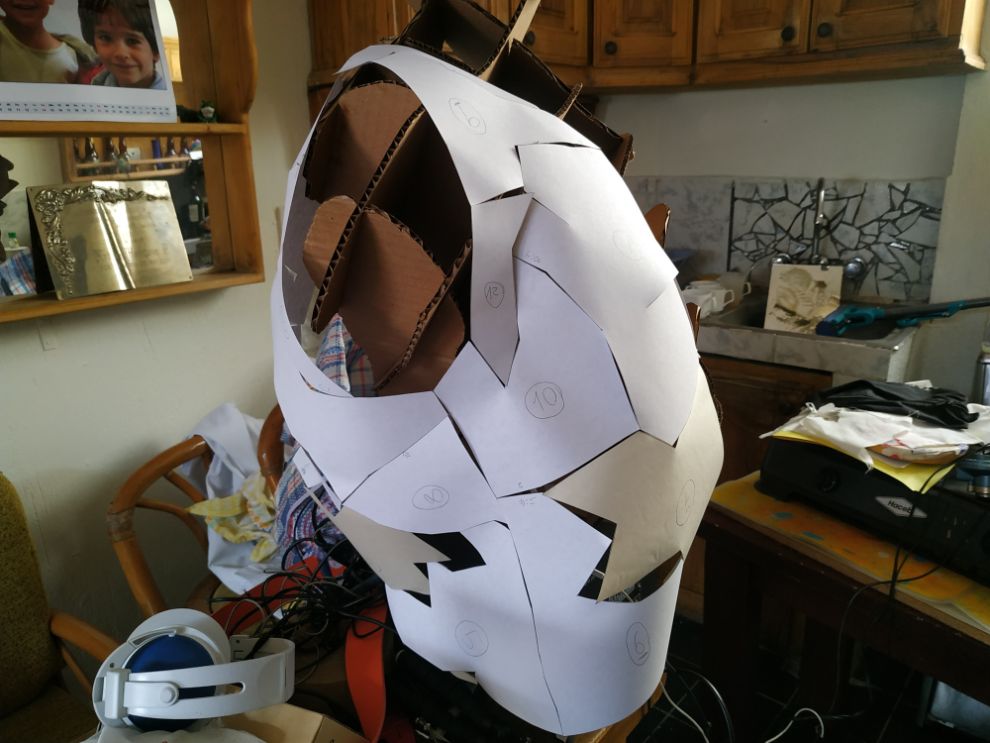
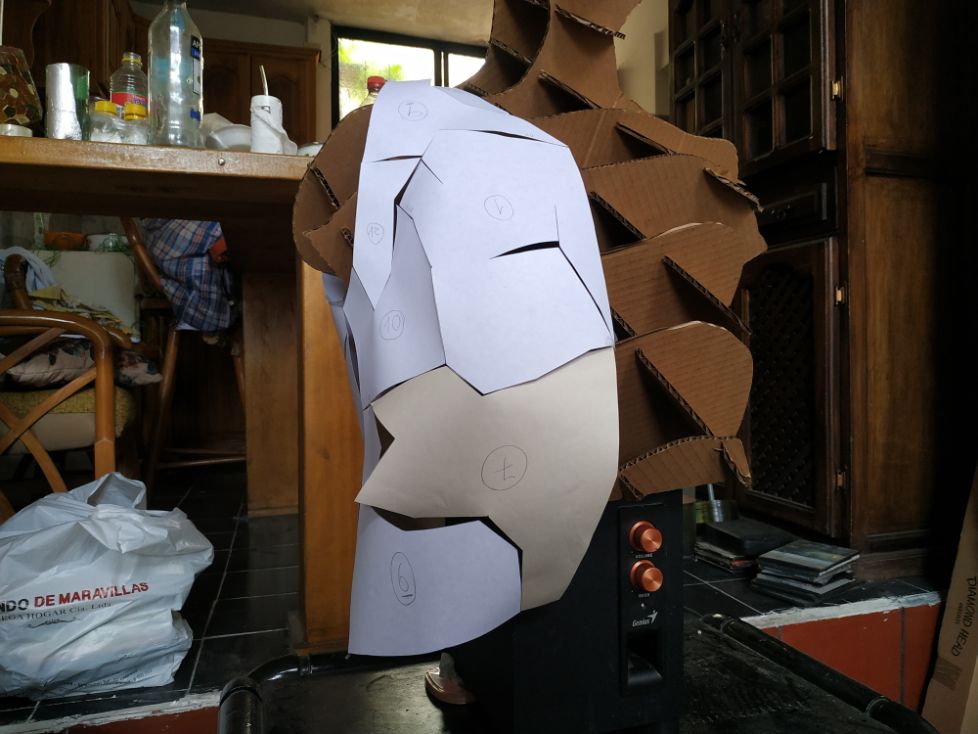
With this application, we can just create pieces of virtual fabrics, and sew them together (and also add more physics, if necessary). Here we can see a test for creating a simple headband. Just create the pieces...
Then create the part of the mesh to sew.
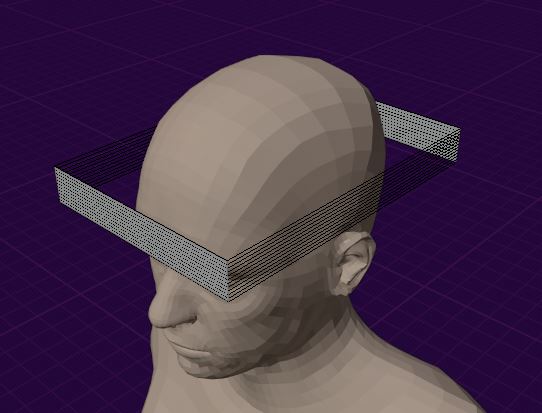
And run the simulation. We can define things as how much space is between the model and the gardment.

If we play with the setting we could simulate the quality of the fabric. Very useful.
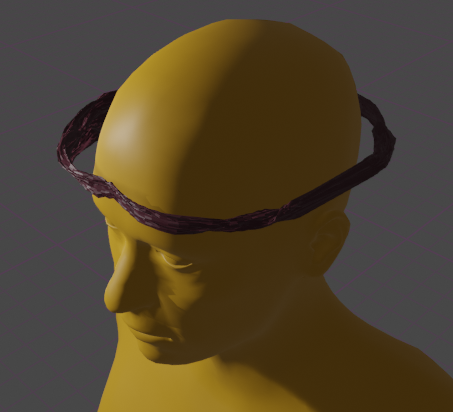
Here with other settings.
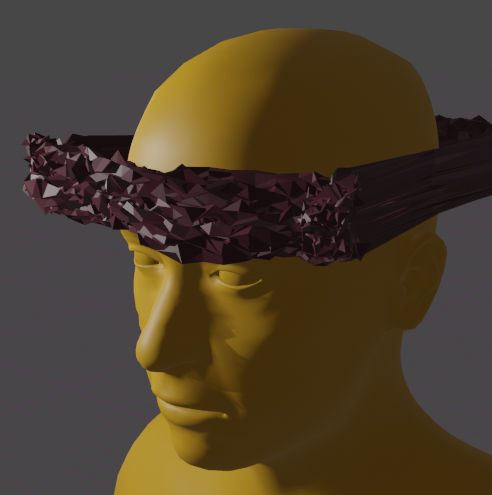
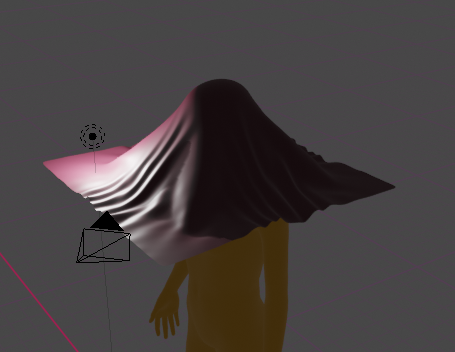
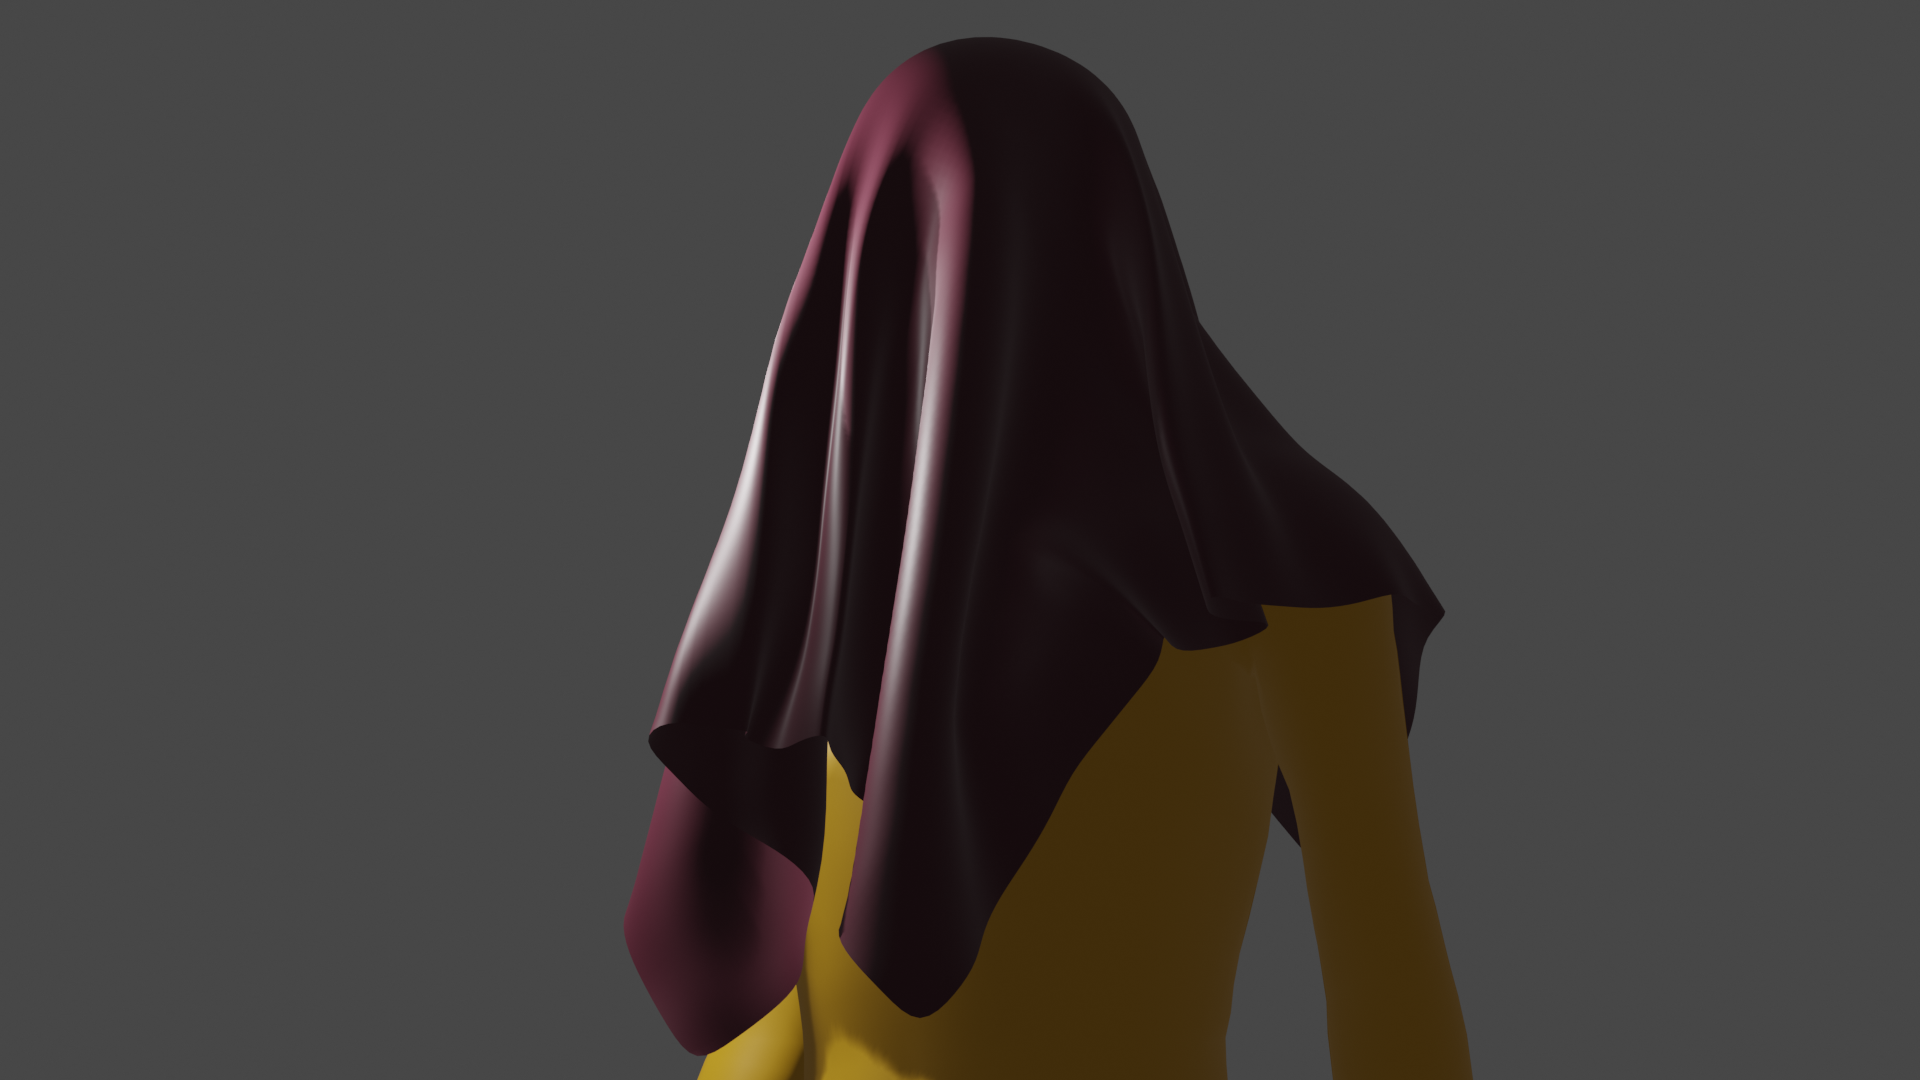
We can simulate some physics, also. Here we can see an example of a piece of fabric under gravity and an obstacle (our model). Here we see the start of the simulation.
Here by the middle...
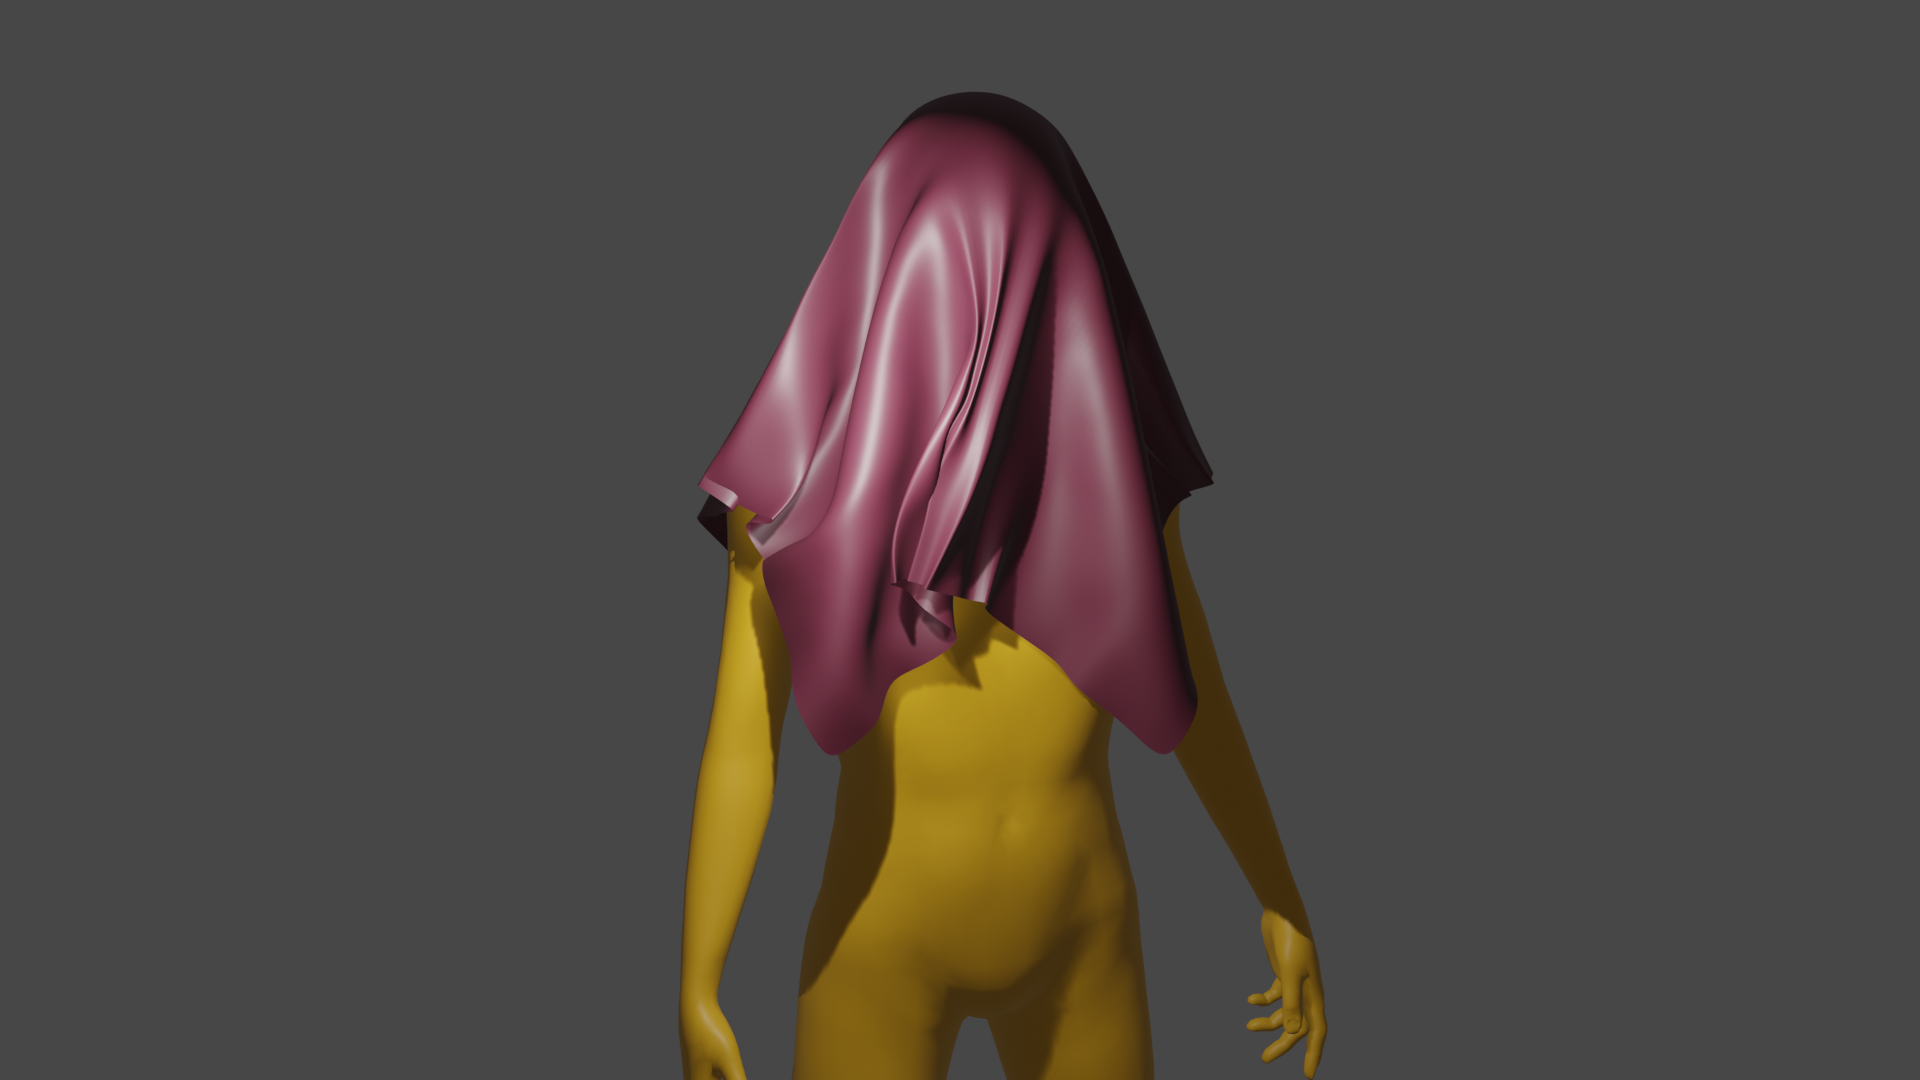
And here the end. Very realistic.
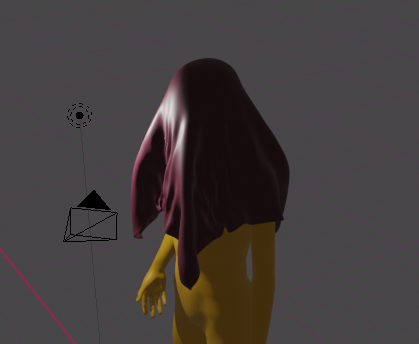
Here from somo other angles, lighting and shadings.
Using this system is possible too to create seams, and simulate the gardment you make. In the following video we can see a good tutrial, guided by the add-on developer.
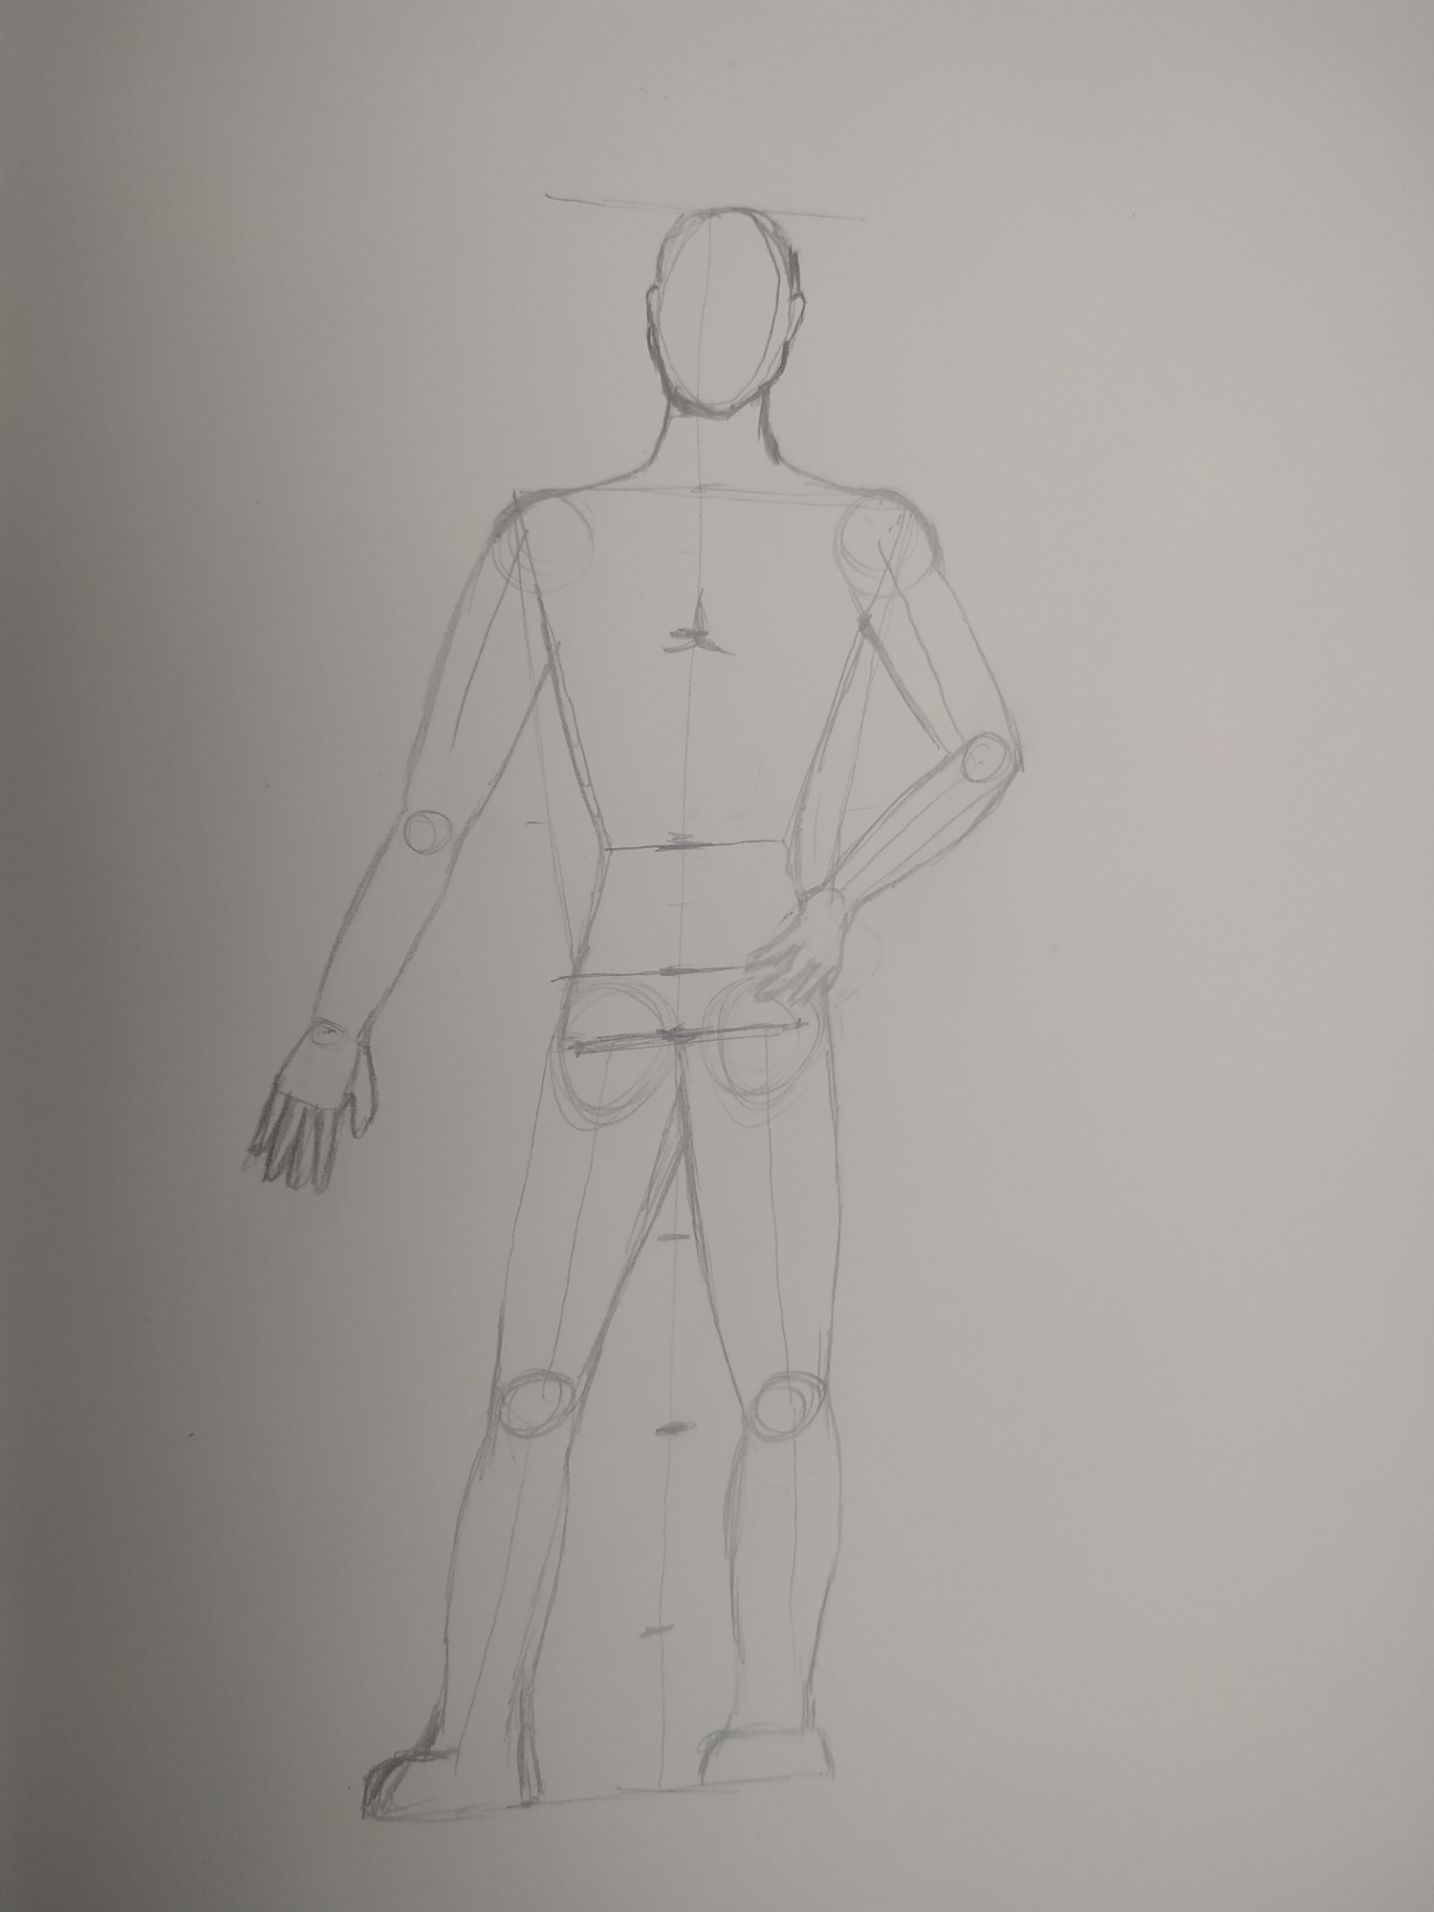
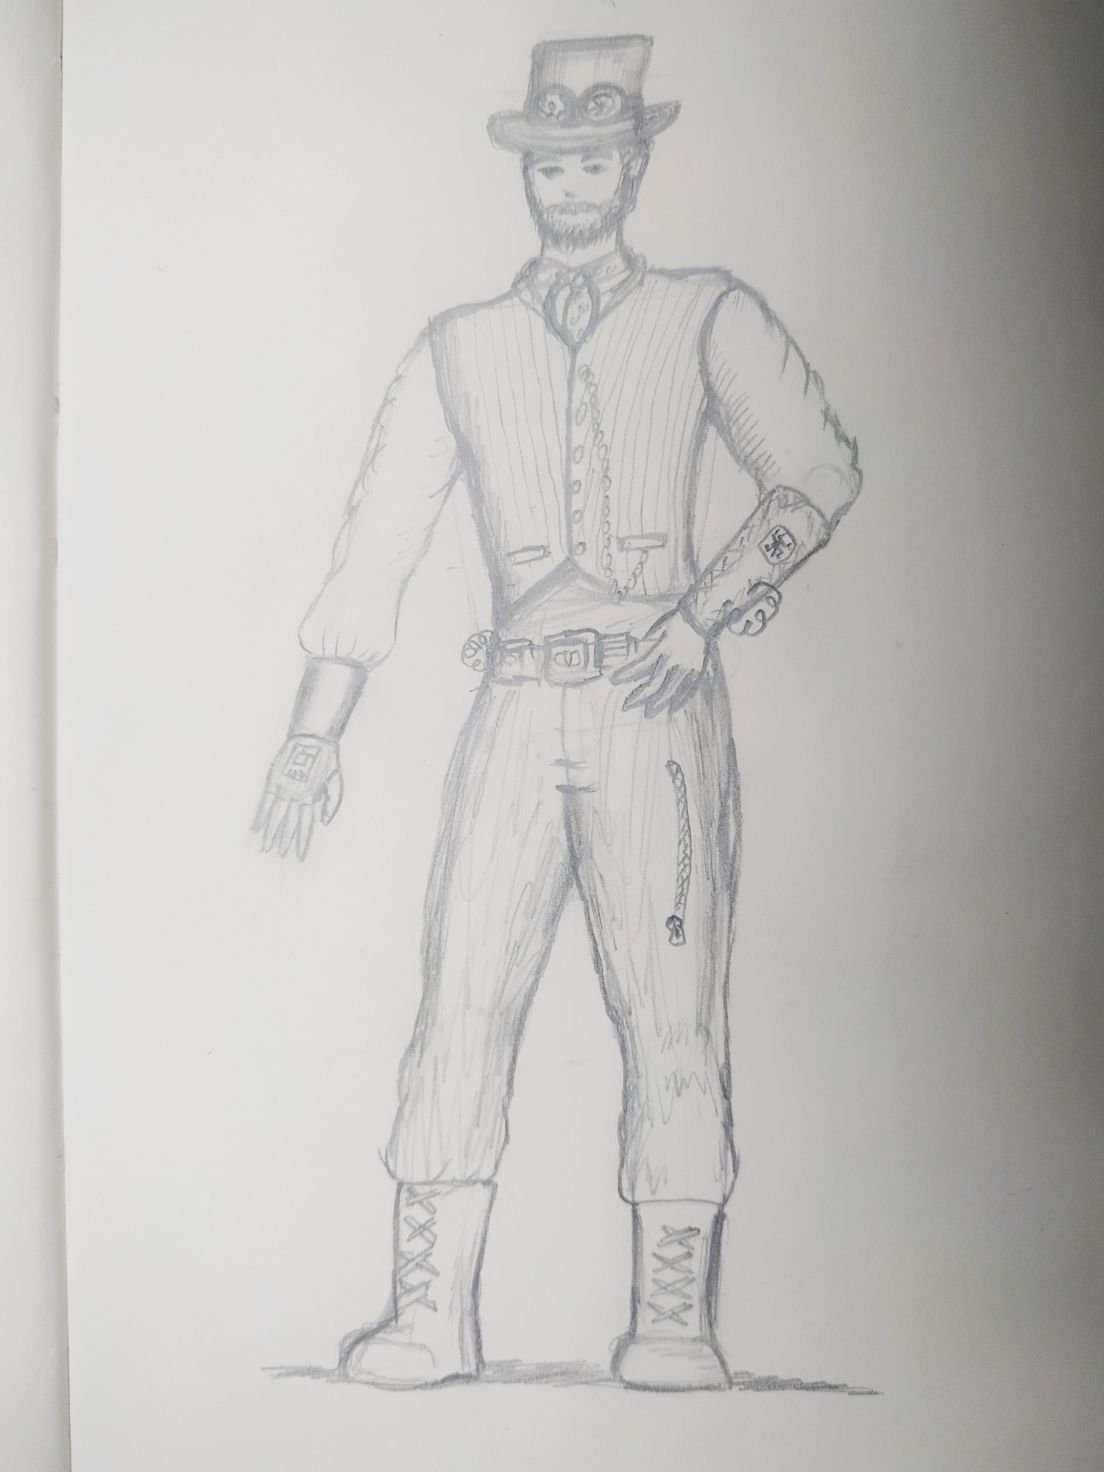
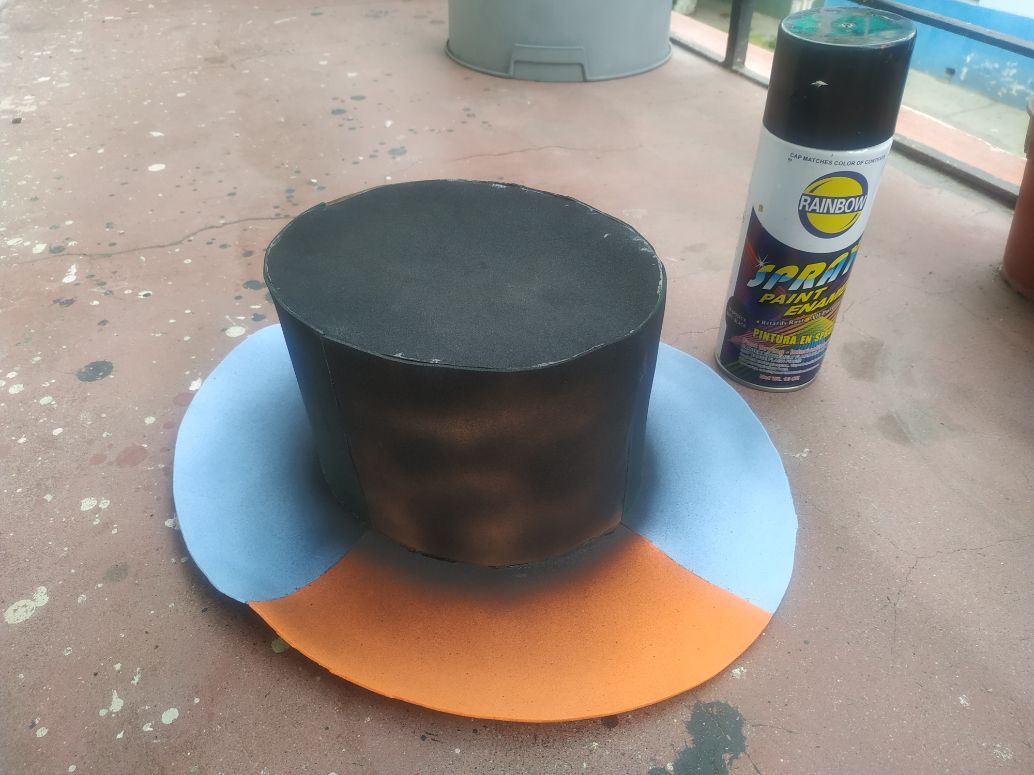
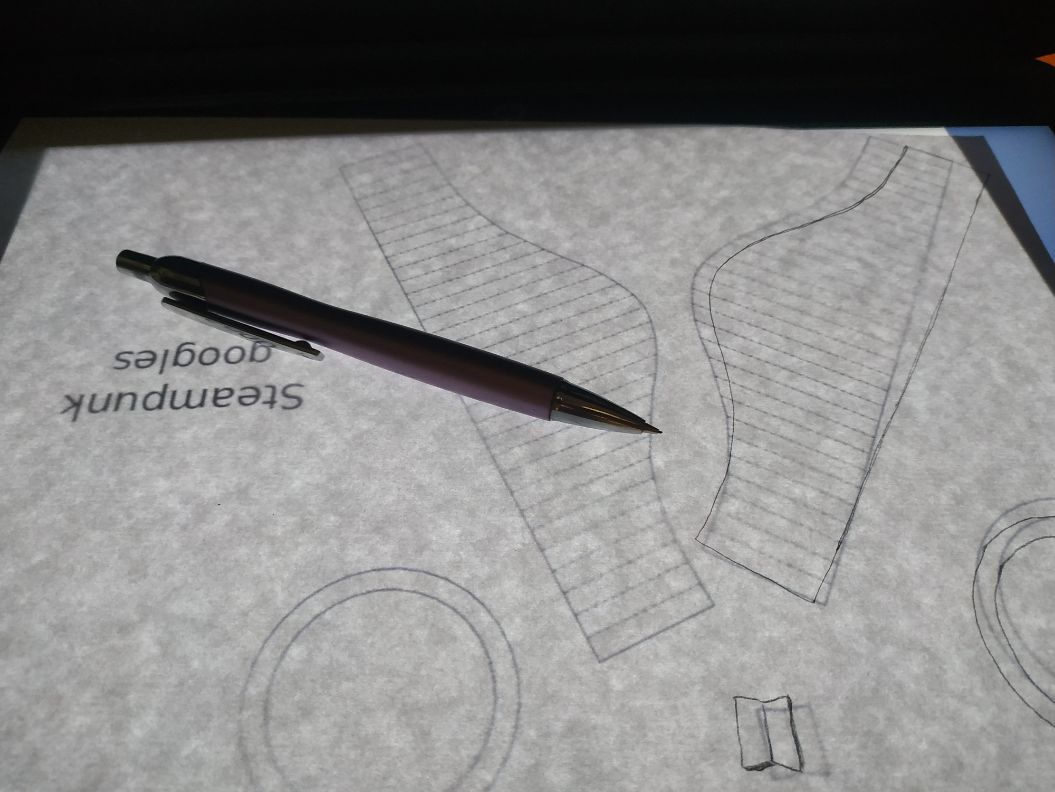
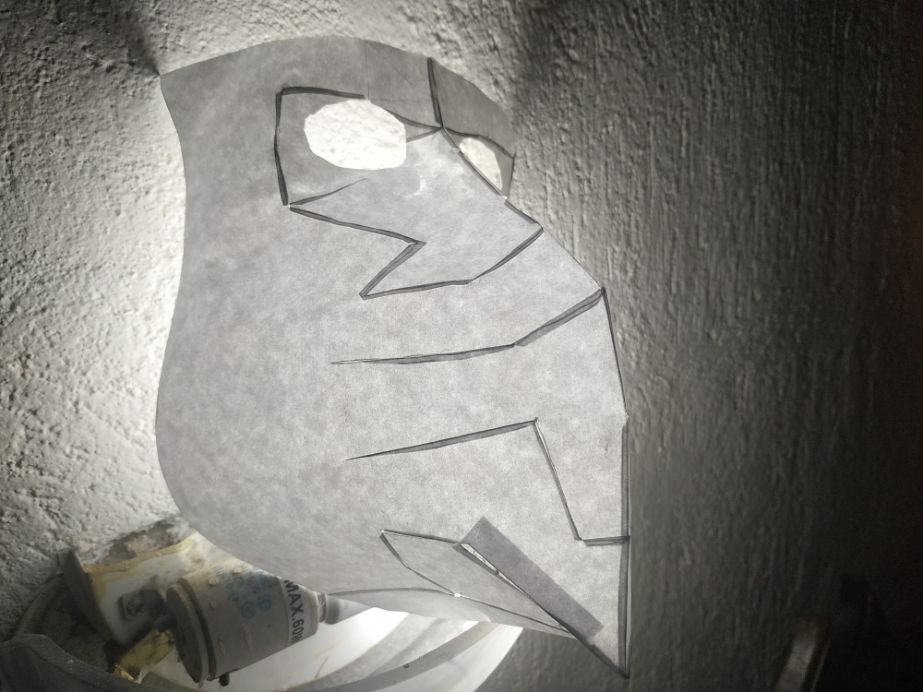
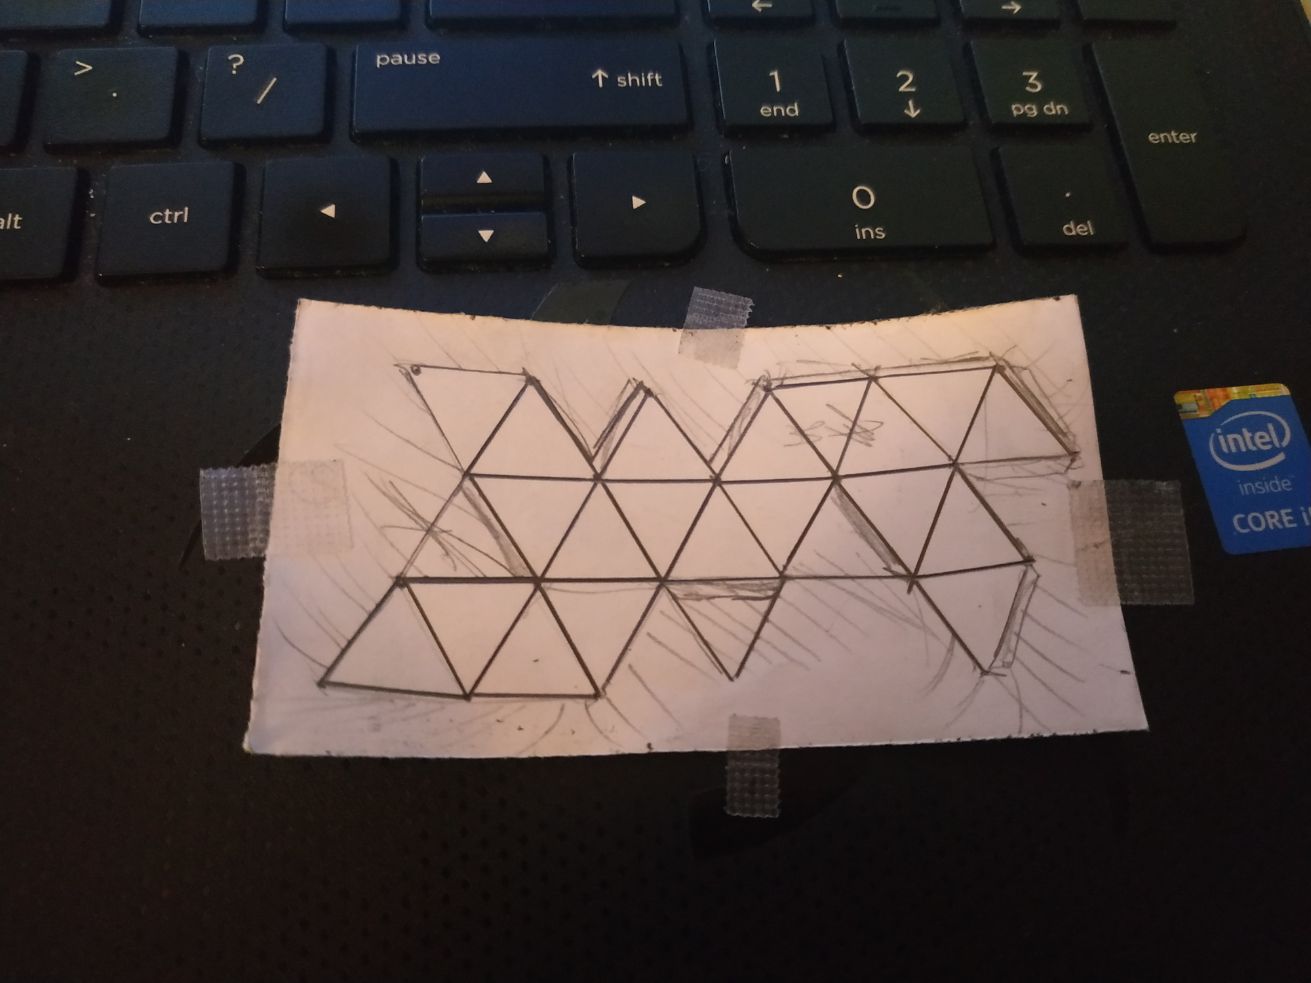
So, for the gardements themselves we can start a sketch of the product. Fot that endeavor, we are going to use a simple graphite pen and an eraser.

We can use a head measurement for the proportions. This is a common method for drawing.
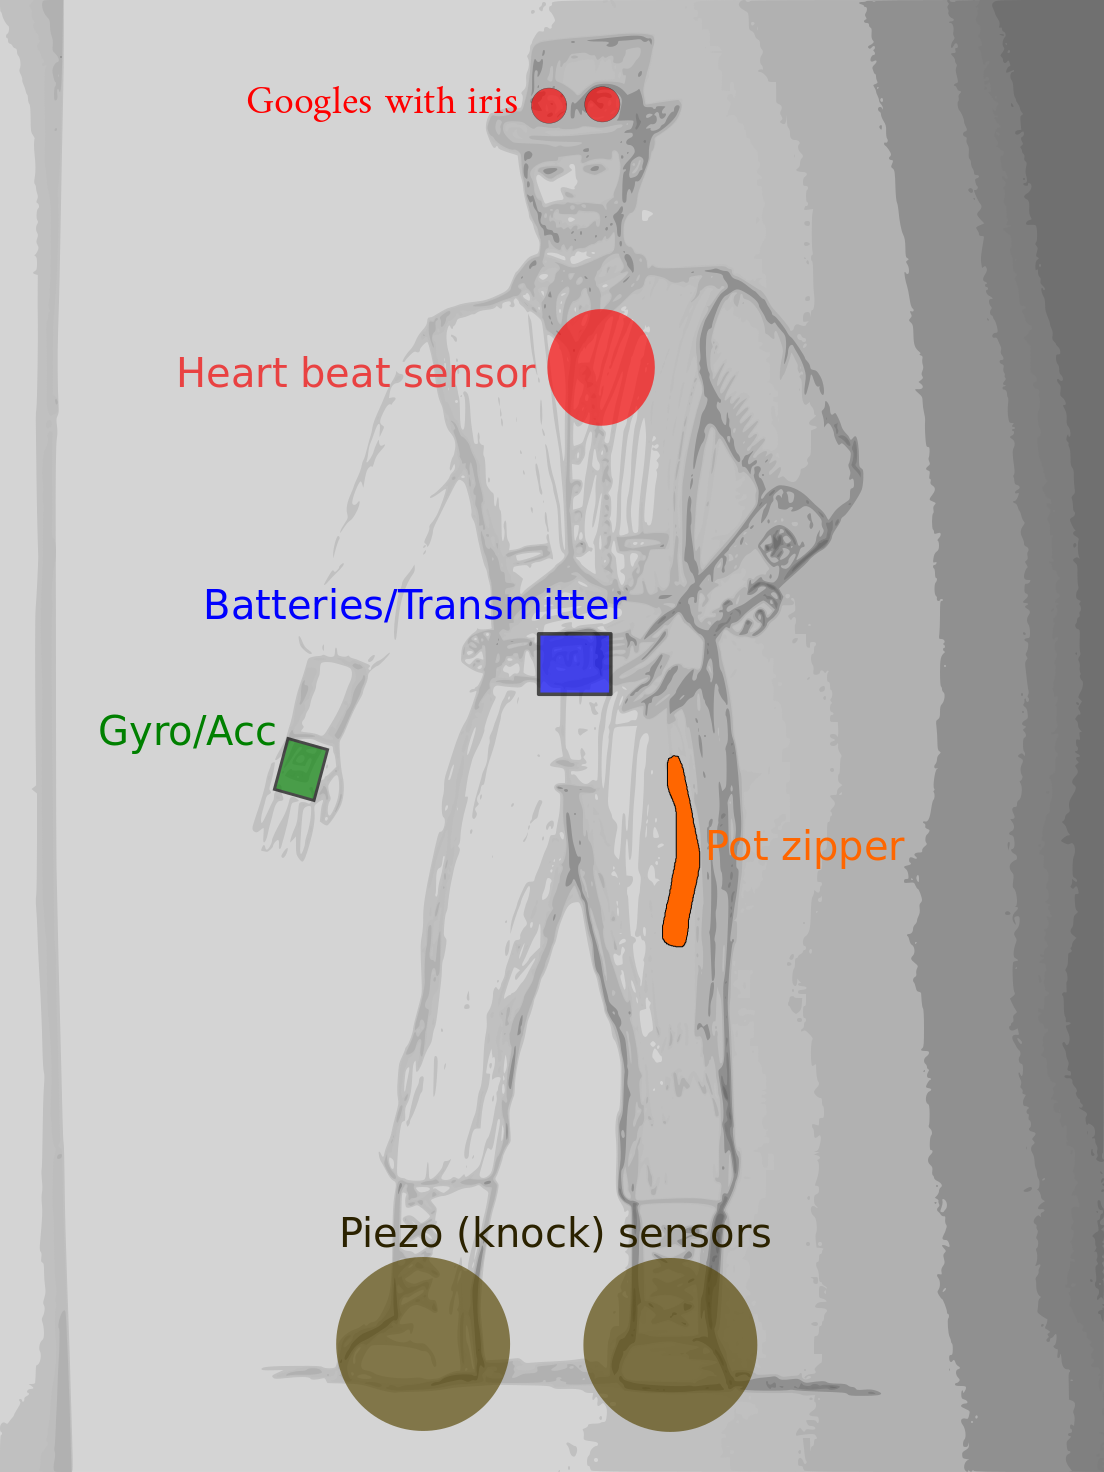
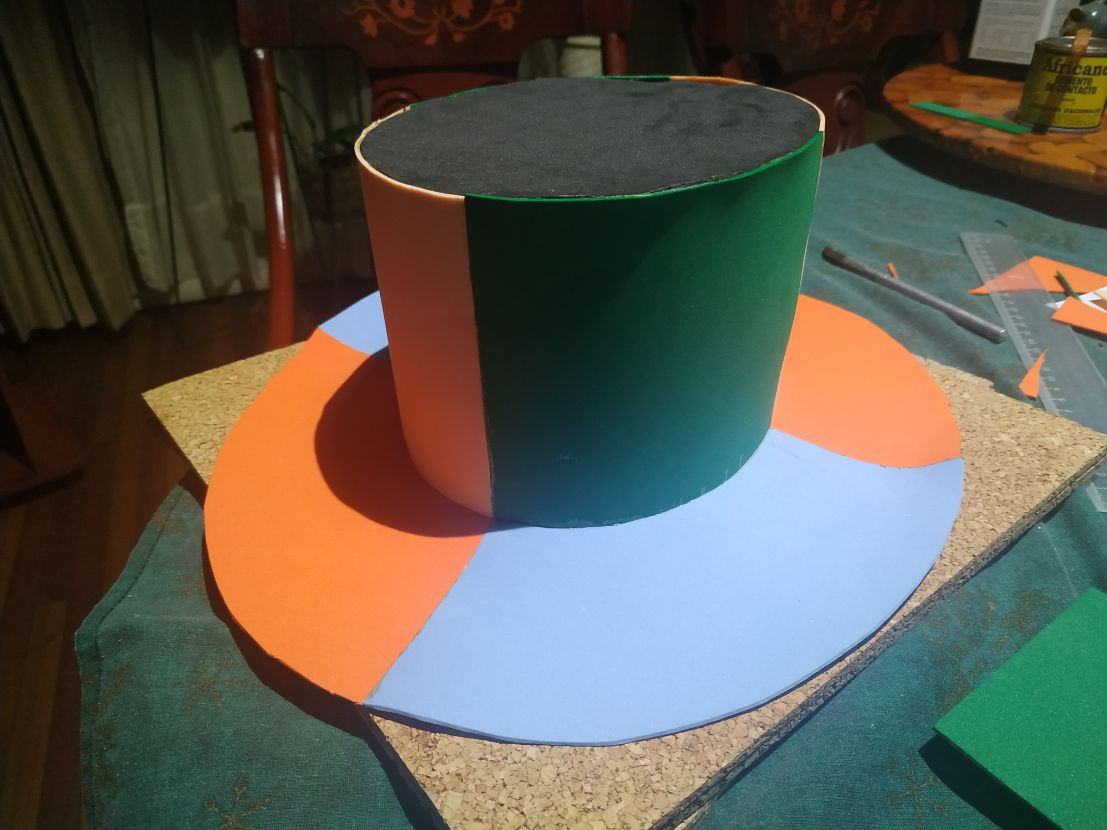
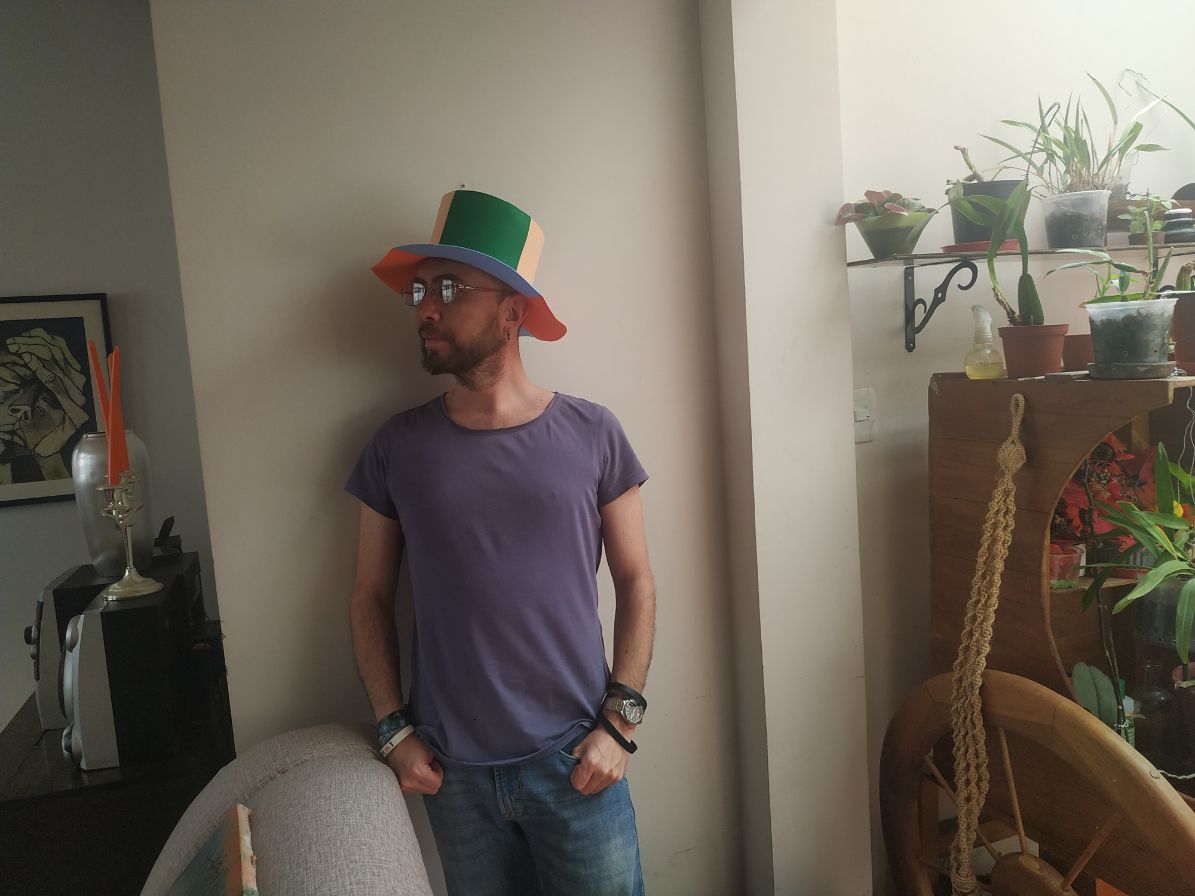
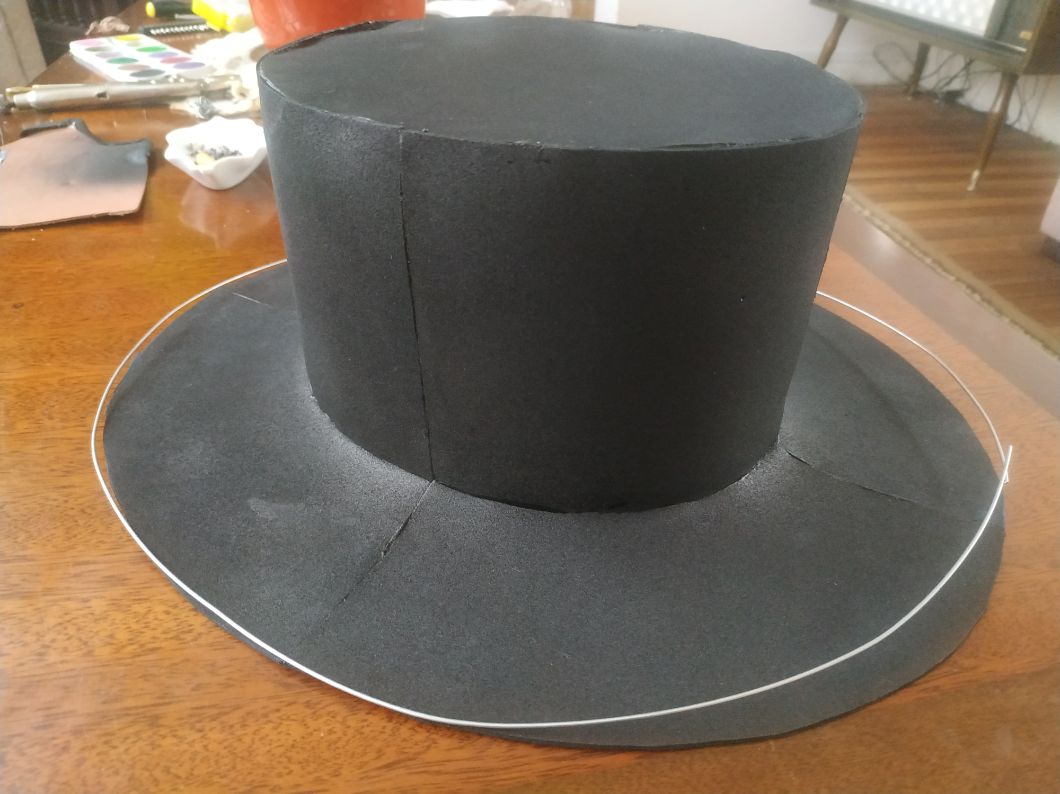
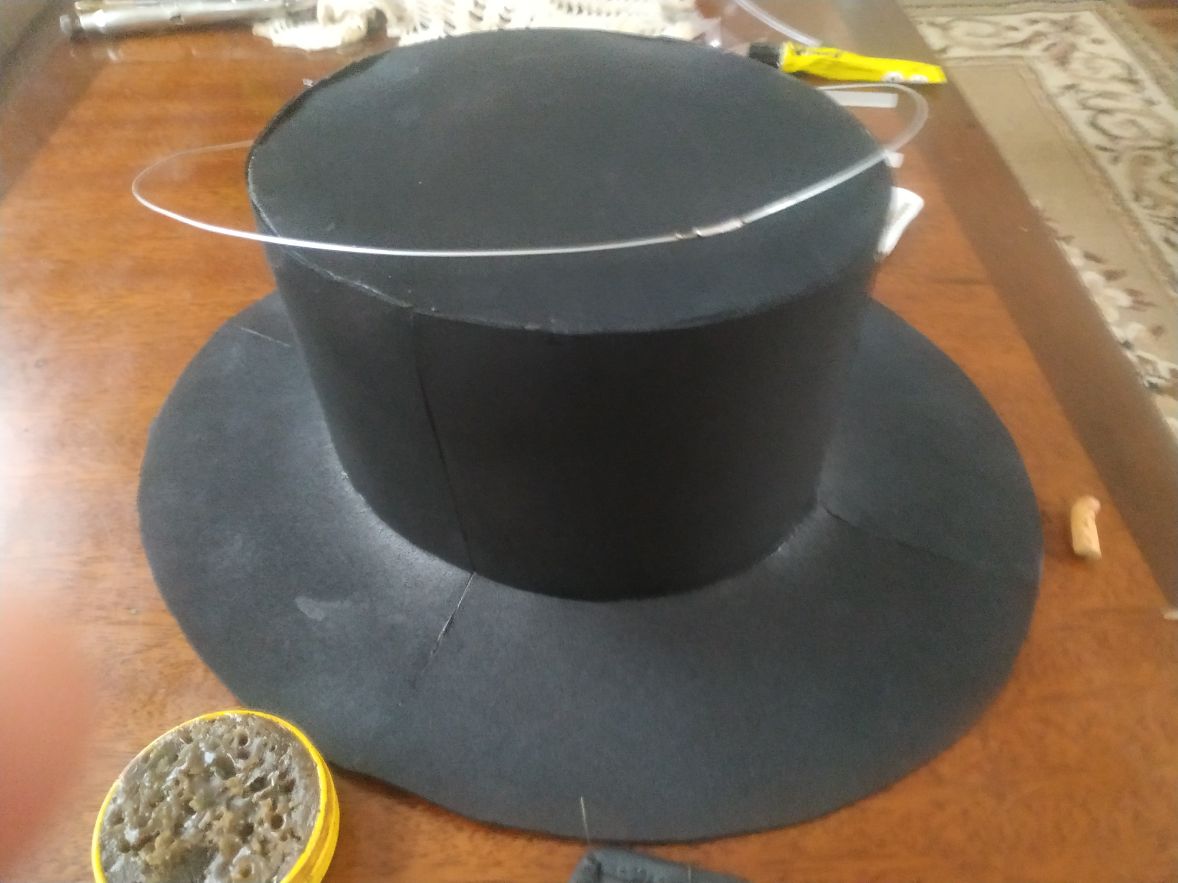
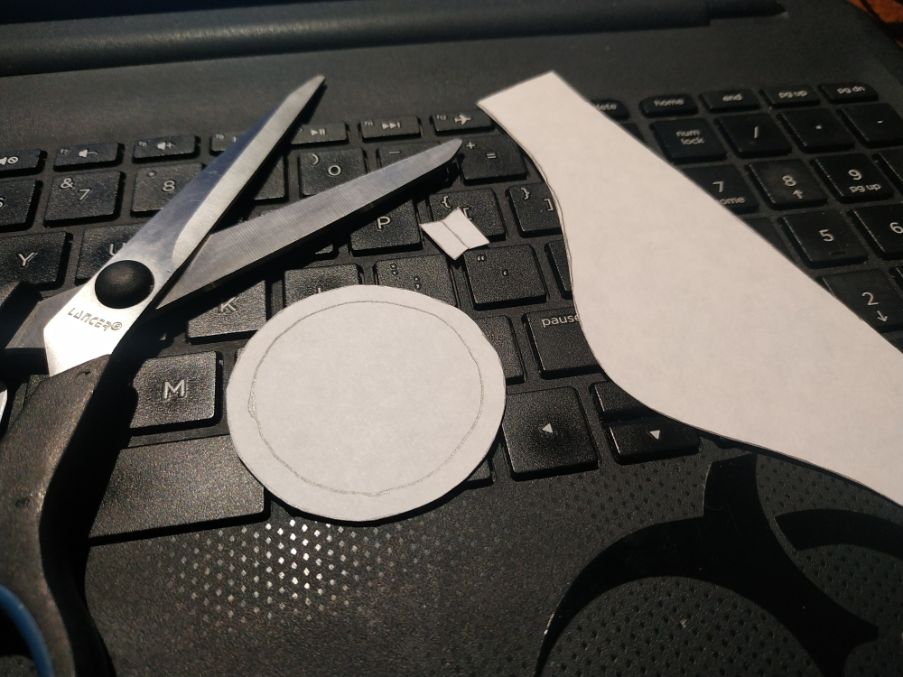
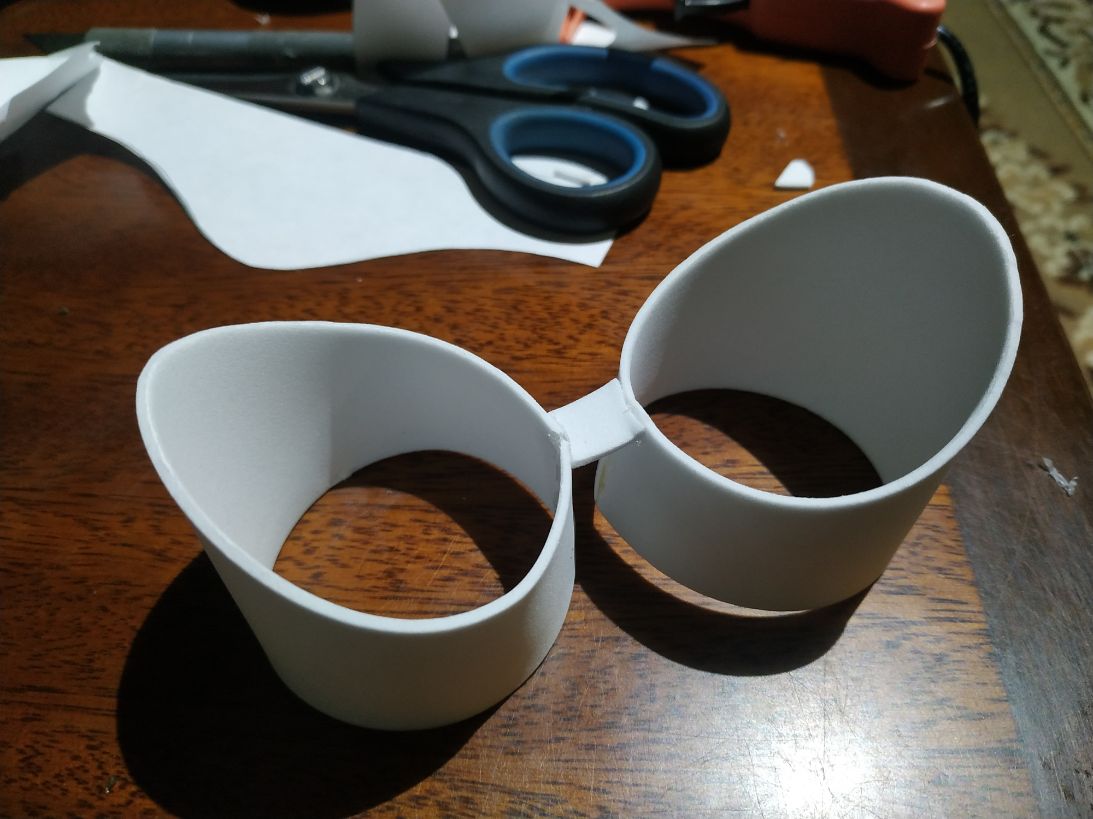
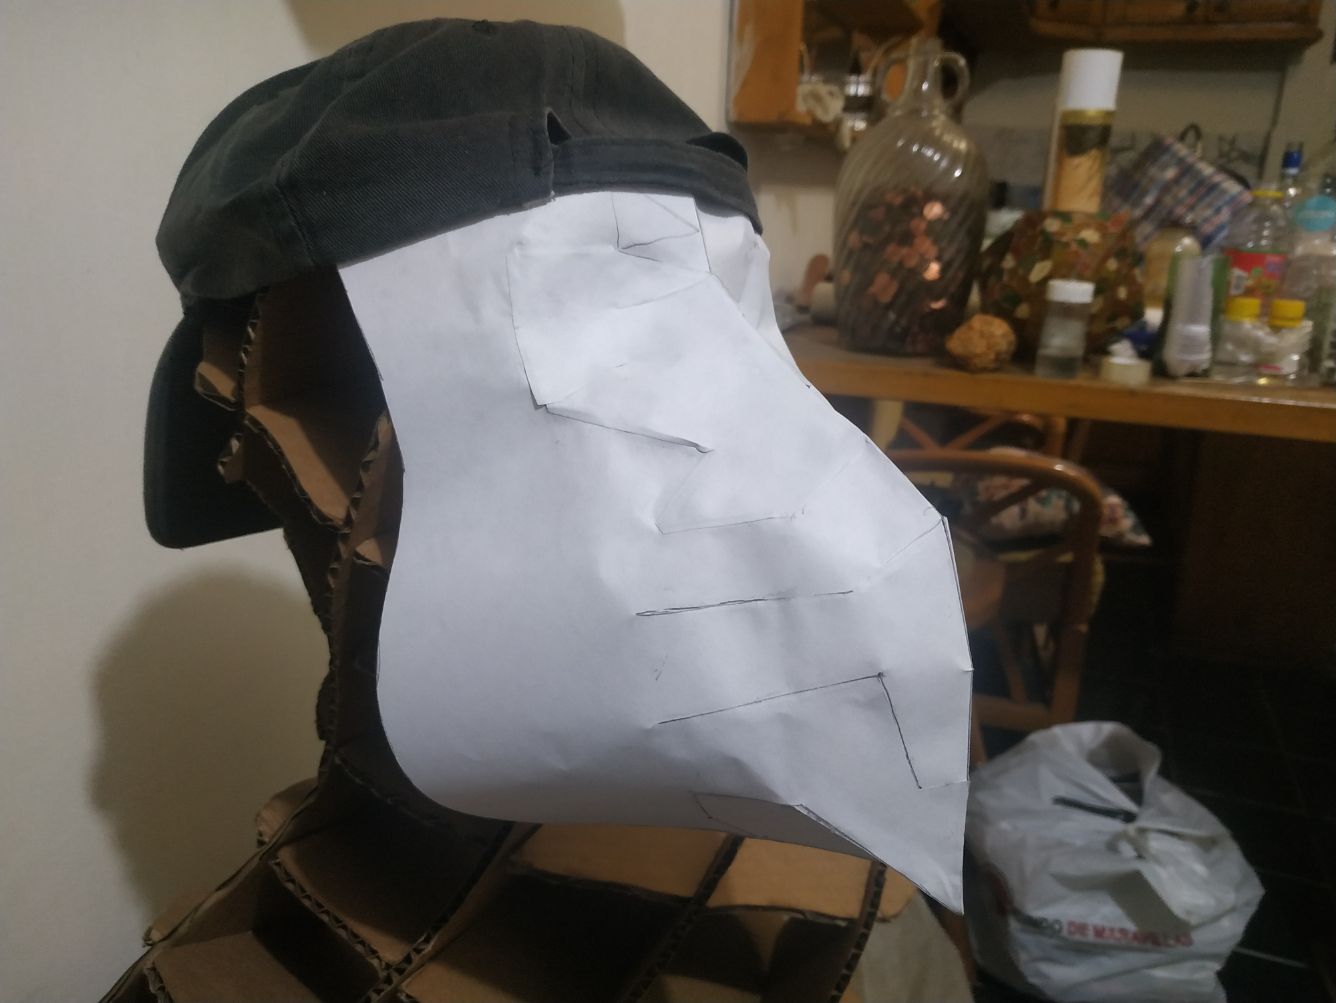
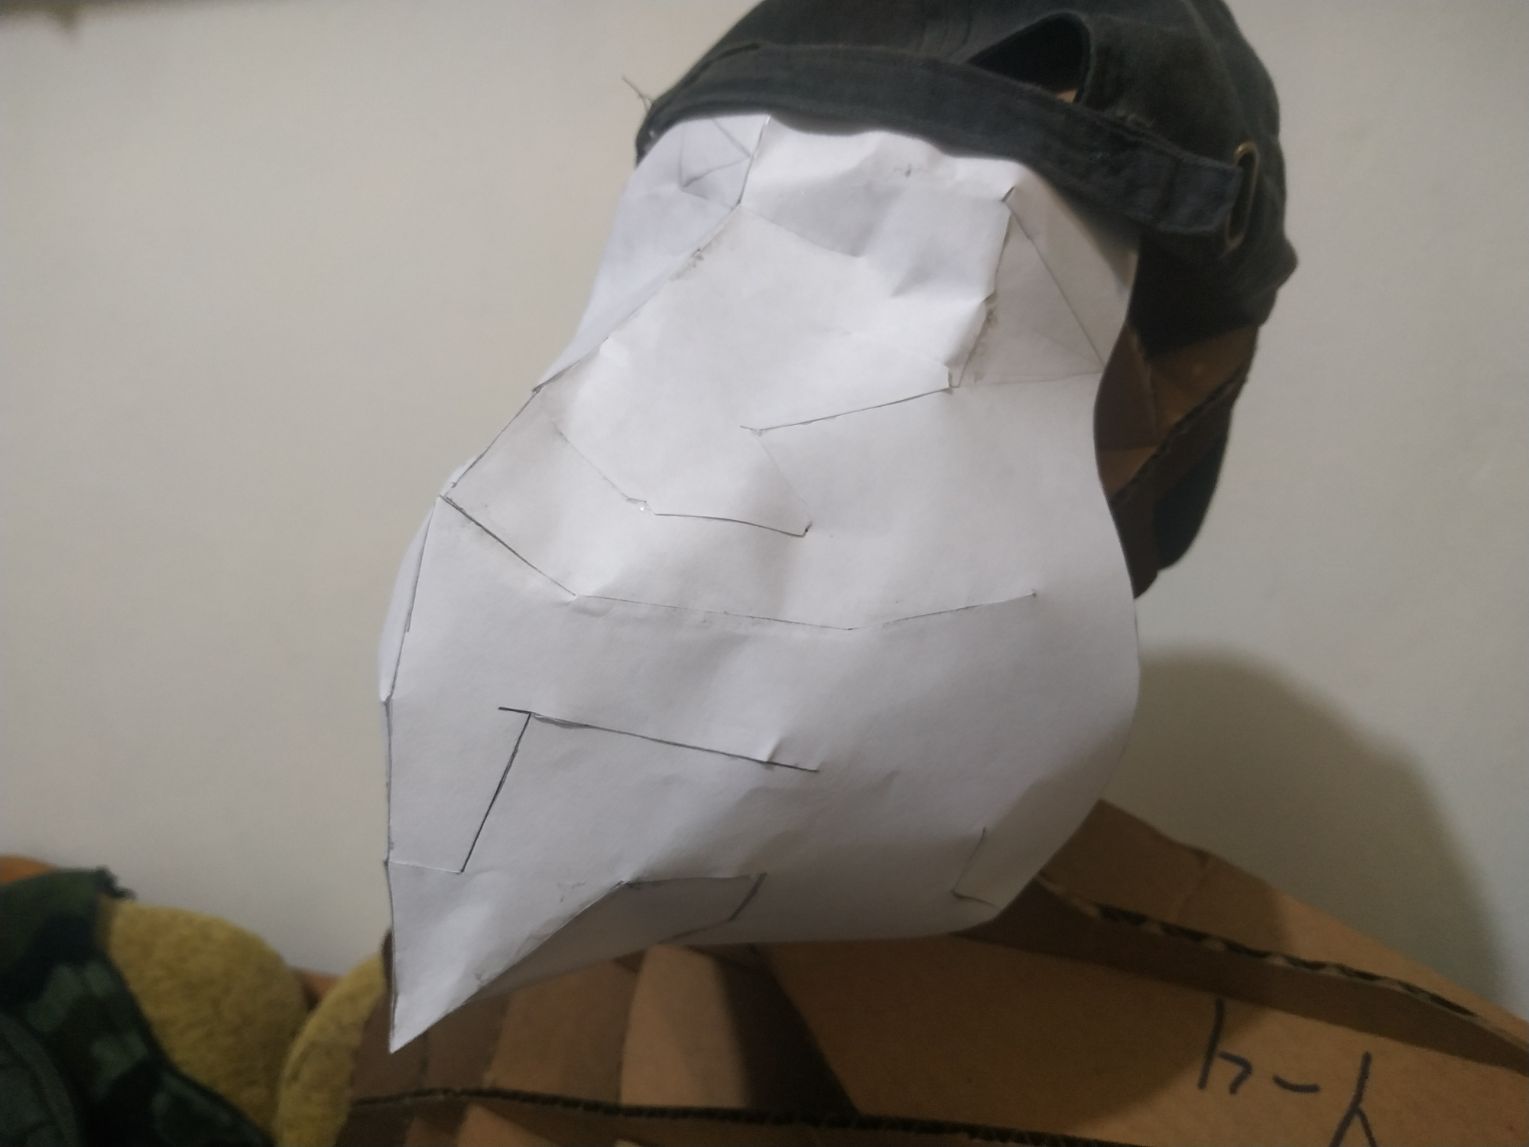
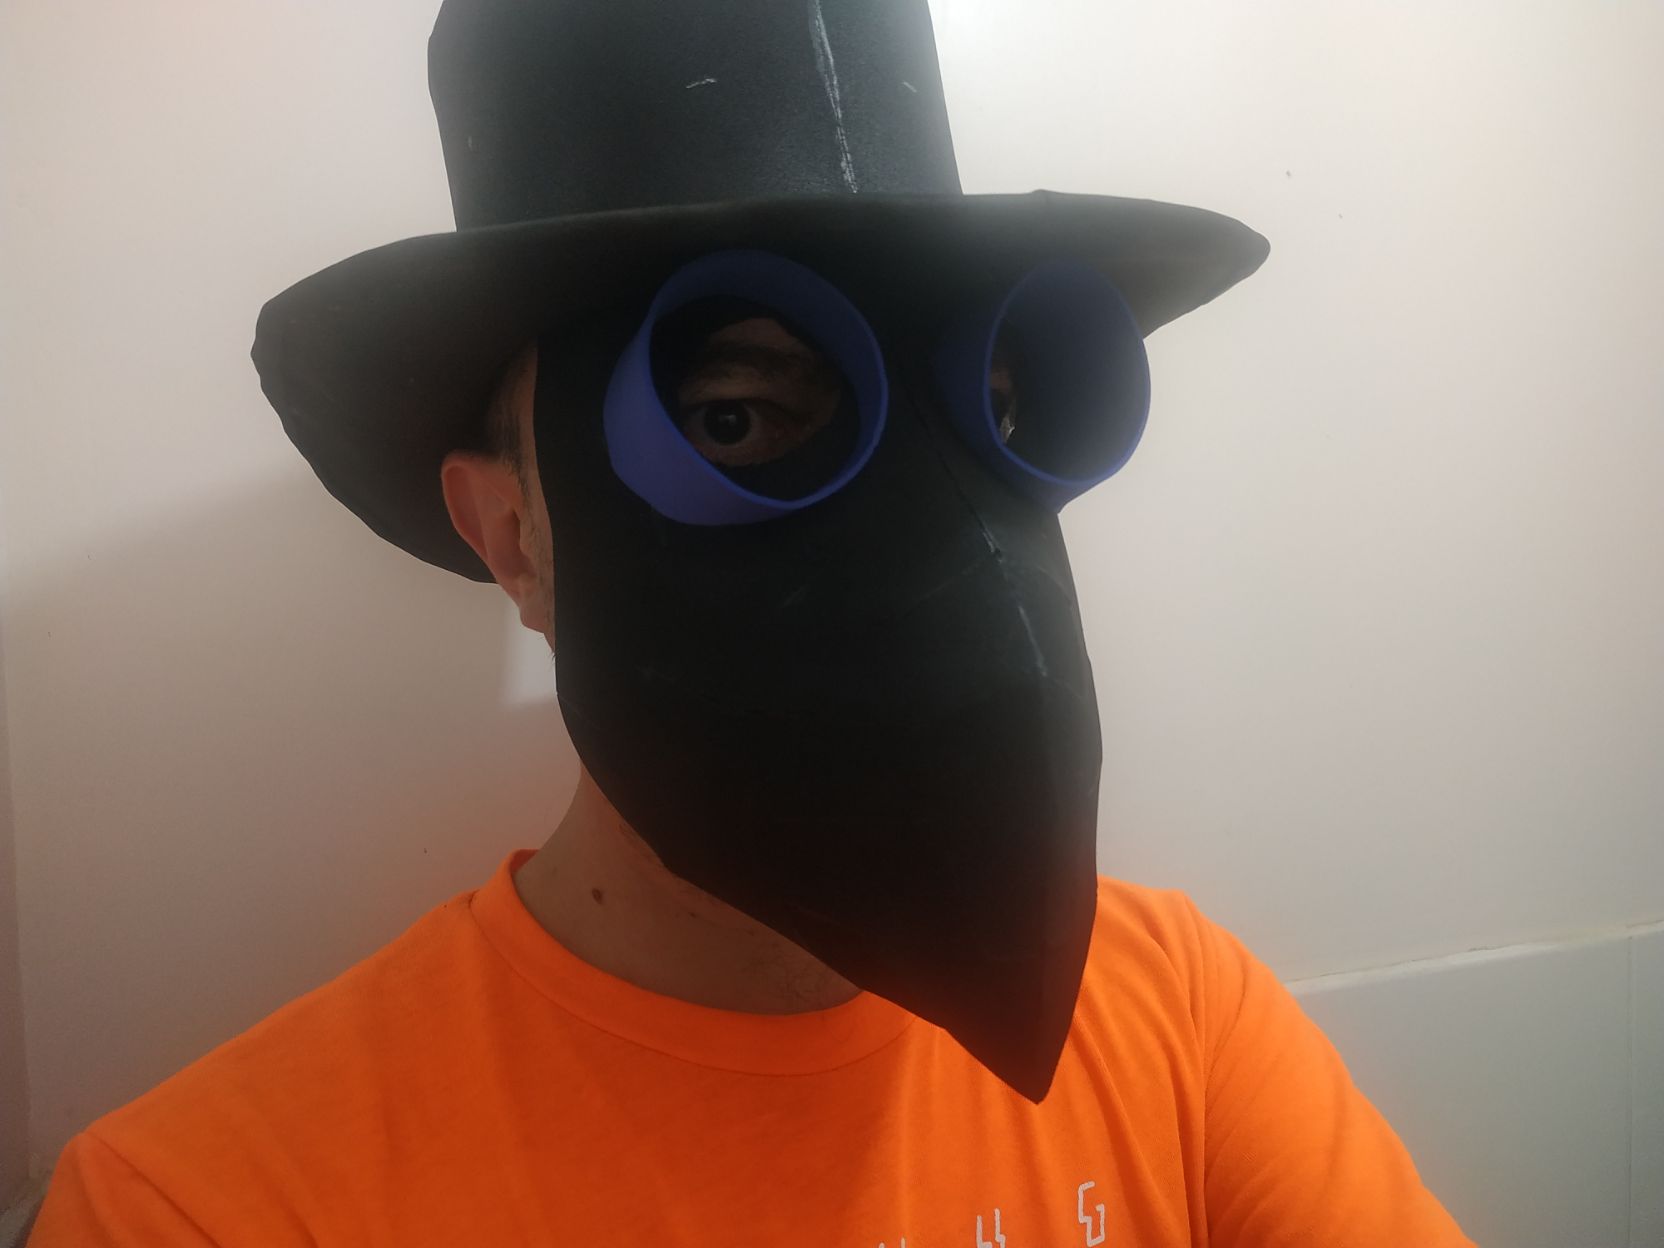
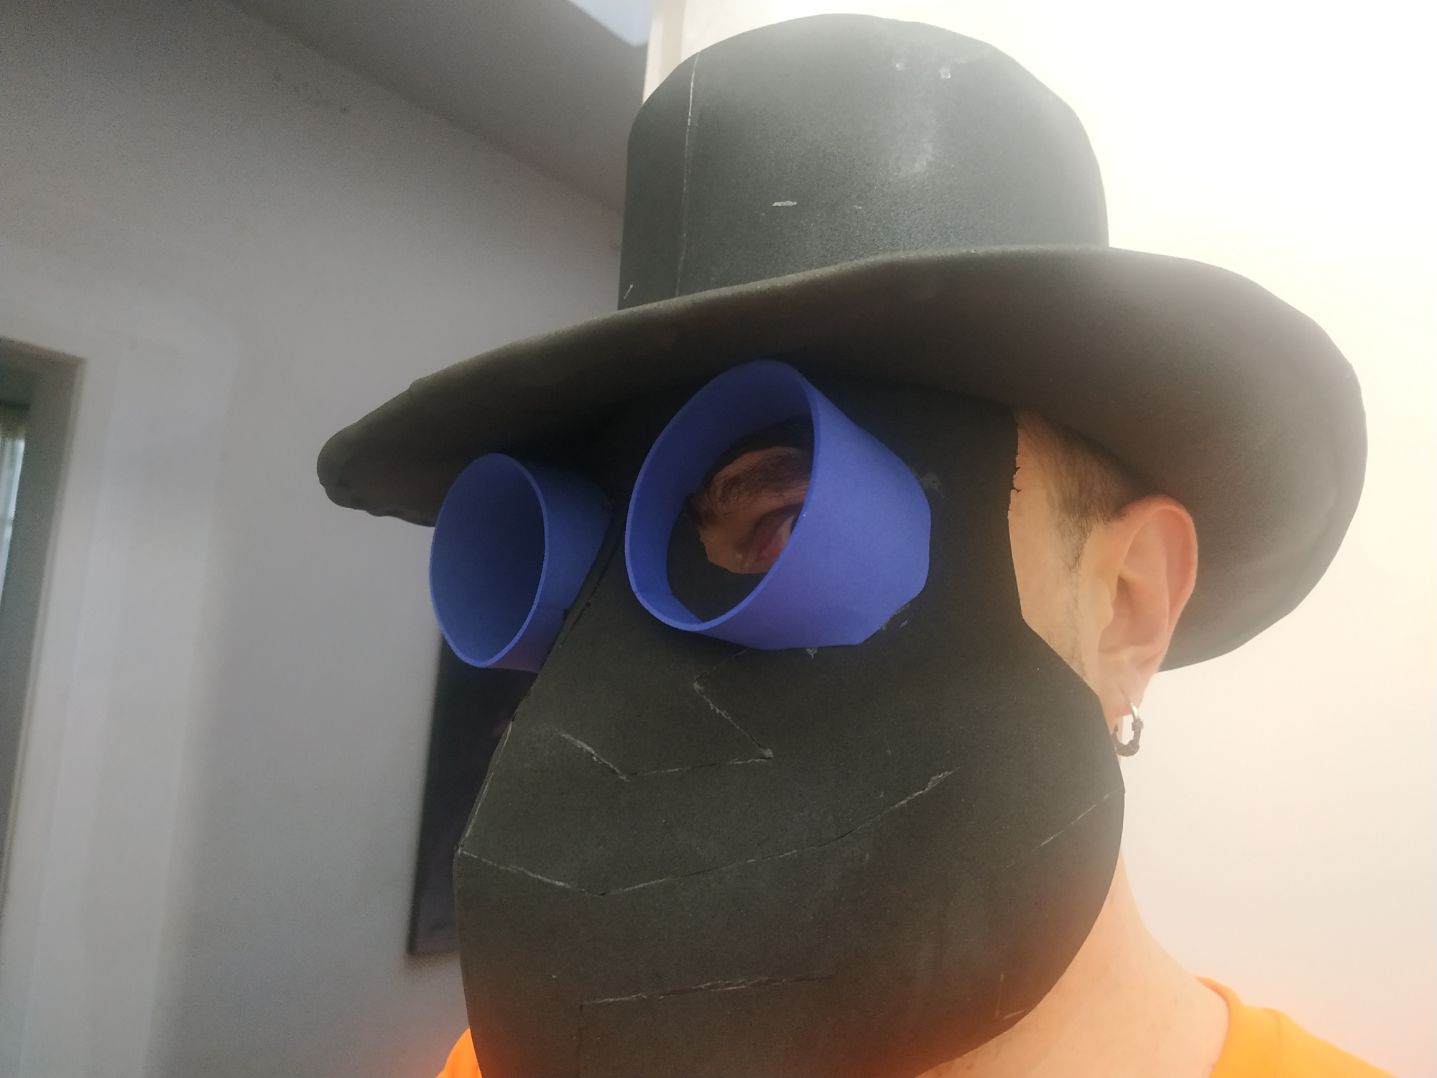
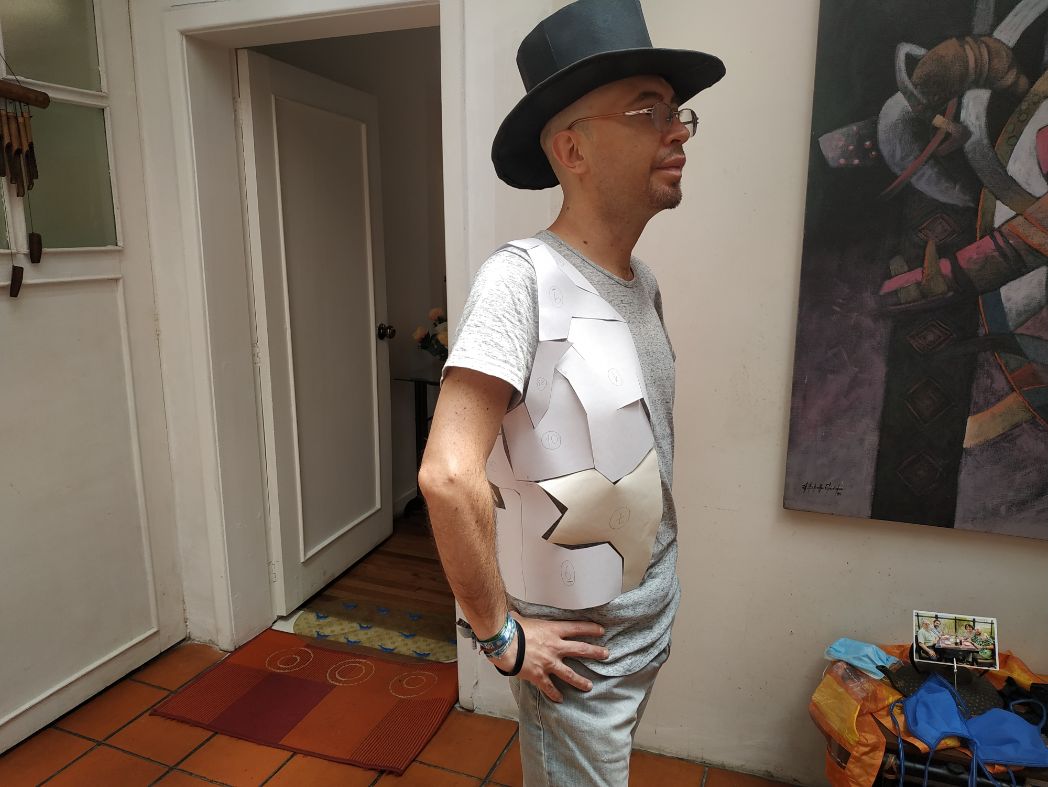
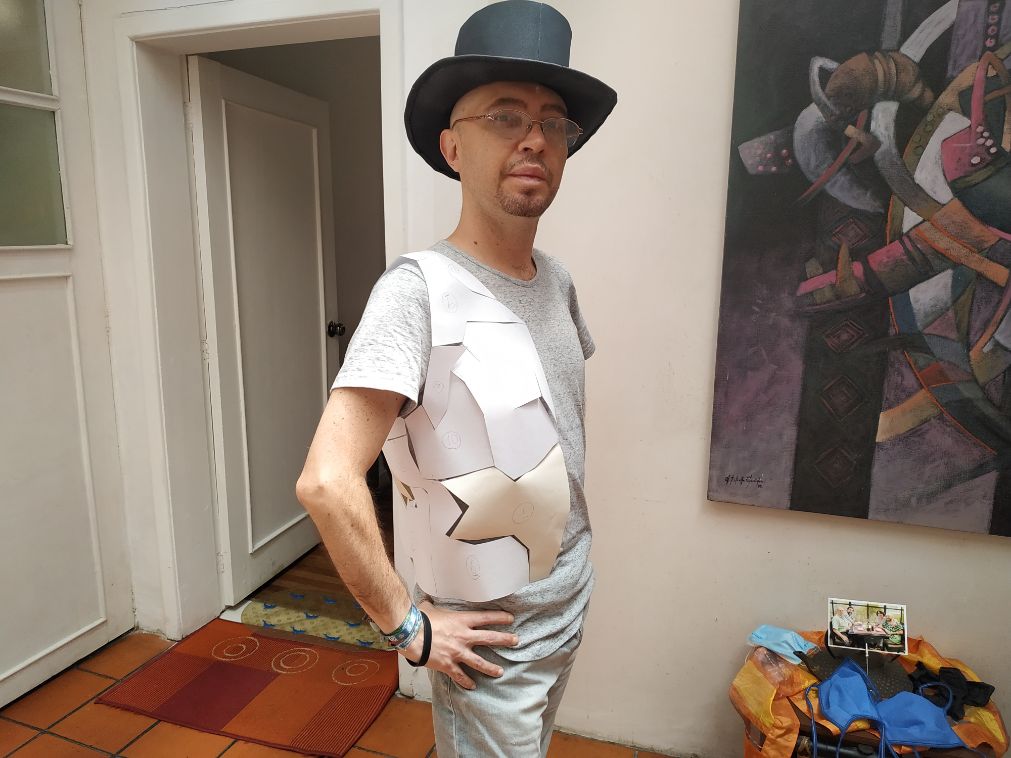
Using the eraser and the graphite pen for lighting and correction we dress our base body. I am aiming for the top hat, with animated googles (iris system), a heart beat sensor for music beat syncronization, a gyro/accelometer for the digital theremin like control, a zipper (or more?) for controlling the variable MIDI CC messages, and a hit sensors in the shoes for beat control or samples/looping recording control.
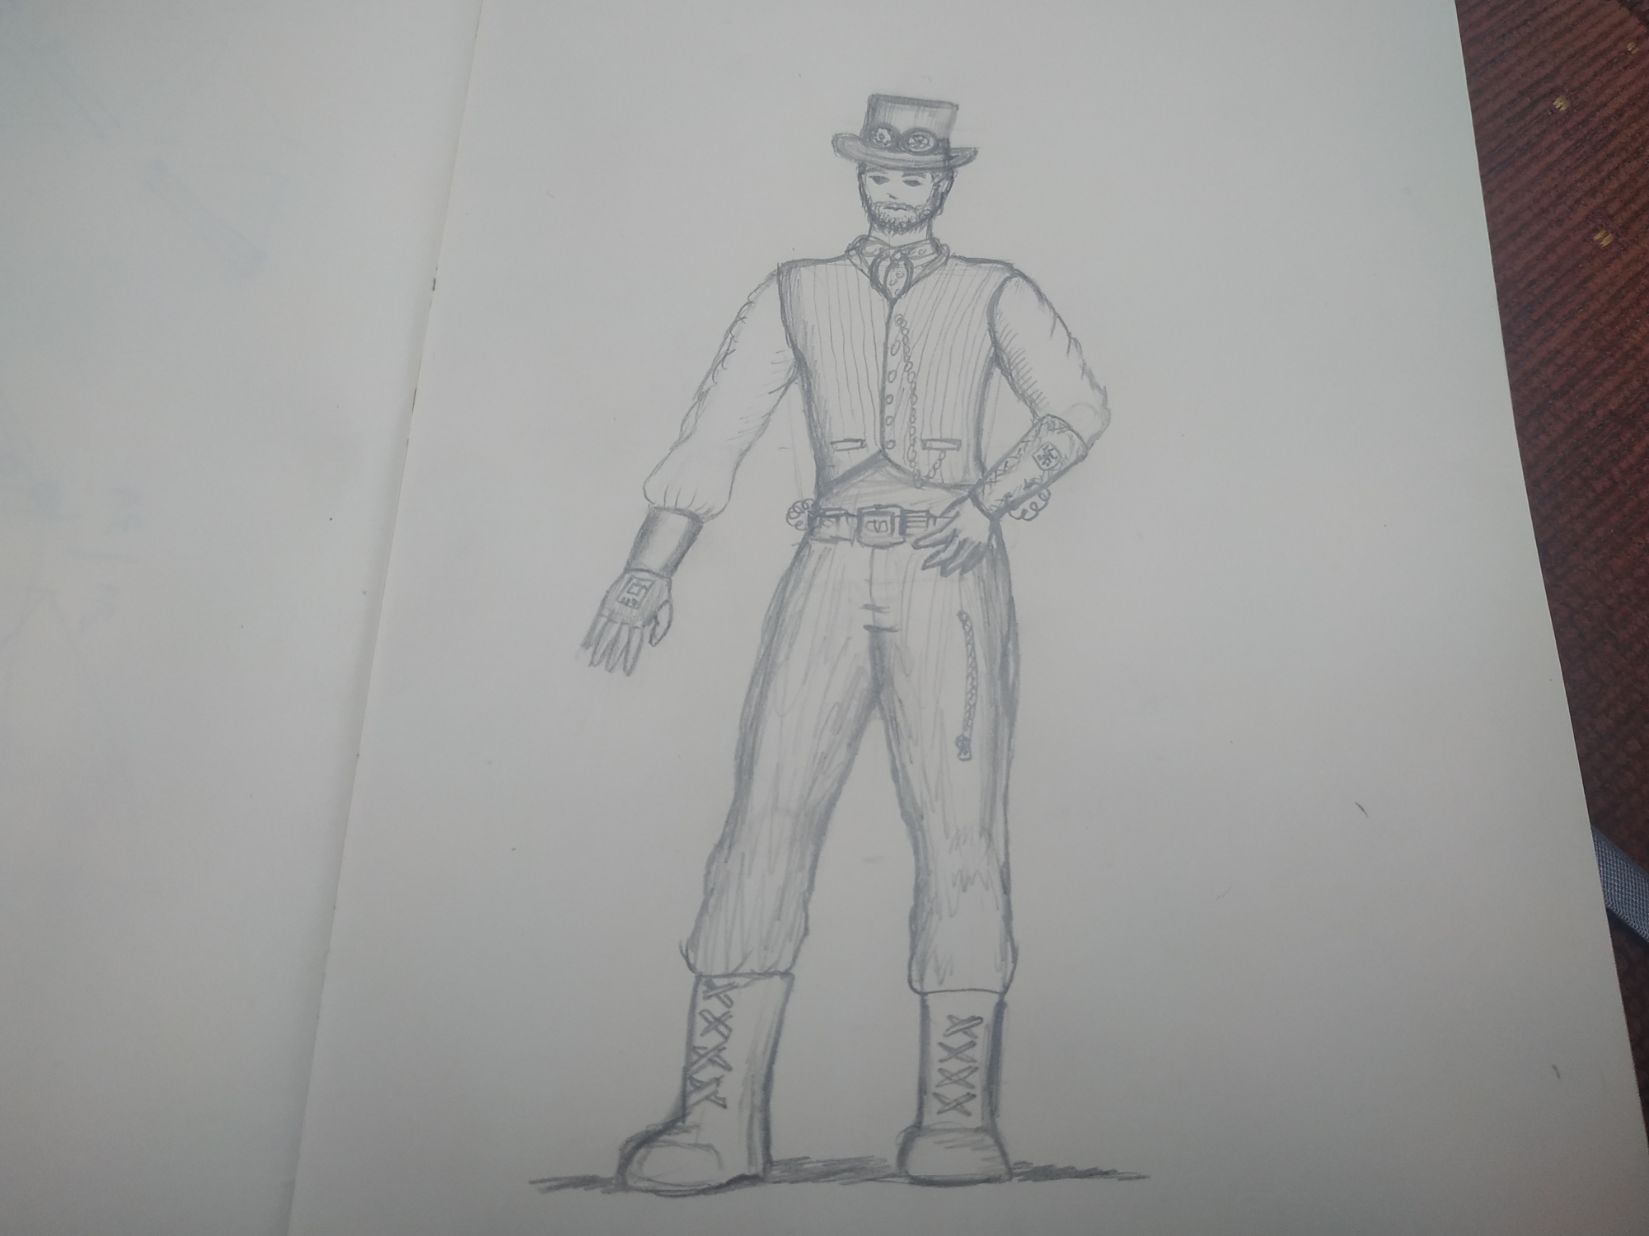
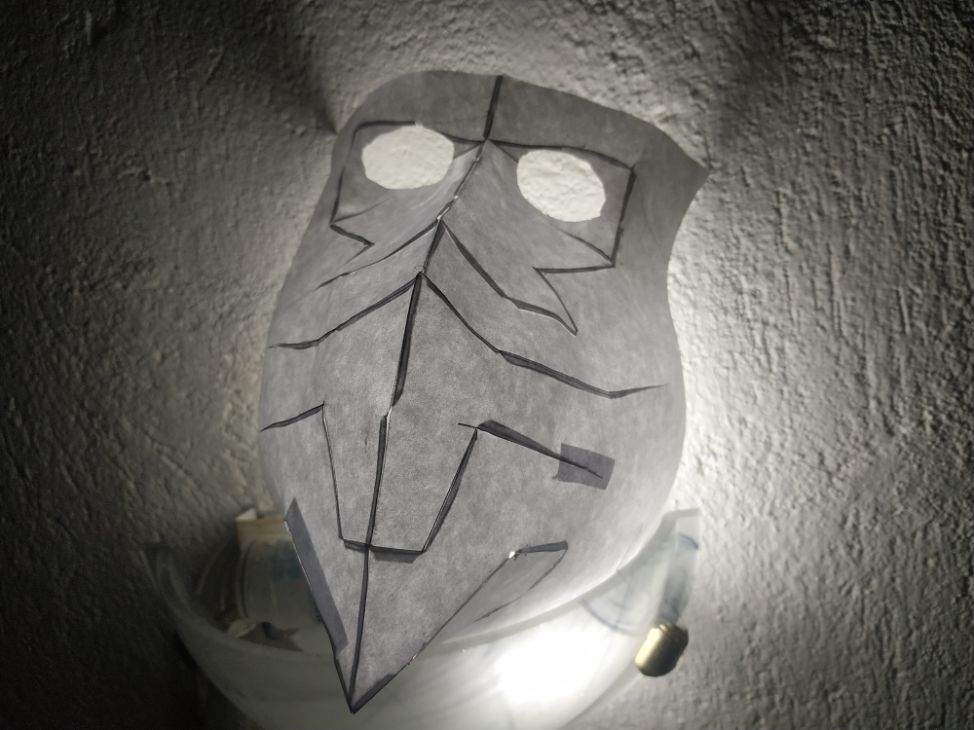
Here we have the drawing from above (better proportion). The vest, the skirt and the scarf are normal themes on steampunk aesthetics.
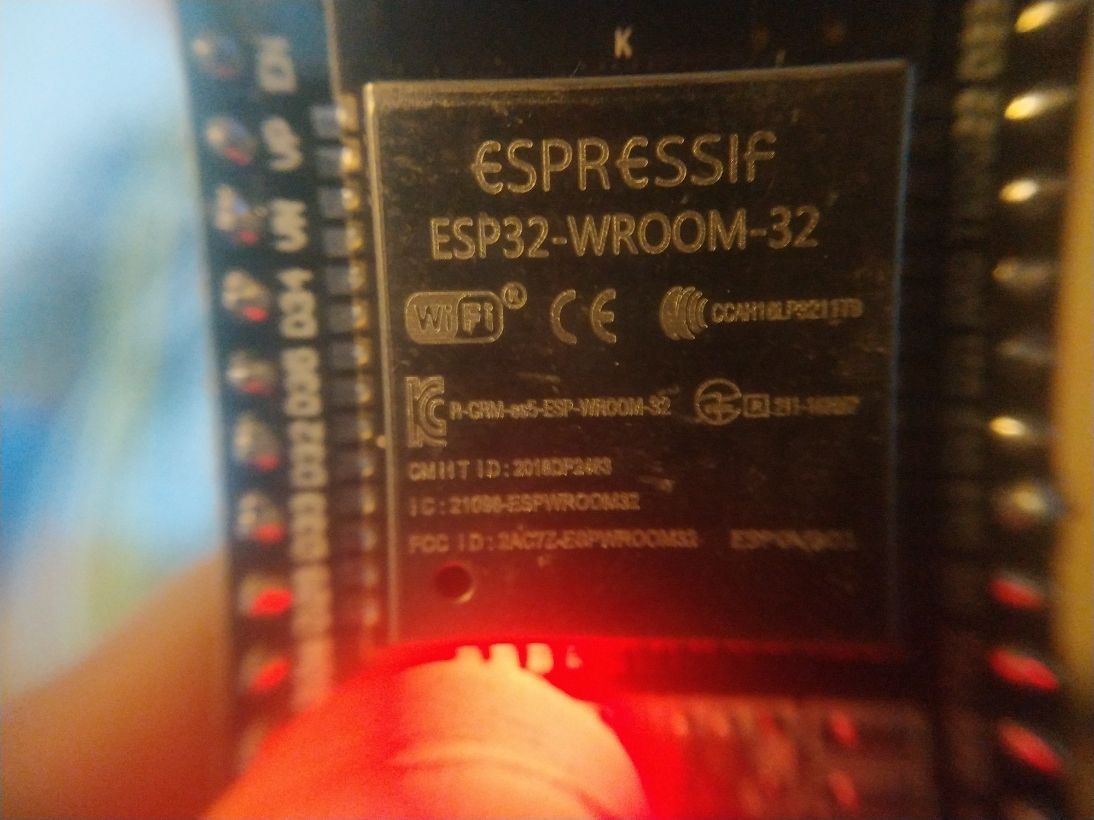
This are the components of the system. I am still researching about the OSC. I have seen that there are some controversy about one system and the other. Looks like MIDI is around for a while, and have a broad ammount of users, what would make the system more compatible with existing devices. OSC, on the other hand, have the power of transimiting data fast and not beeing limited to MIDI messages... In any case, I am going to research and experiment, but at the end maybe I will use both.
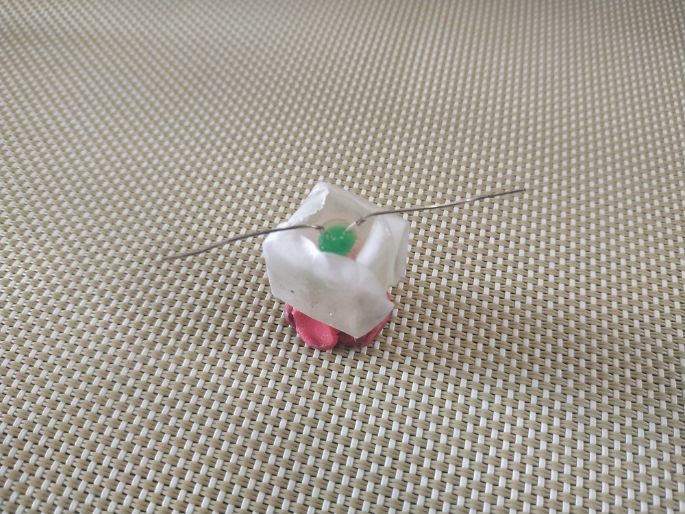
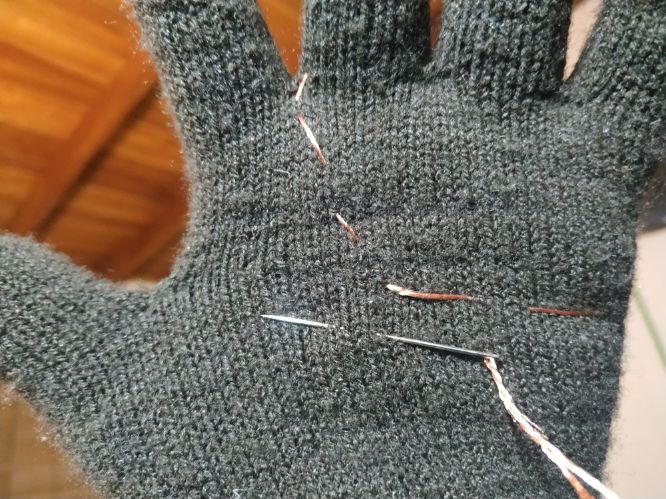
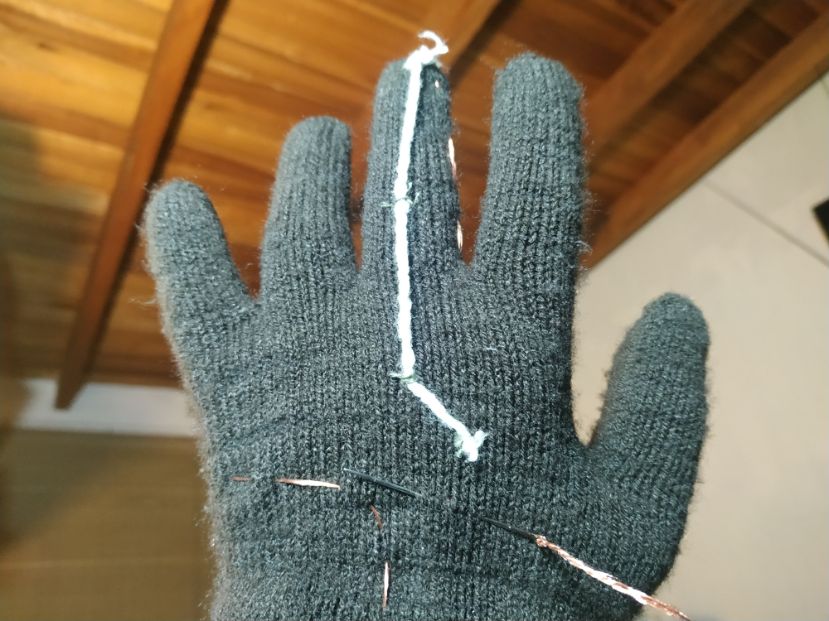
On the sensor side, I already tested a piezo sensor and a capacitor sensor, and they are working fine (with MIDI).
Electronics
This is an initial overview of how the connections will be made.

UPPSS
An ultra-personalized-product-service can be the product (gardment) plus the personalization (at the same measurements and concepts of the client). Due to the digital nature of the fabrication, the client could not necesary live near the designer. All could be fabricated in local FabLabs.
Stakeholders
The stakeholdes will be obvioully the client, that could be an artist/performer. Besides, we have the designer.
In the case a commission is made, a provider(s) might be needed, for the electronics and fabrics. We will priorize local production.
A friend of mine, Fabricademy Graduate (Alex Tocagon) told me that this could be also directed to children and eldery, as a motivation to excercise. That is something that I will think about in the future.
MIDI controllers
What is MIDI? I remember the first time I heard a MIDI file... yes, it sounded awfull. At that time, when MP3 files (very small due to the efficient compression), made posible to lisen to music at high fidelity and with very small size, the use of MIDI for music was defilevelly not my choice.
But later I found that MIDI was not a mean to record music, but instead to represent it, somehow like a digital music score. And as any music language, the final sound depends on the quality of the instrument itself.
With better digital synthethizers that jumped from the analog to the digital realm, the protocol was adopted from great part of the industry.
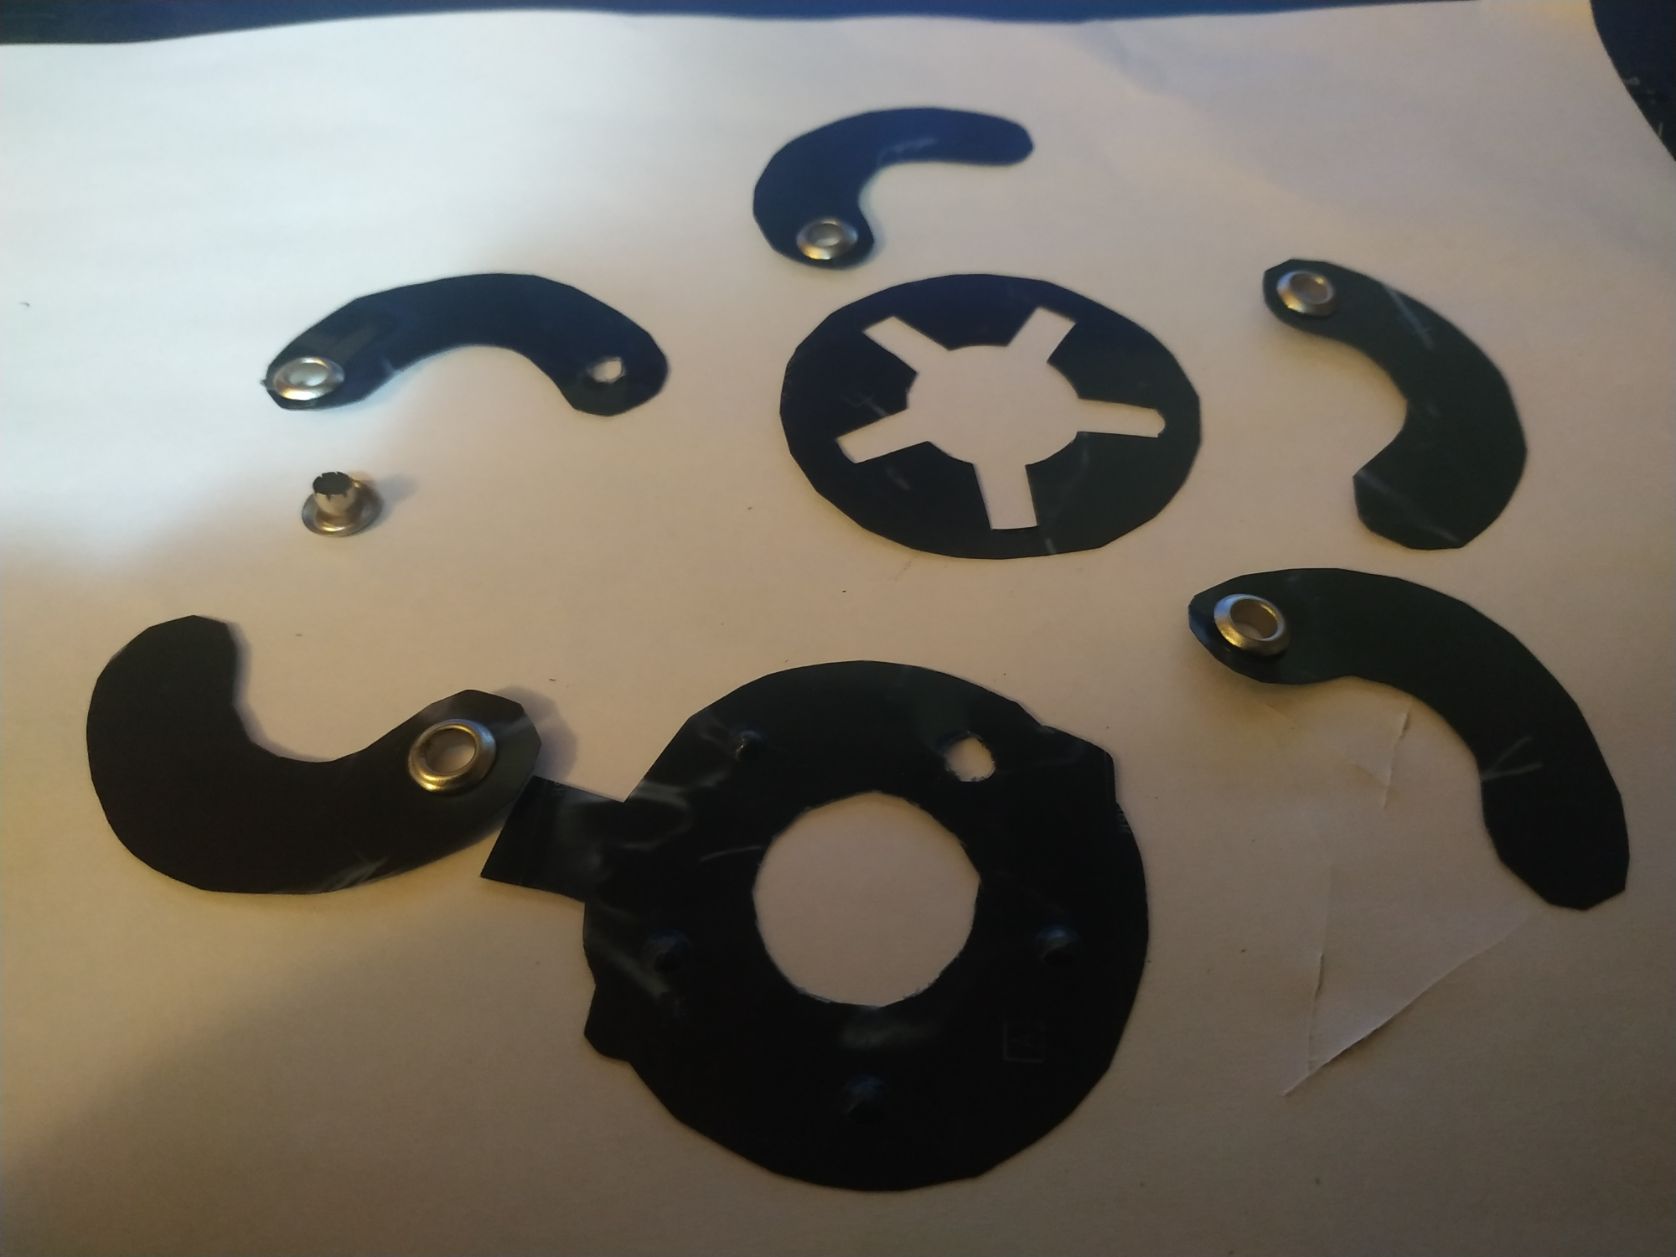
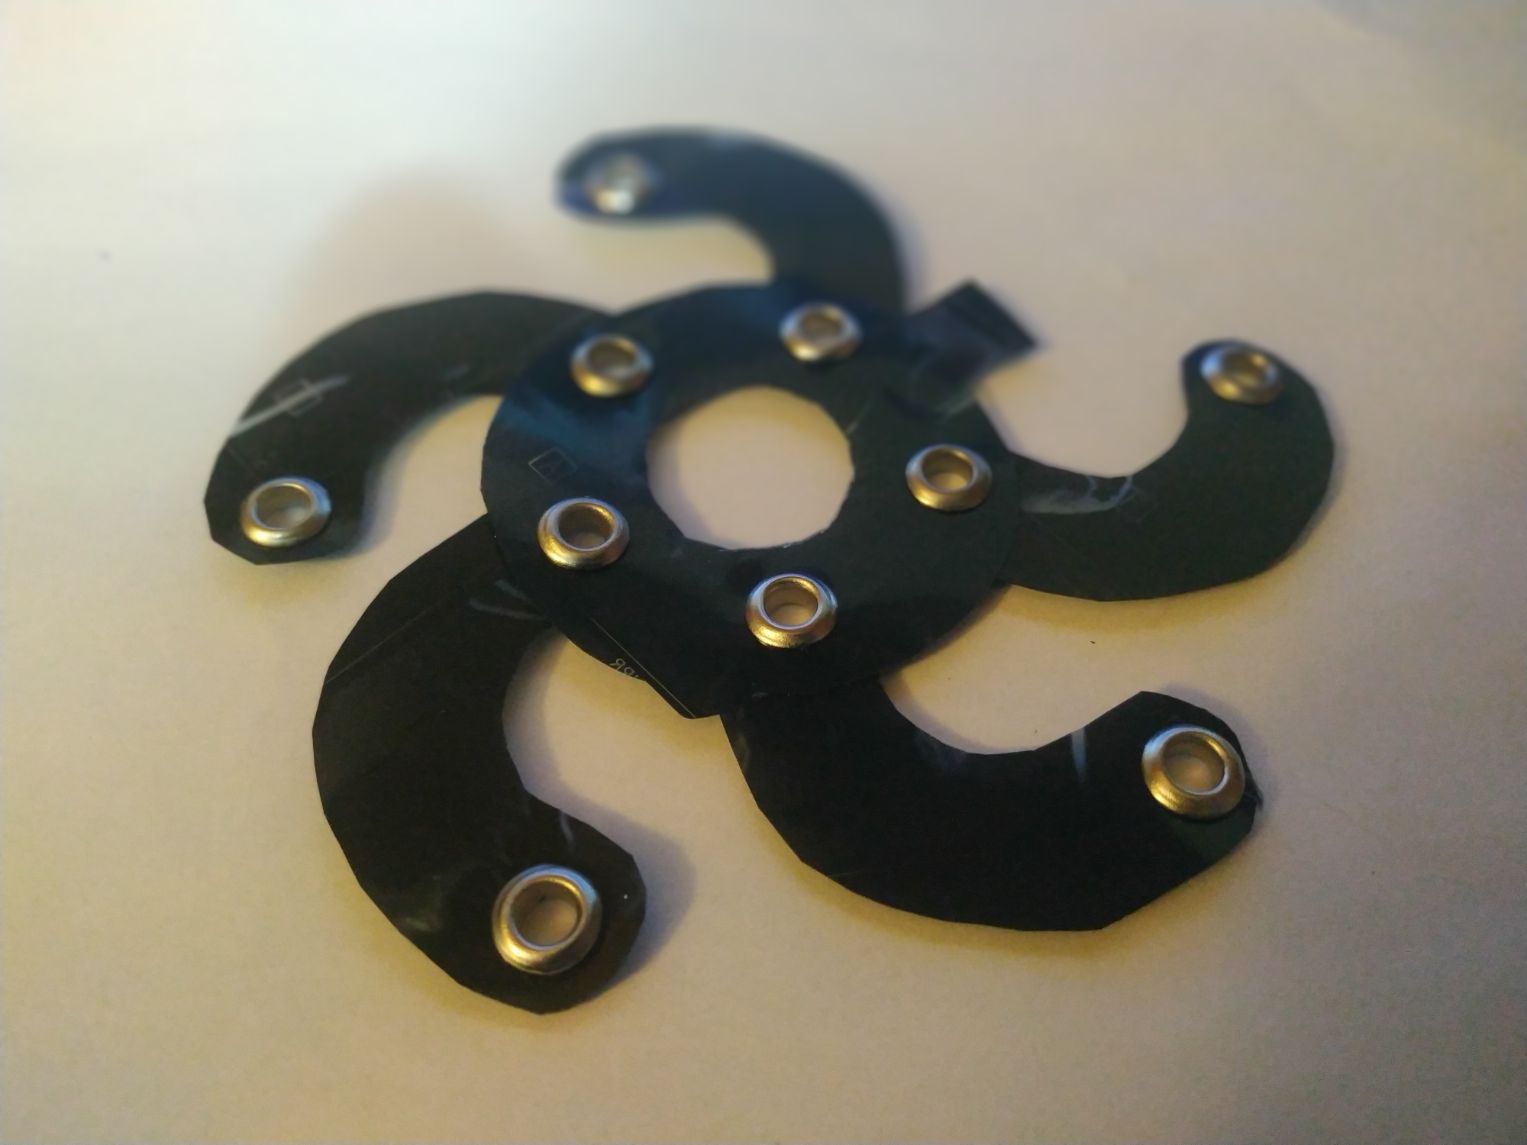
First iteration (spiral design)
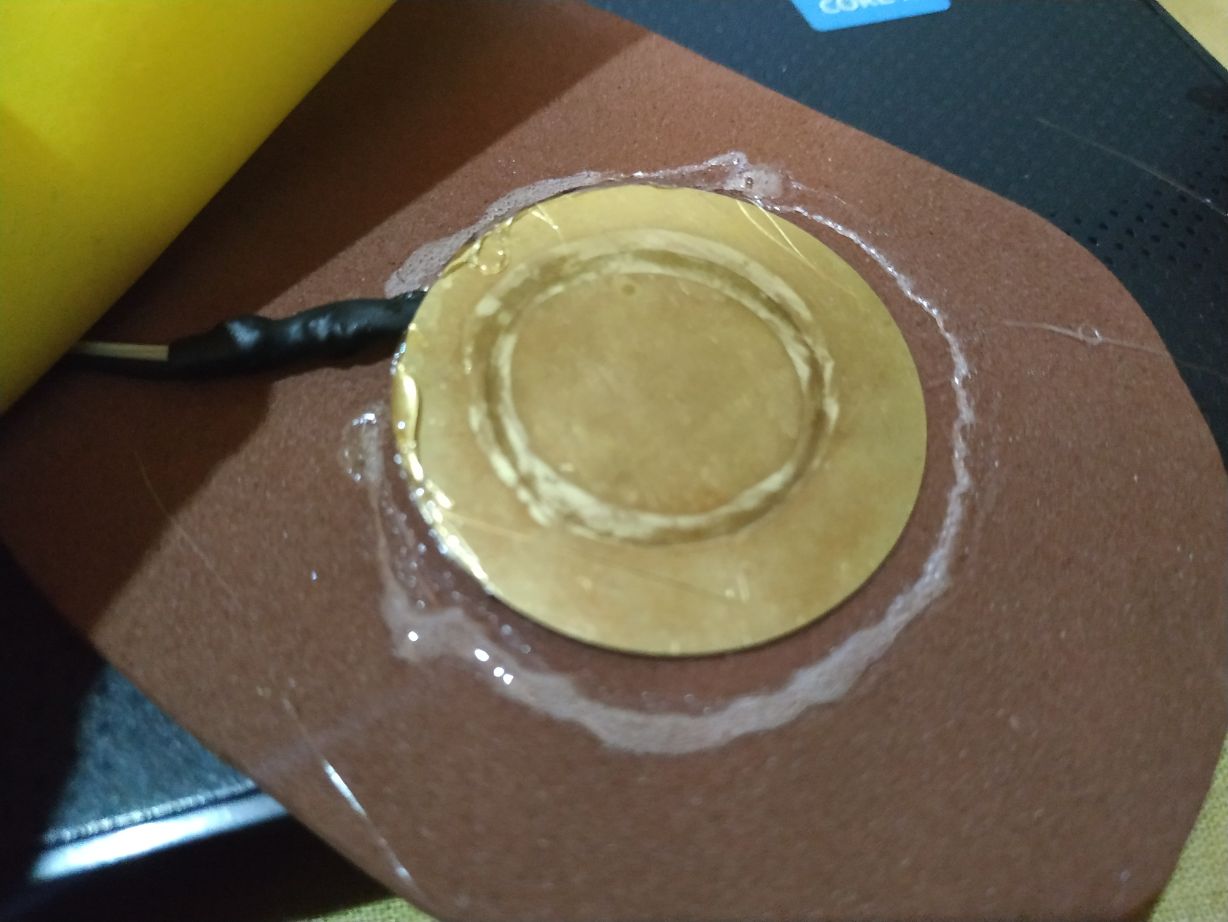
So, it is time to integrate the sensors. We are going to start with a piezo preassure sensor.
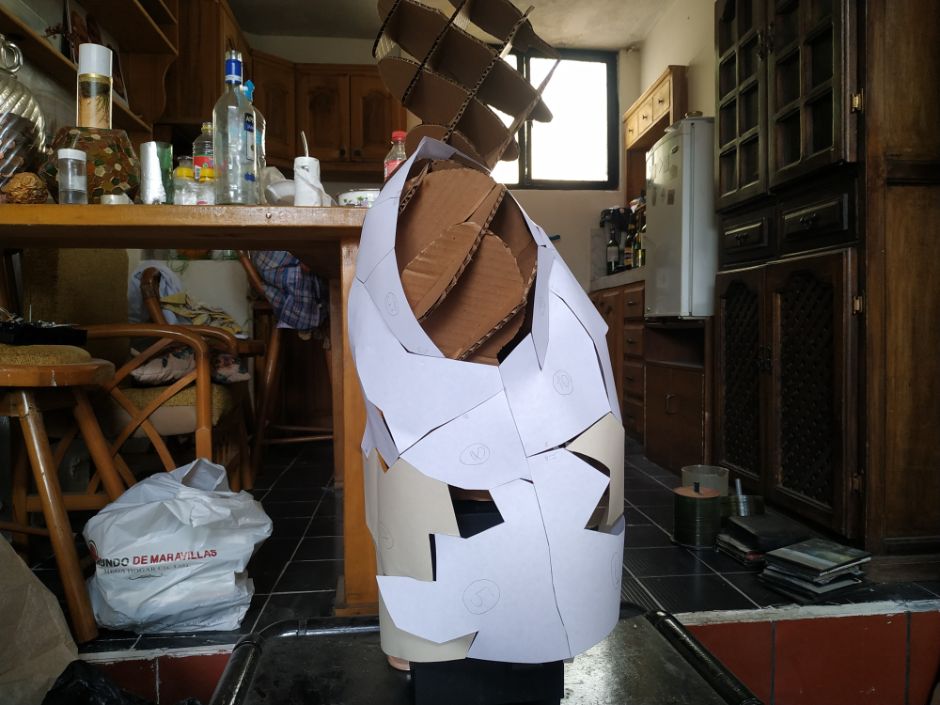
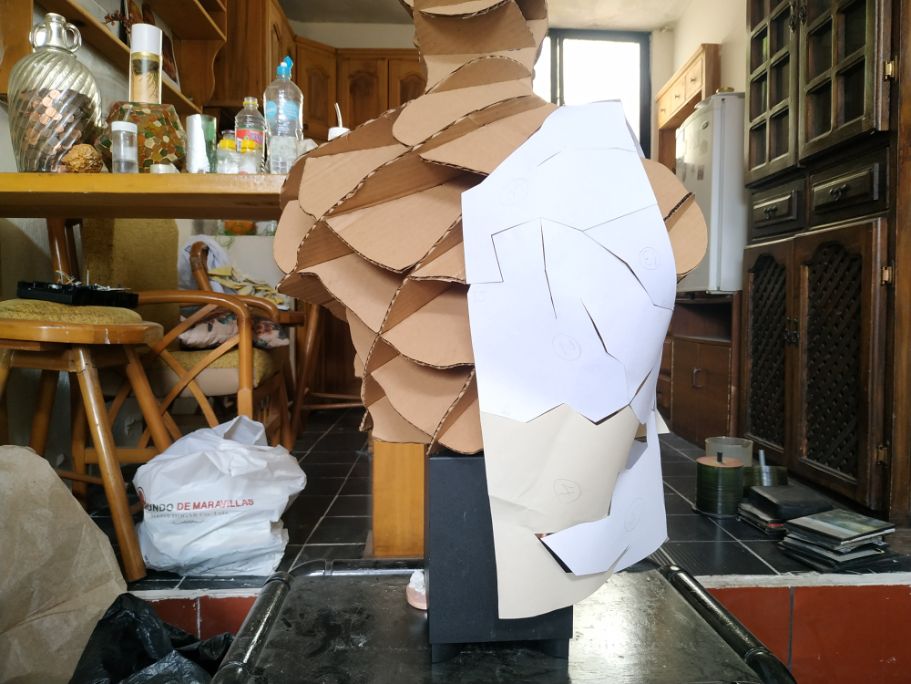
Besides, I will experiment with the forms of the patterns. I will try a vest.
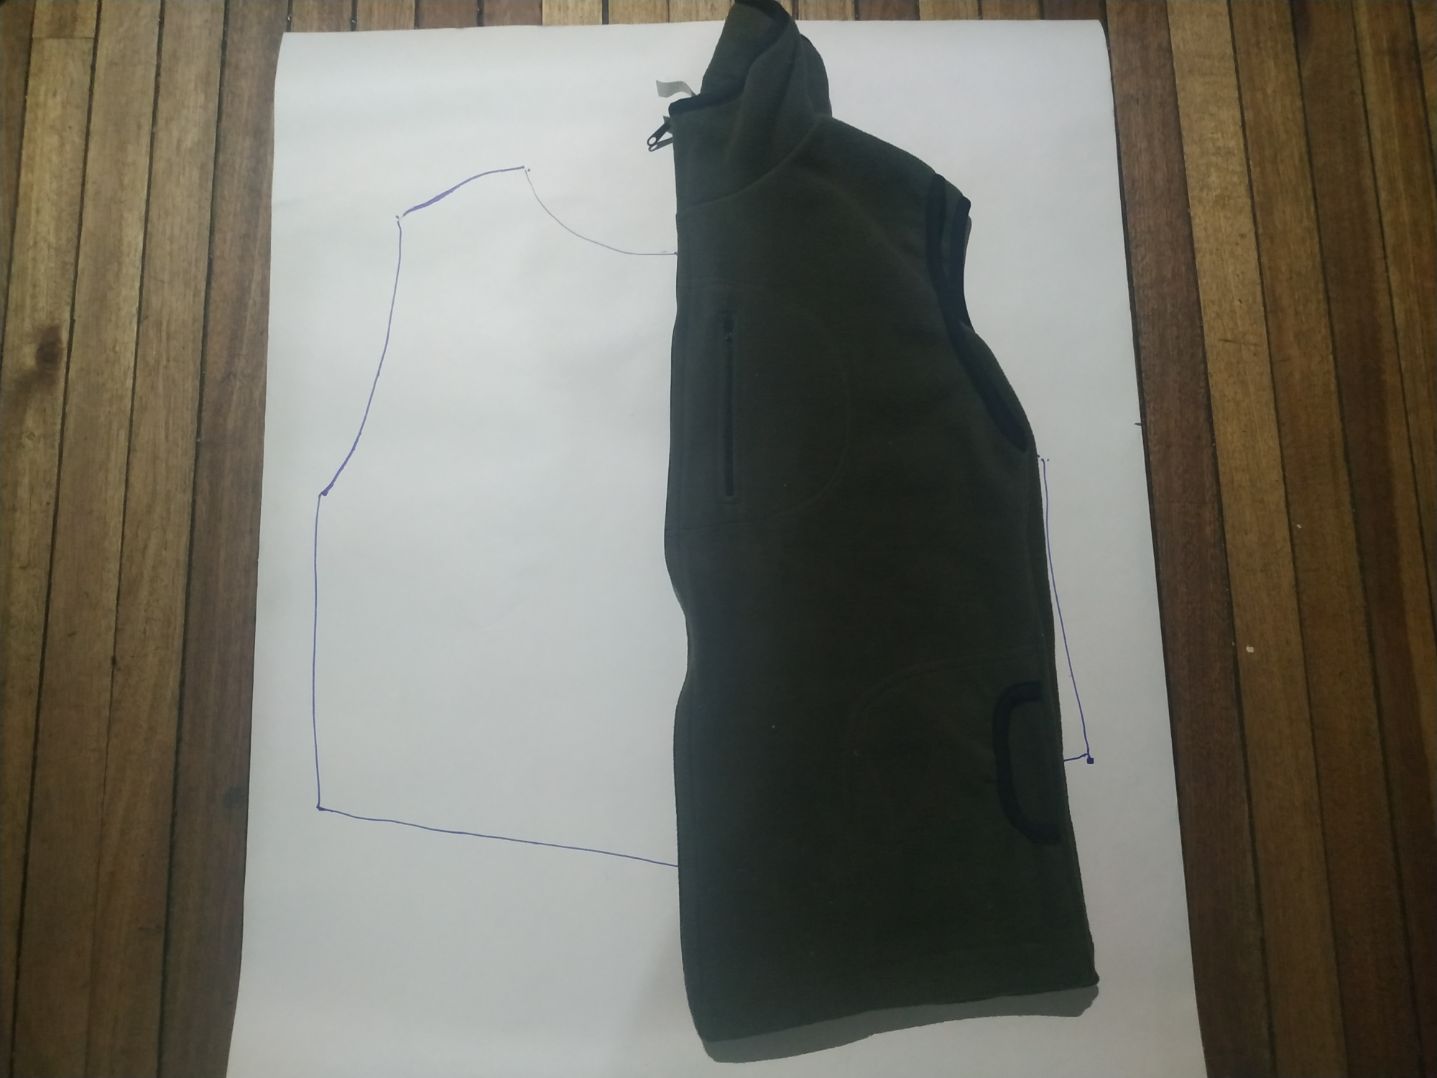
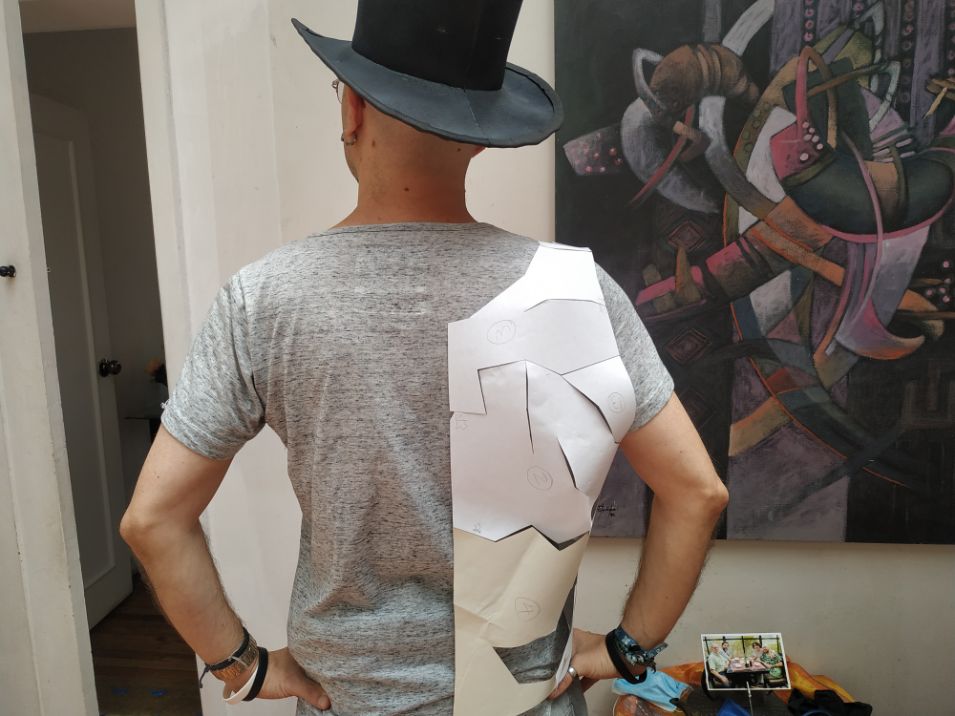
Vest pattern reverse engeneering
I used this vest that I own for infeering the pattern.
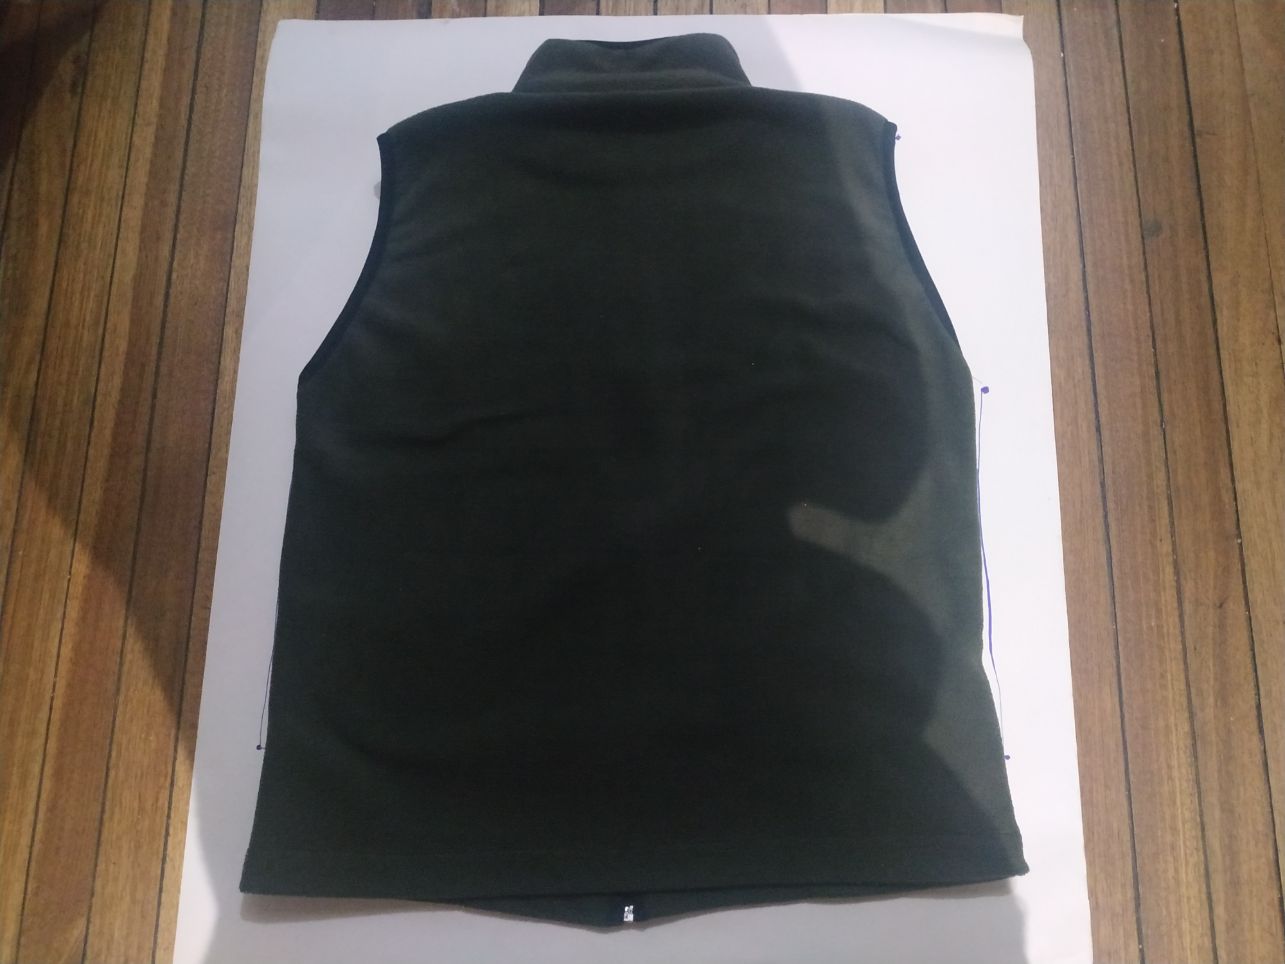
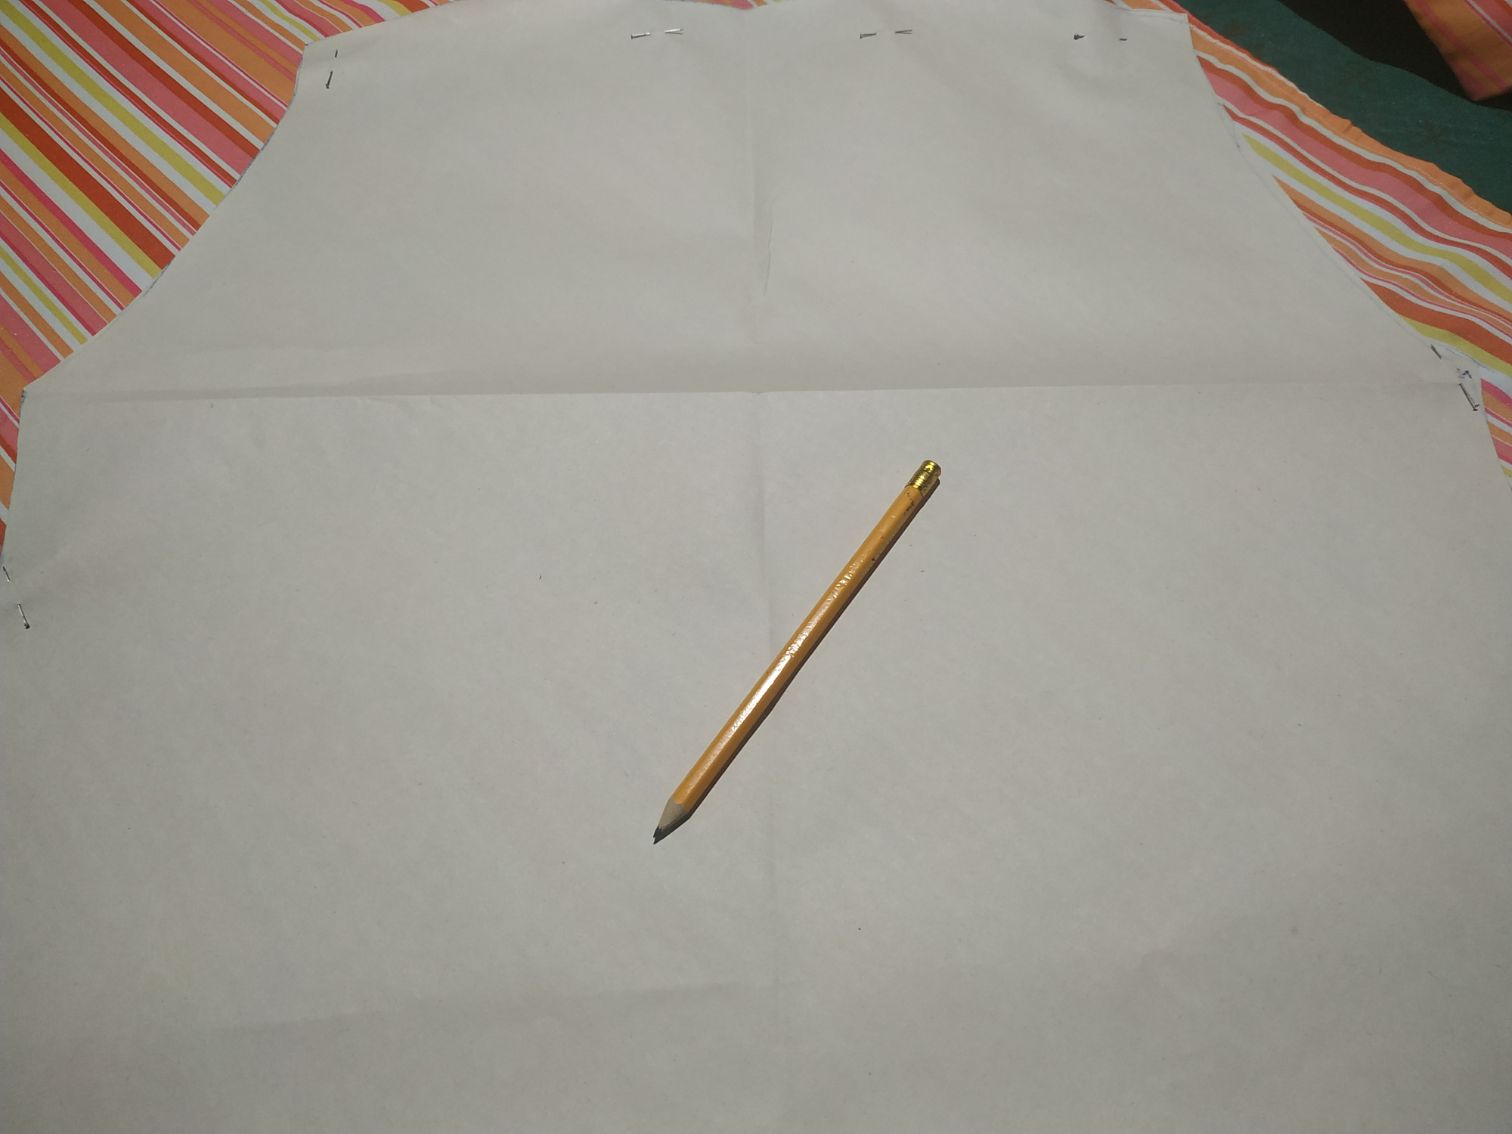
In a big paper I traced the counteurs.
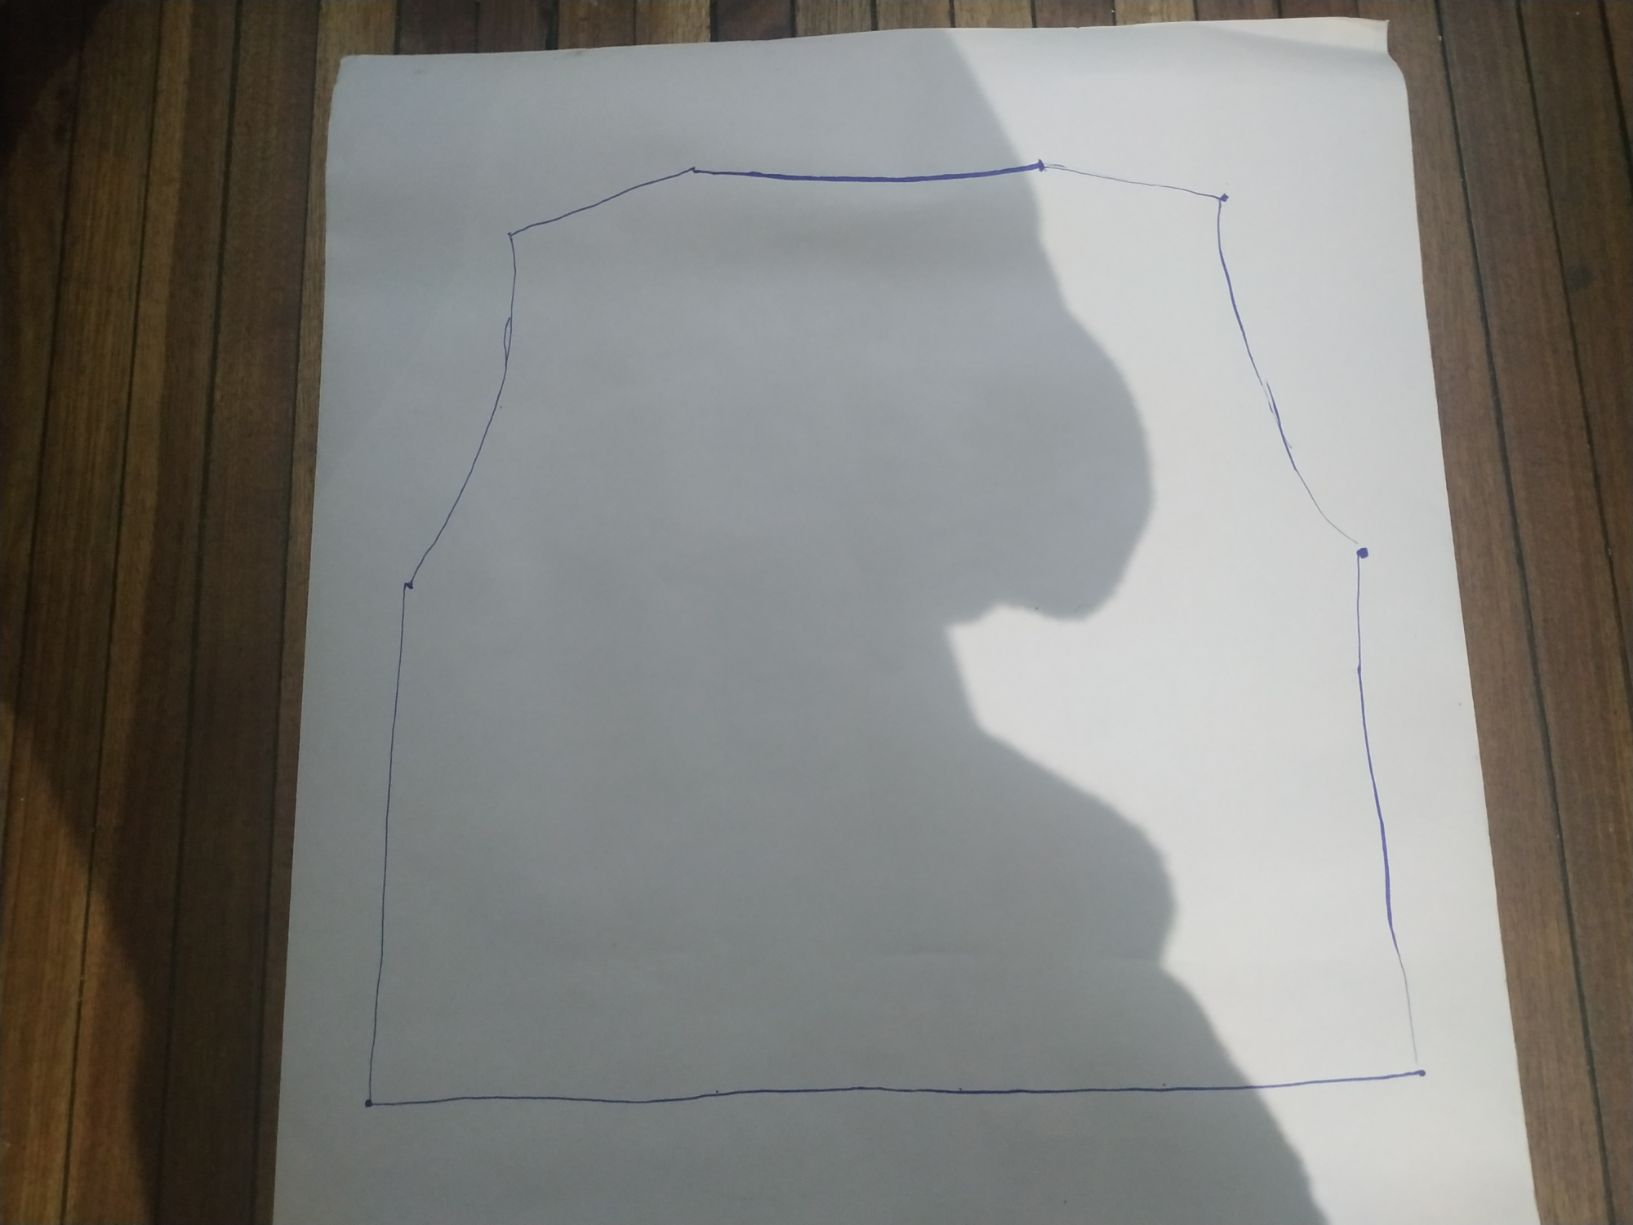
I used just part of the lenght, so it looked more Victorian then my modern vest.
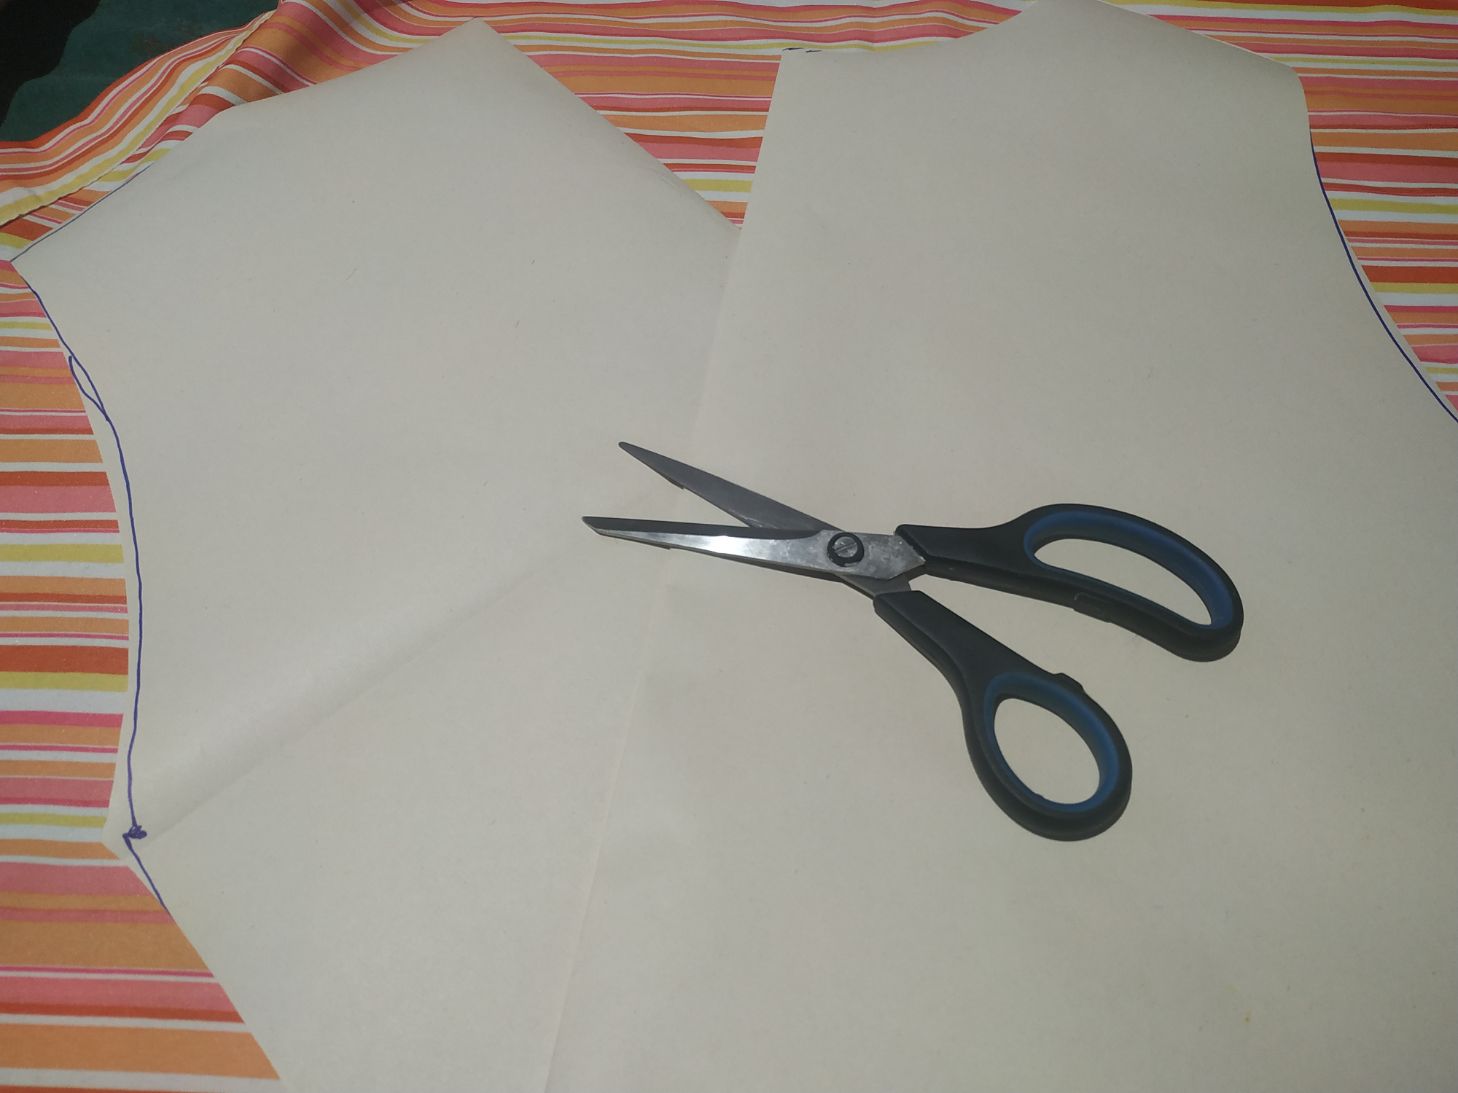
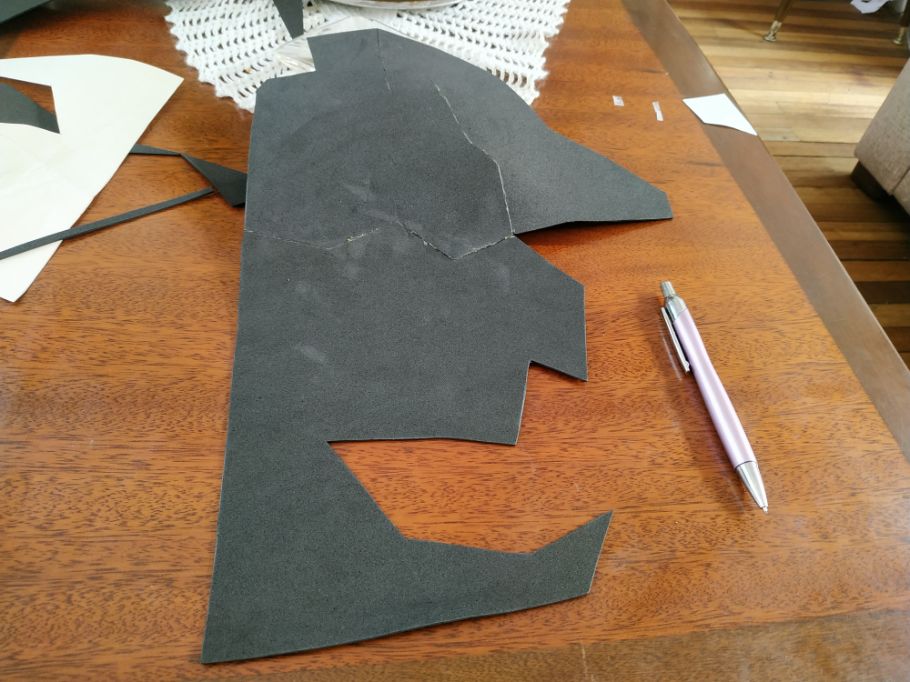
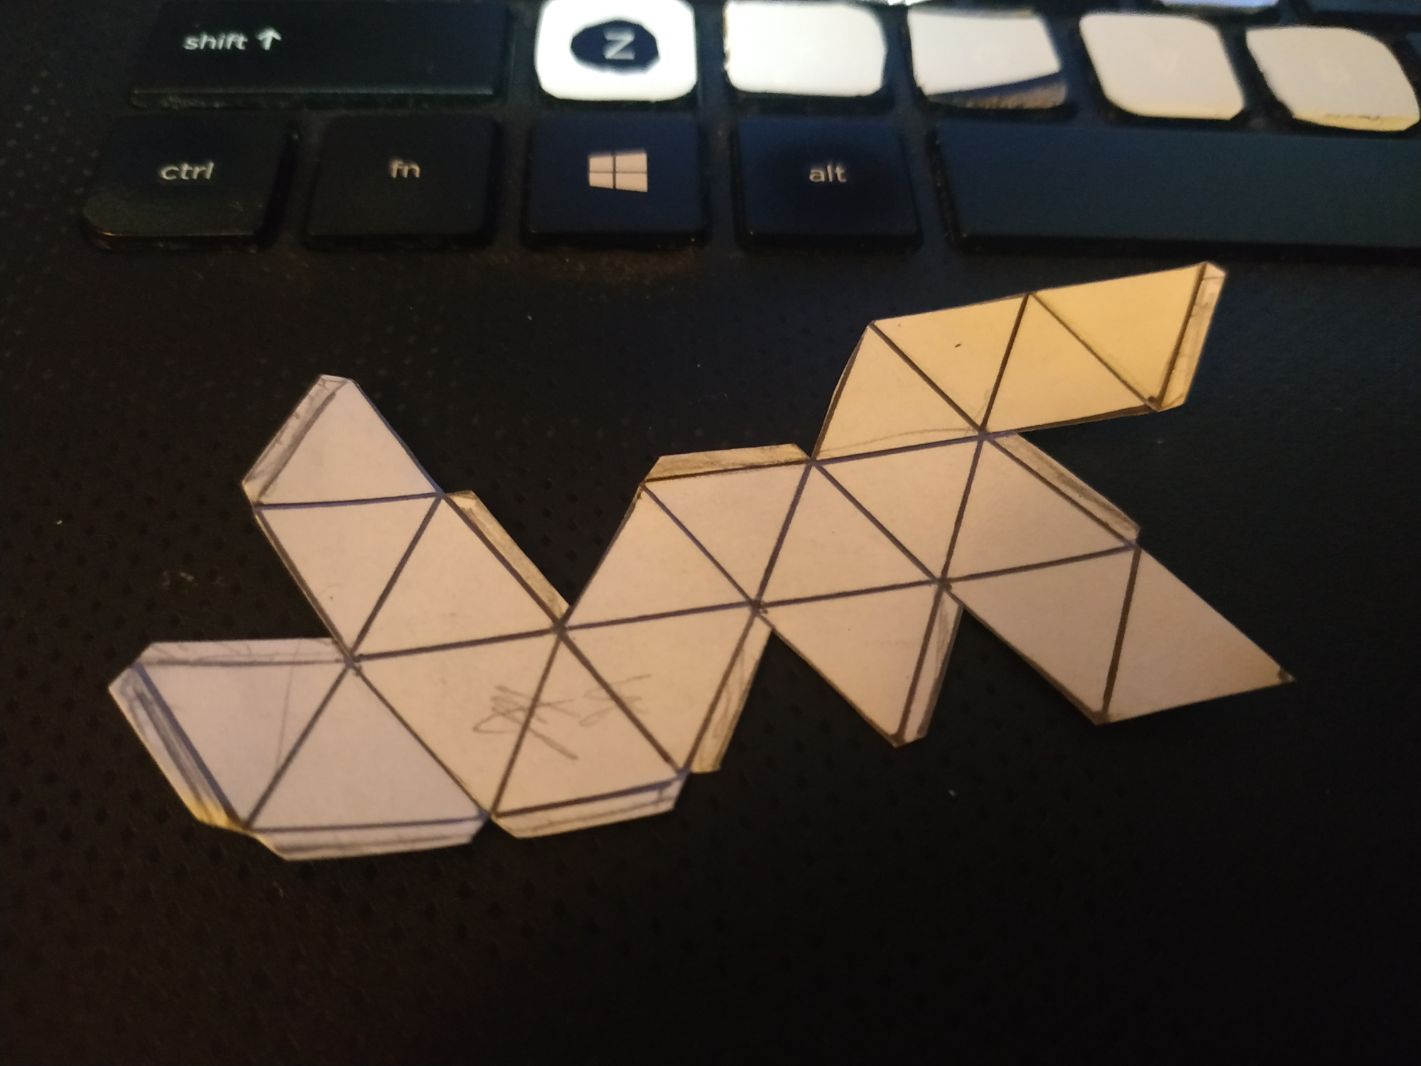
The paper was folded in the middle and cut.
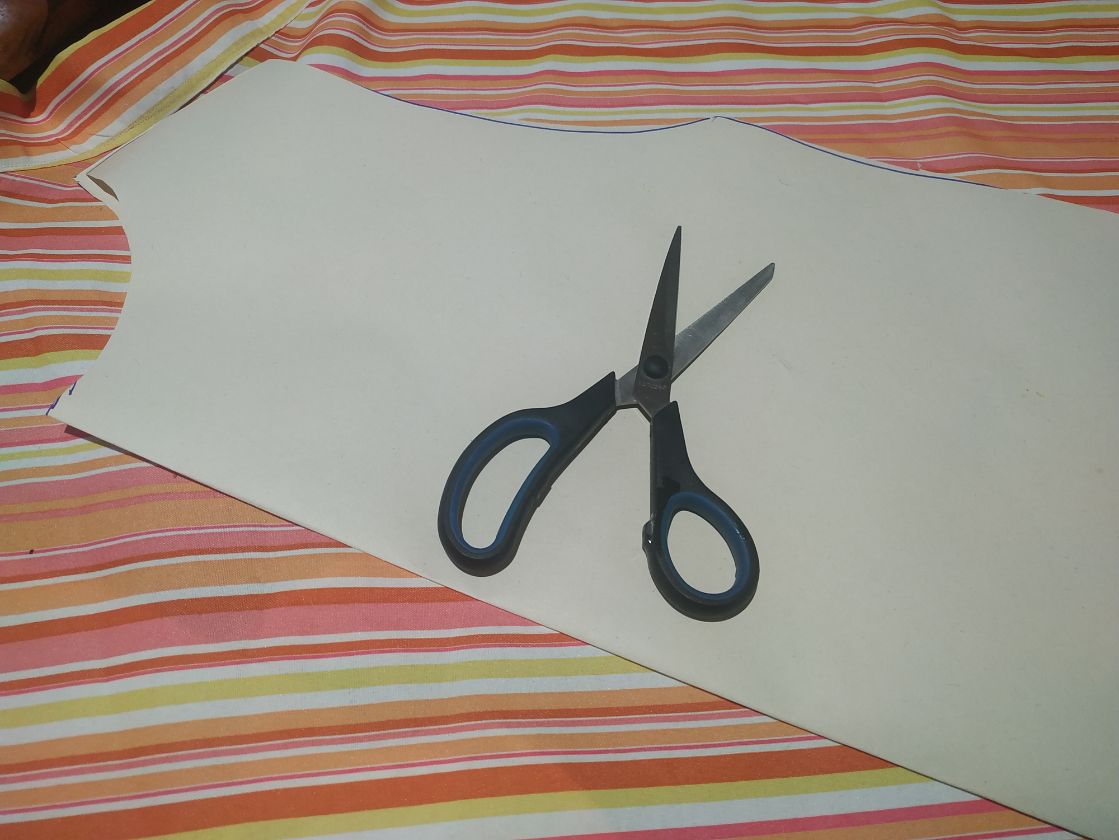
I did the same for the front part(s).
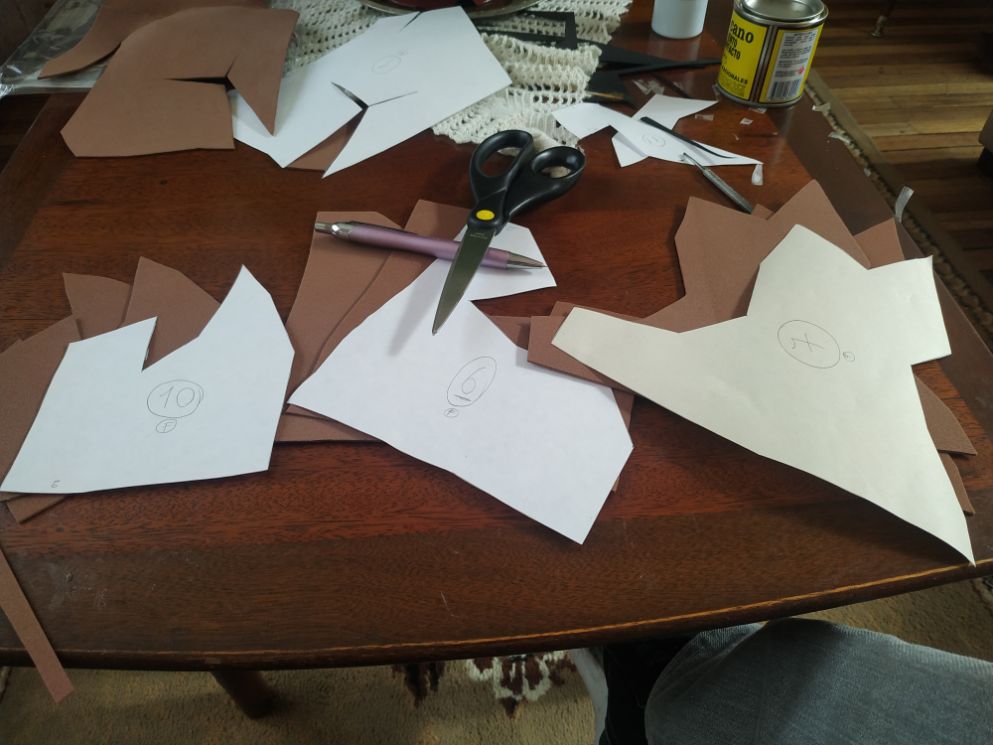
Then, i used pins to keep all in place.
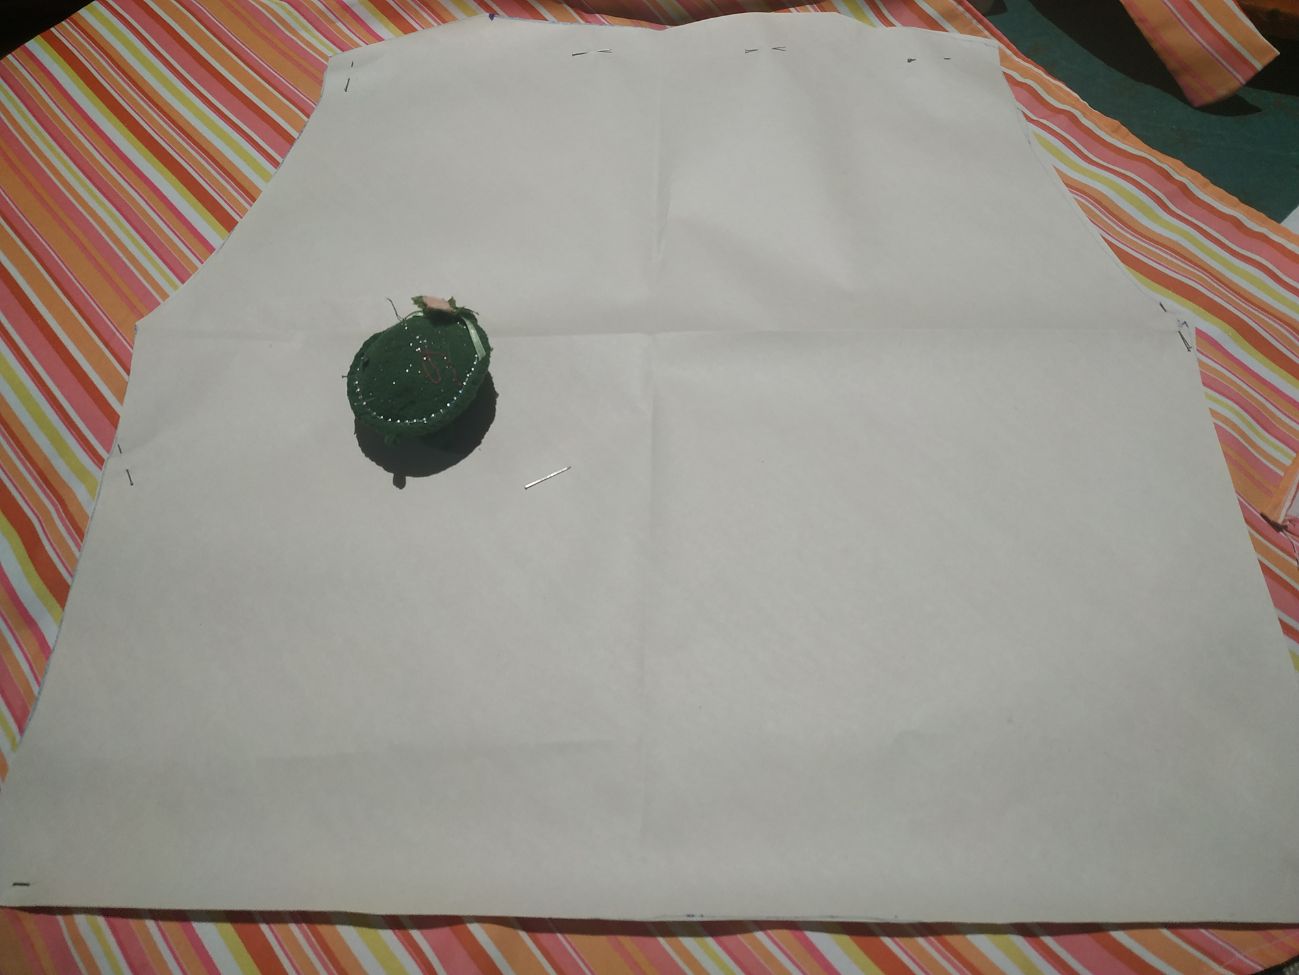
Using a pencil I traced the conteours.
And cut the fabric.
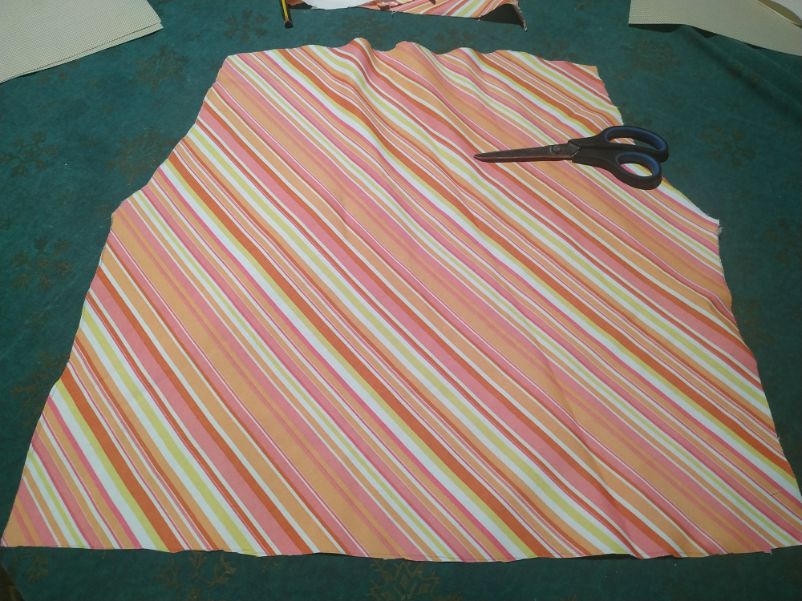
I forgot to cut the other side as a mirror. Otherwise, we end up as here, with a piece with "normals" inverted.
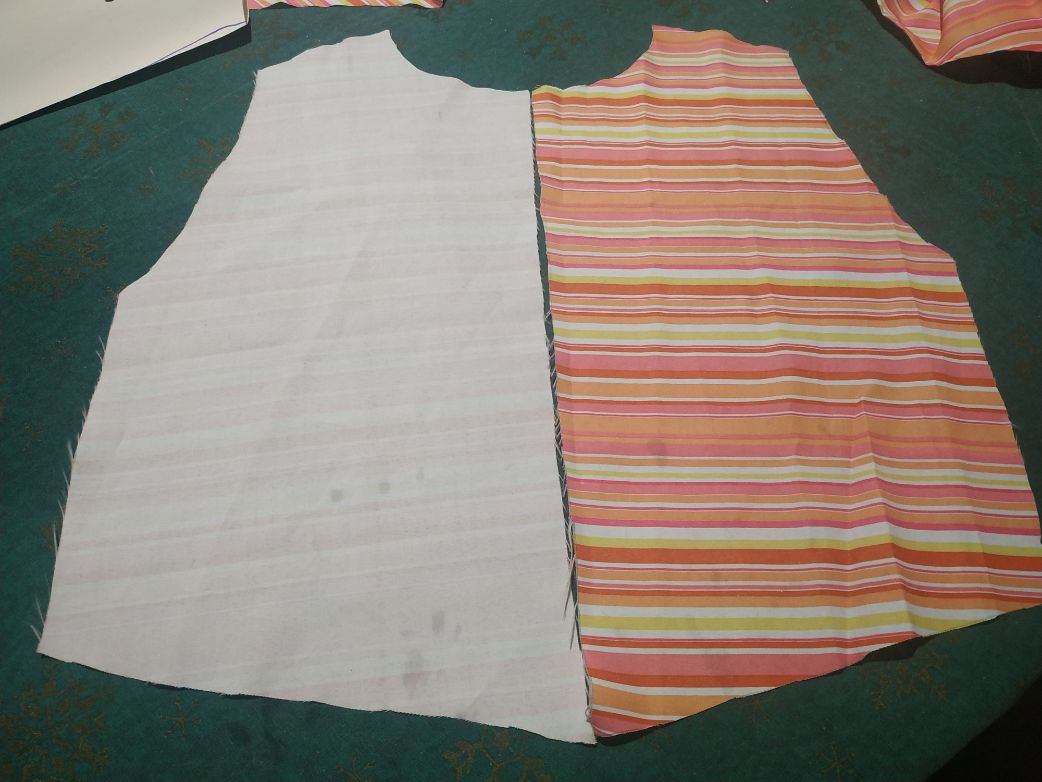
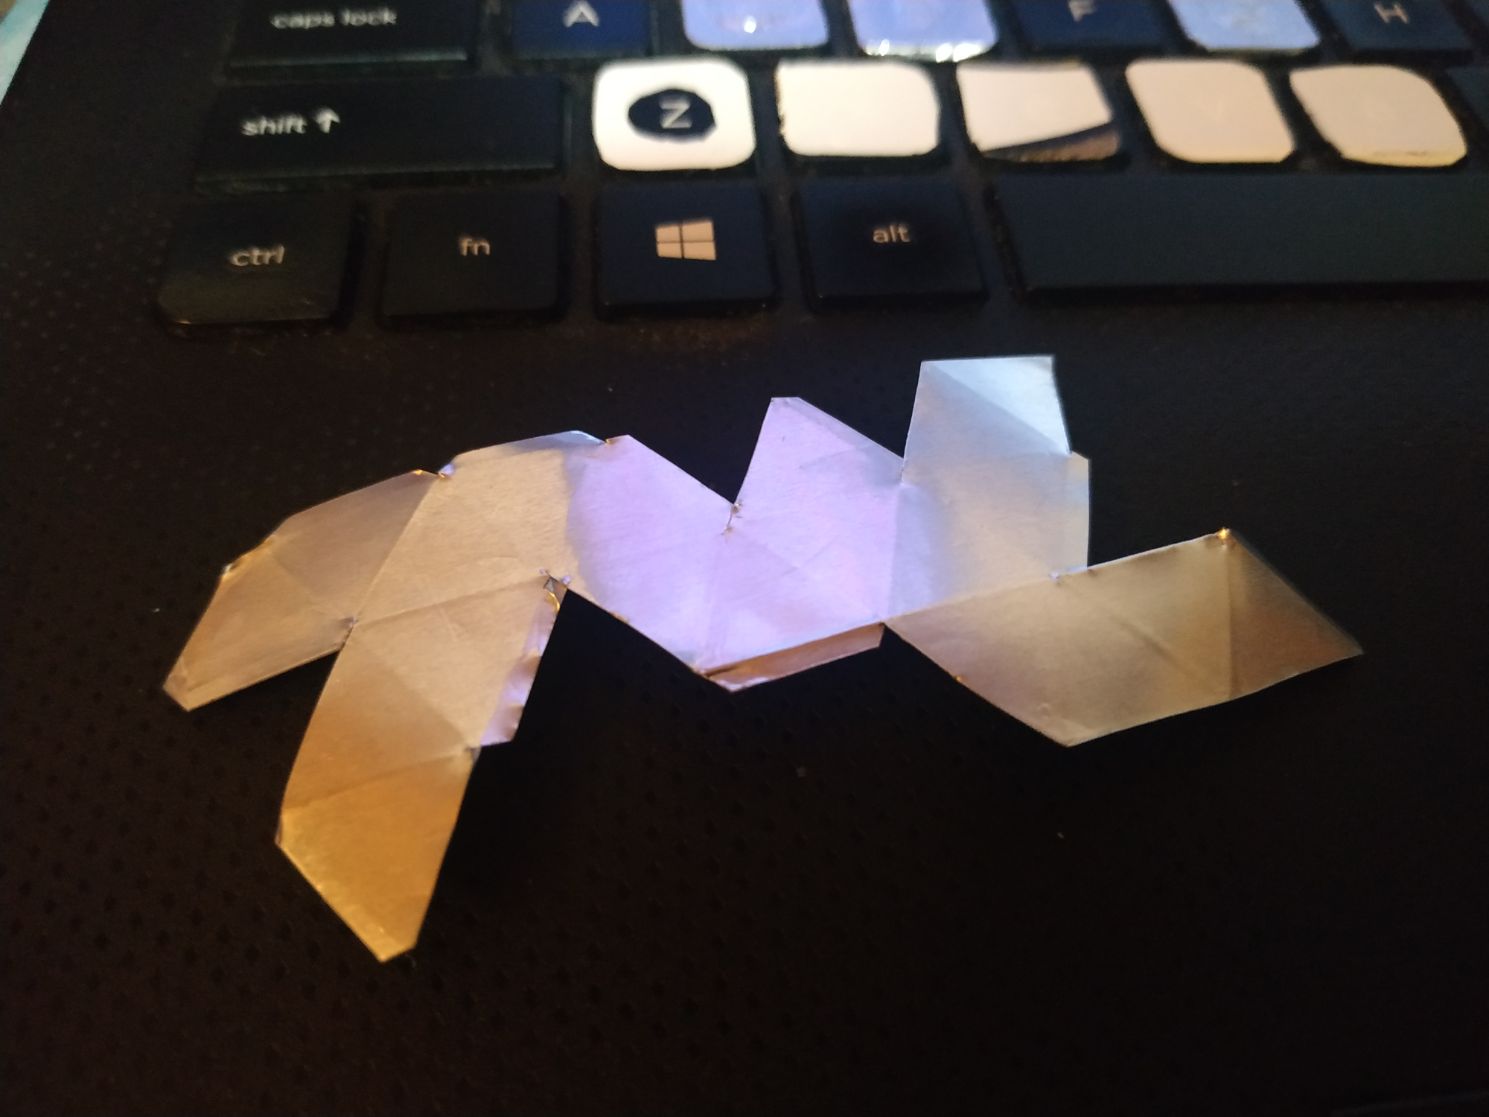
Finally the piece cut in a correct manner.
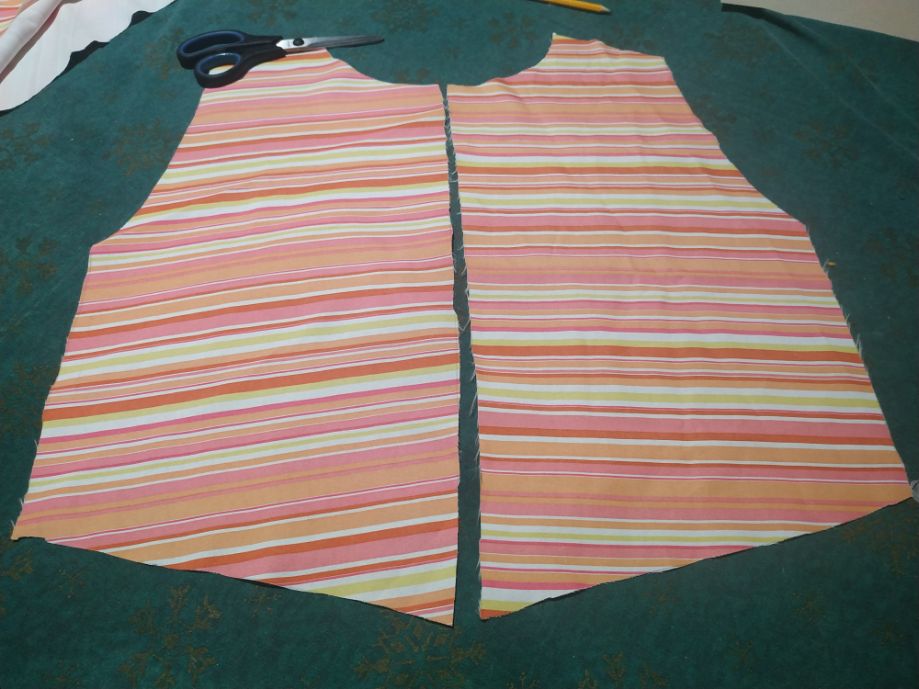
The distance bewteen the pis is a couple of centimeters.
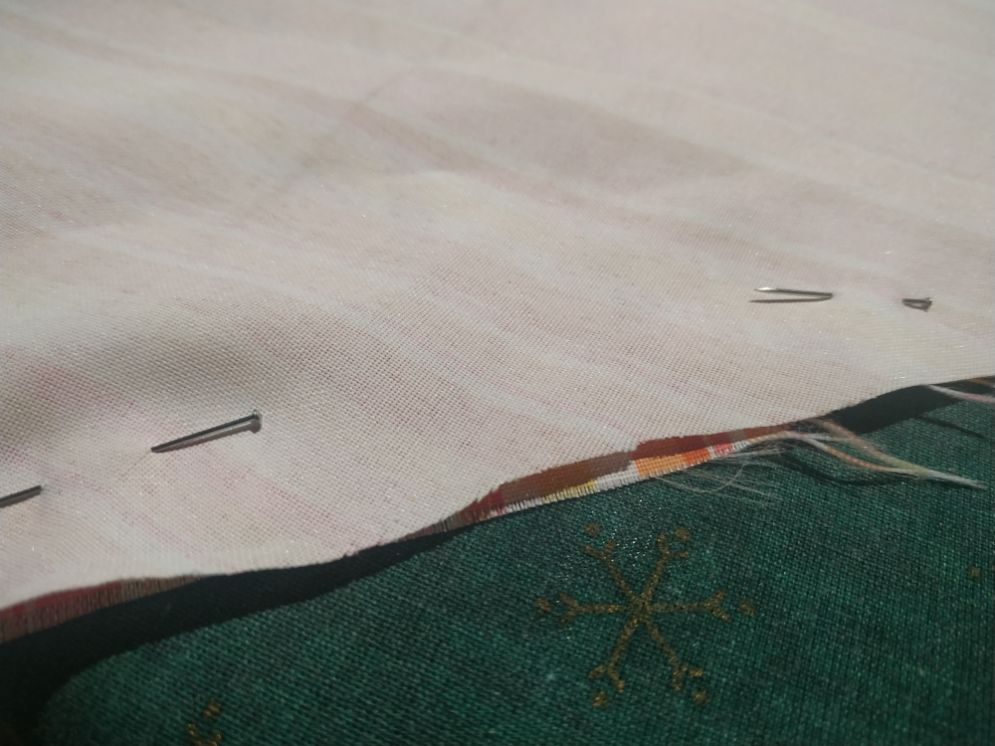
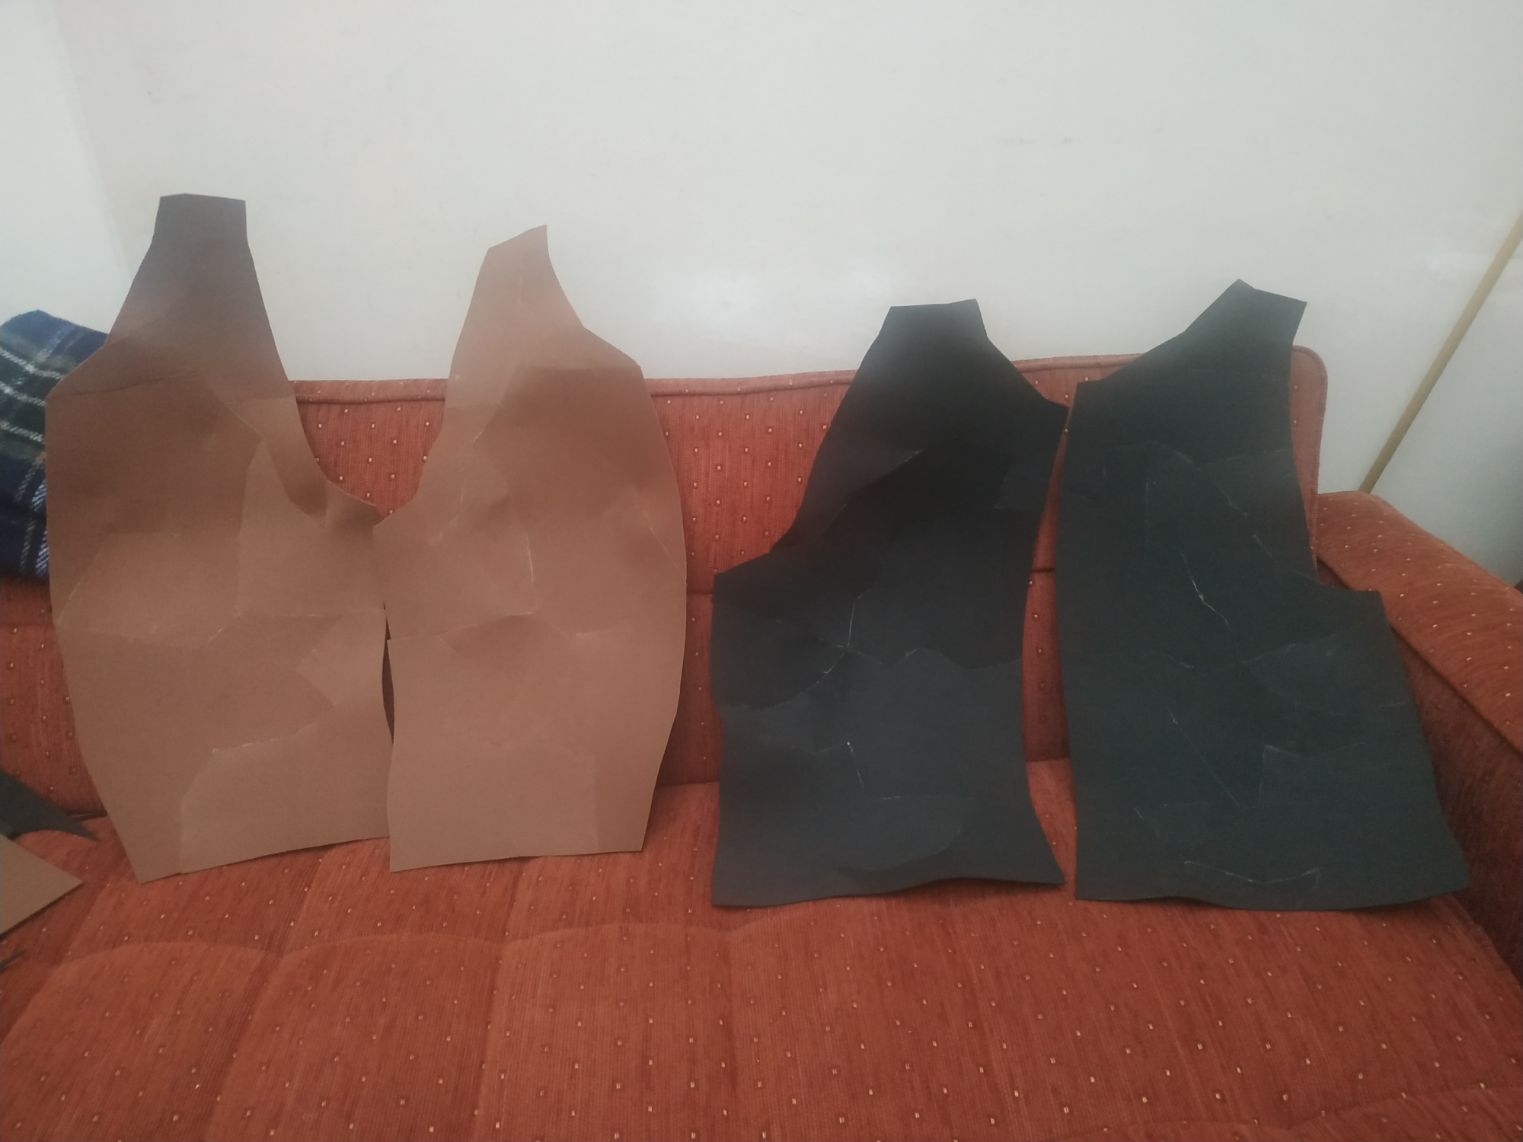
Here are the pieces, aligned and pinned.
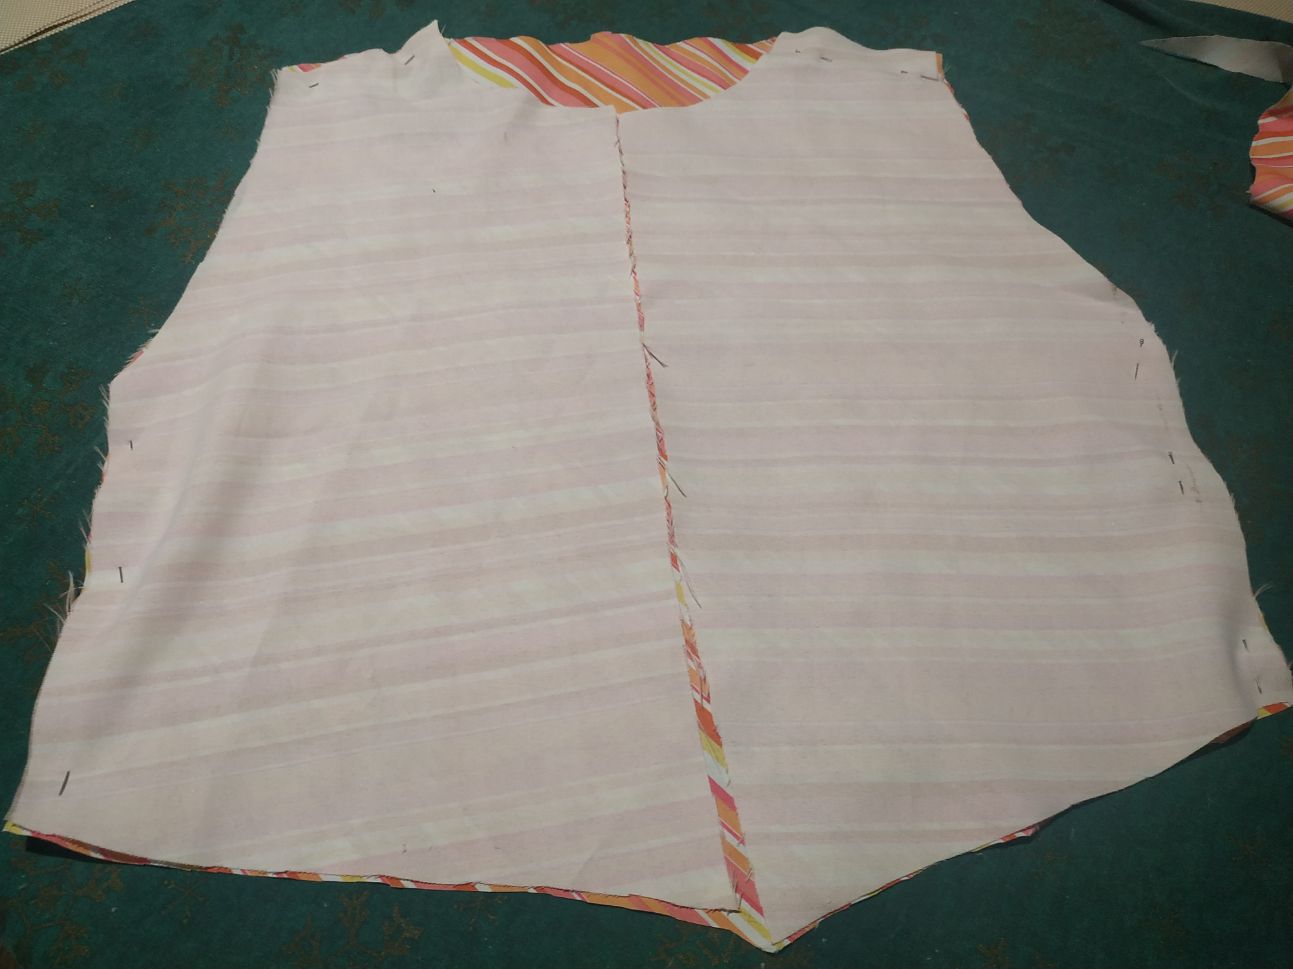
I used a machine to sew the margins.
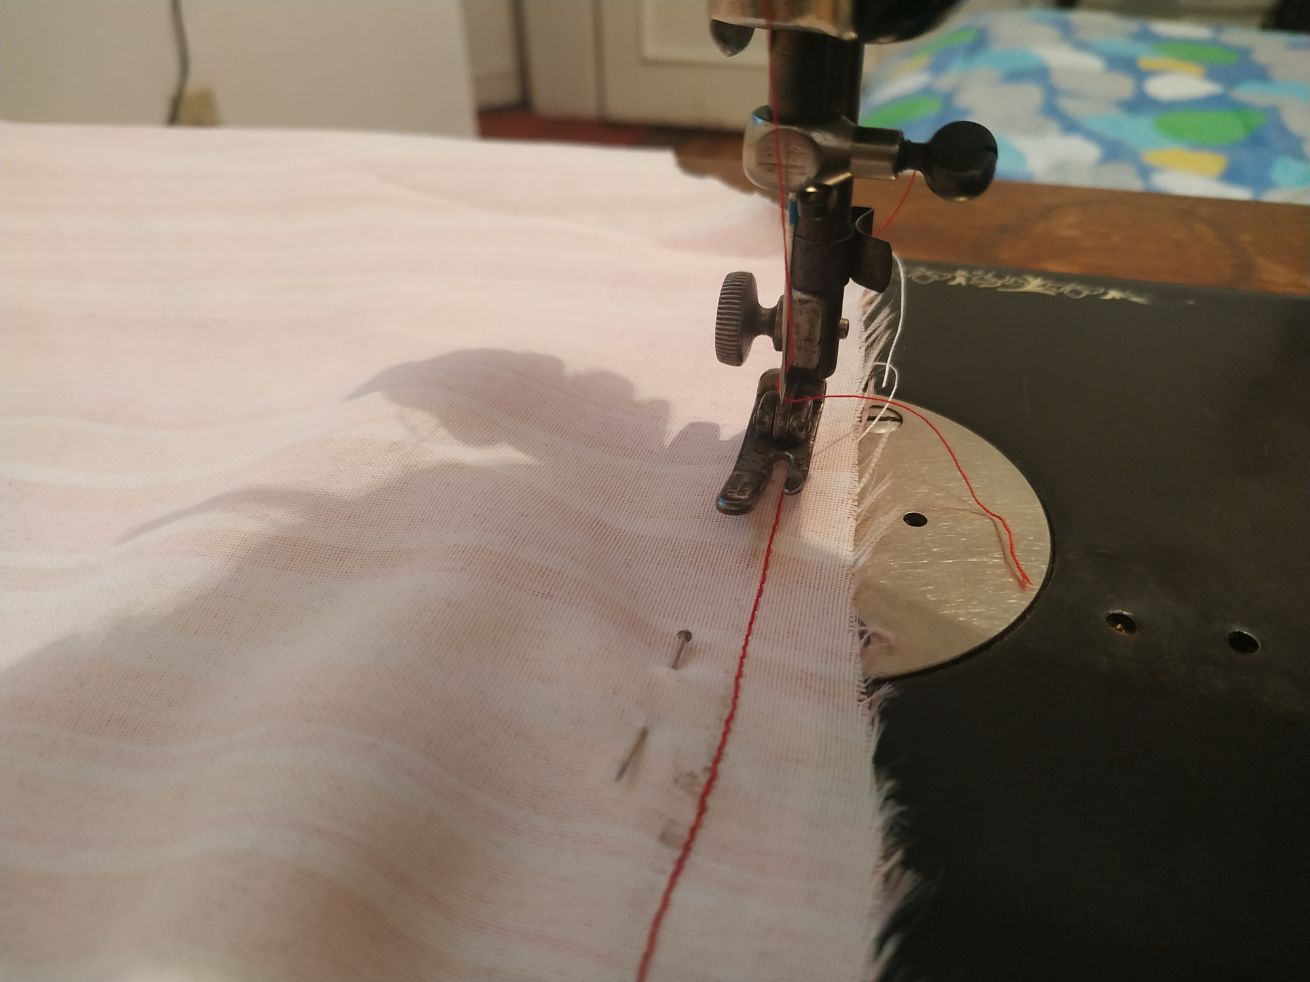
And finnally the borders, so they don´t loose their integrity.
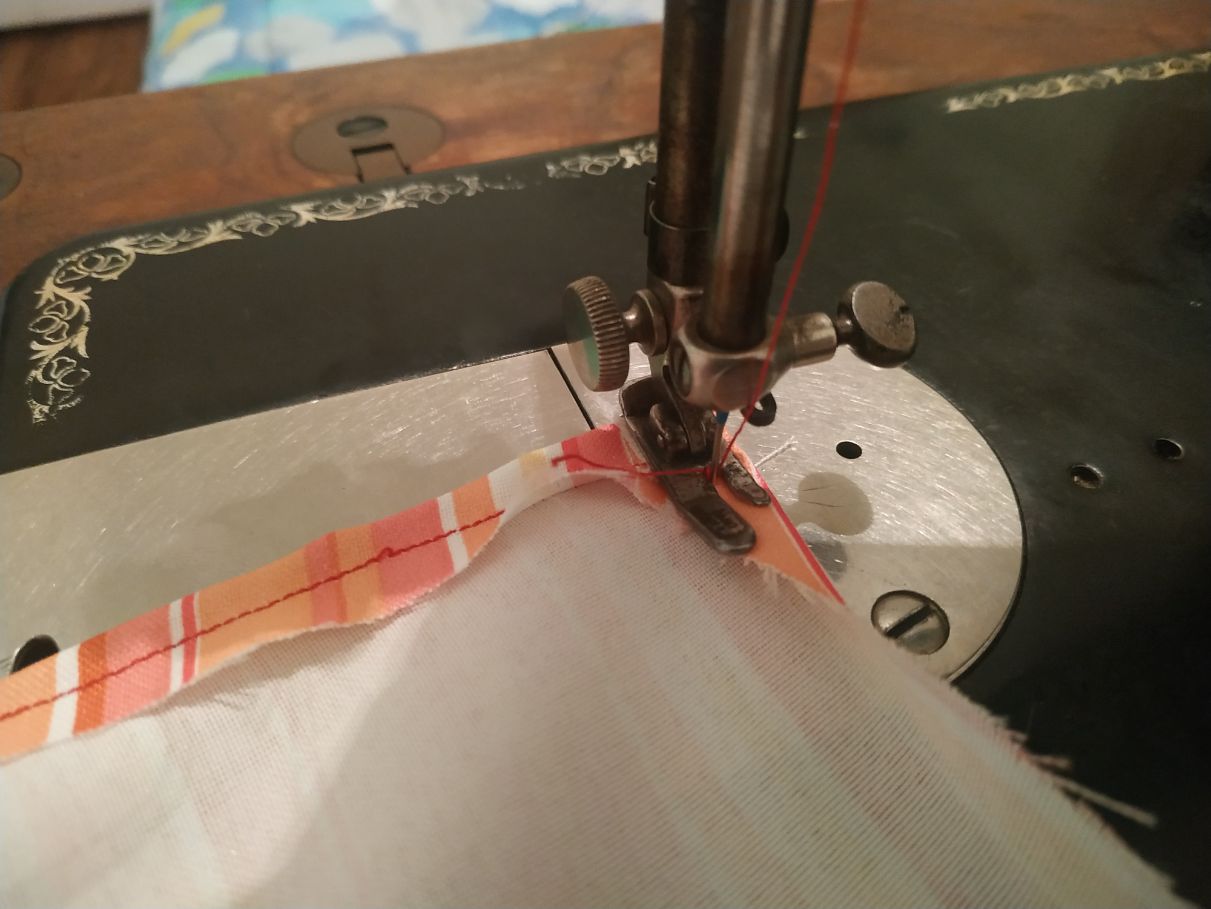
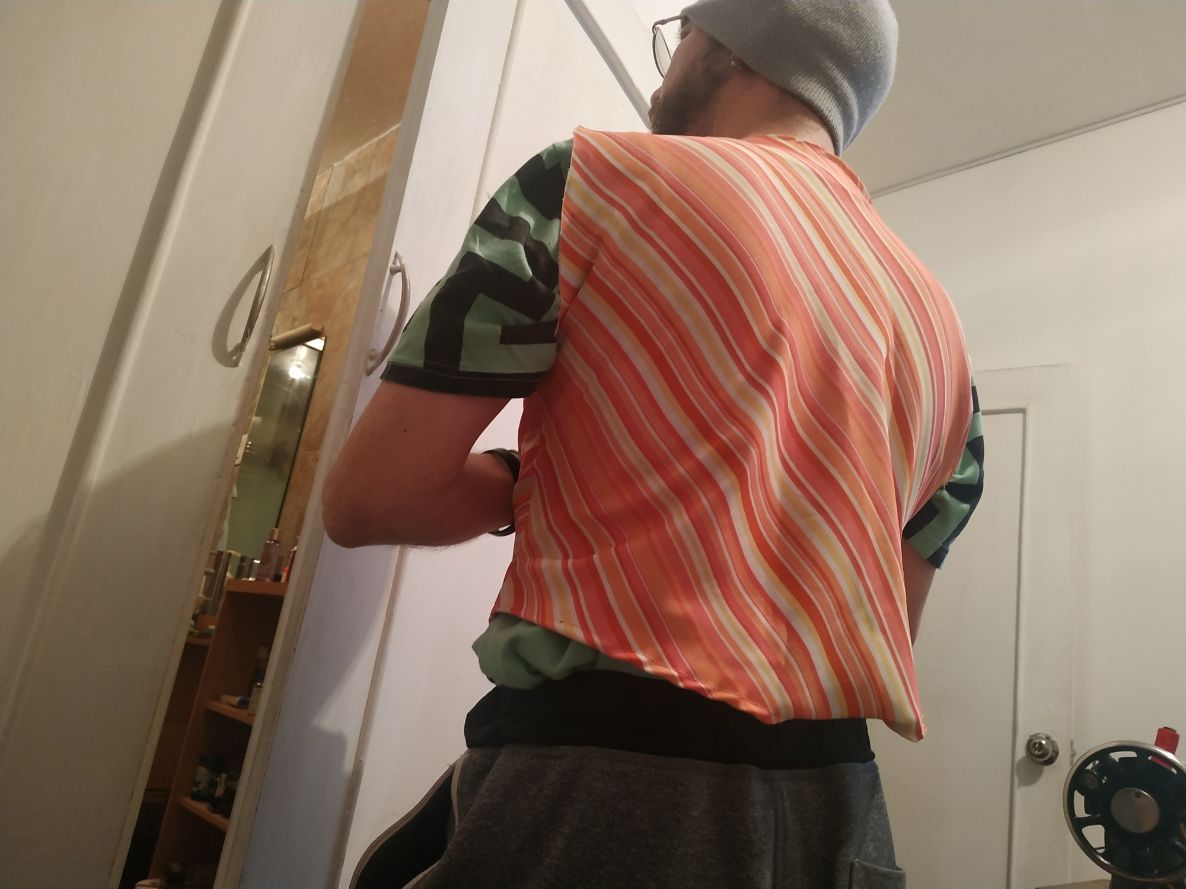
Here is the result after sewing.
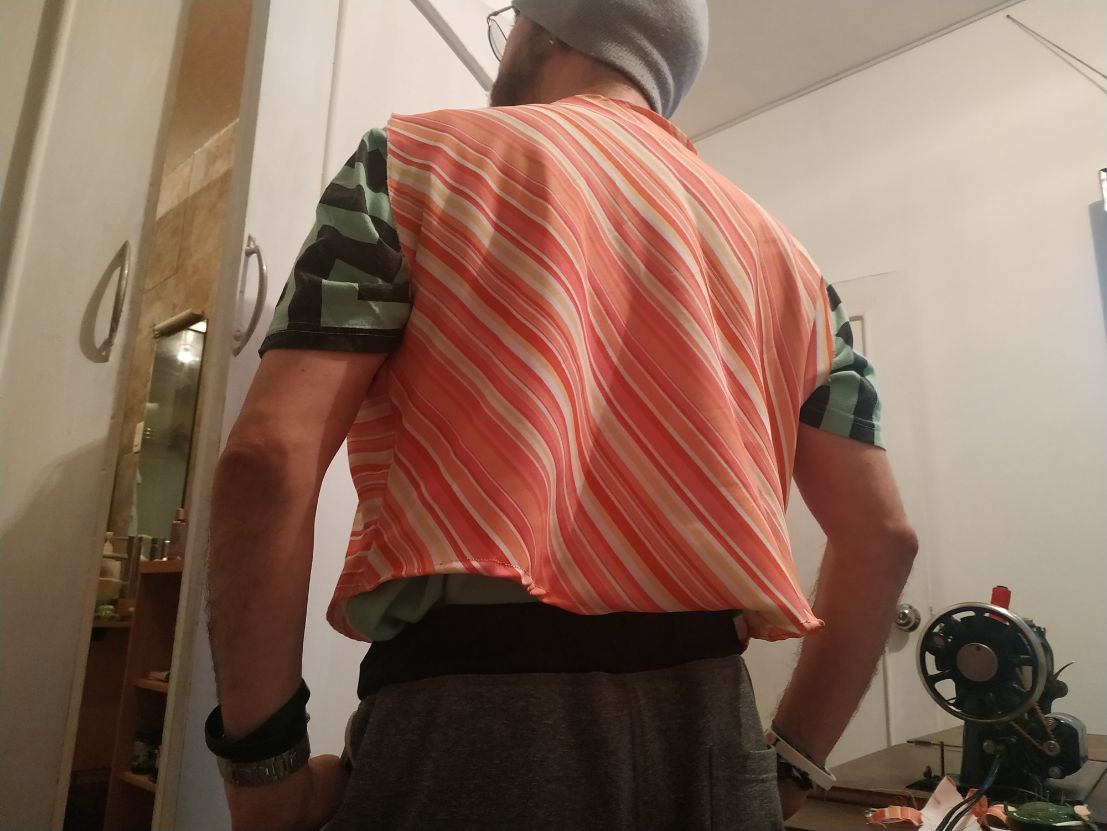
The victorian models have a belt in the back, to thighten the fabric to the body. I will make one in the final product.
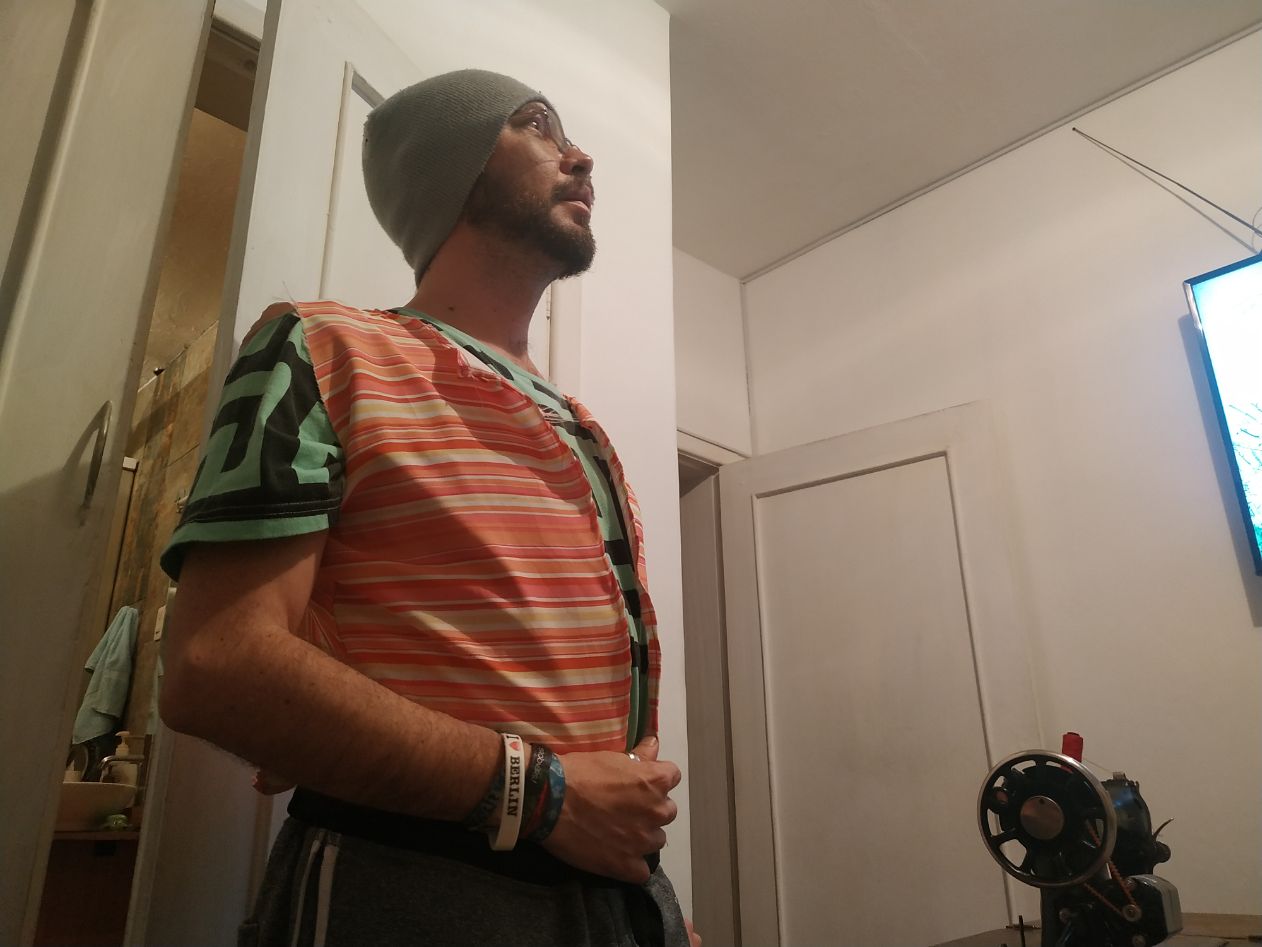
Here is seeing form the front.
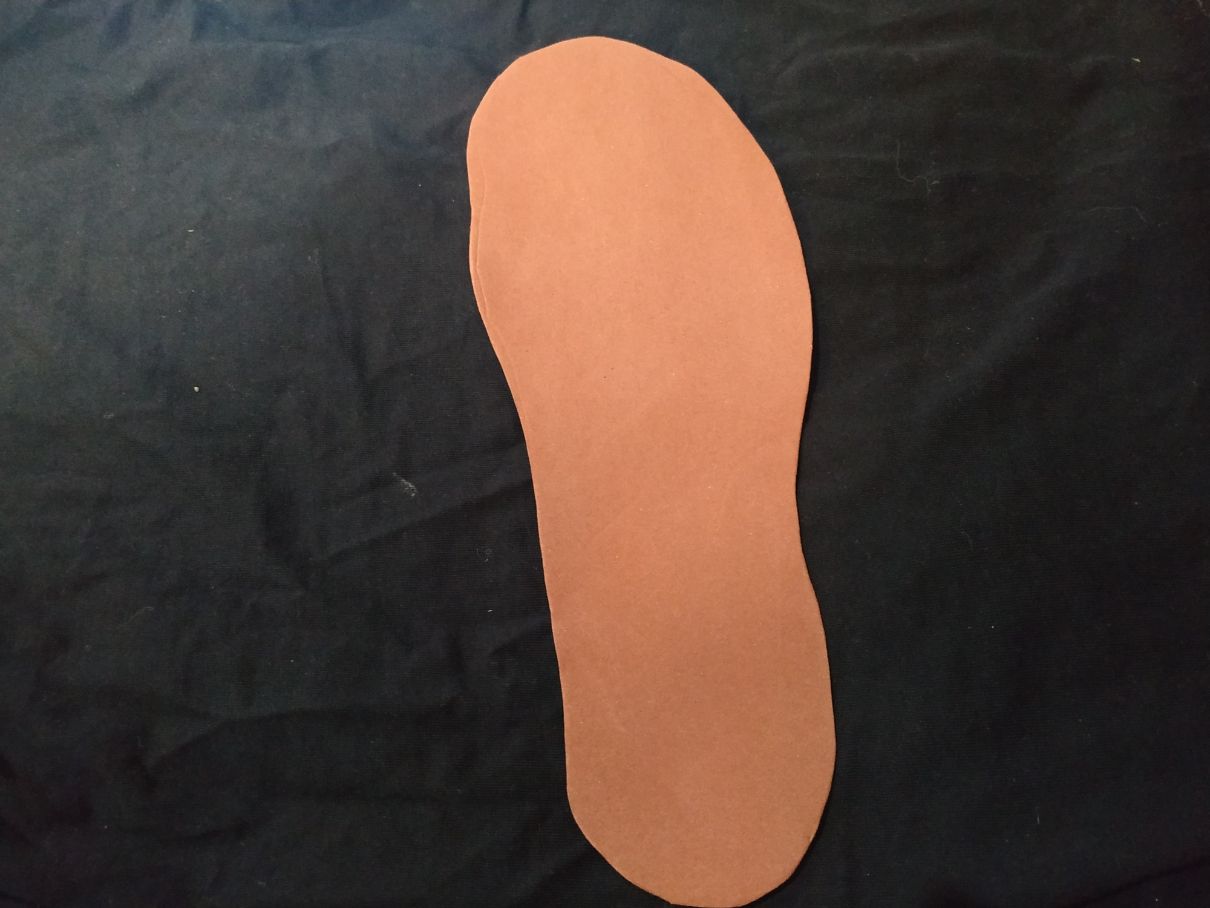
Sensitive insole
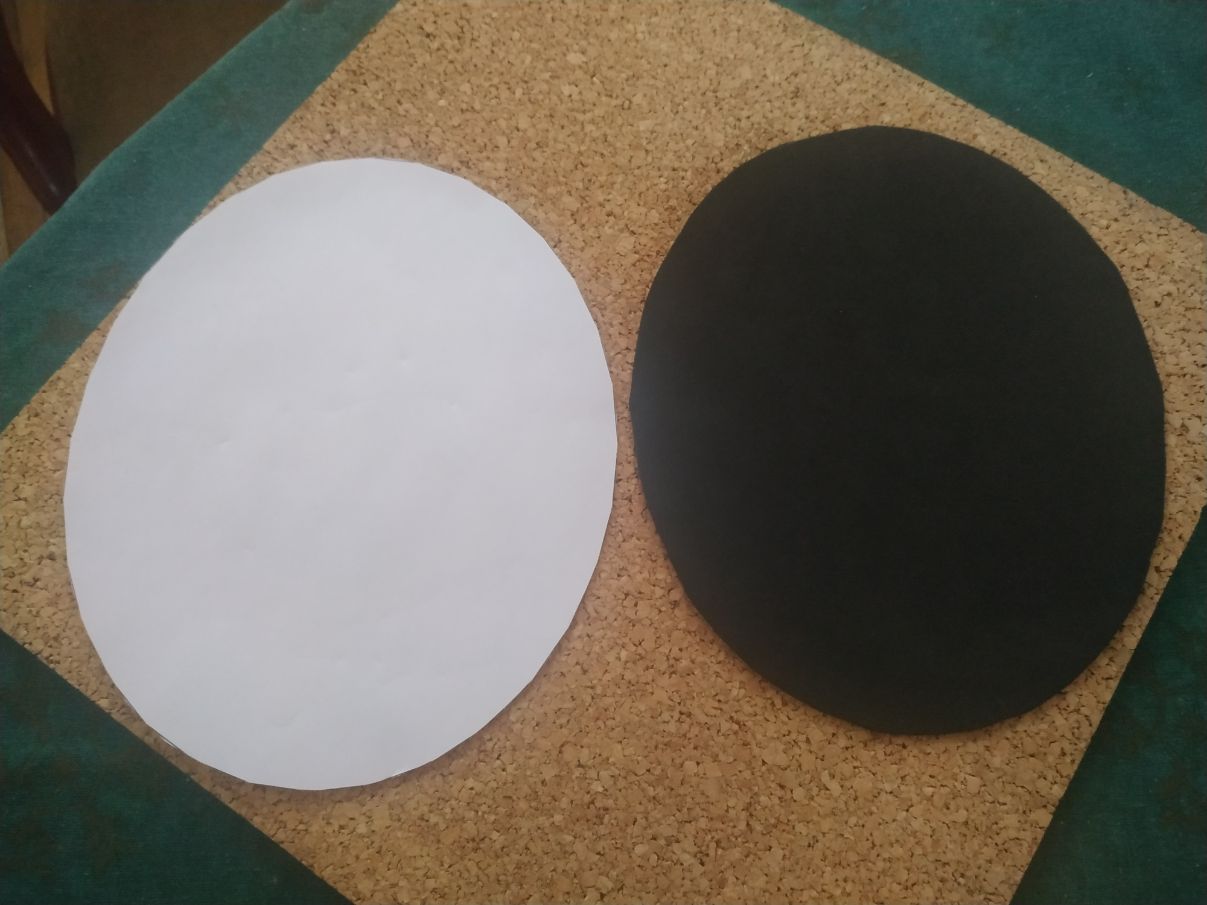
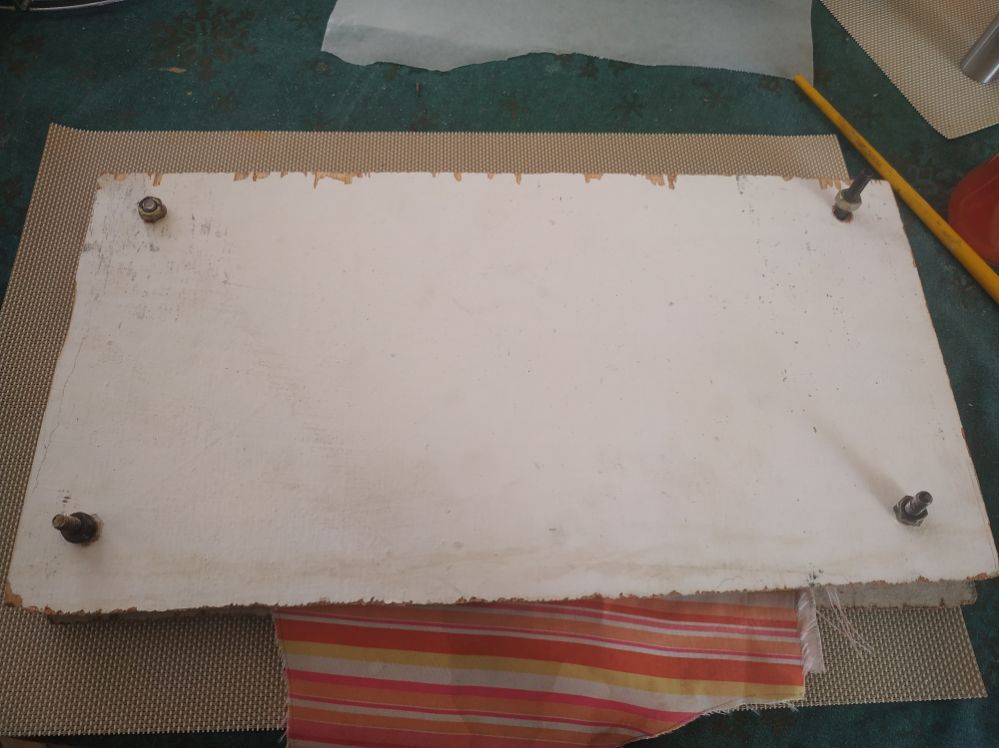
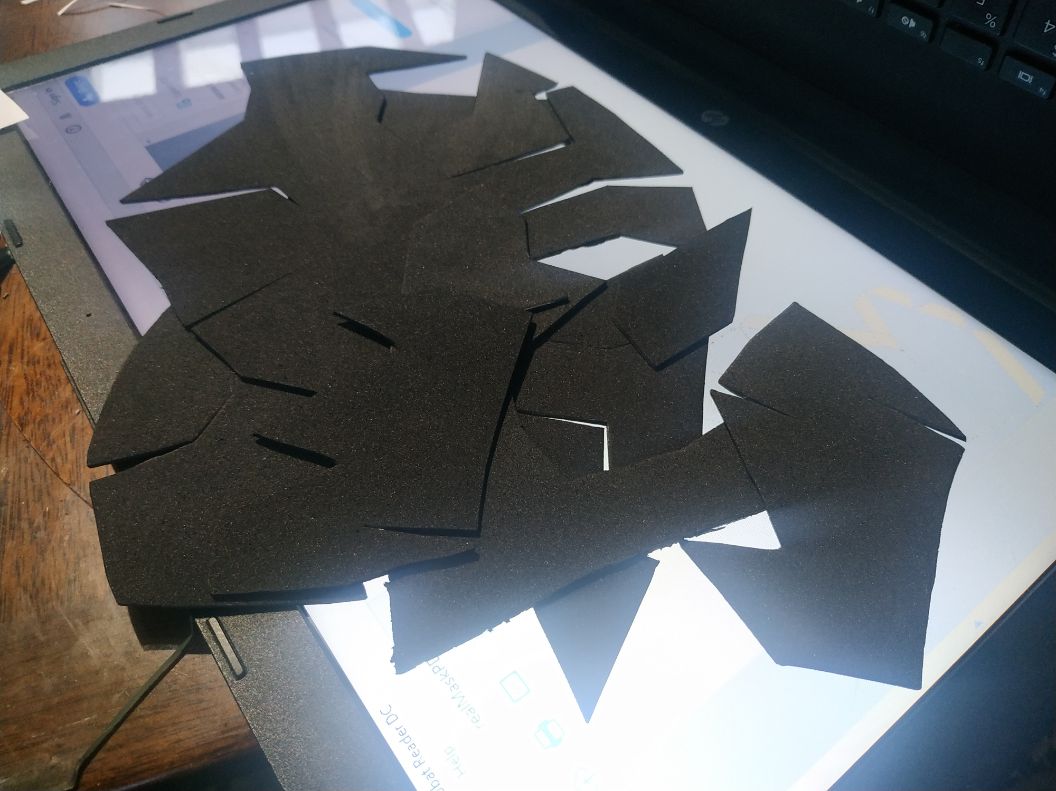
For the prototipe, i just traced my foot in a piece of foam.

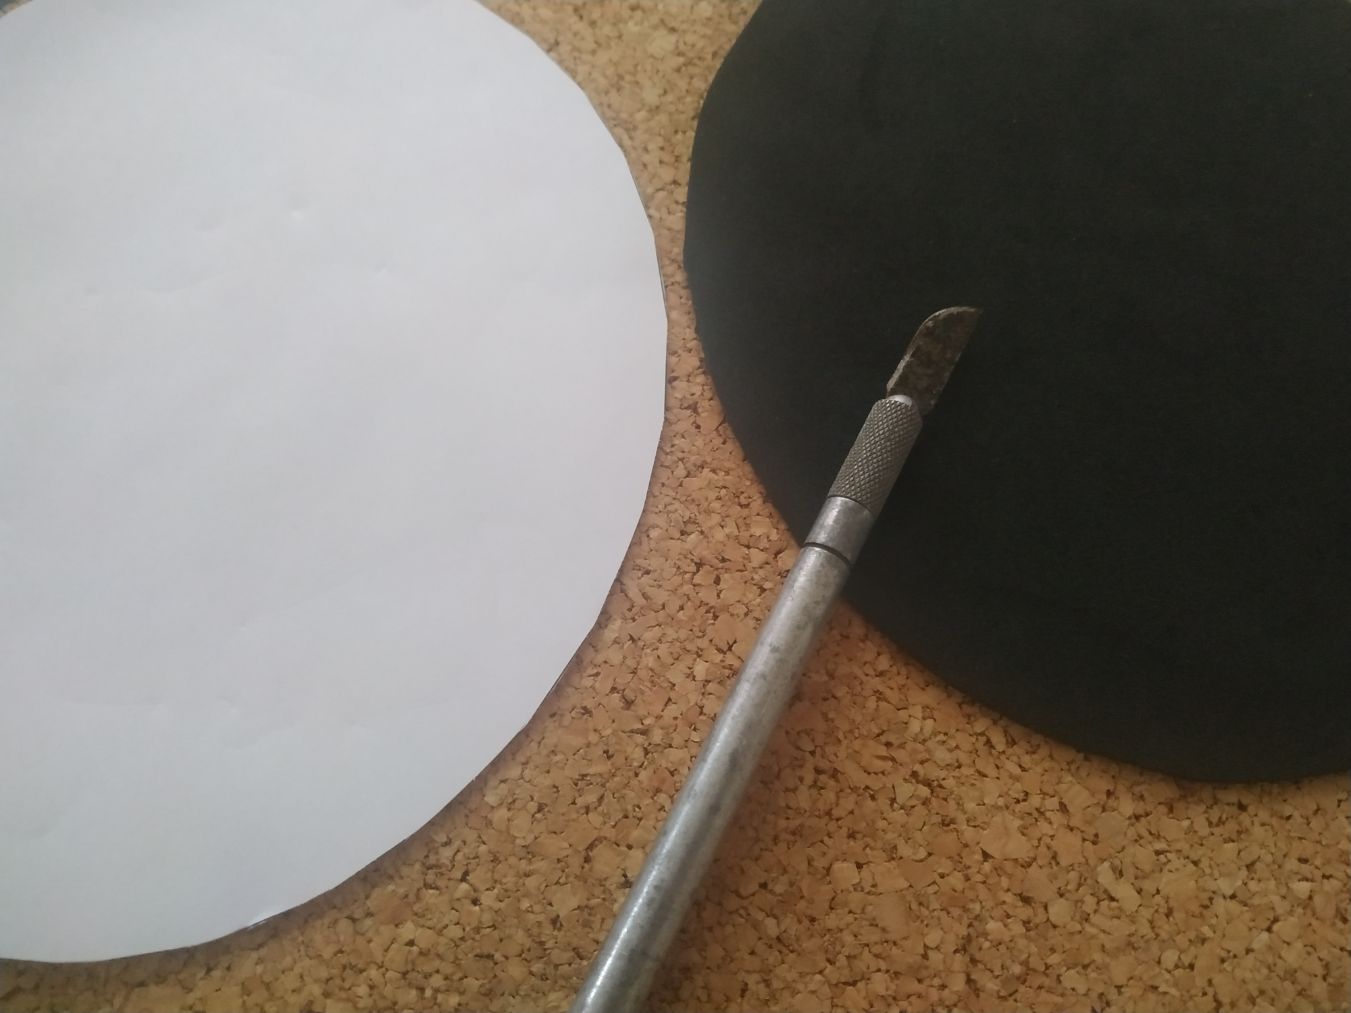
Cut the shape.
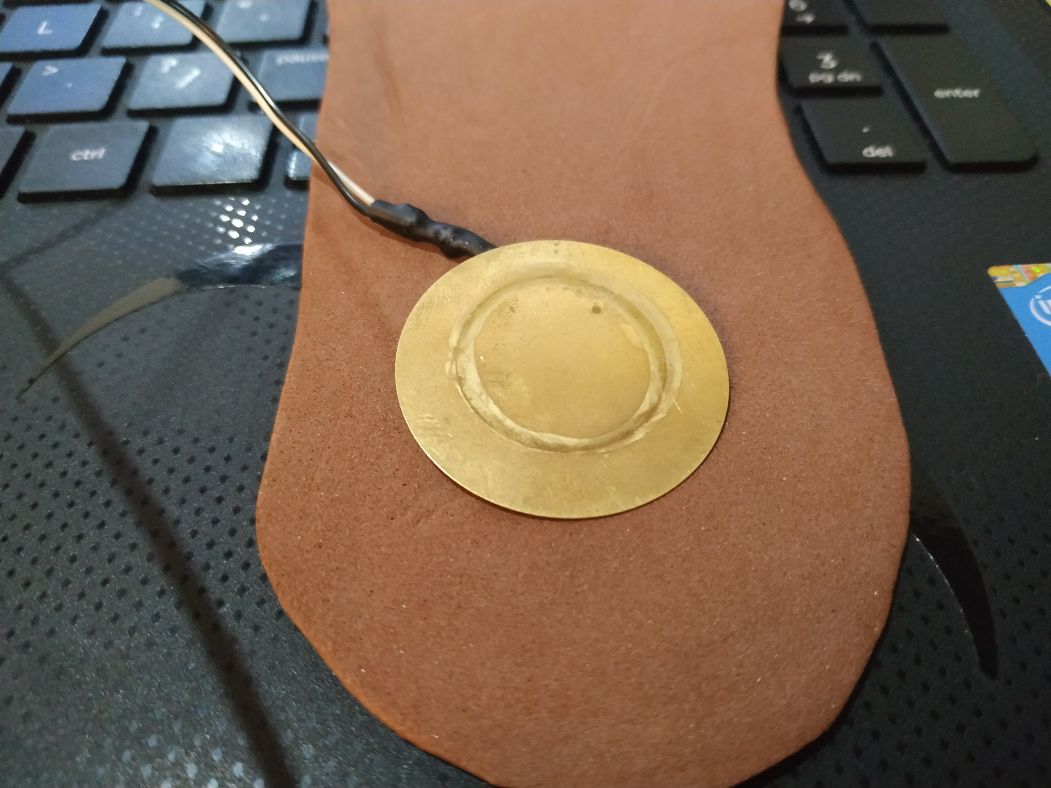
Located the piezo in a preassure area (ball of the foot). This location is important.
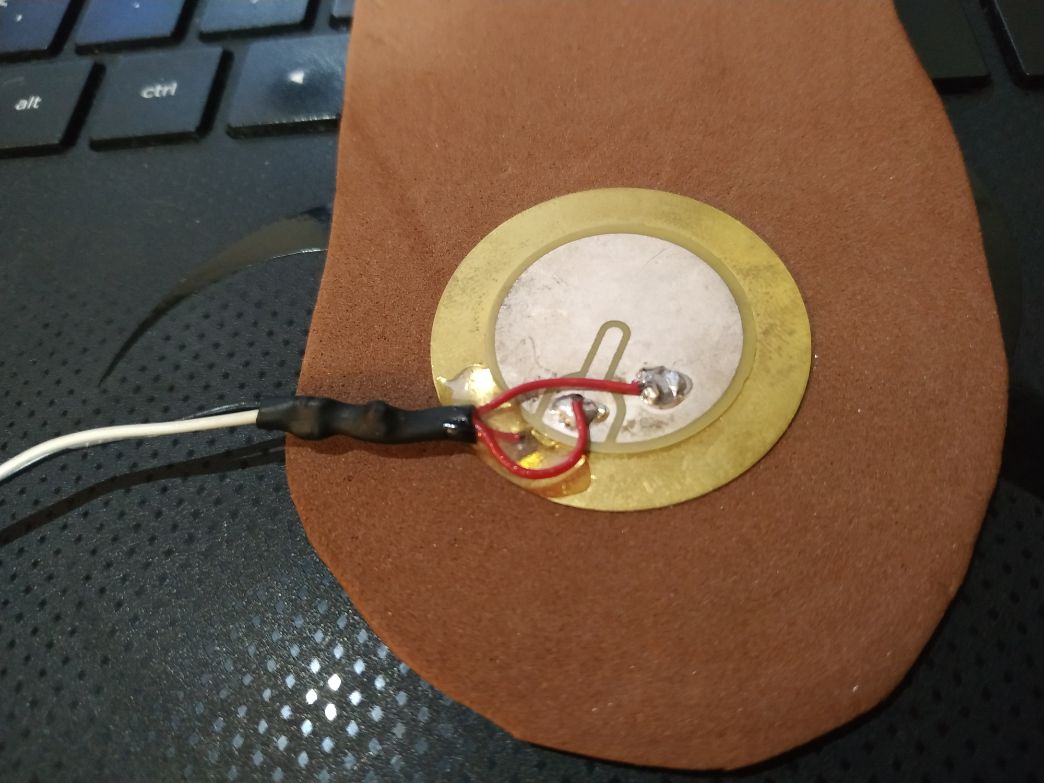
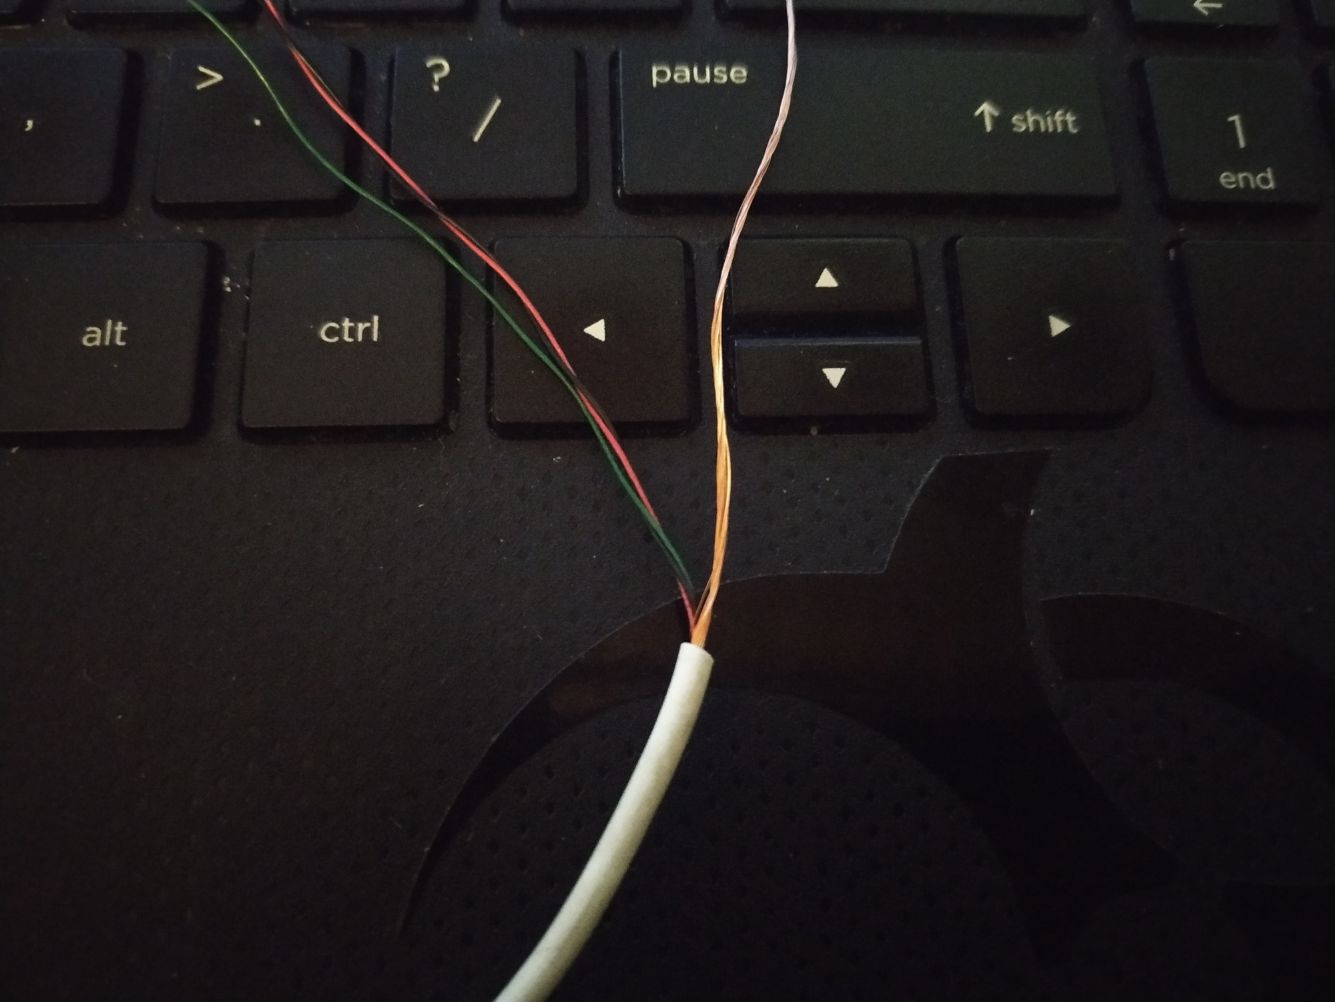
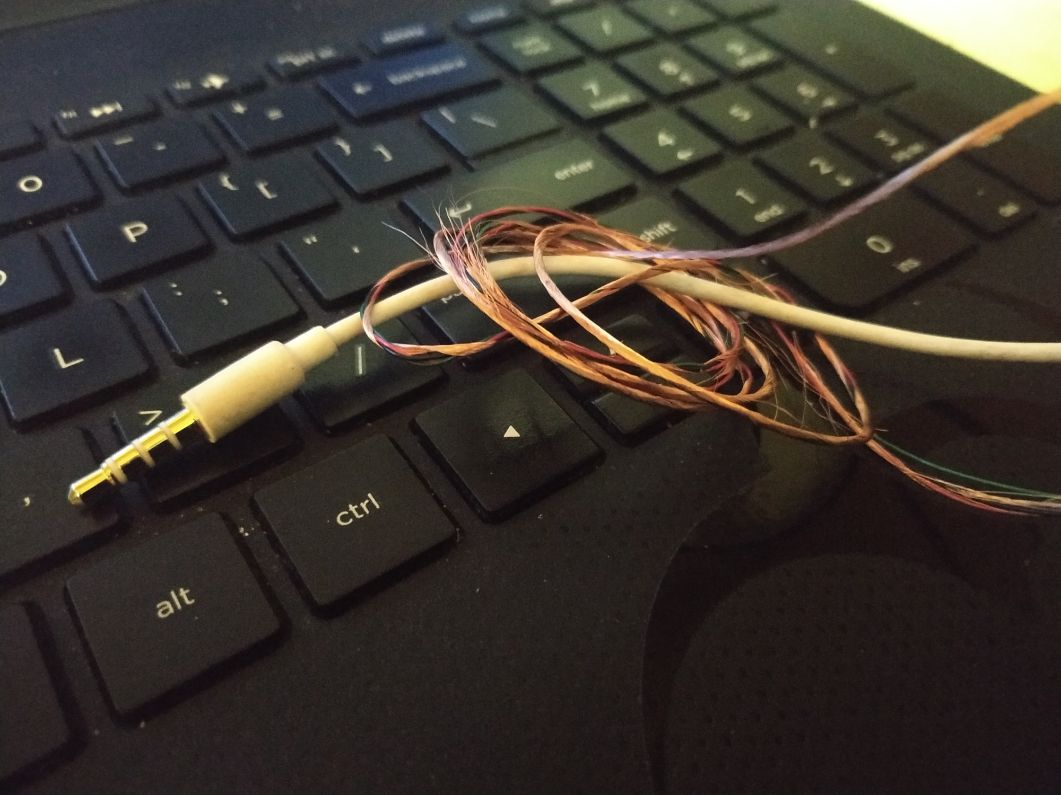
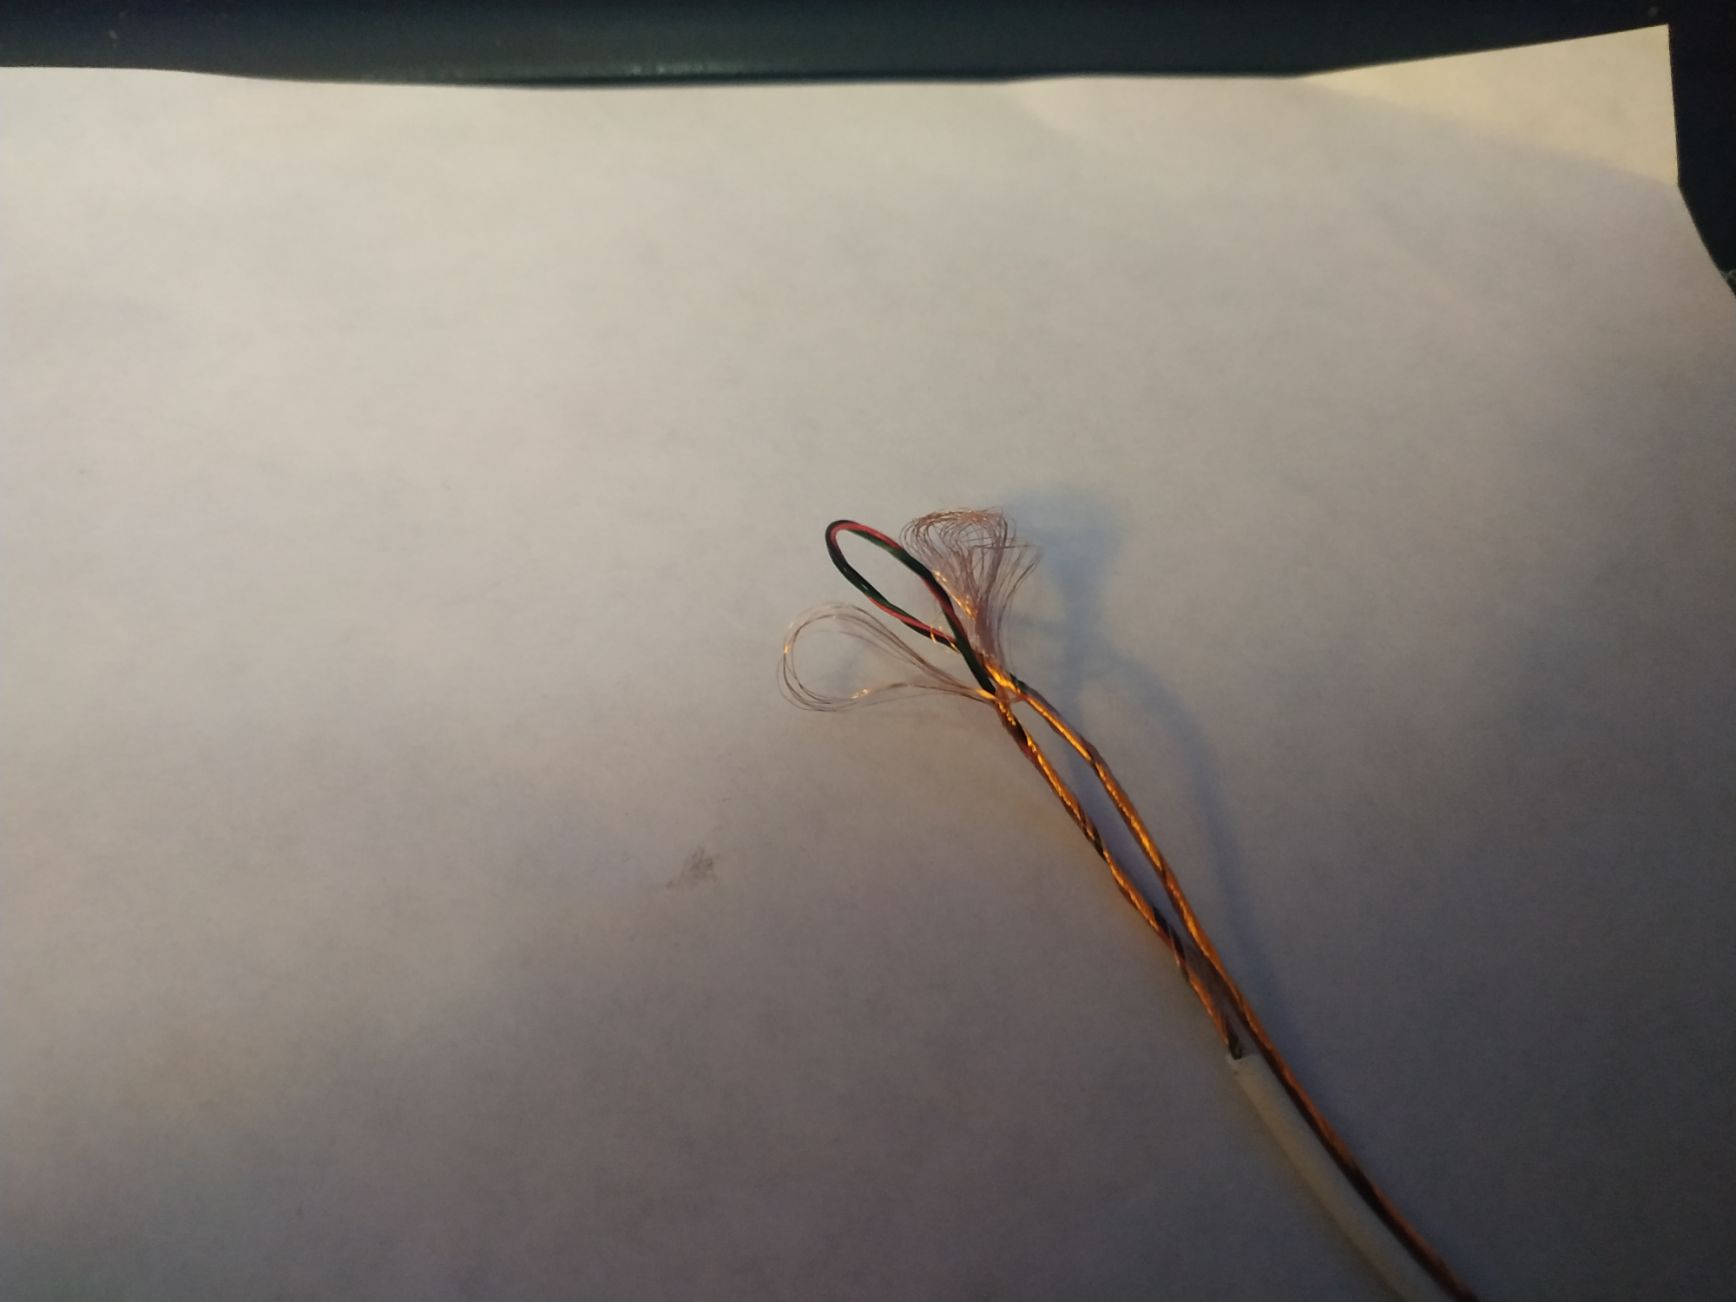
The cables have to be directed to the inside of the feet, so the wearing of the sensor would be conffortable.
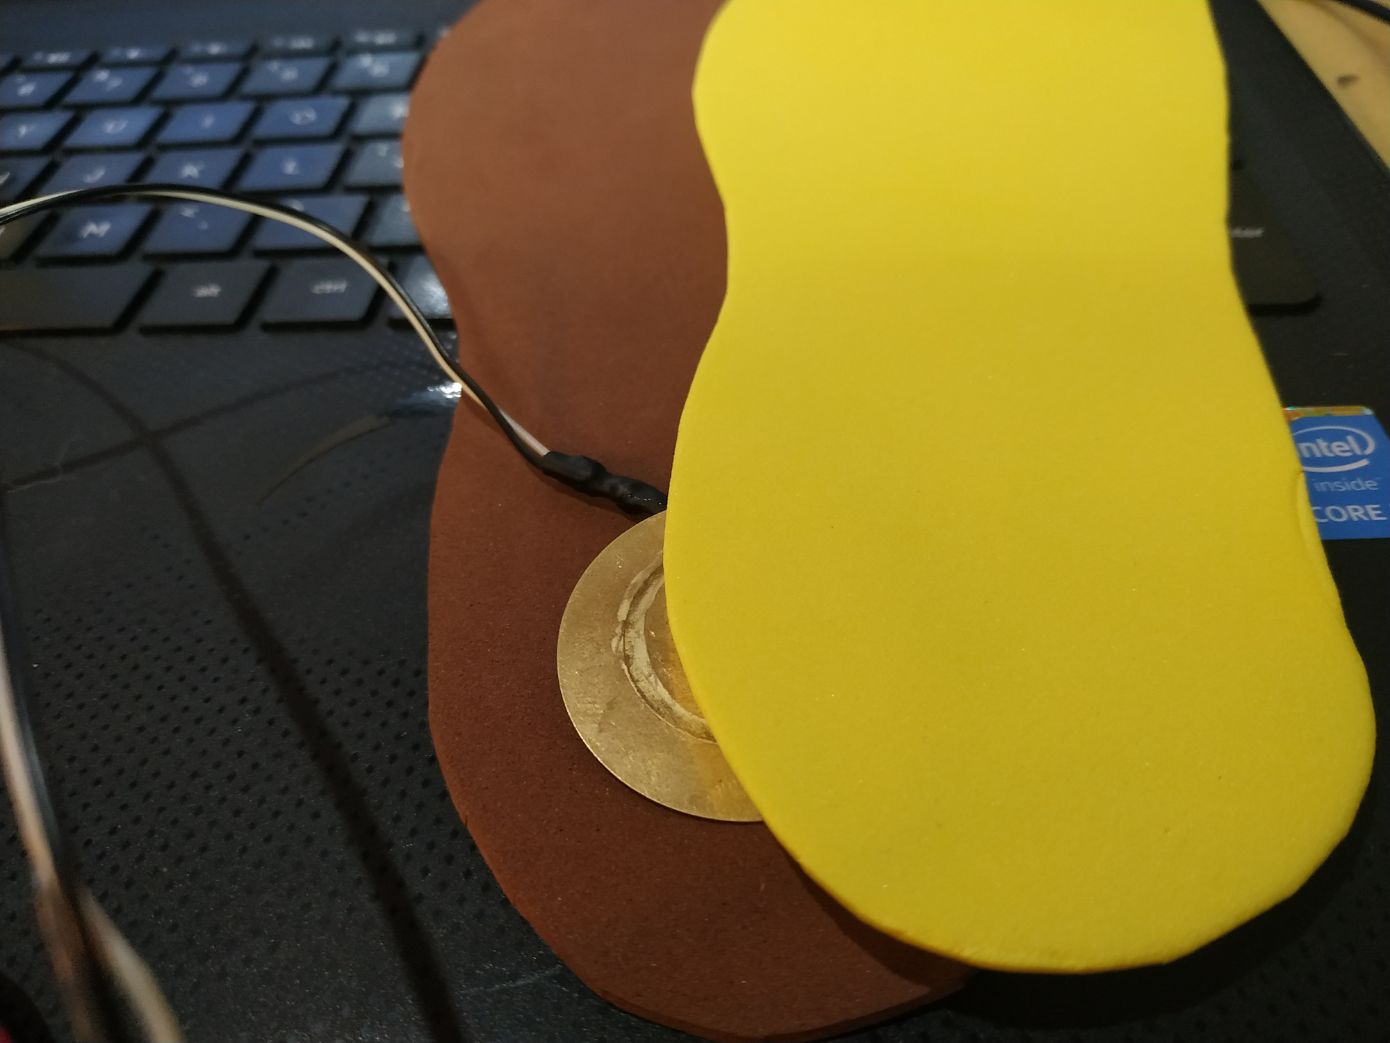
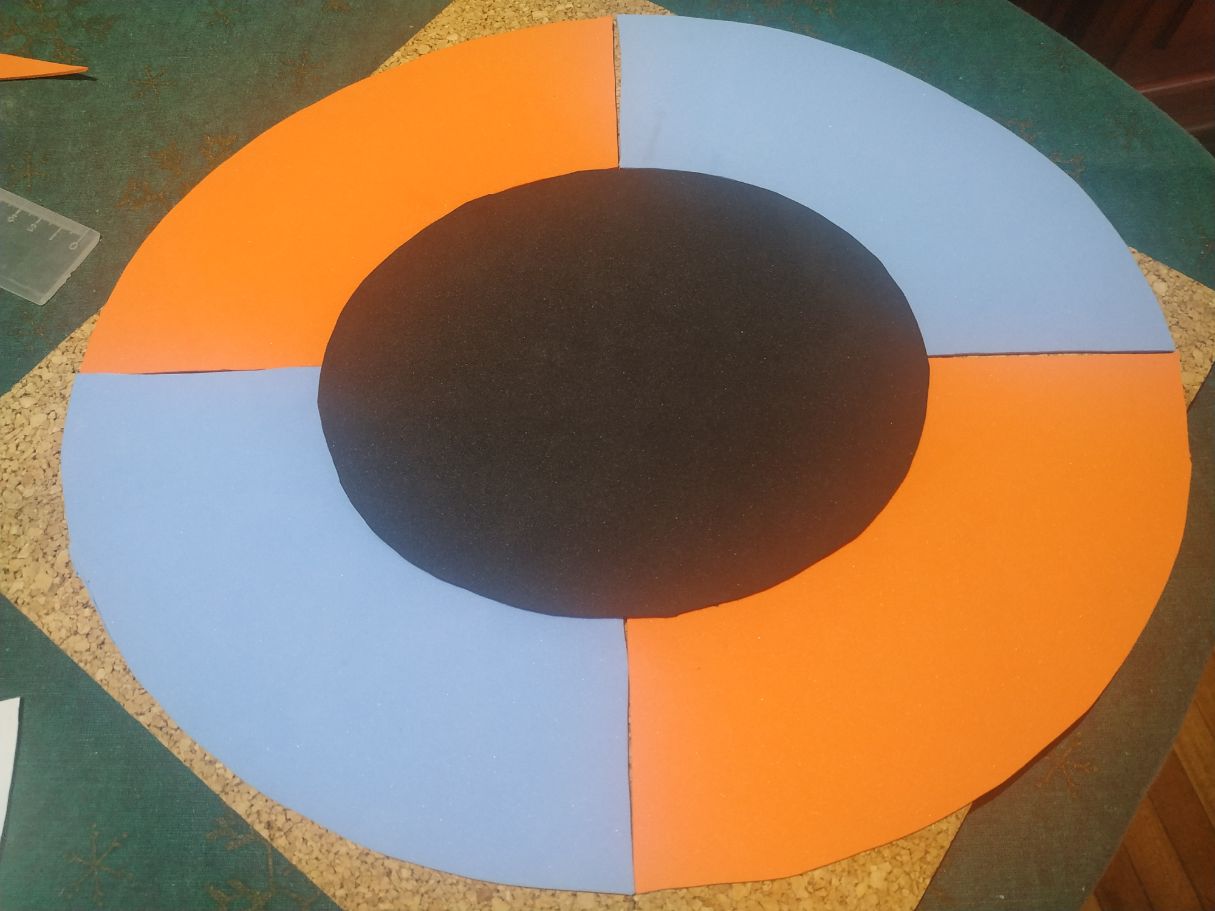
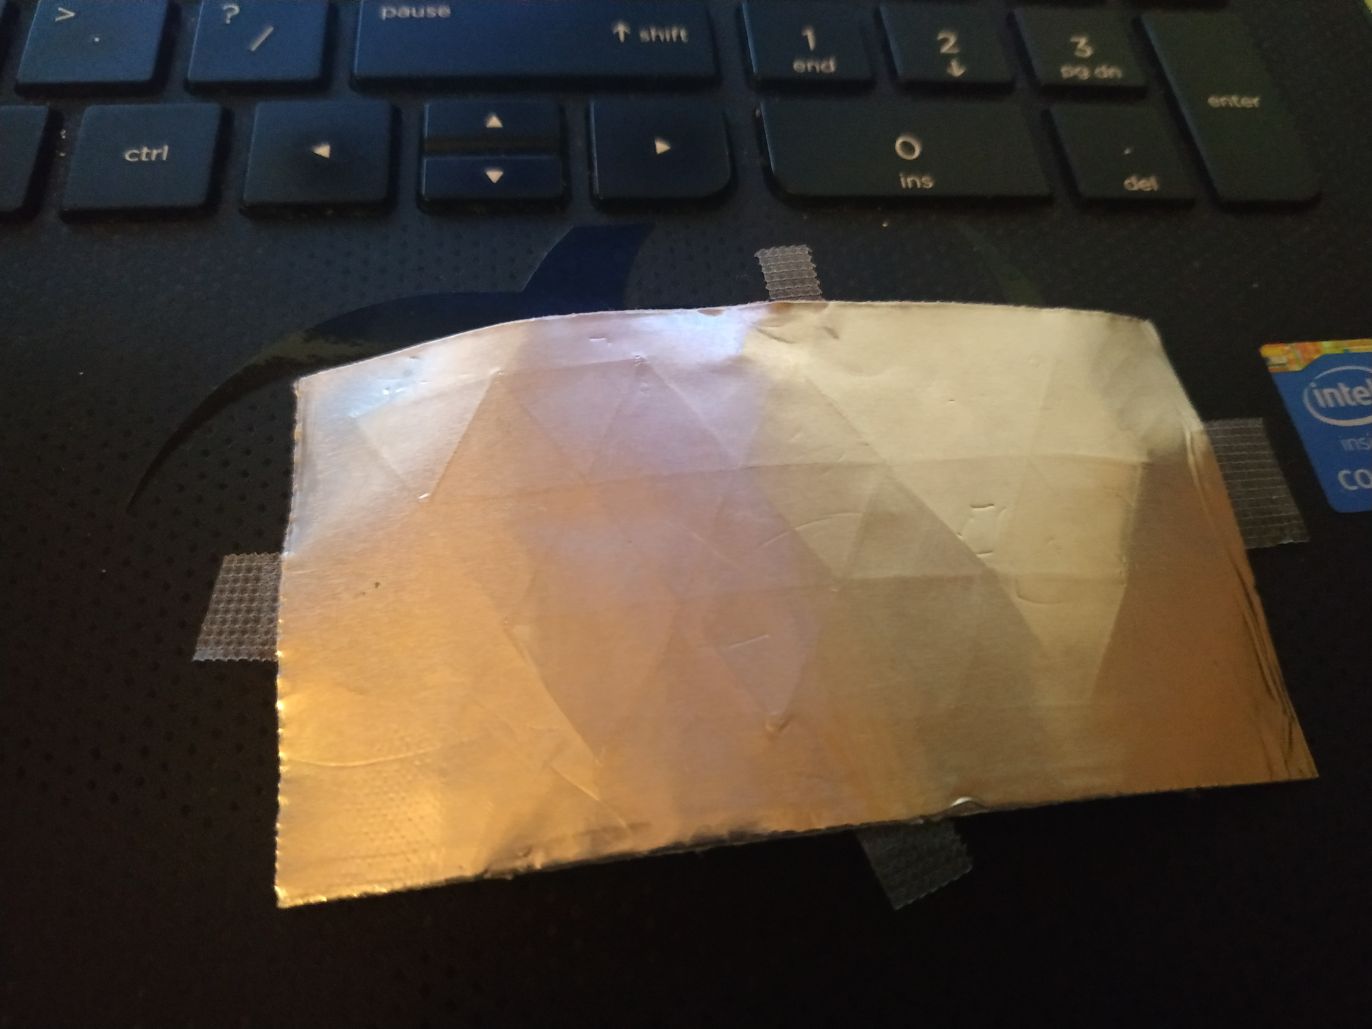
Then we cut an identical piece (in this case from yellow foam), and sandwhitch together the pieces.
For glueing I used hot glue. With this material it is very compatible.
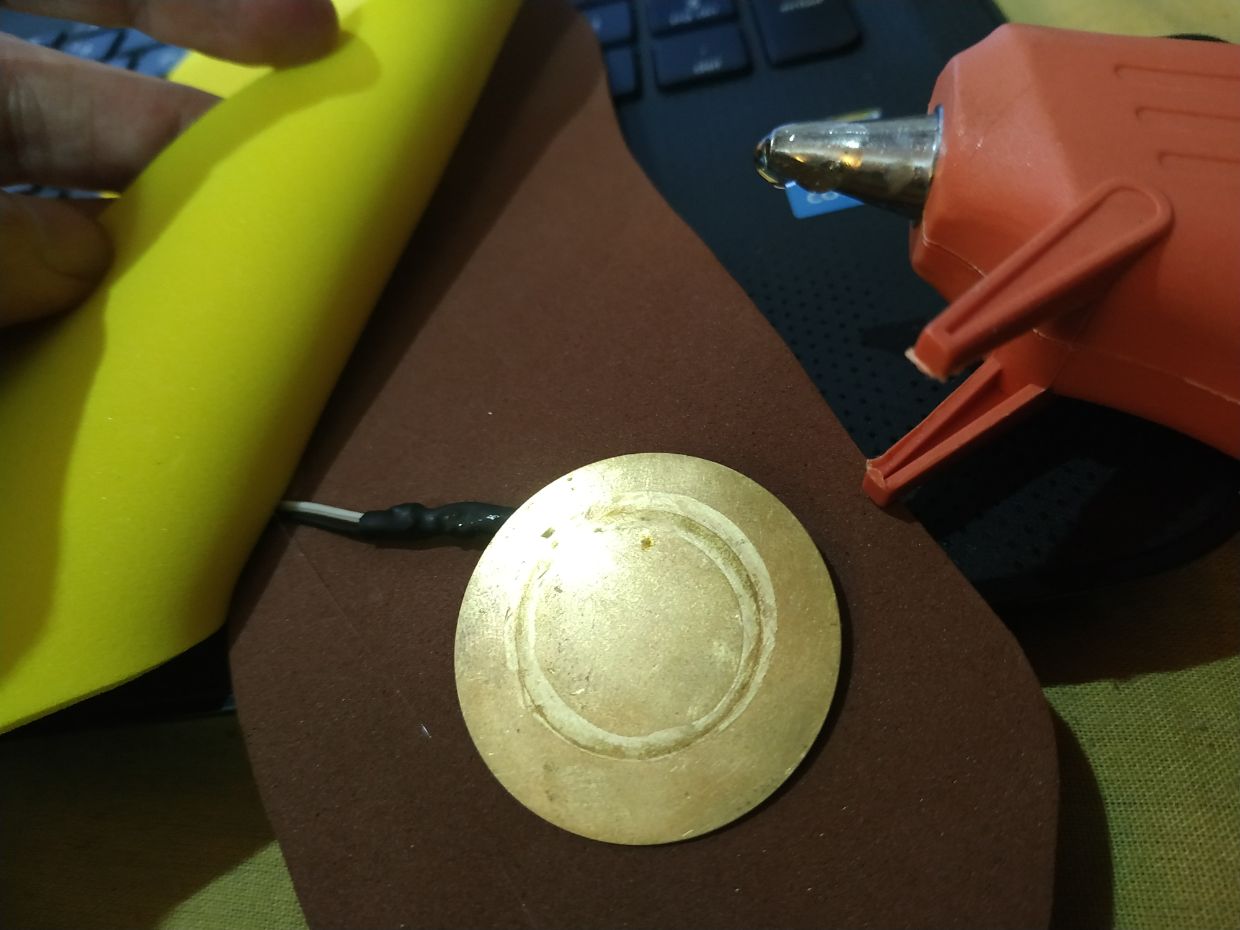
Y put glue around the sensor to avoid movement.
Once the insole is assembled, we just put it inside the shoe and test it.
Here is an example of using the velocity (how hard the piezo is pressed, or the capacitance changes) to control some parameters in LMMS.
Second iteration
At this part we are going to iterate the sensors that provide the signal for MIDI control.
Integration plan
The plan for the final assembly of the project was made usig the open source program Project Libre. The file can be found here.


Here is an screen shot of the managment tool:

The plan leaves the tree last days previous to the presentation to work on the production of the promotional video.
The integration will be done in the preceeding week (from the 25th to the 29th of May).
The rest of the components are already tested, waiting for integration.
The week from the 18th to the 22th of May the LED lights will be programmed and integrated.