8. Computational couture
This week we are going to practice the process of design generated by alogithms and math.
I was exploring the parametric node-based design control application Rhynoceros with Grasshopper, but then I learned that it is posible to do de same thing with Blender 2.8, with de Add-on Sverchok (acctually, Grasshopper in Russian). Also, beeing open source and python based, it would be accessible to even create customized nodes.
The installation is easy. Just download the zip and install it from blender 2.8 (current).
Nodes
Nodes are like functions, in mathematics. Or like Classes, in Object Oriented Programming. Basically, a digital machine that process one or more inputs (usually vectors) and produces one or more results, as outputs. The chance to see them widespread and interconeced give us a more visual approach to topological data processing.
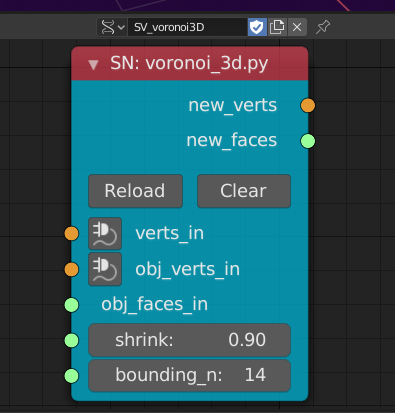
Here we can see one example, the voronoi node. Notice that we have verts_in for vertices input, obj_verts_in for object vertices. We also have the chance of obj_faces_in for the faces object. Notice the colors of the dots. They show compatibilty in the connections.
We have also the parameters shrink and bounding_n, that have their own dots for connection, therefore, they could be also refferenced and parameterized.
Once the process is completed, the results could be collected on the other (right) side of the node. This one outputs new_verts and new_faces (self explanatory).
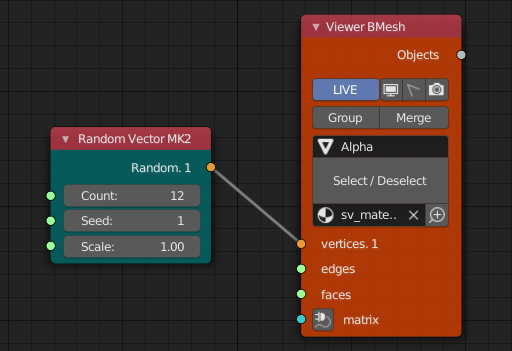
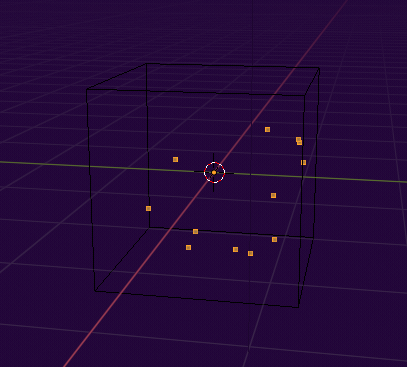
But first, we are going to need a viewer, so we can have something on the stage (3D Working window in Blender). We will create some points in 3D space (vectors, because they store 3 values for 3 dimensions). The parameters here are Count (the number of vectors), Seed (used in mathematical pseudorandom generation, basically how "random" the system is). Scale scales the system.
When we feed this value to the vertices input of our Viewer BMesh...
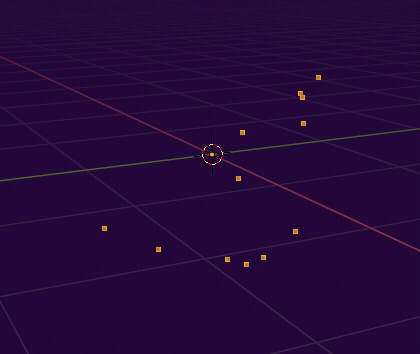
... we see our random points in space!
Let´s add more nodes. Now we see that vertices and edges are now connected to the viewer.
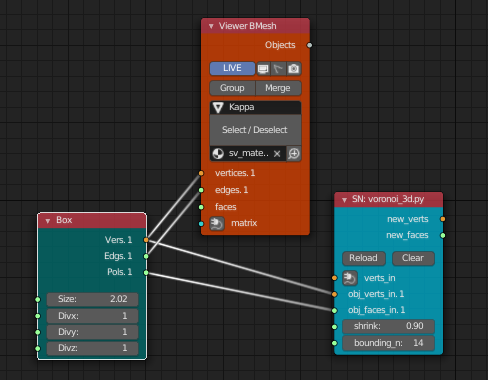
We see the vectors and a cube (Box).
With a few more connections (and more viewers, for testing)...
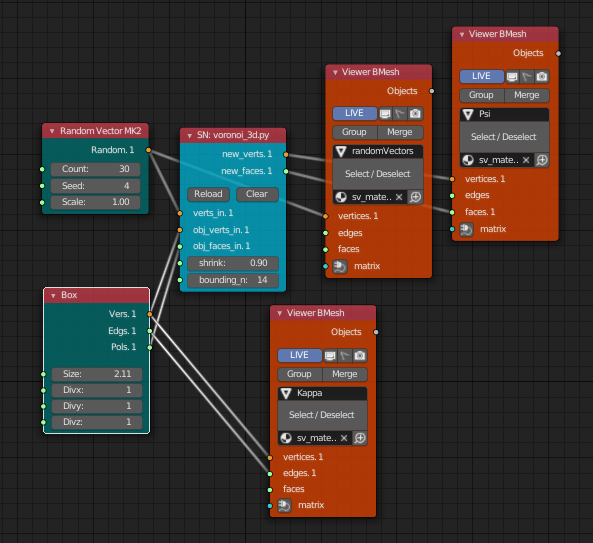
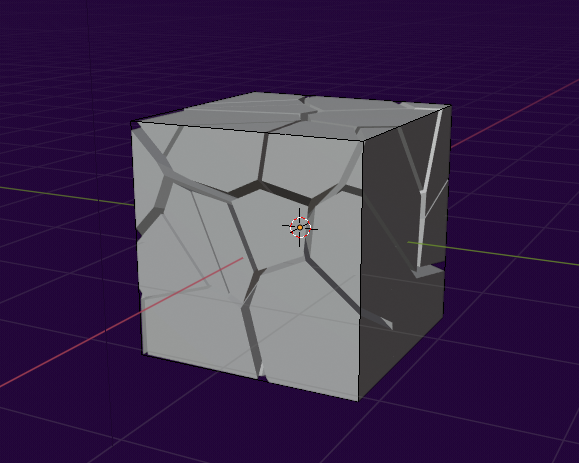
We generate a 3D voronoi parametric system!
For printing
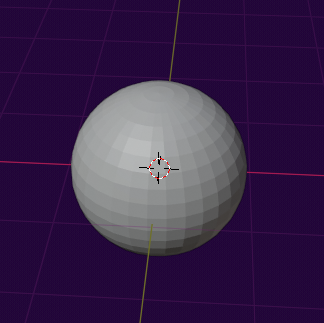
For testing, we are going to try a native Sphere.
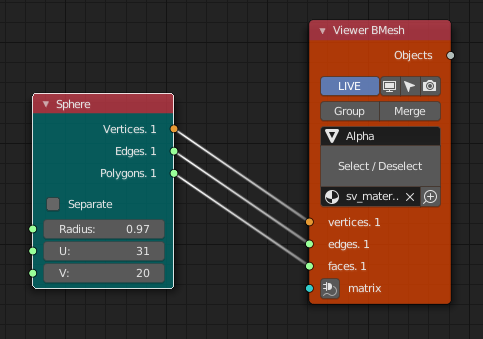
And we get a sphere on the stage.
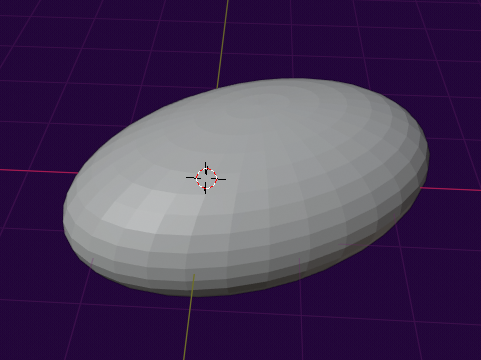
We can use Matrixes to change the location, scale and/or rotation.
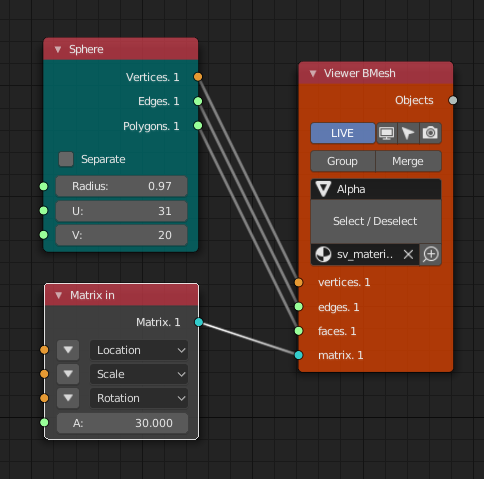
With some matrix changes:
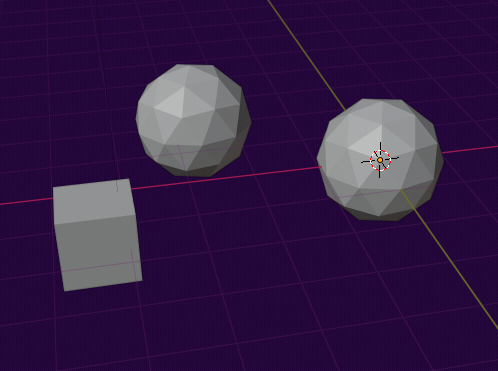
We can link objects created in the Blender interfase itself. For that operation we can use Objets in mk3 and Objects in Lite.
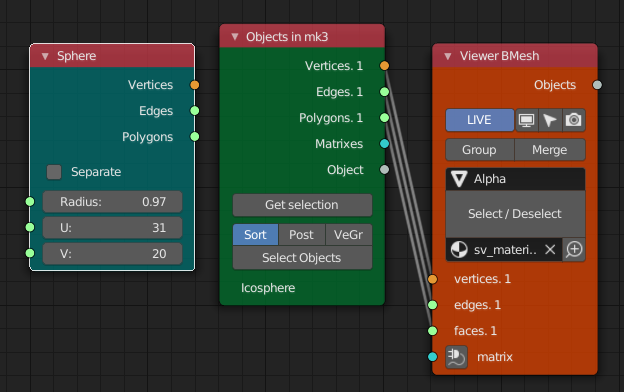
Three objects One Svechok-generated, the other two linked.
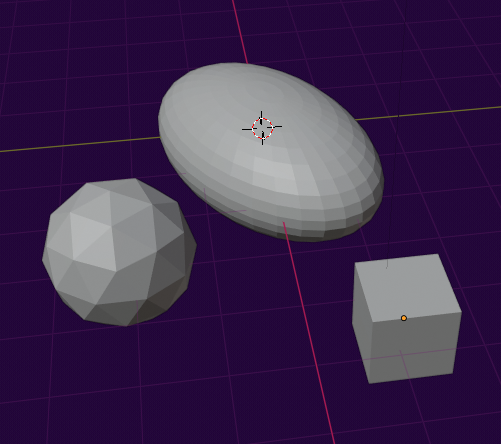
The icosphere from Blender could be used too to data source for the display in viewer. But not in the same position.
Object for 3D printing
We use this configuration for the 3D printing test. It uses pulga physics, a node that acts like an atractor, but also have some interesting physics features to explore.
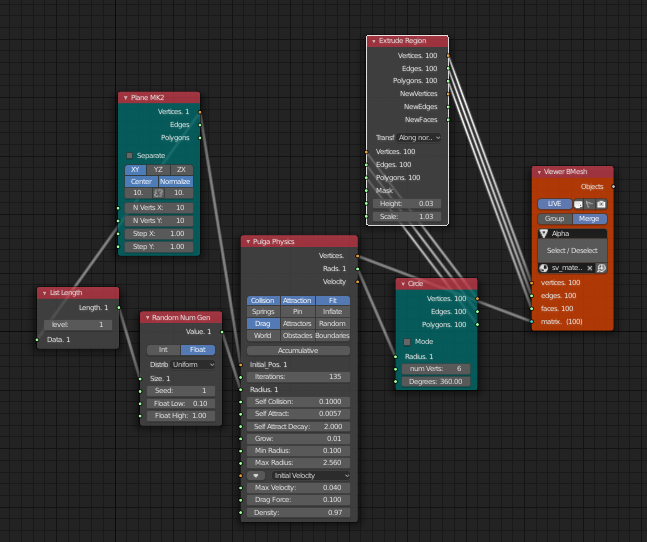
An hexagon (Could be any shape) is randomly created by size, replicated and related to others by physics. Then, we just need to extrude it a bit.
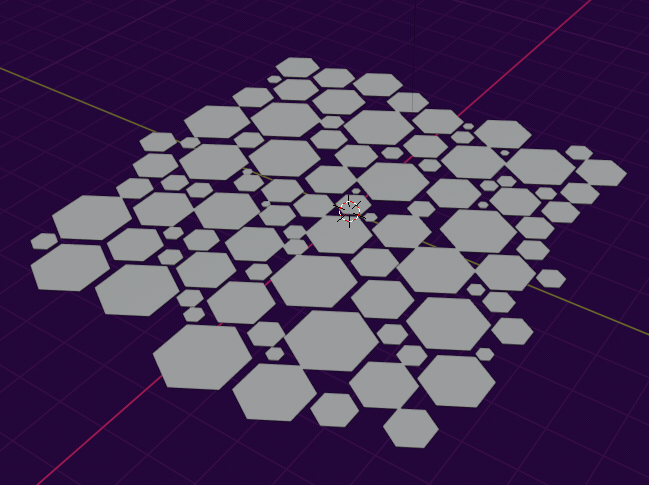
Then, we just exported easily as an obj or stl file for 3D printing.
Preparation
First, we set the size on the printer.
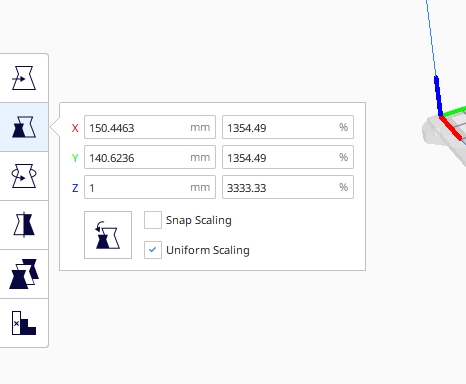
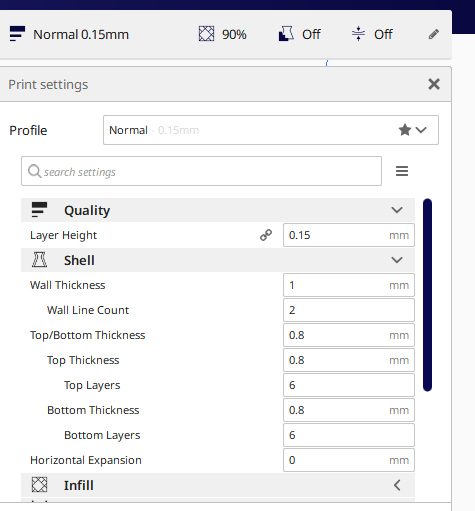
Using the settings as follows:
Check the location on the printer´s bed.
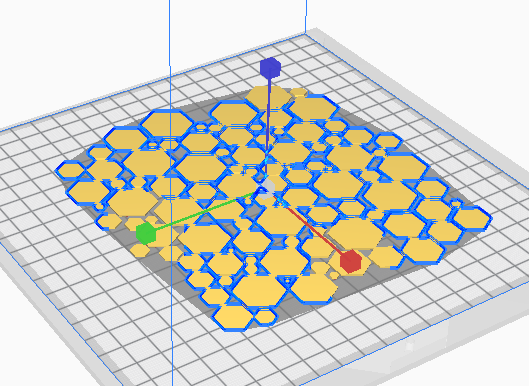
Ready to print!
Fabrication
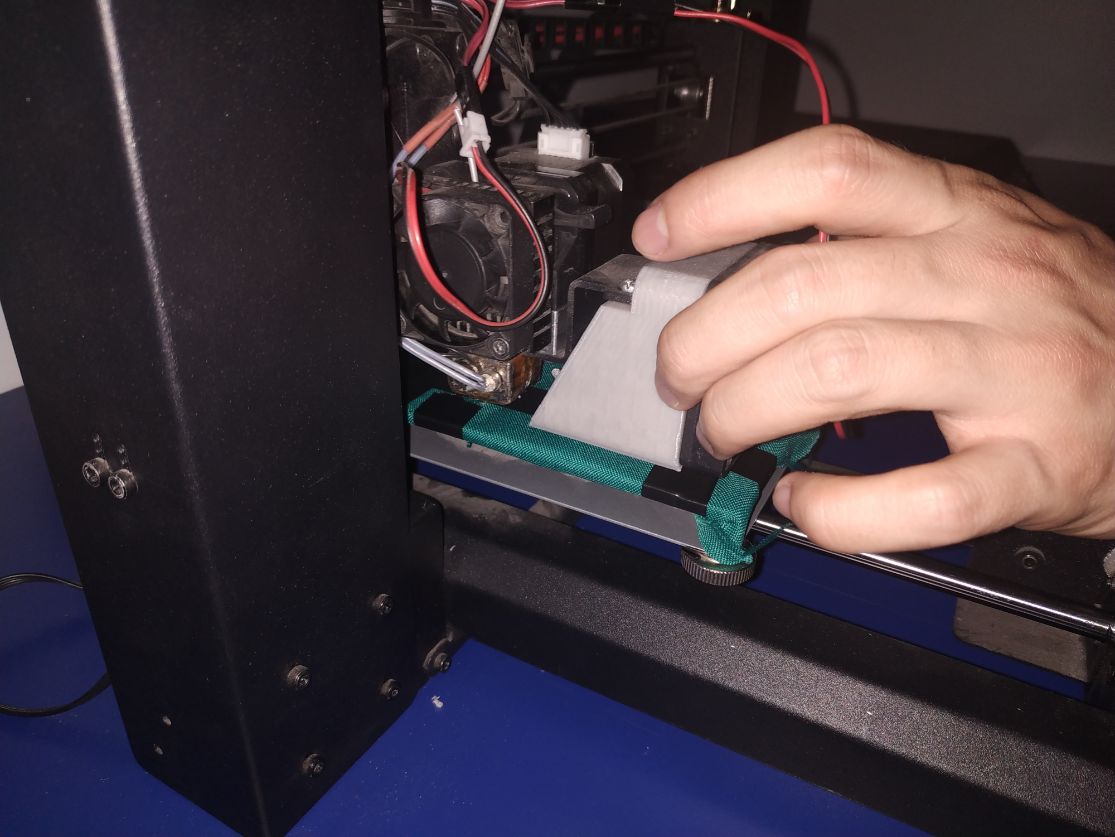
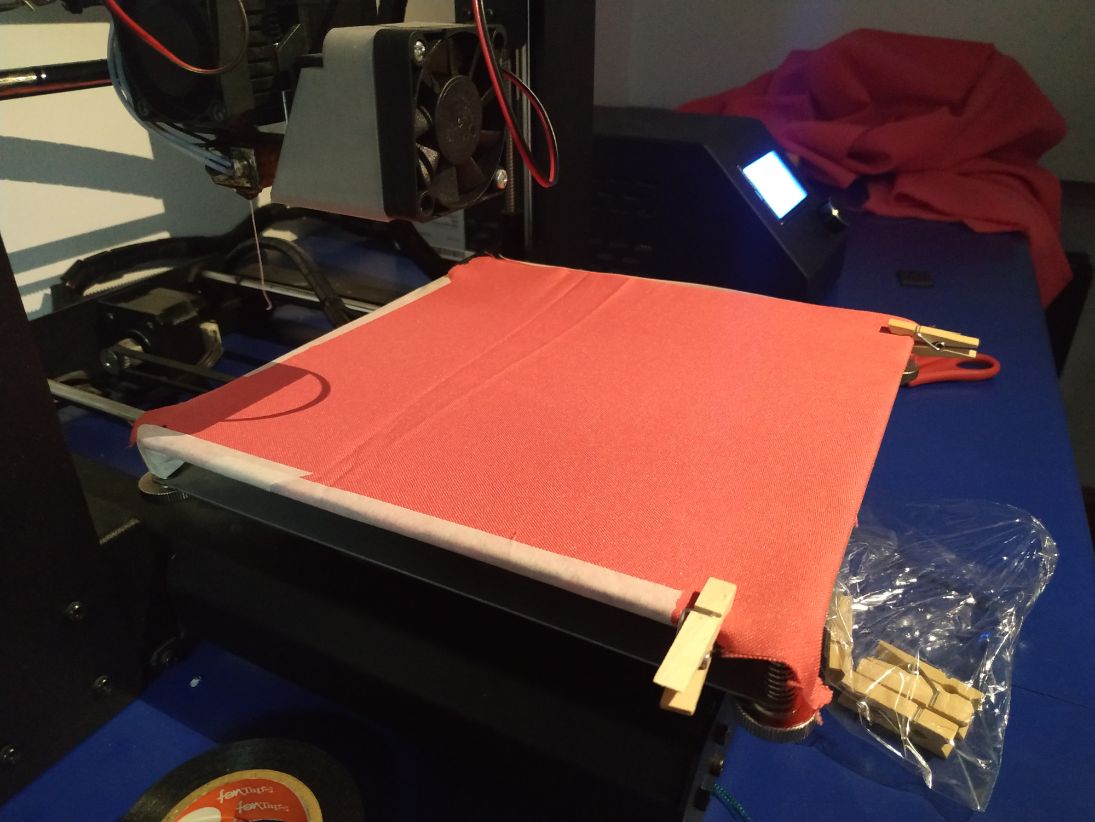
We held the fabric to the bed using tape and clips.
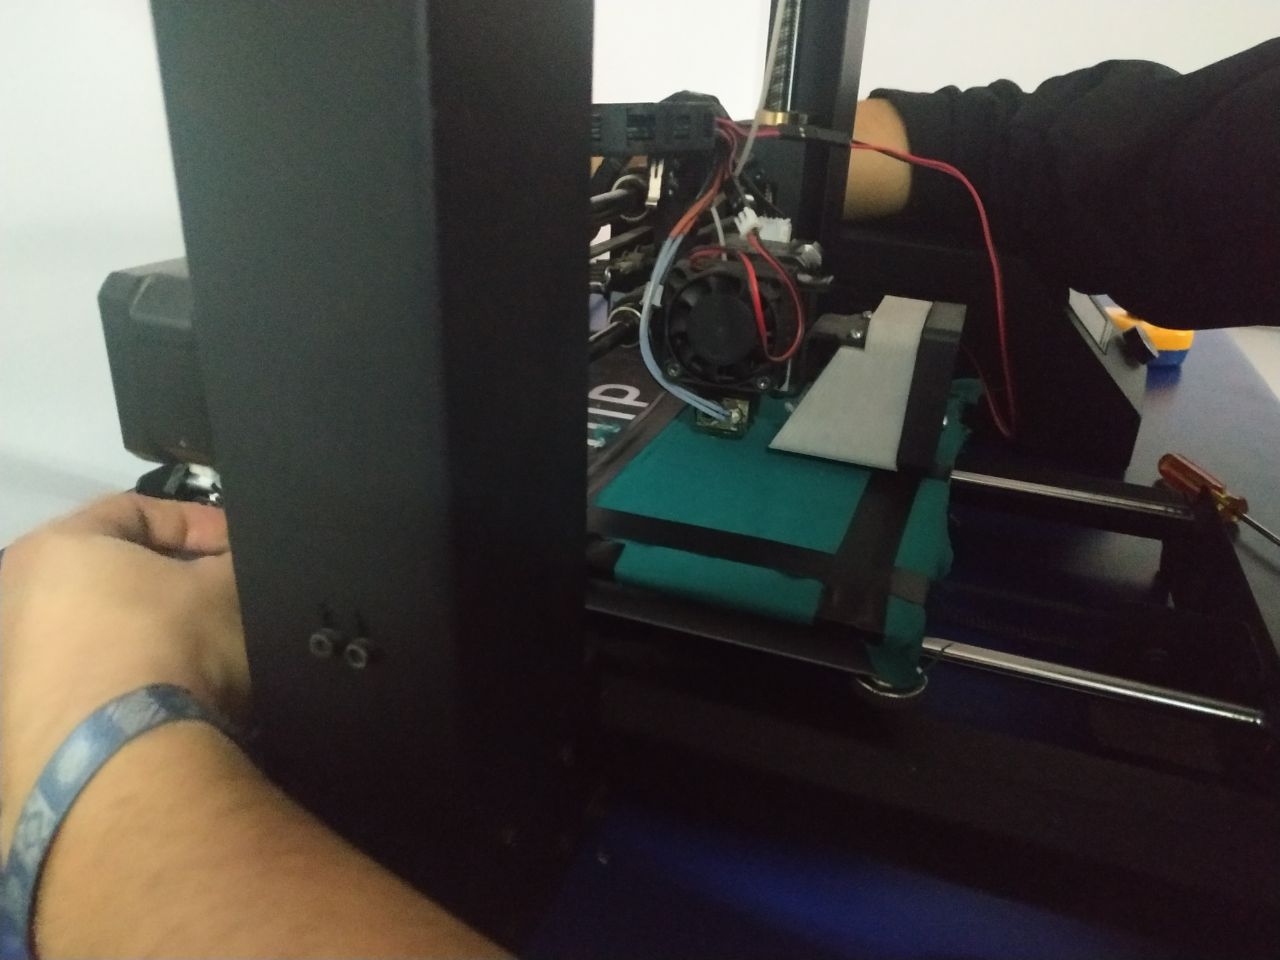
And double check the alignments. The head has to have a distance of 0.1 mm (100 microns).
We watited for the bed to heat it up and start the printing.
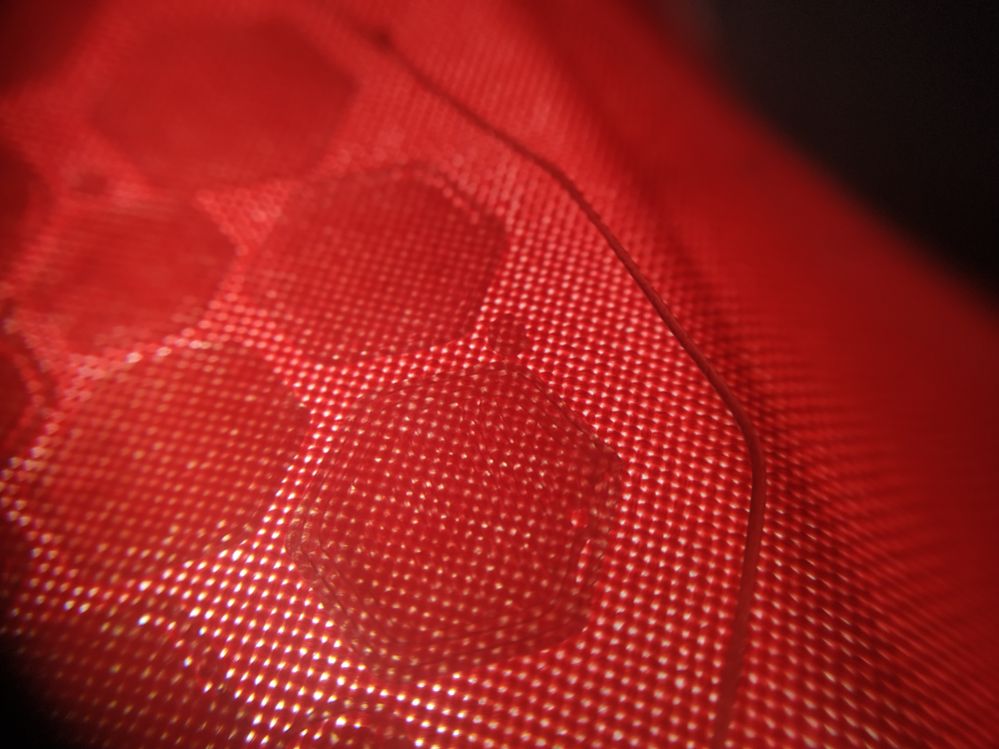
Once the printing was done, we notice that the pattern came prety well, but the addesion was poor. Nex time maybe have the bed a litte hotter as well as the temperature of the PLA.
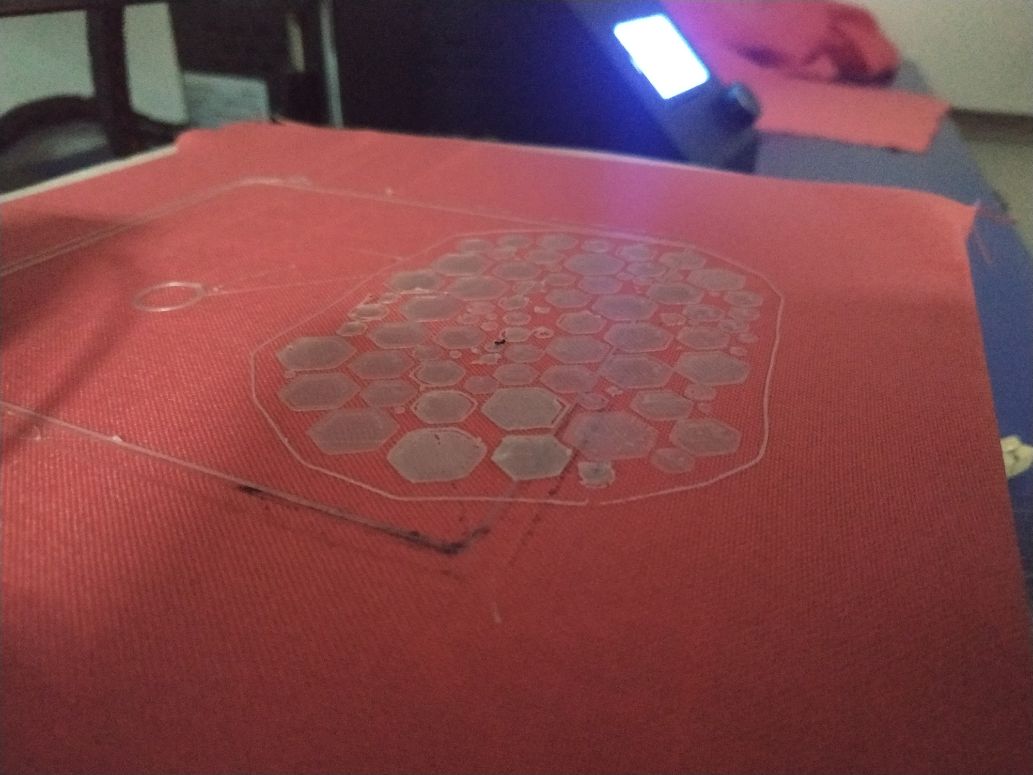
Here we can see a close up of the printing. We see clearly the lack of addesion, but it is still aesthetically pleasing.
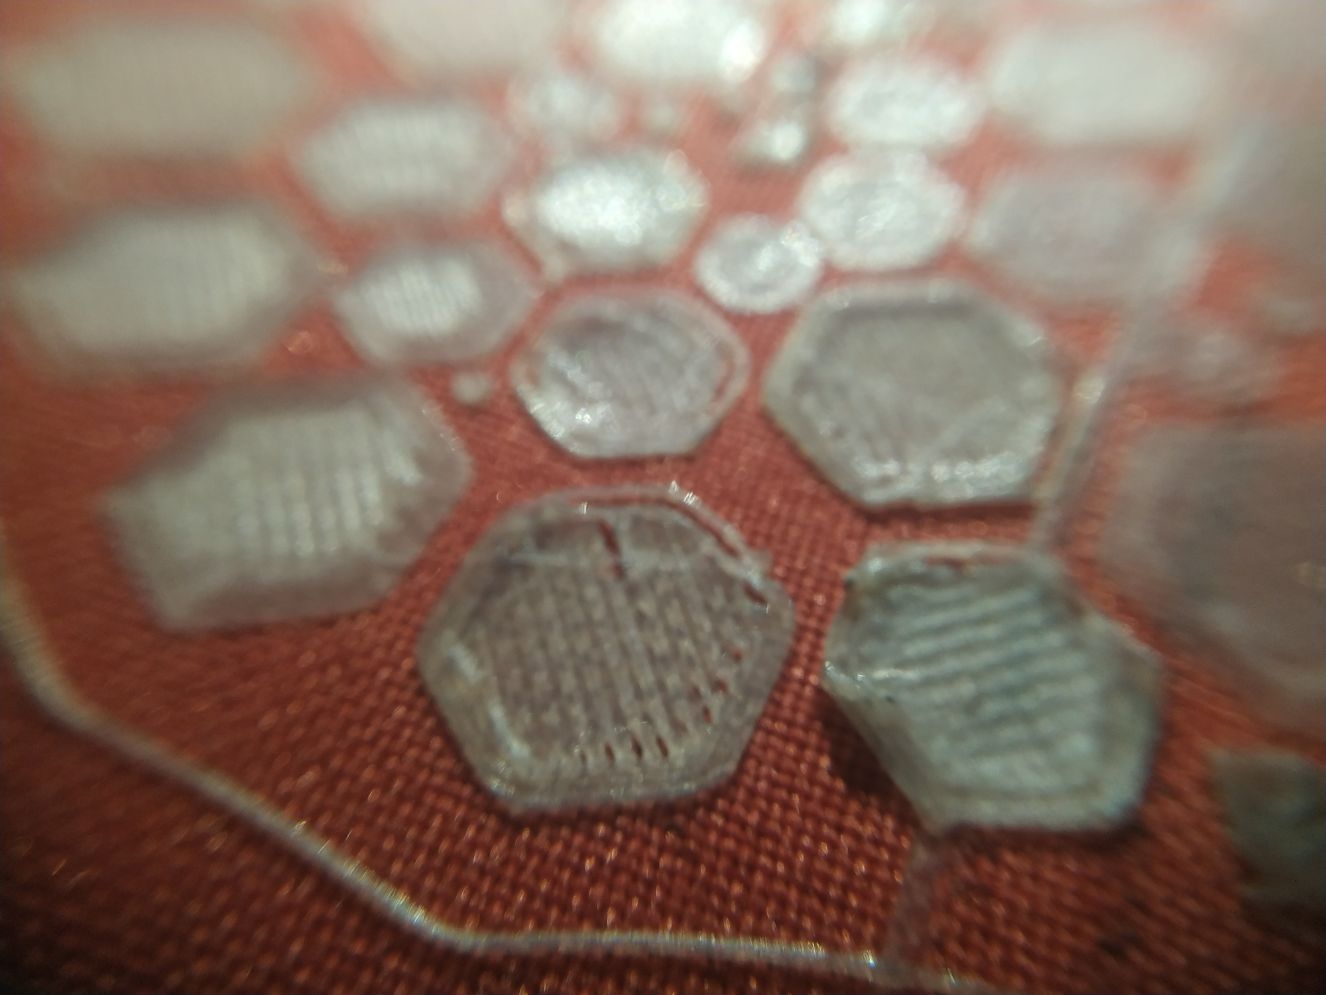
The white color is a little plain for me, but maybe using it to block the light could be useful, for making a lamp, for instance.
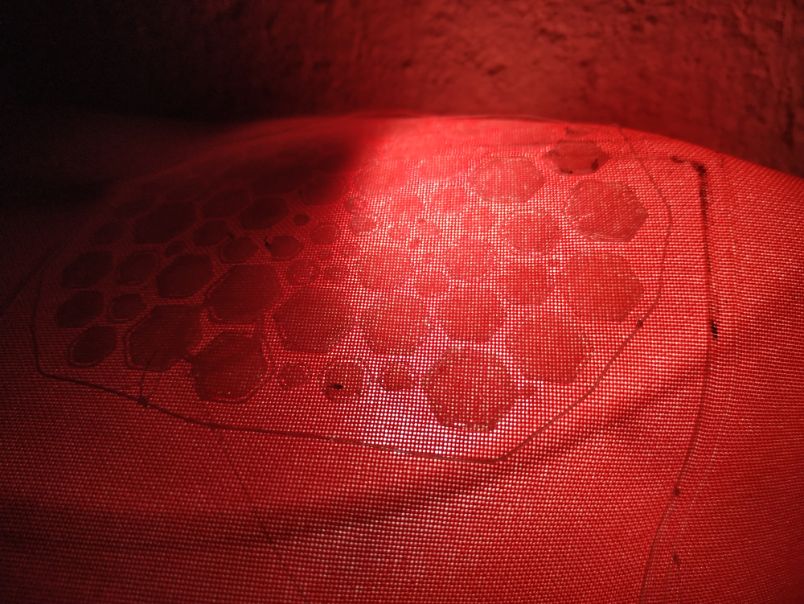
Here how it looks like closer, with a backlight.
Files
The files used here are: