6. BioFabricating Materials
This week I was in my kitchen cooking Bio Plastics and making Leathers from Fish 'n' Fruit
Research
I was not researching so much as I just got started buying some equipment to mix and cast my "bio dough"
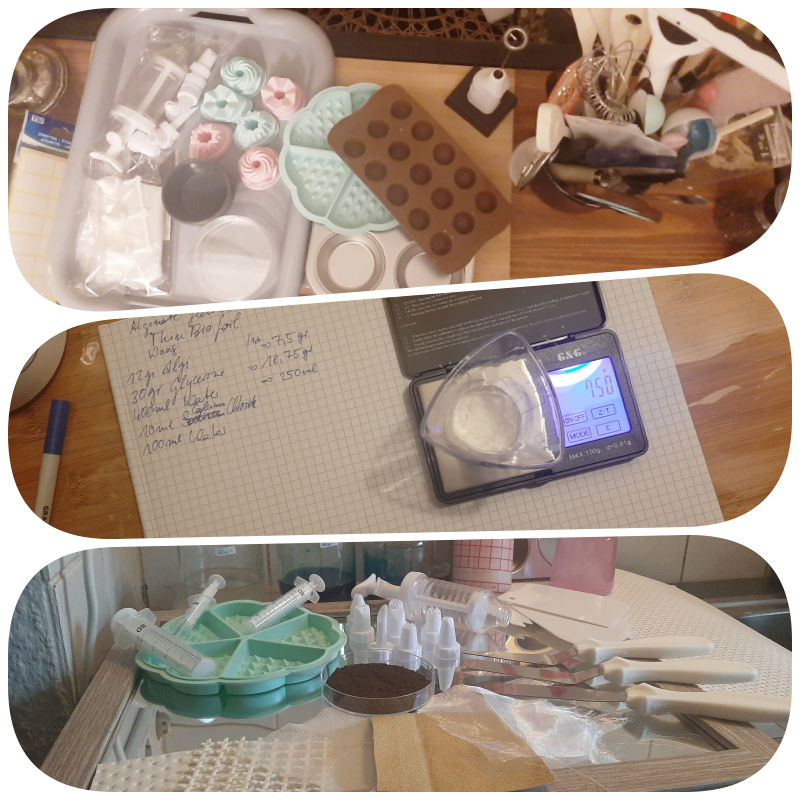
I found some cute baking and casting equipments in the kitchen section. And I just got inspired by textures or any shapes. So what you need is - fabrics or mats or any surface with texture - silicon mats and glass or mirror to cast foil - petridishes for just playing around with colours - pipettes and syringes from the pharmacy or for baking to cast thread with alginate or to add colour (I mostly used food colour, pigments or kurkuma)
Then you have to choose a recipe and change the amount you want to prepare. I decided to use the ones from the slides and give them differnt colours after trying all to see the differences when I document. For example my Foils will be blue and plastics red.
Other recipe links
What I find inspiring since a long time is creating skeletons from leaves and I think it´s worth to try to integrate them in some bio plastic experiments
Some other inspirations
Bioplastics
Alginate
Characteristics of Alginate
very heat resistant to 150°C
water resistent with PH neutral or acid water and dissolves after a few hours in alkaline water
nearly transparent clear optic
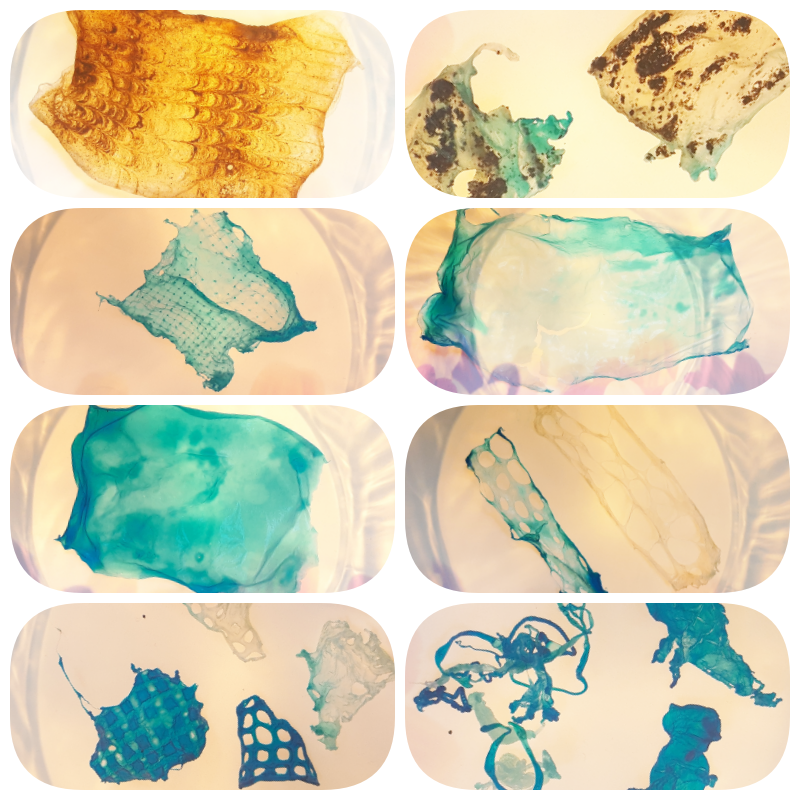 photo: "thin bio foil experiment results"
Ingredients and tools you need for making Alginate Bioplastics
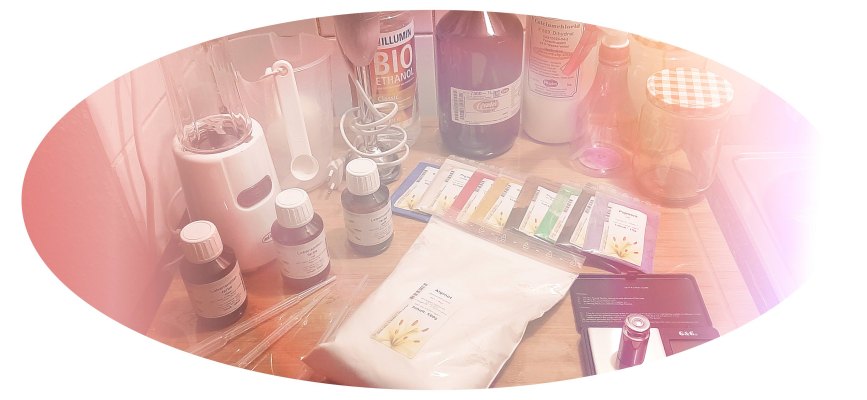
Alginate Powder, Glycerine, Water, Calcium Chloride
Blender, Measuring Tools, Jars, Scale >0,01gr, additional some food colours/pigments and ethanol to clean from calcium chloride
Recipe for Alginate Foil
Alginate flexible thin bio foil (from Textile Lab Amsterdam)
12 gr Alginate
30 gr Glycerine
400 ml Water
10 gr Calcium Chloride
100 ml Water

Step 1
Dissolve Alginate in Water and blend well
Step 2
Add Glycerine
Step 3
Store in a Jar and add Colour if wanted and let the bubbles settle a few hours
Step 4
Prepre 10% Mix of Calcium Chloride and Water in a Spray bottle
Casting Alginate Foil
Casting Textures
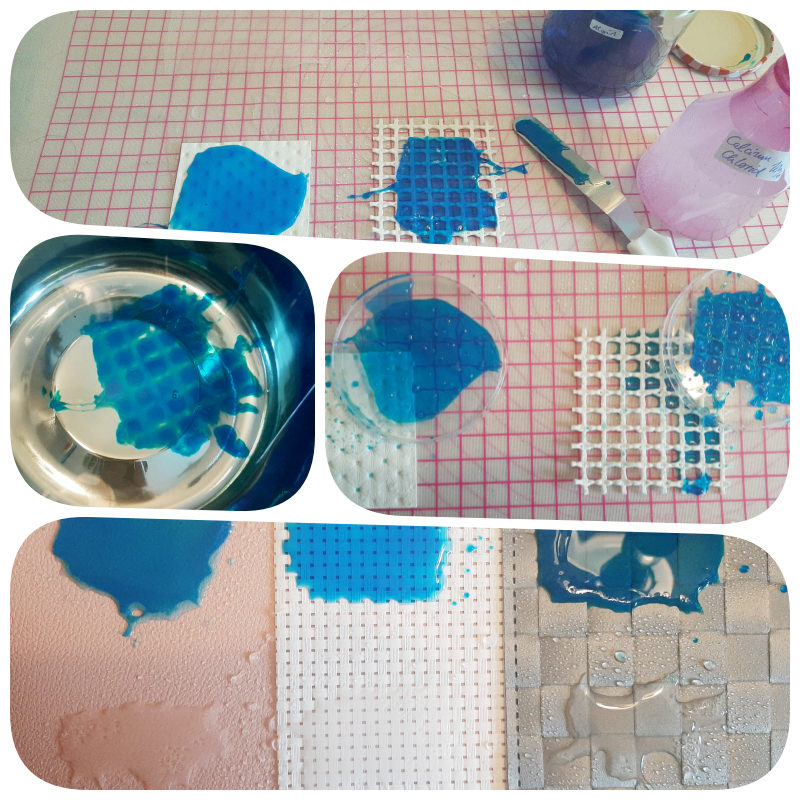
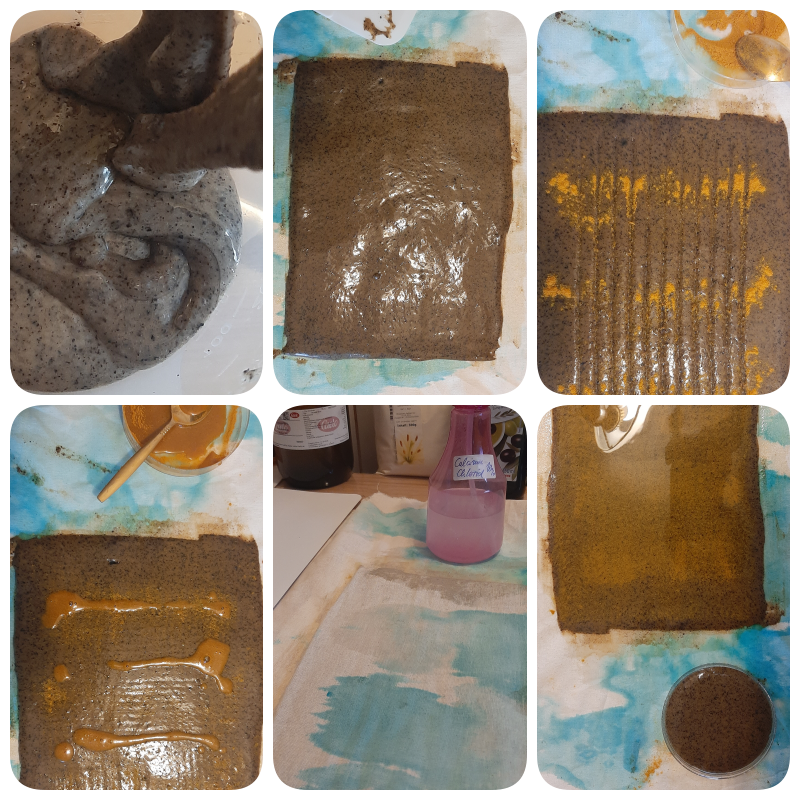
Here I casted on Texturerd Fabric and mats, after casting you should spray and cover your material with the 10% calcium chloride mixture to make the alginate cure (so it becomes a solid) and creating a polymere between the molecules. This makes it shrink instantly and untill it is dry it looses even more volume in thickness and width. So the alginate biofoil is not really best for casting small amounts but bigger surfaces like sheets (also nice on texture as you still can see in my results). After curing the material with the calcium chloride, rinse it in water before putting it to dry to get rid of the chloride.
Casting Foil

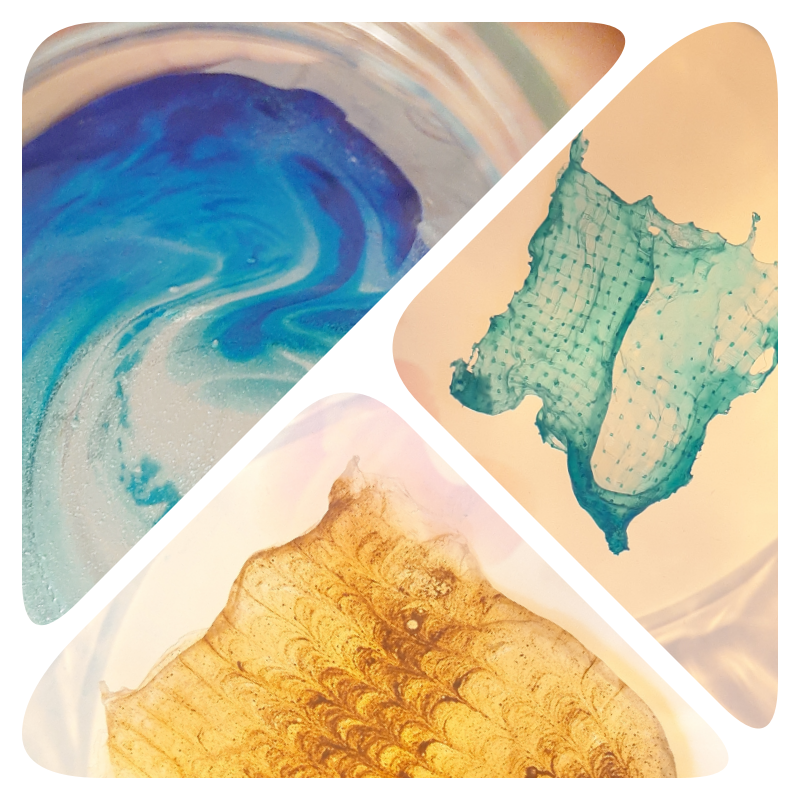
Best way to cast the foil is on a mirror. But it would stick better to a frame of plywood or on a fabric like jeans or cotton that is bended into a frame/stitching loop. To cast the foil you need a tool to spread it even across the surface. I realised if I spray the surface first with calcium chloride, it cures to quickliy to make a smooth and even surface. On the first picture you can see that I used some tumeric powder and a zig zag squeegee to create a marble effect. The second Photo shows a spread on a silicon mat. It was actually a little rest of paste mixed up with water. I like how it creates holes by absorbin from the mat and probably the amount of water. I created a super nice fragile sructure as you can see in the results.
Just don´t try this
So this might happen like in the second image, where I sprayed the fabric and added after the alginate paste.I added some coffee too so it looks like a ugly mess. But if you see the results, it looks quiet nice actually. In the first image I tried to create yarn with a syringe. I found out that this material is not usefull to create threads as it is too liquid for the purpose and it needs a thicker recipe. Also it is quiet sensless to use the bio foil recipe wen it is just blended with the air bubbles. Probably the thicker version would show nicer effects to use te bubbles in a creative way.
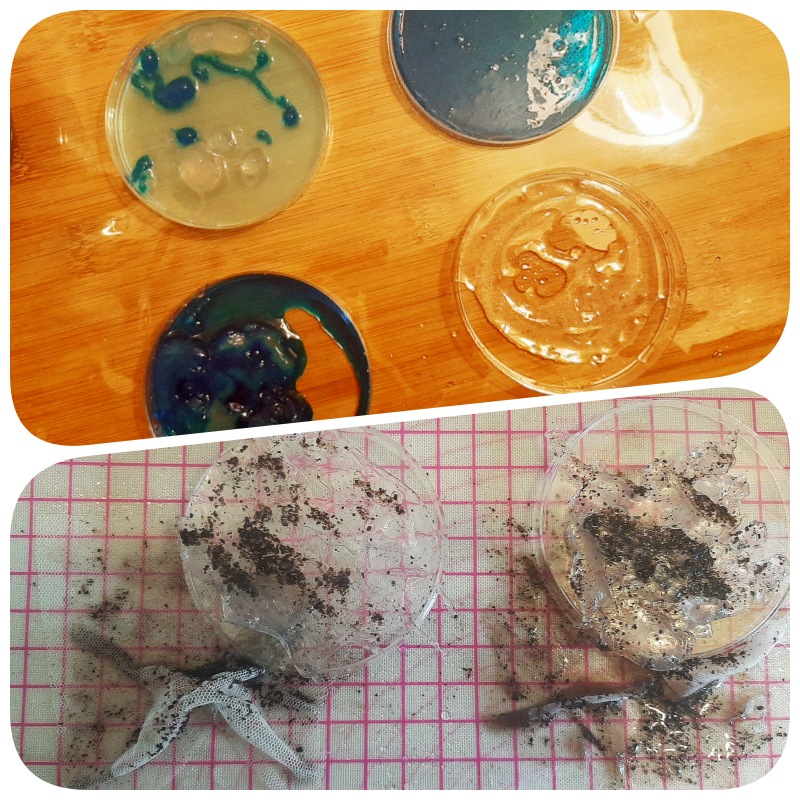
Dryed Alginate Foil

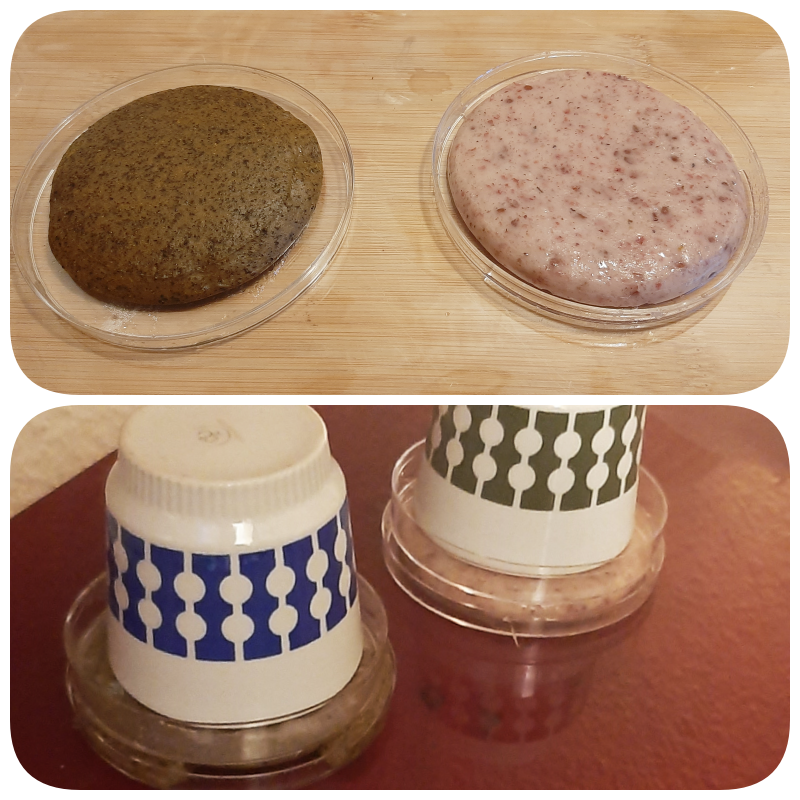
I dried the material on calico and plastic mats on my heating. The colour of the material went into the fabric and attacked some transparent samples so those got a very nice pastel blue fading.The outcomes are super tiny, the material shrunk like minimum 60 %. The foil was better cause I casted it bigger. The very thin one was not very elastic and broke quickly. So avoid casting it too thin.
Agar Agar
Characteristics of Agar
starts to melt at 60°C and mutates after 85°C
dissolves in room temperatured water after some time
milky semi transparent optic

Ingredients and tools you need for making Agar Bioplastics
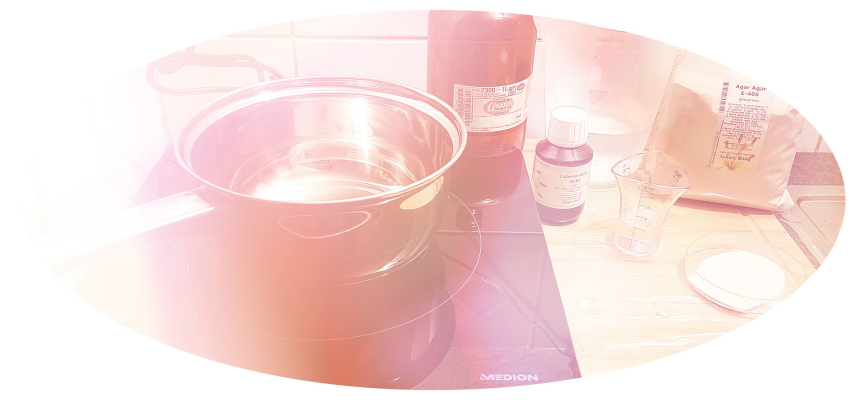
Agar Agar Powder, Glycerine, Water
Stove, Pot, Spoons, Whrisk, Measuring Tools, Petridishes or other casting moulds or surfaces, Scale >0,01gr, additional some food colours/pigments
Recipe for Agar Plastic
Agar Bio Plastic 2 (from Textile Lab Amsterdam)
4 gr Alginate
12 gr Glycerine
200 ml Water
Note
the more glycerine you add the more it becomes sticky
Step 1
Heat up water in a pot to 80°C
Step 2
Dissolve Agar in Water
Step 3
Add Glycerine and stir well occasionally
Step 4
Leave it for about 15 minutes untill it is not sticky anymore
Note
As it was boiling too much on 80°C I left it on 60°C so it didn´t cure so quickly. I also threw back cured waste pieces that melted again.
Casting Agar Plastic
Casting the Plastic

I like Agar cause it cures quickly and you can modify the liquid in different ways.
Just don´t try this
Be careful with using water or glycerine based colours

Dry Agar Plastic
I placed it all on my heating and it takes a quiet long time to dry. It also will loose volume and shrink up to 20% depending how much water is used.
Bio Leather
Coffee and Fruit Leather
Ingredients and tools you need for making Coffee and Fruit Leather
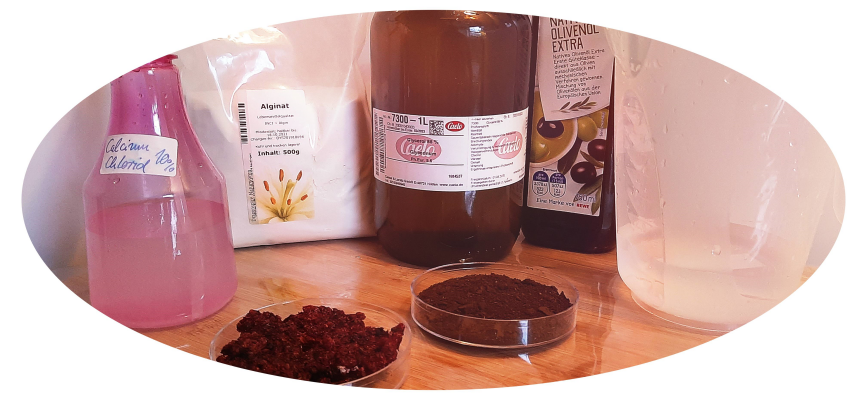
Agar Agar Powder, Glycerine, Water, grounded dried fruit(-peels) or coffee
Blender, Measuring Tools, Petridishes or other casting moulds or surfaces, Scale >0,01gr, additional some food colours/pigments
Recipe Fruit and Coffee Leather with Calcium Alginate Polymere
Coffee Leather (from Fabtextiles Barcelona)
2 gr Alginate
2 gr coffee or fruit powder
2 gr Olive Oil
5 gr Glycerine
33 ml Water
7 gr Calcium Chloride (I used 10 gr)
100 ml Water
Step 1
Dissolve Alginate in Water and blend well
Step 2
Add Glycerine and Powder
Step 3
Prepare 7%/10% Mix of Calcium Chloride and Water in a Spray bottle
Process Coffee Leather
After creating the paste you can spread your dough onto a suface. I decided to span a piece of calico on a plastic mat with tape. It was actually to elastic so it bended while drying. I also added some curcuma to see if the colour of the coffee leather can be modified. I put some paste into a petri dish to see how much it shrinks.
Process Fruit Leather
This was actually the same process like for the coffee. I used my dried red currant waste I used for dying and pigments in Week 4 for Biochromes. As I liked the slight fading from the fabric into the alginate foils I added a bit too much on the calico. For both curing I decided to first cast on the fabric and spray the top. After a few minutes I covered it with another piecce of fabric and flipped it over to spray the bottom through the surface fabric.
Dry Fruit and Coffee Leather
still not dry after 3 days...
Fish Leather
Ingredients and tools you need for making Fish Leather
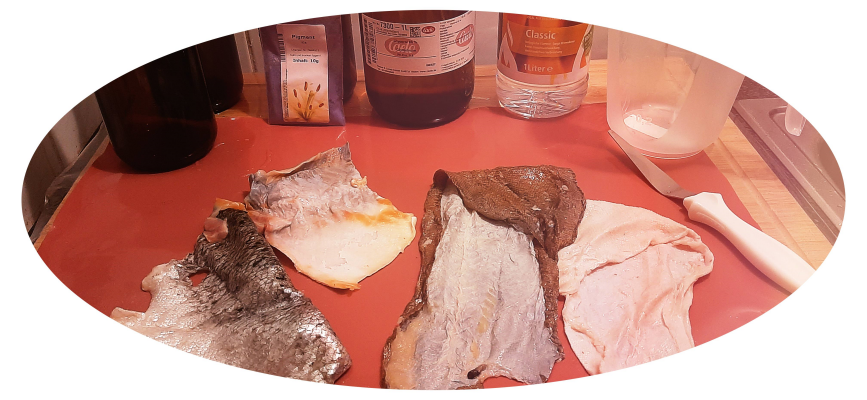
Ethanol, Glycerine, fresh Fish skin
Measuring Tools, jars, additional some food colours/pigments
Recipe Fish Leather
Alginate flexible thin bio foil (from Textile Lab Amsterdam)
1 part Ethanol
1 part Glycerine
cleaned fish skin
Process Fish Leather
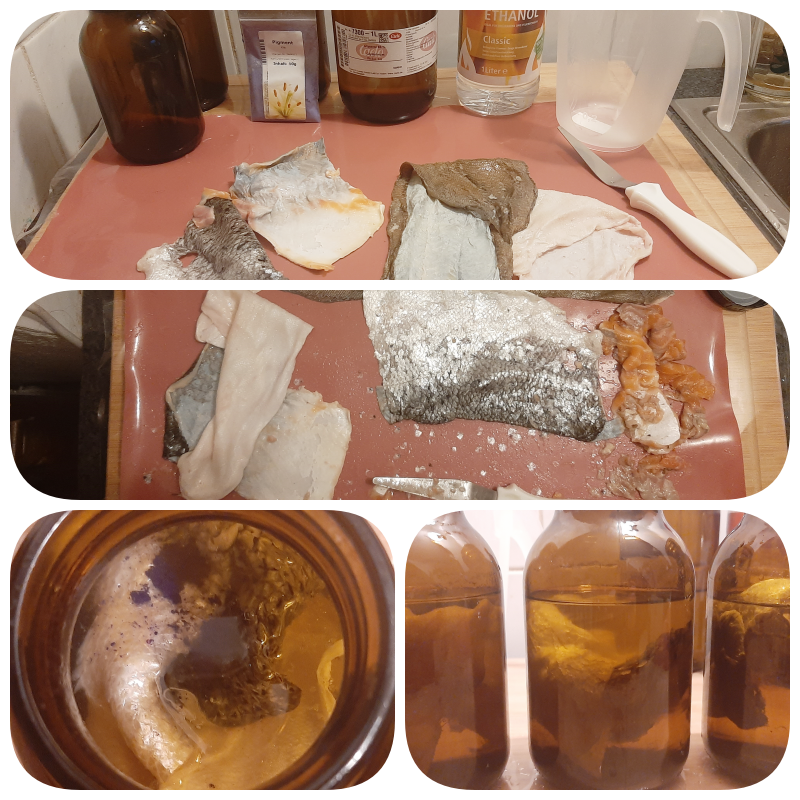
Step 1
clean the skin from the flesh and the scales
Step 2
Mix the glycerine and the ethanol in the Jar or bottle
Step 3
Add the skin
Step 4
Shake it many times for 3 Days. If the skin doesnt seem soft or elastic enough add mre glycerine and leave it longer.
Dry Fish Leather
to be dryed....