7. COMPUTATIONAL COUTURE
This week we entered the computational couture module, which consists of programming clothes digitally for after they are able to be applied in the physical world through technologies such as 3D printing.
I've always looked at these projects with a lot of admiration and curiosity, having as main references like designers Iris Van Herpen and Neri Oxman. The first for the organic and surprising shapes that escape the conventional aesthetics provided by the interaction between fashion and technology, and the second for the research involved in product design, always considering the aspects and functions of nature as inputs when making regenerative products, that is they respond to the environment.
After the class I found out that these models use parametric modeling in Grasshopper. This made me a little scared due to the complexity of the program which I wasn't used to yet. At the same time, researching a little about some designers and companies that work with this, I came across this phrase on the Nervous System website
“The design systems we encode are generative; they have no fixed outcome. Rather than thinking of them as mere tools, we consider them our medium. These systems are digital materials with inherent properties and behaviors.”
This made me reflect that thinking about new design cultures for sustainability also involves understanding that codes do not need to be a fixed outcome when interacting with the real world. This involves thinking about new aesthetics and escaping the standards of the main industry, which is tied to end result standards for products, a habit that sometimes limits creativity and research.
PROJECT CONCEPT
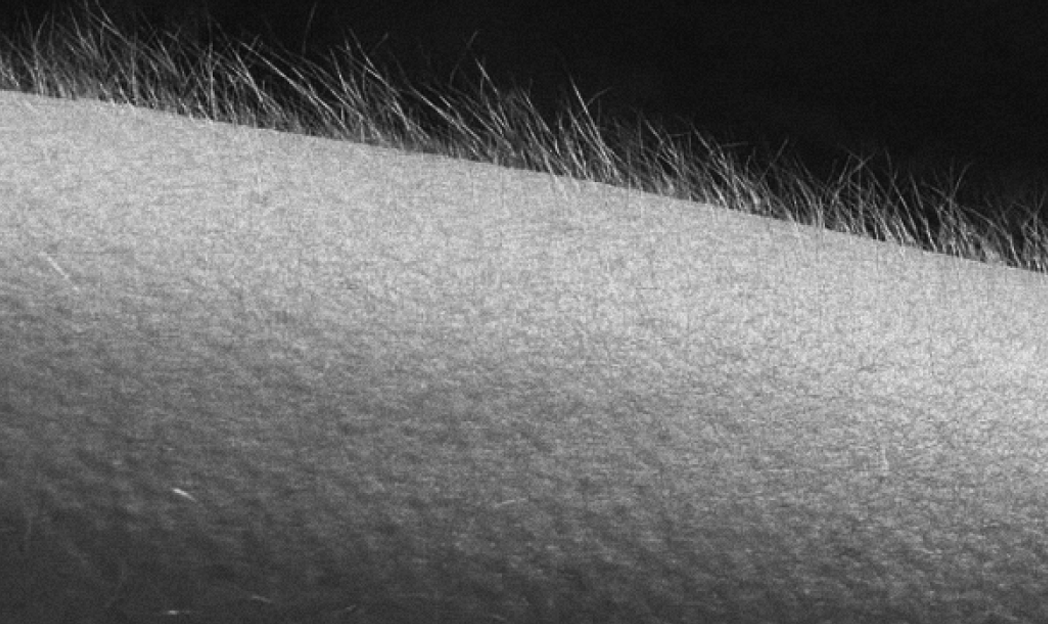
Referring to the Nervous System sentence about codes without a fixed outcome, I put as a project requirement working with Grasshopper as something totally experimental, of which I will not be sure of the first parametric printing results. Although I was still concerned about the idea of parametric modeling in general, as I am used to three-dimensional modeling by Fusion 360. So I chose to work with the goosebumps shapes, because that's how I was feeling at the time!
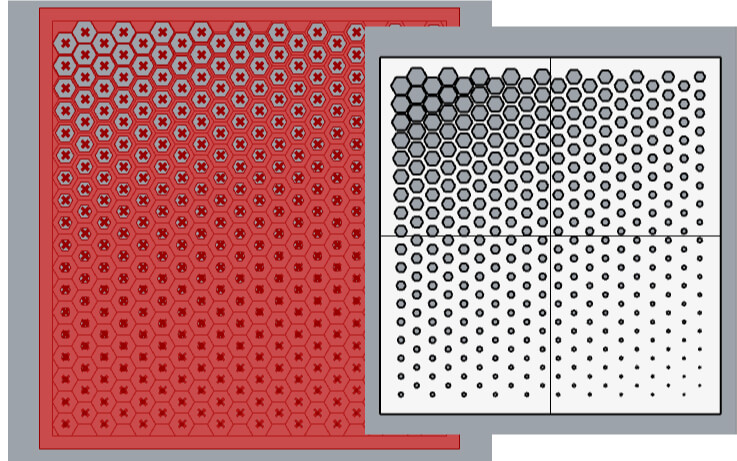
I also looked for some references from previous works, so much so that they reminded me of the “goose bumps” effect I was looking for, or projects that I liked in general and compiled it in a panel of visual references.
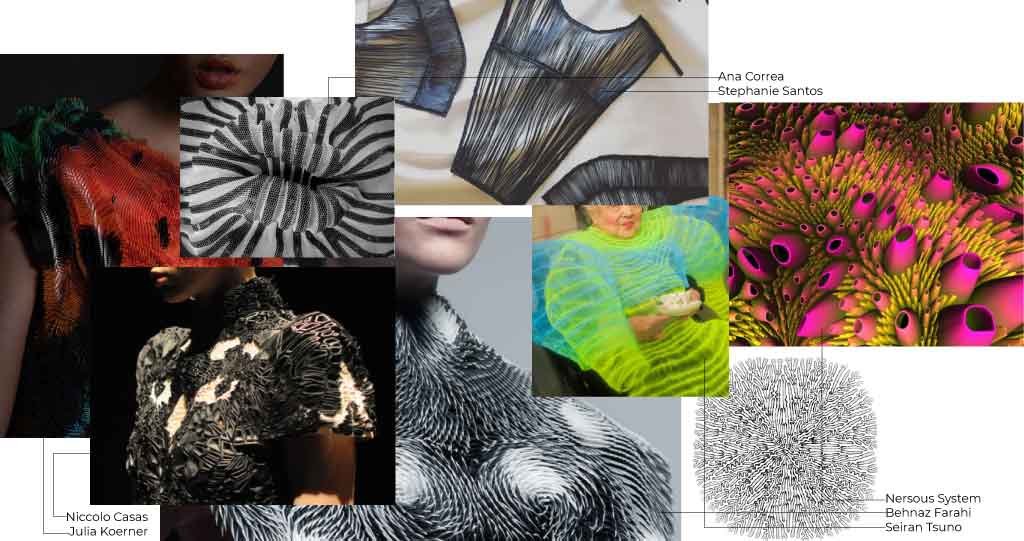
unfortunately these images are of low quality, but you can check the projects in the links at the end of this documentation :)
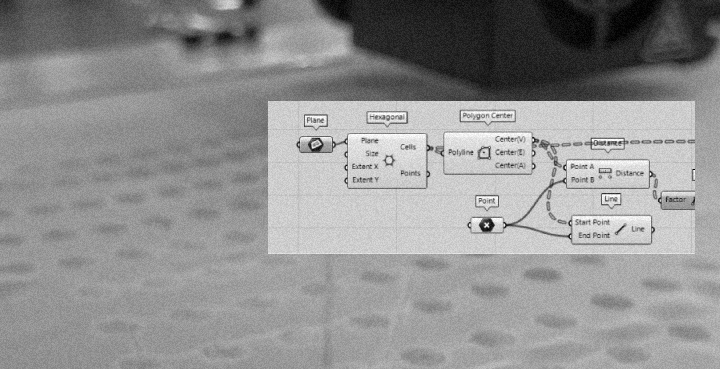
GRASSHOPPER
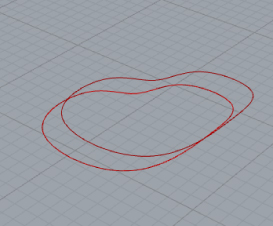
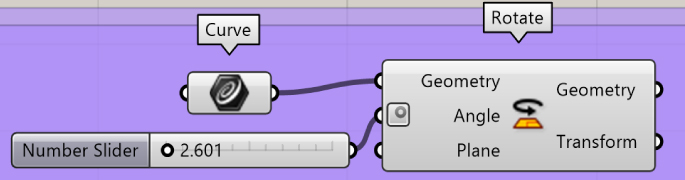
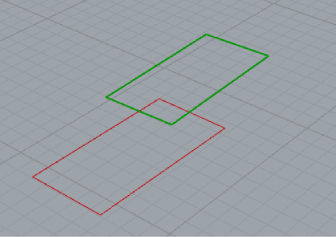
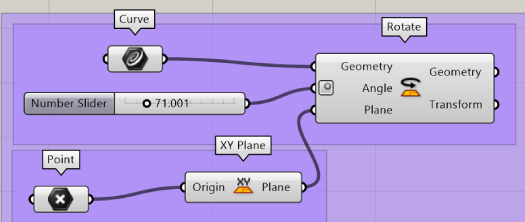
first tries
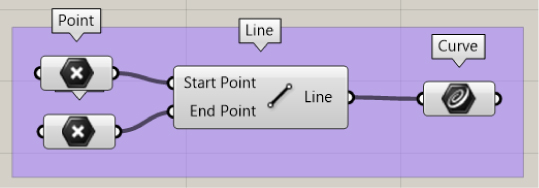
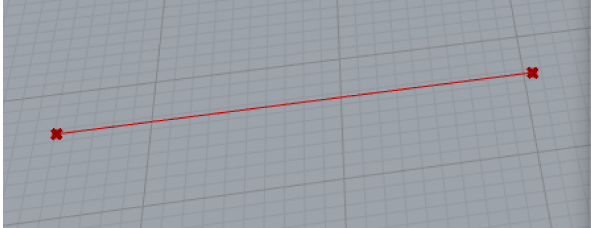
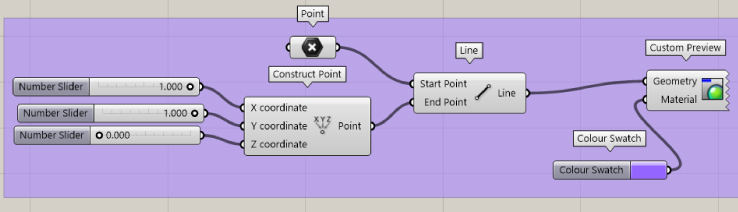
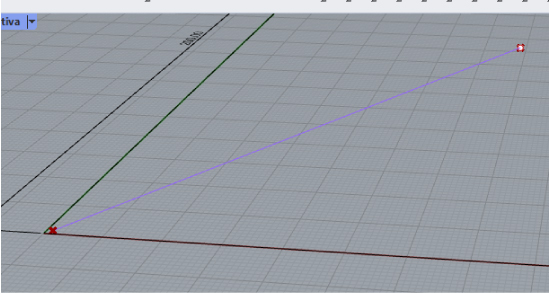
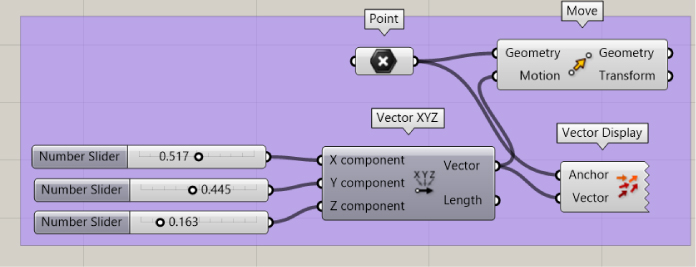
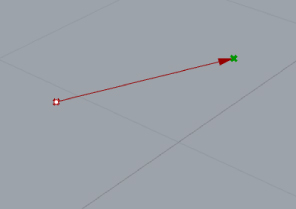
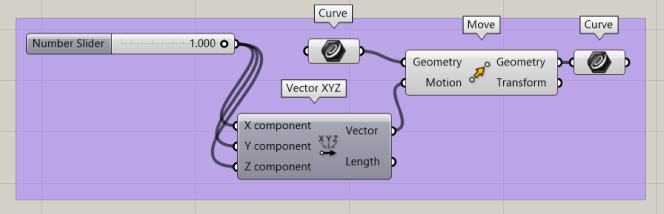
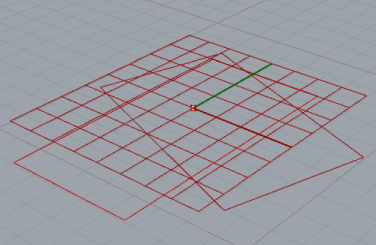
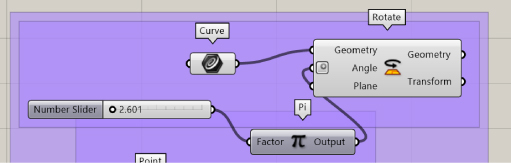
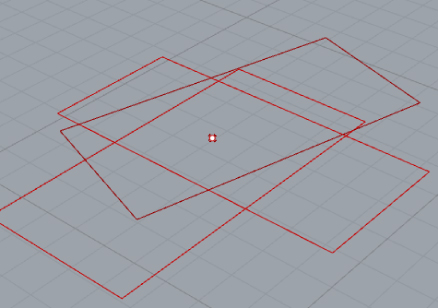
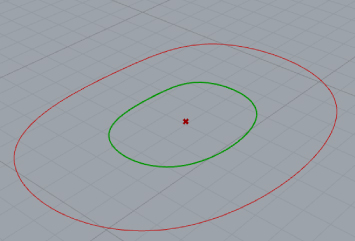
Before designing the final model on the grasshopper, I decided to start programming the basics taught in the tutorials, redoing all the exercises to adapt to a software interface. I have to confess that this took me a long time.
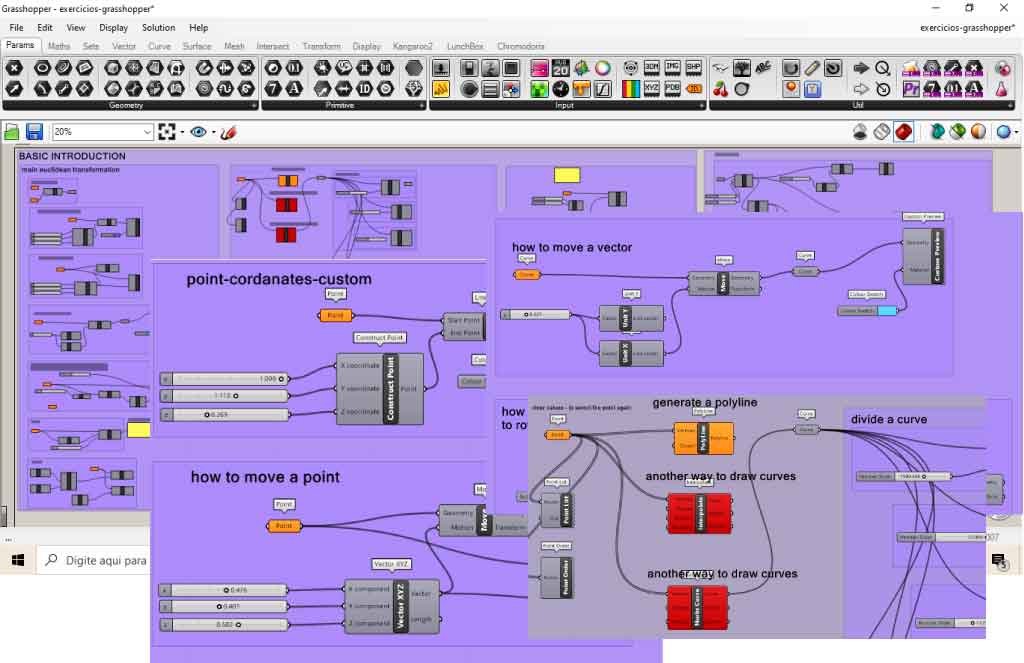
But if you, like me, have never used the program so far, i highly recommend you do so.
how to install a plug in
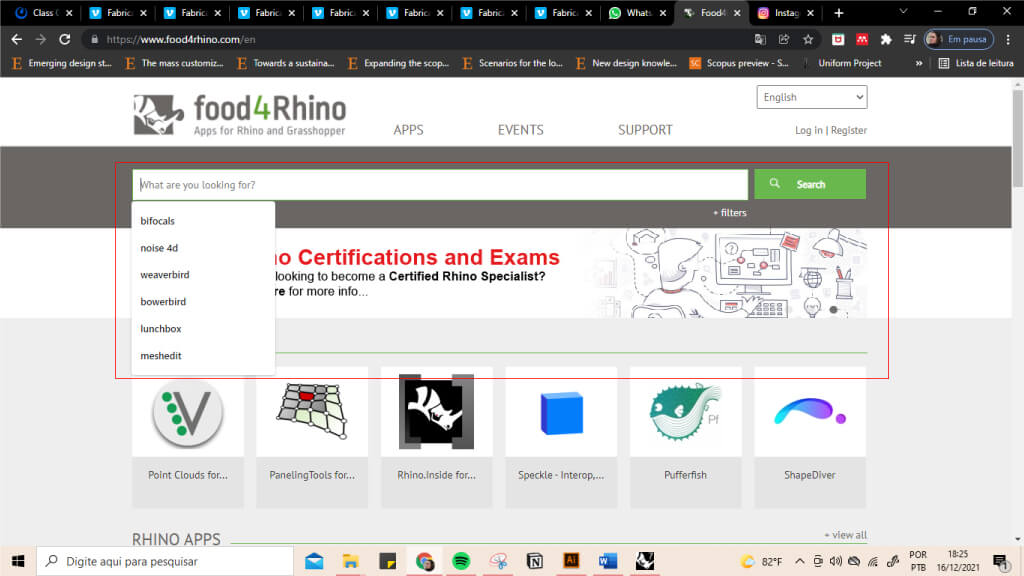
For some projects you'll need a plug in. You can find them on Food 4 Rhino page.
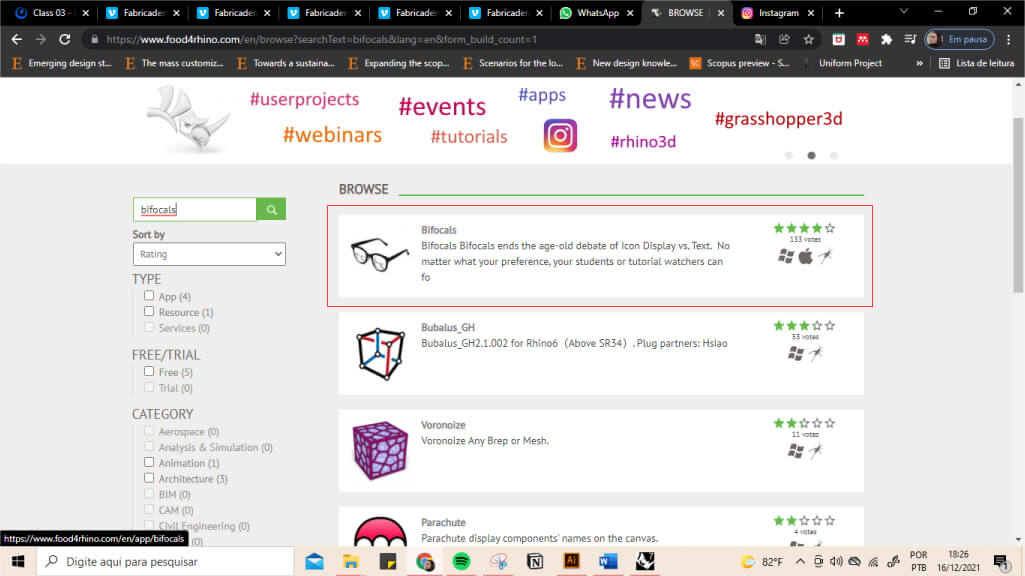
- search the name of the plug in.
- Click on the plug in that appears.
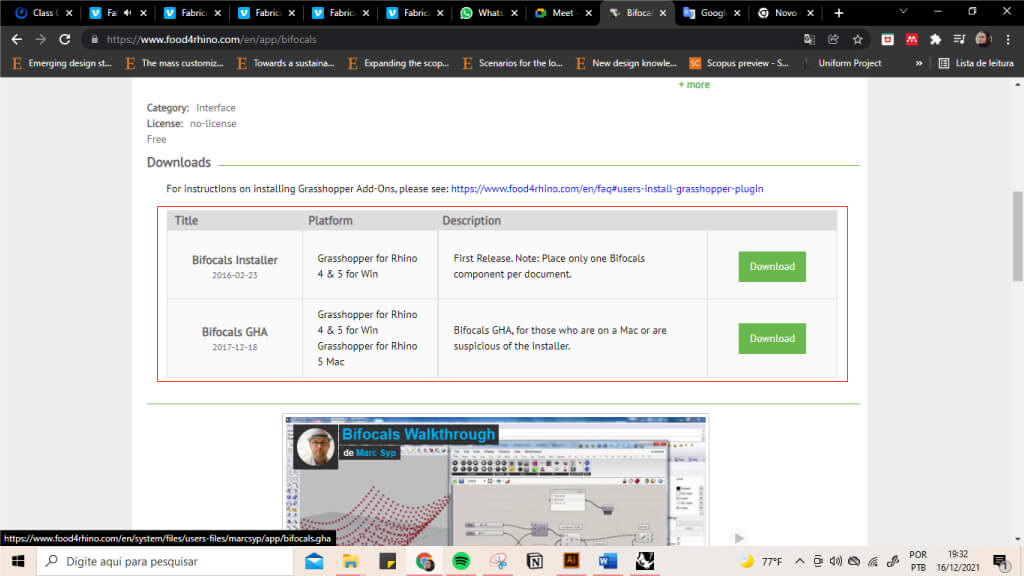
- Download the version wanted (the arquive for you type of computer).
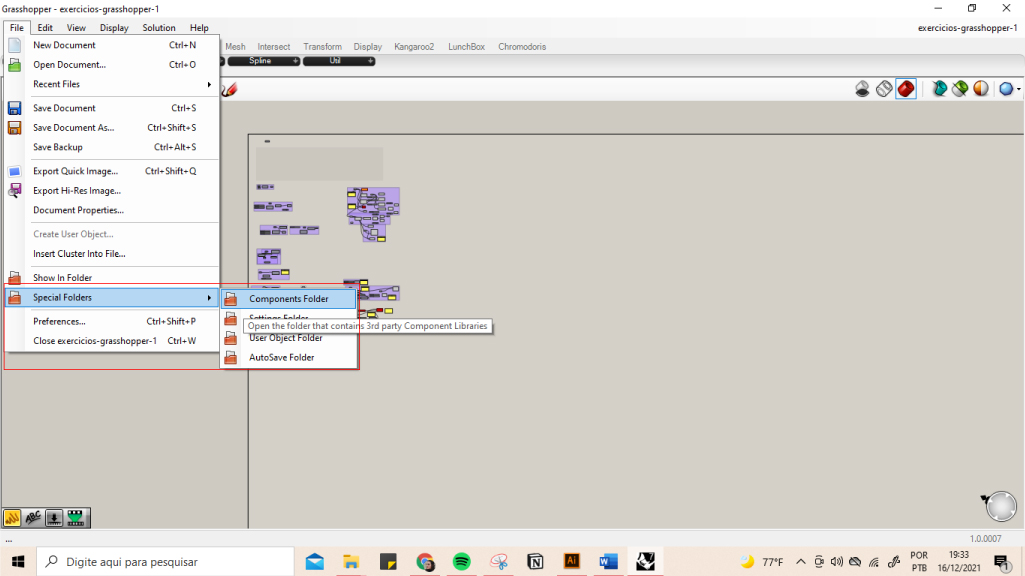
- Open grasshopper (rhino>grasshopper), and select: file > special folders > components folders.
- In the librarie that will pop up, select the plug in installed and click properties.
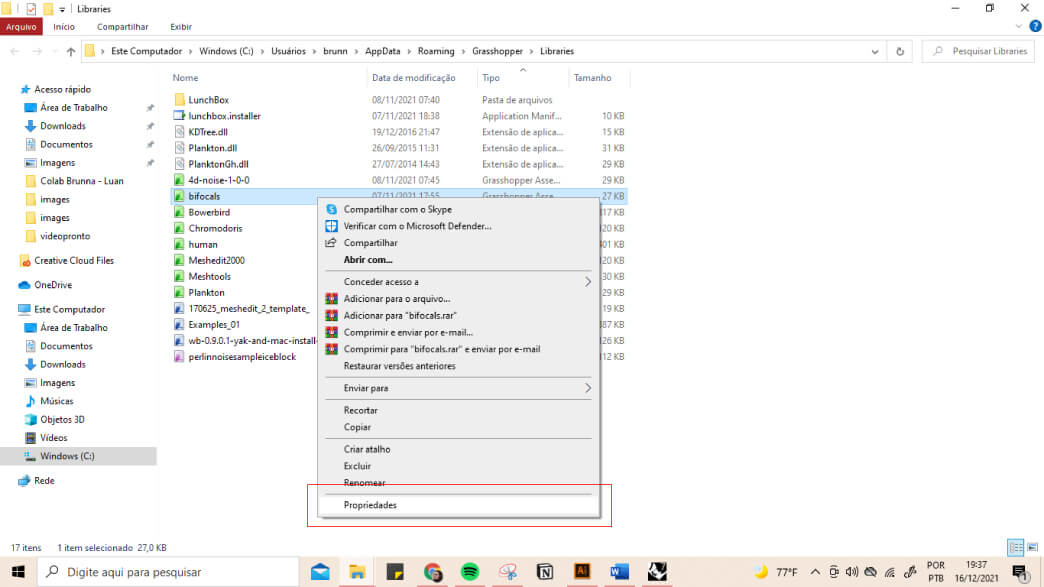
- This box (just view), cannot be selected.

And its ready!
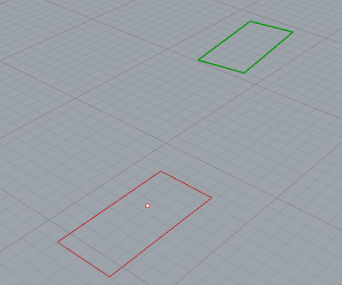
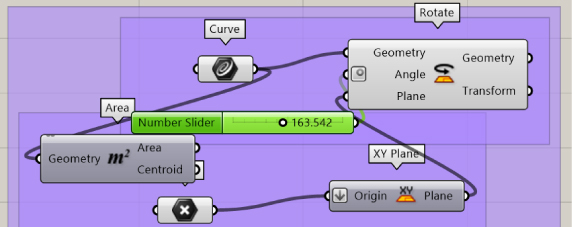
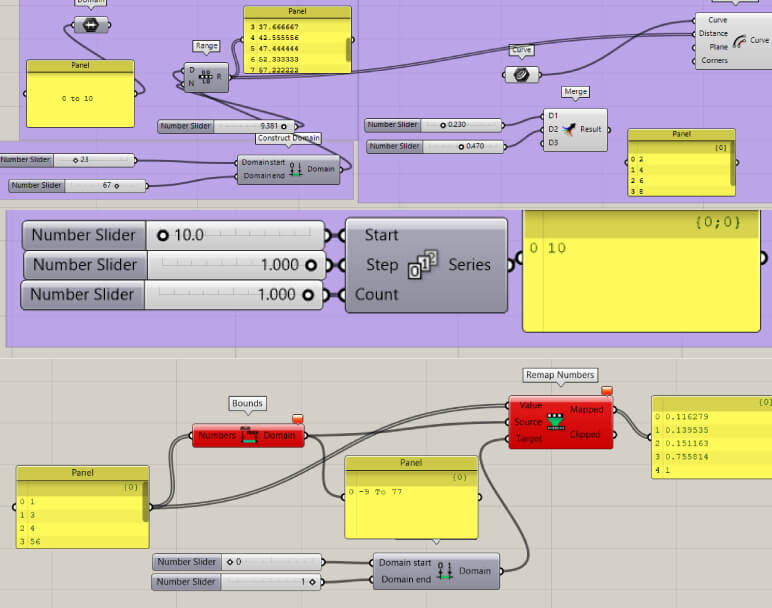
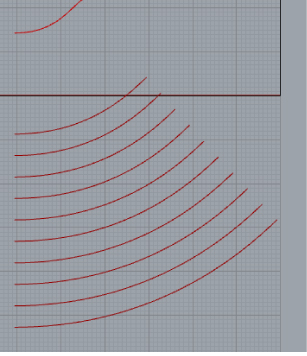
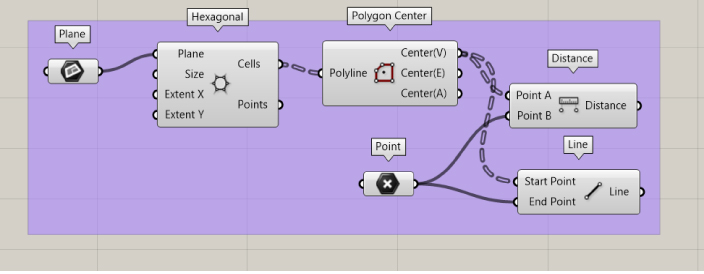
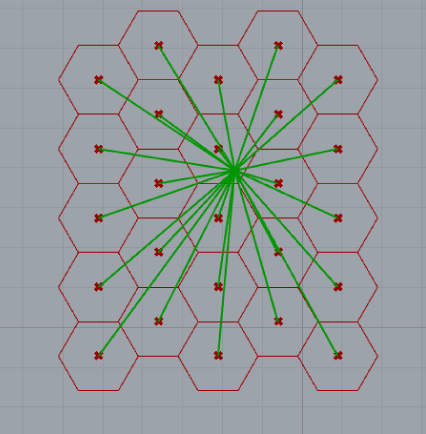
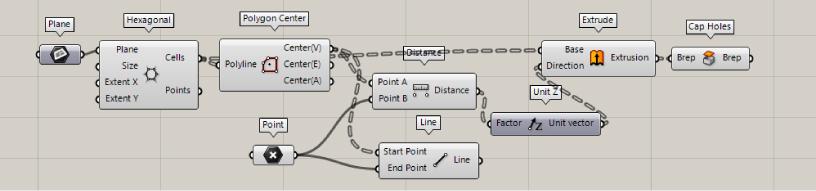
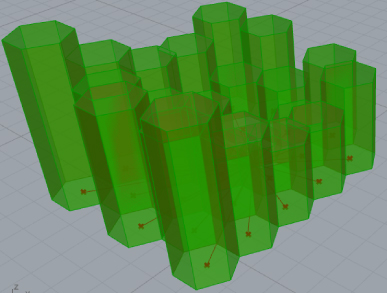
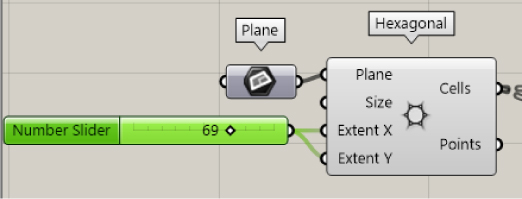
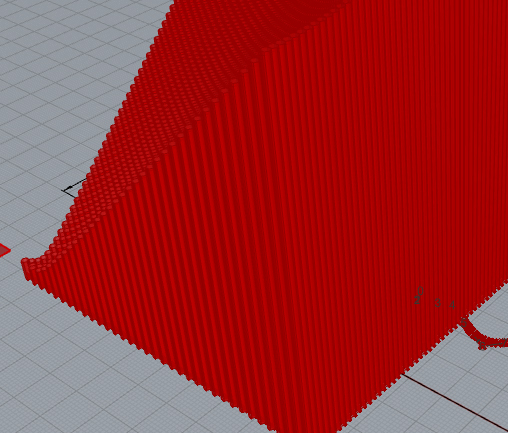
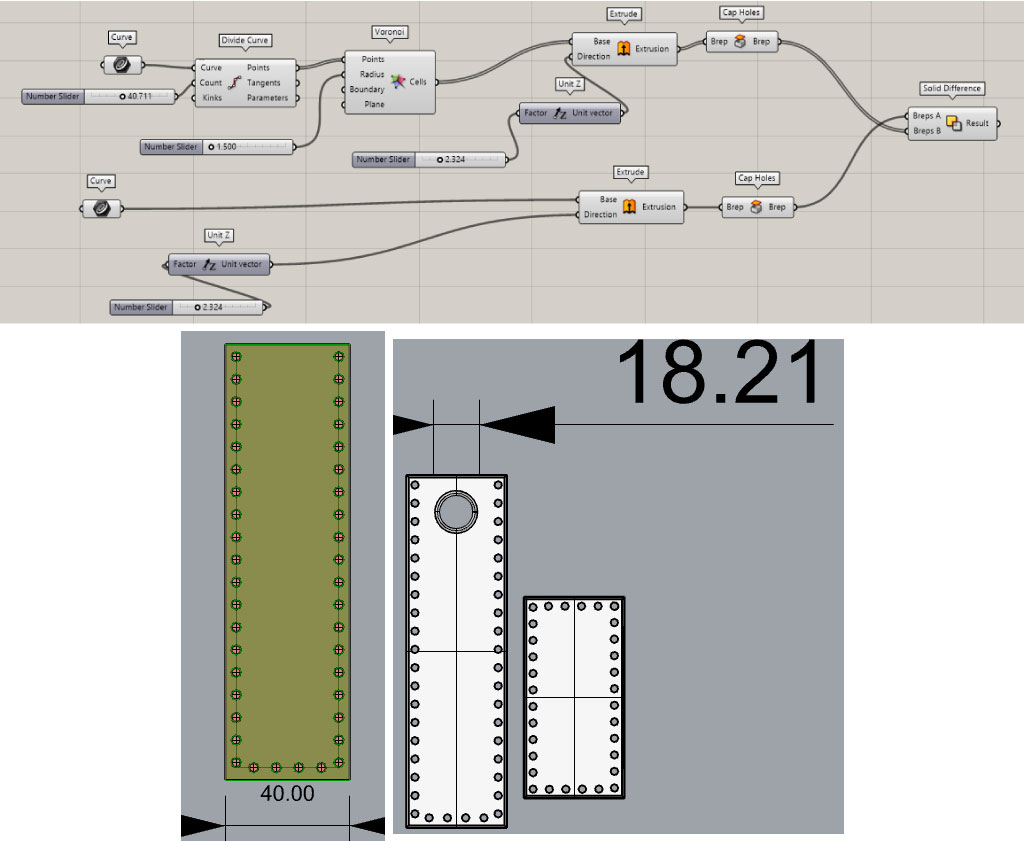
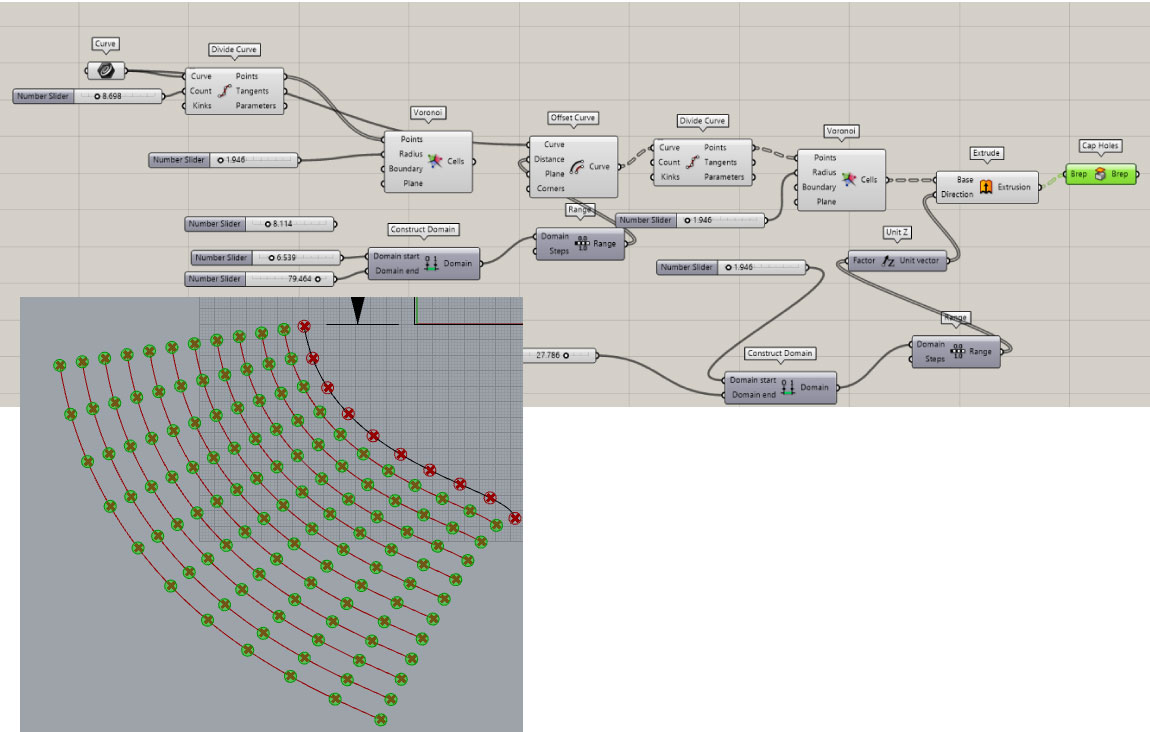
table of attempts
Some tryes:
| Input | Output |
|---|---|
 |
 |
 |
 |
 |
 |
 |
 |
 |
 |
 |
 |
 |
 |
 |
 |
 |
 |
 |
 |
 |
 |
 |
 |
 |
 |
 |
 |
 |
 |
 |
 |
 |
 |
 |
 |
 |
 |
 |
 |
FINAL RESULT
idea
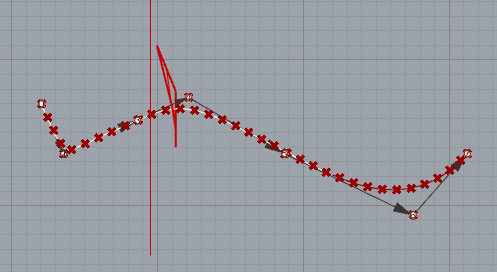
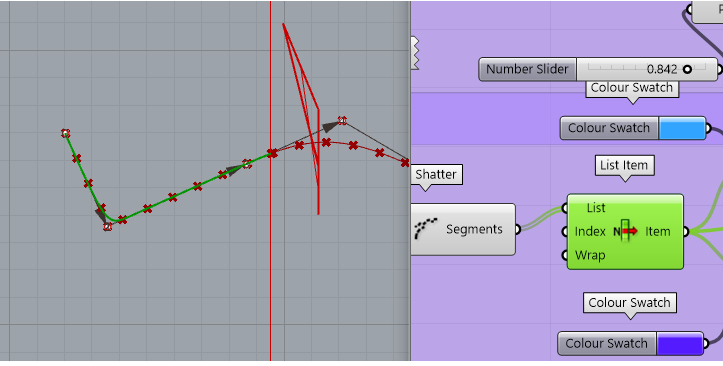
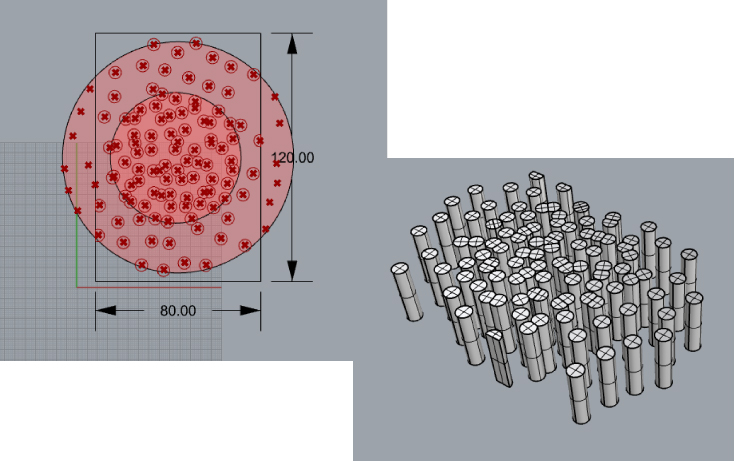
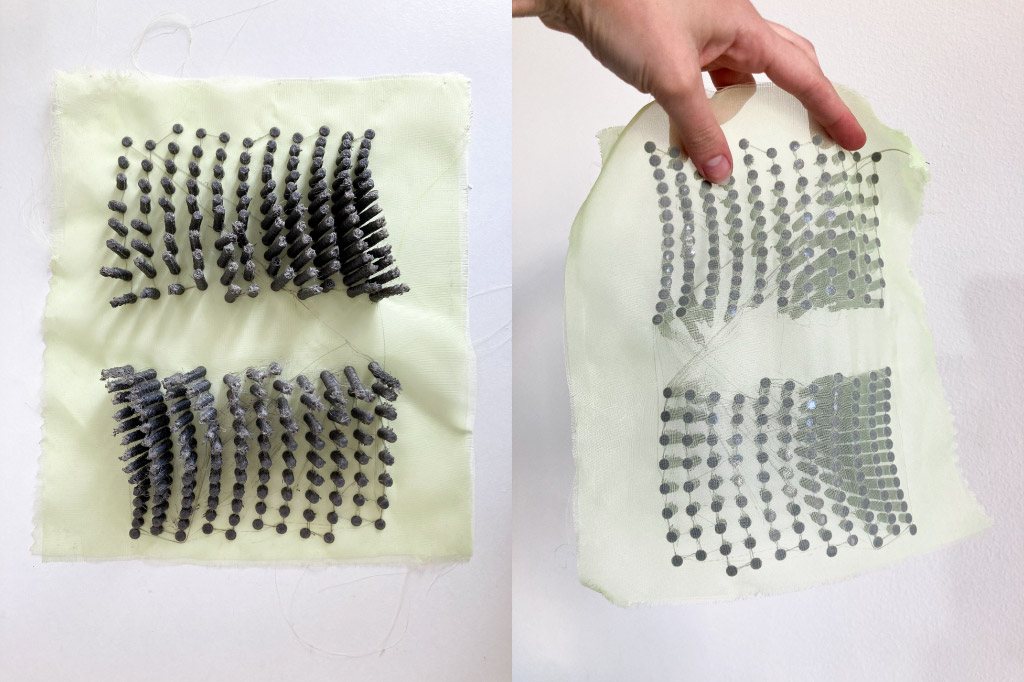
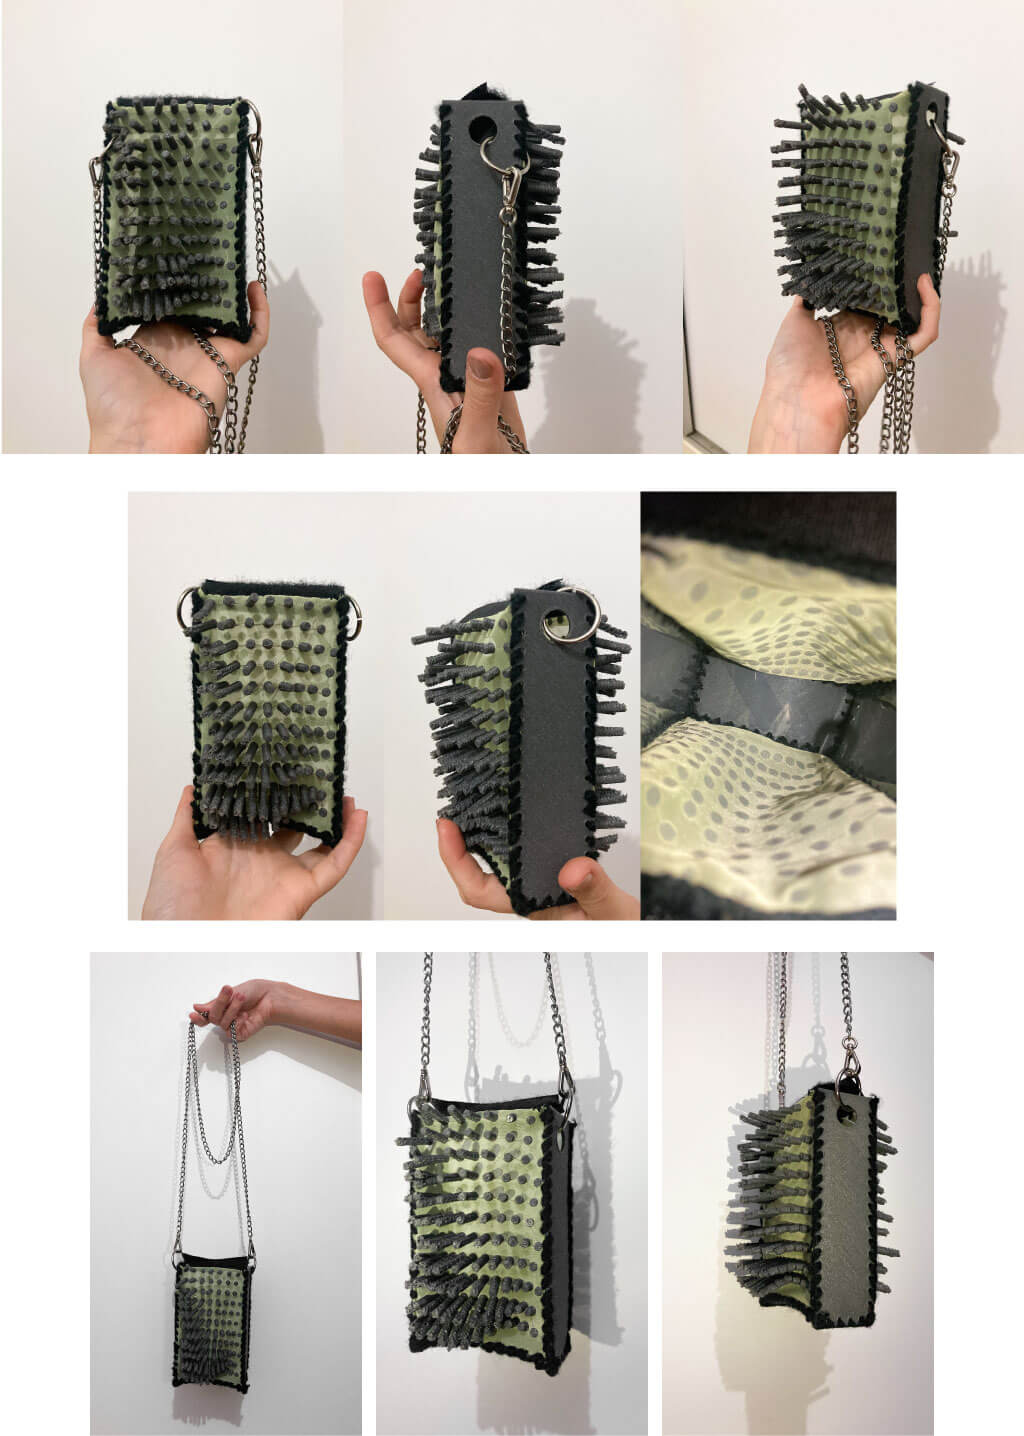
Following the idea of my stand-up hair concept, I decided to make a small bag to carry a cell phone, with the faces printed in 3d.
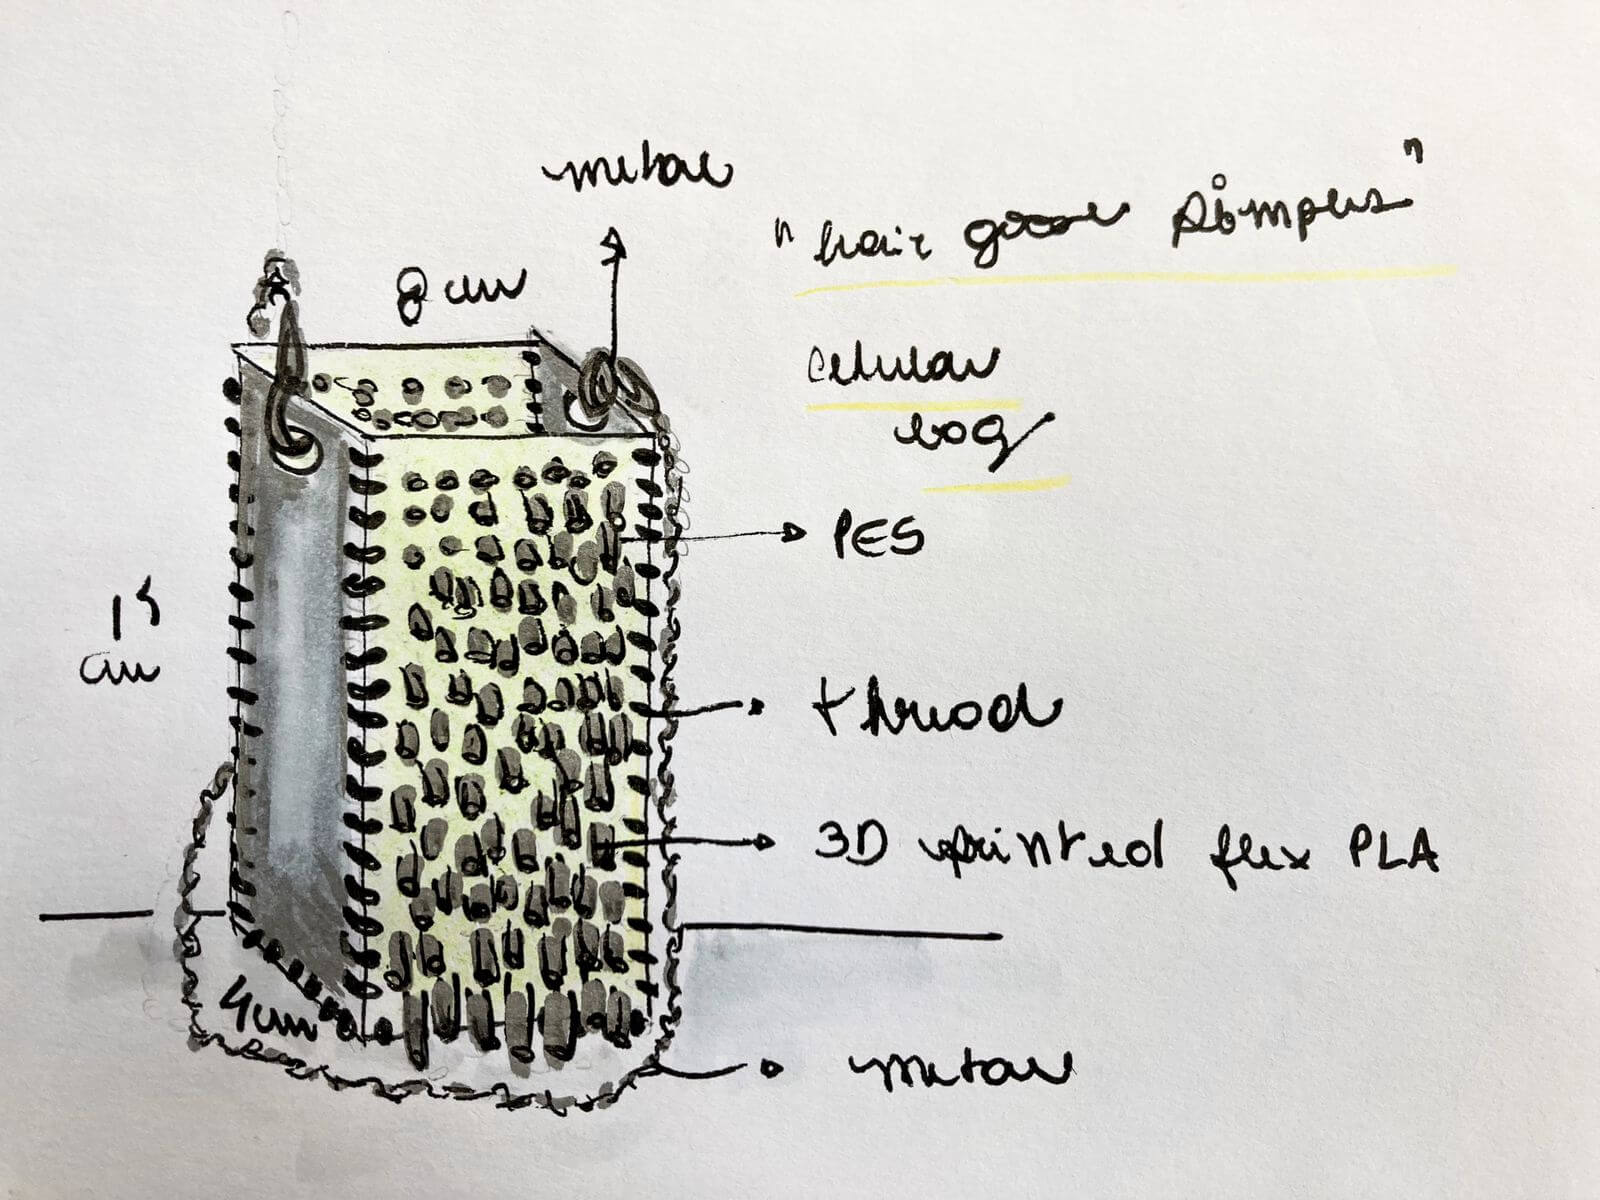
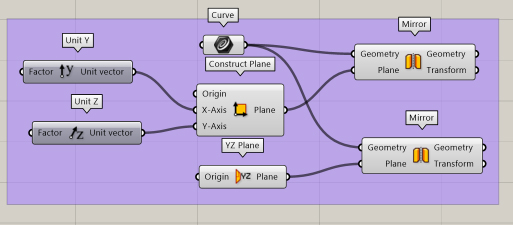
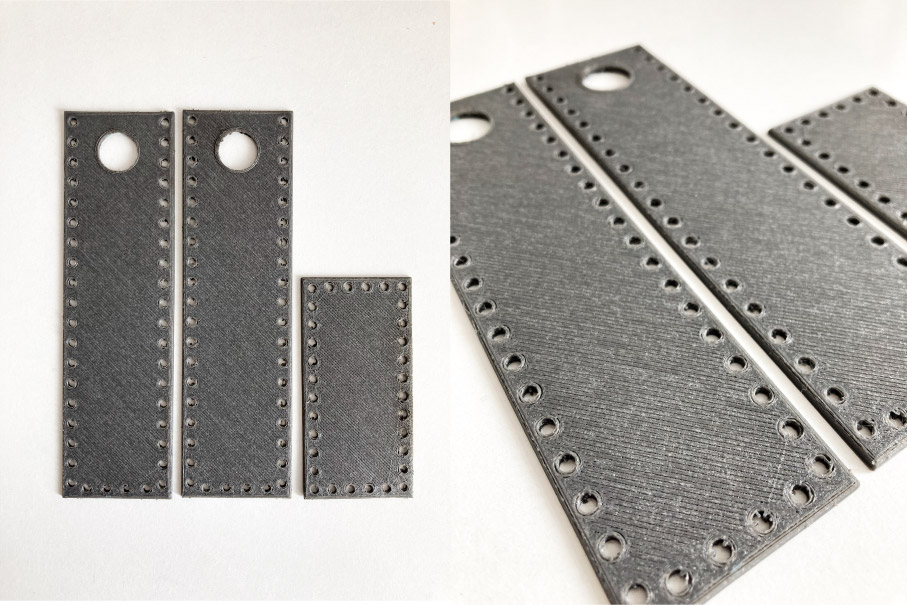
The sides and bases are printed with flexible PLA, and the holes were punched in the grasshopper. The front, with the hairs standing on end, was made with PLA FLEX filament printing on polyester (PES), the file was also made in parametric modeling.
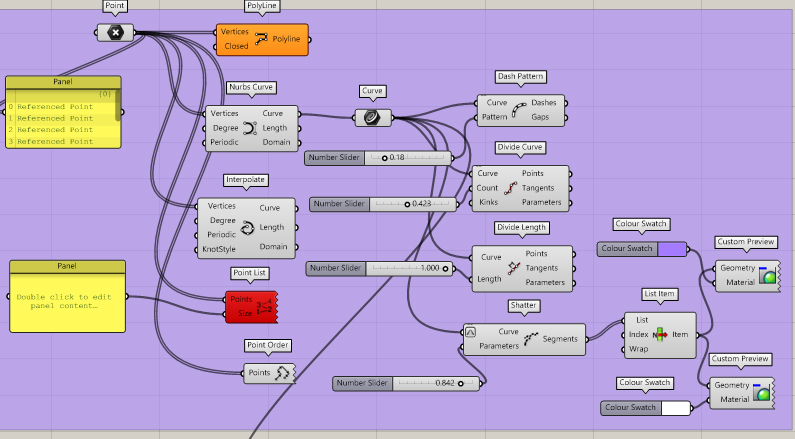
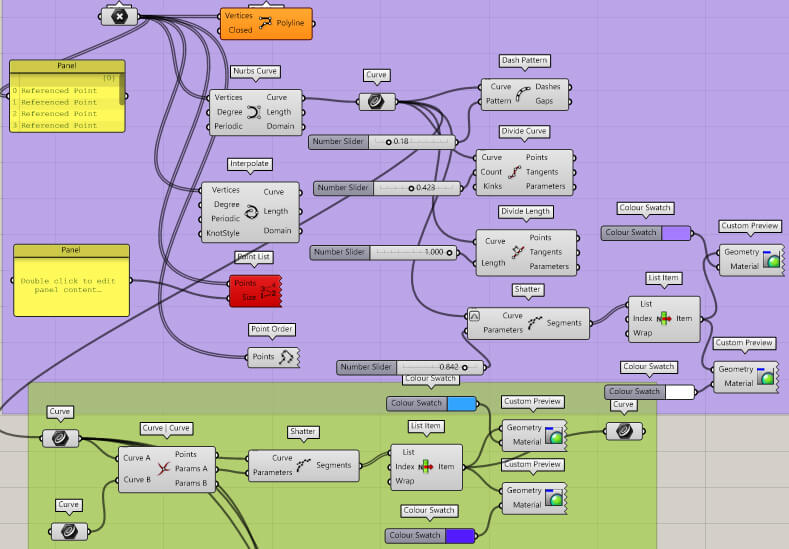
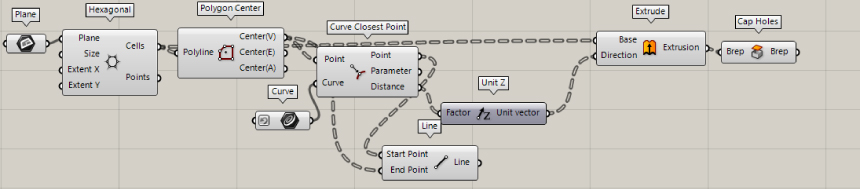
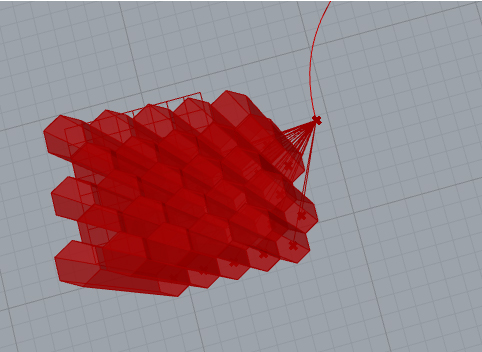
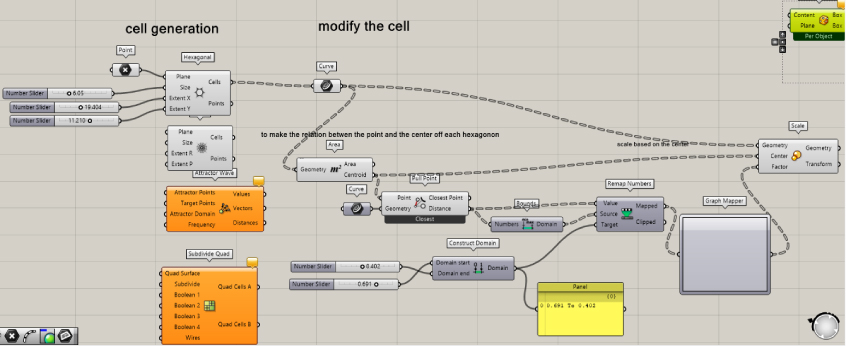
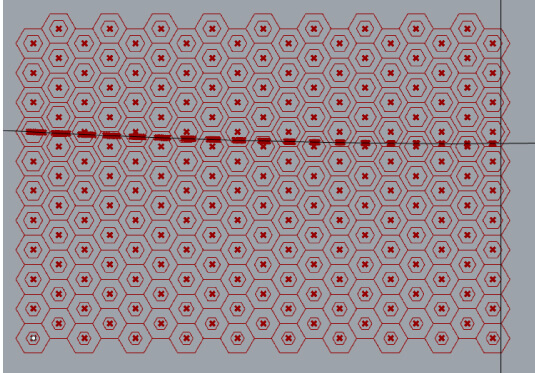
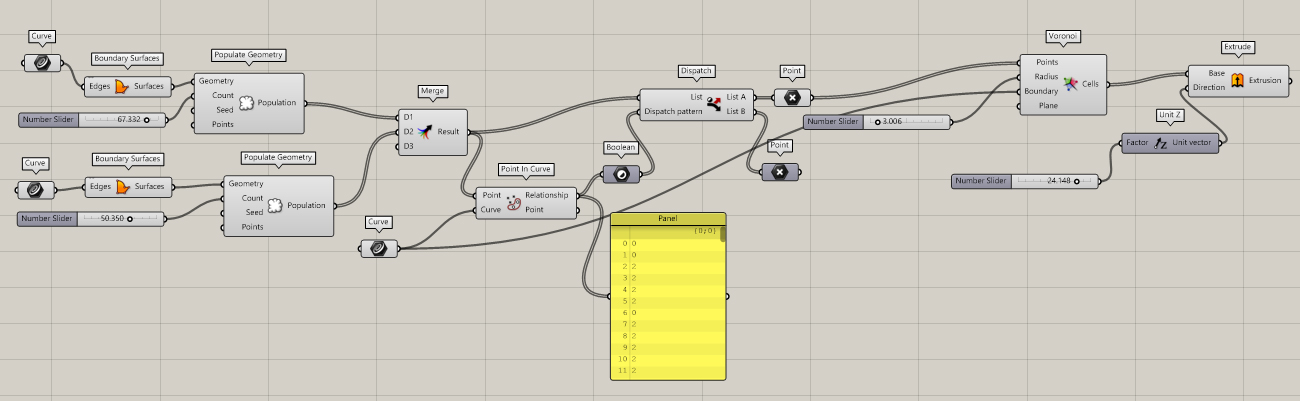
Grasshopper:
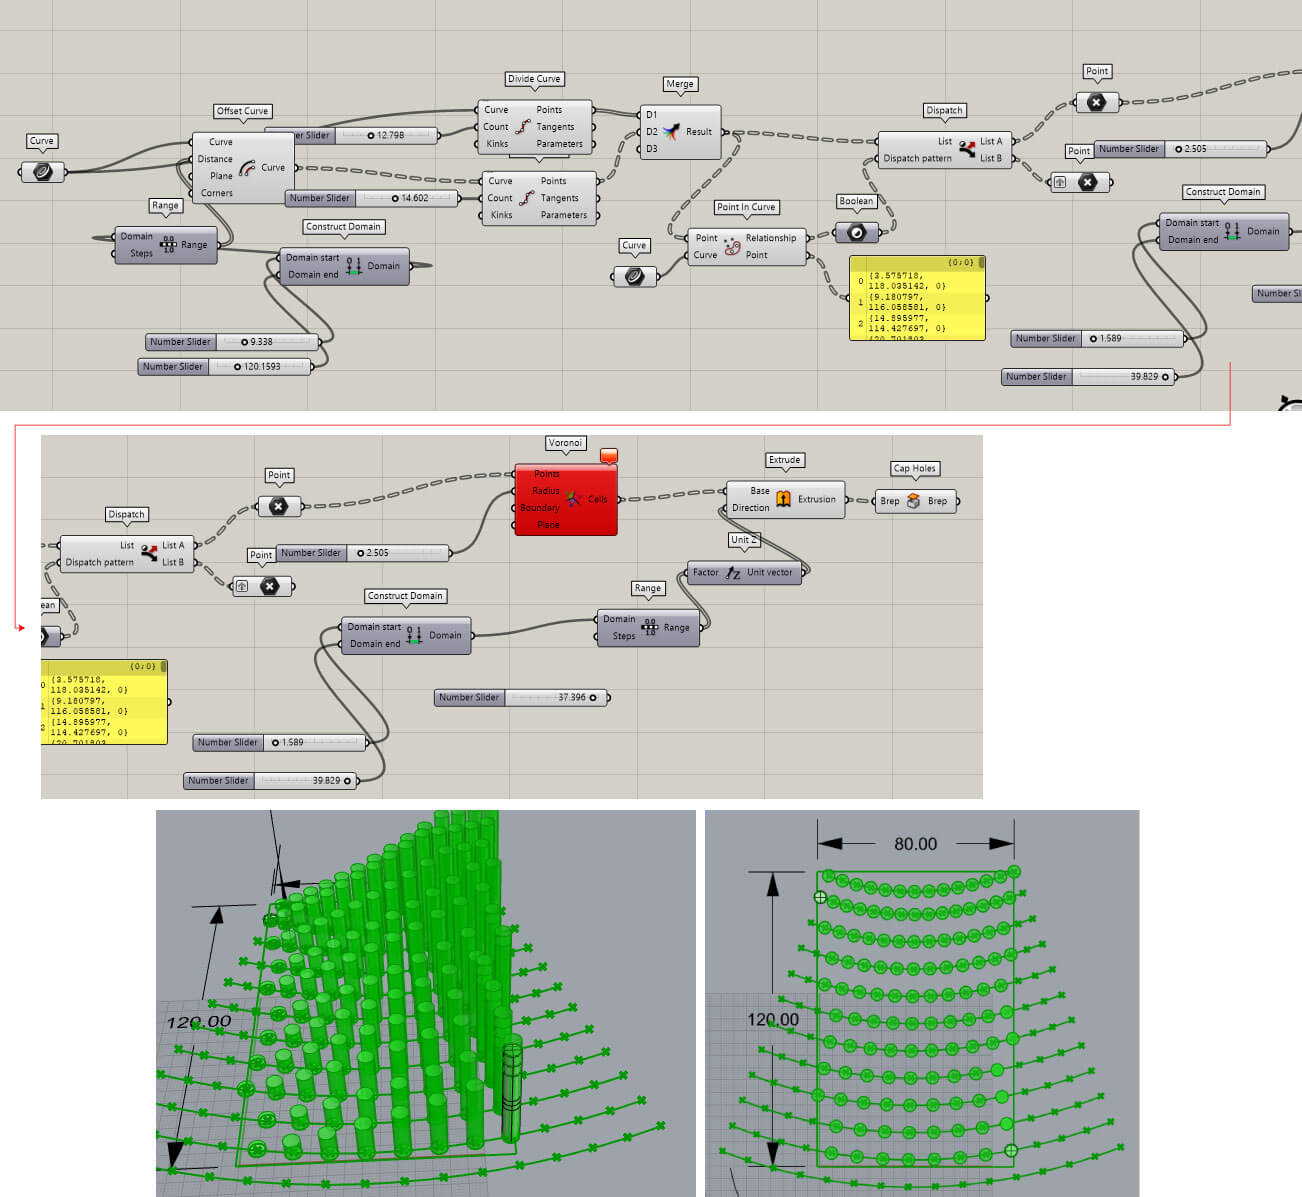
final stl. models:
some tutorials
I needed to wach some more tutorial to make the bag, because I was still confuse with grasshopper.
preparing the 3d printer
For printing my samples I used Flex pla, the front and the back I made above an poliéster fabric (we use tape for hold the fabric in the base of the machine, usually I use spray glue-hairspray, but they didn't had on the lab).

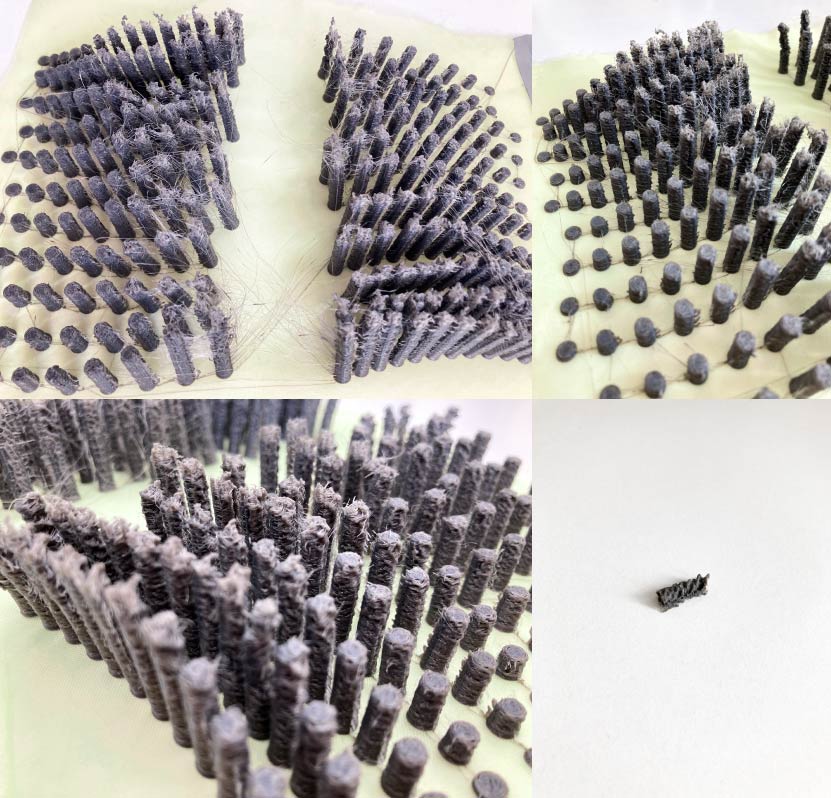
I wanted the "frizzy hairs" to be very flexible, so in addition to choosing a flexible filament, I made a slice with little fill. I had never used flex filaments before, so I didn't now how to slice properly the model for gcode. The people in the lab helped me so I don't have the gcode. Anyway, we did not fill the model properly in the configurations and unfortunatelly, at night, the machine clogged with filament and the print definition was not very good.
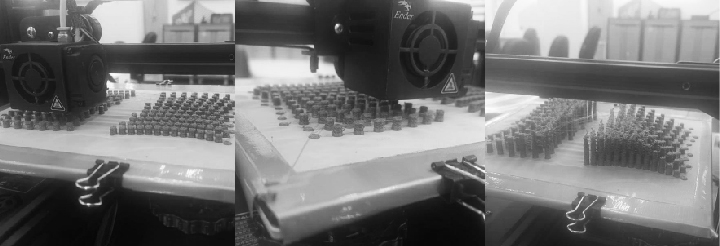
As it was within the expected concept (and printing took a long time), I didn't care about it. But after cold some "hairs" broke in handling (when cutting the imperfections with pliers).
making the bag
- I separated the front and back of the model, cutting rectangles with a little more than 14x8cm (I applied fire quickly after cutting to avoid fraying);
- Using a black yarn ball thread, I joined the fabric parts with the printed part (I passed it twice to make the finish better;
- For the top part, I cut a Velcro, a part in the dimensions of 8x4 cm, and another (the one that sticks) in the dimensions of 8x2cm;
- I cut the collars and metal handle with the help of pliers.
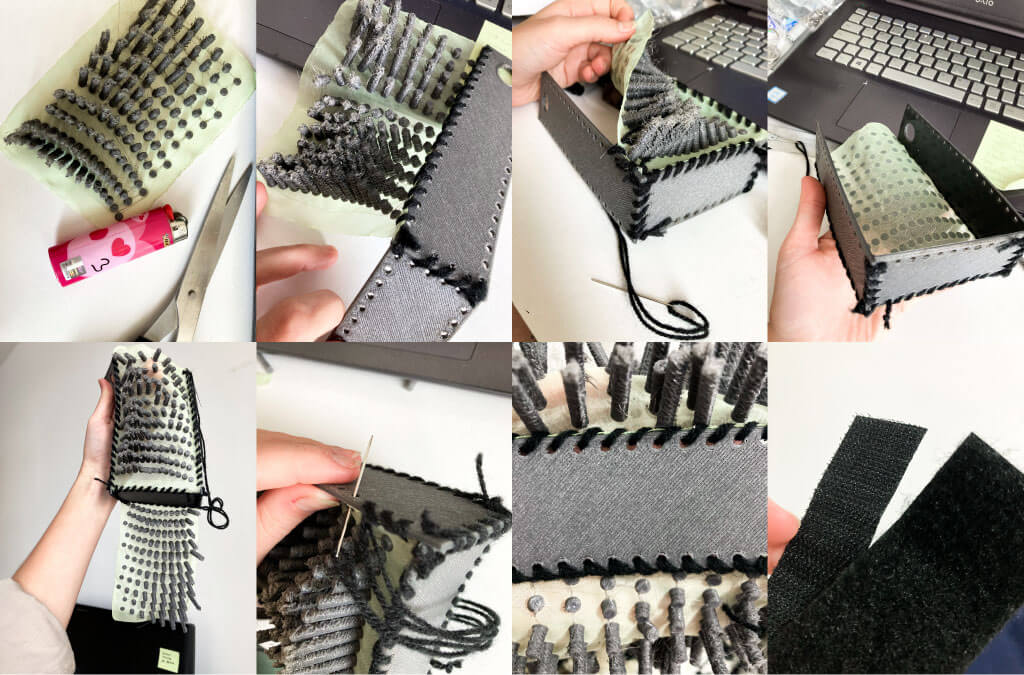
final sample!
download the files here.
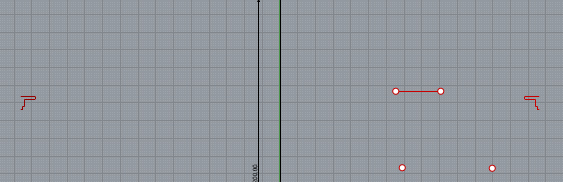
* the front-back have to be printed twice, and in the configurations on side must be mirrored.
REFERENCES
Nervou System - laplacian growth
extra
how to use sketchfab in portuguese