12. SOFT ROBOTICS
Soft robotic is a field in robotics that is bio-inpired. We can inflate the samples using air, water or another fluids.
Thinking about that, I decided to make a heart that inflates in time with the real beats programmed into the Arduino.
For this, I chose to use the same design for two different materials (vinyl and gelatin biosilicone) in order to compare material properties.
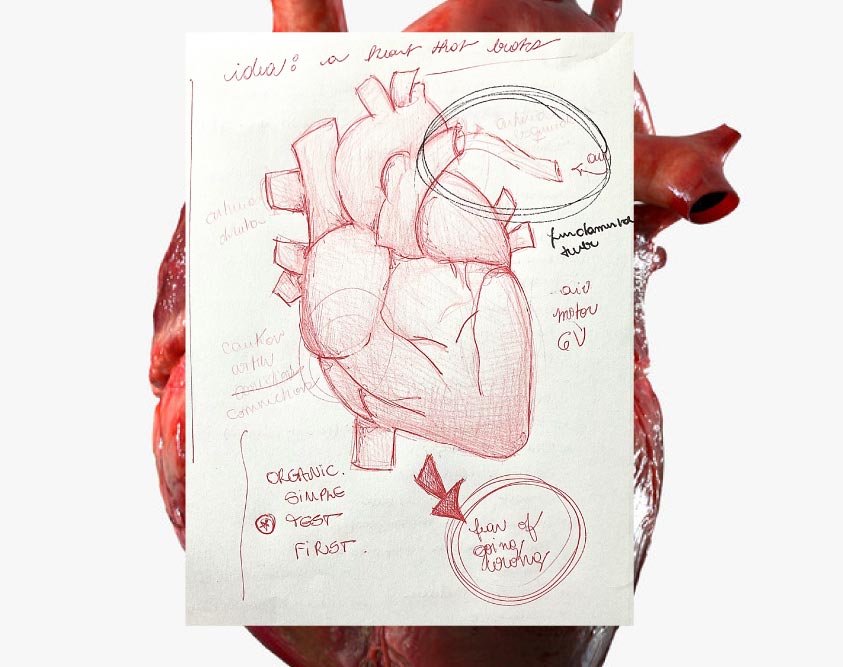
I was in doubt about how to work with such an organic shape, so I researched the previous documentation to find out what had already been done. From that, I selected a few projects that helped me visualize how I would like my final sample.
VINYL
1st tests
I chose to work with vinyl because it is an easily accessible material, simple prototyping and because we have a plotter in the lab.
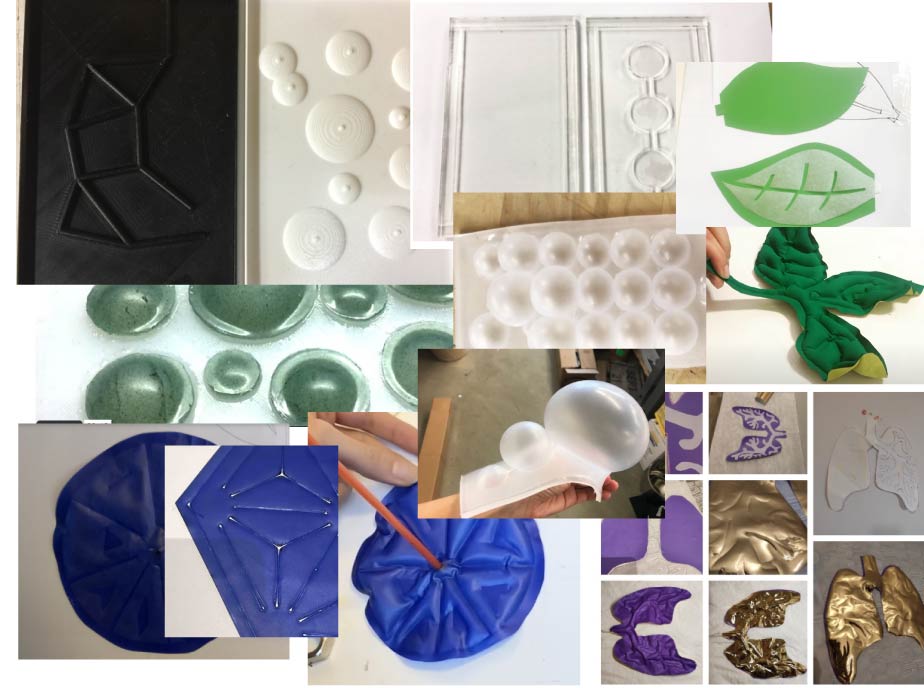
For the first tests, I decided to make two simple samples using scissors and a cutting knife, just to understand the process first. The areas where the air passes were made with paper.
2nd tests
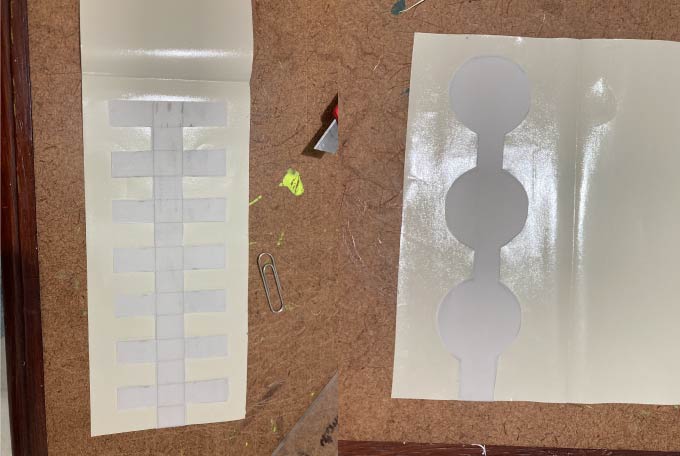
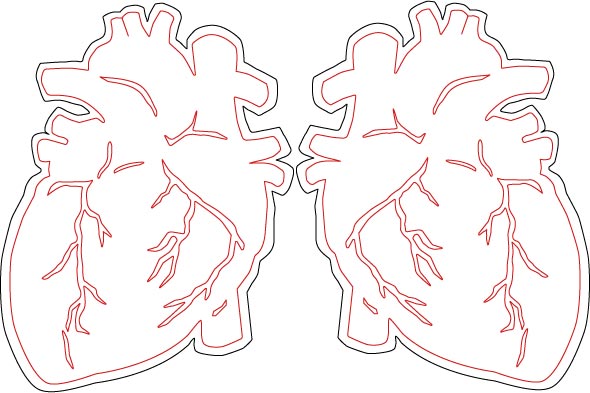
Afterwards, I went to the lab to test cutting my heart model on the plotter. The black part was cut from vinyl, and the red part was cut from paper on the laser cutter.
first file

using the plotter

paper
Unfortunately, that first vinyl test didn't work, as the heart veins were too thin, the glued parts of the vinyl ended up coming loose and it inflated all the way. As I discovered this already at home, I continued the other tests with scissors and a knife.
3rd test
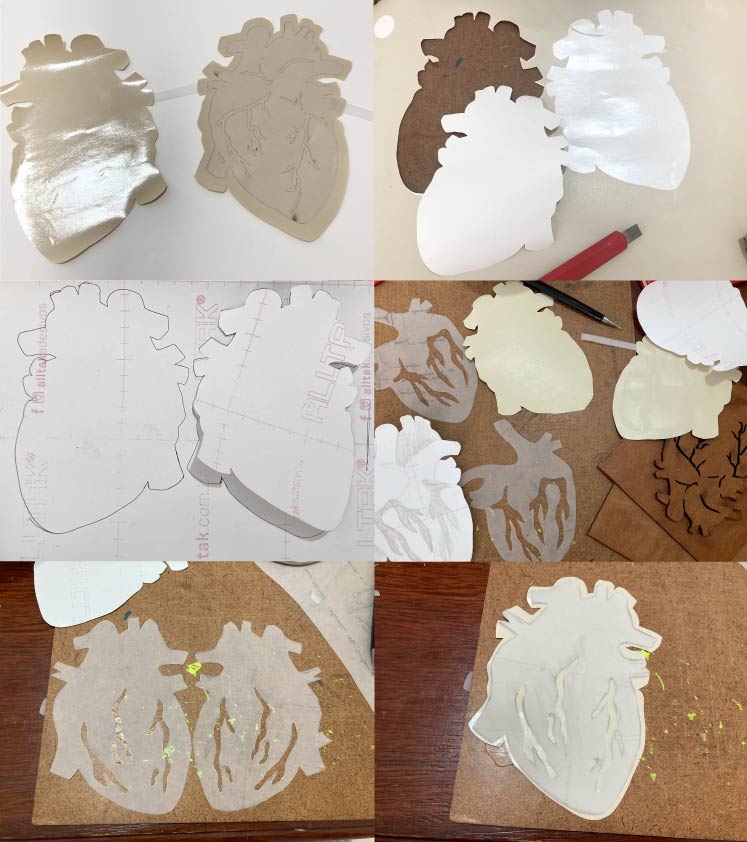
So, for the third test, I decided to make thicker veins so the vinyl could stick more firmly, and I decided to skip some upper parts of the heart so the air could get lower into the sample. However, this sample didn't inflate as much as I would have liked.
4th test
So, I did a fourth test, considering the total area of the heart to inflate, but with less veins to paste, these with mediated thickness. This sample didn't inflate as much as I would have liked either.
In the end, the sample that worked the most was the first one, and I'm in doubt about changing it so that it works 100%. This will need more testing.
considerations after Adriana's feedback
Talking to adriana during the review, I realized that I didn't do the process of passing the vinyl to better glue one to the other, so my tests weren't working properly. She also commented that my vinyl was too thin because it was vinyl for paper and not fabric.
Even though it wasn't the correct vinyl, I decided to run my samples to see what would happen.
5th test
So, for my fifth test, I ironed the samples from tests 3 and 4. I found it curious that what inflated the best was the sample with the thinnest veins, as in the first test. However, the vinyl came off (I suppose because it wasn't the right vinyl, as adriana commented).
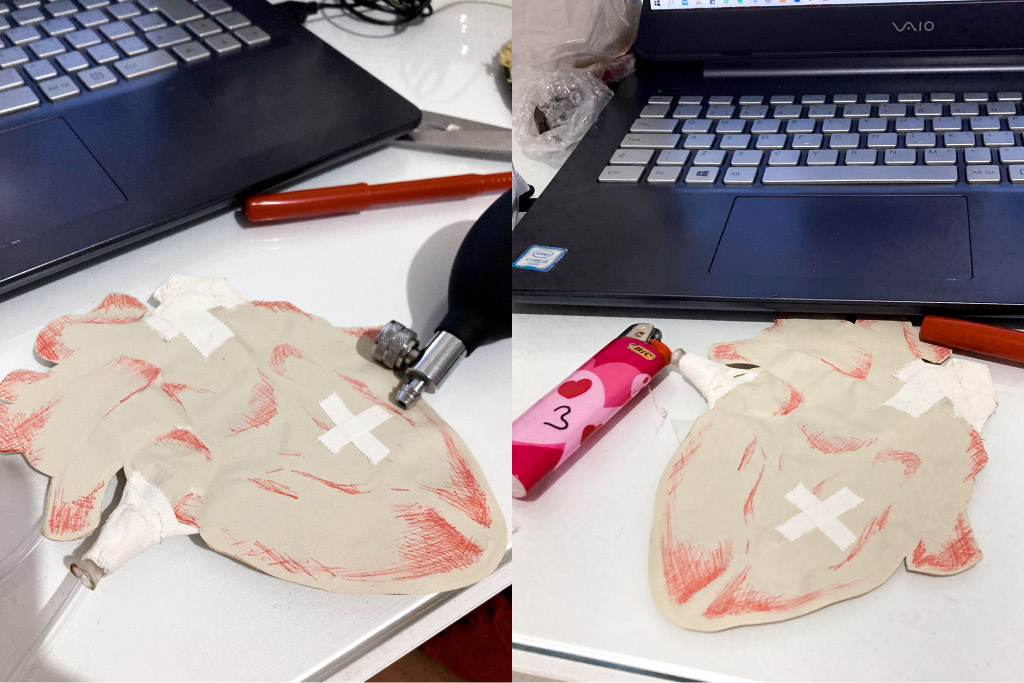

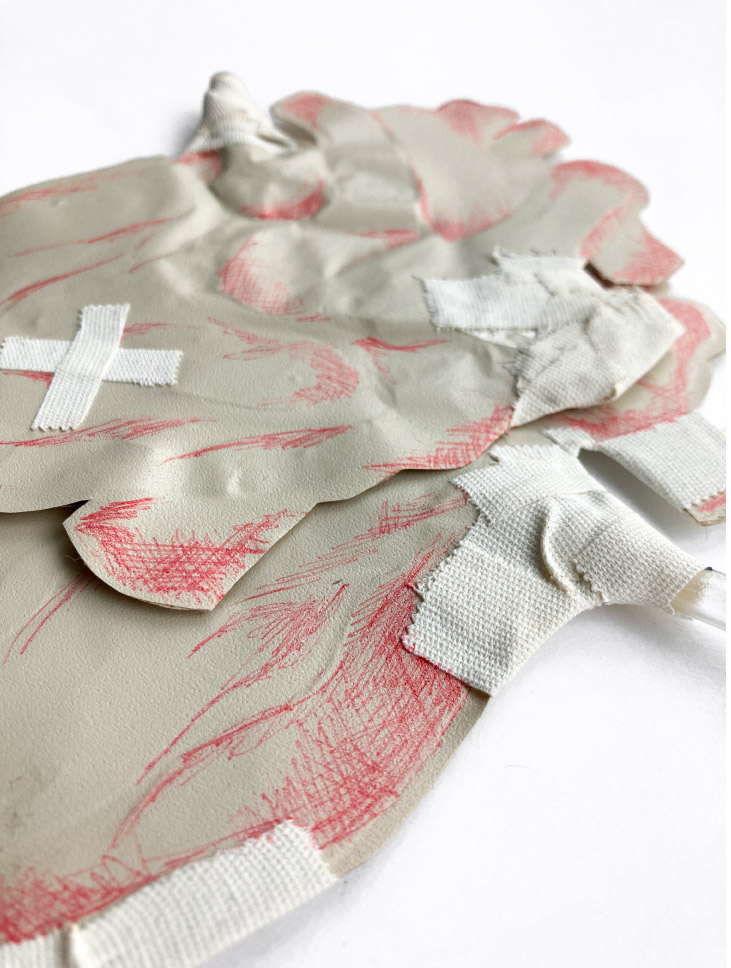
I needed to insulate the air with tape because the edges were very thin and the air ended up leaking, so I took the opportunity to give a bruised heart effect, gluing hospital tape and painting with red pen.
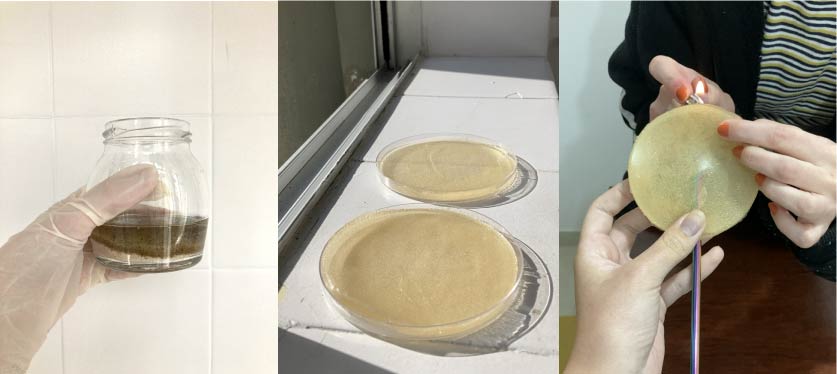
BIO SILICONE
I decided to use gelatine silicone as it is a more sustainable and cost-effective alternative to conventional silicone. It was nice to test this recipe since I didn't make this material in the week of bioplastics.
I used the recipe indicated in class, and heated it for a few seconds in the microwave (a few times).
| Gelatine | Glycerine | Water |
|---|---|---|
| 2 parts | 2 parts | 1 part |
recipe
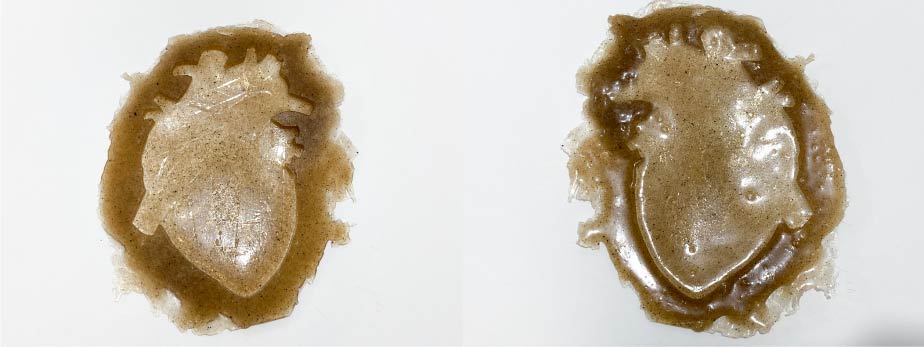
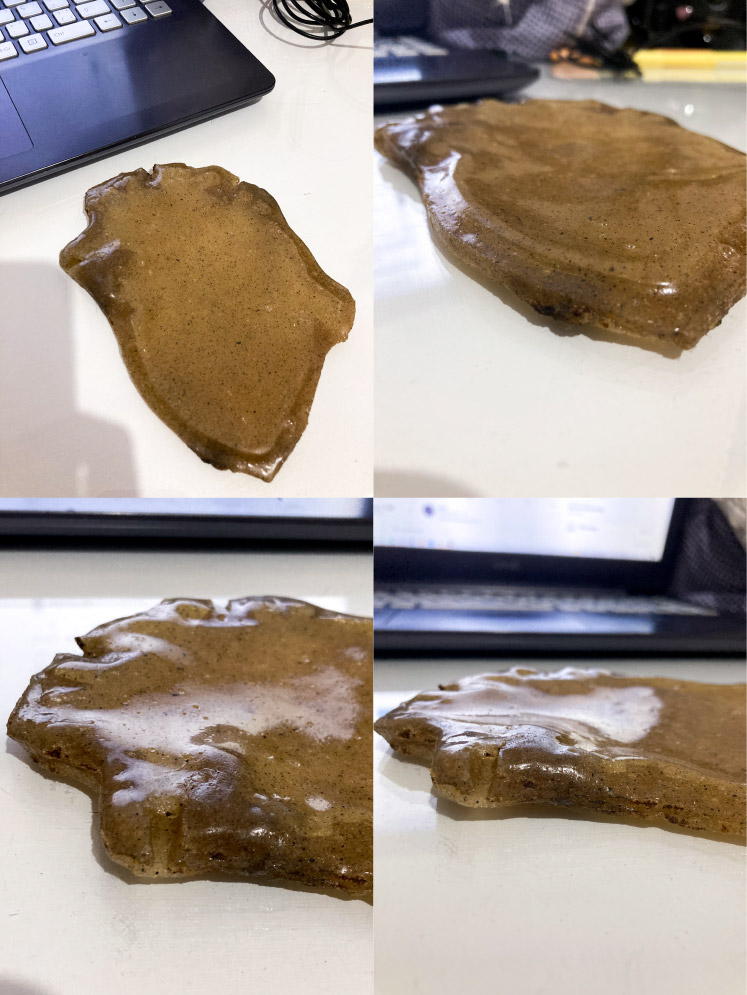
1st test
For this, I made a simple test first using petri dishes as molds and gluing the parts with the help of a lighter before going to the final mold, to understand the properties of the material. To inflate the sample, I used a straw.
2nd test
For the final bioplastic sample, I cut my mold in mdf (as I had a piece left over) on the laser cutter (the same file used to cut the paper). It was 5mm thick without considering the support. To glue the mold to the base I used contact glue, and then, in order to wet it, I varnished.
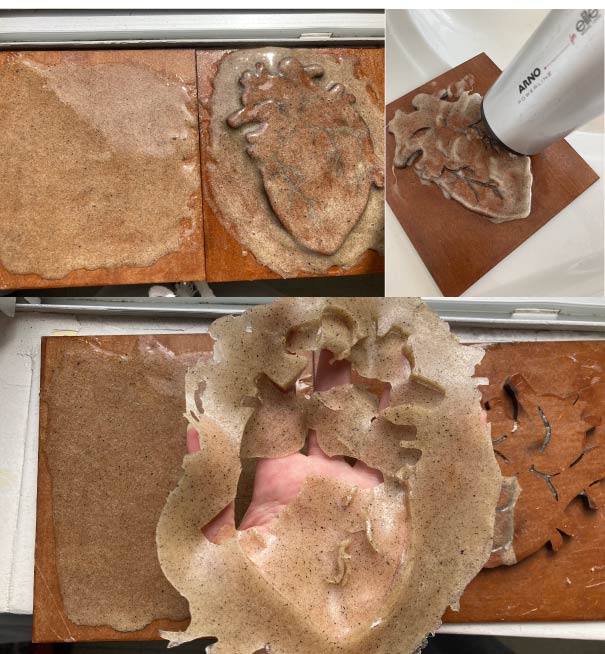
After drying the biosilicone, it was very difficult to remove it from the mold and ended up tearing, as the hollow spaces were very thin.
3rd test
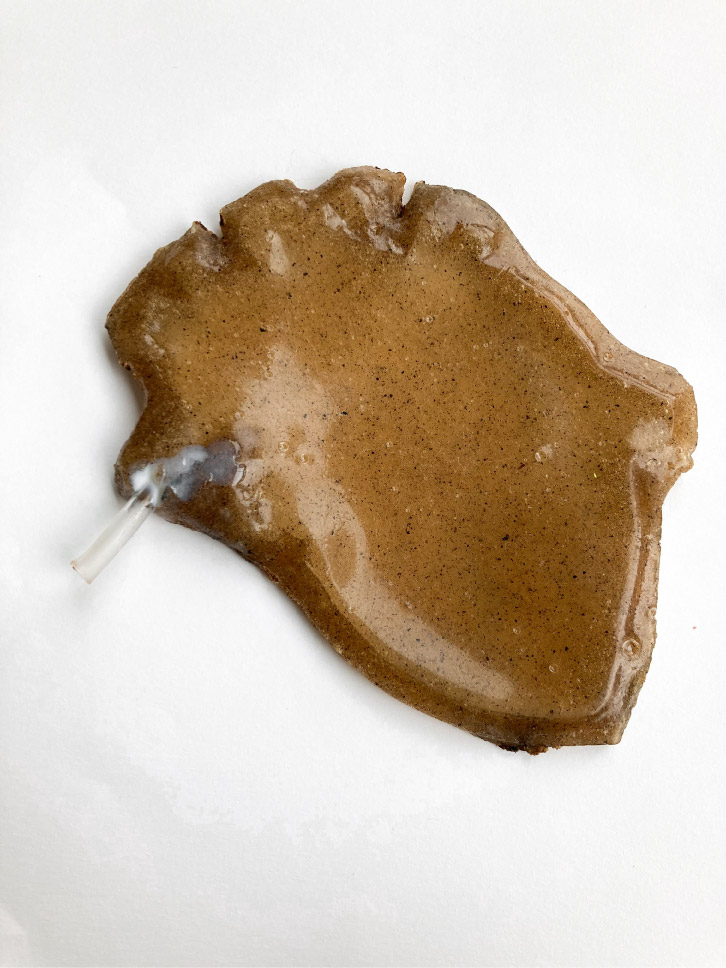
For my third test, I decided to use the same mold, but I closed the holes with tape and made the veins by applying gelatine with a syringe.
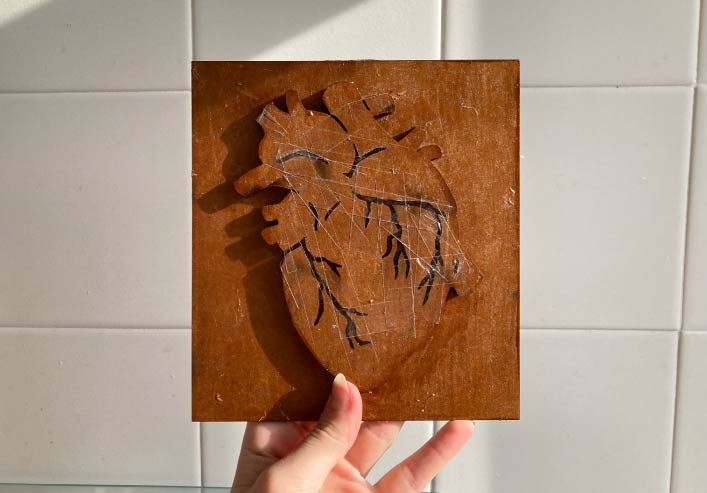
This mold worked much better.
To close it I just glued it with a smooth biosilicone surface and a lighter, and cut the burrs. I gave up applying the inside with a syringe to make the veins because the biosilicone is really very difficult to remelt, even though I knew that this way the heart would just be like an inflatable balloon.
Some parts were a little burnt.
I glued the tube to inflate it and isolated it with a little white glue.
CONTROLLING THE SOFT ROBOT
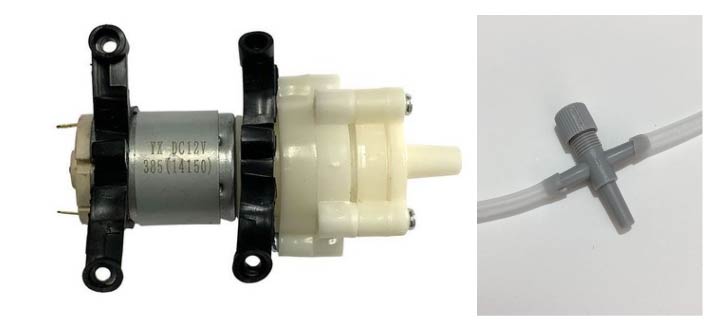
To control my Arduino show, I bought this mini air and vacuum motor and these tubes at an aquarium supply store, but I still need my solenoids.
In the feedback, adriana commented that I probably need a component to protect my arduino, that will probably be for another time.
FILES
Files can be downloaded here.
REFERENCES
previews documentations
Eva Ismer Documentation - how to control it
Montserrat Ciges Documentation - circuit and how to control it
Beatriz Sandini Documentation - bioplastic recipe
Carolina Delgado - Organic Shape
Nia Cavale Documentation - Biomaterial
Lucrecia de Leon Documentation - organic shape