03 circular fashion
5th -12th October 2021
2. Circular Fashion
inspiration
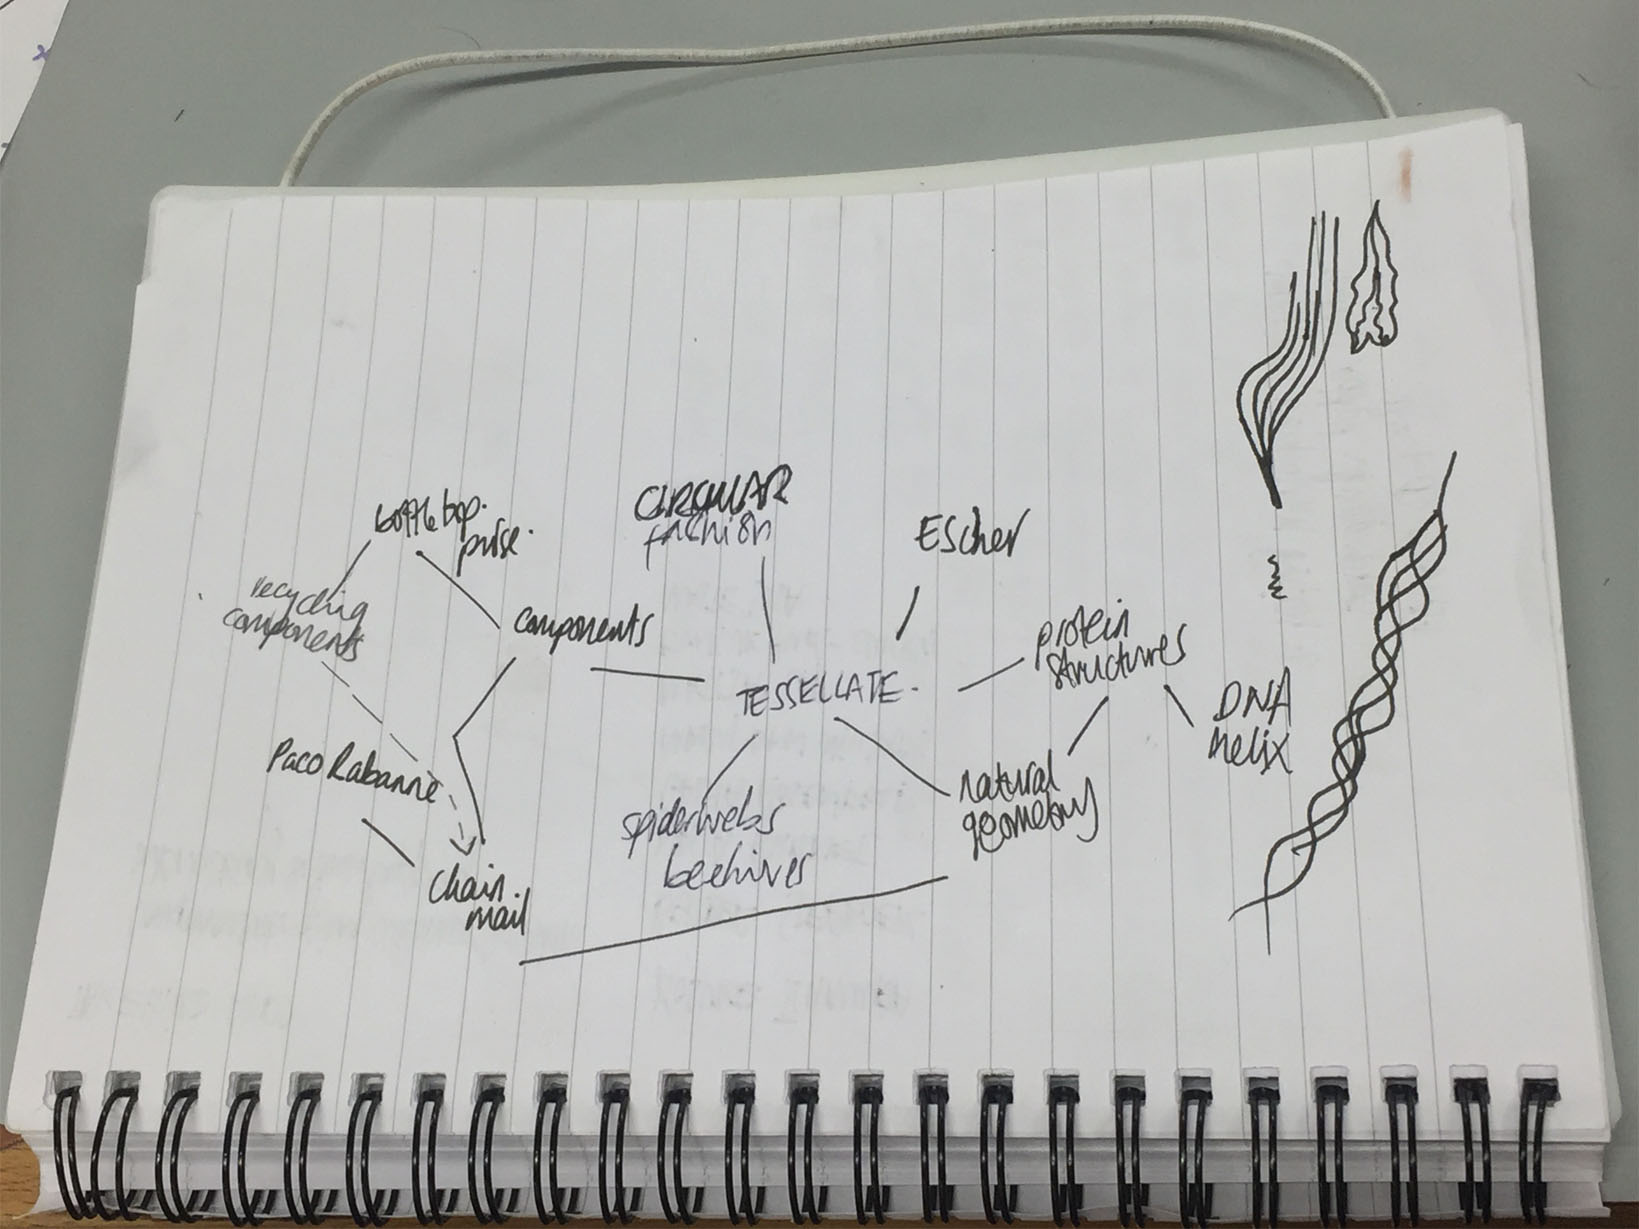
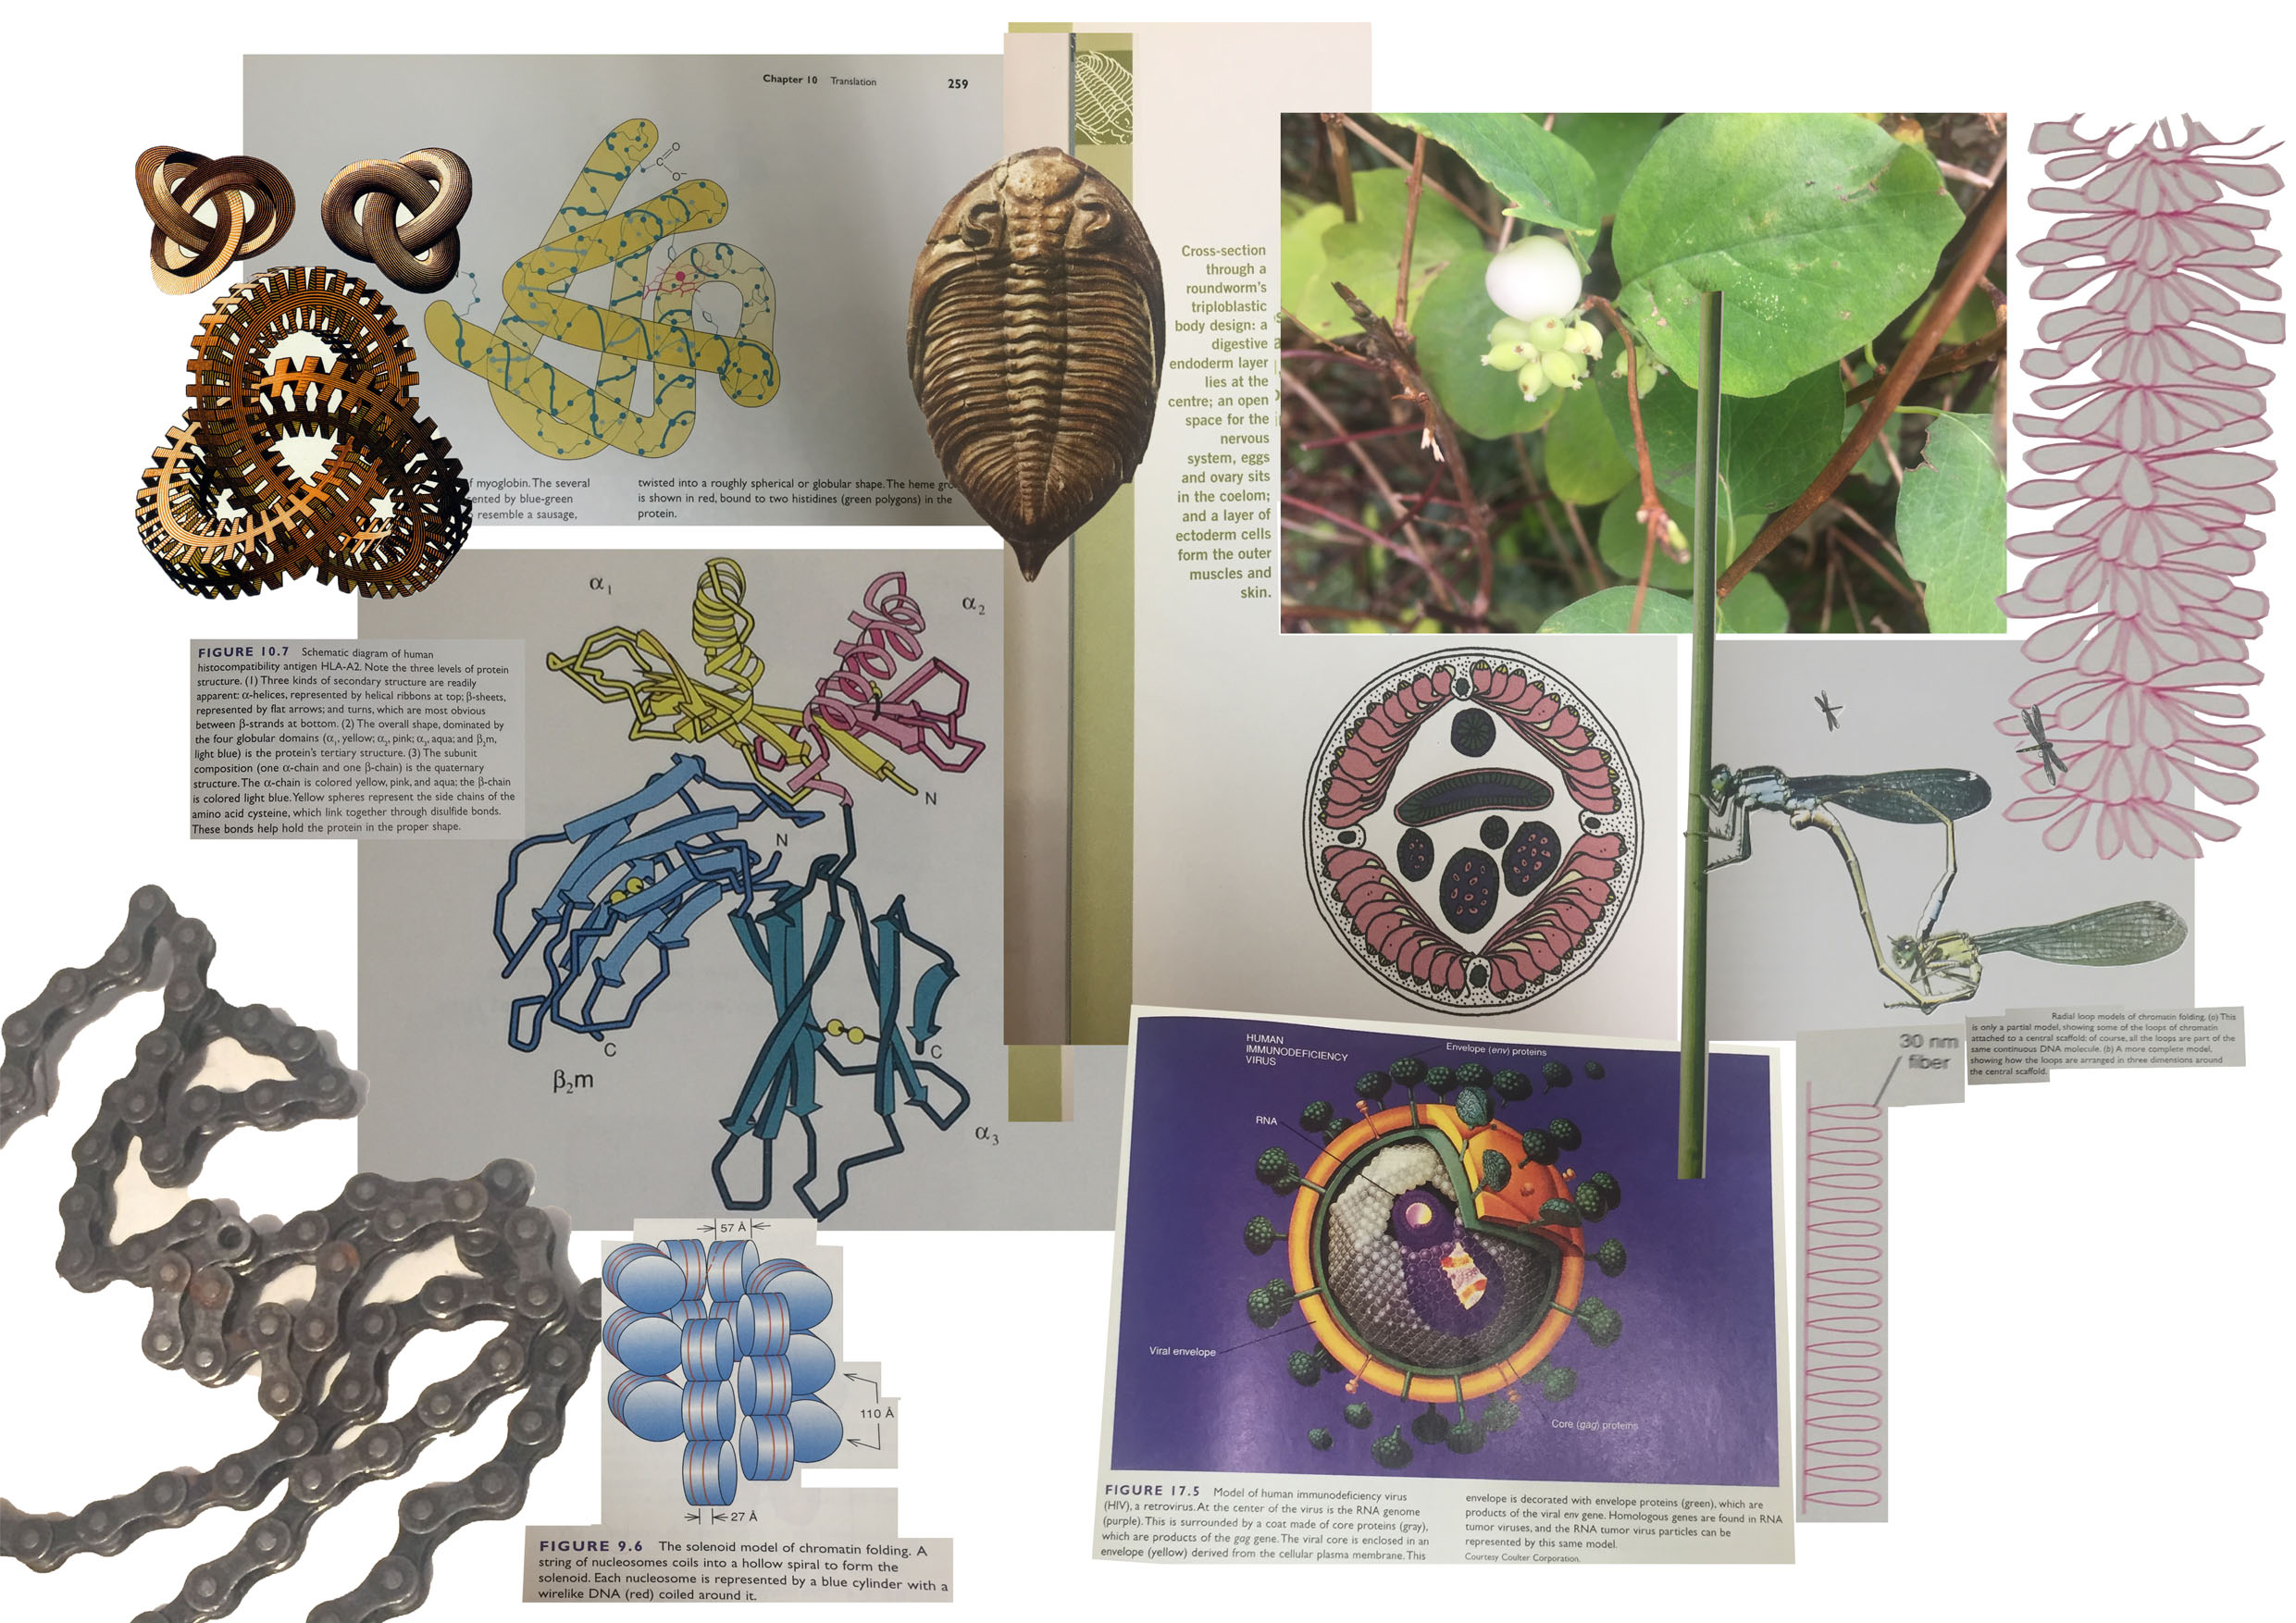
 moodboard I:
1. Lloyd, Christopher. The Story of the World in 100 Species. 2016.
2. Weaver, Robert Franklin, and Philip W. Hedrick. Genetics. 3rd ed, W.C. Brown, 1997.
3. M C Escher
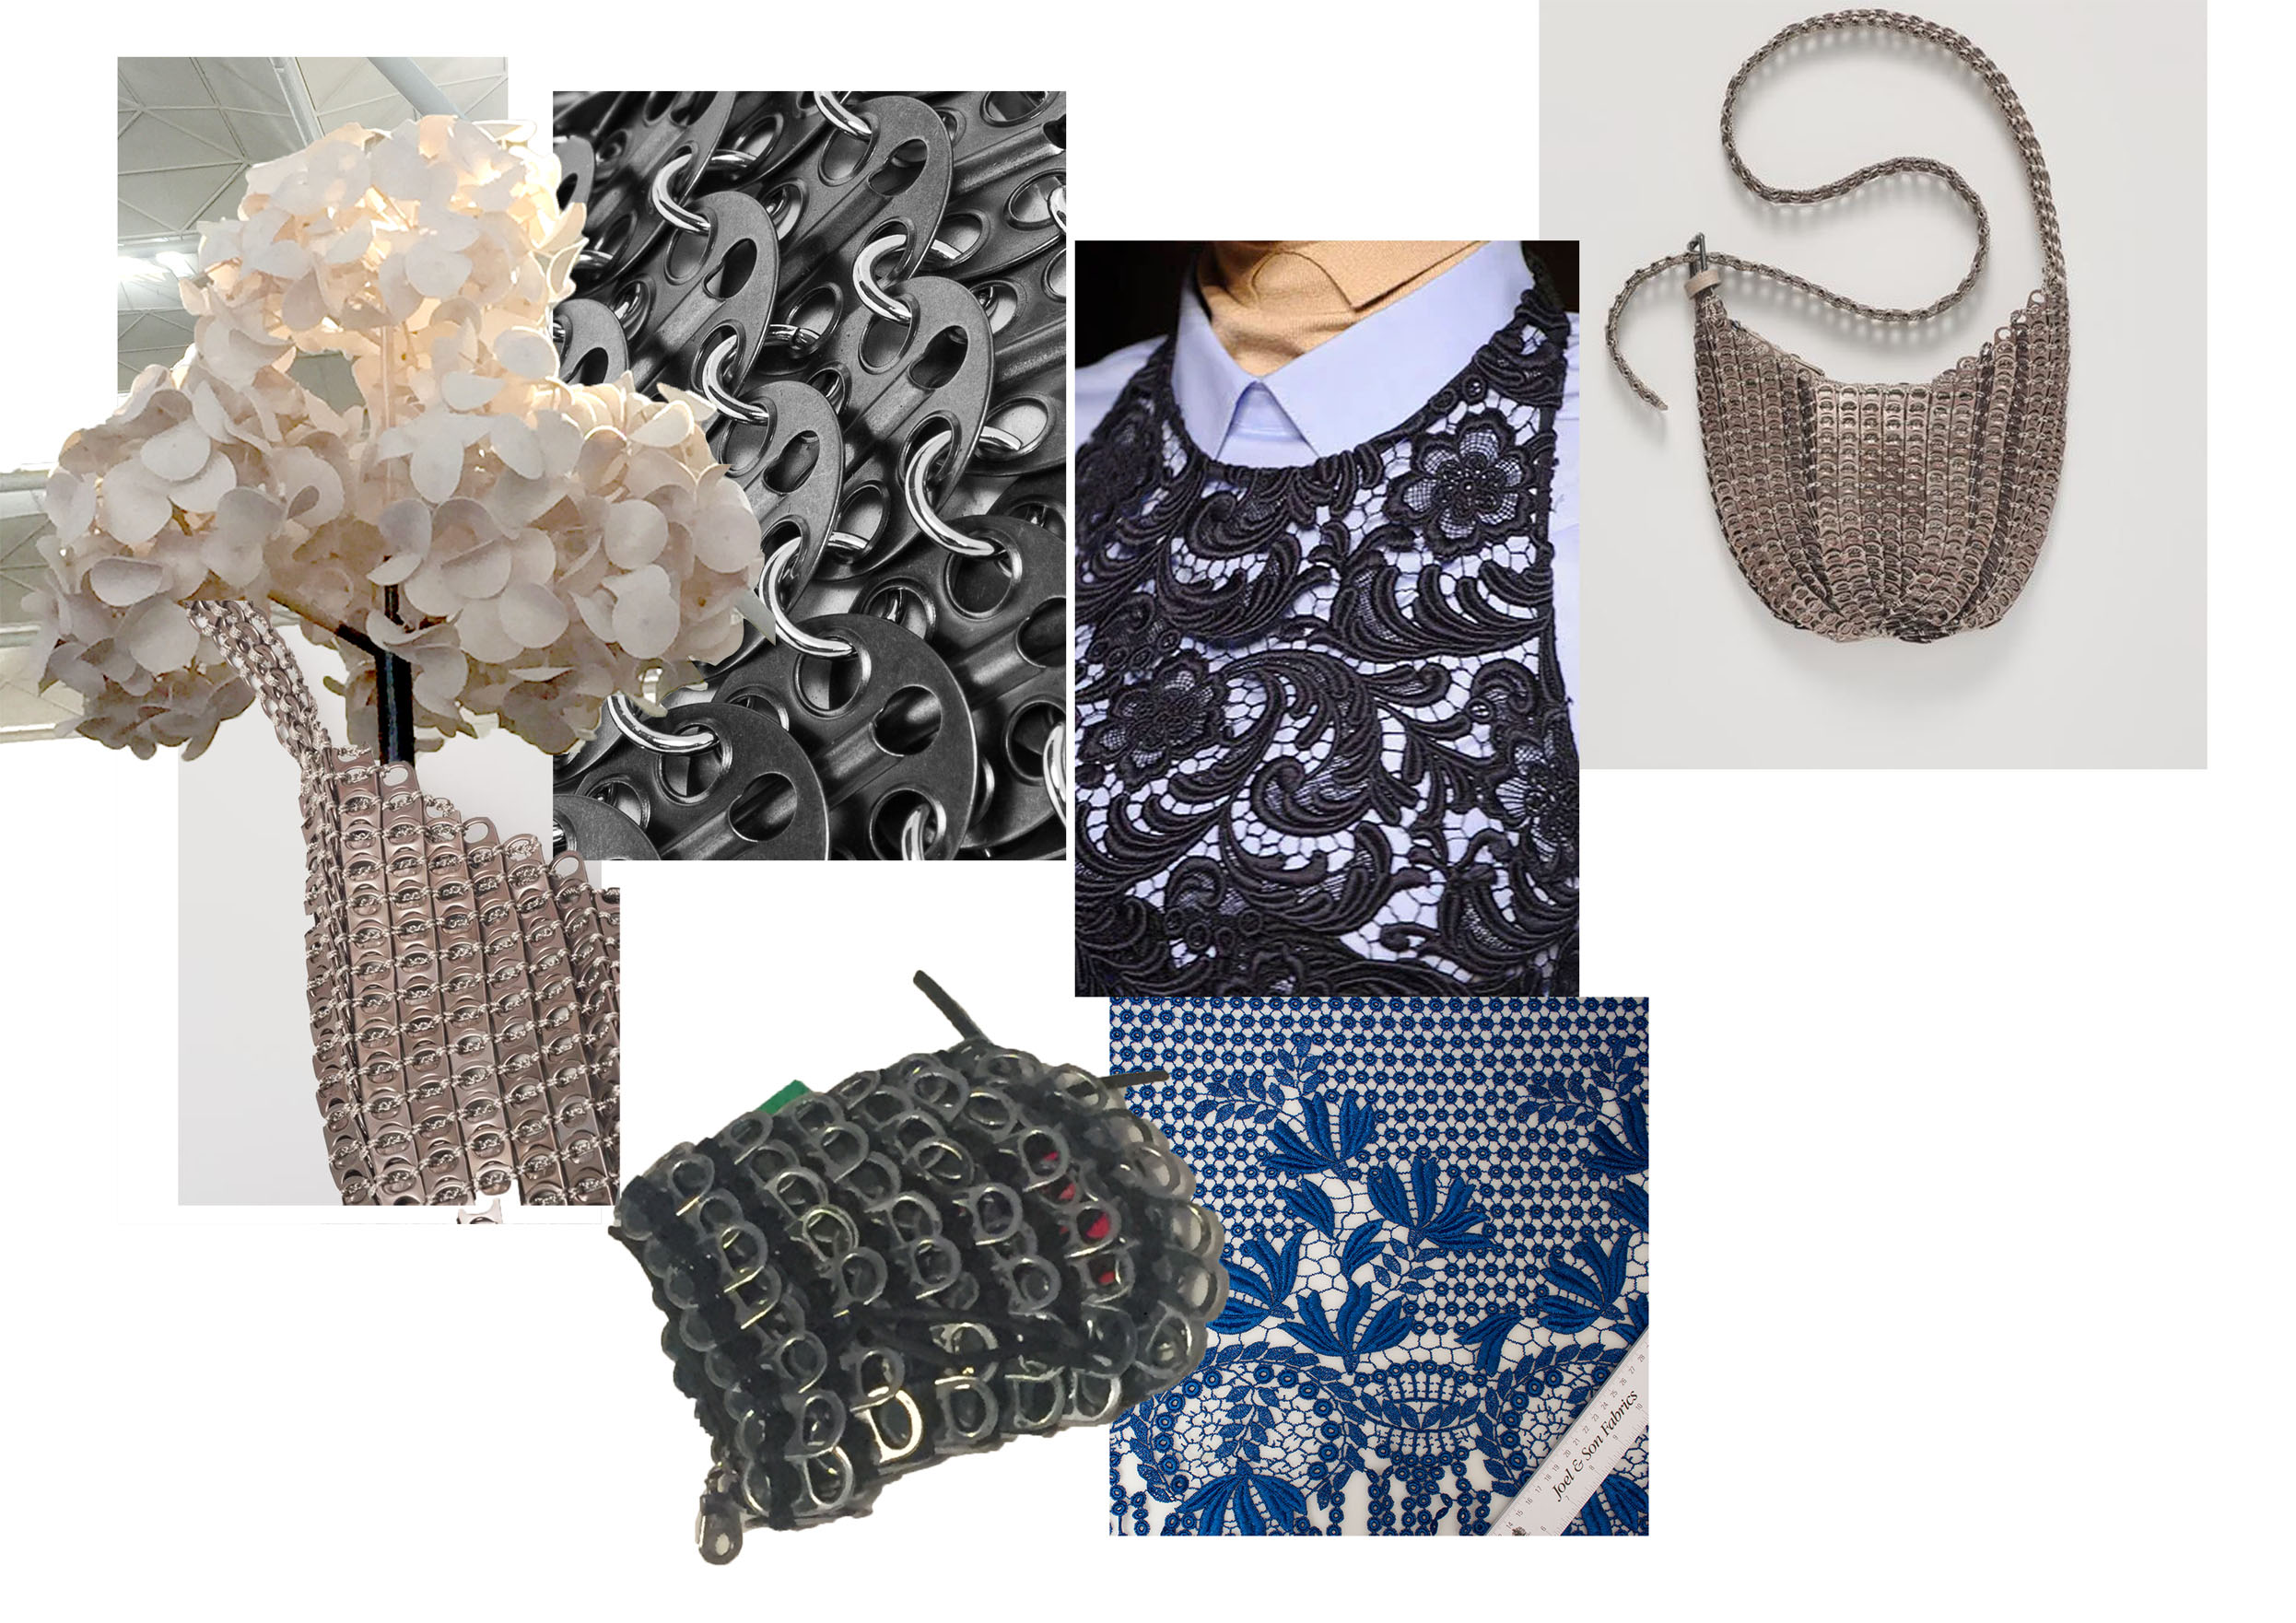
moodboard II:
4. Interior tree structure by Green furniture concept photo taken at Stansted airport
5. Paco Rabanne
6. Bottle Top
7. Royal Blue Metallic Guipure Lace
sketches & prototype
working with thoughts around zero waste.. the word zero, i want to work on using the text as part of the modular pieces. i'll experiment with organic forms too - inspired by the ribbon strips of protein structures and hexagon forms in nature.. maybe i can combine these to made an organic laced textile incorporating zero?
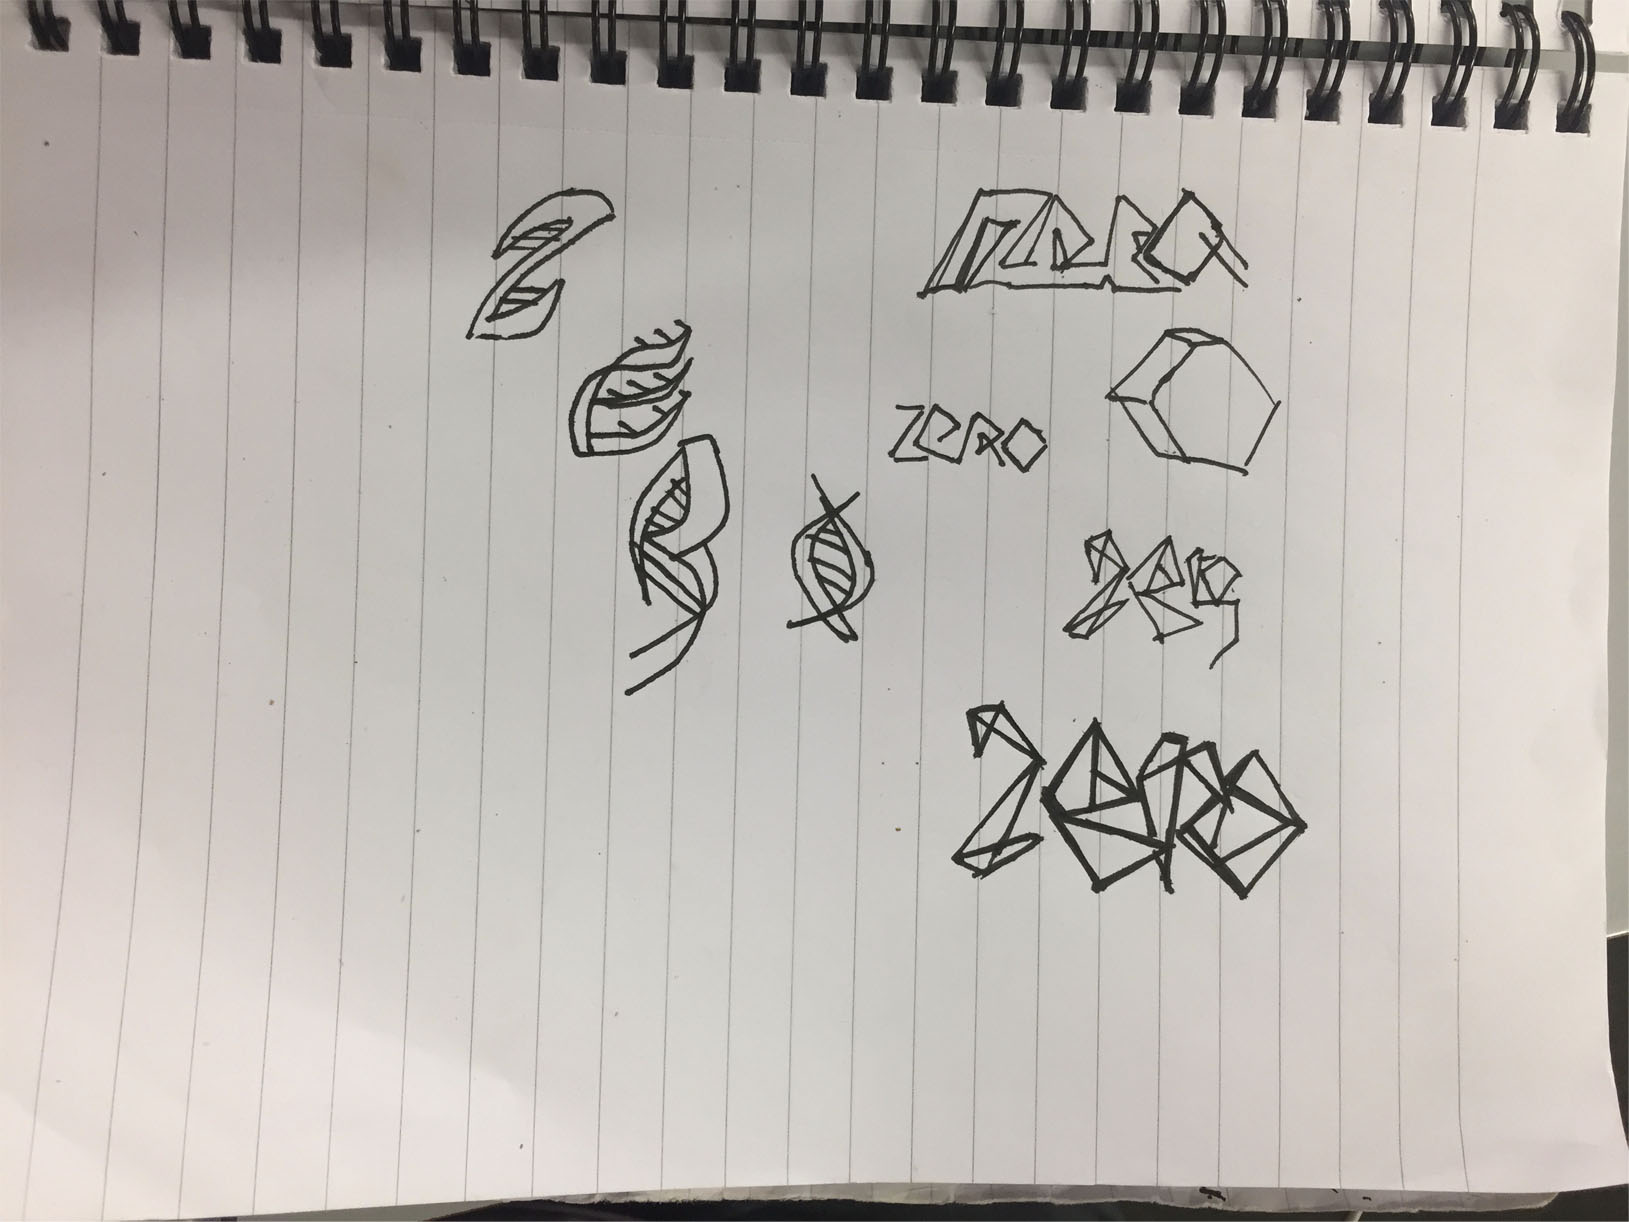
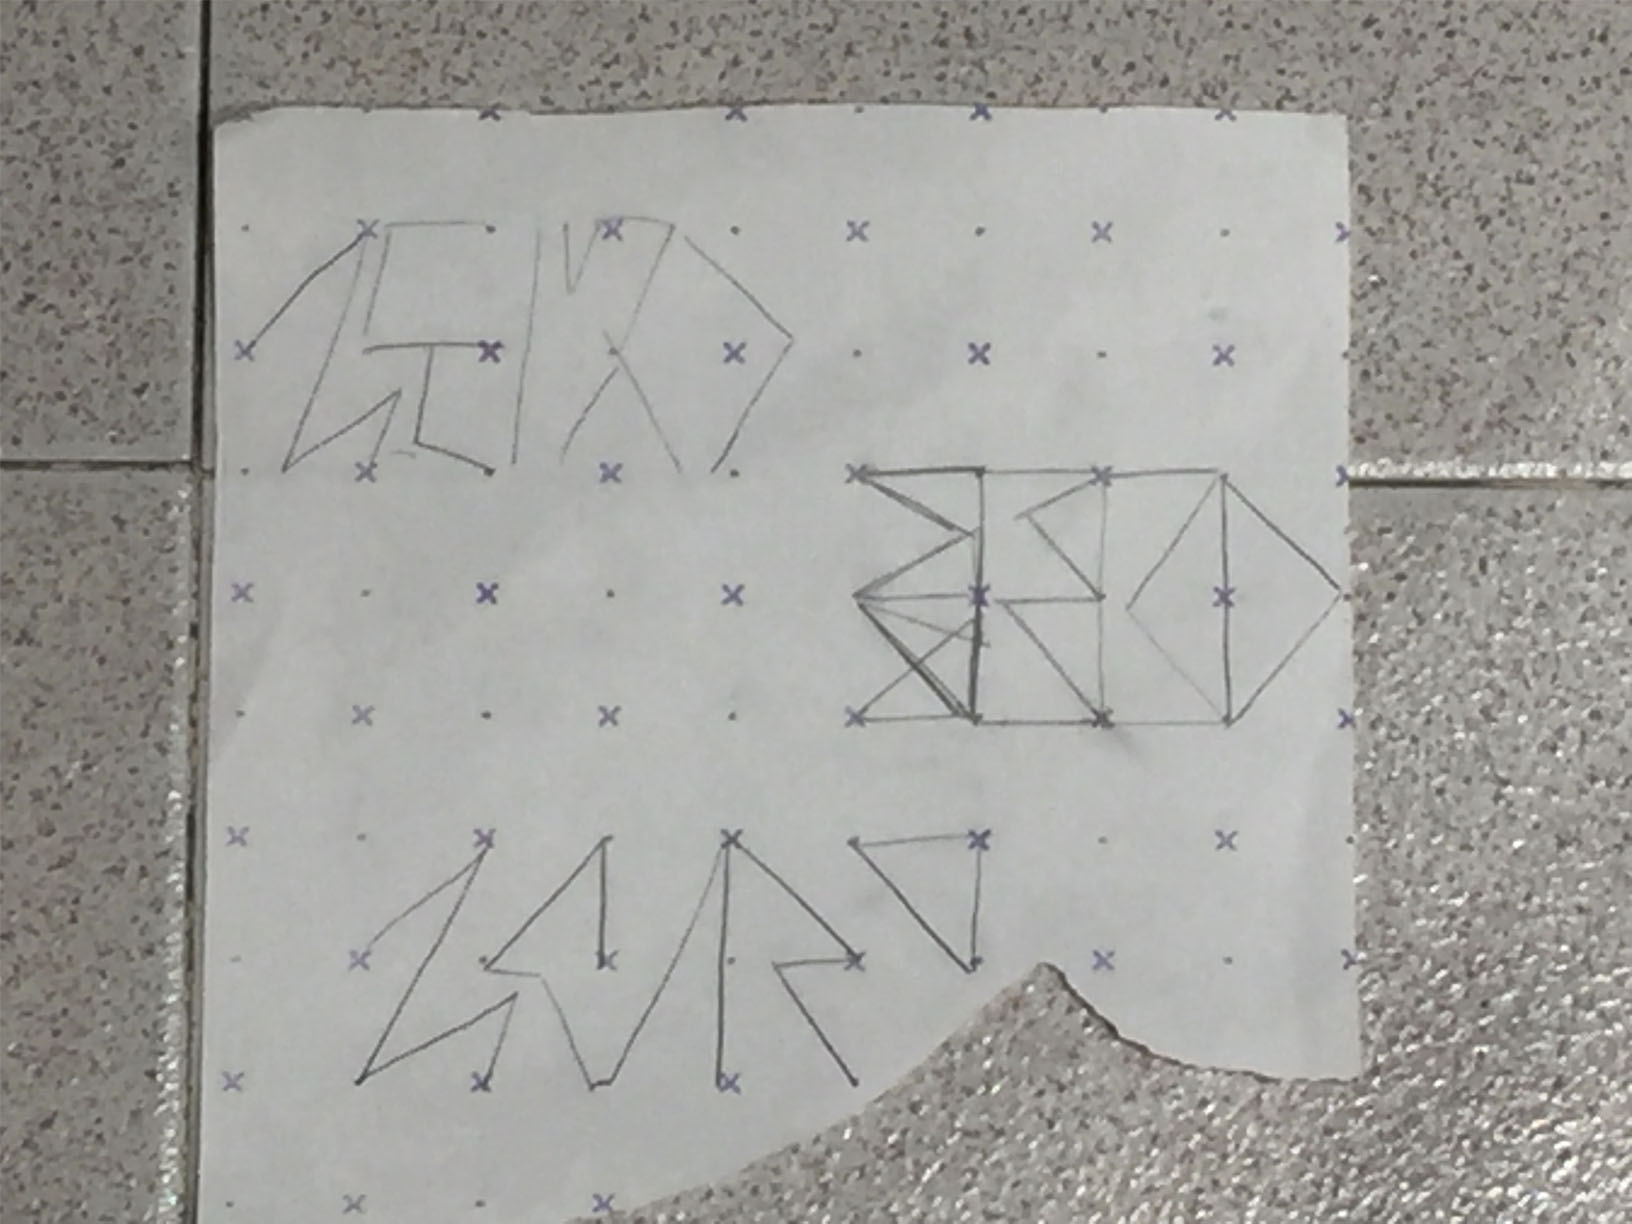
Starting point: interconnecting basic ribbon shapes
Experimenting with the folded word zero as a joining piece
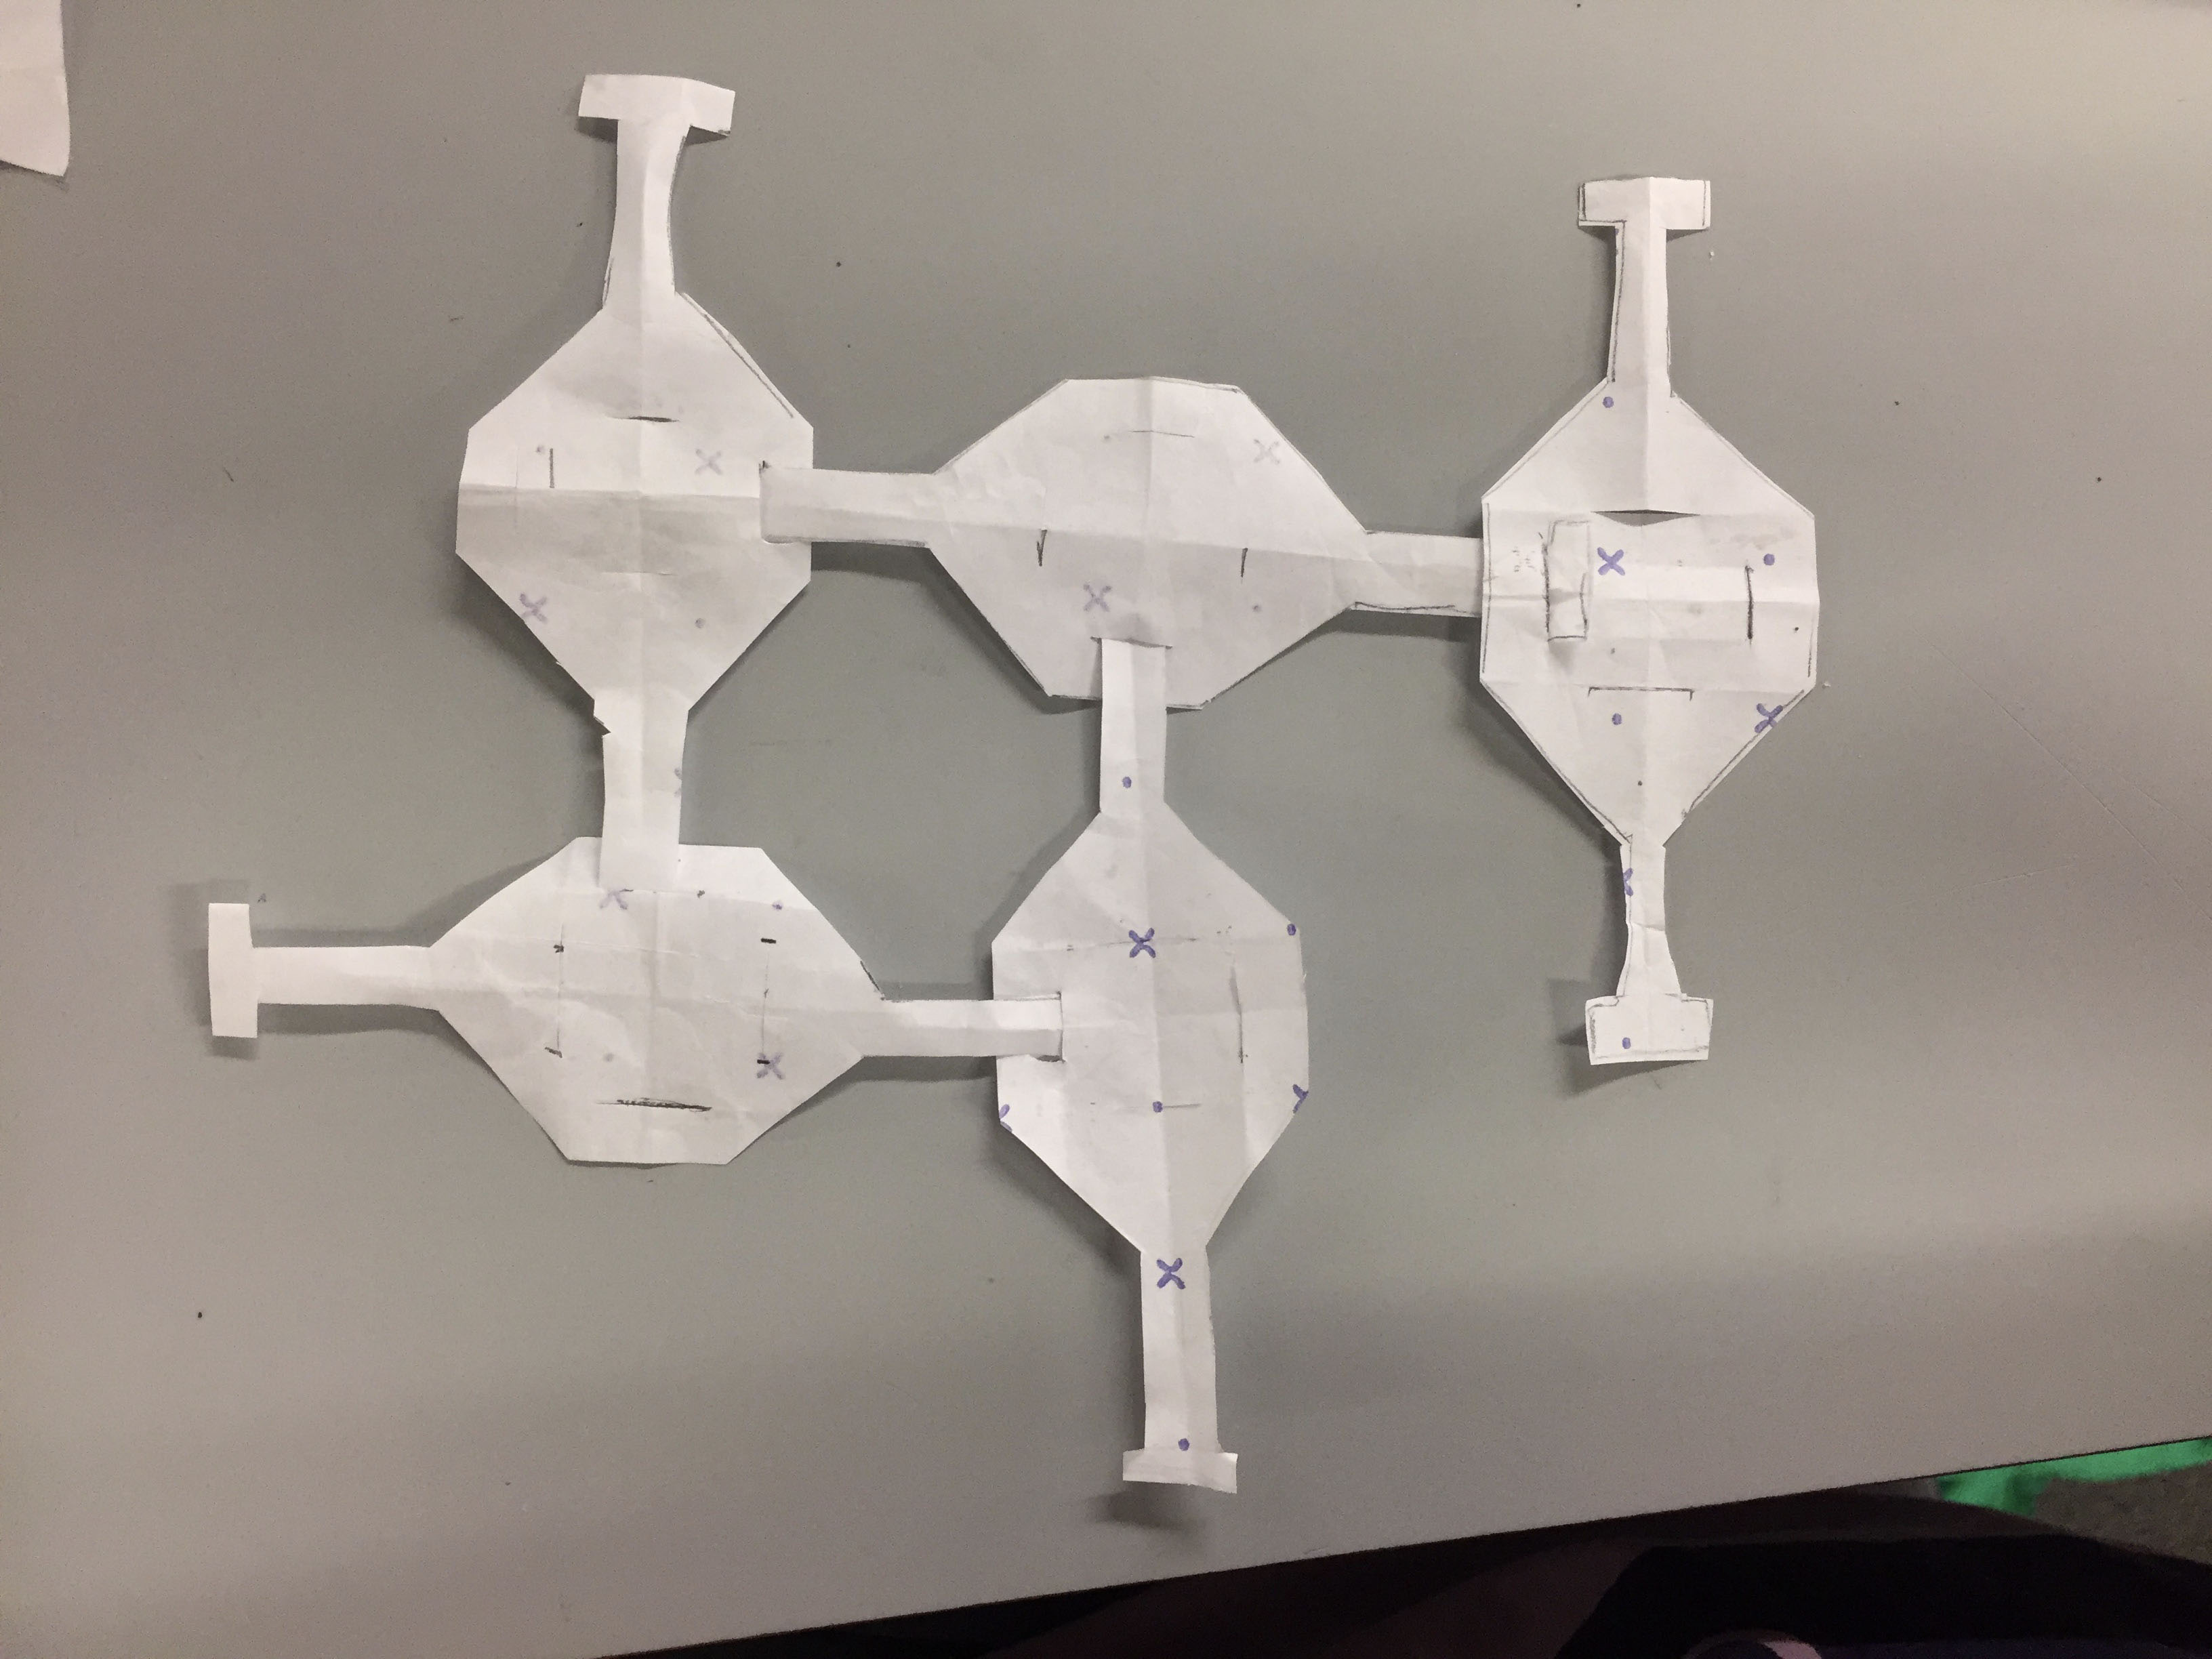
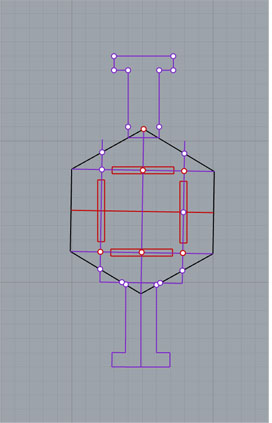
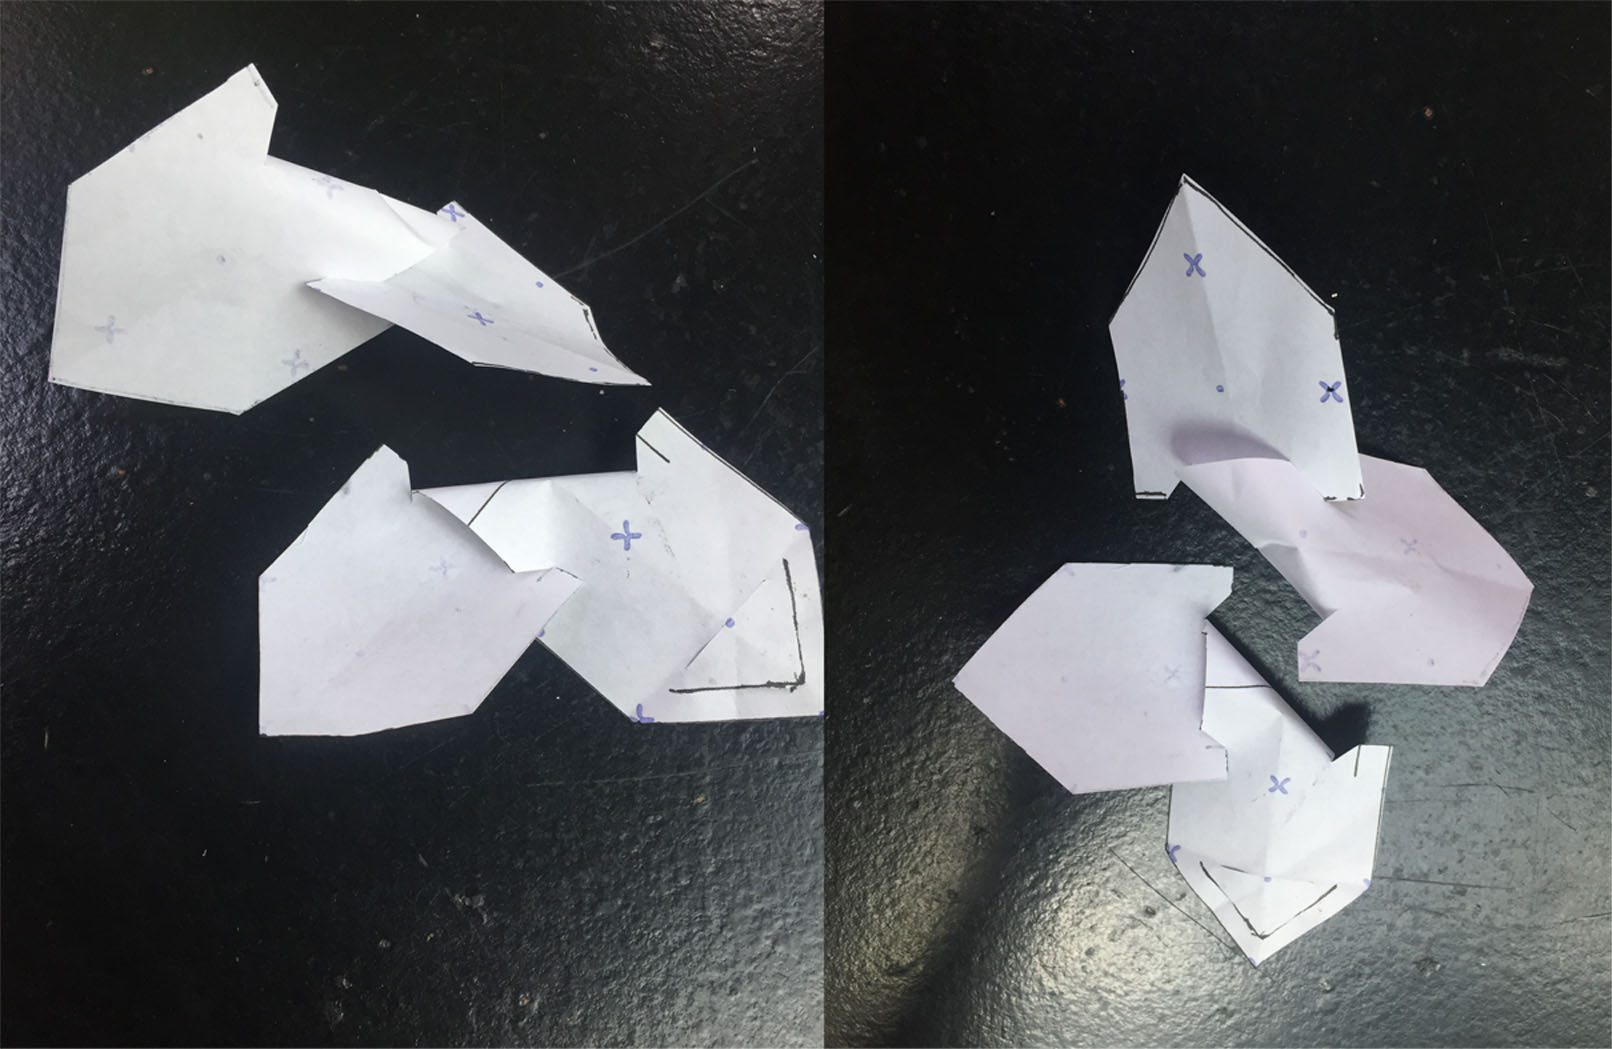
Connecting hexagons - this seems like it could mimic the same structure as lace on a larger scale with smaller modular pieces.
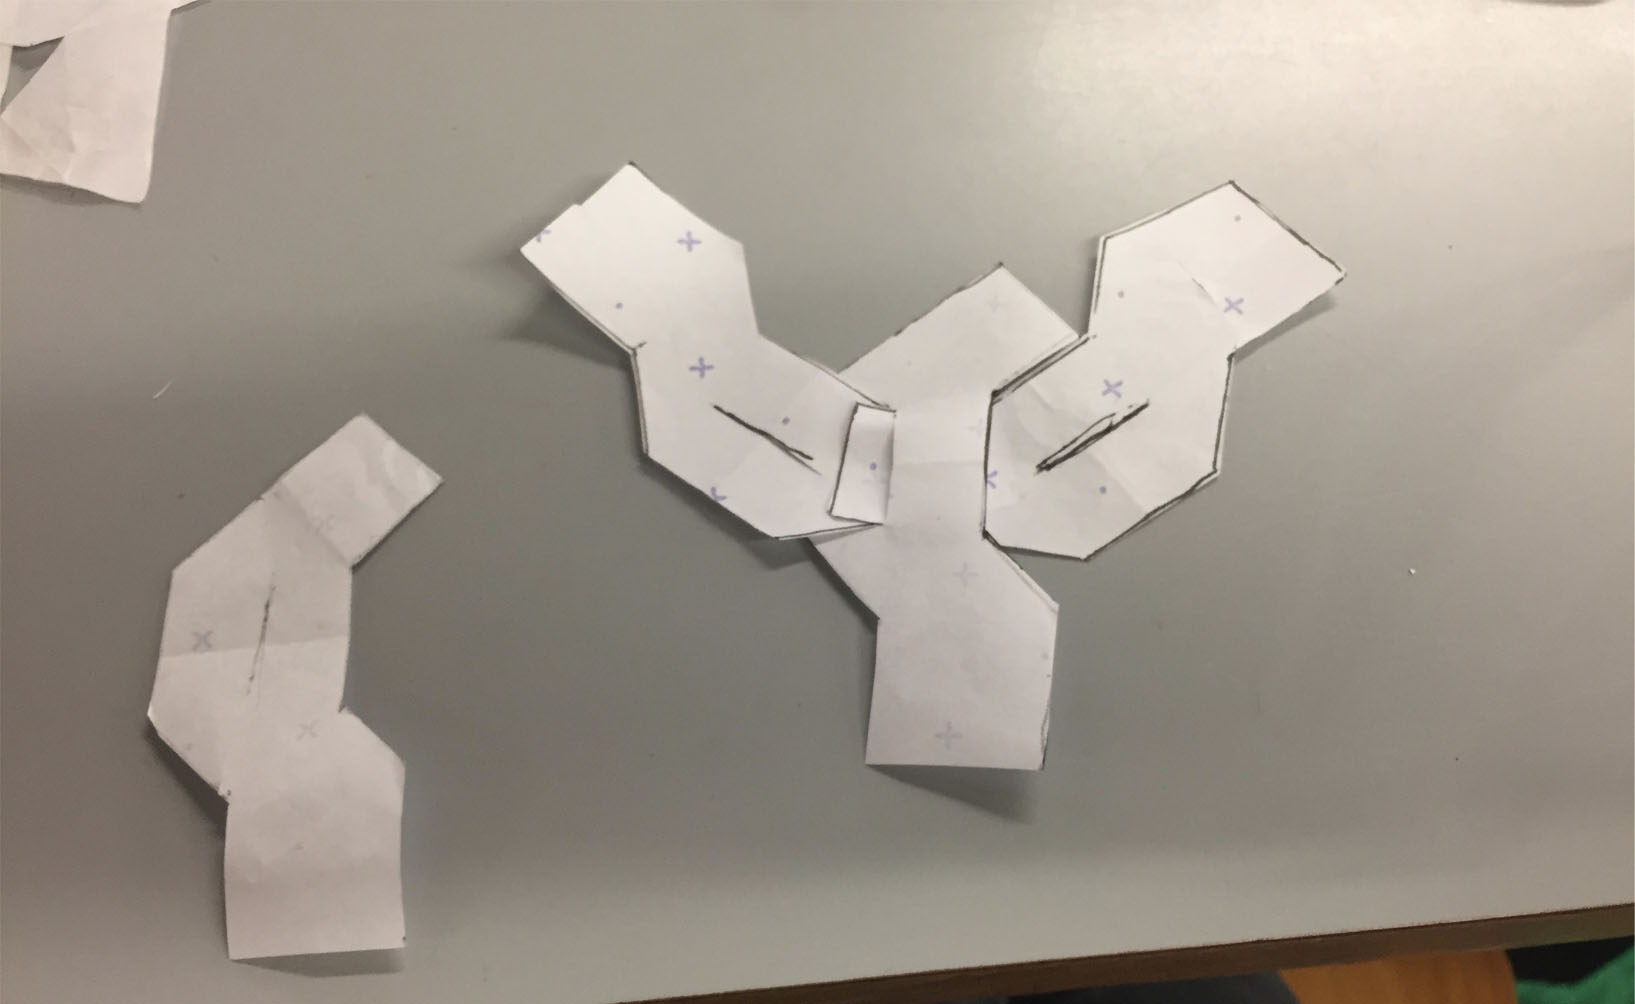
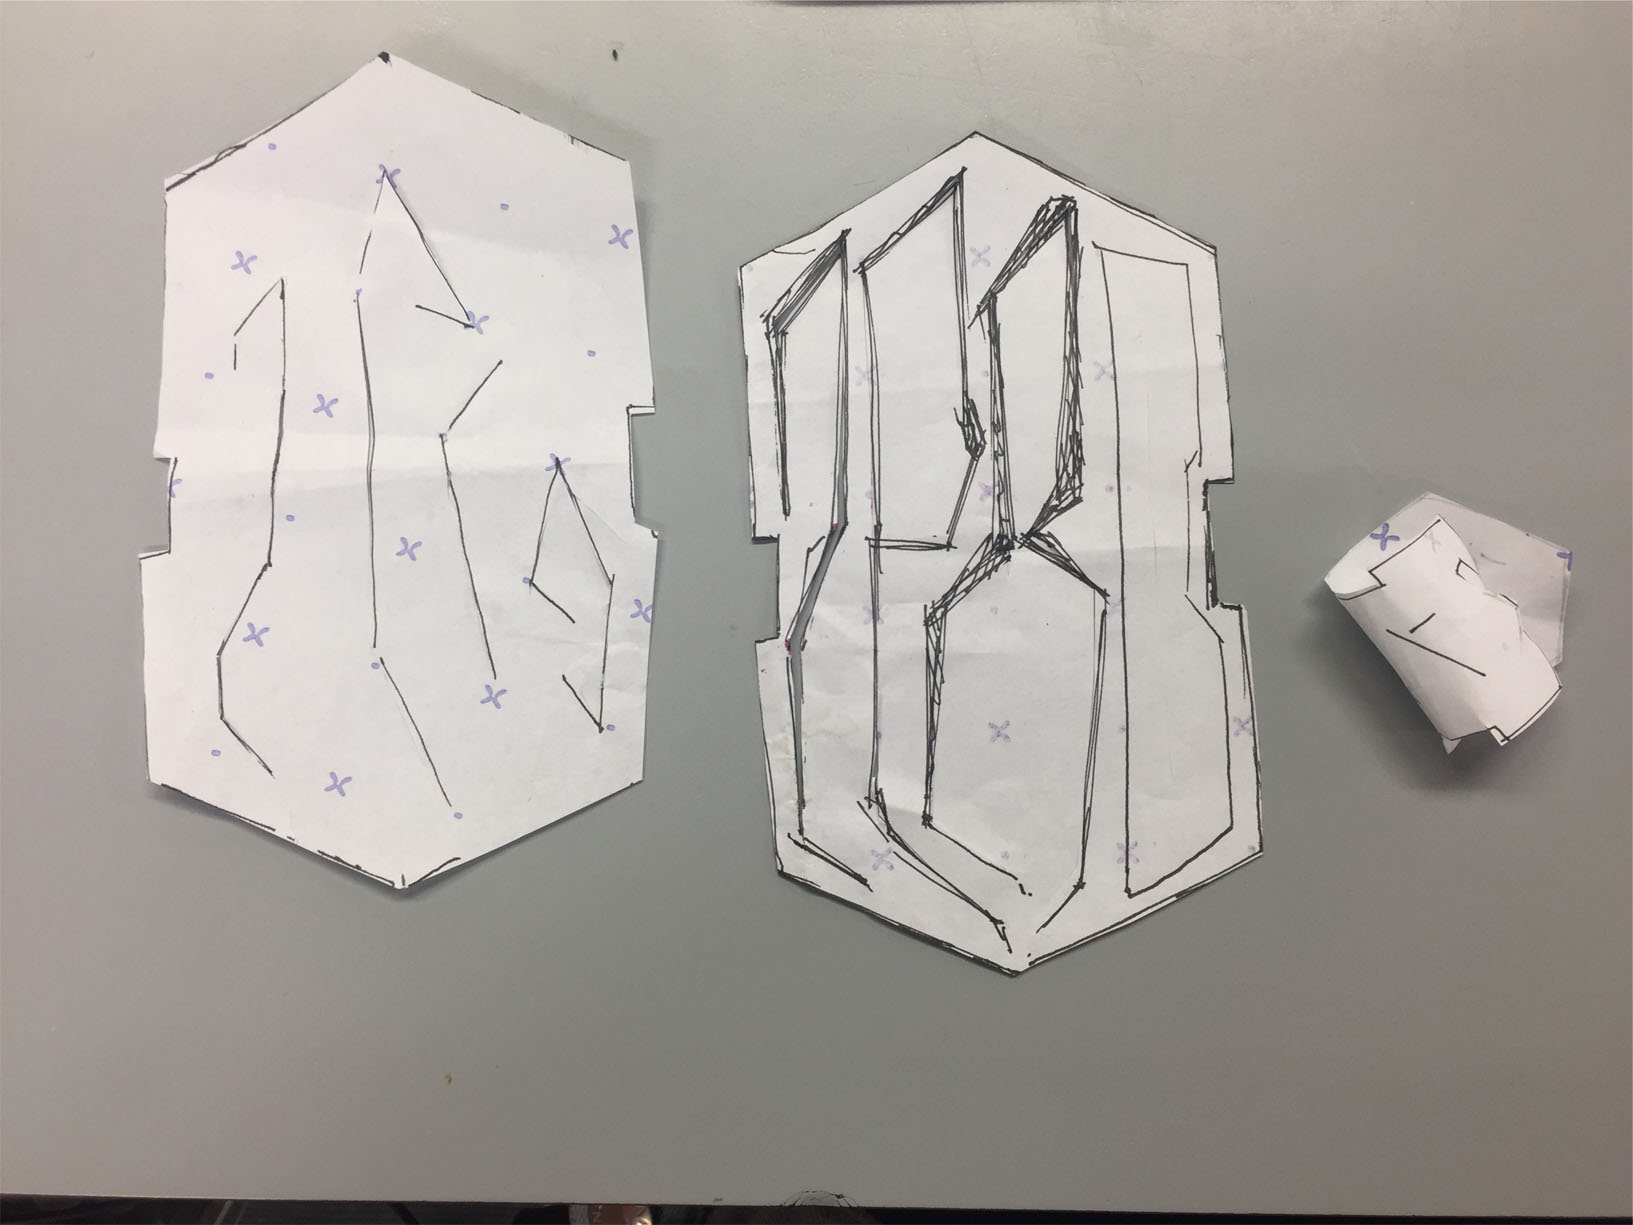
Experimenting with the word zero as one joined hexagon piece - it has too many cut out areas though and will be wasteful.. but might be cool to etch instead.
Here's the steps to creating a 2D design on Rhino: 1. Import reference image of sketch using picture frame command2. Draw hexagon over sketch with polygon/rectangle and check size with distance command
3. Arrangement of hexagon pattern
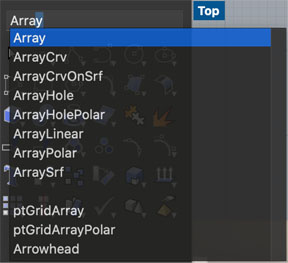
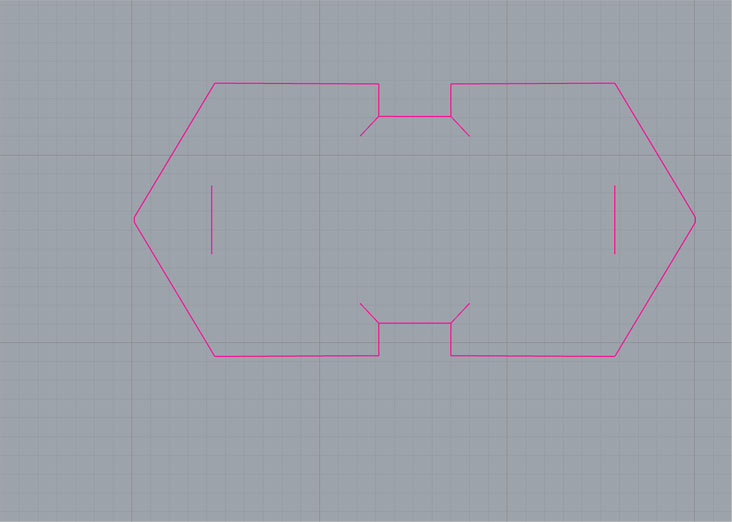
4. I changed the rectangles to polylines because the rectangles would be too big and only need to be slits.5. Testing the array command to visualise the layout for laser cutting
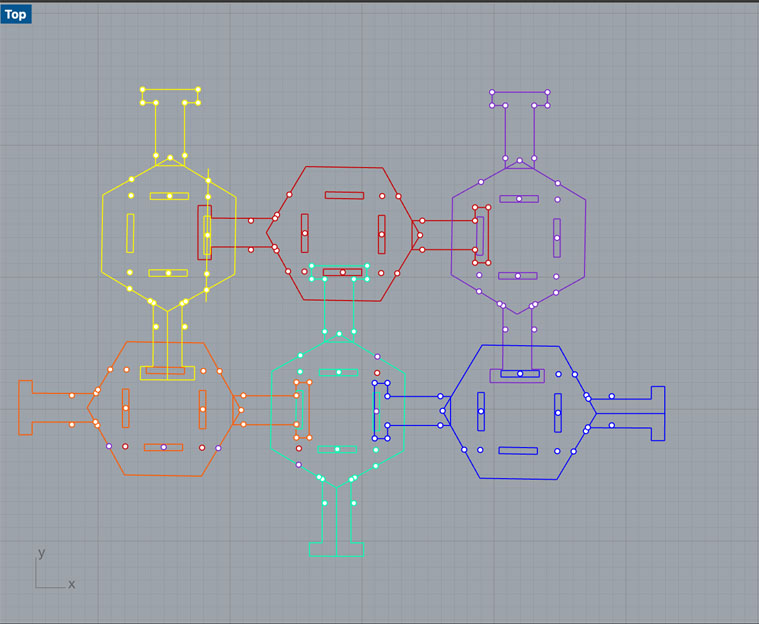
6. New array so shapes are exactly side by side to minimise waste
7. This also highlights the form of negative space - as well as showing that the hexagon form is not straight.. So I'll trim the shape to mirror it to even out the shape for the lasercutter
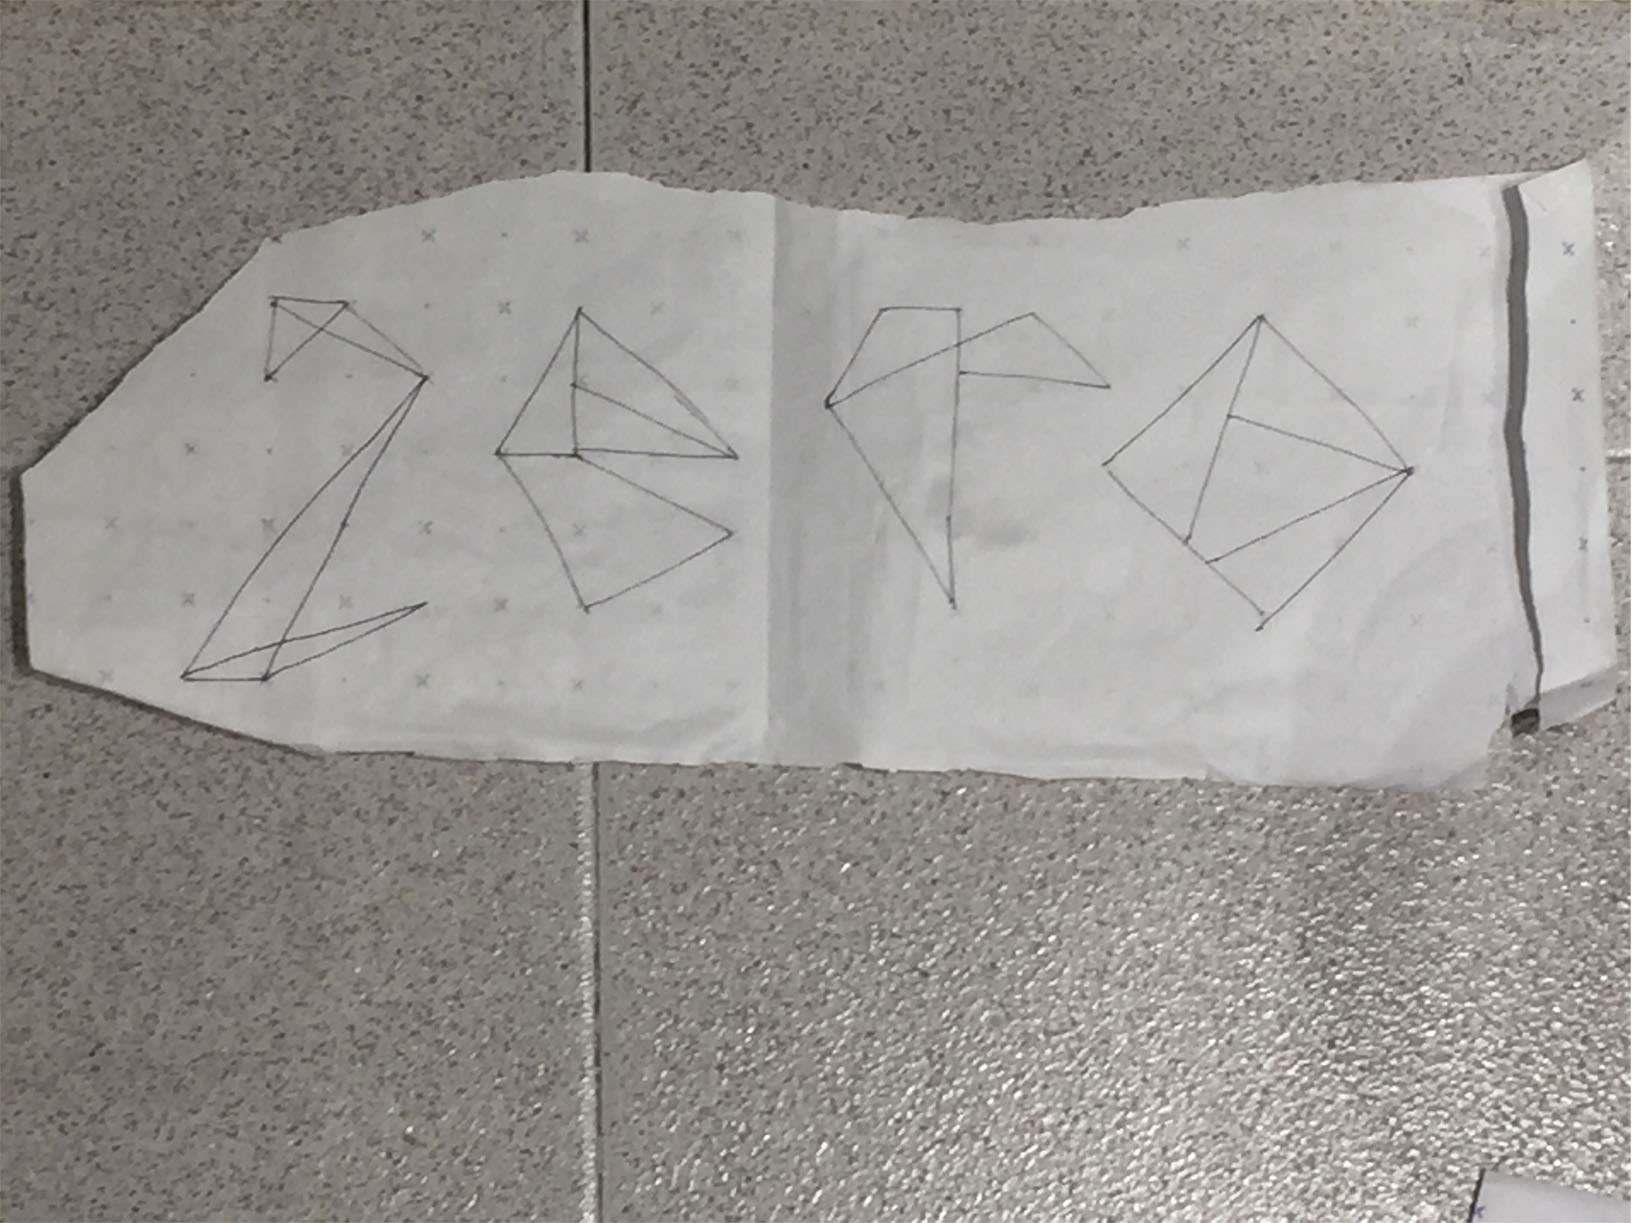
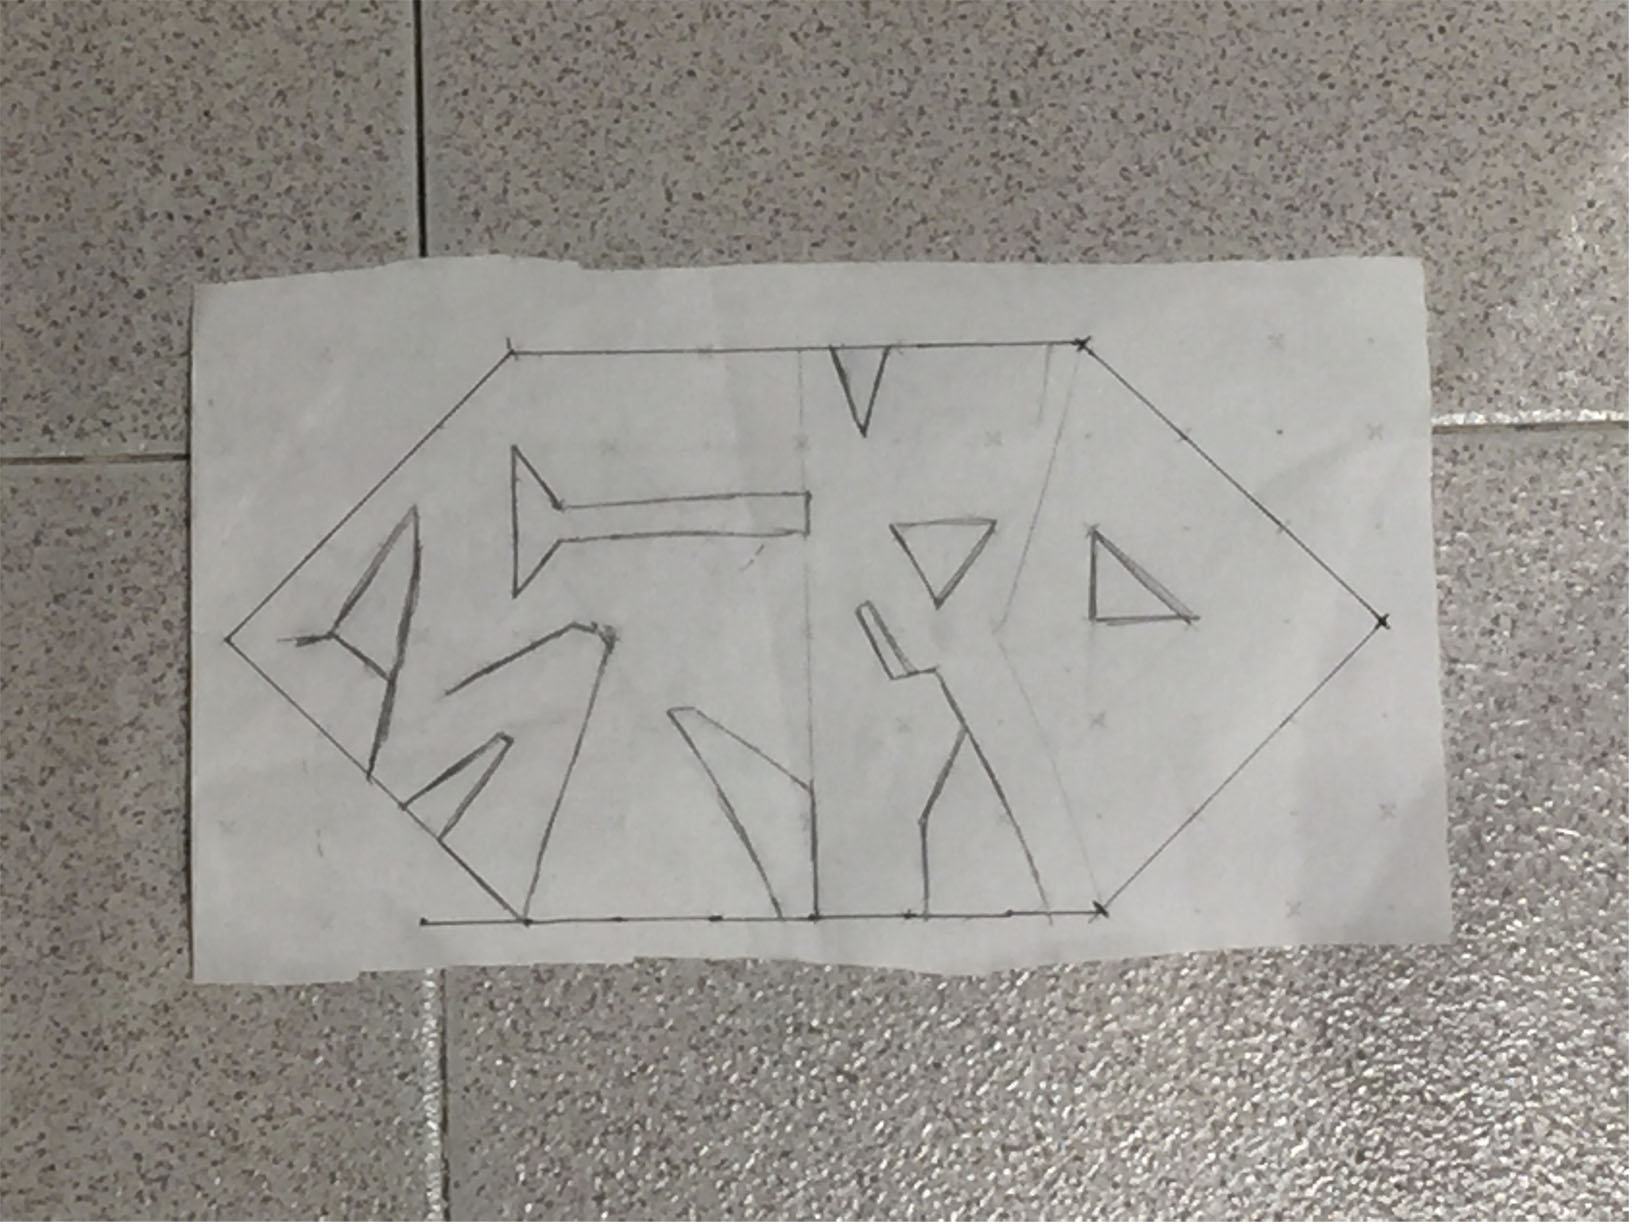
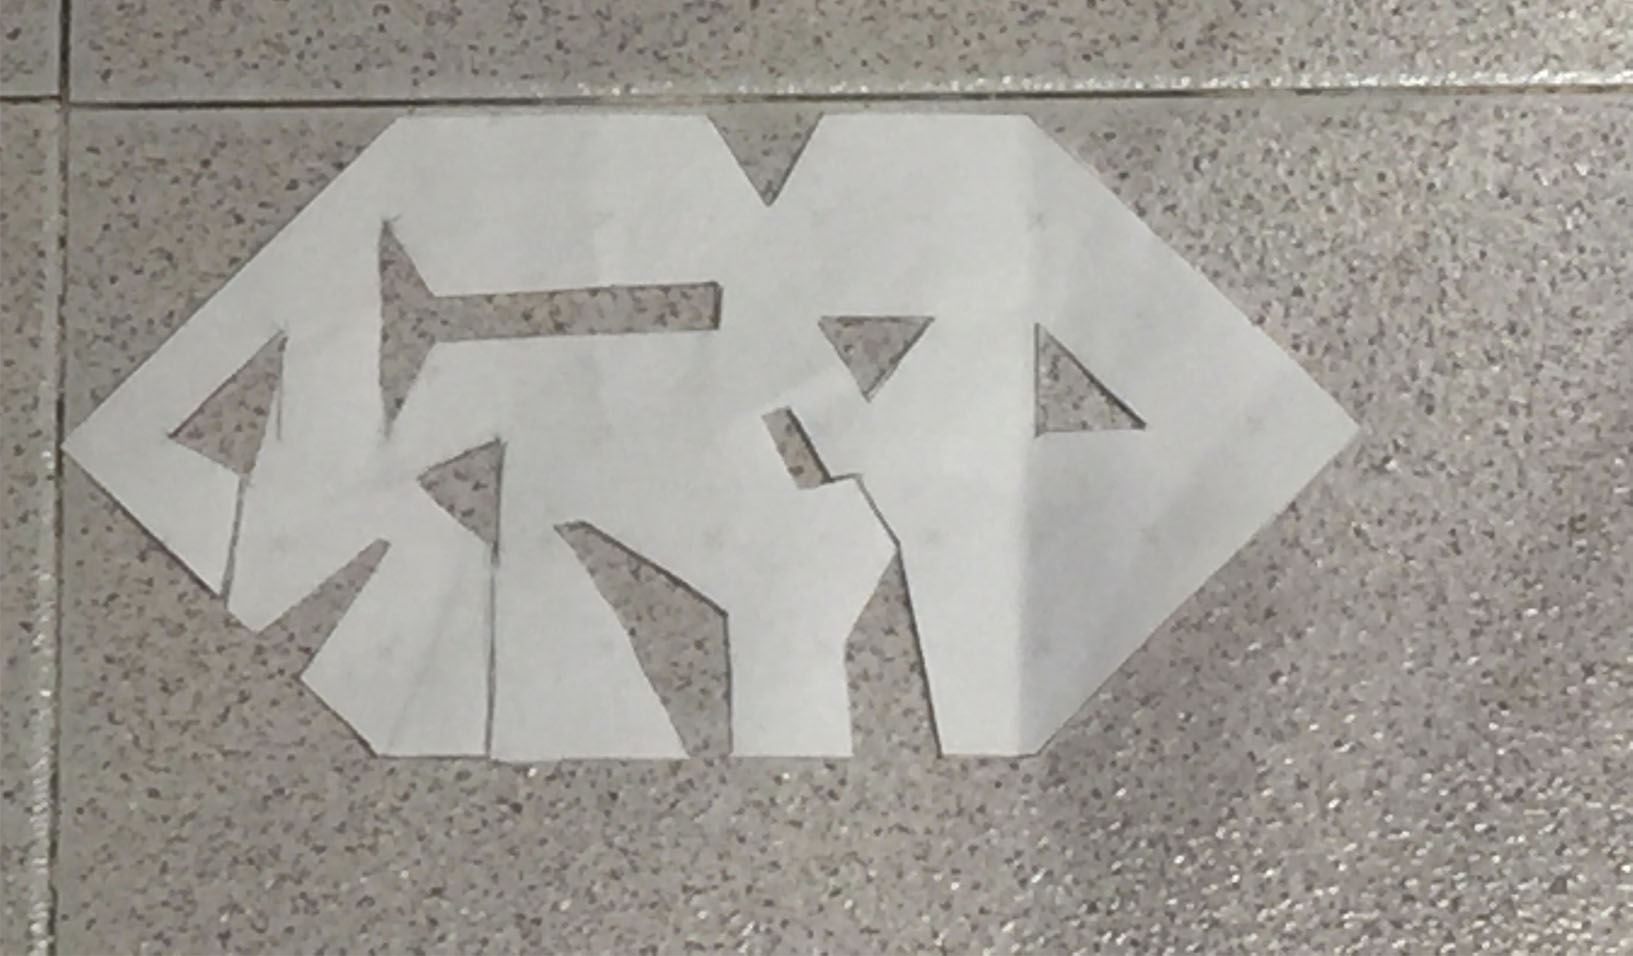
8. Some design ideas for negative space piece; including the word zero - would have to be etches because would be too fragile if cut through
9. A design idea to curl negative space to join itself - but would not hold shape
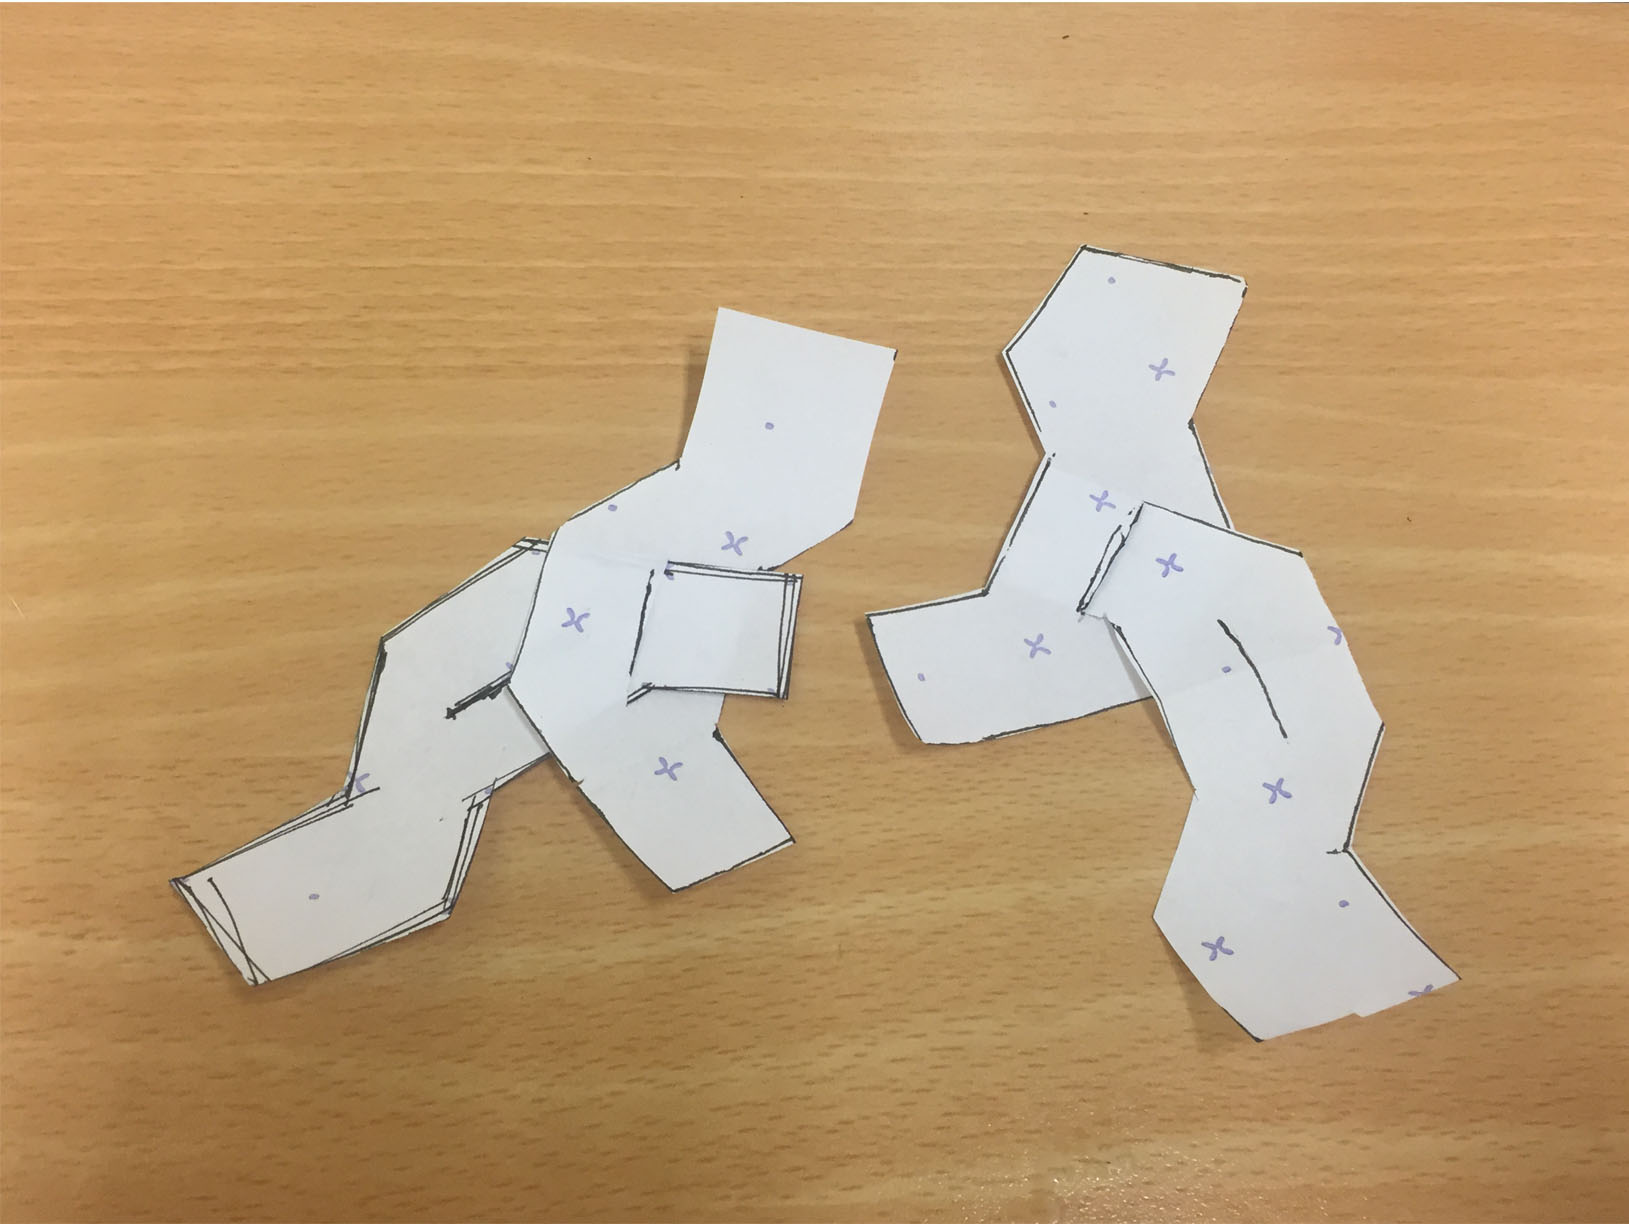
12.
13.
lasercutting
Here's what I learnt from my lasercutting training.. :
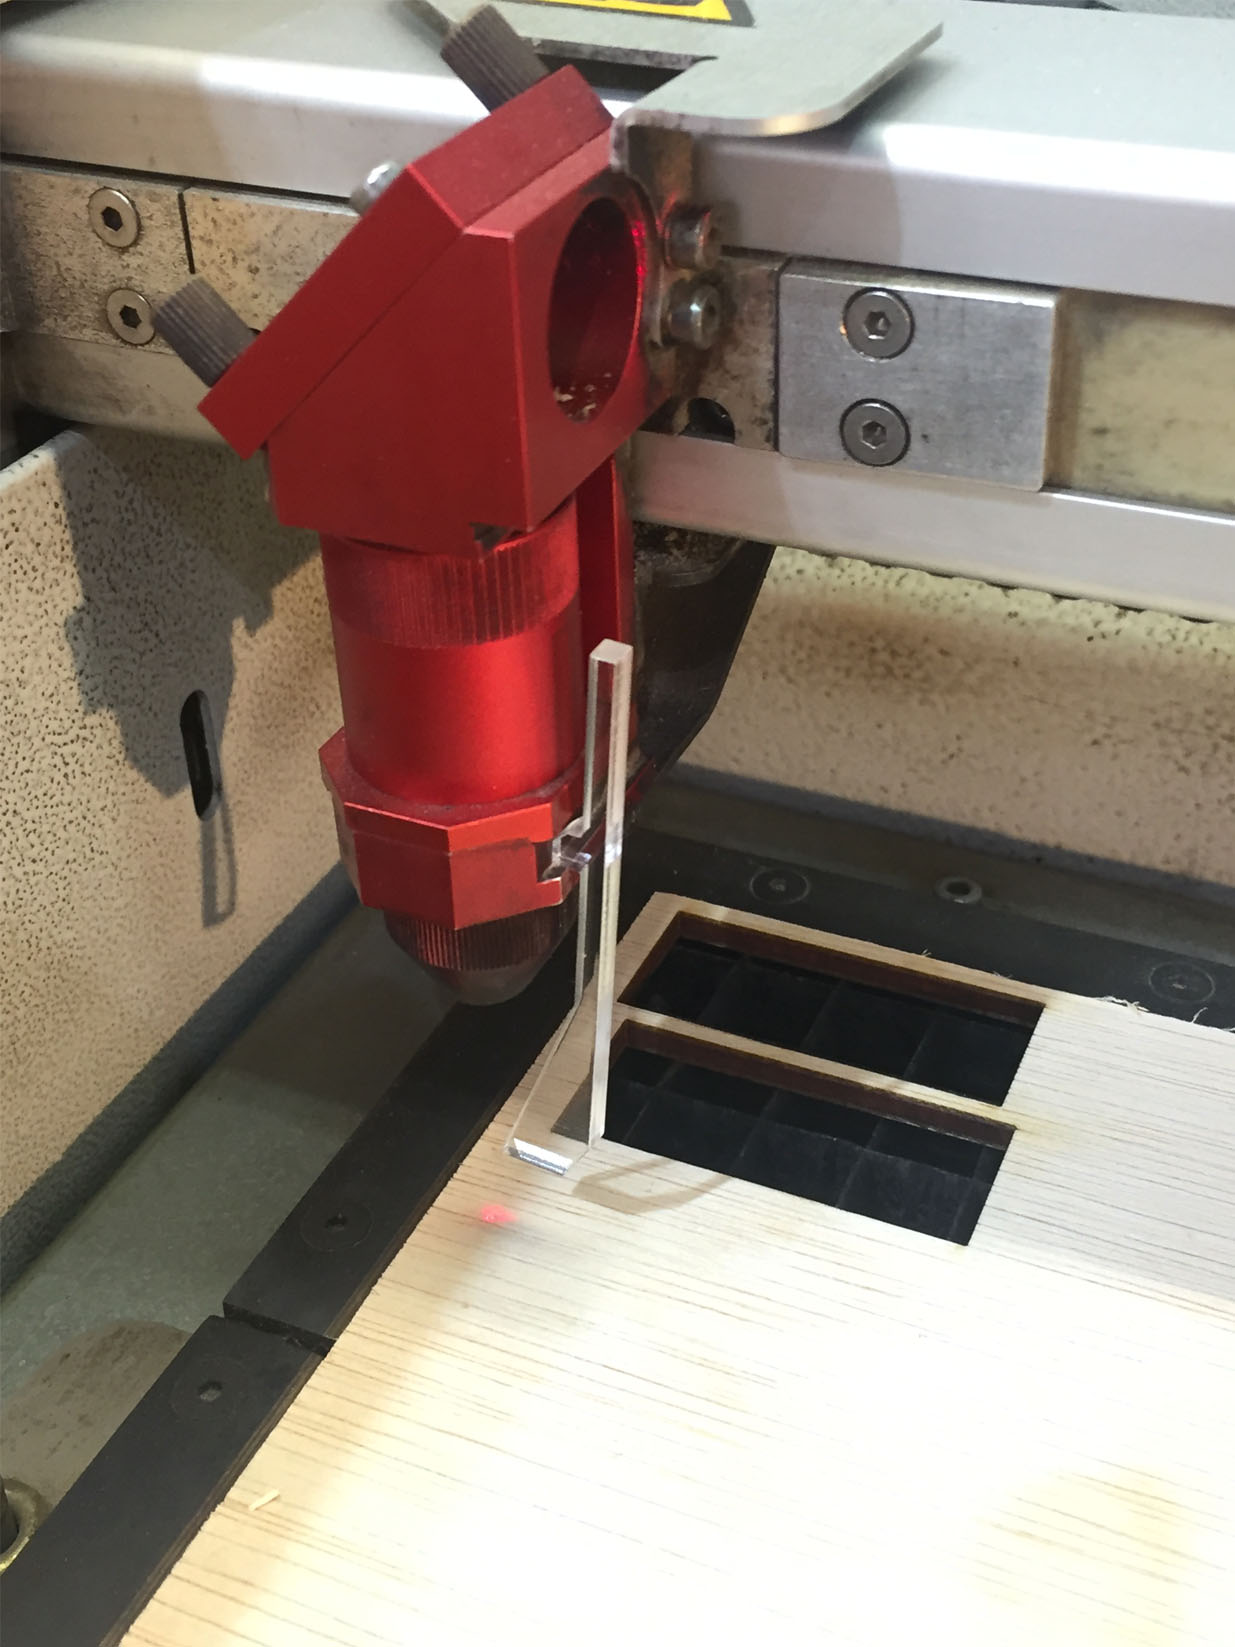
1. You always need to establish the height of the material ie. where the laser will reach the fabric: the laser beams cross over eachother and the point of intersection should be where the fabric sits.
2. This tool helps establish the right position for the laser for the heigh of the fabric
 3. For cutting and engraving, the lasercutter follows a vector format
4. For engraving the parameters should be changed so that the laser doesn't cut all the way through the material.
5. Raster = hatch to fill surface design
6. Raster is also a fuction on job control for the laser
7. The laser cutter always cuts the inner cuts first - so the inner and outer cuts should be organised by layers in Rhino before being sent to the lasercutter.
8. The ordered layers of cutting is in the Material Database section
9. The size of the lasercutter we use is 1000 x 600
10. When you send to print always select minimise to job size
- then Set View..
- move and highlight space to print and press enter
- check view/output
- select vector output
- organise the display colour to cut
- press print which will open Trotect job control:
11. Check position of laser > connect
12. Always line up laser with file
13. Material database has 3 parameters and usually you should only change 1:
- Frequency (measured in Hz) is the number of times the laser is turned on and off to burn; and depends on the material type: Manmade/plastics/wood = 20,000 whereas organic fabrics 1000
14. The board for the 3 parameter settings give an idea of what to use
3. For cutting and engraving, the lasercutter follows a vector format
4. For engraving the parameters should be changed so that the laser doesn't cut all the way through the material.
5. Raster = hatch to fill surface design
6. Raster is also a fuction on job control for the laser
7. The laser cutter always cuts the inner cuts first - so the inner and outer cuts should be organised by layers in Rhino before being sent to the lasercutter.
8. The ordered layers of cutting is in the Material Database section
9. The size of the lasercutter we use is 1000 x 600
10. When you send to print always select minimise to job size
- then Set View..
- move and highlight space to print and press enter
- check view/output
- select vector output
- organise the display colour to cut
- press print which will open Trotect job control:
11. Check position of laser > connect
12. Always line up laser with file
13. Material database has 3 parameters and usually you should only change 1:
- Frequency (measured in Hz) is the number of times the laser is turned on and off to burn; and depends on the material type: Manmade/plastics/wood = 20,000 whereas organic fabrics 1000
14. The board for the 3 parameter settings give an idea of what to use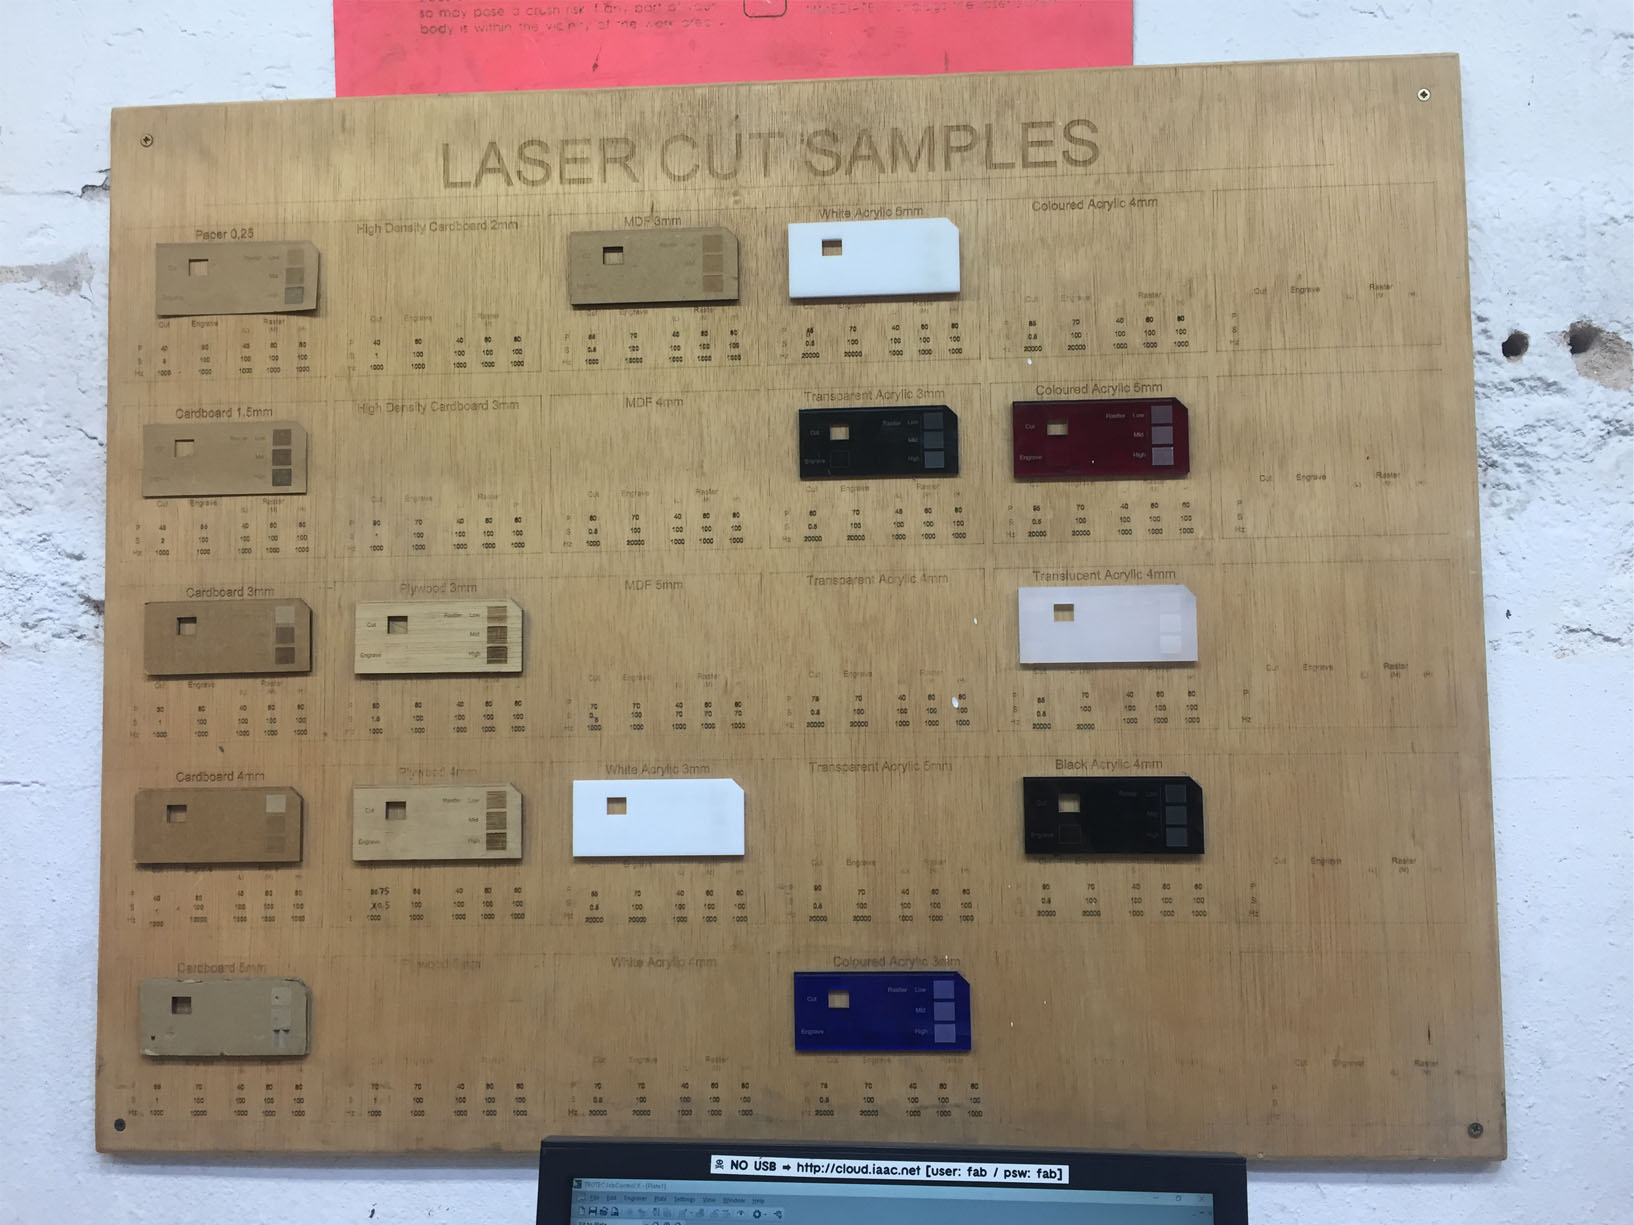 15. Always check the inner cutting first and match with the colour cutting order in layers
16. Test first! :
15. Always check the inner cutting first and match with the colour cutting order in layers
16. Test first! :
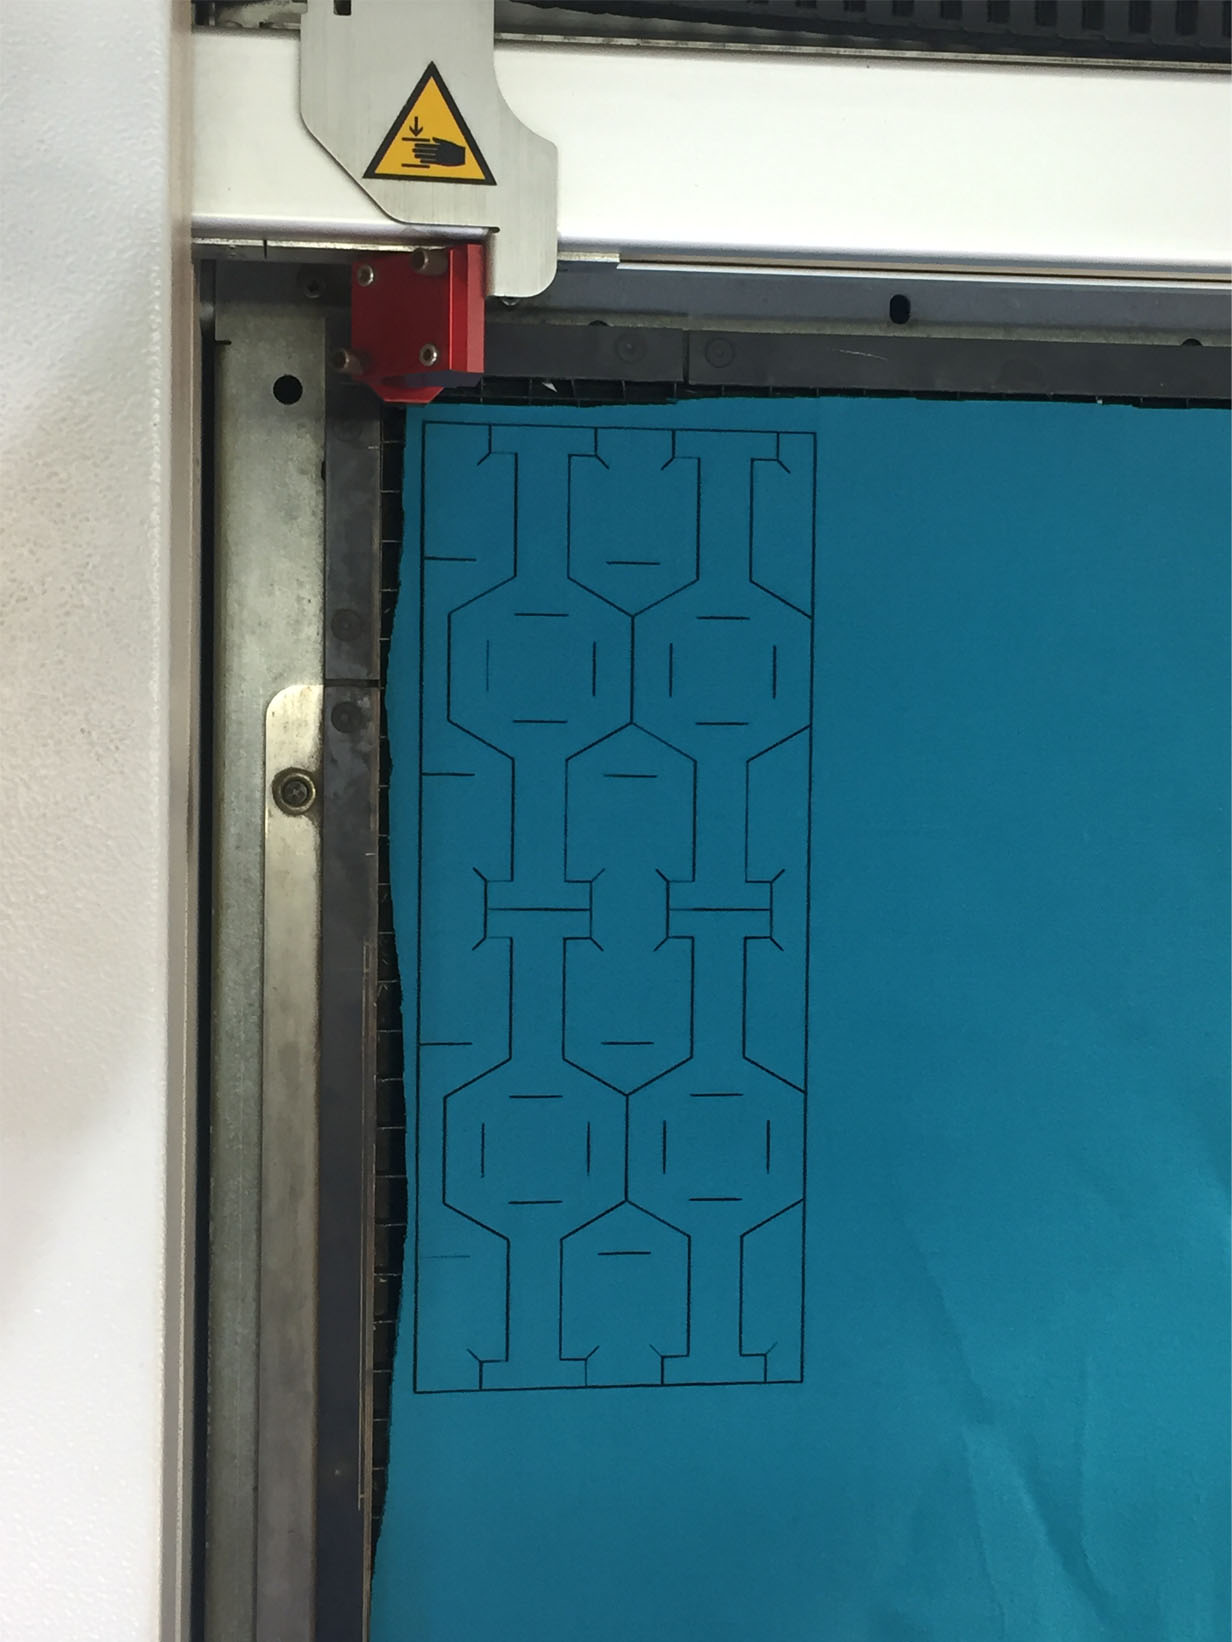
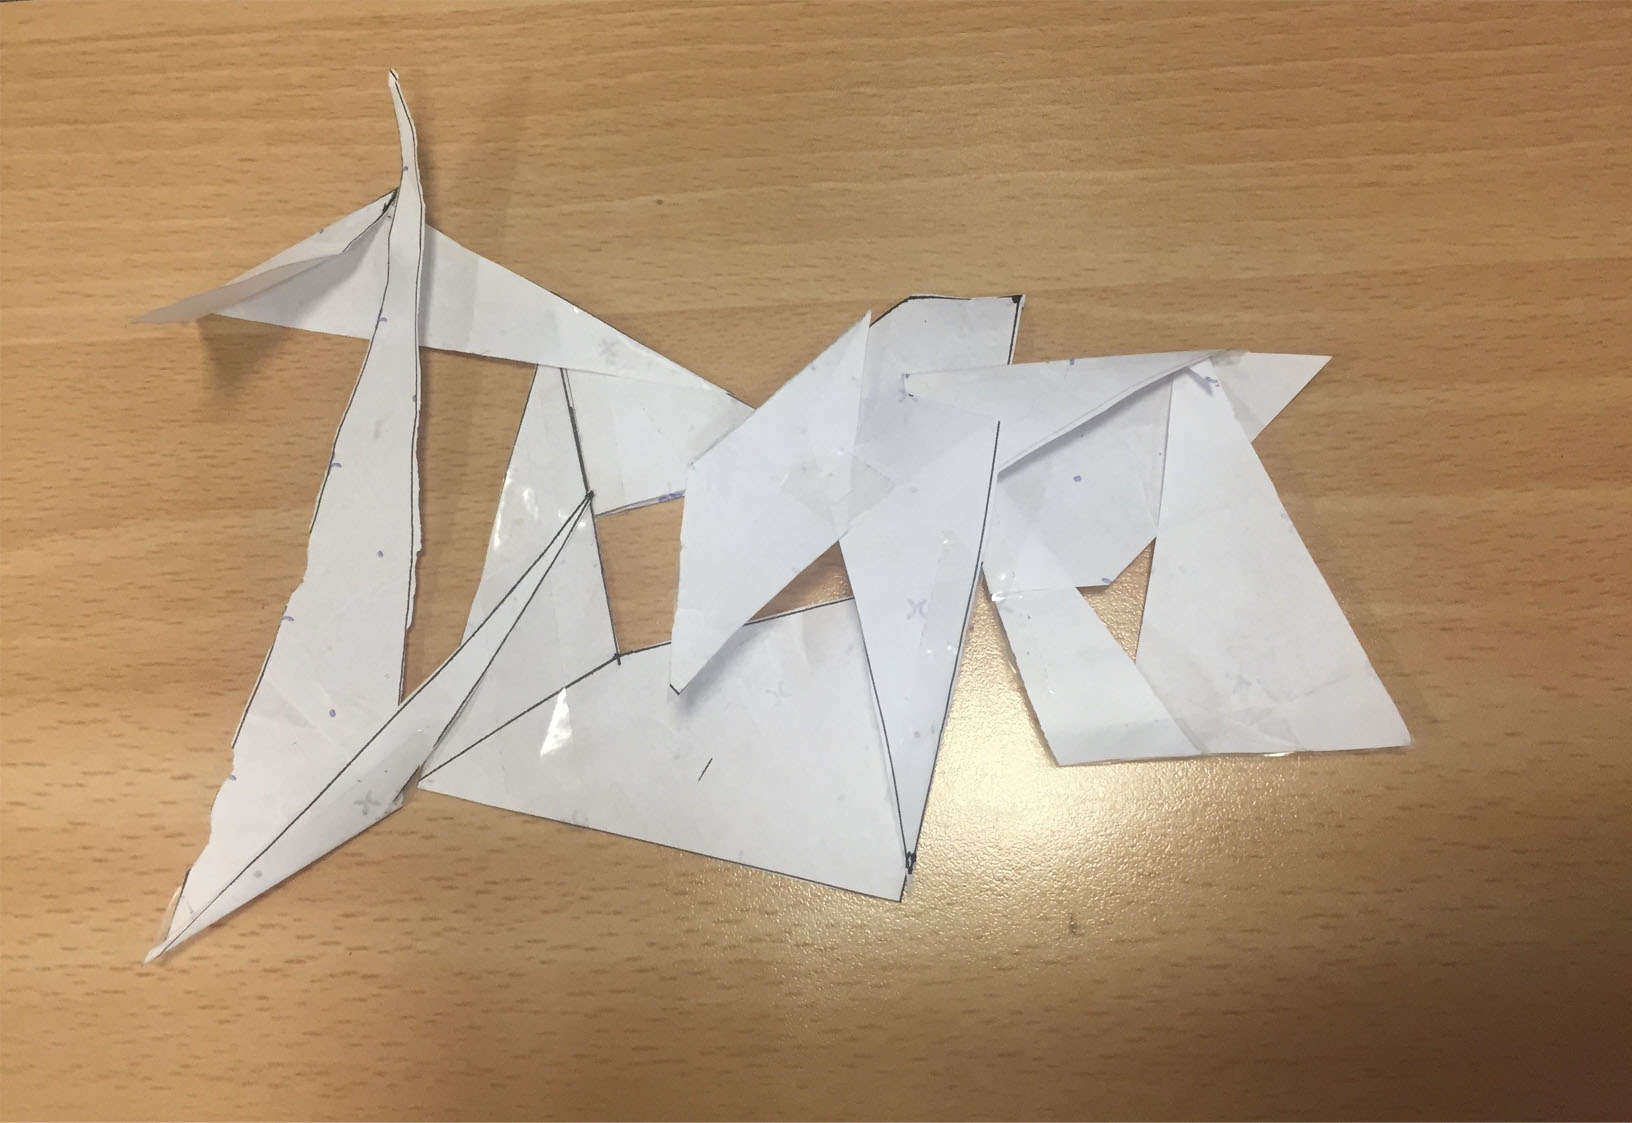
The laser didn't go all the way through the neoprene... I will need to change the parameters for the real fabric.

first sample
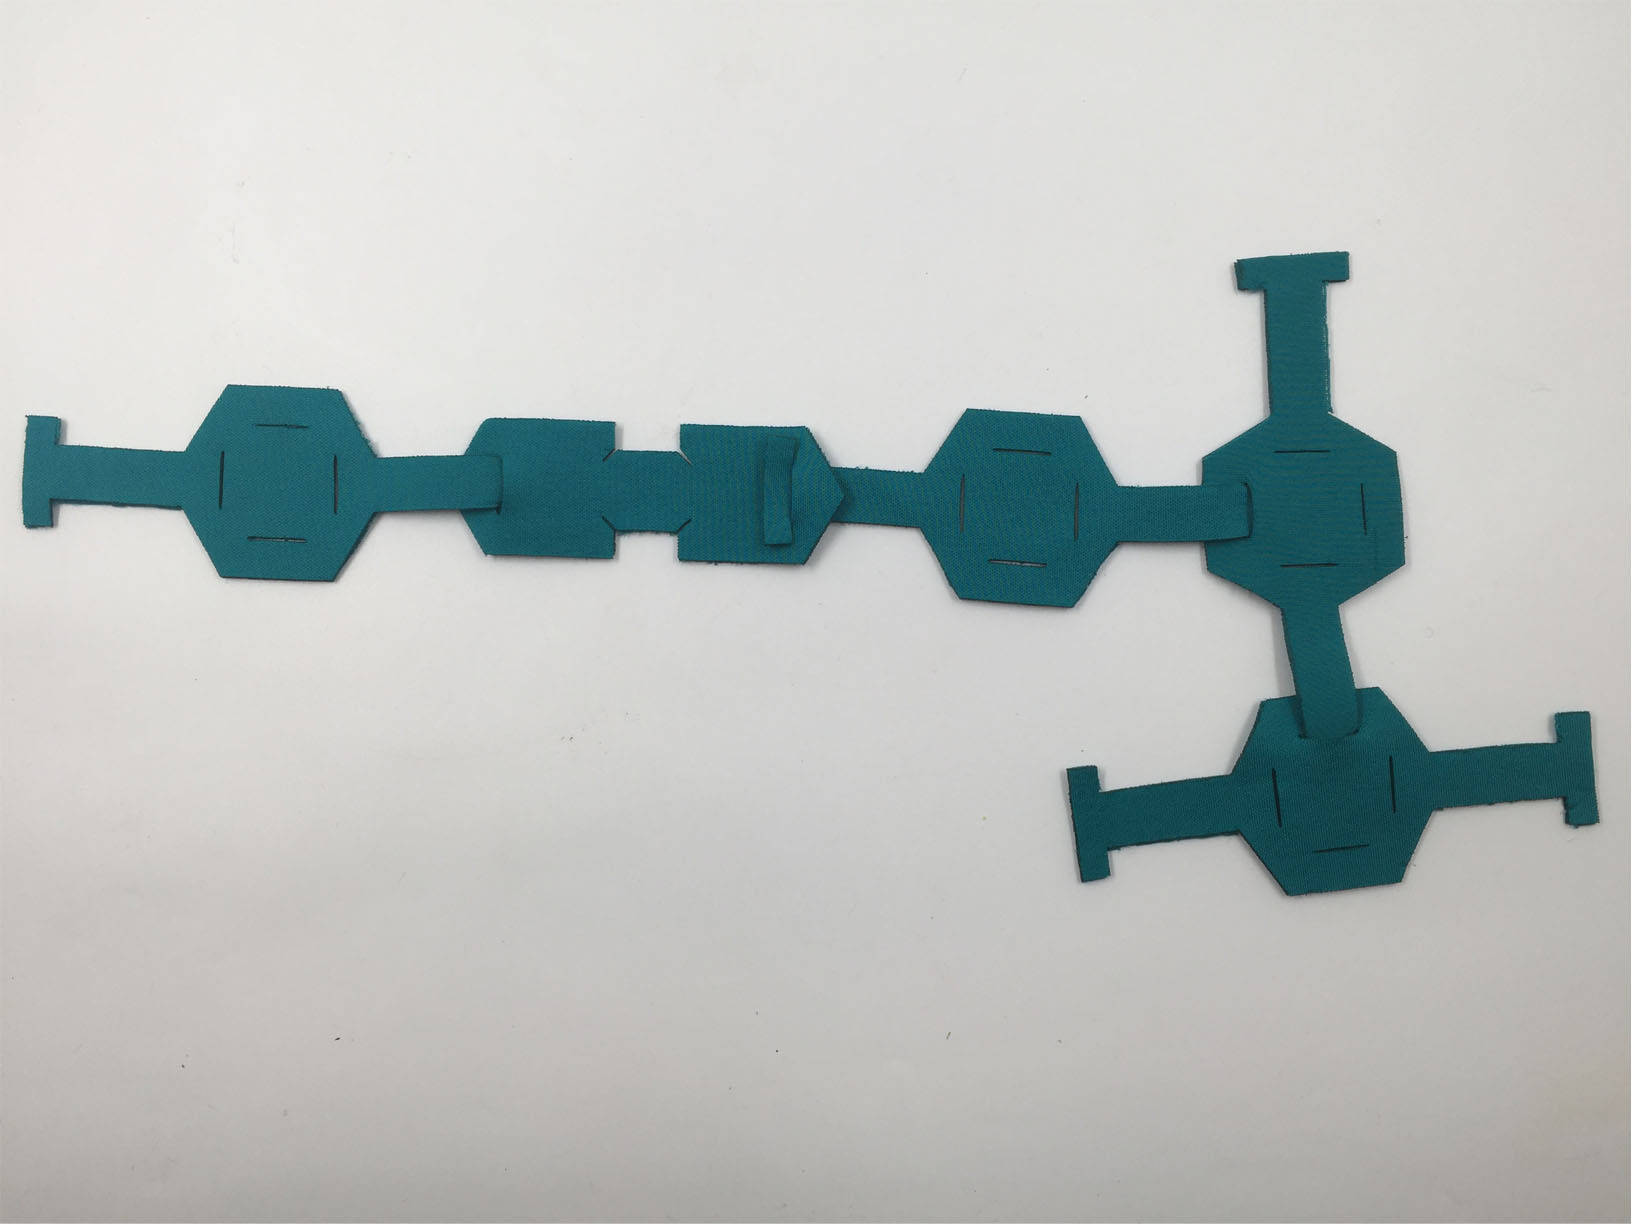
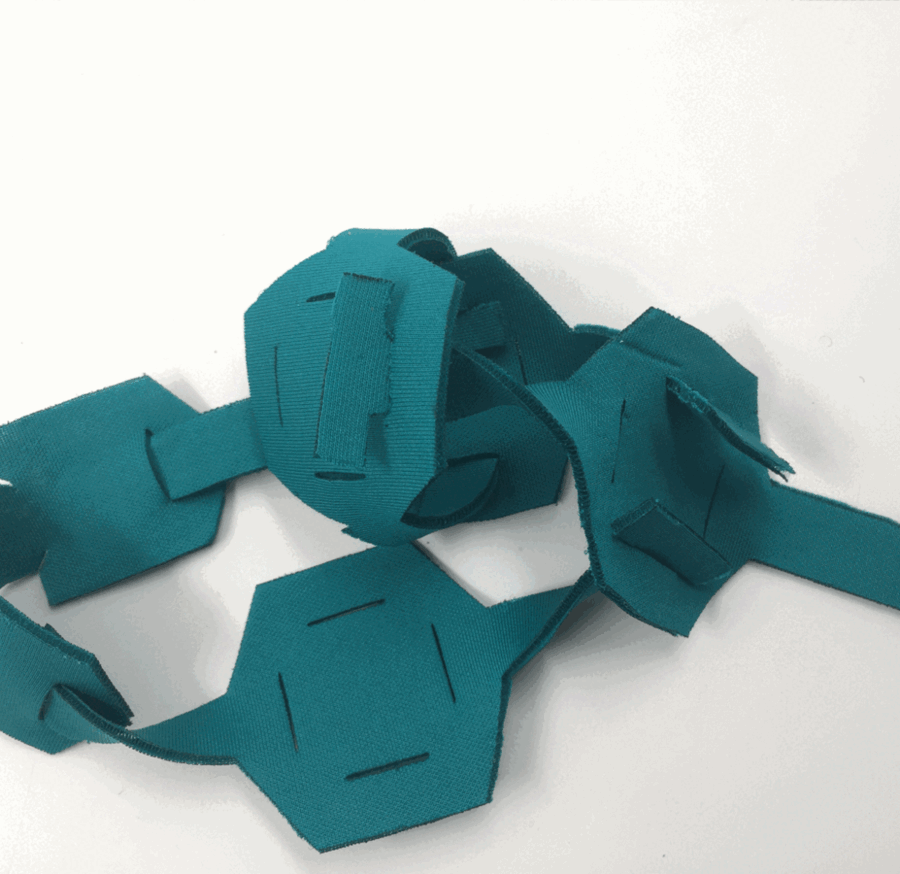
I think the scale of the pieces need to be smaller and I will maybe try a different fabric.