10 open source hardware
23rd - 30th November 2021
10. Open Source Hardware
This week we are looking at the machines and tools that enable us to create. It's important to realise that progressive innovation depends on the mechanisms we apply our ideas to.
eurecat @ canet de mar
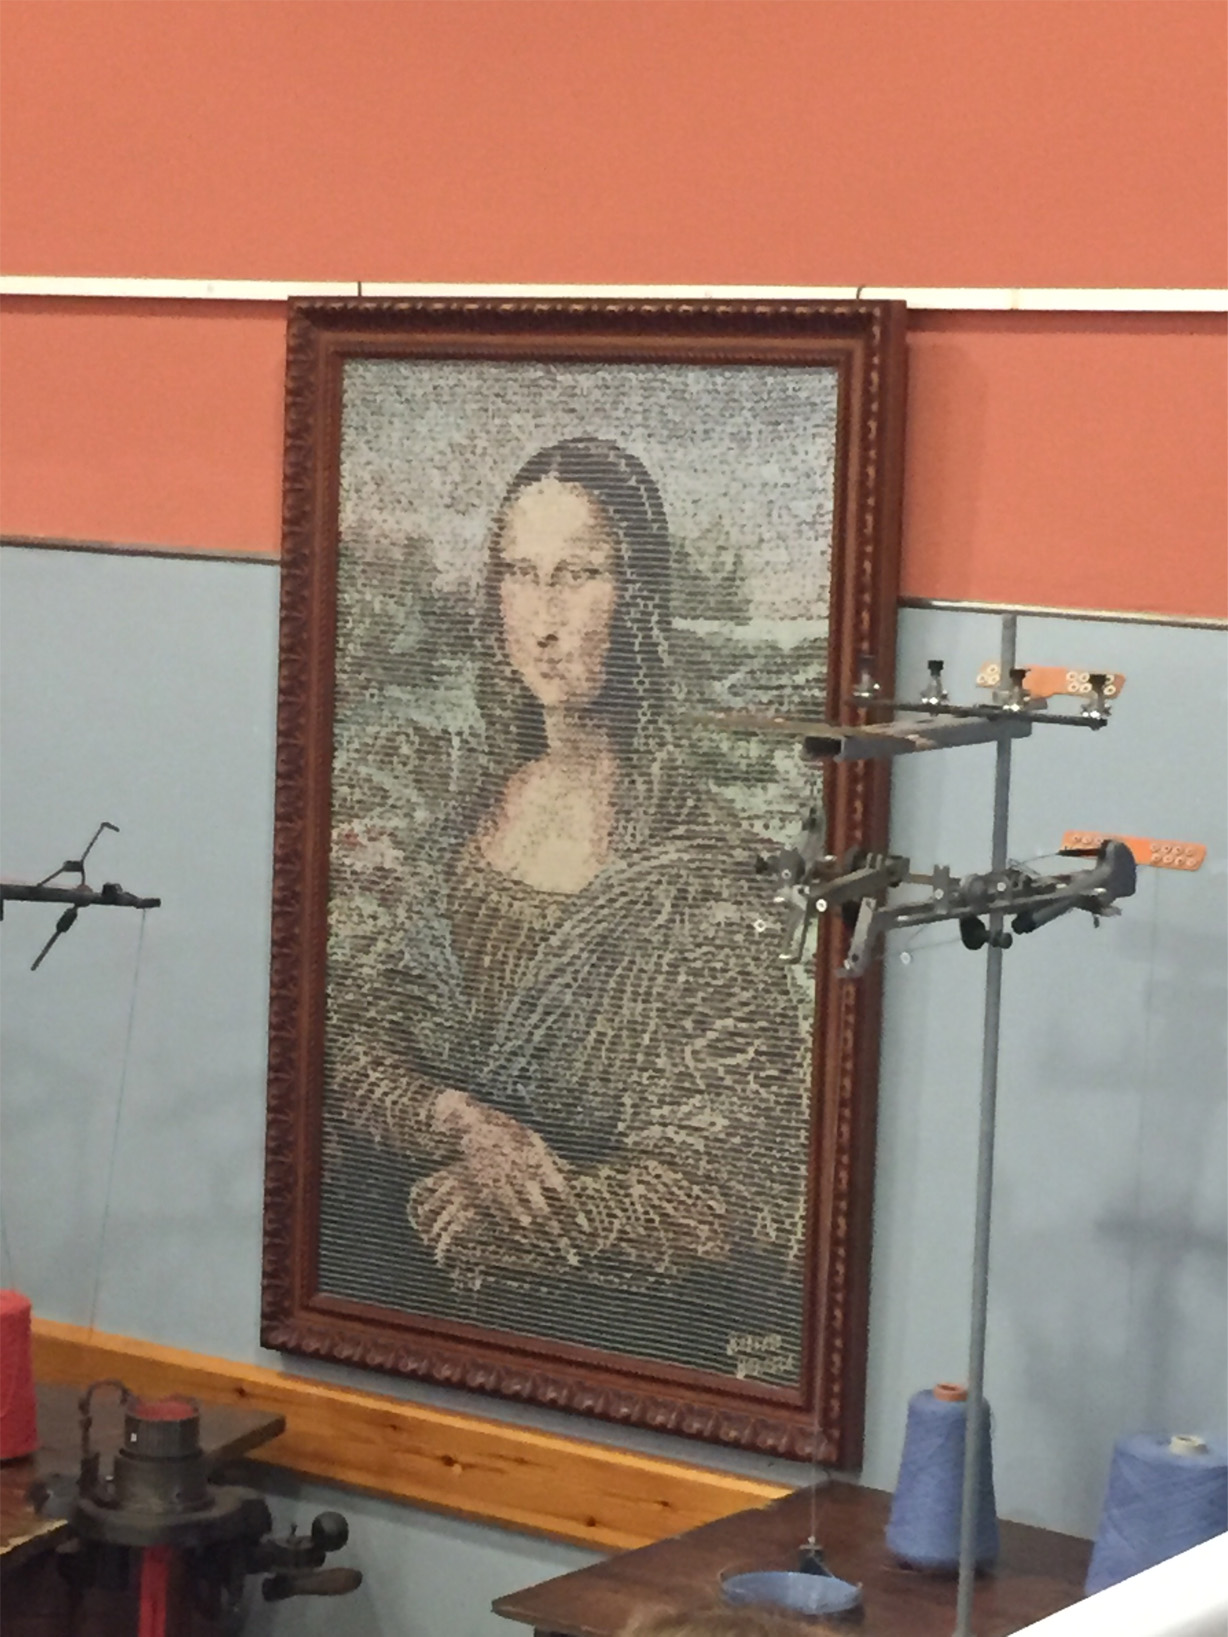
We recently visited Eurecat a cool textile facility centre in Canet de Mar. They have some huge industrial looms and knit machines as well as a laboratory. Some practical demonstrations showed us how textiles are made like these cords. With their expertise it's possible to combine new fibers and produce large scale textiles.
We also looked at some samples like this paper knit
They had some really nice vintage circular knitting machines:
It was an exciting visit and I could feel the innovation in the atmosphere at Eurecat.
All the machines there reminded me of a scifi film in a way.

tool design
For this assignment I wanted to build on my Rhino/Grasshopper skills and make a tool I would use myself: socks always get holes..
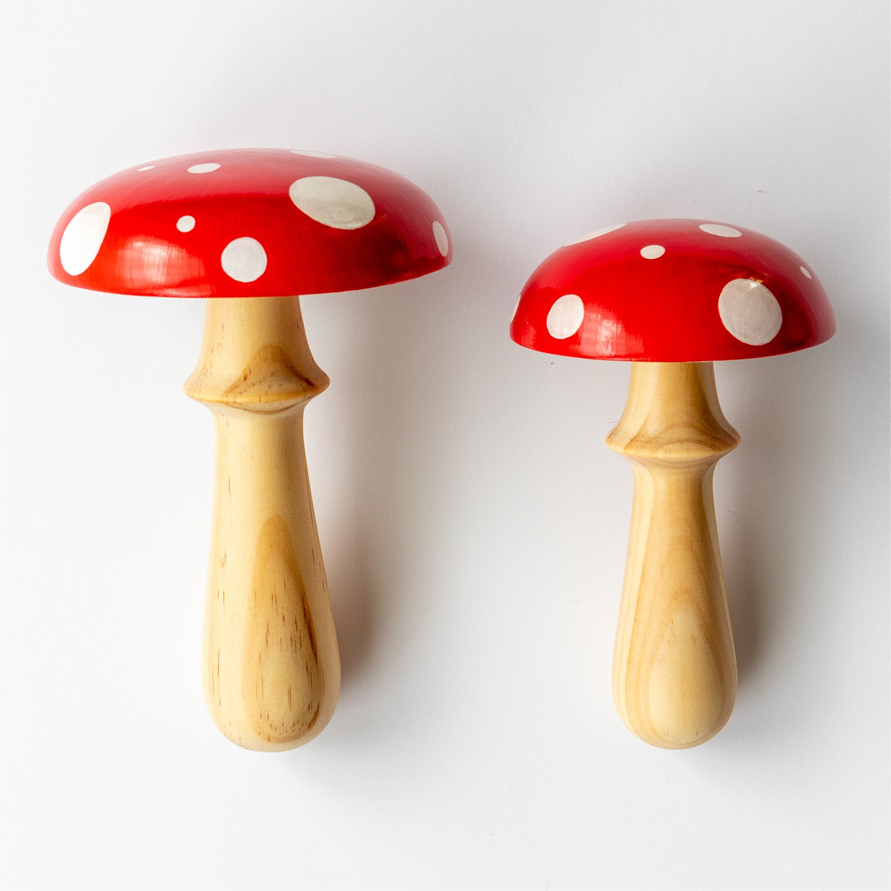
My first idea was to modernise an old sock darning tool with a parametric design and to 3D print it.
grasshopper
I looked at this tutorial to help me create the stalk part of the mushroom as it's the same concept as a tower.
Here are the steps:
- Make a polygon / add a number slider to the radius control / add a series component to generate height divisions; add two more number sliders to the series / add a unit z control to generate axis direction
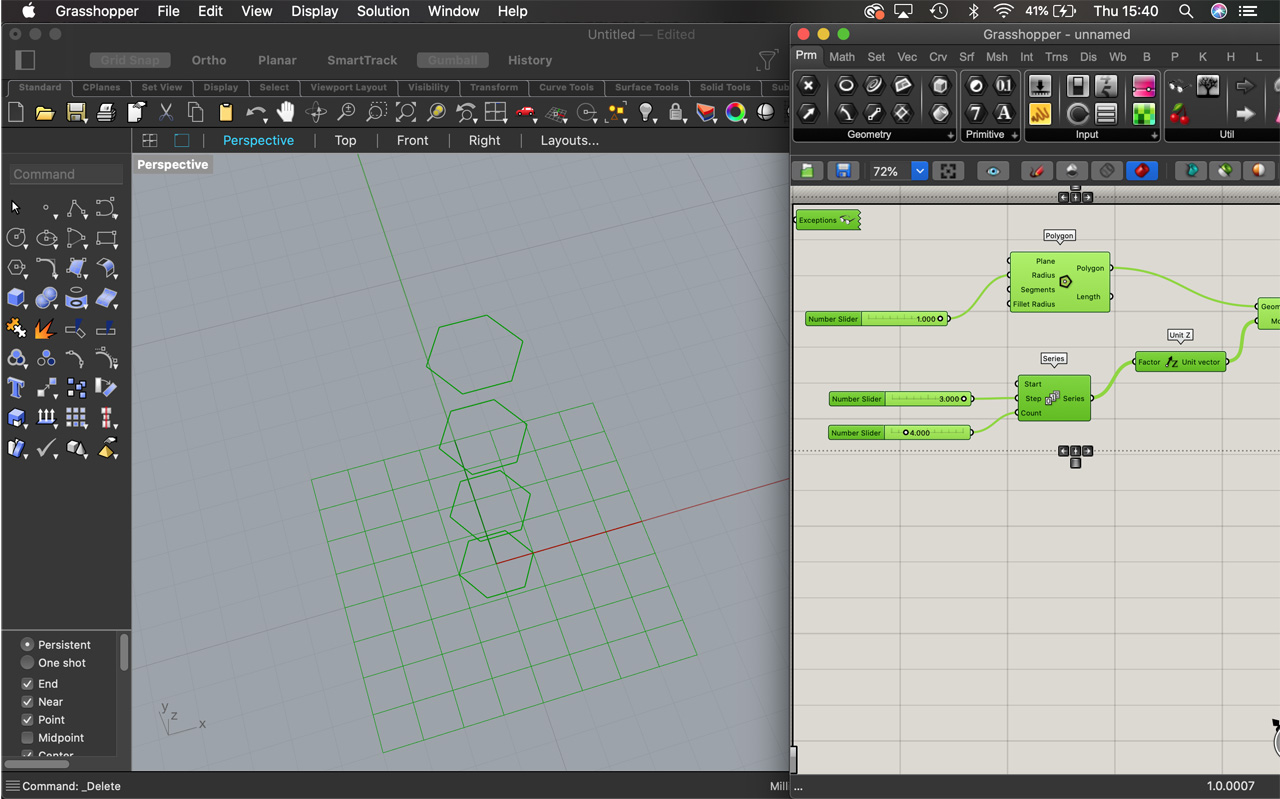
- Add move component to move polygons in z axis / rotate; duplicate series with step connections, renaming slider as rotation
- Connect move: geometry to rotate geometry: set to degrees / connect rotation series to rotate angle
- Hide polygon & move commands / scale
- Construct points point to move; motion to unit vector / move output geometry to scale center
- Remap numbers: series to value; add bounds (boundaries) connect to numbers from series to numbers; bounds input
- Create different scaling geometry with graph mapper (remapped points will be output to this graph)
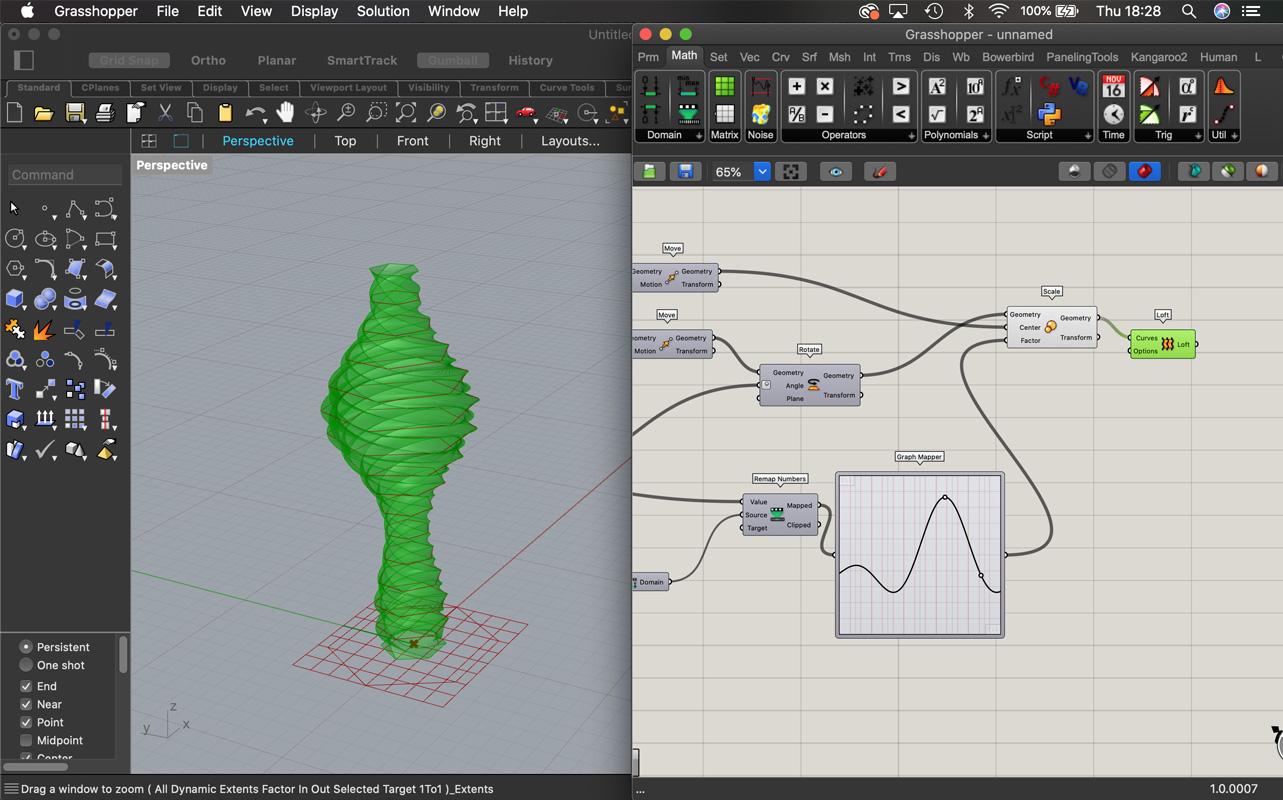
- Use domain to get a value and a source from the boundary / graph mapper output to scale factor
- Loft to scale geometry / explode (generates vertices) / flip matrix reverses geometry (tree); point on curve / link polyline to point on curve
- Pipe to polyline thickens the dividing verticle curves / merge polylines / link data dam to pipe to duplicate helix structures
- Radius from pipe with a number slider / connect boundary surface to scale geometry to create stacked faces / add thickness with offset surface & distance to number slider / extrude between stacked faces
- Merge boundary surfaces, offset surfaces and extrusion
- Bake, merge, group
Troubleshooting
- Fillet radius will to smoothe edges and corners
- Take out the helixes as they will be too sharp/not practical for tool
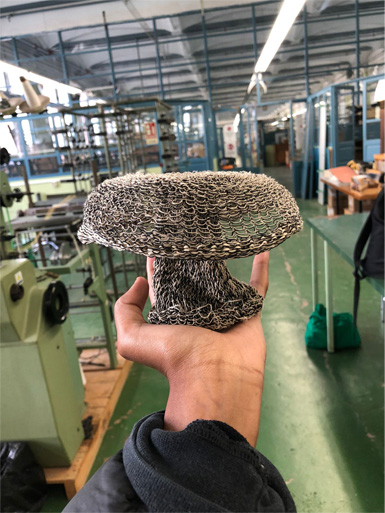
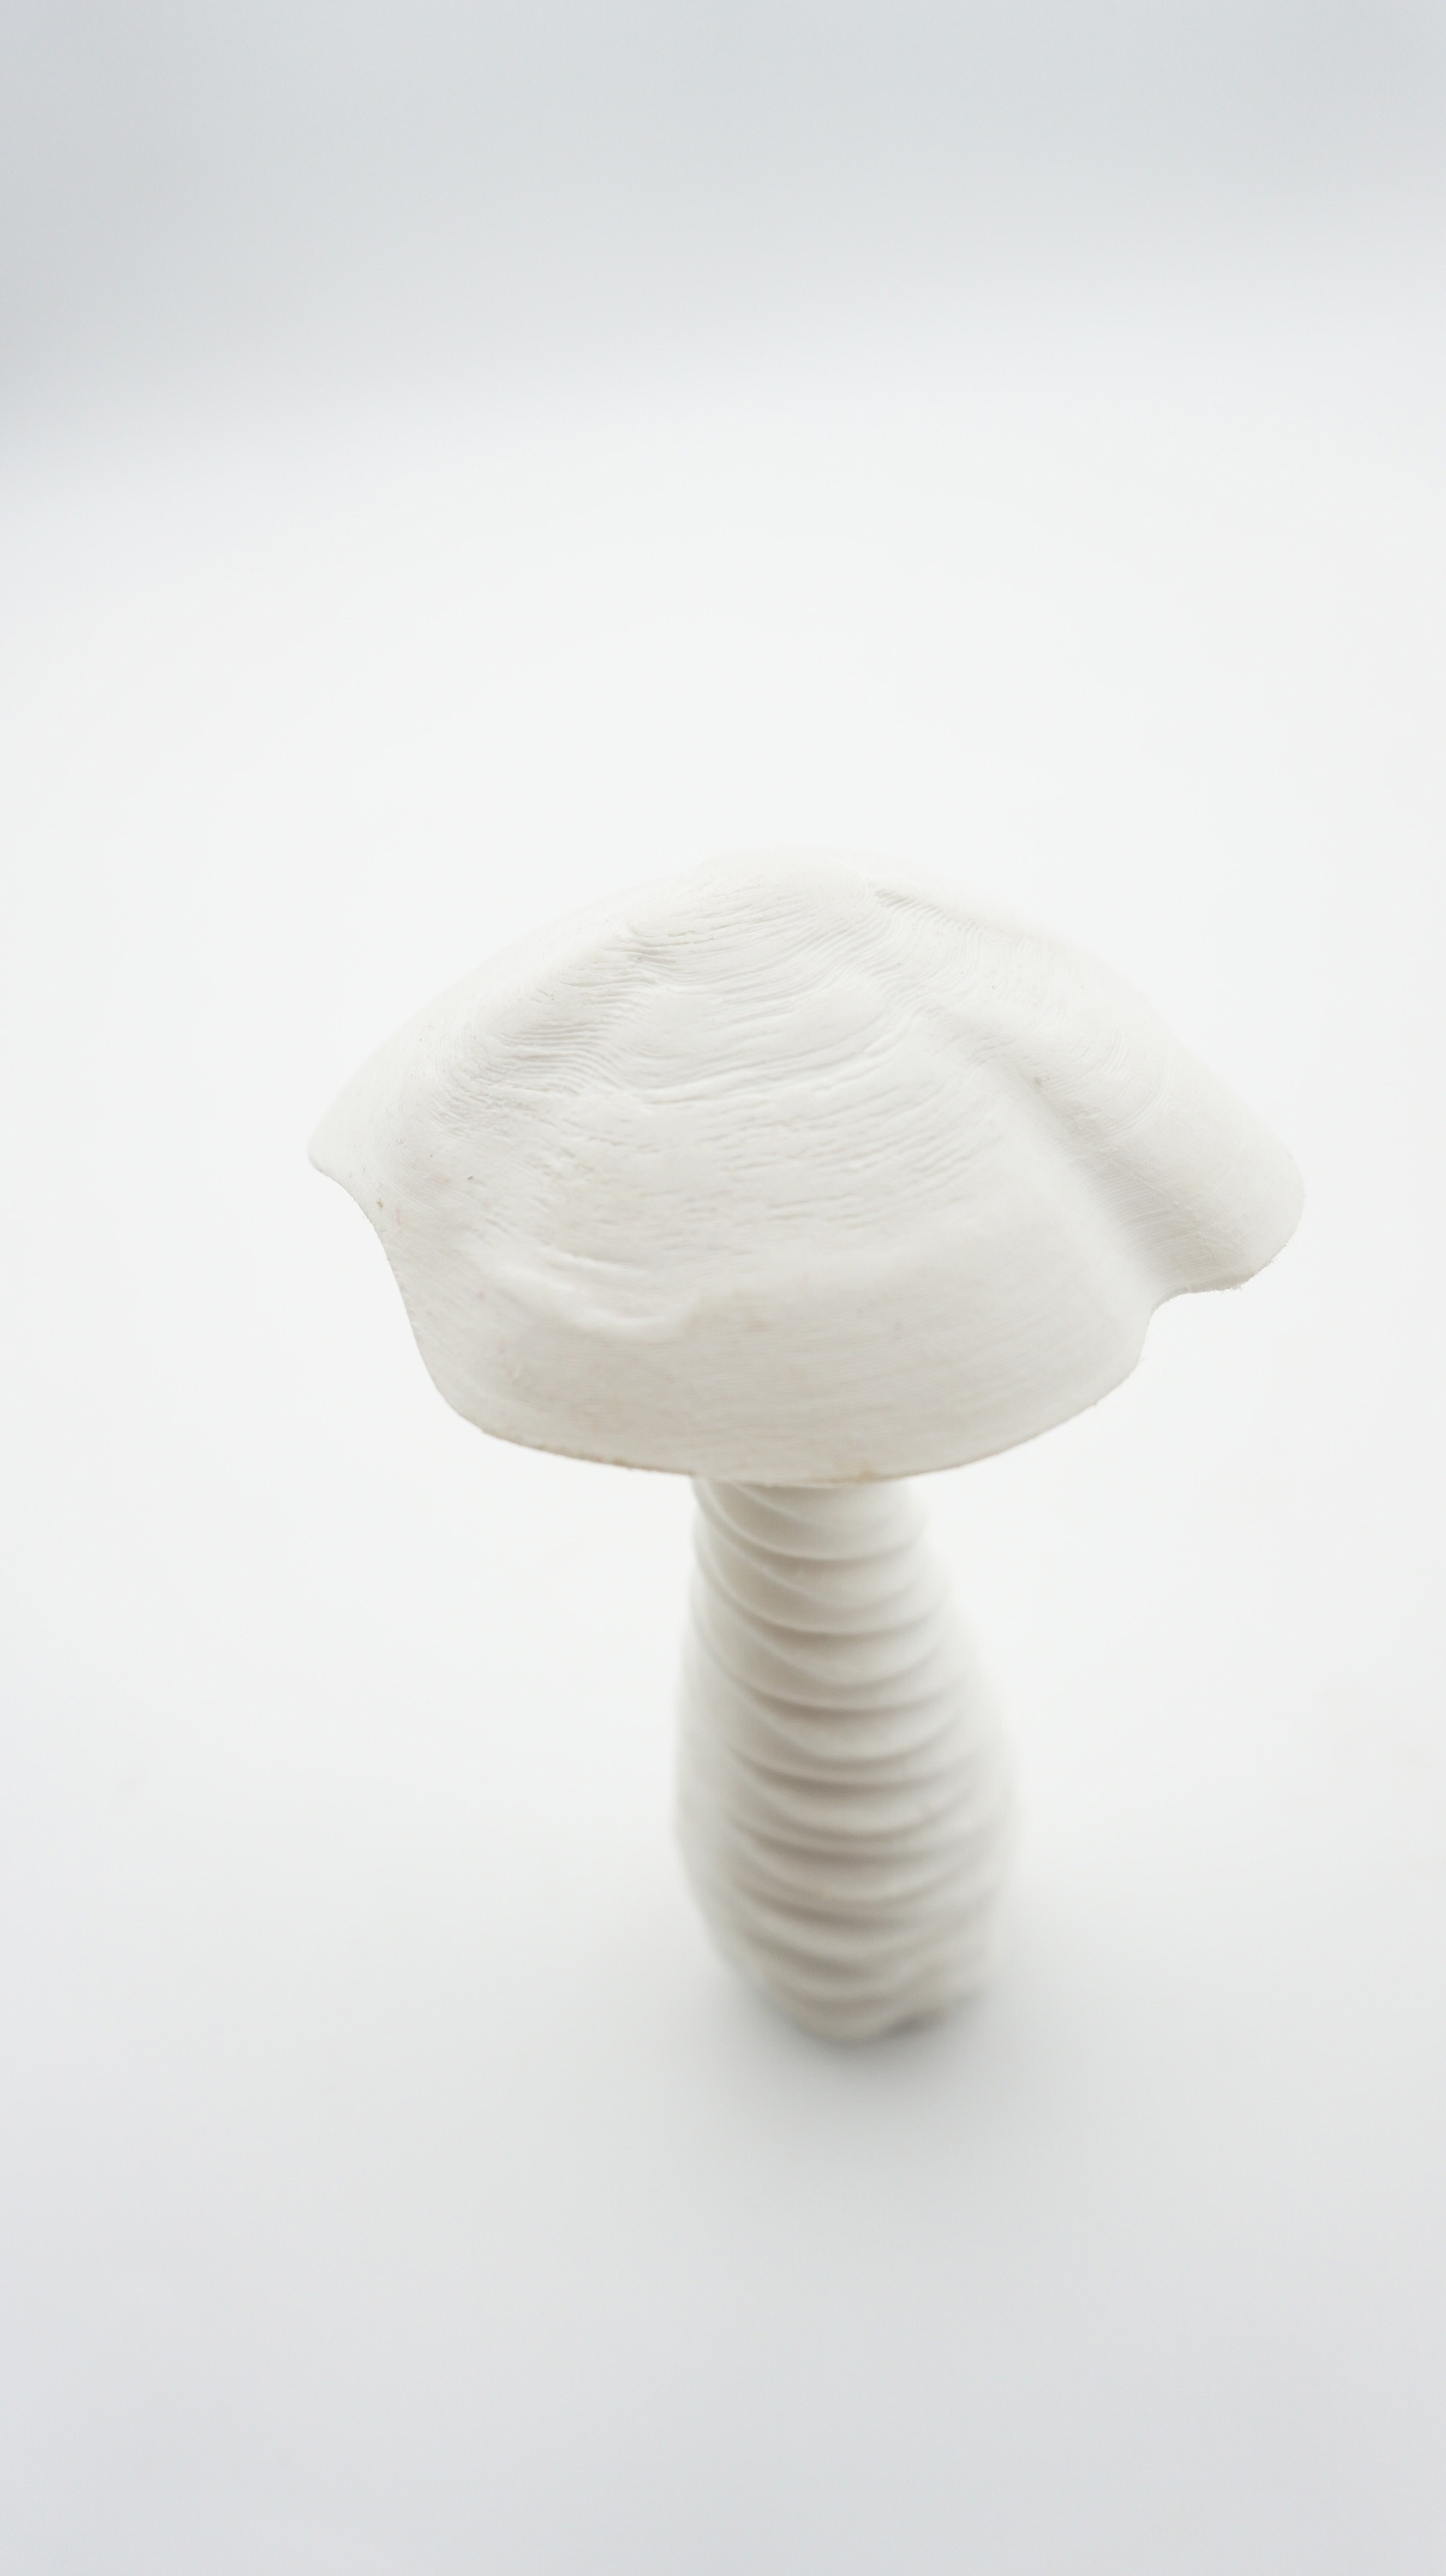
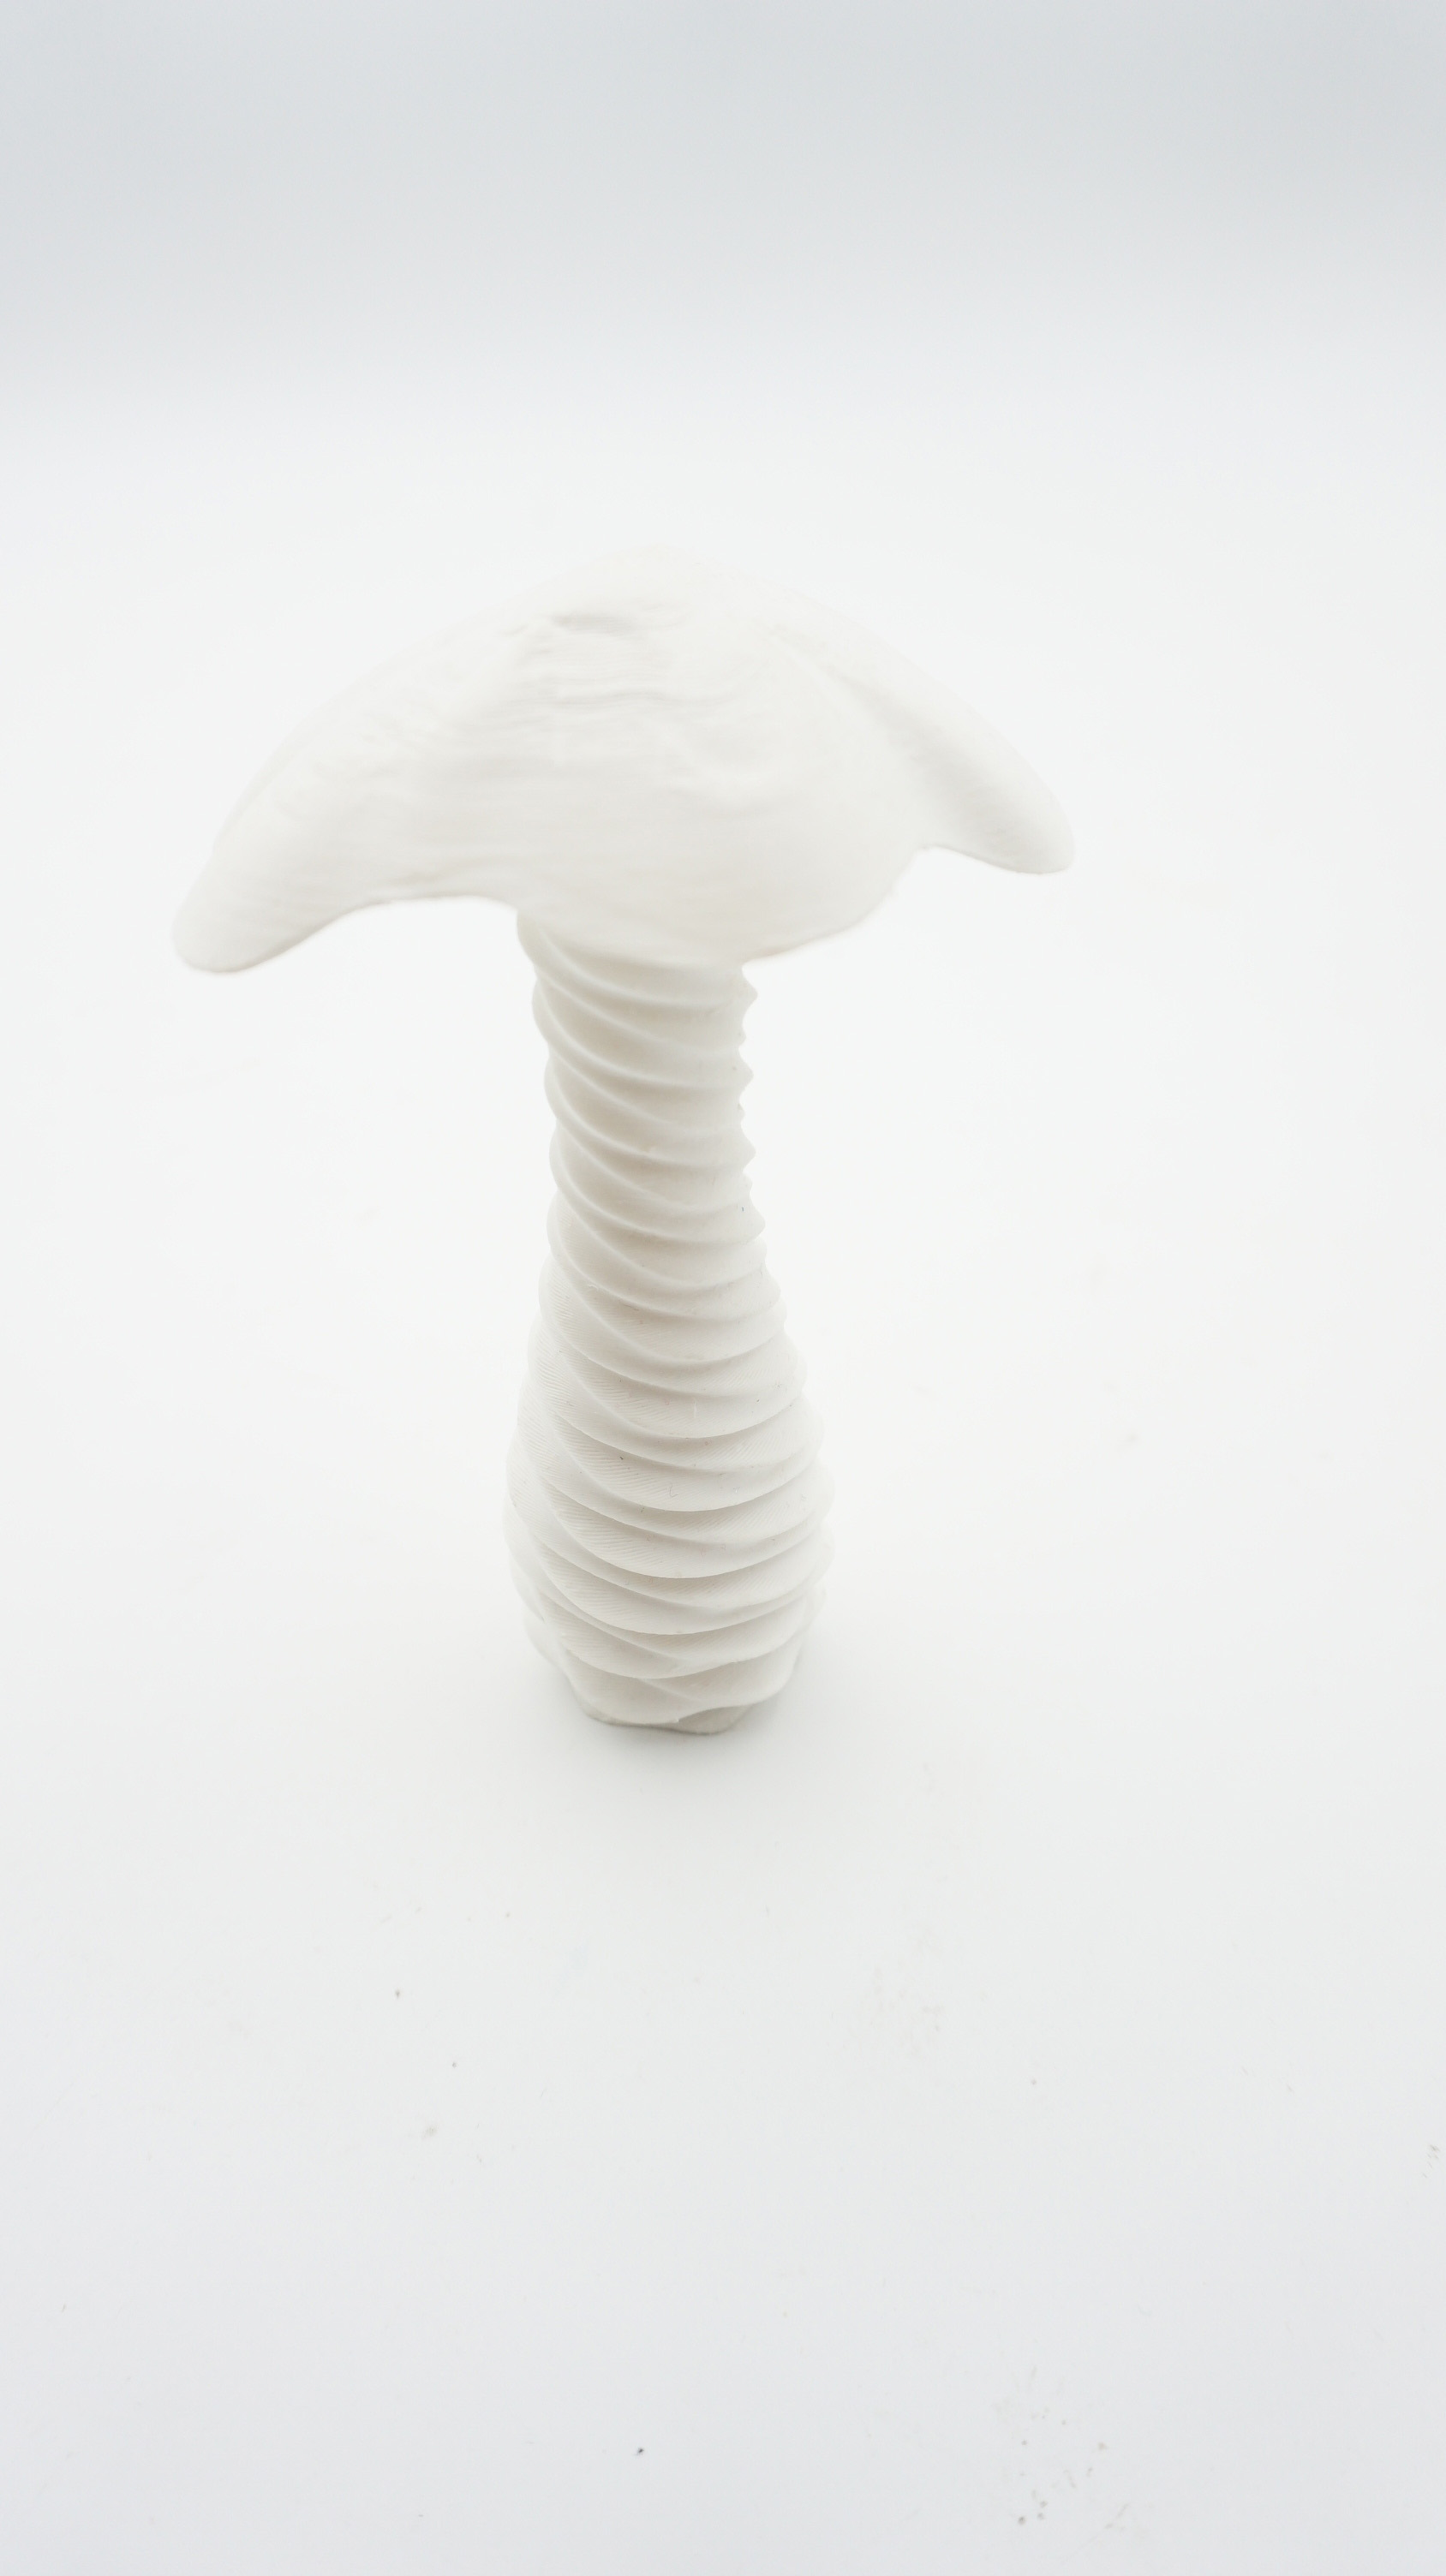
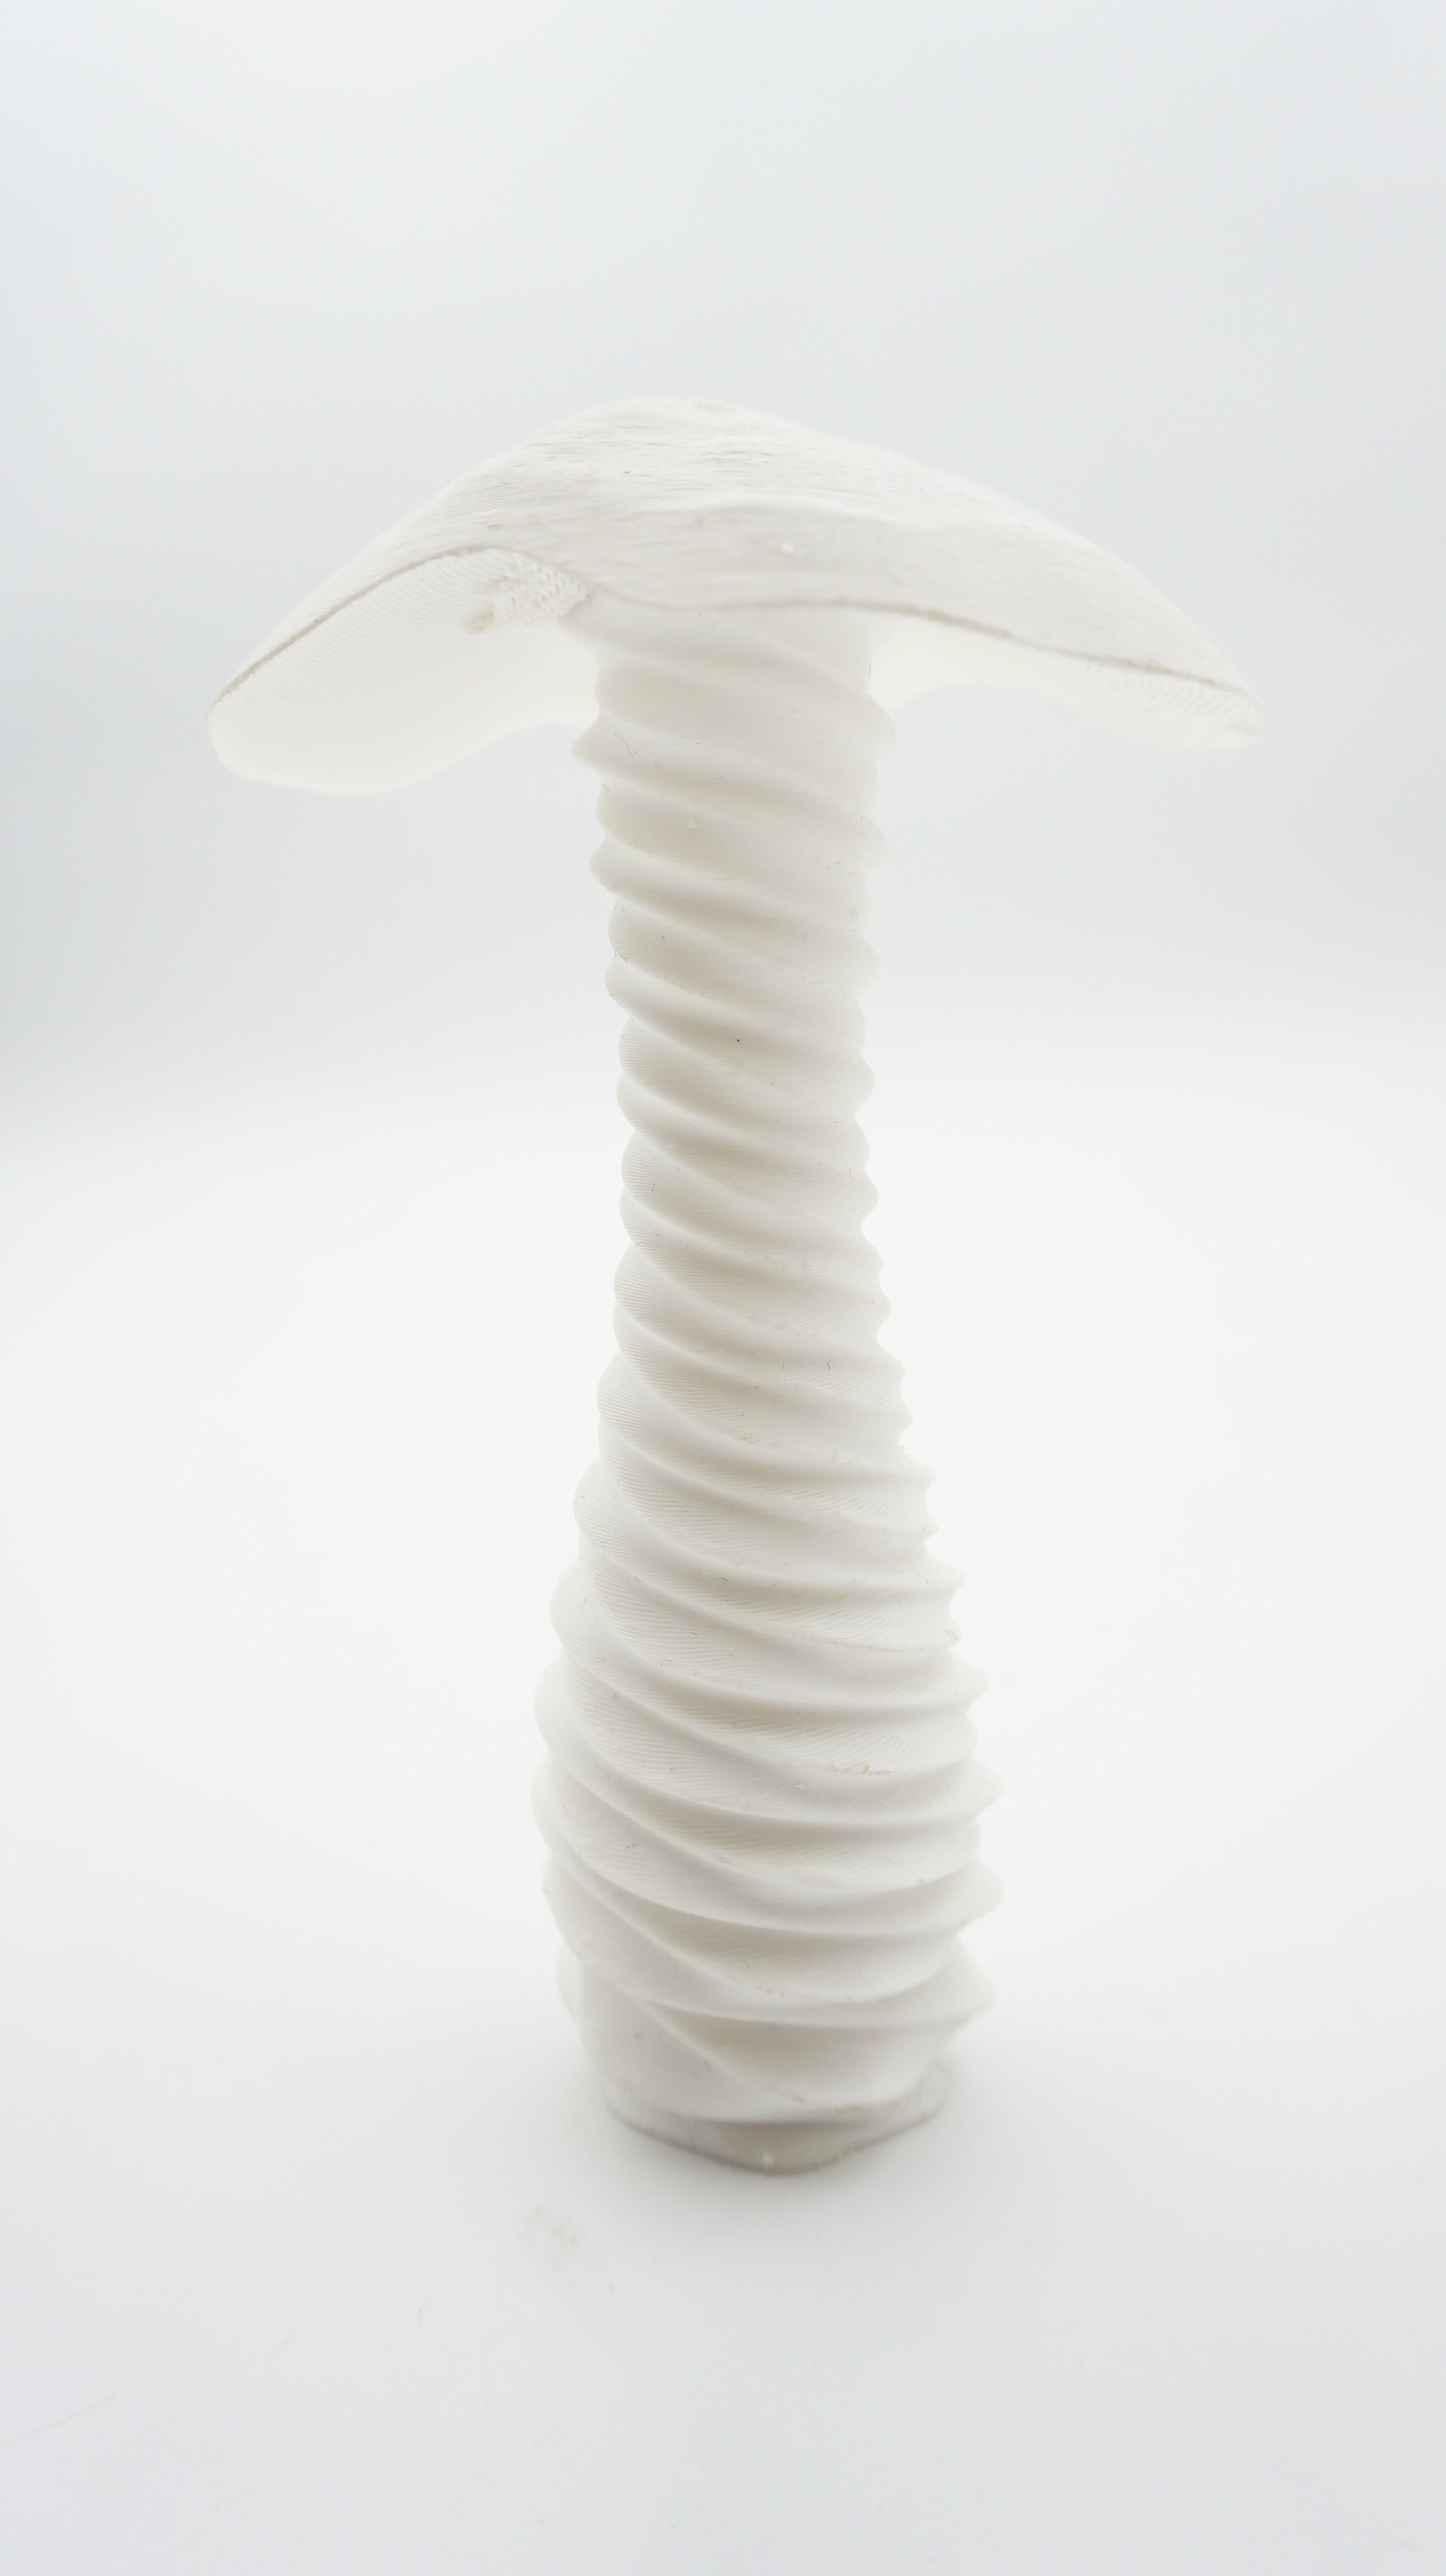
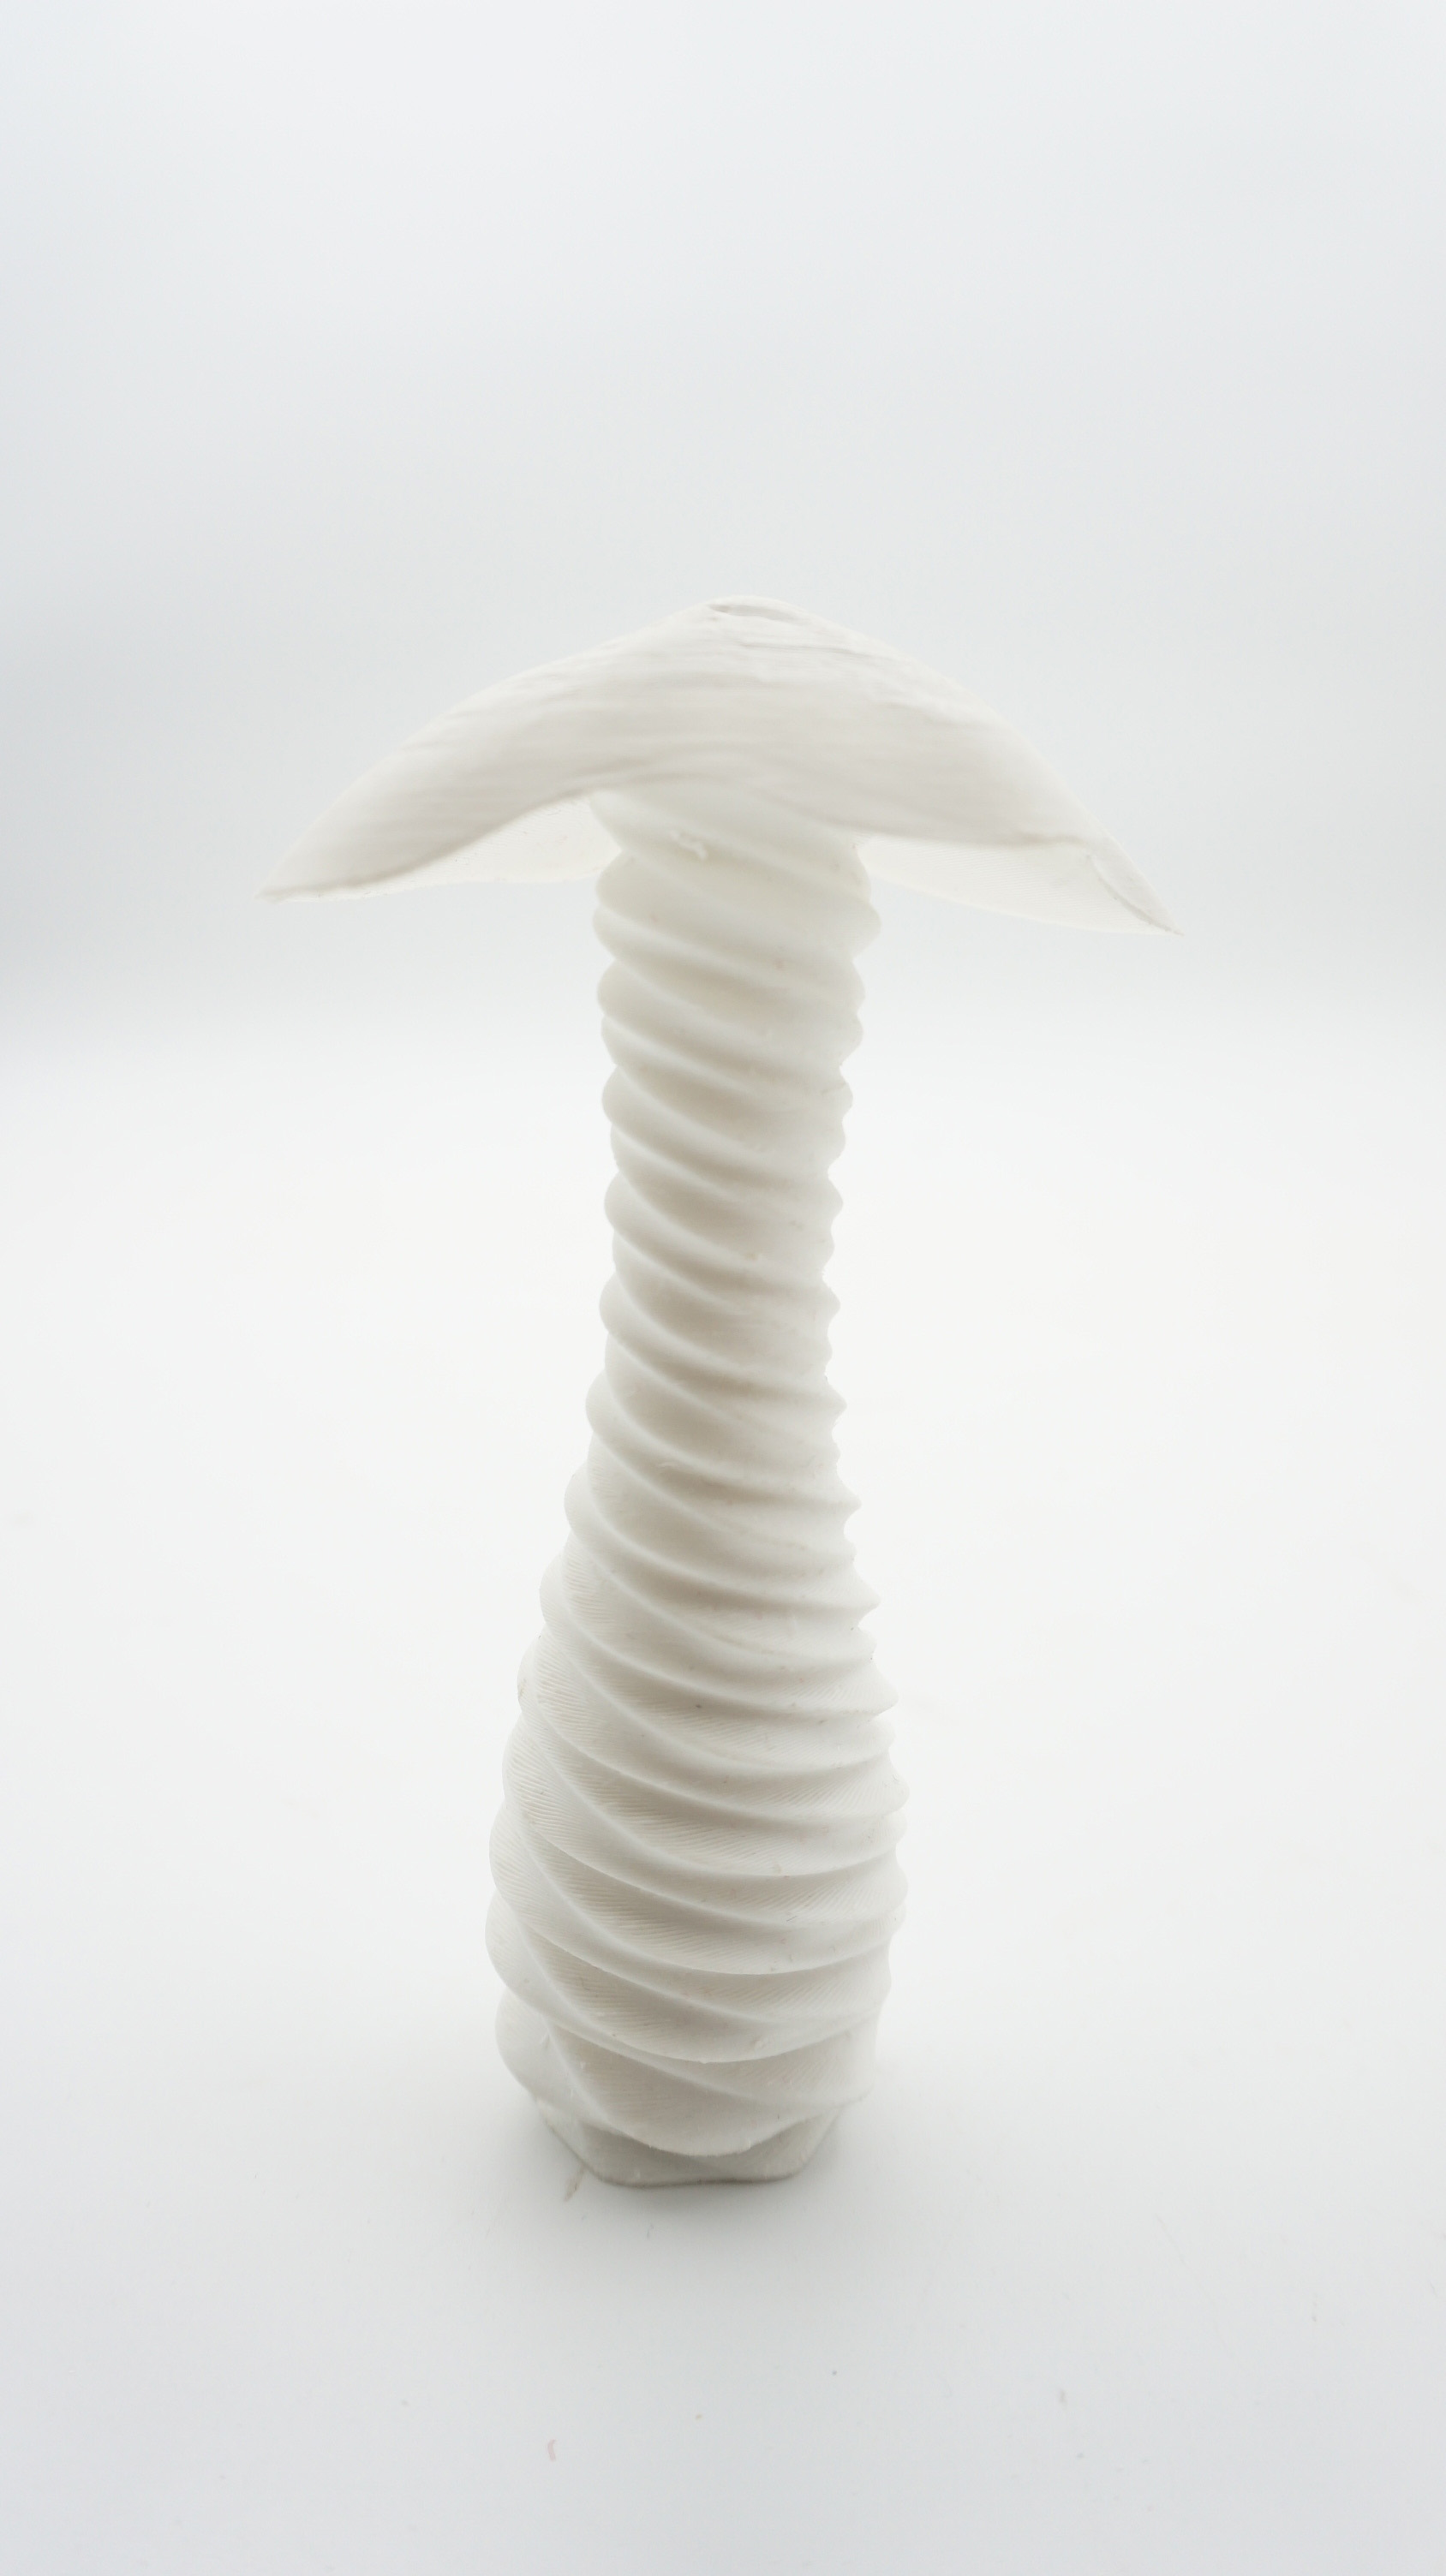
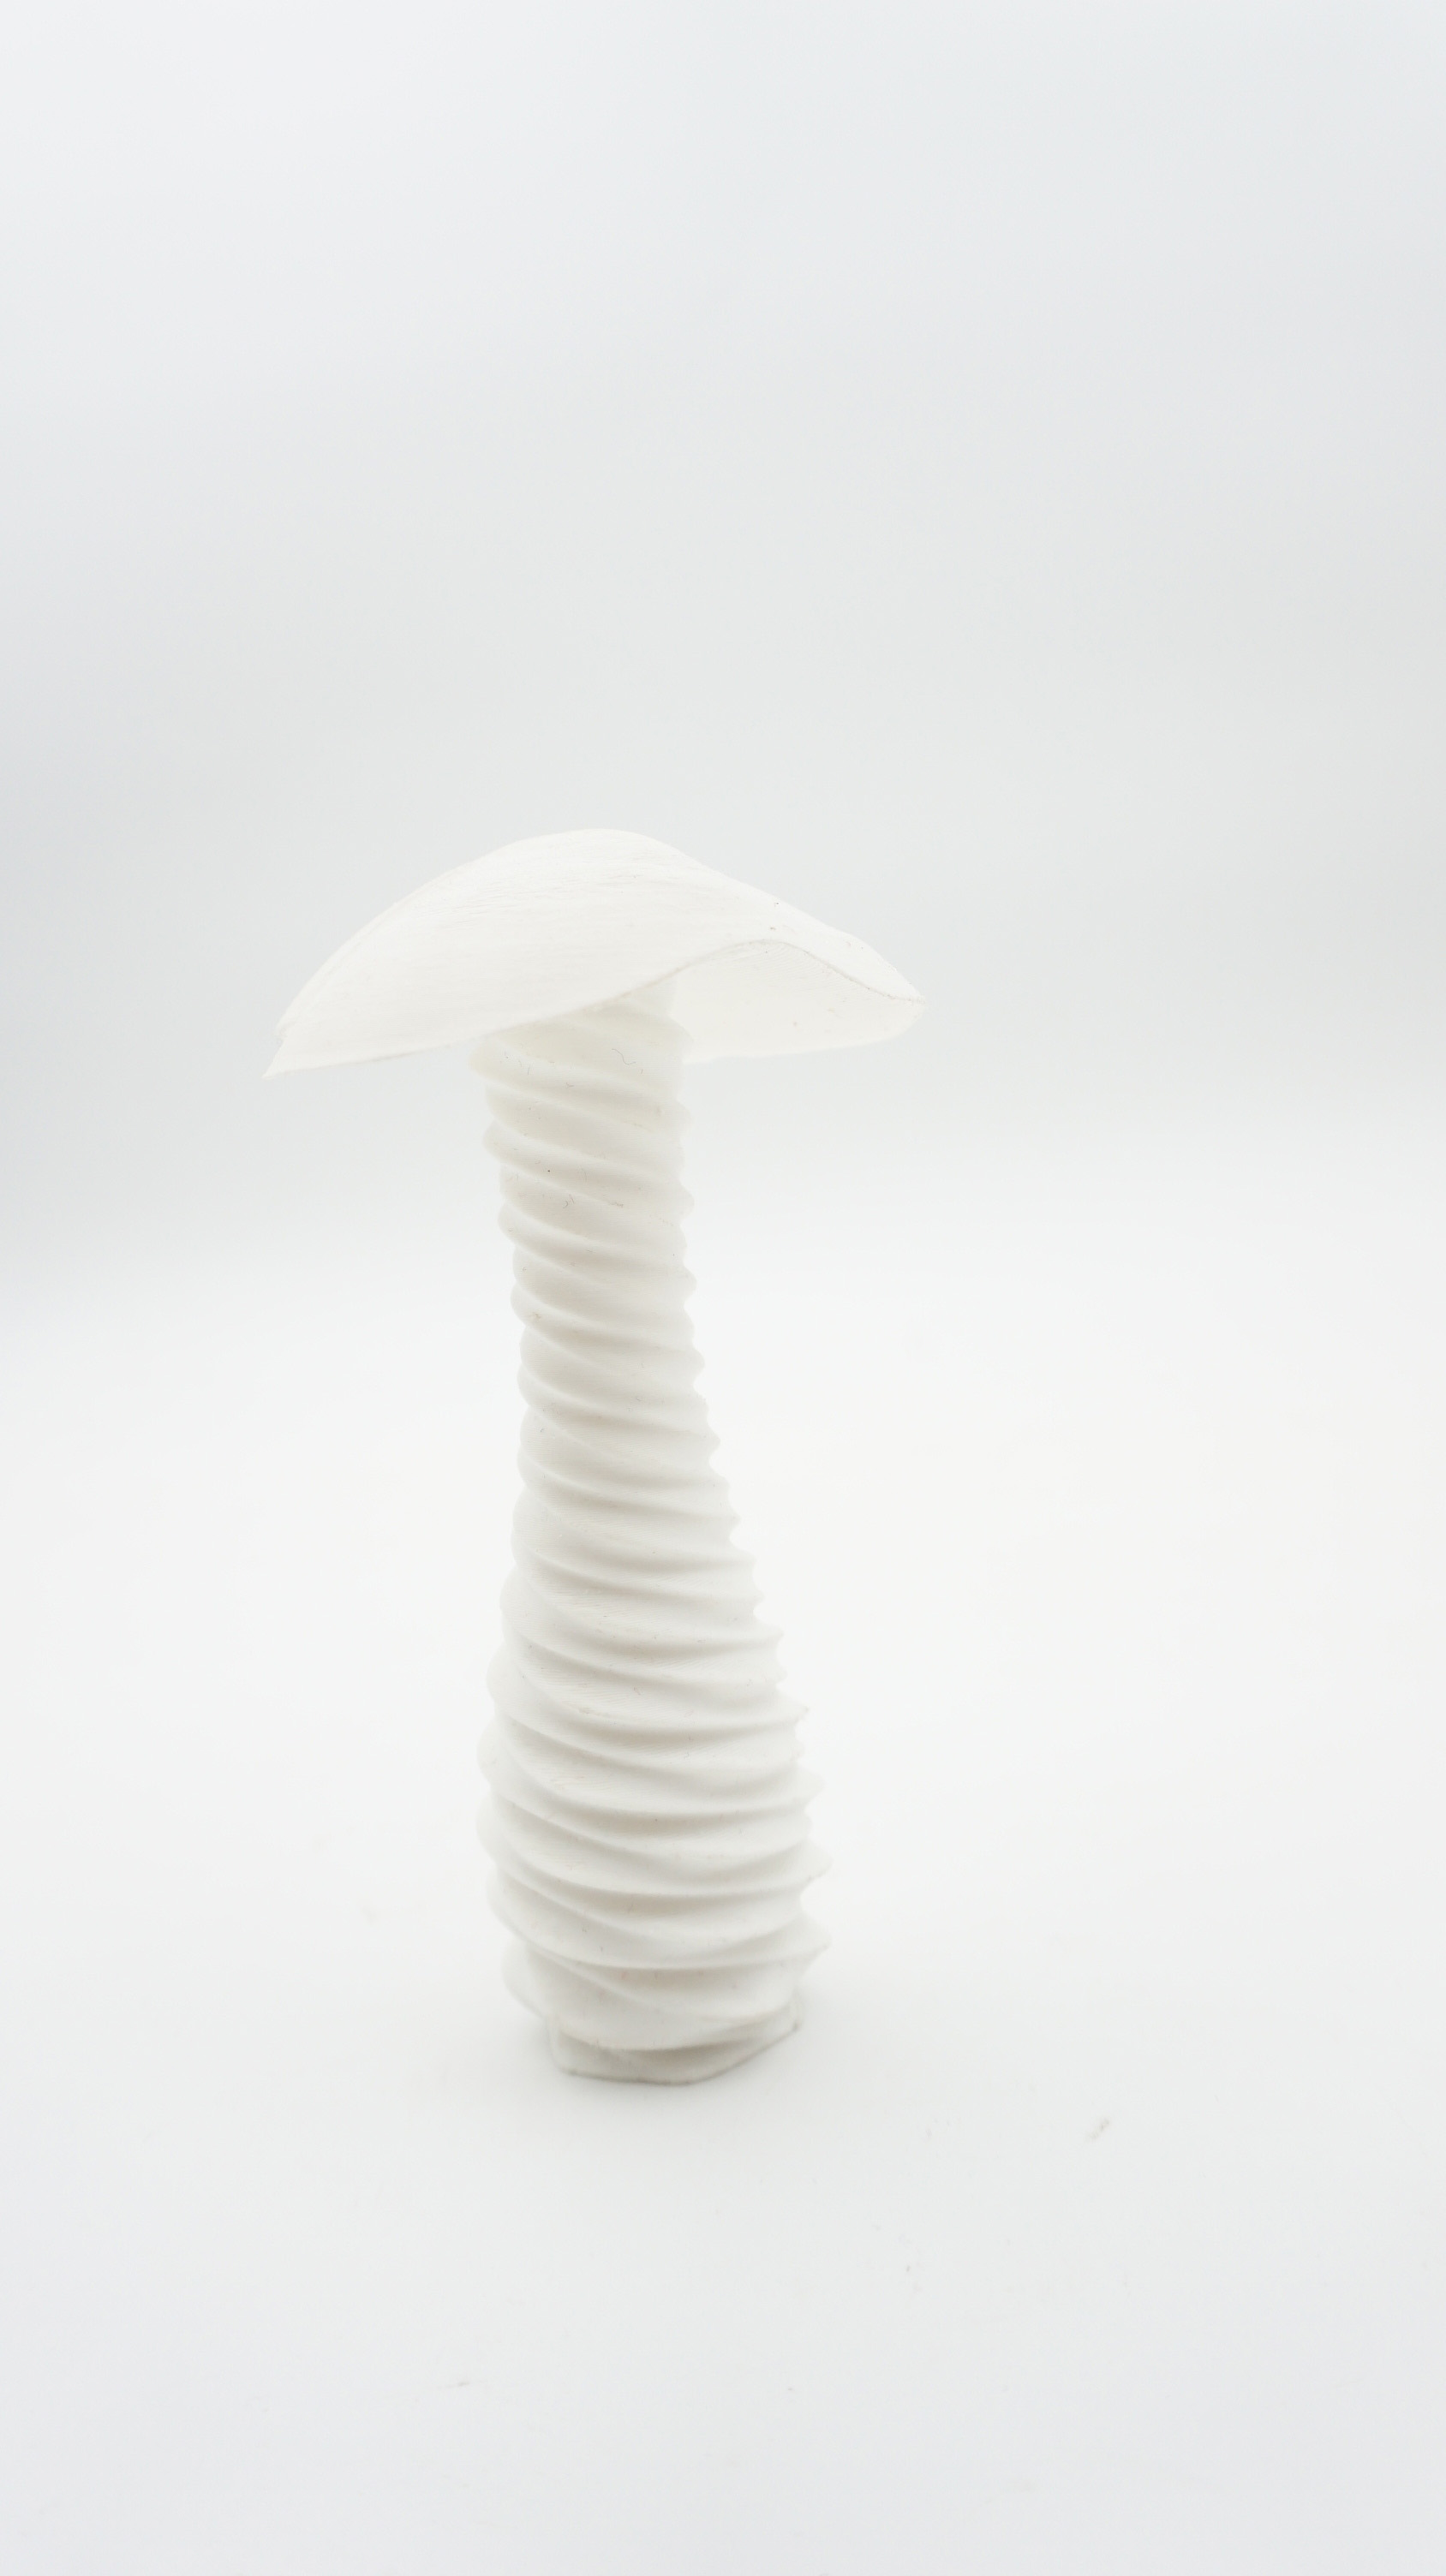
Then for the mushroom cap I combined the stalk with the design for my textile composite last week.
3d printing
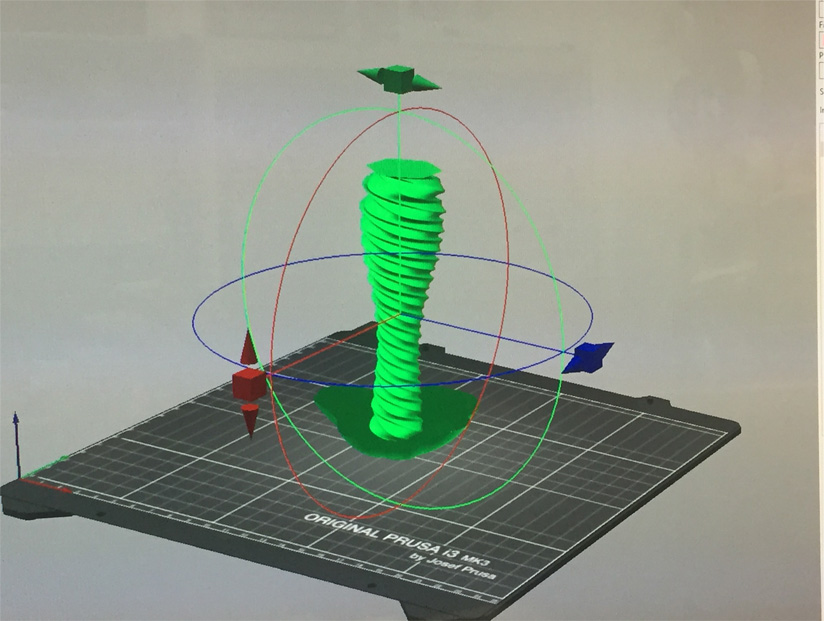
I used the Prusa 2.2.0 machine to print. The mushroom needed to be printed upside down and a lot of support.
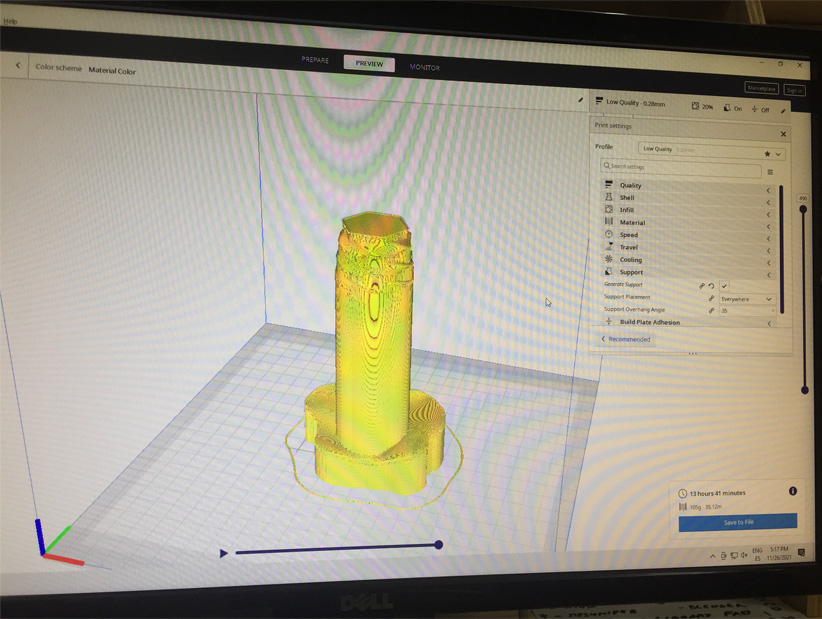
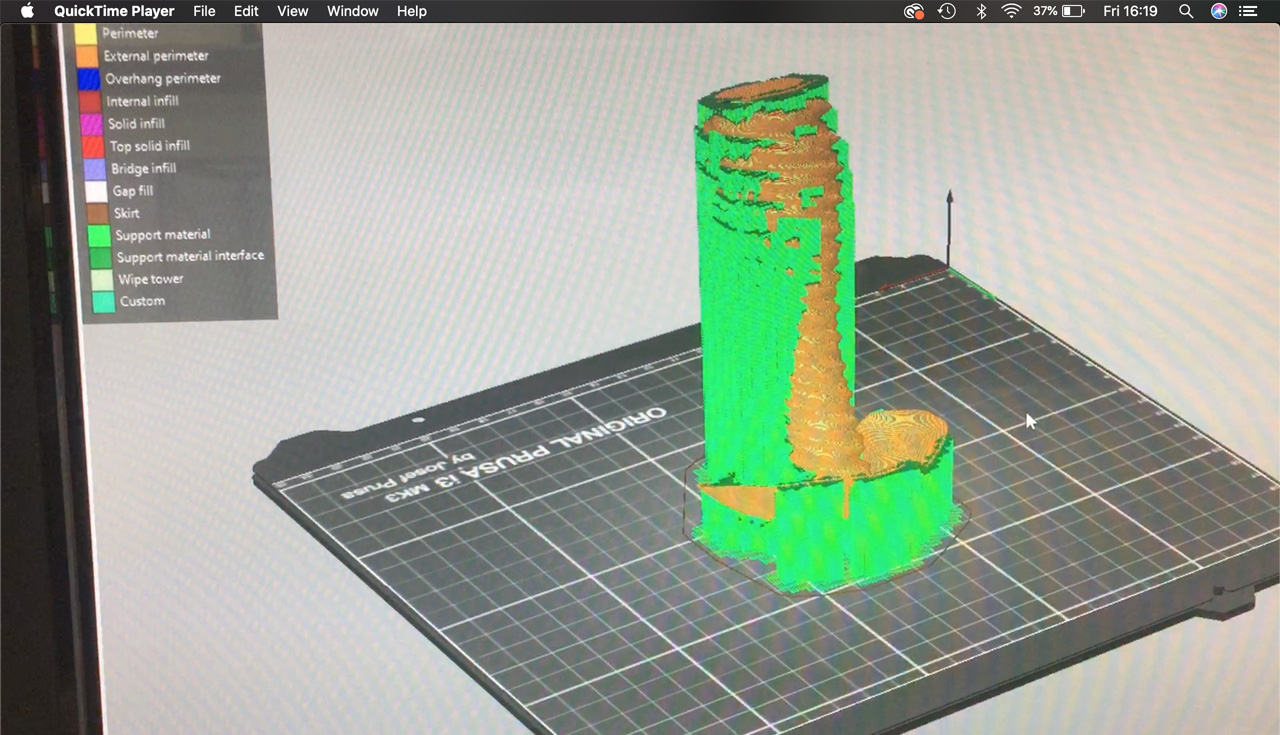
In this screenshot you can see from the key on the left how much support is needed to print it securely
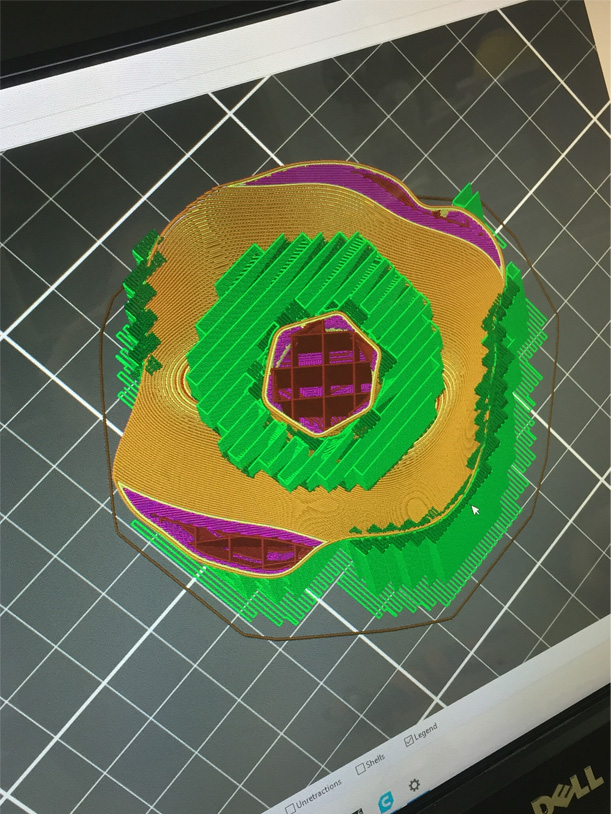
the cross section looks like a pansy
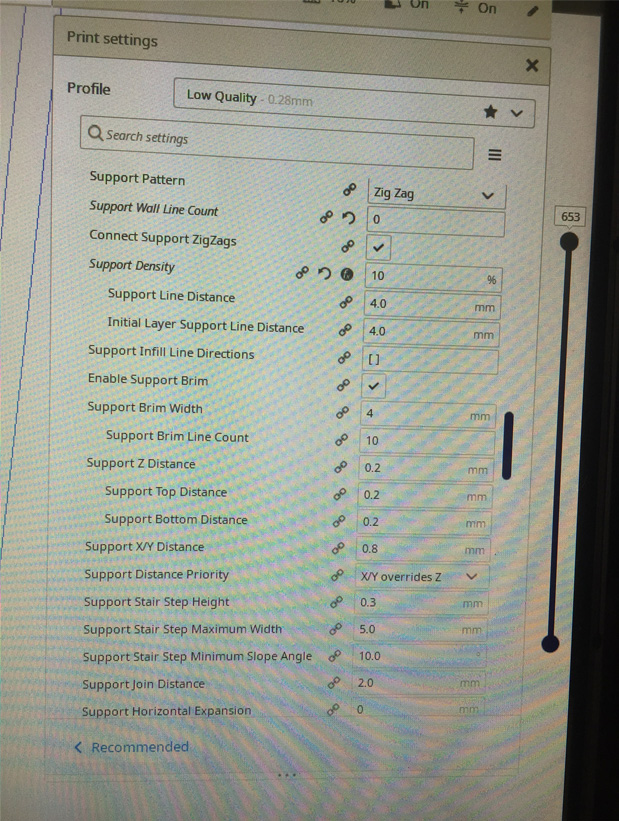
Here are the printing settings
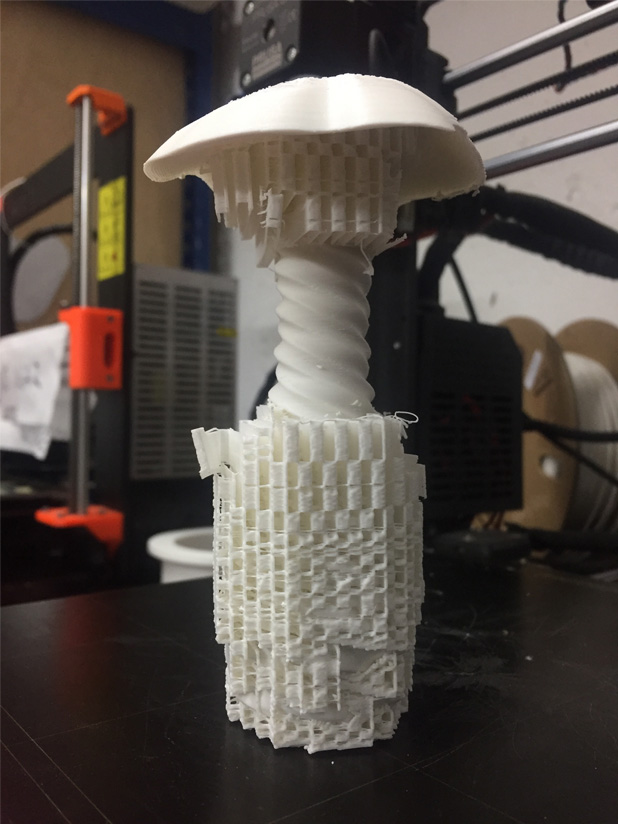
This is how it looks straight after printing - you can see how much support it needed!
it looks like an outdoor heater
The model took 13 hours to print
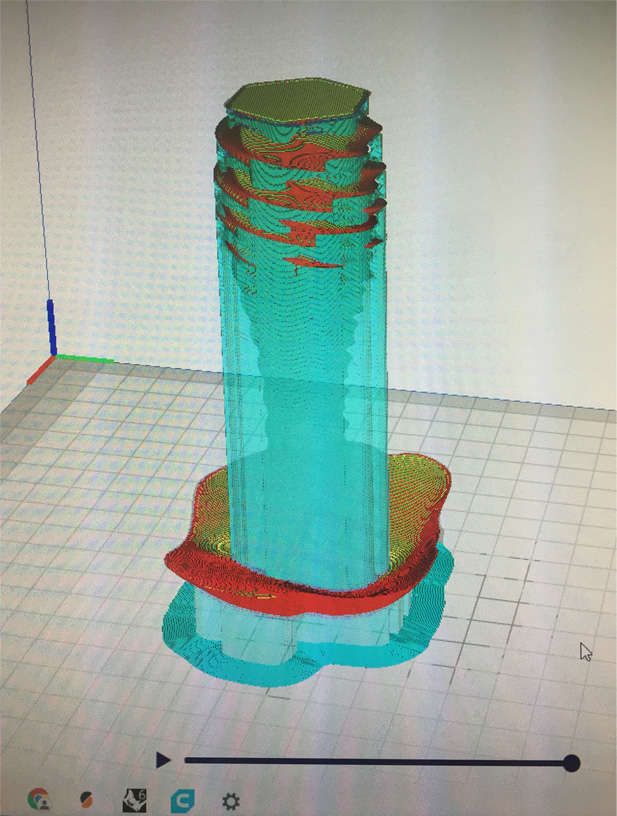
Here you can see my 3d model:
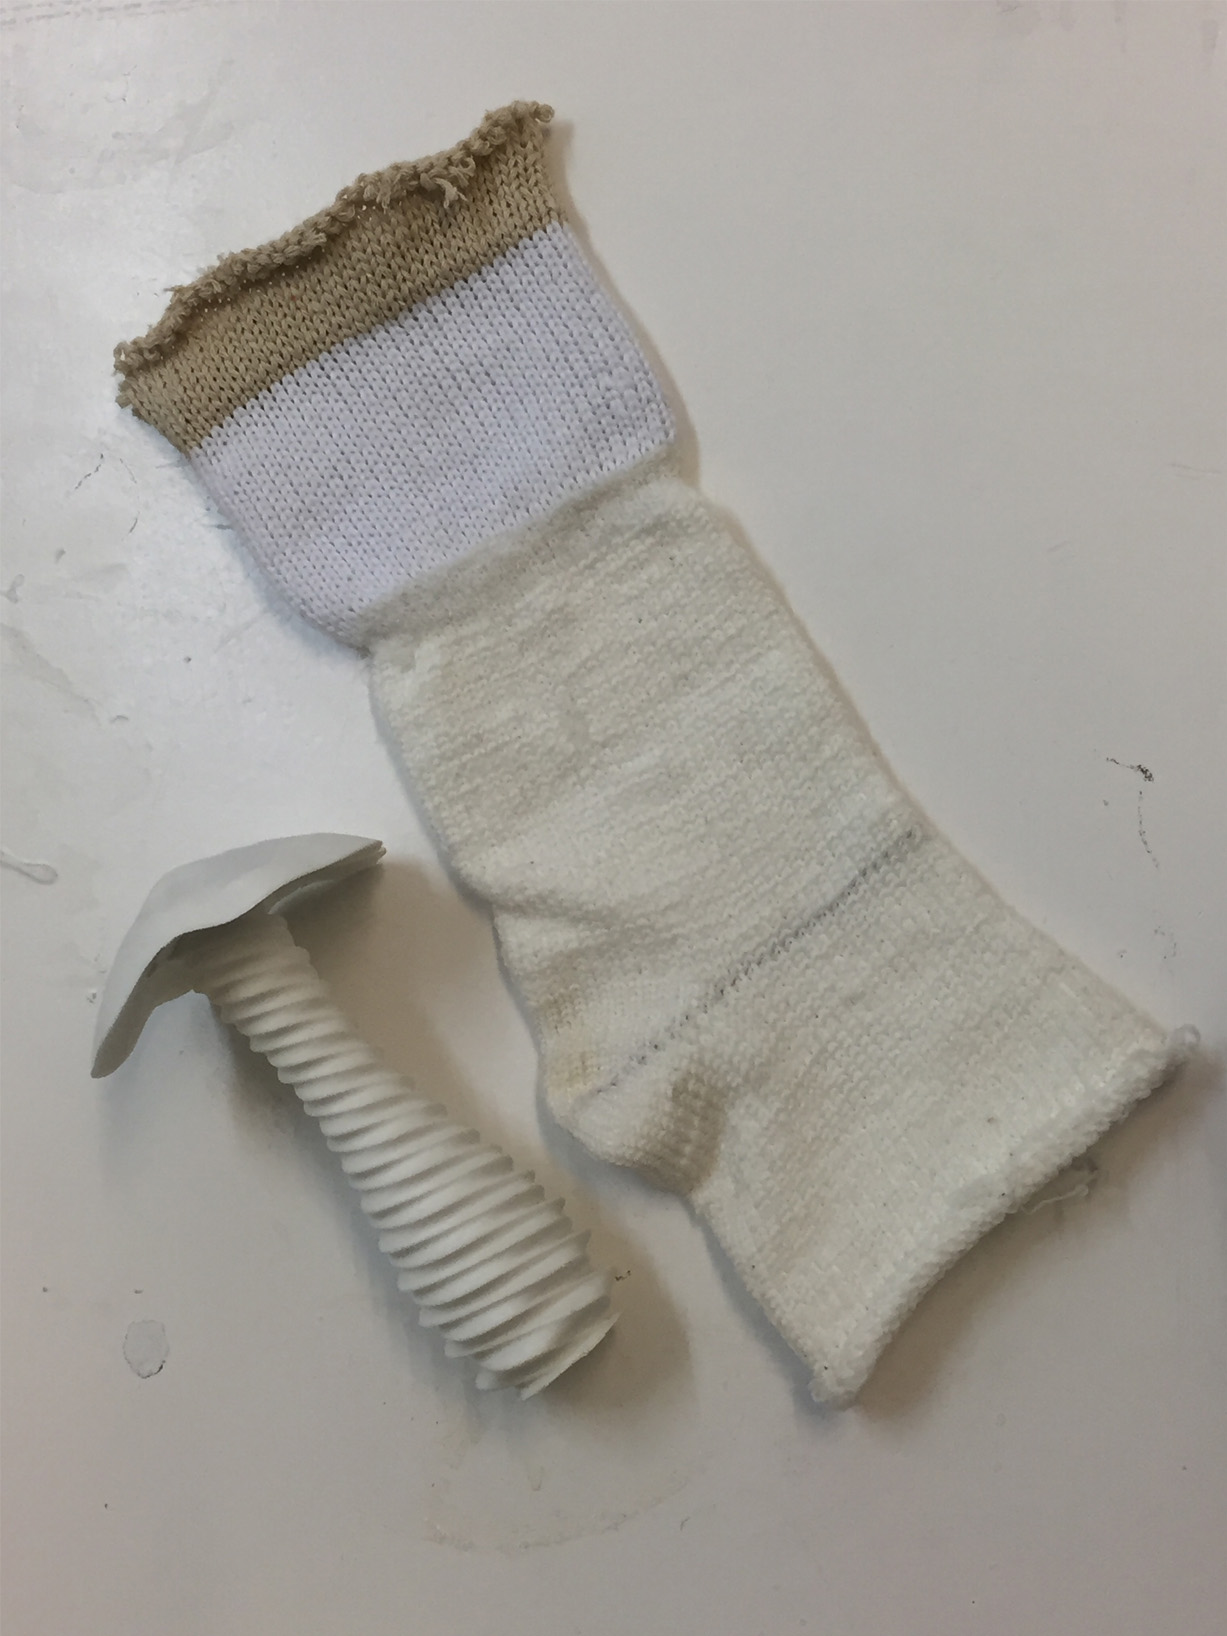
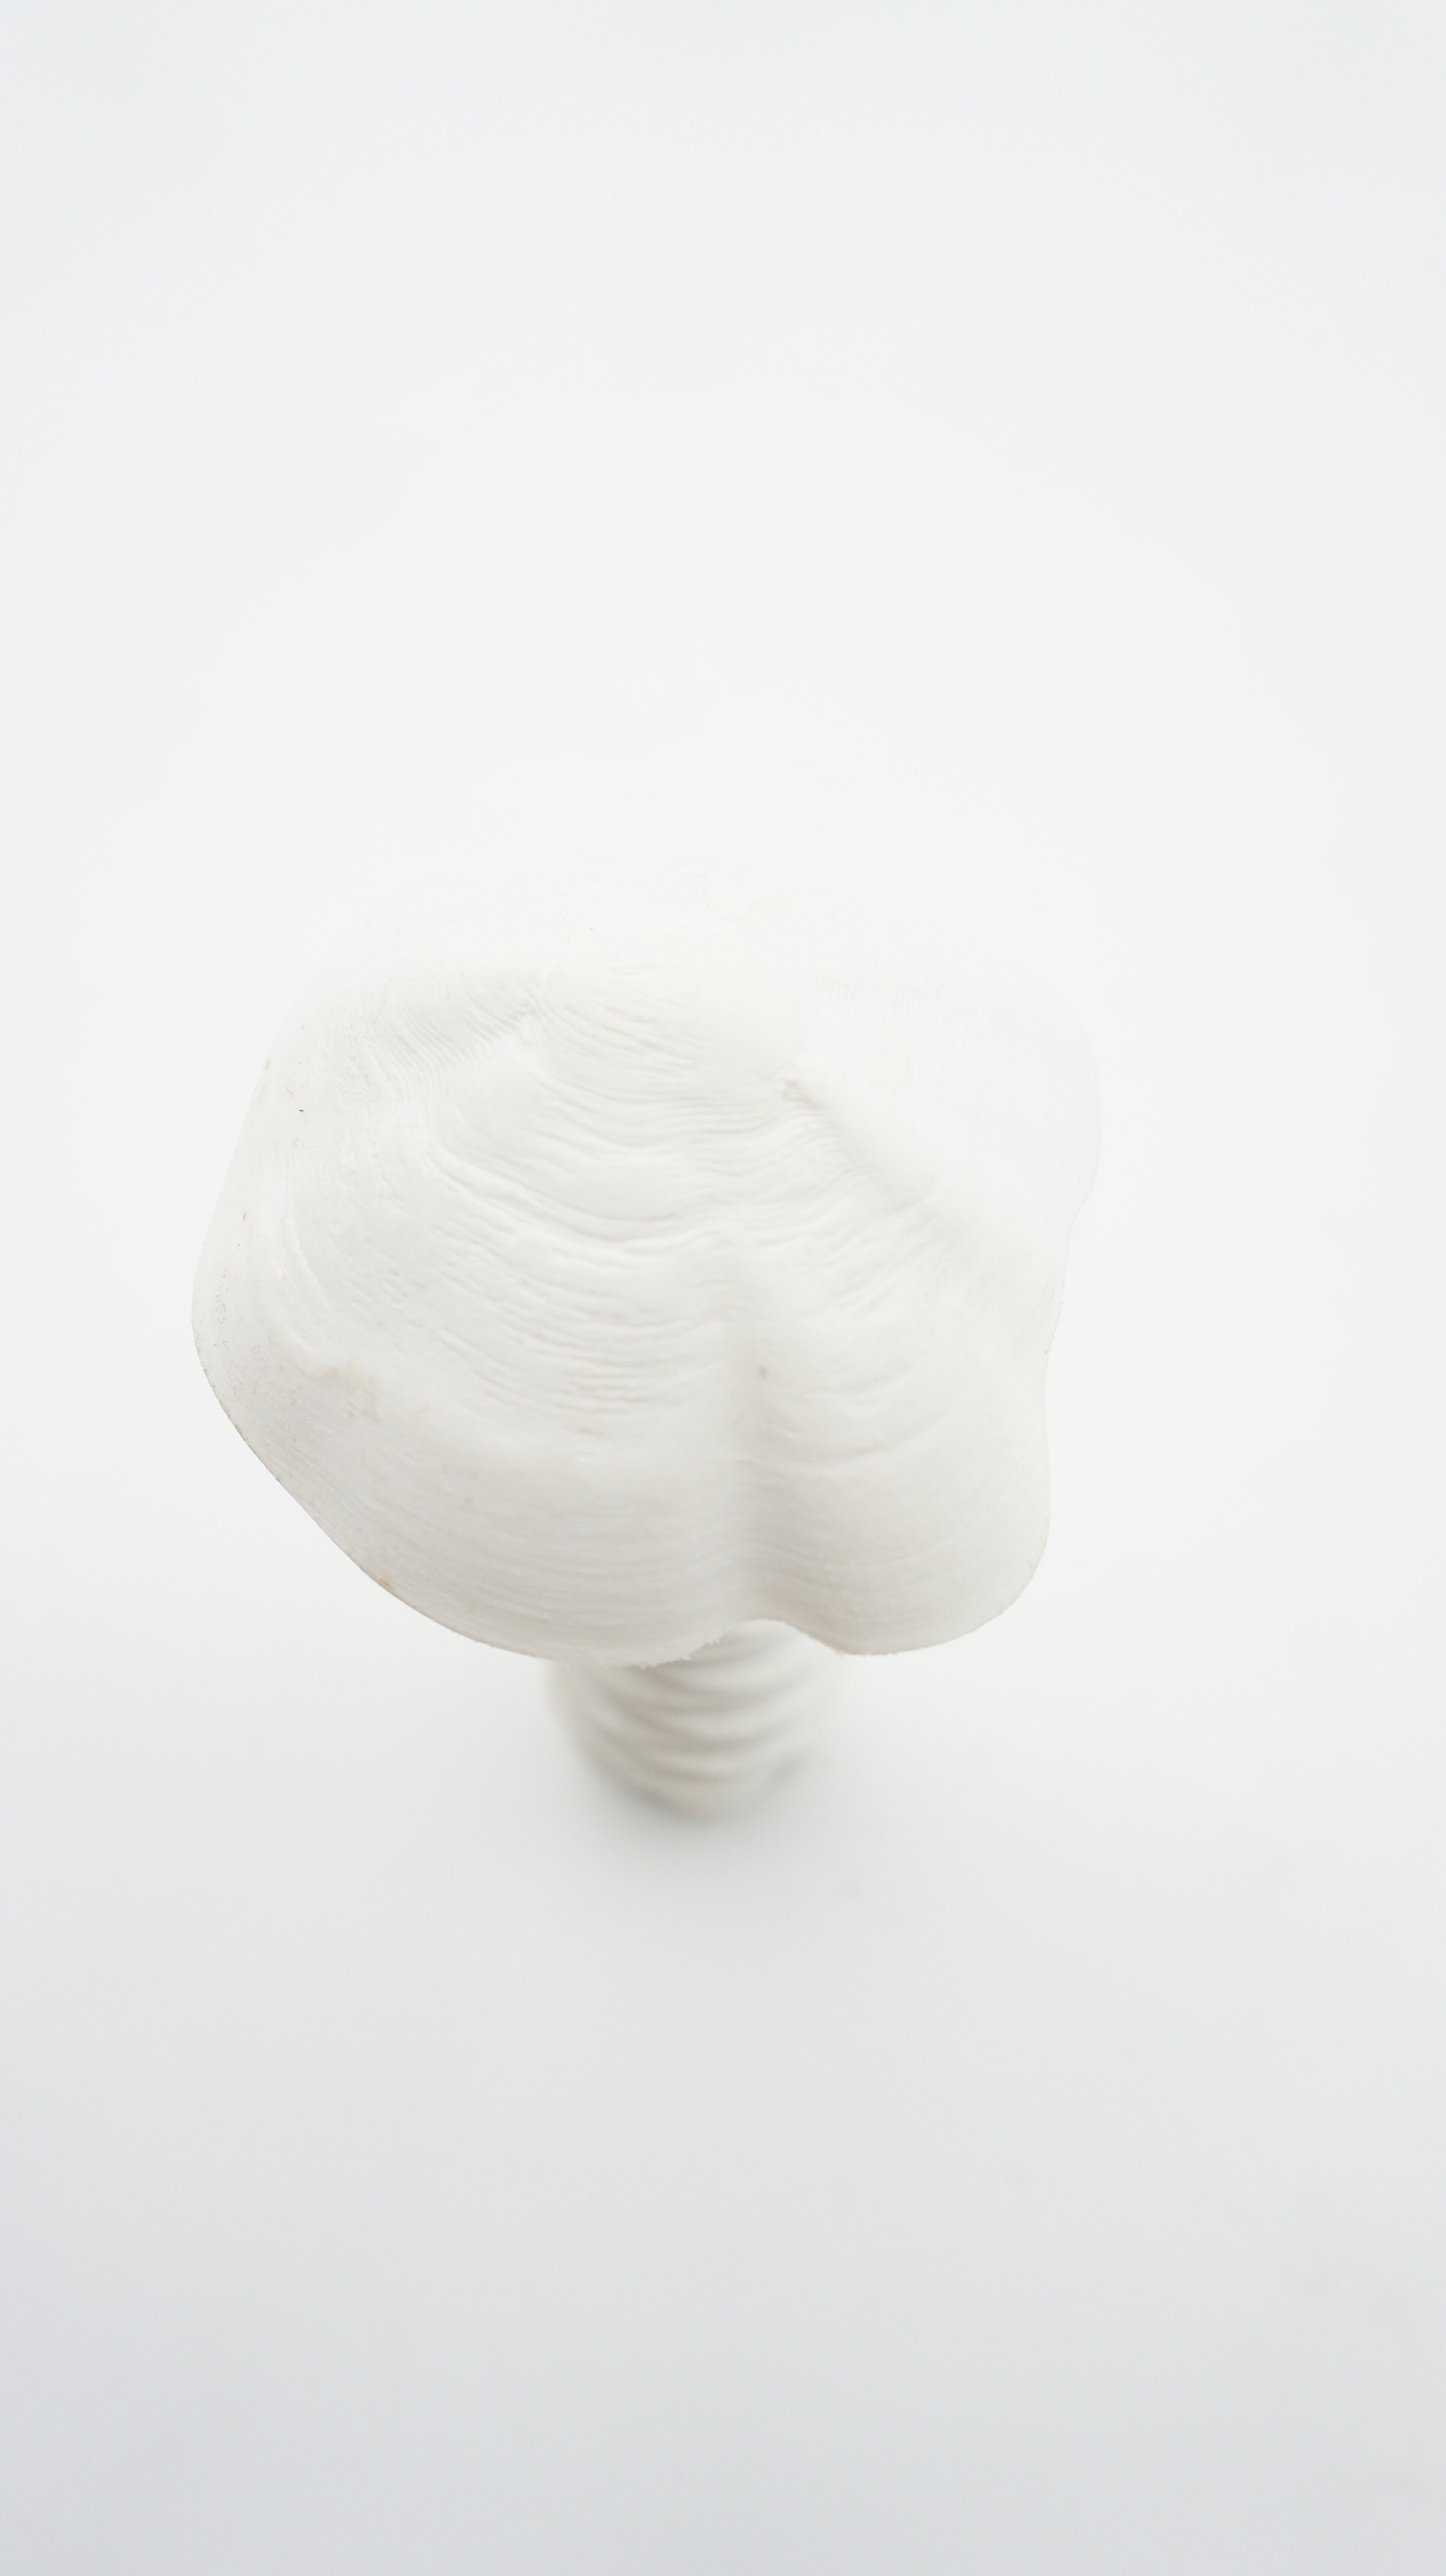
And here is the final printed tool!

diy ceramic extrusion
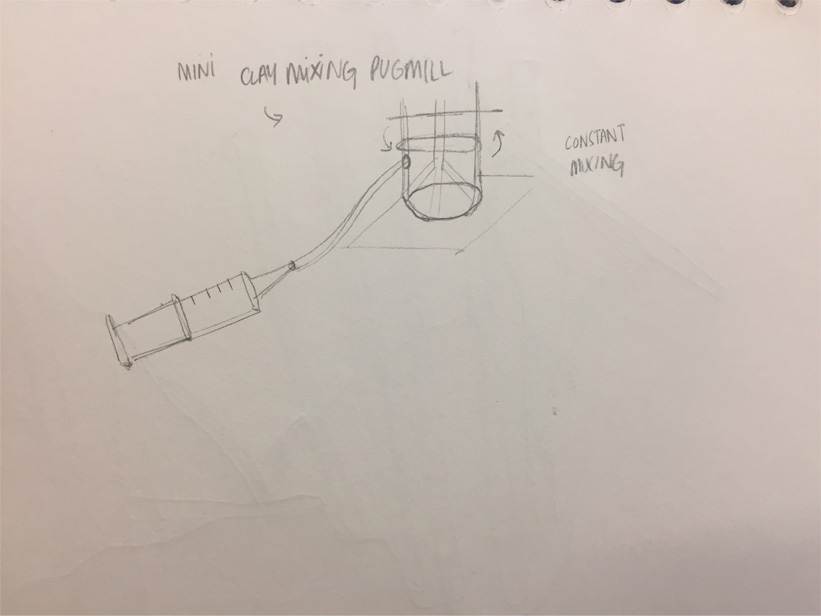
I tried concrete casting last week and it was difficult to fill in the embroidered pockets before the casting dried. So I was thinking about making a mini machine like a pugmill used in ceramics so the ceramic consistency is maintained longer.
here's a rough sketch
I had a look at some documentation from last year by Sara Alvarez Vinagre who did a biomaterials extruder.
A ceramic extruder would mean I can experiment with ceramic and textile combinations.
This organisation are rebuilding coral reefs in Colombia with parametric ceramic structures:
There is also this open source ceramic 3d printer from Thingiverse
hilo spinning machine
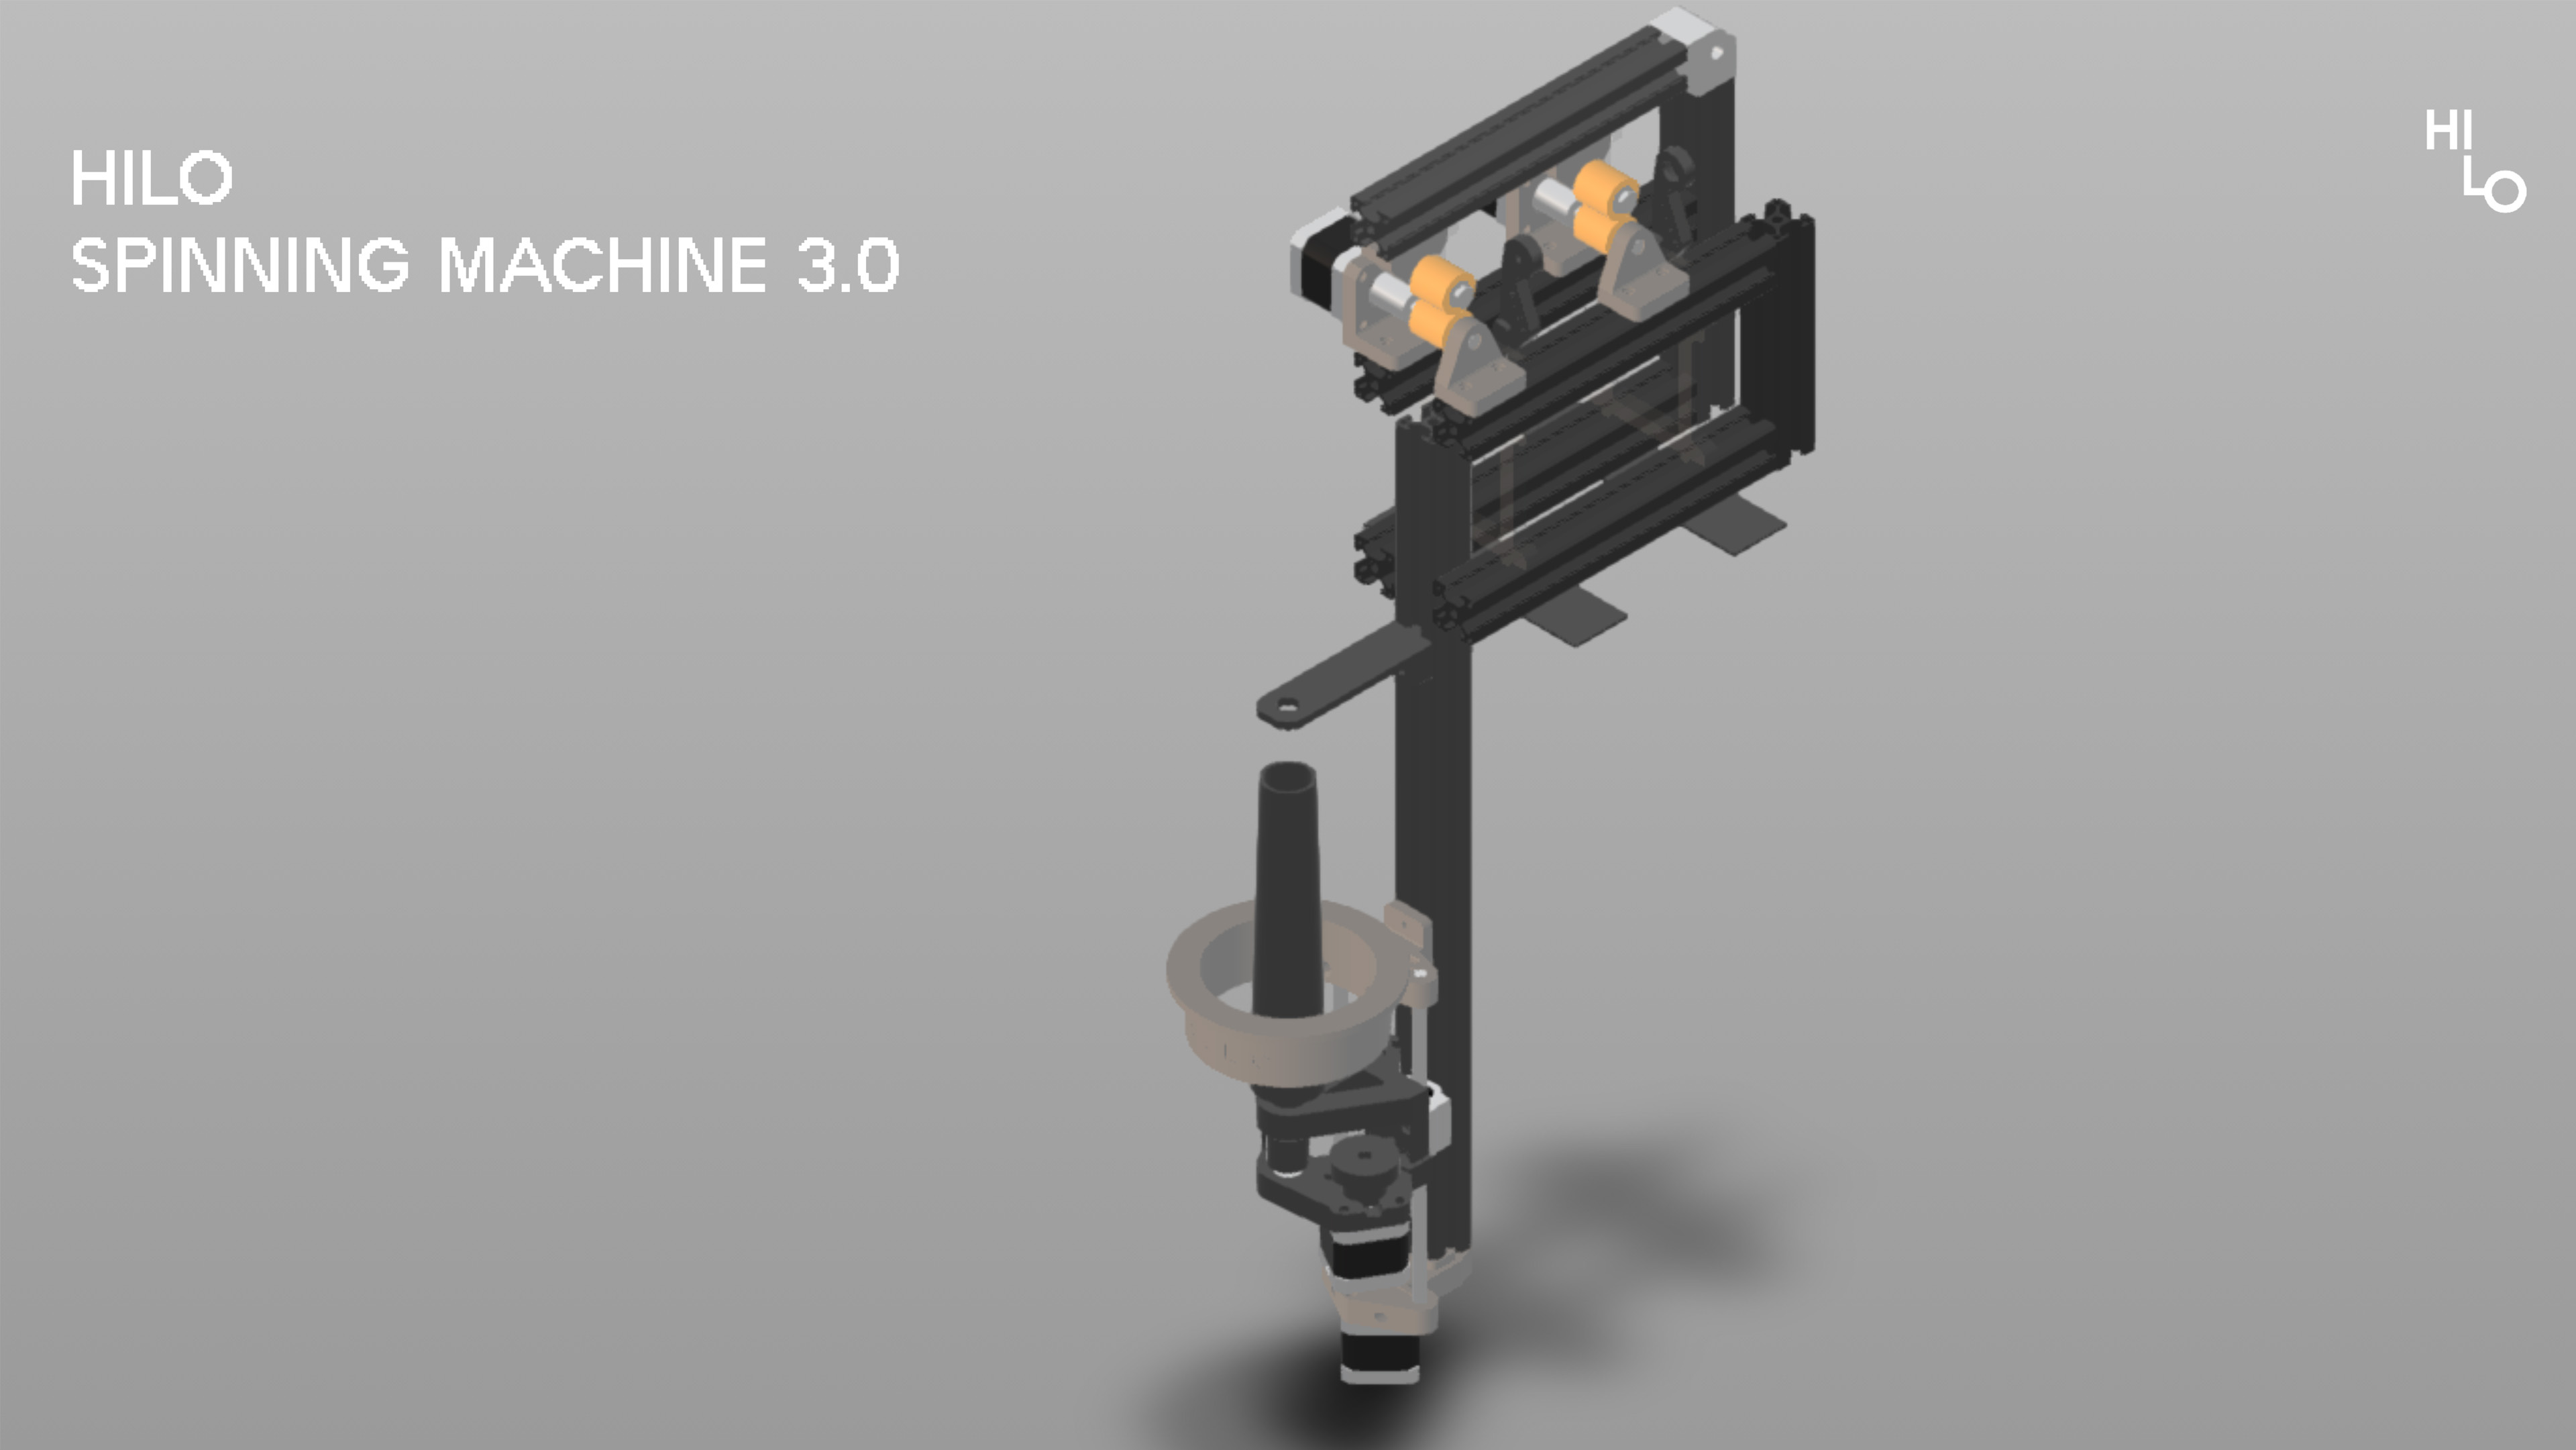
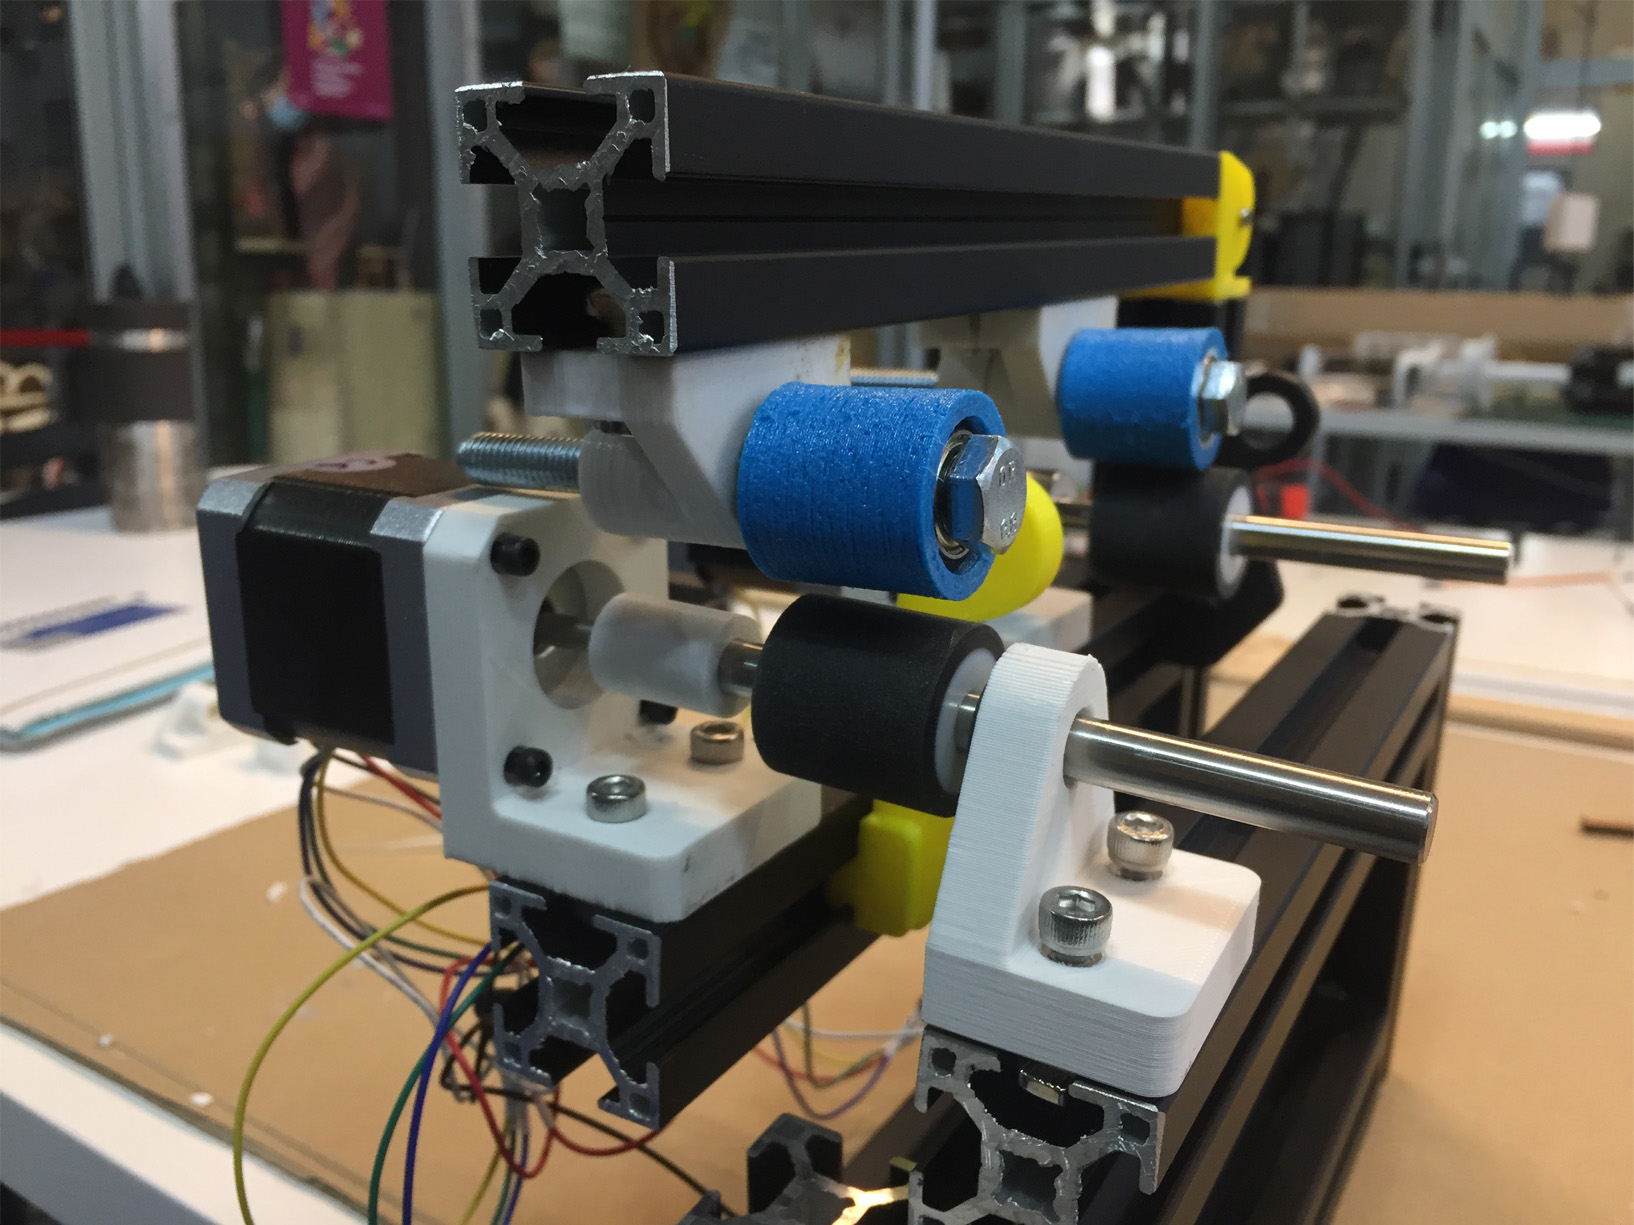
Studio Hilo are a Berlin based studio with an open source business model: for textile innovative training, material development. This week we are also using their open source hardward to build the HILO spinning machine. I worked with Saskia and Petra on this task.
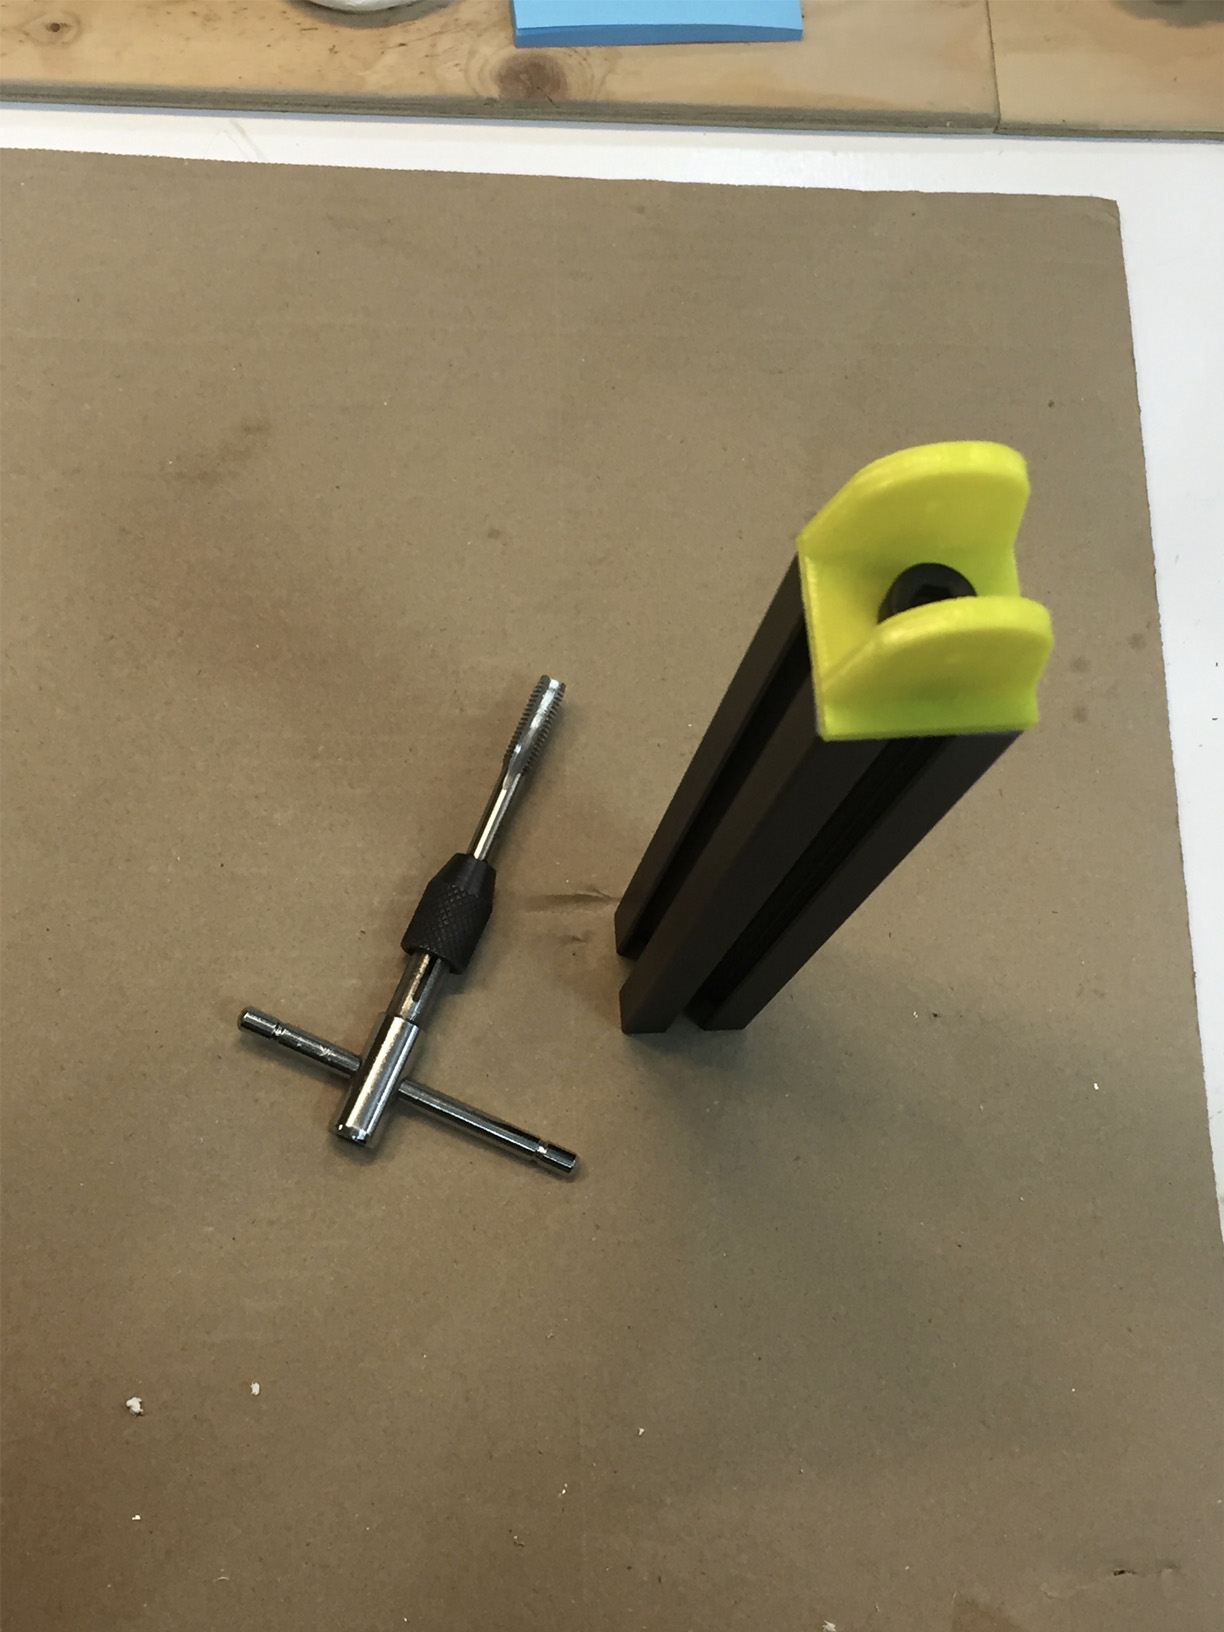
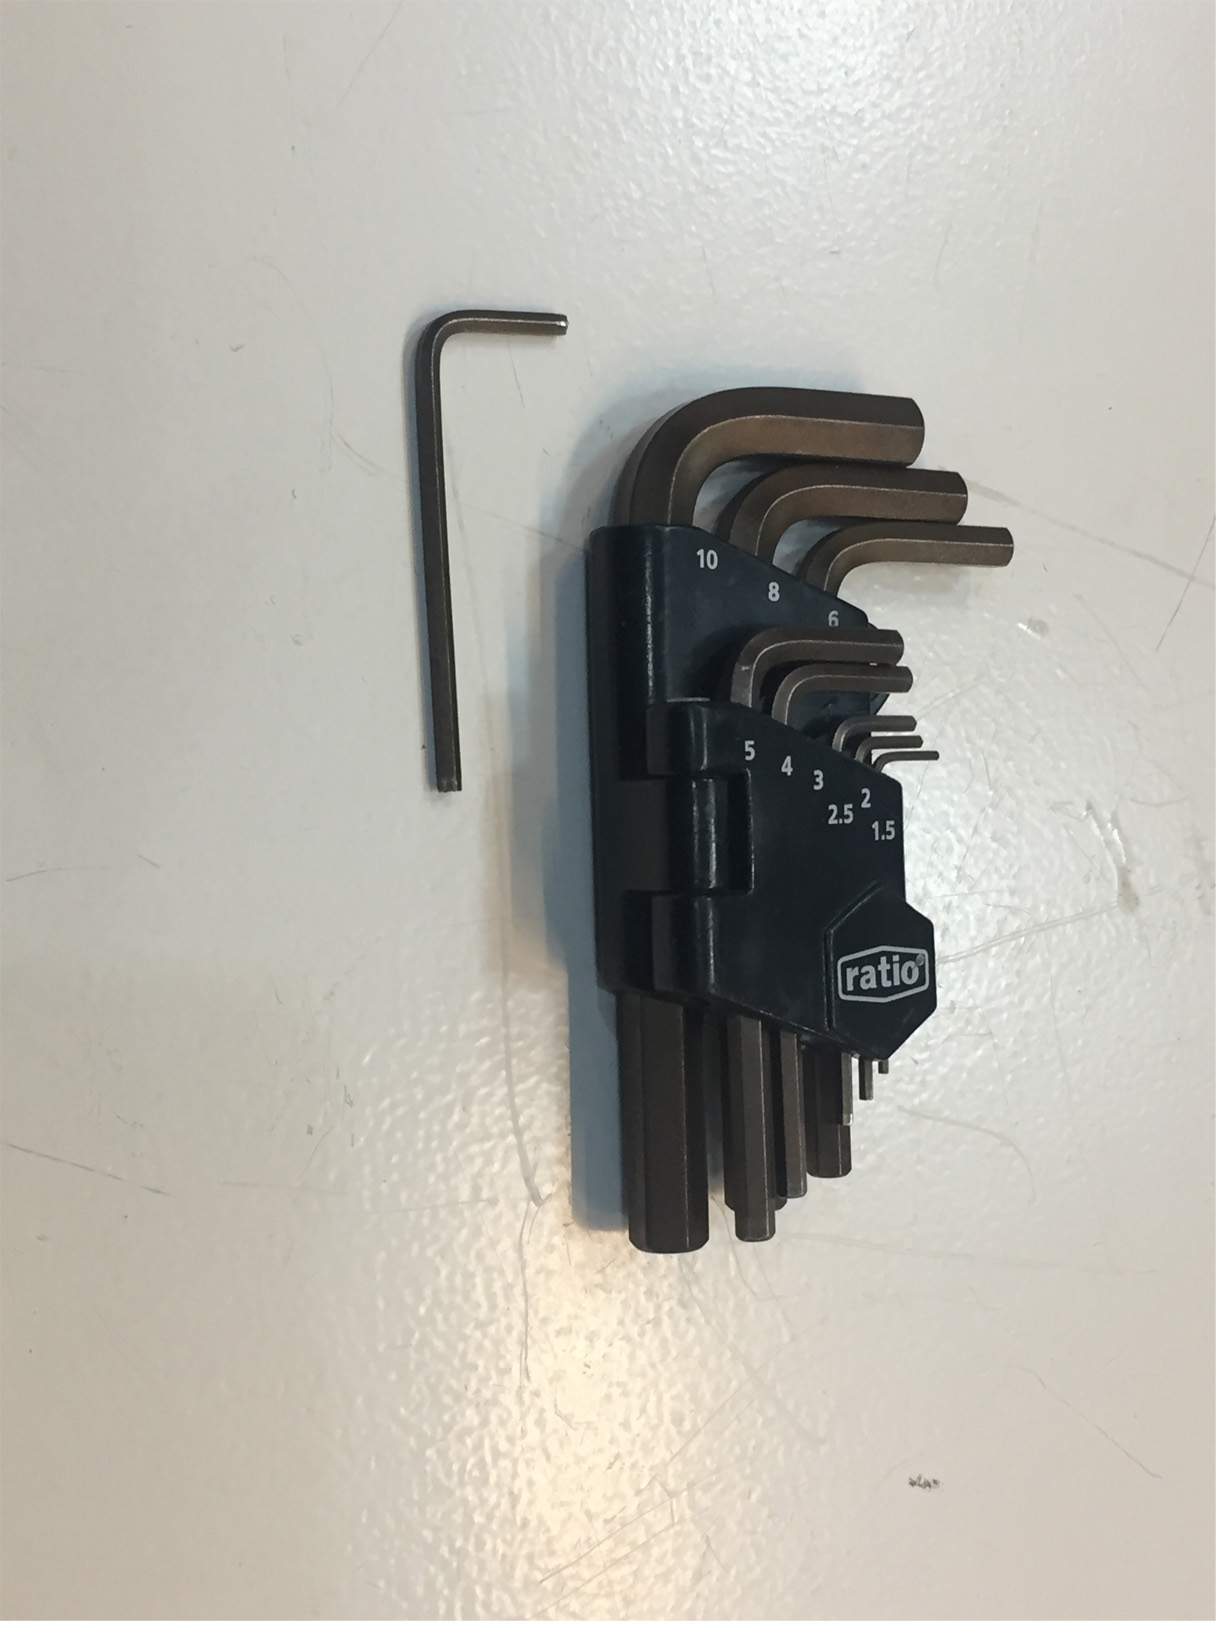
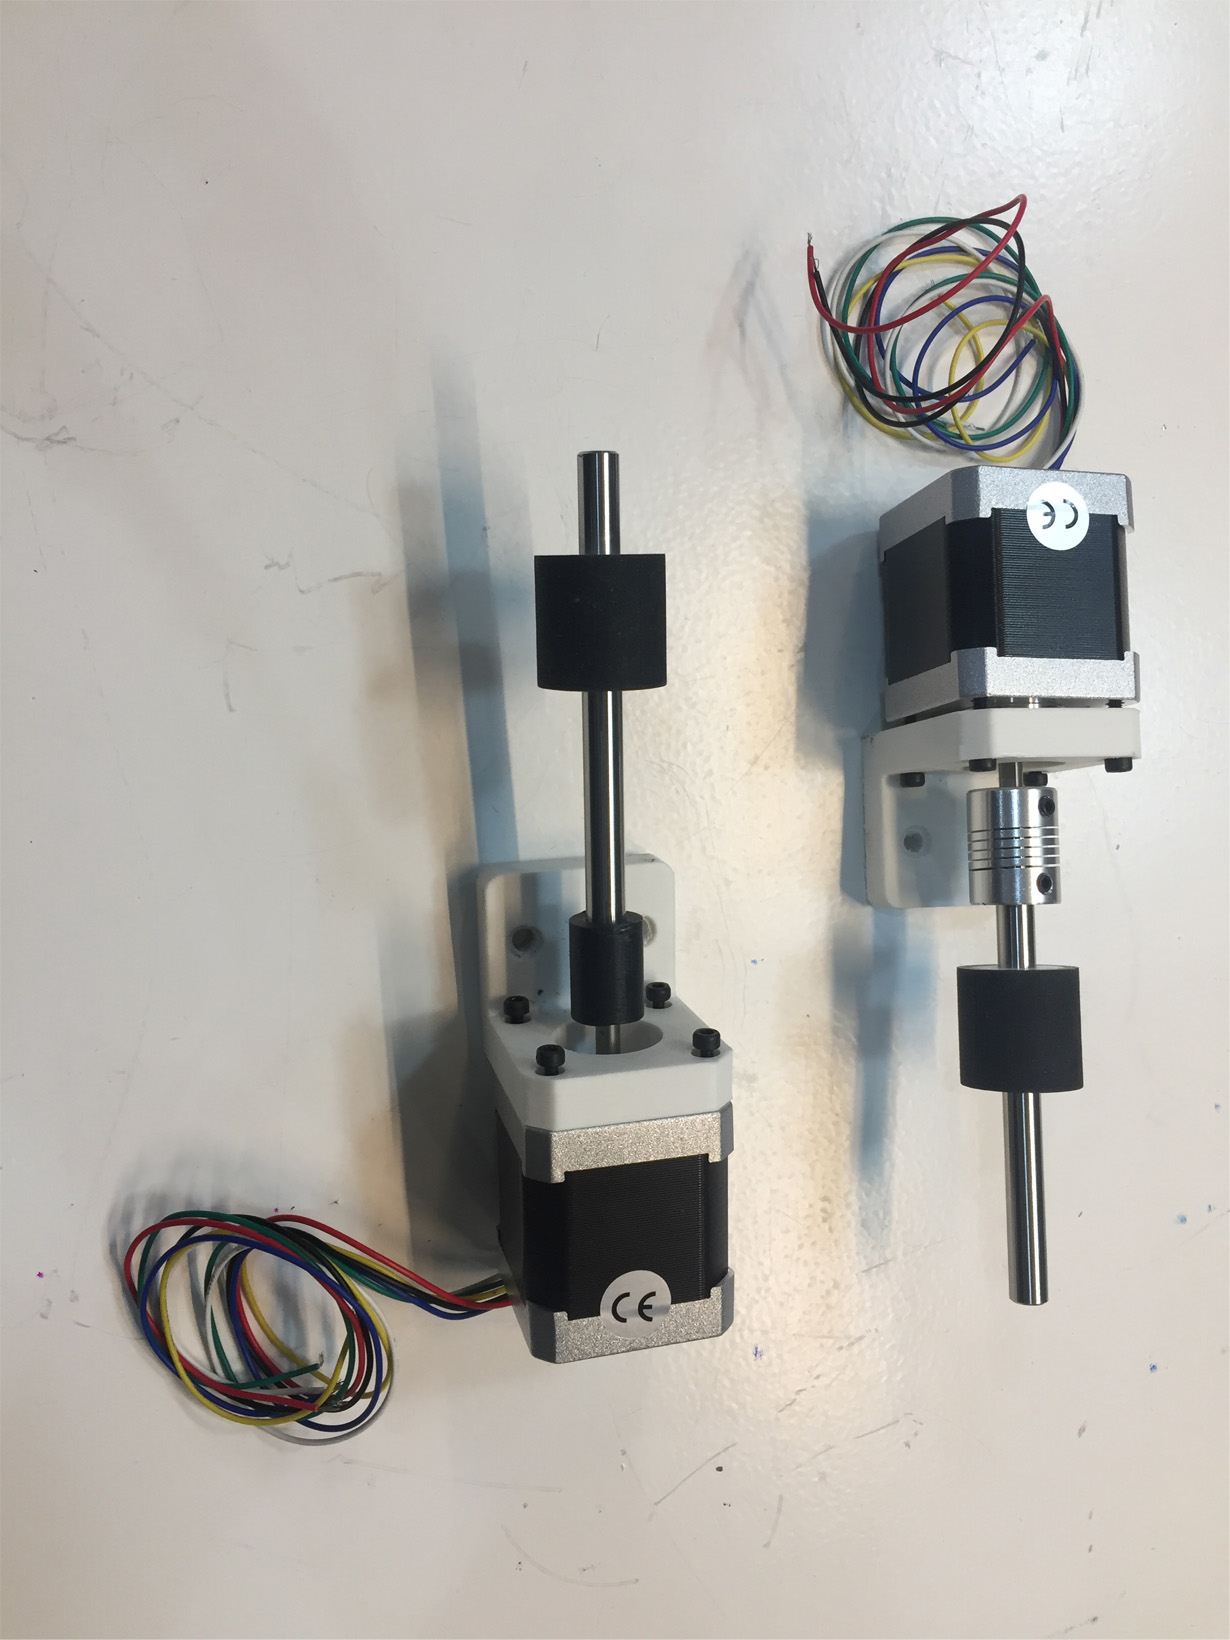
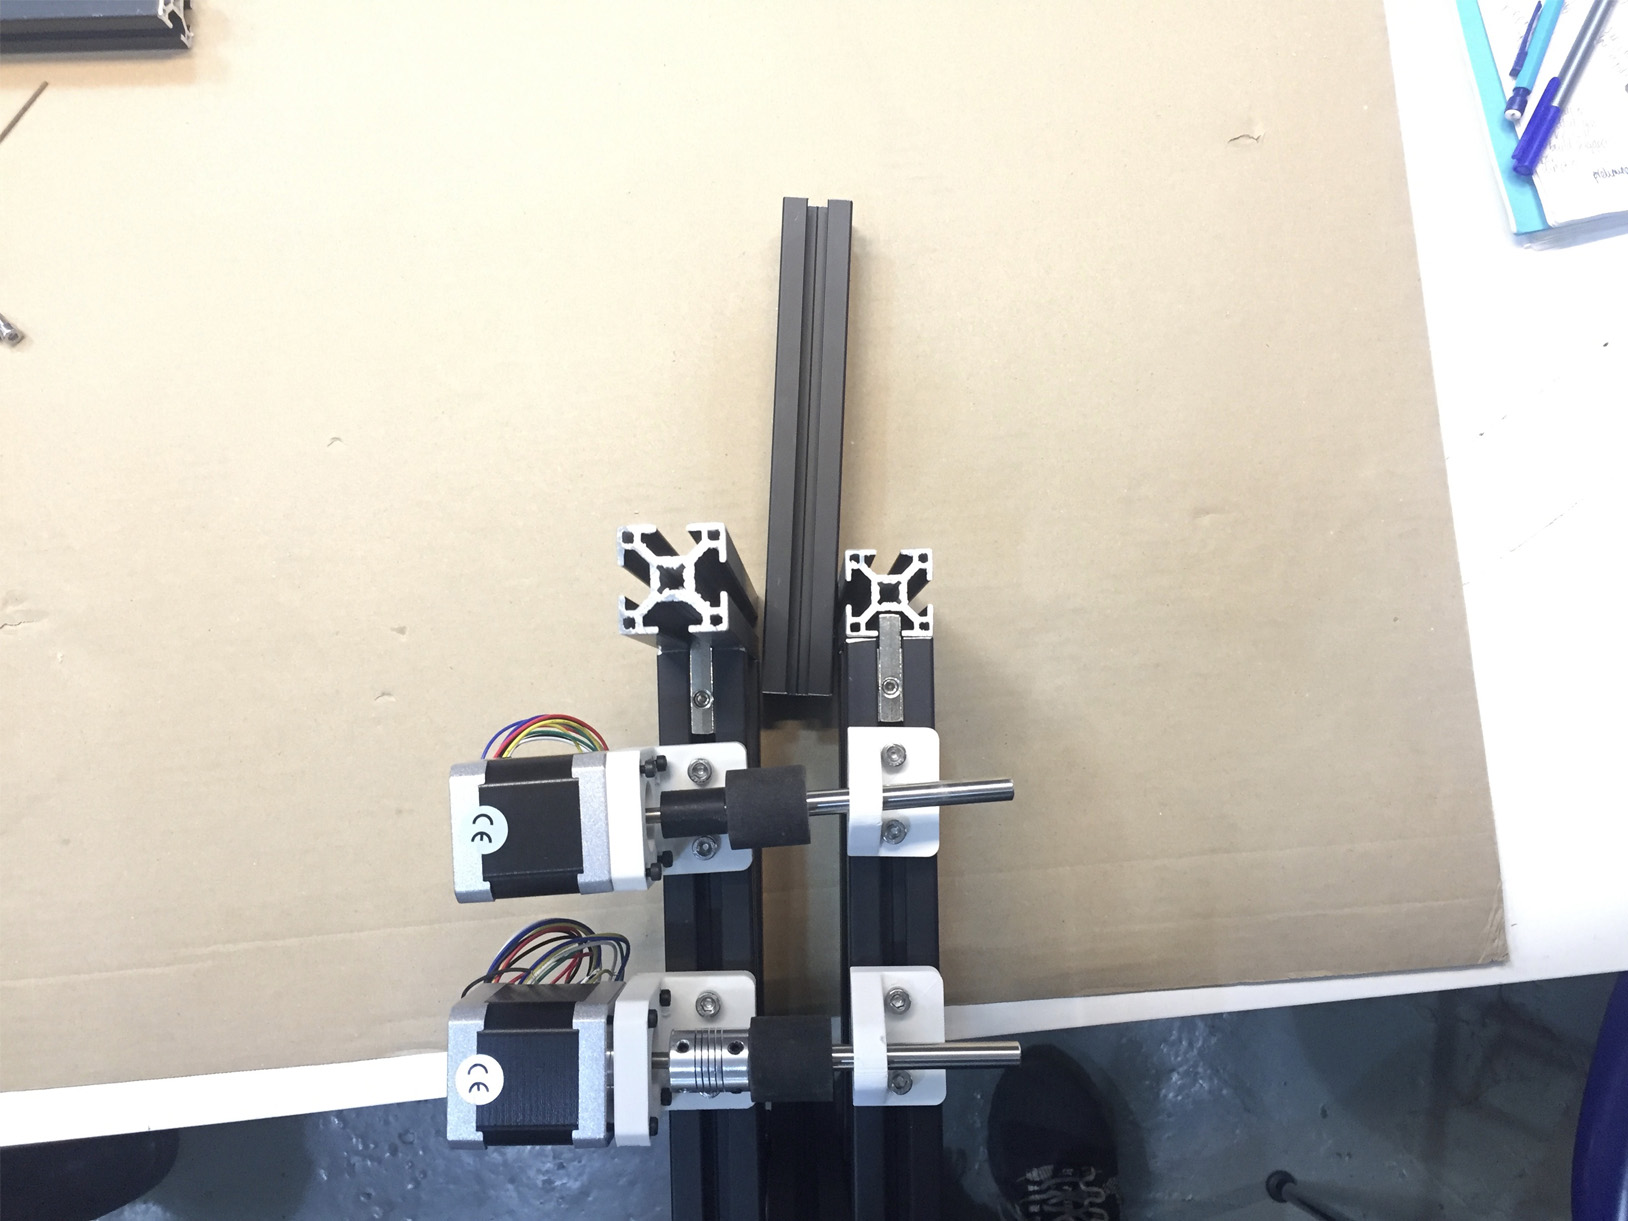
We will use the allen key and wrench to put together most of the components:

Also from the first picture, you can see that one of the main mechanisms of the machine are the two motors that drive the pressure cylinders that will spin the threads.
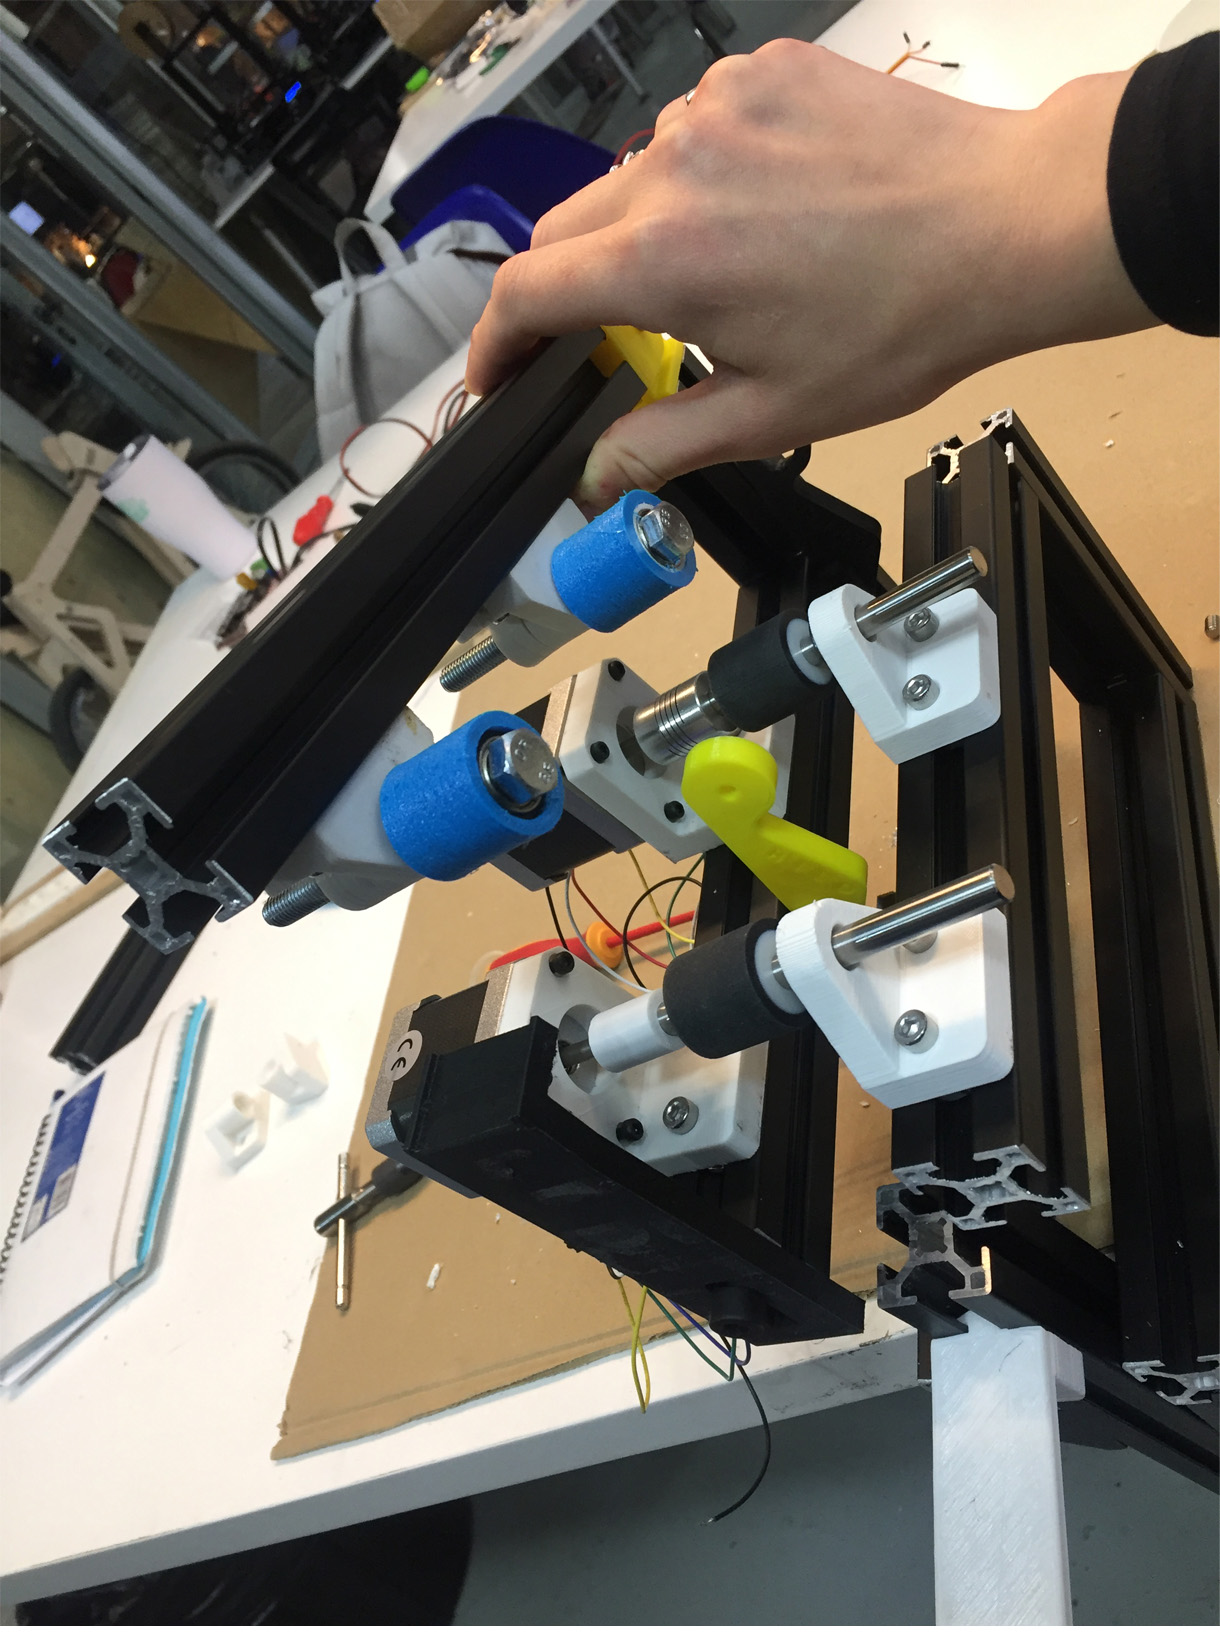
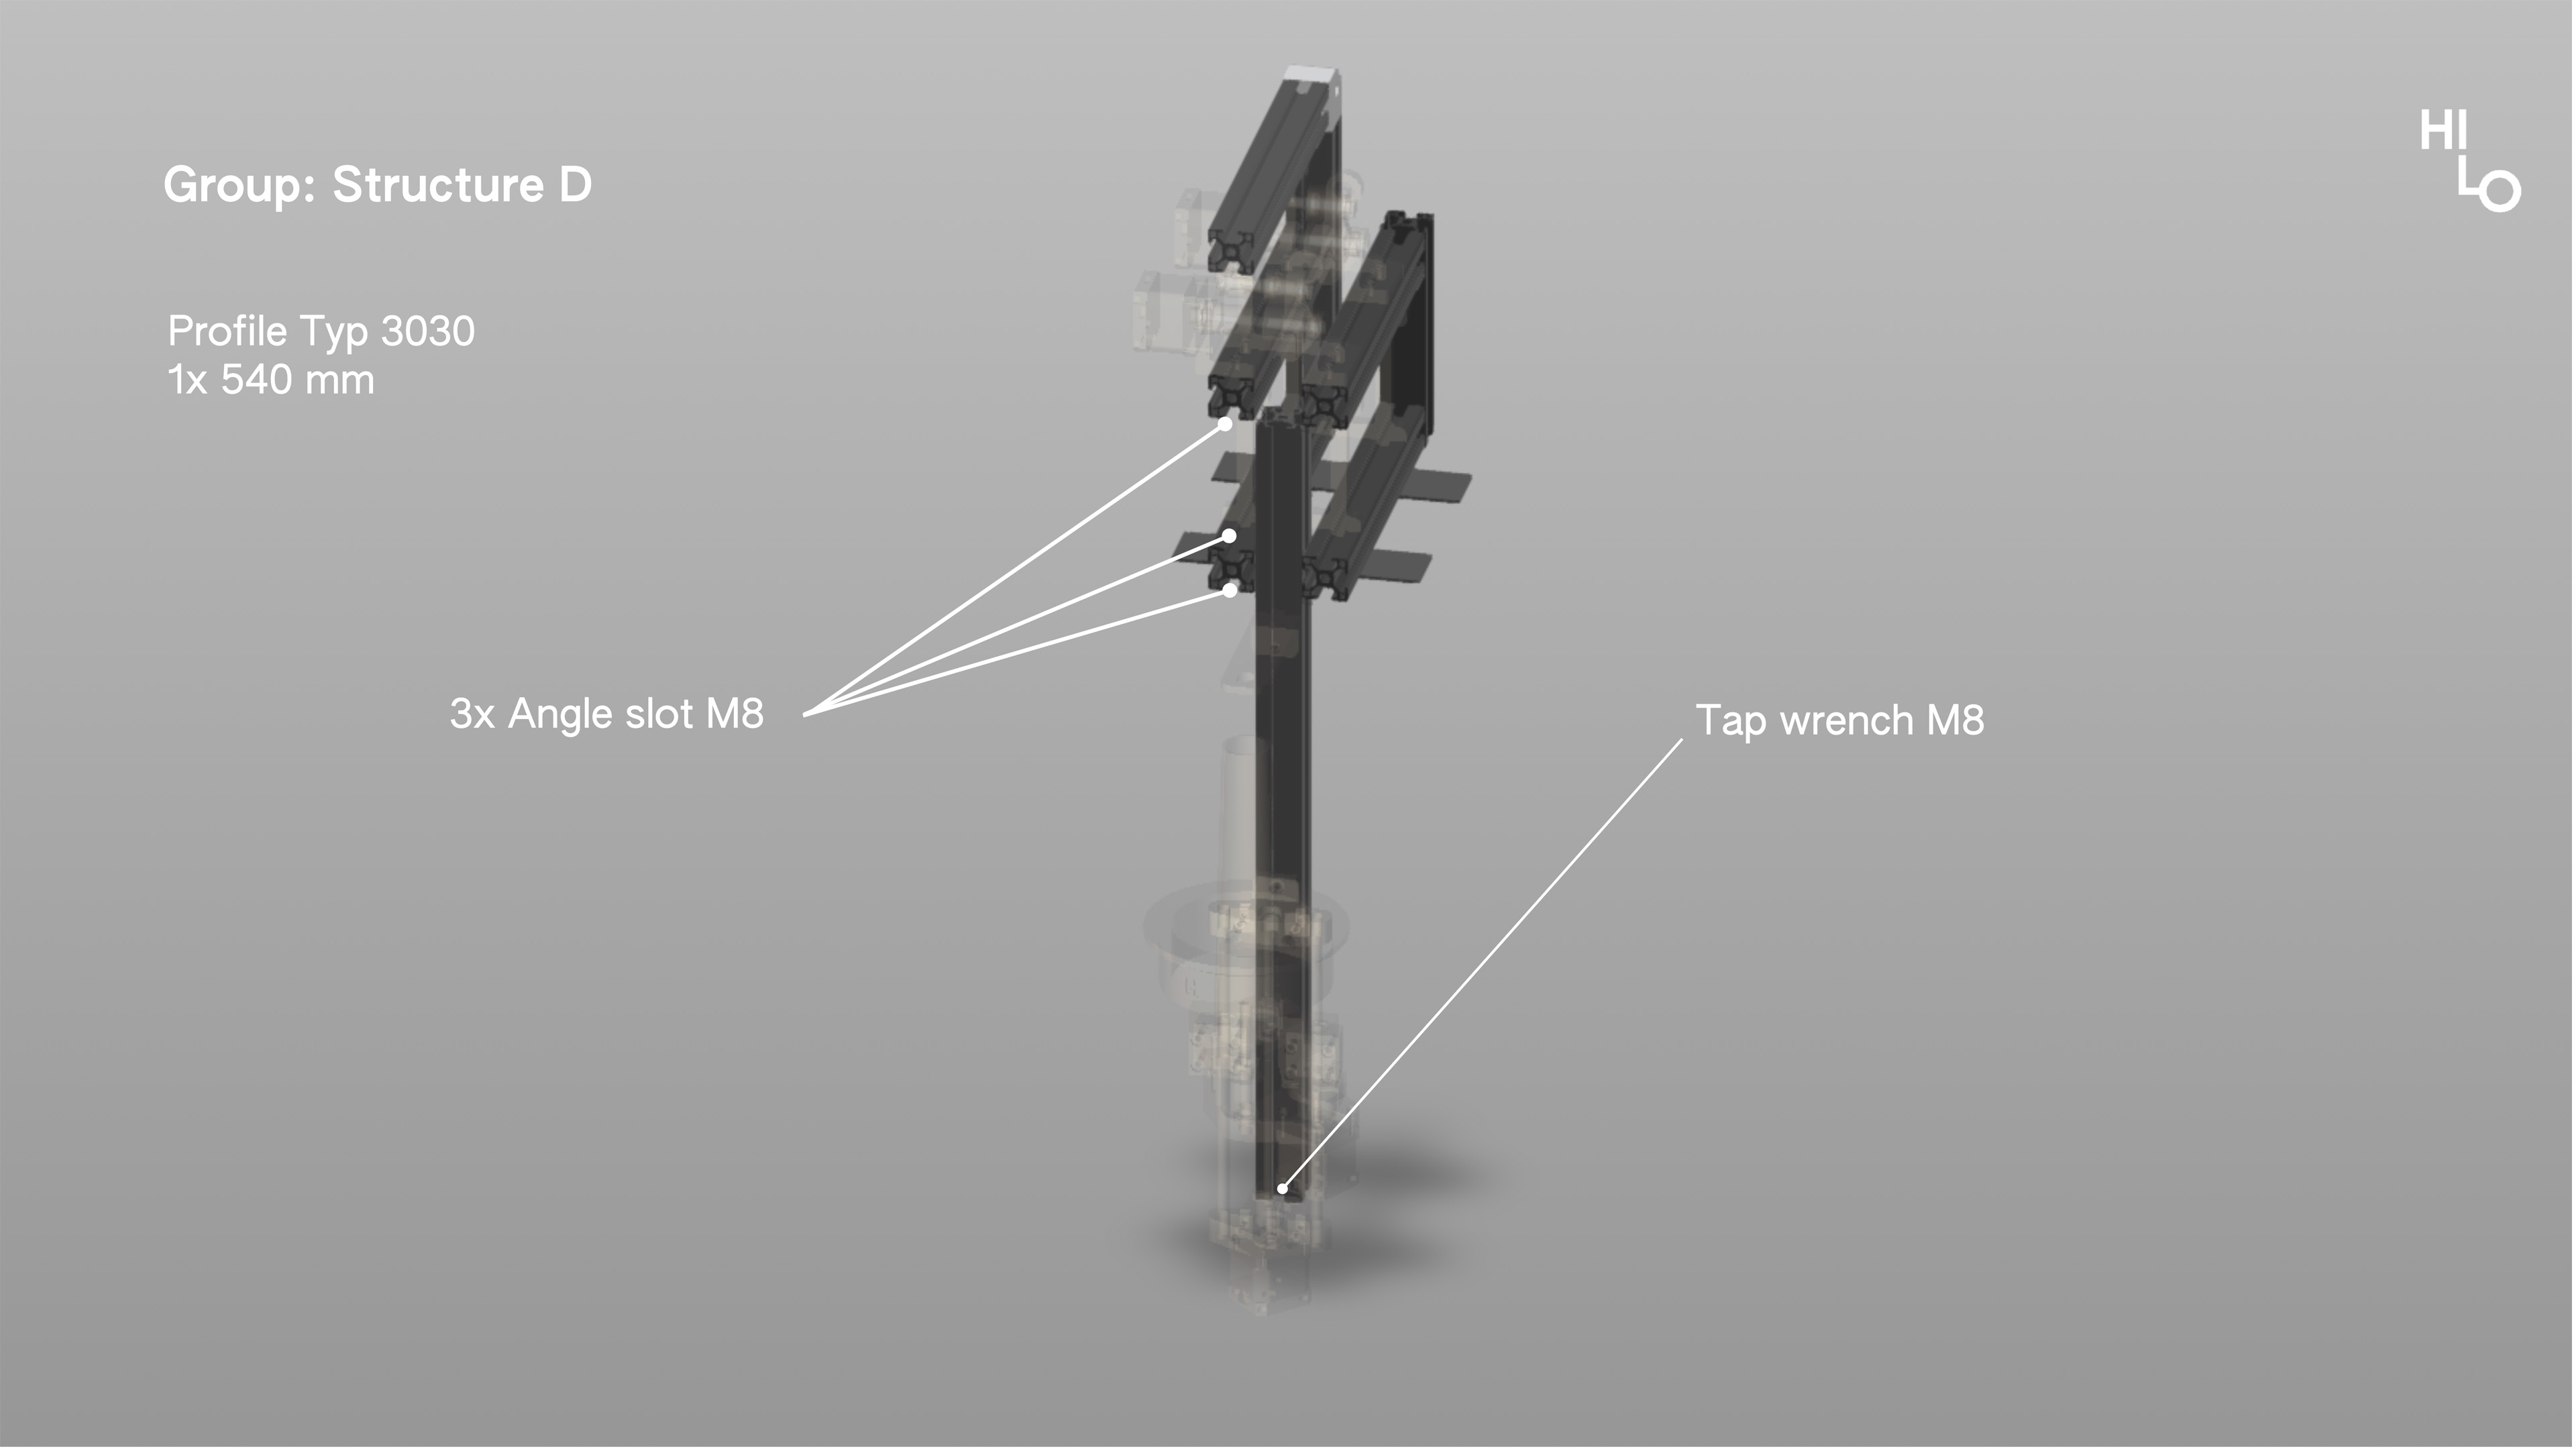
First thing to do is build the part which will be secured to the table aka the group structure. There is the part shaped like a P with a pole that reaches the floor, and there is the other part which is more like an E without the longer pole.
We have to use the wrench to open up the holes in the centre of the poles more so that they can be screwed securely..
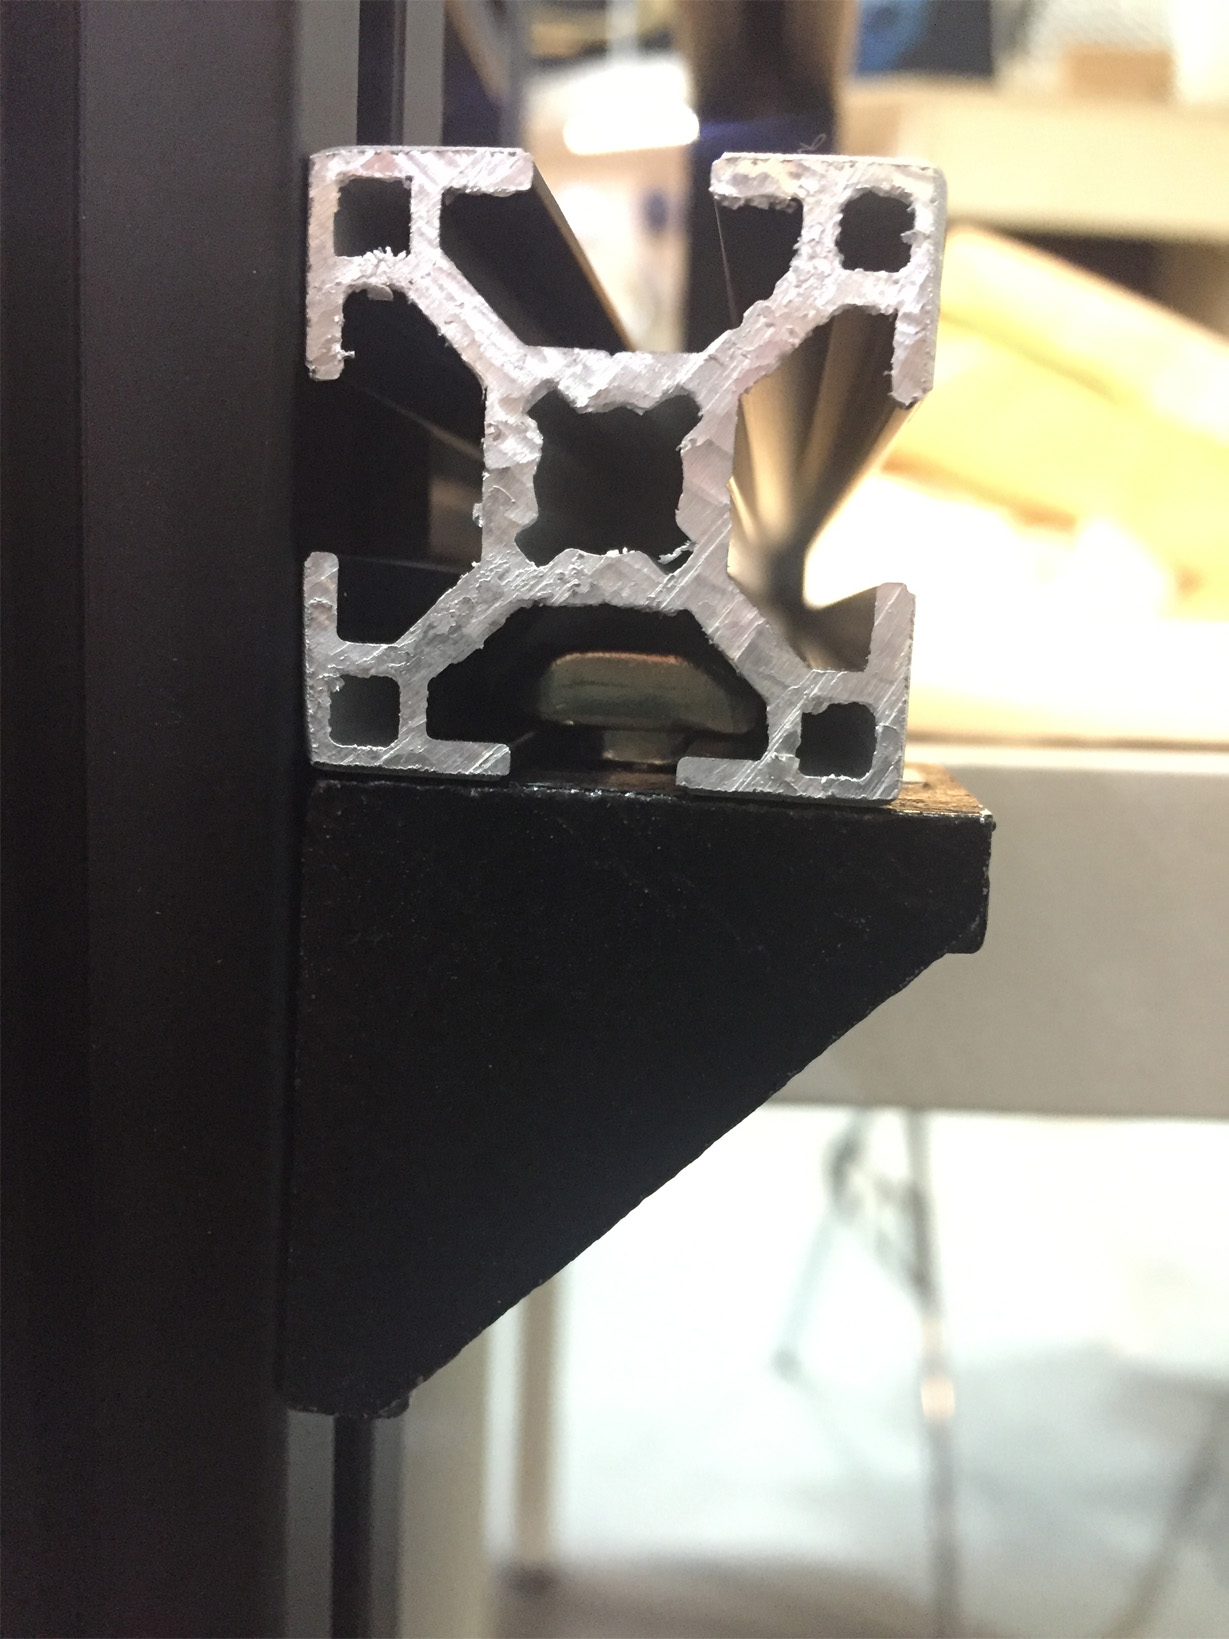
it's like opening a bottle of wine but without the wine at the end
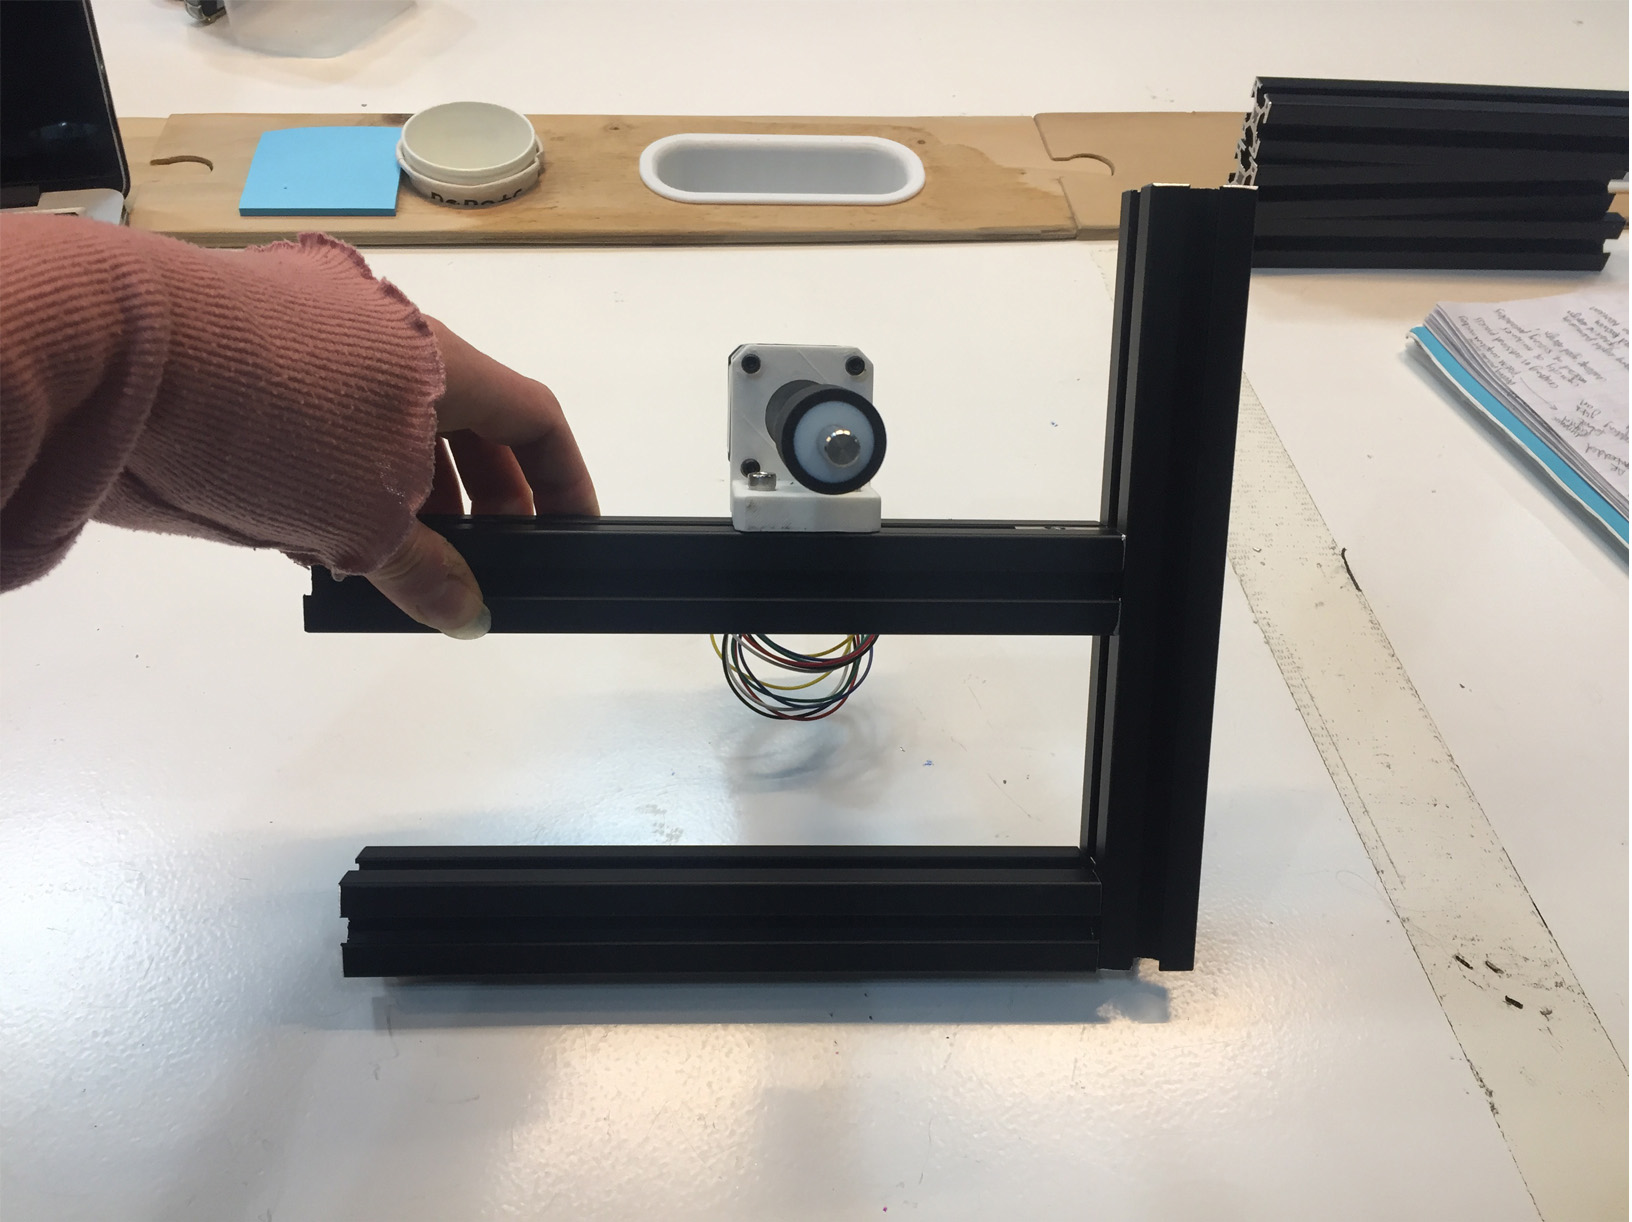
When these frame pieces are assembled they should be placed parallel on the table and then have the motors attached both to the left side.
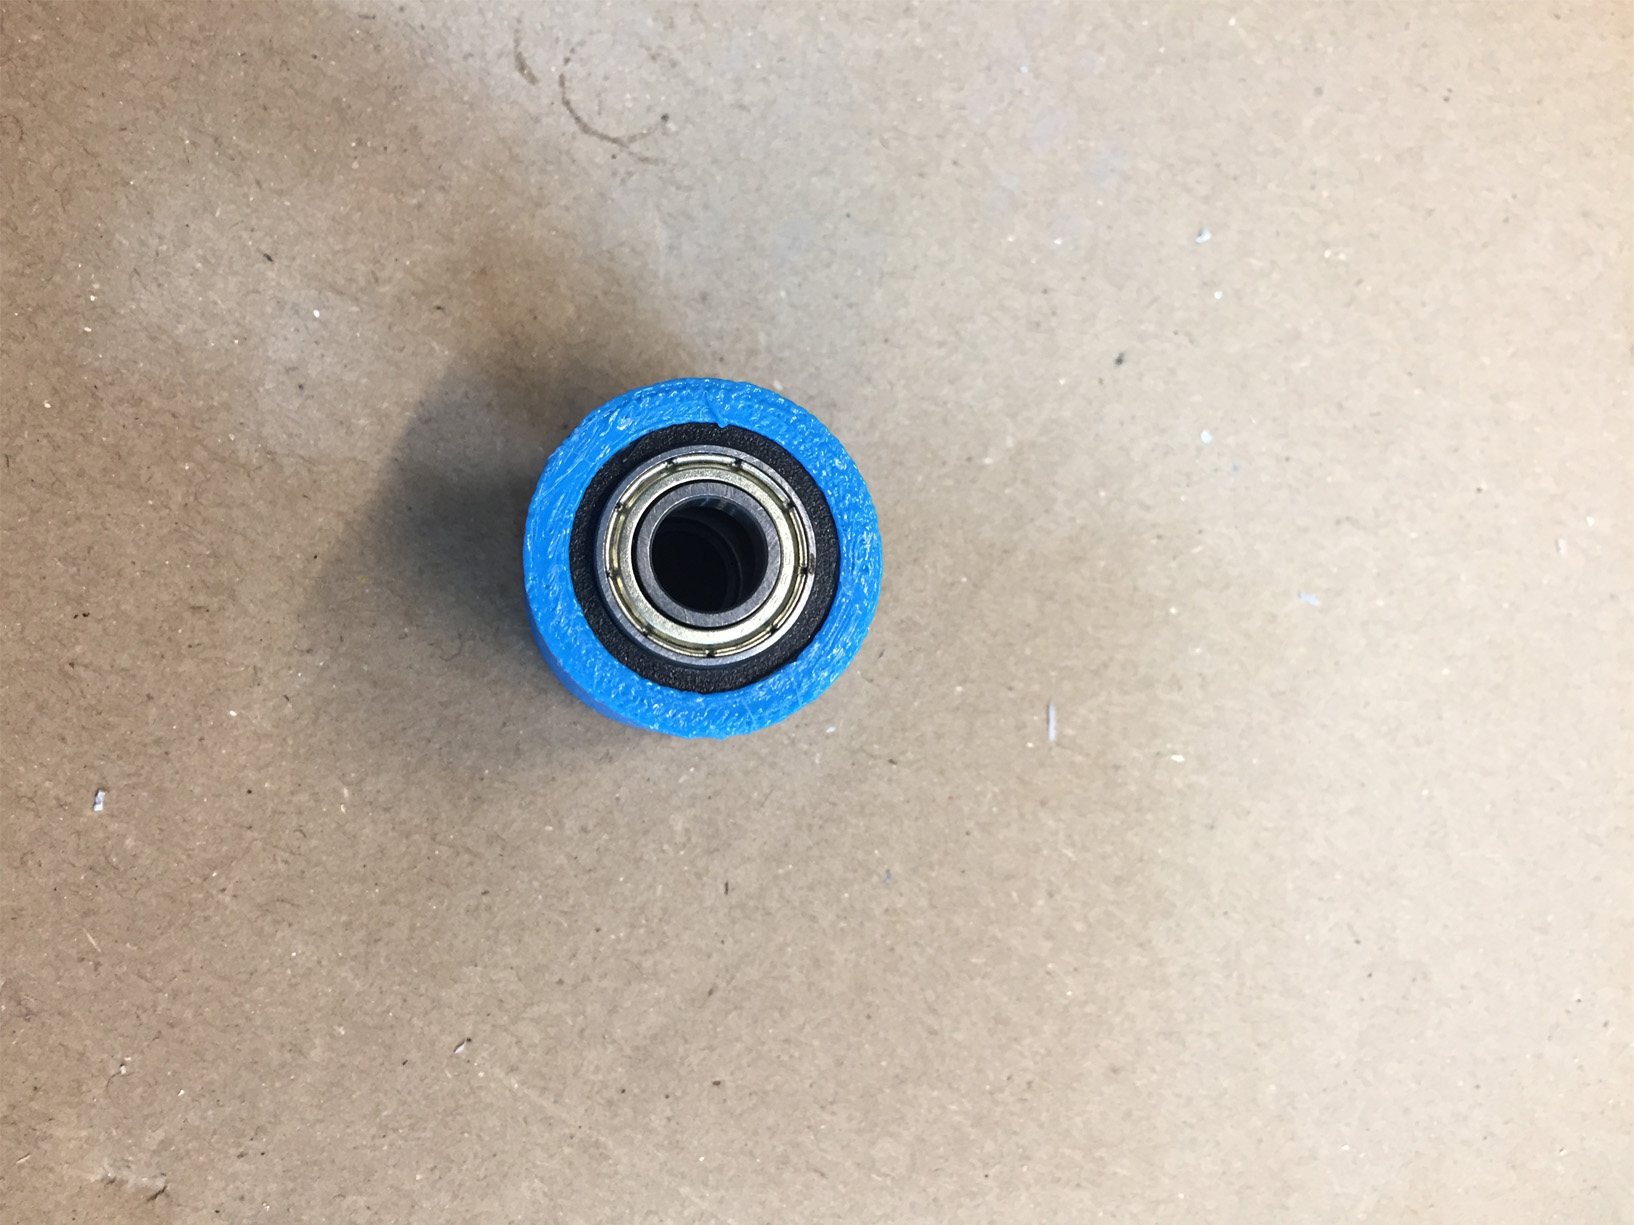
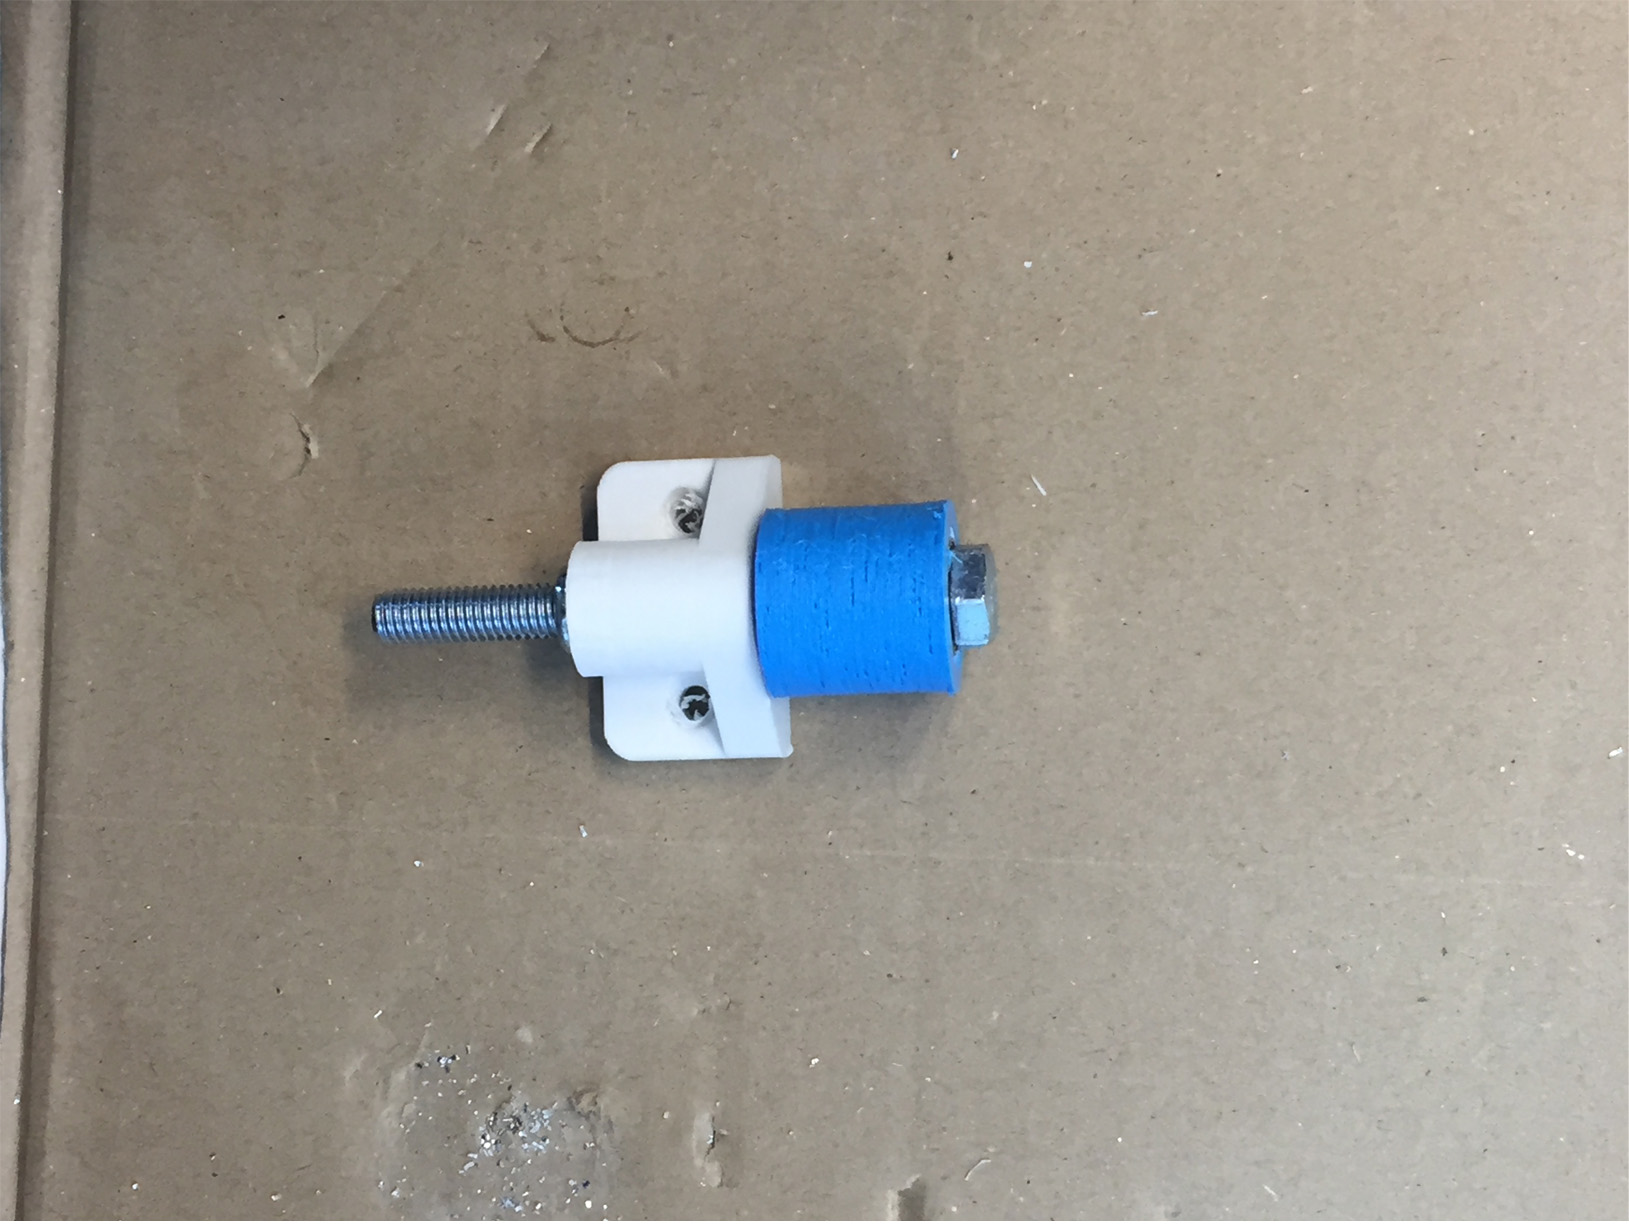
So the driver wheel and the trailing wheels are complete.

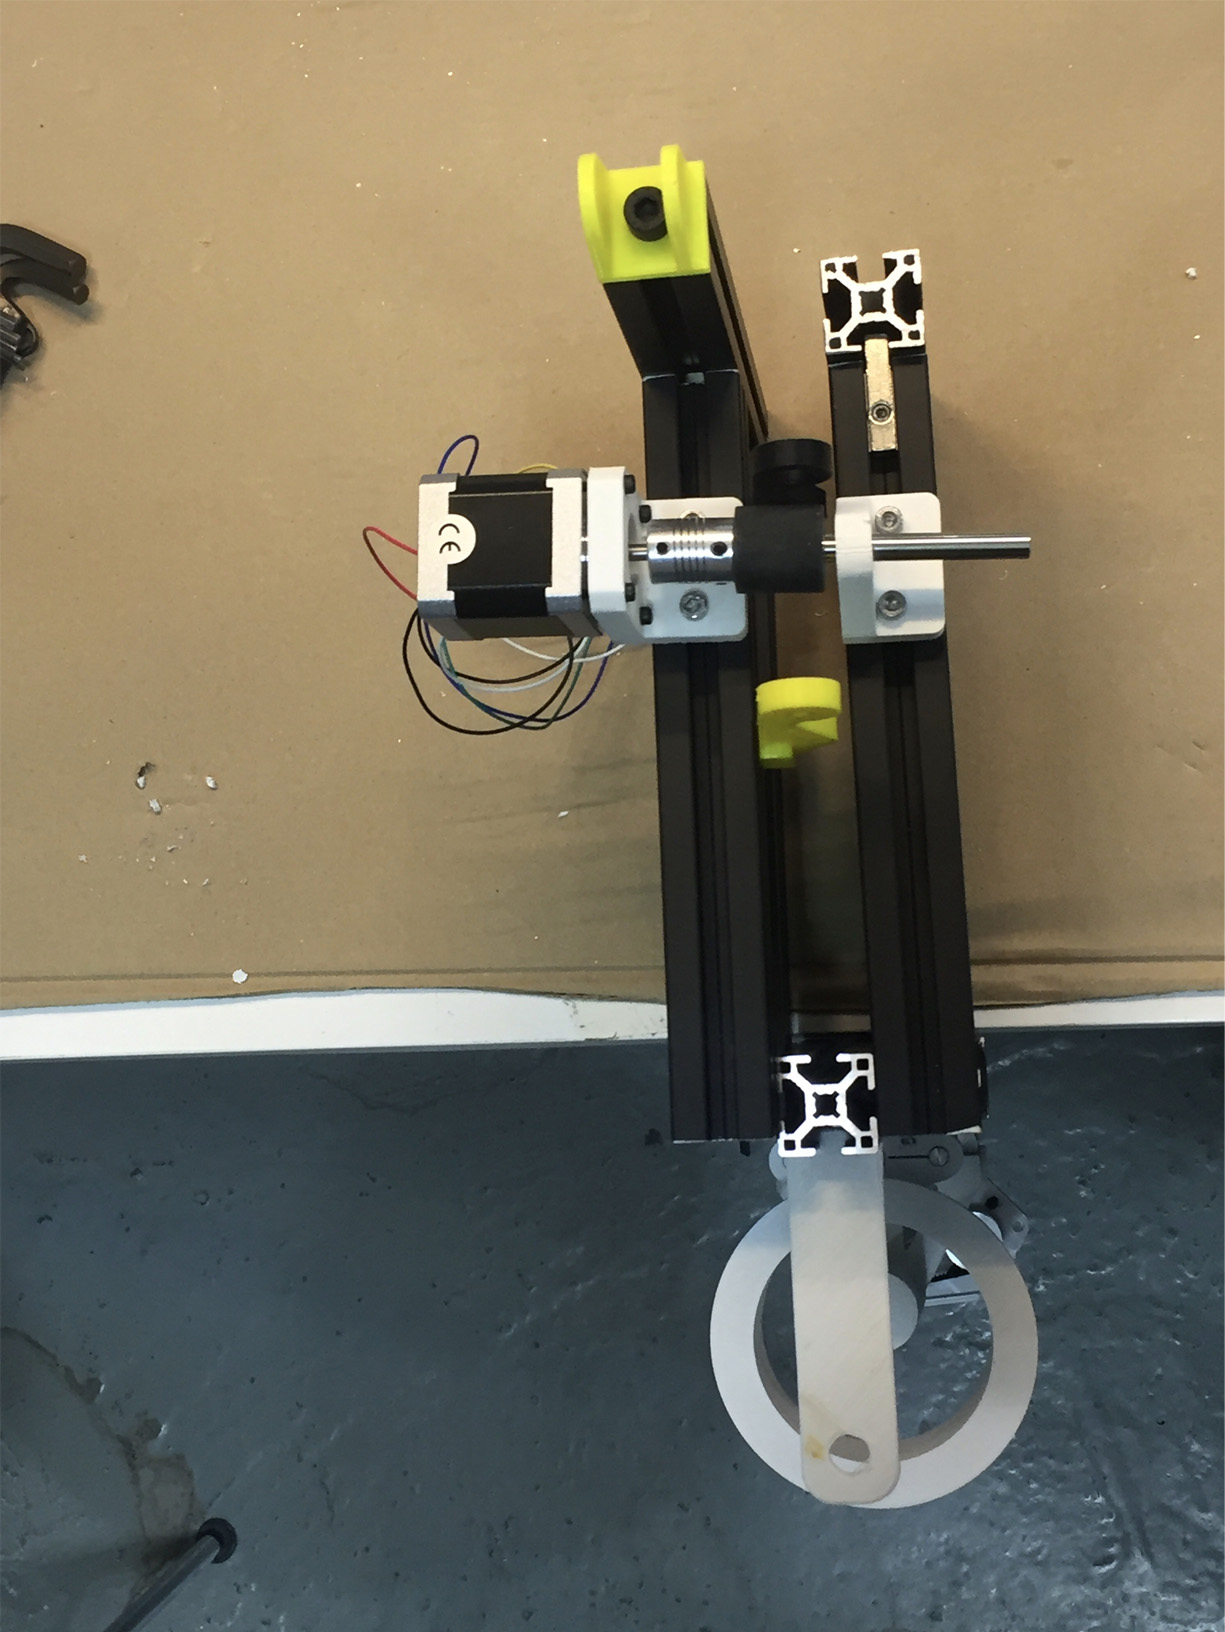
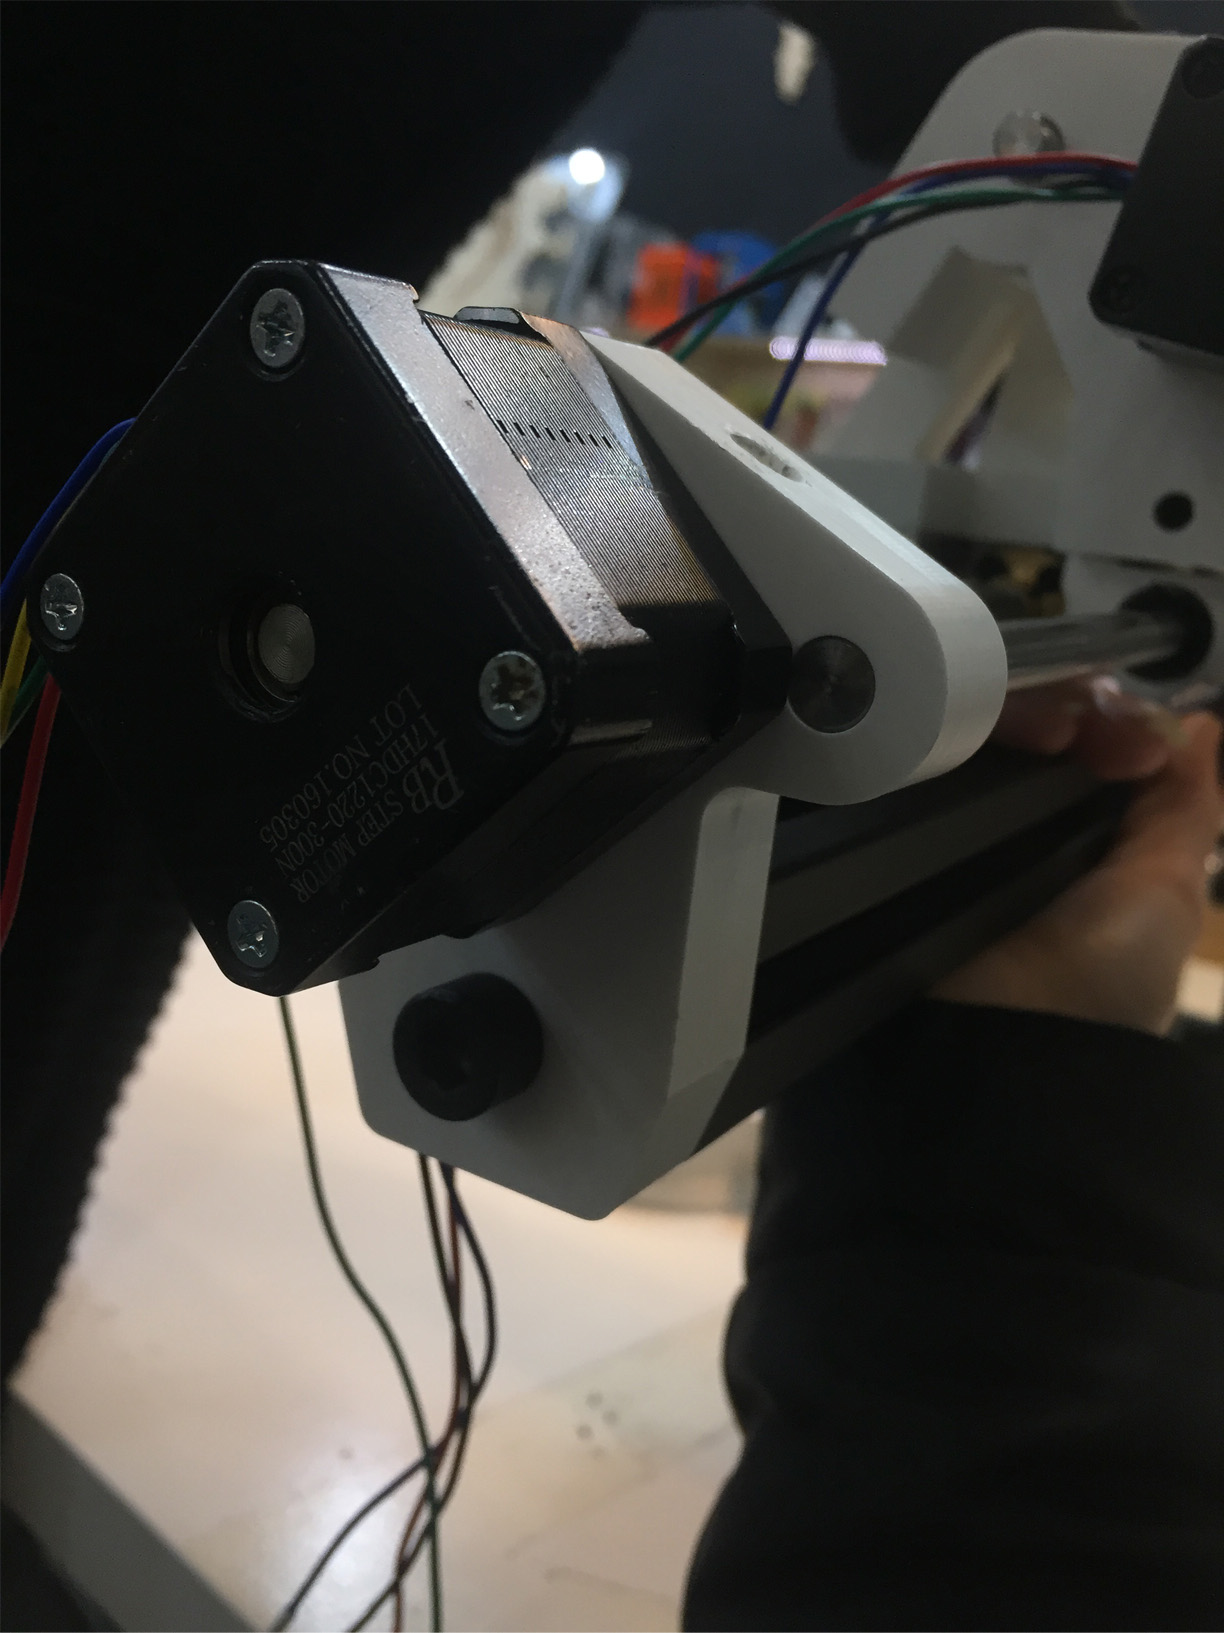
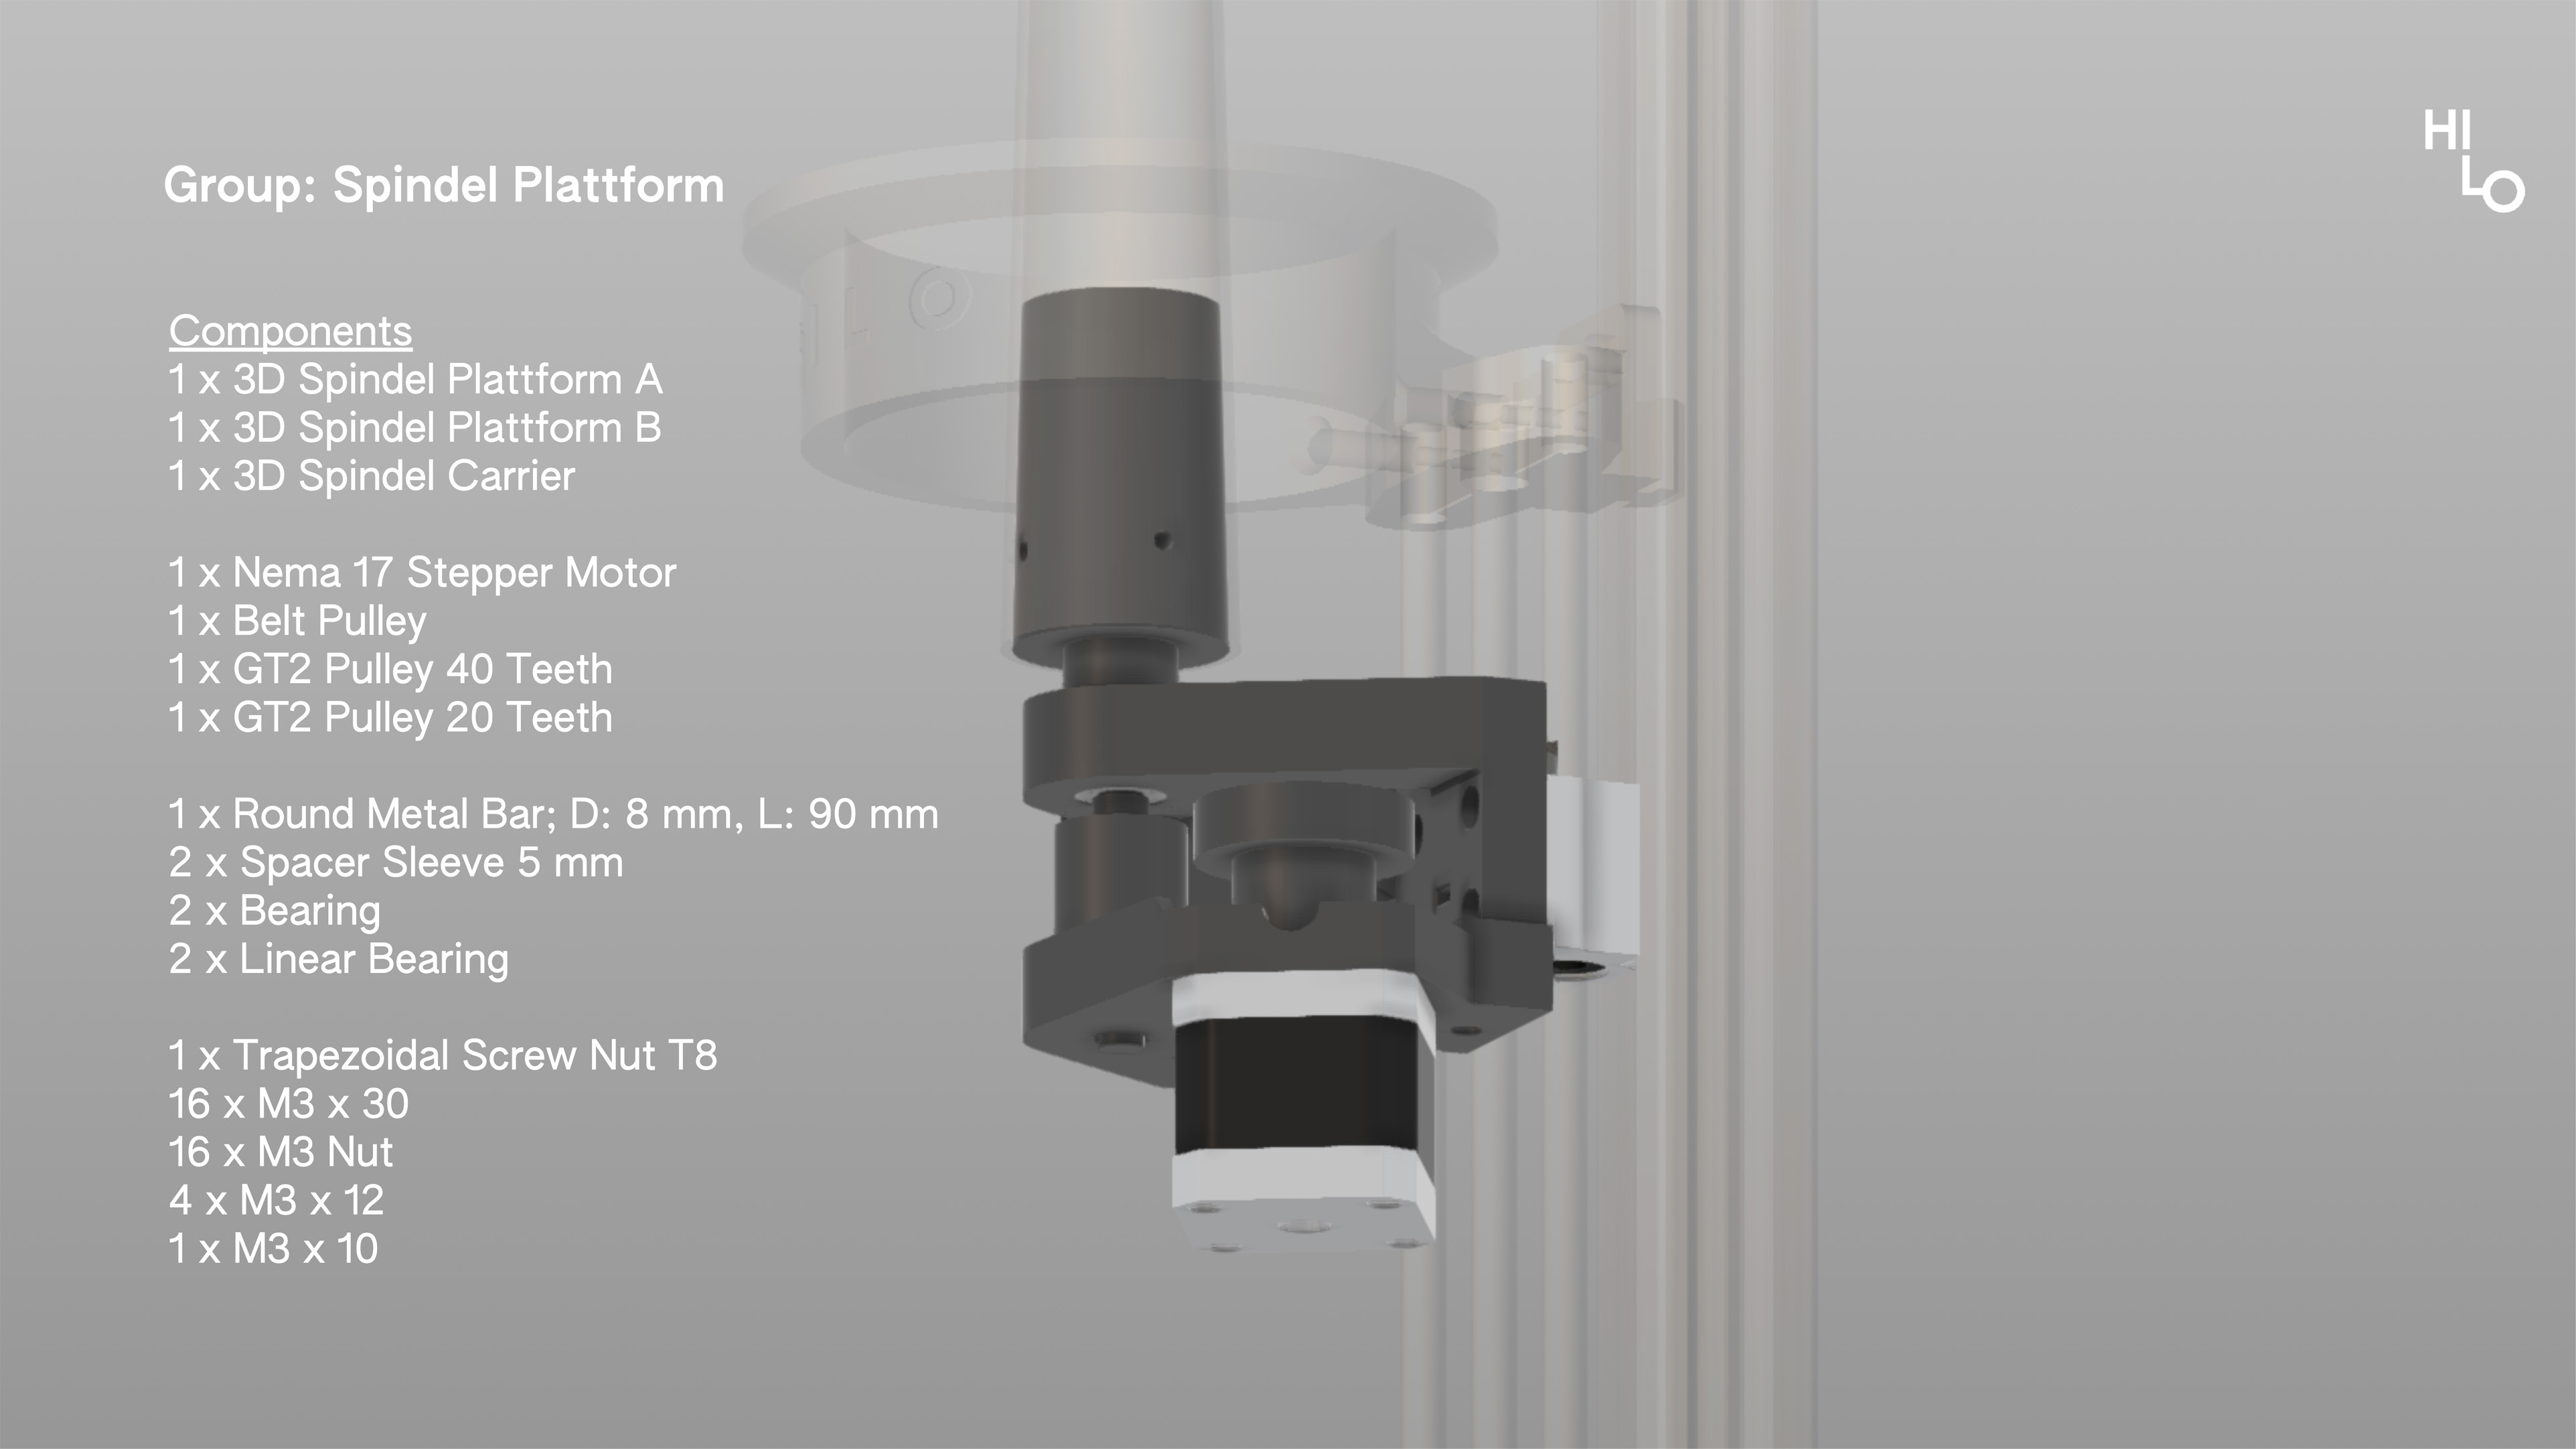
The next stage is the group Spindel platform:
There are some parts which have been 3d printed for this as shown in the pictures below.
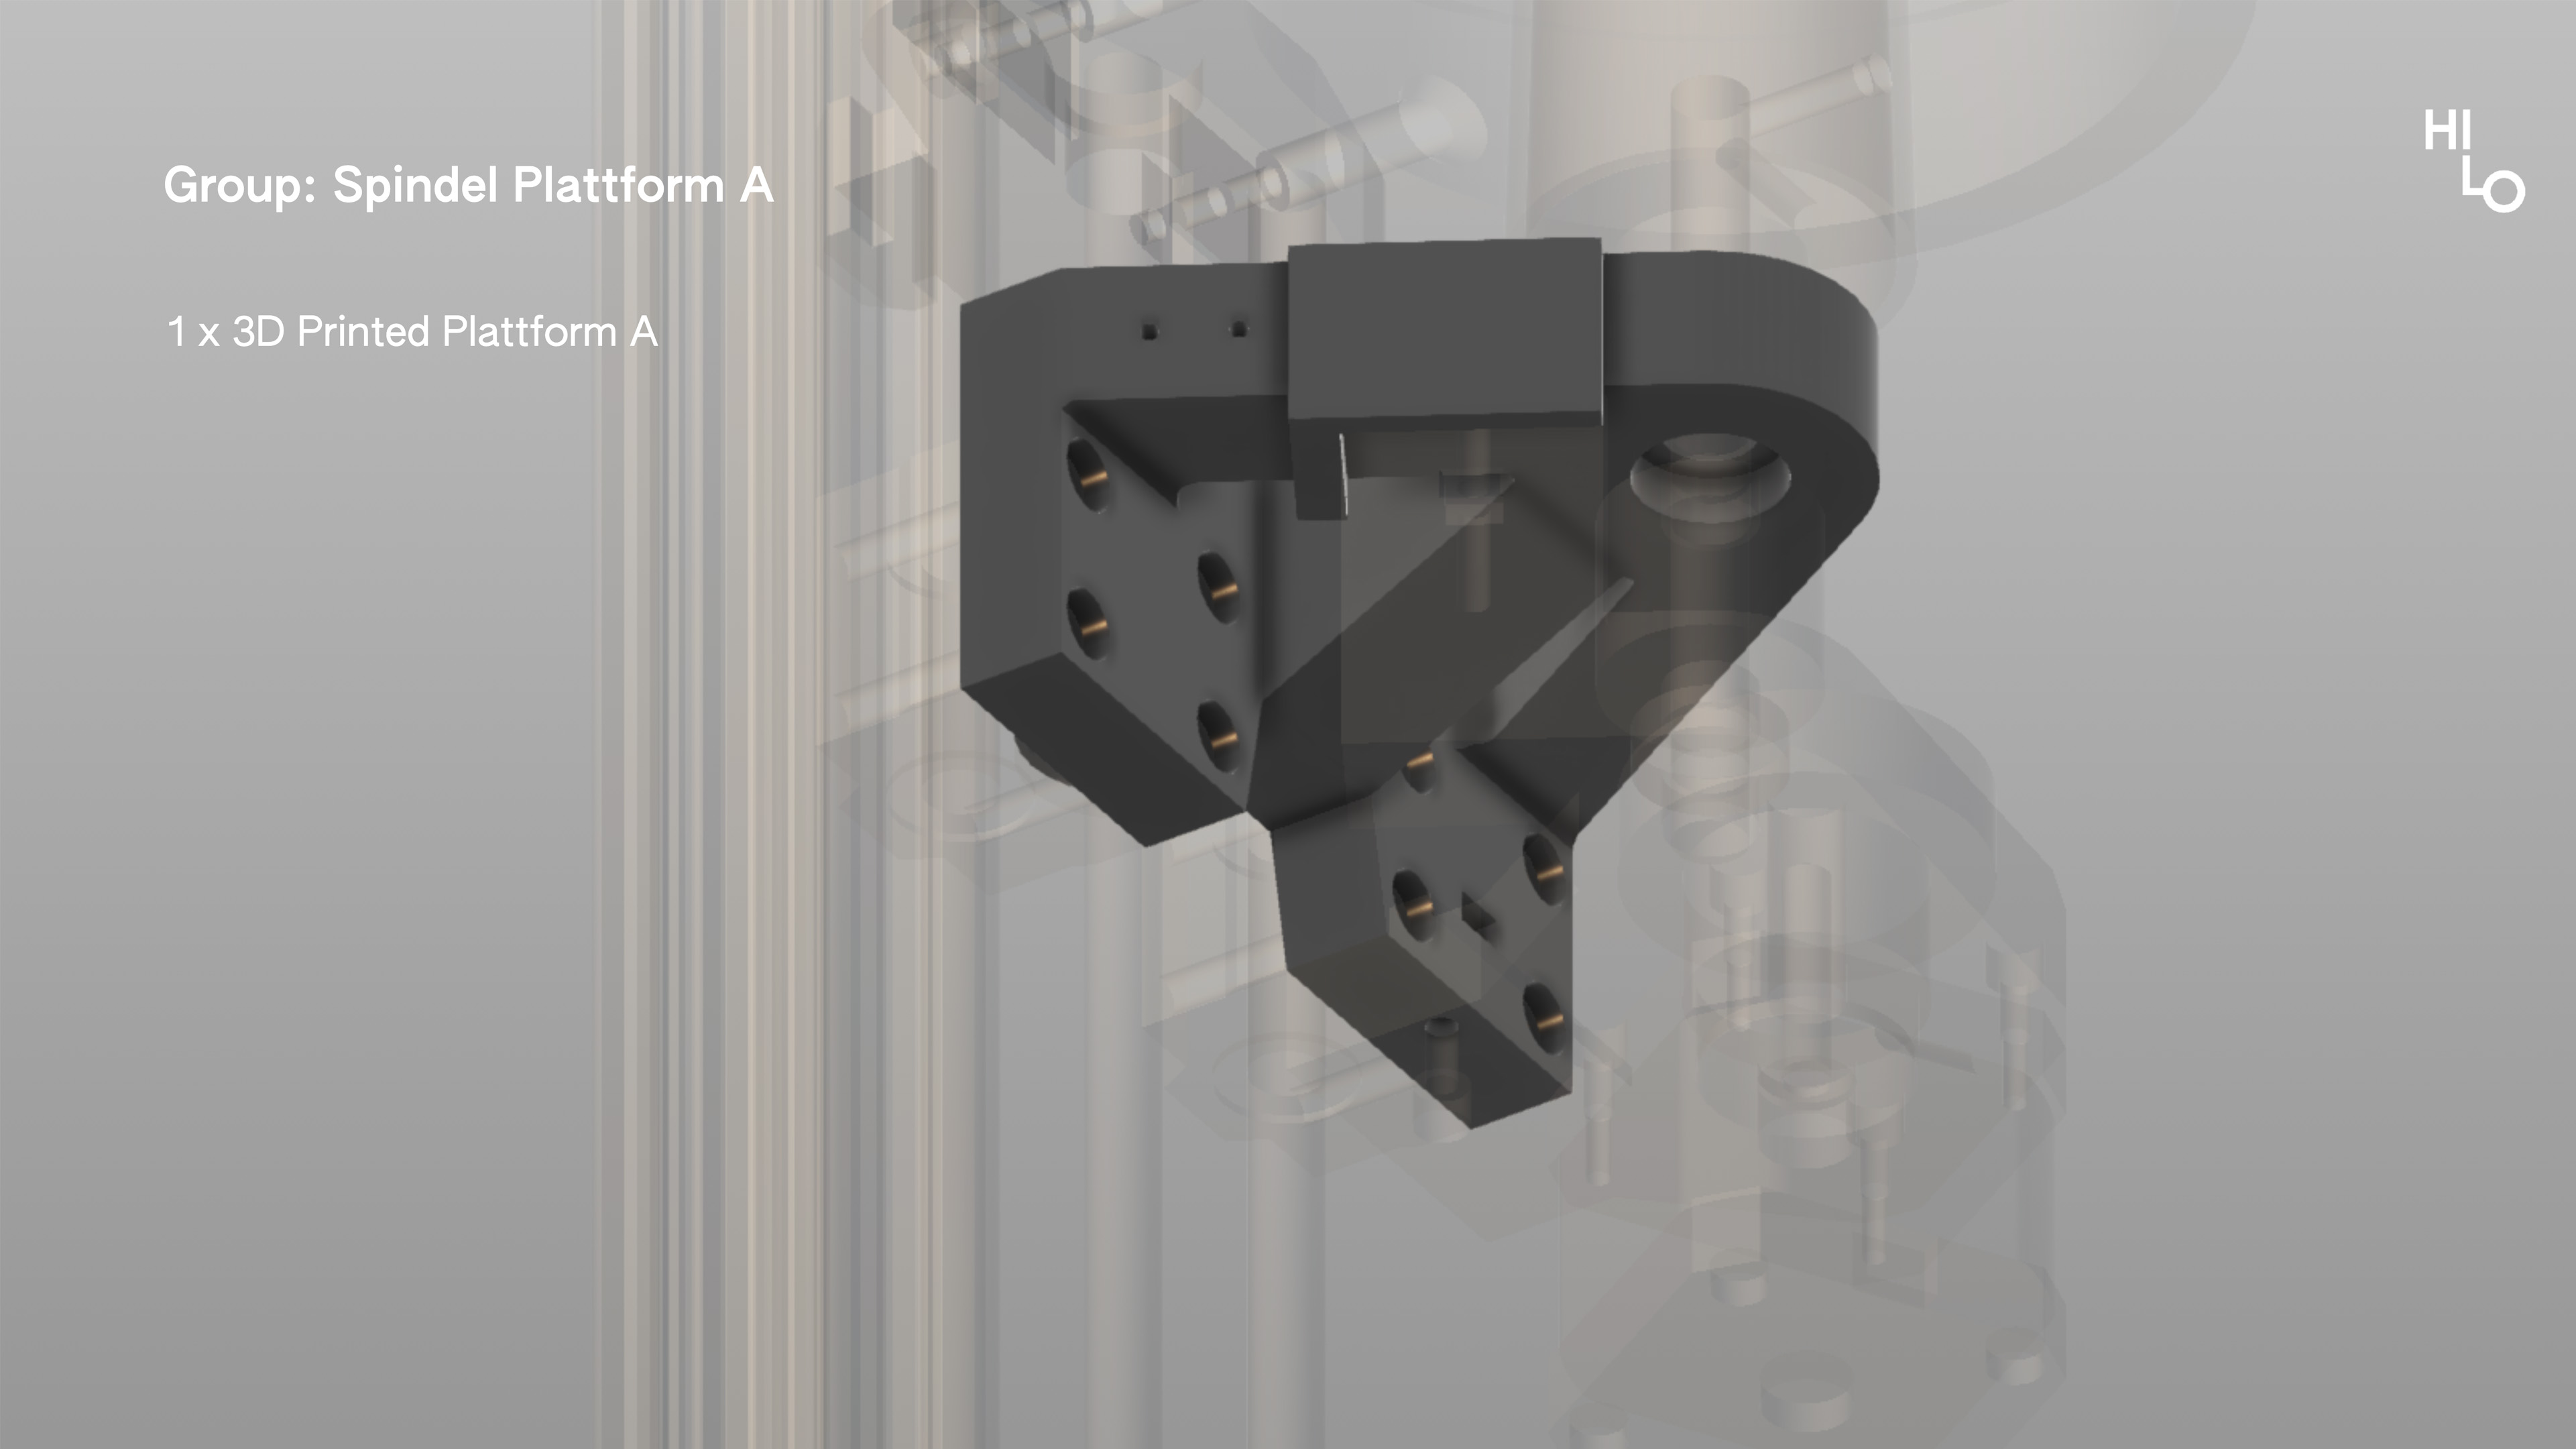

This part also has a motor attached to it; it is the part that is attached to the longer pole from before - and will coil the spun threads around the spindle.
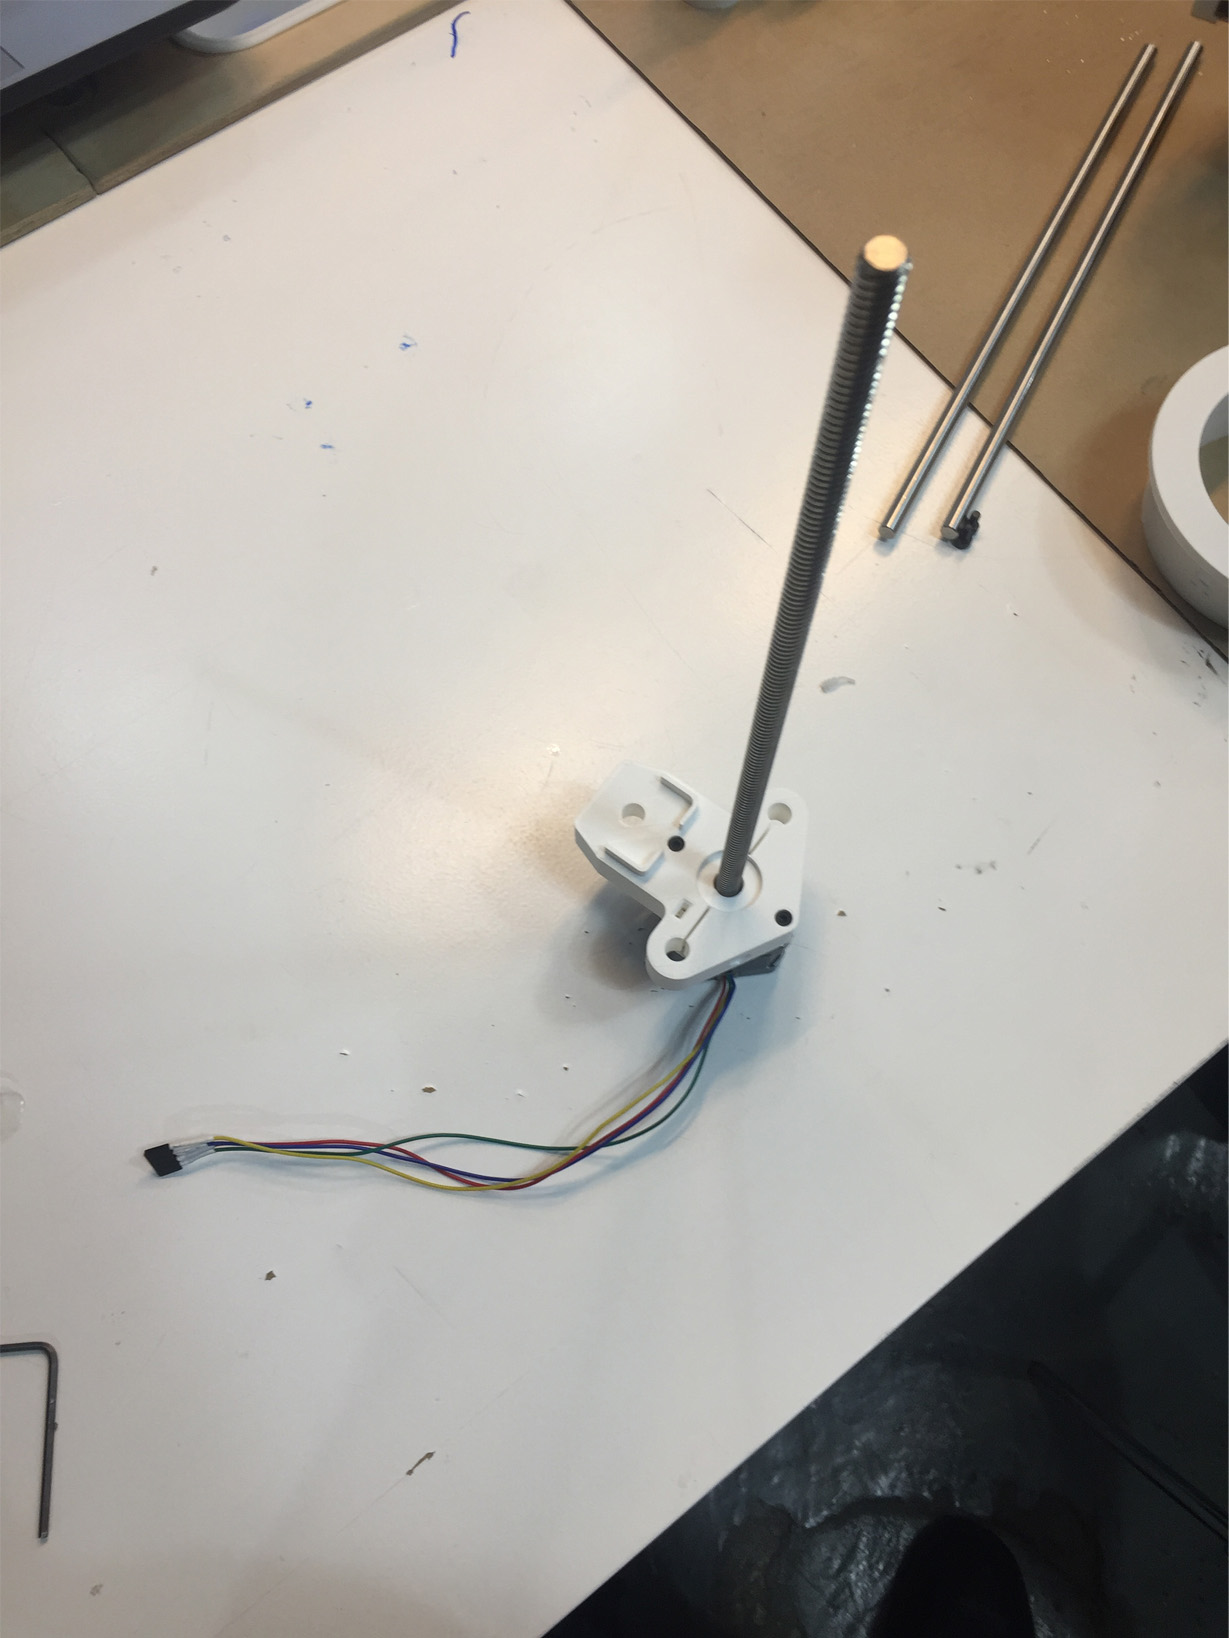
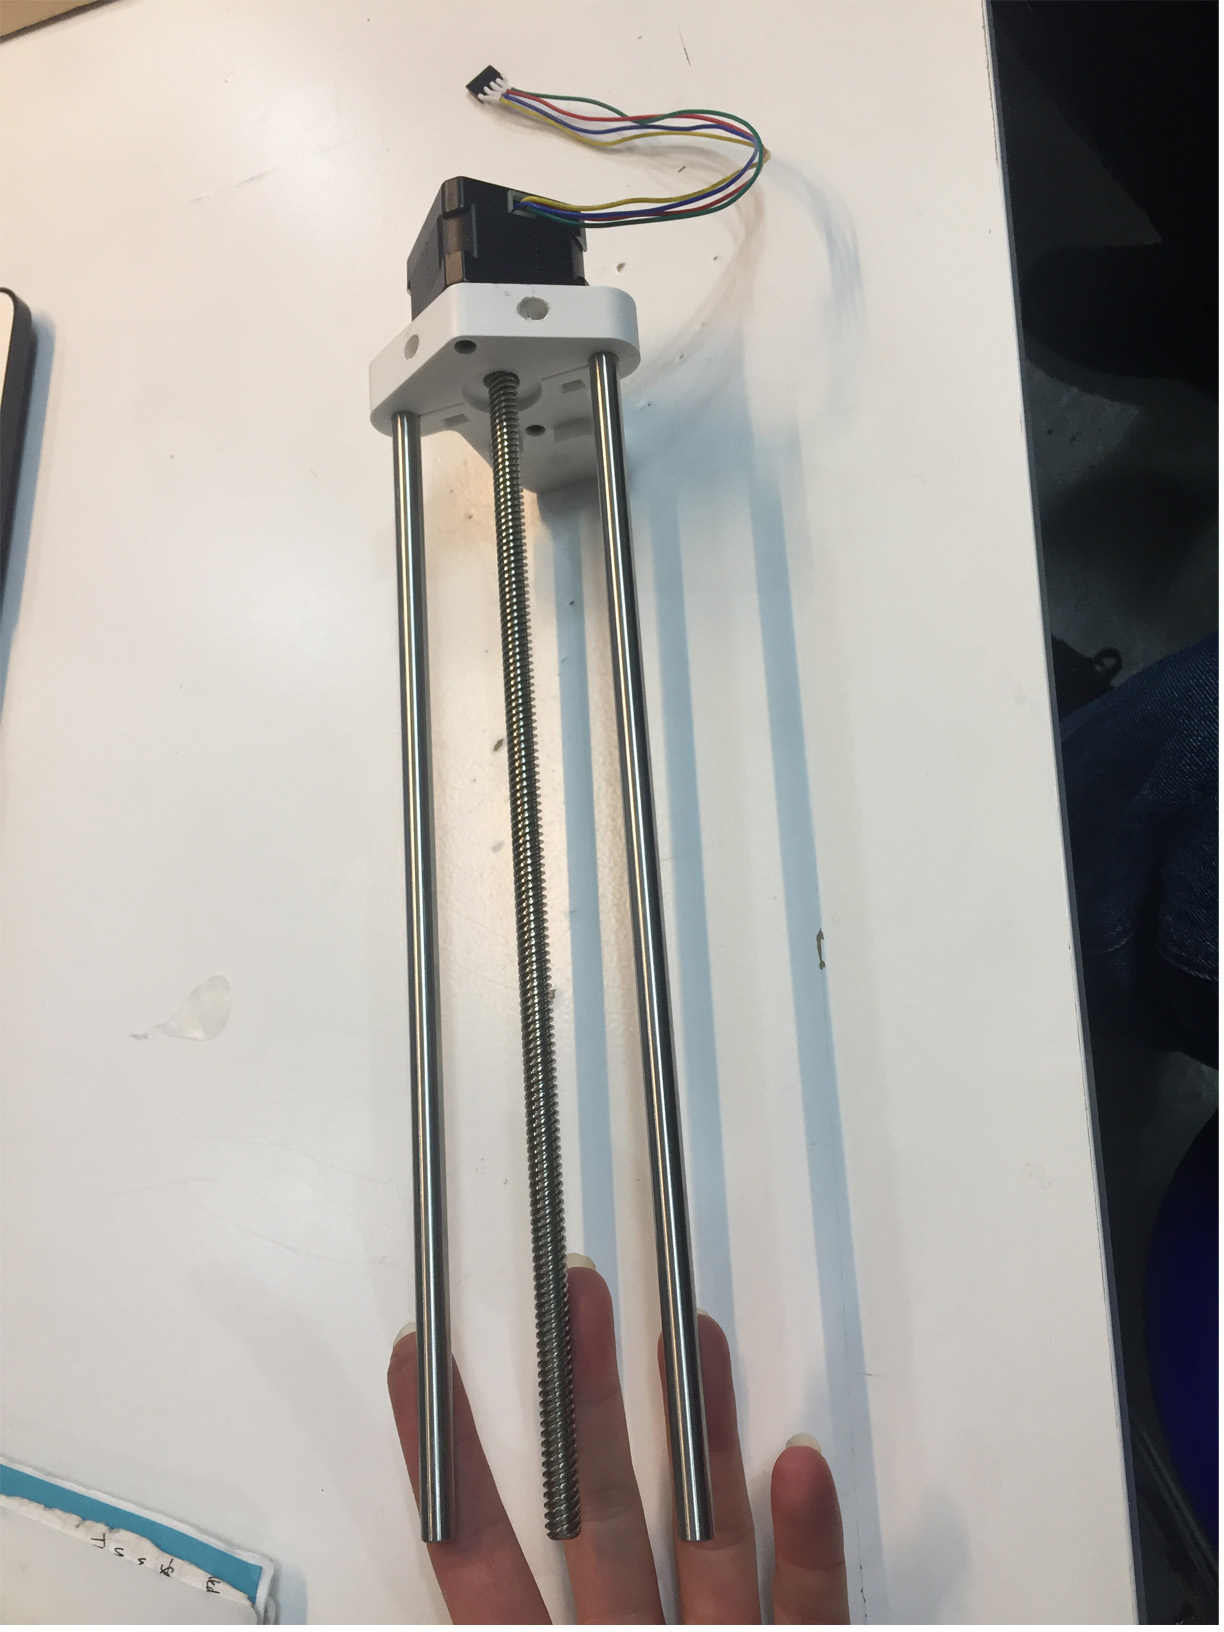
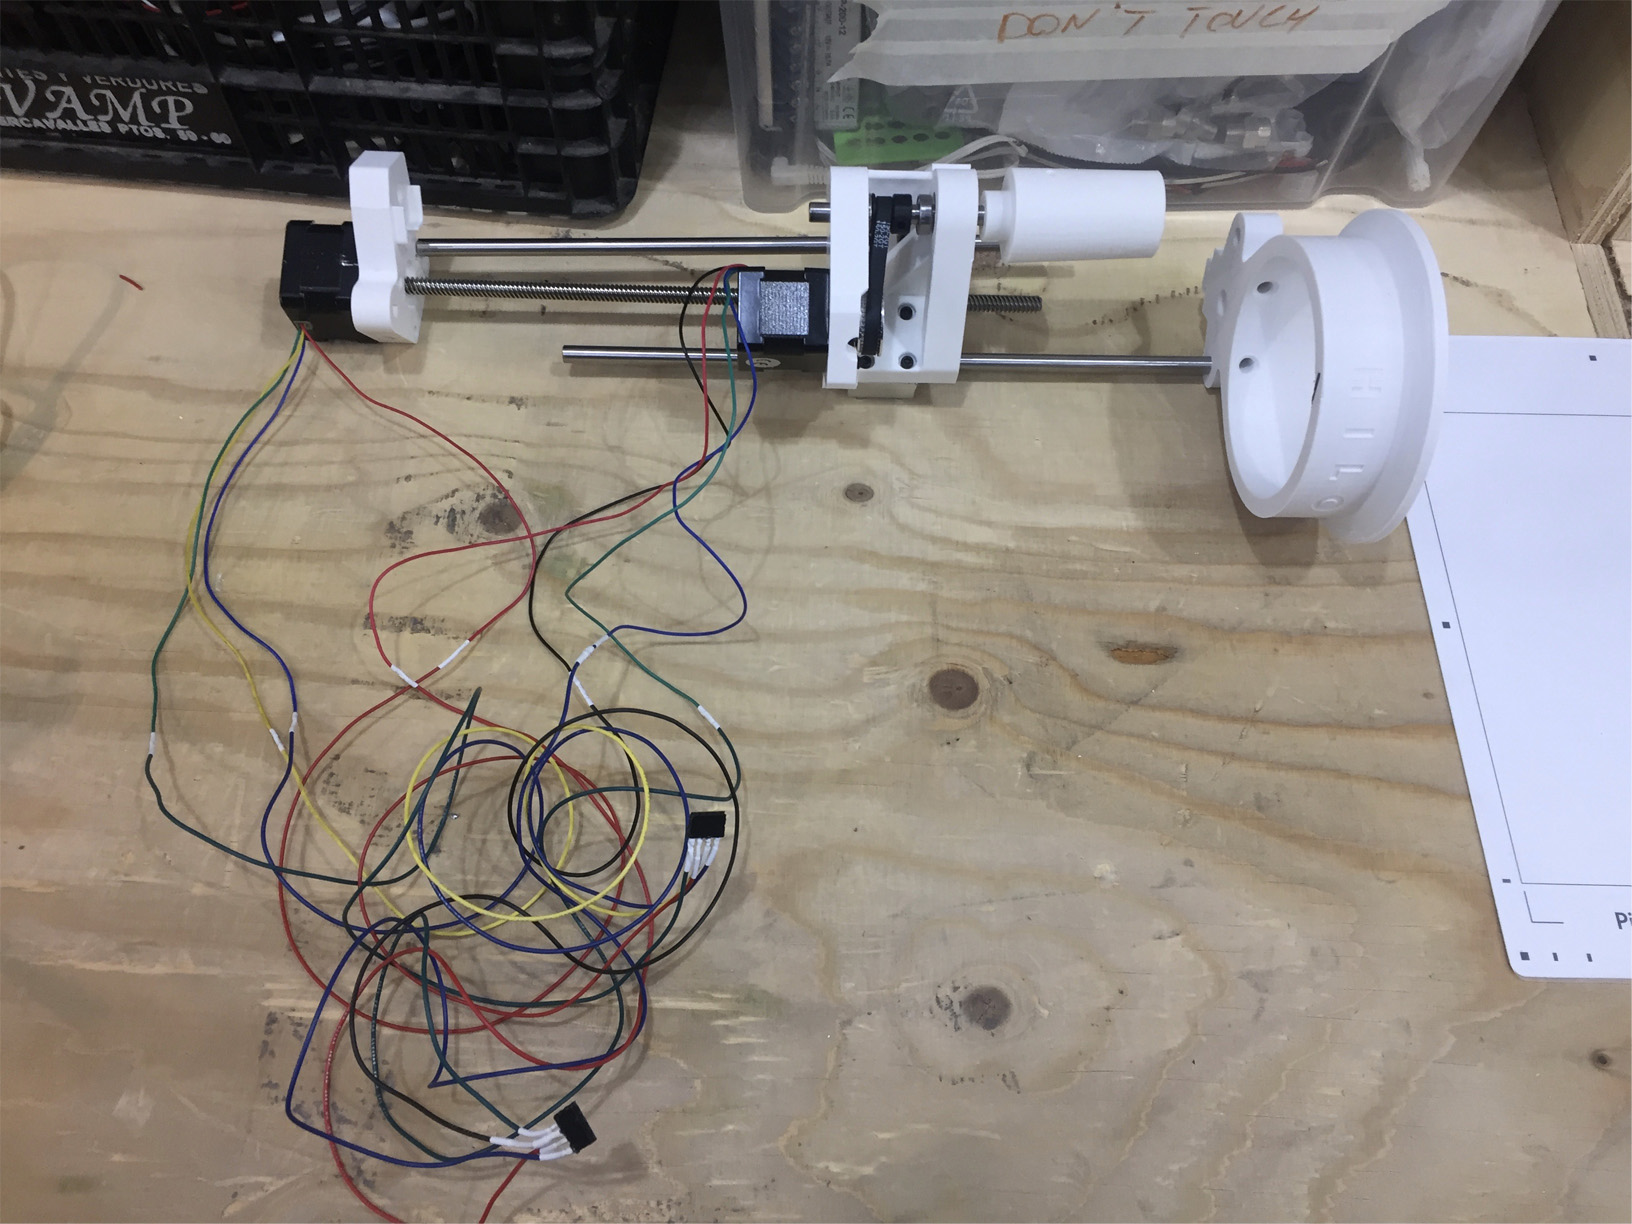
The spindle, stepper motor and spinning ring platform now needs to be connected to the elevator. It will move vertically to spin the threads.
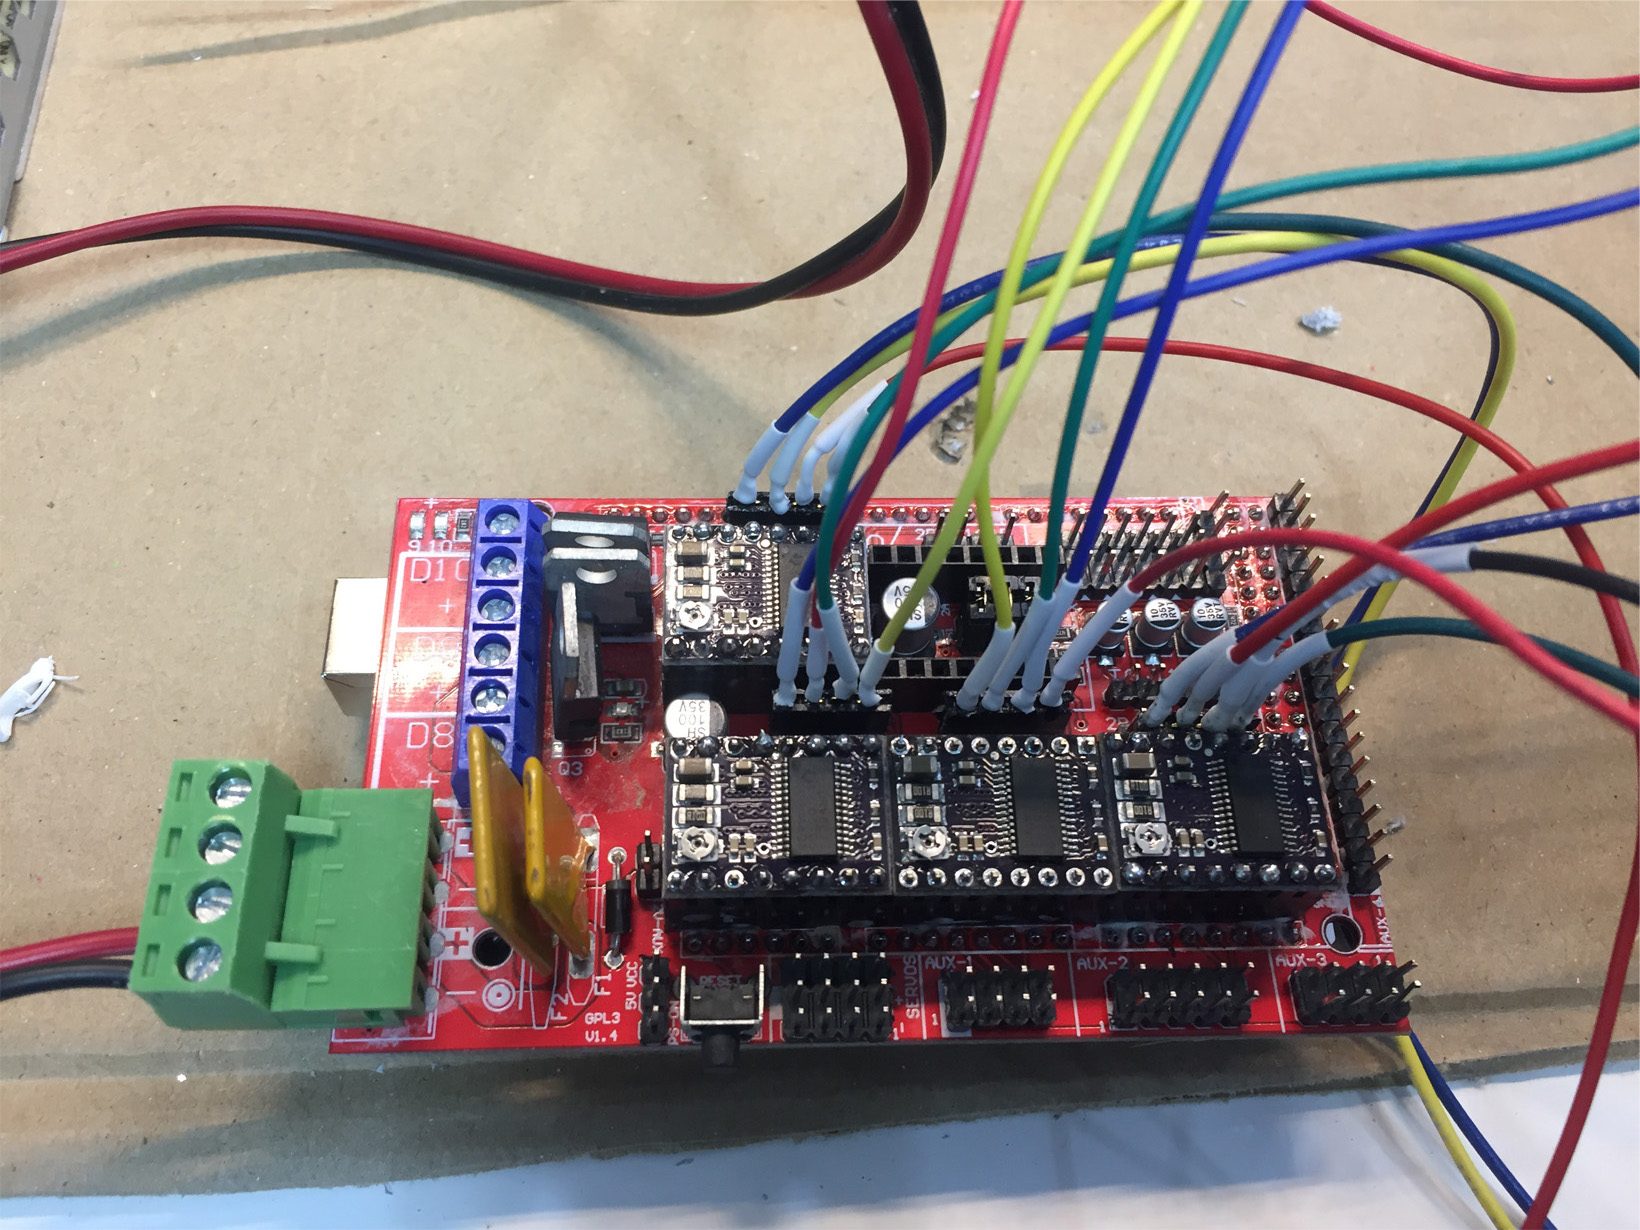
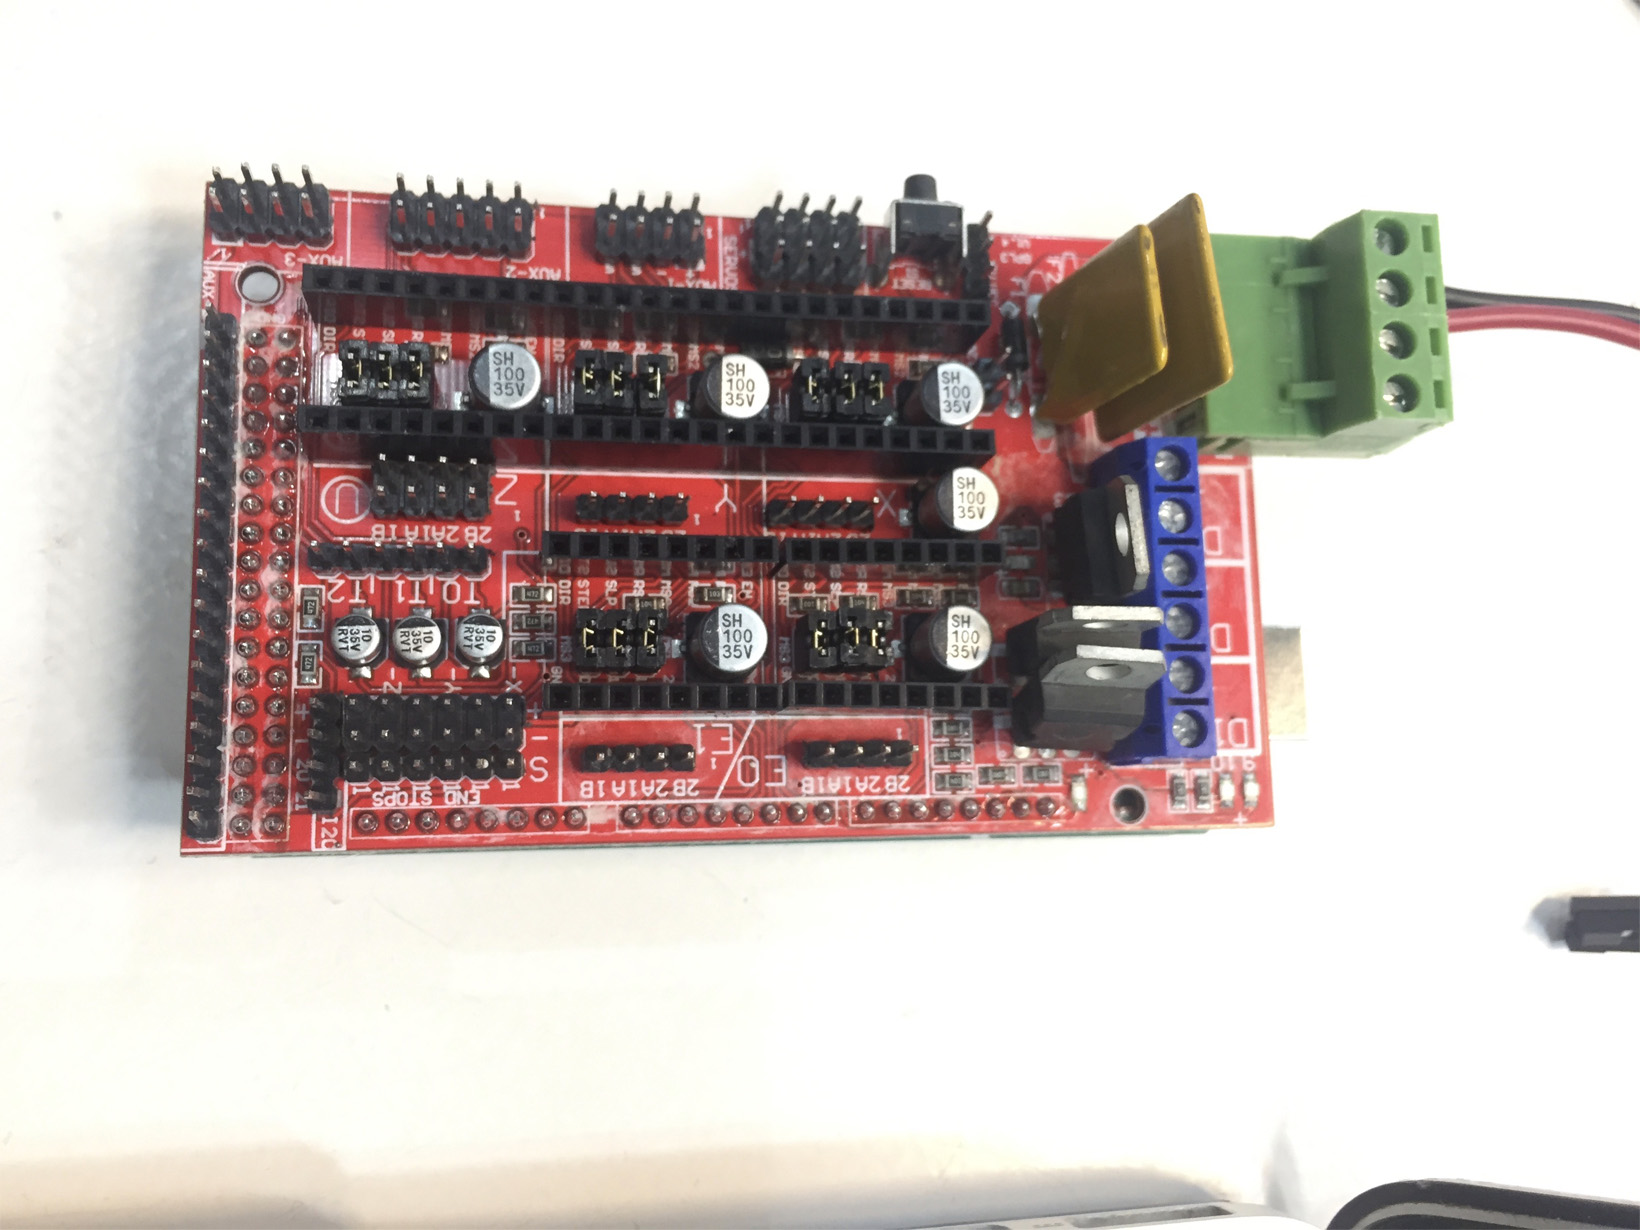
electronics
All the wires need to be extended so are soldered together with the extensions; then the ports for programming are also soldered.
final assembling
To complete the final assembling we need to attach some more 3d printed parts: like these small hoops which will help thread the fibers and control the tension - like on a sewing machine.