07 Computational Couture
Inspiration & Ideation
Digitalizing Heritage
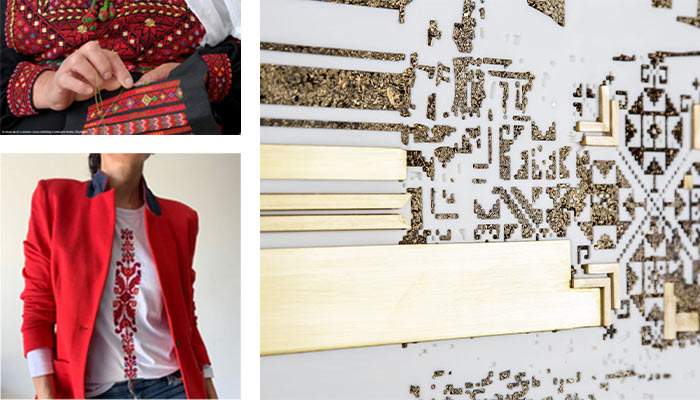
This week, we discussed how digital fabrication can be a powerful tool to showcase culture and heritage. Claudia told us about projects done by Fabricademy alumni who were inspired by their heritage. We saw how Batoul turned palestinian cross stitch onto 3D printed motifs. In the middle east, we see a lot of takes on the cross stitch heritage. Naqsh collective have breathtaking pieces made from marble, stone, and brass to preserve and share stories and art from Palestine.
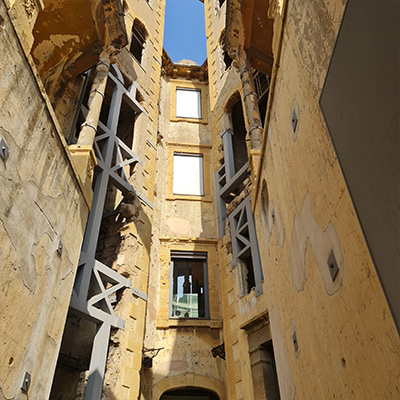
I am reminded of the juxtaposition of old and new structures in architecture (I am an architect). The most famous building is probably the Louvre museum. Using new technologies accentuates heritage more truthfully; imagine an old building restored to look like it was never affected by time and an another building restored using steel and glass to show you the passing of time.
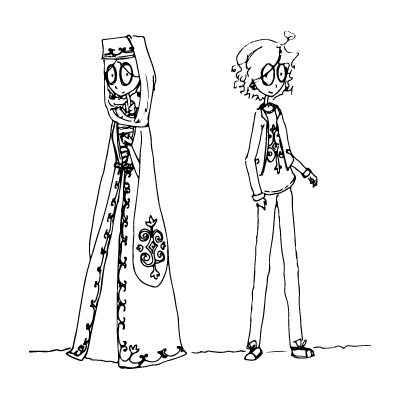
Circassian Motifs
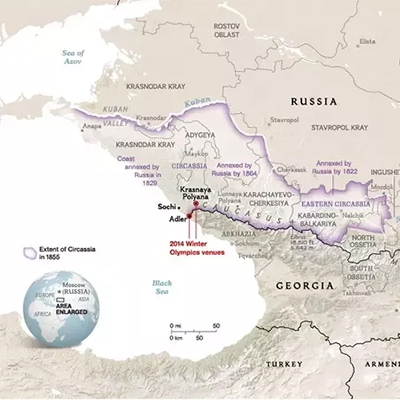
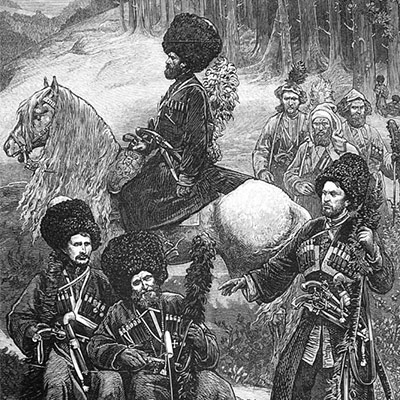
Today I live in Jordan but I am Circassian. Sadly, I feel the Circassian heritage is not preserved and expressed much. This could be my chance to explore my culture more and share it with the world. First, a little history. Circassians (or Adighye) used to live along the eastern coasts of the Black Sea, until the Russain empire decided to invade the beautiful mountains. The war lasted 101 years from 1763 to 1864. On May 21, Circassians around the world commemorate the Circassian genocide that resulted in Circassians being killed or forcefully expelled from their lands (numbers are not exact but around 1 million Circassian was killed or expelled).
Process & Workflow
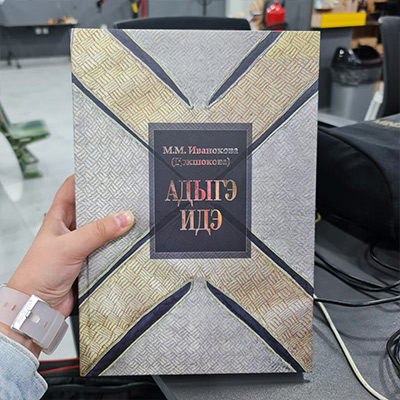
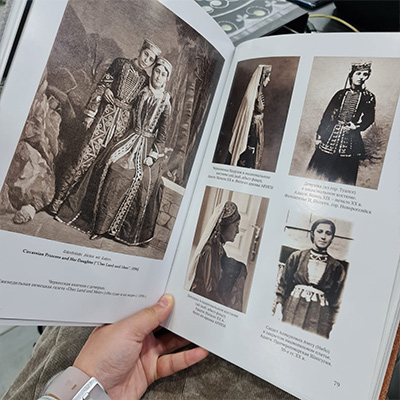
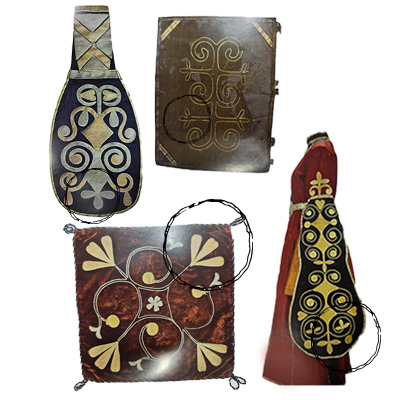
This week's experiments are inspired by Circassian motifs. I found a book in our library that documents motifs, fashion, and circassian ornaments. Unfortunately, it is written in Russian with some Circassian and I don't know either of them. But I took inspiration from the images and translated some text using Google translator. I reproduced different motifs and experimented with 4 different techniques of 3D printing and textiles.
3D Printing on Fabric
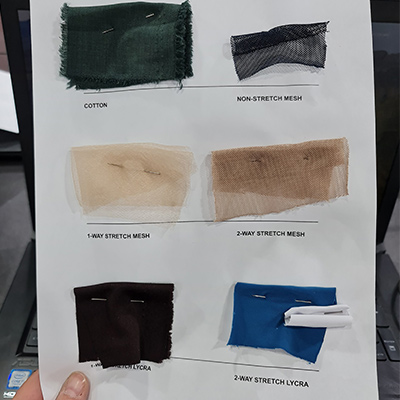
First we identified the different fabrics we have at the lab. We can categorize fabrics according to stretchiness to use in 3D printing. We had fabric that stretches in 2 directions, fabrics that stretches in 1 direction, and fabrics that do not stretch.
2 way stretch fabric
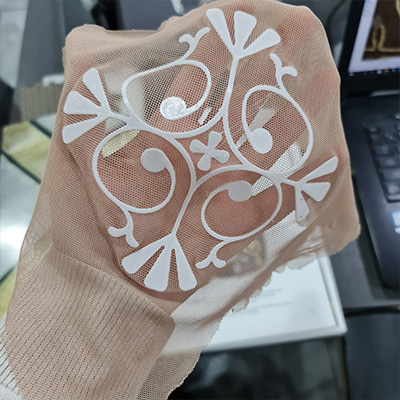
It is interesting to print on 2 ways stretch fabric as it crinkles in 3D shapes according to the printed pattern. The first motif I chose is taken from a pillow cover, as I translated. The embroidery was not perfectly symmetrical so I divided the image into quarters and drew only one then mirrored and rotated to get the rest. A useful tip is to use a locked layer for the picture and a layer with a different color for the construction lines. And always make copies of objects so you can easily go back and adjust.
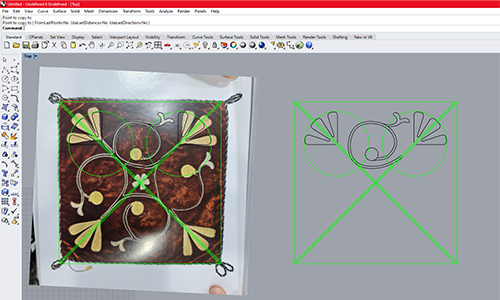
Next, I offset and trimmed some lines, joined them, then extruded the curve.
I exported the object as .stl file and opened it with the Cura slicer. I wanted to print this with TPU material. This is a trickt material and it needs aditional settings to print properly. We adjusted the retraction distance and speed to make it slower and we added a post processing plugin to pause the print after 2 layers so we can print 2 layers on the bed then put the fabric and print 2 layers on it. This way the print sticks better to the mesh.
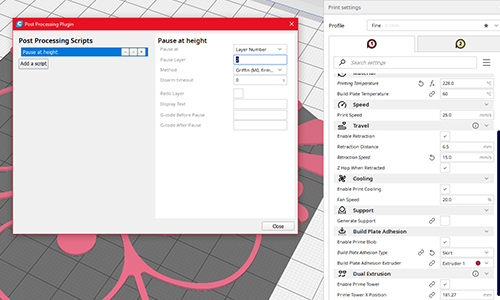
We had to reduce the speed from the printer directly while printing to make sure the lines come out good. We reduced it to around 20-30% for the first layer then 60% for the rest. The first layer on the fabric doesn't show a lot so don't panic if you don't see anything printing! If you look closely you can see it very faint. Make sure you add a skirt to give the printer a chance to try printing one line before starting on the design. It doesn't stick to the fabric.
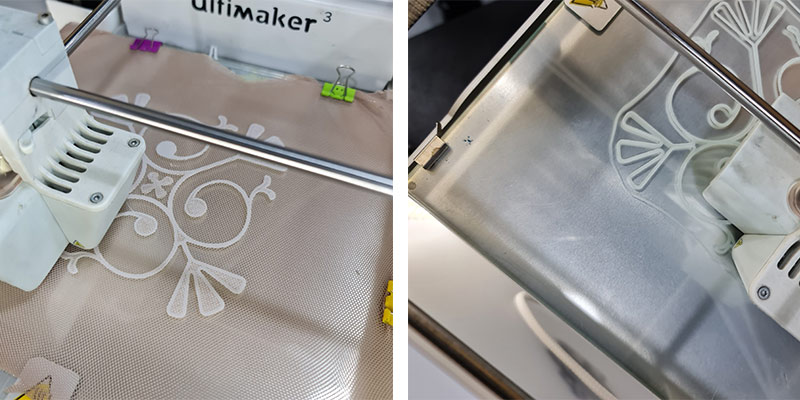
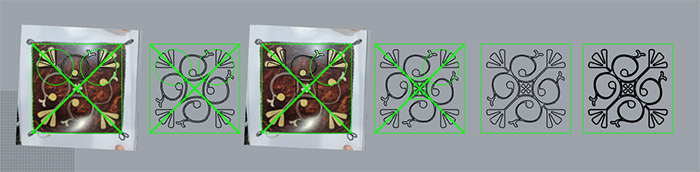
This design didn't have much effect on the fabric but you can see it is slightly curved at the center.
Cura Settings
Printer: Ultimaker 3
Material: Genric TPU 95A

Layer height: 0.20 mm

Infill Density: 100%
Infill Pattern: Lines

Printing Temperature: 228 °C
Build Plate Temperature: 60 °C

Print Speed: 25.0 mm/s

Enable retraction
Retraction Disance: 6.5 mm
Retraction Speed: 15.0 mm/s

Fan Speed: 20%

Build Plate Adhesion Type: Skirt
1 way stretch fabric
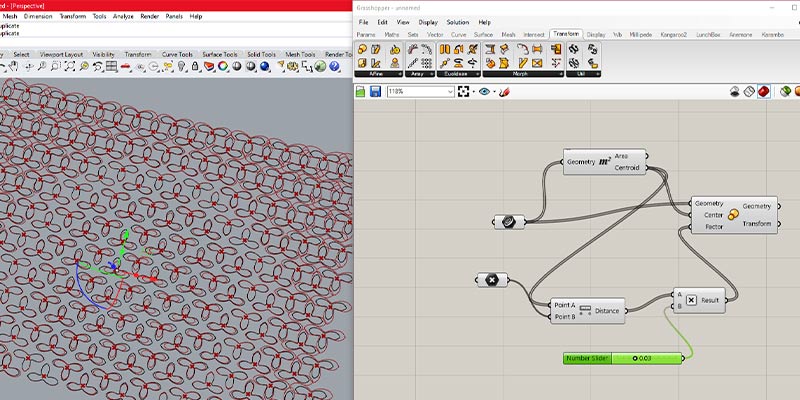
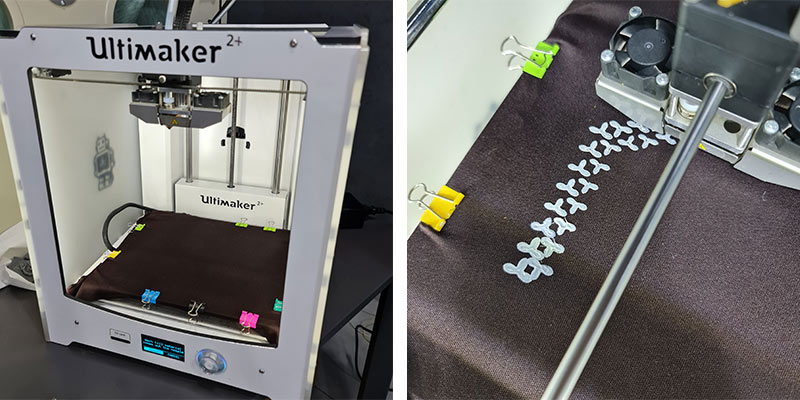
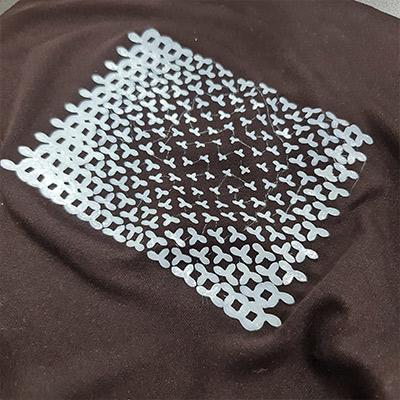
I wanted to start using grasshopper and computational design more. I decided to try making a pattern with an attraction point and print it on 1 way stretch fabric. I chose this three petals flower that was repeating in most ornaments.
I traced the flower and repeated it in an array in Rhino. Then I went into grasshopper and assigned the multiple curves into one curve component. The attraction point is very simple: you assign a point, then get the distance between it and the centroid of each curve (use the area component to do so), next you have to scale the curves and get the factor from the distance we got earlier. I multiplied the distance with 0.03 as the scaled curves were very big. Bake!
I printed with TPU filament on the fabric directly. It didn't have much effect because I didn't stretch the fabric enough. Next time I should stretch the fabric a lot on the bed.

Cura Settings
Printer: Ultimaker 2+
Material: Genric TPU 95A

Layer height: 0.20 mm

Infill Density: 100%
Infill Pattern: Lines

Printing Temperature: 228 °C
Build Plate Temperature: 60 °C

Print Speed: 25.0 mm/s

Enable retraction
Retraction Disance: 6.5 mm
Retraction Speed: 15.0 mm/s

Fan Speed: 20%

Build Plate Adhesion Type: Skirt
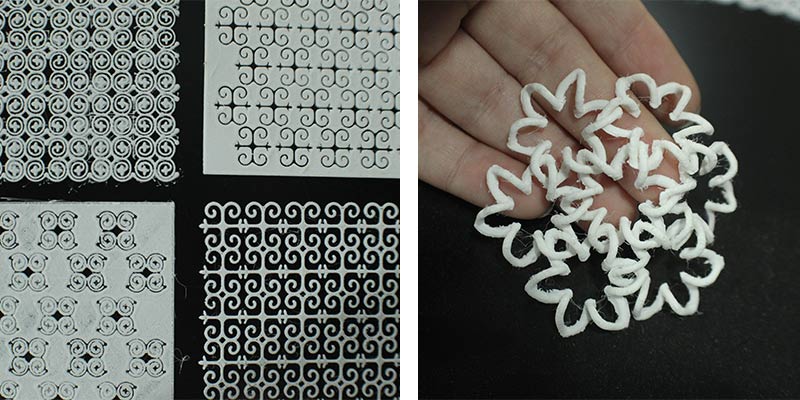
Printing Textiles with TPU
Fully TPU! screams in horror!
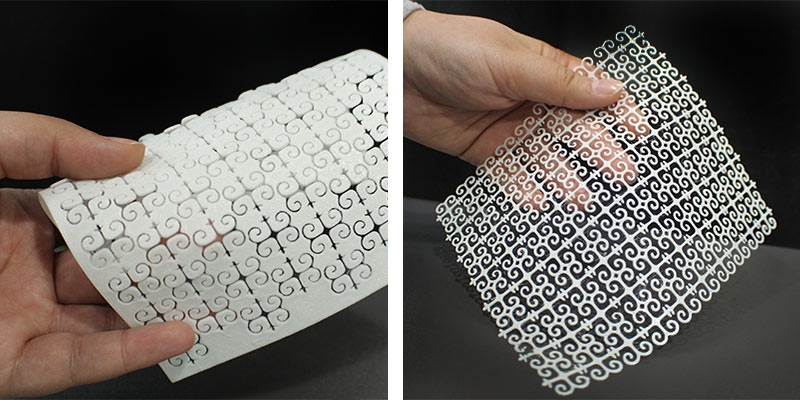
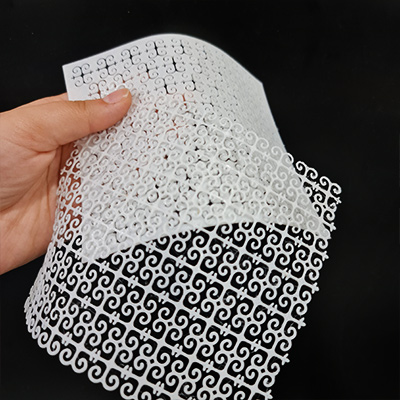
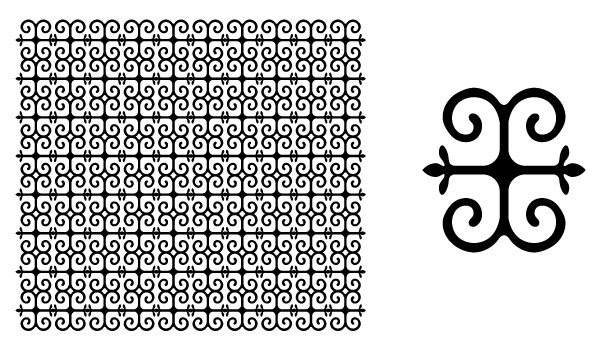
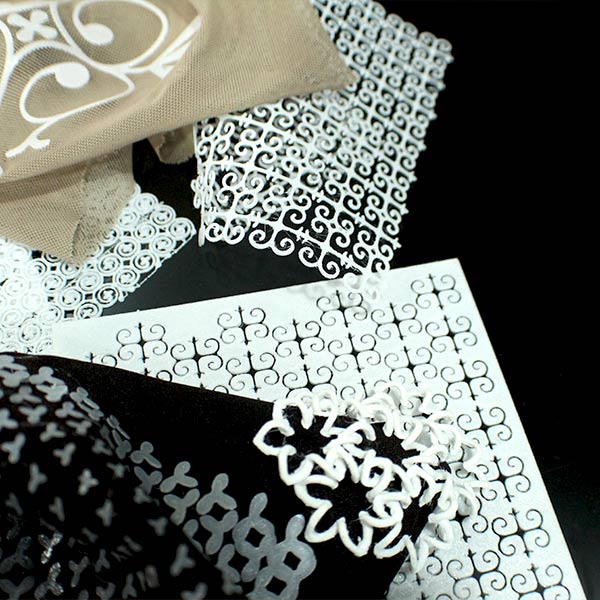
This time I printed TPU pieces without fabric to make a TPU textile. I chose a simpler motif to repeat and make a pattern. The start is as usual to trace the image on Rhino or Illustrator.

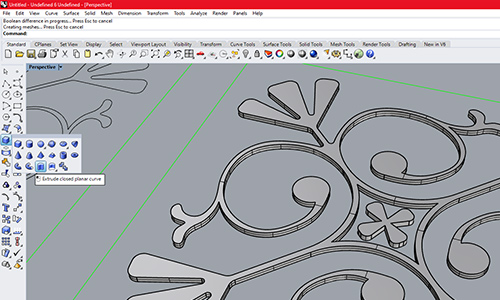
The extrusion height was 0.6 mm as I'll print with a layer height of 0.2 mm so the overall height should be a multiplication of that. We changed the scale of the desgin on Cura to make it bigger, check uniform scaling when changing x or y size and uncheck it to readjust the z to a multiplication of the layer height.
I made a negative and positive design. Making the positive one was troublesome in Rhino because of the self intersecting curves. Trimming the curves would have taken forever so here it was easier for me to draw the motif on Illustrator, array it, join the shapes, then export as .dxf to import it into Rhino and extrude it.
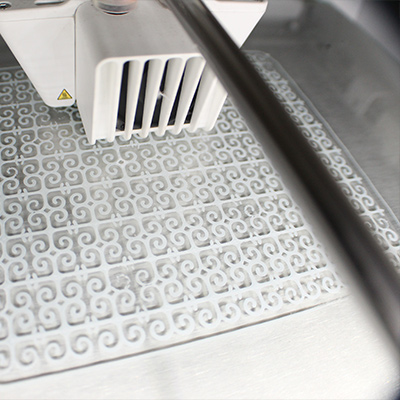
As is the case with TPU, we had to reduce the speed from the printer directly when we started printing. The details
Cura Settings
Printer: Ultimaker S5
Material: Genric TPU 95A

Layer height: 0.20 mm

Infill Density: 100%
Infill Pattern: Lines

Printing Temperature: 228 °C
Build Plate Temperature: 60 °C

Print Speed: 15.0 mm/s
Initial Layer Speed: 10.0 mm/s
but we also reduced it on the printer to 40% at some points

Enable retraction
Retraction Disance: 6.5 mm
Retraction Speed: 15.0 mm/s

Fan Speed: 20%

Build Plate Adhesion Type: Skirt
Chainmails
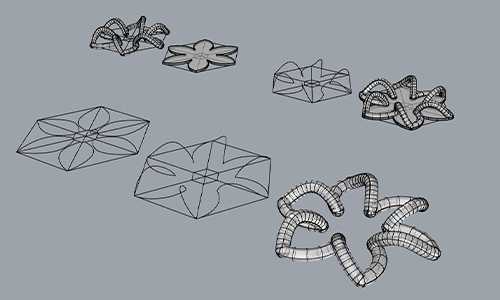
Chainmails look complicated at first. Then simple enough. And then when you start designing you realize they are more complicated than you thought. I wanted to make my own design for the chainmails and started with a triangle planning to turn it into the three petals flower. The plan was to make a curved connection between the trinagles and to design one piece (not female and male pieces). After three hours of trying at it, I gave up and decided to make better use of my time at the lab.
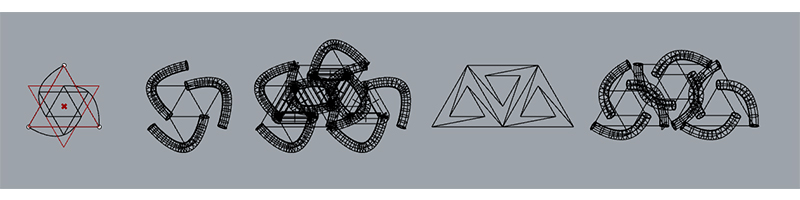
When I went home and opened the laptop to work on my documentation, the unfinished chainmail file stared at my from the screen. I decided to give it another shot. This time I started with a hexagon which could be two flowers. I drew 6 petals and lifted one half of each petal to establish a connection between pieces. I now had the chain and still had to make a surface connected to it from the bottom the shape of two flowers. I knew it was a silly idea as soon as I drew it; the faces were overlapping. Then I saw it looks better with the pipes alone.
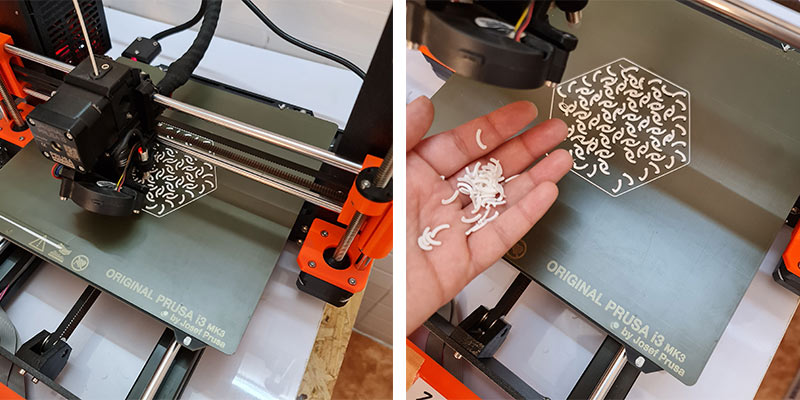
I printed this on a Prusa MK3+ printer we have at Ruwwad Innovation Space, the makerspace where I work. I restarted the print 5 or 6 times as the little pieces kept coming off the plate. At last, I decided to add a brim and reduce the number of pieces. I knew it would take me forever to cut the brim off but it was my last resort.
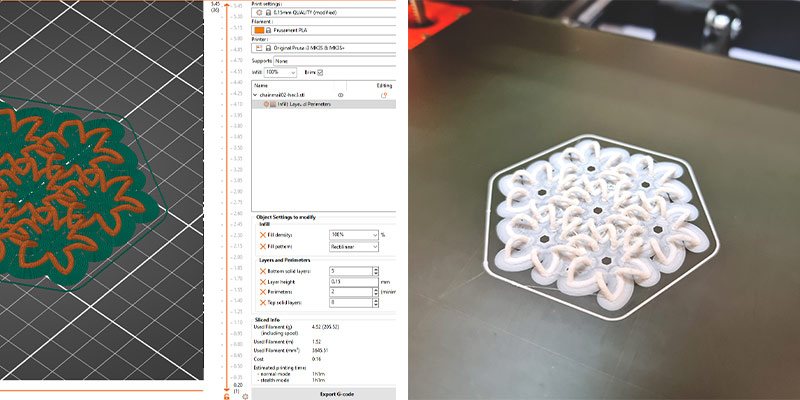
Using some grasshopper to make the pipes saved me time and effort. But arraying and overlapping the pieces took a lot of time to make sure the pipes do not intersect. There has to be an easier way probably using Grasshopper but I didn't look into that yet. Anyway, if you are doing it manually like me, make a final check on the file after you slice it by going over the layers and making sure they do not touch (they will definetly overlap, Though)

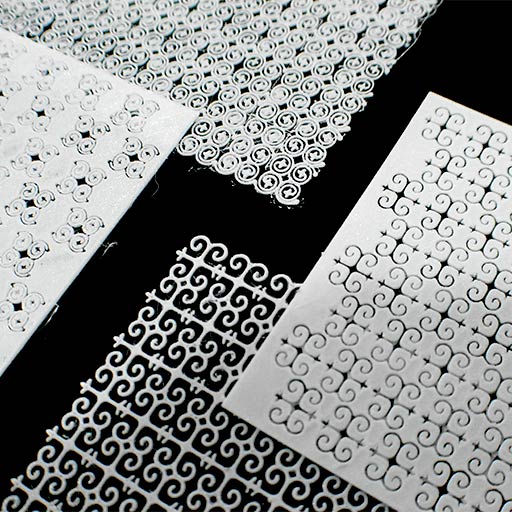
Results
And here is a compilation of pictures for my experimentations this week. I had lots of fun trying different 3D printers, filaments, and techniques. I'm planning to make a library of Circassian motifs swatches I think it will be amazing to showcase my culture!
Tools
Fabrication files
-
File: Flower Chainmail ↩
-
File: Grasshopper Control Point ↩