5. E-textiles
Research
Electronics I think is the absolute furthest thing from Alessia, but at Fabric Academy you can't back out. The thing that fascinated me this week is how you can make a connection between embroidery/weaving and electronic circuits. Saint Michelle, to whom I will always be grateful for her patience, introduced me to the world of electronics and made it seem easier than I thought. It was interesting to see how you can create soft circuits with just a thread. I would have liked to experiment with embroidery techniques this week, given my passion for embroidery, but unfortunately my time is always short, so I decided to make simple embroidery circuits so that I could concentrate more on understanding the electronics.

INSPIRATION
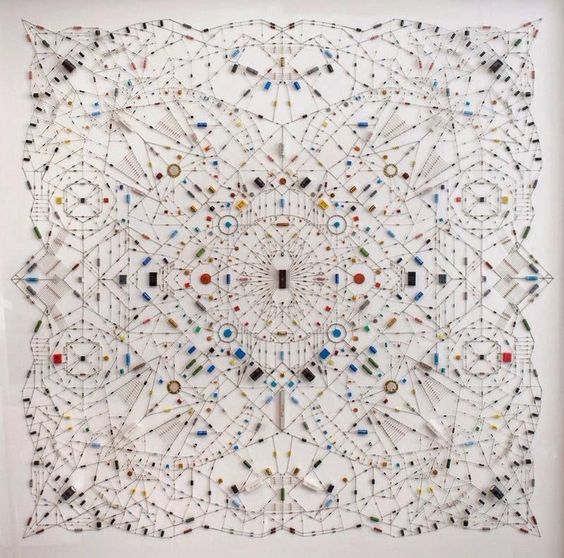
Leonardo Ulian, Electronic mandalas
At this [link](https://www.designboom.com/art/leonardo-ulian-technological-mandala-06-29-2017/) you can find the DesignBoom article related to this amazing project, Leonardo Ulian composes intricate technological mandalas from electronic components
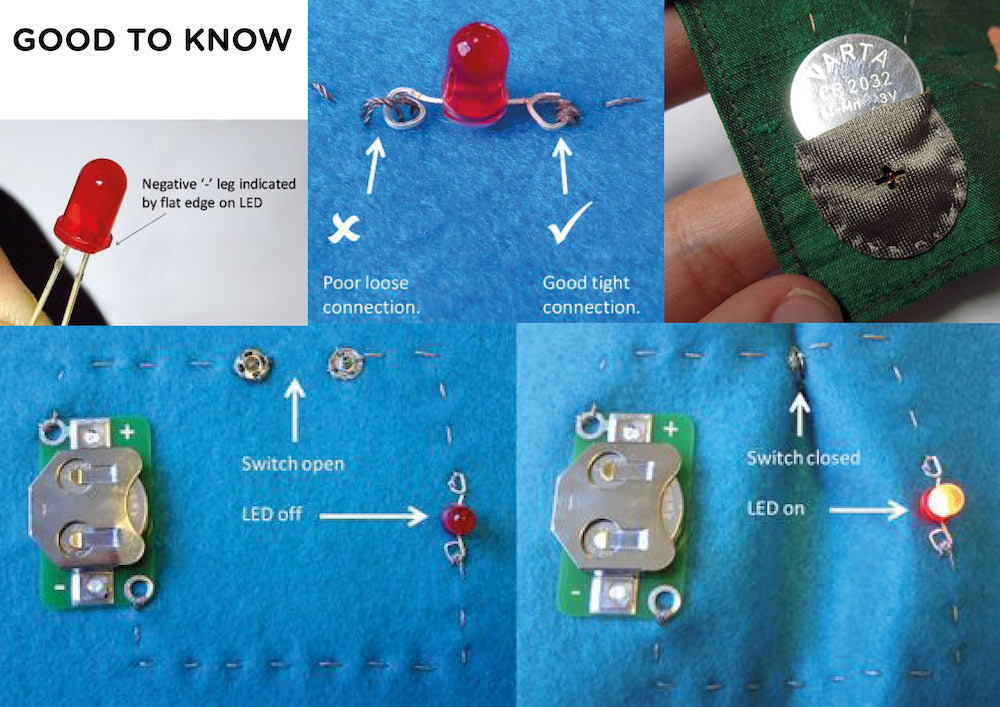
GOOD TO KNOW
If you need help and need to find some good, simple advice or inspiration take a look at this link,recommended by Michelle.
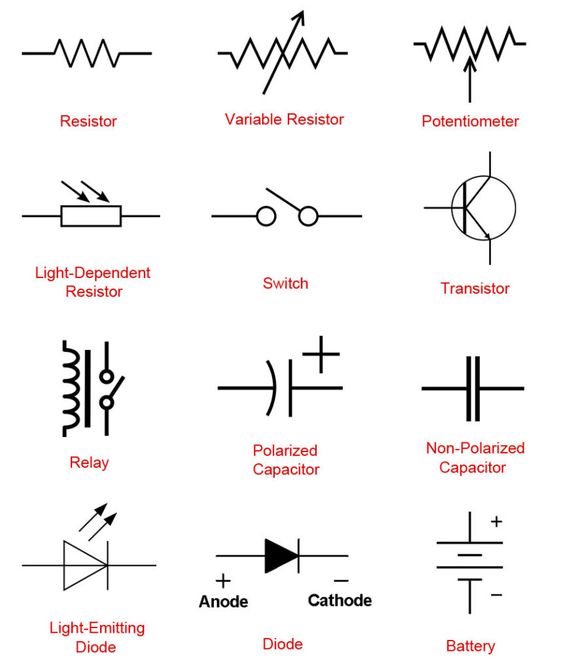
What is a Circuit?
Circuit is a path for Electricity to flow move: stream moving electrons create current how the electronsmove: from + to -
VOLTAGE (V) is the electrrical force between two points CURRENT (I) speed with which the electronic charge flows RESISTANCE (R) Ohms amount of material thatresist current flow For measuring voltage,current and resistance we need multimeter Ohms law: V = I x R
For measuring voltage,current and resistance we need multimeter, if you are wondering how to use a multimiter click this link
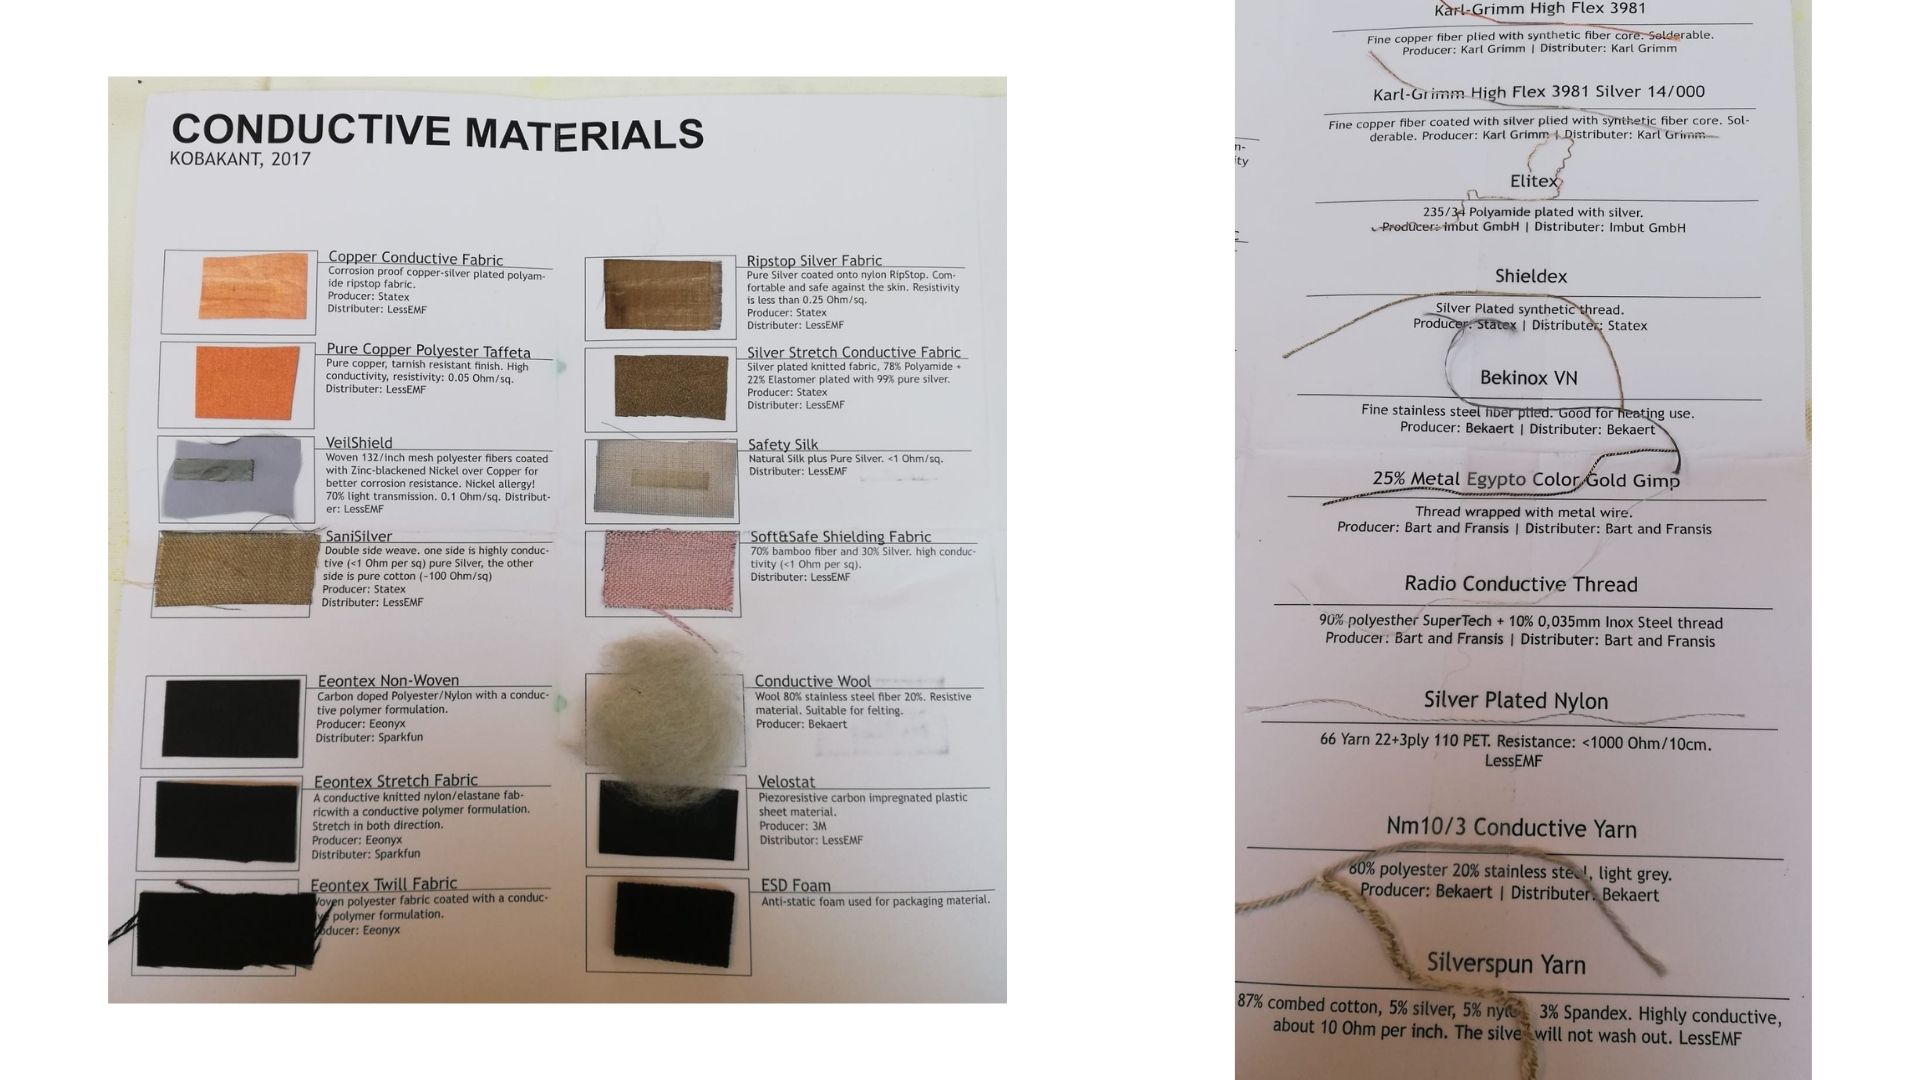
Materials
We can use any conductive material any material that allowed the energy to pass Consider different proprieties : resistance, strechiness solderability, feel substrate + productive process.
1ST Digital Sensor
This is the first circuit I created, it was easy following Michelle's instructions. What you need to do first is to draw yourself a clear diagram of the path of your circuit, so that the electricity flows in the right way and without blockages.
2ND Digital Sensor: THREAD AND BEADS
For this second test, I wanted to test other materials besides conductive threads. So I checked with the multimeter whether my beads had the right charge. After this check I inserted all my beads into conductive wire. From this row of beads started my + and - 'wires'.
My idea was that these rows of beads could access my led, and they did! A dress full of these 'fringes' of beads would be nice.