MICROBIAL LEATHER: NEW TEXTURES
MICROBIAL LEATHER BY ME
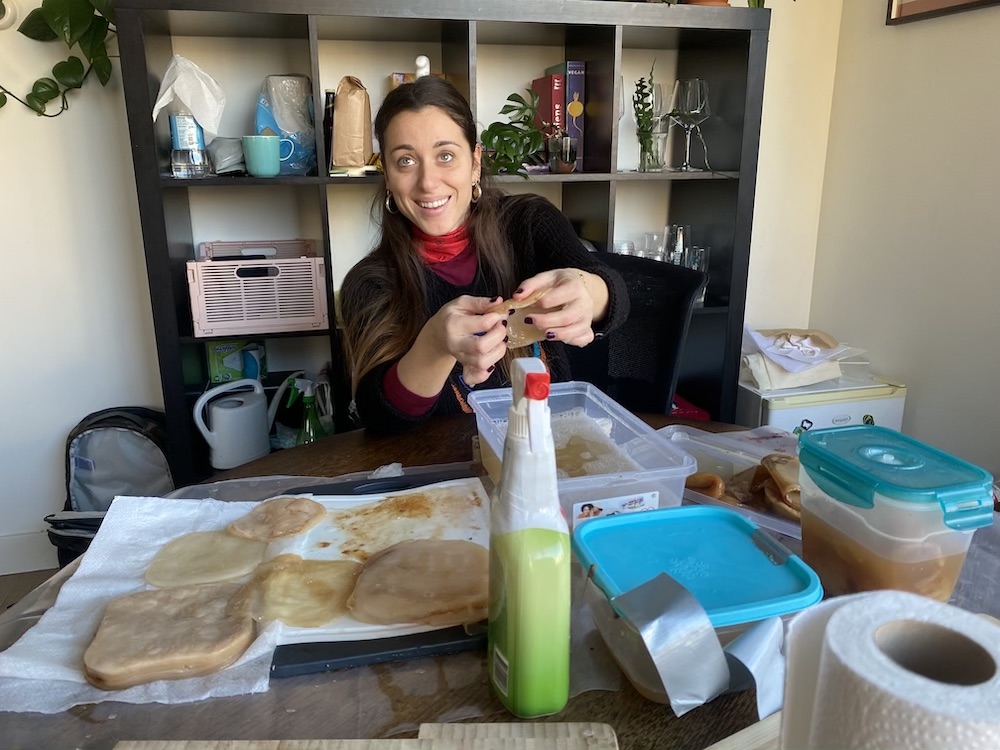
FIRST SAMPLES

TRENDBOOK STRUCTURE
RESEARCH & INSPIRATION
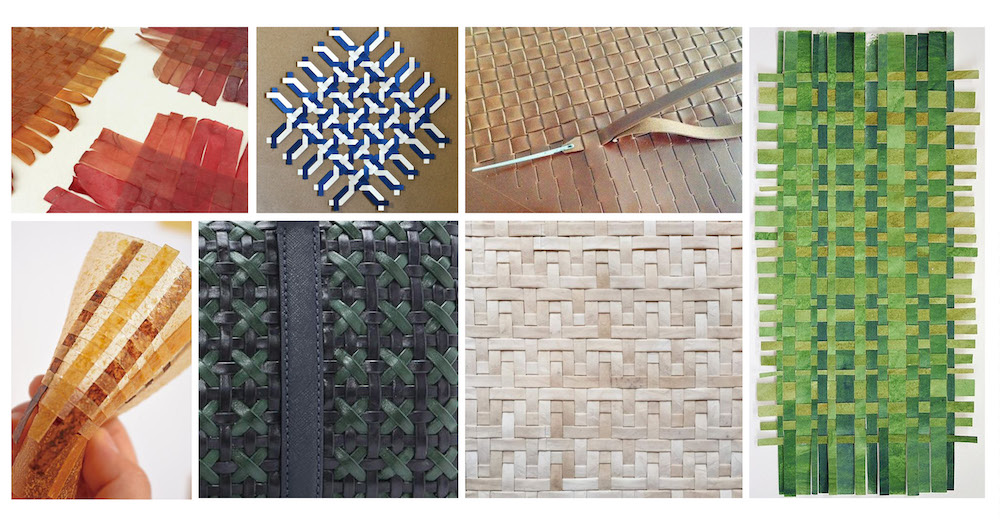
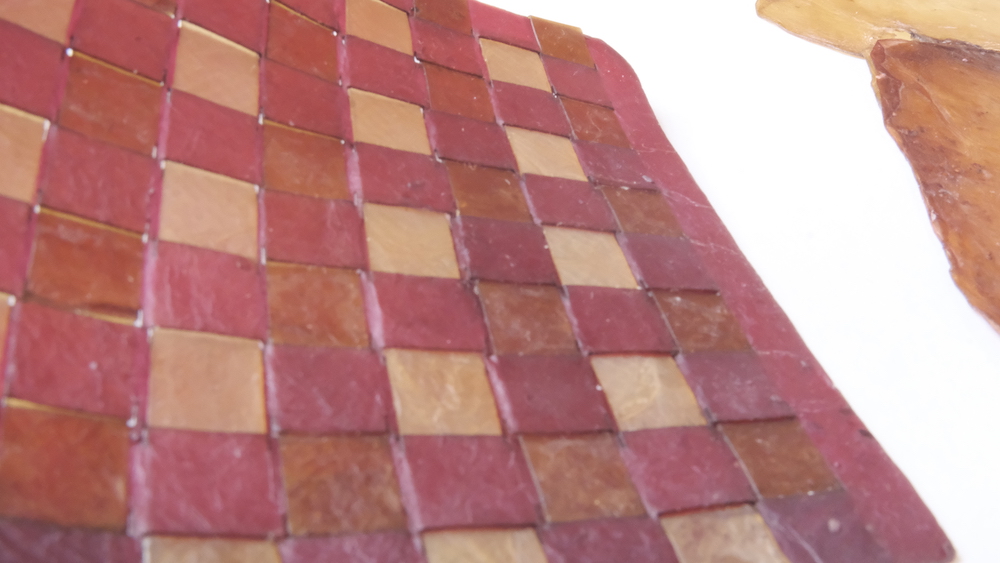
The aim of my project is to create new textures and surfaces with new materials, while maintaining a close link with the manual craft of weaving, interlocking and enriching these bases. What I would like to emphasise is how a bio-leather can adapt to the same processes as a real leather, but above all highlight how they can be similar but at the same time achieve different and interesting results. For the KOMBUCHA LEATHER section I will create samples in different manipulation techniques:
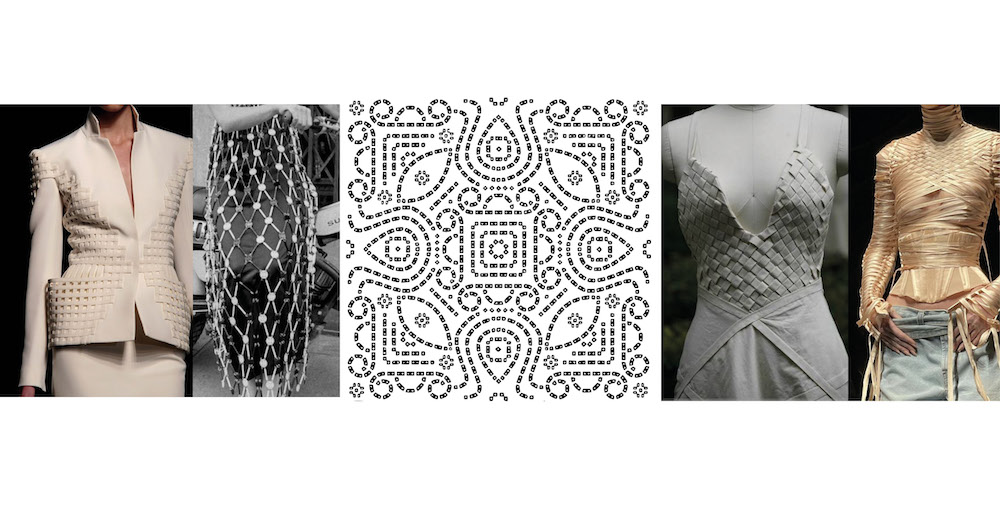
- GEOMETRIC WEAVING in different types/colours of bio leather
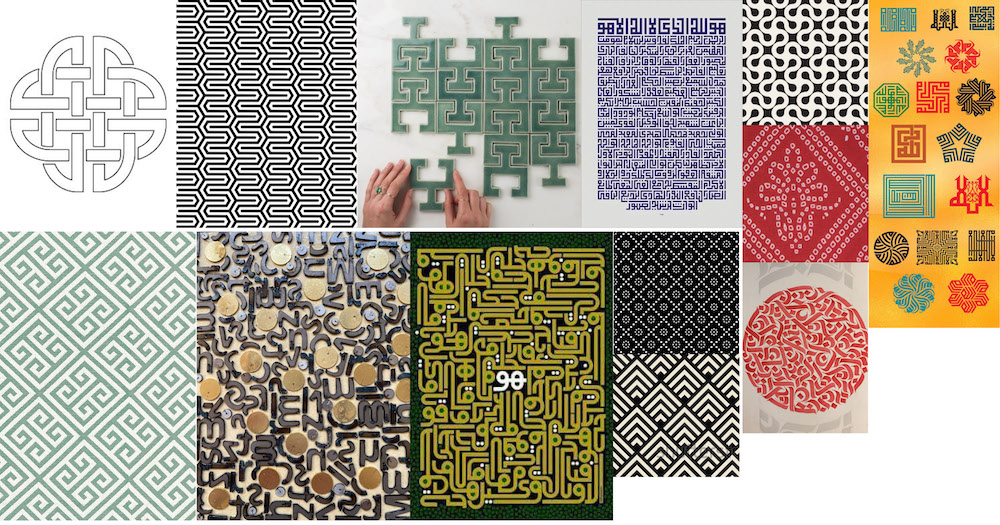
- ENGRAVING of oriental geometries on bio leather
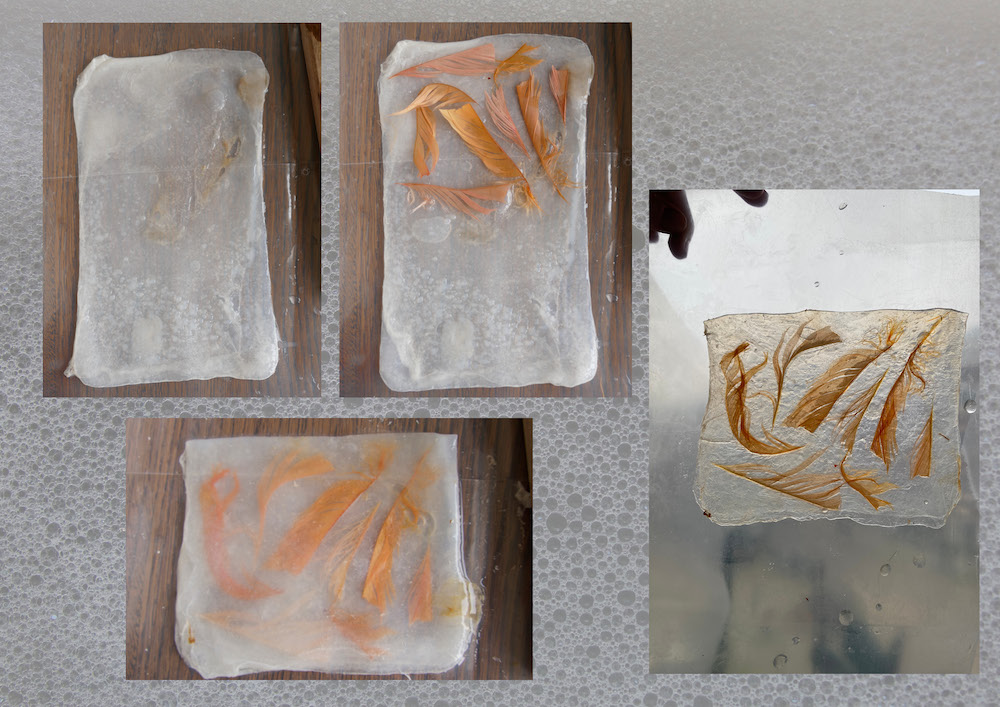
- CUSTOMISATION WITH FEATHERS on bio-leather during drying.
- DYED IN DIFFERENT COLOURS
- MODULAR DESIGN TEST 1 technique/sample same as real leather sample.
- MACHINE STITCHING TEST
Below are some inspirational designs that I would like to develop for engraving, laser cutting, and interlocking modules.
WORK-IN-PROGRESS
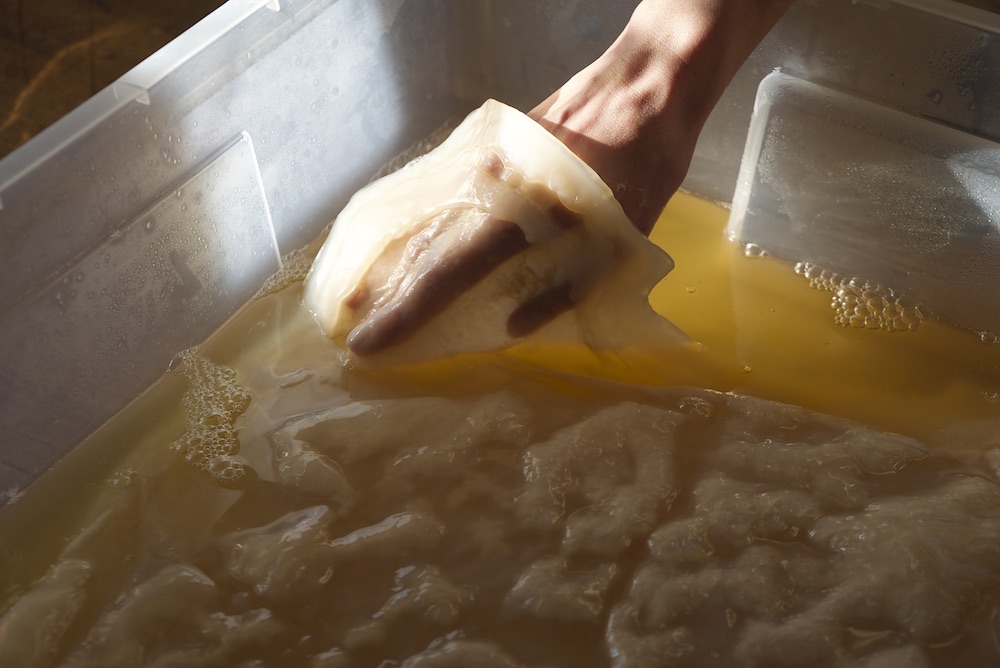
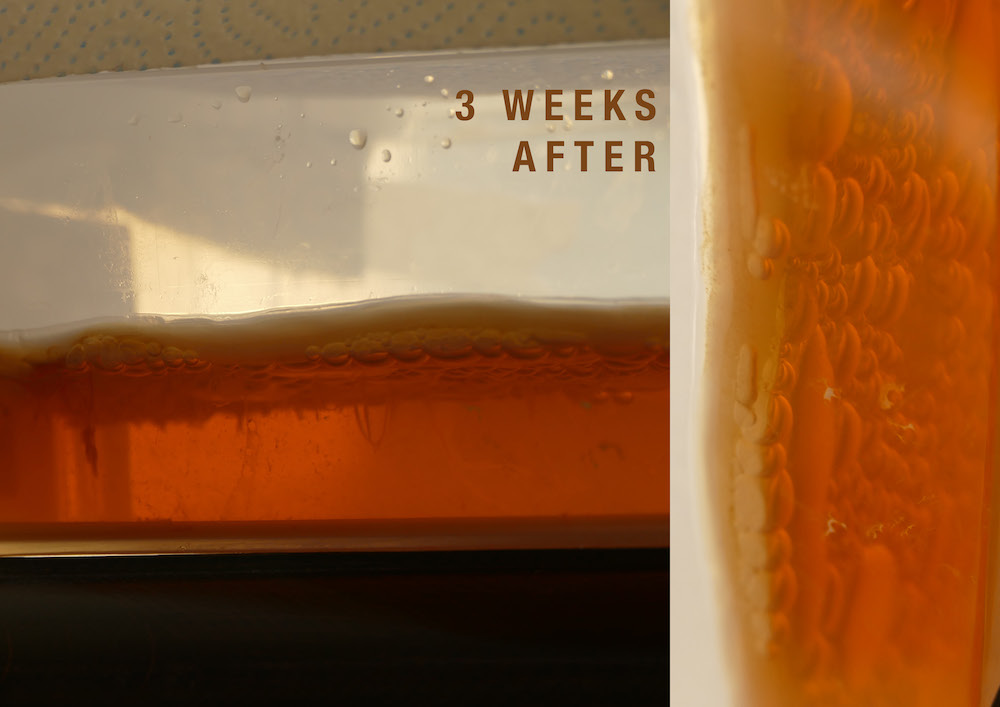
1ST batches of Kombucha WEEK 01
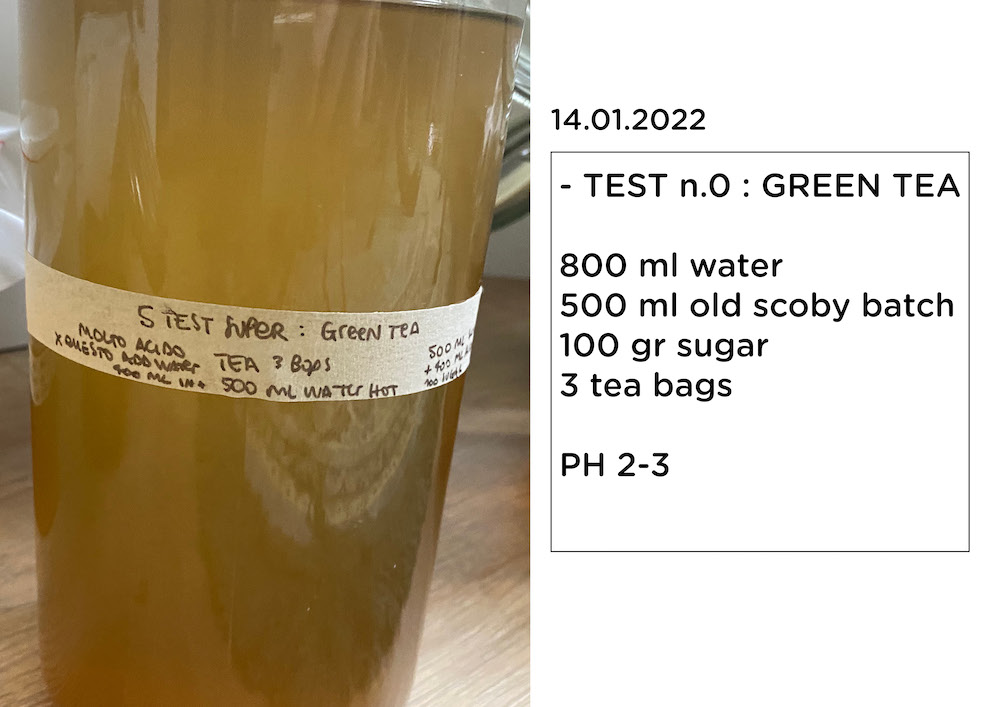
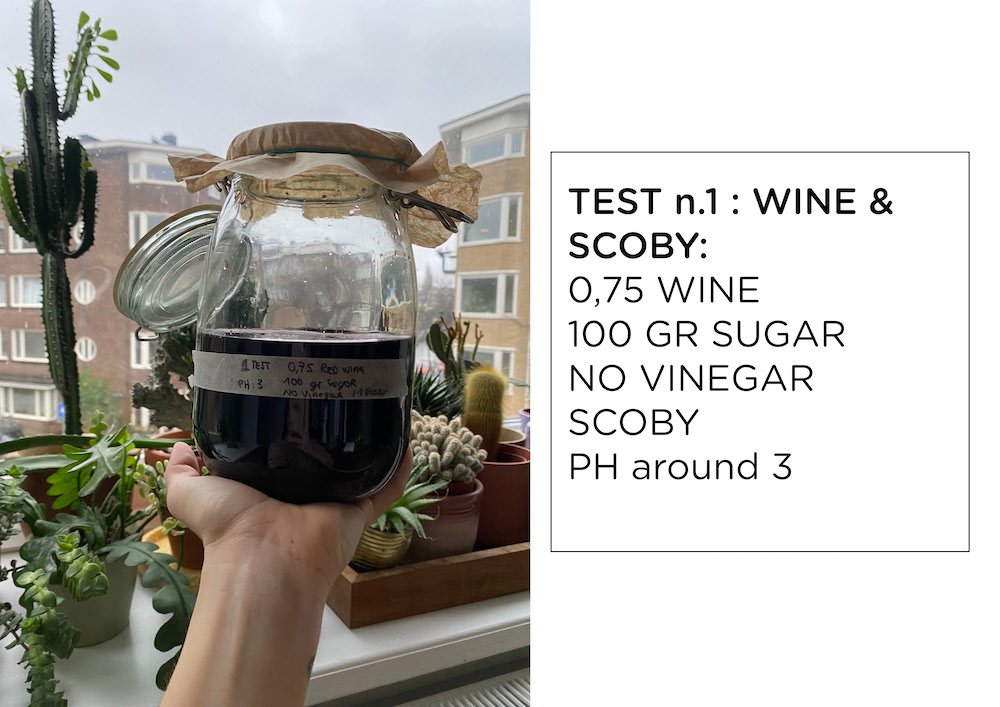
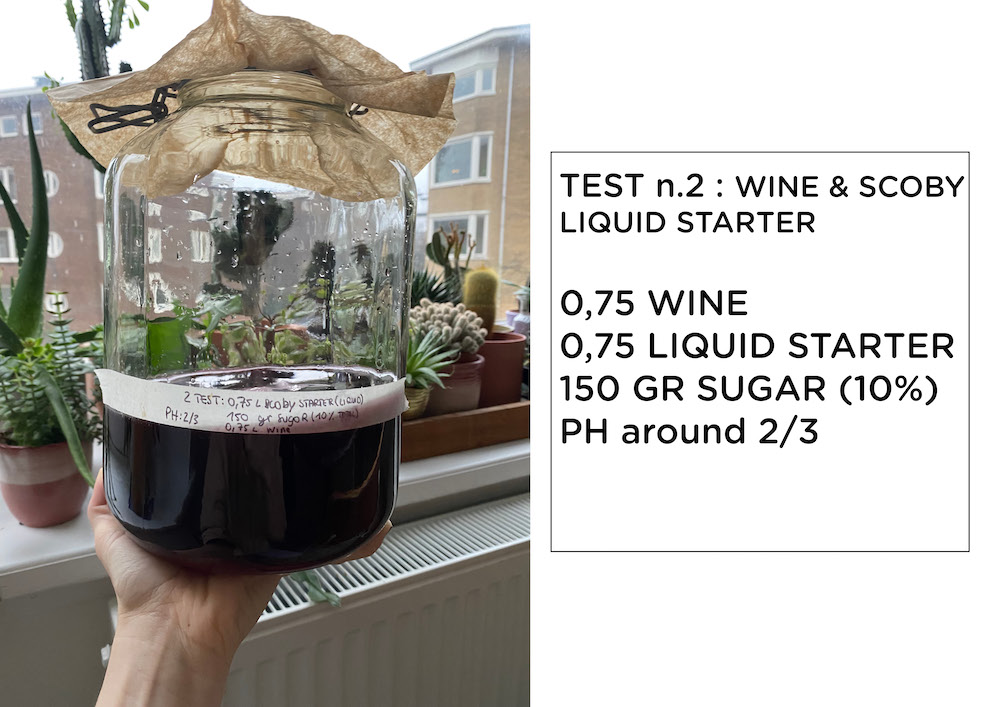
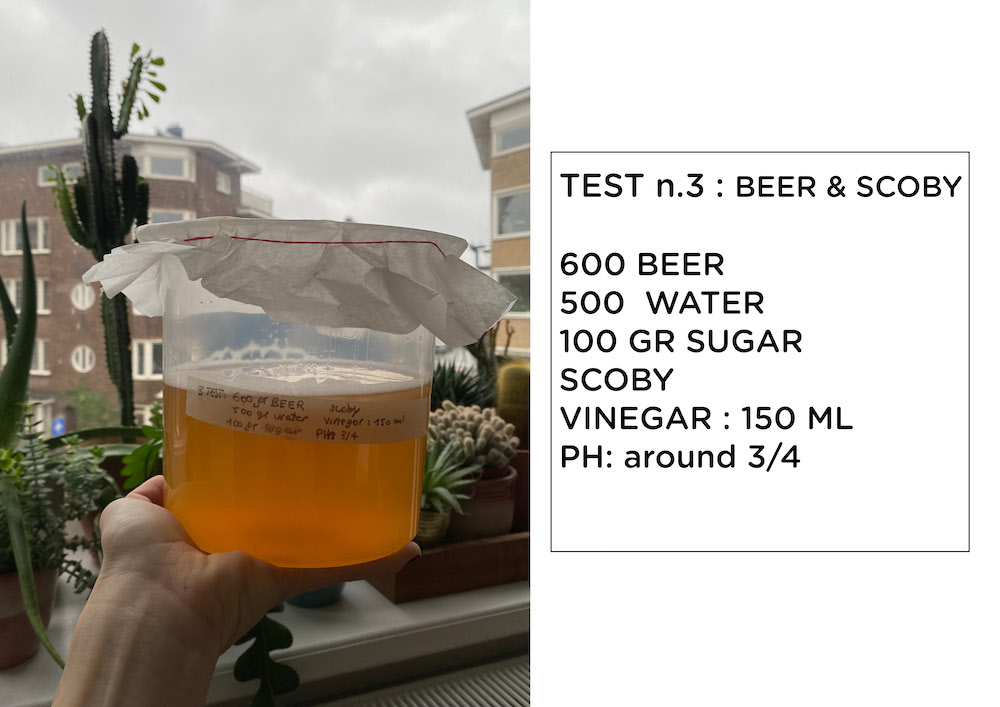
In my first week of experimentation, I created my first Kombucha baths, following different techniques to achieve different textures and colours. Below you will find all the recipes I made.
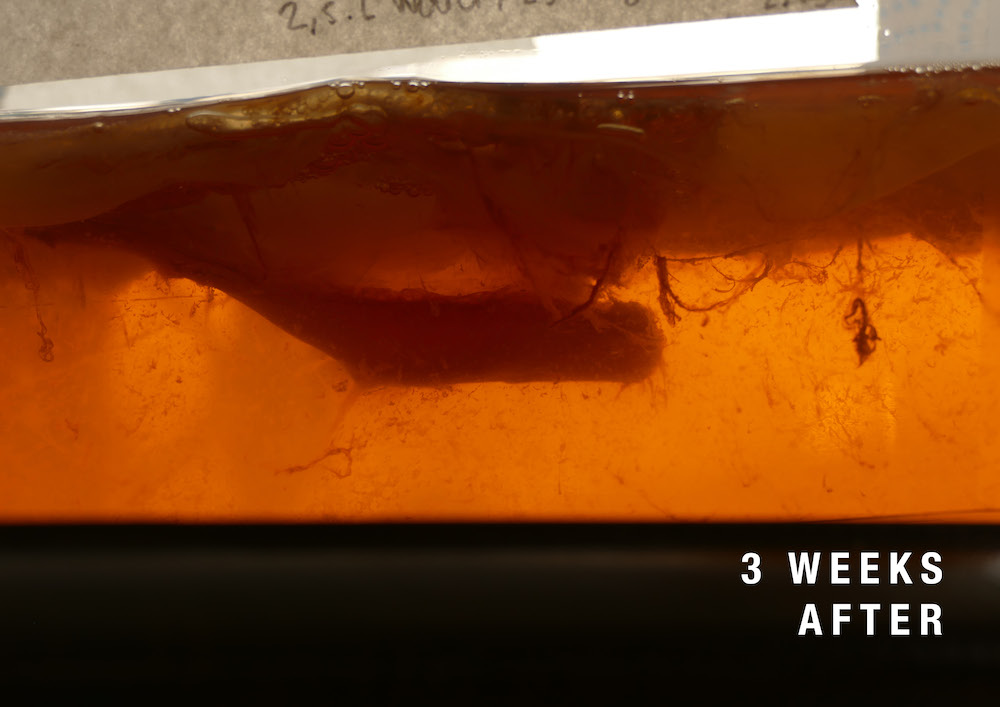
I had both scobies and liquid from previous baths. So I decided to use both in different cases, so I could see the different speed of growth of my new scobies.
What helped me gain clarity were the video tutorials by Lorena Trebbi at this Link
TEST.A
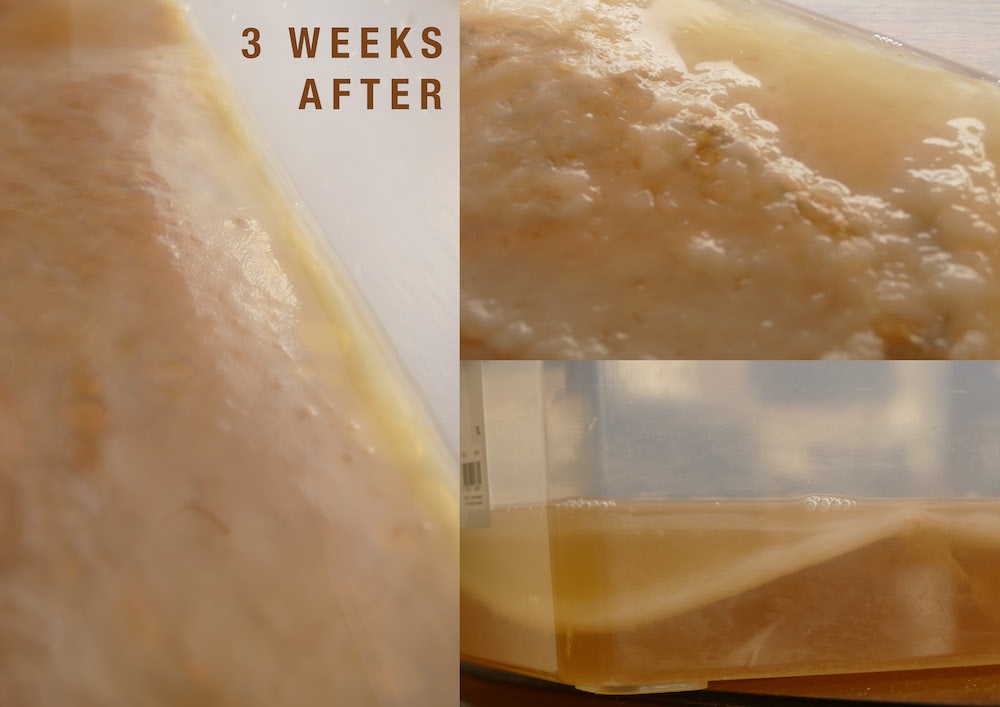
Process: is growing very fast. * In 1 week you can already see a thin scoby layer. * In 15 days I got a 5 mm layer Final Results & Comments:
TEST.B
TEST.C
TEST.D
Process: is growing very fast * In 1 week you can already see the scoby layer. * In 15 days I got a 5 mm layer Final Results & Comments:
TEST.E
Process: is growing very fast * In 1 week you can already see the scoby layer * In 15 days I got a 5 mm layer Final Results & Comments:
TEST.F
Process: is growing very fast, in 1 week you can already see the scoby layer. Final Results & Comments:
TEST.G
Process: is growing very fast * In 1 week you can already see the scoby layer * In 15 days I got a 5 mm layer Final Results & Comments:
TEST.H
 Process: is growing very fast
* In 1 week you can already see the scoby layer
* Final Results & Comments:
Process: is growing very fast
* In 1 week you can already see the scoby layer
* Final Results & Comments:
TEST.I
 Process: is growing very fast
* In 1 week you can already see the scoby layer
* Final Results & Comments:
Process: is growing very fast
* In 1 week you can already see the scoby layer
* Final Results & Comments:
TEST.L
 Process: is growing very fast
* In 1 week you can already see the scoby layer
* Final Results & Comments:
Process: is growing very fast
* In 1 week you can already see the scoby layer
* Final Results & Comments:
2ND batches of Kombucha WEEK 02
GOOD NEWS.... my first kombucha tests are growing rapidly, but the best news is that a good friend of mine had a lot of scobies at home that he gave to me (he probably noticed my desperation). So now I have lots of little scobies to test laser machine and dye on while my samples grow.
Some I dried to test with the laser machine, some I dyed and some I used for other batches.
BATCHES OF THE WEEK 21.01.2023 :
TEST.M
- Liquid total: 2,125 L
- WATER 1,825 L
- OLD BATCH LIQUID 300 GR
- SUGAR 300 GR
- NO VINEGAR- PH:3
TEST.N
- Liquid total: 2,500 L WATER
- SUGAR 250 GR
- VINEGAR 230 GR PH:4
- SCOBY
TEST.O
- Liquid total: 1,160 L
- MILK 1L
- SUGAR 100 GR
- VINEGAR 160 GR PH:3
- SCOBY
I made two different batches of leavening milk, the big one grew very fast so I decided to test with that and wait for the small one to grow a bit more. Given the transparent color, I decided to try customizing the microbial skin base with feathers inside to see the effect.
In the photo to the right you can see my sample after a week of drying, although it still looks slightly damp.
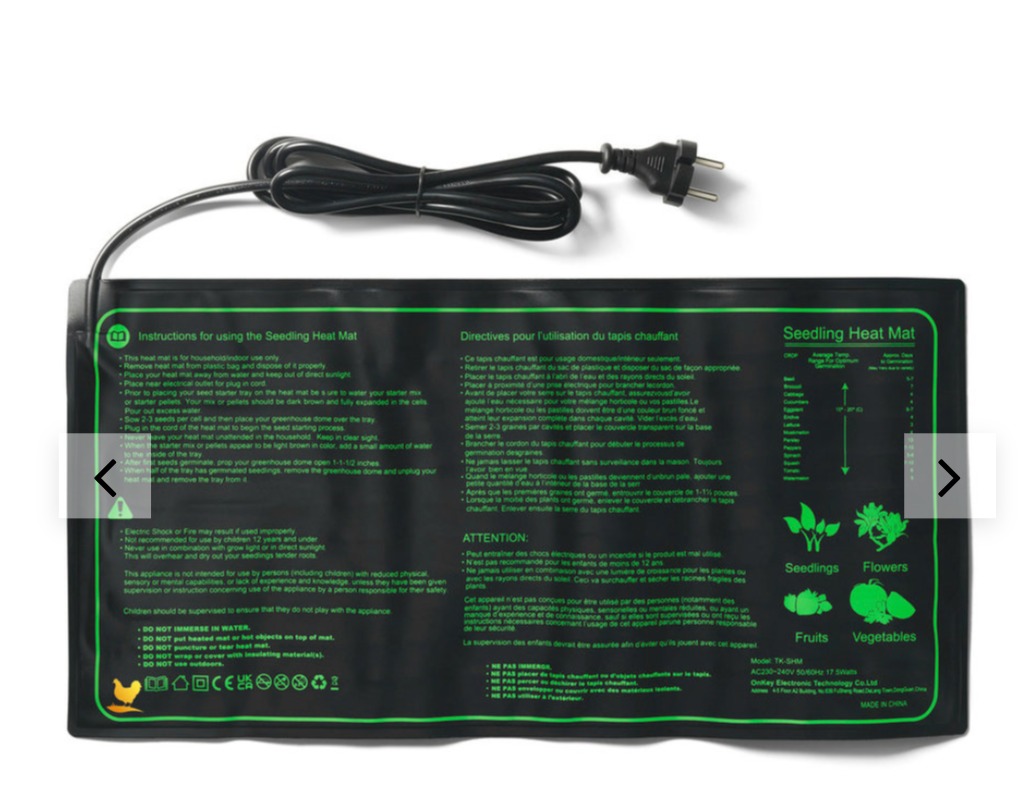
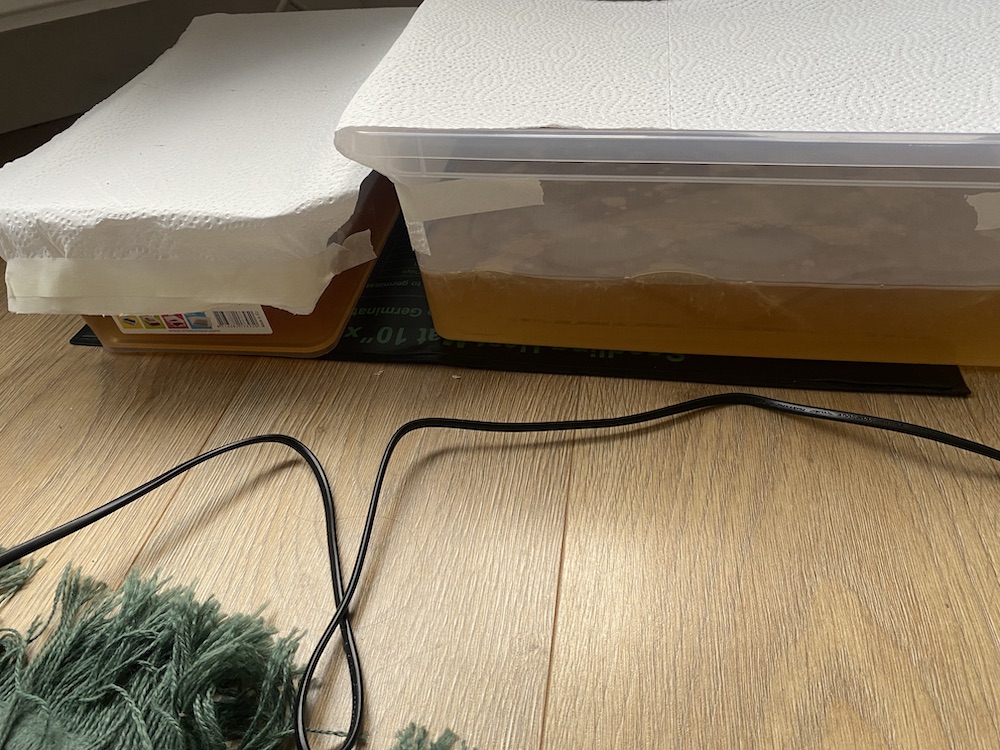
HEATTING MAT
I also bought a heating mat this week to put under my vessels so that they can maintain the right temperature. Considering the cold winter in Amsterdam I thought it would be a good idea to keep a fairly constant temperature for their growth. I put the link below in case you are interested in buying it in the future.
The temperature in my house I think is good, I have a lot of plants and they probably give a good amount of moisture to the environment, so the growth was going well, but actually since I started alternating the heating mat under my kombucha pots, the growth is much faster.
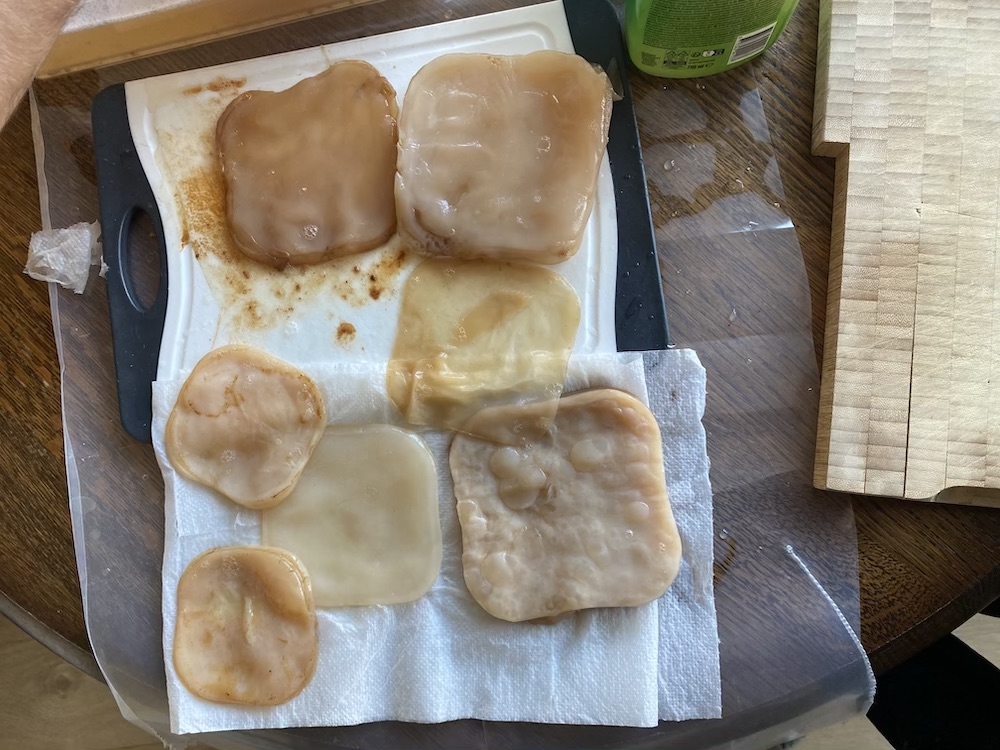
DRYING MY FIRST SAMPLES WEEK 03

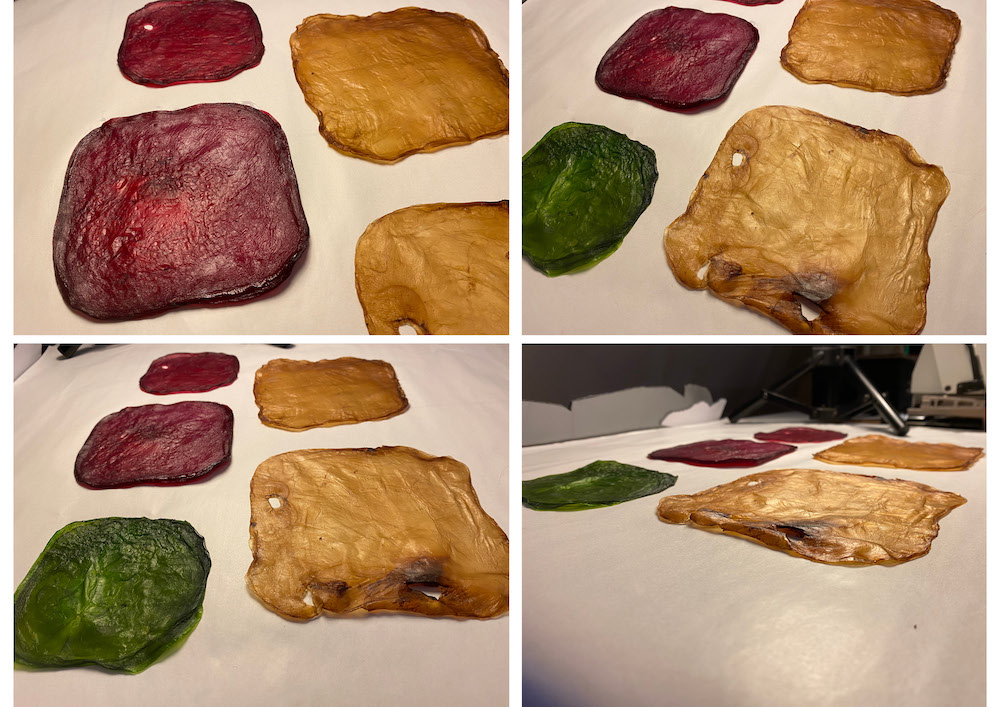
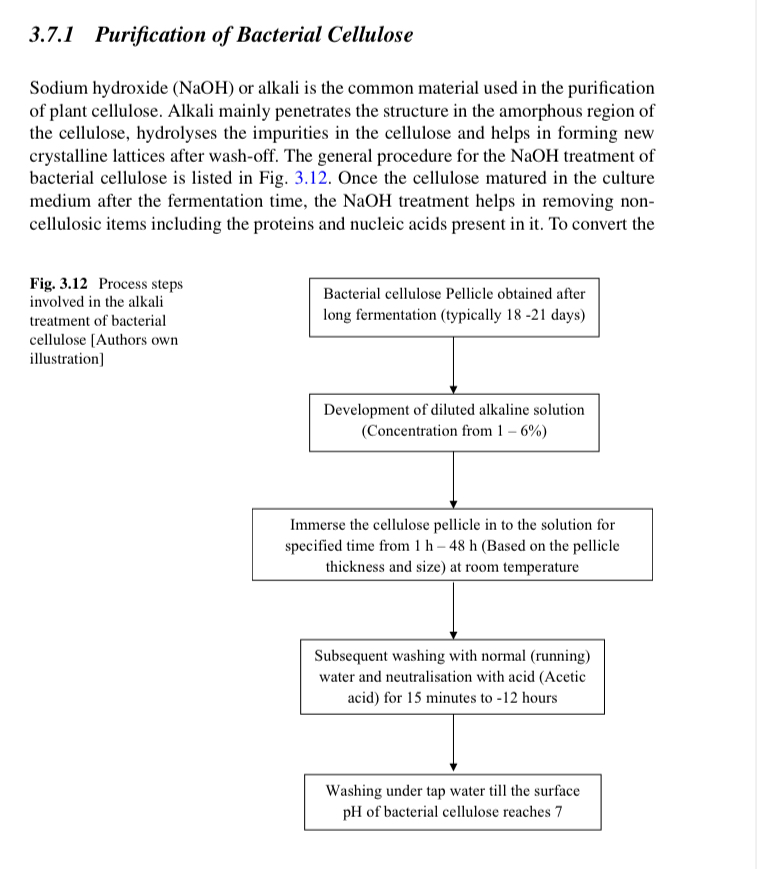
PURIFICATION OF BACTERIAL CELLULOSE
The textures of my samples still do not seem to be completely dry after being placed in an oven at 40 degrees for 4 hours.
They still seem to contain some liquid, and after treatment with beaver wax and almond oil, they became even wetter. I did this treatment just to see if they would soften a bit, they were very dry after being in the oven.
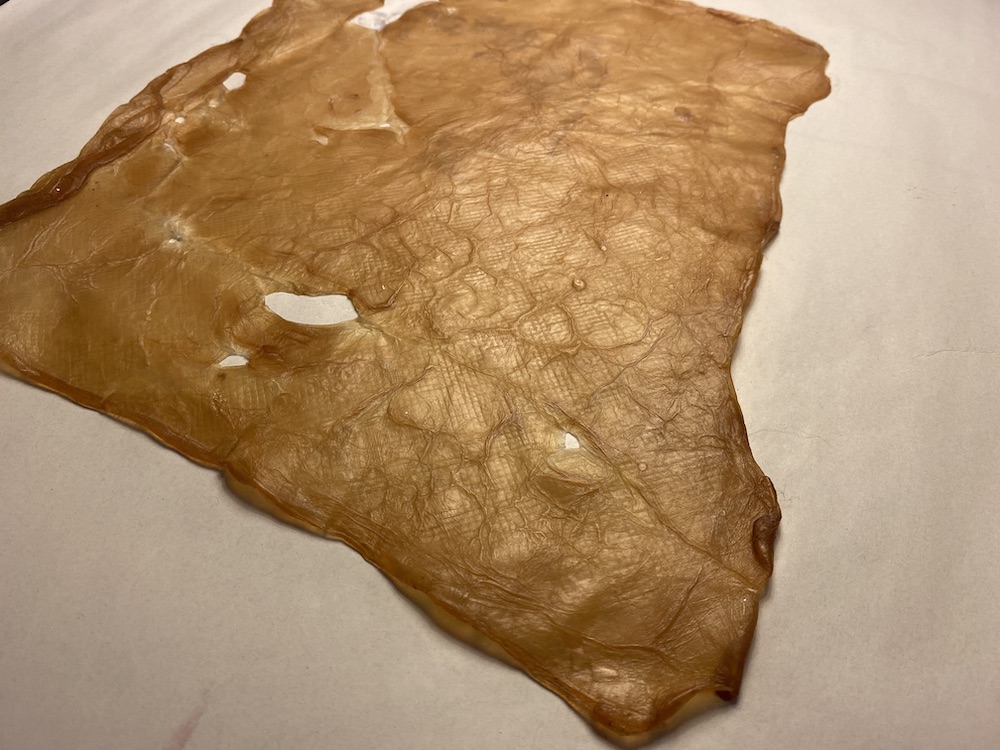
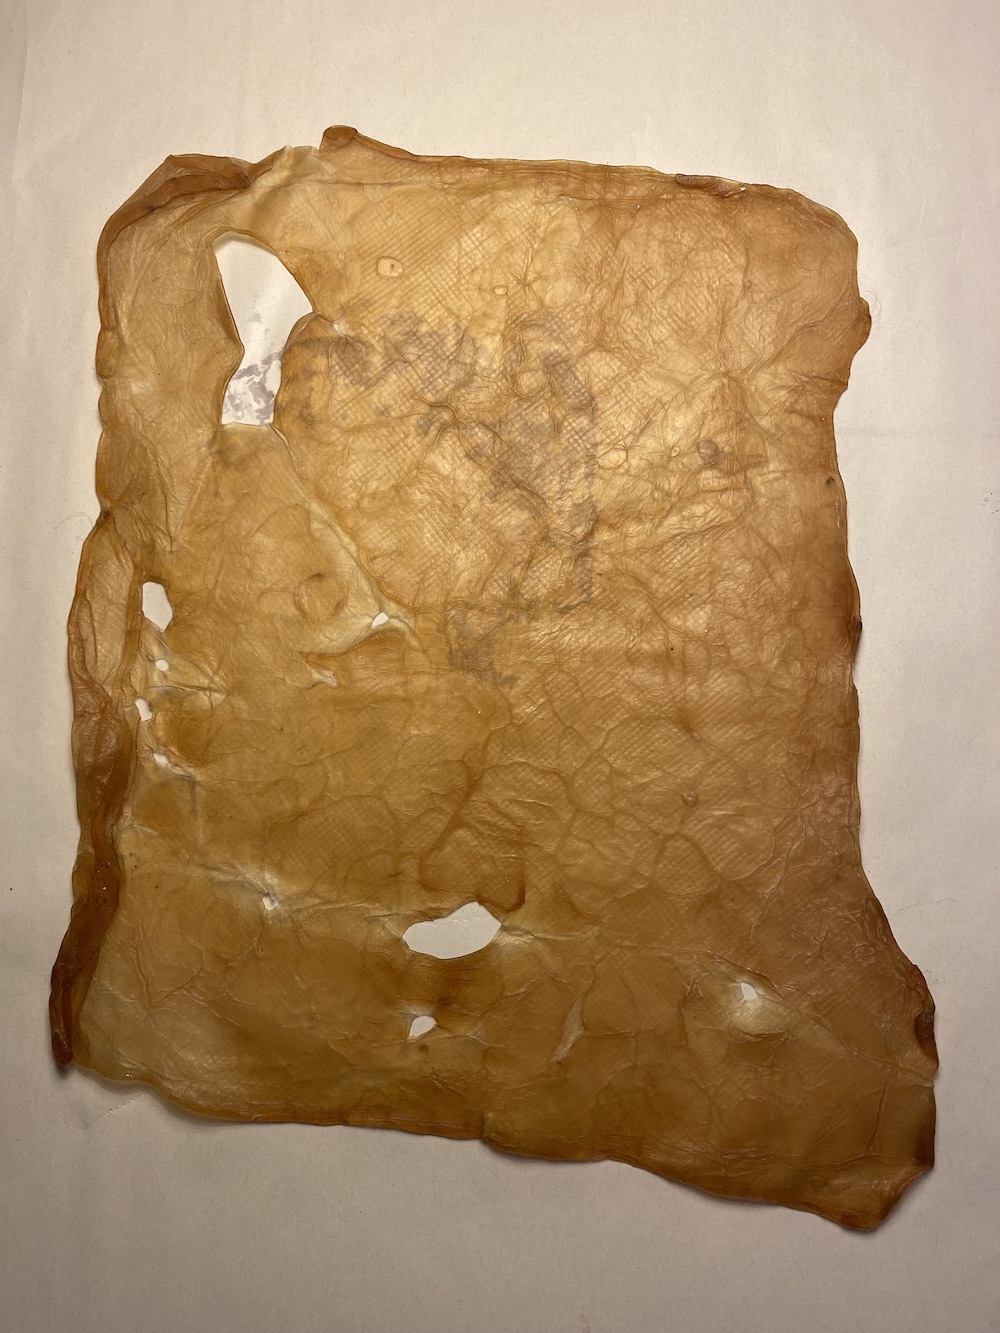
Thanks to Cecilia's advice, who recommended a very interesting book on bacterial cellulose, whose link I put here, I read a chapter on cleaning. I then followed the procedure described below.
RESULTS: PHOTO
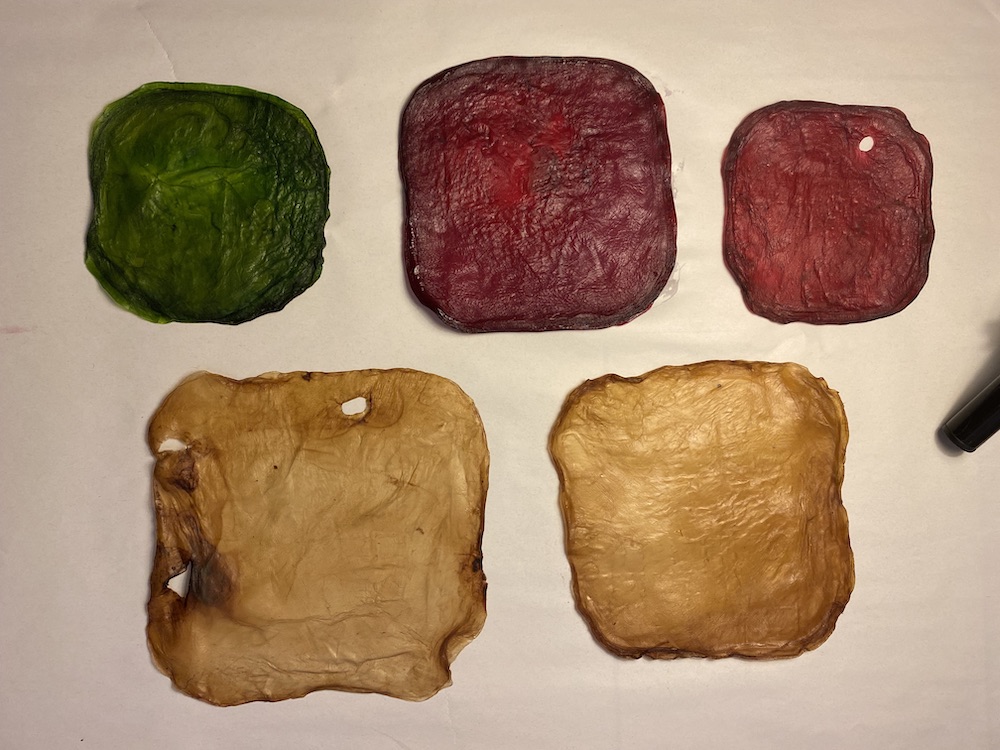
DYEING TECHNIQUES
1st test of dyeing : COLOR POWDER
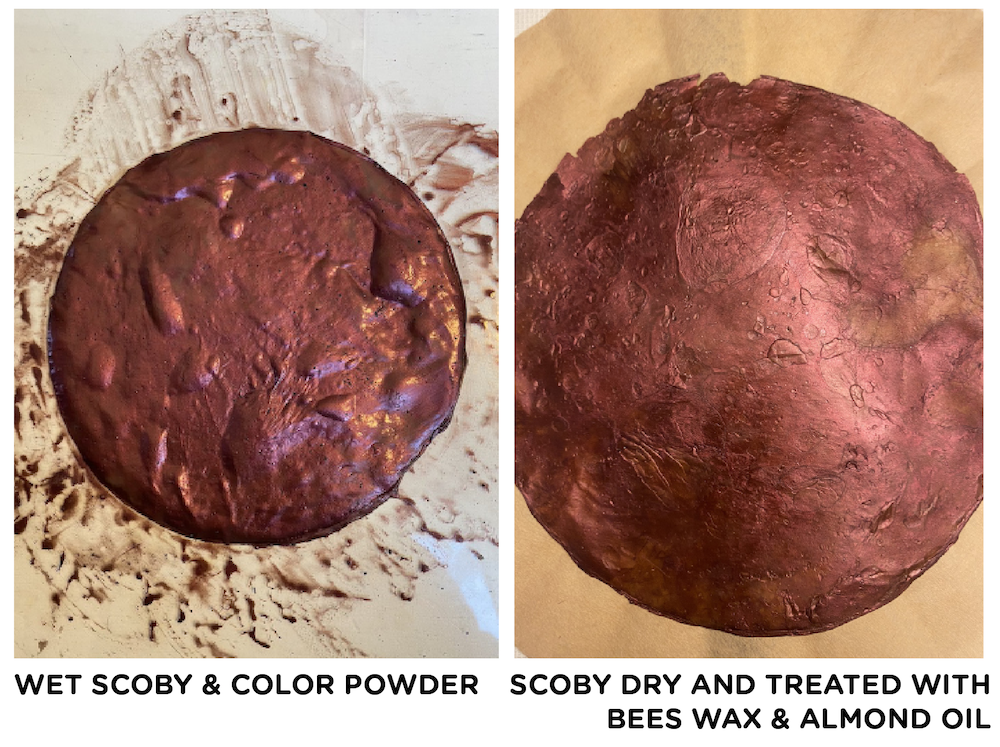
I used a powder colour, when the layer was still wet I massaged the colour with my hands on the surface, this is the result while still wet. I put the sample in the oven to dry for 8 hours at 40 degrees.
As you can see in the picture below, after drying, my sample flattened out, because all the 'water' it contained evaporated. The oven made my sample very dry, probably also due to the not too high thickness. So I treated the surface with beeswax & almond oil. When treating with beeswax remember to use heatpress, so that the heat and pressure spreads the wax evenly.
2nd test of dyeing : BLUEBERRIES DYES
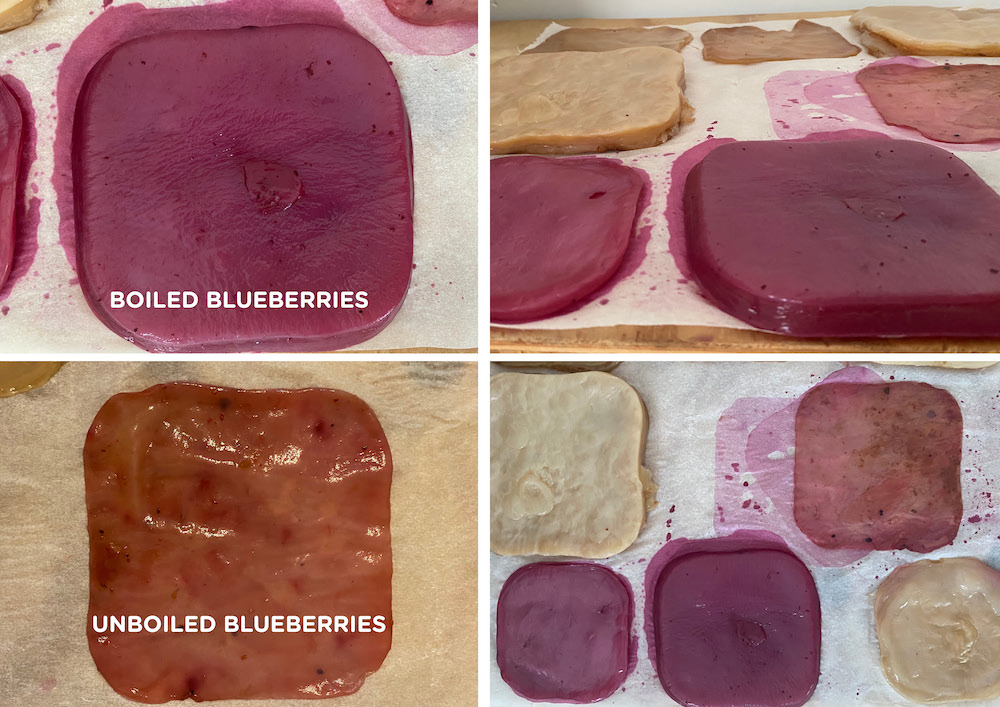
This is my second dyeing test. I wanted to try colouring with blueberries and I followed two different ways of dyeing.
As you can see in the photos, I also have a different type of thickness, so the colour will probably be different in terms of intensity.
For the thinner layer I simply pressed my blueberries in a container without boiling them and then put my kombucha leather inside the blueberry puree. In any case when wet, the colour seems to have been taken. We will see the result when it is dry.
In the second case, I followed the normal dyeing technique.
- I boiled the blueberries for about an hour.
- I pressed the blueberries to release the colour
- I placed my scoby inside the liquid adding a little vinegar and left the sample in the bath for about 1 hour.
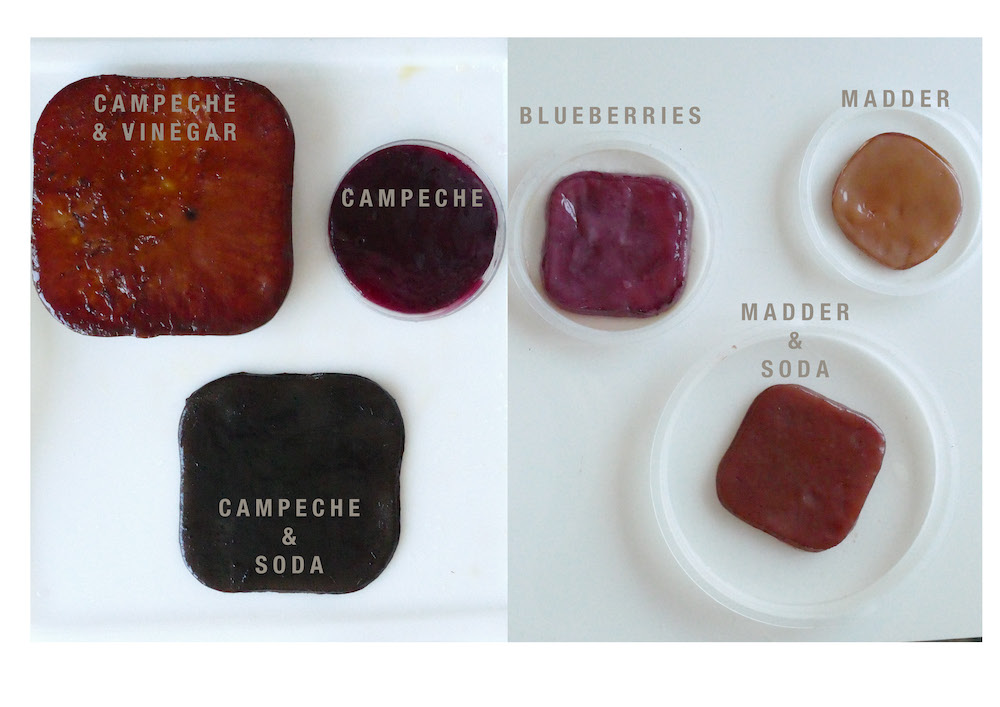
3st test of dyeing : NATURAL DYEING WITH MODIFIERS
CUTTING & ENGRAVING OF MICROBIAL LEATHER
What I want to achieve with the laser cutting machine are both cuts that allow me to make leather joints and texture engravings with patterns.
LASER CUTTING
It is not easy to treat kombucha with laser cutting. As you know, each batch of kombucha generates different skin surfaces and the risk of having an uneven surface is very high. Therefore, you have to learn to handle different thicknesses, you have to understand that a thickness of about 2 cm usually reduces to a thickness of 3-5 mm when dry. Other times, the thickness may not be extremely high, but the surface is even and very strong, and not too thin either. Each bath generates its own skin type and this cannot be controlled much. We have to be lucky and be in tune with our bacteria :)
Having different thicknesses, I had to do several tests for cutting and laser engraving.
In this case, the thickness was very thin, about 3 mm, but the surface was very strong and even.
KEEP IN MIND THAT THE TRAMA of kombucha leather is extremely strong and tough, and it is not so easy to cut it.
However, I recommend always starting from this setting below and, depending on the thickness, increasing or decreasing it.
As soon as I had defined a right setting, I cut my samples according to the design that would allow me to have my joints.
TEST A.
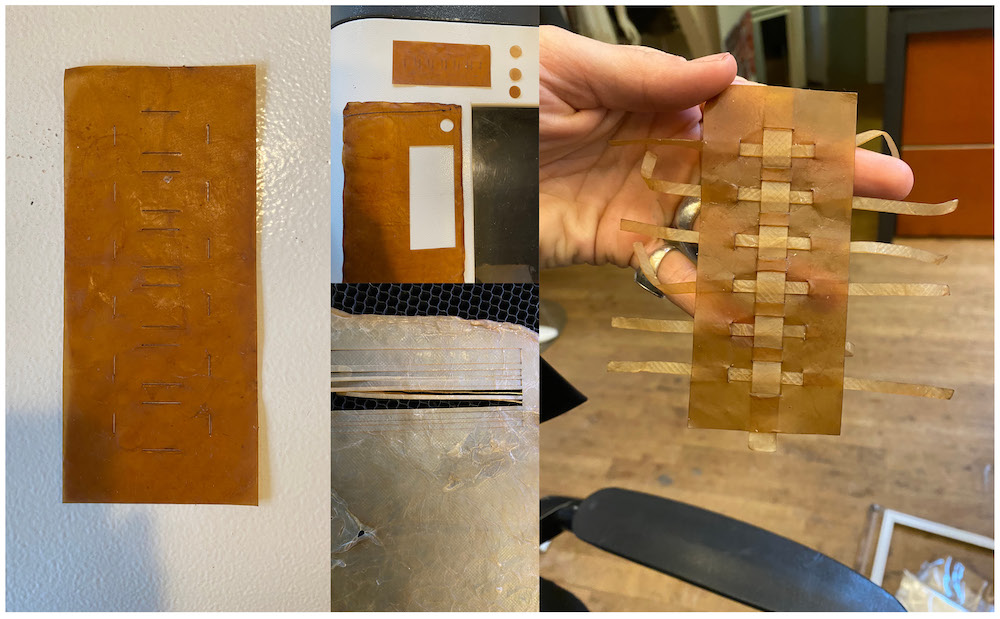
TEST B.

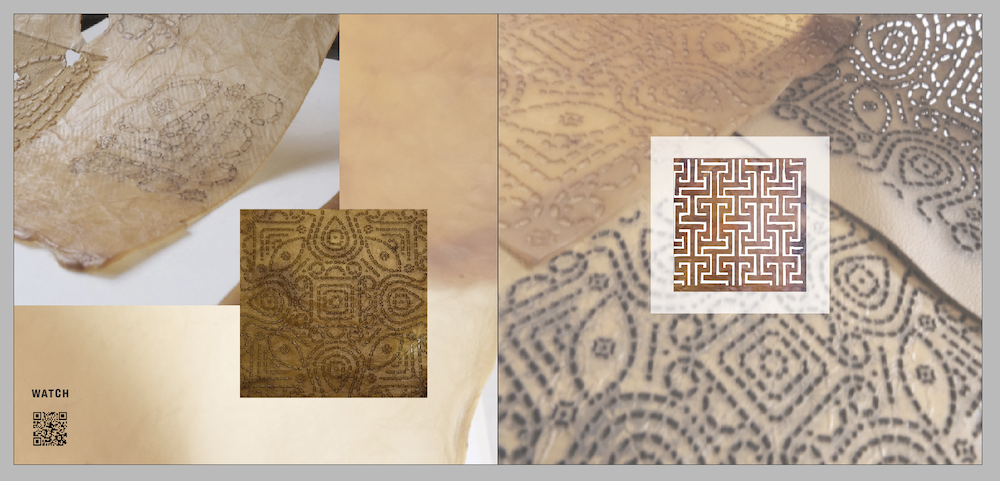
LASER ENGRAVE
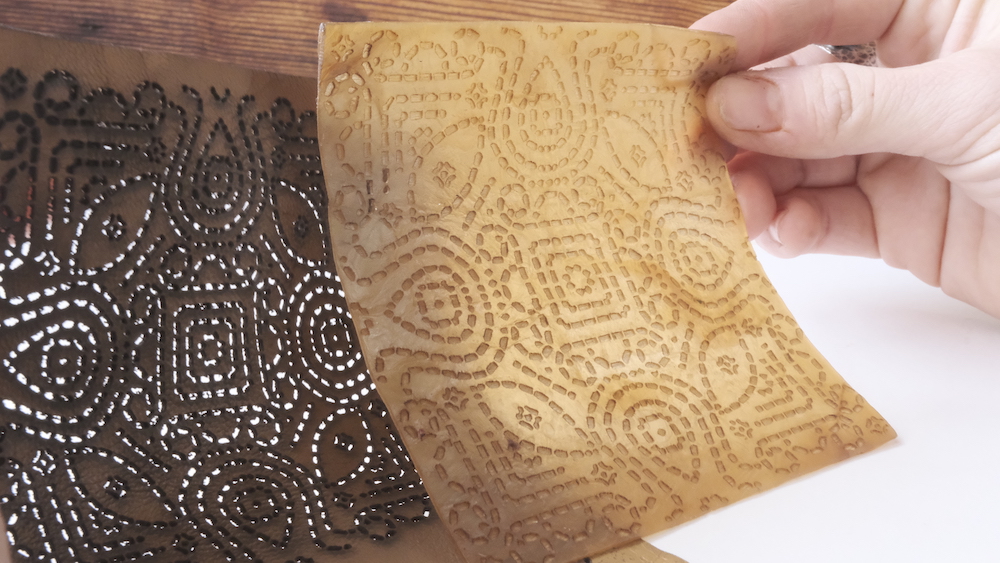
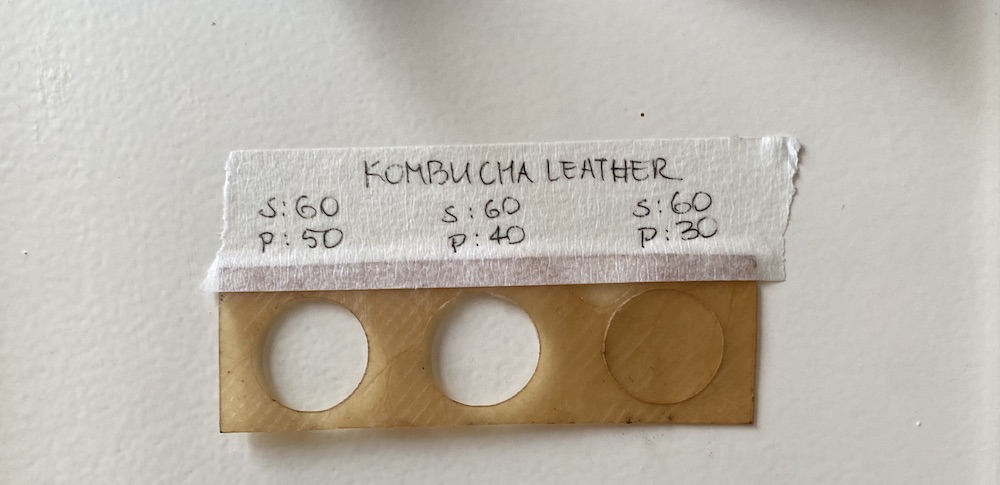
It was not easy to find the right setting for a good engraving, as I told you Kombucha is very hard and to go deep you have to use a setting with a fairly high speed and medium power for a thickness of 3-5 mm.
Below are some tests I did, as you can see in some cases there is a 'burn only on the surface' effect and the laser fails because the first setting I used had too high a speed and too low a power. So in the first case I only got a 'scratch' of the surface, which disappeared with a wet cotton bud.
TEST N.C
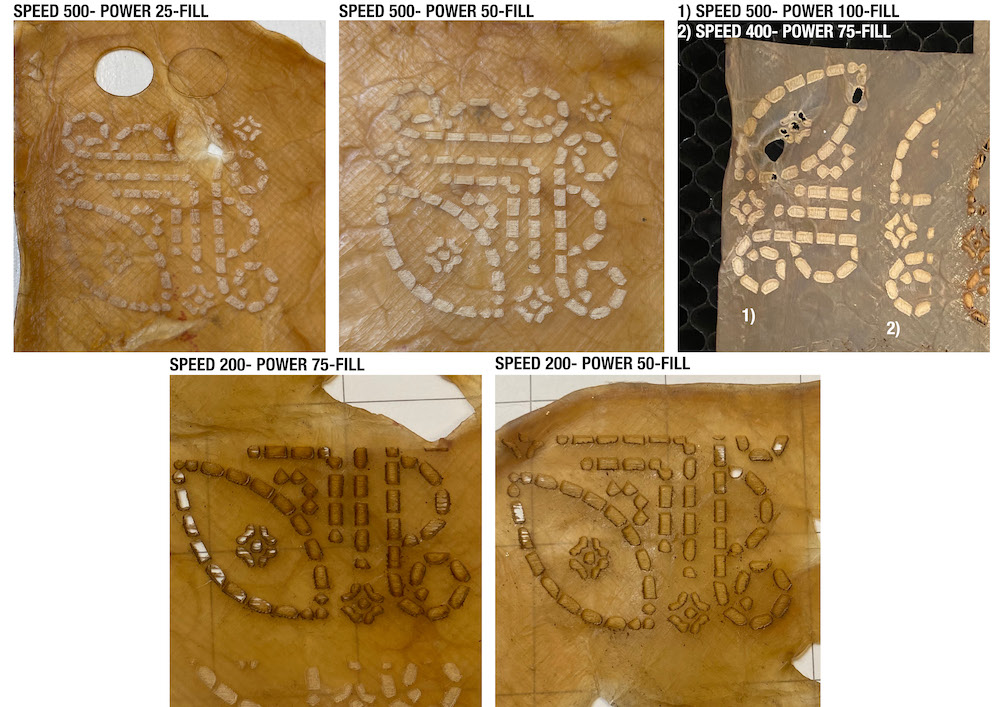
The setting I chose to develop my final sample is :
200 SPEED
50 POWER
FILL
FINAL SAMPLE
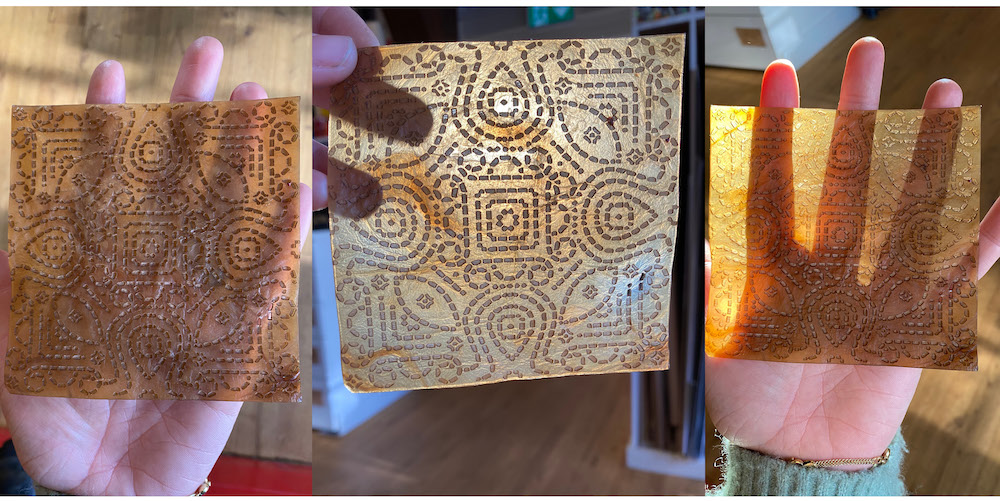
It all depends on the thickness, my thickness is about 3-5 mm.
Also, you can get different types of engraving, either like my samples above, or by always using FILL in the setting but adding a frame to the design, you can get the opposite effect and thus the "negative" with my test below. Otherwise, if you just want a contour-cutting effect, you can enter instead of FILL, LINE, with speed 100 and power 50 or so.
TEST N.D
The setting I chose to develop my final sample is :
100 SPEED
50 POWER
15 MIN POWER
FILL
