9. Textile Scaffold
INSPIRATION BY MYCELIUM WORLD
WORKFLOW
It was very interesting to model the mycelium and think about what you can create with it. The process is very simple you just have to pay close attention to cleaning, disinfect everything you are going to use.
Below you will find all the steps:
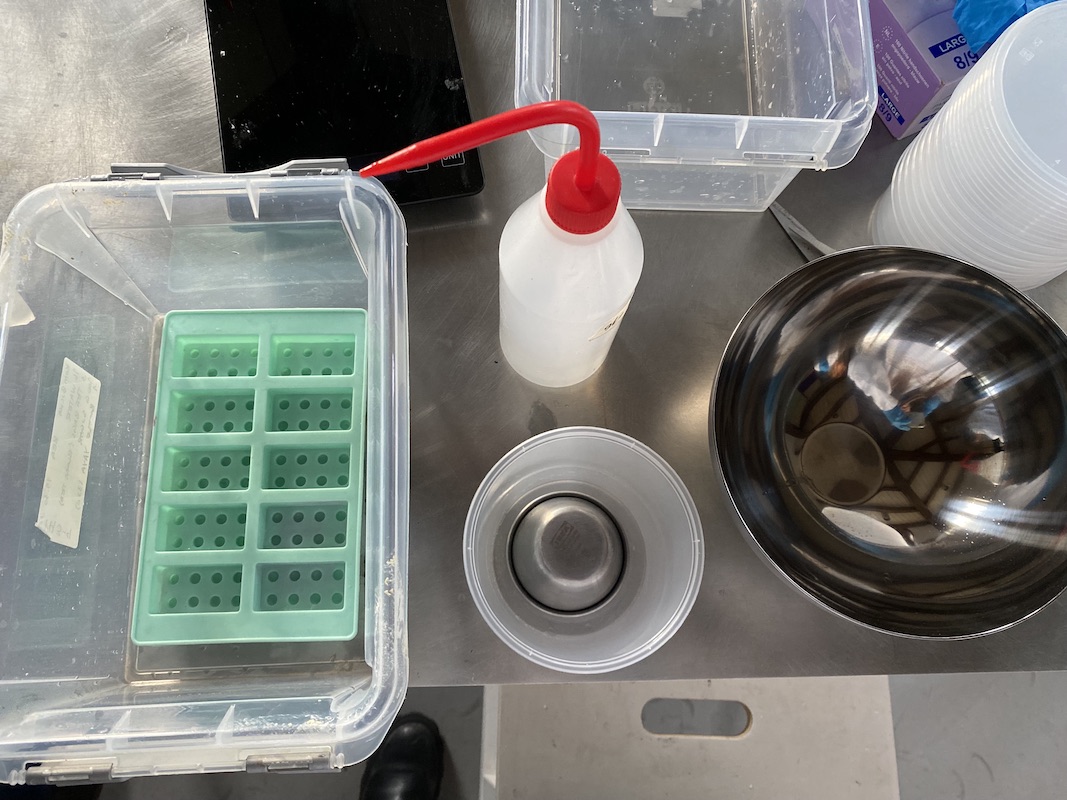
- Think about the object you want to make, so you can select all the tools you will have to use.
- Now that you have all your items, you have to disinfect surfaces, yourself and everything that will touch the mycelium
- If the containers you will use for your mold you think may not be totally clean, put some film in these
- Cut a piece of Mycelium with a knife and then weigh your quantity on a scale
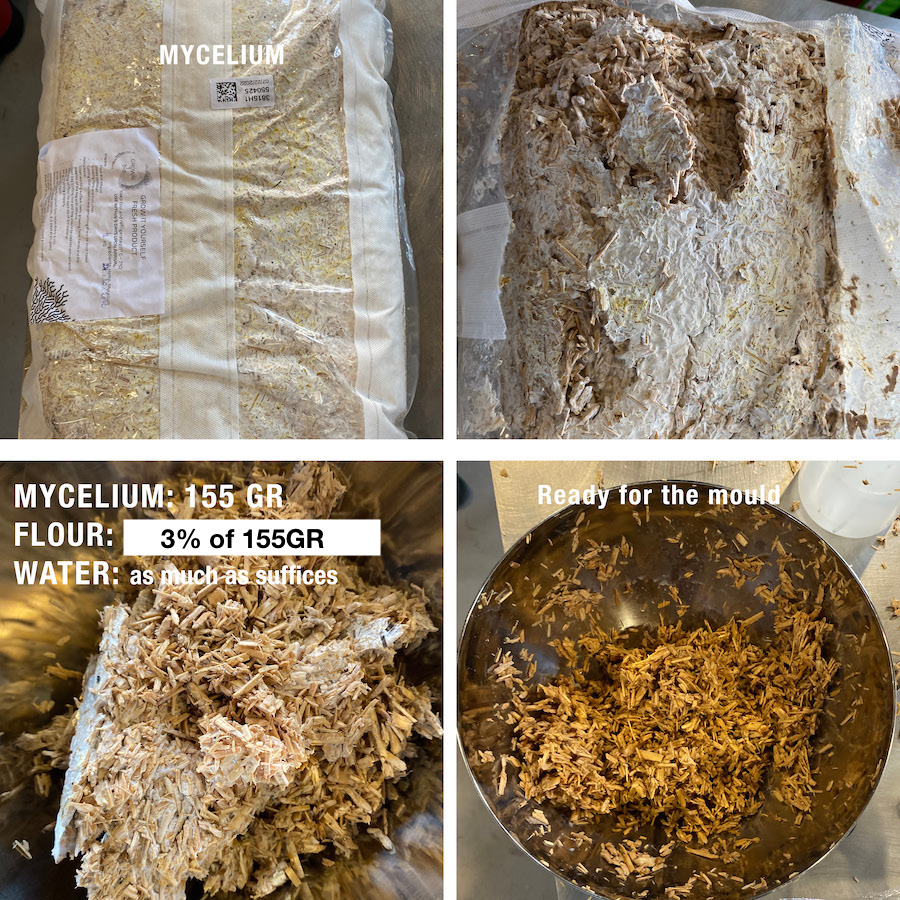
- Here my measurements : 155 gr of Mycelium, 4 gr of flour (3% of the total amount of the mycelium is the result of the flour), * A bit of water
- Now with gloves try to tear your compound into small pieces. Everything must be chopped up
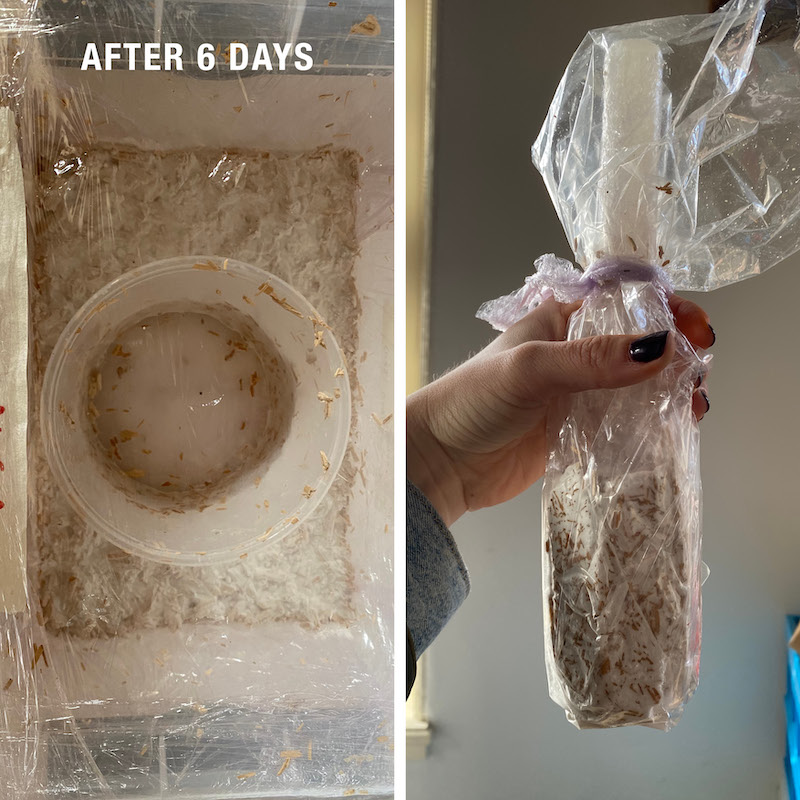
- When your mixture is well cut, insert it into your mold by pressing a little
- Put film around your object and place your items in a Polystyrene box for at least 1 week.

FINAL RESULTS
I'm still waiting for my mycelium to dry. I'll post the final result as soon as it's ready
MY MOULD IDEA
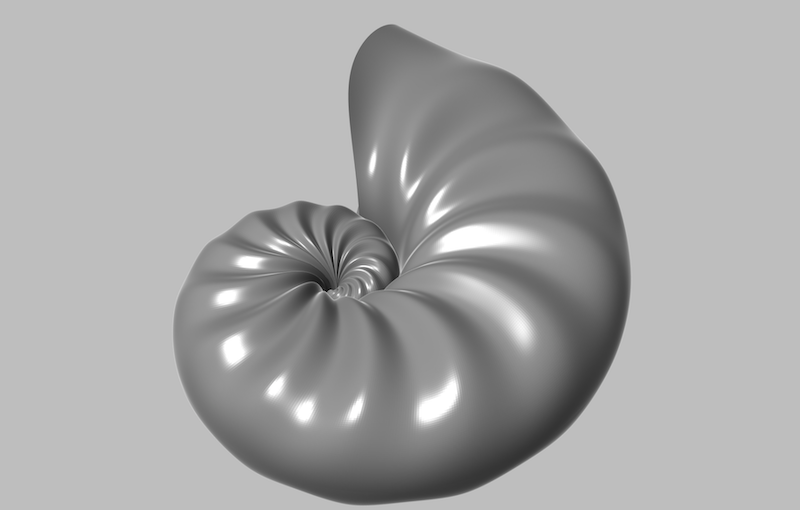
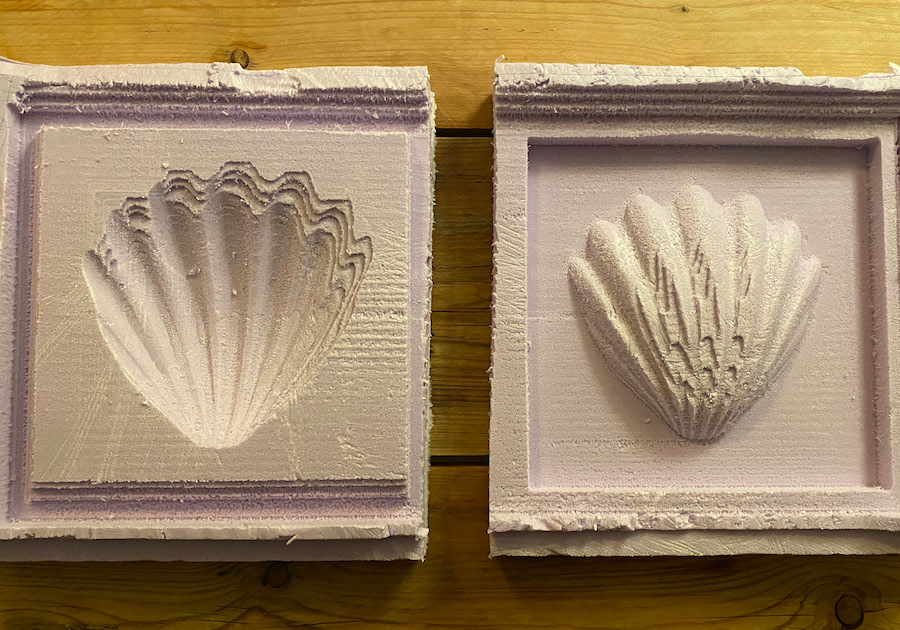
My first idea was to make a shell like this, I looked for some 3d files on the web, but this one that I really liked would have created many problems, so I changed my mind.
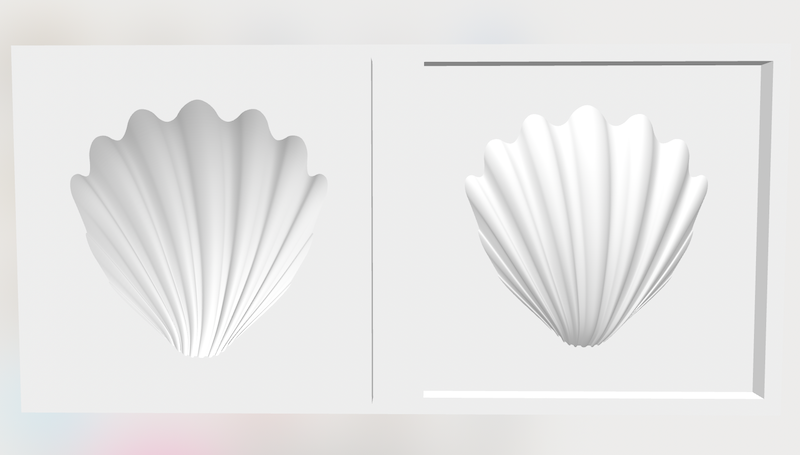
Here below you can find my final result of the mould shell
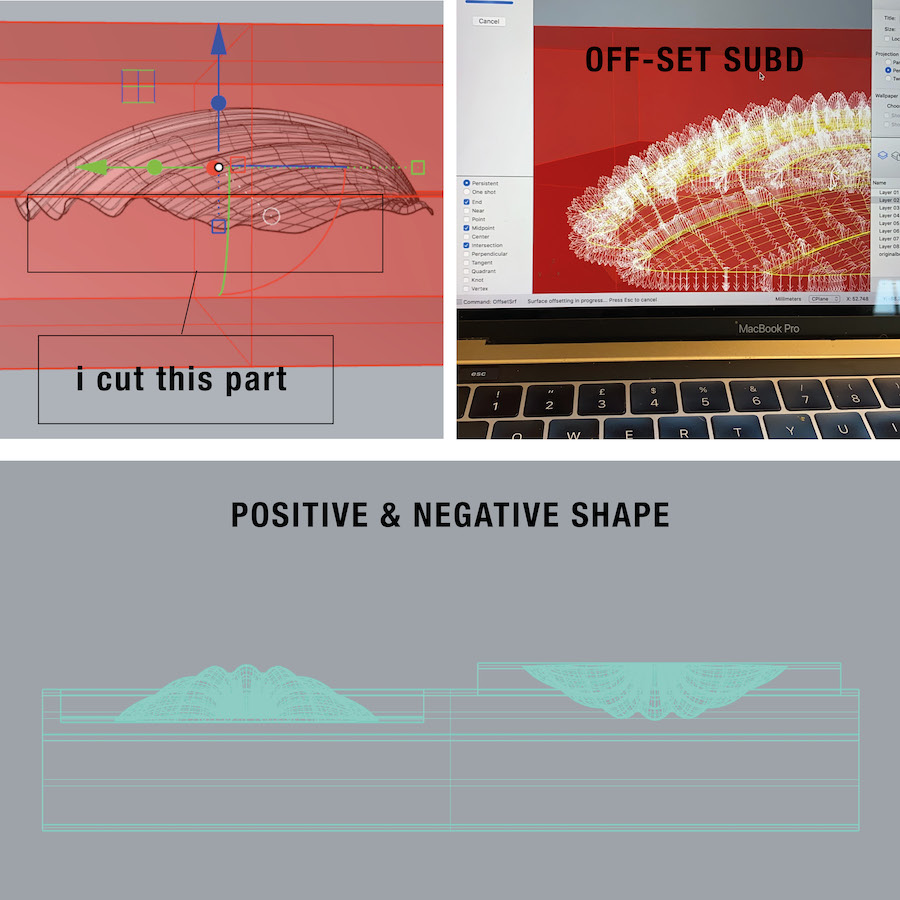
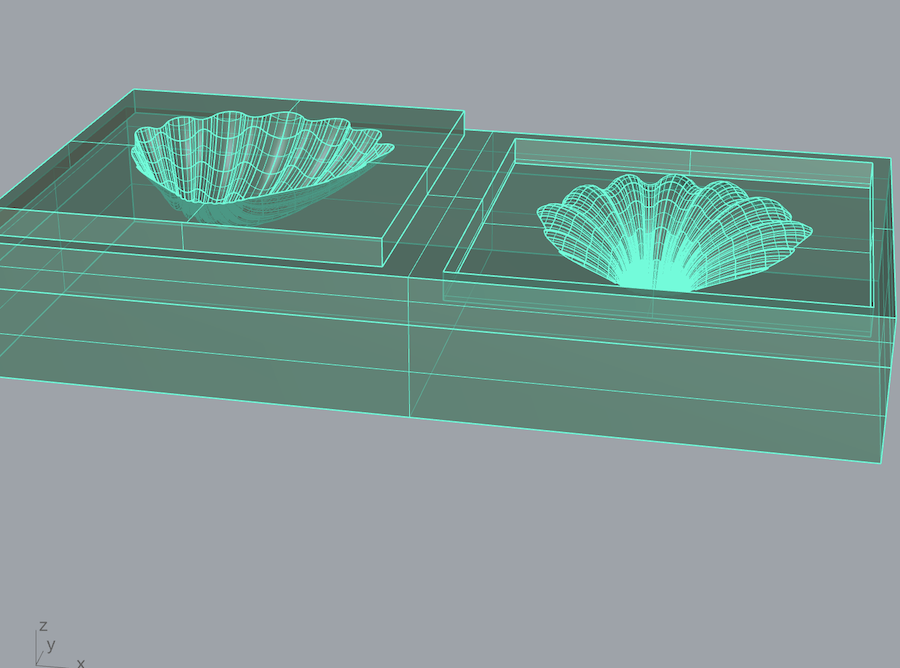
MY SHELL ON RHYNO
I downloaded my shell from sketchfab below the link
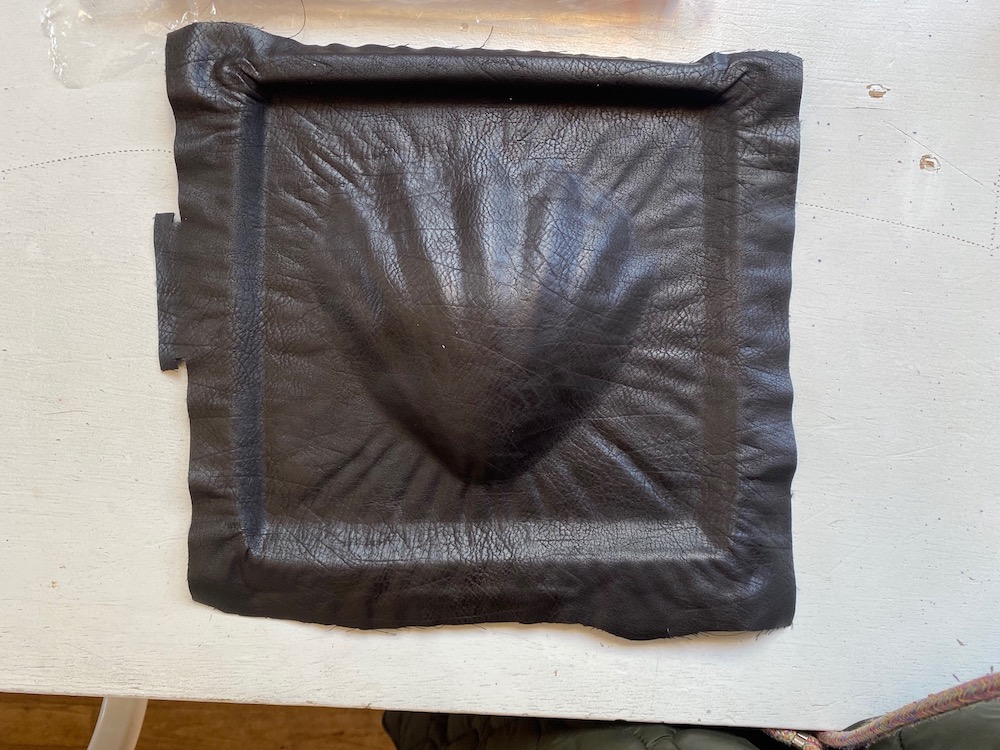
Unfortunately, I could not get a better effect on my skin. But the end result is this, after 3 days inside my well-pressed mold, before placing the skin I also slightly wetted it.
CNC MILLING MACHINE
I think CNC is the most dangerous machine at TextilelabAmsterdam :)...
There are really a lot of safety rules you have to follow while using the machine, as this machine uses a lot of power and is an open machine. A lot of things can go wrong with potentially unpleasant outcomes: like for me who has long hair, it could have happened that they could slip inside the machine, ( not really nice)
So keep in mind first the Kill Switch, an emergency stop button located on the right side under the milling table.
I'm not going to give you a list of the dangers of this machine, so I'll tell you againPreparing the milling fileThe pri
-
To convert the .stl file into a real milling file, we used the Vcarve Shopbot software
-
First measure the thickness of the material to be milled (we used foam with a thickness of 50 mm).
-
Then import the .stl file.
-
First you need to set up the job: you need to define the dimensions of the job (x- and y-axes), the thickness of the material (z-axis), the xy-start position, and the units (mm).
-
Then move the model object into the 'material box'.
-
Now the settings for orienting the model should be done.
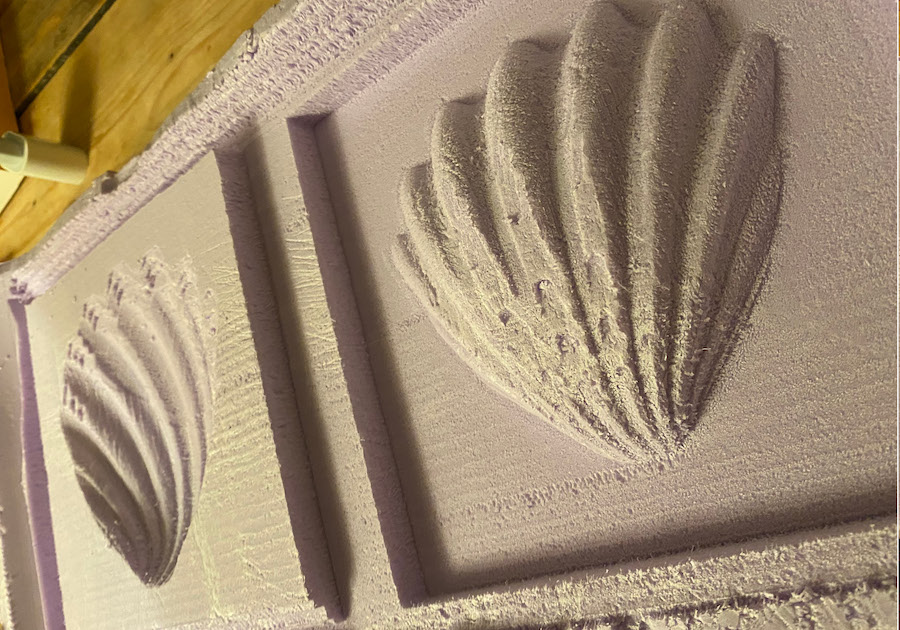
SHELL MOULD
CRYSTALLIZATION
Below you can find all my experiments for the crystallization process
PROCESS & WORKFLOW
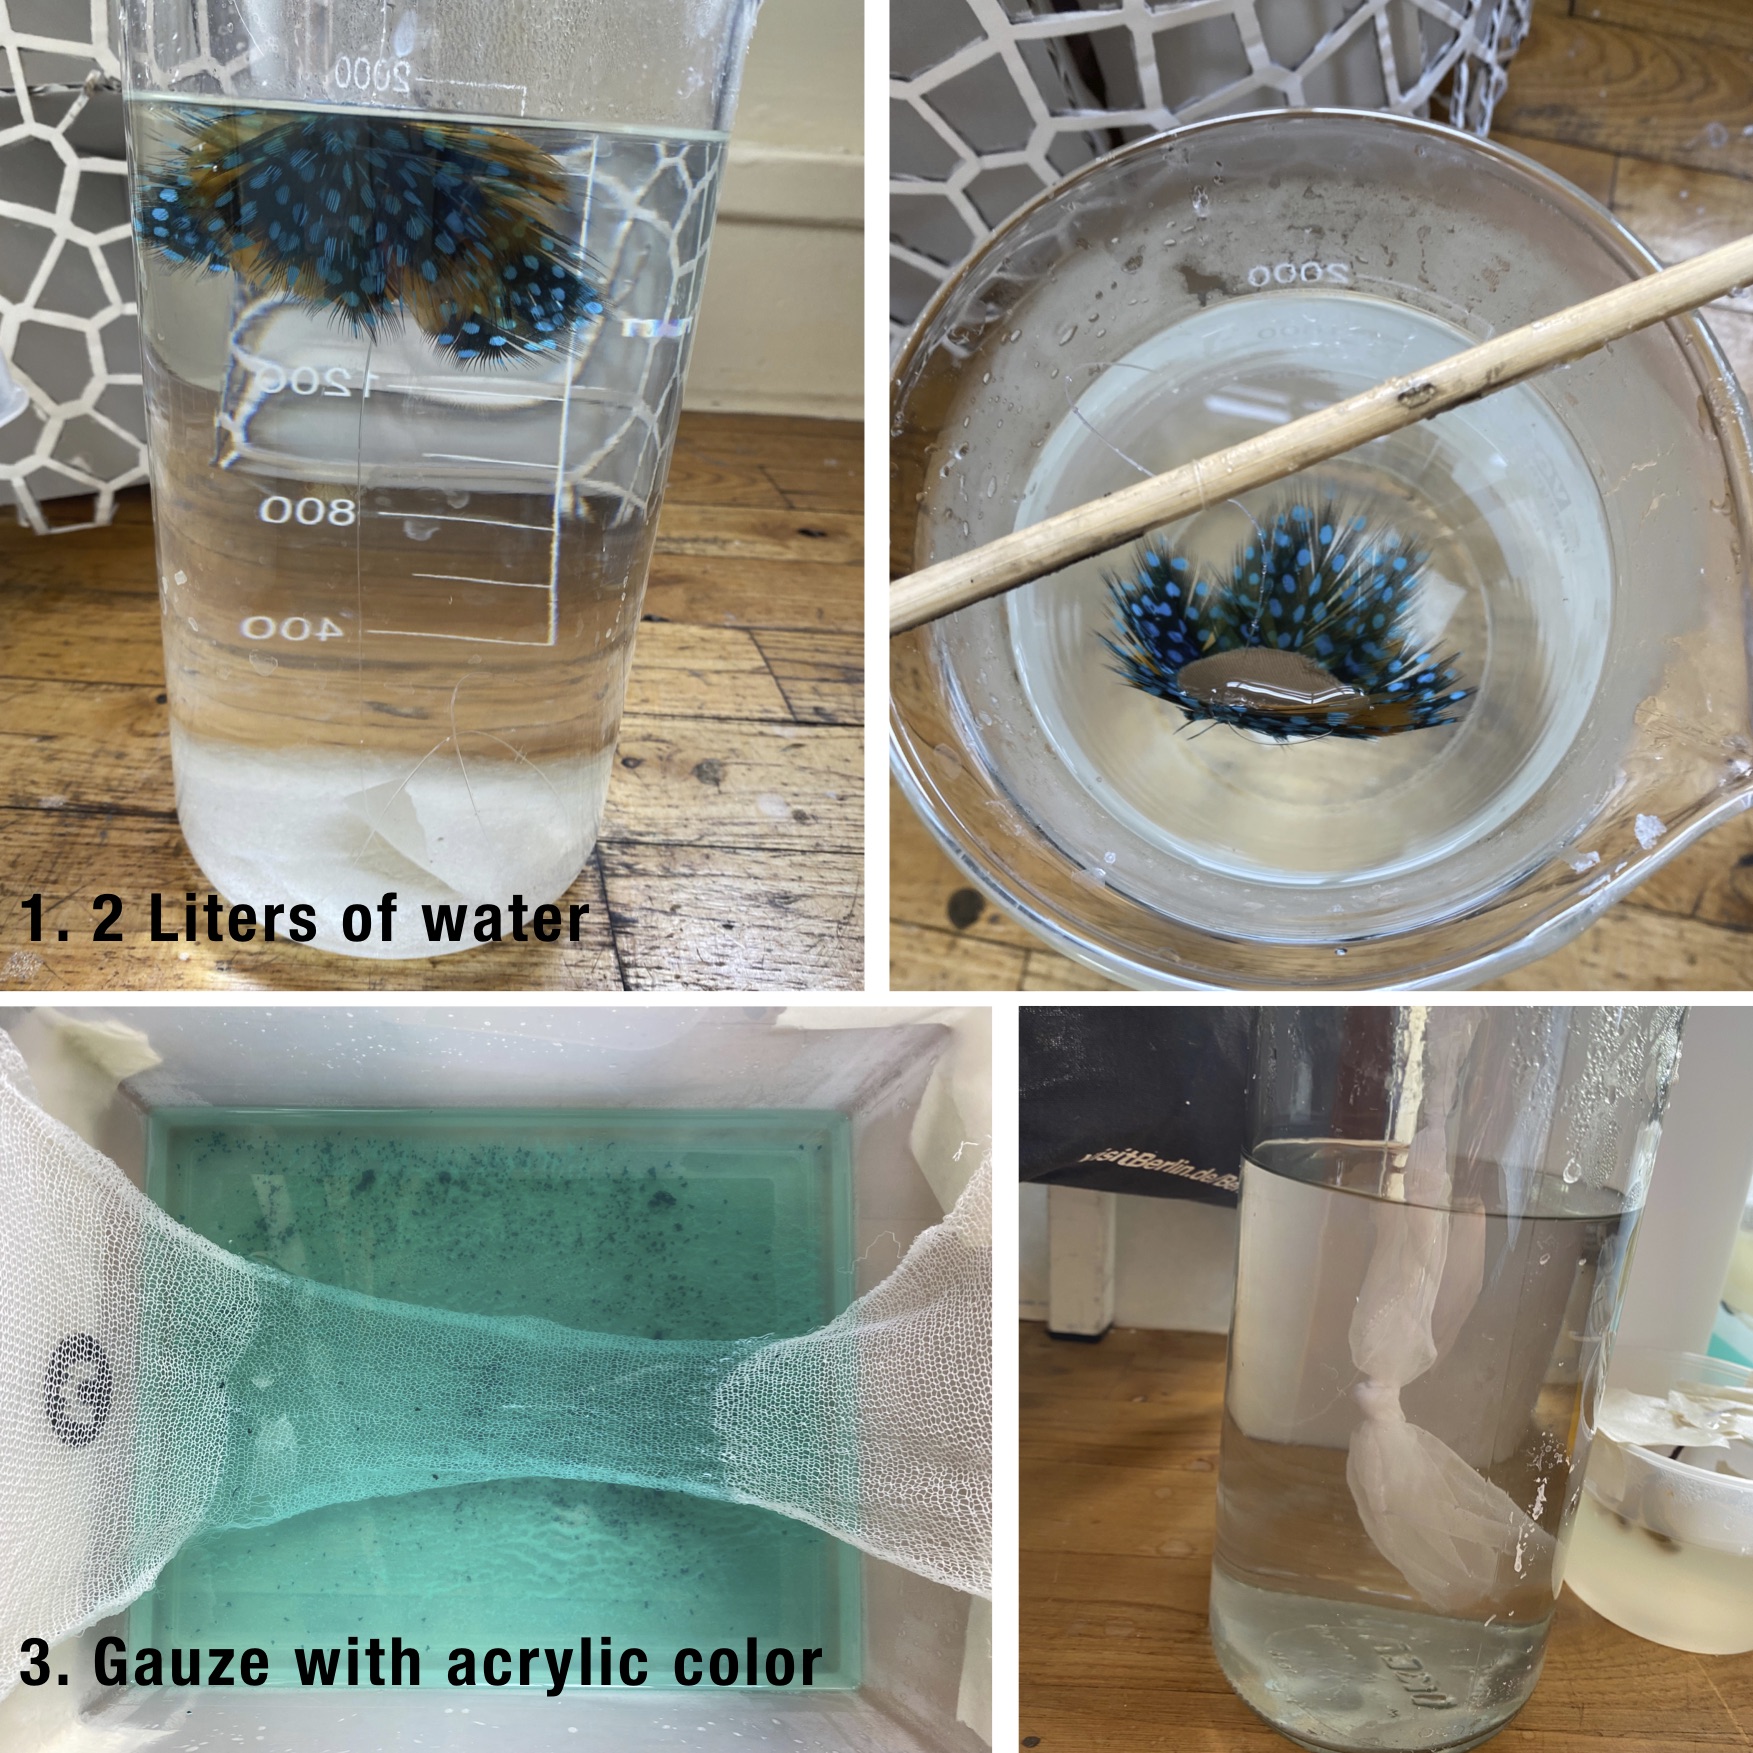
Growing crystals is a very simple thing, you will need very hot, boiling water and Alum.

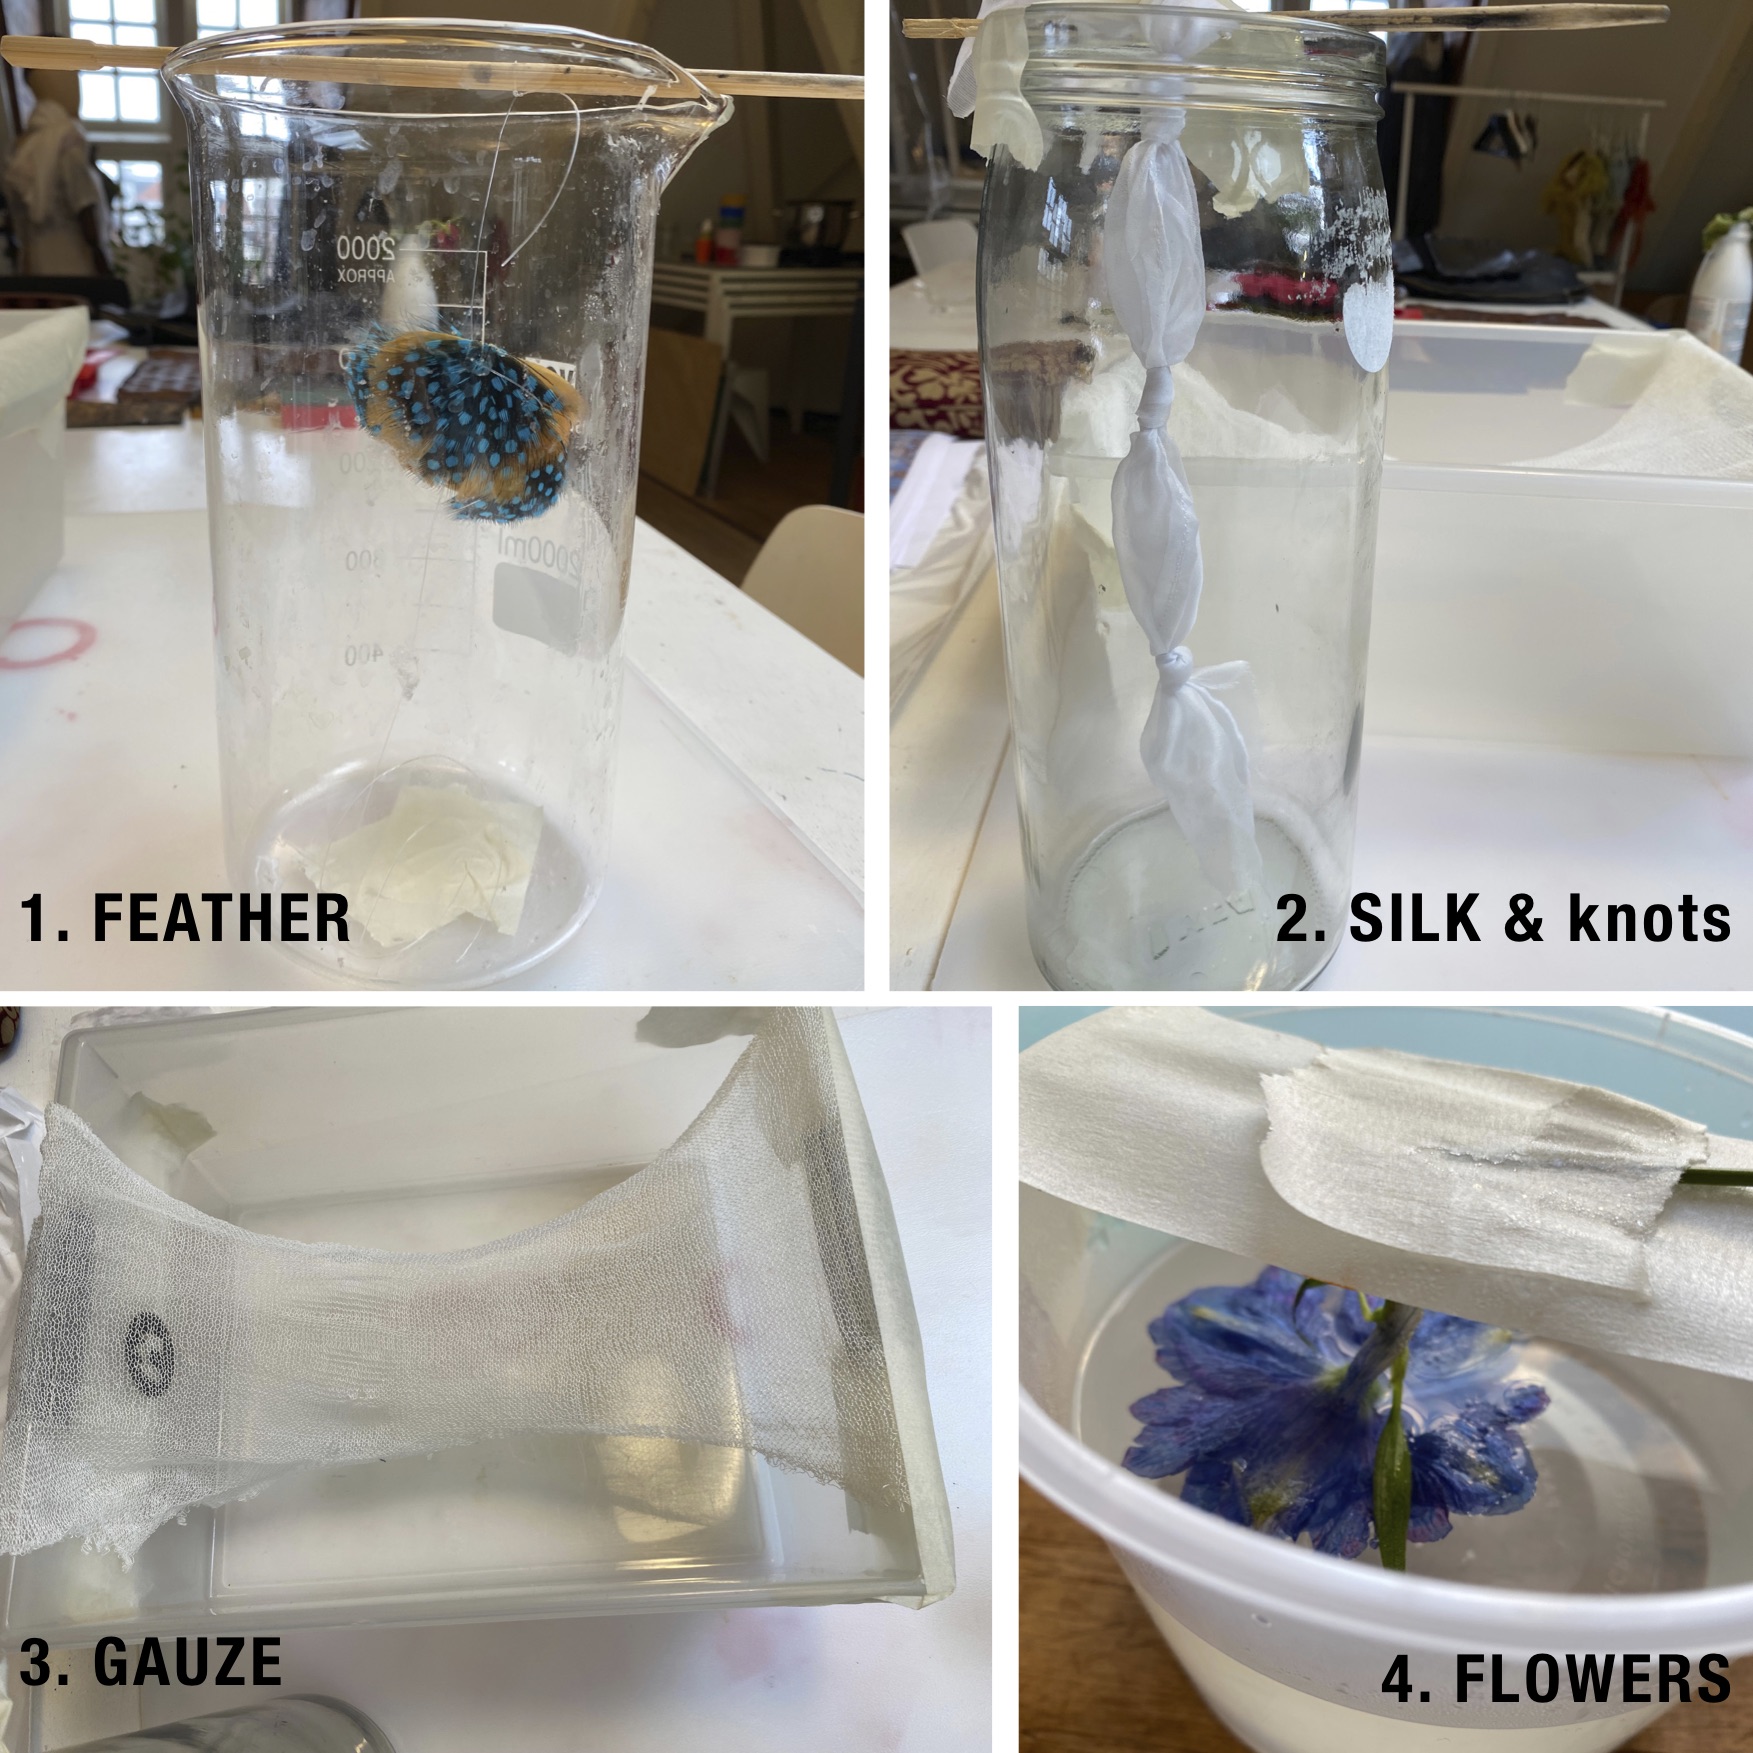
The first thing you need to do is to select the object you want to crystallize, get a suitable container for your object.
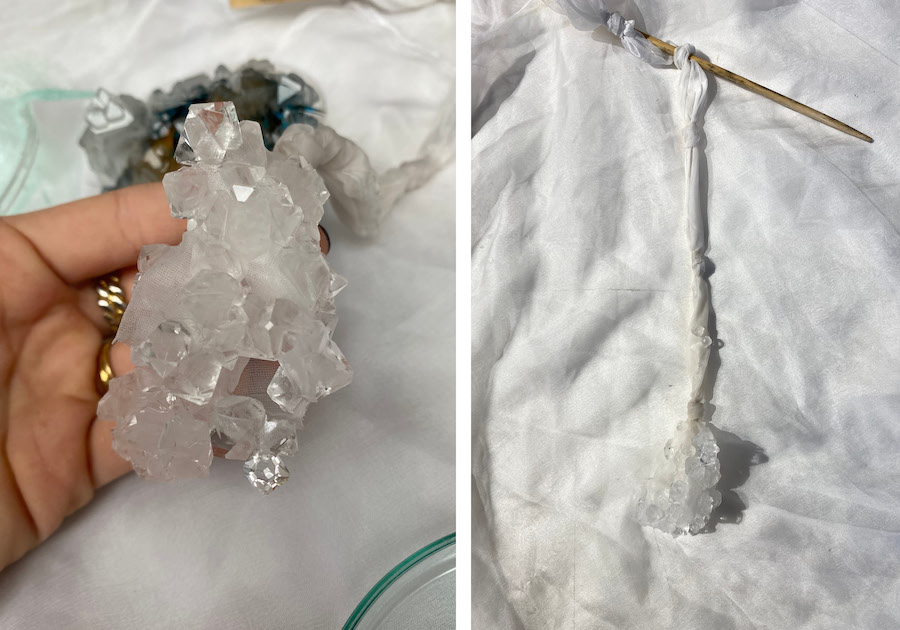
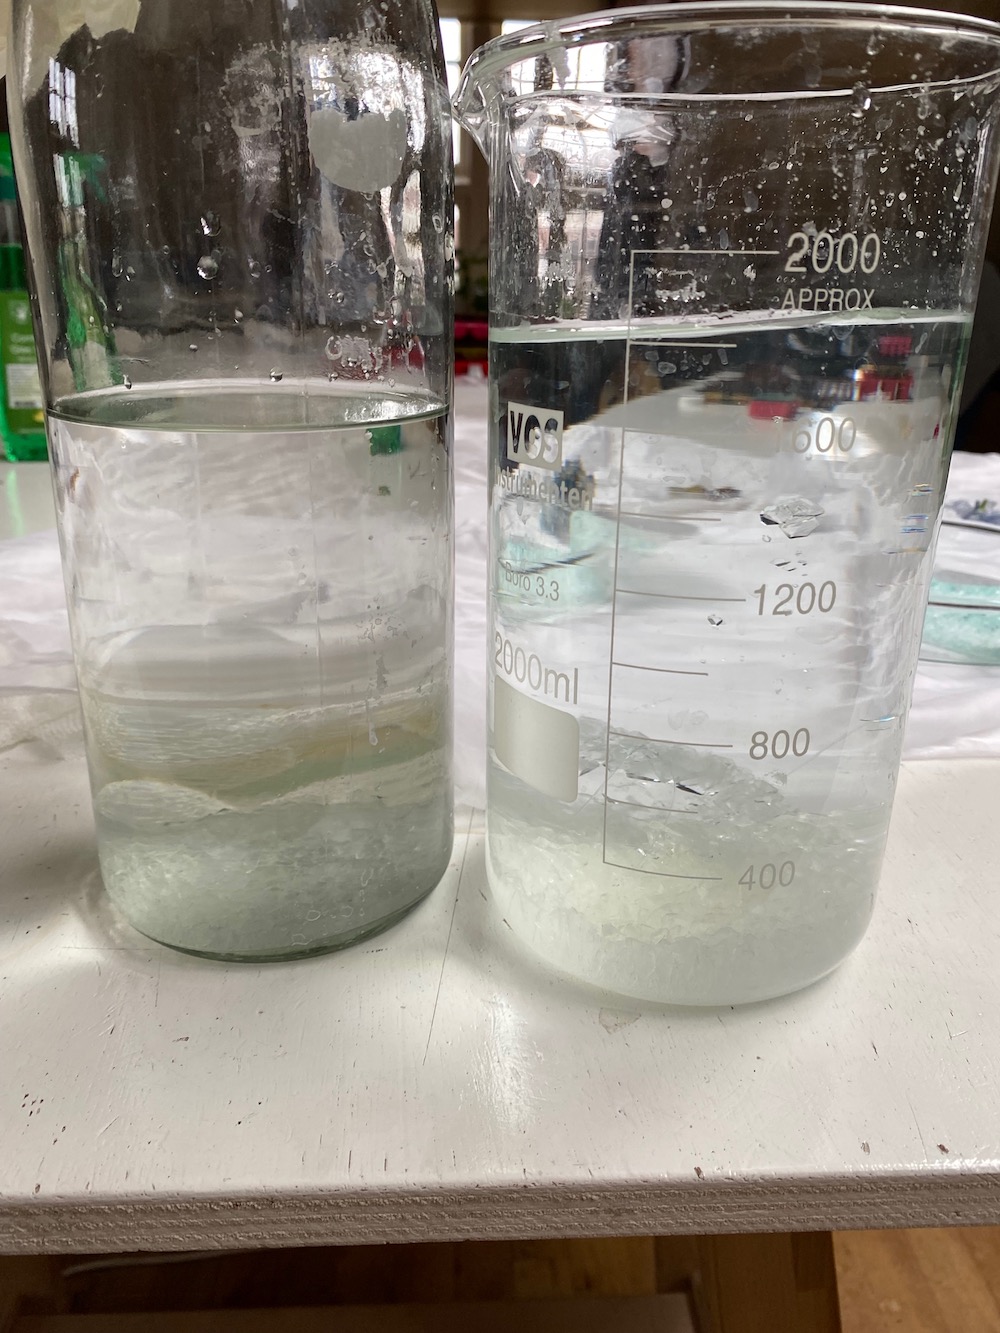
It is very important that your object in the water can float without touching the sides or the bottom of your container so you will have to make sure that this floats gentrally. You can help yourself with wire, scotch tape, I mainly used scotch tape, also clear fishing line and some wooden logs so that you can hold the object from the top.
Once you have created your container you will need to pour boiling water with your amount of Alum into another bowl, mix it all together until it has dissolved, at which point your bath is ready and you can pour it into the container with your items.
If you want to color your crystals you can add color to the inside in this world so that as they grow they can absorb the color.
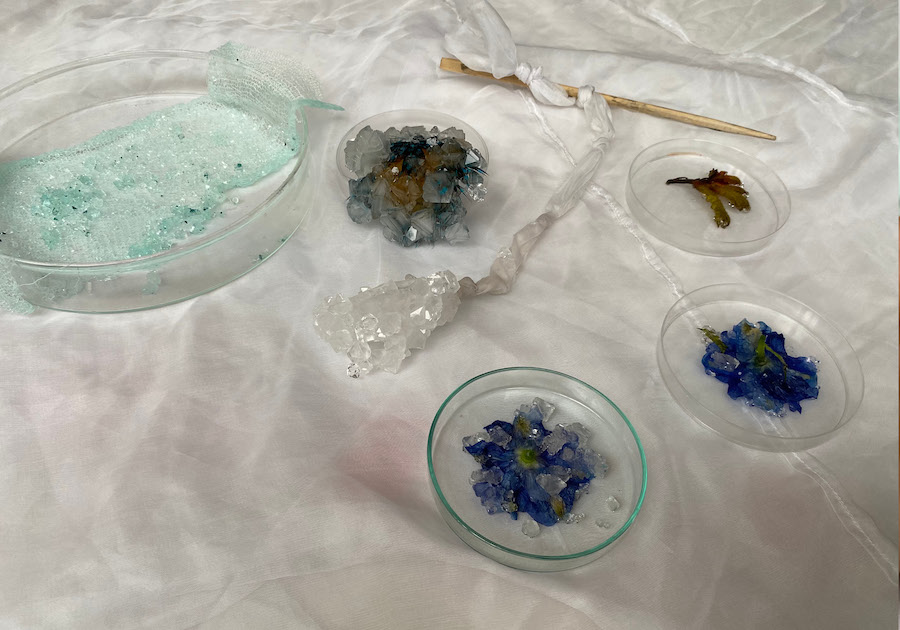
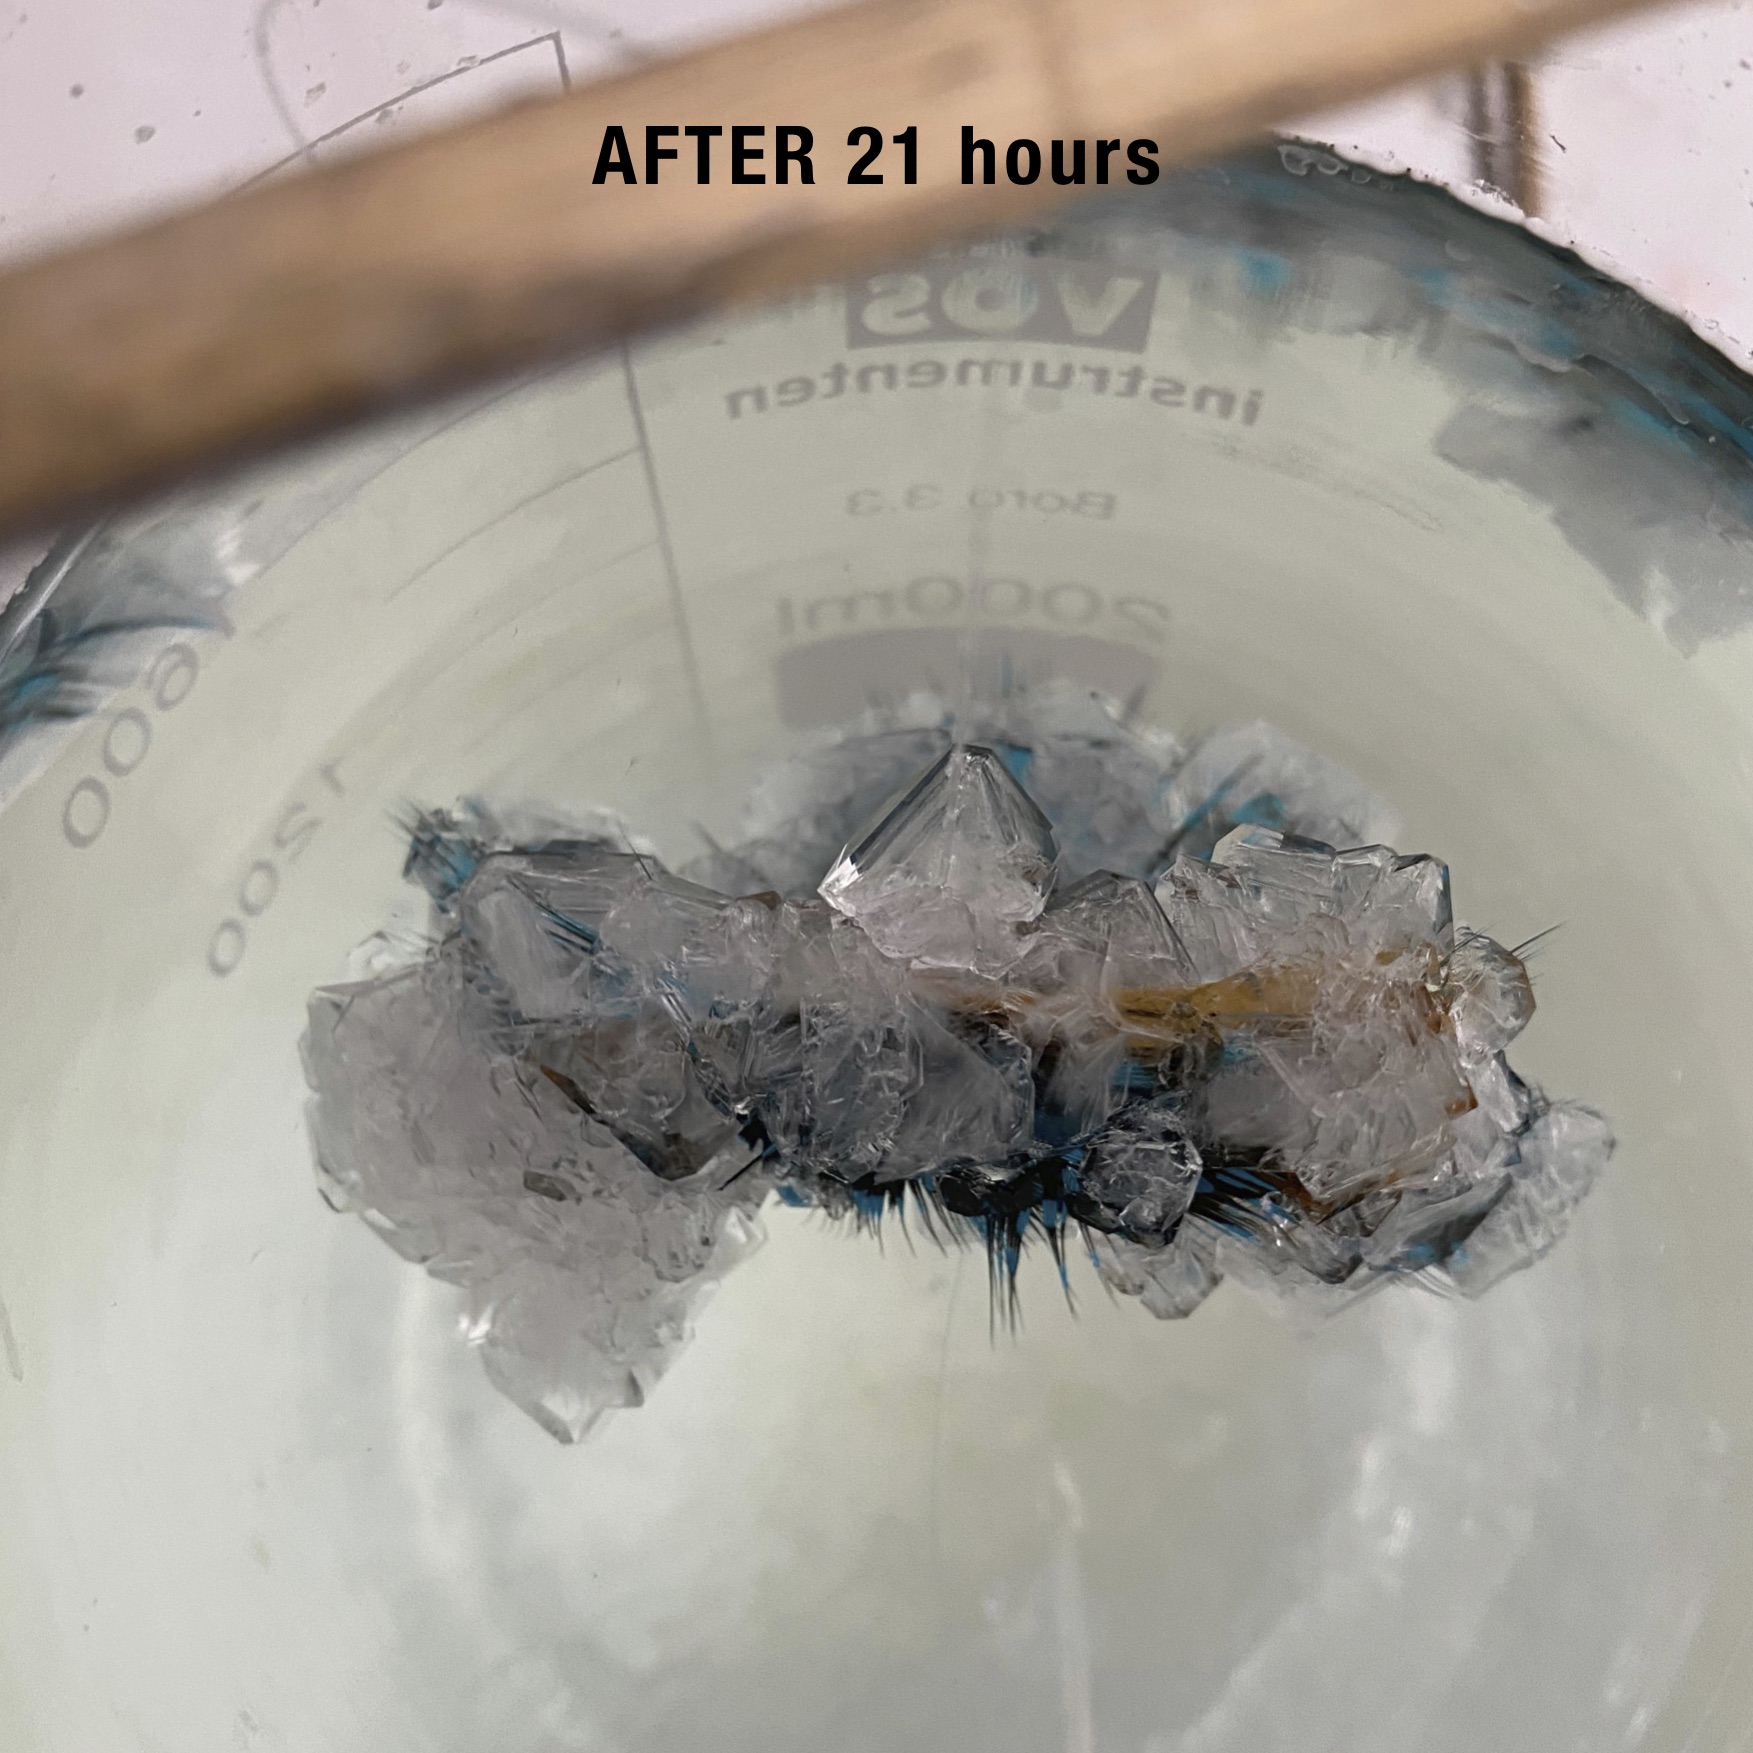
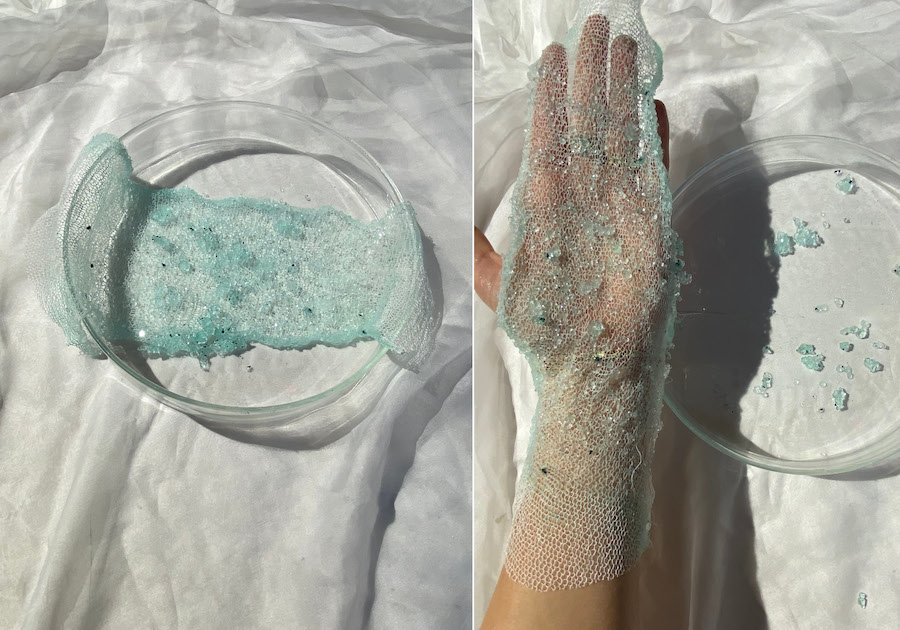
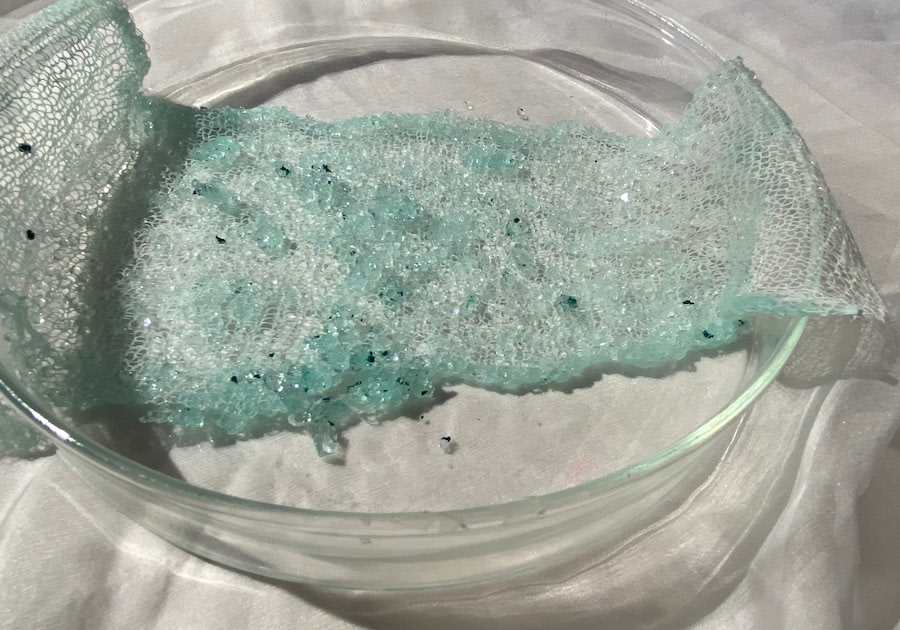
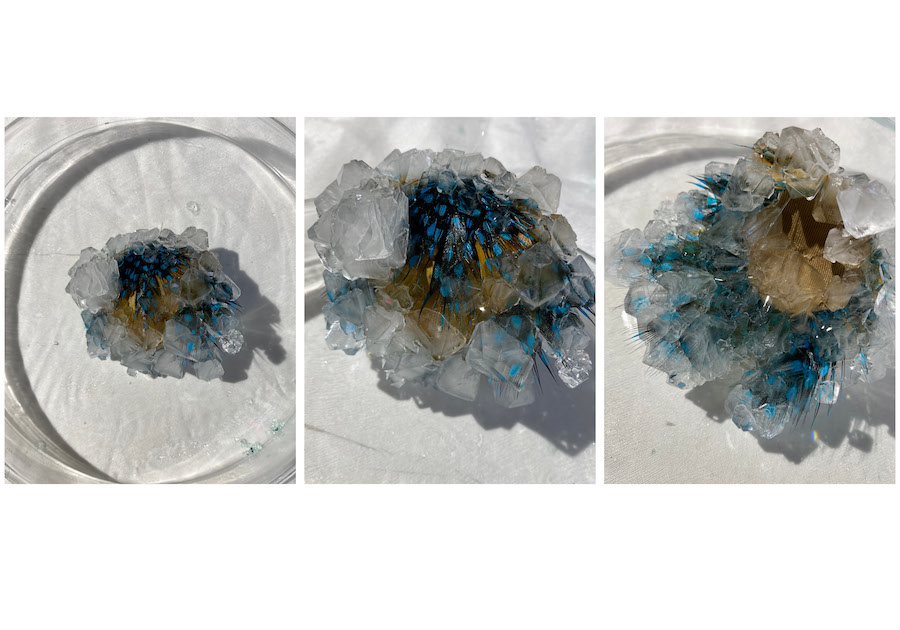
The growth time is variable, it depends on the amount of alum but usually you need to wait for a couple of days.But unfortunately it is not something you can control sometimes it is very fast for example for my sample with the feather in one day a massive layer of big crystals was created, instead for other elements like the fabric gauze in three days very light crystals grew.
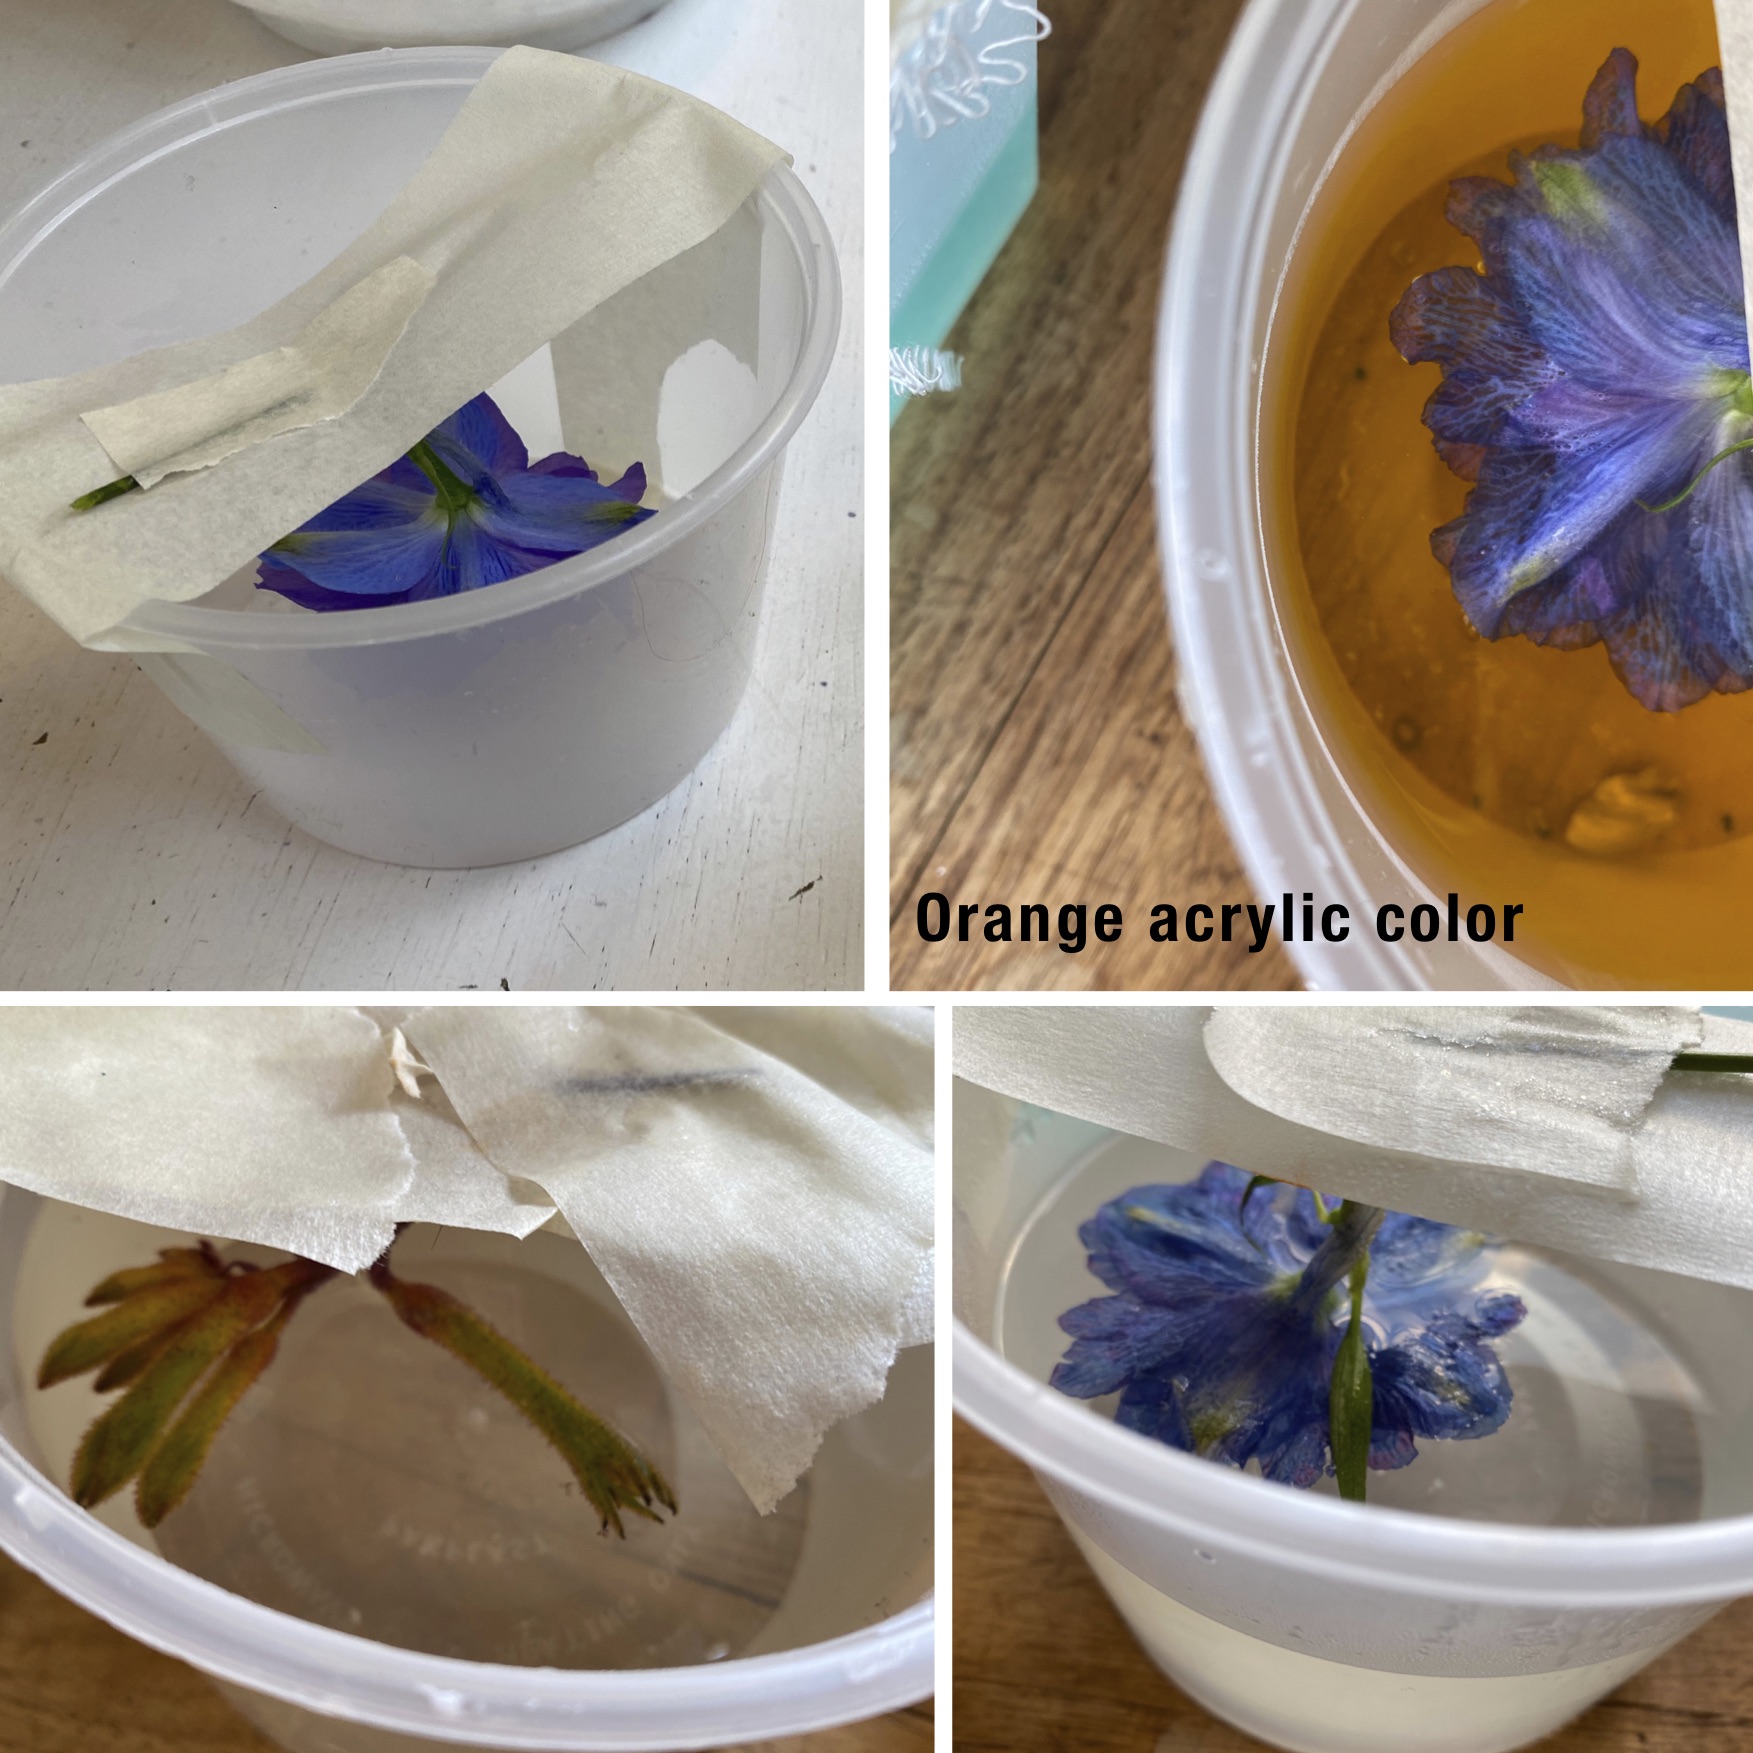
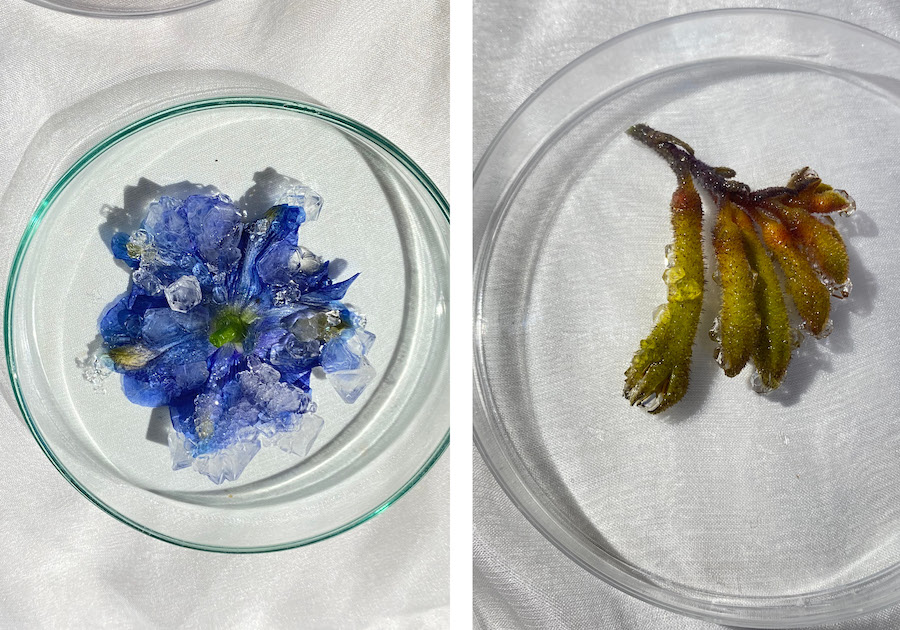
CRYSTALS ON FLOWERS
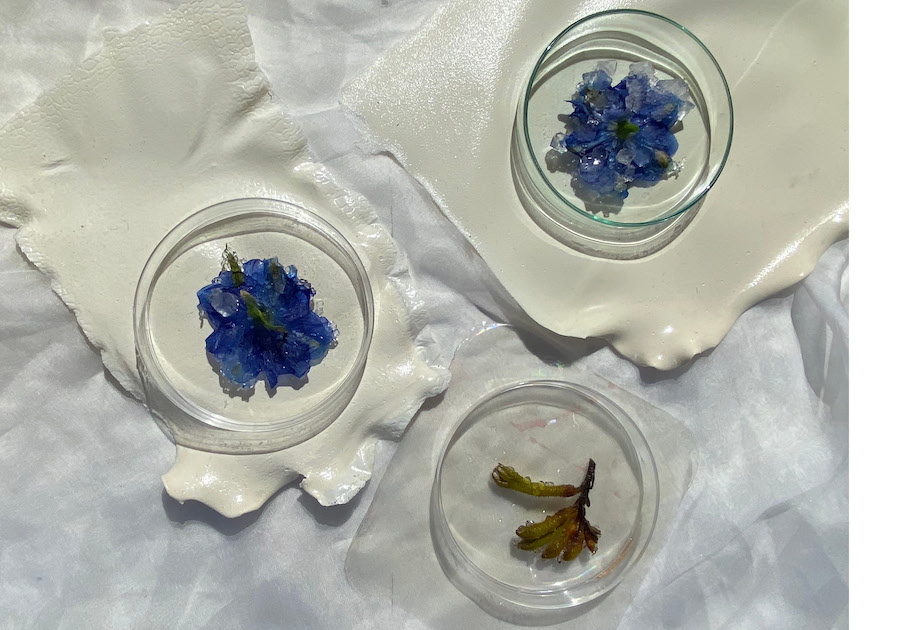
CRYSTALS ON GAUZE
CRYSTALS ON FEATHER
CRYSTALS ON SILK