7. Computational Couture
Introduction
I was particularly daunted by this weeks assignment. I have never done any 3D modeling and have never used a 3D printer before so I really didn't know where to begin. For me, the 3D modeling learning curve feels pretty steep but luckily there are enough youtube videos out there that I can navigate my way through. I think I just need to dive in and get started.
Inspiration:
My inspiration largely stemmed from creating a simple design pattern since I am new to 3D modeling software. I started using Tinkcad to gain a basic understanding of how 3D designing worked. I started with the "Let's Learn Tinkercad" Tutorial and then moved on to try out a more complicated design using the "How to Create a Moon" Tutorial. I suppose my decision to choose spheres stemmed from create the moon in the tutorial. The specific pattern I ended up choosing was just a random decision that occurred as I was creating it on Autodesk.
Results
3D printed chainmail
I wanted to test out printing chainmail as a fabric. I got an STL file from Thingiverse called Fabric of Thyme. I also wanted to test out some thermochromic PLA!
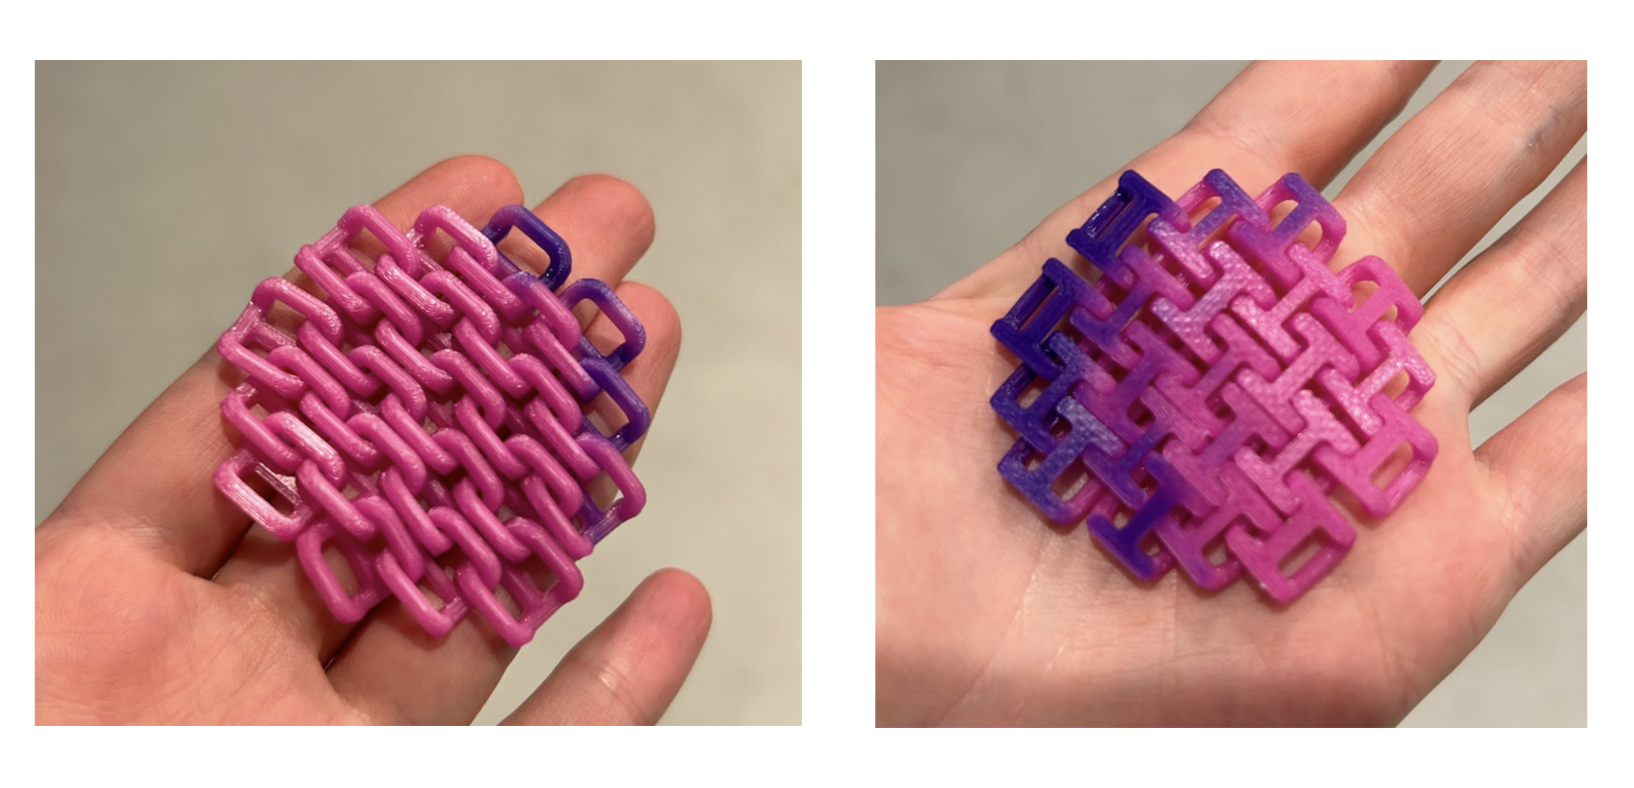 Figure 1. Thermochromic chainmail. The texture and feel of the chainmail, plus the changing colours makes for a great fidget toy!
Learning Autodesk Fusion 360
I am using This was my first time trying to navigate a 3D modeling program. I tried out a few tutorials on Tinkercad and then moved over to Autodesk. I wanted to do a simple pattern that could be printed on fabric. I chose to try out spheres.
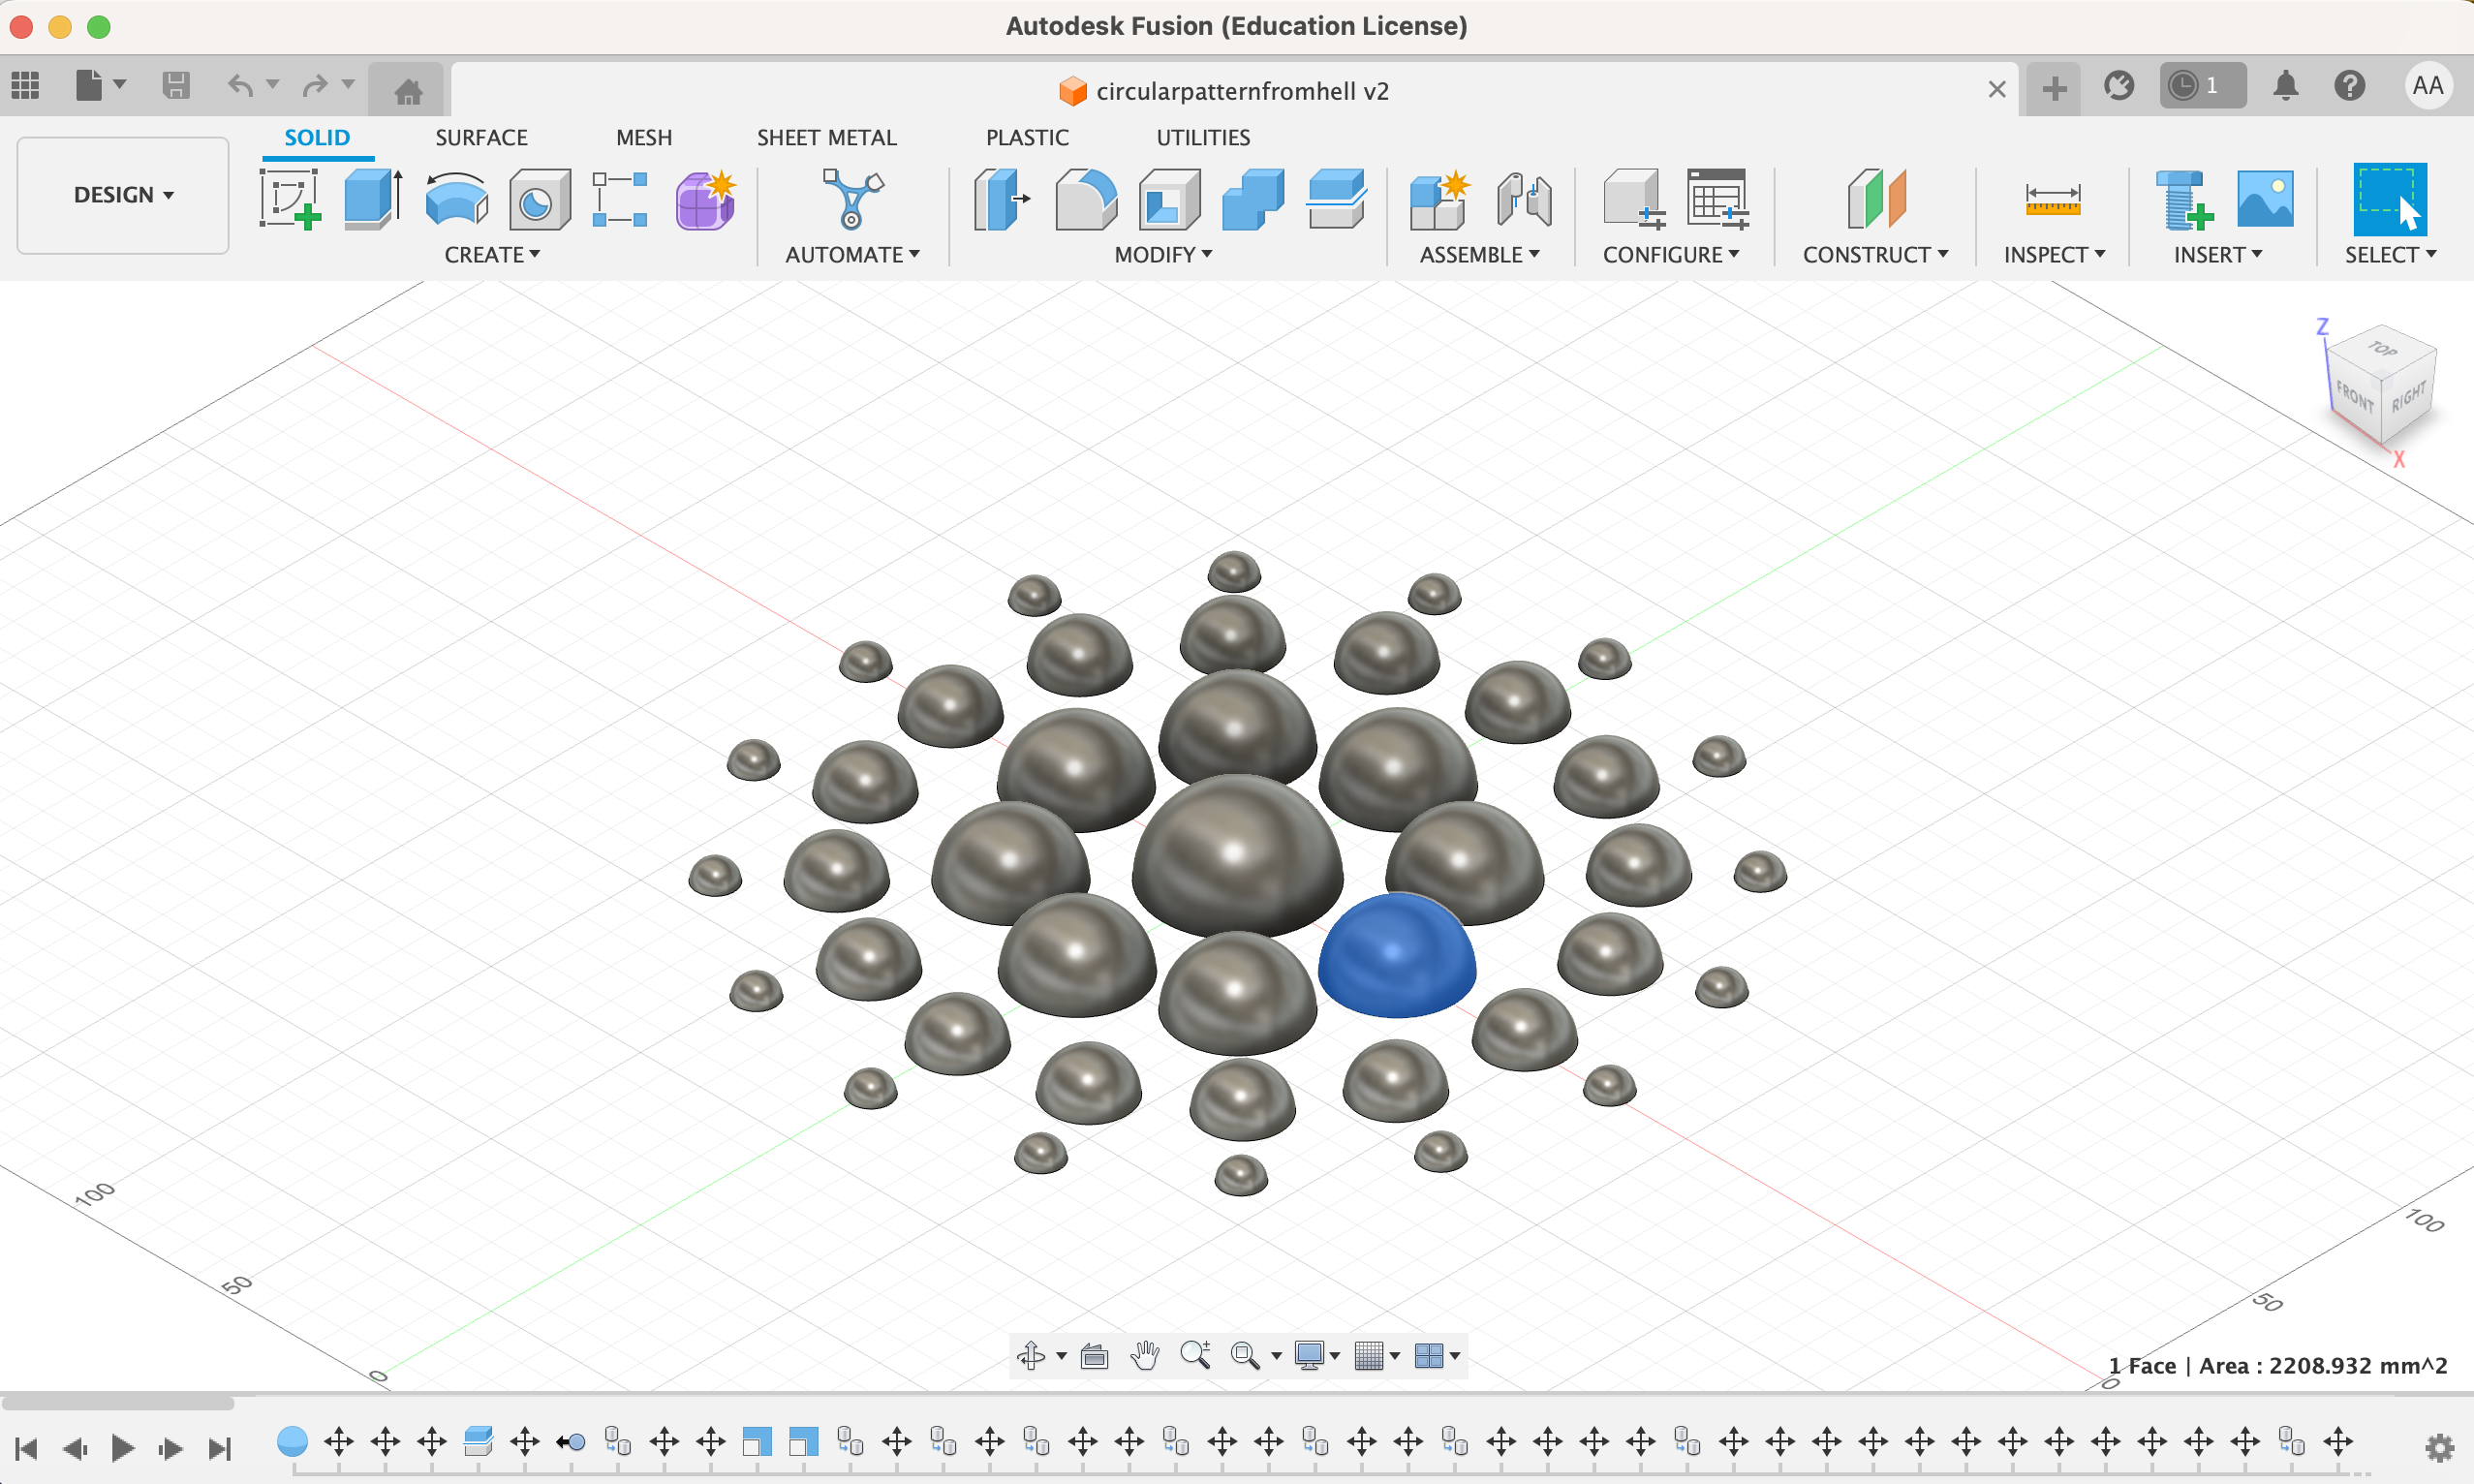 Figure 1. Using Autodesk Fusion 360. I used speheres and cut the in half to make a pattern. The details on how I navigated the software is described below under Materials and Methods.
3D printing on fabric
 Figure 2. 3D print on mesh. This was my first time going from design to product for 3D printing. I was so happy that it turned out well! I used tulle mesh for the fabric. It was a bit hard to stretch the fabric over the bed of the printer but it still worked.
Discussion
It took me some time to get over my apprehension but I did it! One thing I would redo is the positioning of the fabric. I might wait another round of printing before laying down the fabric (I paused the printer at the first layer for this project). Also I would remove the skirt so that it doesn't end up sticking to the fabric.
Materials and Methods
Learning Autodesk Fusion 360
- Create -> Sphere. I created a 50 mm sphere in the center of the workspace.
- Modify -> Move/Copy. I copied the center sphere. I moved the copied sphere so that there would be a 10 mm distance between the edge of each sphere.
- Modify -> Scale. I scaled the outer sphere by 25%.
- I copied the 25% reduced outer sphere multiple times and ensured that each were equal distance (10 mm) around the center sphere. I did this by selecting the center sphere, Modify -> Move and then rotated the mini spheres around the center sphere.
3D printing
-
Ultimaker Cura was used to slice STL file and upload it onto the Ender drive.
-
Ender 3 V2 settings:
Printing temperature: 200 °C.
Bed temperature: 60 °C.
Speed: 50 mm/s.
Layer height: 0.12 mm.
Retraction: 6 mm at 25 mm/s.
Infill: 20%
Initial layer speed: 20 mm/s.
Initial fan speed: 0% -
Fabric setup: The 3D printer was allowed to print a single layer of the design and then paused. The tulle fabric was then placed across the printer bed. I used clamps to flatten the tulle on the bed. Then I resumed the 3D printing.
References
Autodesk Fusion 360 Resources