9. Textile Scaffold
Research & Inspiration
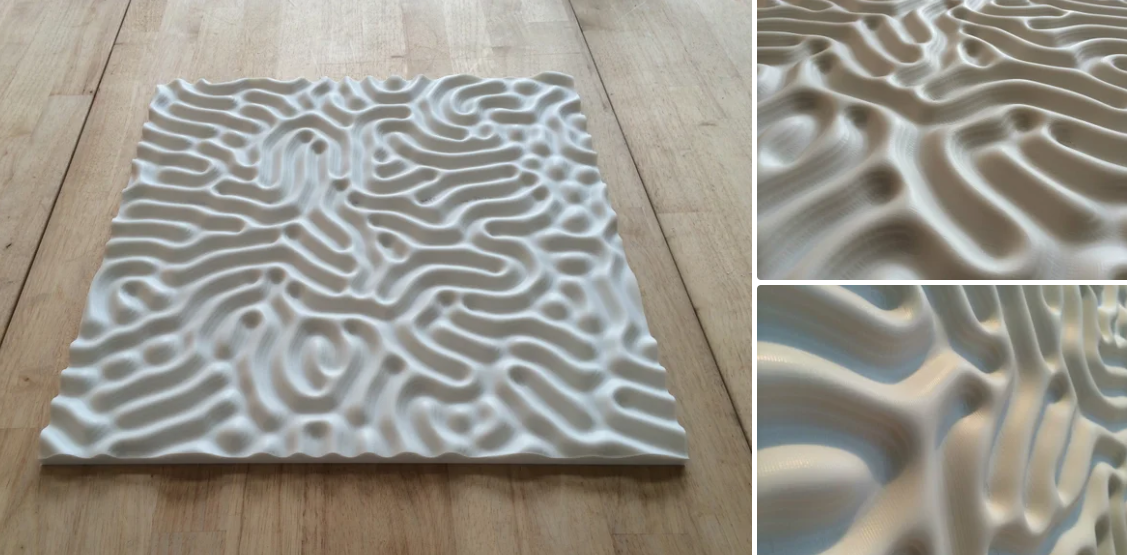
Your Brain on Pier 9 is a testament to the creative synergy fostered at Pier 9. Crafted from CNC-milled Corian, this project encapsulates the spirit of innovation and collaboration that defines the space. It serves as a visual metaphor for the transformative journey experienced by artists and makers, reflecting the depth of thought and ingenuity cultivated during their residency.
CNC milling & mold design
introduction
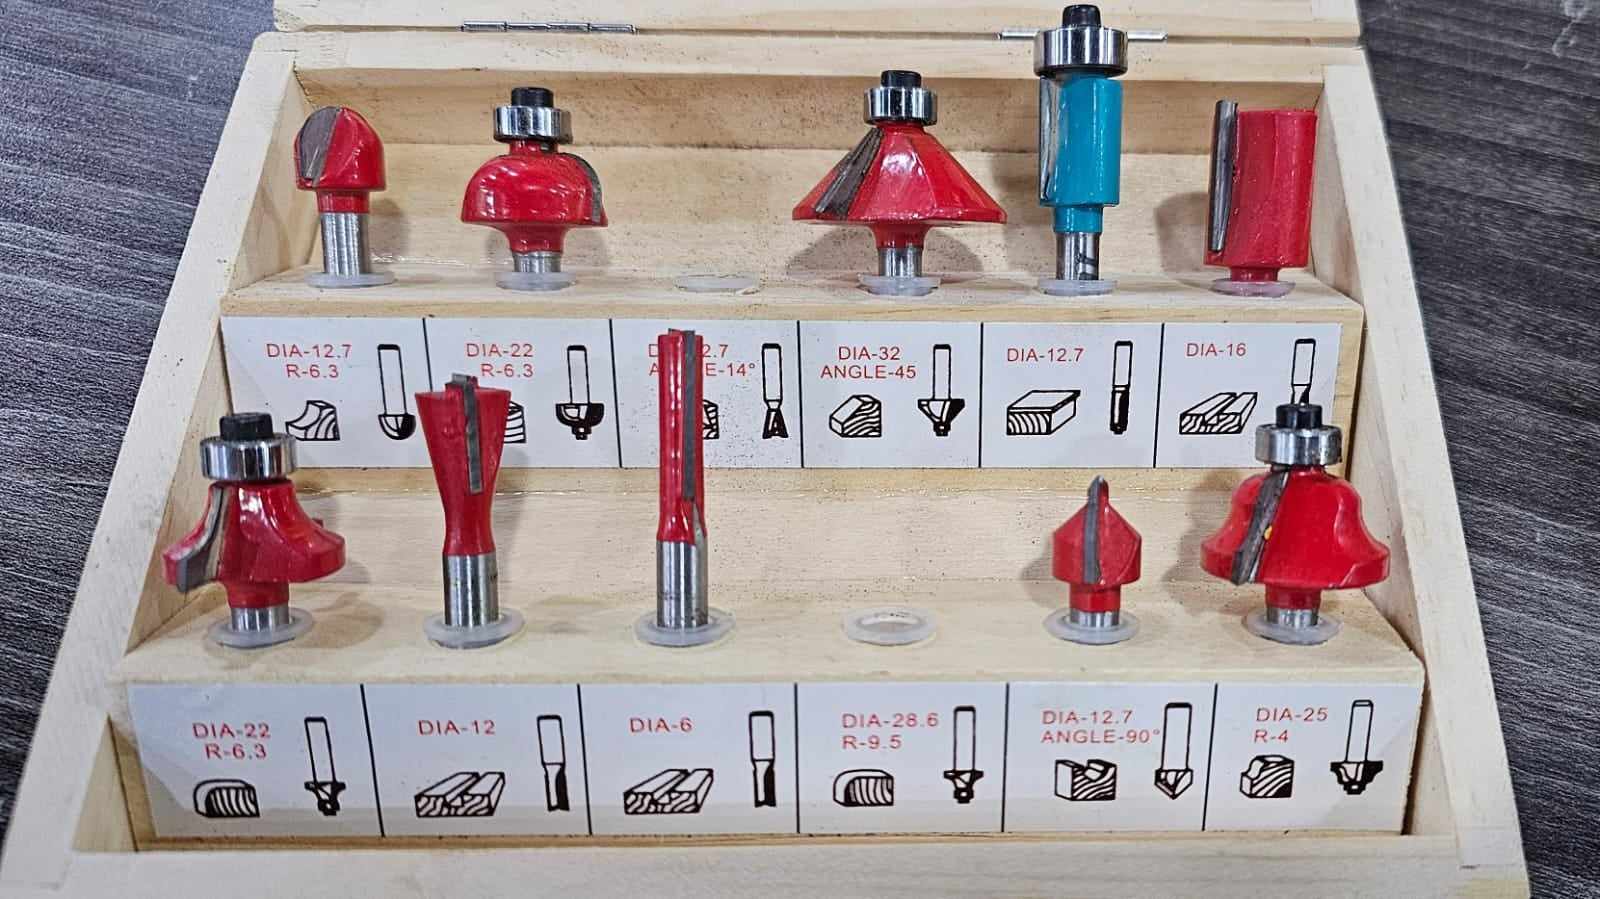
A manual router encompasses a variety of bits tailored for woodworking applications, mirroring the fundamental concept of a CNC machine. Serving as a handheld tool, it is adept at refining edges and corners, particularly for creating frame fillets. The versatility of this tool extends across various woodworking styles, allowing artisans to craft intricate designs and enhance the details of their projects. From chamfering edges to intricate detailing, the manual router proves indispensable for artisans seeking precision and control in woodworking endeavors.
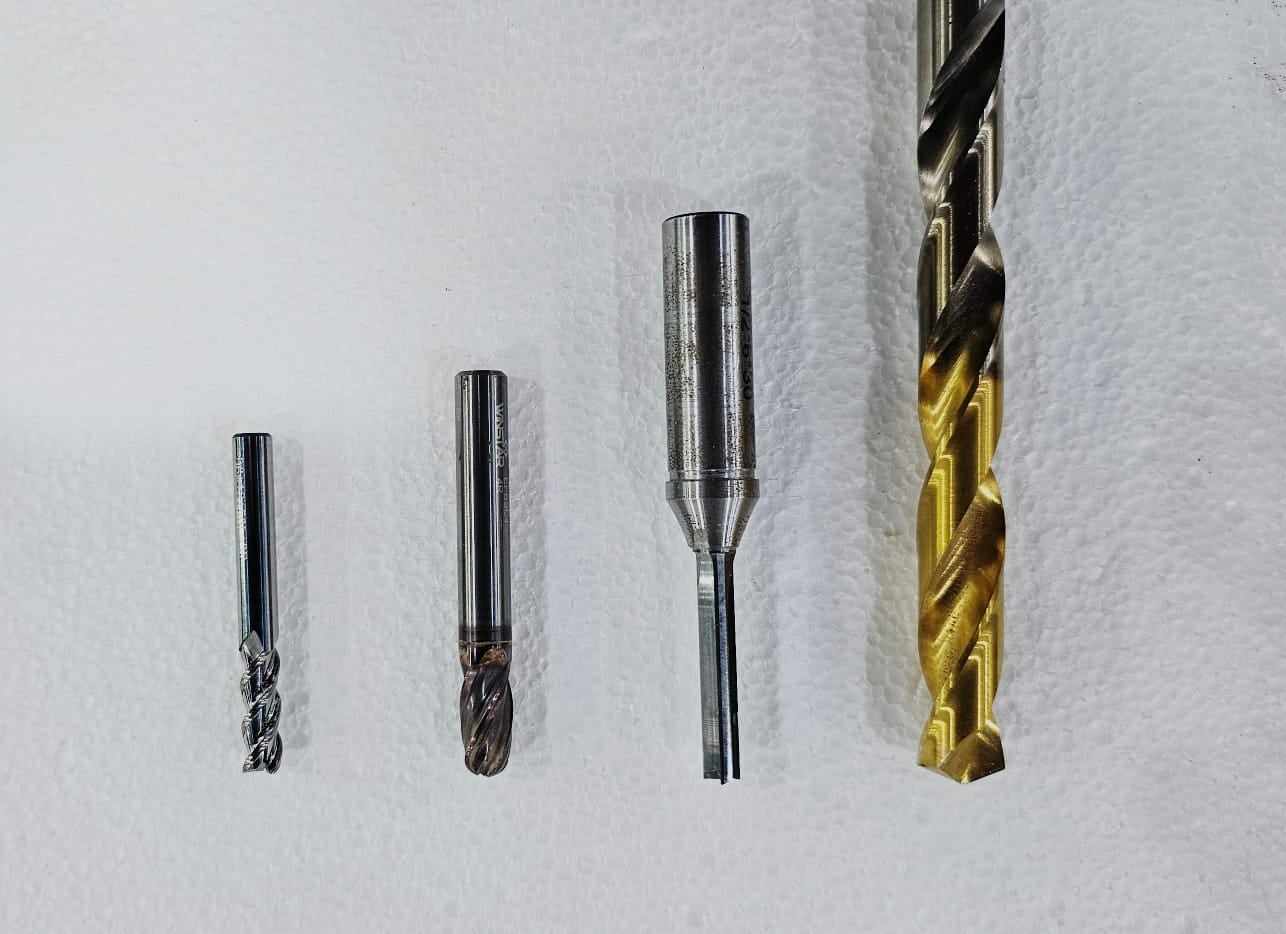
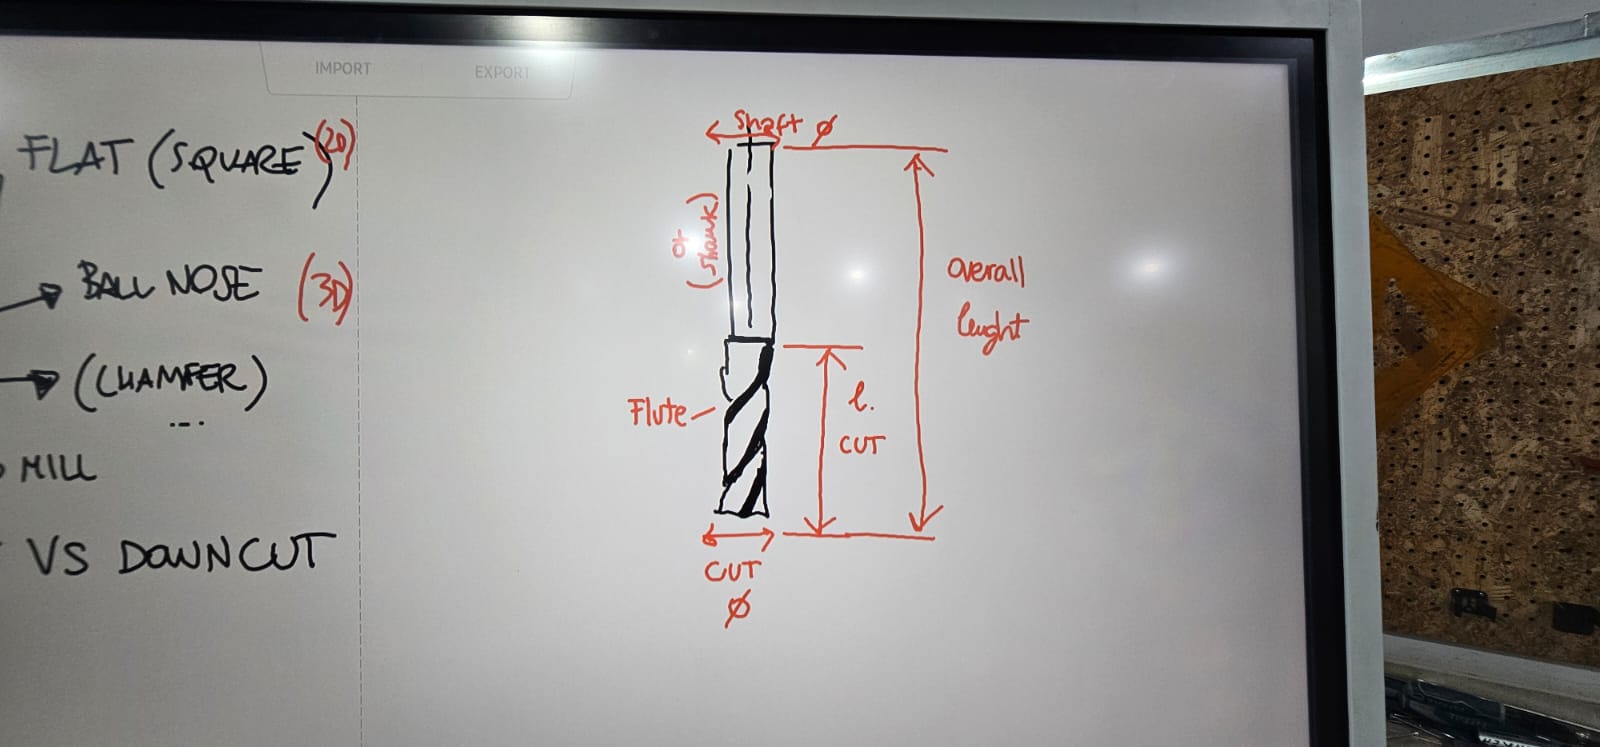
Within our lab, we maintain a dual inventory of CNC bits, comprising drilling bits and versatile end mills suitable for both 2D and 3D milling, incorporating the specialized compression mill. These cutting tools are characterized by essential features:
-
Number of Flutes: Each tool exhibits a distinct number of flutes, influencing factors such as chip evacuation, cutting efficiency, and surface finish. Selection is contingent on the intricacy of the machining task and material characteristics.
-
Shank Diameters: The shank diameter denotes the tool's robustness and compatibility with the CNC machine shopbot cnc milling machine. Differing shank sizes cater to diverse machining requirements and spindle specifications.
-
Cut Diameter: The cut diameter signifies the actual width of material removal during milling. This parameter is pivotal for precision, determining the final dimensions of the machined features.
Understanding these characteristics enables a meticulous choice of tools based on the specific demands of the machining project, material type, and desired outcomes. Careful consideration of these factors optimizes the CNC milling process for diverse applications within our lab.
workflow
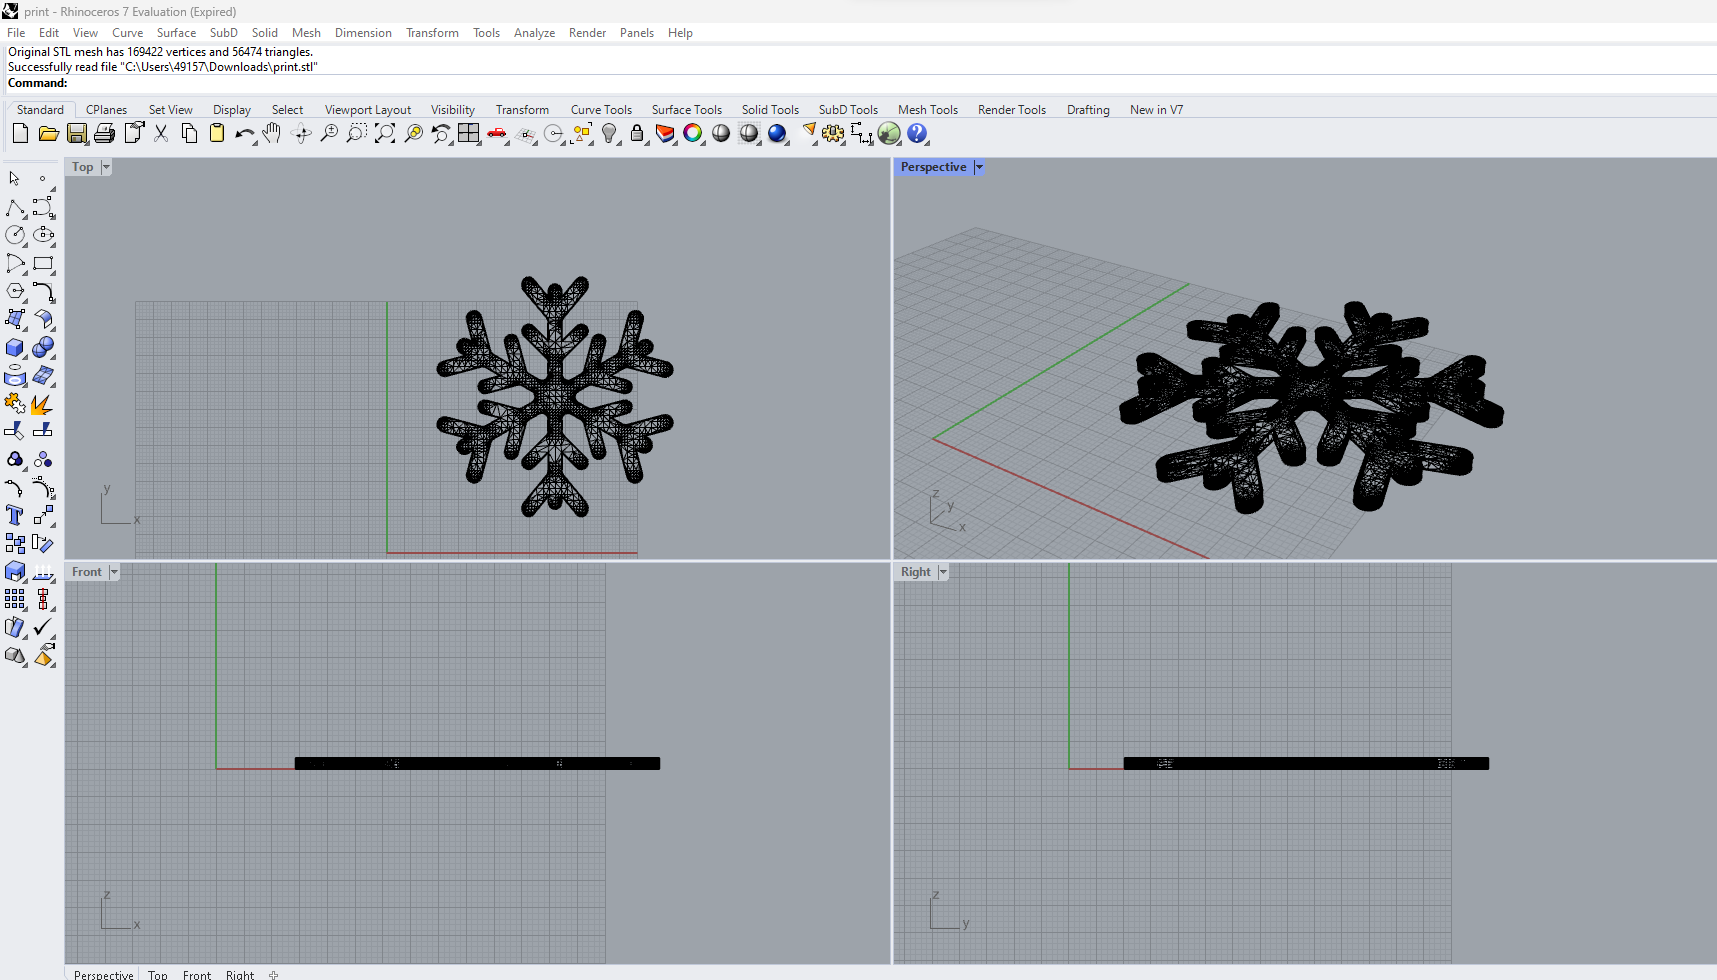
Design Preparation:
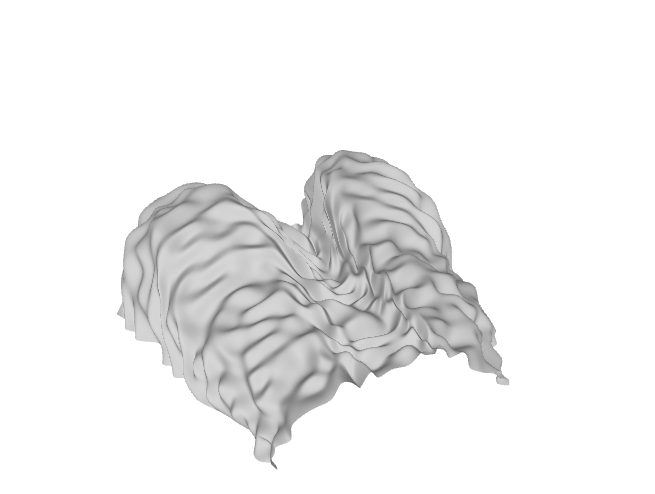
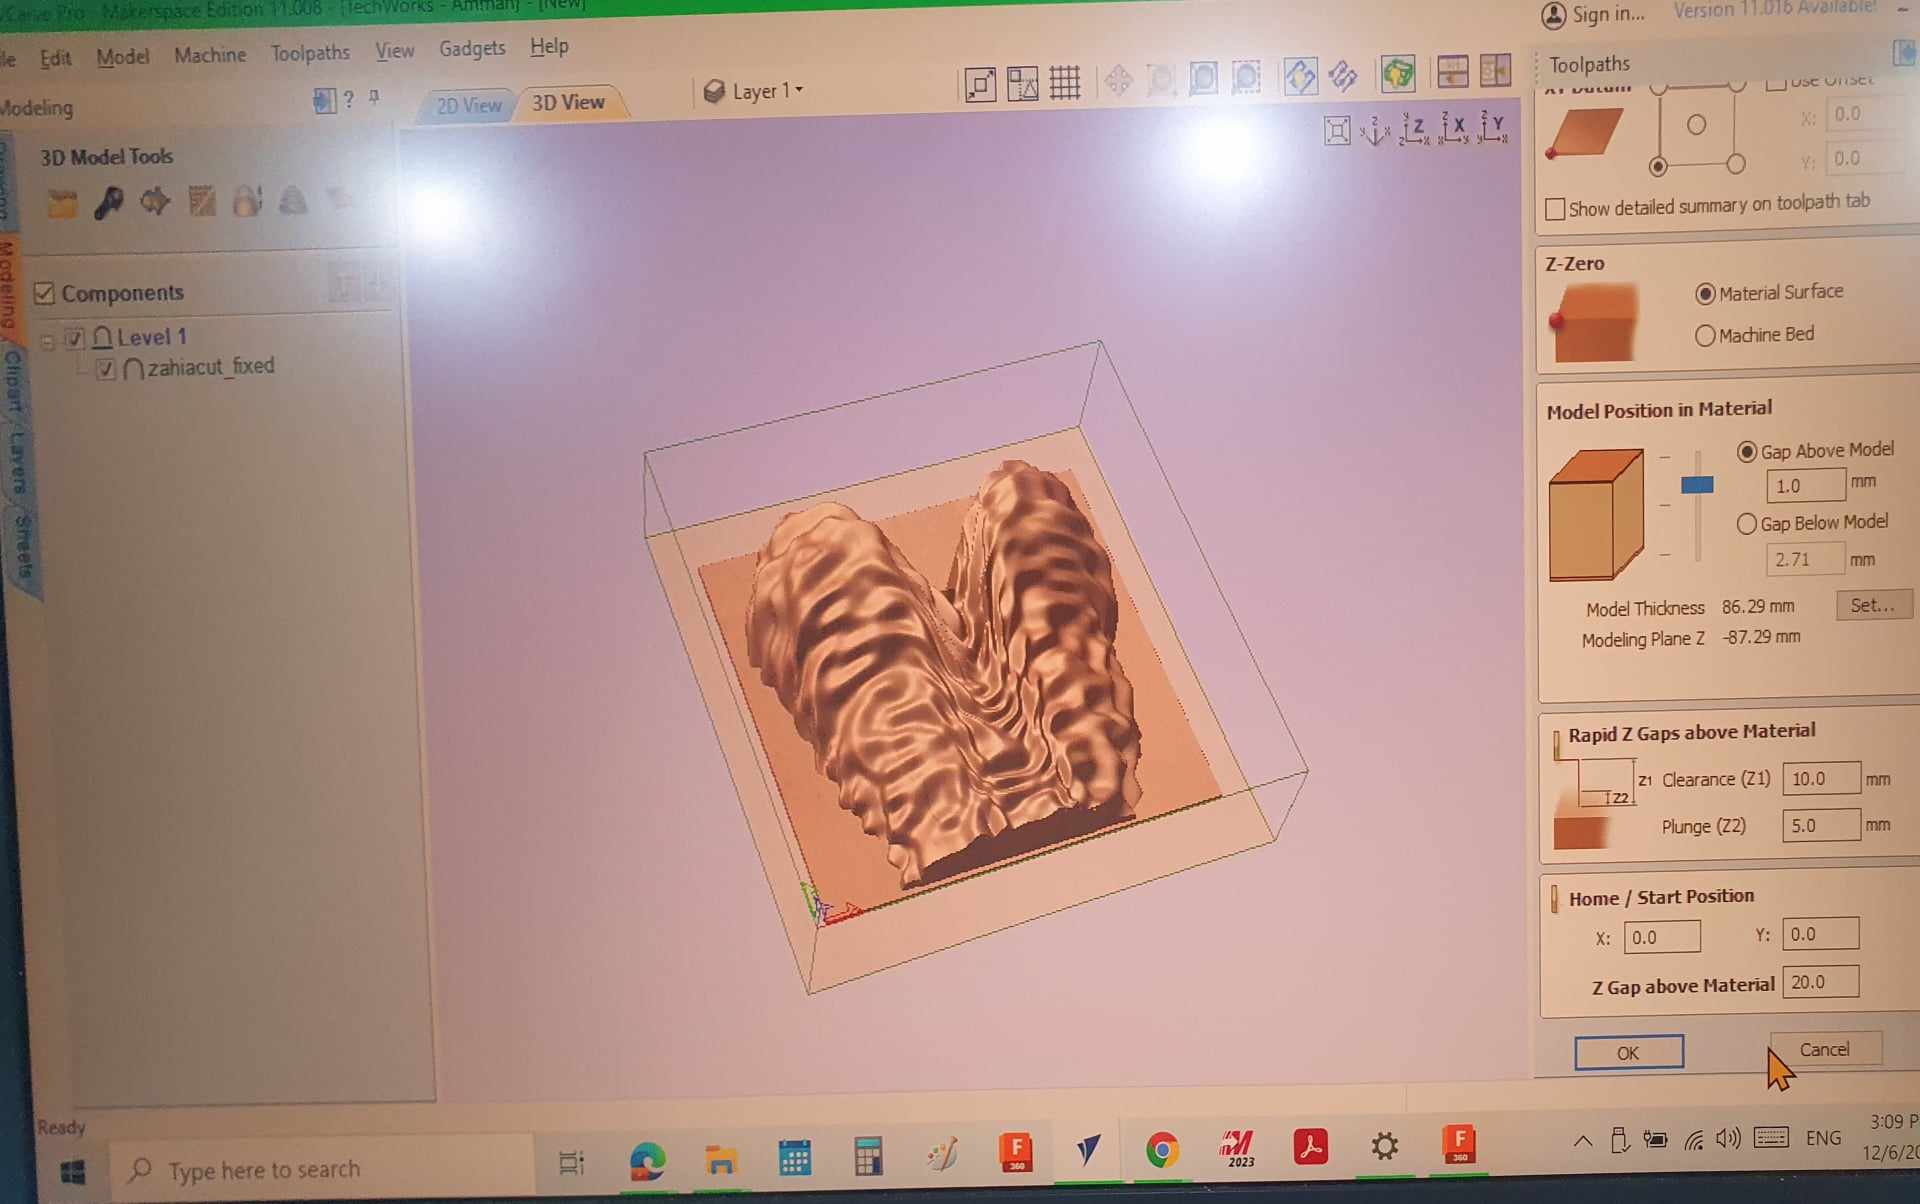
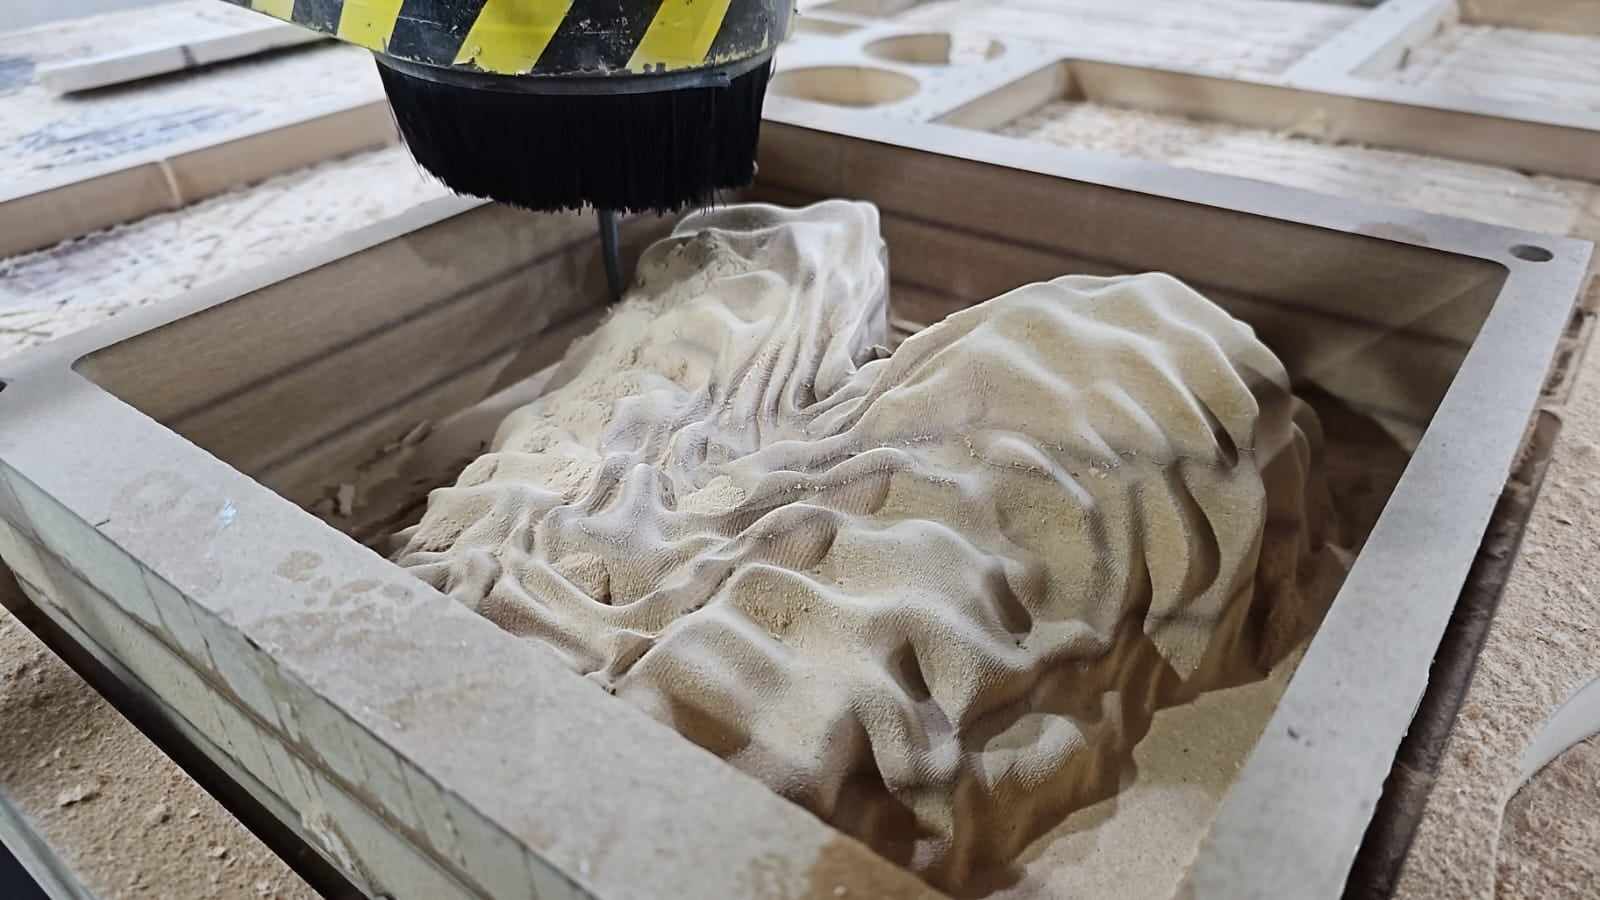
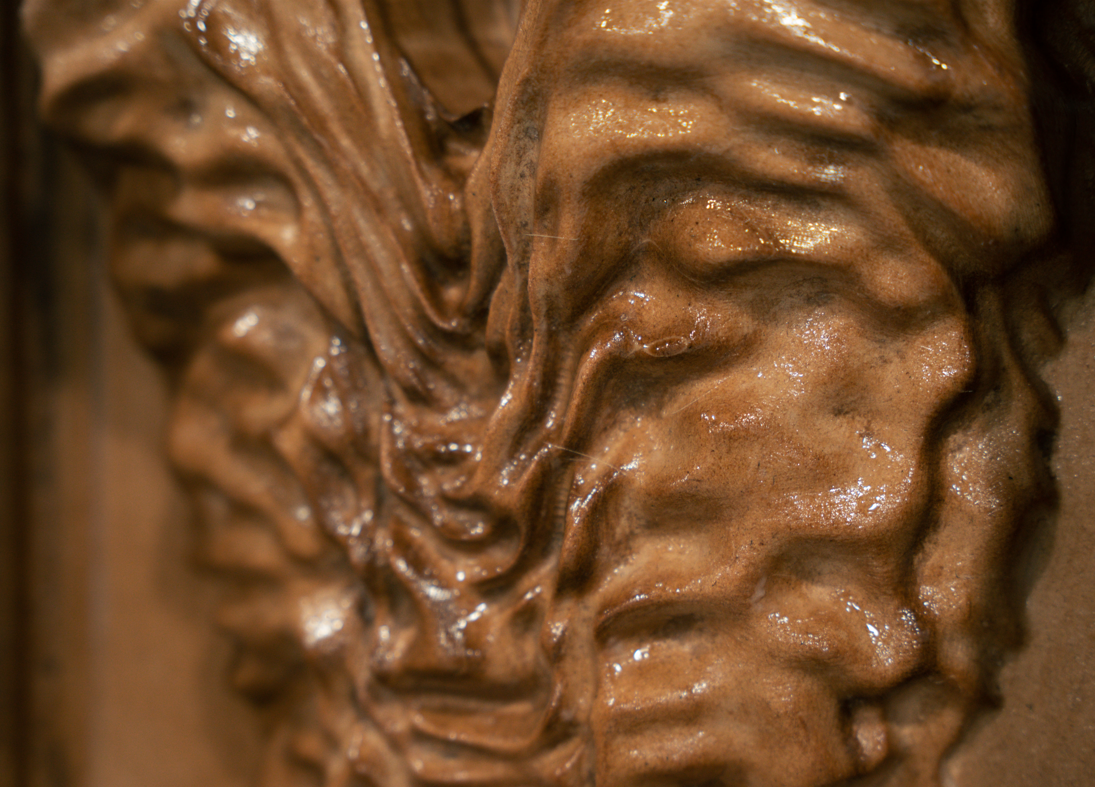
For my project, I employed Rhino and Grasshopper to fashion a corset design inspired by the rhythmic waves of desert sand. This parametric approach with Grasshopper allowed for dynamic adjustments in the design process. Ensure the model aligns with the mold specifications, merging Rhino and Grasshopper functionalities for a unique, desert-inspired corset design.

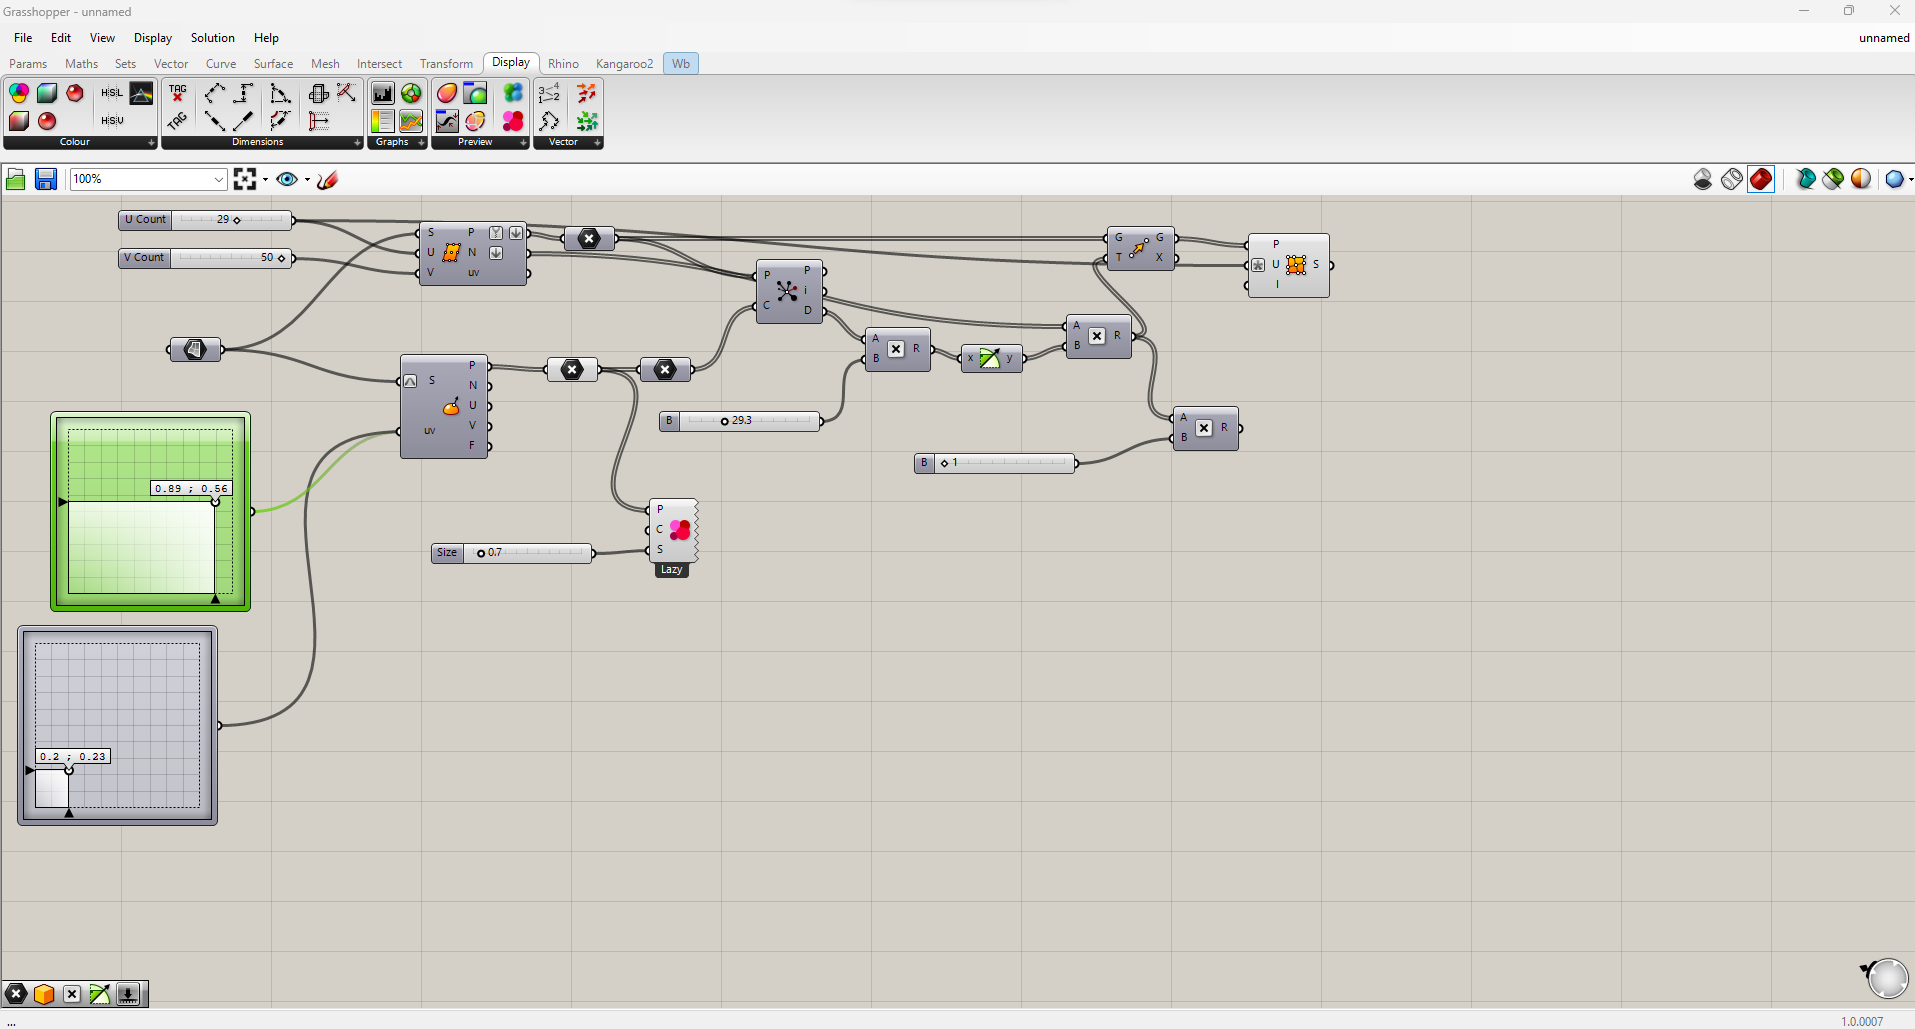
Effects in Grasshopper
start by creating a base surface. Then, use mathematical functions or custom algorithms to define the desired wave pattern. Apply this pattern to the surface using Grasshopper's tools, adjusting parameters dynamically to explore different wave shapes. Once satisfied, integrate the generated wave effect with your Rhino model, either by baking the geometry or using it as a reference for further detailing.
Material Selection & Preparation:
In my project, I decided to use MDF wood, strategically stacking layers atop one another to achieve the desired height for the digital design corset. This approach provides a practical and customizable solution,


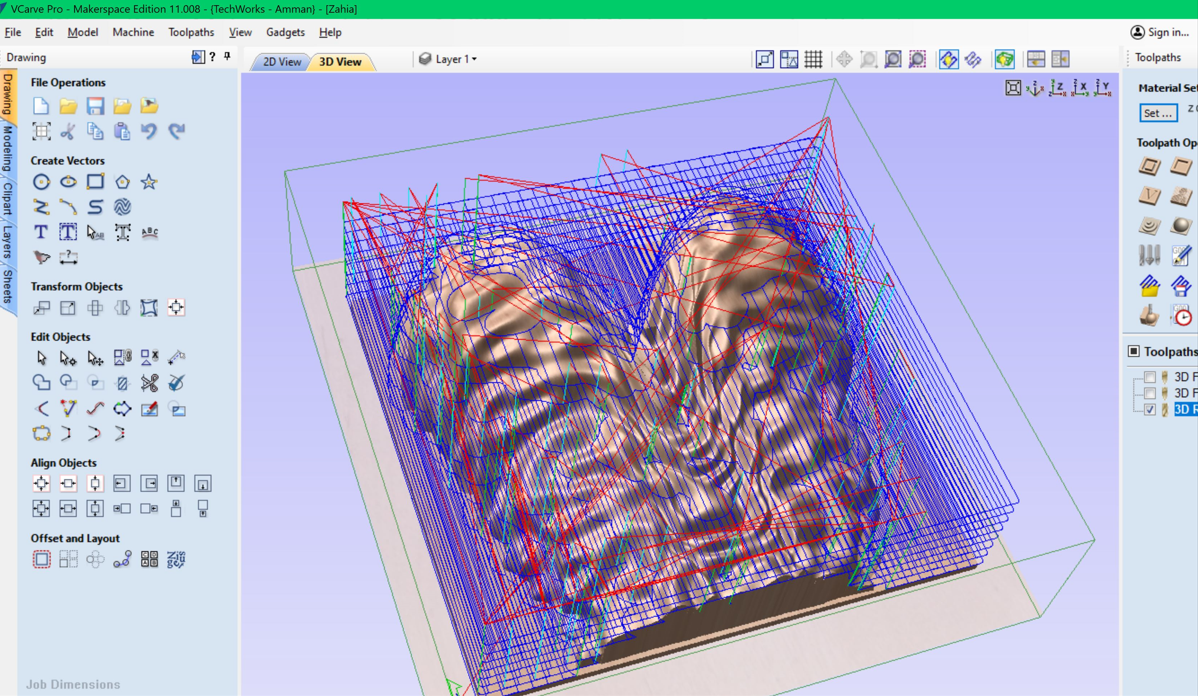
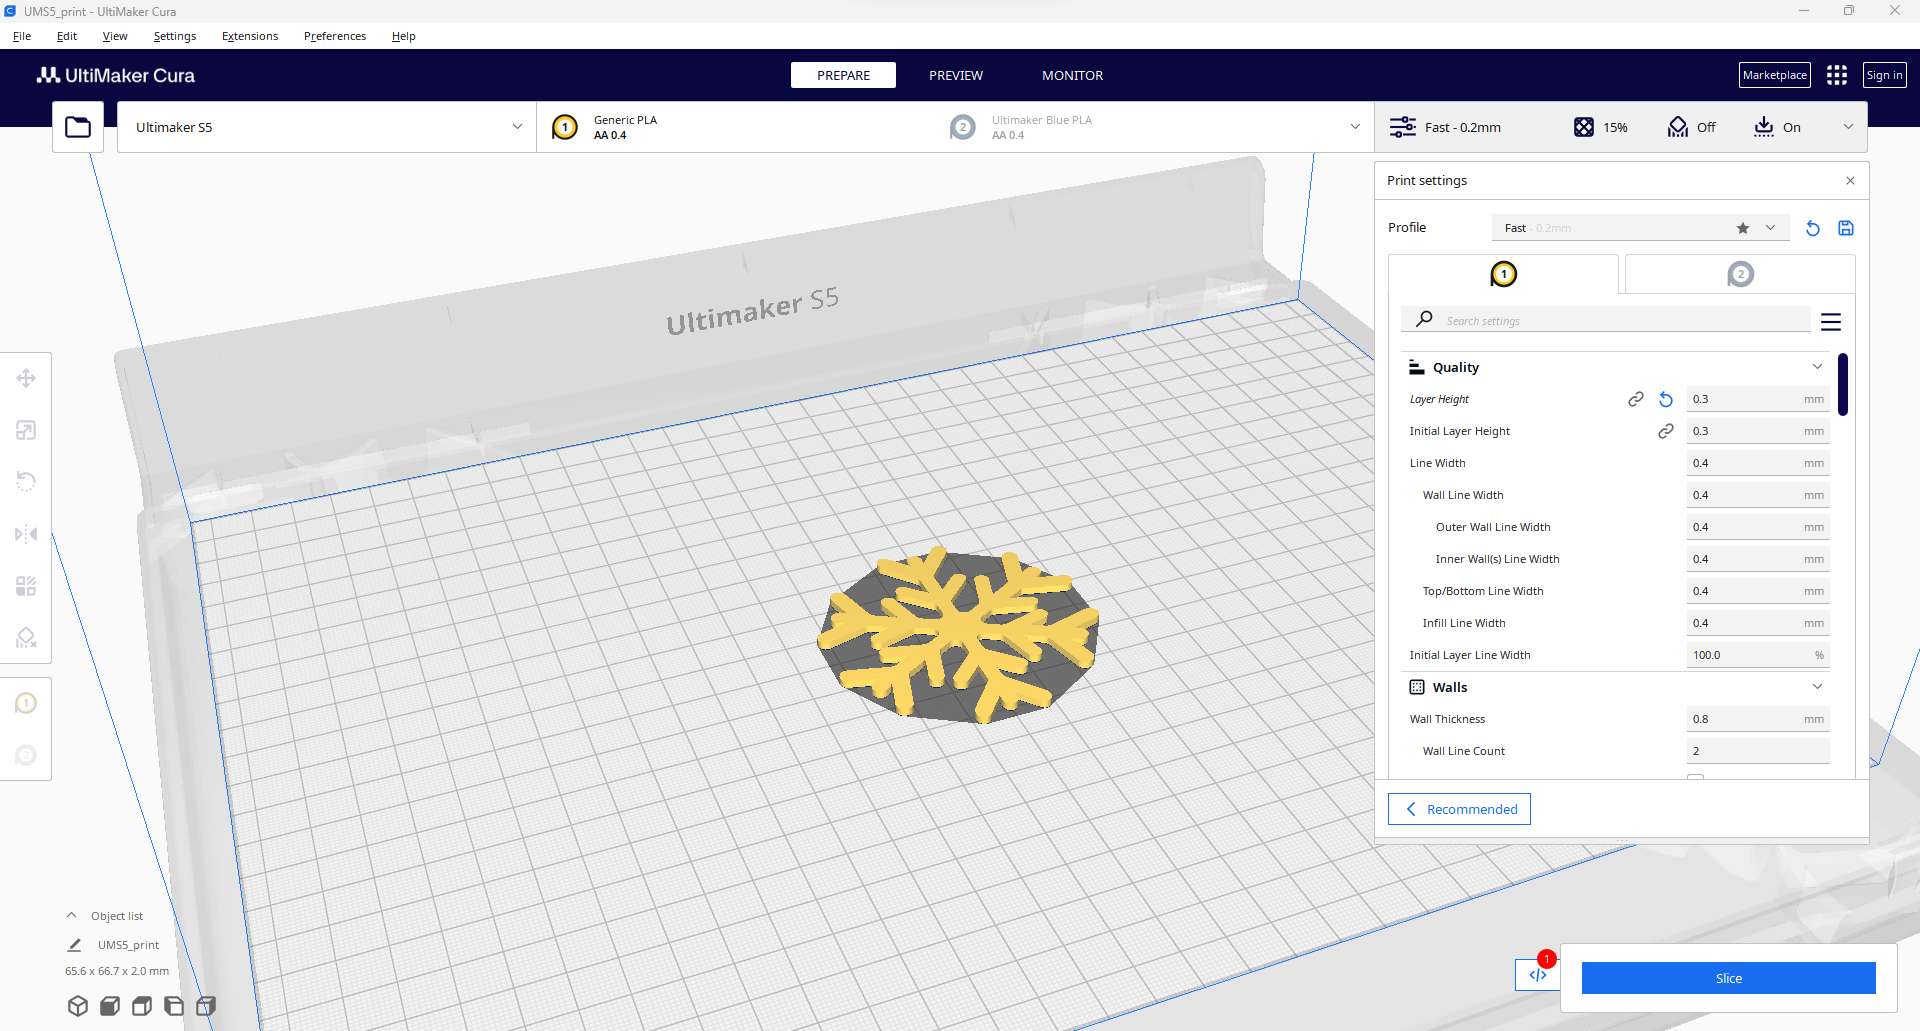
Toolpath Generation:
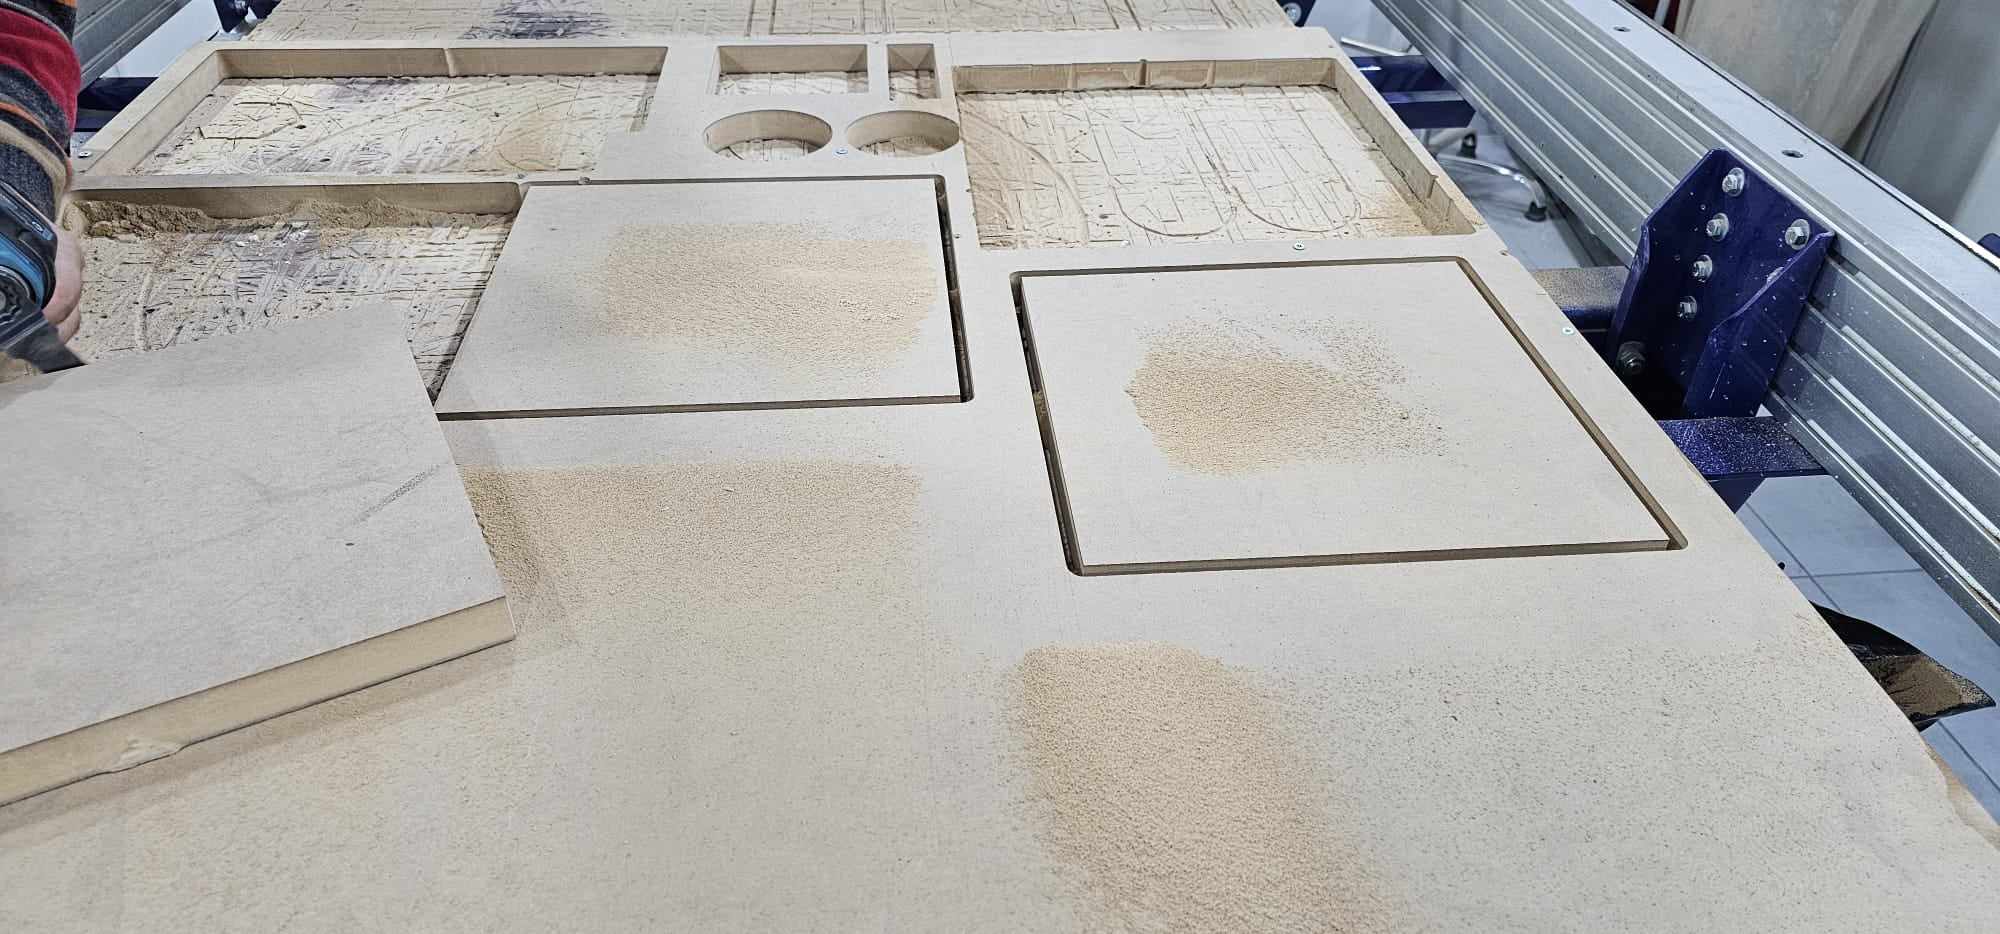
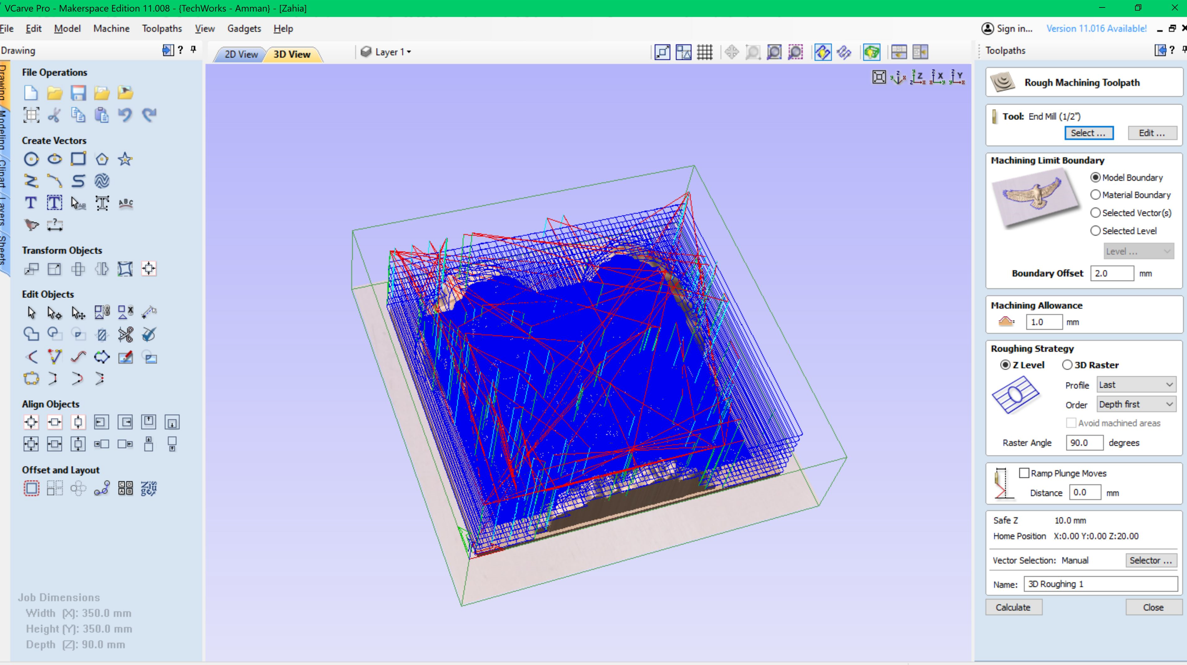
V-Carve on ShopBot simplifies the manufacturing process by allowing easy input of essential parameters. Specify job details such as size, width, height, and thickness, along with the z-zero position and x-y coordinates. Choose the type of cut, whether it's a pocket or profile, and seamlessly work with both 2D and 3D models. After gaining proficiency through practice, I successfully navigated the software to create optimal toolpaths for my model. This included defining roughing, finishing, and profiling toolpaths with strategically placed tabs for convenient removal of the finished piece from the wooden board. This comprehensive control and adaptability within the V-Carve software enhance precision and efficiency in the manufacturing workflow.

Bit Change:
To change the bit, start with an 8 mm tall one matching the design thickness. Use two keys together, turning clockwise. Swap out the old bit for the new one, hand-tightening first and then securing it with the keys. This ensures a snug fit for accurate machining.

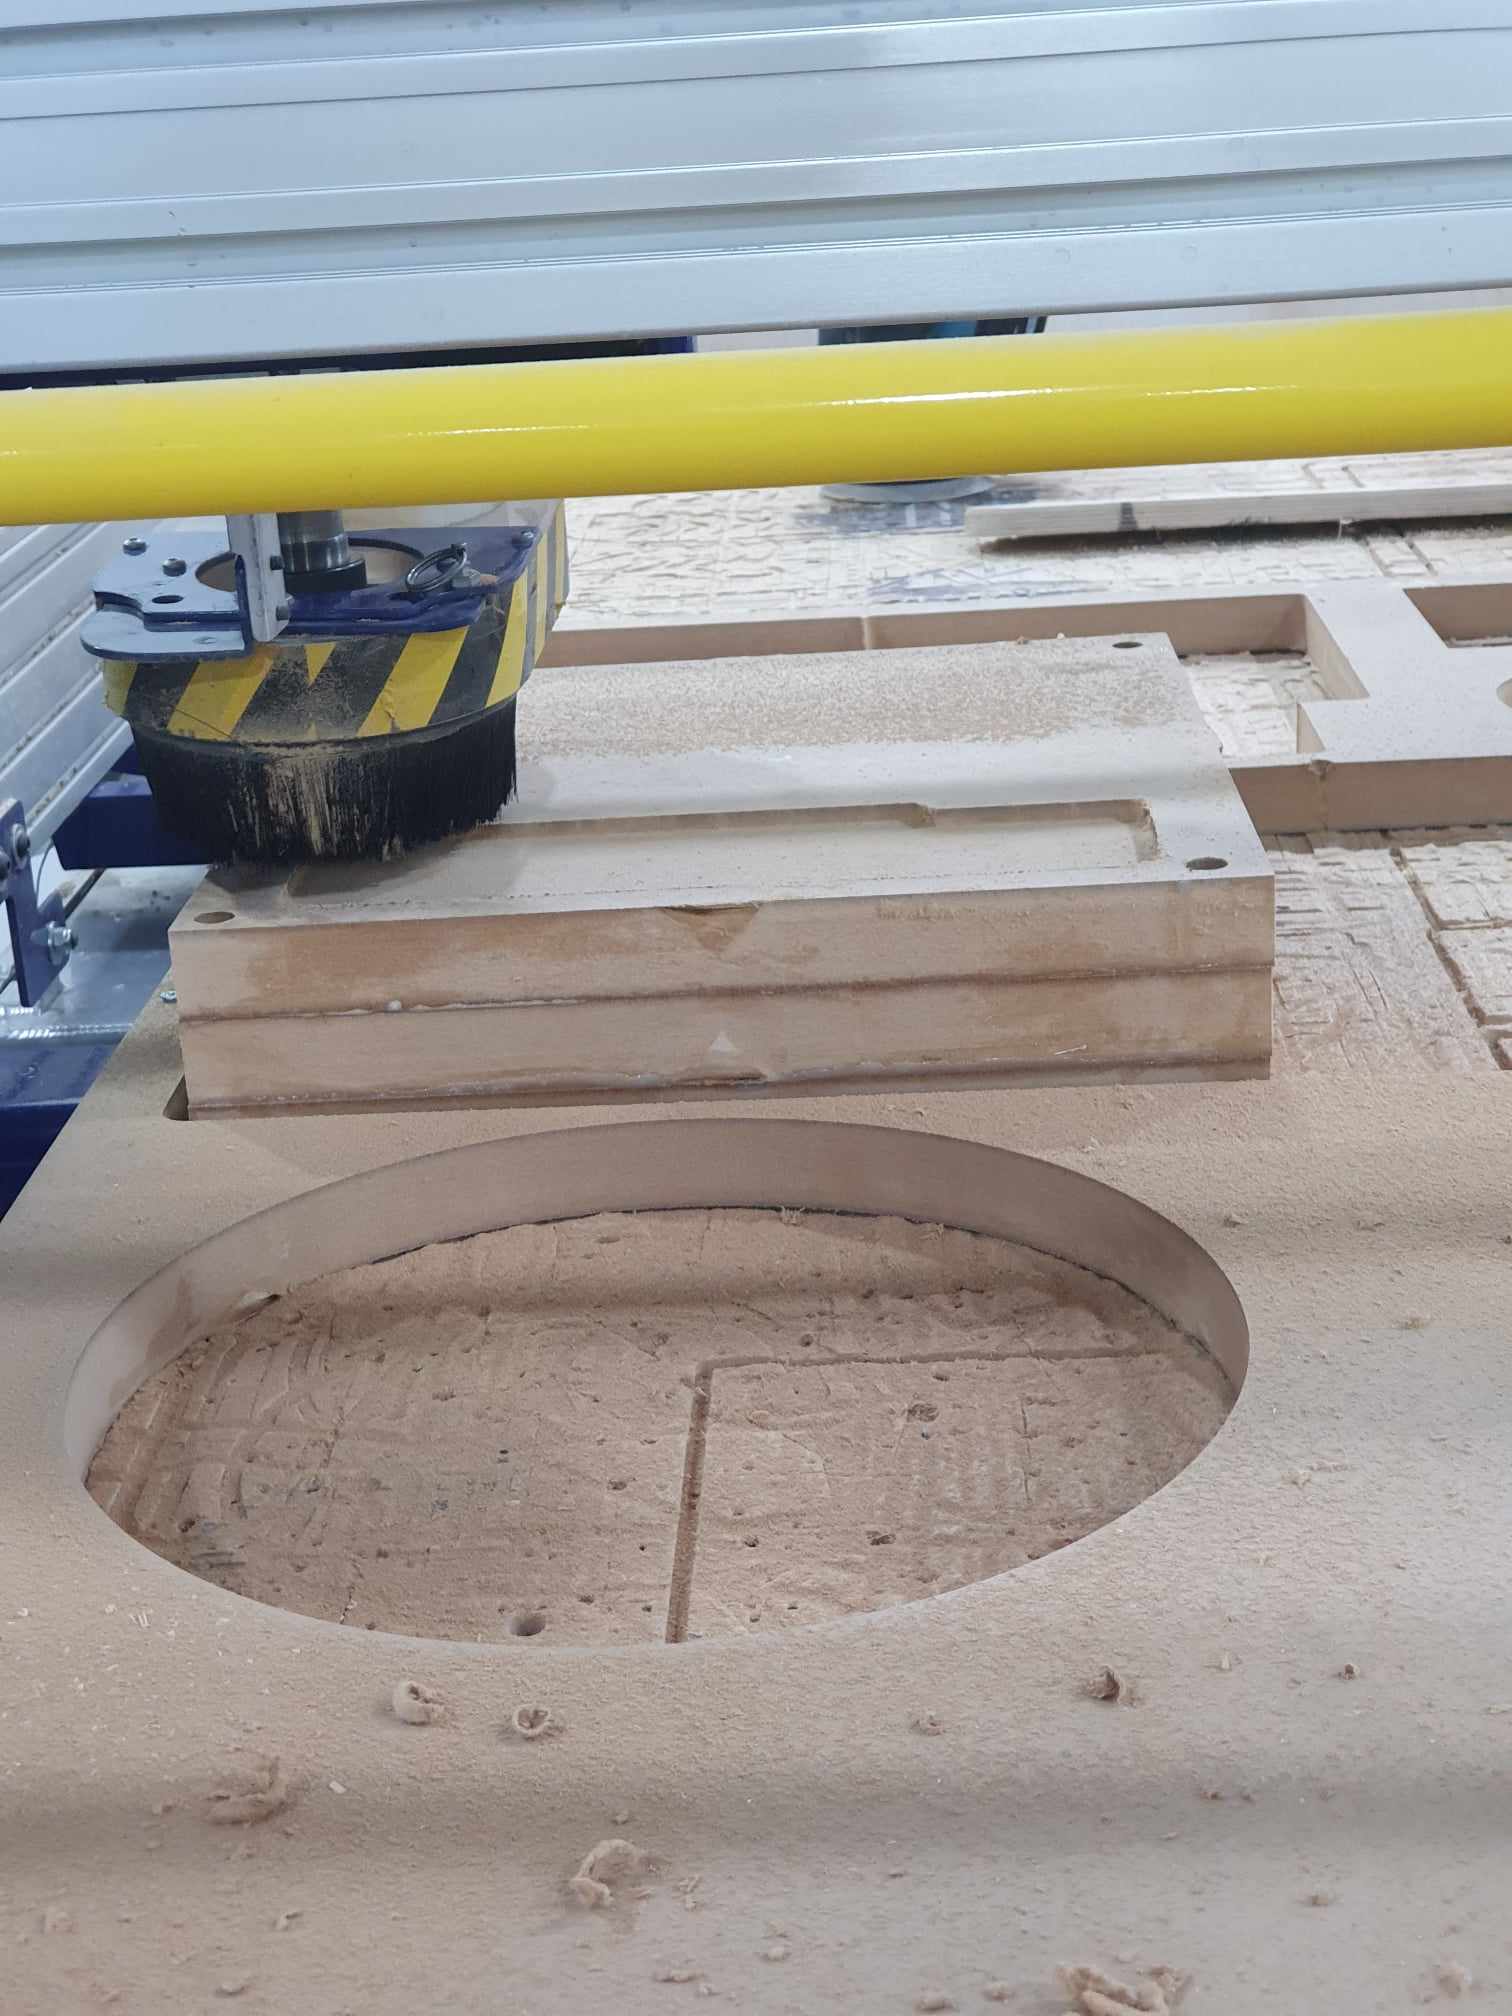
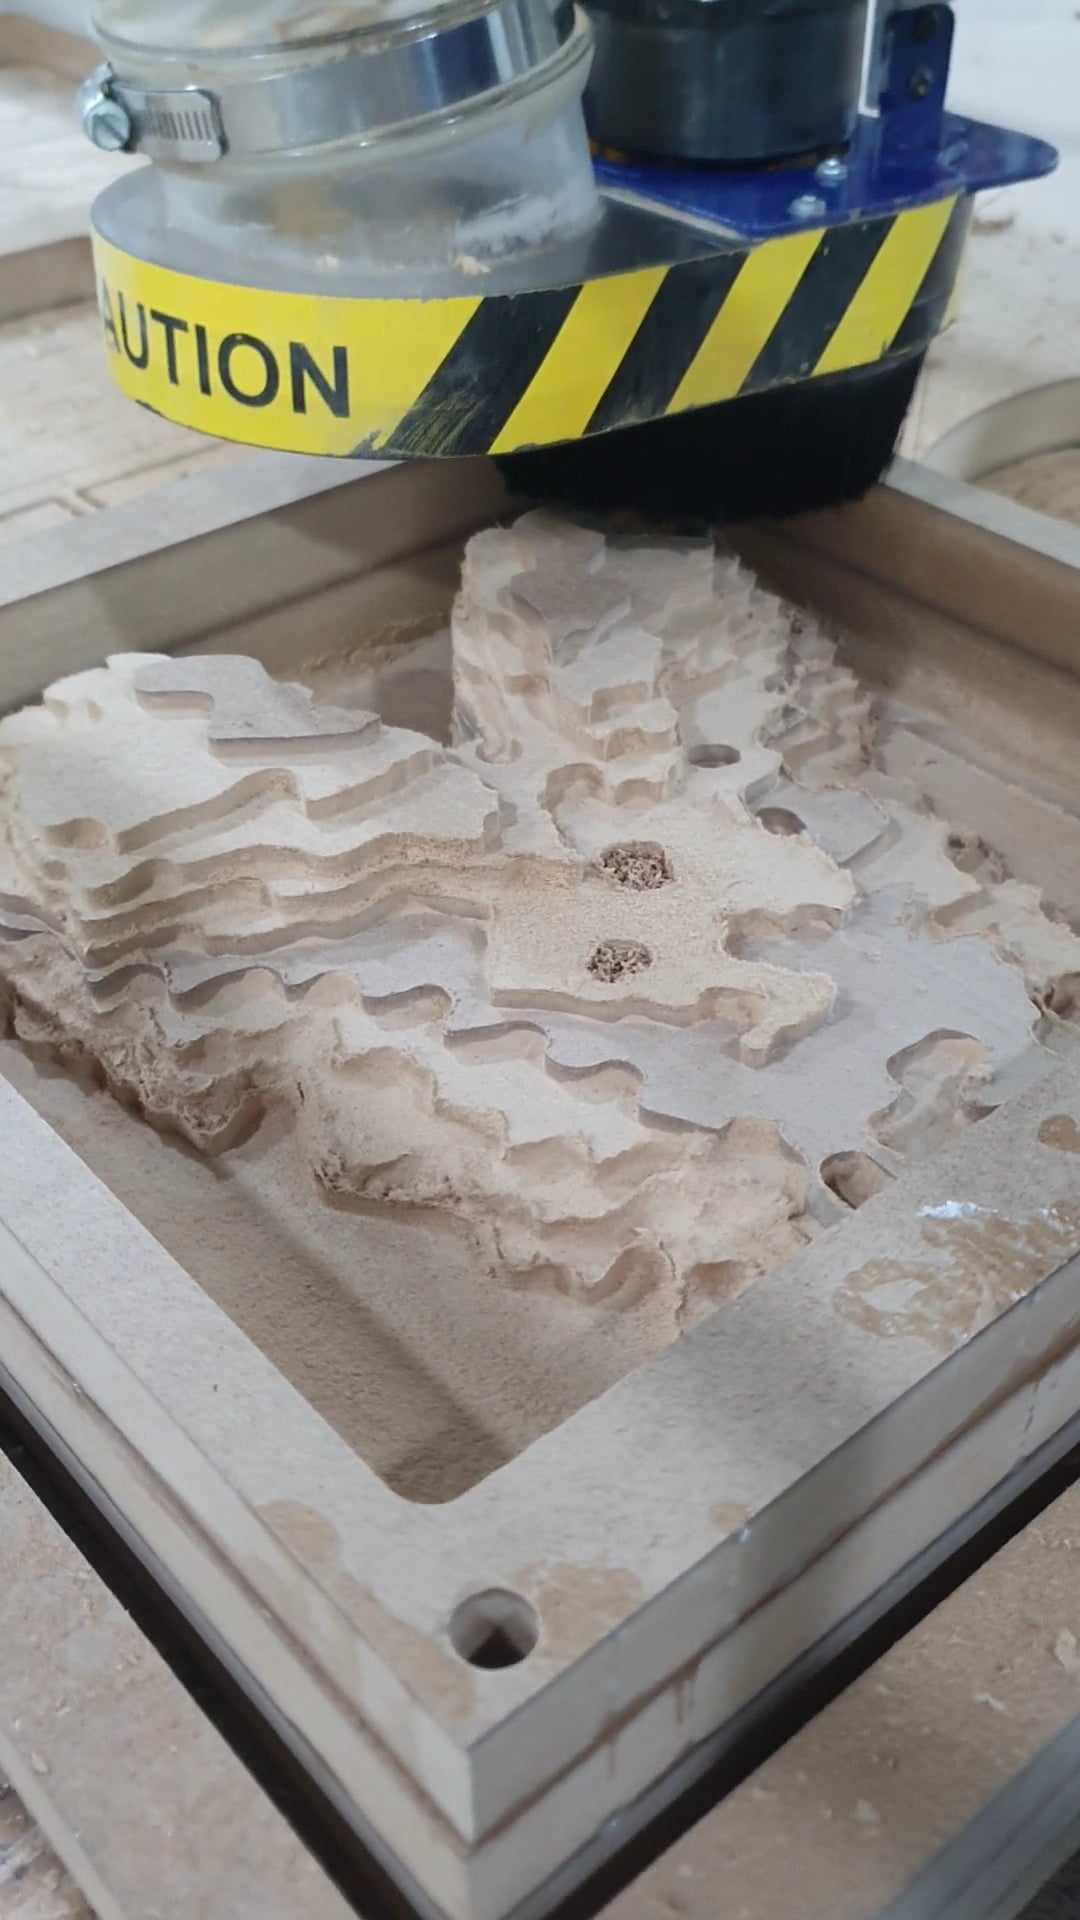
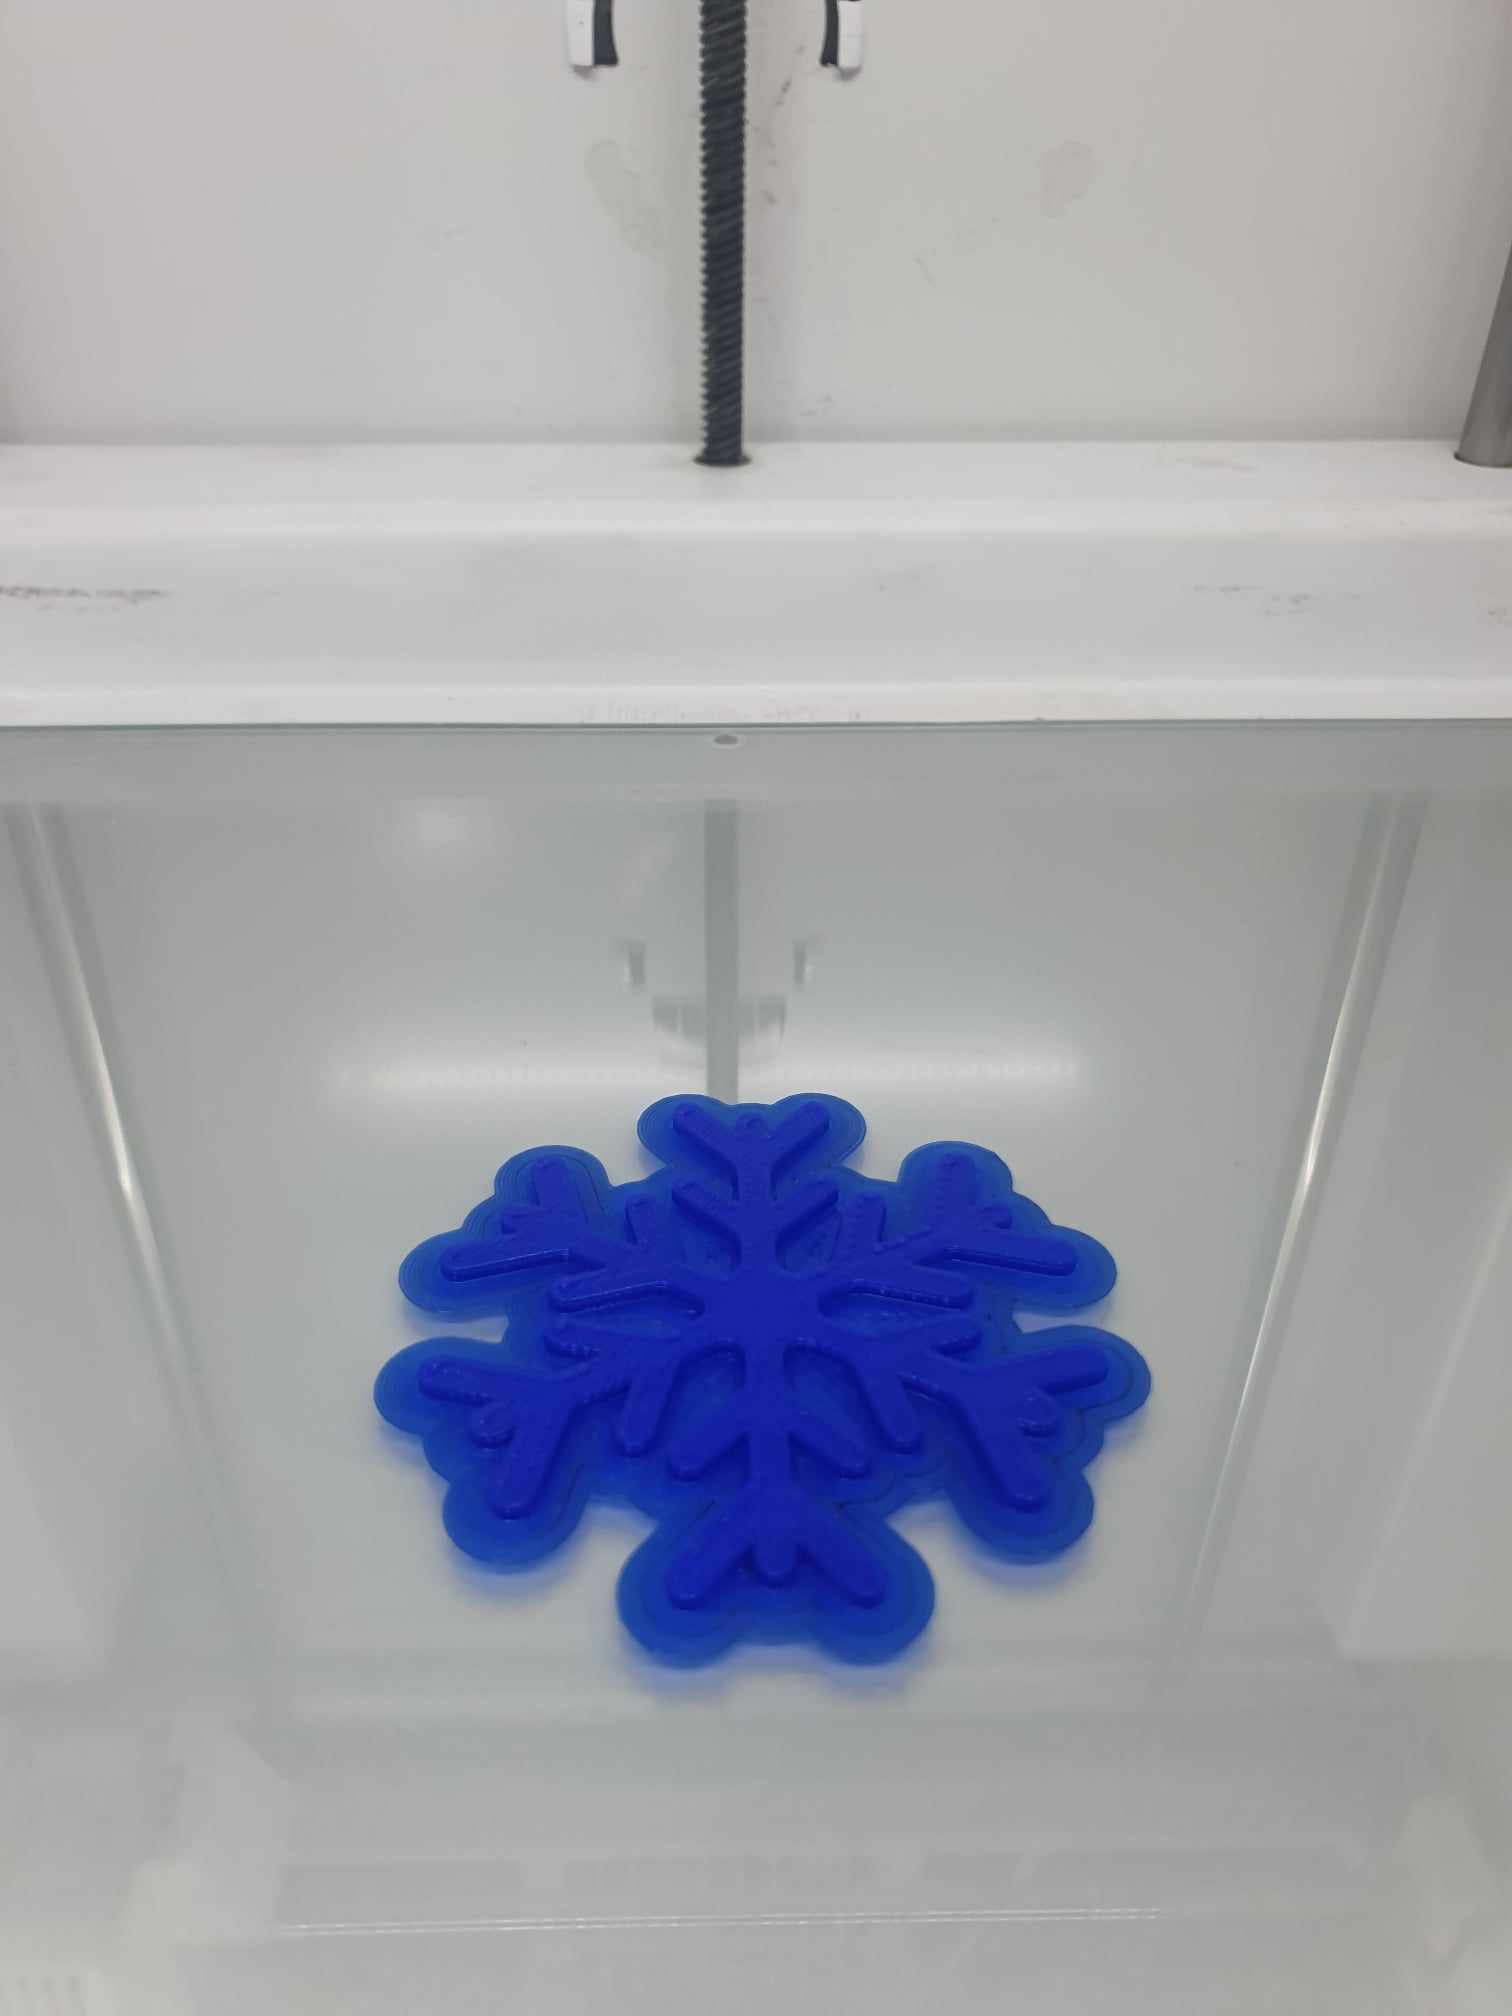
Process:
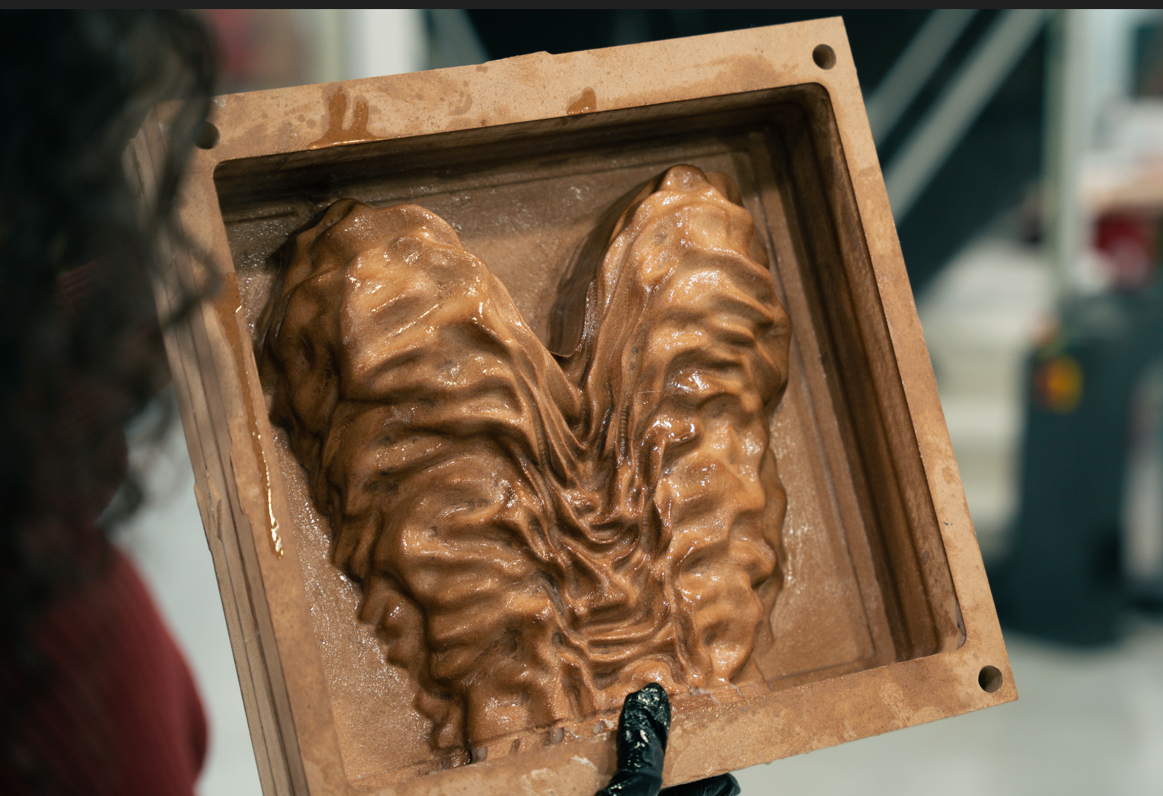
When cutting the wood, we intentionally left it as a box on the sides, allowing for the subsequent pouring of the silicone mold.
Mold
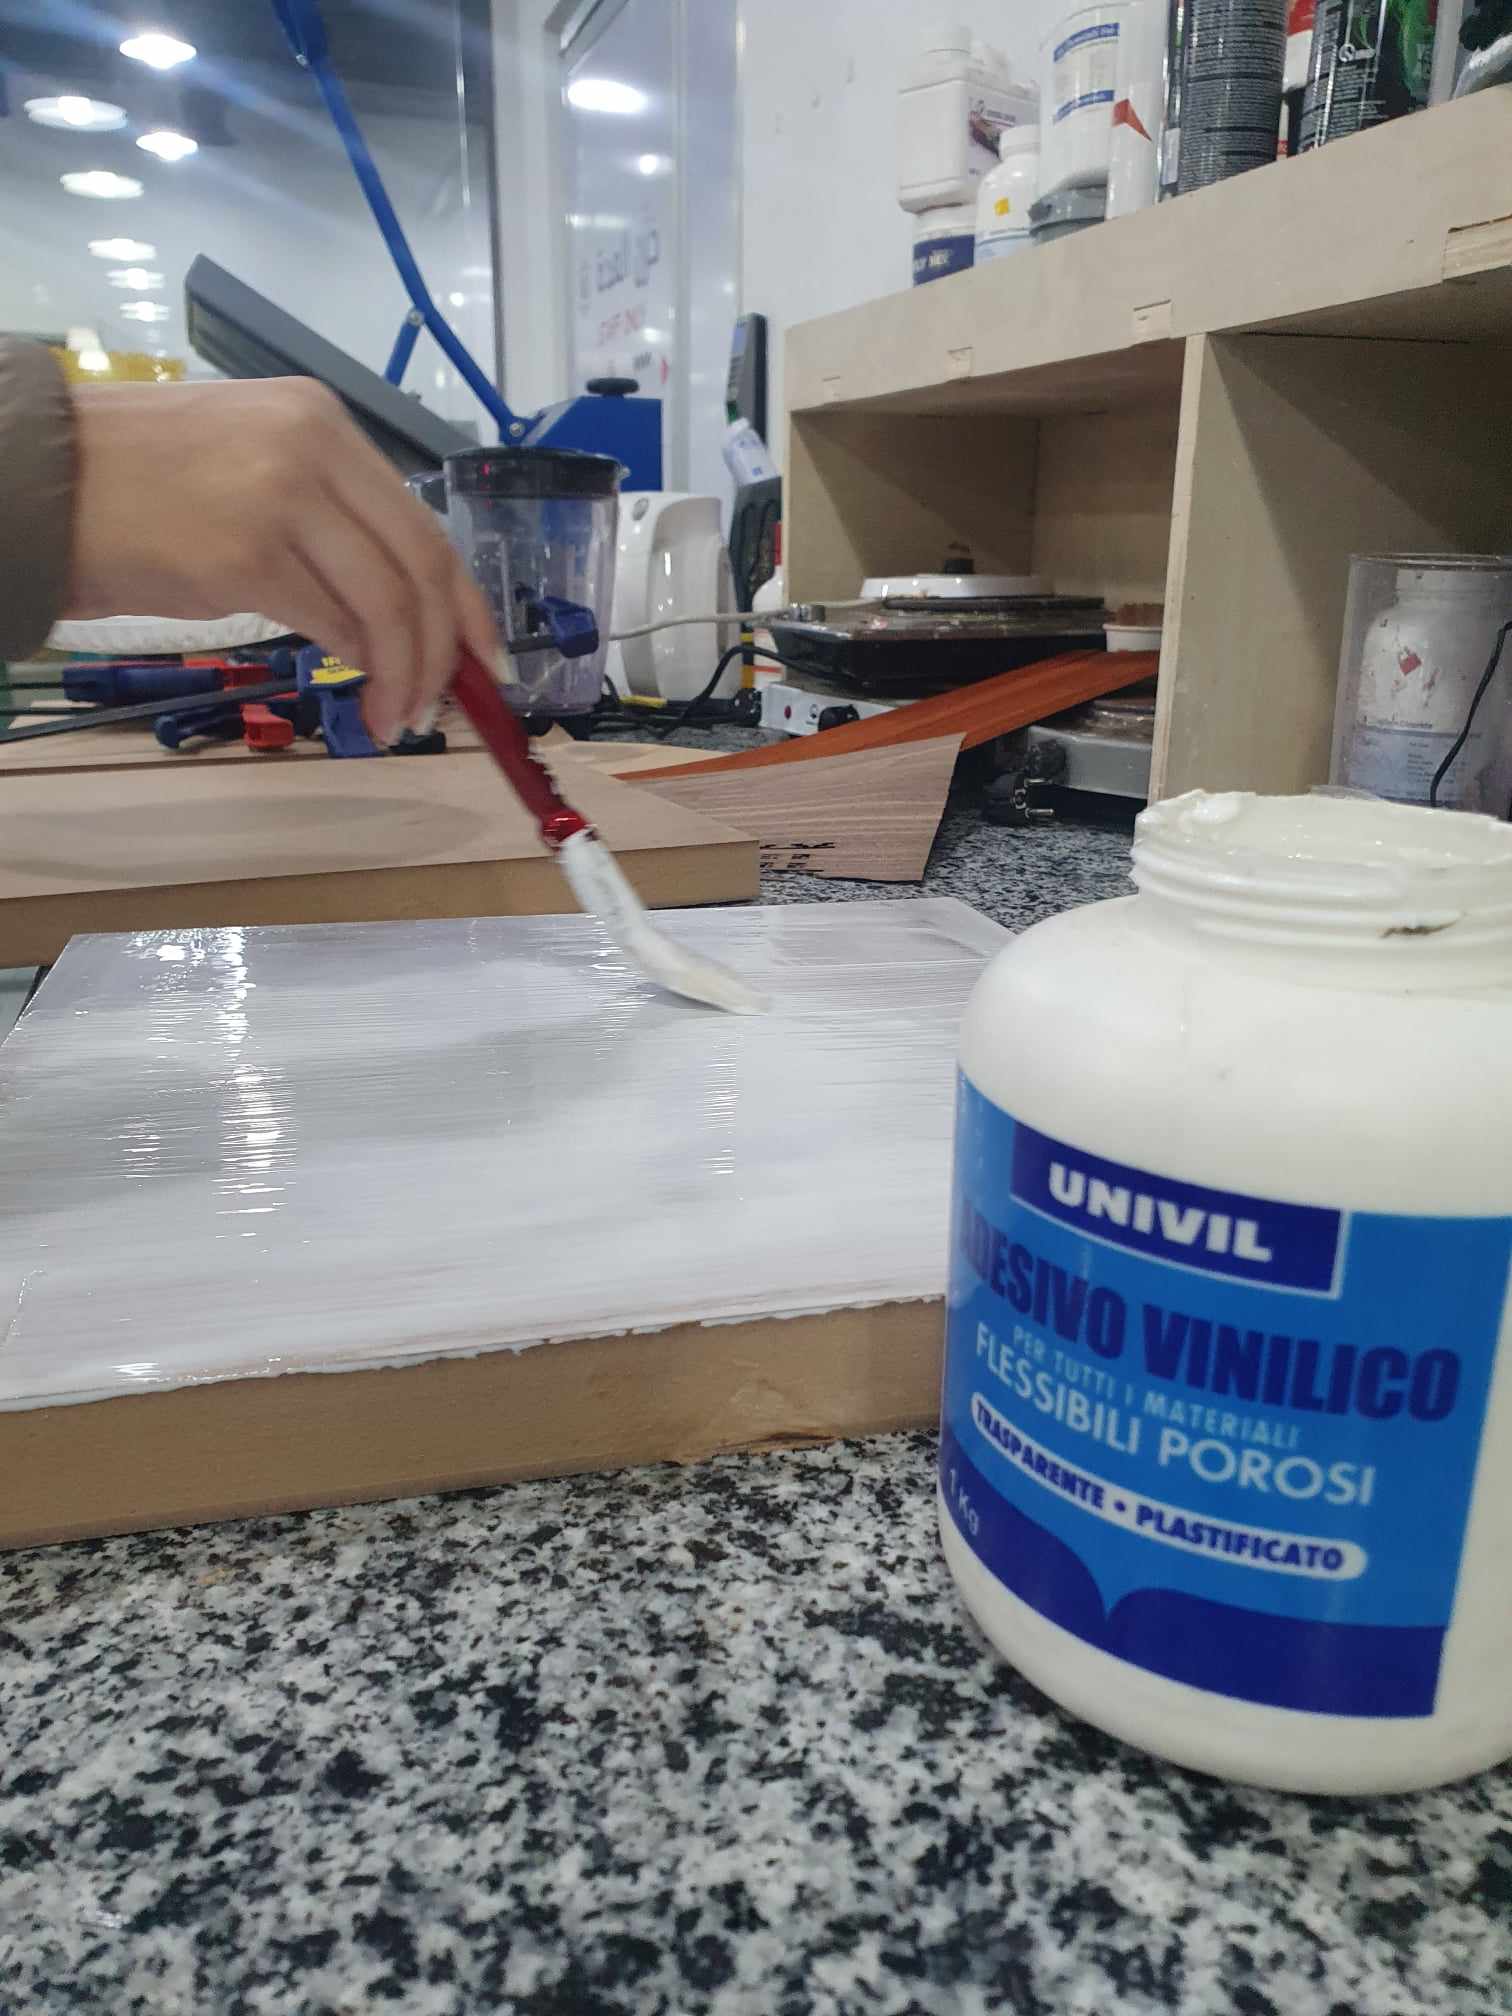
Apply Vaseline that works as a Mold Release:
Coat the wooden mold with Vaseline that helps later with the separation of the silicon mold.
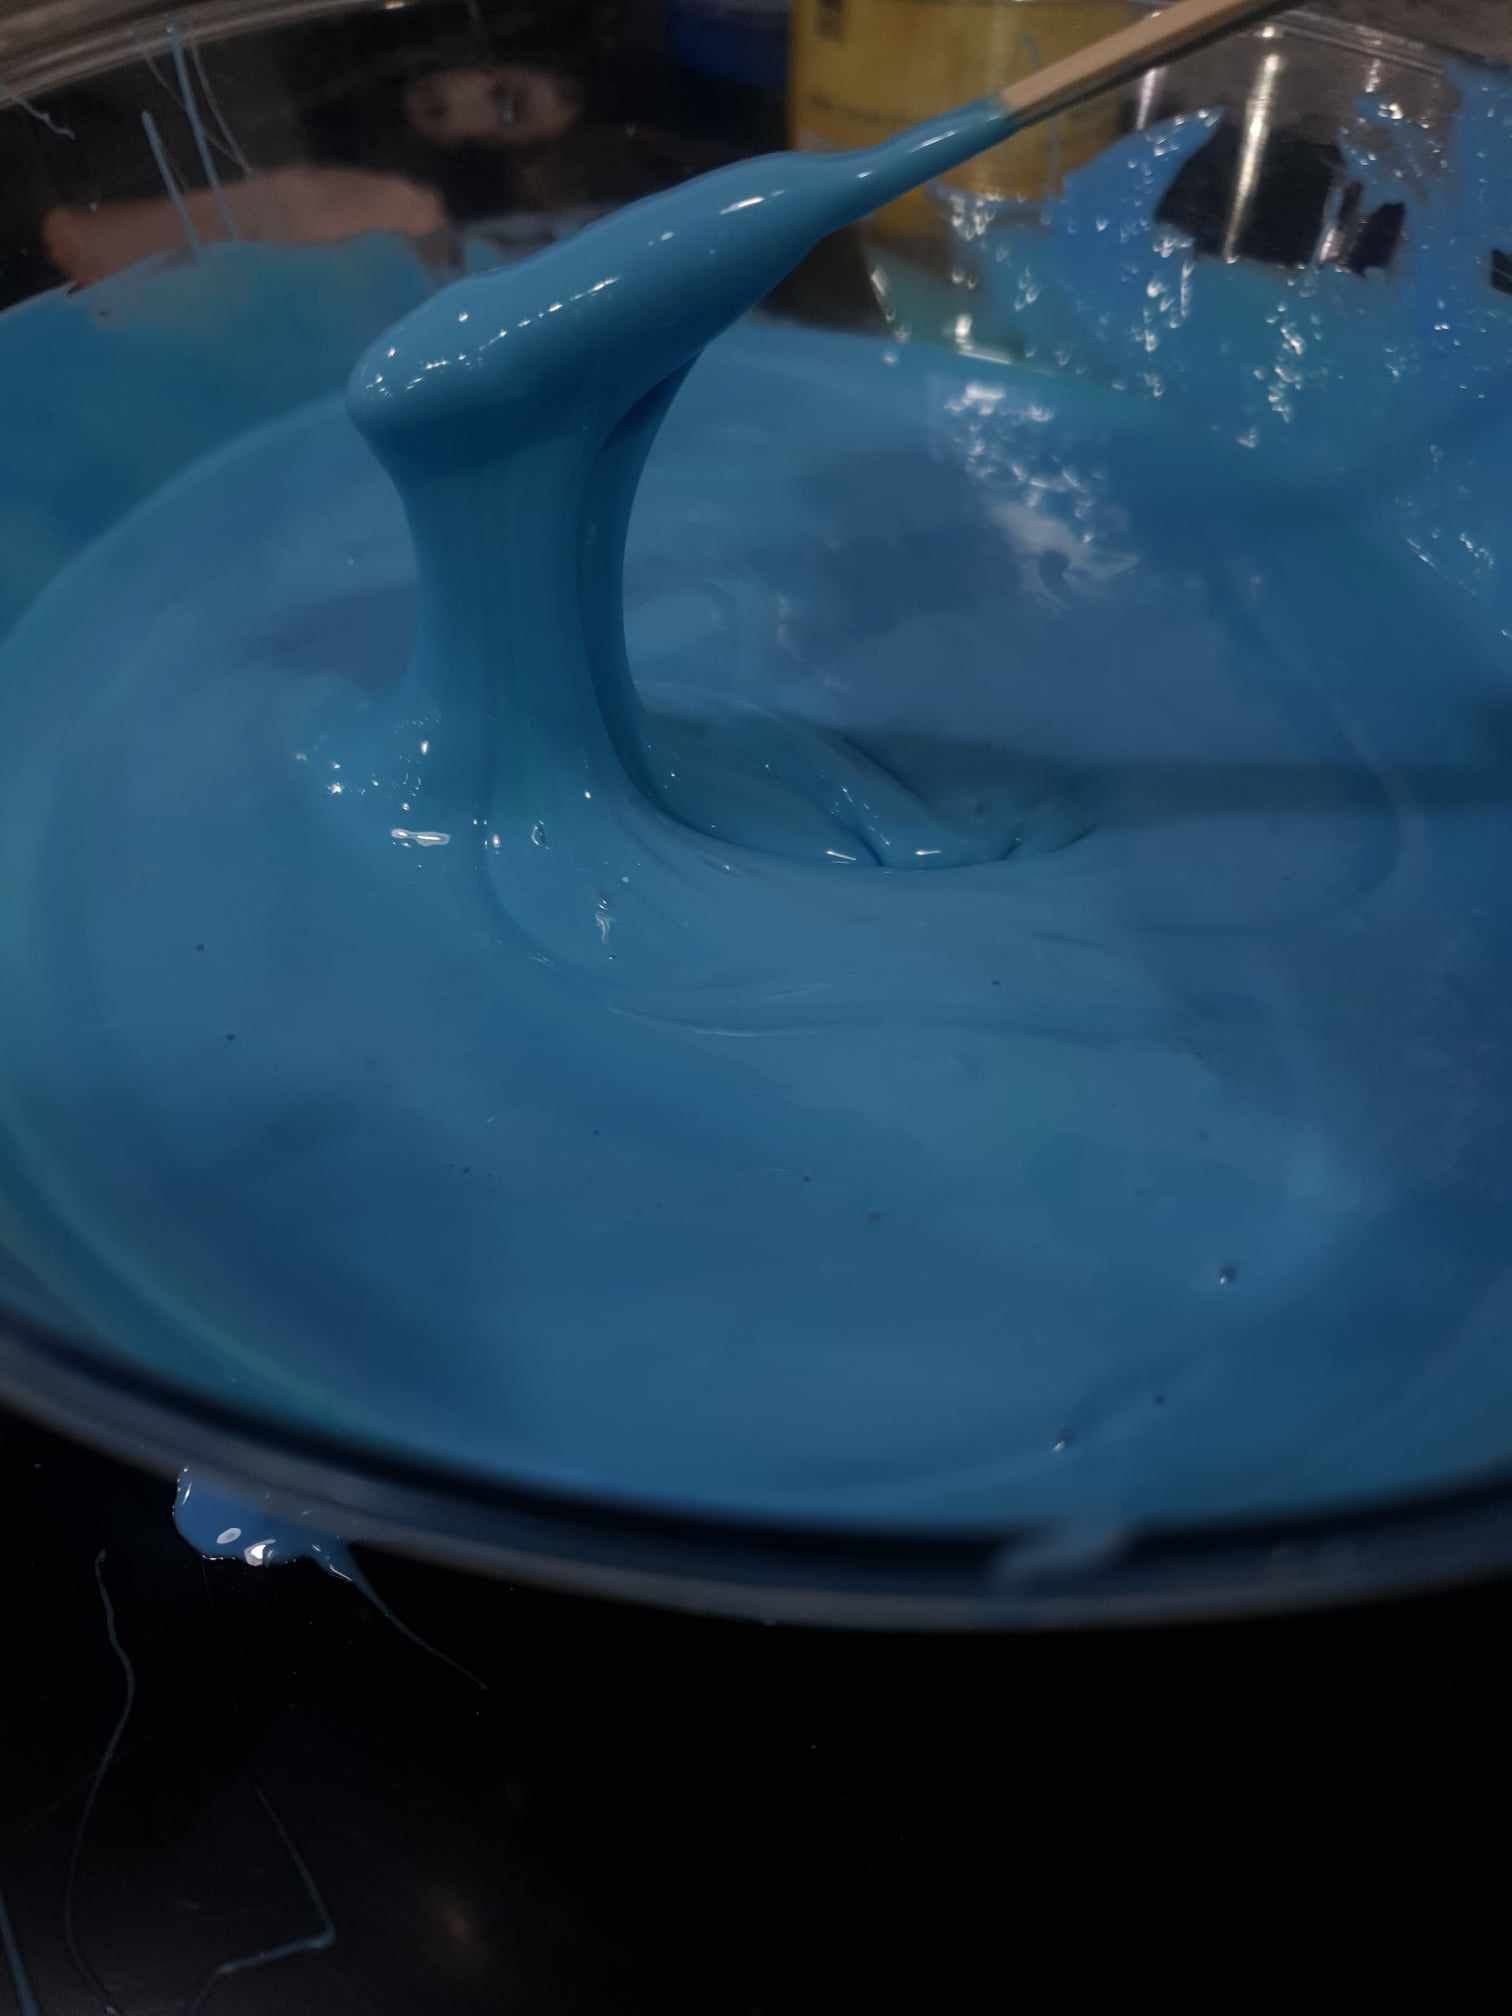
Mix and Pour Silicon:
Pour the mixture Smooth-On Ecoflex at a 1:1 ratio onto the wooden mold, ensuring thorough and complete coverage.

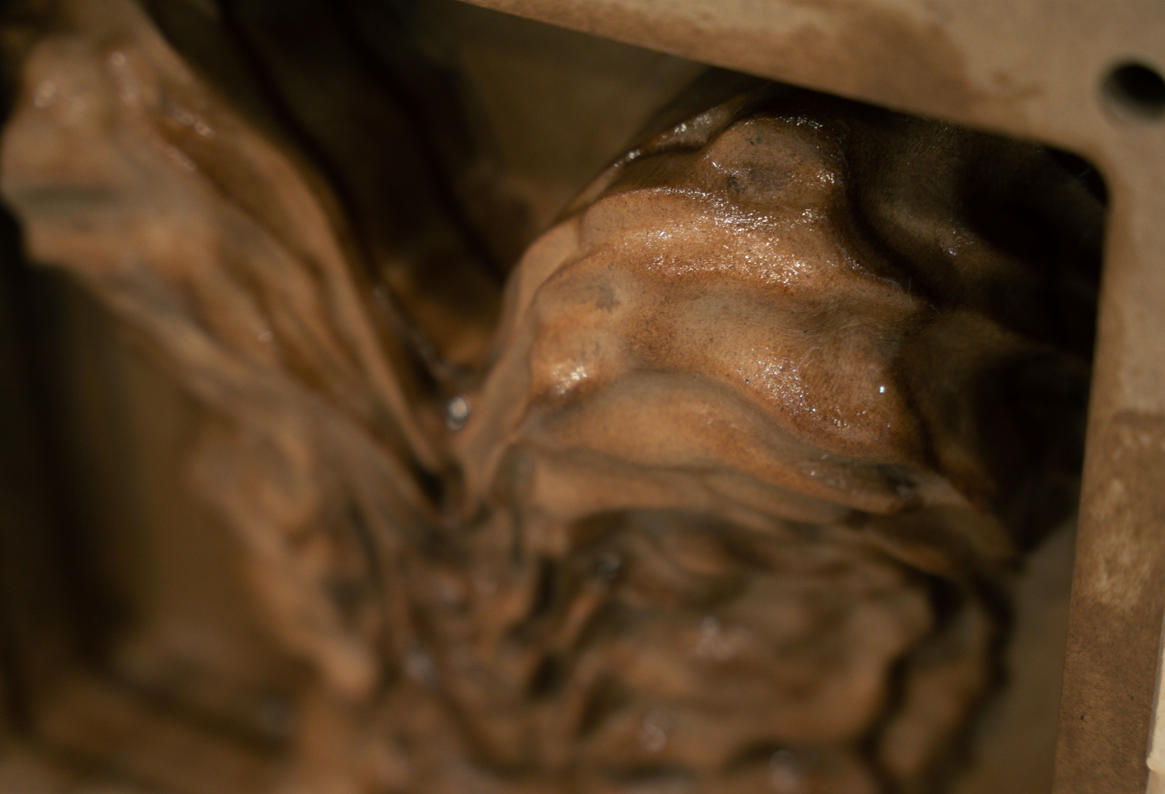
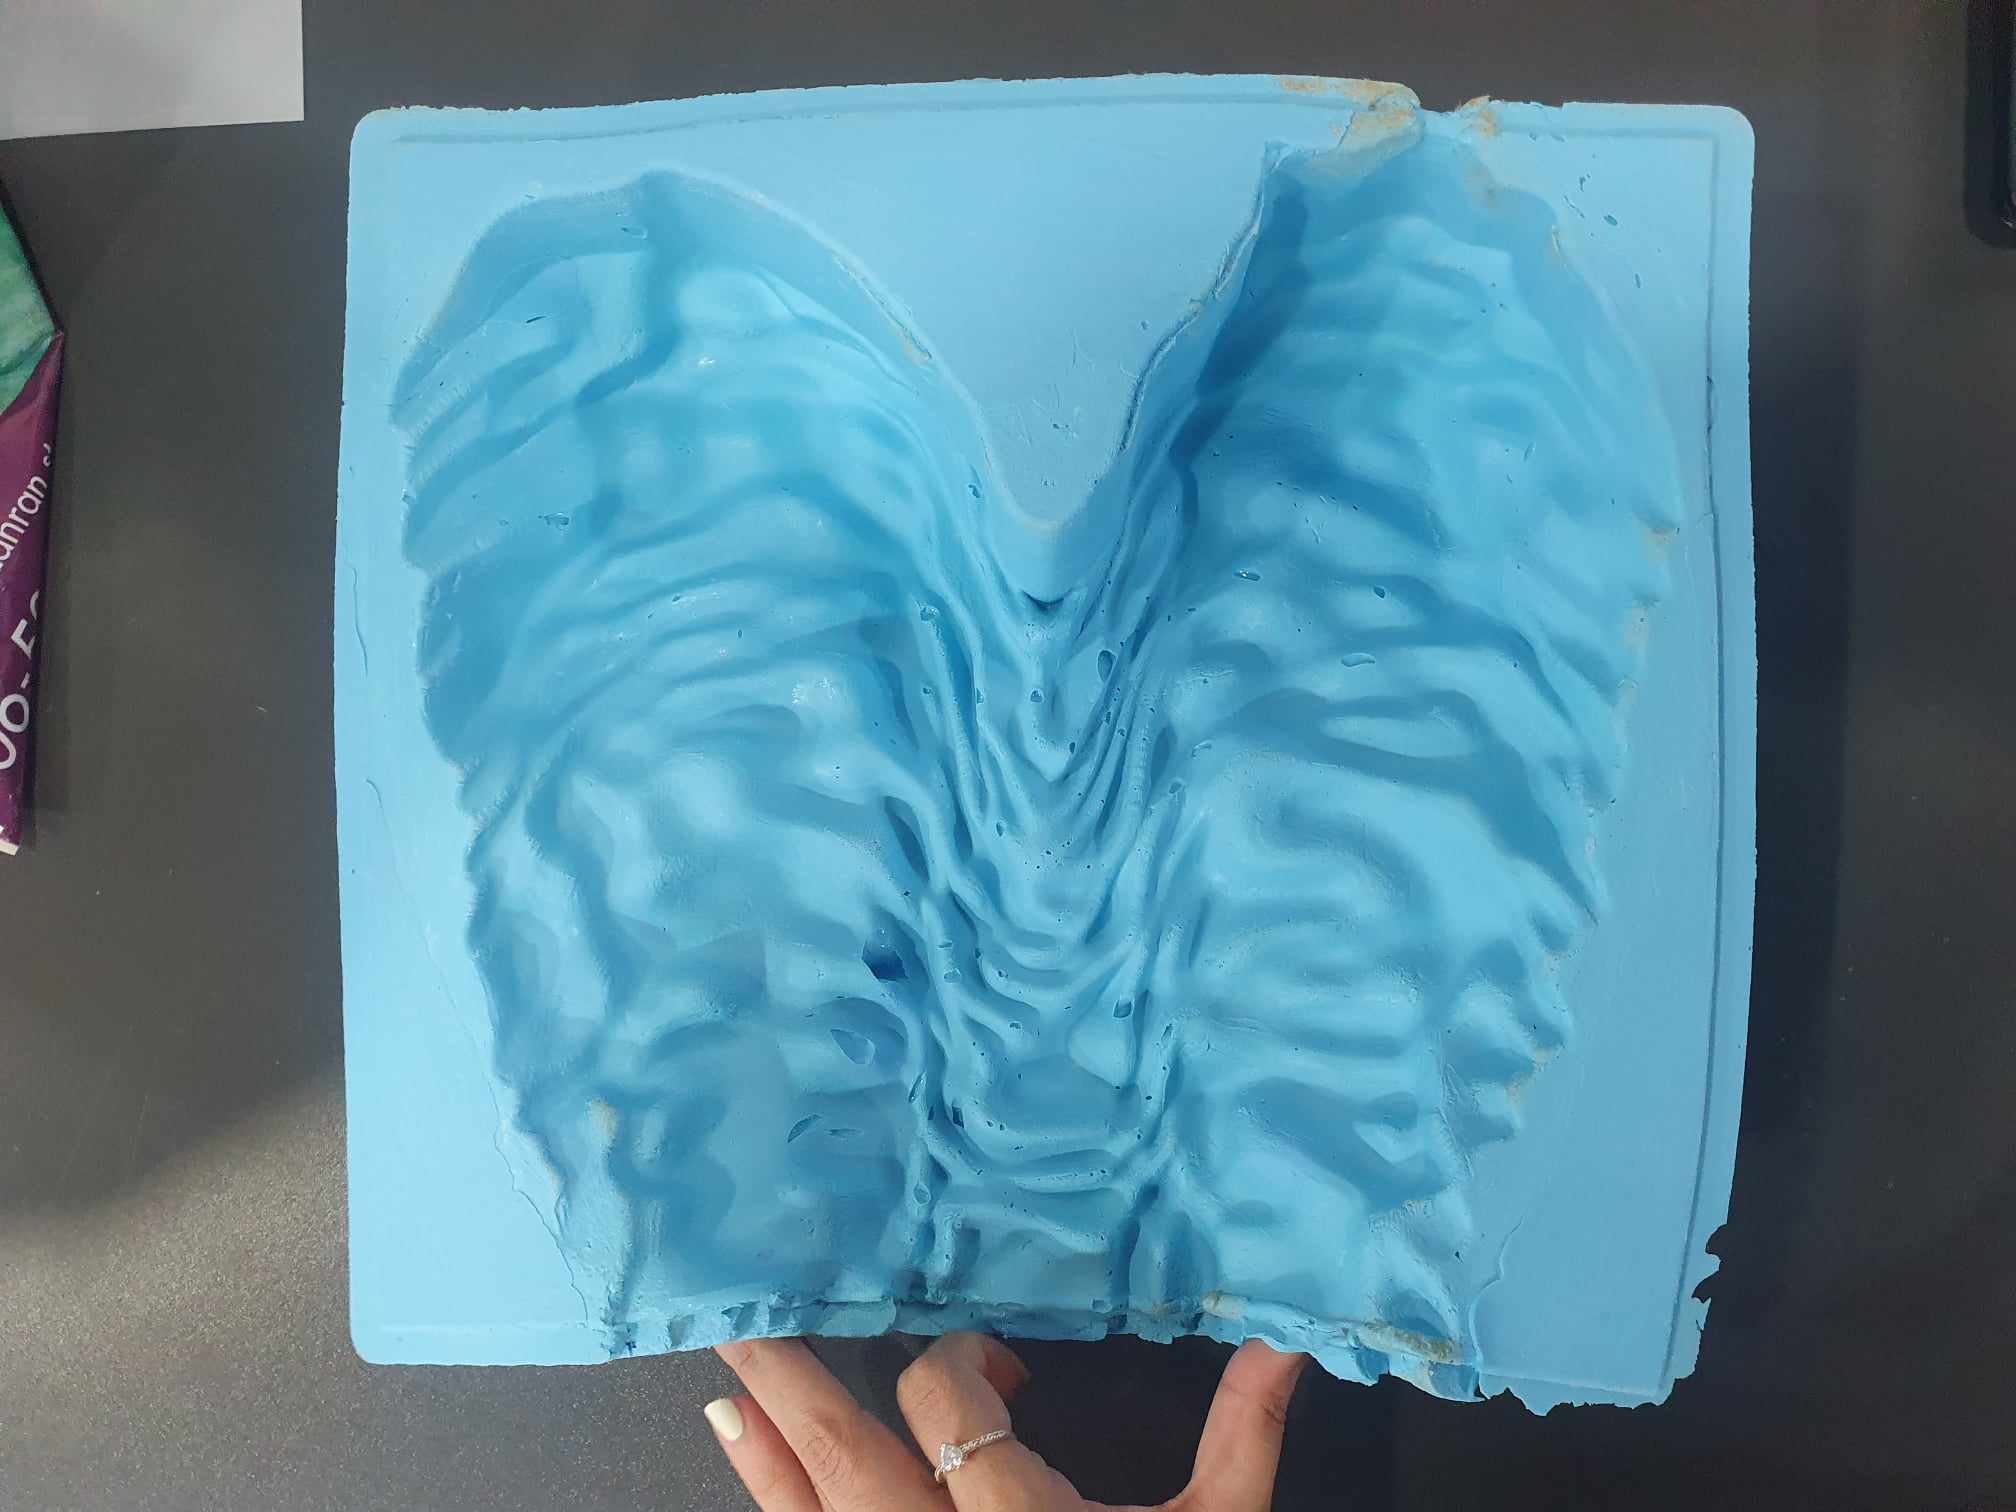
Separate the Mold:
Once cured, carefully separate the silicon mold from the wooden mold.
crystallization
Crystallization
Alum and sodium compounds are vital for crystallization. Alum, like potassium aluminum sulfate, fosters large crystal growth, while sodium compounds, such as sodium chloride or sodium carbonate, are commonly used for their diverse crystalline structures. They facilitate the creation of super-saturated solutions, crucial for crystal formation.
crystallization with alum
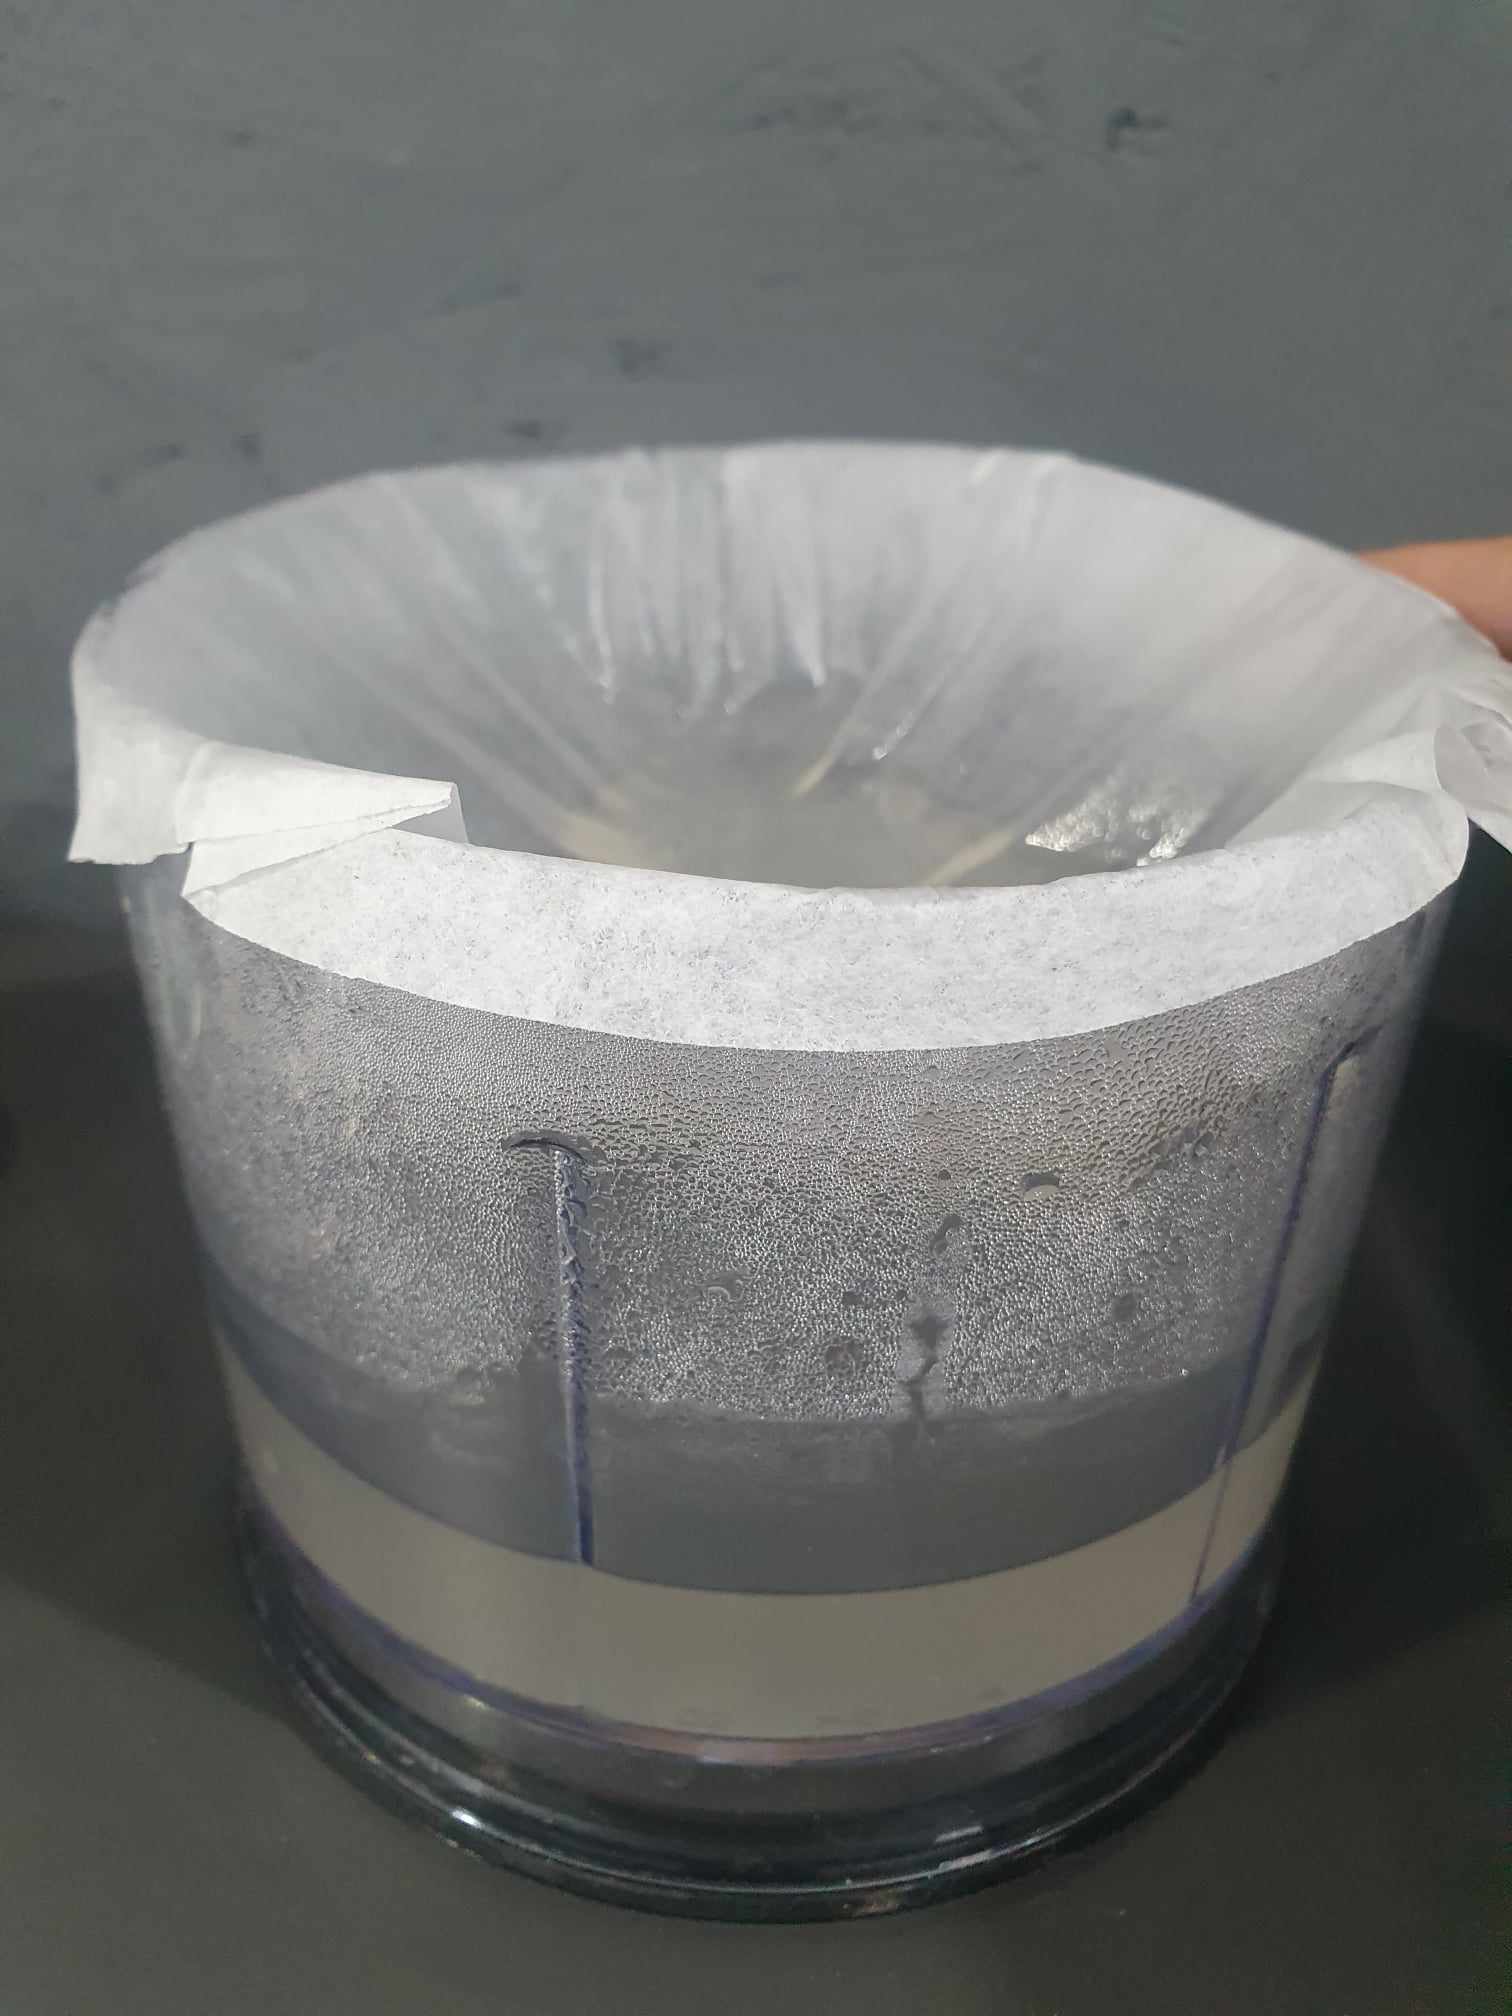
bringing 1000 ml of water to a boil. Dissolve 400 g of alum in the boiling water, creating a solution. Transfer this solution into a pot for further preparation. Employ a coffee filter to strain the solution into a glass jar, ensuring clarity and purity. Additionally, prepare items to be placed inside the jar, maintaining a strategic arrangement that prevents them from touching the walls or the bottom with contact within the jar.

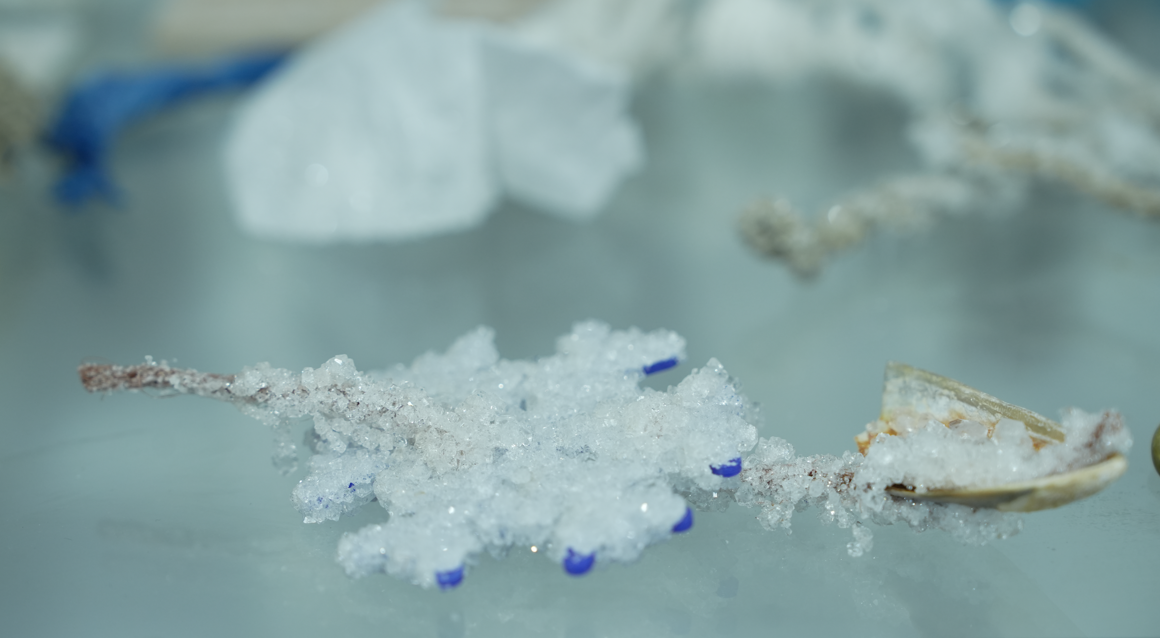
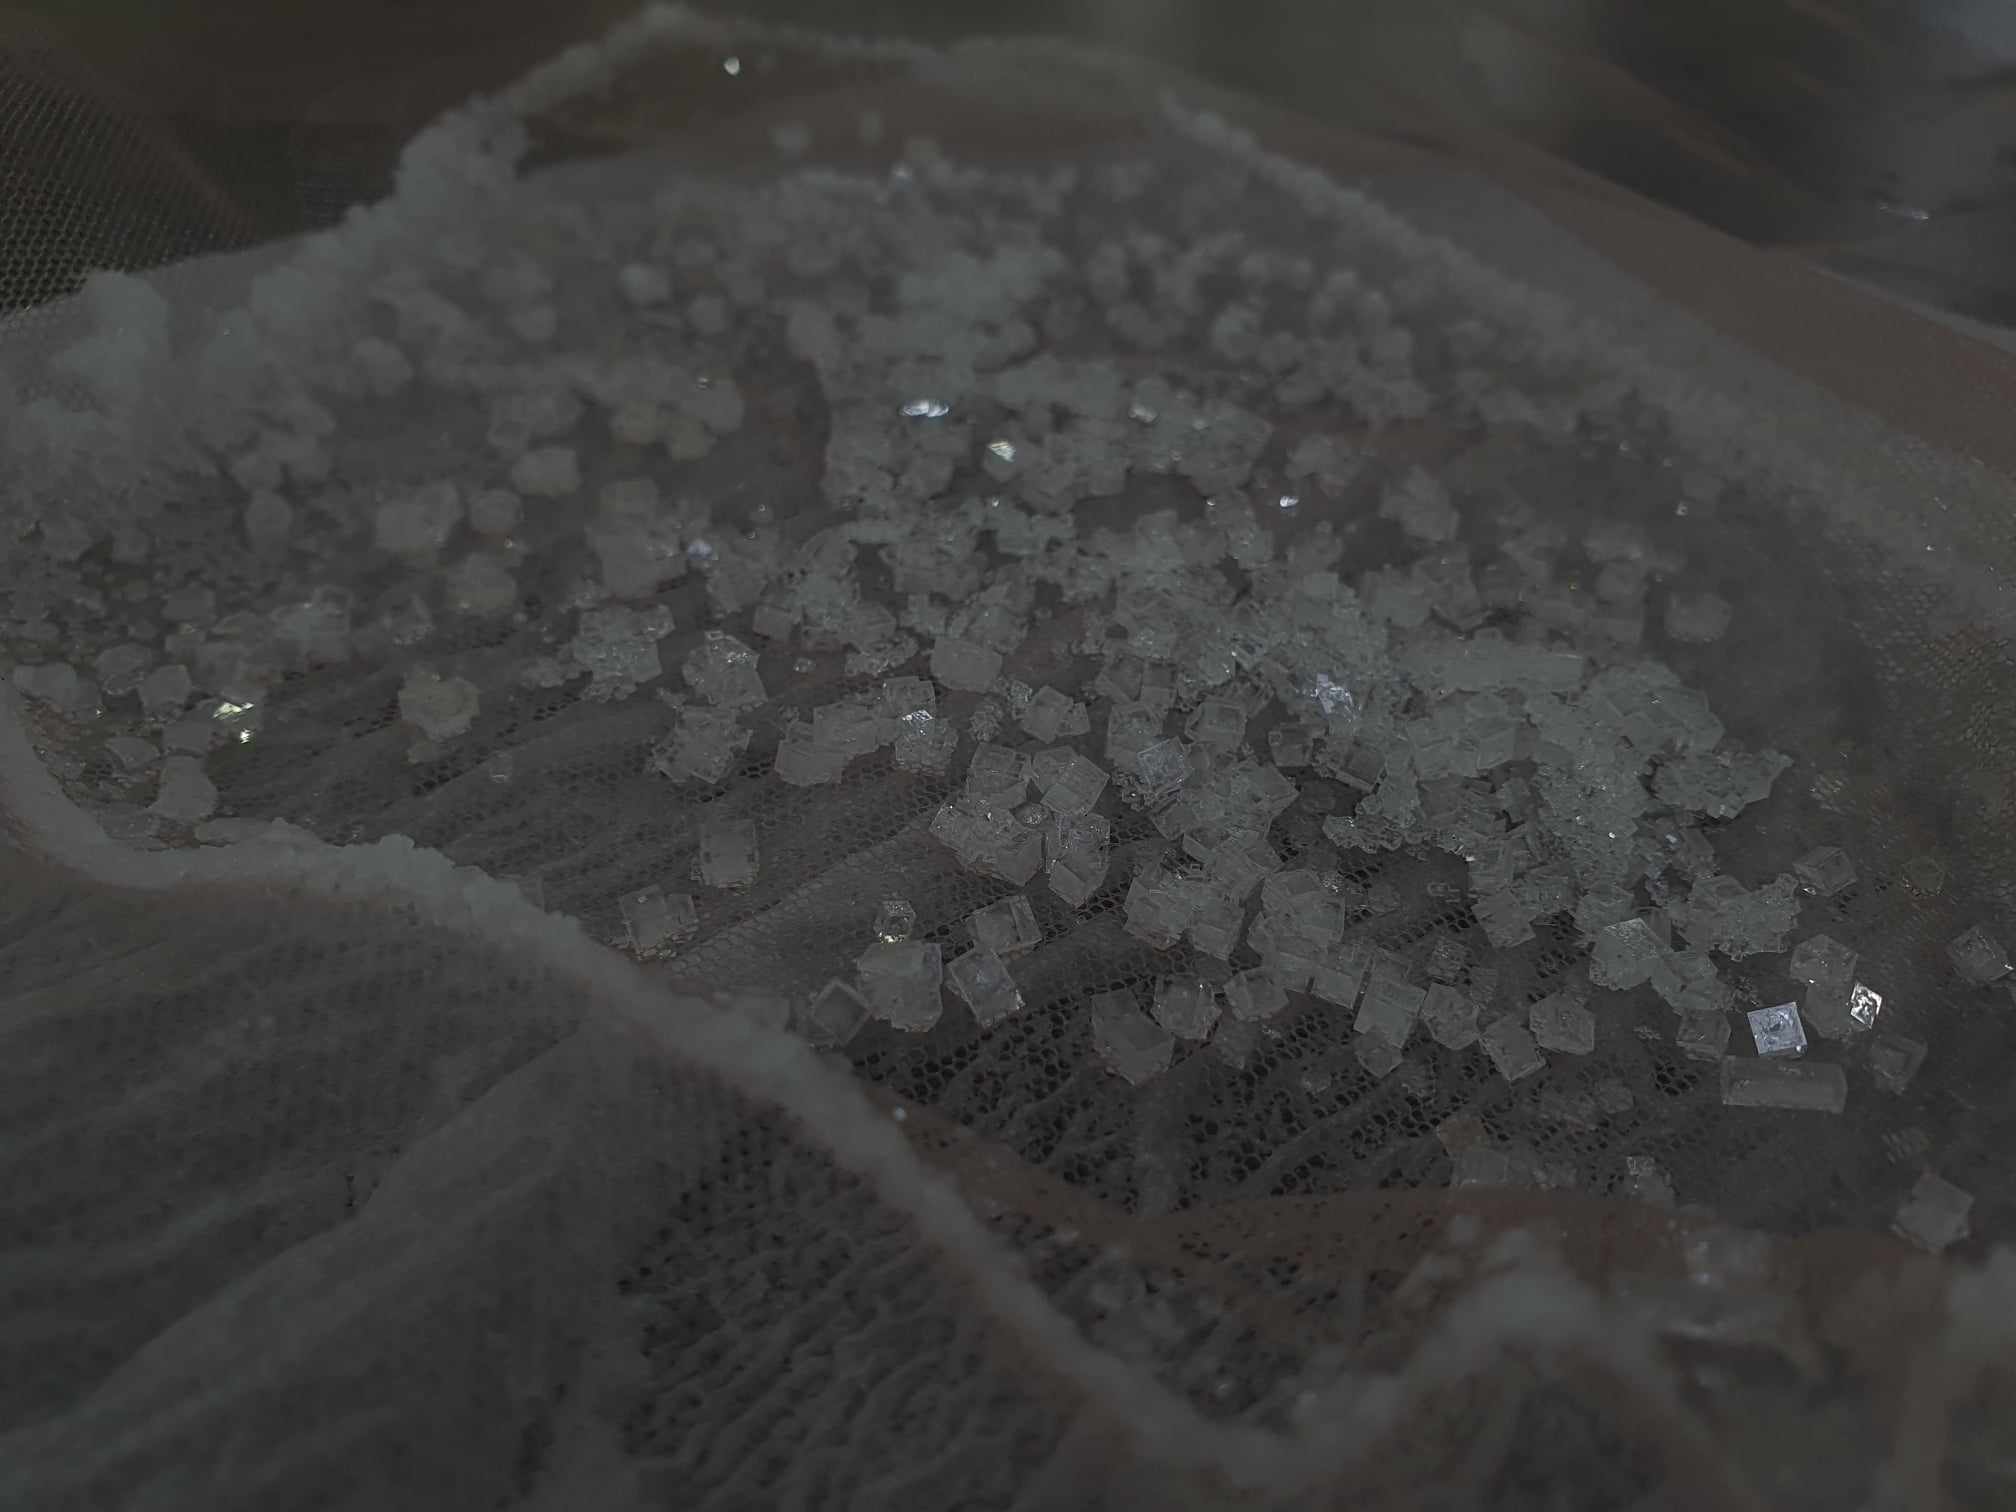
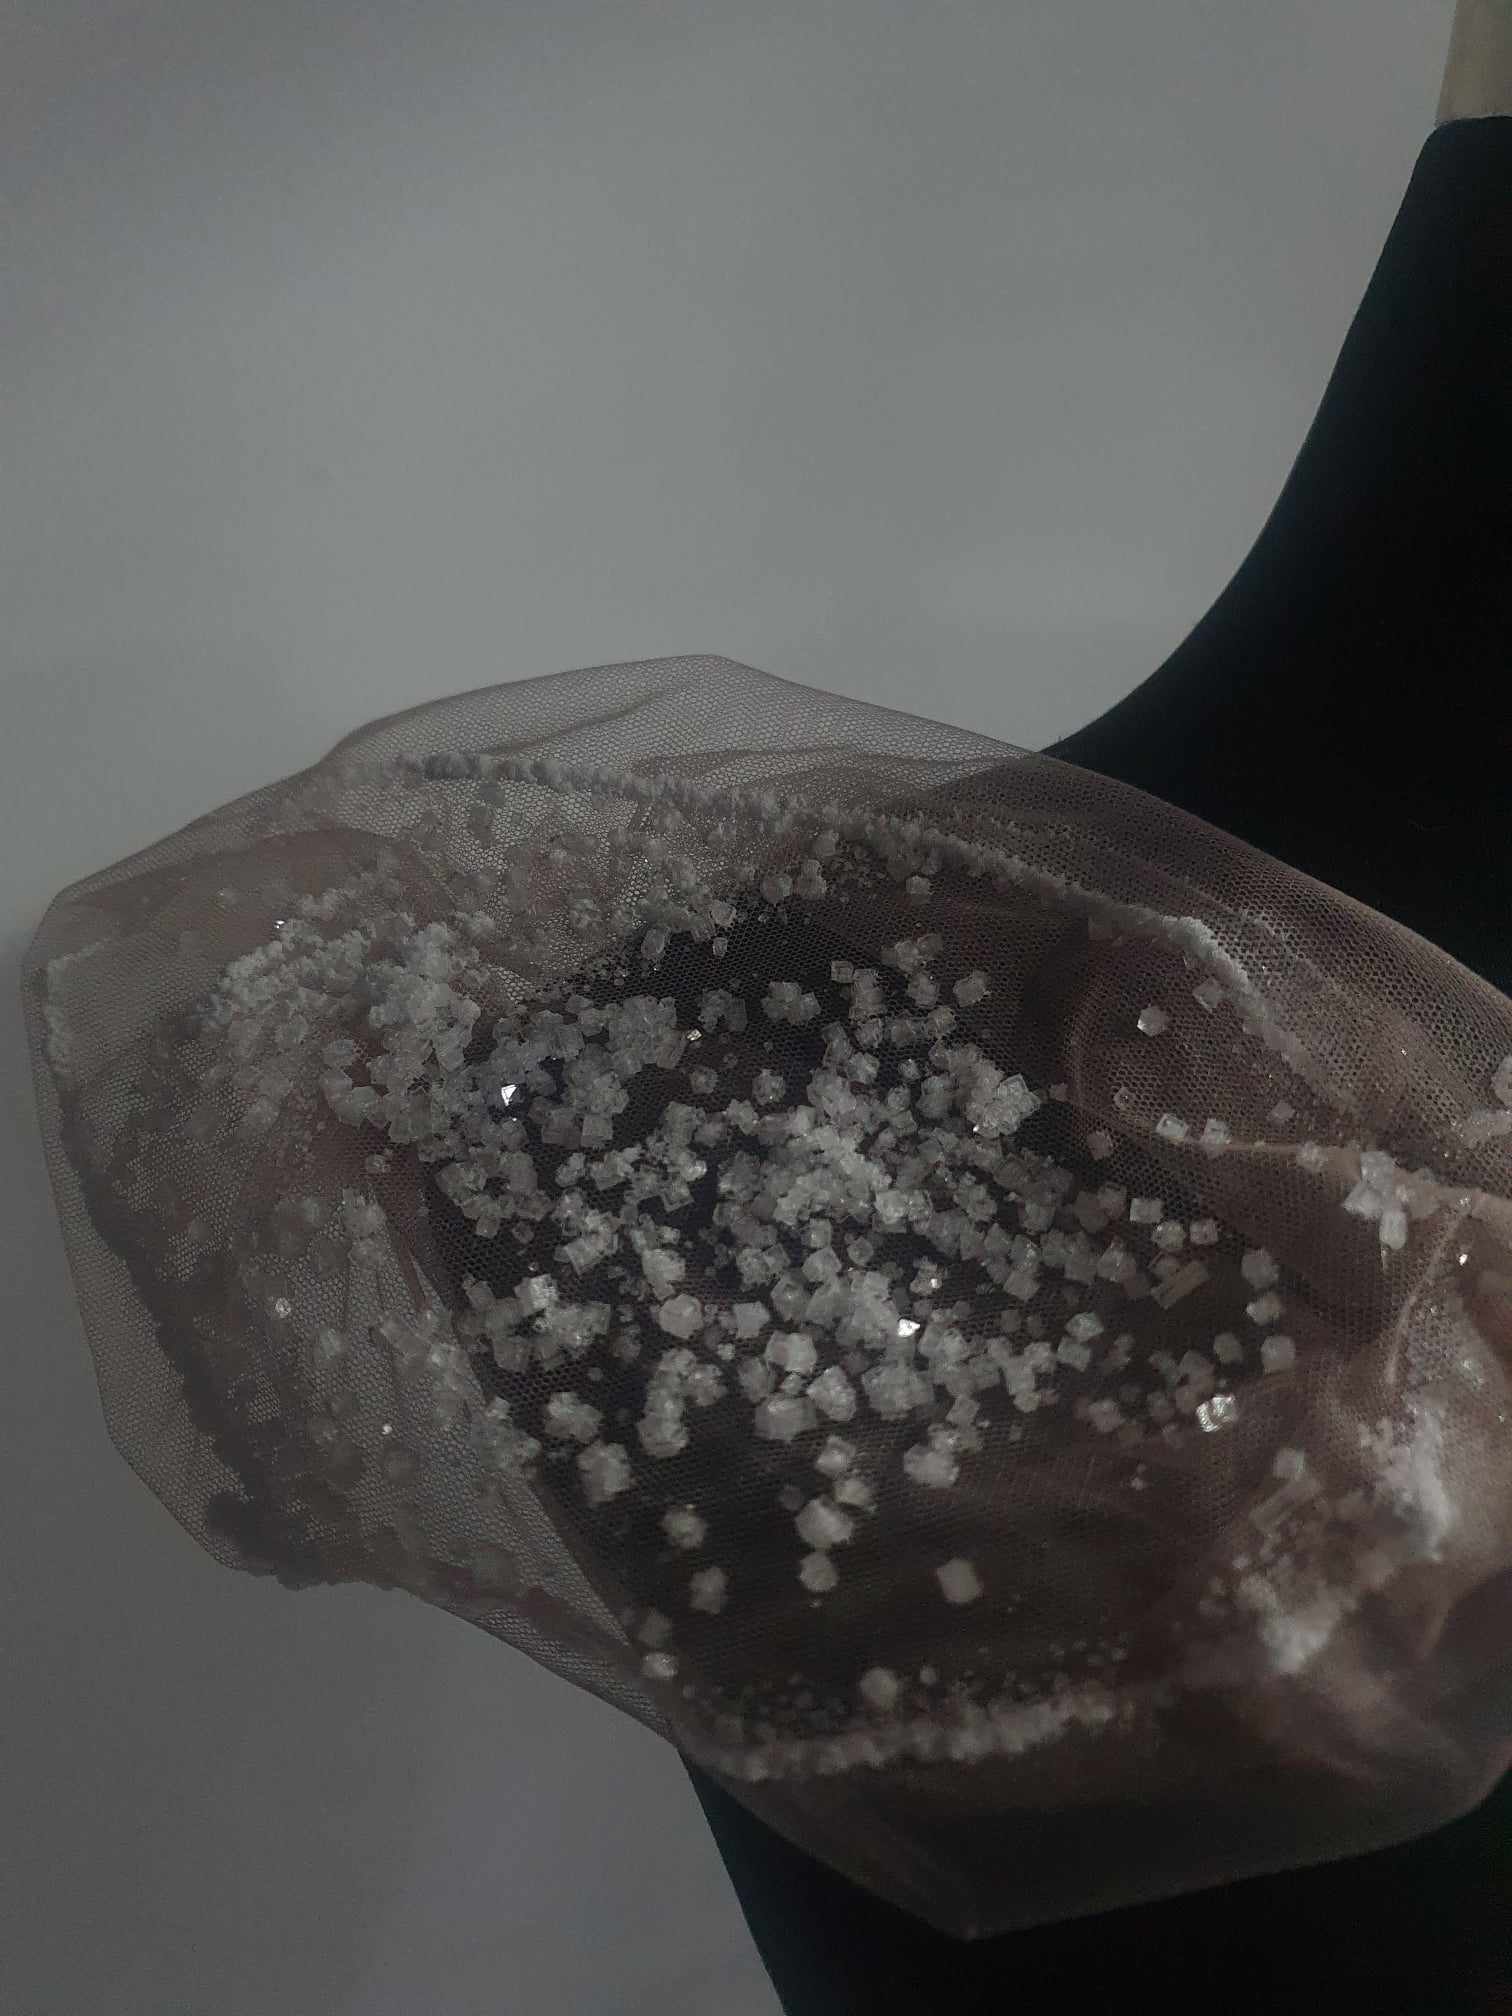
crystallization with Sodium Chloride
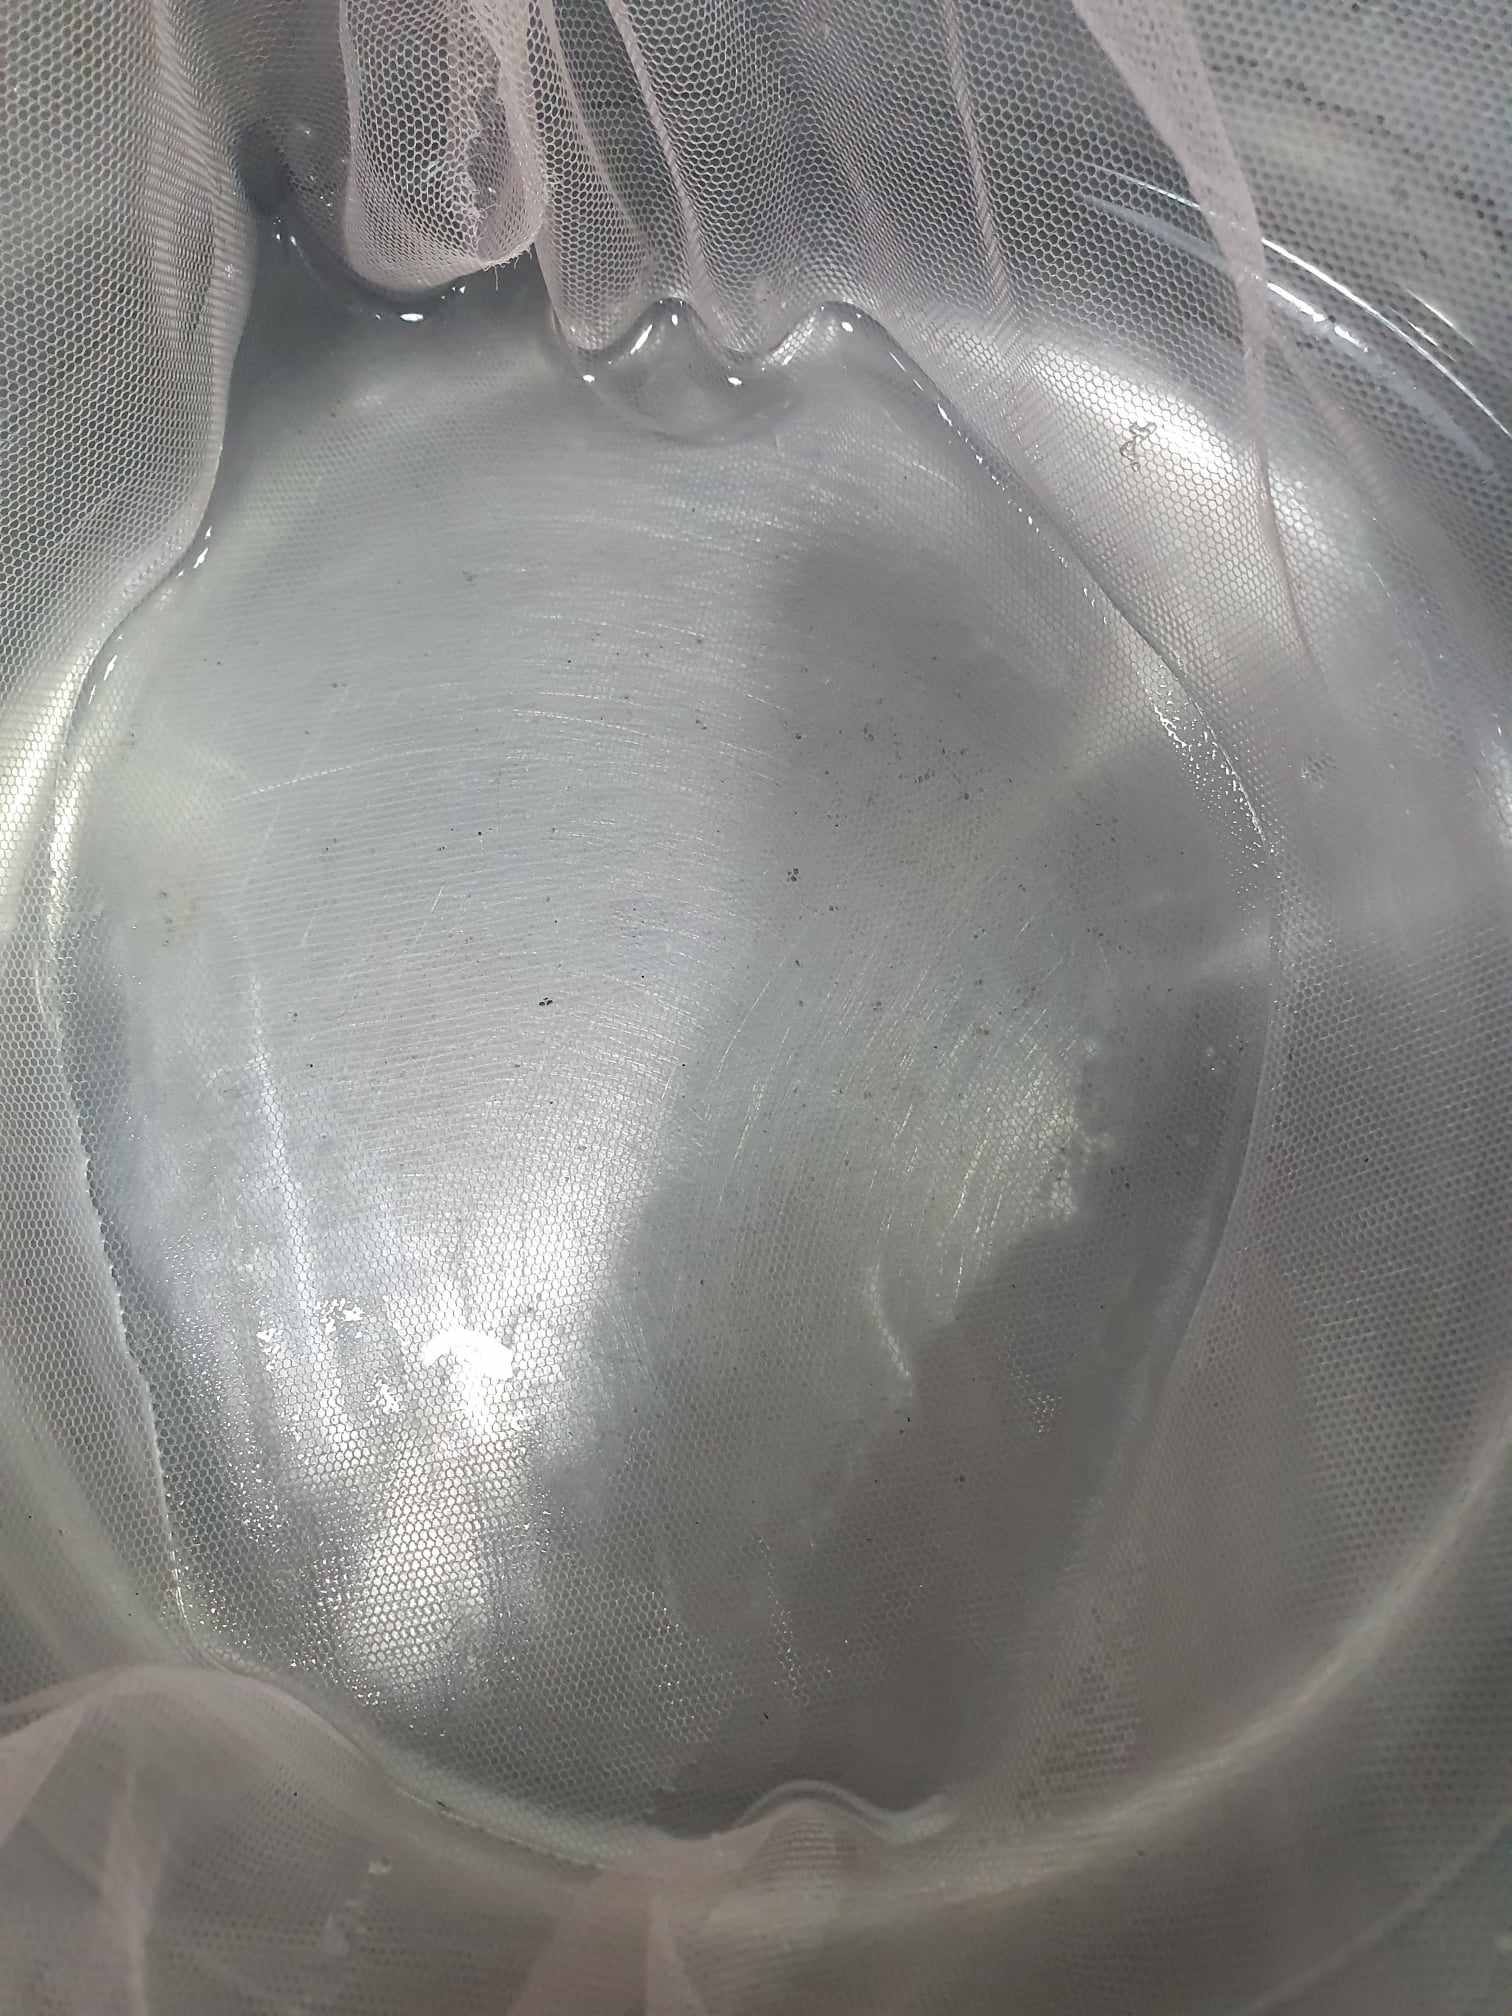
Boil 1000 ml of water, then dissolve 500 g of sodium chloride in the boiling water to create a solution. Strain the solution into a glass jar using a coffee filter, ensuring clarity and purity. Additionally, get the fabric ready to be immersed in the saturated solution.


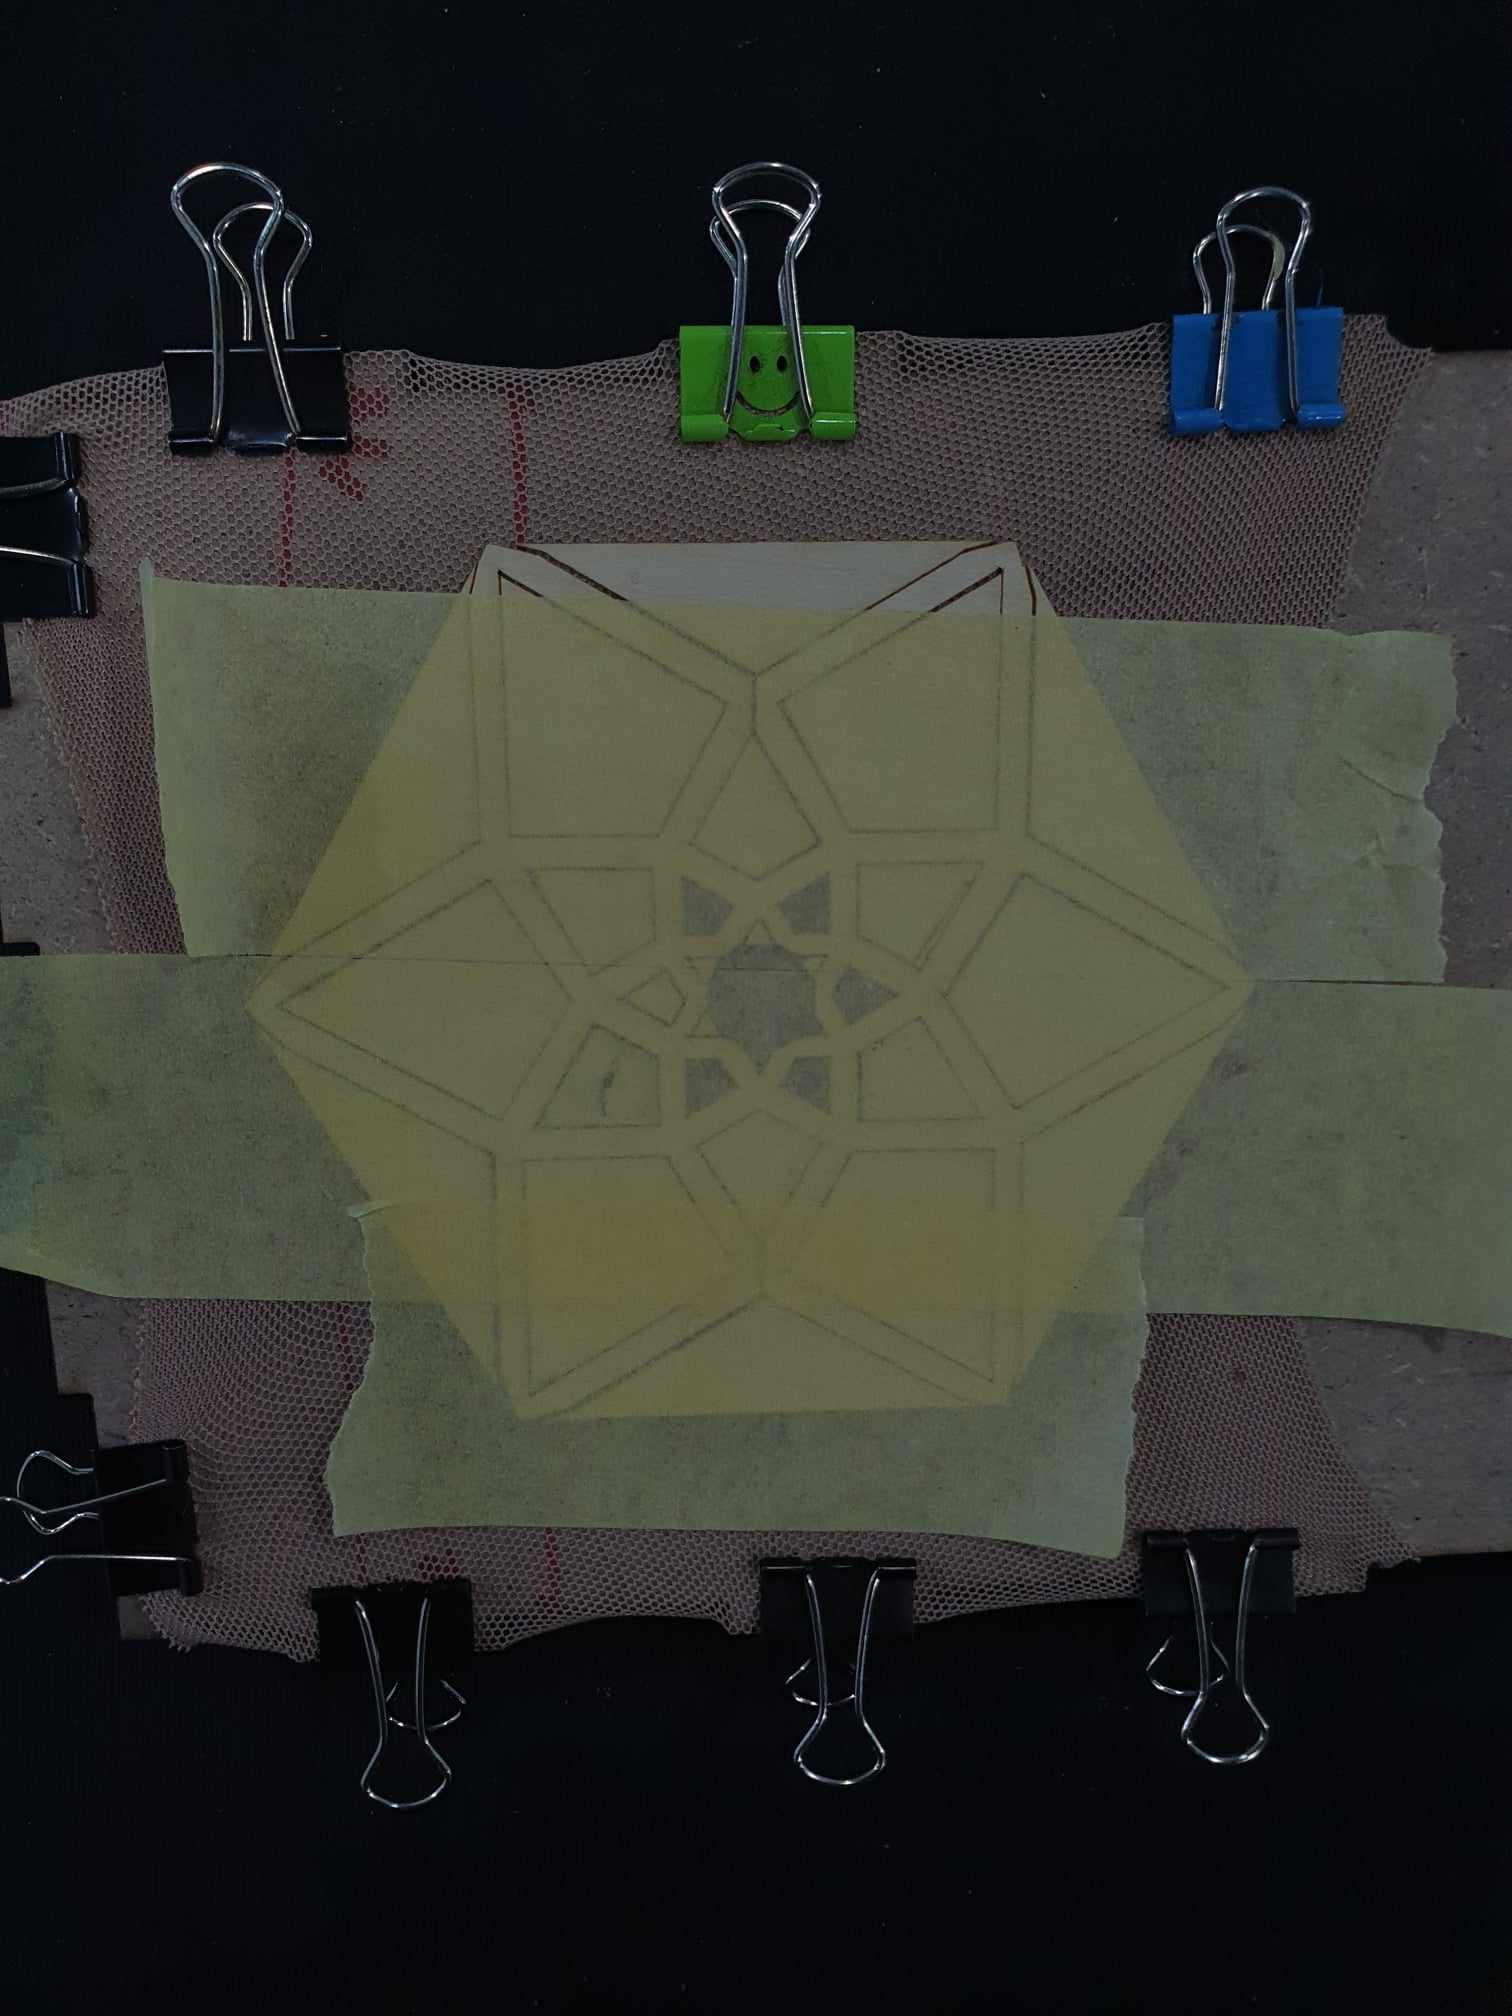
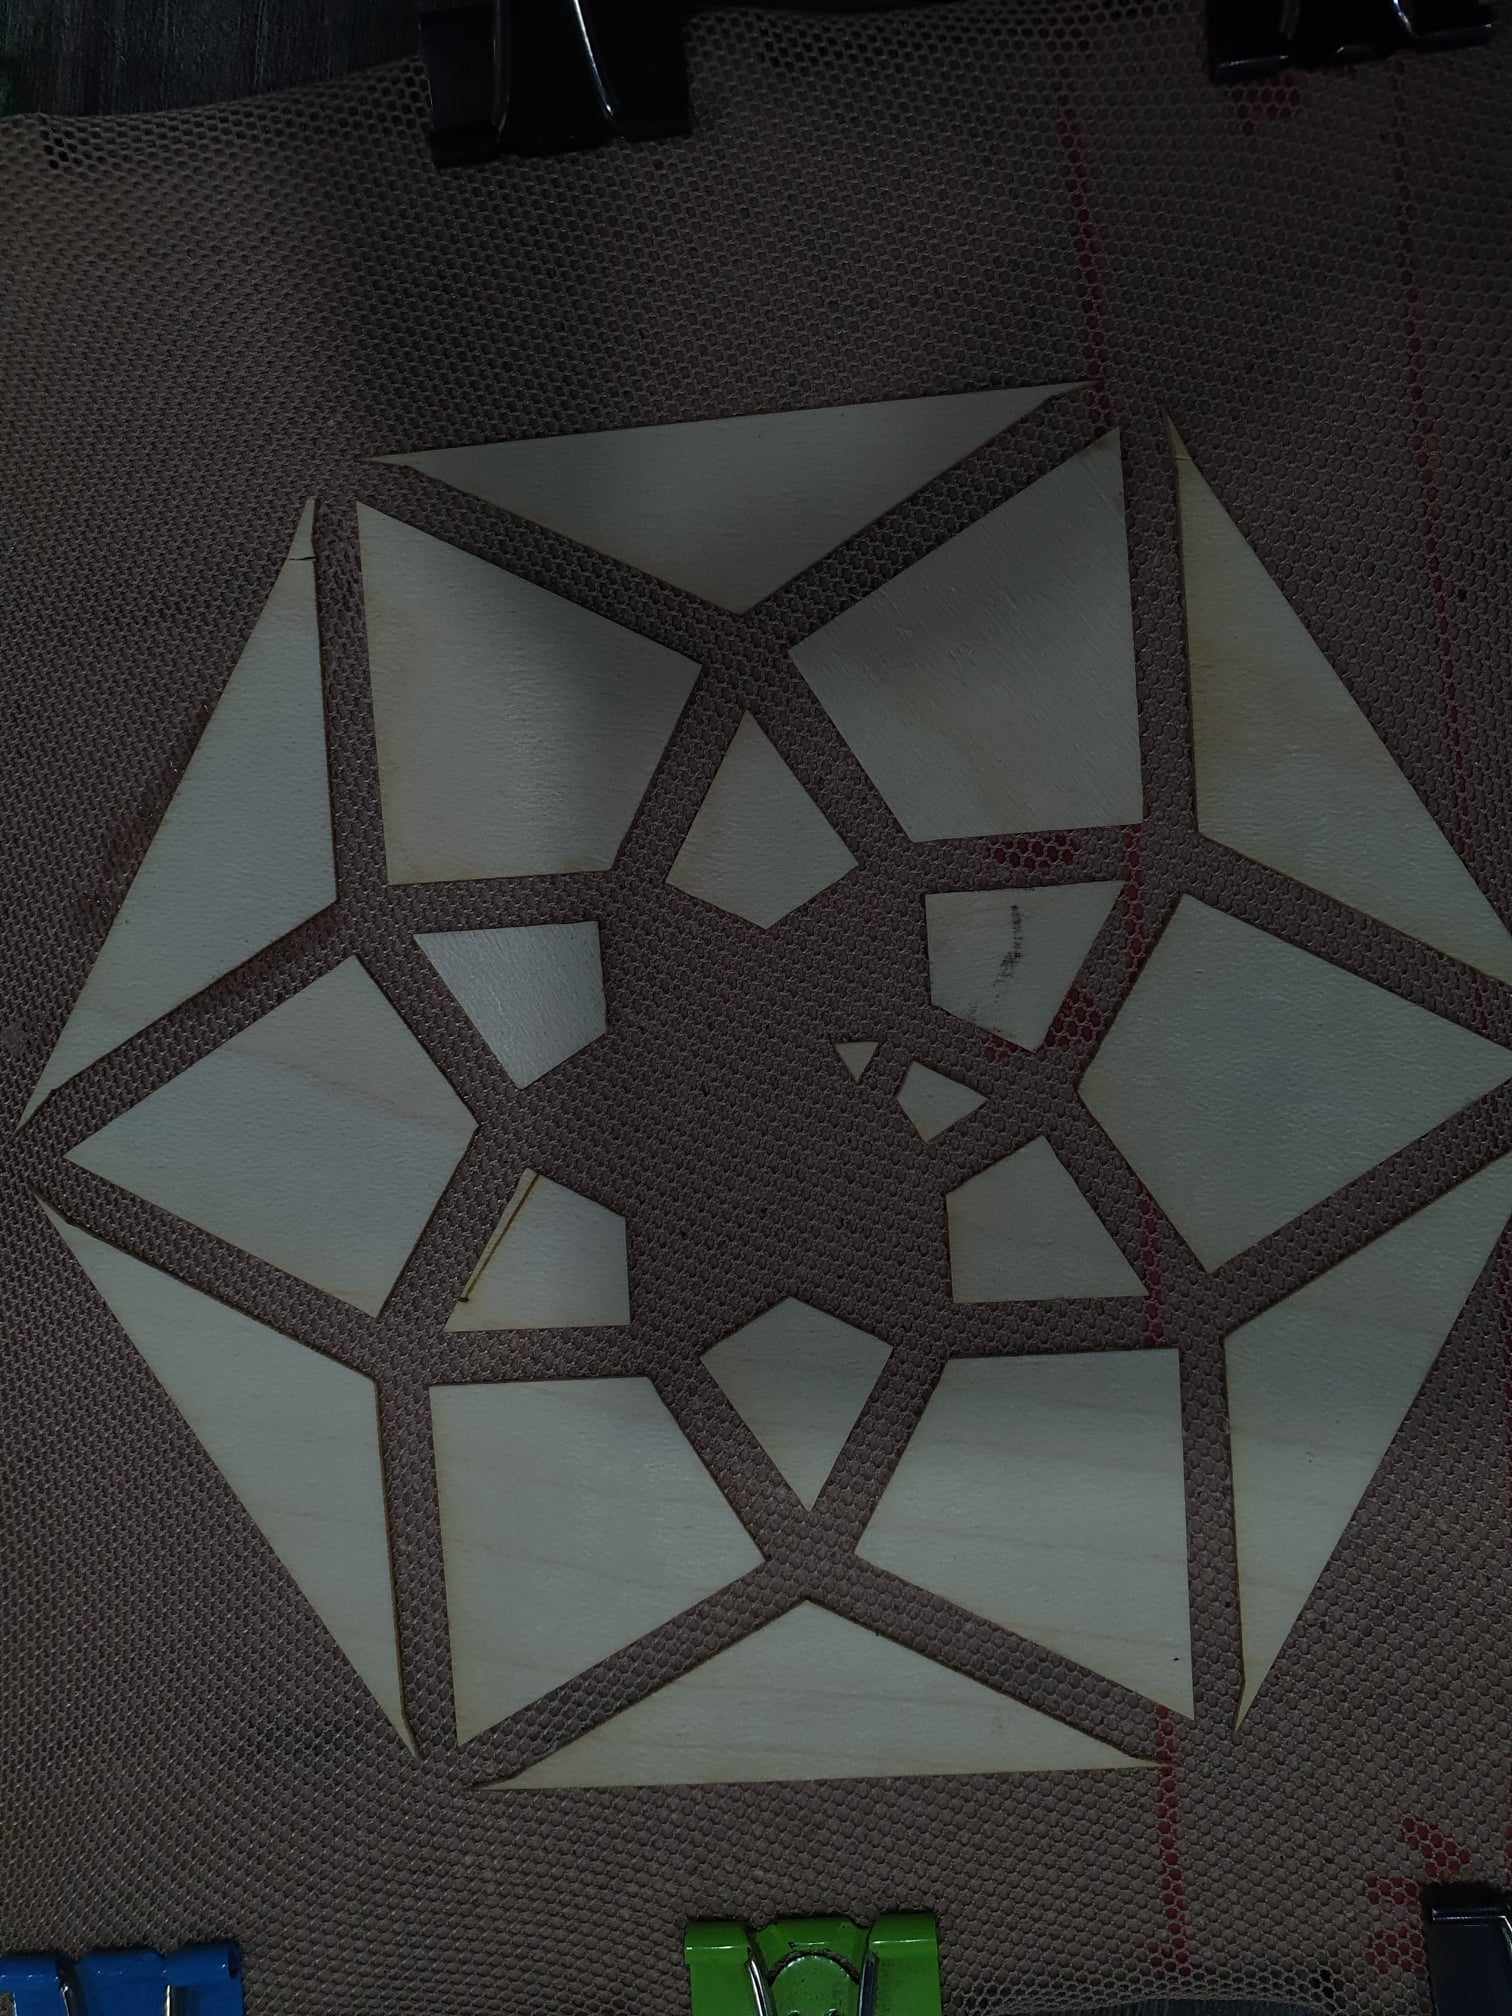
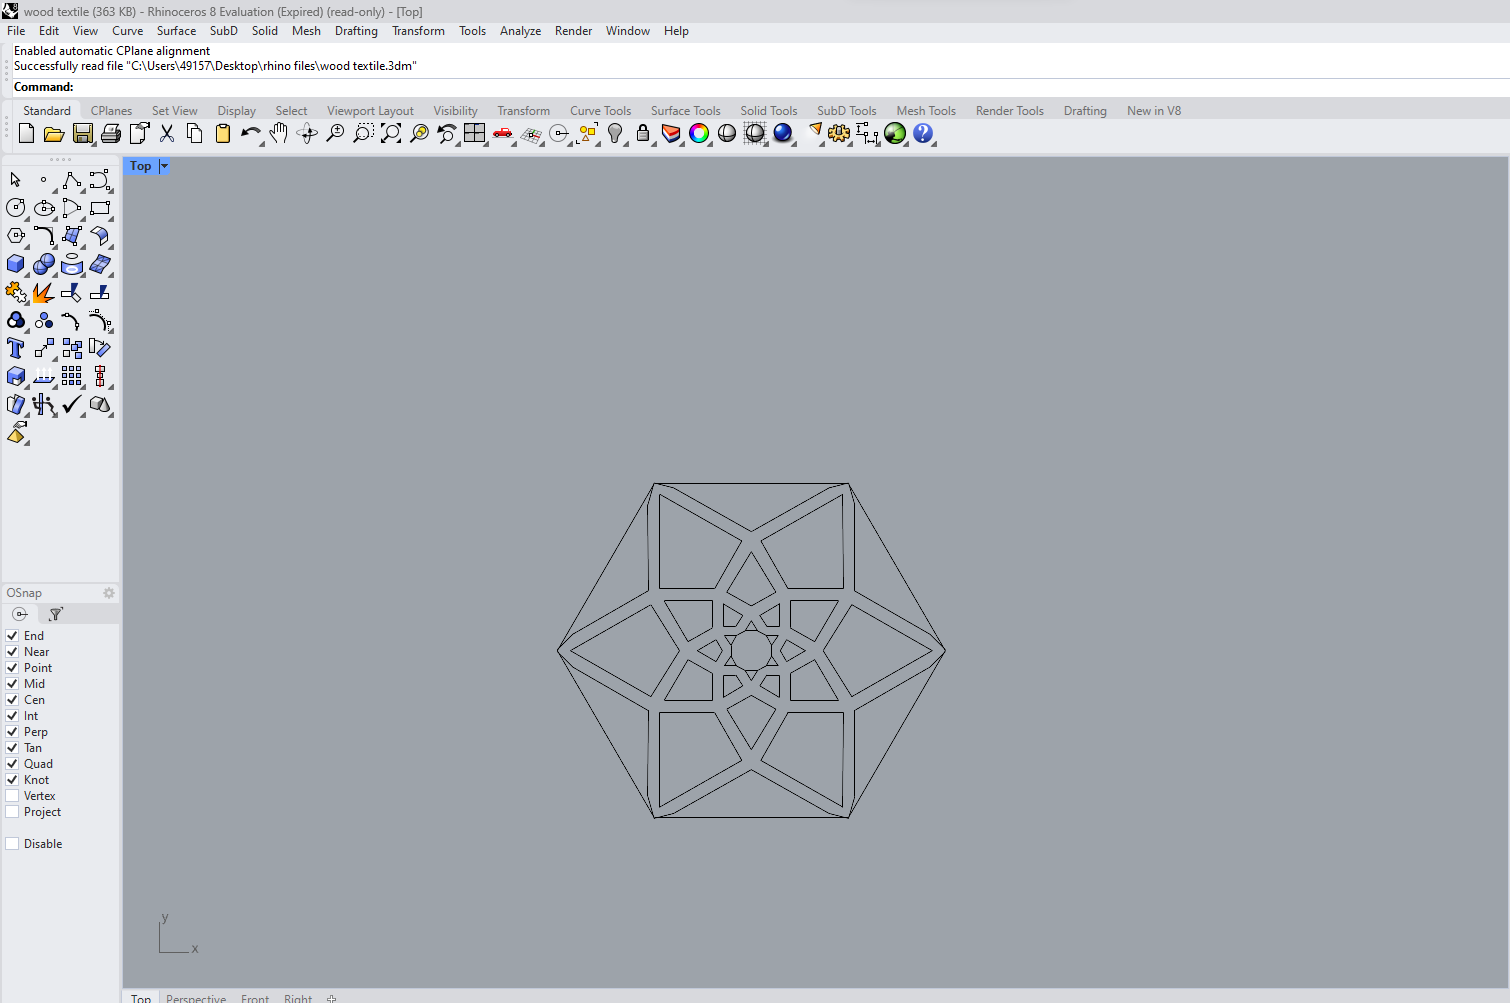
Wood textile
Developing a Spidron nest as a wood textile involves a deliberate folding technique to create distinct peaks and valleys at the connections. Start by selecting thin wood veneers, considering flexibility and strength. Arrange these veneers in a Spidron pattern, emphasizing the connections where peaks and valleys will form.As you fold the wood textile, the Spidron nest's unique geometry will naturally generate peaks and valleys at the interconnected points. This process adds depth and dimension to the wood textile.
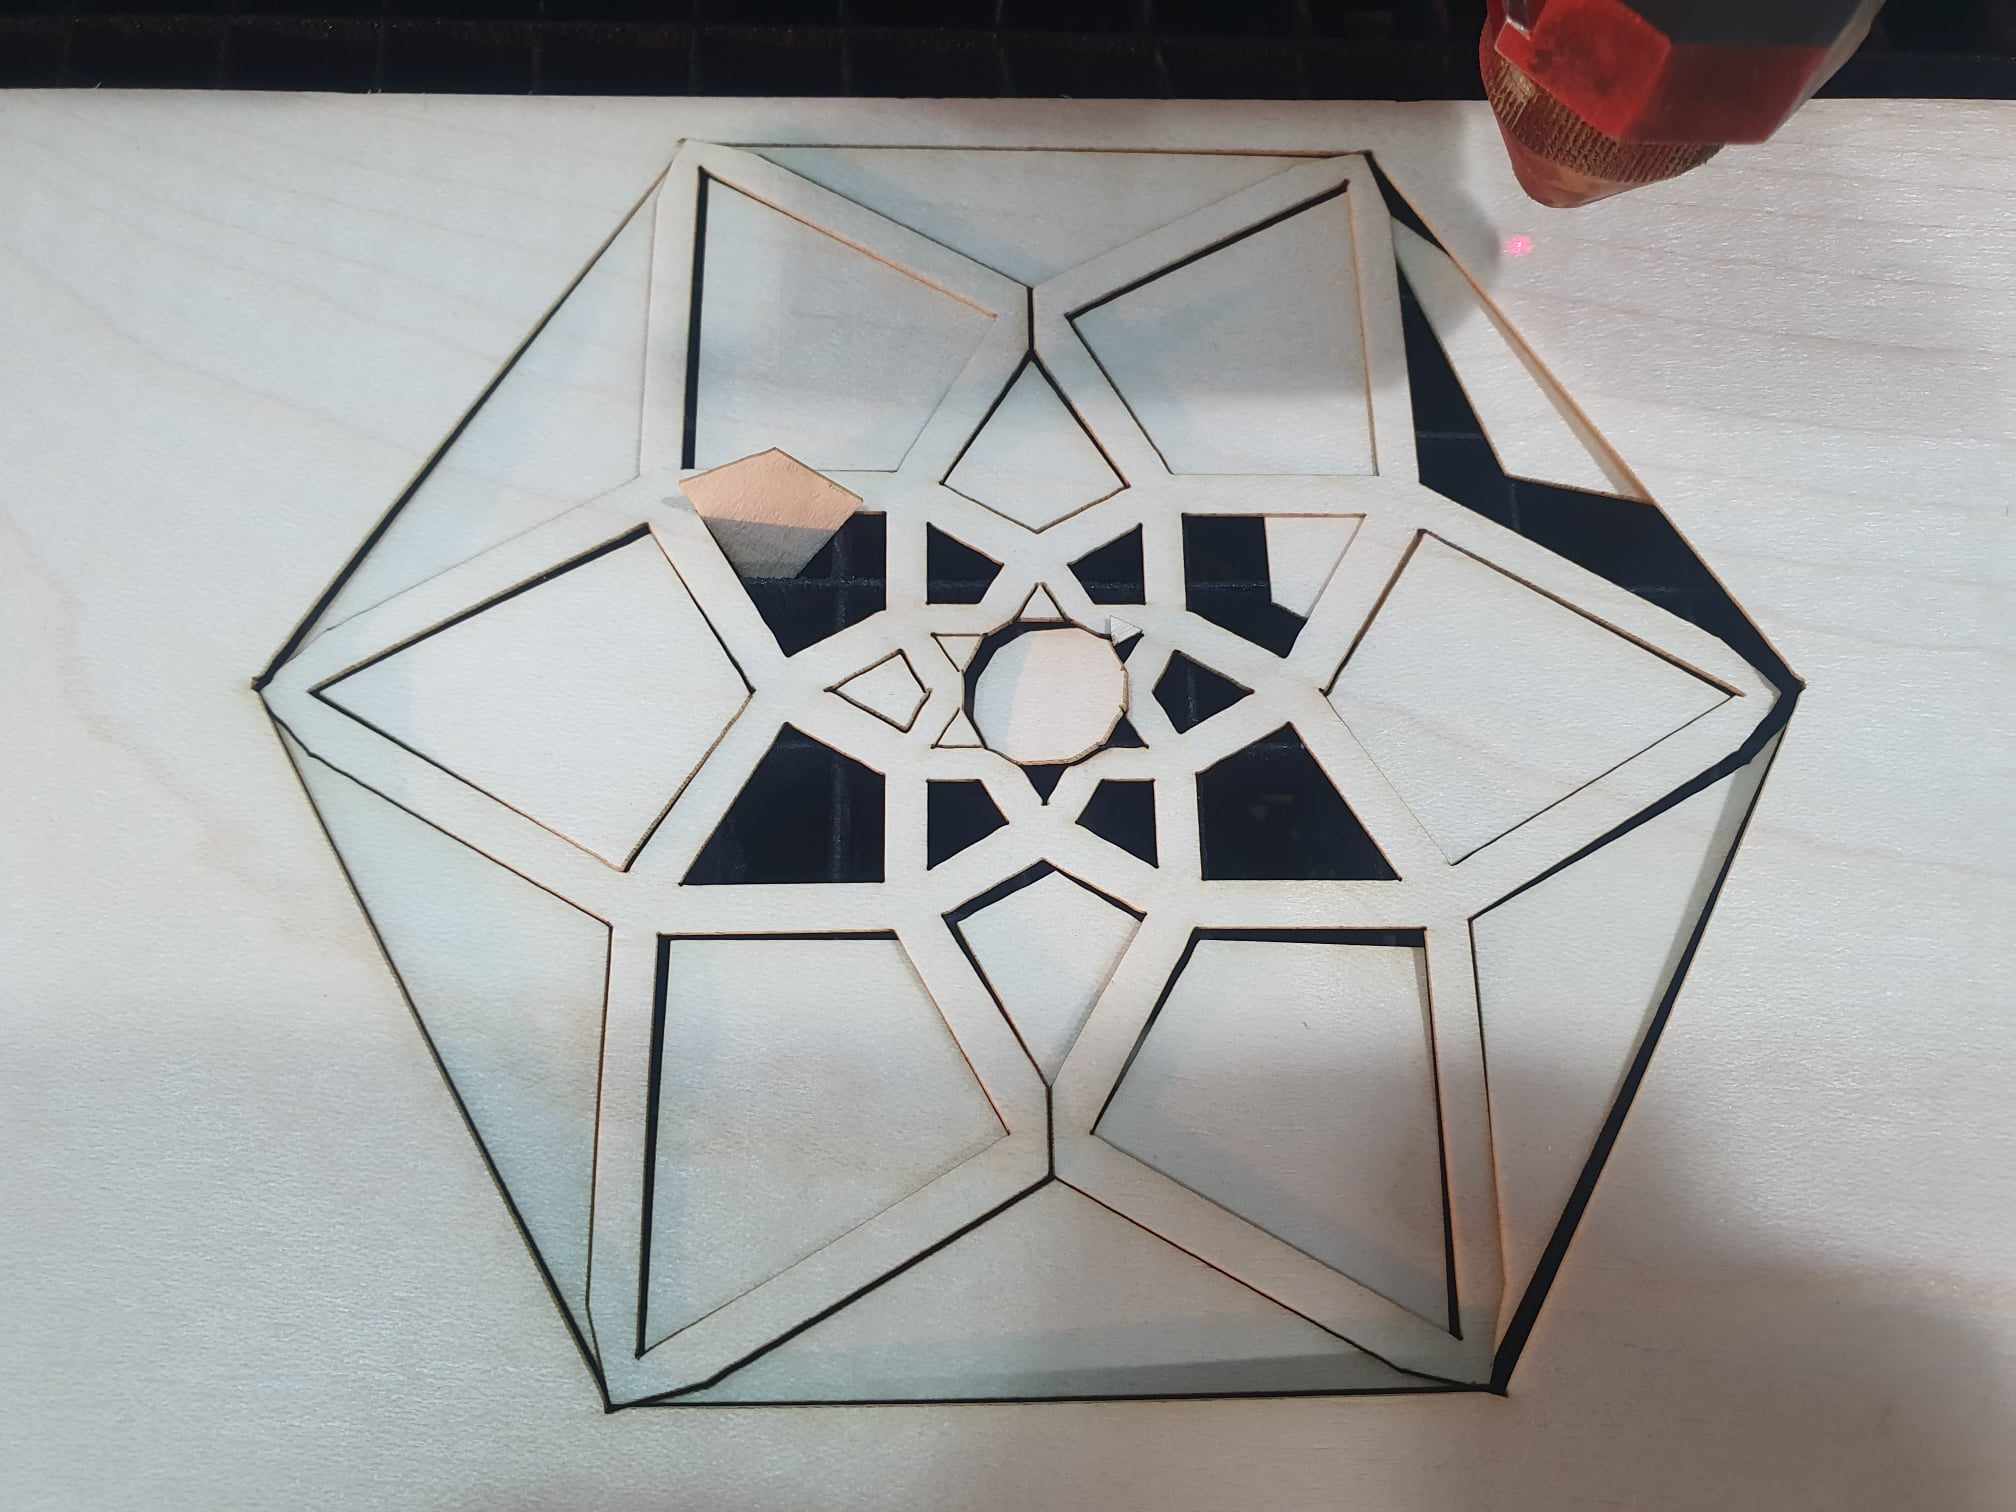
Laser cut settings
- Power Settings: 15% Speed Settings: 20 mm/s PPI/hz: 1000 hz