3D Printing
1. Intro
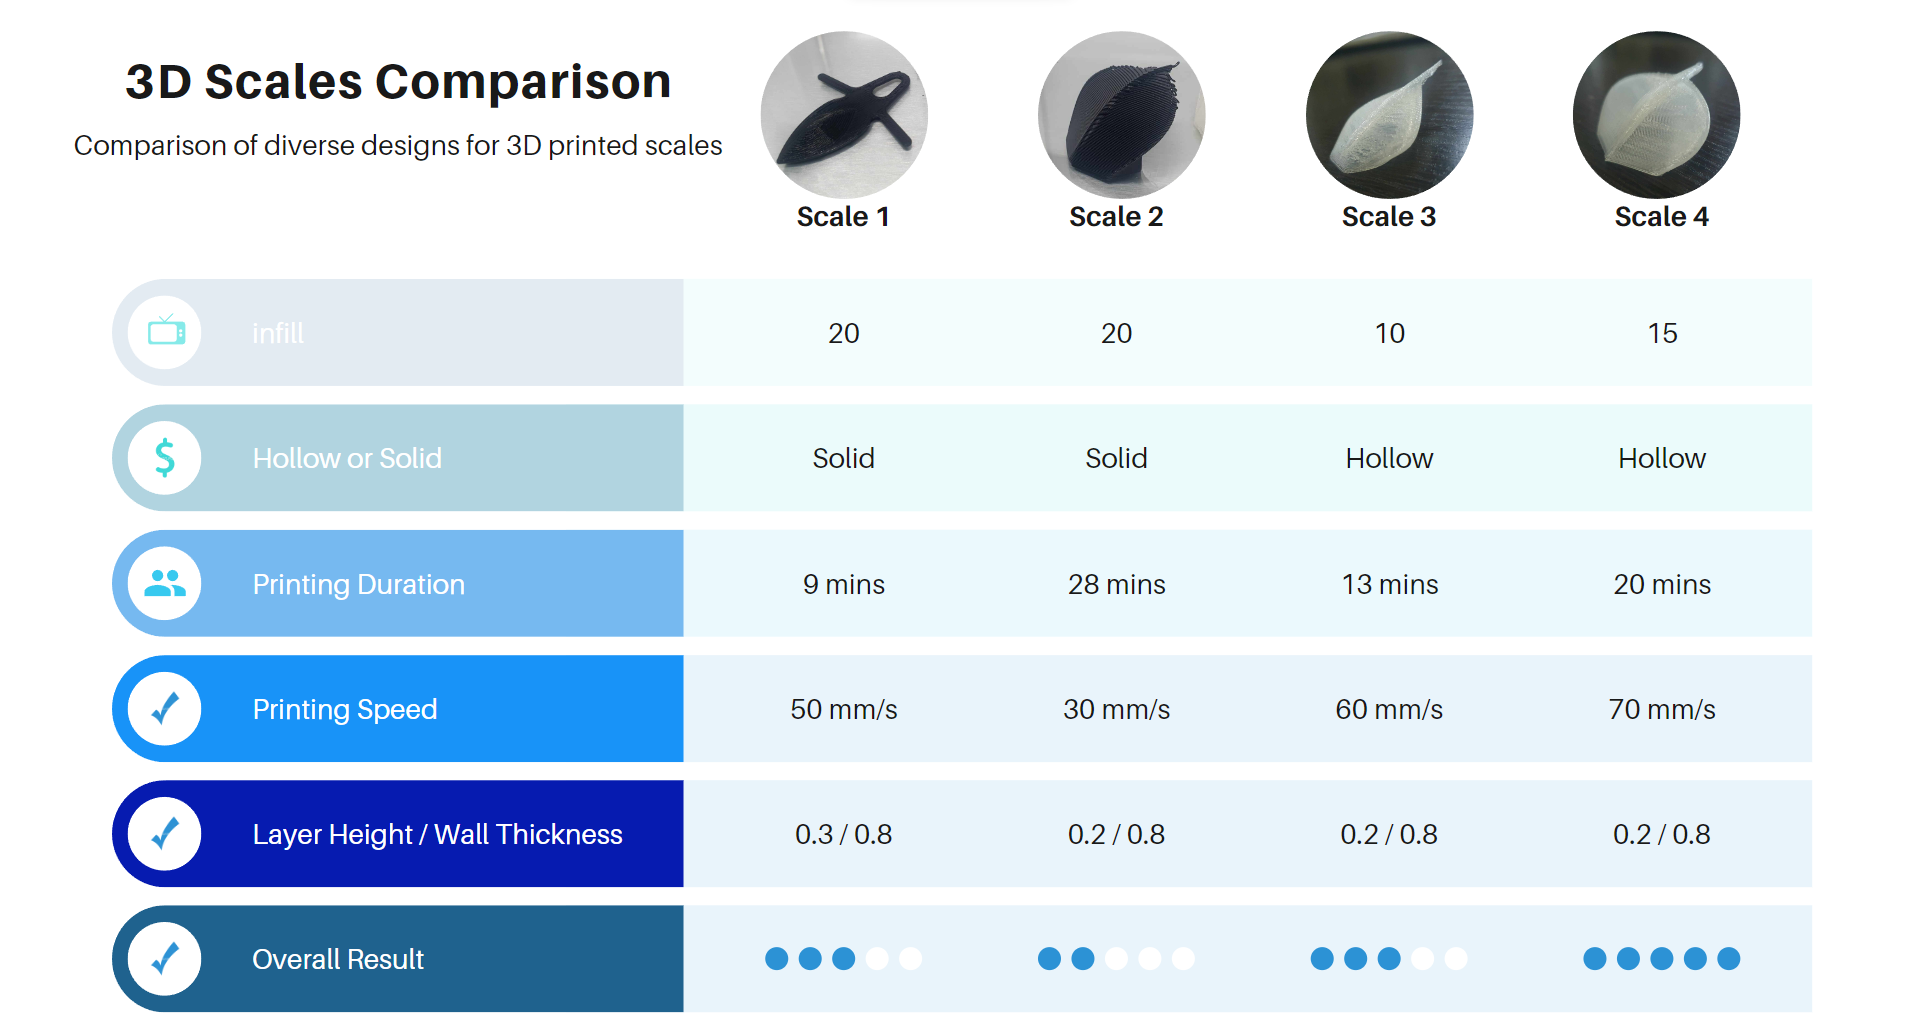
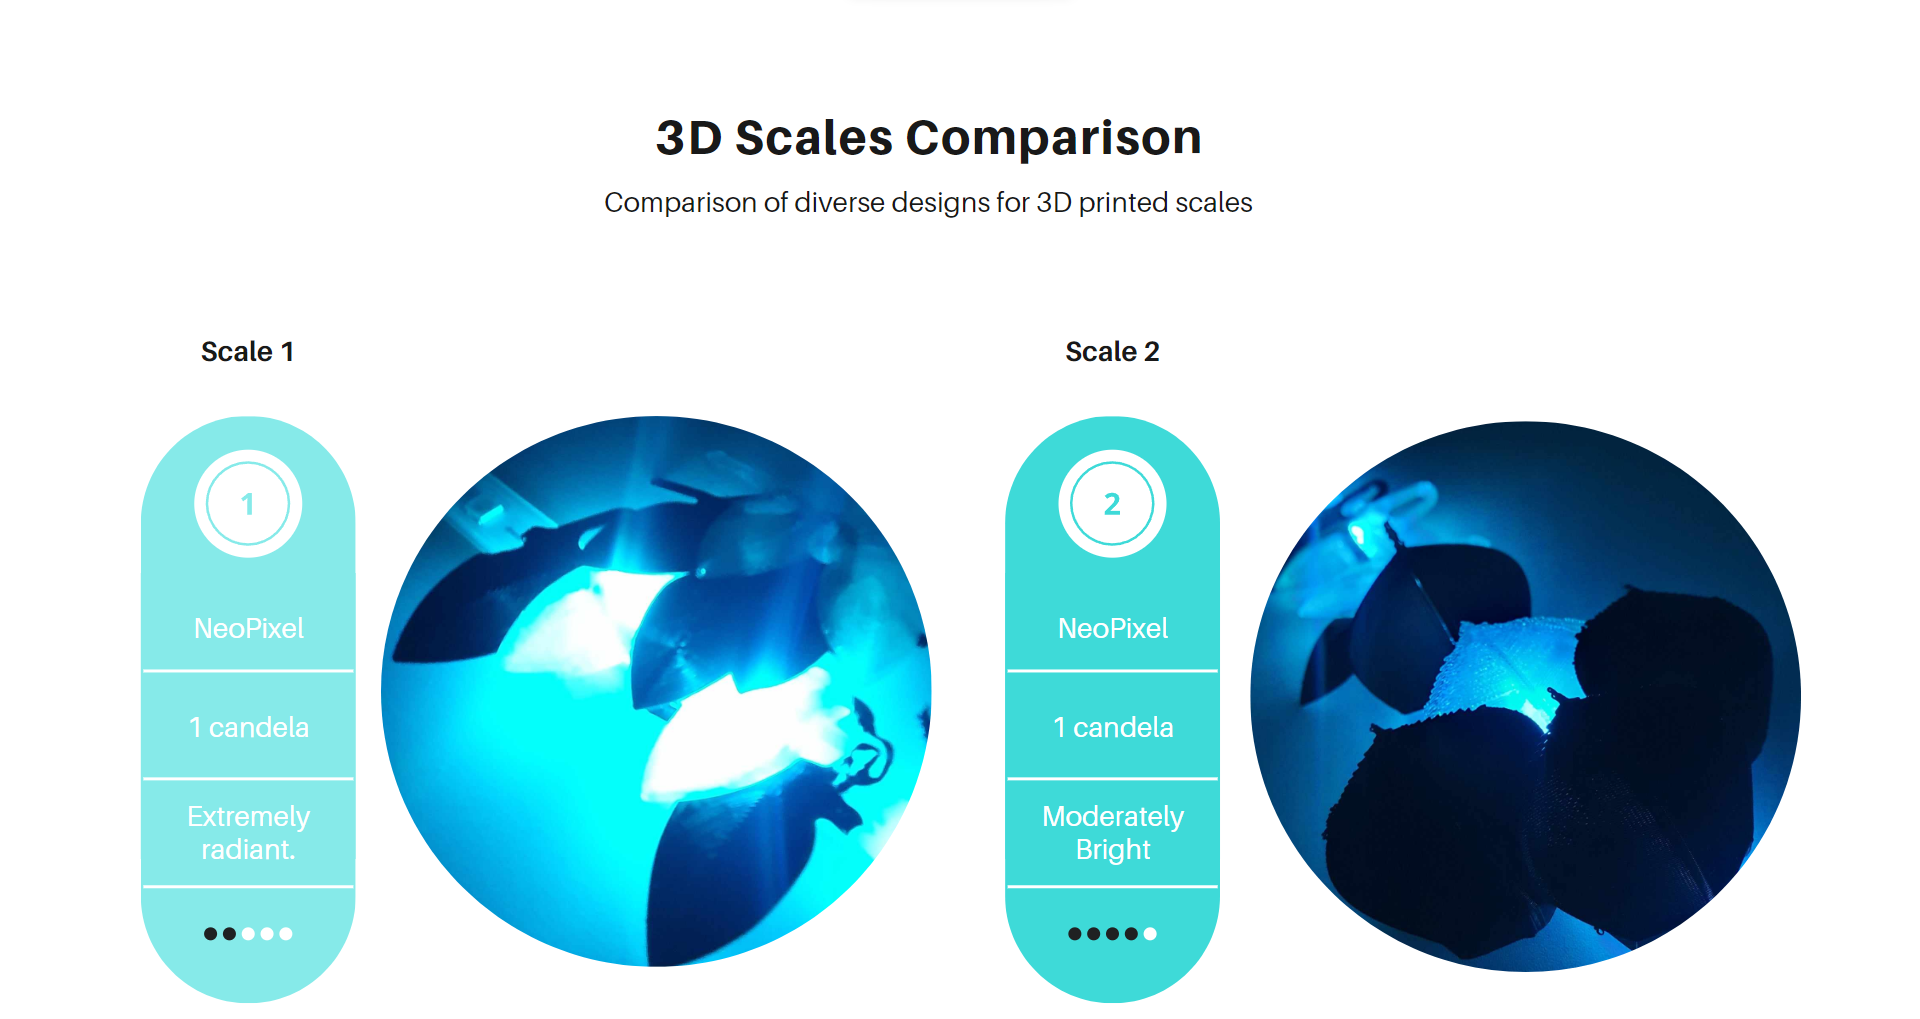
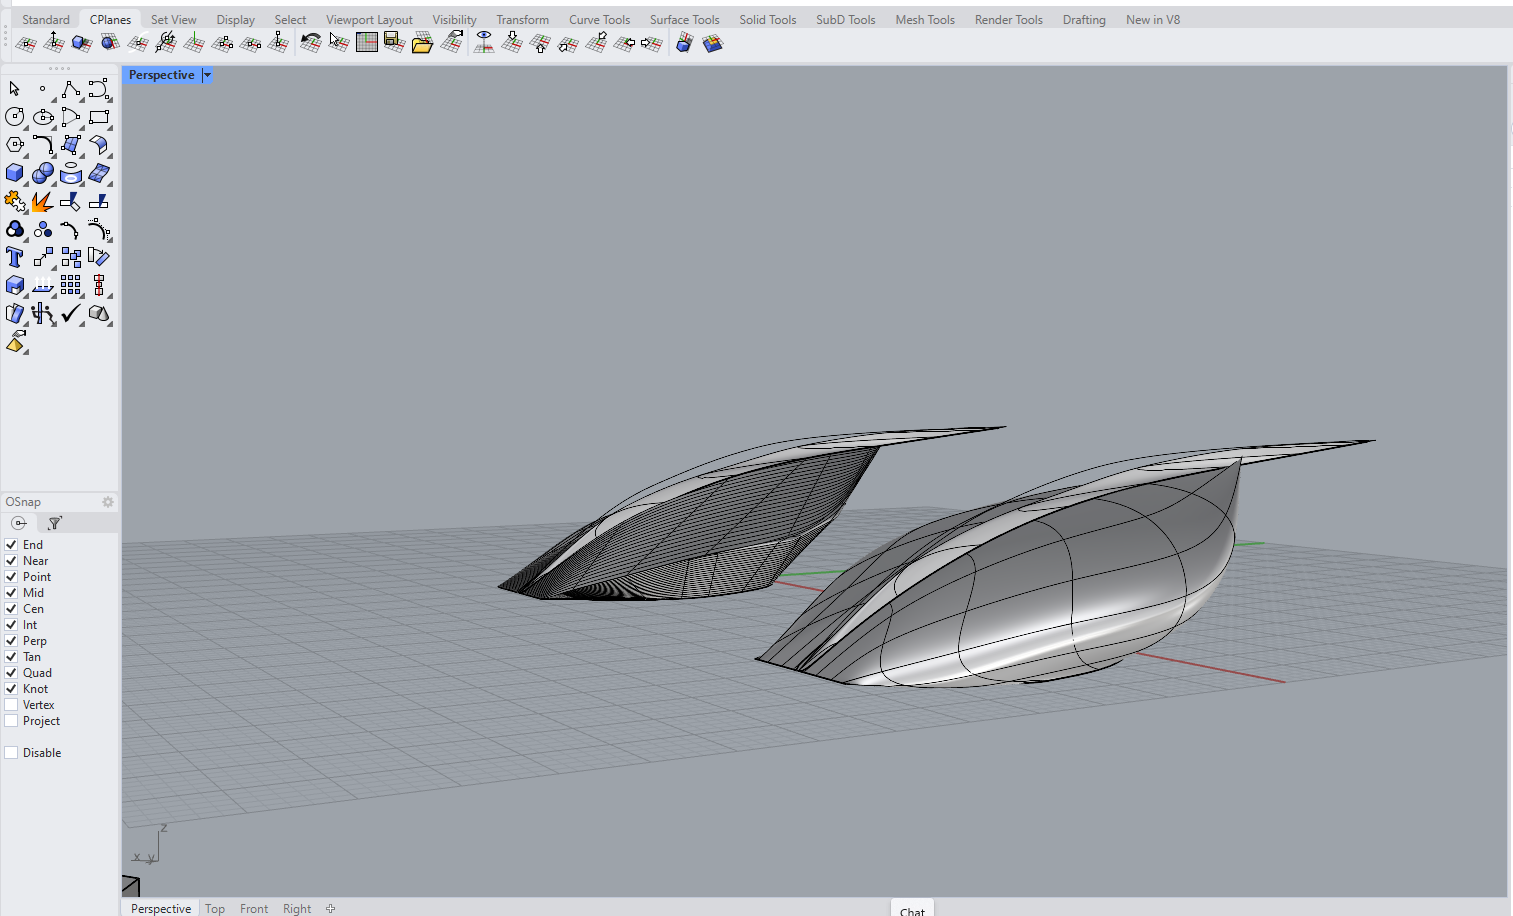
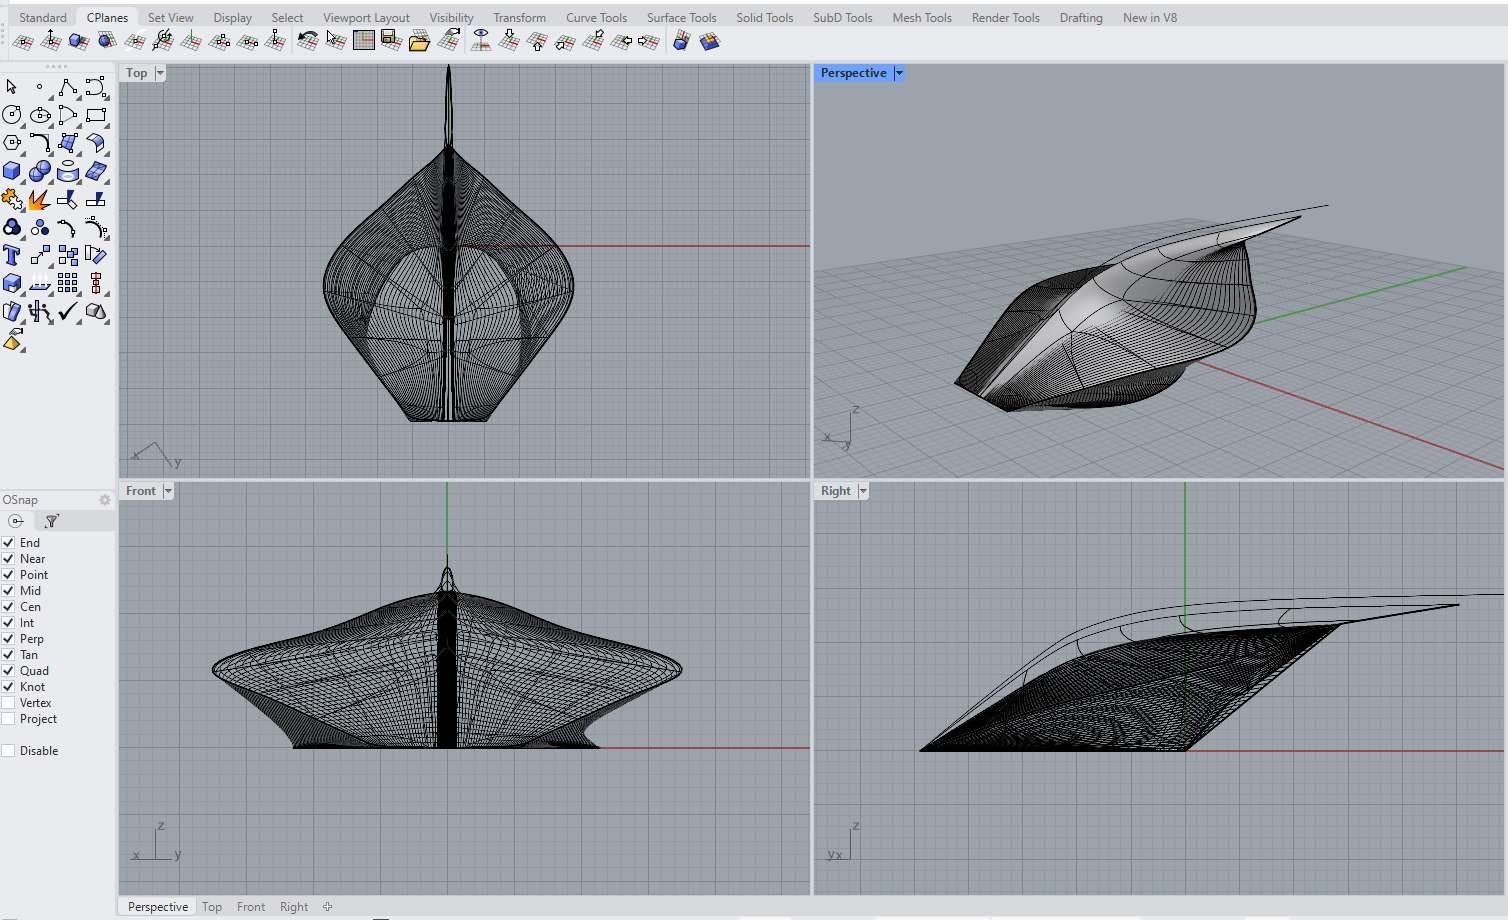
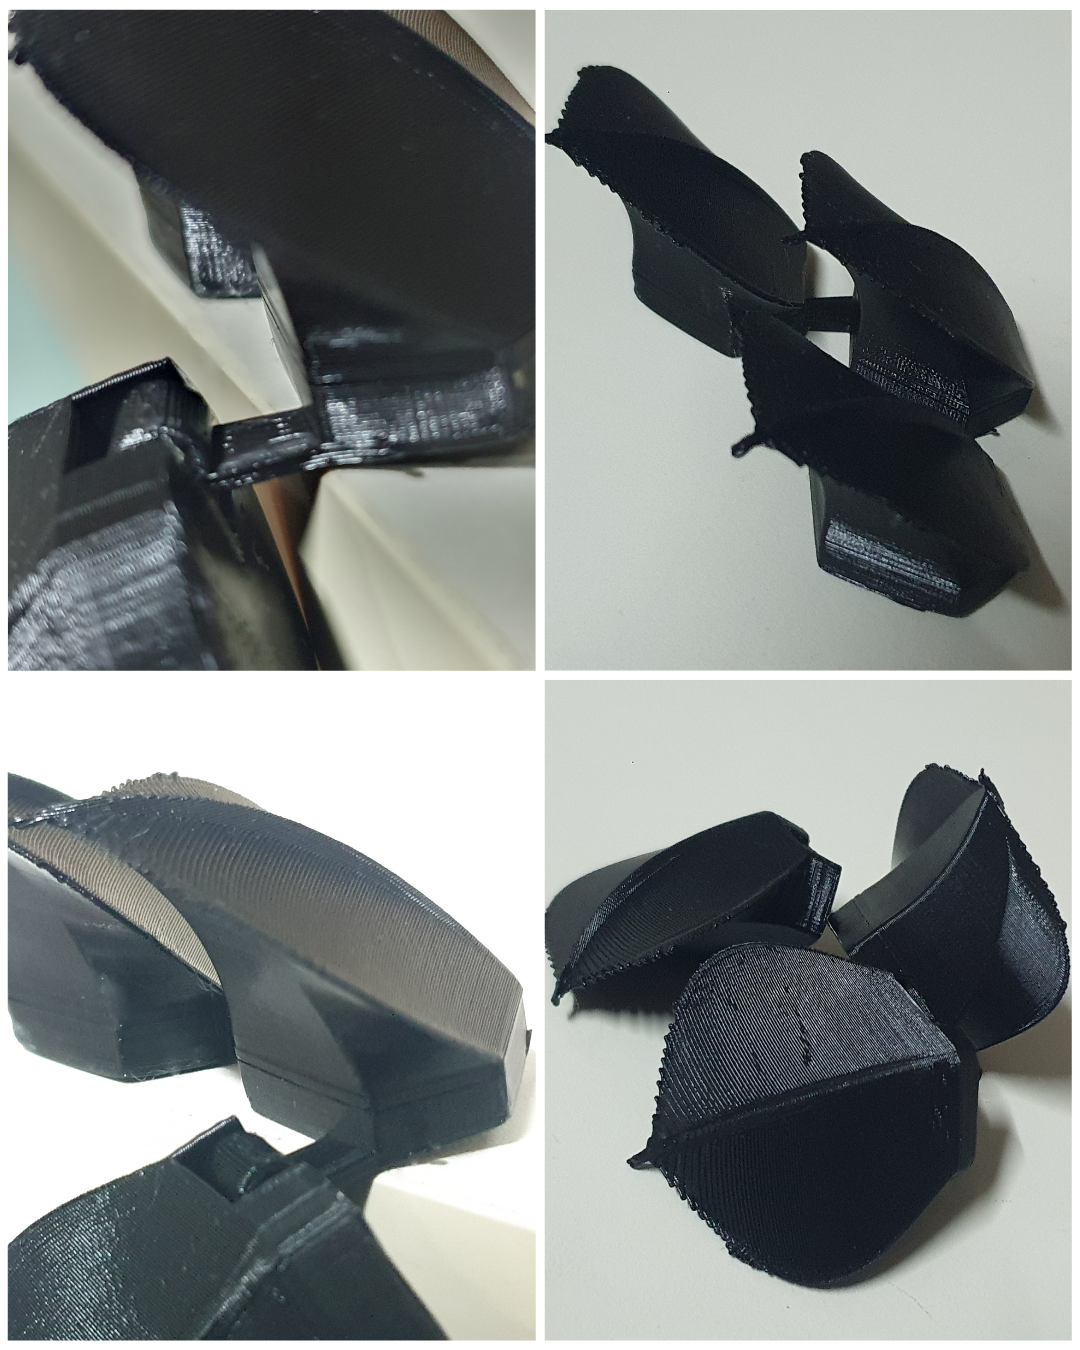
I initiated my scale design process by conducting tests on individual scales, exploring diverse designs, dimensions, and forms. The objective was to optimize the final shape that aligns with my design. Throughout this exploration, I compared various techniques, assessed the quality of 3D prints, and considered other features crucial to the functionality and aesthetics of the scales. This comprehensive evaluation led to the refinement of my scale design.
2. Creating 3D Scale Patterns with Rhino
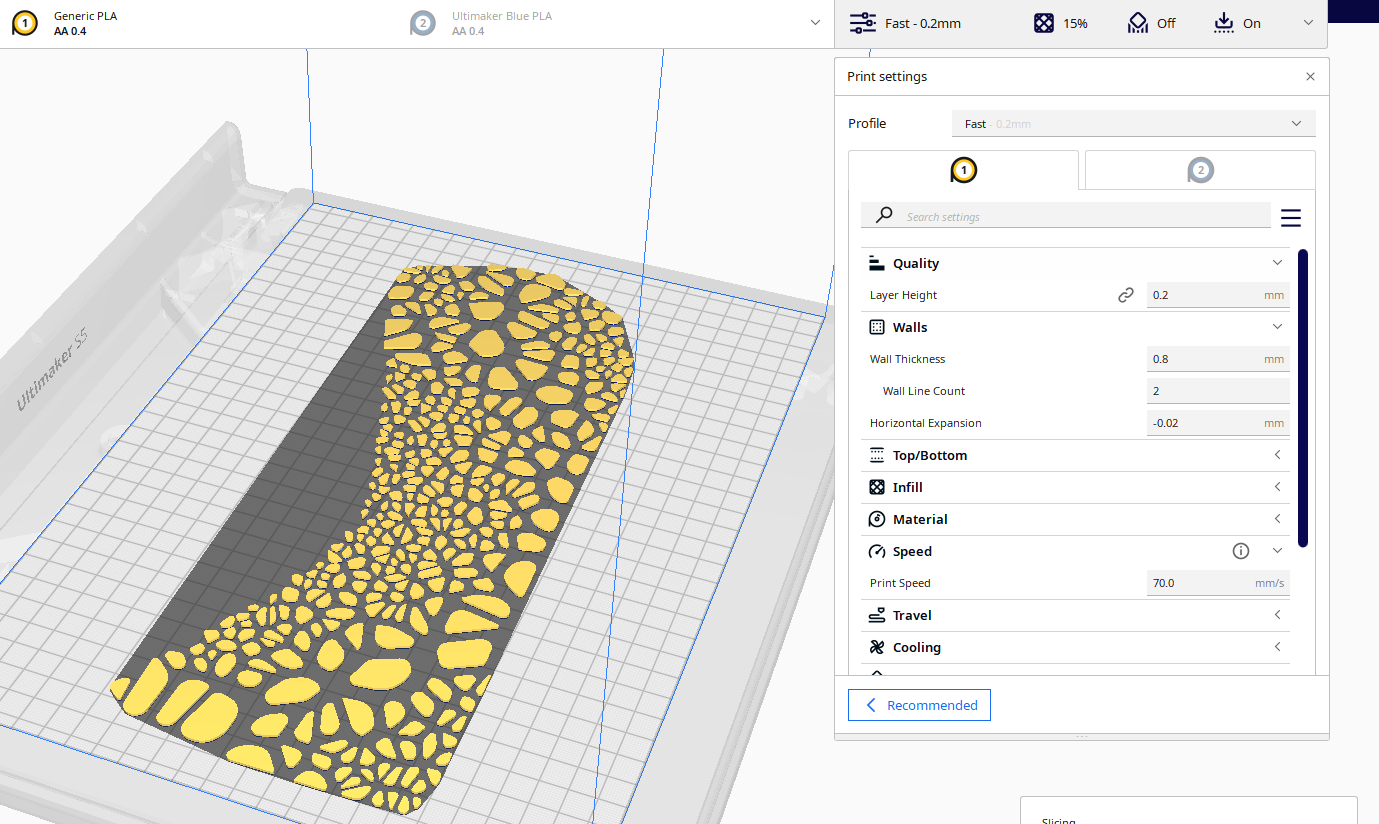
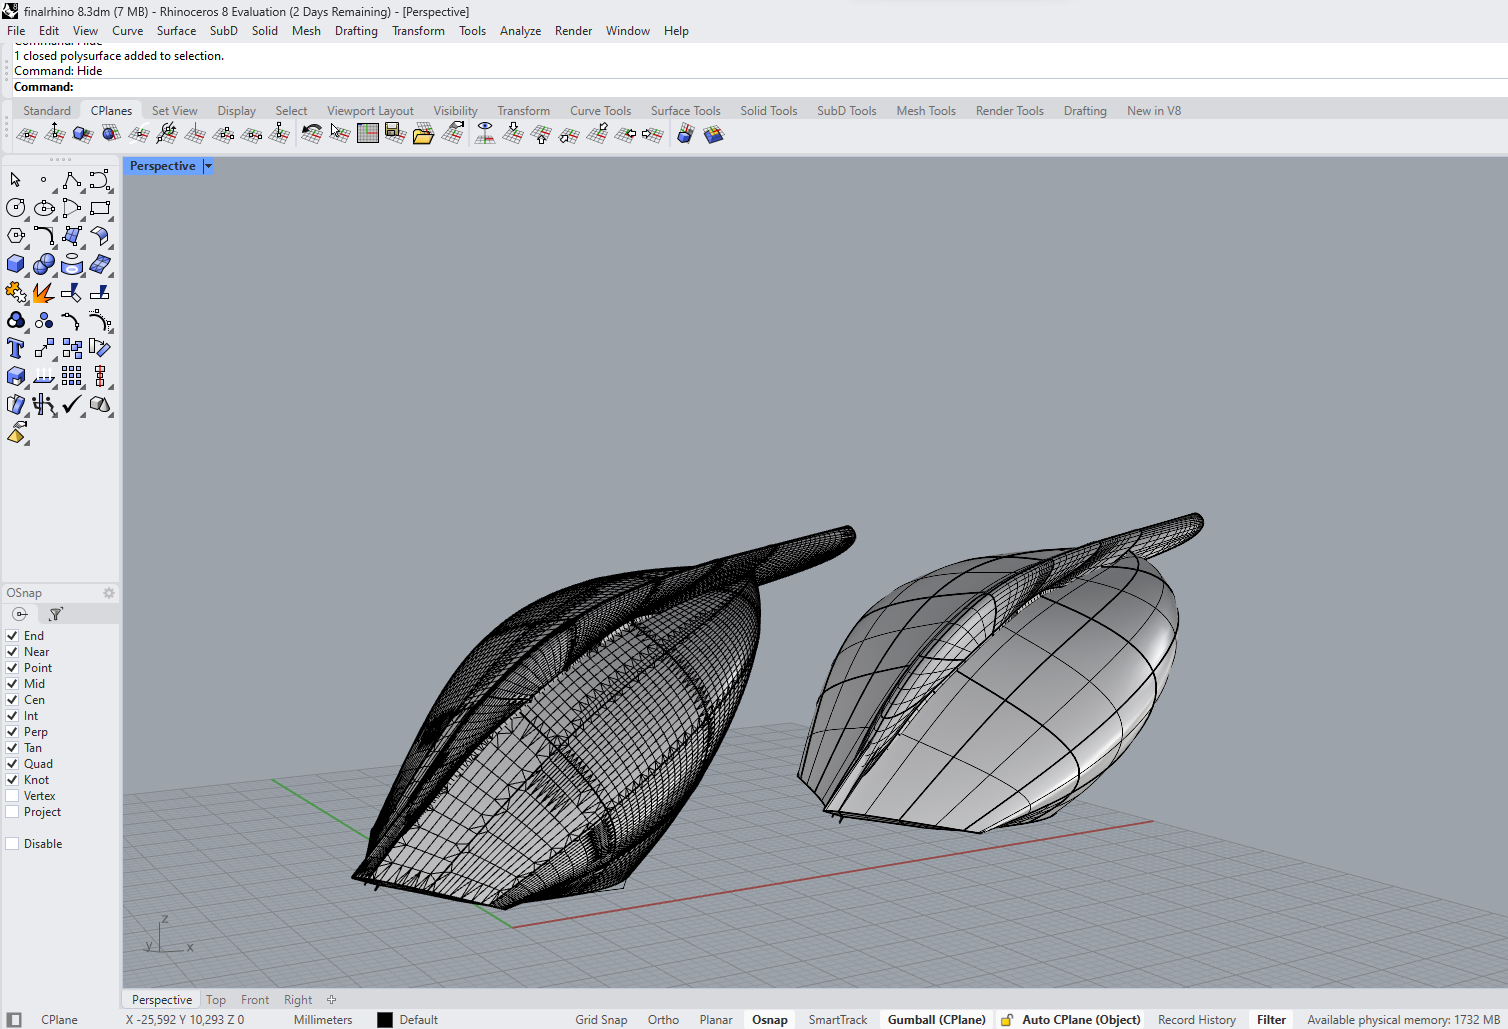
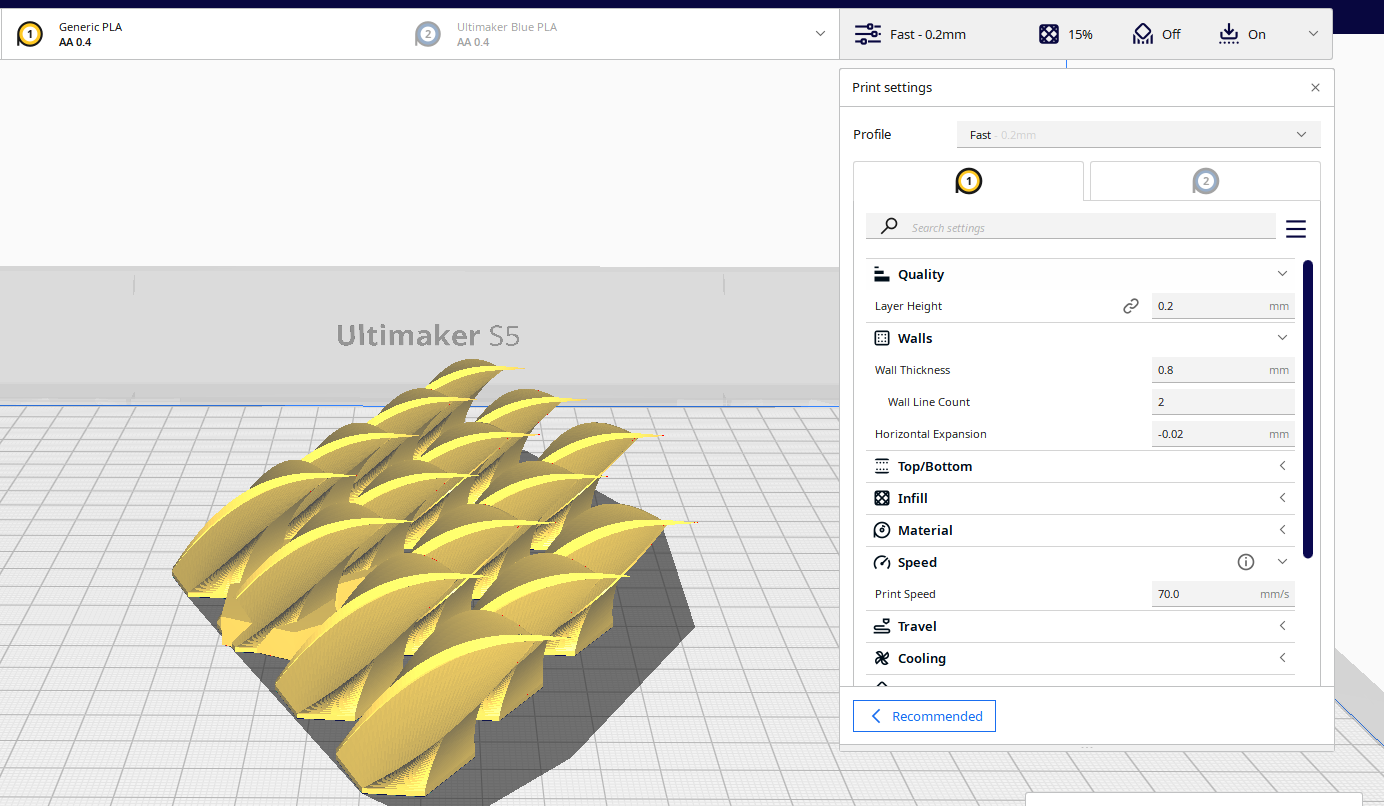
Modeling: Create the scale shape using Rhino's tools. Pattern Generation: Duplicate and arrange scales in desired patterns. Engineering for Printing: Consider printing factors like supports and orientation and angles. Finalizing: Export files for printing in suitable format like STL.
3. Scalemail
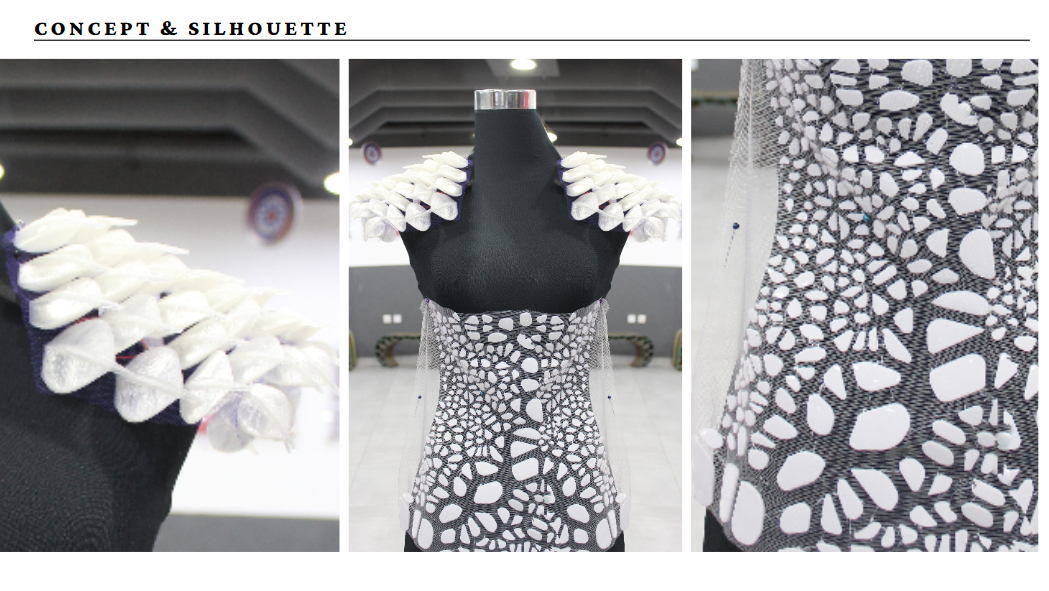
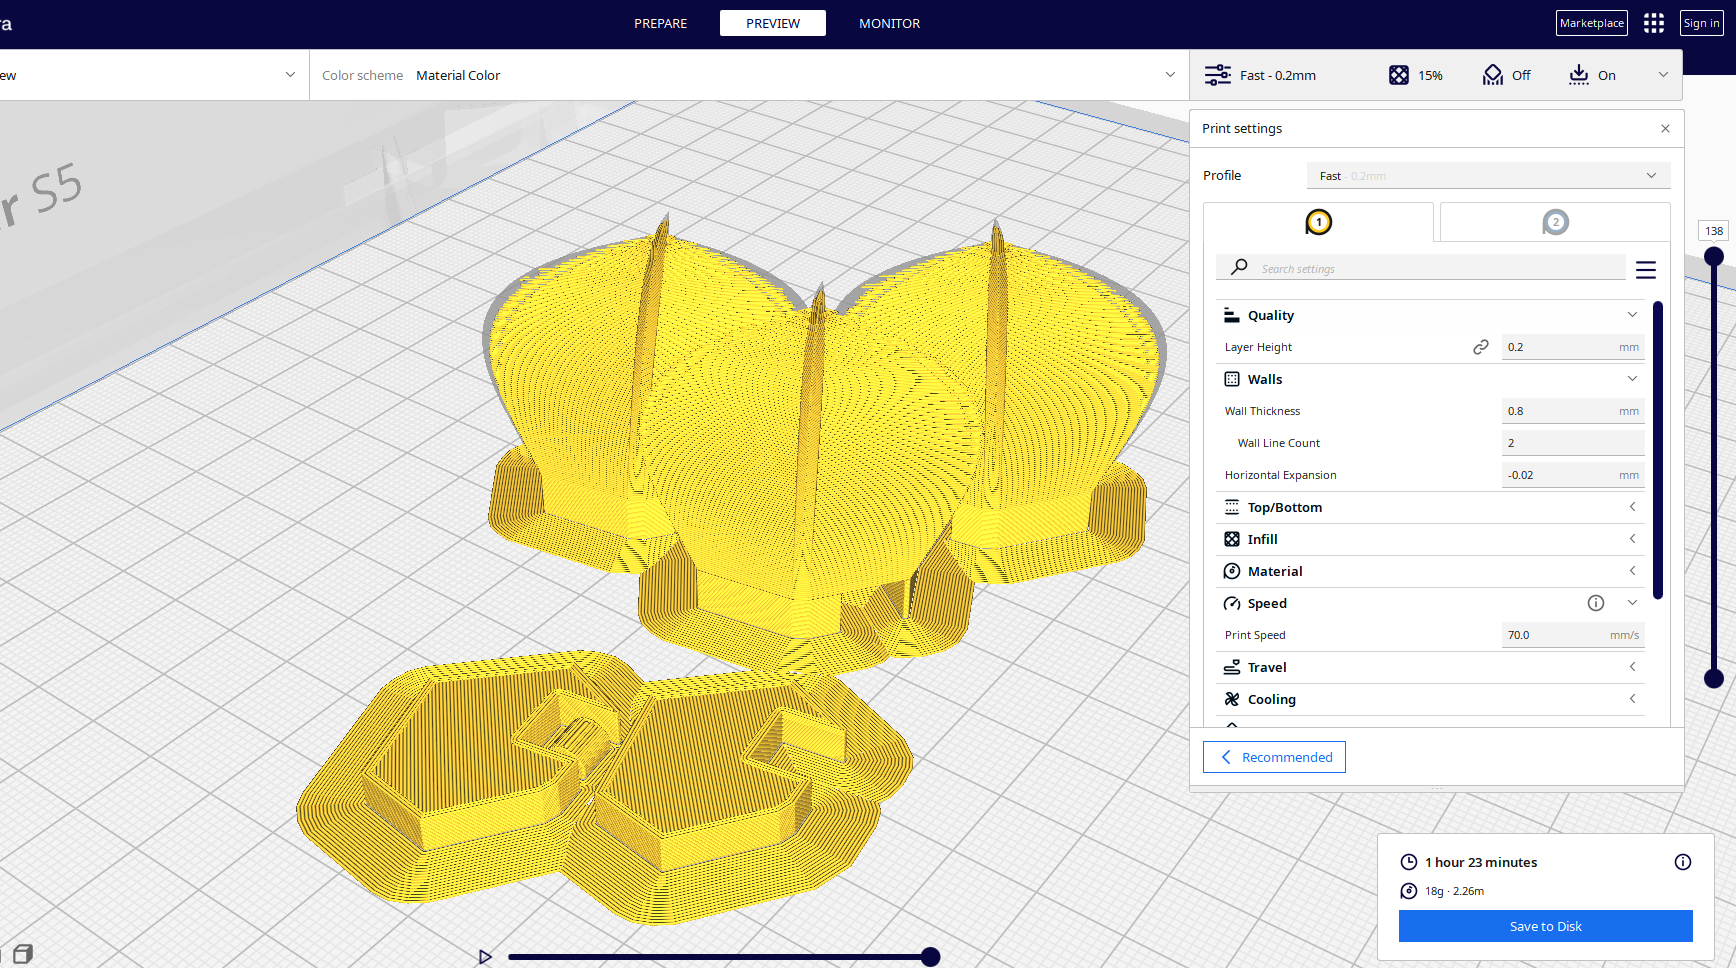
After creating the scale design, I added a hinge mechanism to enable the scale to tilt and rotate within the chainmail structure. This hinge enhances the flexibility and movement of the chainmail, improving both aesthetics and practicality in the final design.
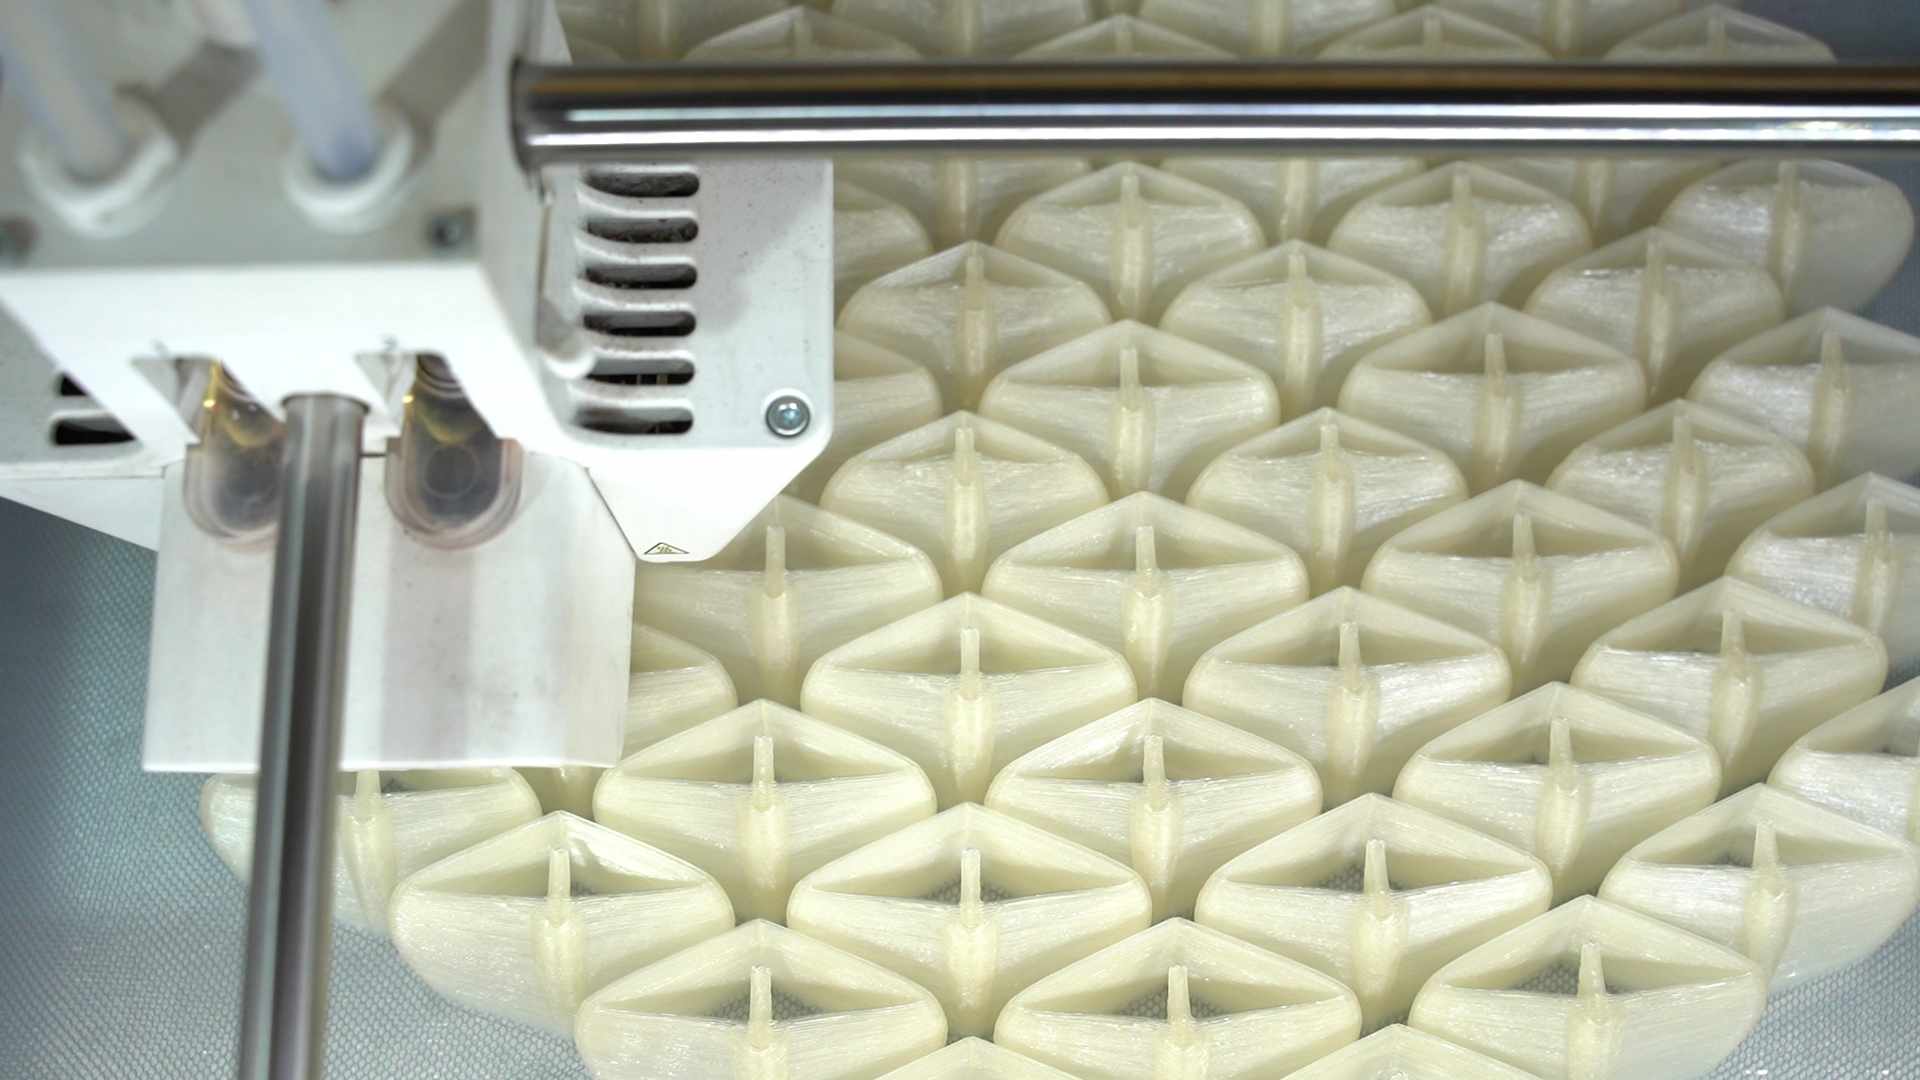
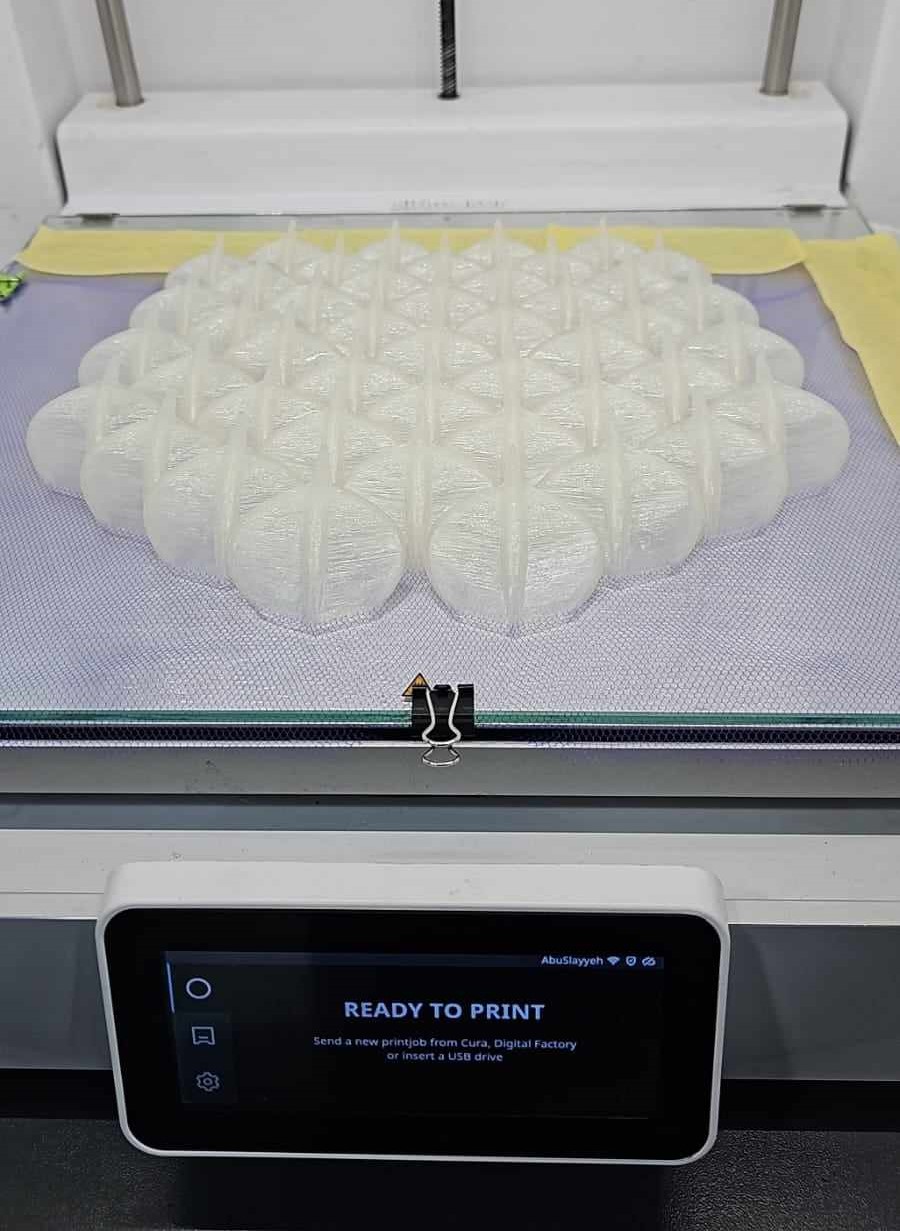
4. Print on mesh
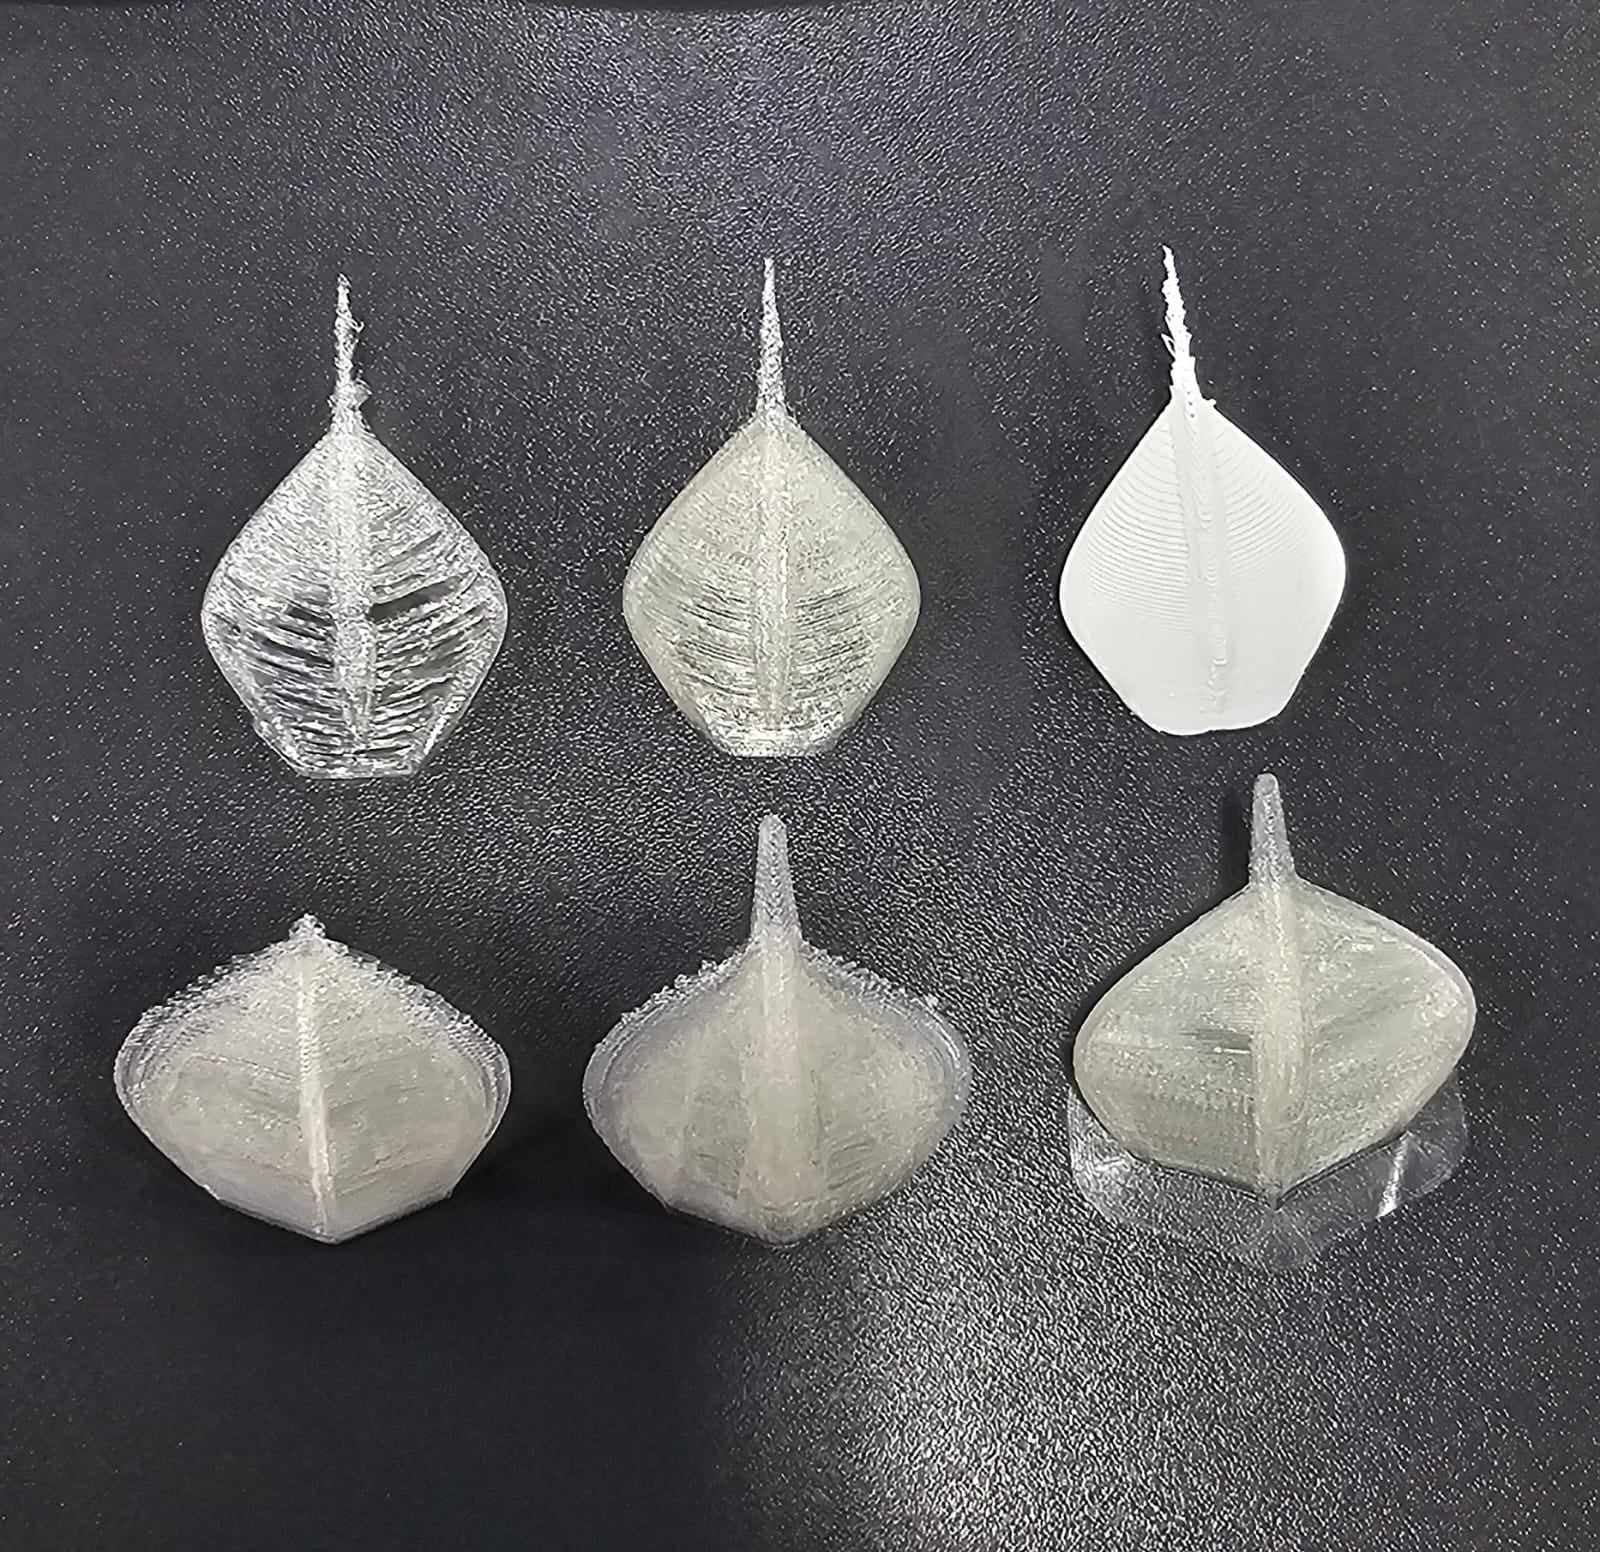
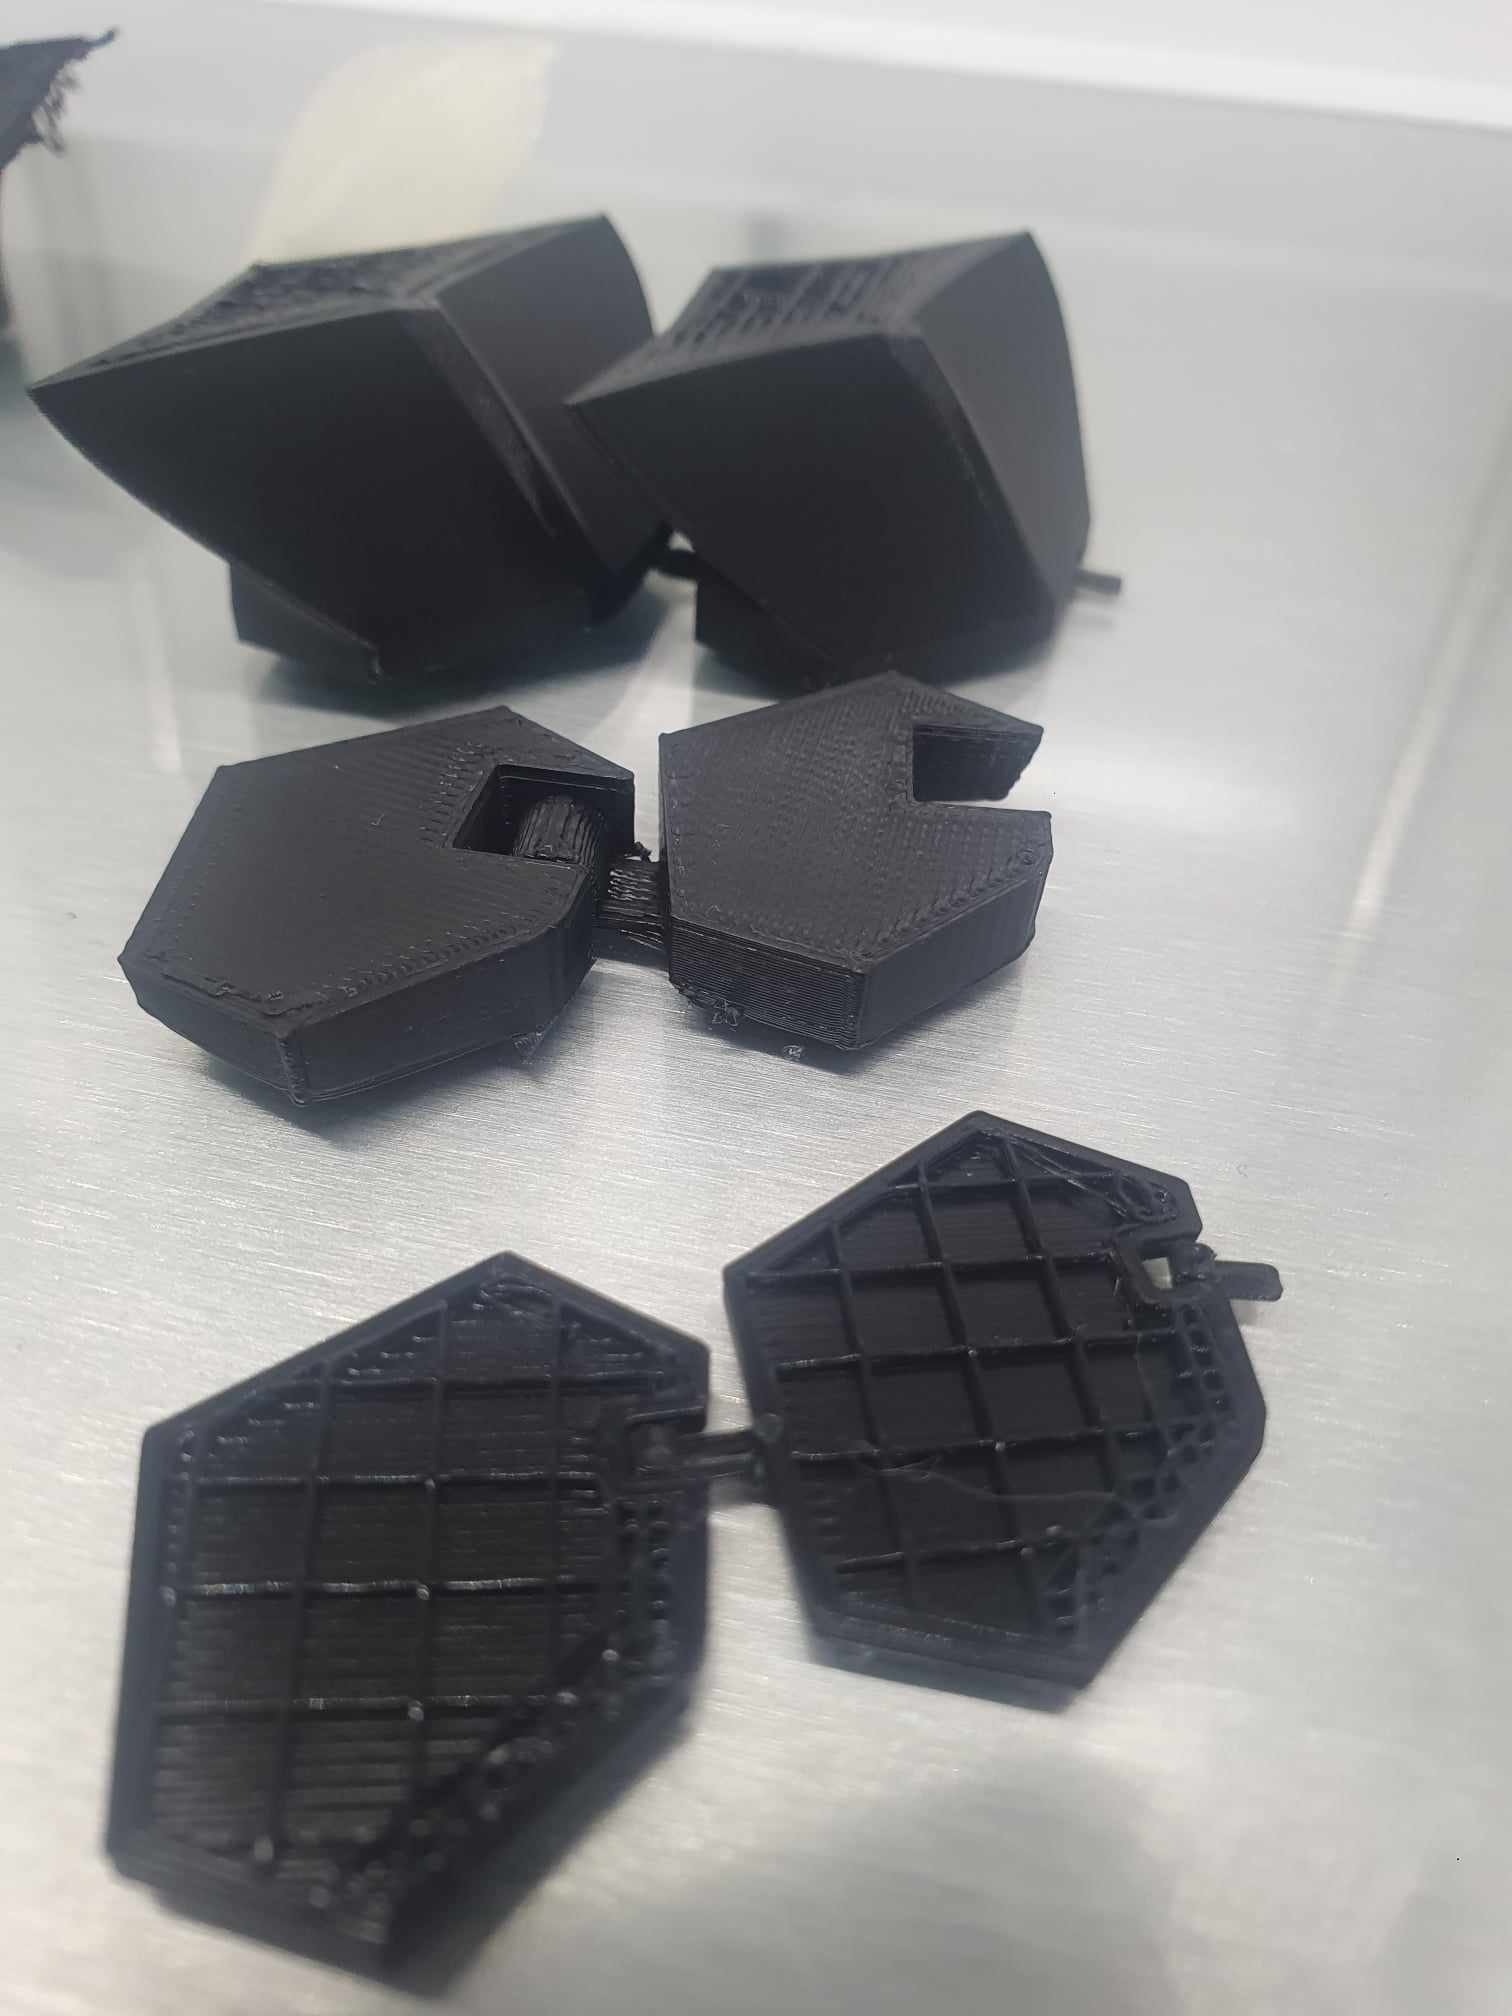
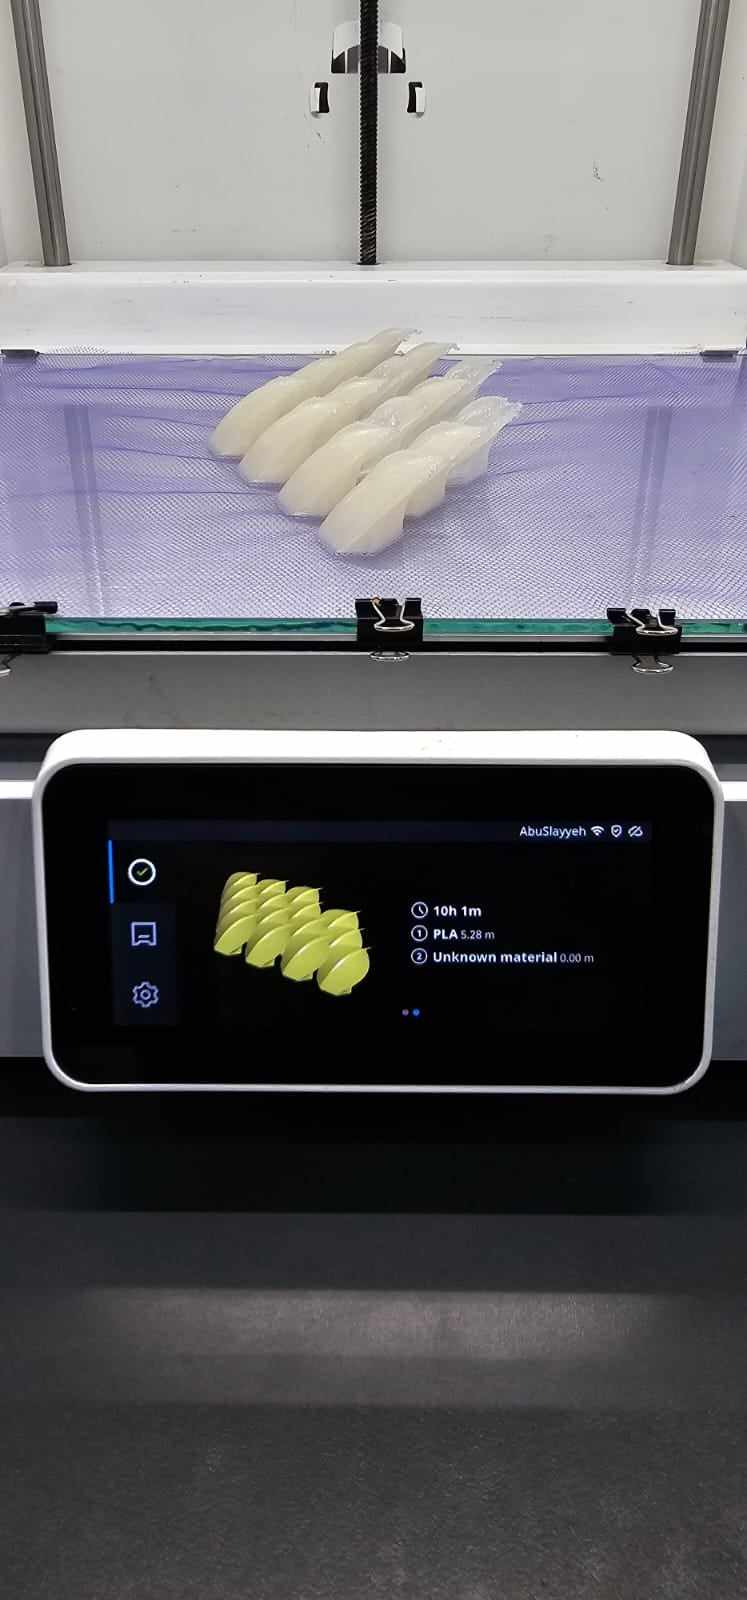
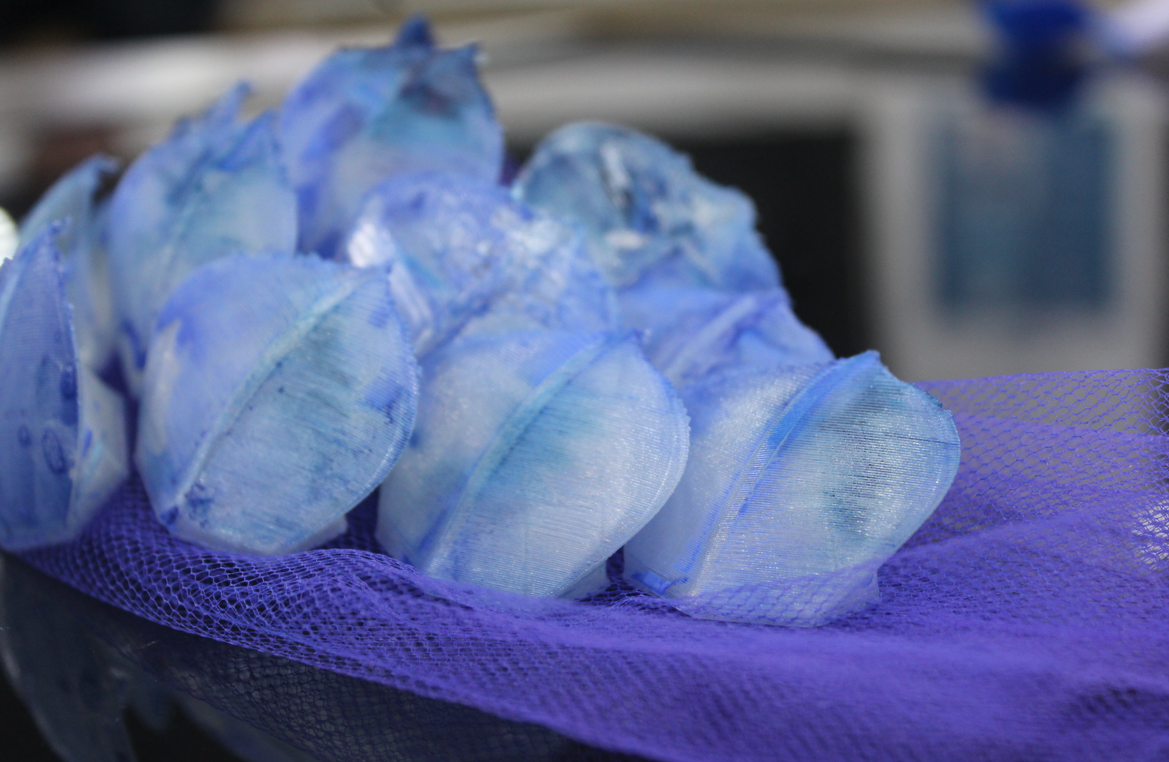
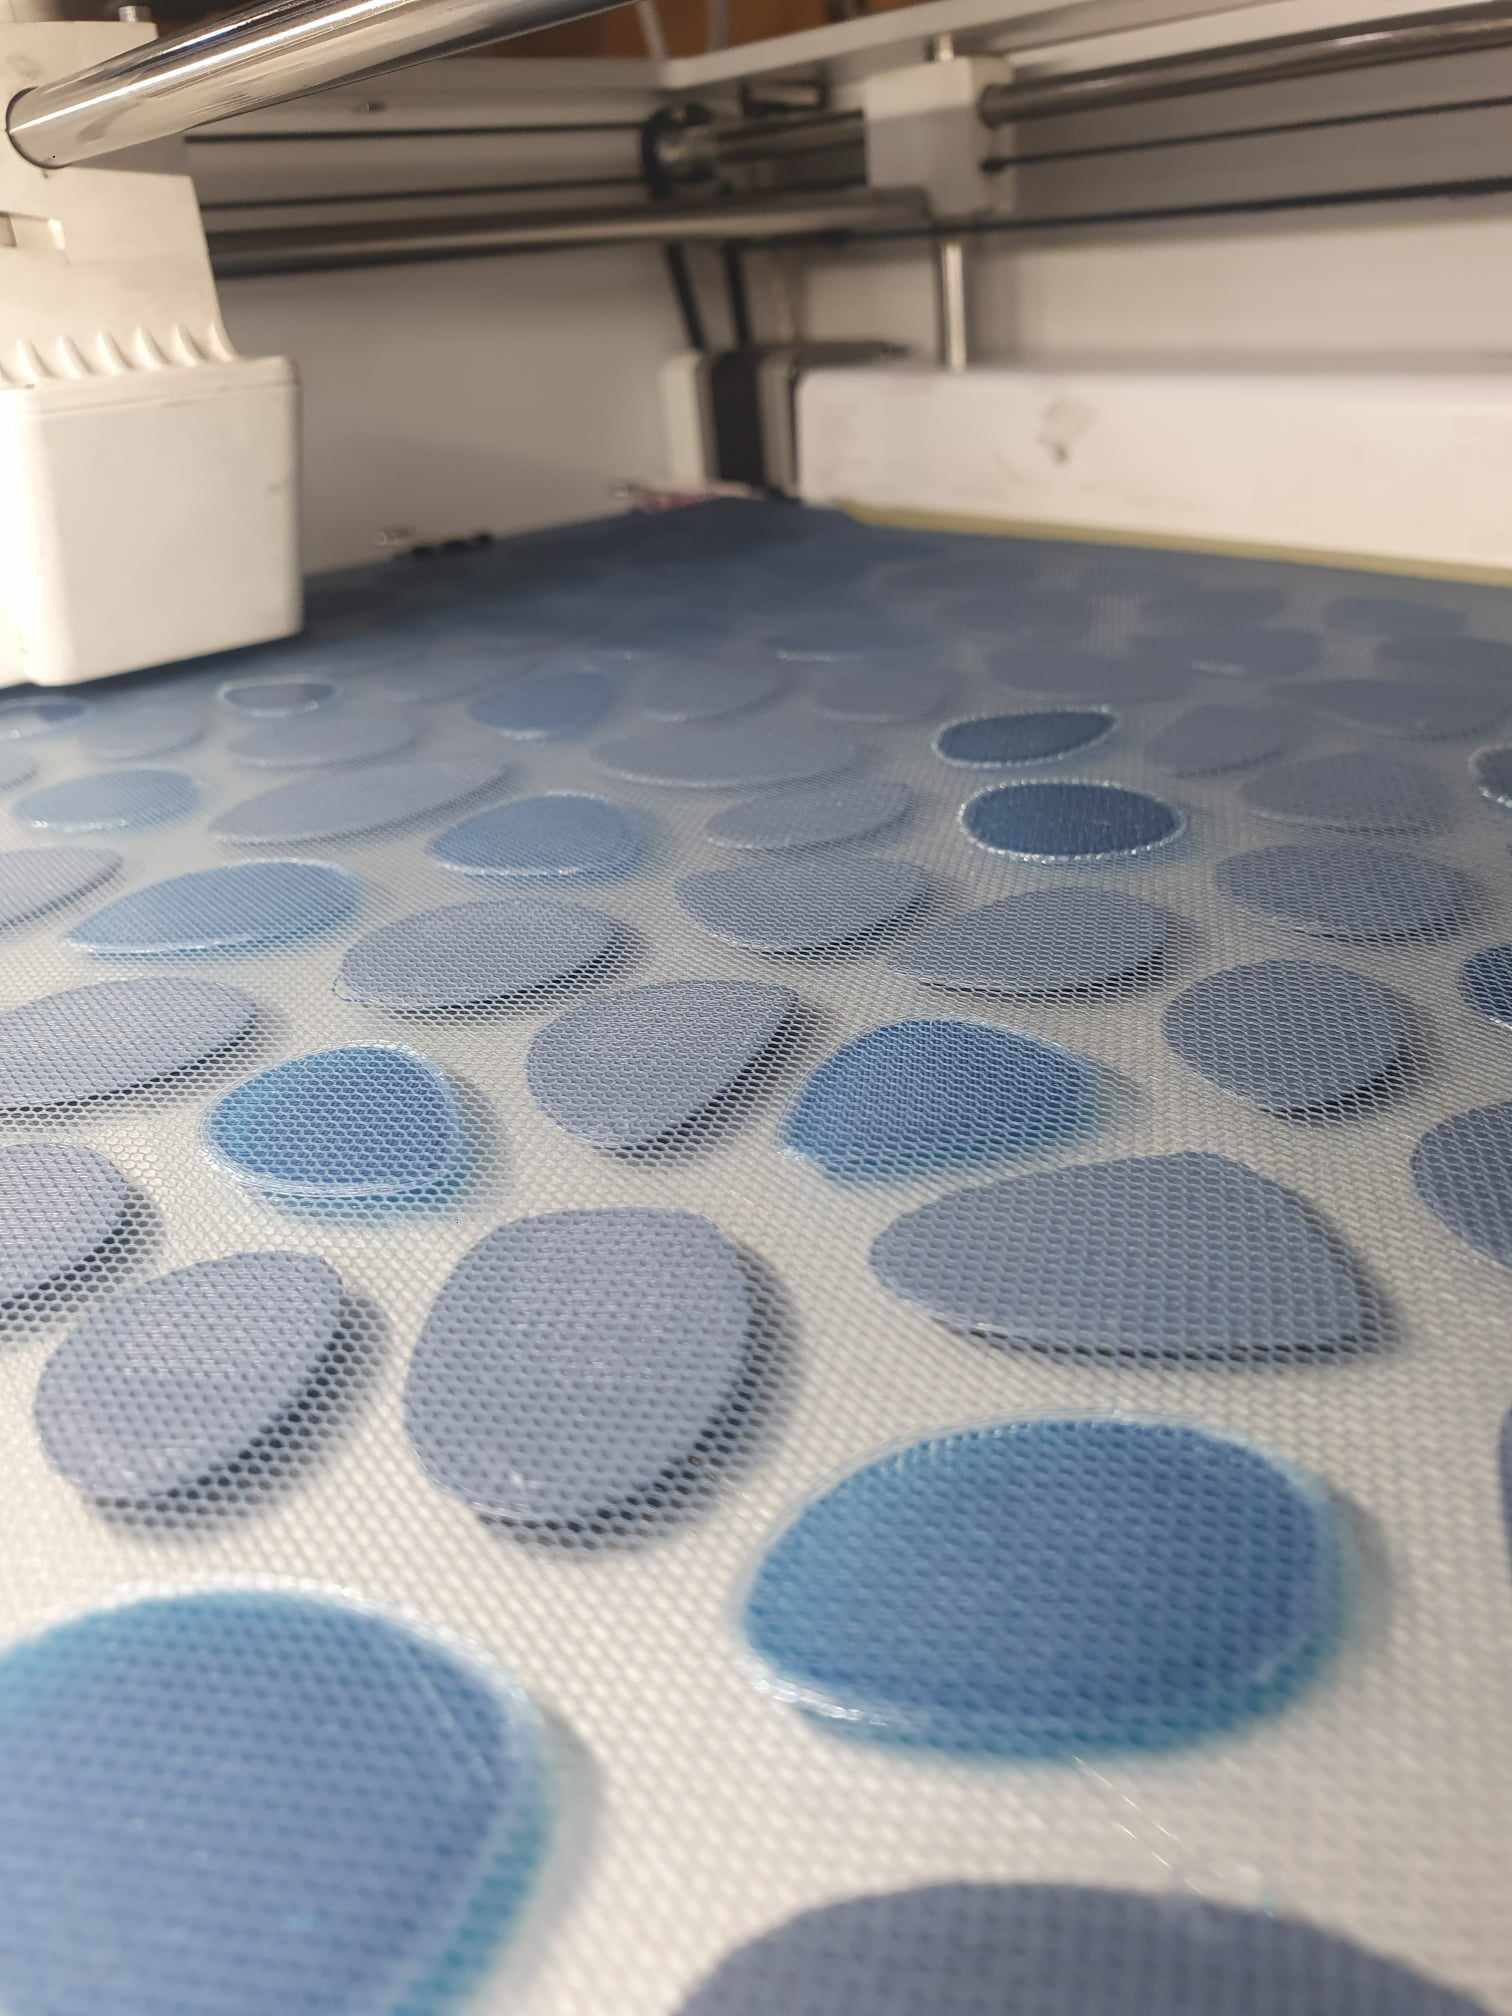
The initial test involves printing multiple 3D scales on a single plate, utilizing mesh fabric to combine and consolidate them into a unified assembly.
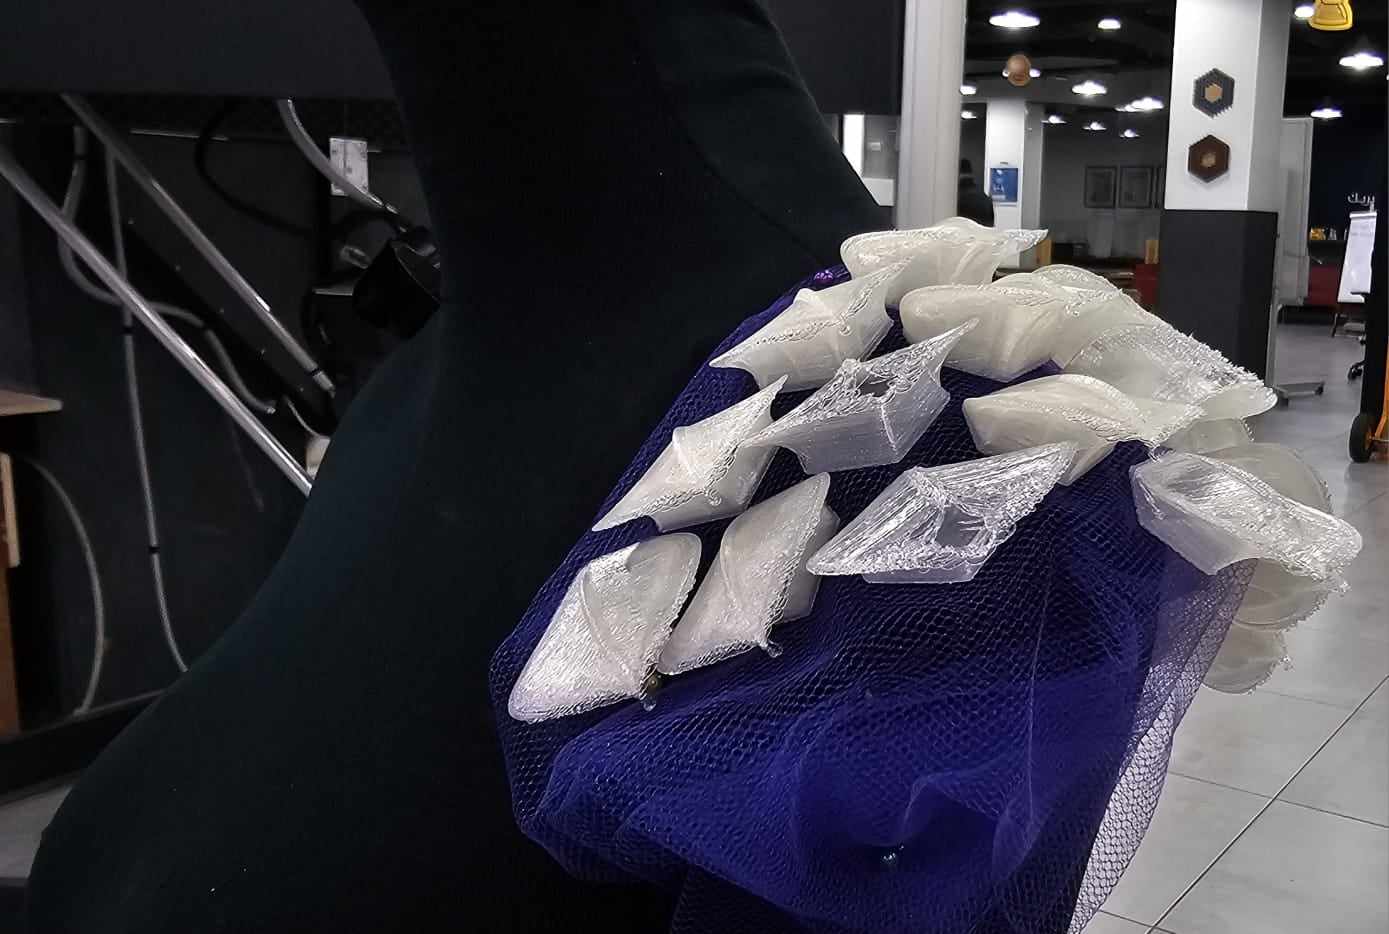
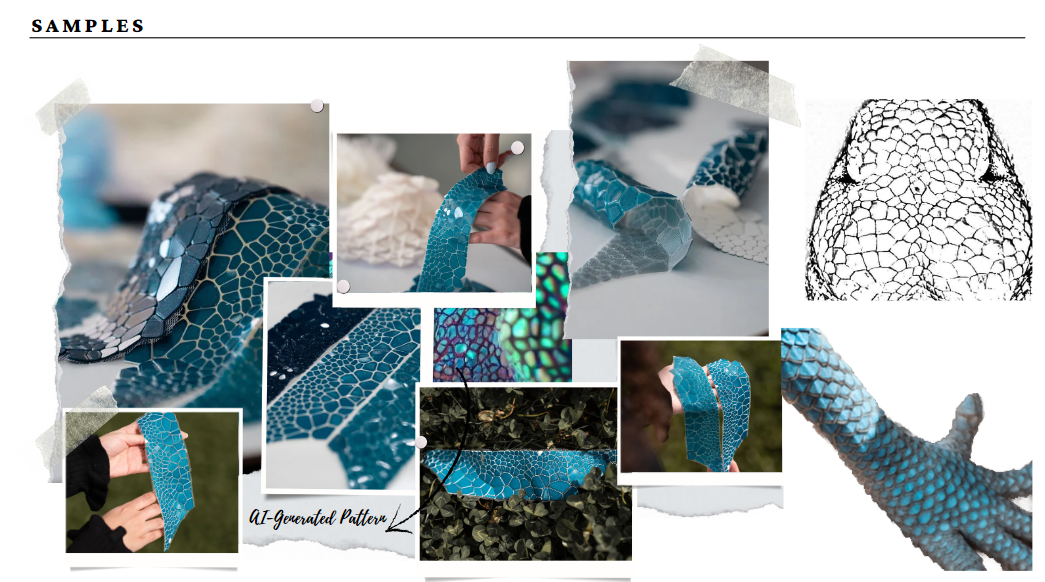
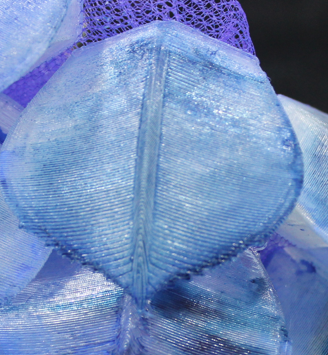
Following observations from the initial test, adjustments were made to the scale design to impart a more organic shape. This modification significantly improved printing precision and resulted in a much smoother finishing.


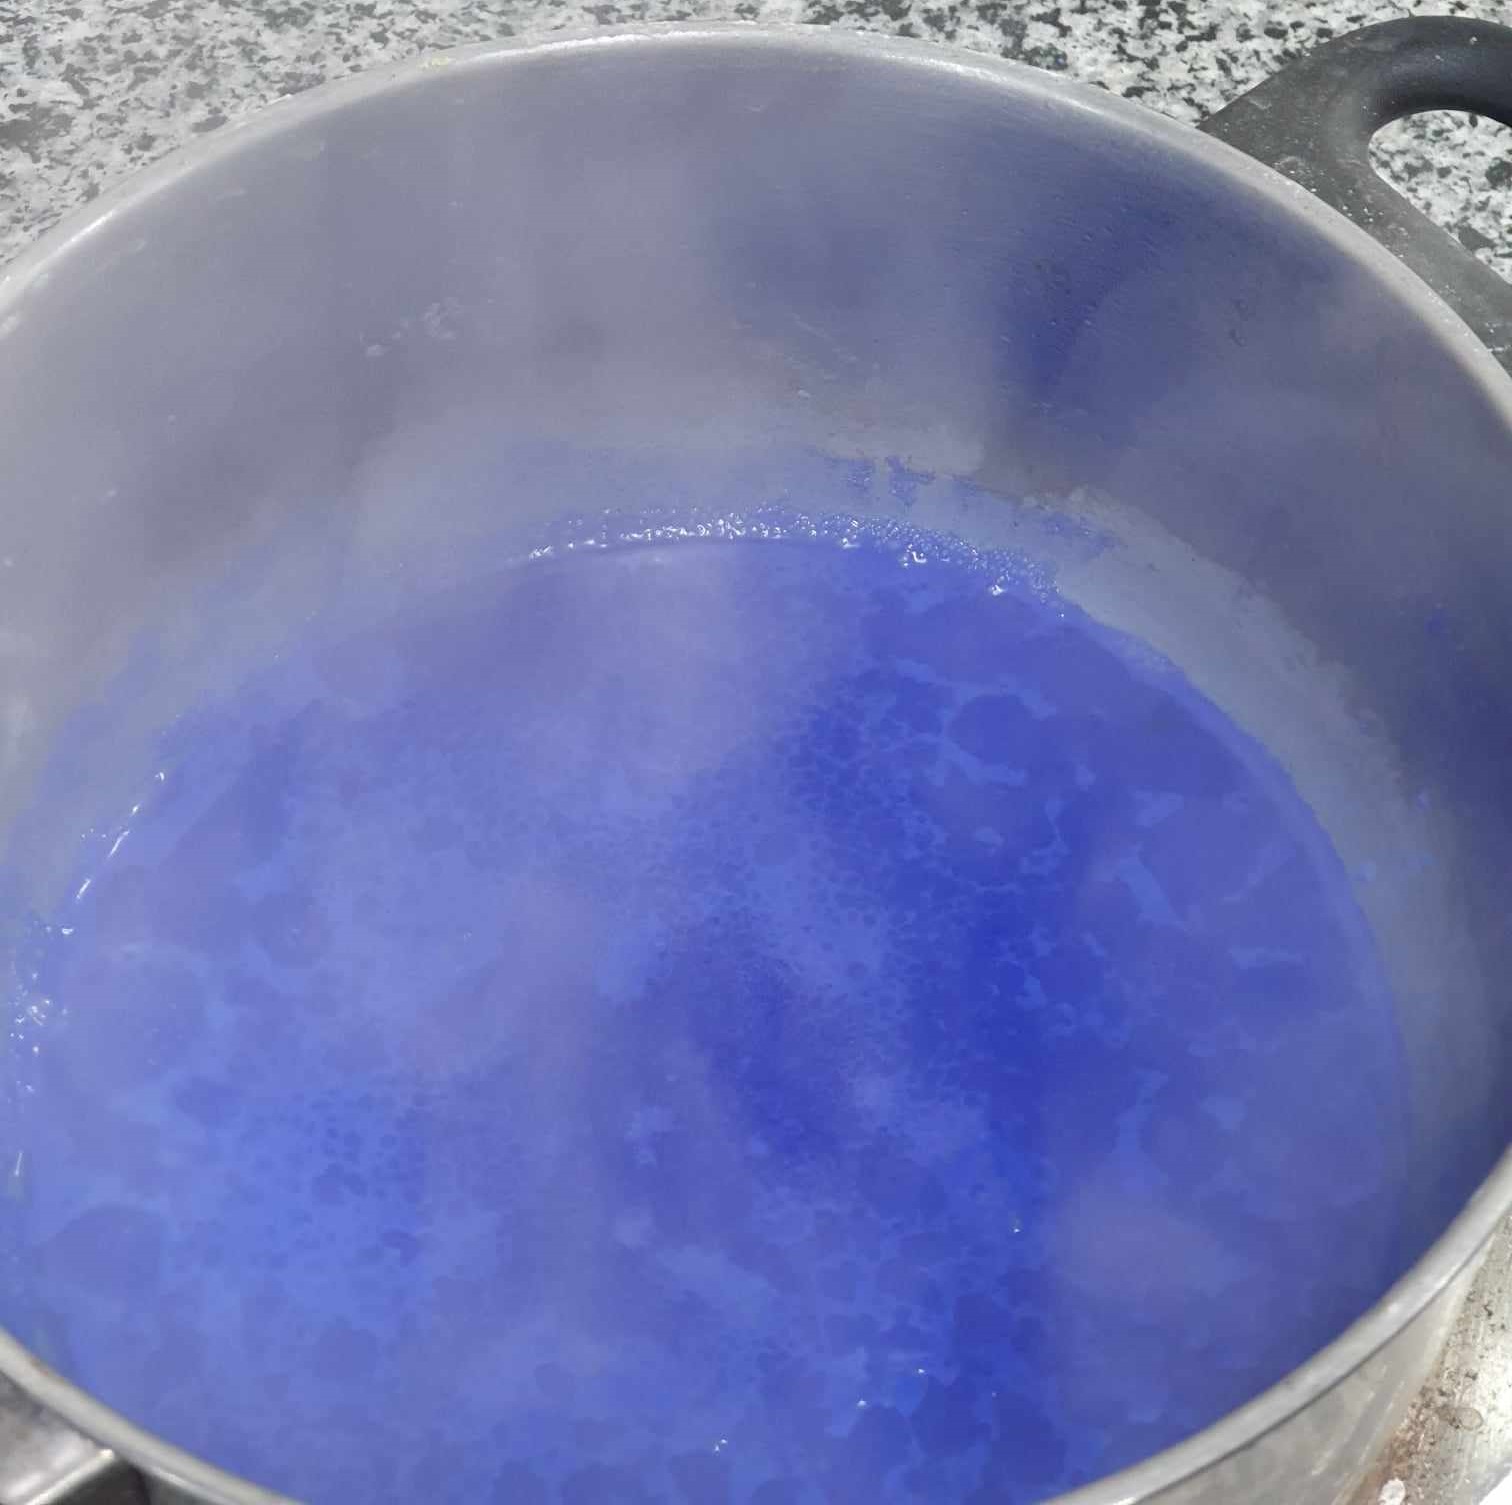
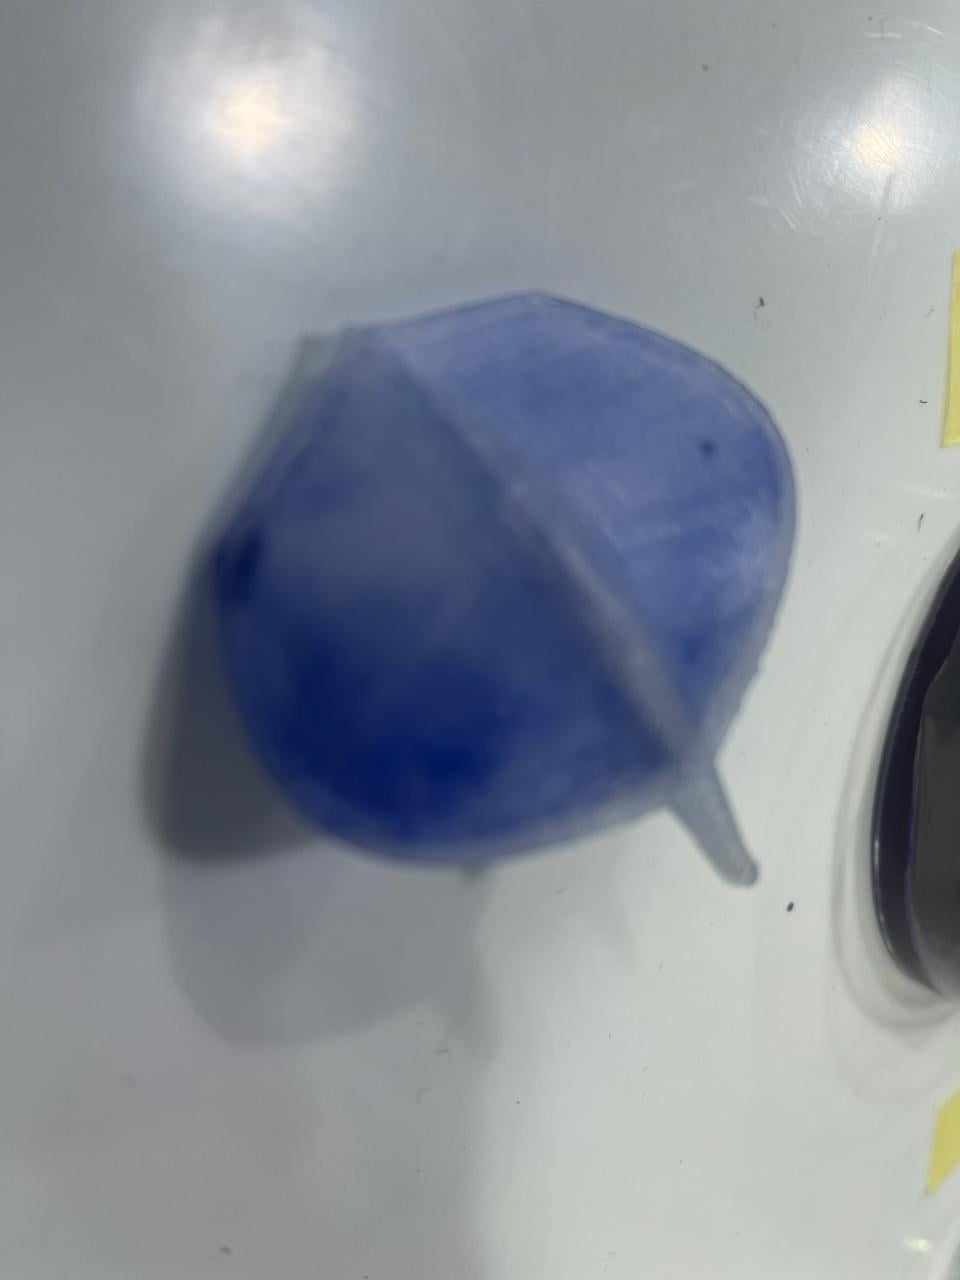
5. 3D scales painting and coloring PLA_& TPU
- I began by boiling indigo dye and immersing the scales into the dye bath. Since PLA reacts with heat, I used TPU to submerge it in the dye bath. However, the final results were not aesthetically pleasing.
- I switched to dyeing the transparent PLA scales using red and blue food coloring. I applied the colors by brushing them onto the scales and left them to set.


6. 3D Printed Patterns
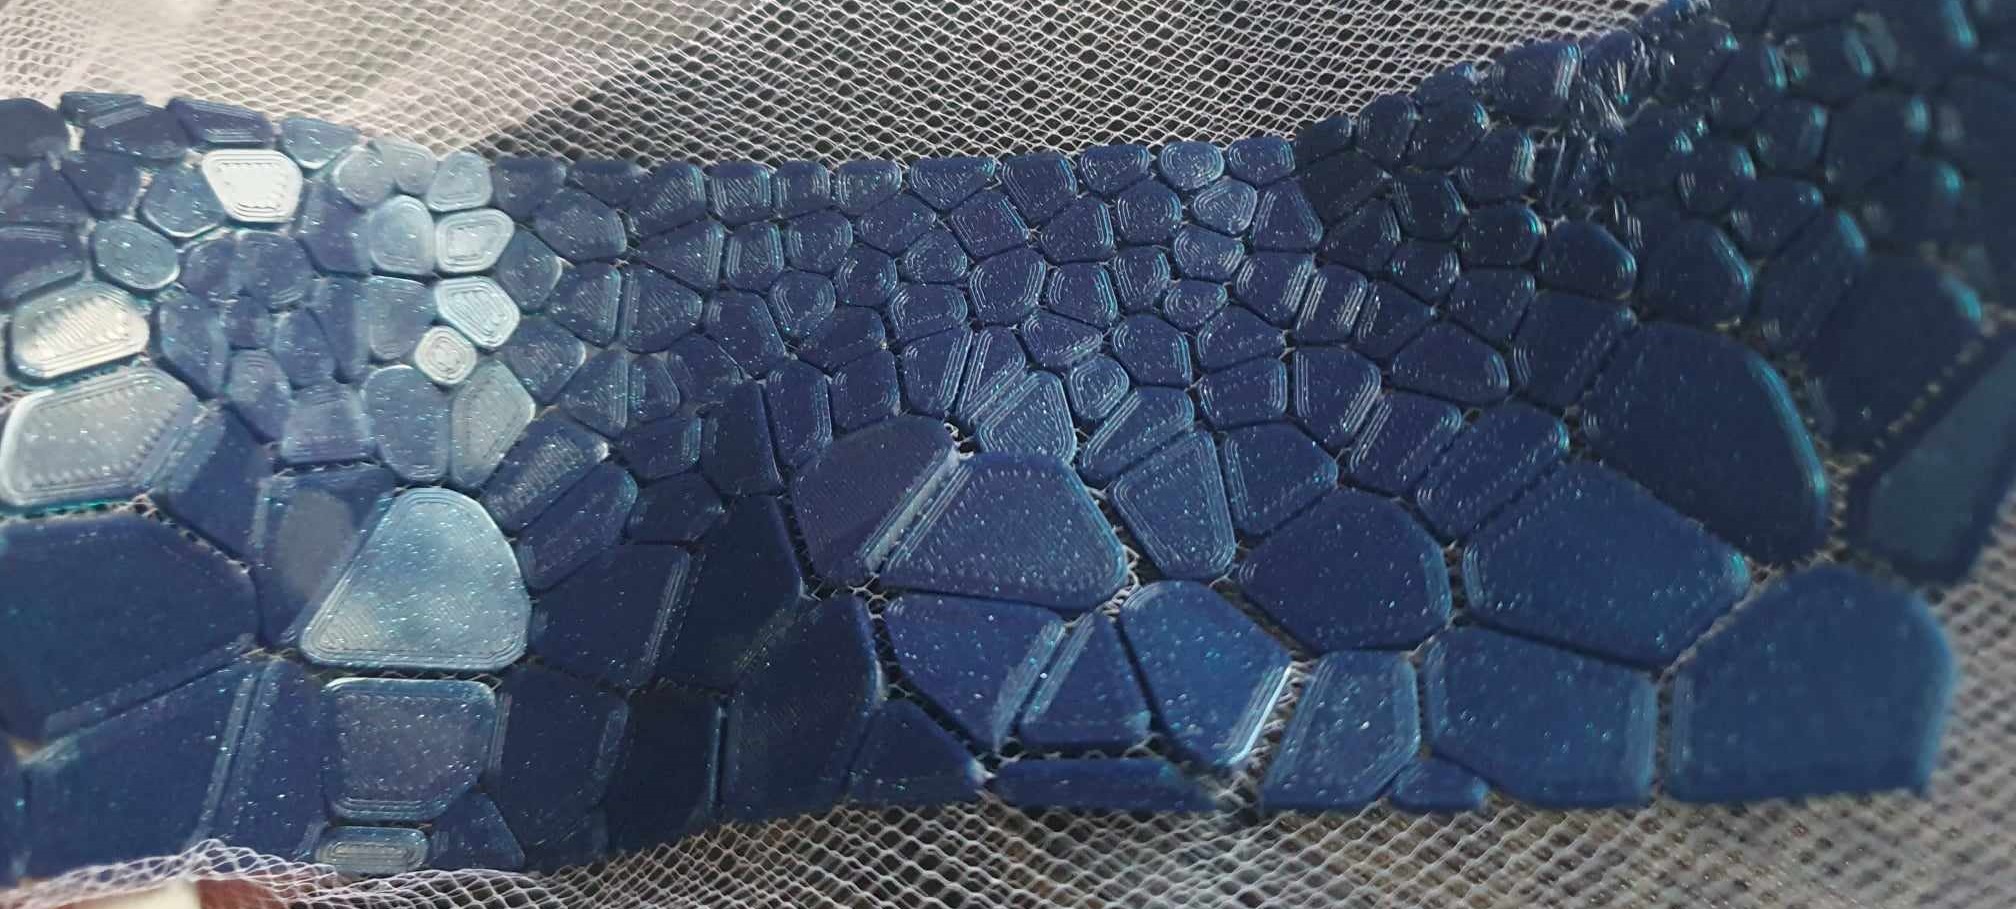
To replicate the colors and aesthetics of the lizard, I conducted swatches using blue PLA filament and mesh fabric.
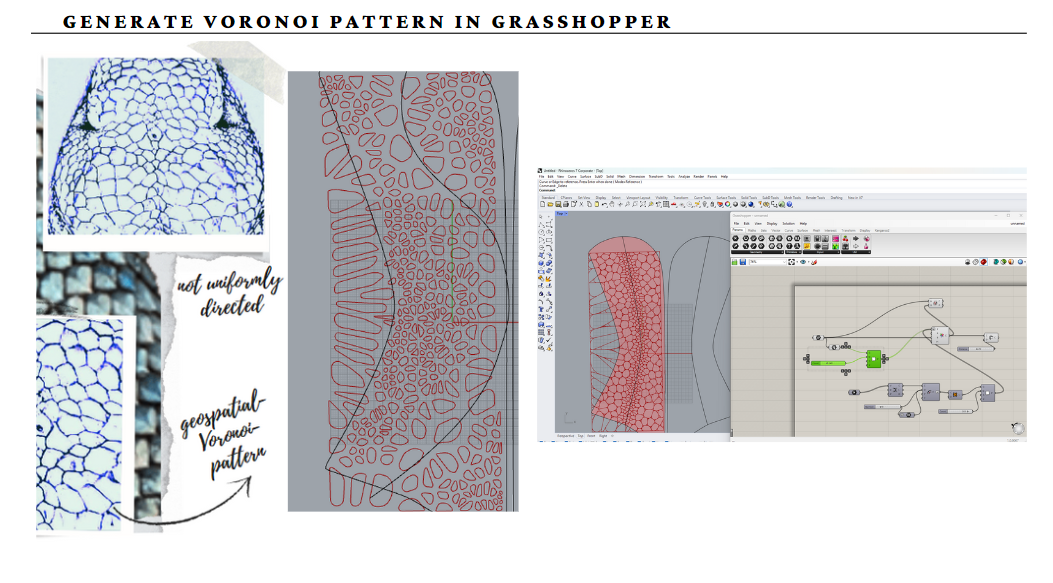
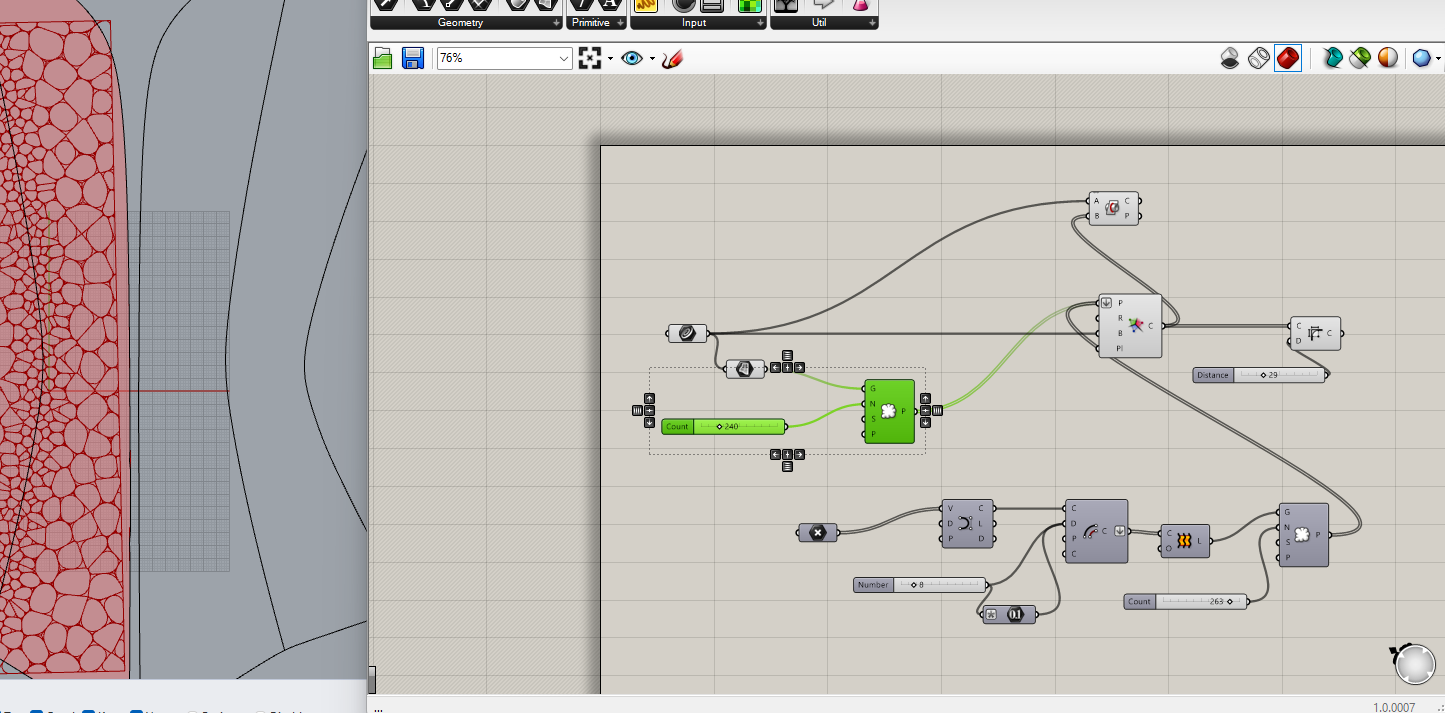
Modeling Voronoi Patterns: Use Rhino's Voronoi command or plugins in Grasshopper to generate Voronoi patterns. Adjust parameters such as cell size, seed points, and boundary shapes to create variations in density and overall pattern.
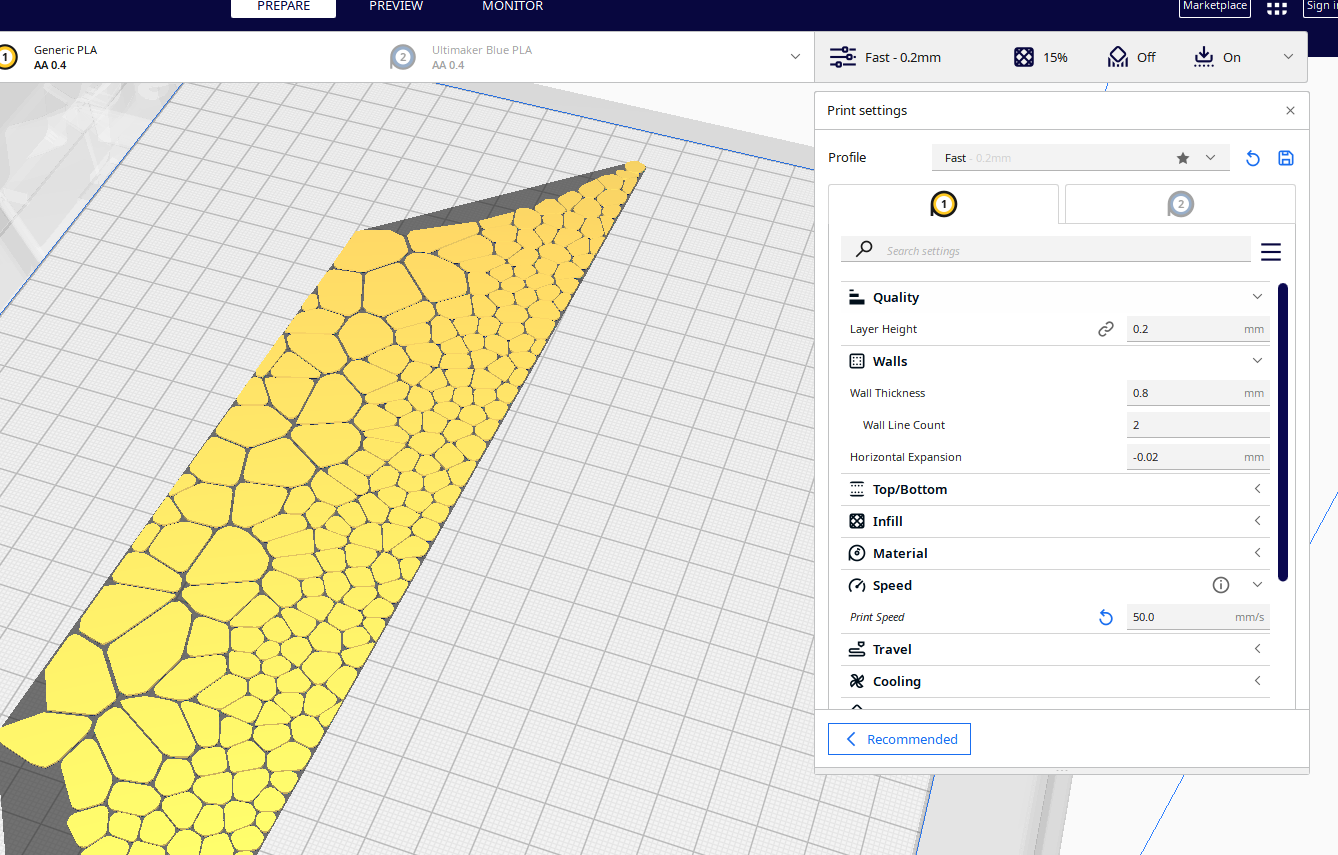

Using Grasshopper, a parametric design tool, to create a design that mimics the intricate pattern found on a lizard, particularly utilizing the Voronoi command along with attraction points. In Grasshopper, Voronoi diagrams are created by dividing a space into regions based on the distance to a specific set of points. By introducing attraction points, which exert influence on the distribution of cells in the Voronoi diagram, one can simulate the organic and irregular arrangement observed in natural patterns.
The attraction points act as focal points that attract cells, resulting in a more varied and visually interesting pattern. By adjusting the positioning and density of these attraction points, designers can achieve a wide range of effects, from subtle variations to more pronounced distortions in the pattern. This allows for the creation of intricate and dynamic designs that closely resemble natural forms, such as the scales of a lizard.