13. Skin Electronics
References & Inspiration

This project inspires me by showcasing the boundless creativity that can emerge when artistry and technology converge. It reminds me that the ordinary can be transformed into the extraordinary with a dash of imagination and a willingness to experiment. Seeing how simple materials like fiber optics and makeup can be used to create a mesmerizing and ethereal look ignites my own creative spark. It encourages me to explore new ways of expression and to embrace the magic of possibility in every endeavor. This project serves as a reminder that with a bit of ingenuity and a willingness to think outside the box, the potential for innovation is truly limitless.
Tools and Materials
- playground microcontroller
- Flora RGB Smart NeoPixel version 2 - Pack of 4
- Wires,Fiber optics, Power bank, Soldering iron and solder,Heat shrink tubing
Process and workflow
Concept
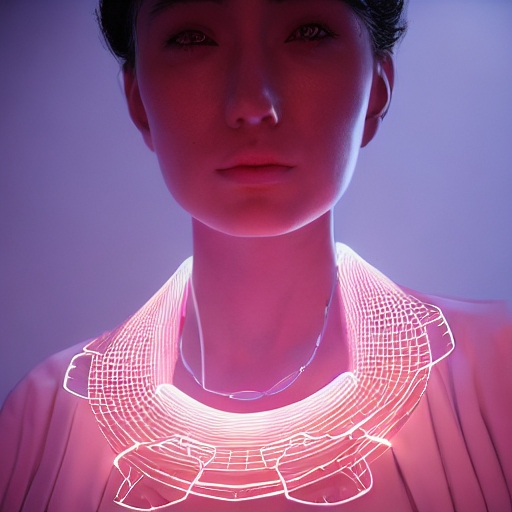
Generated by AI
Creating a necklace that responds to sound using fiber optics and Flora Neopixels
Main Components
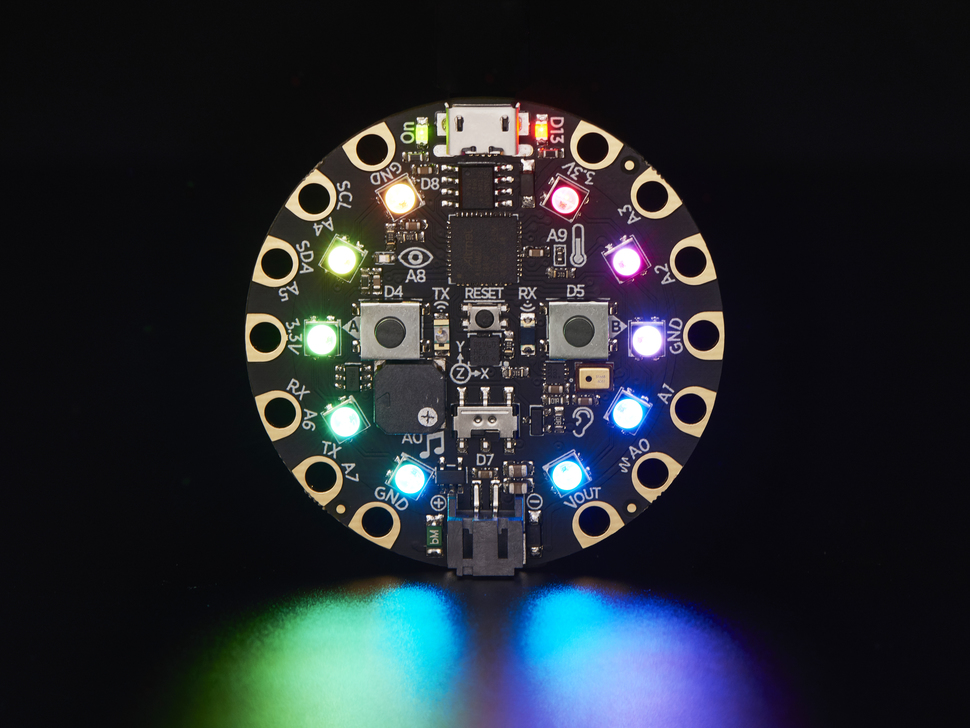
- playground microcontroller features built-in USB support, making it easy to program and interact with the board using a computer.
The Circuit Playground boards also come equipped with various sensors, lights, buttons, and other components built directly onto the board itself. This allows users to experiment with different sensors and inputs without needing to solder or wire additional components.

- Flora RGB Smart NeoPixel are a type of LED (light-emitting diode) developed by Adafruit Industries. They are small, addressable RGB LEDs that can be controlled individually or in a chain. Neopixels are popular for use in wearable electronics and other DIY projects due to their compact size and versatility.
Prepare Components
-
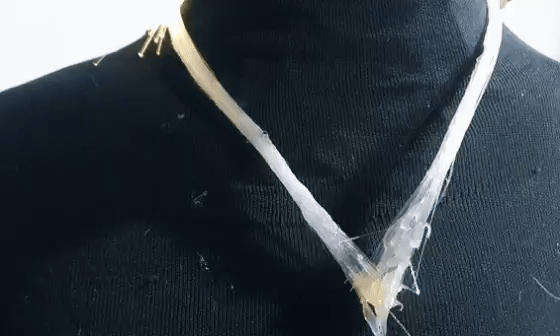
Cut the fiber optics to your desired length for the necklace.
-
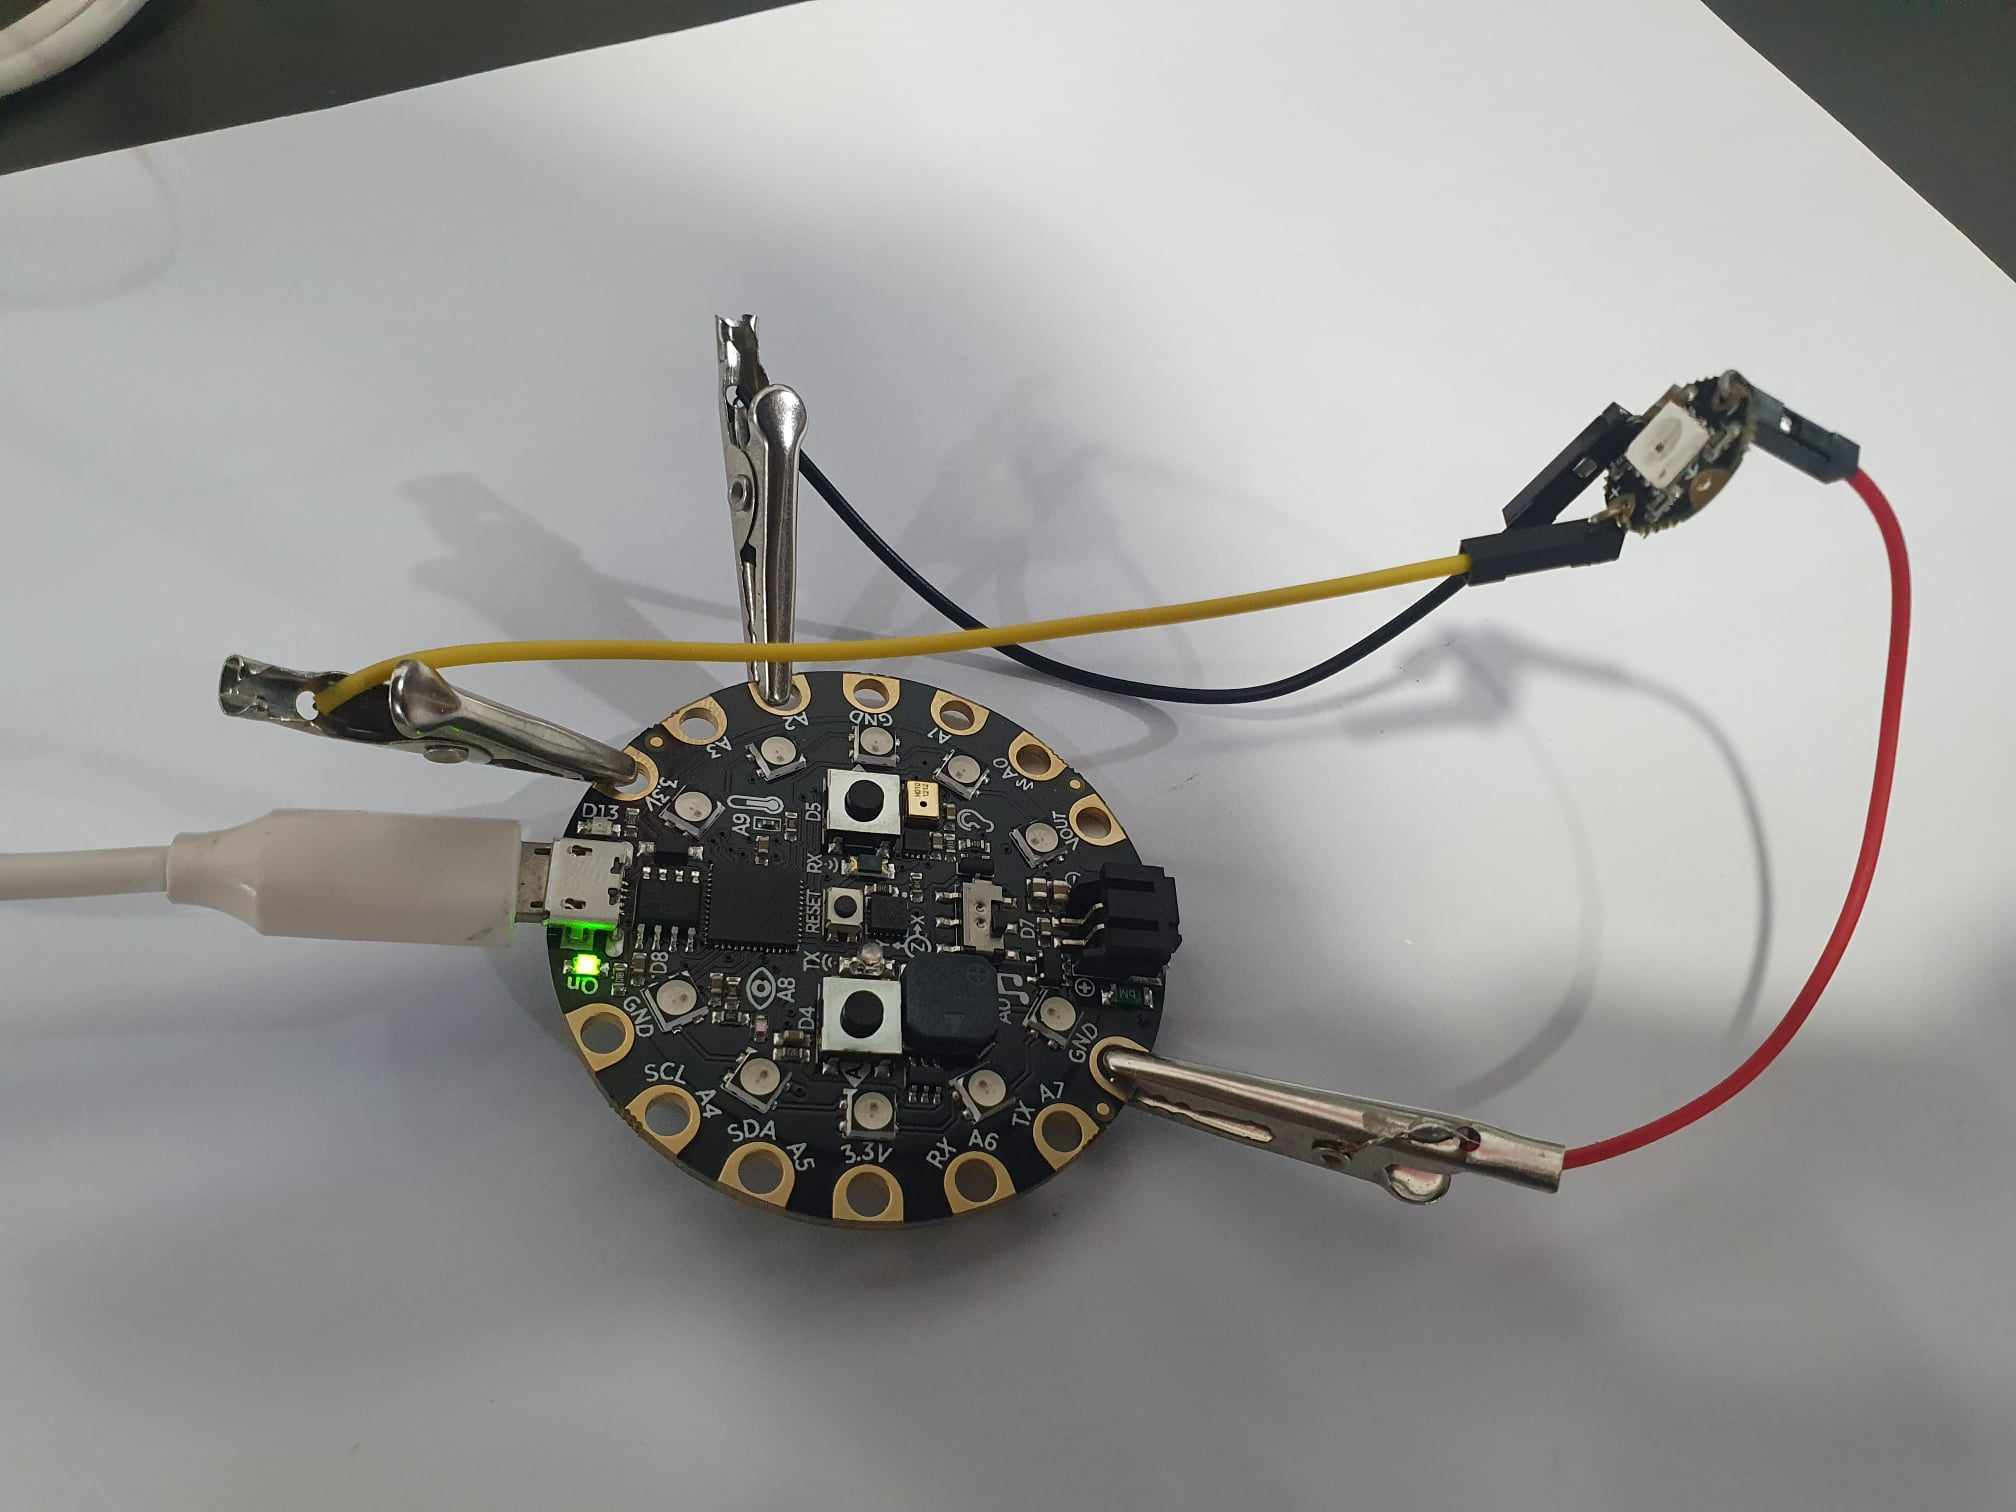
Prepare the Flora Neopixels by soldering wires to the power, ground, and data input pads.
-
Connect the Flora Neopixels and the sound sensor to the power bank using wires. Ensure proper polarity (positive to positive, negative to negative).
-
Connect the data input of the Flora Neopixels to the output of the sound sensor.
- Prepare the code and testing

Code
#include <Adafruit_CircuitPlayground.h>
#include <FastLED.h>

#define NUM_LEDS 1
#define DATA_PIN A2
#define CLOCK_PIN 13

CRGB leds[NUM_LEDS];

void setup() {
  CircuitPlayground.begin();
  Serial.begin(115200);
  FastLED.addLeds<NEOPIXEL, DATA_PIN>(leds, NUM_LEDS);
}

void loop() {
  int soundLevel = CircuitPlayground.soundSensor();
  Serial.println("Sound Level: " + String(soundLevel));

  // Map the sound level to the LED brightness and saturation
  int brightness = map(soundLevel, 0, 1023, 0, 255);
  int saturation = map(soundLevel, 0, 1023, 0, 255);

  // Increase sensitivity by using a larger mapping range
  brightness = constrain(brightness * 2, 0, 255);
  saturation = constrain(saturation * 2, 0, 255);

  // Set overall brightness
  FastLED.setBrightness(200);

  // Cycle through different colors
  for (int i = 0; i < NUM_LEDS; i++) {
    if (i % 3 == 0) {
      // Red
      leds[i] = CHSV(0, saturation, brightness);
    } else if (i % 3 == 1) {
      // Green
      leds[i] = CHSV(85, saturation, brightness);
    } else {
      // Blue
      leds[i] = CHSV(170, saturation, brightness);
    }
  }

  // Show the LED
  FastLED.show();

  // Delay for a short duration
  delay(50);
}
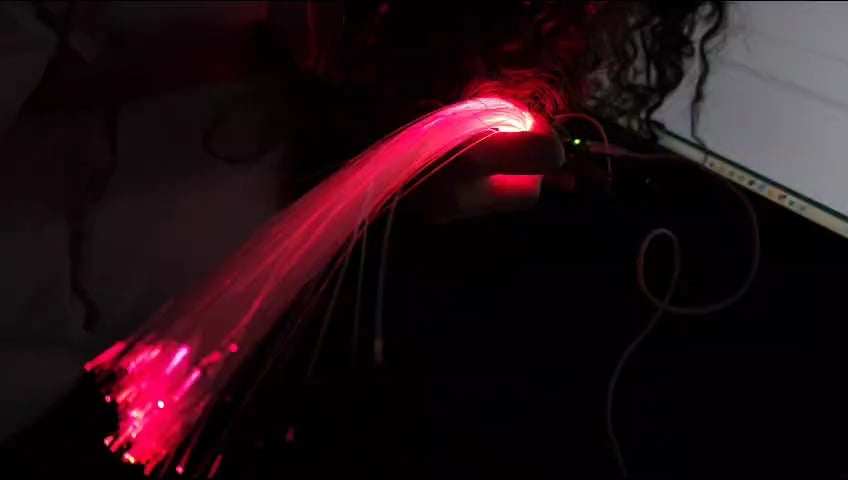
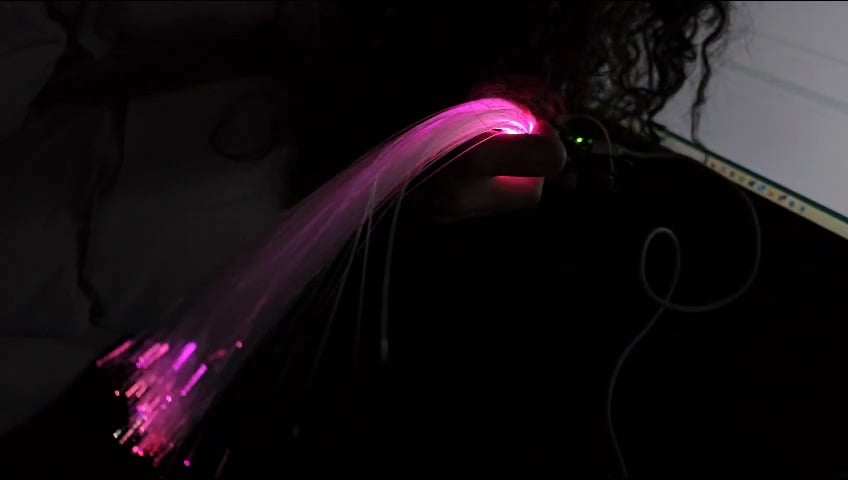
Results
Test the Setup: Test the necklace to ensure all components are functioning properly. Check that the neopixels light up and respond to commands from the playground. Test any sensors or input devices to ensure they are reading data correctly.
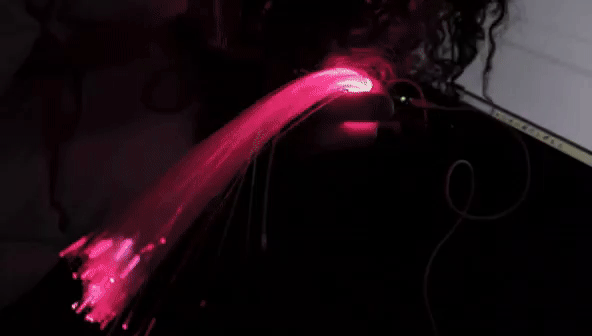
Connect the power bank to the playground microcontroller and RGB neopixels using USB cables.