12. Soft robotics
This week, I delved into the realm of soft robotics, navigating the intricate process of conceptualization and fabrication. From initial thoughts to tangible creations, each step unfolded as a testament to the fusion of creativity and engineering.
1. Inspiration

Jack Irving,
the British rising star fashion designer, is a visionary artist whose designs transcend traditional boundaries. Drawing inspiration from the enchanting world of nature, his creations are a celebration of the beauty found in creatures and plants. Chrysanthemums, sea urchins, and jellyfish come to life in his imaginative designs, each piece a testament to his unique perspective. What sets Irving apart is his innovative use of inflatable forms, a technique that breathes life into his garments, creating a sense of movement and fluidity. By harnessing the power of inflatables, he not only transforms fashion into a three-dimensional art form but also invites the wearer to become a living canvas. The dynamic and ever-changing shapes in his collections evoke a mesmerizing dance, as if the garments themselves are alive with the spirit of the natural world. Jack Irving's ability to translate the essence of creatures and plants into wearable sculptures showcases his exceptional talent and marks him as a trailblazer in the realm of avant-garde fashion.

2. Process and workflow
Diving into self-folding inflatables brings a mix of excitement and purpose. The thrill lies in watching structures transform autonomously, creating dynamic possibilities in various fields. In addition to inflatable installations and pavilions, the ultimate aim is to reshape our interaction with the world, fueled by an enthusiastic drive to unlock the full potential of self-folding inflatables.
3. Steps - Thermo vinyl fabric
Starting the experiments, i used vinyl paper/fabric with a shiny side and a typically white adhesive side. Placing baking paper between the vinyl and the iron (or heat press) prevents adhesion in that area, creating a pathway for airflow.
Step 1
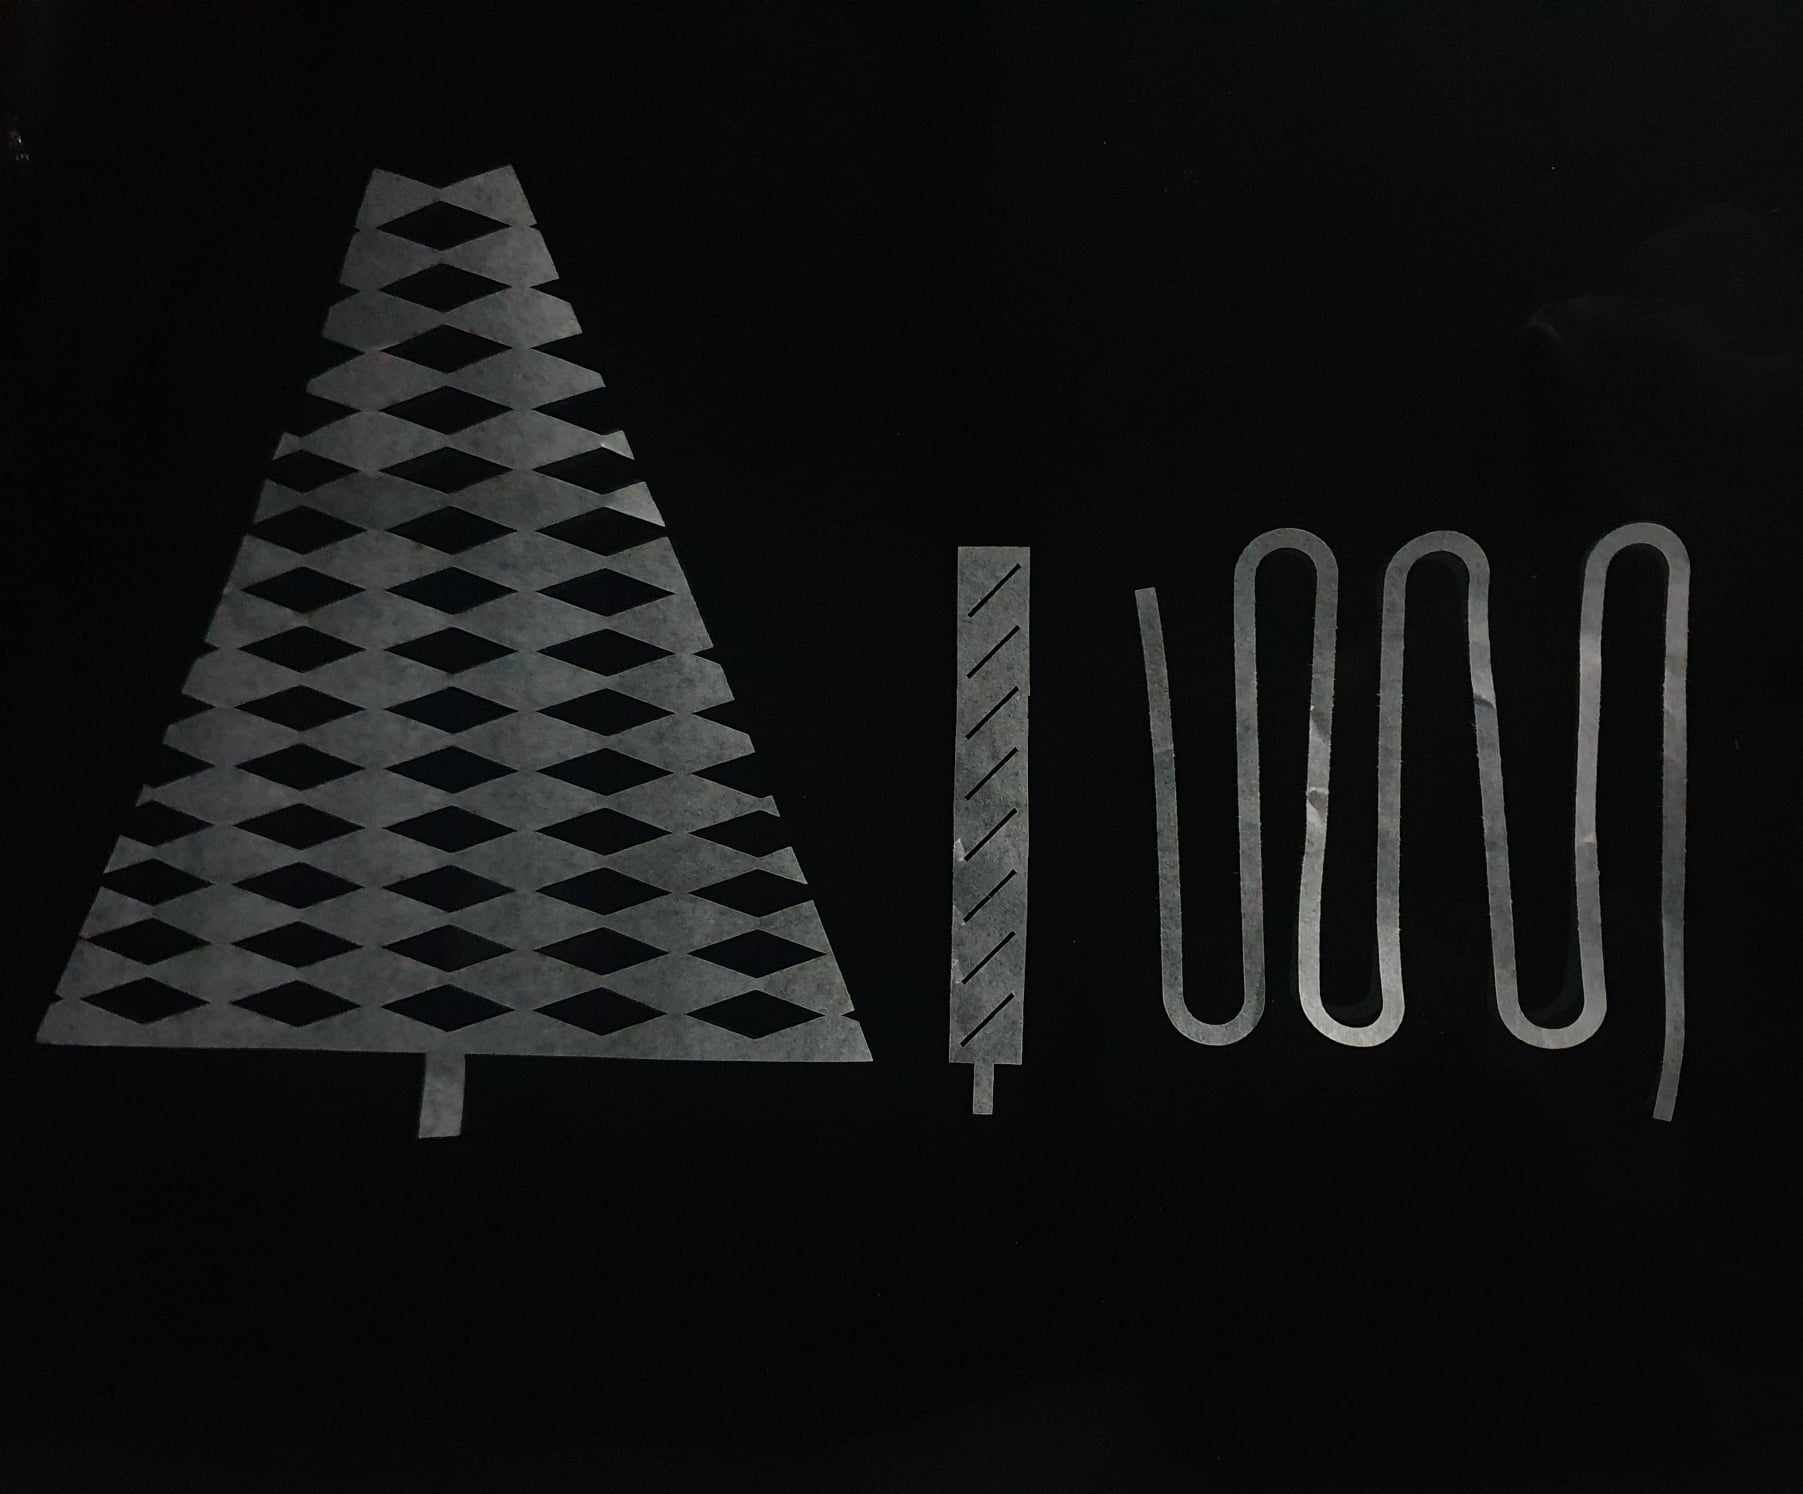
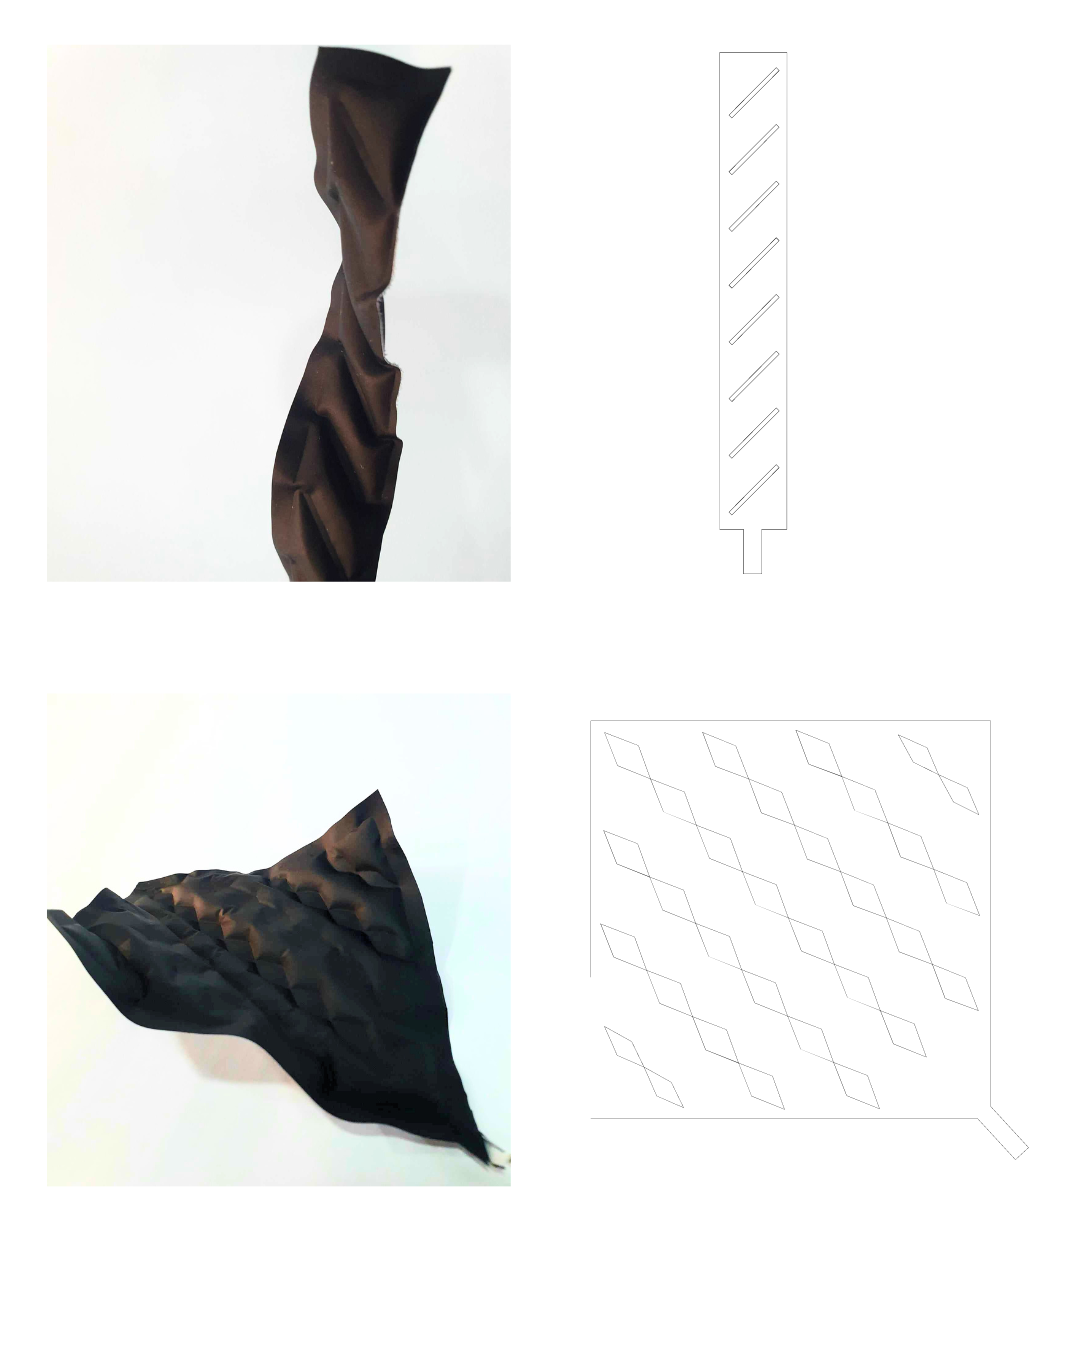
Designing the Pattern: Creating the patterns, using Rhino software for designing and drafting, capturing the essence of movement, bending shapes, and dimensions with precision and creativity.
creating the base shapes with commands like Line, Curve, and Rectangle. Apply transformations like Rotate and Scale to add variation, and use commands such as Offset and Array for intricate details. Ensure precision with the Dimension command, and create a continuous pathway for laser cutting using Offset

Step 2
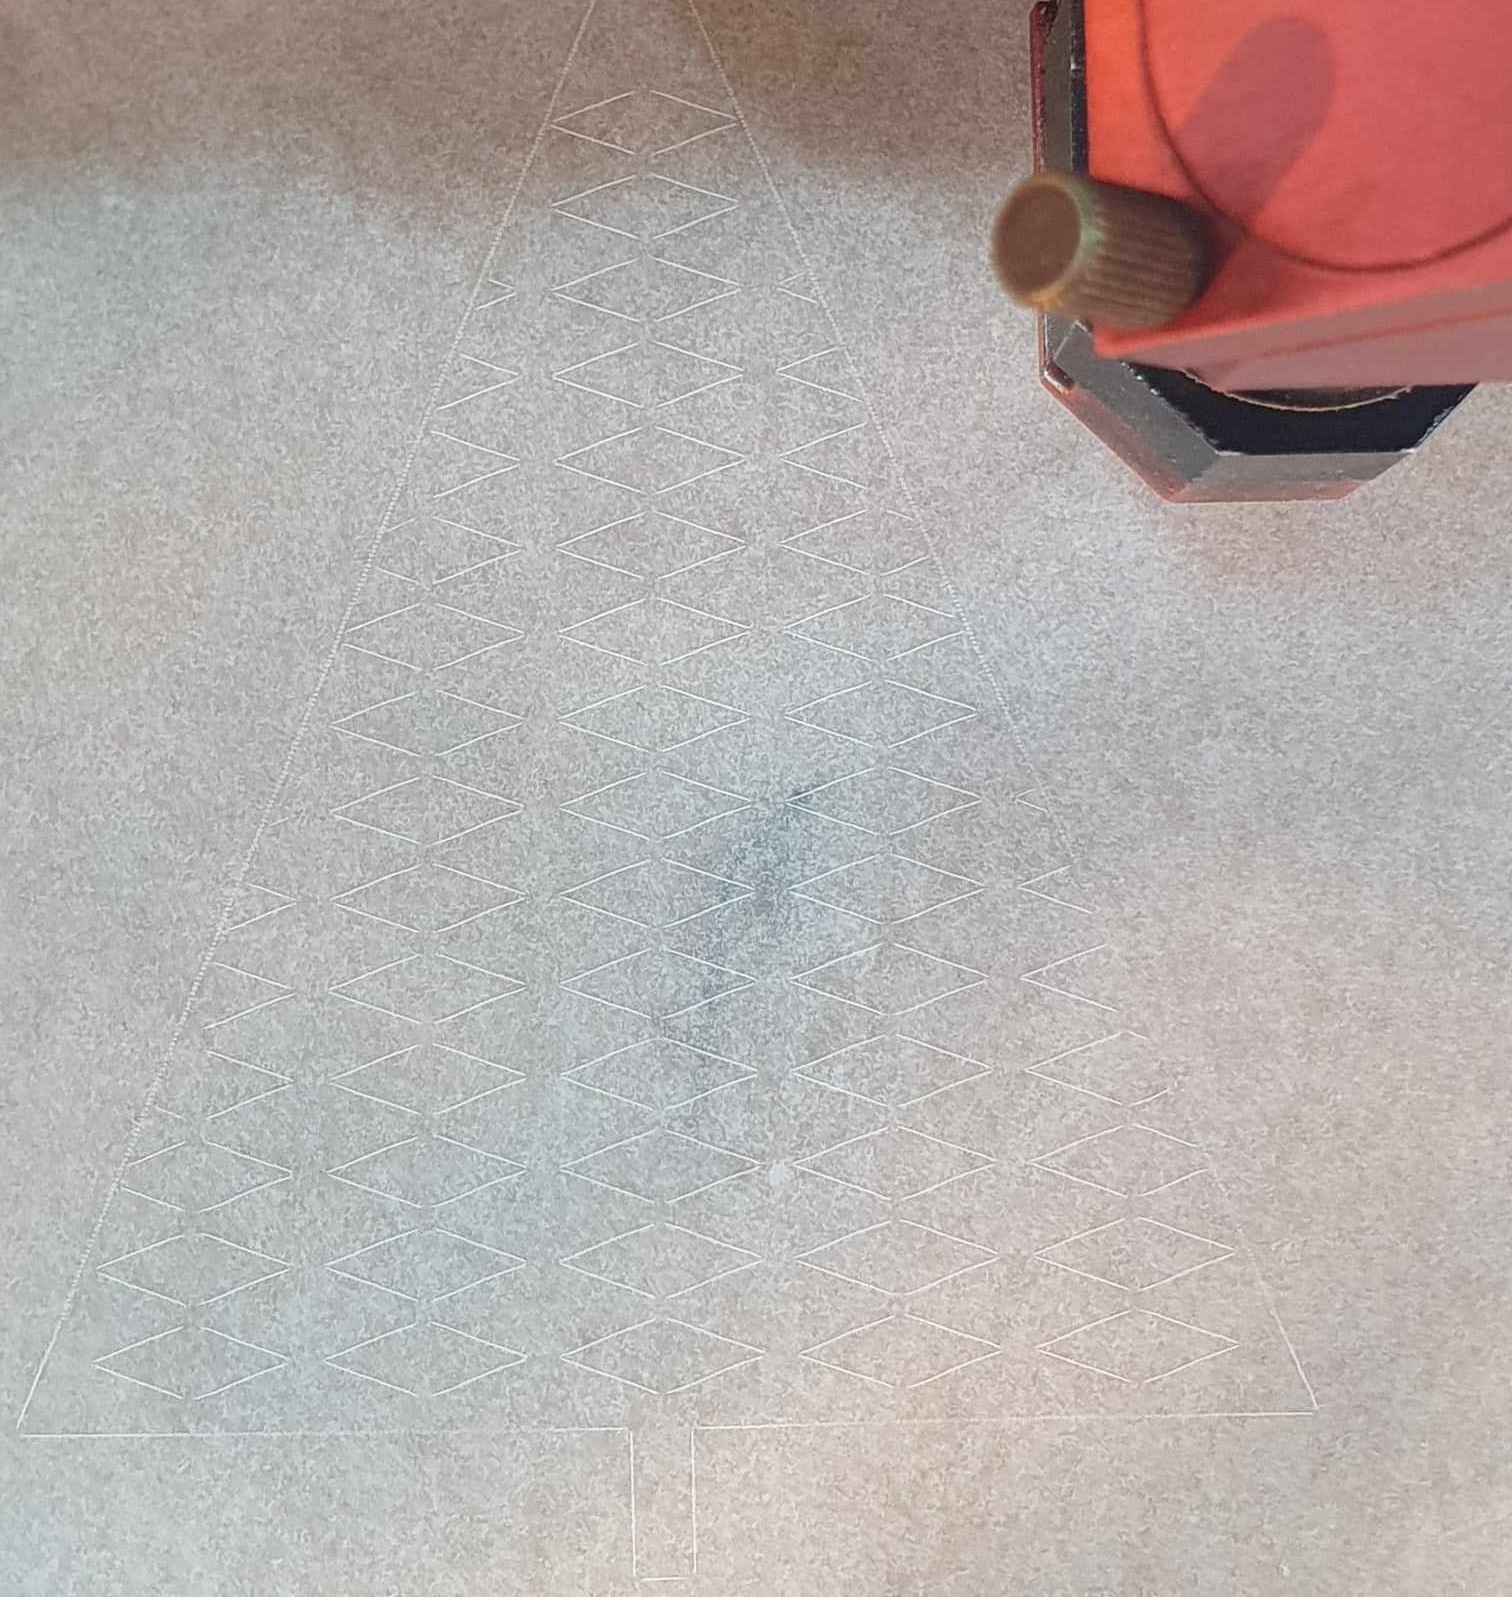
Laser Cutting: For added precision in creating an airflow guide, you may opt to laser cut the baking paper. Transfer the desired airflow pattern onto a compatible file format for the laser cutter, ensuring precise alignment. Execute the laser cutting process according to the specifications, creating a meticulously cut airflow guide on the baking paper to enhance the thermo vinyl fabric pattern.
Power Setting 20%, Speed Setting 200 mm/s.
Step 3
Tracing the Pattern: using a pen or marker to carefully trace the pattern onto the thermo vinyl fabric. Follow the lines precisely to ensure an accurate representation of the design.
Step 4
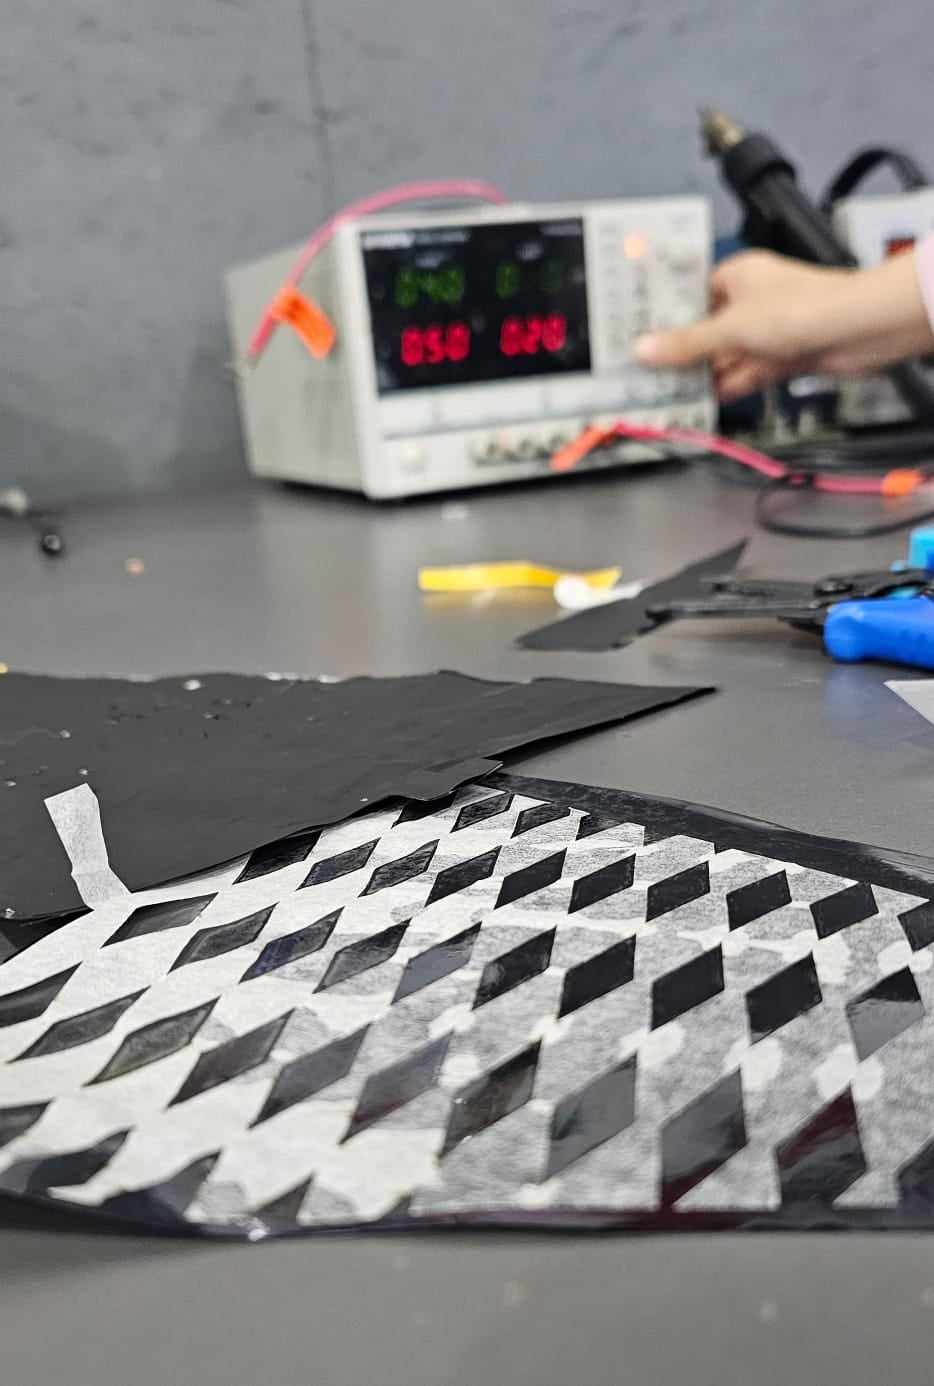
Applying Heat (Heat Pressing): Once the thermo vinyl fabric pattern is cut, proceed to apply heat using a heat press. Ensure the heat press is set to the appropriate temperature and duration specified by the thermo vinyl fabric's instructions. Place the cut pattern onto the fabric, cover it with a protective sheet, and press using the heat press. This step activates the adhesive properties of the thermo vinyl, securely bonding it to the fabric surface.
Place baking paper between the vinyl and the iron or heat press during experiments to prevent adhesion in specific areas, facilitating airflow.


Step 5
Applying and Inflating with Air using a pump and an electric source:

Take the thermo vinyl fabric pattern and introduce air to achieve the desired inflation. This step involves blowing air into the designated openings or valves, allowing the pattern to take shape and exhibit its intended three-dimensional form.
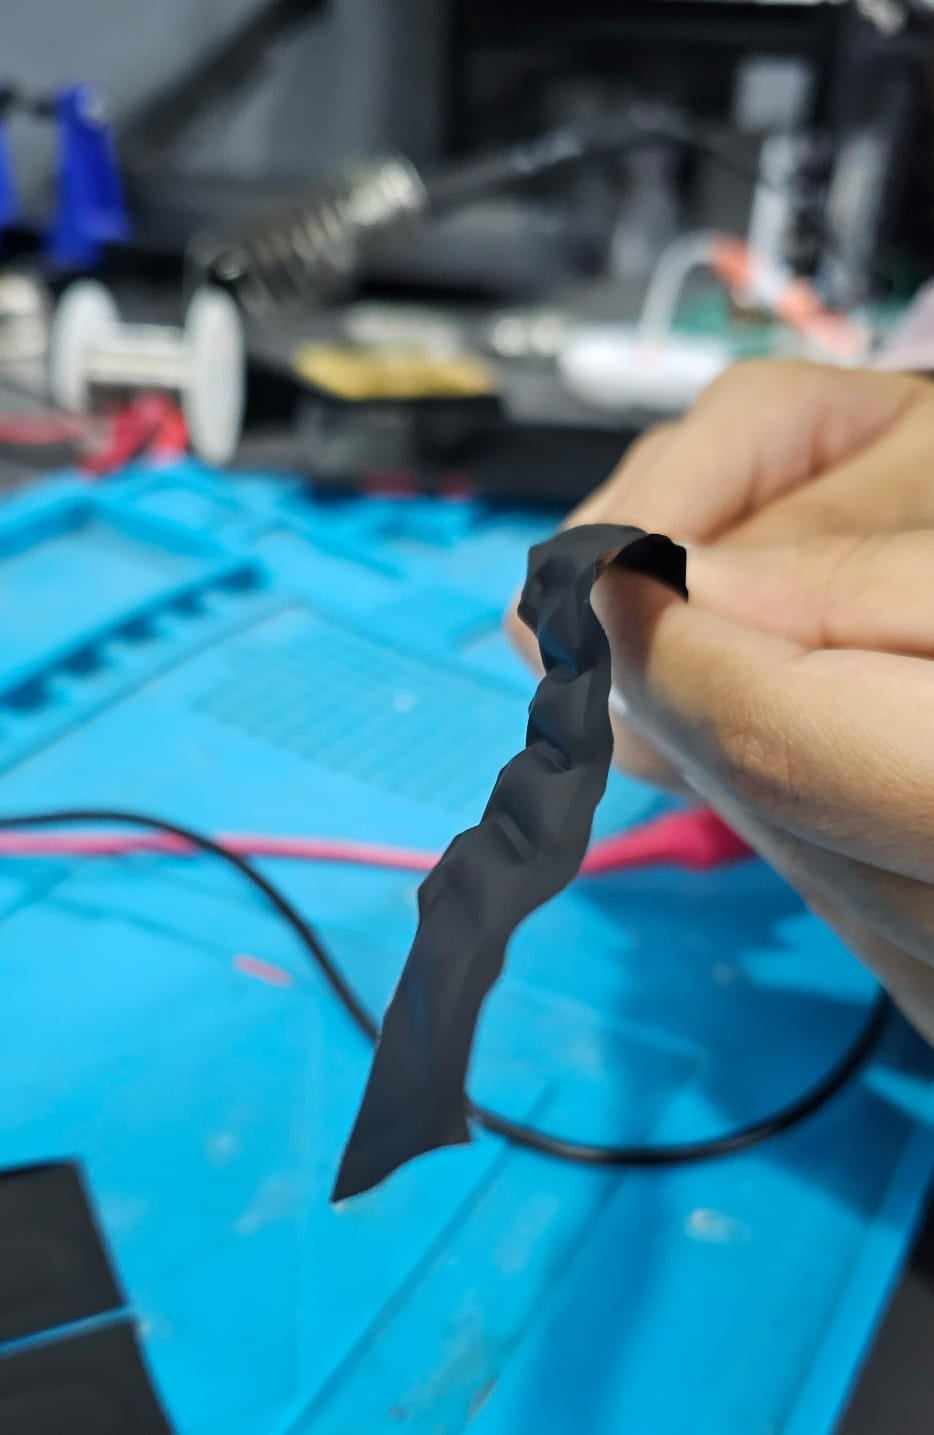
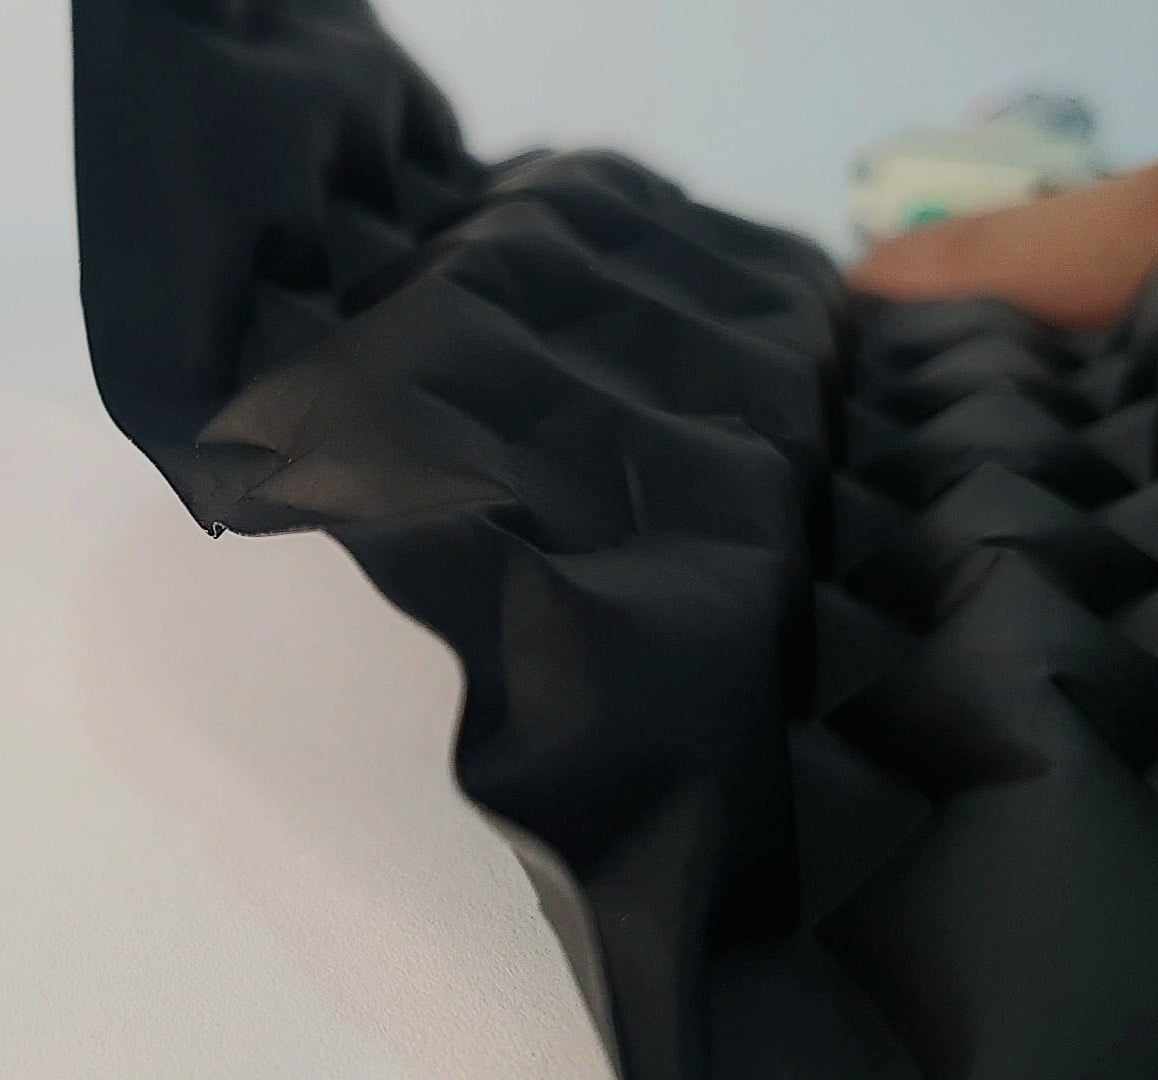
Results
twisting and curling movement
bending movement
Compressing movement
bending movement
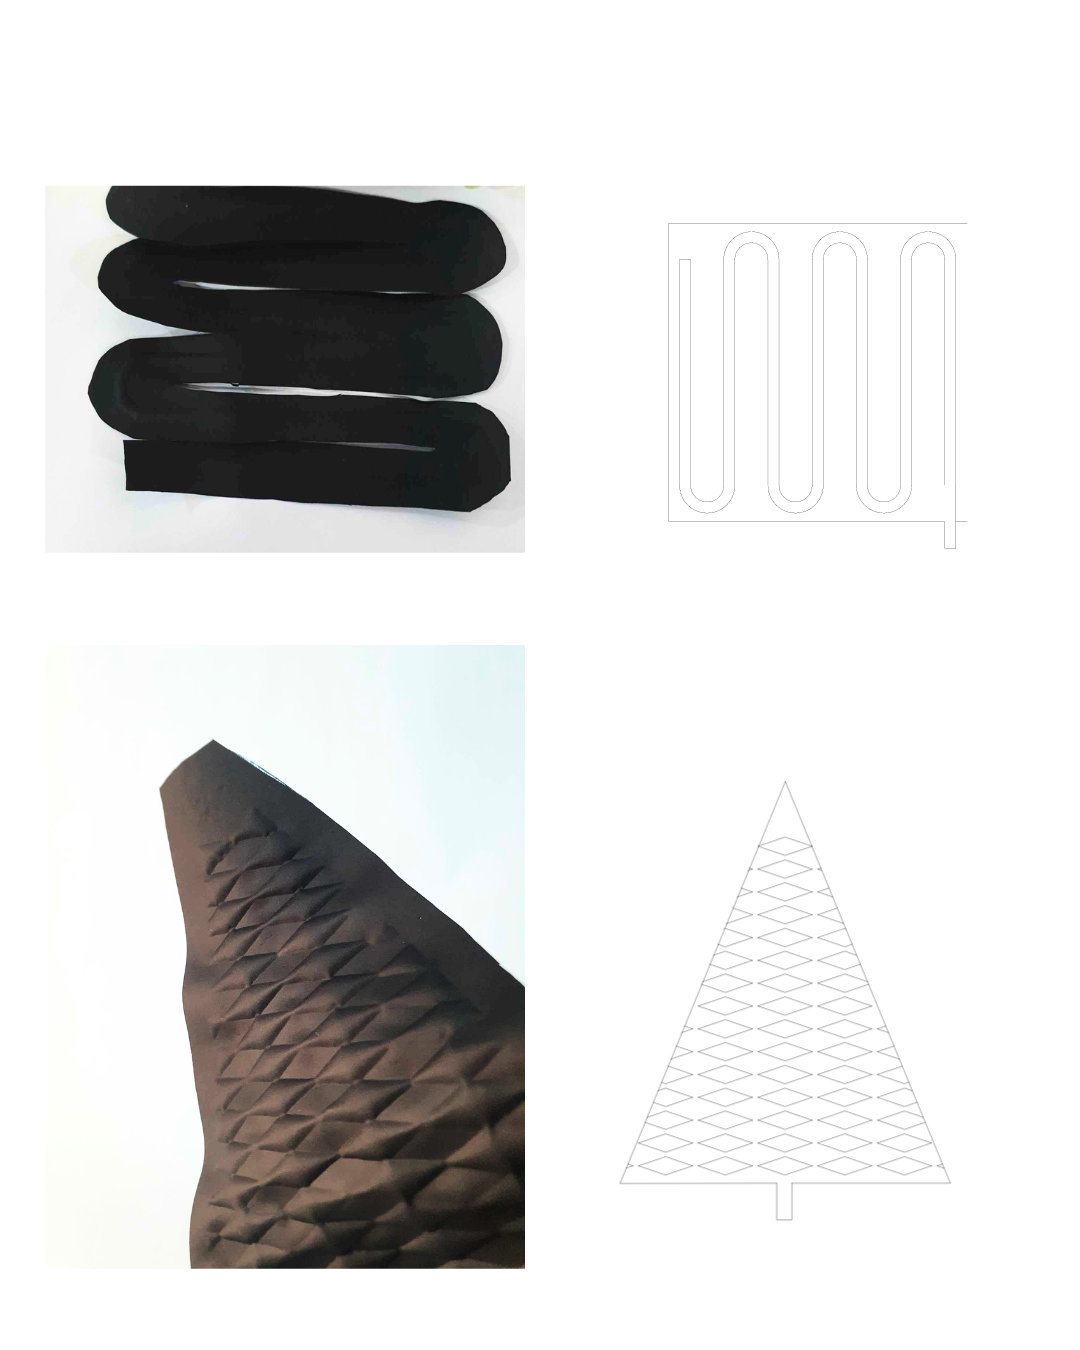
bending movement


4. 3D Print Model
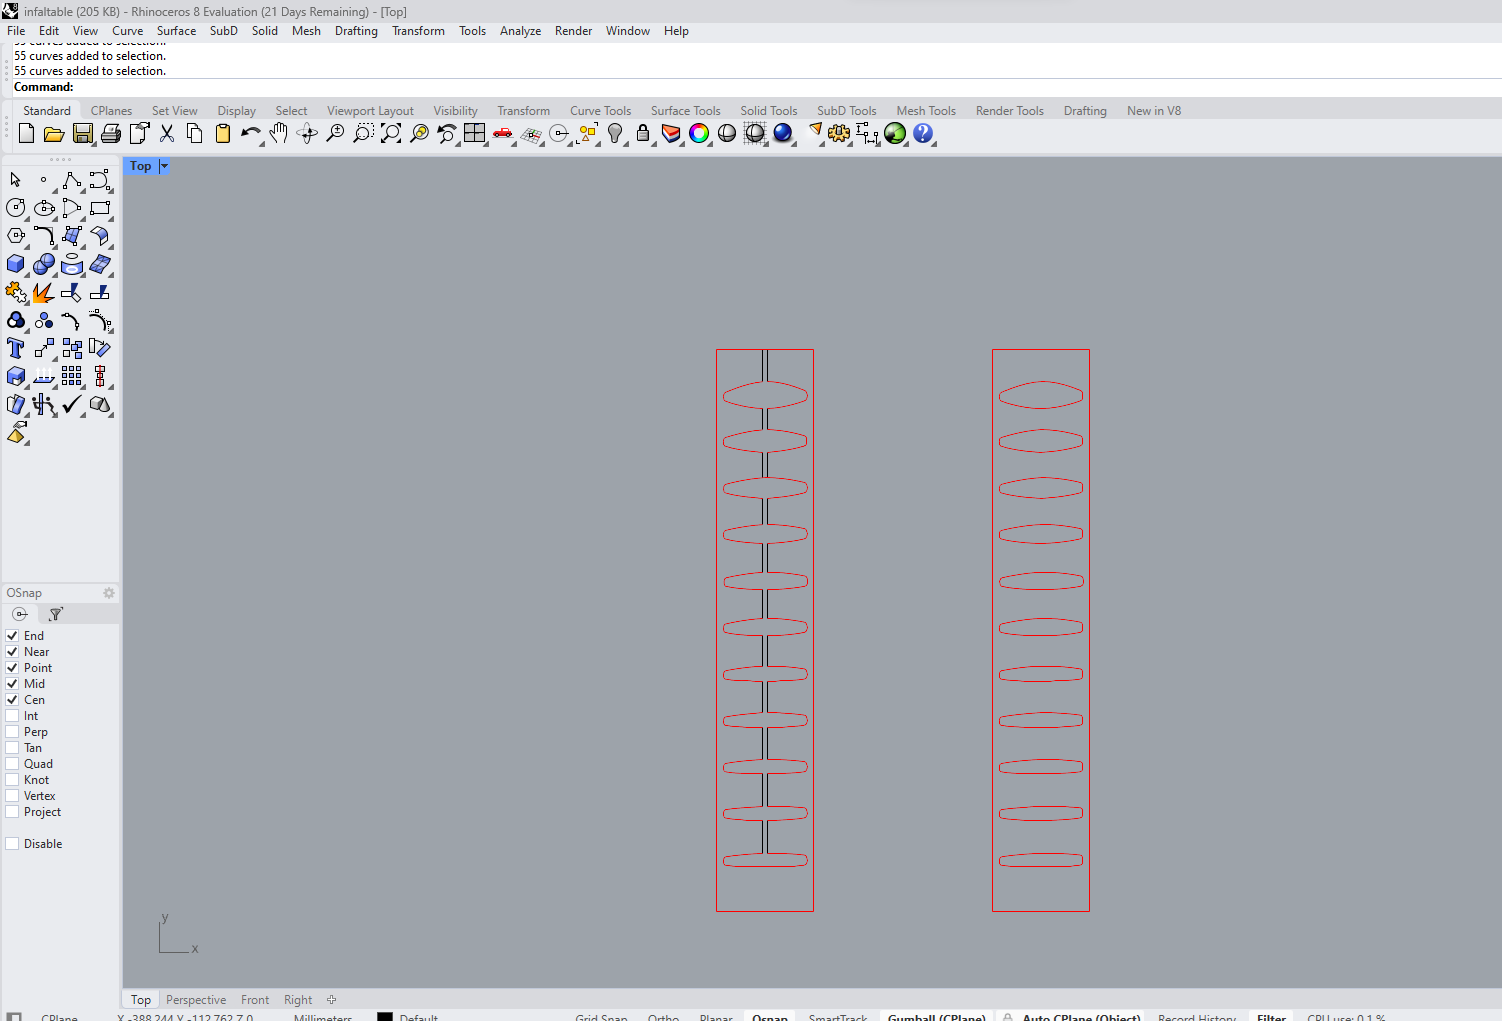
Step 1
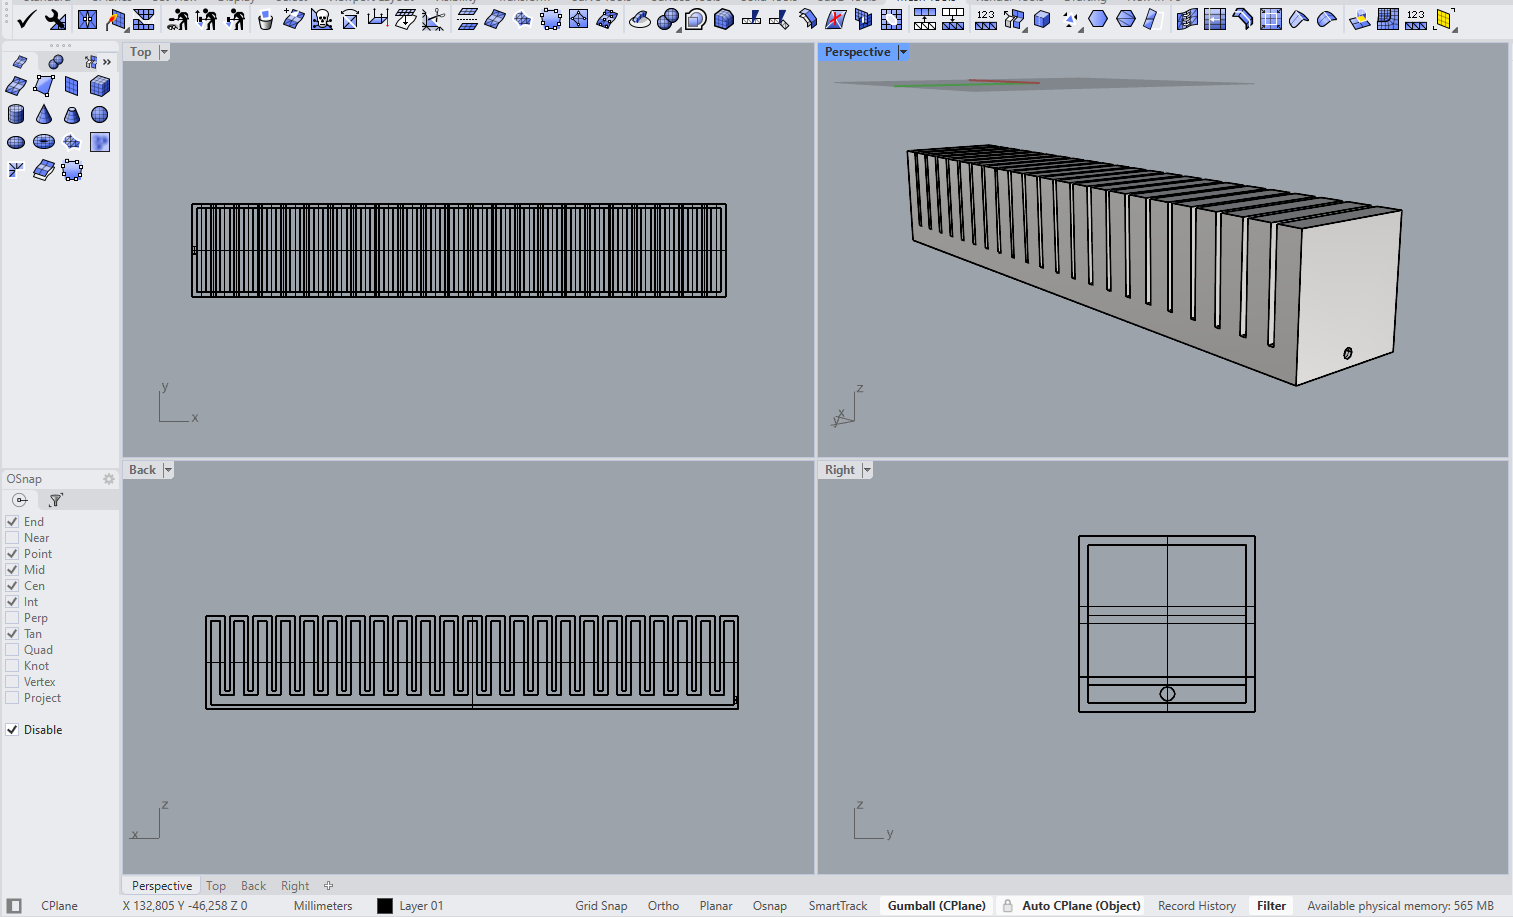
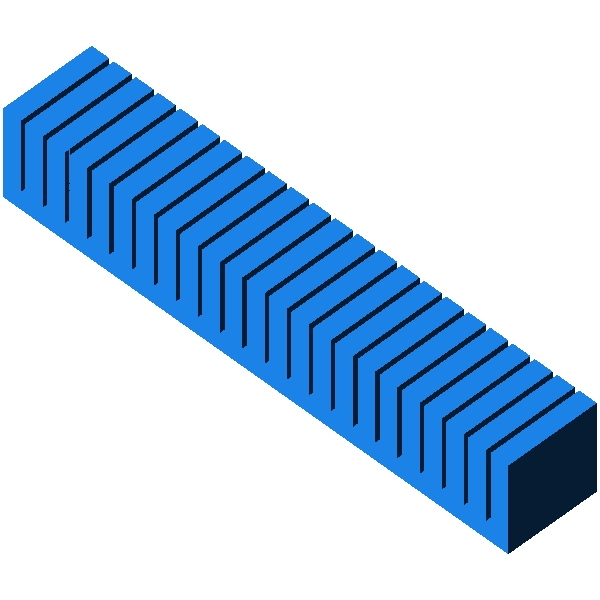
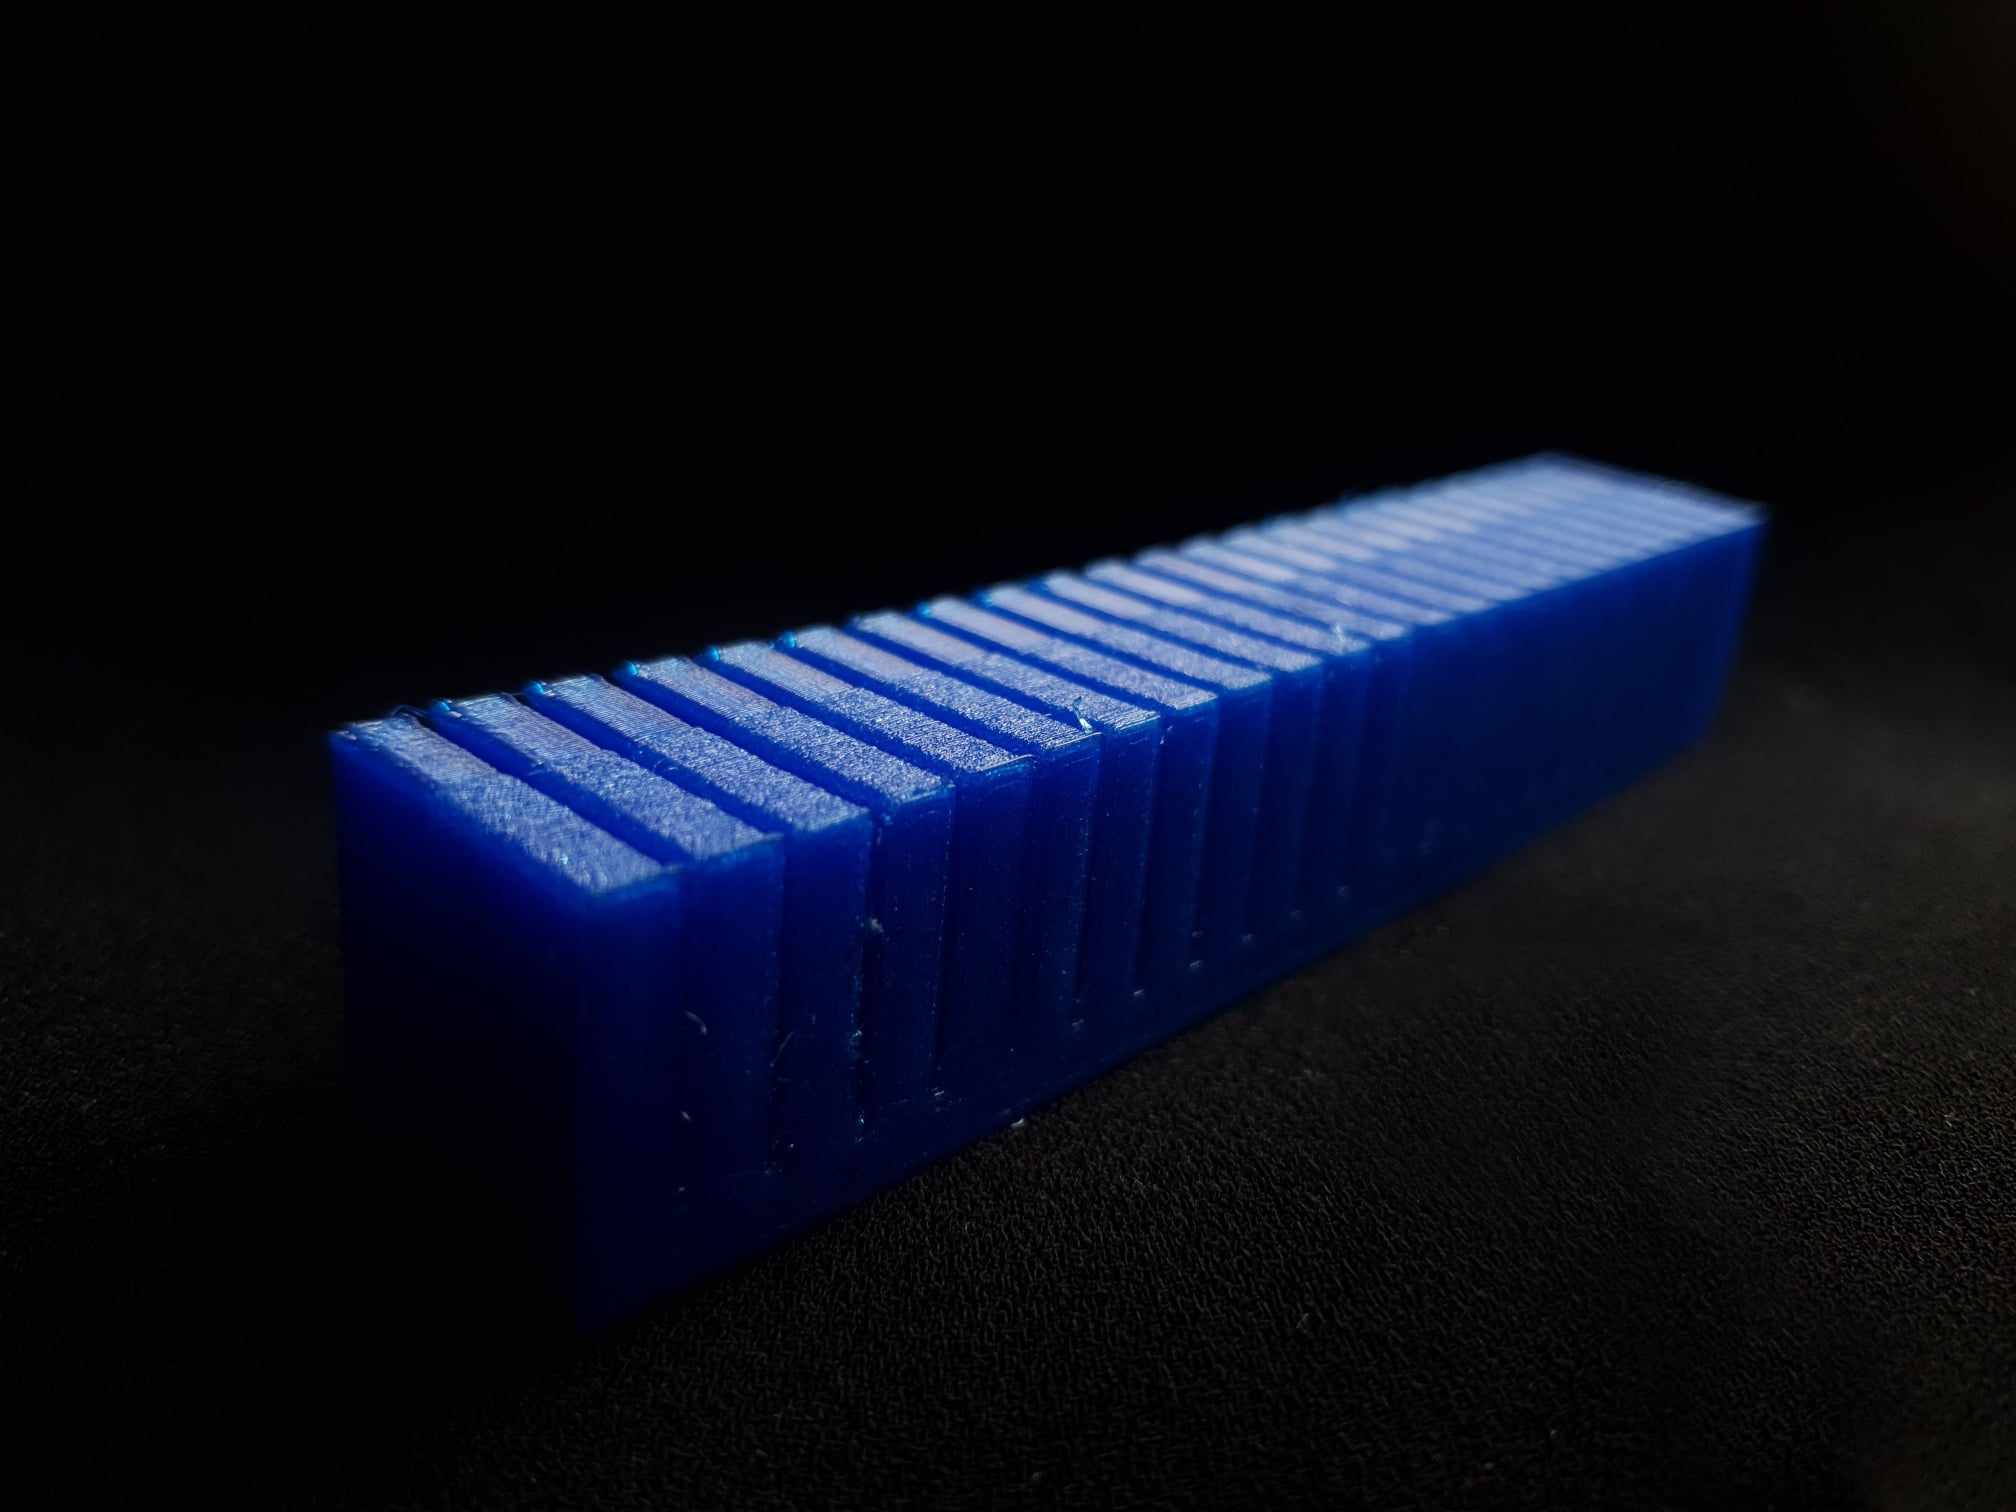
- Design the Actuator: Using Rhino software to design the pneumatic bending actuator, considering factors like length, height, width, the number of chambers, separation, and wall thickness for a customized and precise model.
- Designing channels for pneumatic tubing to pass through. These channels will guide the airflow to control the actuator's movement.
Step 2
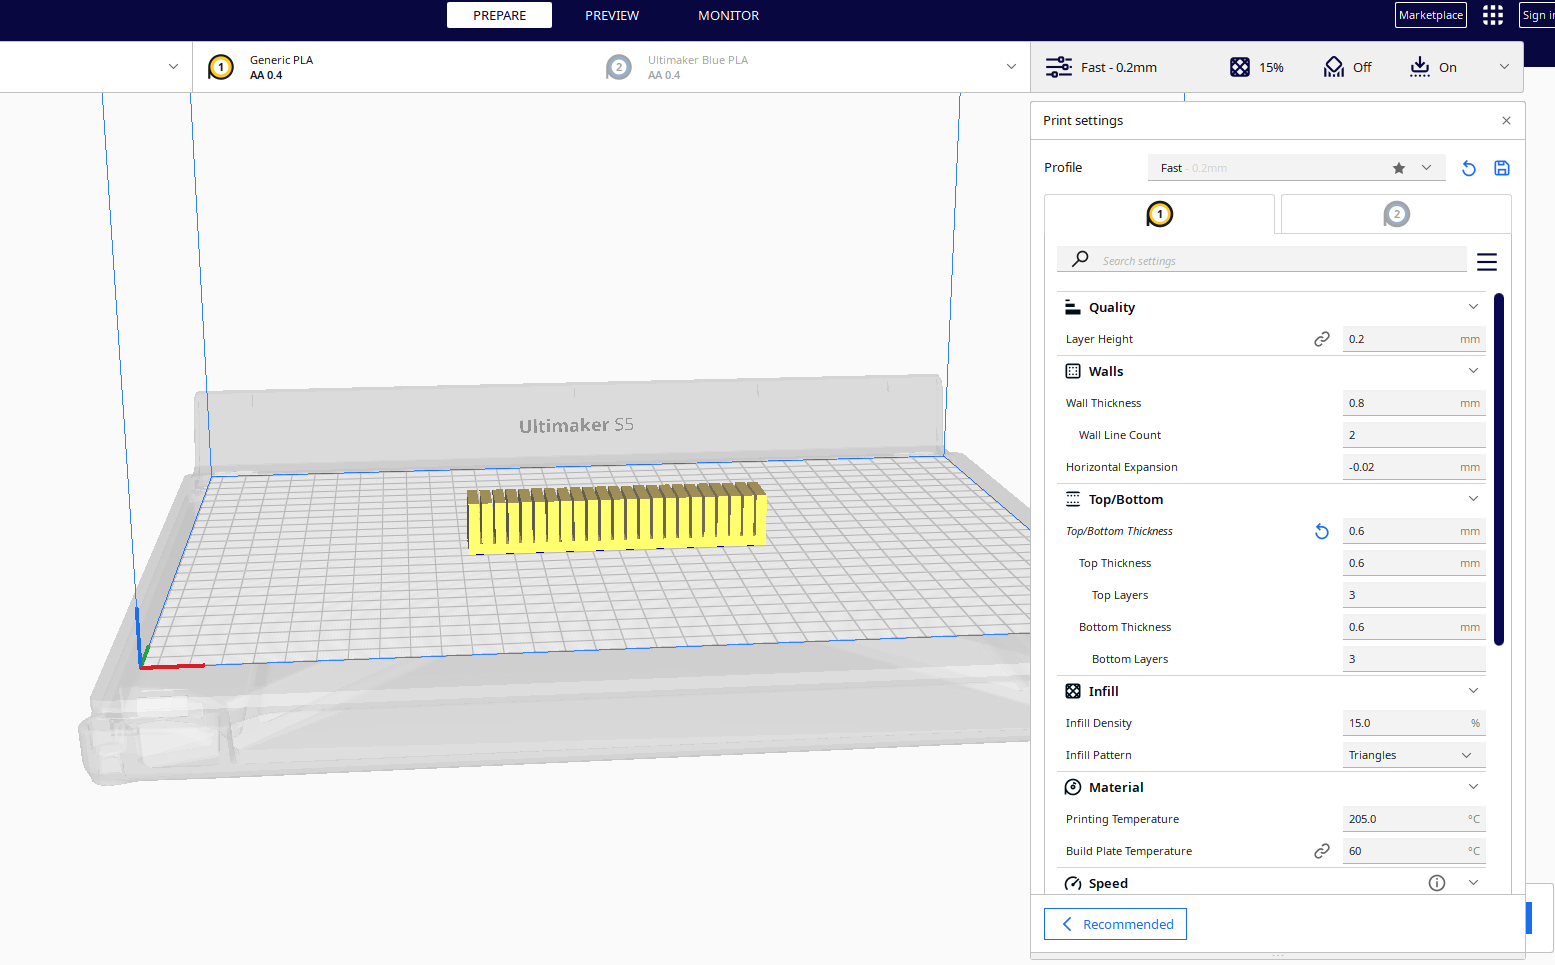
Use slicing software to prepare the 3D model for printing and Adjusting the settings.
Step 3
Choose 3D Printing Material: Flexible and elastic filaments, such as TPU (thermoplastic polyurethane), are often used for pneumatic actuators to allow for bending and movement.

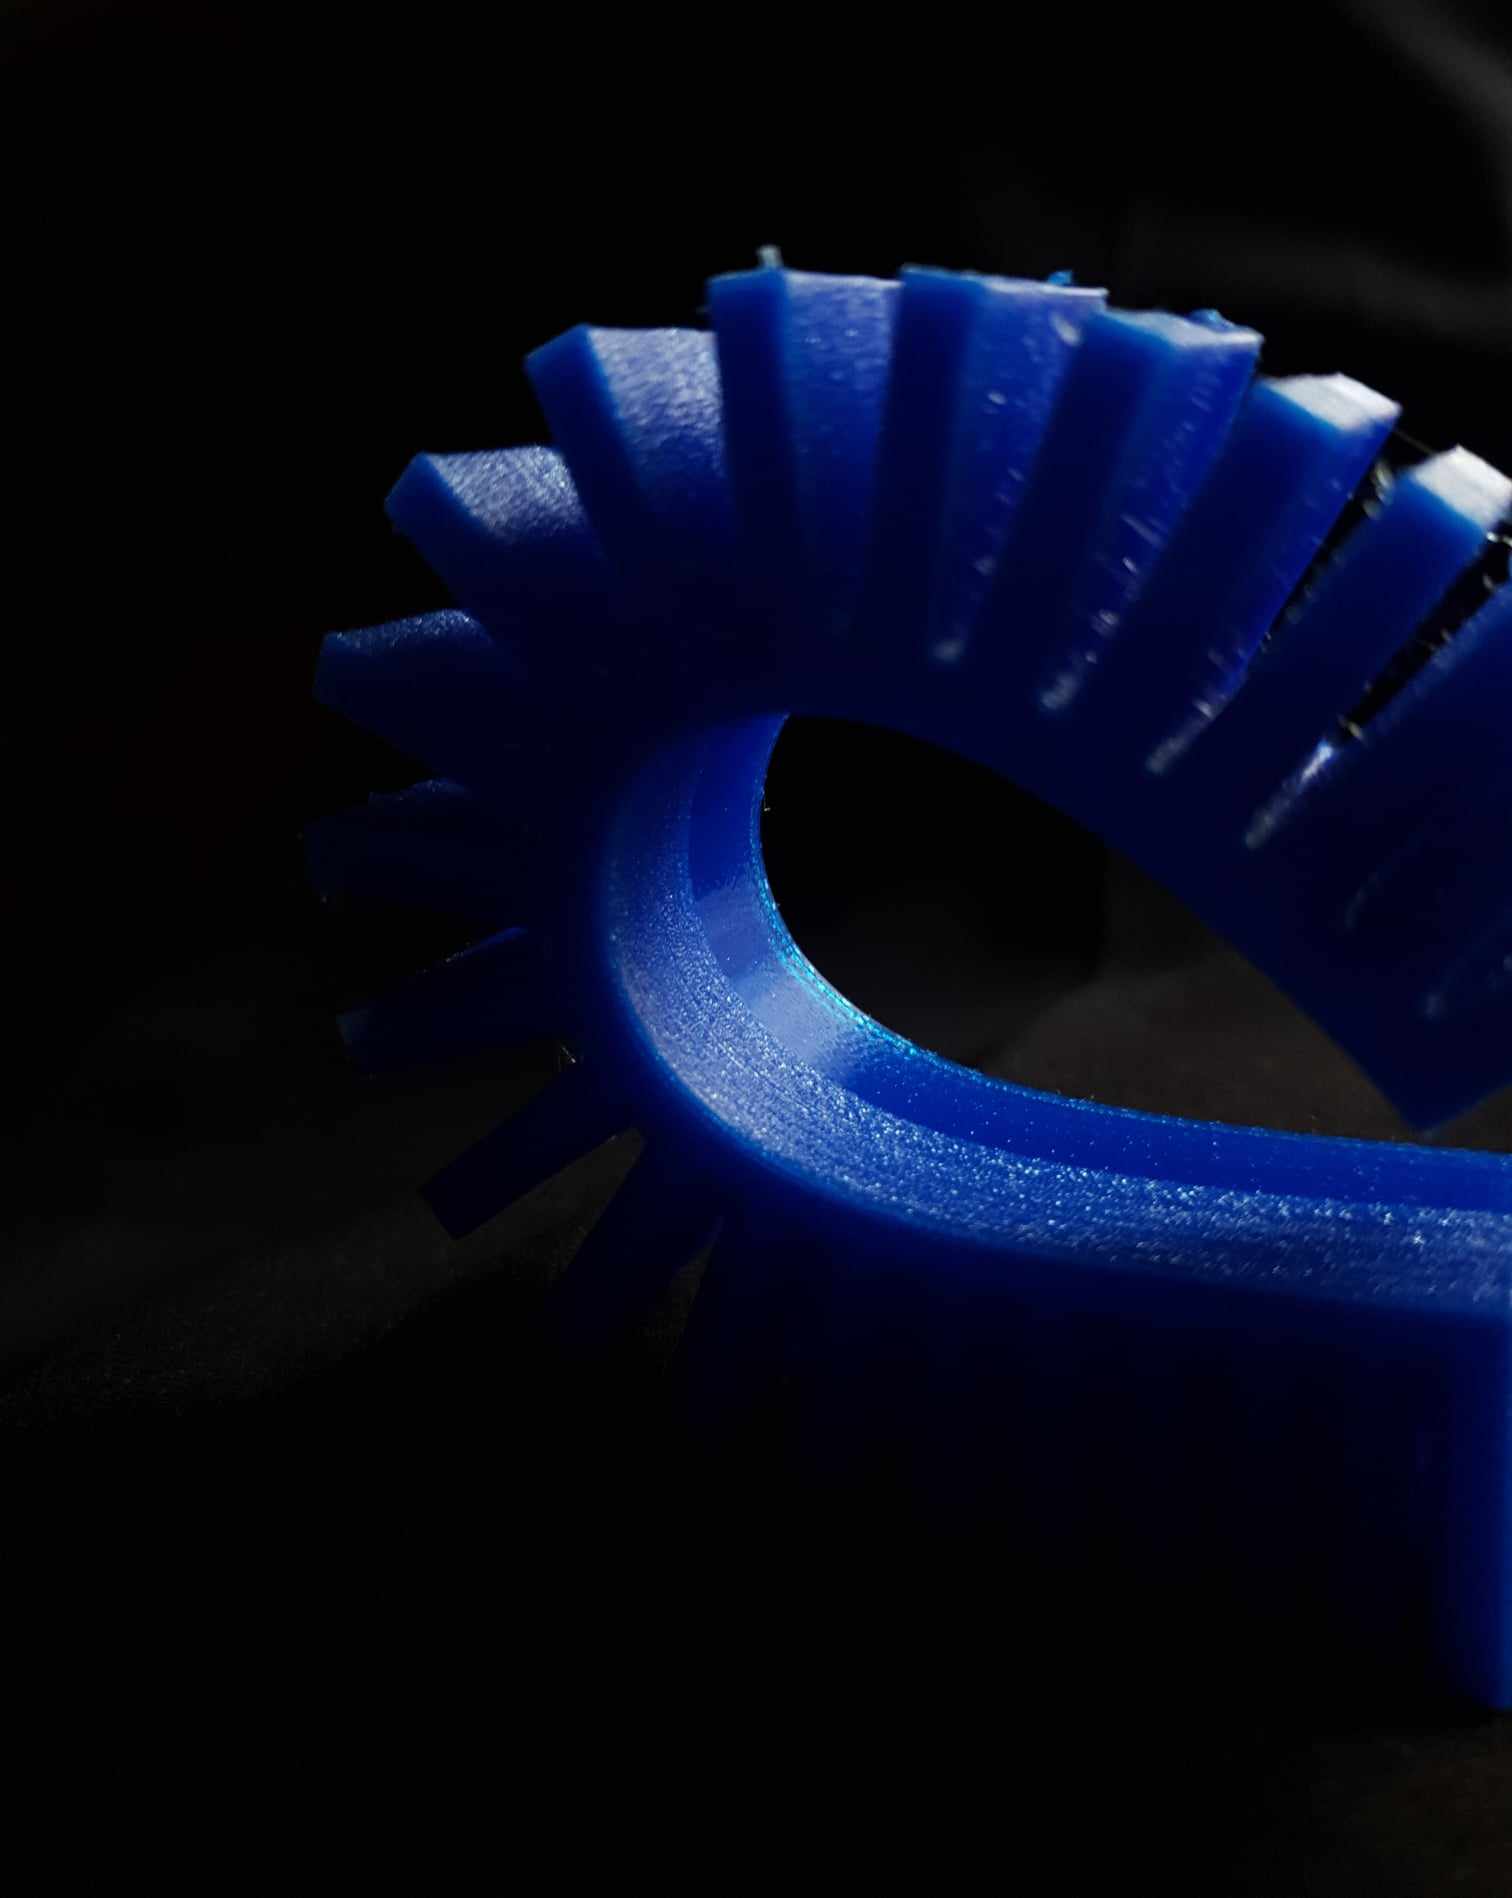
Step 4
Test and Iterate: Testing the pneumatic bending actuator by introducing air through the tubing. Observe the actuator's movement
check this source for 3d printing research link.
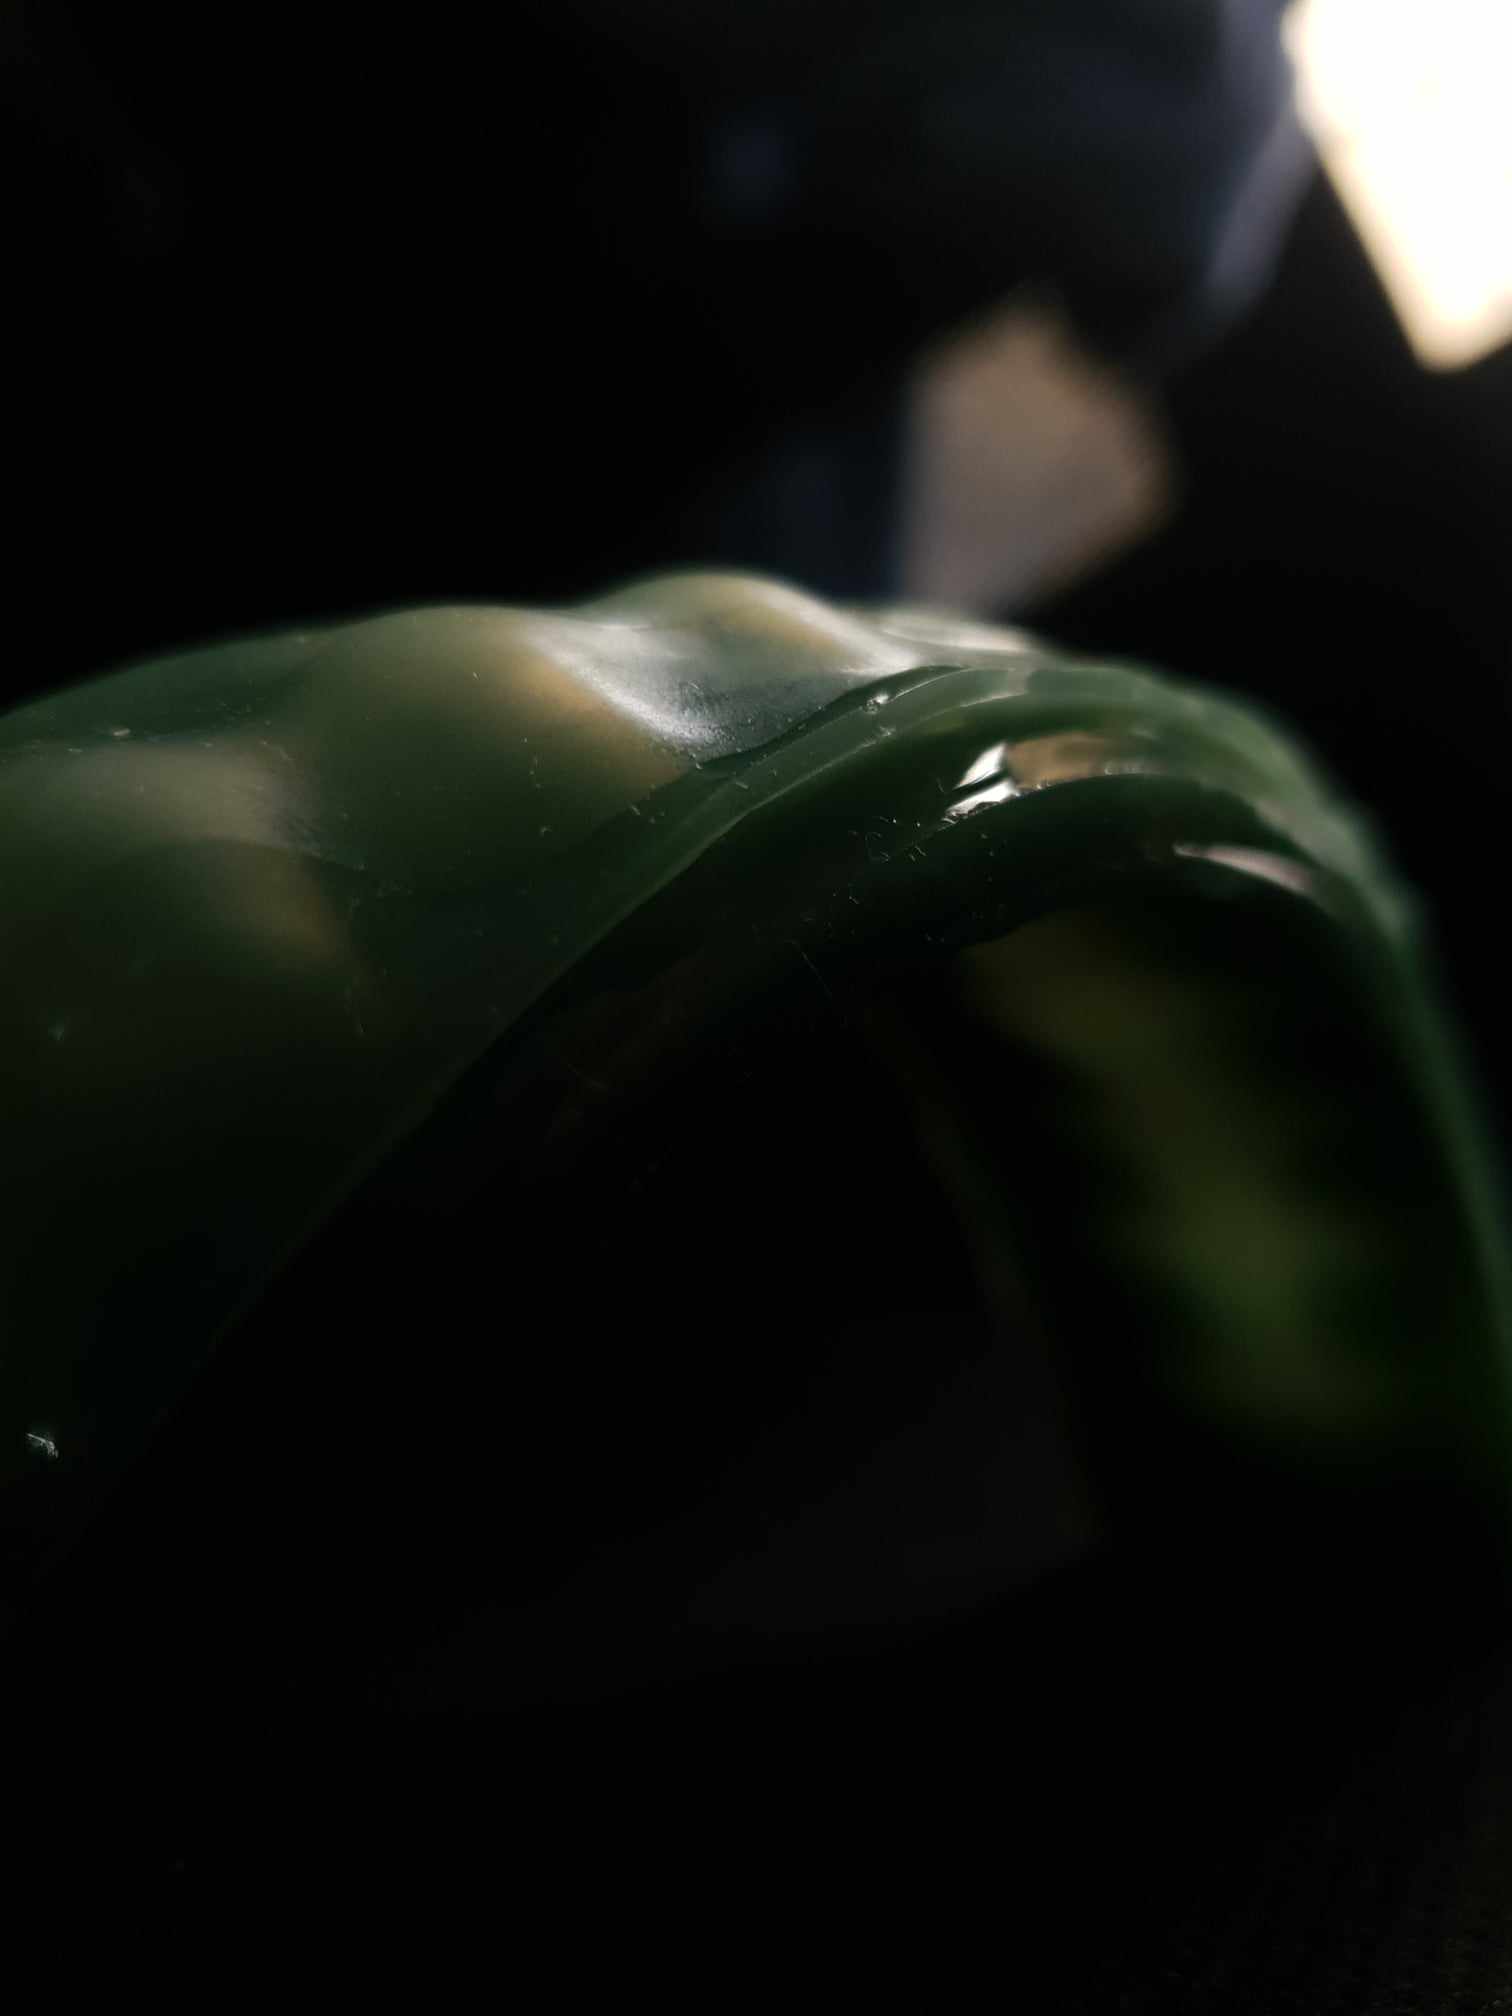
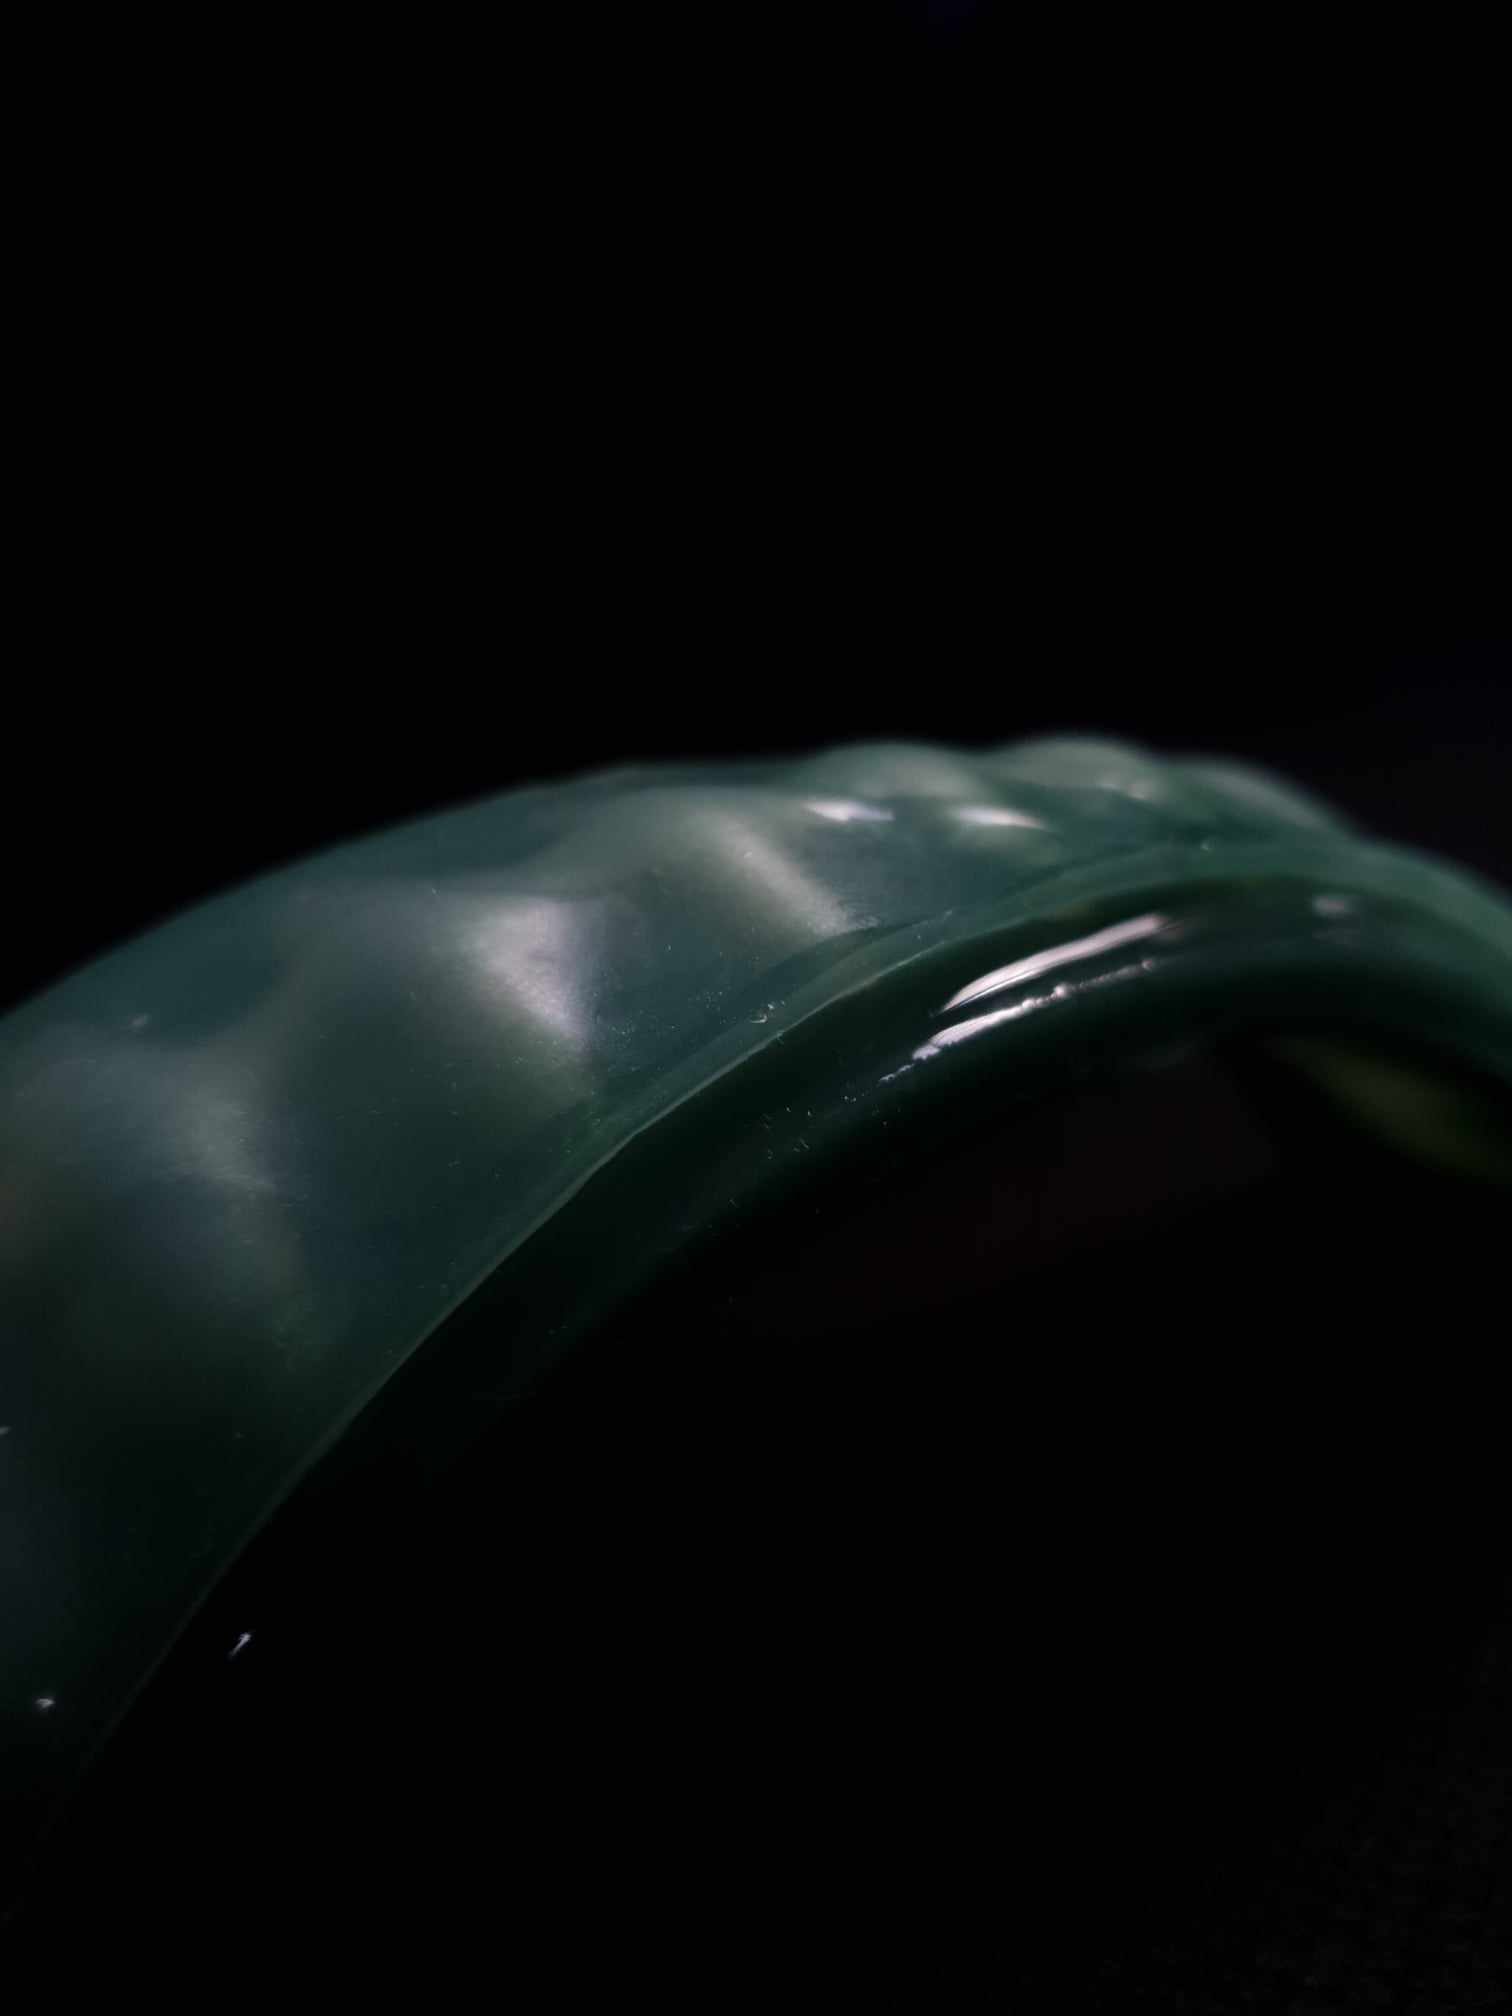
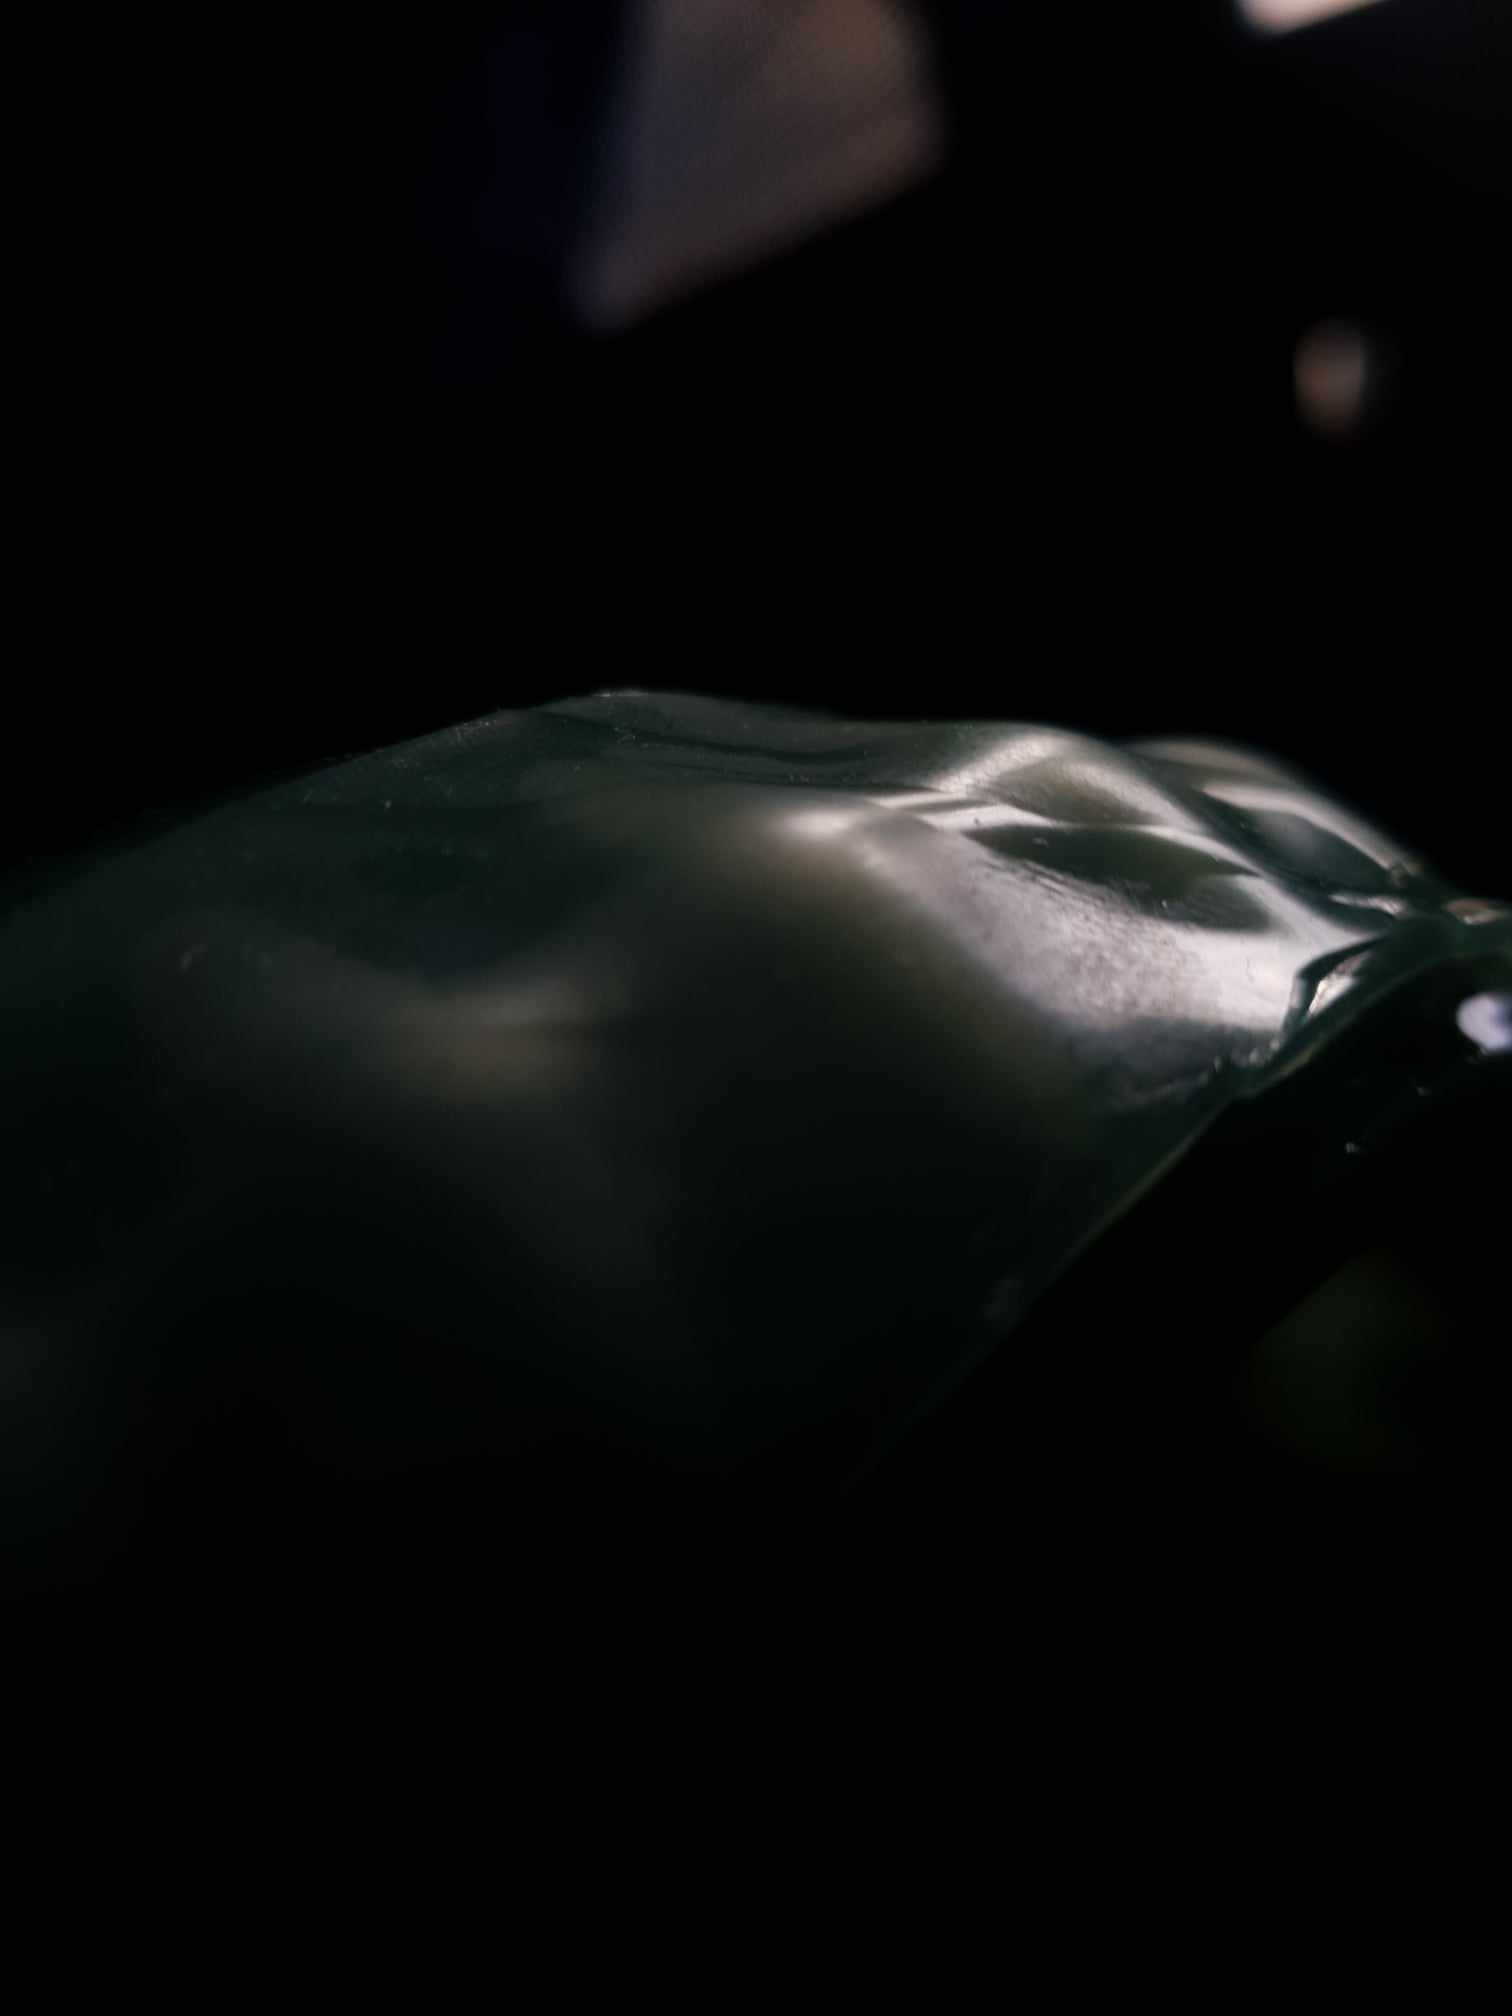
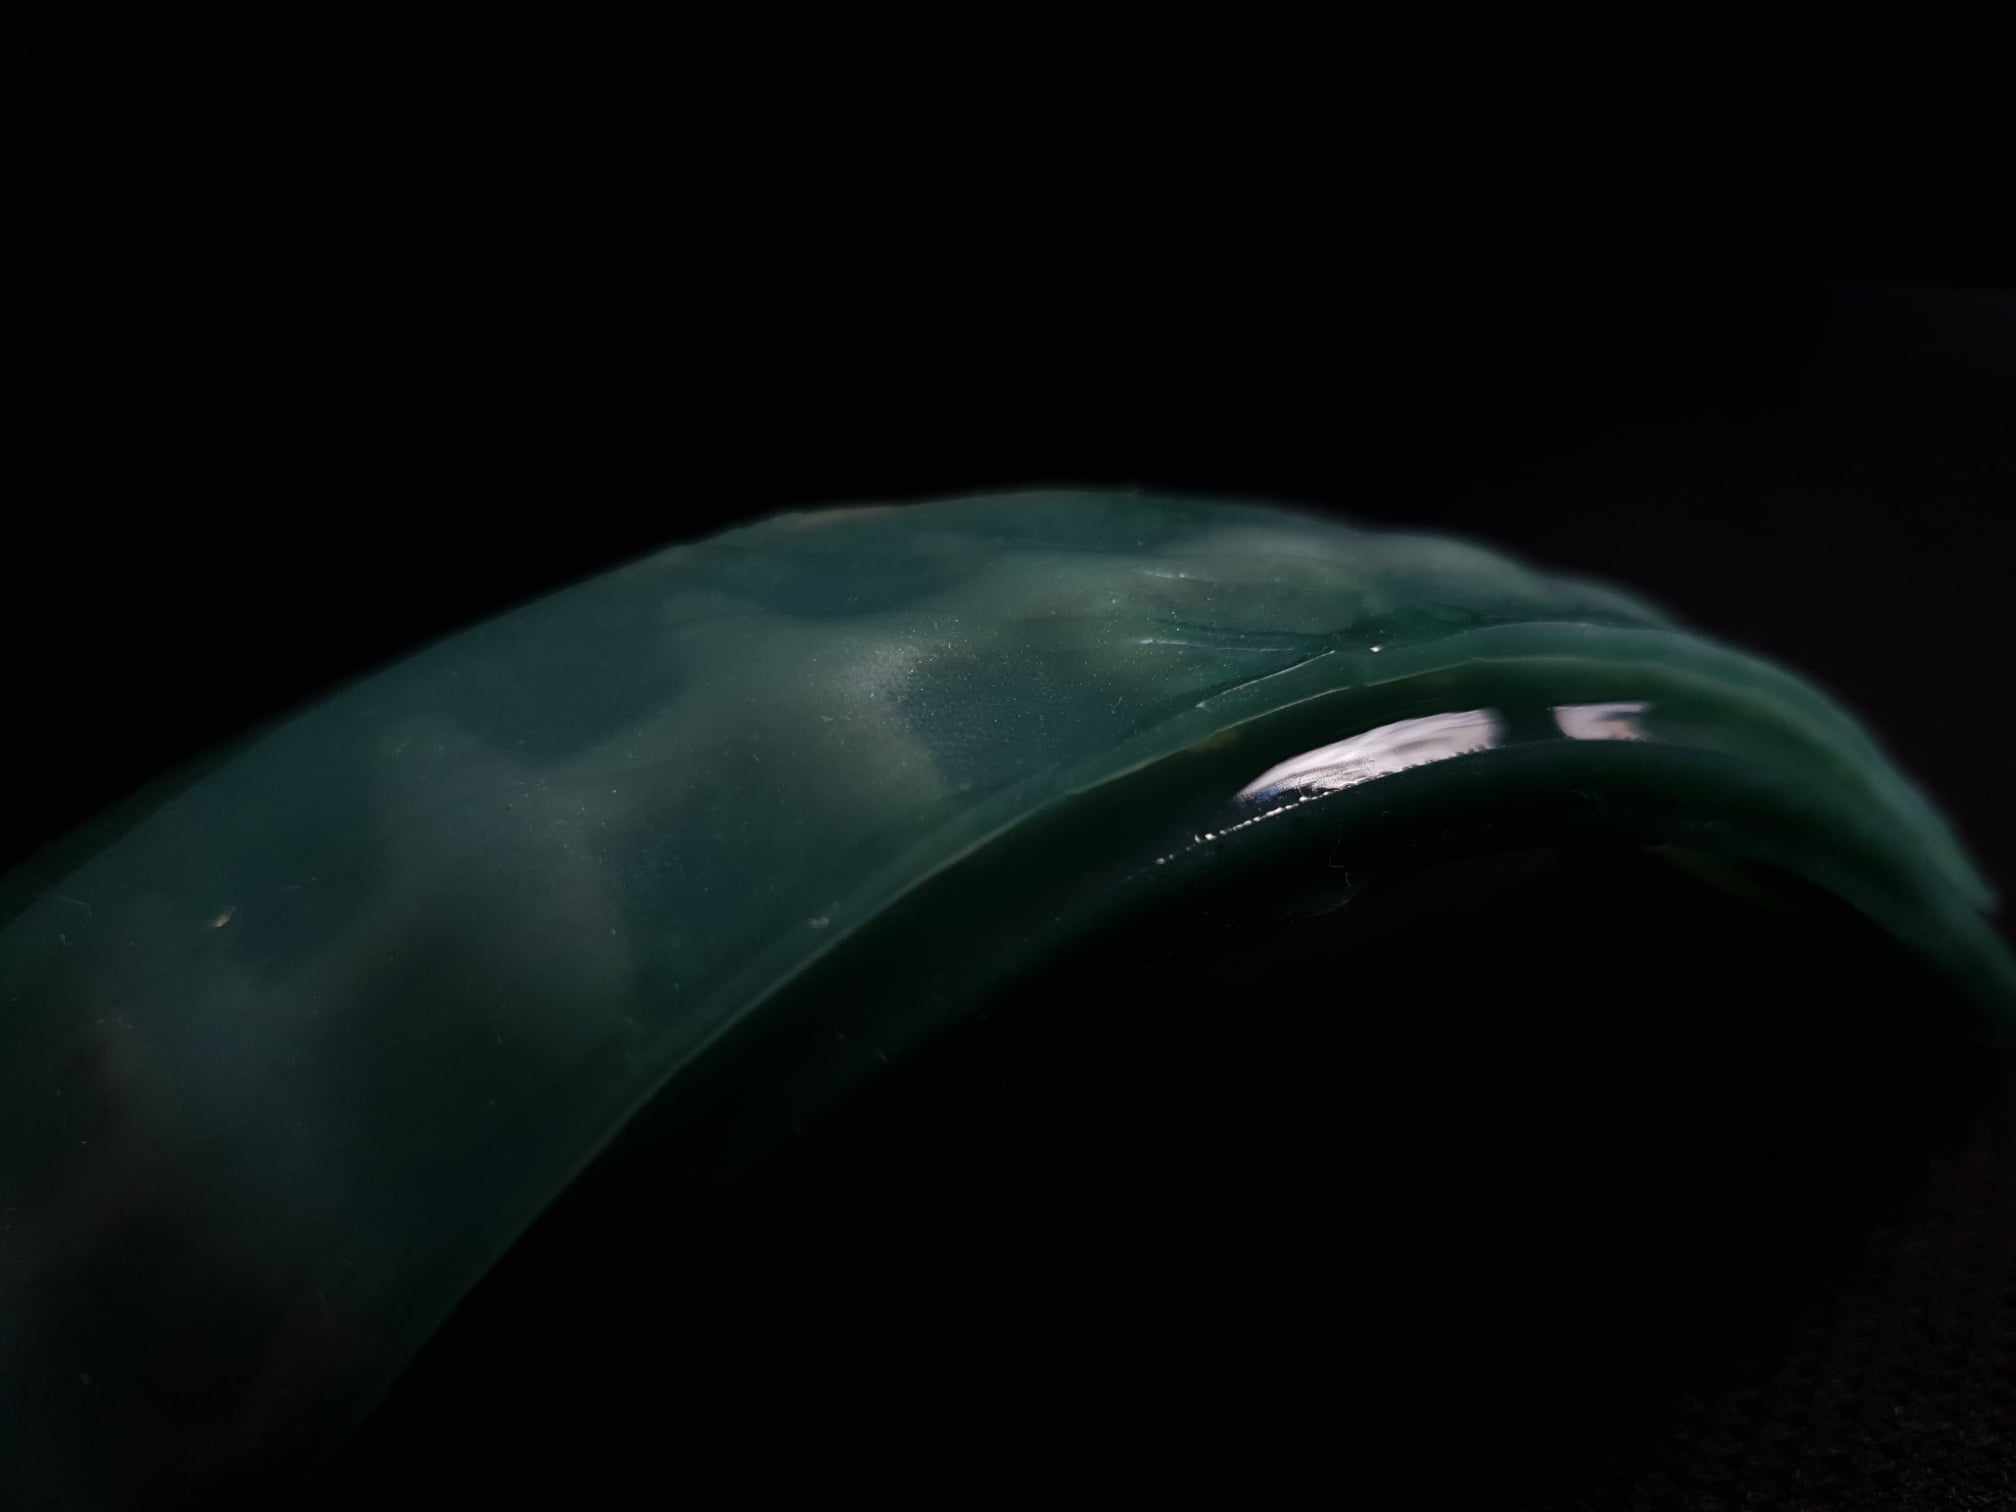
5. Silicone
Step 1
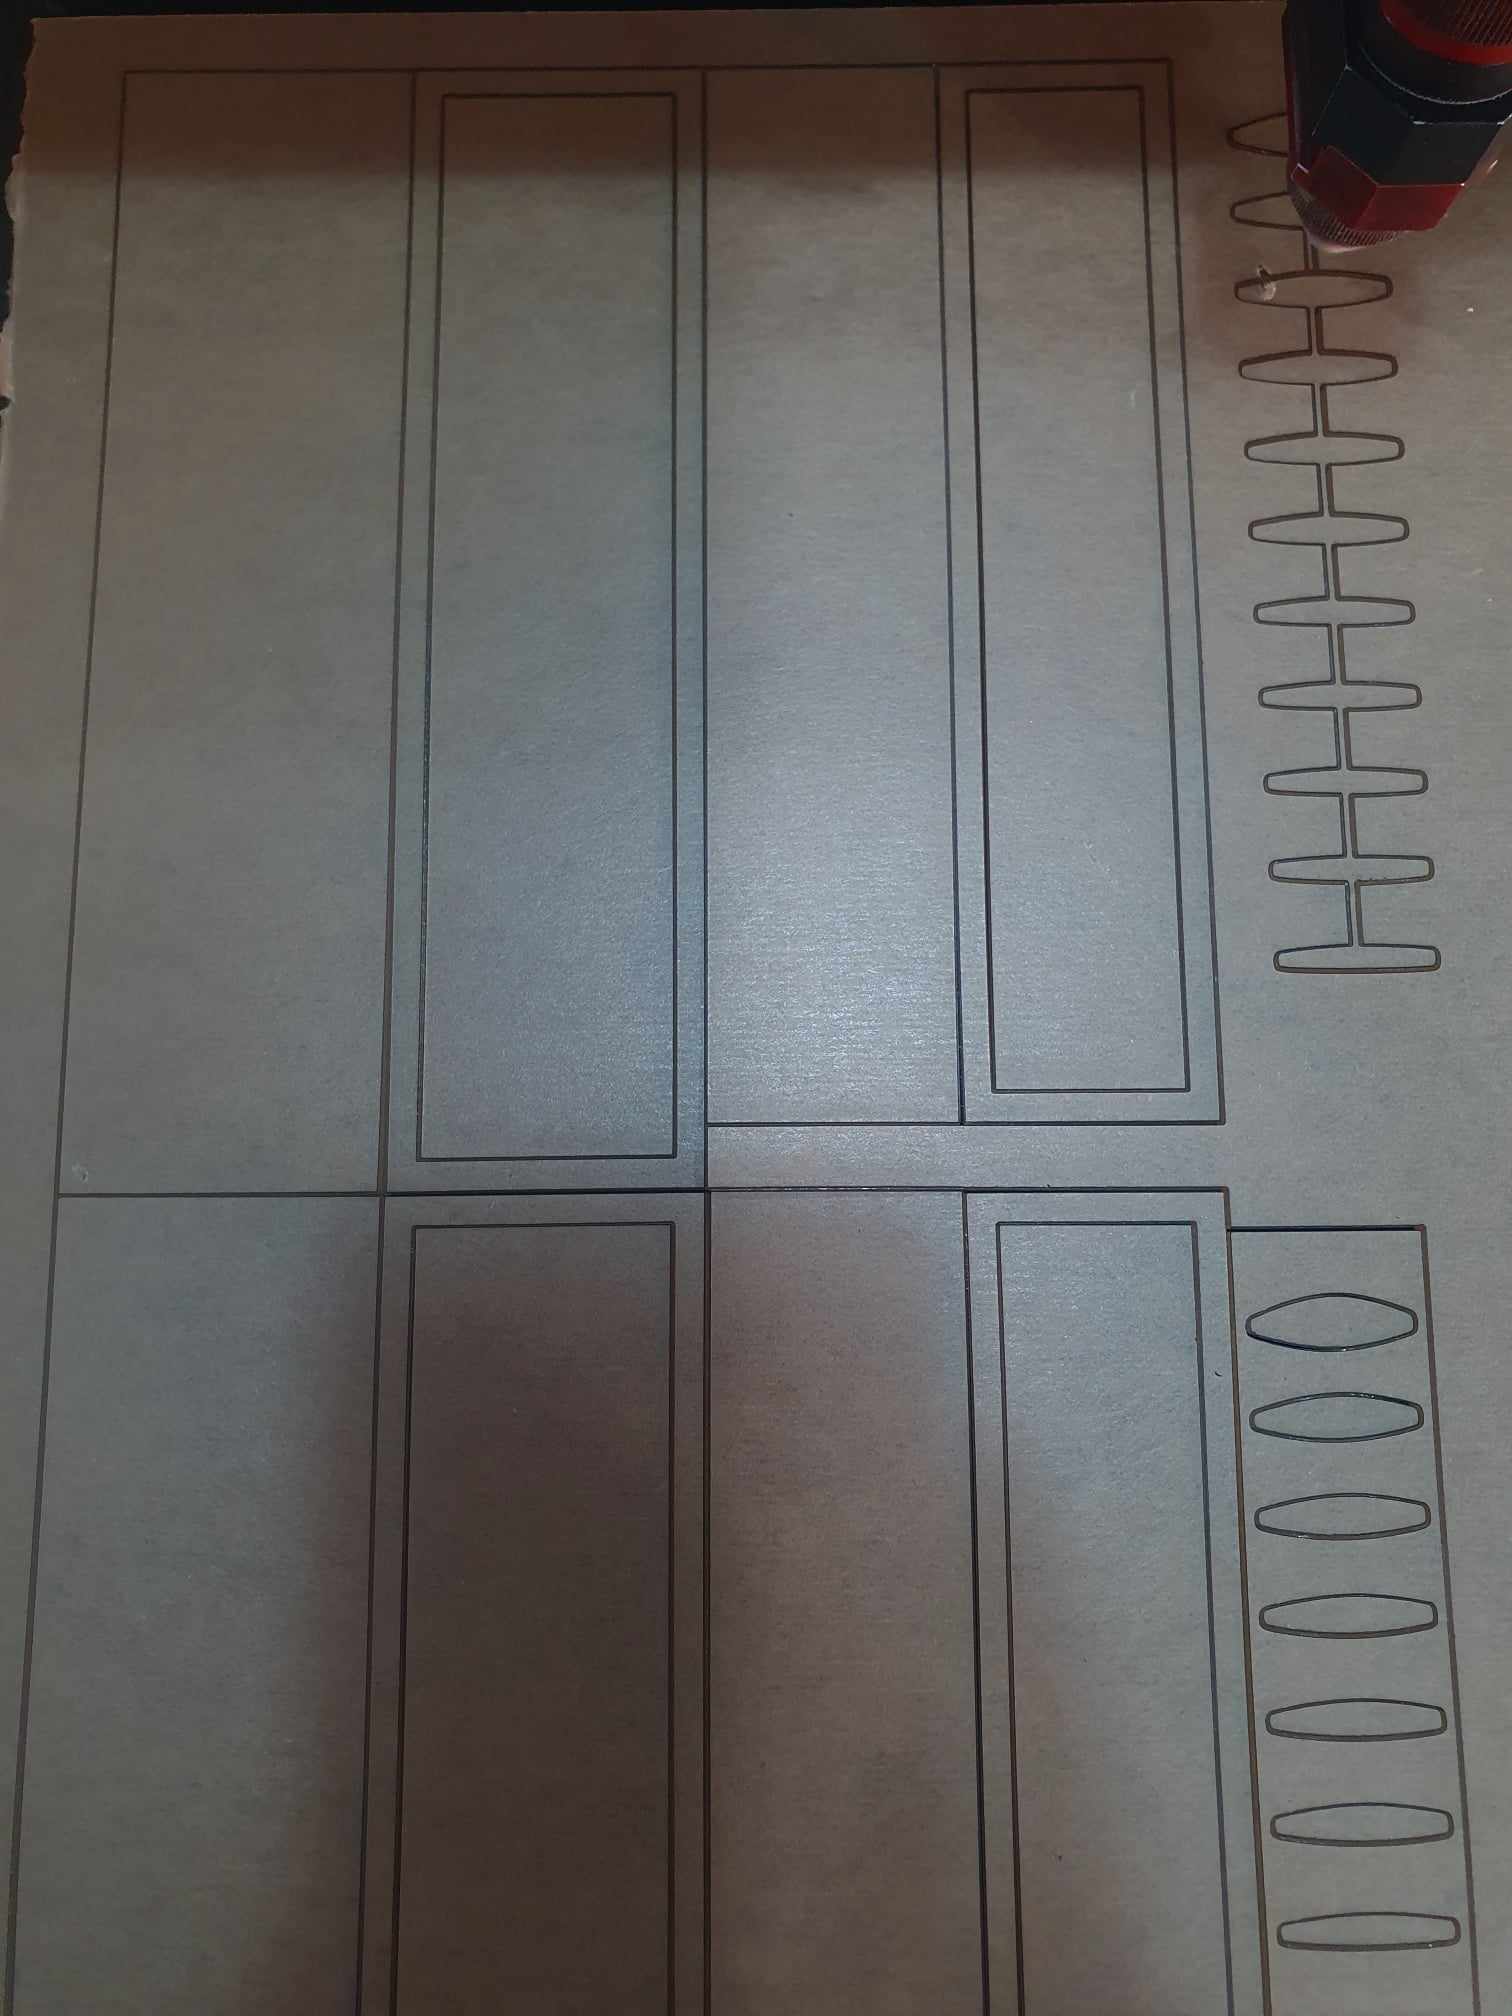
Design the Model: designing the soft robotic structure using Rhino software. This digital model will serve as the basis for creating the mold. laser cutting to ensures accuracy and consistency in the creation of the soft robotic structure using transparent acrylic sheet of 5 mm.
Power setting 80%, speed setting 20 mm/s.
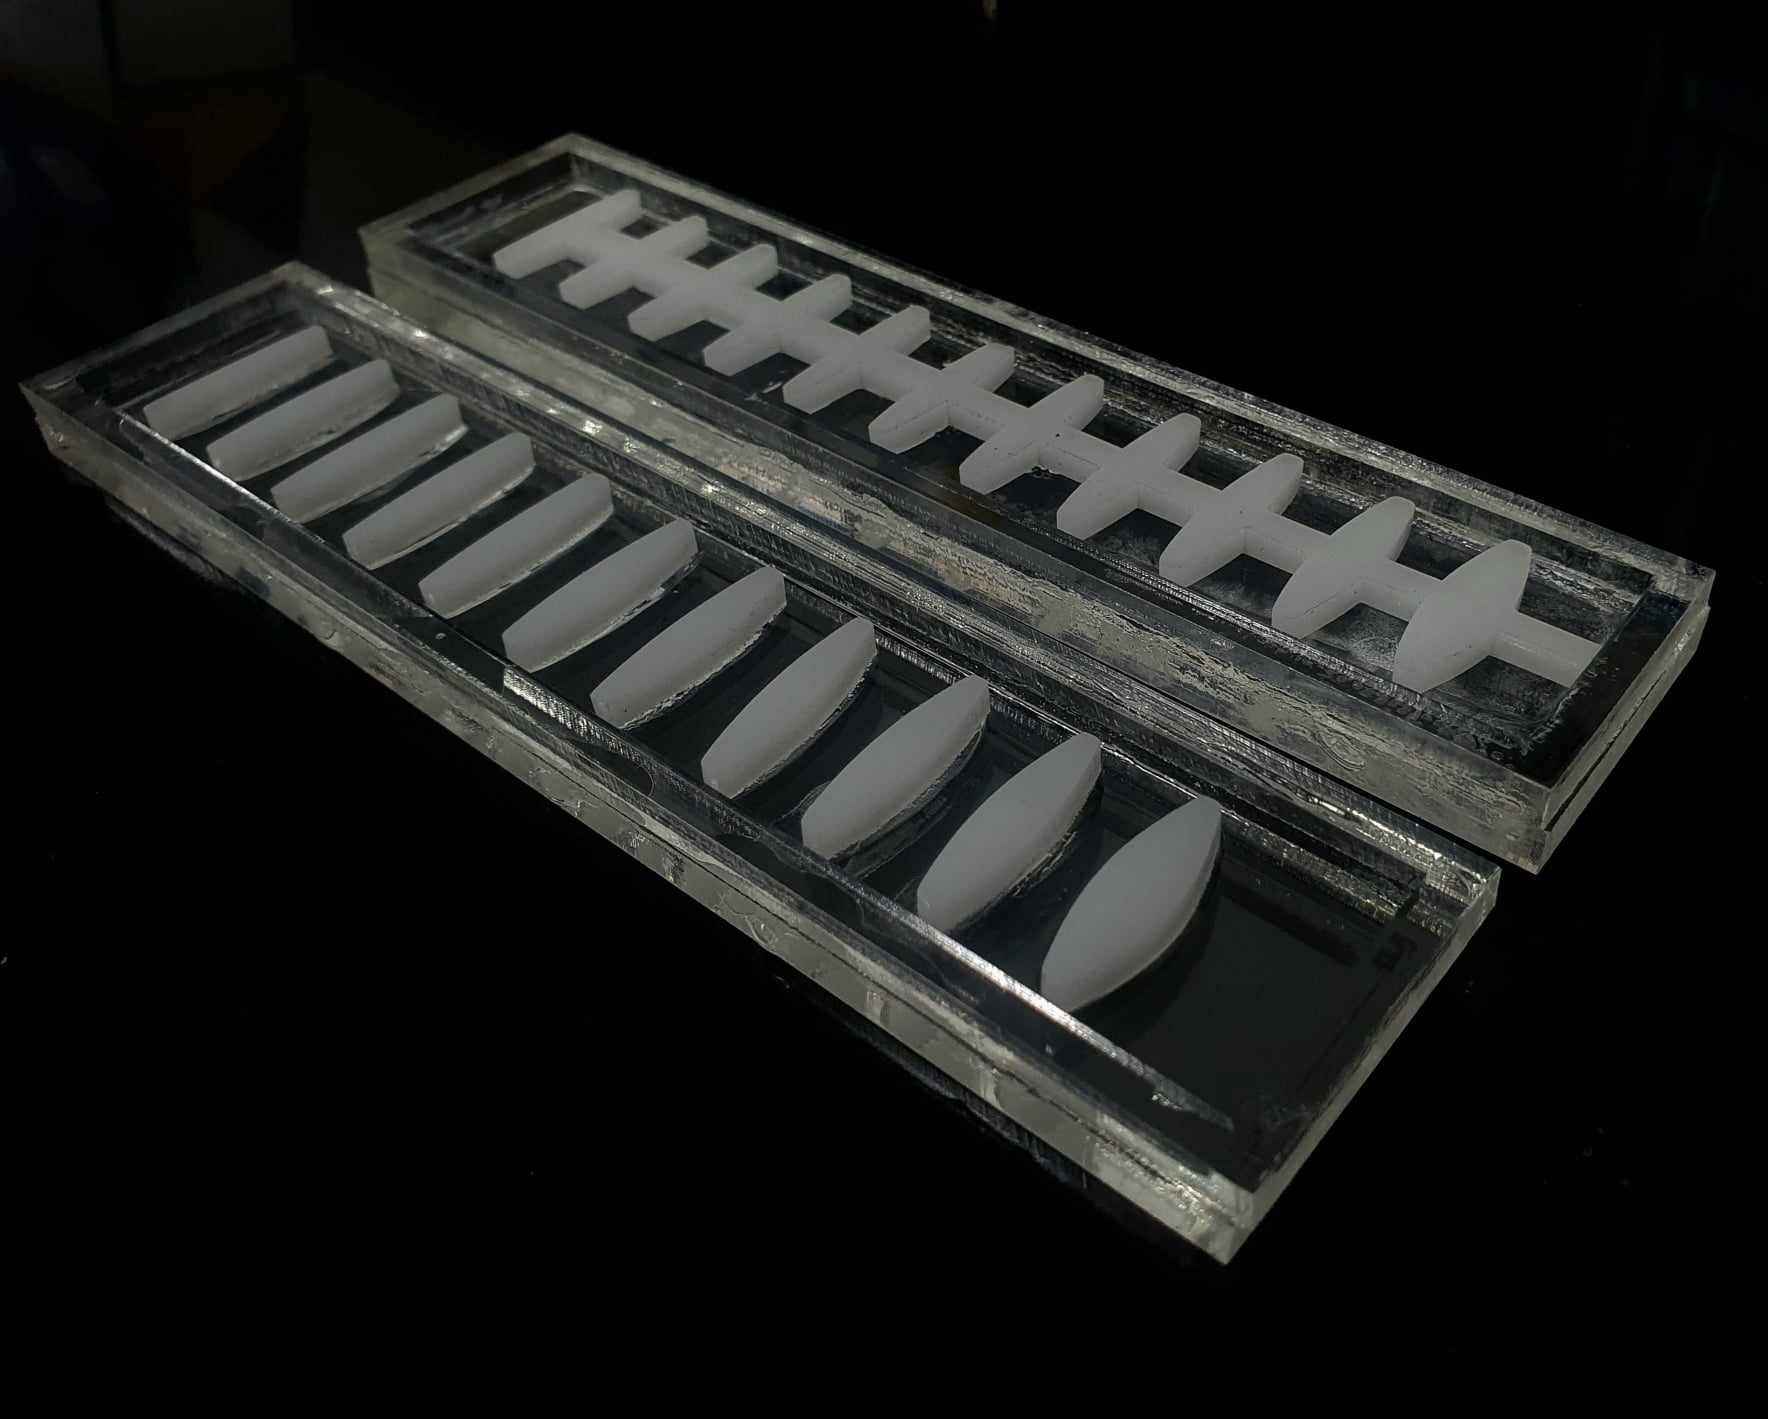
Step 2
Construct Mold & Mix and Pour Silicone: Mixing the two components, part A and part B, in a 1:1 ratio, blend them together gradually over a span of 3 minutes to prevent the introduction of bubbles. The total mixture weigh was 50 grams.
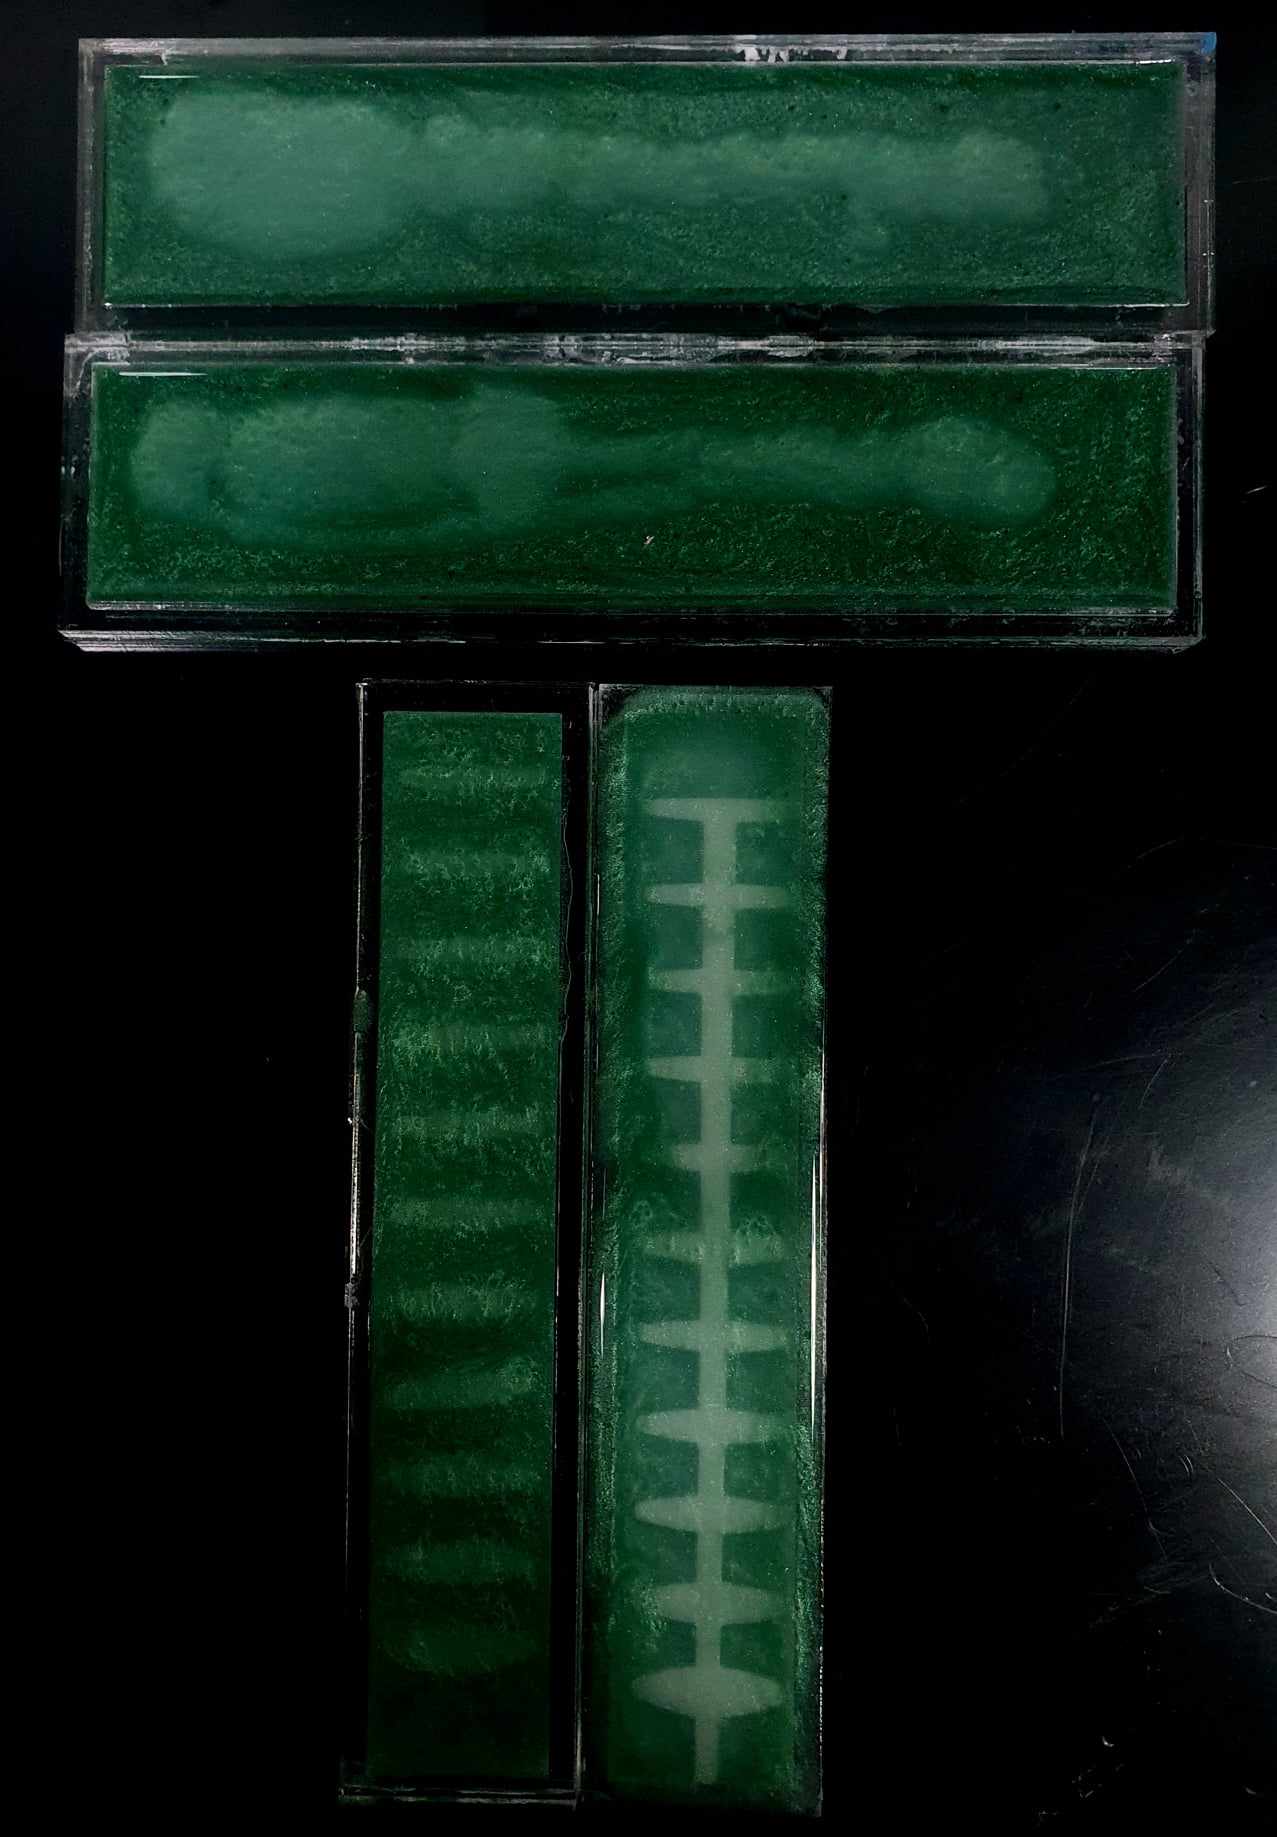
Step 3
Curing: The EcoFlex material from SmoothOn necessitates a curing time of 4 hours, with the option to accelerate the final part exclusively using a curing machine set to the recommended temperature (20 minutes at 50°C).
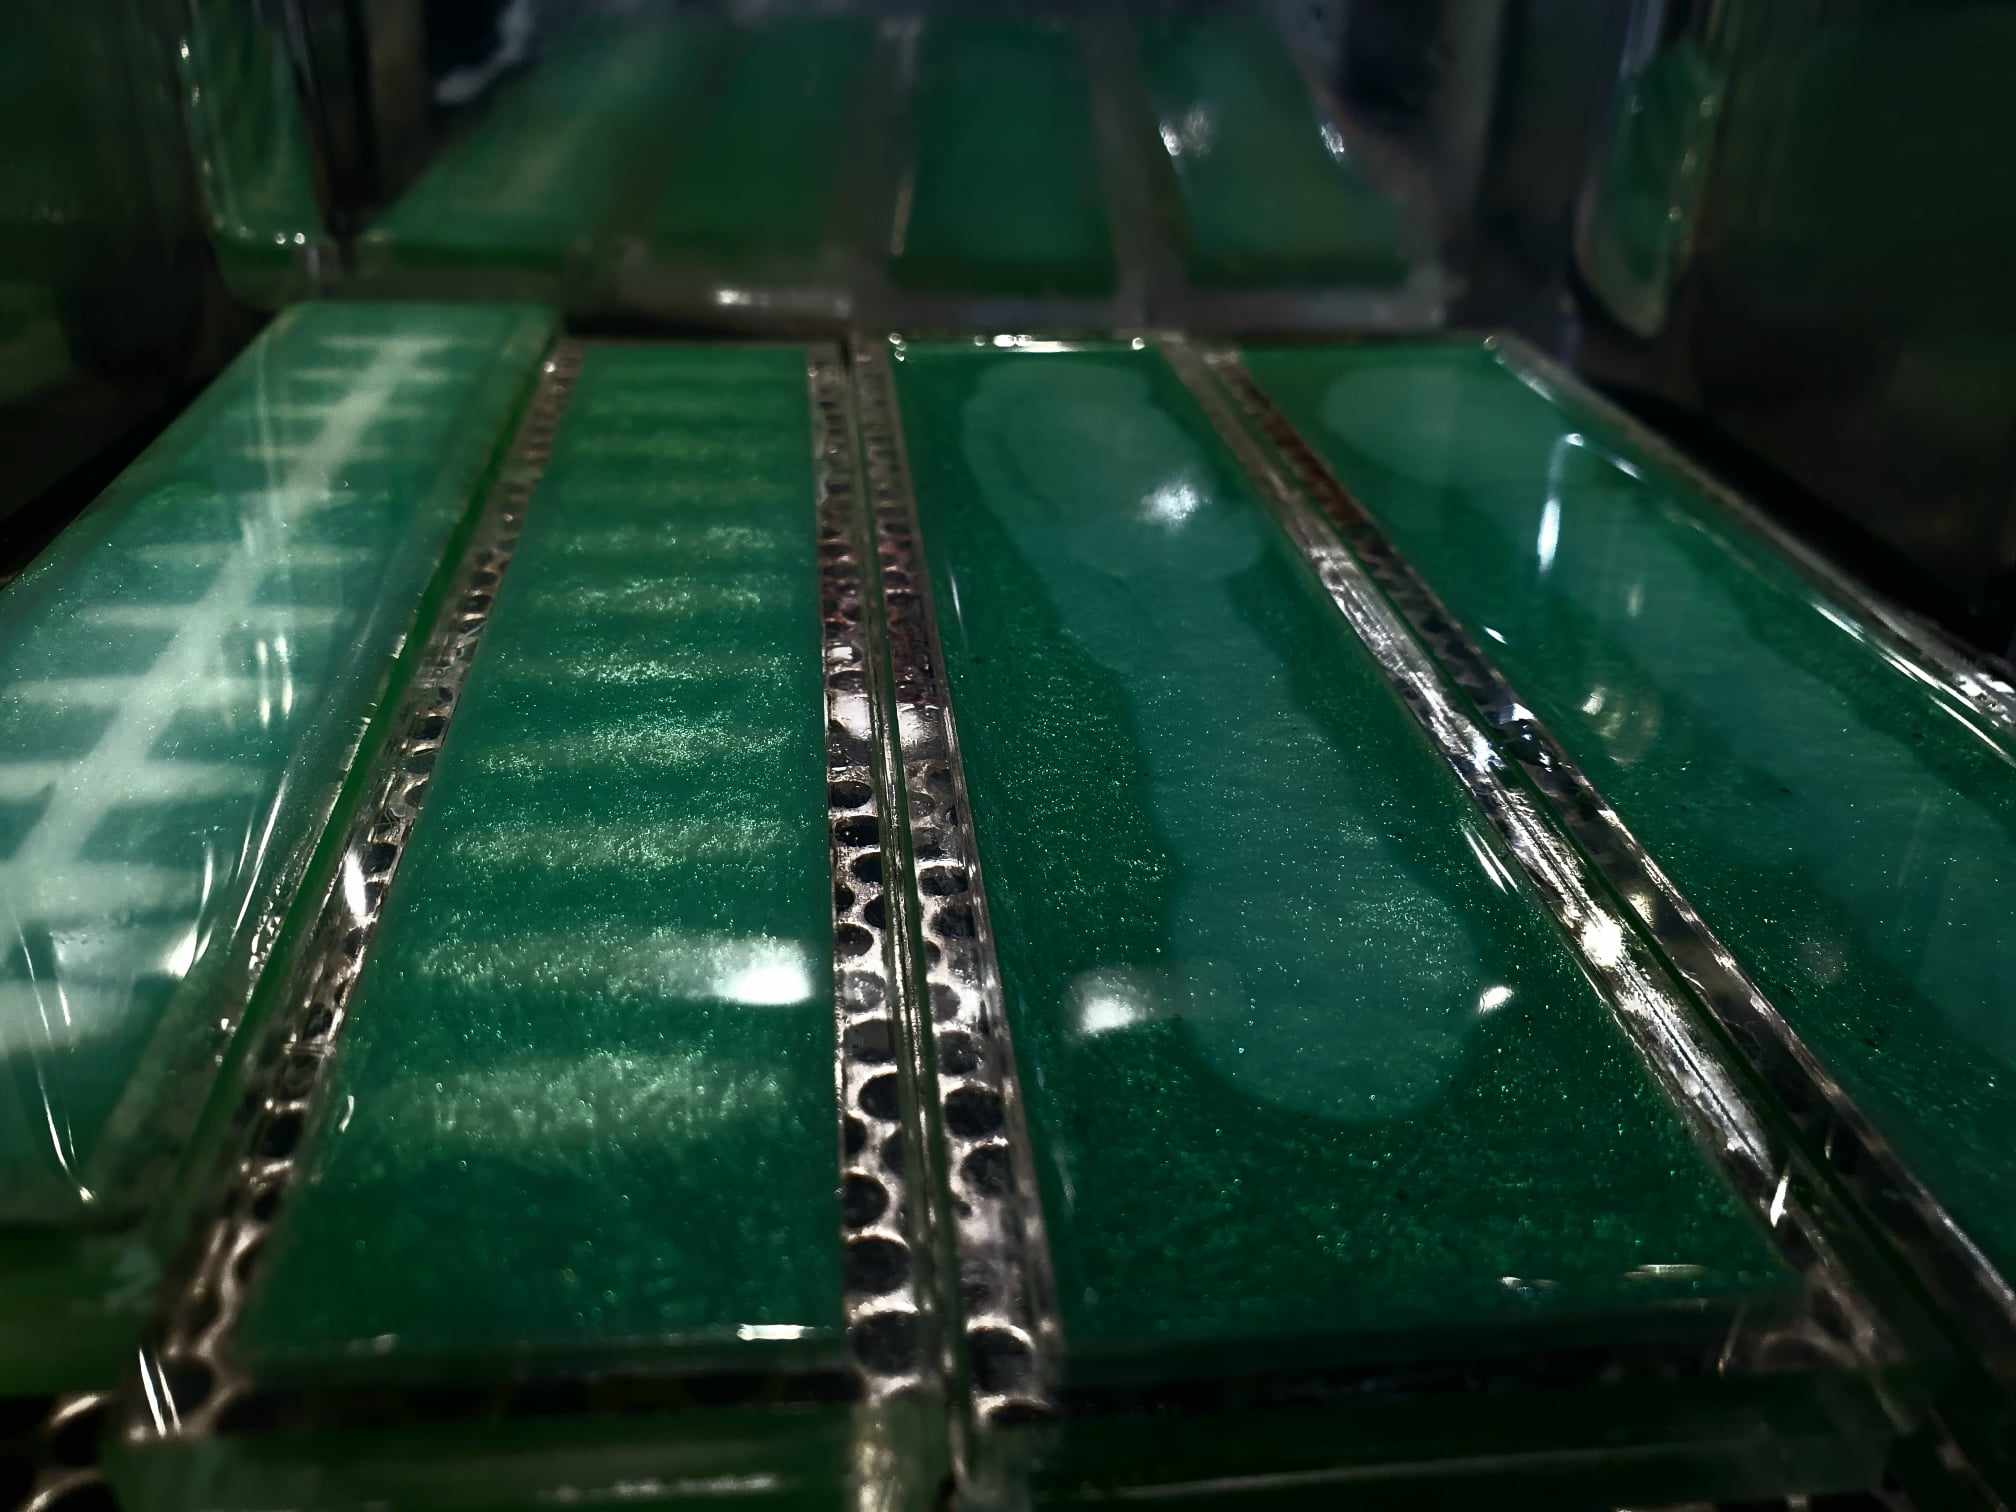
6.Results
testing with manual pumping using a syringe.