Open Source Hardware - From Fibers to Fabric
Final work of the week
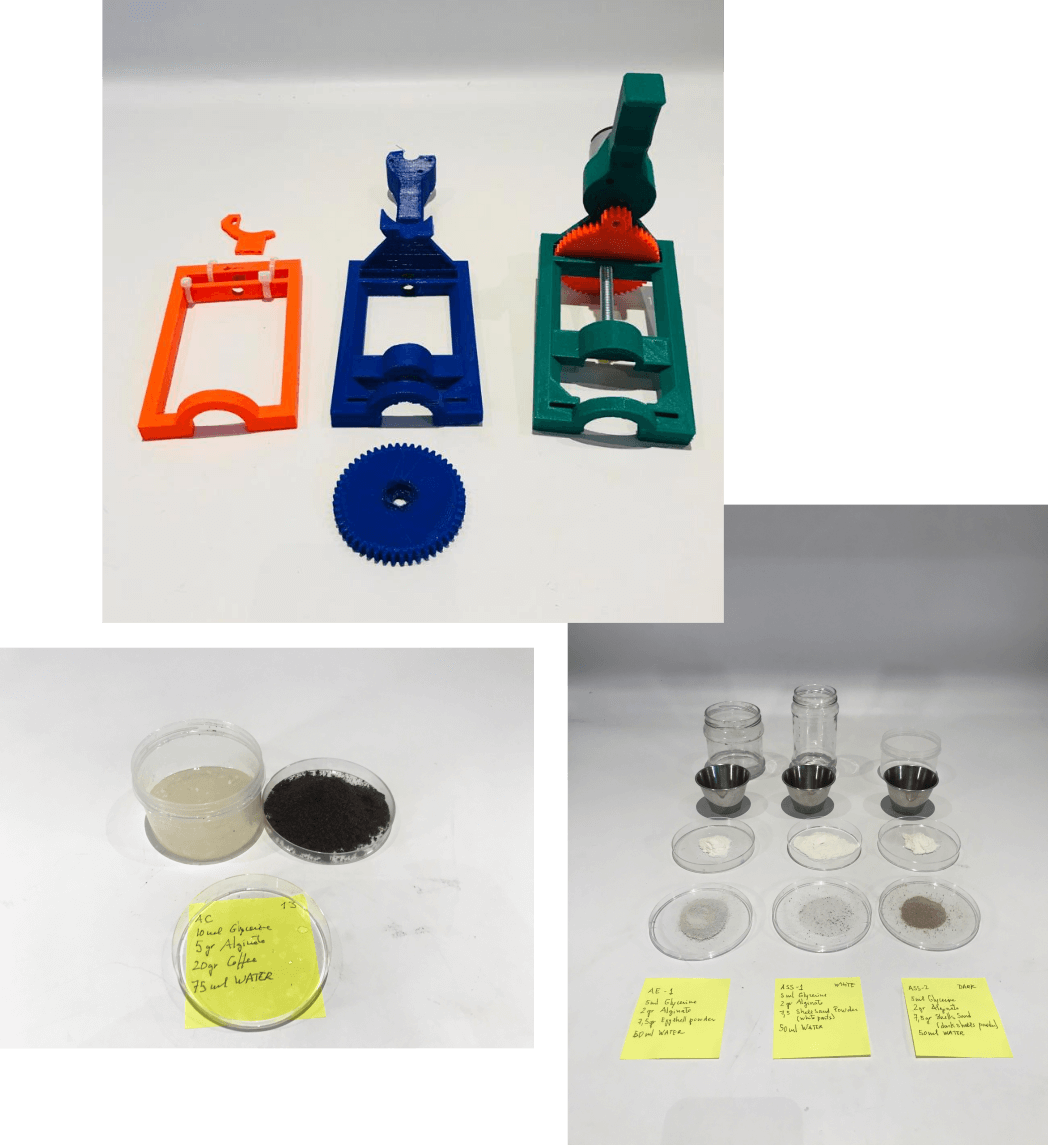
As a result of this week working as a team, we developed 3 different iterations of a biomaterial extruder and 4 biomaterial recipes to go with it.
Creative process
What are we making?
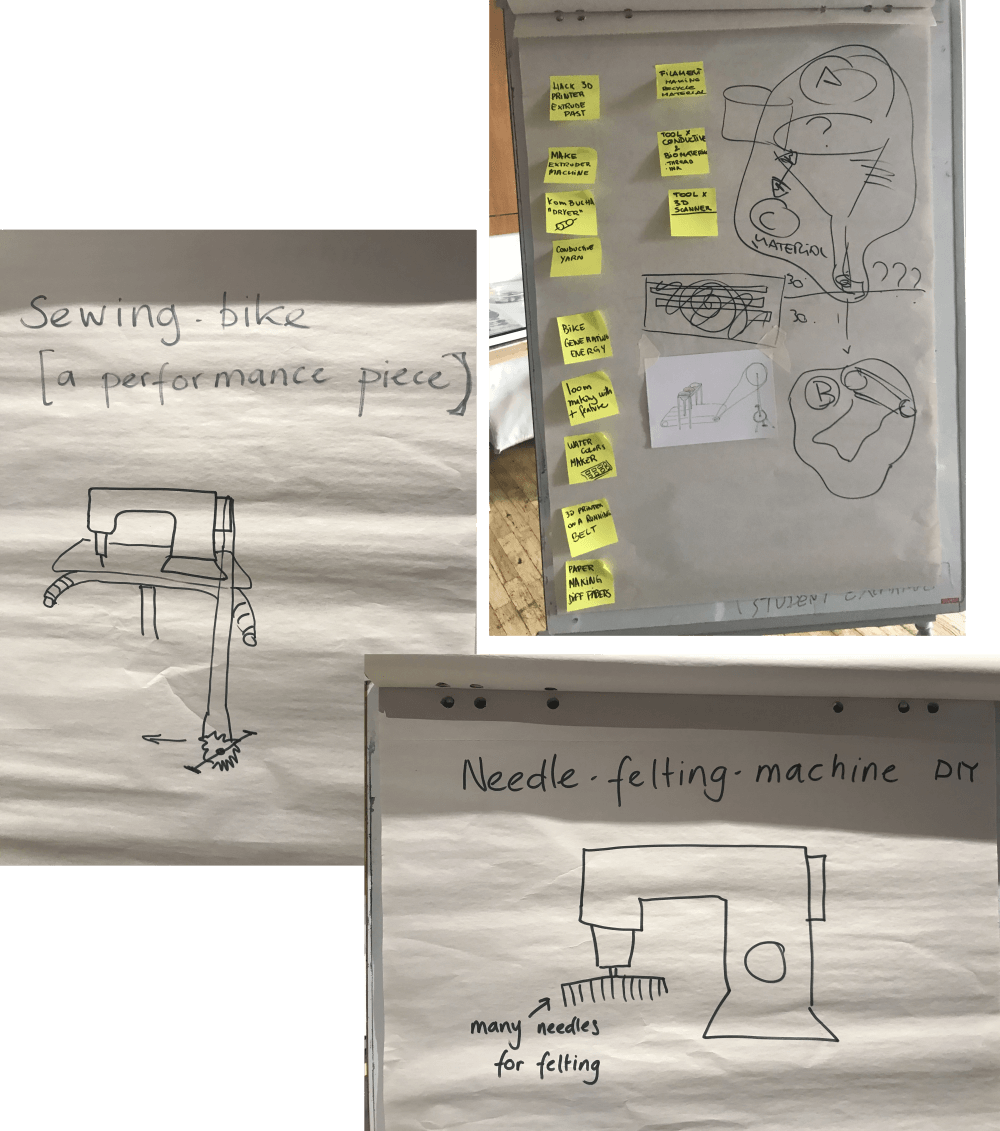
When we began this week, we had no idea of what were we going to build, so we sat together in the Waag and did a brainstorming session on very different ideas. We talked about ideas from art installations using bikes and sewing machines to making a conveyor belt 3d printer. But finally we arrived to the idea of some sort of biomaterial 3D printer. Of course, the time to develop it into a functional object was very very limited, only 5 days! So we decided to make a simplified version of it: a biomaterial extruder.
Research
Once the goal was set, we started looking for projects around the internet. We found a surprising amount open source projects about syringe extruders. We compiled them in a document and together evaluated which one we were going to base our project on as a starting point.
List of syringe extruder open source projects
| # | Item | Picture | Links |
|---|---|---|---|
| 1 | 3D printed + metal parts syringe extruder | 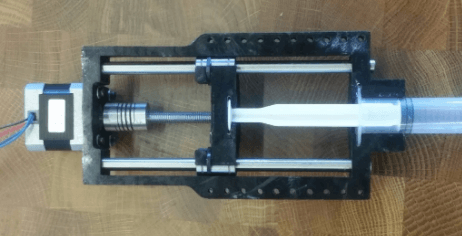 |
Link |
| 2 | Simple syringe extruder with 3D printed parts | 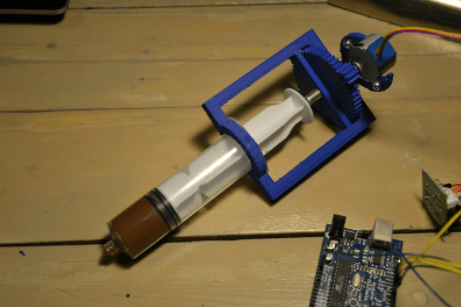 |
|
| 3 | Open-source syringe pump | 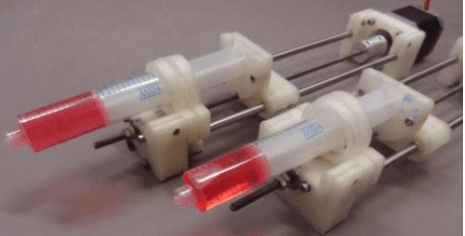 |
Link |
| 4 | Plastic Syphon Pump | 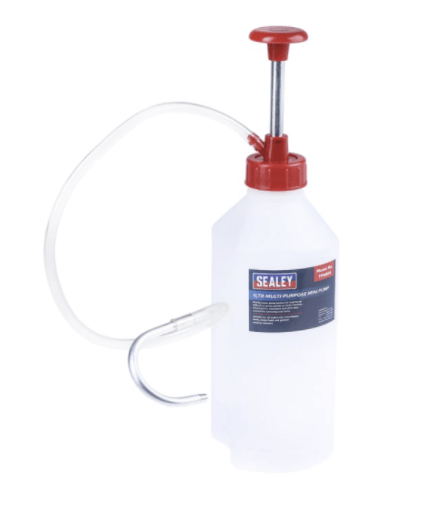 |
Link |
| 5 | Multi-Syringe Infusion Pump | 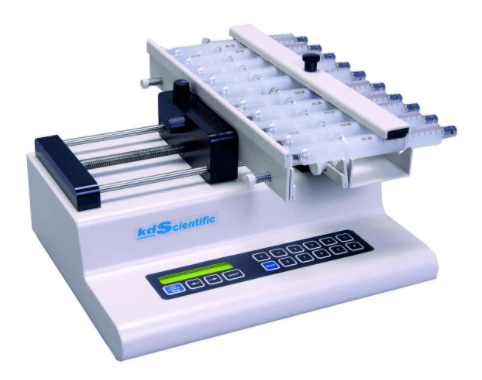 |
Link |
| 6 | Syringe pump | 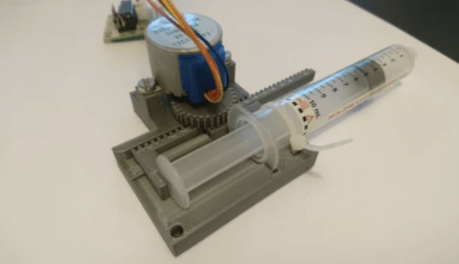 |
Link |
| 7 | Empty ‘kitkoker’ | 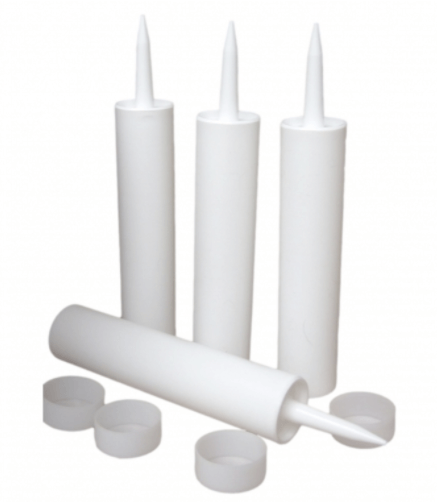 |
Link |
| 8 | Kitpistool | 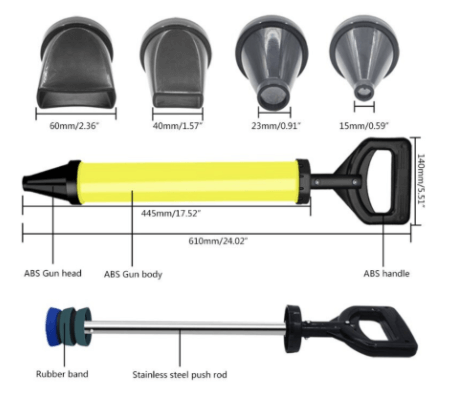 |
Link |
| 9 | Simple syringe mechanism mounted on an Ultimaker original (which we have available at Waag) | 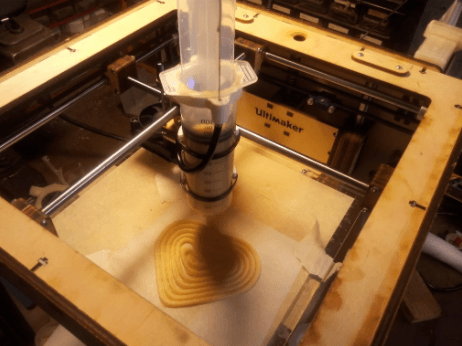 |
Link |
| 10 | ChocoL3D |  |
Link |
After considering the options and materials available, we went for #2 as starting point. We divided the work between us so we were all clear on what each person should be focusing on. Naturally, there was interaction between us during the project, but this helped speeding the process by doing different tasks in parallel.
- Coding motor control + adapting 3D file: Sara
- Sketches: Jen
- Put together the thing: Patty + Becca + Sara
- 3D printing: Patty + Becca + Sara
- Material recipes + testing: Carolina + Rebecca B.
- Documentation Rebecca B.
Making process
The gun
First thing we did is estimate the materials needed and order them or gather them if available in the Waag.
| Item | Amount | Price (EUR) | Link |
|---|---|---|---|
| Syringe | 1 | 8.99 | Link |
| 5V stepper motor | 1 | 3.95 | Link |
| 3D printing filament | ~250gr | Available at Waag | N/A |
| Long threaded bolt + nut | 1 | Available at Waag | N/A |
Then we got to work!
Iteration 1
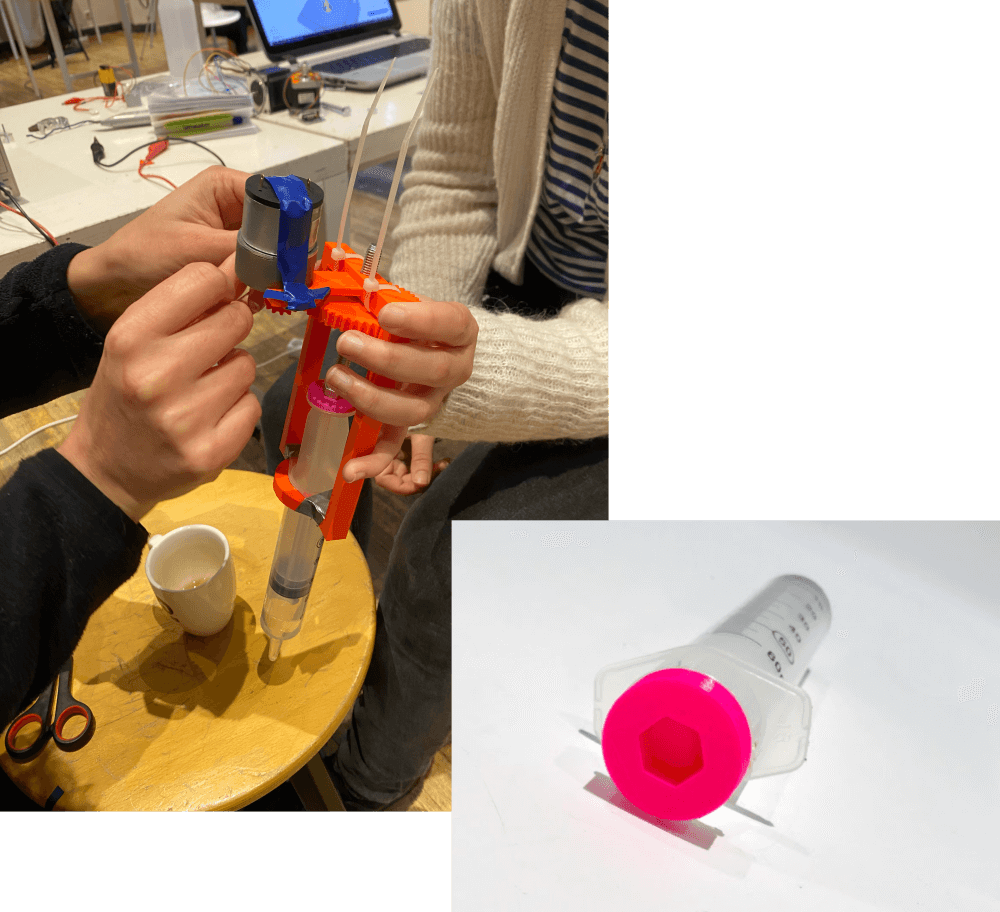
We first tried replicating the syringe extruder as explained in the source. This design consists on a structure that holds the syringe barrel, and a wheel that transfer movement from a motor to a shaft, which in turn pushes the syringe plunger. We set up the 3D printer in Waag (a nice Prusa) with some PET-G and printed the parts. Then we proceeded to put everything together.
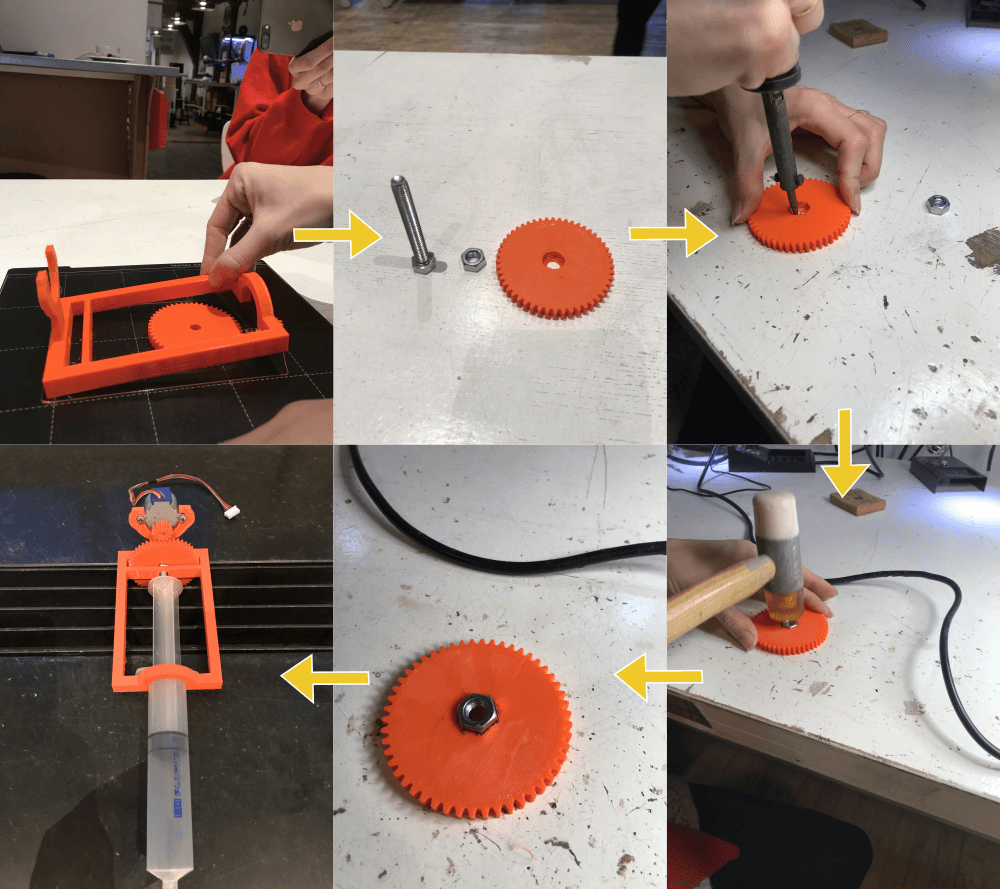
Unfortunately, once we connected it to a power source to try it, the thing didn't work. Something was wrong in the structure and the motor movement wasn't being transferred to the shaft. We read the instructions of the source again and again, and we couldn't find the issue. We finally found out that adding some tie wraps to the structure where the big wheel was attached made the system work. At this point we were just extruding water to verify that the basic mechanism was ok.
We did other hacks to the original design as well:
- Taping the syringe and motor to the structure so the whole thing was more robust.
- Designing and printing a syringe plunge topper so it would interlock with the head of the bolt.
Overall, not a pretty extruder, but good for a first iteration!
Iteration 2
With the lessons learnt of the first iteration, we redesigned the extruder 3D model to accommodate better our needs. Shoutout to Jasper Prinsen who helped me figure out some mechanical improvements to add to the design.
This was the main design iteration in the process. The changes from the previous design were:
- Adding ribs to the structure containing the big wheel to add some friction to the system (replacing this way the tie wraps).
- Creating a connector between the plunge and the bolt heads.
- Adding rails in which the plunge-bolt connector would move.
- Adding a smaller opening for the syringe barrel holder so it would click in place and didn't need tape to be secured.
- Adding a slit for the syringe barrel top to be secured in place.
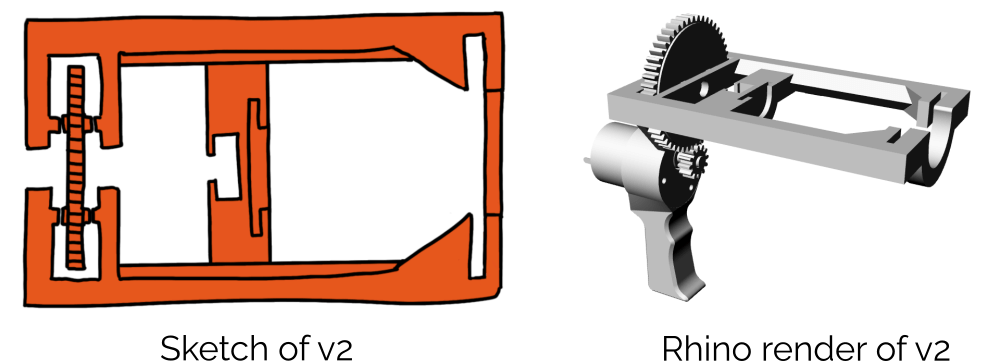
After all the design changes were modeled in Rhino, the gun was printed again. We also reused parts from prototype 1, which resulted in quite a colorful assembly.
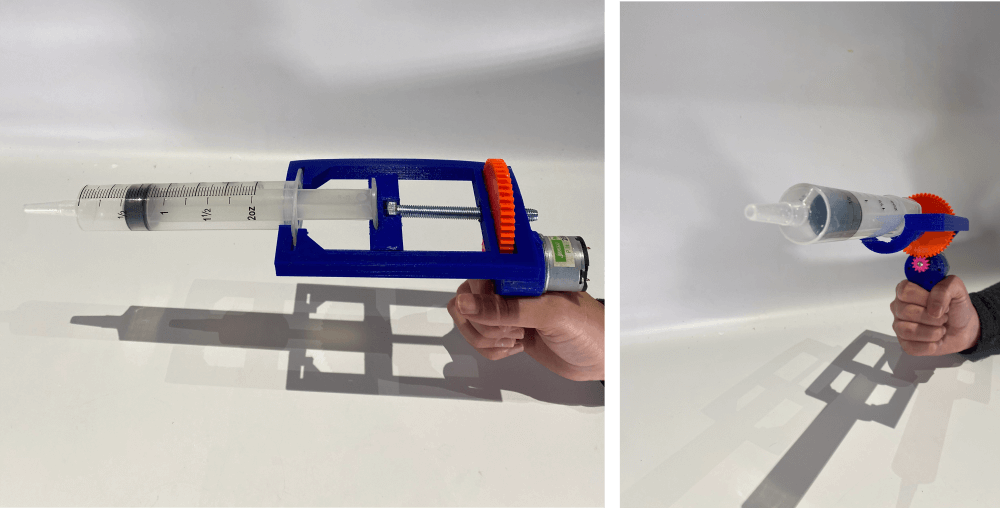
We tried this extruder with some of the recipes that were being developed, and we got our first successful biomaterial extruder test!
Iteration 3
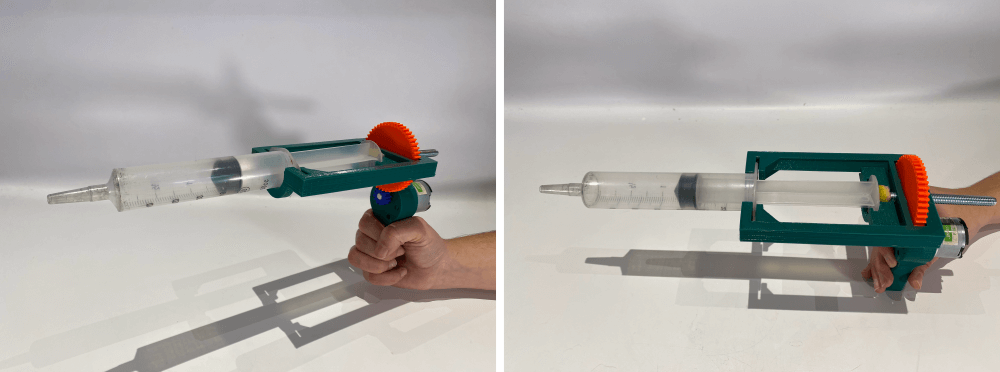
Third iteration didn't have many design changes compared with number 2. However, iteration 2 had issues because the material used to 3D print was quite brittle PLA. That resulted in the prototype being broken after a few tests with the extruder. Therefore, we printed the gun again with a newer PLA spool and assembled it.
This time we also added a bit of biofoam to the gap in between the head of the bolt and the slider of the gun, so a tighter fit was achieved. This prototype worked quite nicely!
The biomaterials
For the biomaterials recipes, Rebecca and Carolina did a vast amount of work. They sourced materials (including a big batch of egg and marine shells!) and tried different proportions of ingredients over and over while testing with the syringe until arriving to the desired consistency.
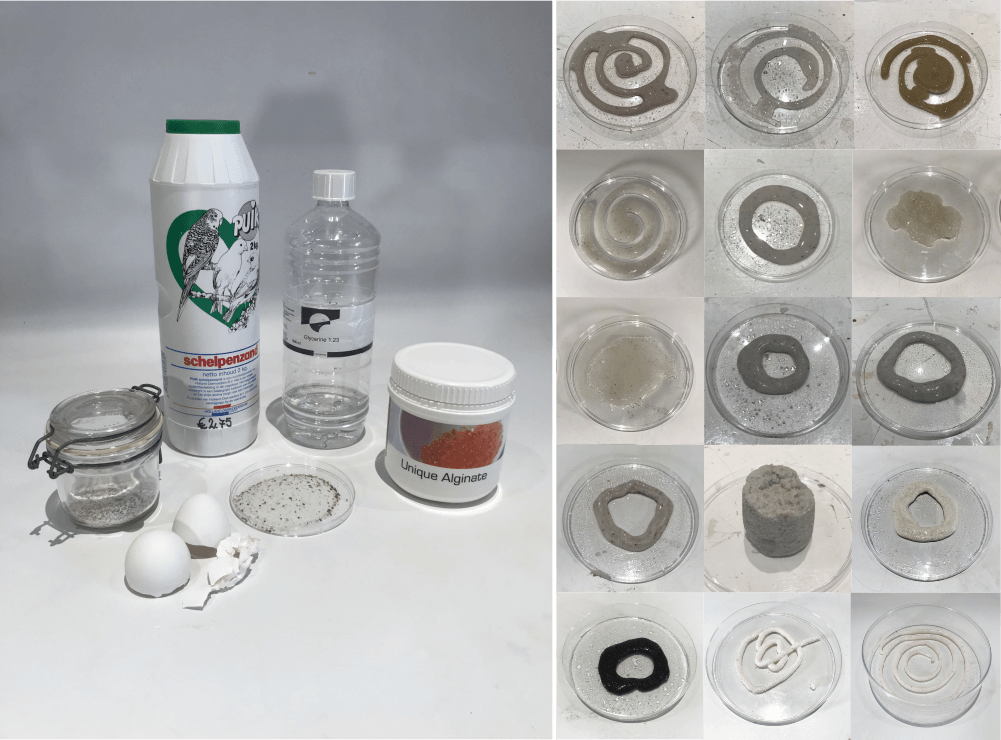
They developed 4 main recipes for the biomaterial extruder.
Recipe 1: alginate + eggshell
| Material | Quantity |
|---|---|
| Glycerine | 5ml |
| Alginate powder | 2g |
| Eggshell powder | 7.5g |
| Water | 50ml |
Recipe 2: alginate + light shell sand
| Material | Quantity |
|---|---|
| Glycerine | 5ml |
| Alginate powder | 2g |
| Light shell sand | 7.5g |
| Water | 50ml |
Recipe 3: alginate + dark shell sand
| Material | Quantity |
|---|---|
| Glycerine | 5ml |
| Alginate powder | 2g |
| Dark shell sand | 7.5g |
| Water | 50ml |
Recipe 4: alginate + ground coffee
| Material | Quantity |
|---|---|
| Glycerine | 10ml |
| Alginate powder | 5g |
| Eggshell powder | 20g |
| Water | 75ml |