9. Textile as scaffold
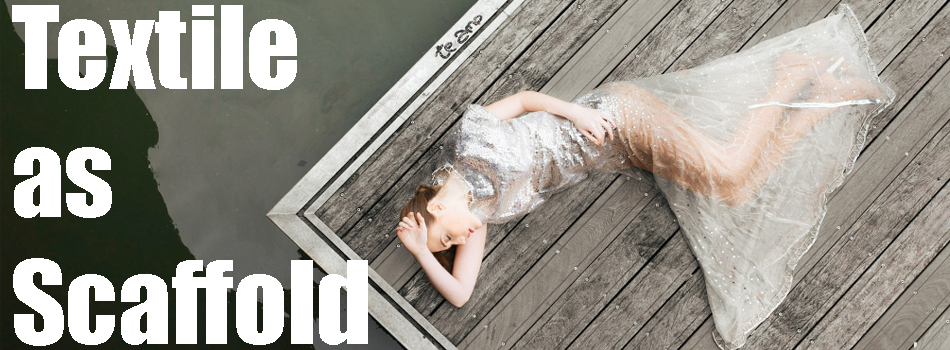
Growing fabrics
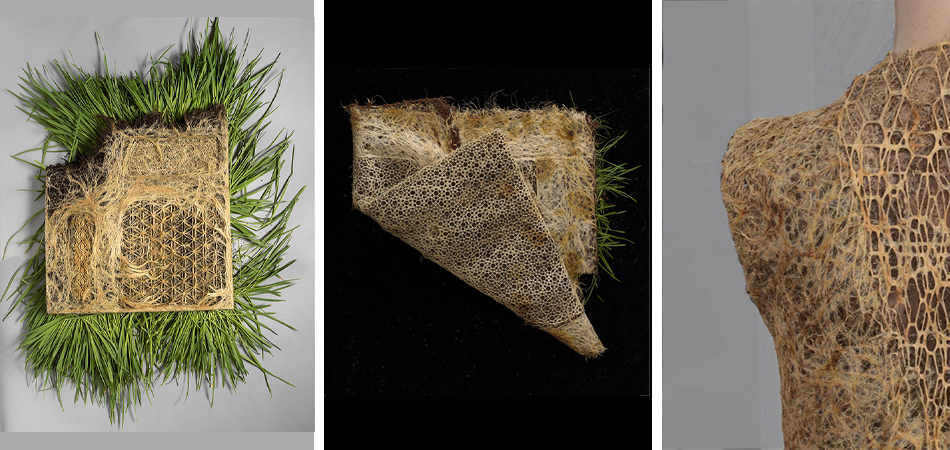
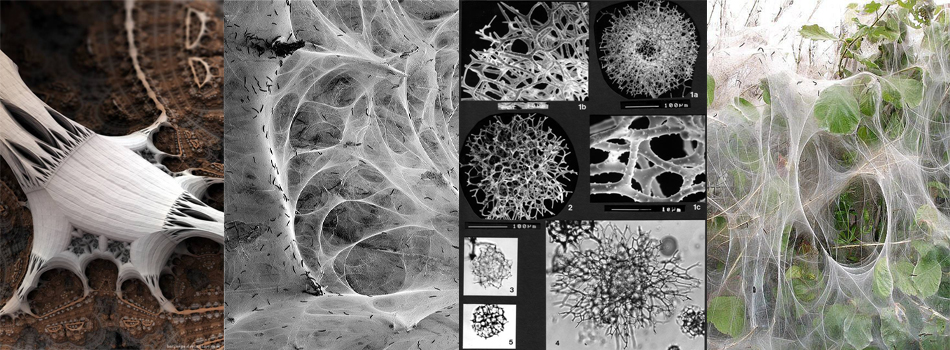
Diana SchererBased in Amsterdam, she is a German artist who sculpts with living matter.
In collaboration with biologists and ecologists, she creates an extraordinary fit using the root system of certain plants. Through a system of molds that guide the roots, she manages to obtain graphic patterns with great precision, selecting different species of plants for the speed of their growth and the quality of their roots.
Pieces of it only exist for a few weeks, before disappearing without a trace. A project of great poetry that also offers fascinating development perspectives for fashion, architecture, aeronautics and much more.
Another example of an approach that shows us that by changing our point of view, everything around us can become a creative engine and lead to the most inspiring innovations.
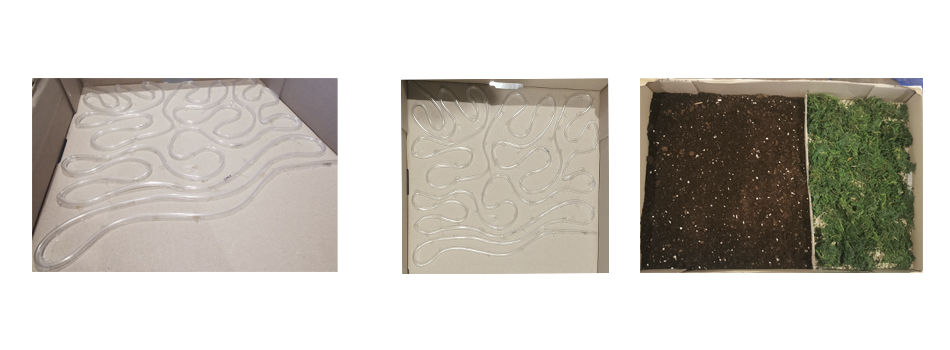
For my experimentation, I have glued a plastic tube that I had from another project to a cardboard box with hot glue. then I have put a mesh and spread the seeds and I have placed 2 centimeters of substrate.
CNC

We used a CNC from HSD This product is origin HSD spindle, air cooled 6kw, model AT/MT 1090-140, 18000RPM, ER32 The bed size is 1300mm by 2500mm
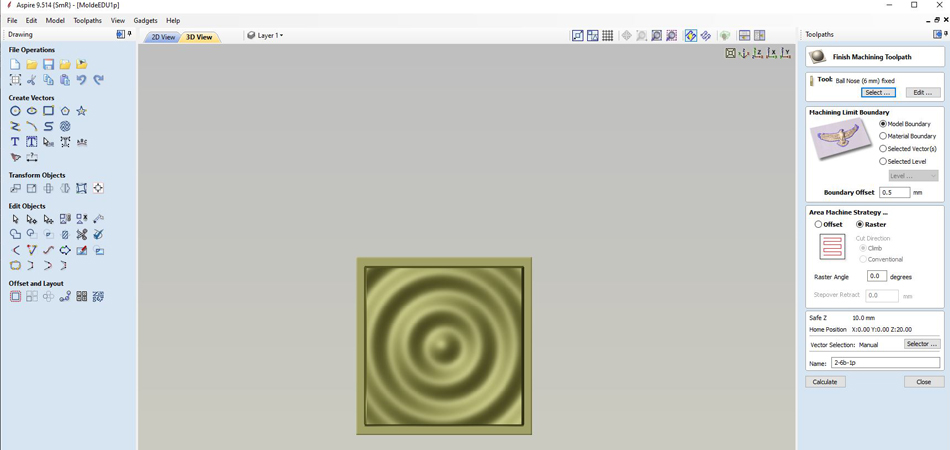
CNC software
For create this mold I have been inspired by water ripples
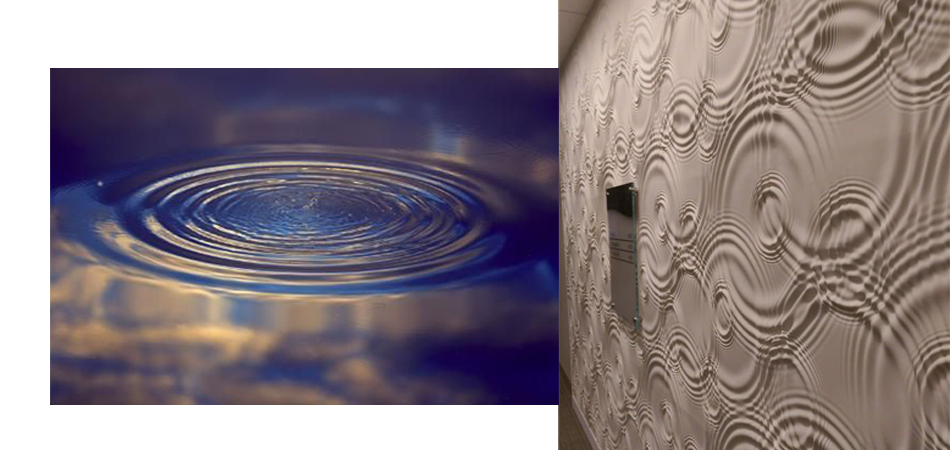
I didn't found any reference to this wallpaper design
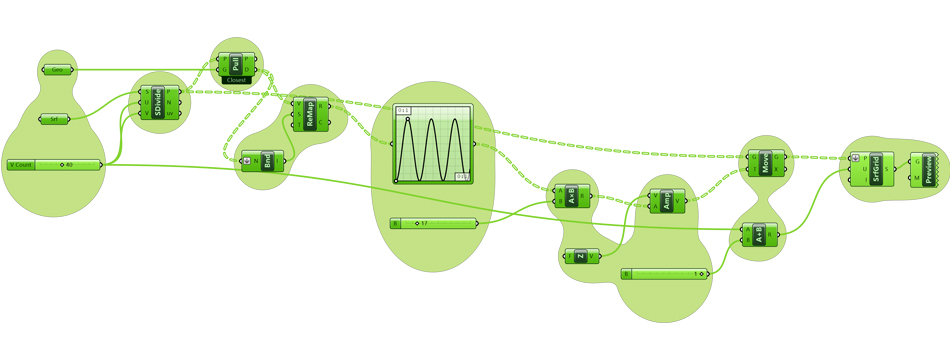
How I prepare the Ripple to CNC
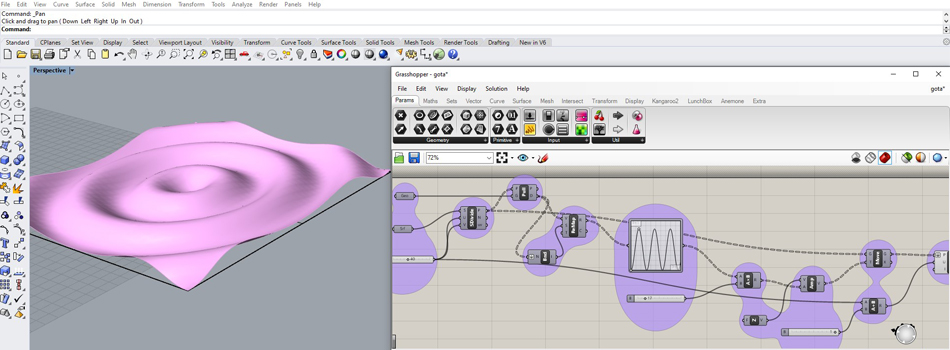
With Grasshopper I prepare a surface
Downloadable files
Aspire file
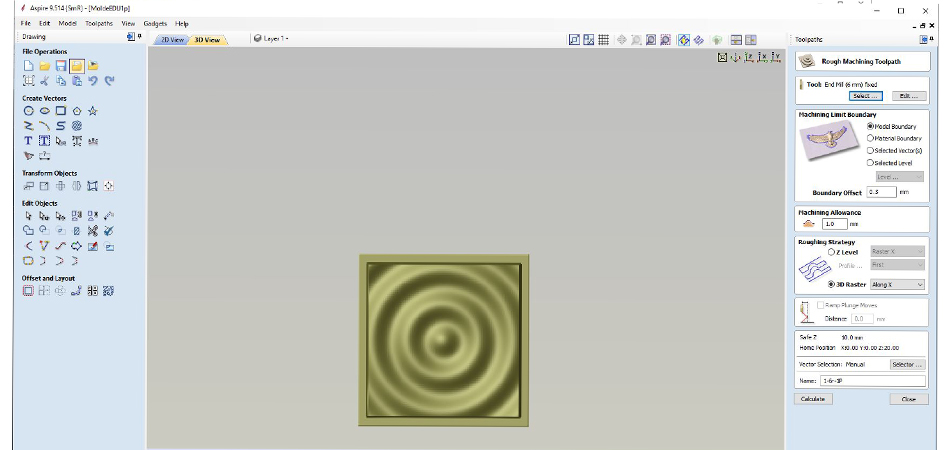
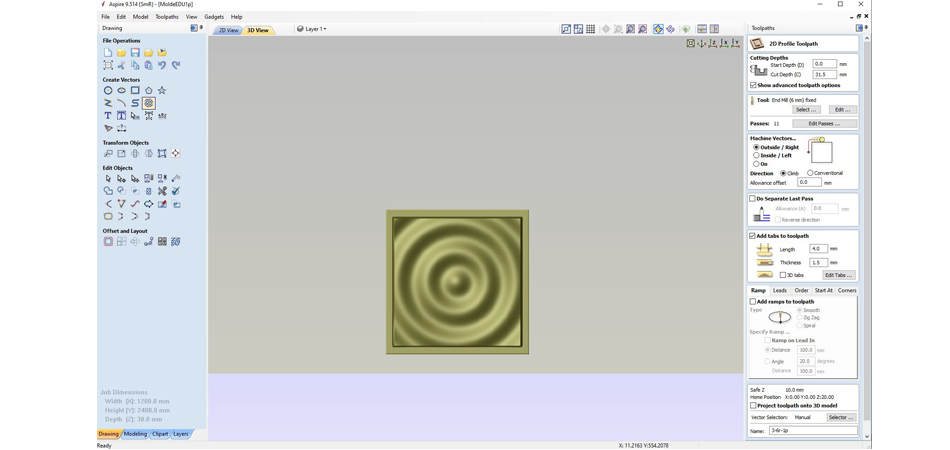
Positive Ripple

Negative Ripple
Fabric Formwork
For this part of this assignment I wanted to get away from my comfort zone and do something completely different from what I'm used to, such as making fabrics. I wanted to go a little further and wanted to test structures that could even be used as molds for biofabrication or as a display.
I liked the structures that could be made with plaster and fabrics. They seem to me quite close to organic structures, reproductions of nature.
To make the structure I used some tubes from a shelf that I always modify. Then cut pieces of neoprene and sew them in such a way that you can create tunnels where the mixture could pass. In addition, the neoprene has a thick shape where it gives security to the structure.
The experiment was unsuccessful, but not because of the structure or the design, but rather the choice of materials, since if I had chosen microcement and not plaster, the structure would have been quite resistant and would have created more stable tunnels. but as a good part of the plaster I can get that the texture of the fabric is very well printed on the plaster which gives it a very special touch.
Although the structure broke and every time he touched it, it fell apart. Some pretty nice pieces came out and it gives me a texture and dimensions similar to human bones, which is an effect that I didn't expect but I really liked it.
As a second experiment, I wanted to create a block with several tunnels, which seems to me to be a quite nice structure and easy to repeat to create an even larger installation.
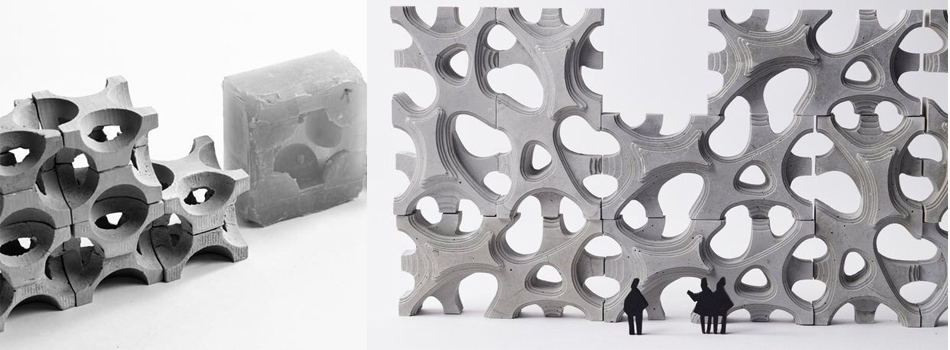
Although this structure continues to be used with an inappropriate material, which is plaster, it turned out much better since it is a more stable structure and easier to separate from its mold.
As a mold, I used a shoebox lid and some 2-centimeter-wide cylinders that I glued in an interspersed manner and that I made sure that the mixture did not go beyond the cylinders so that I could remove them and they would not remain inside the structure.
But as you can see, the result is as expected, although of course the material is not adequate since it is very weak. doing this experiment in microcement could work more efficiently
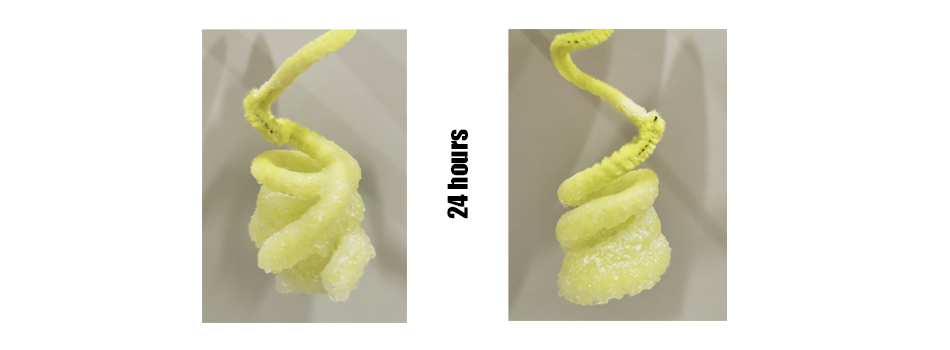
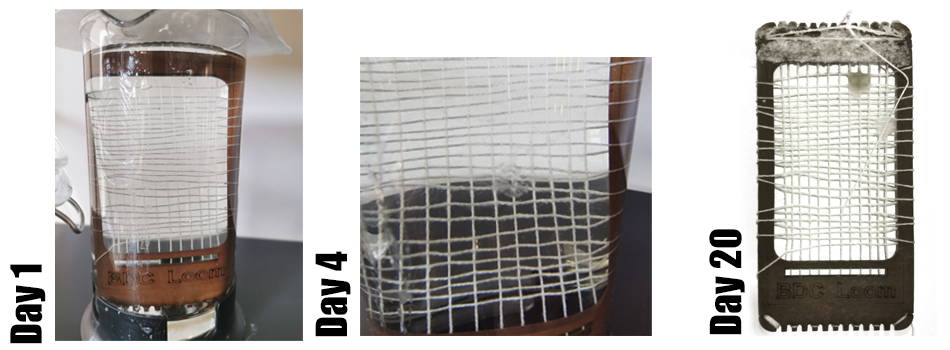
Crystallization
Epson Salt Crystals
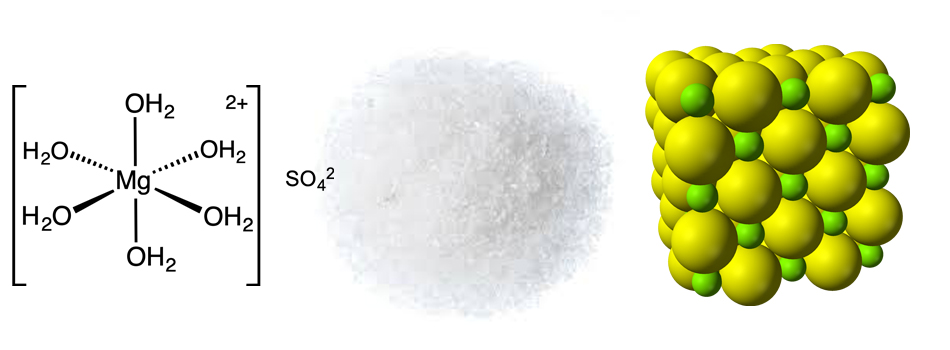
Growing crystals can take several days, but this super-easy recipe gives you a cup full of needle, like crystals in just a few hours. Although it did not grow much, it did leave a lot of salt on the thread that held it, but nothing inside the threads. I have even created mold.
Recipe
Epsom salt
Food coloring
Beaker, cup, or small bowl
 Process
In the beaker, stir 1/2 cup of Epsom salts with 1/2 cup of very hot tap water for at least one minute. This creates a saturated solution, meaning no more salt can dissolve in the water. (some undissolved crystals will be at the bottom of the glass).
Add a couple drops of food coloring if you want your crystals to be colored.
Put the beaker in the refrigerator if you want small crystals, leave in room temperature for bigger crystals.
Check on it in a few hours to see a beaker full of crystals. Pour off the remaining solution to examine them.
Process
In the beaker, stir 1/2 cup of Epsom salts with 1/2 cup of very hot tap water for at least one minute. This creates a saturated solution, meaning no more salt can dissolve in the water. (some undissolved crystals will be at the bottom of the glass).
Add a couple drops of food coloring if you want your crystals to be colored.
Put the beaker in the refrigerator if you want small crystals, leave in room temperature for bigger crystals.
Check on it in a few hours to see a beaker full of crystals. Pour off the remaining solution to examine them.
Borax Crystals
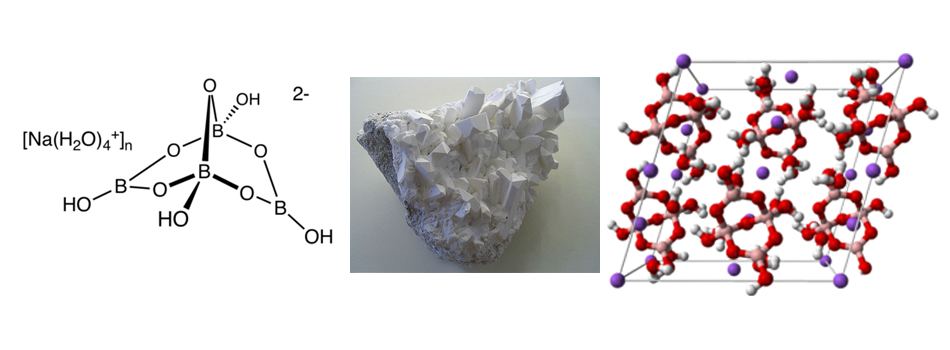
Borax, also known as sodium borate, sodium tetraborate, or disodium tetraborate, is an important boron compound, a mineral, and a salt of boric acid. Powdered borax is white, consisting of soft colorless crystals that dissolve in water. A number of closely related minerals or chemical compounds that differ in their crystal water content are referred to as borax, and the word is usually used to refer to the octahydrate. Commercially sold borax is partially dehydrated.
in the elaboration process it is important to strain the solution that we have heated. I have used a coffee strainer

Recipe
Powdered Borax
Pipe cleaners (white, or the colour of the crystal you want to make - the fuzzier the better)
Heat proof glass container
Measuring spoon
Scissors
Thread
Food colouring
Pencil or food skewer
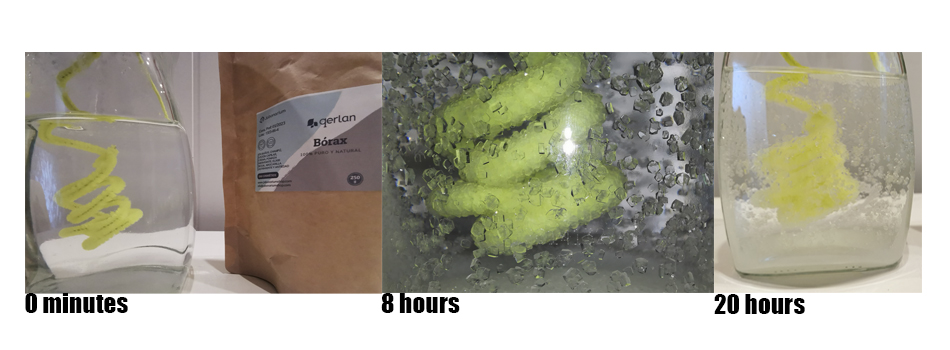
Process 9 tablespoons of borax dissolved in 3 cups of water. Bring 2 liters water to boil in a glass, heat proof container/beaker. Optional: Add the food colouring. Add enough borax to create a saturated solution. Suspend the pipe cleaner form on a string immediately. Leave the beaker on the element as it cools, the top covered with a cardboard piece to trap in heat. Let soak overnight (or at least 8 hours), undisturbed Borax crystals can re-dissolve, so if these get wet - or maybe endure some humid weather - they could de-crystalize.