12. Soft robotics
Soft robotics is a subfield of robotics that concerns the design, control, and fabrication of robots composed of compliant materials, instead of rigid links. In contrast to rigid-bodied robots built from metals, ceramics and hard plastics, the compliance of soft robots can improve their safety when working in close contact with humans.
Previous exploration
In the Bootcamp that we did in June, it was my first approach to the world of Soft-Robotics and I found it to be a fascinating world that combines craftsmanship and organic fluidity with technology, physics and it is quite wonderful how we could recreate the movements of the nature especially those of aquatic beings.
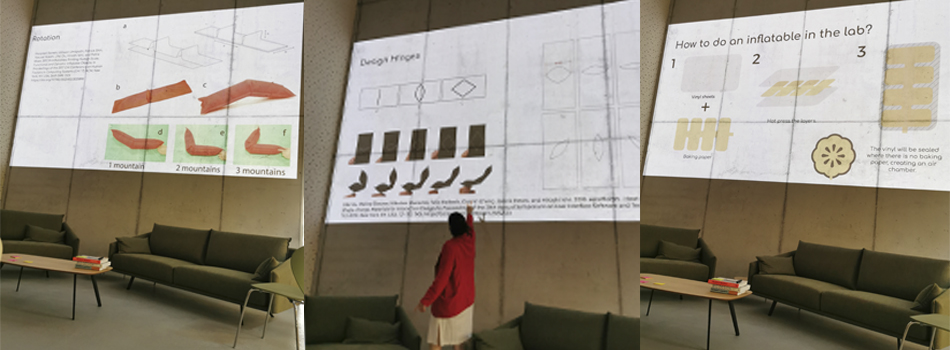
Anastasia Pistofidou teaching the Soft-Robotics class
Bootcamp BDC soft Robotics from eduardo loreto on Vimeo.
Making a soft robotic sample
The day we are ready to start experimenting here in the Basque country (that it had already rained for more than 27 consecutive days), just that day floods broke out and we had to evacuate this from the city and return to our homes so he needed to go to me We all went home to carry out the experiments that we could and in the end it turned out to be a great day in which we were able to do several things and also have a great time.
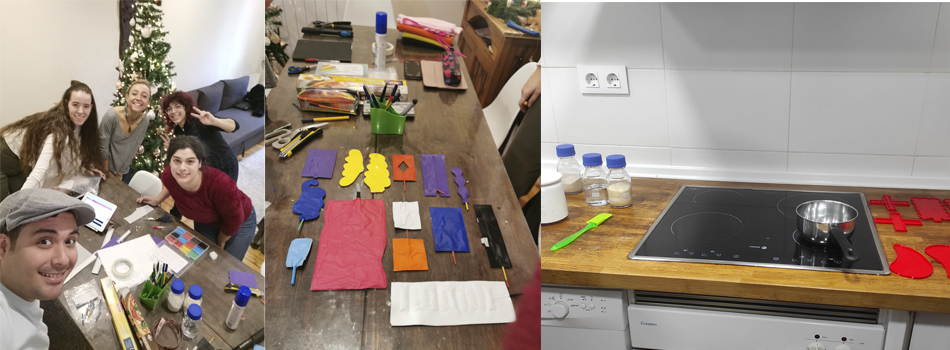
These are the samples I made with vinyl, parchment paper, scissors, and a home iron.
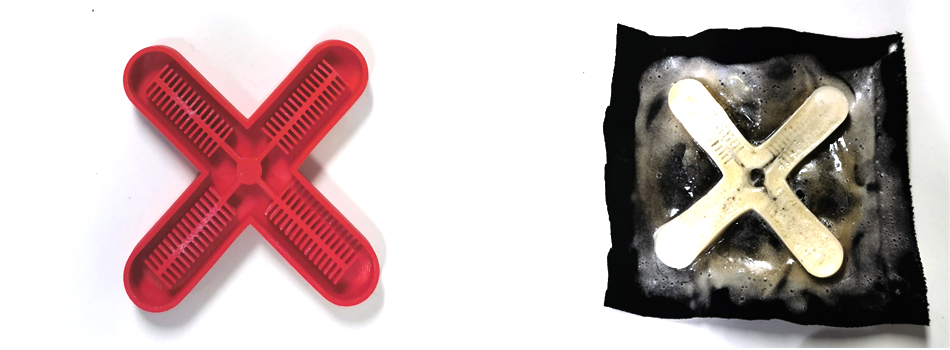
Casting Bioplastic on the Softrobotics molds
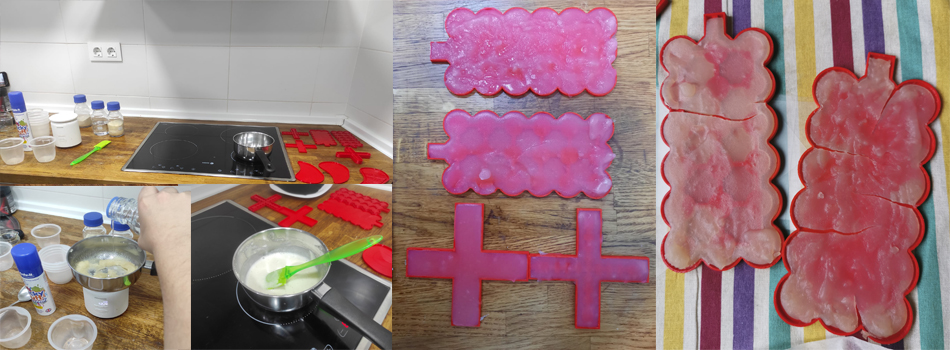
We used 2 bioplastic recipes to test and see which one worked best for us.
The first recipe was with gelatin from Amaya De Yavorsky:
- 1 part water
- 2 parts gelatin
- 2 parts glycerin
Steps:
mix all the ingredients together
microwave for 10 seconds
pour into the mold and let dry for a day.
prepare a little more biosilicone to glue the two parts of the molds
With this mold it was unsuccessful but not the mixture, but the glue was too hot and destroyed the entire structure
The Second recipe that we used was with Agar.
Now that I have more experience and perspective, I realize that the recipe has not been adequate since agar is drier and needs cohesion and elasticity, so gelatin is better. maybe adding gelatin. That would be an exploration that I will do in the future.
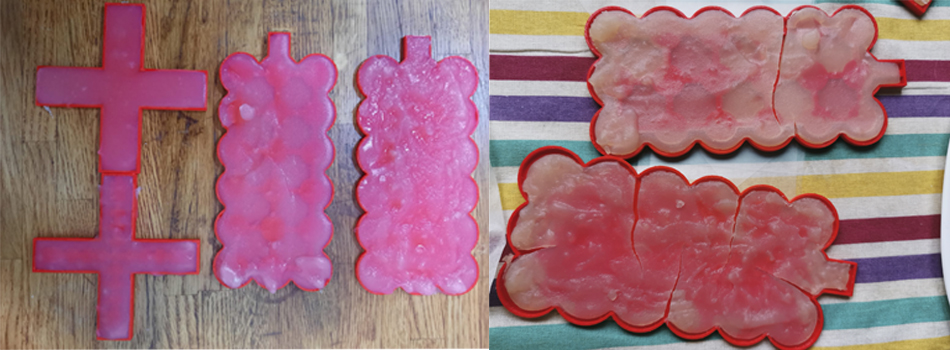
- 1 part water
- 2 parts gelatin
- 2 parts agar
Steps:
mix all the ingredients together
microwave for 10 seconds
pour into the mold and let dry for a day.
prepare a little more biosilicone to glue the two parts of the molds
Making an octopus
I tried to make the octopus I thought about making the tentacles pointy but I made them ending in a square so that it has a donut end so that you have a better grip on the extremity
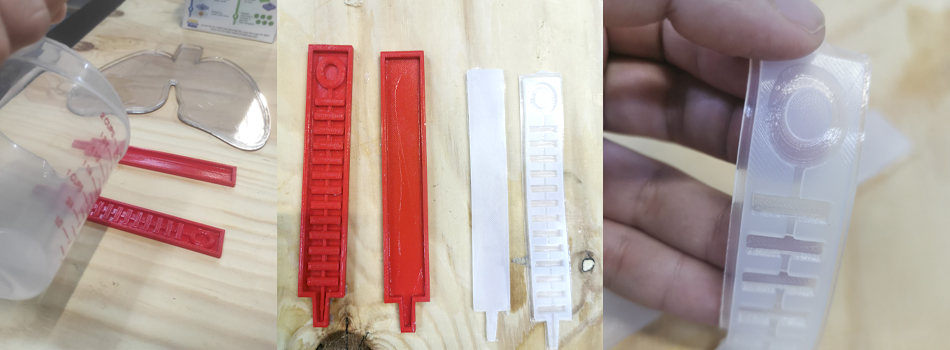
These are the parameters that I used to print the molds on the 3D printer
Quality: Normal: 0,15mm
Wall thickness: 0,8 mm
infill density: 20
infill pattern: grid
printing temperature: 210
build plate temperature: 60
The silicone we use is made with a 50/50 mix of part A and part B and mix very well. It is important to mix it very well because if we do not do it correctly, the reaction does not work and it may not solidify as we want. After we have the mixture, we put it in a vacuum machine where we extract the bubbles and thus have a homogeneous mixture that does not affect the mold.

After pouring the mixture into the two parts of the molds, let it dry for 24 hours.
Doing a little more mixing allows us to glue the two parts and thus seal. A small tip that was very useful to me was to put a cable in the general air duct so that when the two structures are glued together it does not get obstructed, then it was quite easy for me to pull that cable and leave the conduct completely free.
I have managed to make two tentacles. This is what the tentacles look like when they inflate.