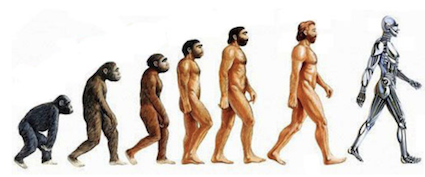
2. Digital bodies
Research and inspiration
This week is all about getting to know the body which is difficult for me as I don't really feel much for bodies. Of course I can see there are different types and forms, but it's not a thing of interest for me and it never has been.
I do admire some artists who work with bodies in kinetic artworks. As well as fictional characters such as robots and super heroes, as well as dinosaurs, of course. So, let's work with those.
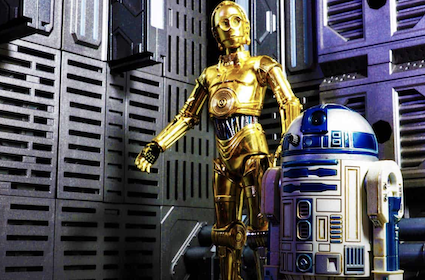
Fictional bodies: robots and super heroes
Lot of fictional bodies were developed with some resemblance to the human figure. Think about Chewbacca and C3P0 in Star Wars or the android Maria from Metropolis. The human body is the basis for a lot of fictional character designers as they are simply the basis we know to start from.
Human body definition according to wikipedia: "The human body is the structure of a human being. It is composed of many different types of cells that together create tissues and subsequently organ systems. They ensure homeostasis and the viability of the human body. It comprises a head, neck, trunk (which includes the thorax and abdomen), arms and hands, legs and feet. "
Humanoid definition according to wikipedia: "A humanoid (from English human and -oid "resembling") is a non-human creature or being, or a robot, with human form or characteristics. The earliest recorded use of the term, in 1870, referred to indigenous peoples in areas colonised by Europeans. By the 20th century, the term came to describe fossils which were morphologically similar, but not identical, to those of the human skeleton."
Androids have been around forever and up until know scientists all over the world haven't been able to remake a perfect humanlike robot. Of course, some look creepy humanly but once they start to move you immediately see they are not one of us. And that's ok. (At least, I believe so :-))
I'm limiting myself to two robots, otherwise this would go on forever...Oops!
Maria
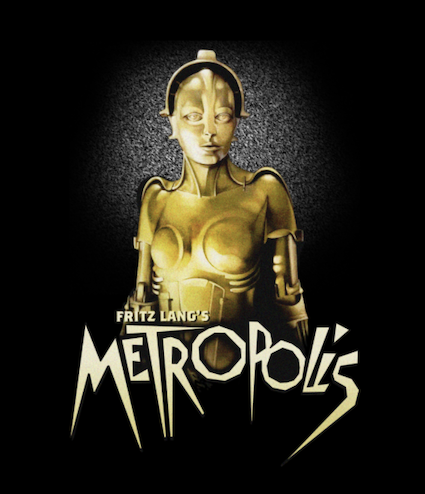
Maria is an android designed by Fritz Lang and is considered to be the first robot in a movie. Metropolis was made in 1927 and Maria played a feature roll as "Maschinenmensch".
An android is a robot or other artificial being designed to resemble a human, and often made from a flesh-like material. Historically, androids were completely within the domain of science fiction and frequently seen in film and television, but recent advances in robot technology now allow the design of functional and realistic humanoid robots.
I think she's beautiful. She's one of the world's most famous androids and inspired many others. Even C3P0 from Star Wars! (My favourite translator, of course...)
Big Hero: Baymax
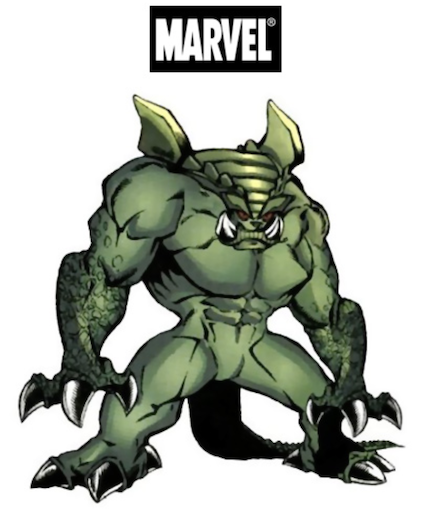
A little jump through time (no biggie when hyperjumping) and we end up in 1998 when Baymax made his first appearance in the Marvel comic "Sun power and Big hero 6". Baymax was able to transform form a large humanoid male to a dragon and back again. His default human form was a disguise to be able to act less conspicuous in public, amongst the other humans.

Of course, the Baymax we more commonly know today is the big white inflatable from Disney's Big Hero 6. Super cuddable, but still equipped with all necessary scanners and sensors that allow him to protect his human by detecting and evaluating threats posed by lifeforms.
Don't we all need a Baymax?*
... ... ...
(* Yes, the answer to this is always: yes! I would love a personal health care compagnon!)
Dinosaurs
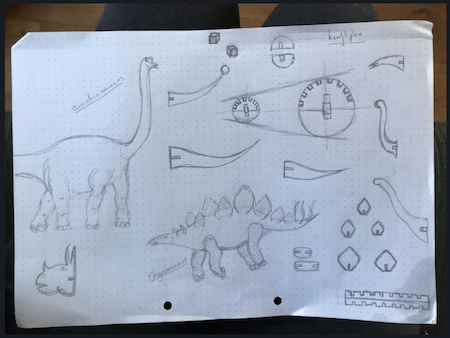
I've been playing with dinosaurs all my life. On every new machine or every new skill that involves creating something, the first thing I make is my diplodocus. I'm sure you'll see him pop-up during Fabricademy as well.
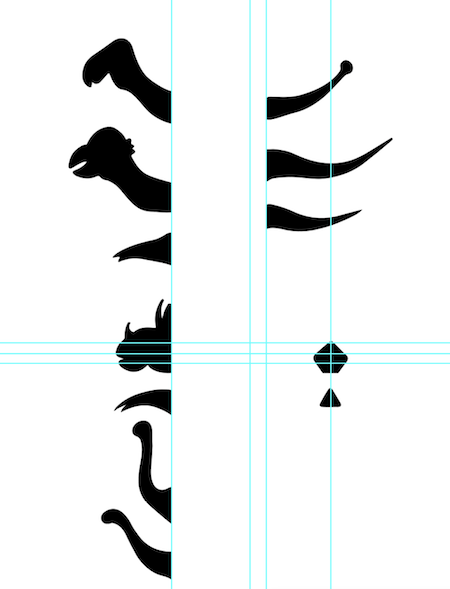
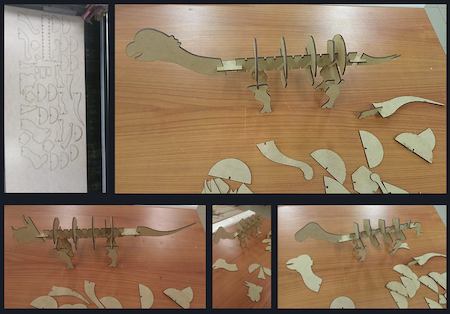
Last year I started making a parametric design kit to explore the possibility of creating different dinosaurs with the same pieces. After making the mannequin I have to explore the possibilities further down the road during Fabricademy as I also wanted to add skins. This would be a brilliant idea to try and test during the couture week.
3D-scanning
I'm not a huge fan of 3D-scanning. But, of course, I scanned Mysa. She did a good job of staying still, well... most of the time 😉.

Although obsolete, we used the Cubify Sense scanner. Because that is what we have available in the lab. You can still activate the device and download the software to use it.
Scanning with the Sense is pretty straightforward. To start you choose what you want to scan based on the size. Then you aim at the object and slowly go around it with the scanner.
Make sure you keep the same distance and the object in the circle on the screen. When the software loses track, you can go back a bit and continue.
After the scanning the Sense software let you do basic cleaning and deleting parts you don’t want. After that it solidifies the scan and you can do basic touch-up before you save it.
Time to scrape the dog off the floor... (It’s a dog’s life…)
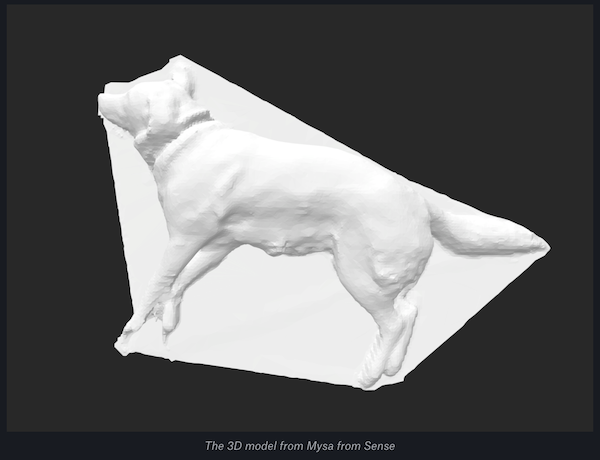
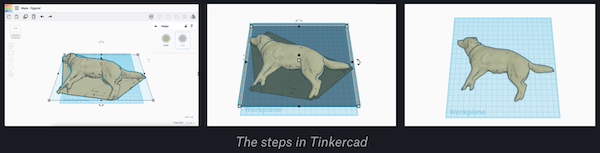
Mysa came out pretty okay after the touch-ups in the sense software. But you could clearly see she was lying on the floor while scanning as the floor was also part of the scan. Not the goal!

So to easily remove the floor, I used Tinkercad and did a couple of very easy steps.
1/ Import the OBJ model file 2/ Add an empty box of a few mm underneath your model 3/ Merge both and ta dah your dog is loose from the ground!
After exporting the file, I imported it to Cura for slicing and printing it on the Ultimaker2GO.
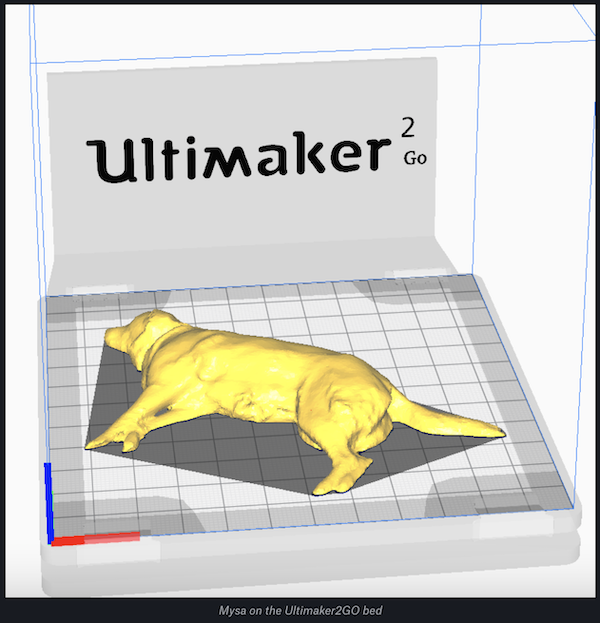
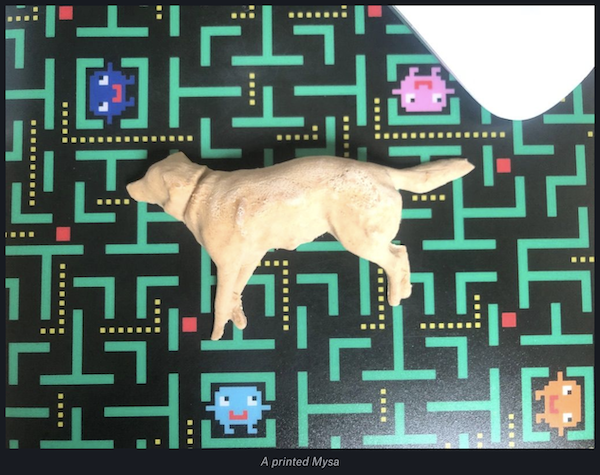
I used the wood filament to have the print in a similar color to her fur. It came out great! Now I can give a 3D-printed Mysa to all my colleagues who miss her during the COVID pandemic… Working from home is hard for an office dog.
Laser cutting
Getting to know your machine
As I'm working in my own lab, I've discussed the kerf and material parameters for our machine here.
Going from 3D to 2D
I've decided to work with Baymax as I would truly benefit from a health care compagnon.
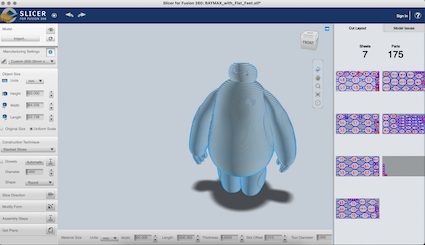
To make the mannequin I used this model from thingiverse and imported it into Slic3r for Fushion 360 using the import button. TIP: be careful to select the right axis!
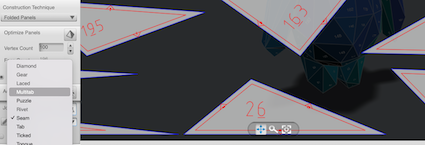
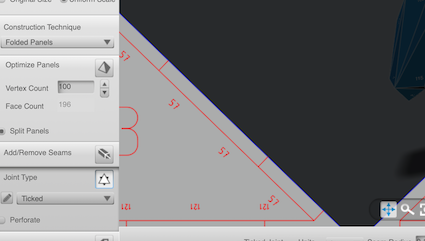
I played around a bit with the settings to look at the different slicing options and methods.
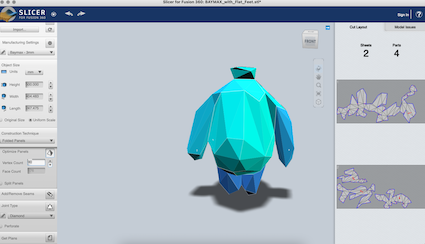
The one I found most interesting is the folded panels with the different joint types. Baymax is not really suited for folding, I will use this method for other models. It reminds me a lot of Pepakura which I love!
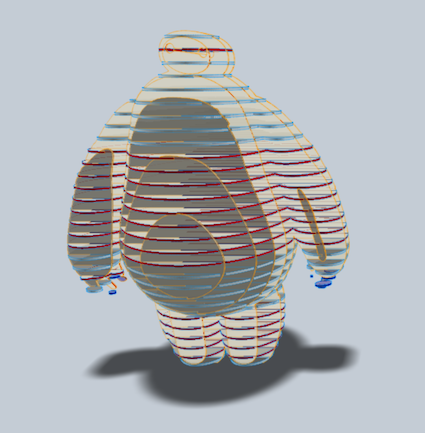
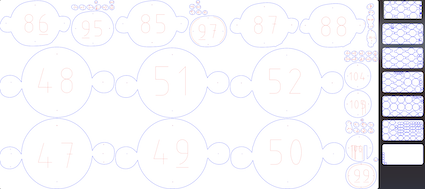
I ended up using the stacked slices as I believe they will be the best suited to show Baymax's curves. In the bottom right you can export your files using the Get Files button, leaving you the options to export to dxf, eps or pdf.
Baymax's export leaves me with 111 parts divided over 7 sheets of poplar. Great puzzle for a rainy week!
Movie time!
Since I have yet to build Baymax, I made a video of the render within the software. I'll be back ;-)
.
.
.
.
..
...
....
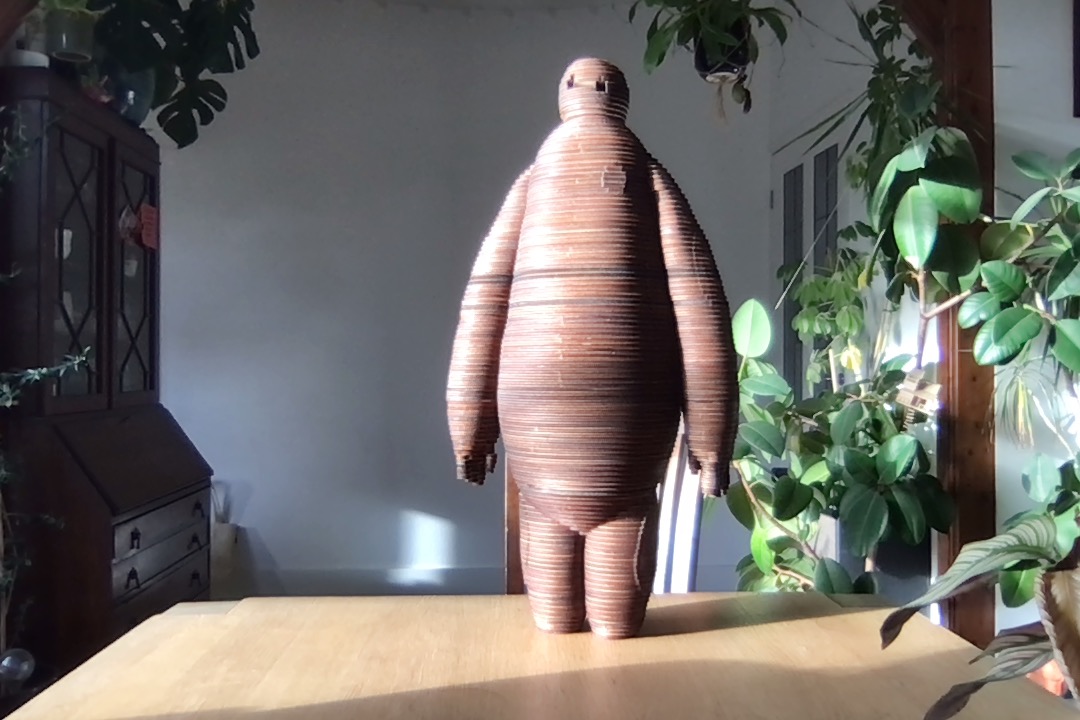
I'm back!
Baymax looks amazing. This was so much fun!
Make your own
Make your own Baymax
You need 7 sheets of 1200mm x 600mm of 6mm plywood (poplar in my case).
Enjoy puzzling :-)