12. Soft robotics
Research and inspiration
Soft robotics yells kinetic art for me. So this week I have to introduce the work of a couple of my favourite kinetic artists. Kinetic art has always intrigued me. My parents have been dragging ( 😉 ) me and my sister to musea all over forever, so lots of inspiration to choose from.
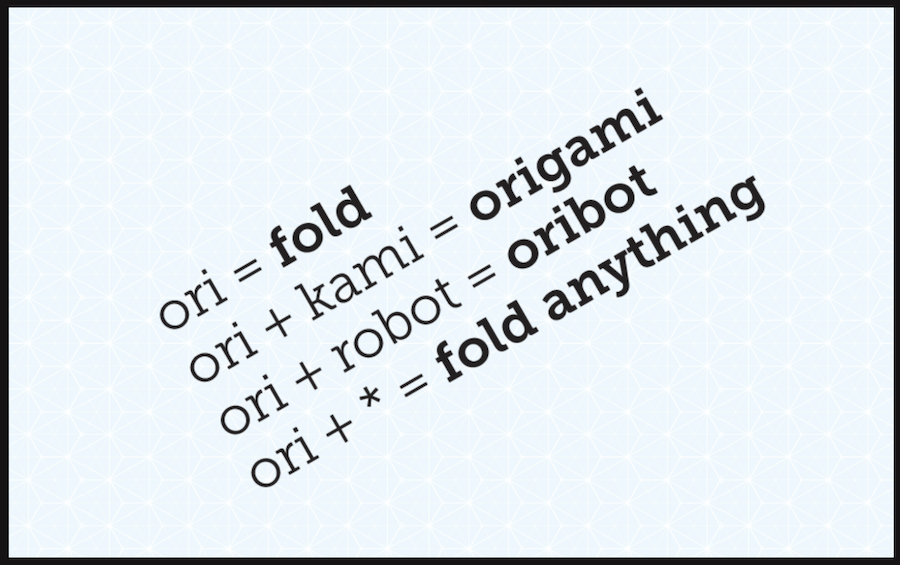
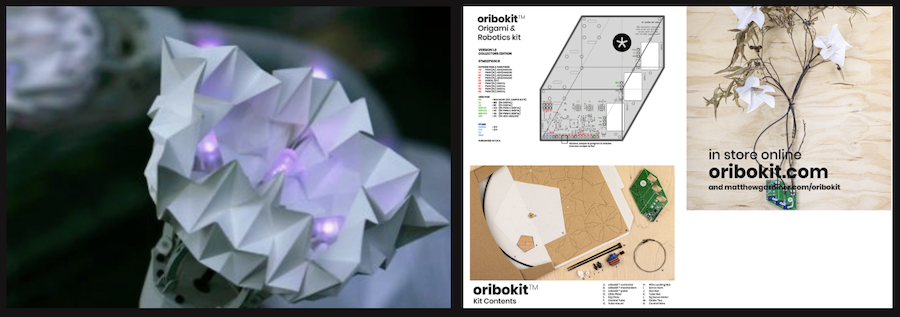
Let’s start of with Matthew Gardener and his oribotics. Oribotics is an ongoing art/science work that fuses the ancient art of origami with robotic technology. The core idea of the work carries on in each generation, that of pure oribotics, as self folding material.
The first oribot was made almost 20 years ago, starting off with a prototype using a LEGO Mindstorms kit and some tape and cardboard. Since then technology evolved and by now the oribots are made with laser cut pieces, 3D-prints, … They are truly beautiful! And.. you can buy a kit and build one for yourself too!
The second kinetic artist I want to introduce is Zoro Feigl who is a Dutch artist.
I cannot describe his work better than himself, so I quote: “My materials dance and twist. Placed together in a space, the separate works become one: large and ponderous in places, nervous or gracious elsewhere. My forms are constantly changing, sometimes slowly, sometimes quickly. The exhibition space becomes an enlarged microscope: single-cell creatures, primitive organisms are twisting, groaning and convulsing. Without beginning or end the objects seem to be locked into themselves. As a viewer you become entangled in their movements: they embrace and amaze, but sometimes also frighten you.”
This is an installation he made for Haperende Mens at Arti et Amicitea in Amsterdam. Amazing, no?
Or this one, the poppy flower at Verbeke Foundation. (Might be the best museum in Flanders!)
As a giant poppy flower this piece of tarpaulin unfolds itself to show an elegant dance of waves and curls while within this dance a violent battle emerges between gravity, friction and centrifugal forces. The more people that stand beneath the flower, the bigger the bloom!
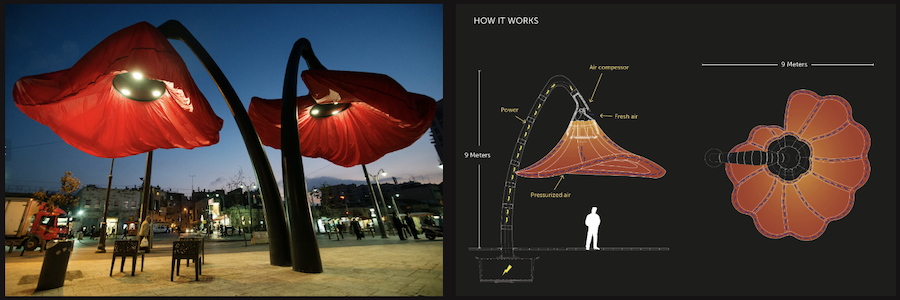
I love poppies, so I have to mention the next one too. HQ architects created a mind blowing dynamic installation at Vallero square in the heart of Jeruzalem: Warde. I had the opportunity to travel to Palestine a few years ago for Fyxxi and I had to go see this one with my own eyes. It turned out to be even more beautiful from up close.
The whole installation consists of four poppies positioned all over the square. Each flower interacts with its surroundings, so when pedestrians walk by the flowers will inflate and open up. Great if you need a bit of shade too! Amazing, no?
And then there’s all my love for artists like Jean Tinguely. Really, if you’re ever near Basel: take a detour and go to his museum. It’s mind blowing! When it comes to moving art, I cannot continue without referring to Alexander Calder as well. His mobiles can move me to tears. So while they don’t necessarily do soft robotics, their work combines static object with movement. Some using air or pressure as well, so some sort of robotics arts, no? 🙂
Enough on the inspiration, I might go on forever… So let’s start with some of our own stuff!
Design the inflatable
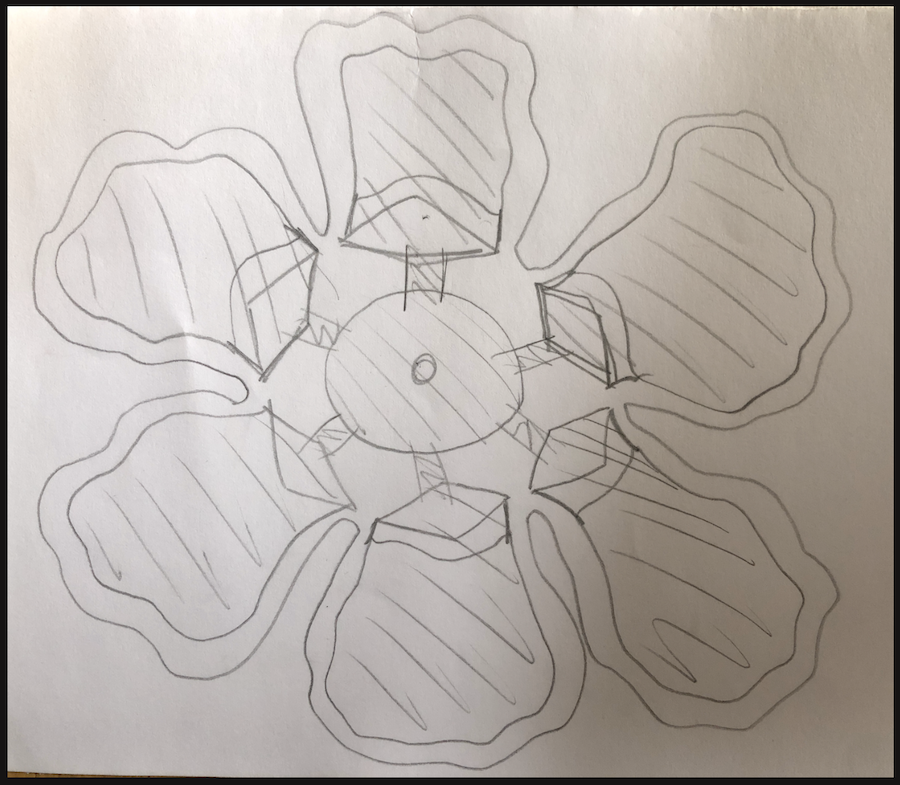
Flowers being the best inspiration for this assignment, I decided to try and make my own blossoming poppy. We all know that everything starts off with a little sketch.
Knowing that the triangles in the middle should take care of bending the petals, I believe this should work. The goal is to blow in the air from underneath so that the flower will bloom on the top. Maybe in the future I might make a version that will inflate by itself while standing in a vase. All in due time.
With the sketch at hand, I took it to illustrator drawing a more clean version in vectors.
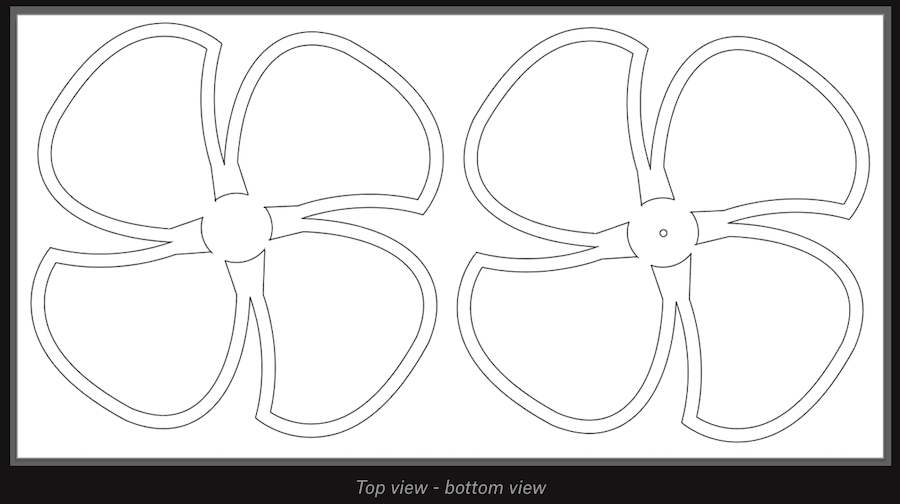
The outer edges define the size of the flower and will be cut in flexible thermo adhesive foil and will be sealed using an iron. The inner line defines the size of the baking paper and will be cut in, well yes, baking paper ;-) The whole is 4mm and is the size of the tube I will use to blow in air.
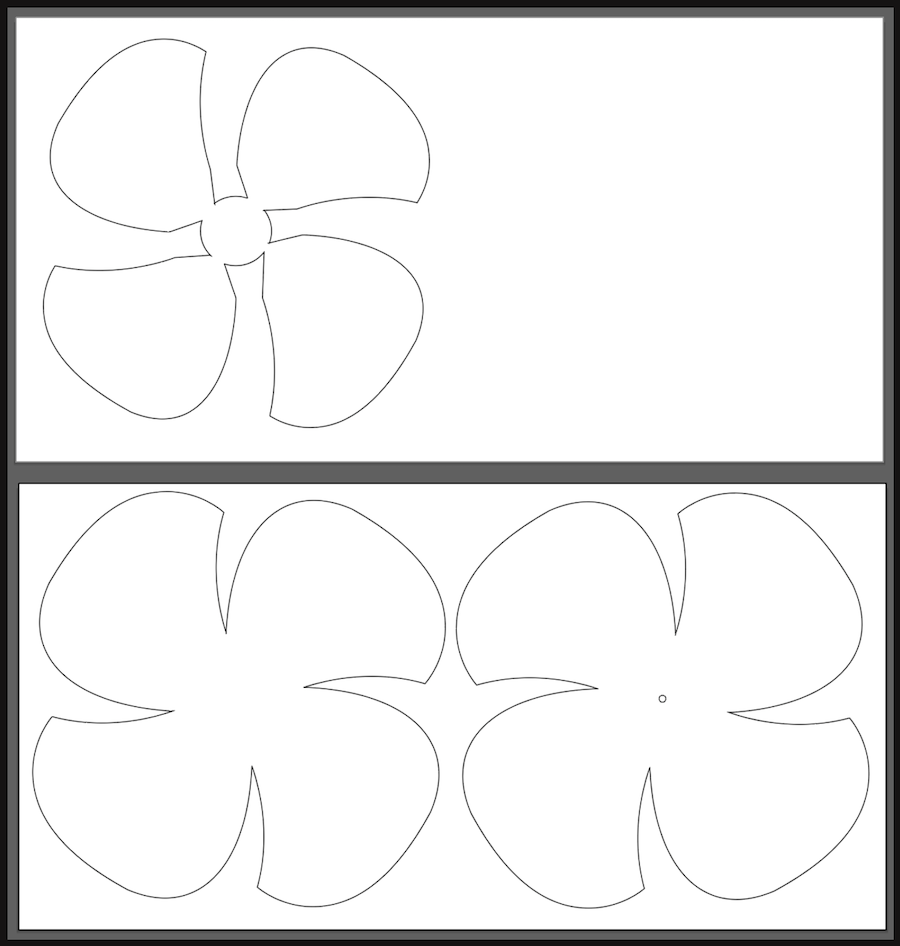
Of course the drawing above is the combined view, in order to cut the different pieces using a vinyl cutter or laser cutter, we need to break them apart. Doing so will leave you with 3 parts: baking paper and the two parts of the flower. (Pro tip: don’t forget to mirror one half if you want the glue to face each other for sealing 🙂 )
Cut your pieces
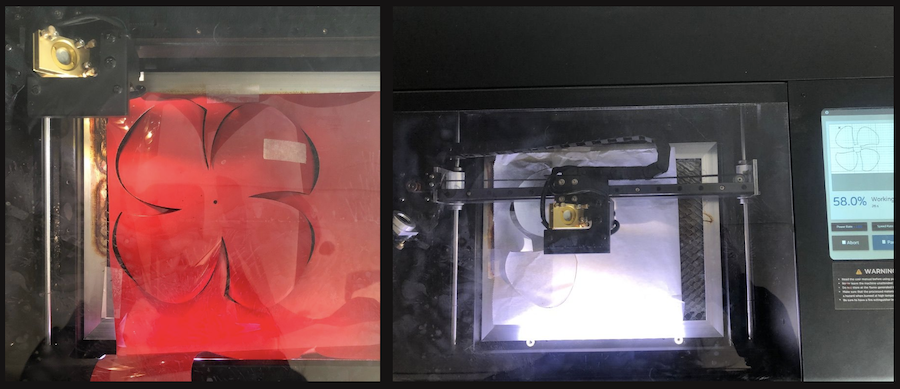
As we don’t have vinyl with chloride I can easily cut the different pieces of the flower with my small -yet amazing!- Flux laser Beamo I have to use during workshop for Fyxxi.
Because the material is very light, make sure to keep it in place using some small pieces of tape. Otherwise the air flow in the laser will blow away the vinyl or paper and that’s not something I would recommend.
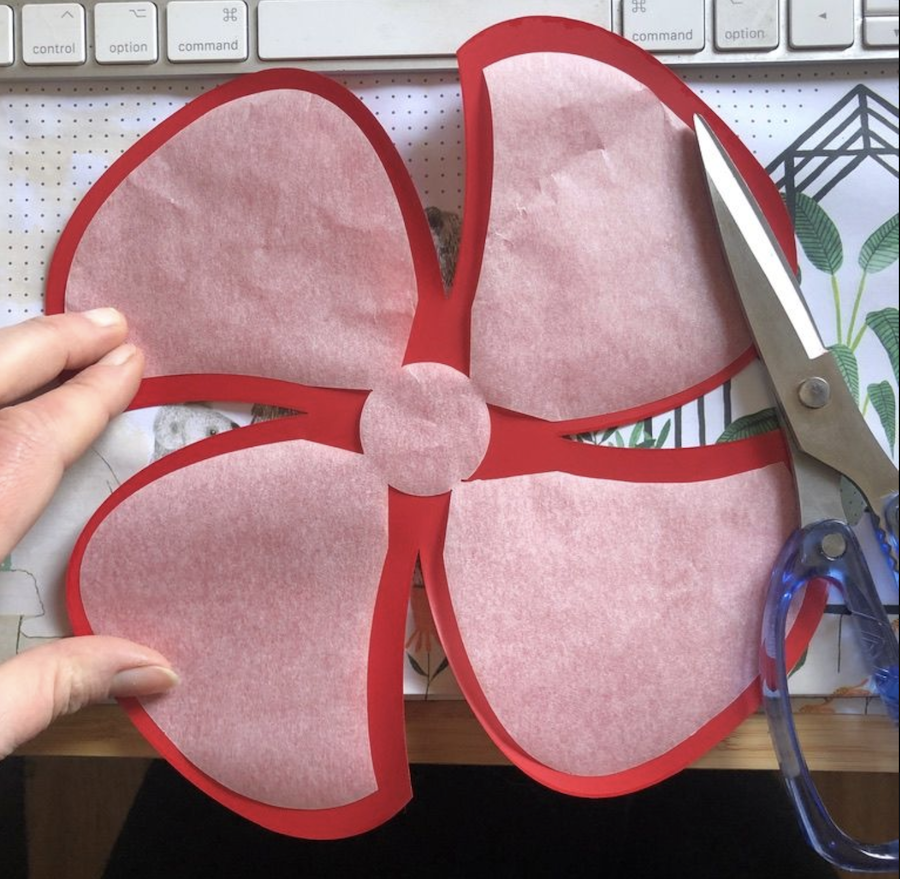
After cutting, always try to see if the pieces fit… mine do, thankfully!
Iron (man?) time
While whistling AC DC’s soundtrack for Iron Man I’m heating up the iron. It finally feels useful again as I haven’t been using it to iron clothes in a really long time, oops! (Sorry mom :-))
The iron needs to heath to the highest temperature, so this might take a while. In the meantime line up you two layers of vinyl with the baking paper in the middle. I use a dish towel in between the vinyl and iron to make sure nothing sticks. Underneath is all is a thick piece of cardboard.
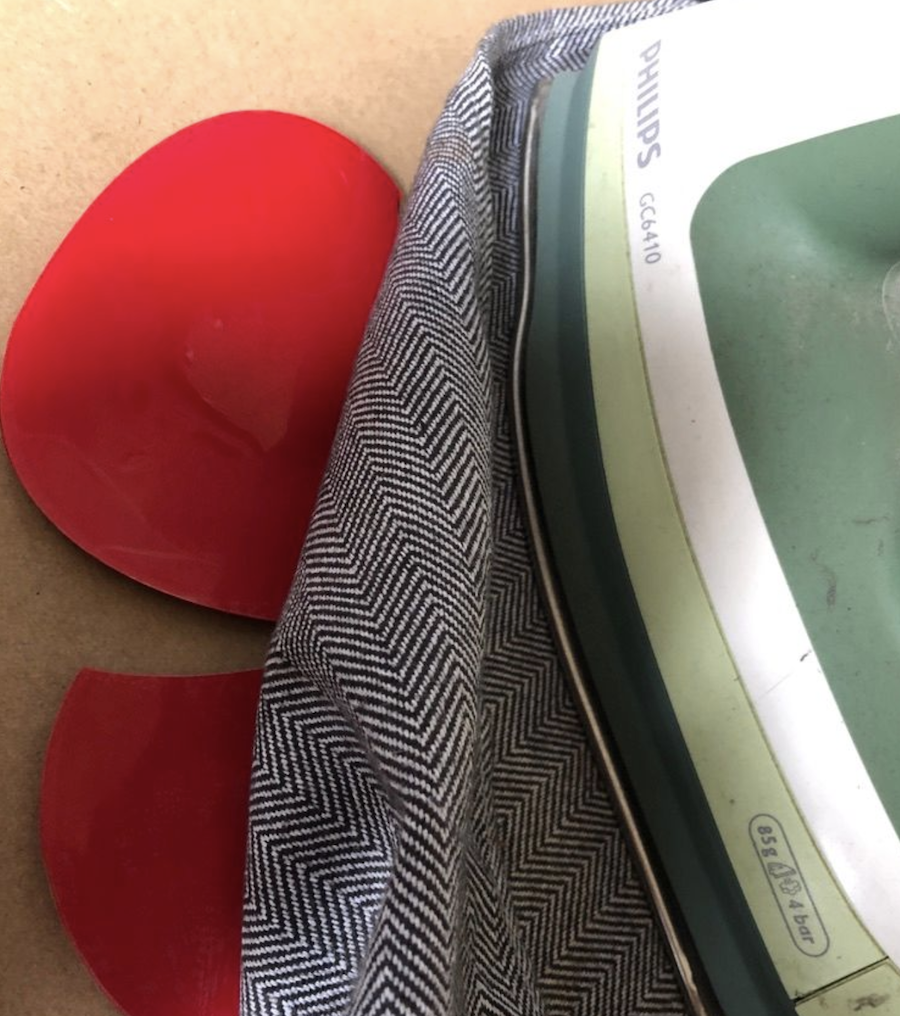
When every inch is sealed, it’s time to remove the plastic on top of the vinyl. Some thermo adhesive vinyl requires to be hot when you do this, others can be cooler too. Check your specs! If it needs to be done whilst being hot, be careful not to burn your fingers. It might also be necessary to heath up the plastic again with your iron. Don’t force it of, this might rupture your vinyl parts.
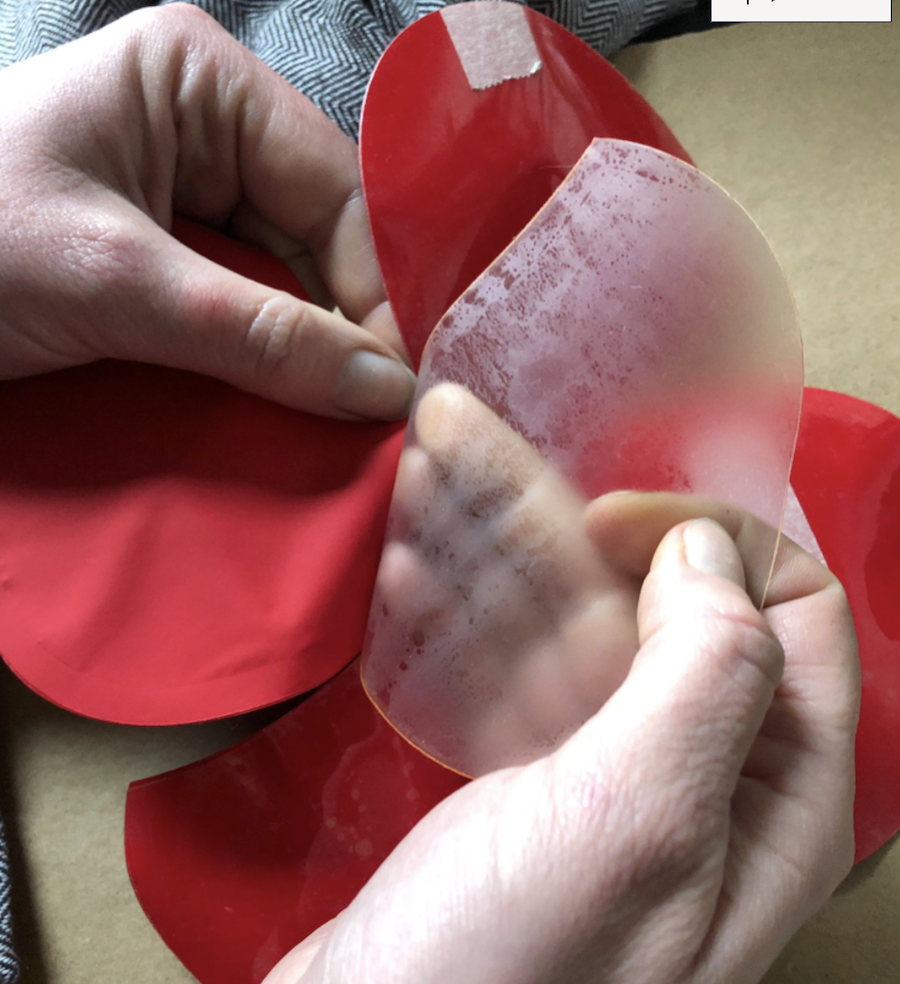
When every part is pealed off, it’s time for a first test! I would highly recommend to try it with your dog staring at you.. Gives you great documentation ;-)
But it pays off! The flower looks terrific and I couldn’t be happier with the result.

Of course, only believe it when you see the video. You should! Here you go 🙂
Make your own poppy
If you want to make your own, go right ahead. You will need the following files:
And the following materials:
25 x 50 cm thermo adhesive vinyl in a colour of choice a 4mm tube of approximately 50 cm
Enjoy making!