10. Open source hardware
The Pink-to-matic: why and what?
We’re punkers, DIY’s, makers. We make stuff, hands-on. We like to get our hands dirty. We don’t like waste.
Research and inspiration
As I cannot work in the lab, I will continue with one of the improvements for my Pink-to-matic machine I build as a final project during the Fab Academy.
Music is my life. I’m a strong believer that life without music would be a mistake. I'm also a fan of merch, but... I would love for merch to be more ecological (no vinyl stickers!), customisable and zero waste. As my background is mostly in a DIY-punky way, this fits perfectly with my love for making. I want to use the Fabricademy to further develop the Pink-to-matic and focus on developing different kind of stamps from waste as well as inks that dry quick enough to work with during concerts.
Wouldn't it be something if you could bring your own shirt and print on it? Or your record?

During Fab Academy I created the first version of the Pink-to-Matic, an open source press printer. One of the listed improvements was to build an extra level on top of the press and use the press printer as a base for the screen printing system.
There are a lot of easy to use silkscreen kits, but most of them aren’t easy to use in the sense of getting your print in the same place each time as the siff is not attached to a machine.
Examples:
An easy to use automated screen printing machine has not yet been made as far as I could find.
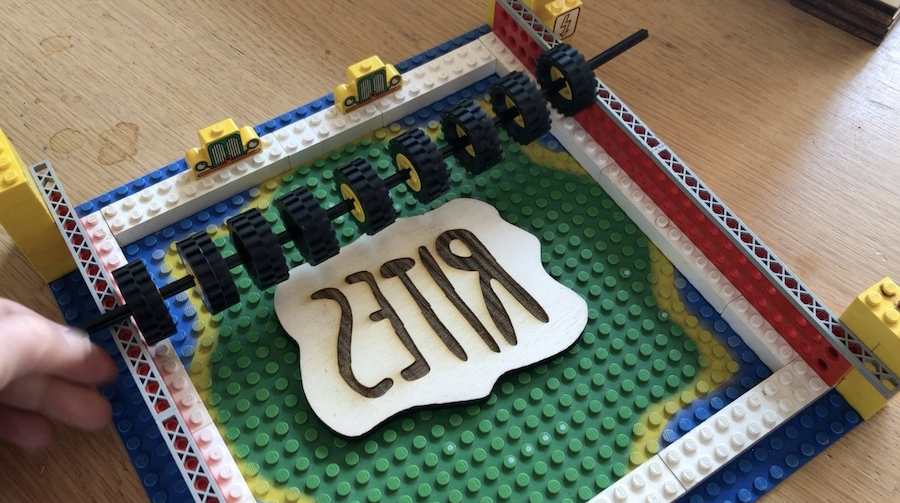
LEGO prototype
Thankfully I have a boyfriend with a big LEGO brick collection. It was a very simple choice to build the first prototype using the well known bricks. Half an hour of building, very cool results. I kept coming back to this build all throughout the making of the Pink-to-matic and it's add-ons. Good reason to keep it around!
Building the add-on
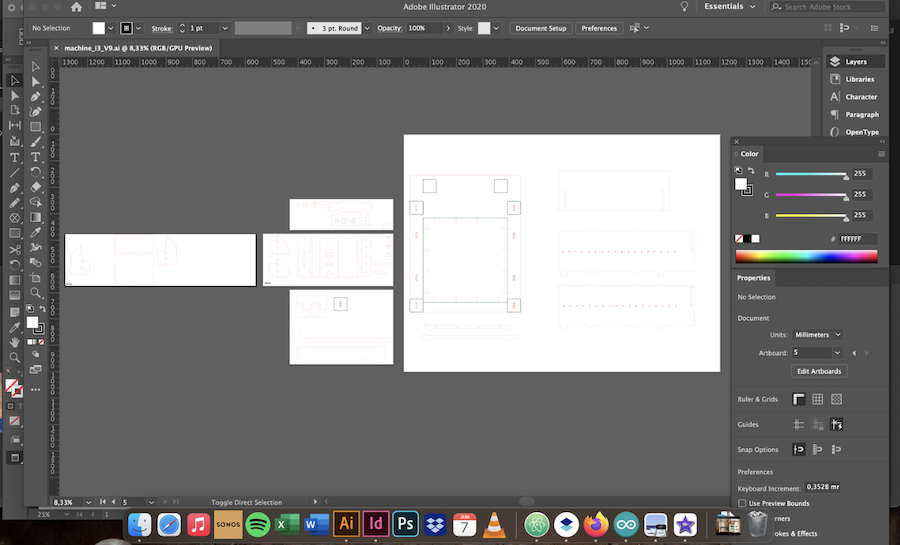
The whole case was designed in Illustrator. The first prototype has been laser cutted in poplar triplex, 6 mm thick.
The goal is to mill the final machine in trespa as it’s much more easy to keep clean. At the moment however, as this is still the prototype version, the screen printing add-on will be cut in poplar as well.
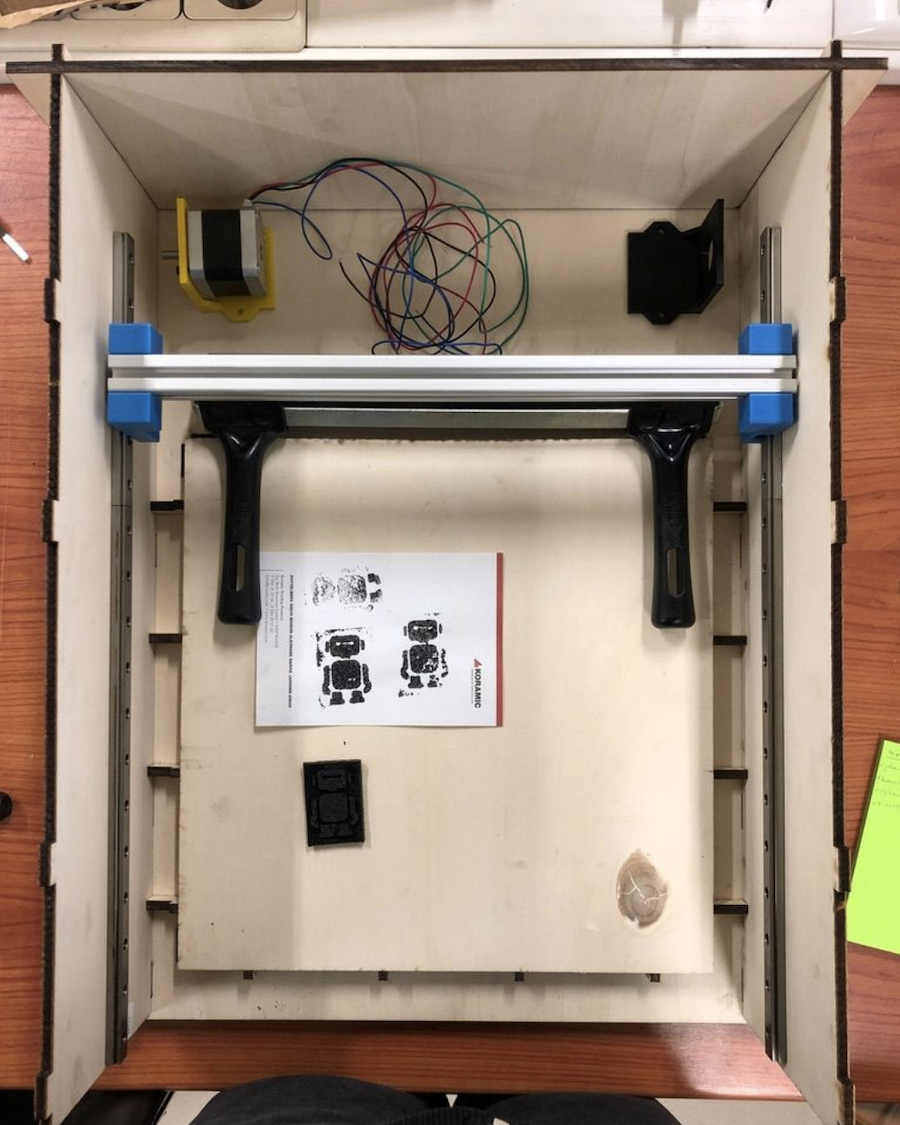
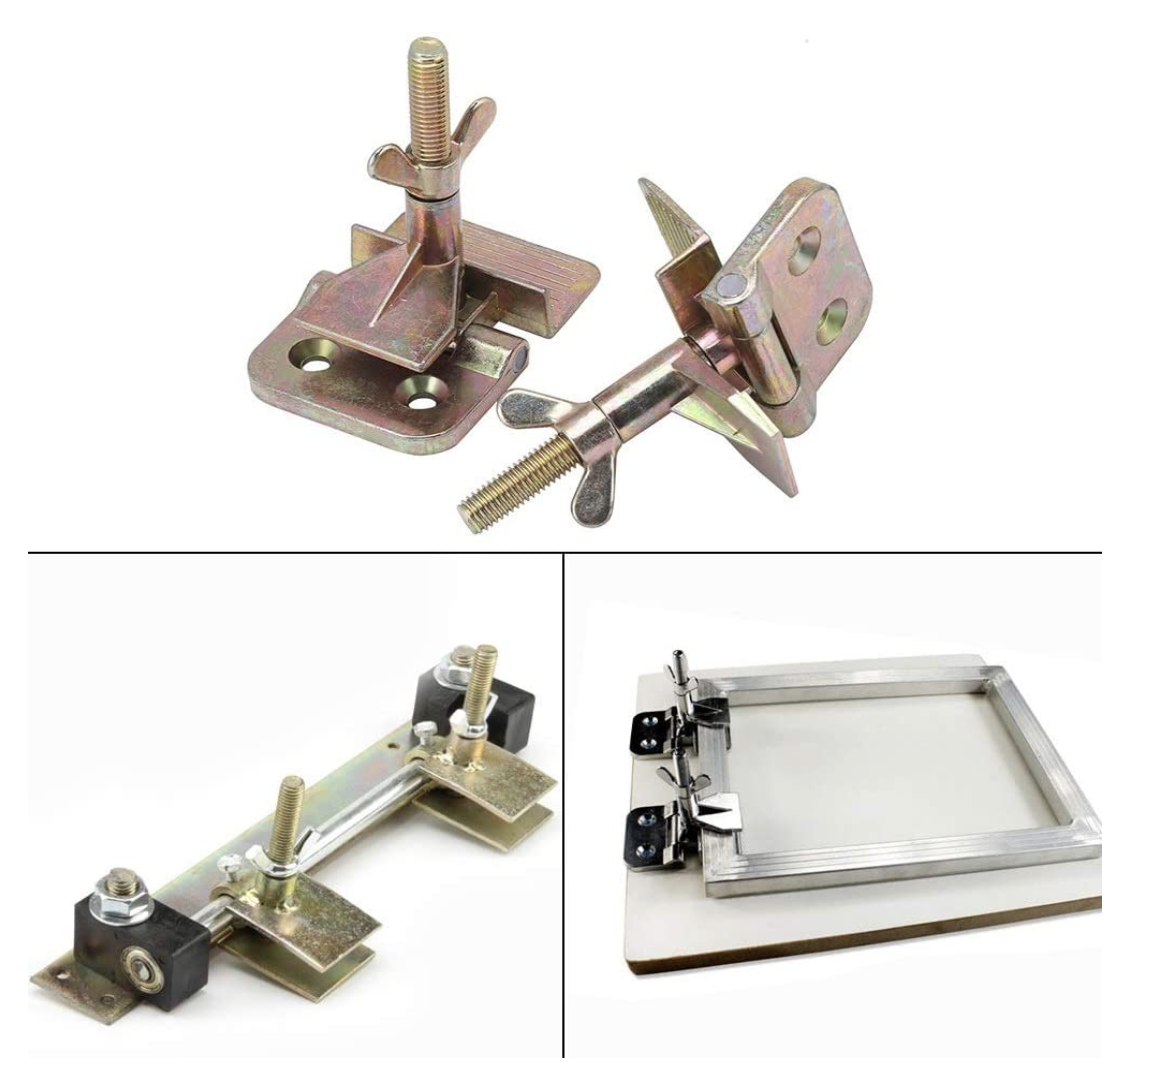
TO be able to mount the screen printing module, I need to add an extra base plate on top of the press. I already foresaw this module and added anchoring points in the original design. I ordered clamps designed for holding the screens to attach both a floating base plate where you can put your fabric on, as well as the hold the screen. So I need to think hard in order to get everything right and fitting in the end. Probably I'll use maker beams to mount the clamps on the base plate.
After a good time of thinking and testing the add-on, it's time to design it in Illustrator.
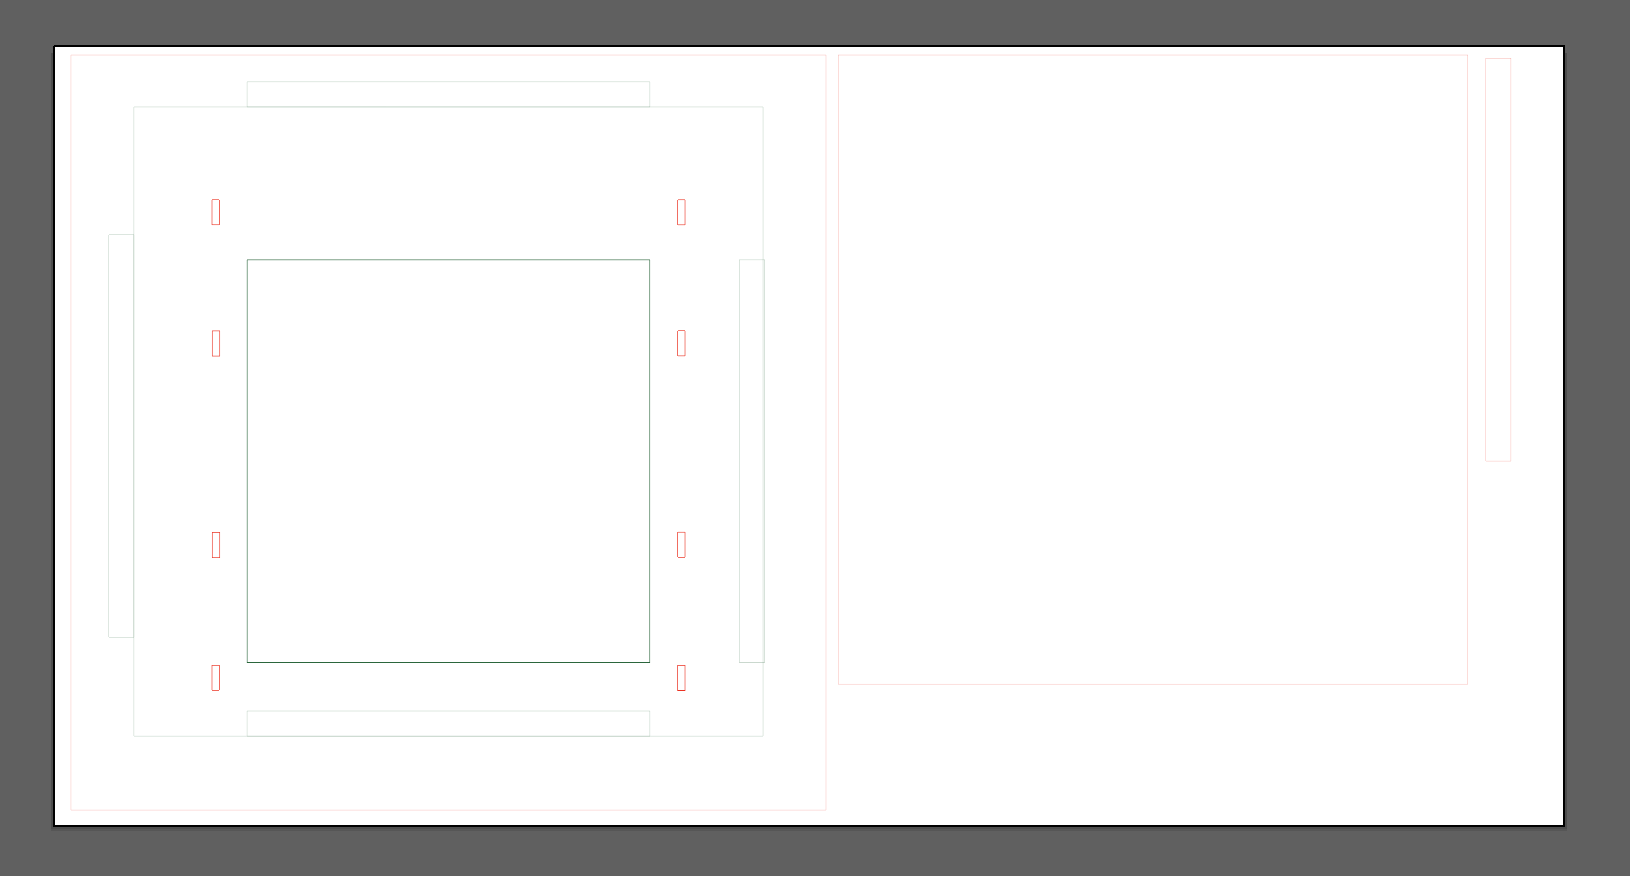
It took me a good while to get is right, but I think it's there now. Let's test by laser cutting the poplar and trying to mount the add-on to the machine. Fingers crossed!
Assembling the frame
The assembly process of the bottom part of the Pink-to-matic can be found on my final project page from Fab Academy.
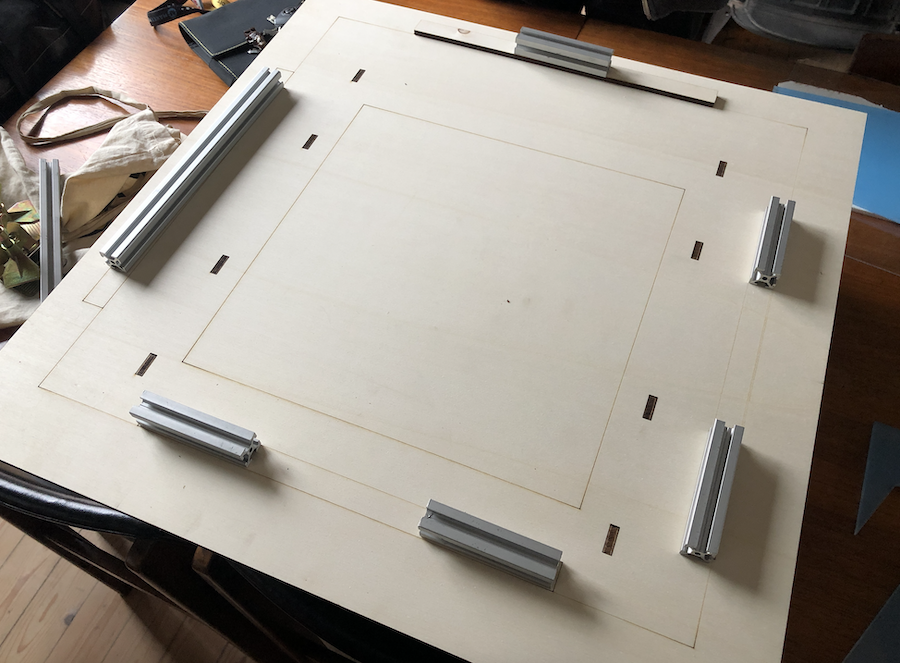
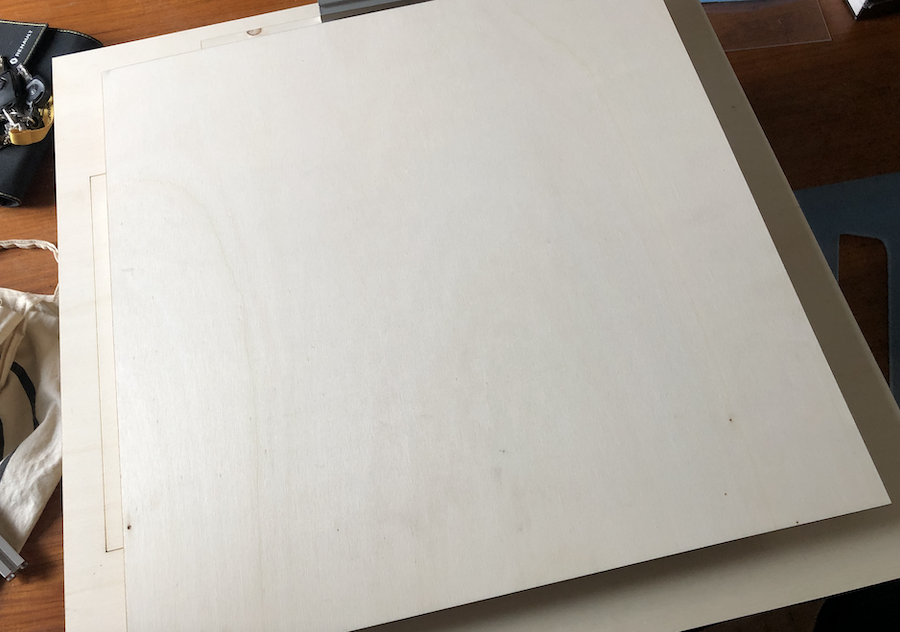
Adding the top layer is super easy. The bottom plate fits on top of the base machine by simply putting it on top of the tabs. It should fit without a struggle.
The maker beams will act as support for the printing base plate. This one will be adjusted according to the material (whether you want to print on a shirt, a tote, ...). For now the plate is a simple square in order to make sure everything can be screwed in place correctly.
Now it's a matter of adjusting all the hinges in order to hold the screen. But, I'm all out, so first I need to ask someone really nicely if they want to go to the store for me :)
With all the parts in place, it’s time to add a screen. Using the hinges to adjust to the height of the screen, you can add any screen to the machine.

The bottom plate is used as base plate for your textile of paper you want to print on. If you make the machine in plywood and want to print on a t-shirt, tote bag, … (pieces with more than one layer of fabric) don’t forget to add a piece of plastic in between to prevent bleeding!
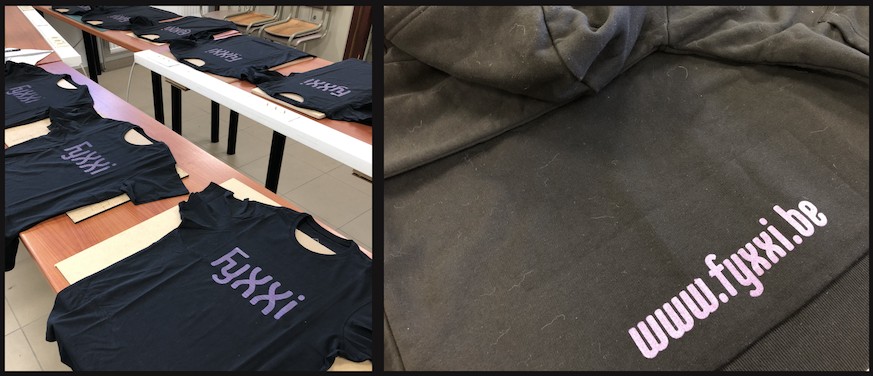
With everything in place, it’s time to print.
Let’s print!
Before you can screen print, you need a prepared screen. You can do this the hard way with chemicals and exposing your screen, but this takes a long time and you need to buy a lot of extra, and pretty expensive, products.
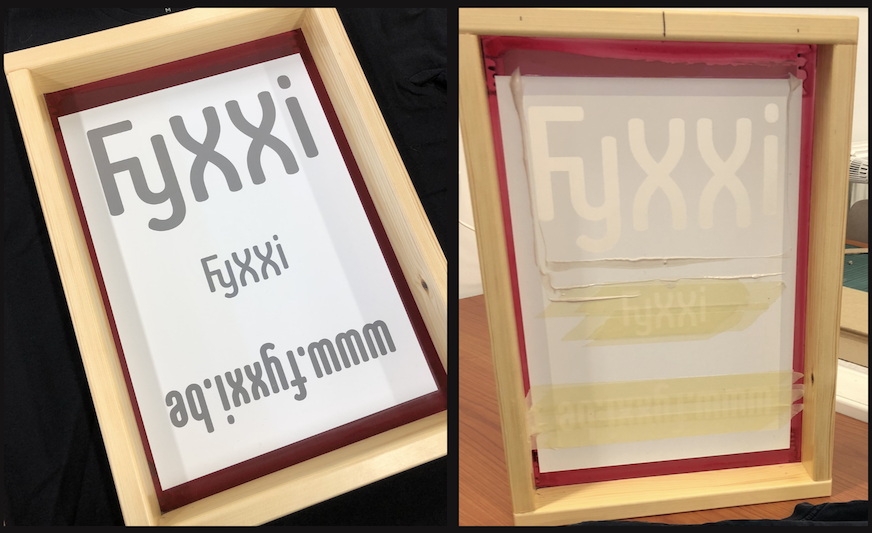
So for now I use the vinyl cutter and cut a vinyl sticker that’s the size of the screen. I decided to go for the logo of our NPO as we need shirts to wear at the first fair in years.
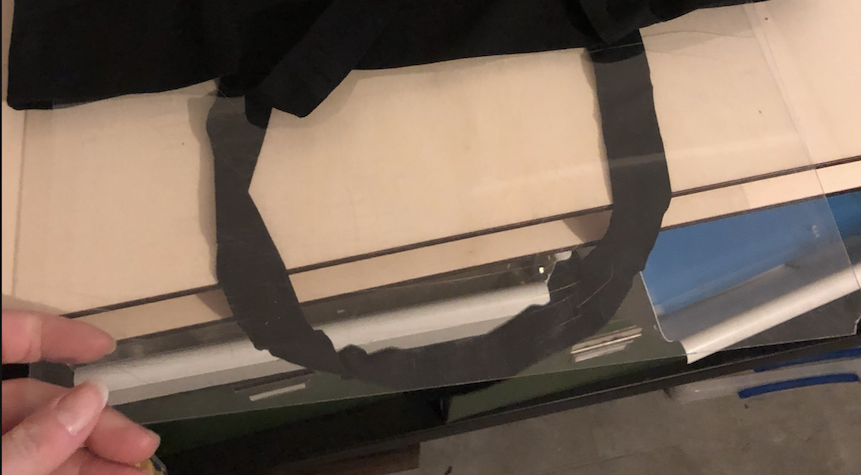
If you have a bigger screen and want to safe the screen for later use, it might be interesting to add a couple of designs you know you might need later in time. I went with our logo, big and small, and the website url. You can easily cover the parts you don’t need with paper tape.
With the screen in place, it’s time to get started! Simply add the screen to the hinges as mentioned above, add your medium (textile, paper, …) add your ink and squeeze it through using a squeegee.
When your done printing, let everything dry and go have coffee 🙂
And if you don’t want any dog hair everywhere, don’t have a dog. I couldn’t miss her for the world…
Bom: list of materials
| Part/component | Description | Quantity | Price |
|---|---|---|---|
| Screen printing add-on | |||
| Poplar plywood | base plates | 1 | 22 euro |
| Maker beams | 4 pieces of 2x2cm | 1 | 25 euro |
| Hinges | 2 pieces | 1 | 4 euro |
| Clamps | Set of 2 | 1 | 19 euro |
| Screws, bolts and nuts | 1 | 5 euro | |
| Screen | you can choose the size :-) | 1 | from home |
| Squeegee | from home |
If you don’t own a screen and squeegee, you might want to start with a basic starter pack. You can buy these in a local art shop or online for roughly 80 euro. They contain a screen, a squeegee in the right size and some ink. Making your own screens is possible too, but I would leave that for a further stage of experimentation 🙂
Files to make your own Pink-to-Matic
All the files for the base module can be found here. The additional files for building the extra screen printing module can be found here.
Enjoy printing!