3. Circular Open Source Fashion
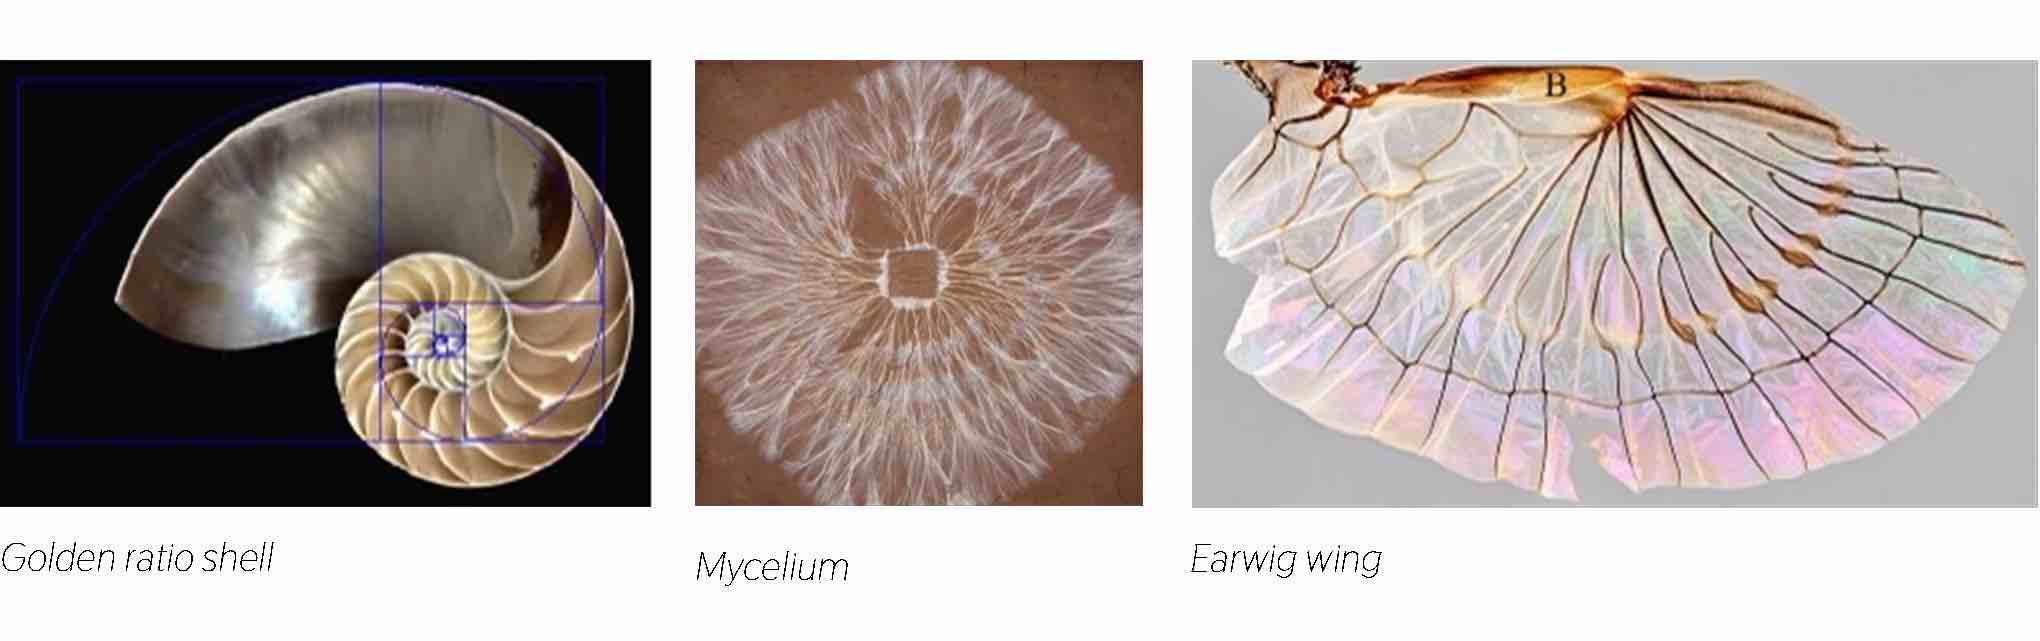
INDEX IMAGE ~ Nautilus shell with golden ratio
Lecture and Research
This week we are learning about how open source fashion systems are more sustainable and inclusive. We are representing this idea with designs that use zero waste techniques and are modular, sharable and replicable. I enjoyed studying Kate Fletcher and Mathilda Tham’s Earth Logic. They present a “radical invitation to business leaders, designers, governance and citizens to put earth first” that becomes a lens “like a turn of the kaleidoscope, enabling us to see new patterns and configurations, new possibilities and pathways.” In an article shared by Ana, The Exploration of the Modular System in Textile and Apparel Design. The authors describe key benefits of modular design:
- They create new possibilities and innovations.
- It is possible to change the pieces of a system without redoing the whole.
- Designs become flexible and capable of evolving.
I like how both of these writings present circularity and sustainability as an exciting shift. While limitations are made (scaling down production, buying less, less private ownership) the benefits are expansive (supportive and trusting communities, more respect for craft and natural resources).
References & Inspiration
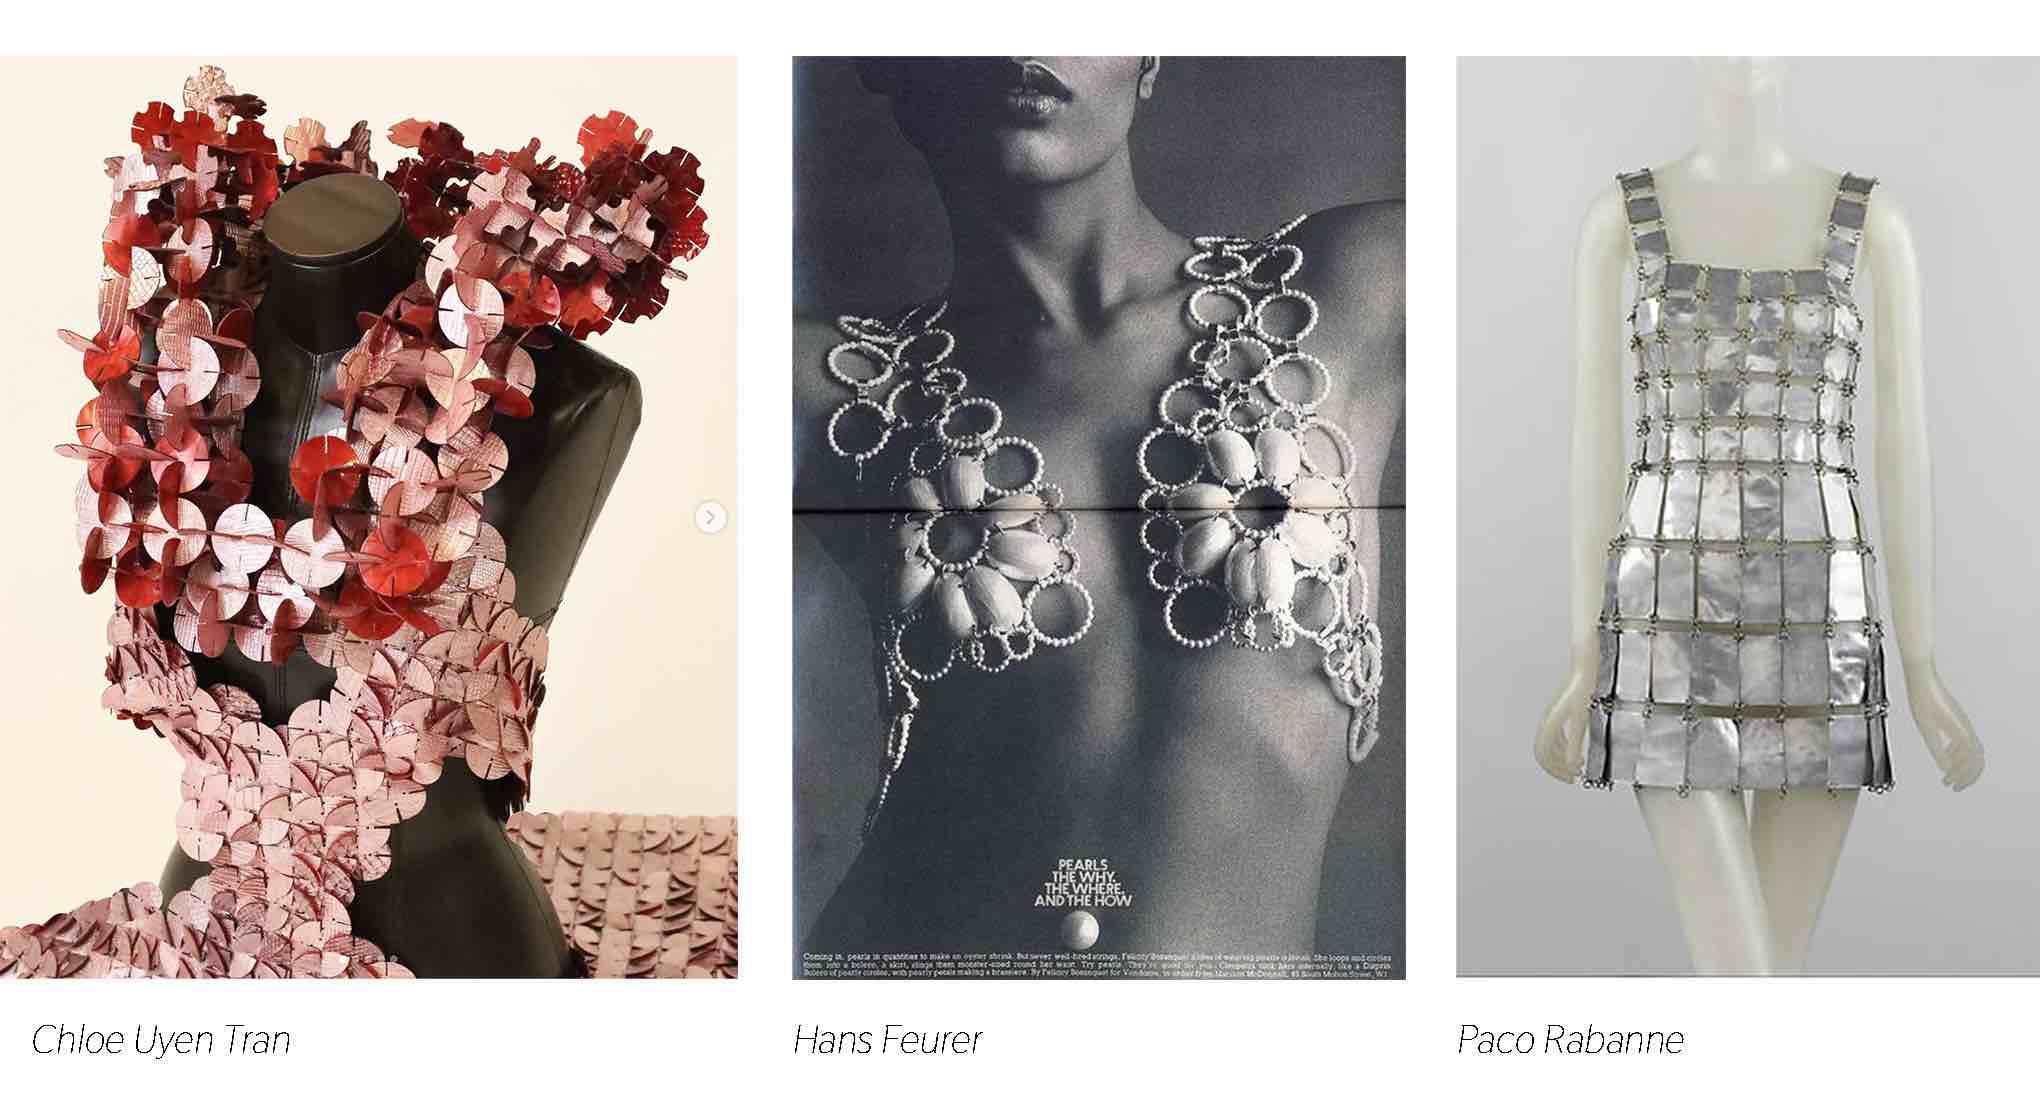
Here are a few artists that I thought of during the lecture. Chloe Uyen Tran has done very inspiring research with her biomaterial, Tomtex and her first presentation of the chitin-based material was this modular garment. I also looked at a few older designs like Paco Rabanne and Hans Feurer from the 1960s and 70s. It is interesting how modular structures allow hard materials to become wearable like fabric. This is very exciting when thinking about biomaterials because sometimes flexibility can be an issue.
Tools
Process and Workflow
Concept
I started exploring some natural examples of tessellation that I found interesting. I was hoping to find a way to keep my design curved and organic rather than geometric.
 Studying the fractal nature of our universe made me think of this quote. I would like my project this week play on this idea of the micro and macro worlds connected.

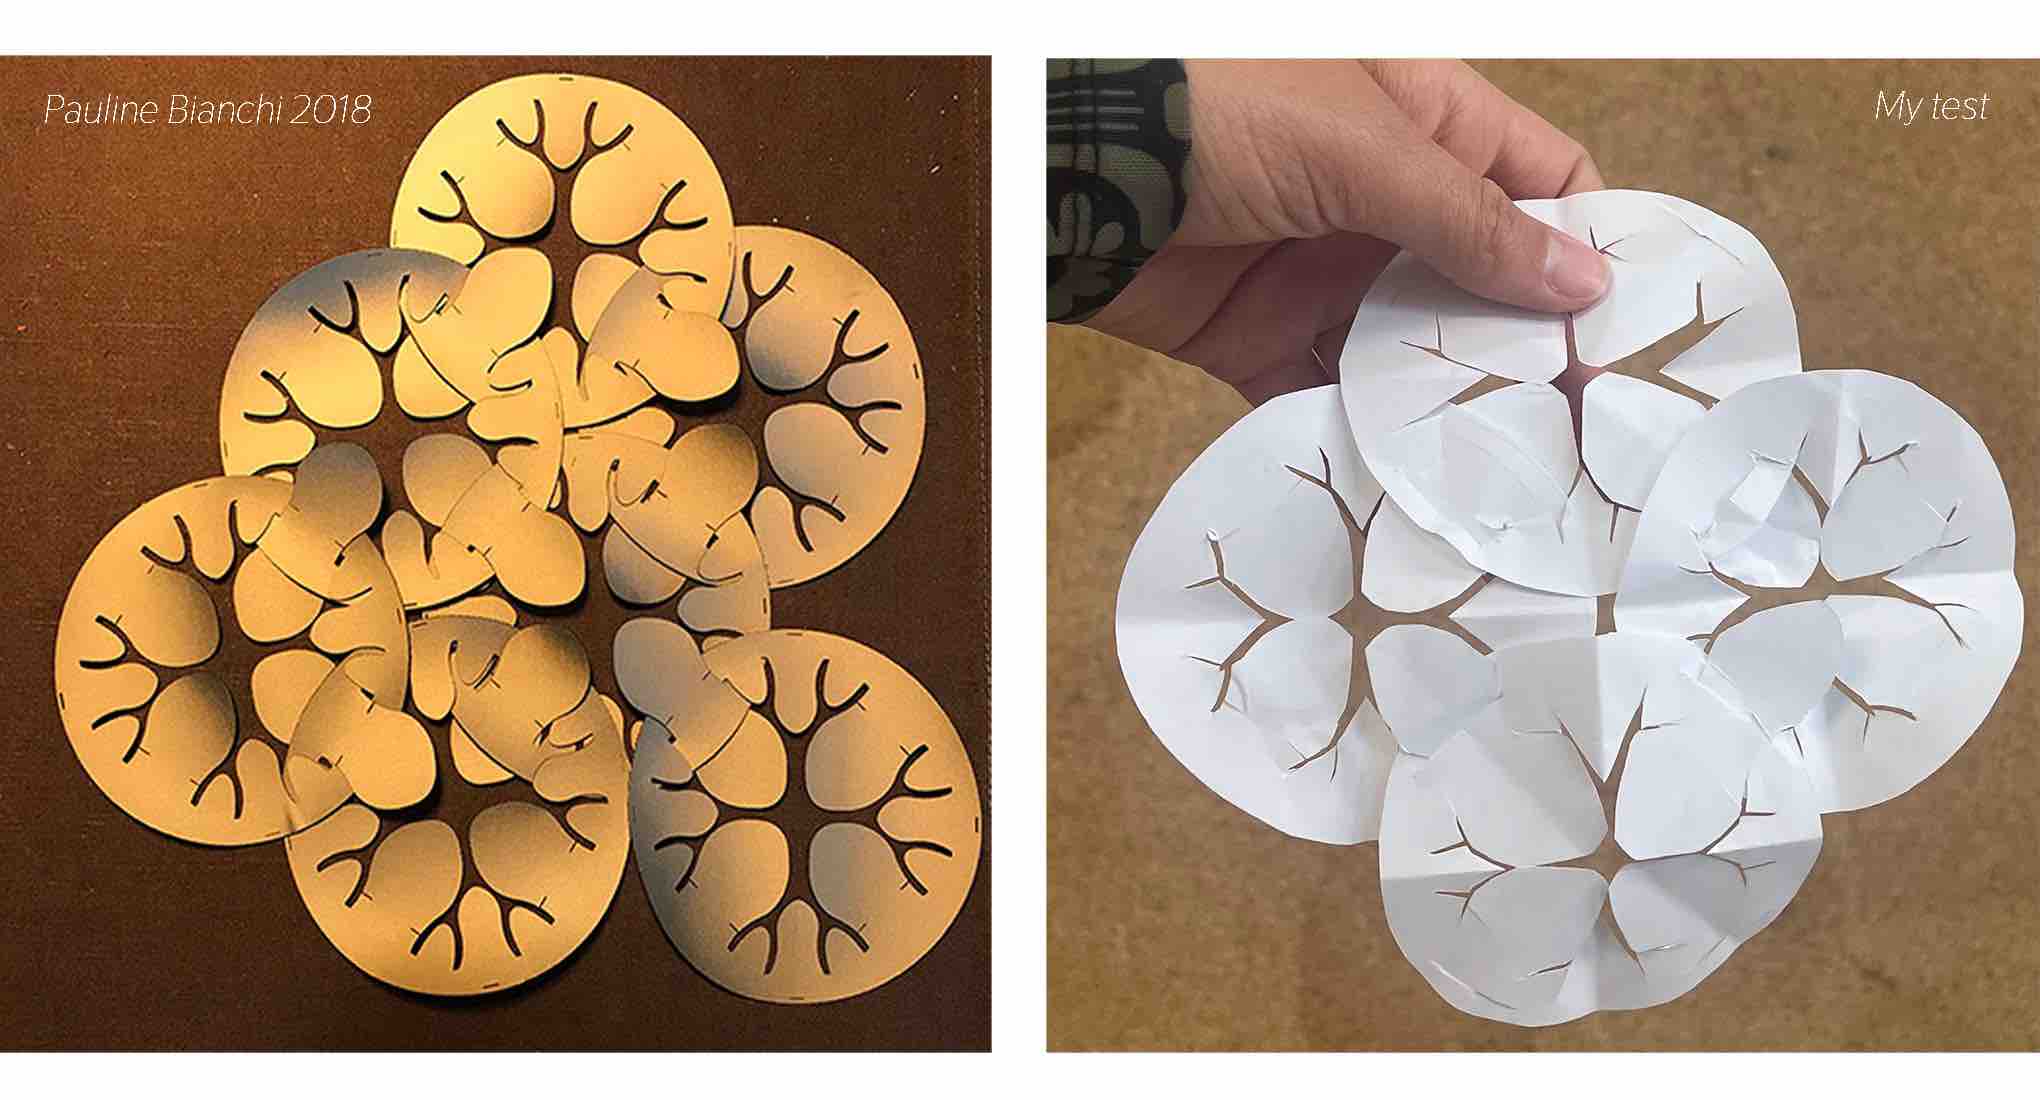
I saw this past example on fabricademy and loved the organic root/mycelial design.
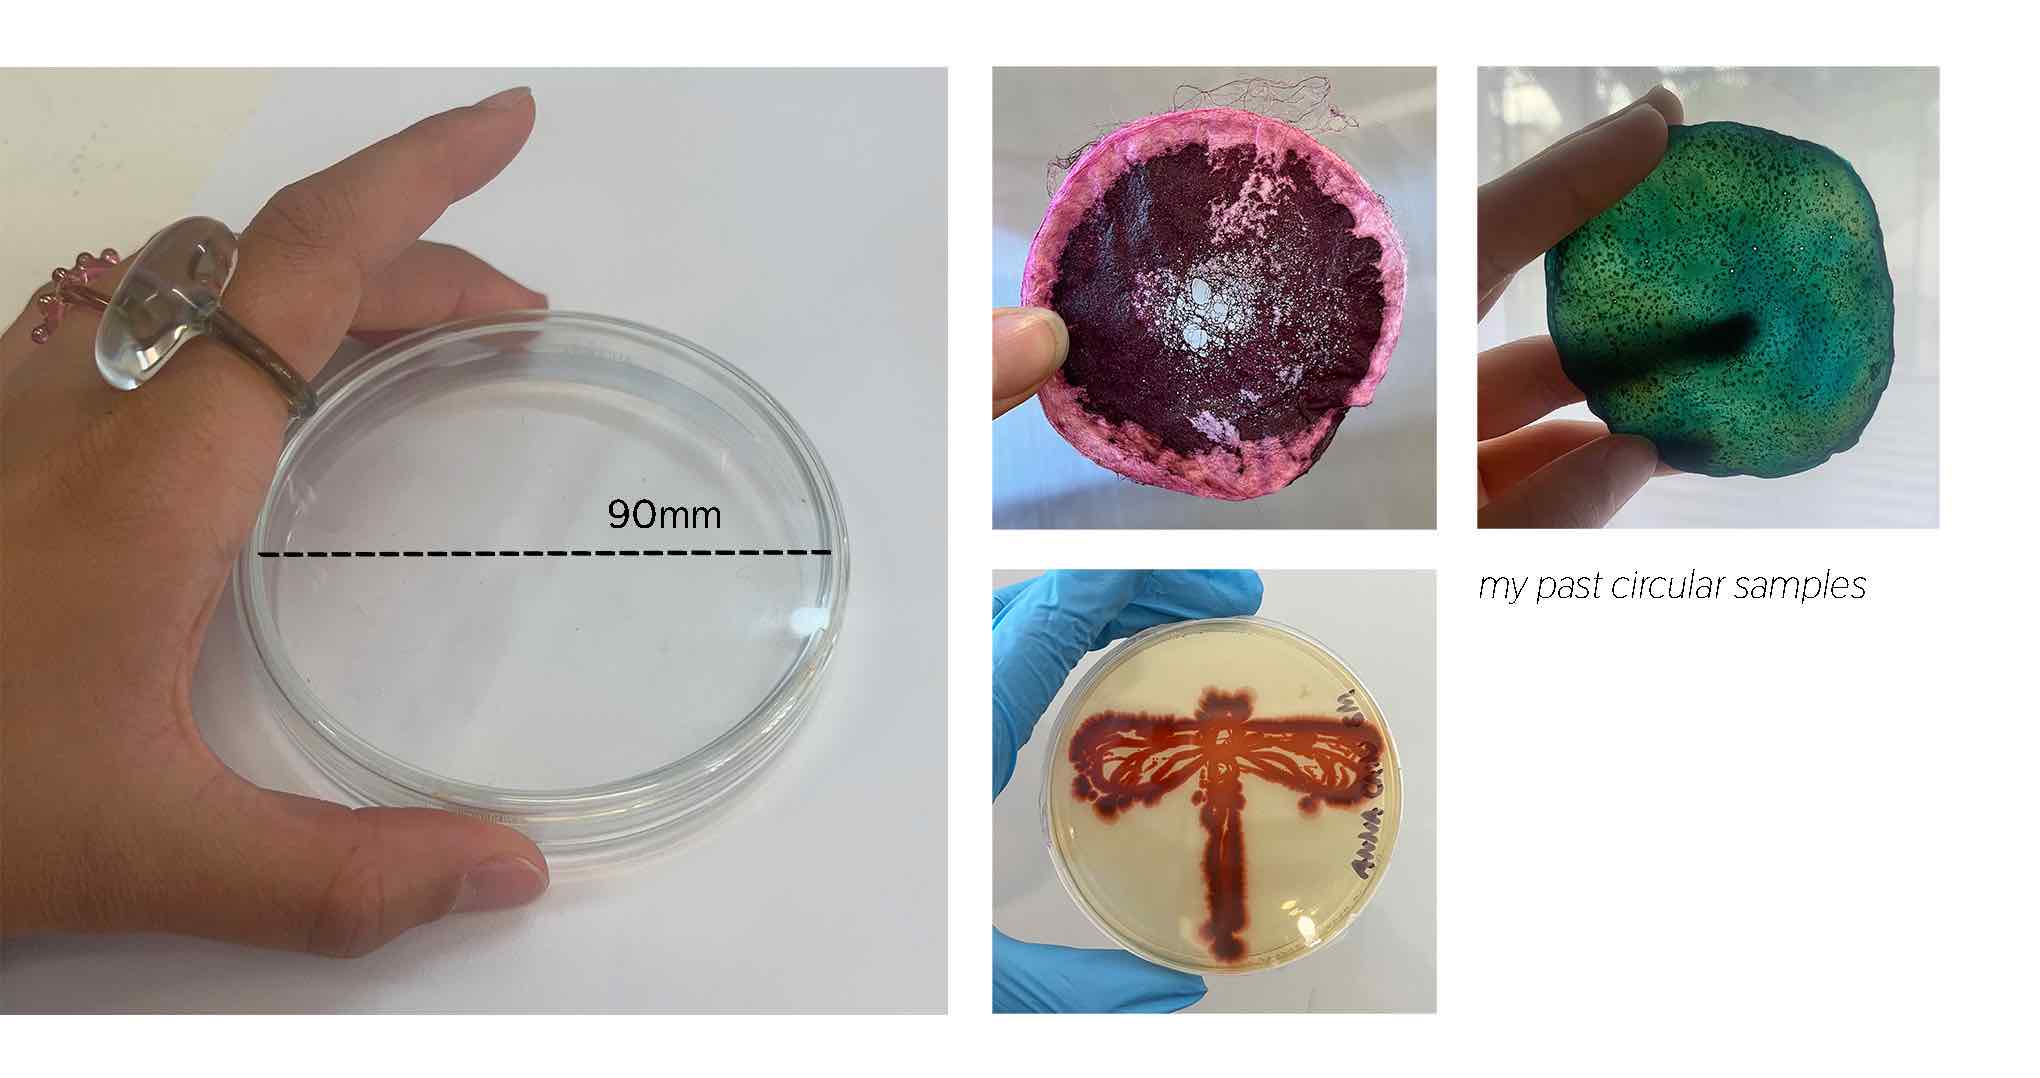
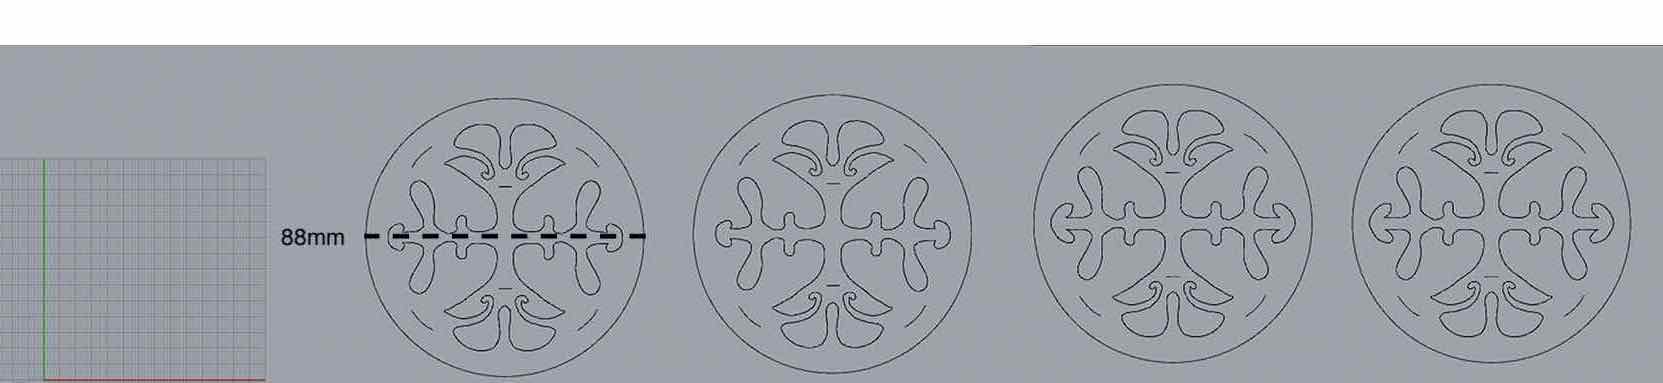
I realized circles would be great for my project because a lot of my past textile explorations have come in round shapes (scoby leather from the jar and bacterial dye in petri dishes) I decided to make a piece that could theoretically work with fabric swatches that were dyed in dishes or with circular scoby pieces. I measured the dishes available in the Barcelona Fab Lab and they are 90mm across. The circles need to be 88mm to fit inside the dish.
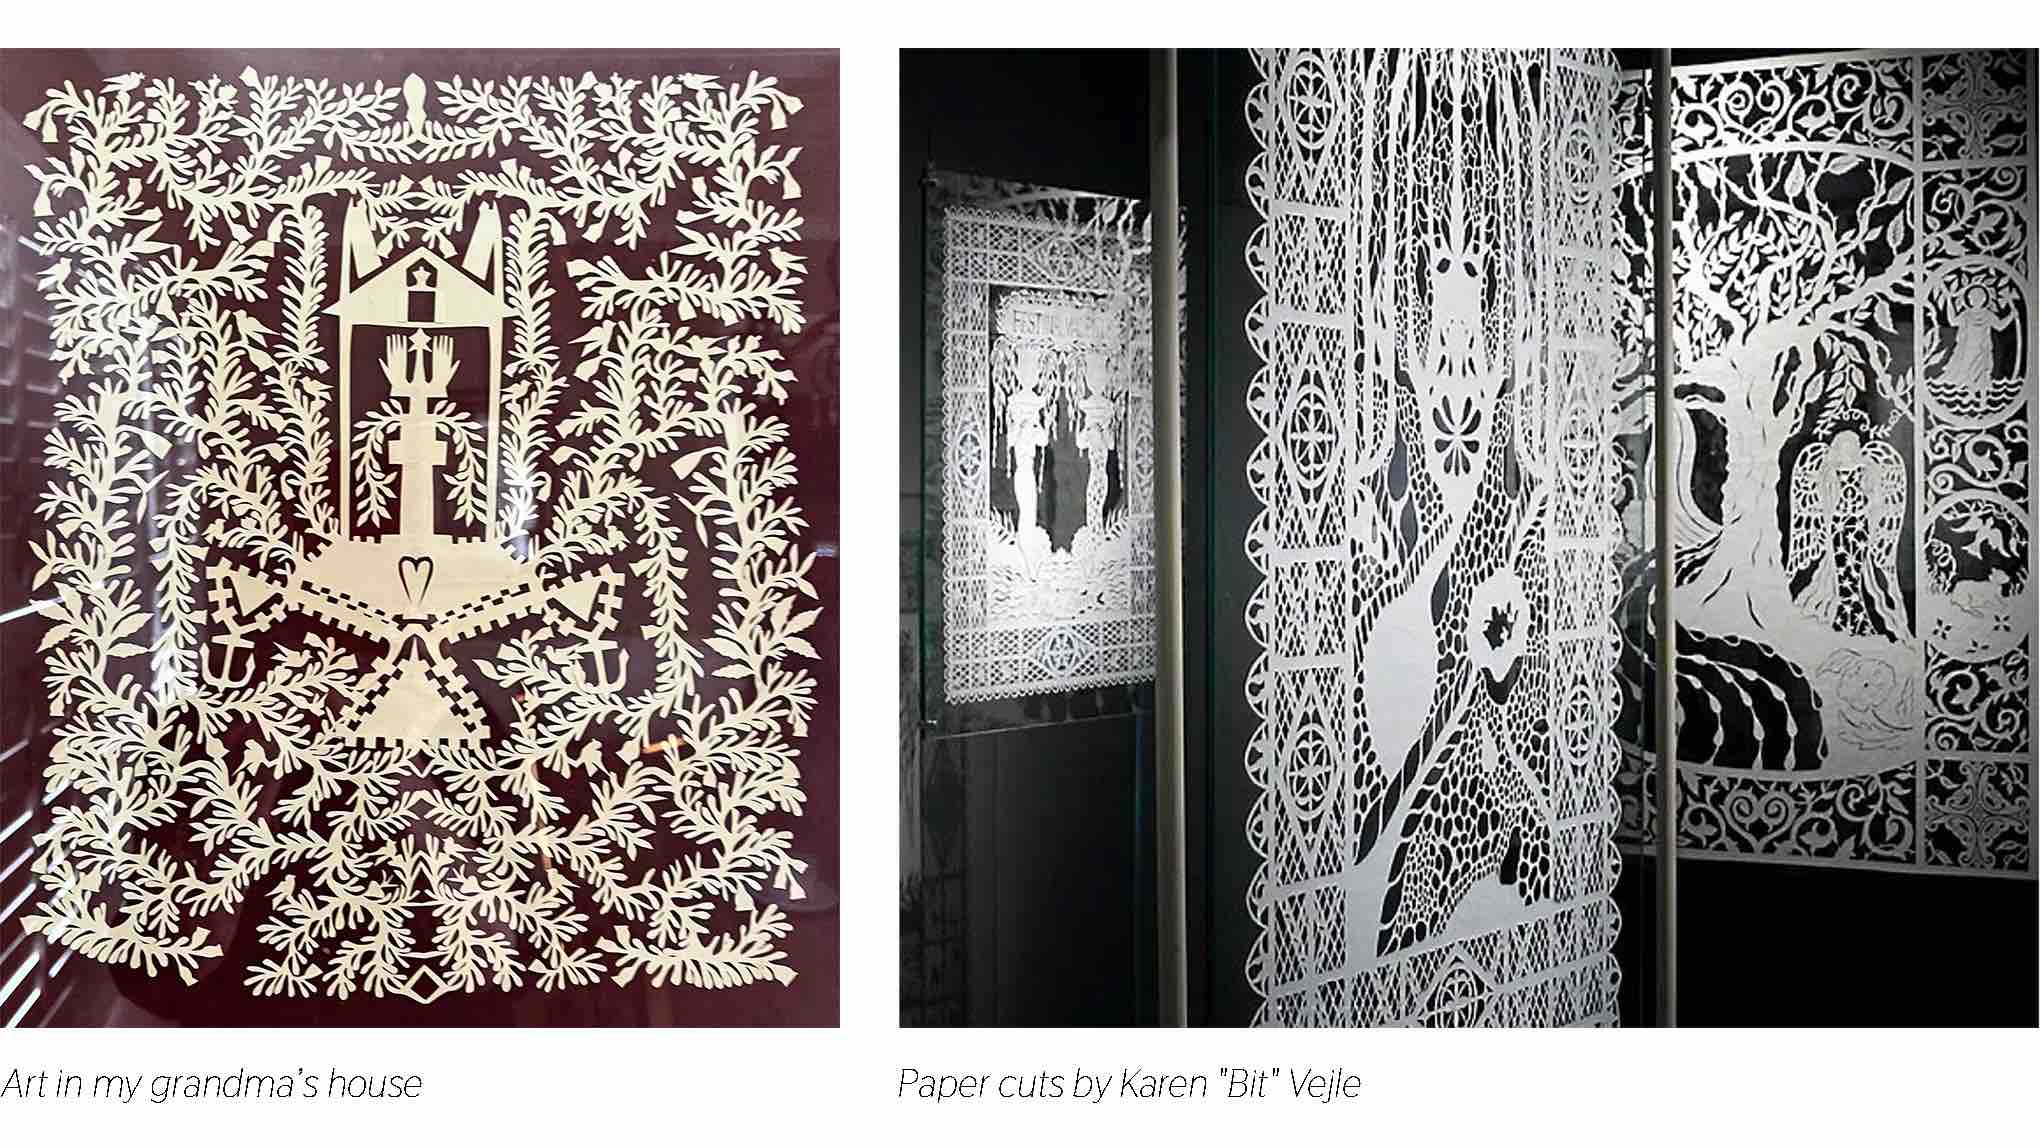
Working with paper at the start also reminded me of this cut paper artwork that was in my grandmas house. I looked at a few other examples of this folk art style. I love the intricacy and whimsicality and wanted to incoorperate these elements once working with fabric as well.
Step 1 - Paper Crafting
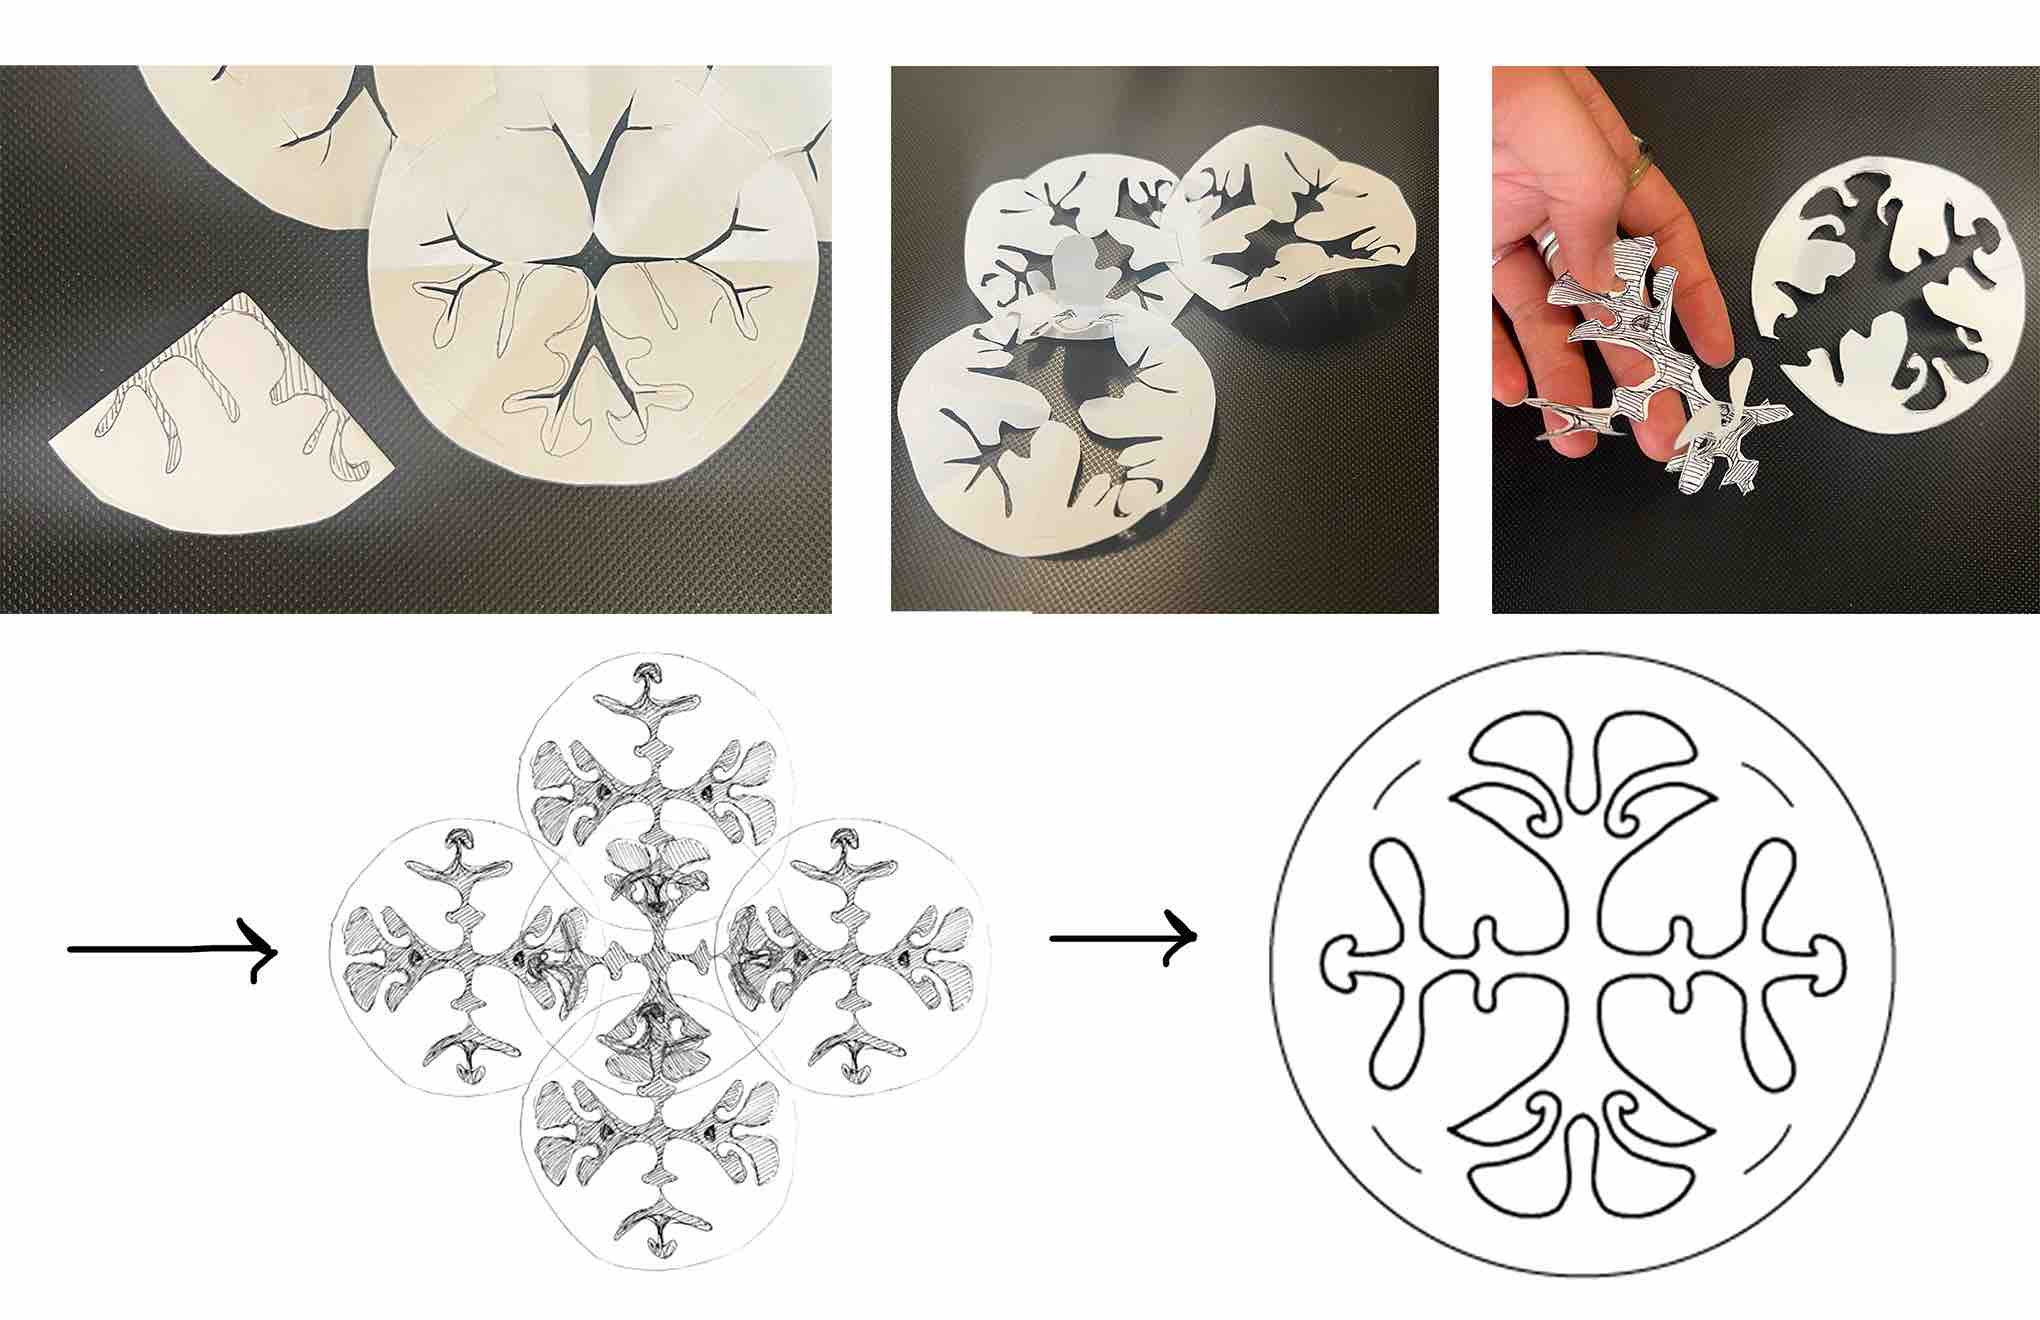
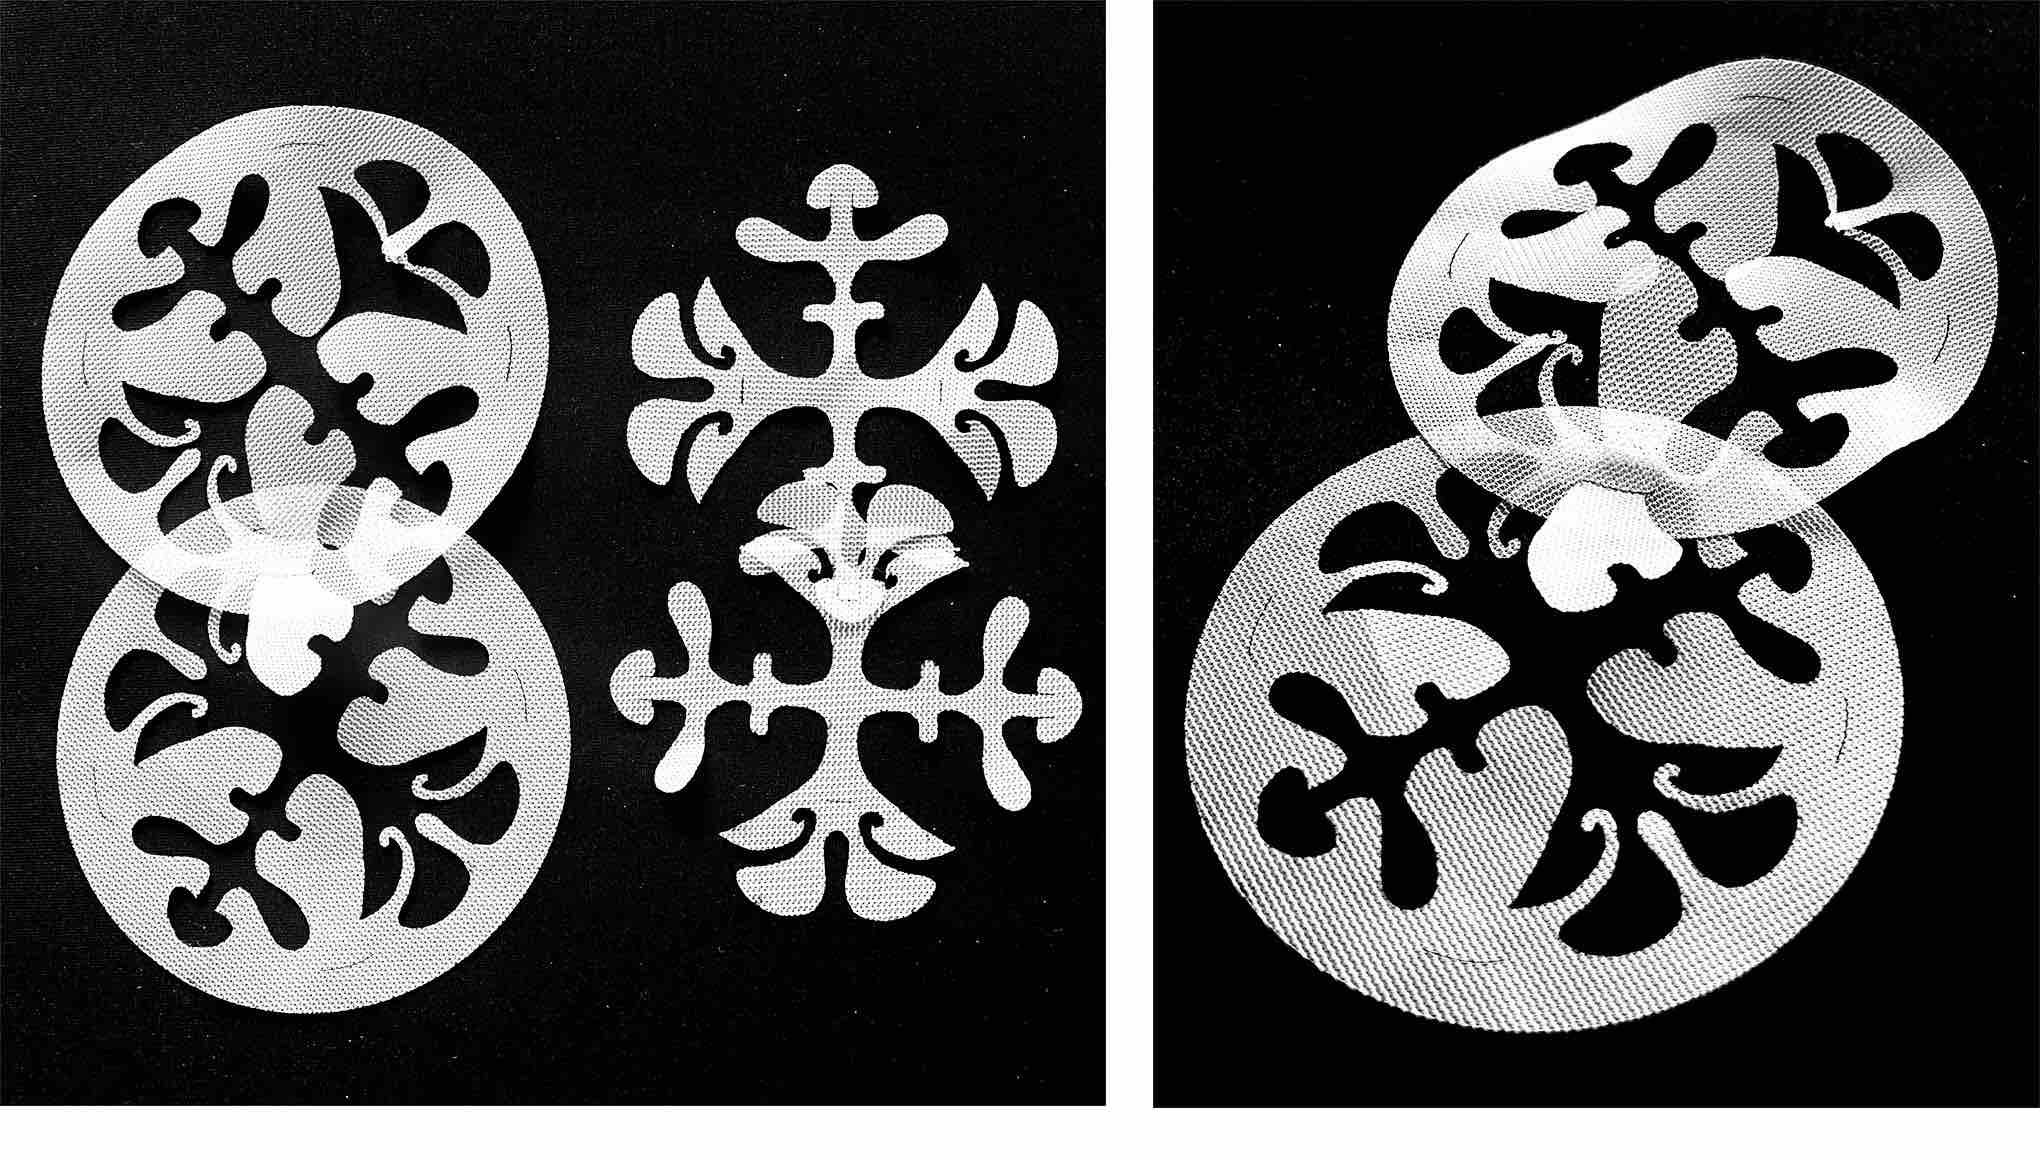
Working with paper, I copied the Haeckel example to see how the connections work. They used two types of circles a “male” and "female” distinguished with the addition of a slit. Mine will need to each have both the tab and the slit so they all have the possibility of connecting with another.
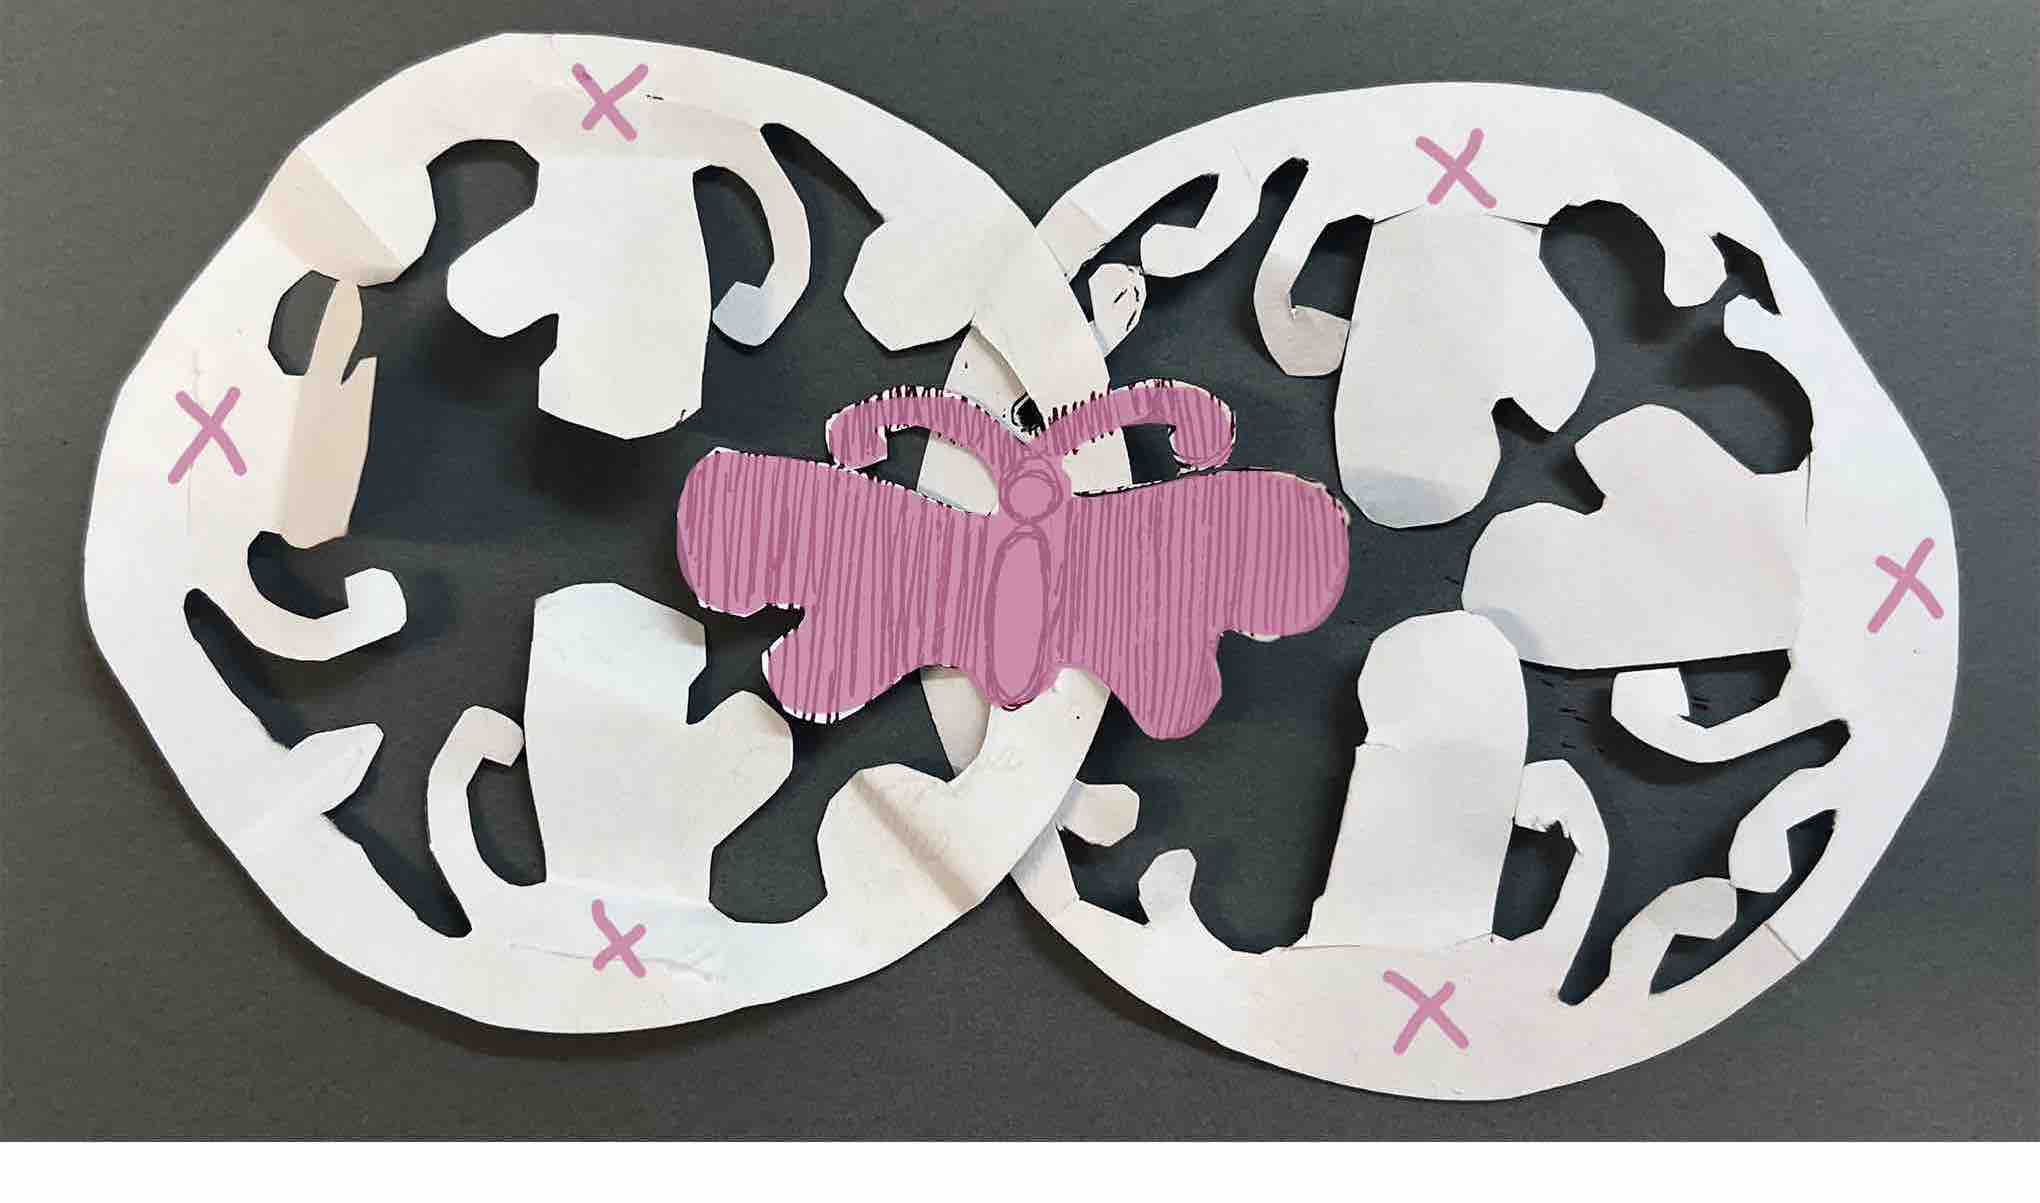
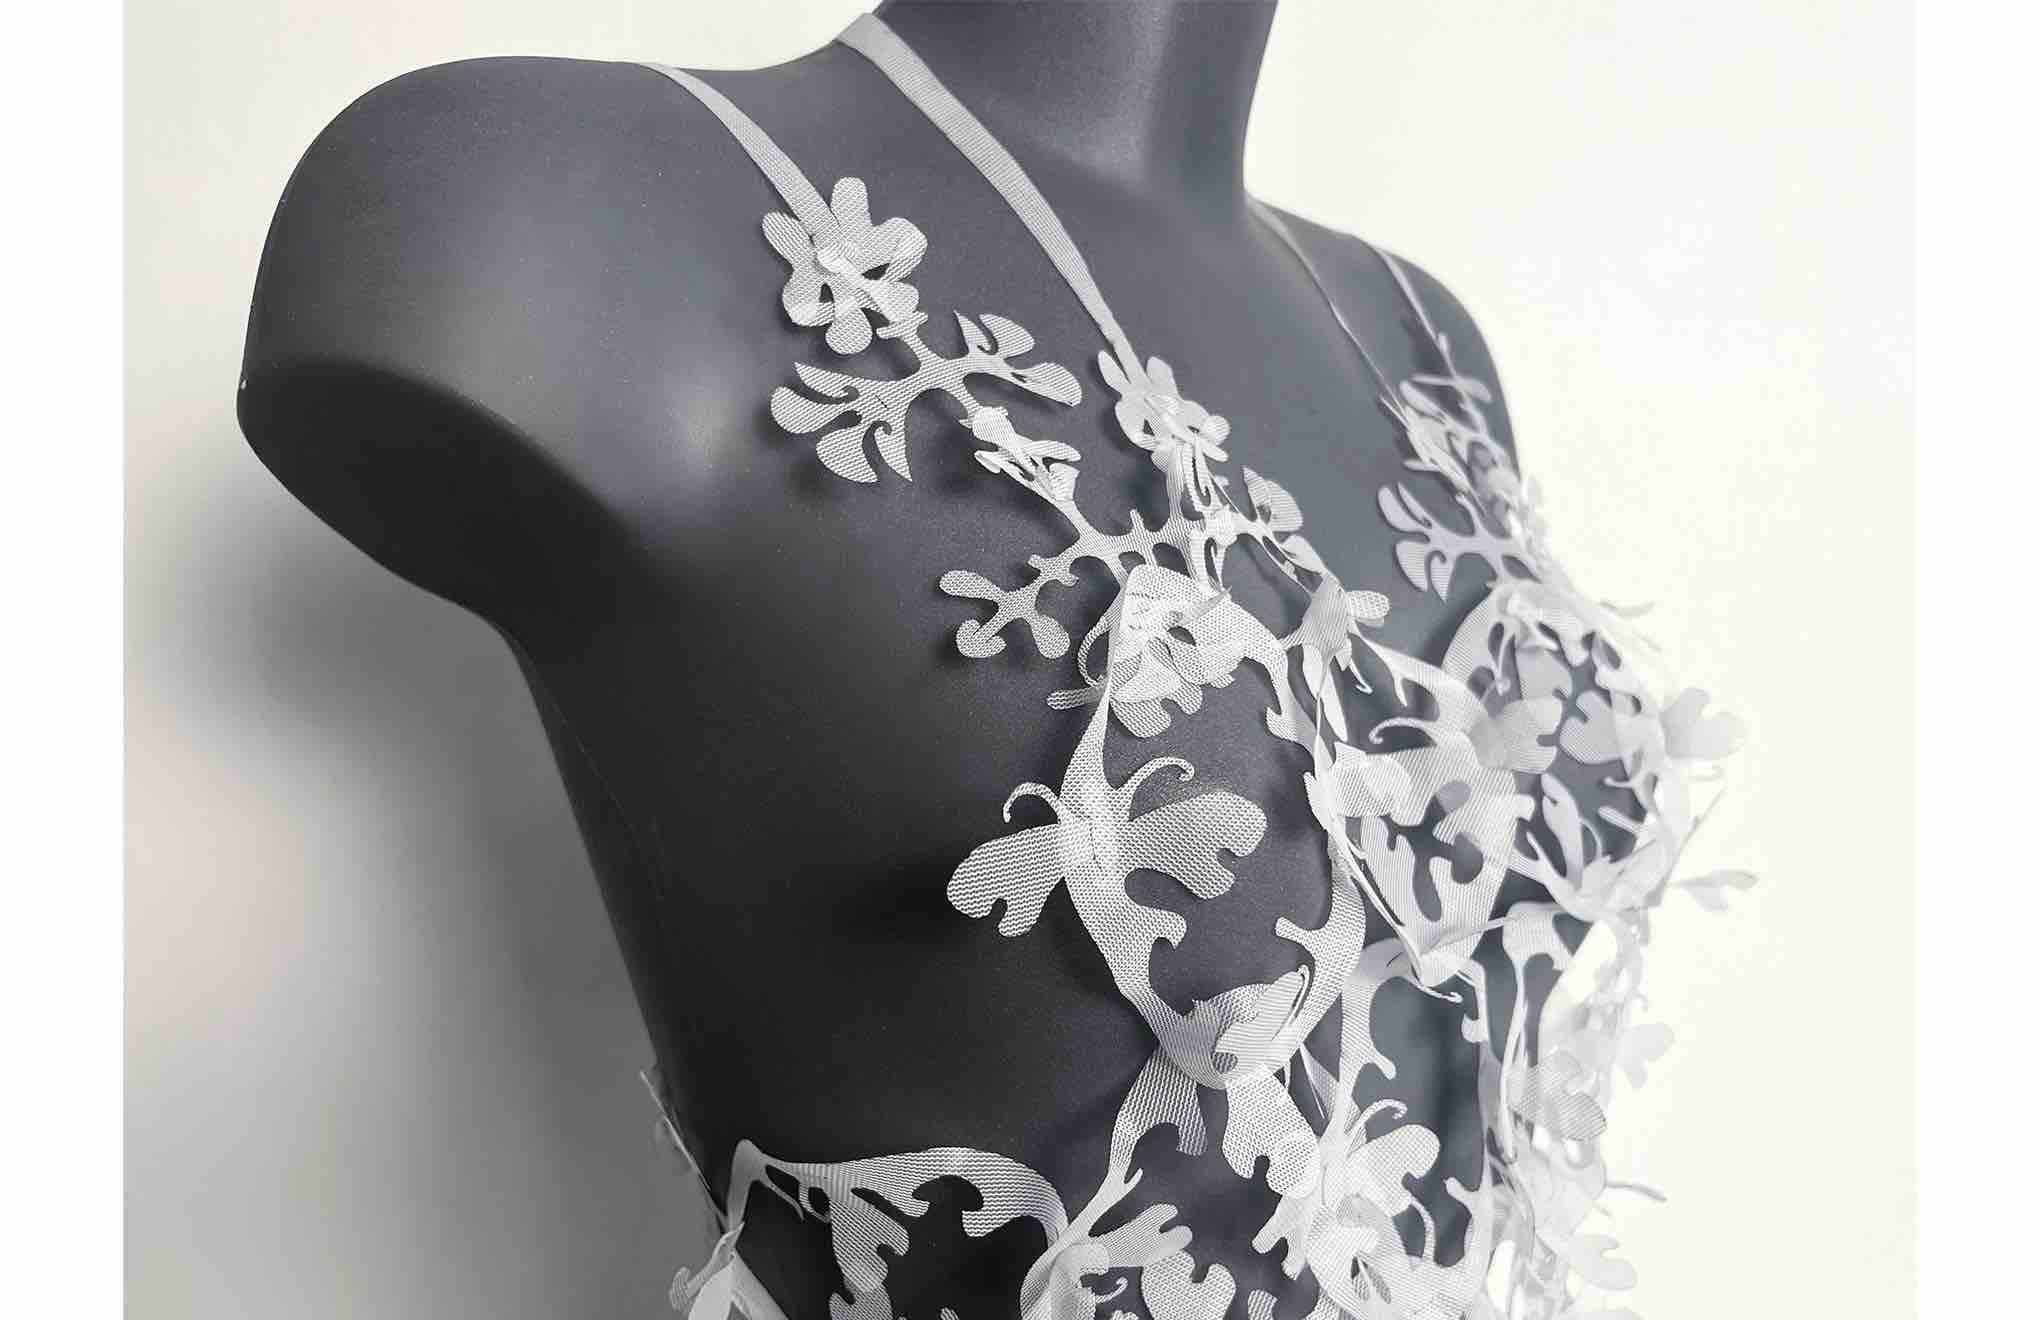
I started adapting the design and coincidently ended up with a center connection that looked like a butterfly! I decided to play into this and make it even more obvious in my final drawing. With an aim to savour all the material I made the inside "leftover" part of the circle another module. I played around with how the two pieces can be arranged in a fabric-like sheet.
Step 1 - Illustrator and Rhino
After making the final design in Illustrator I opened it in Rhino as an svg. I changed the design a bit more after advice about the intersections. It is hard to make the slits big enough so it is not super hard to put the tab through, but small enough to hold it in there. In Rhino, I got more comfortable with editing curves and using the join and mirror commands. Here are the tests I sent to be lasercut. And the final module file. 1

Step 2 - Lasercutting and Design
I set out to test the interlockings with the actual material. I decided on a left-over white plastic mesh because the pieces can be ironed to hold the butterfly shapes in a more 3d way. First I did a small test to find the right settings for the material.
PLASTIC MESH
Cut: Green P: 6 S: 1 F:1000
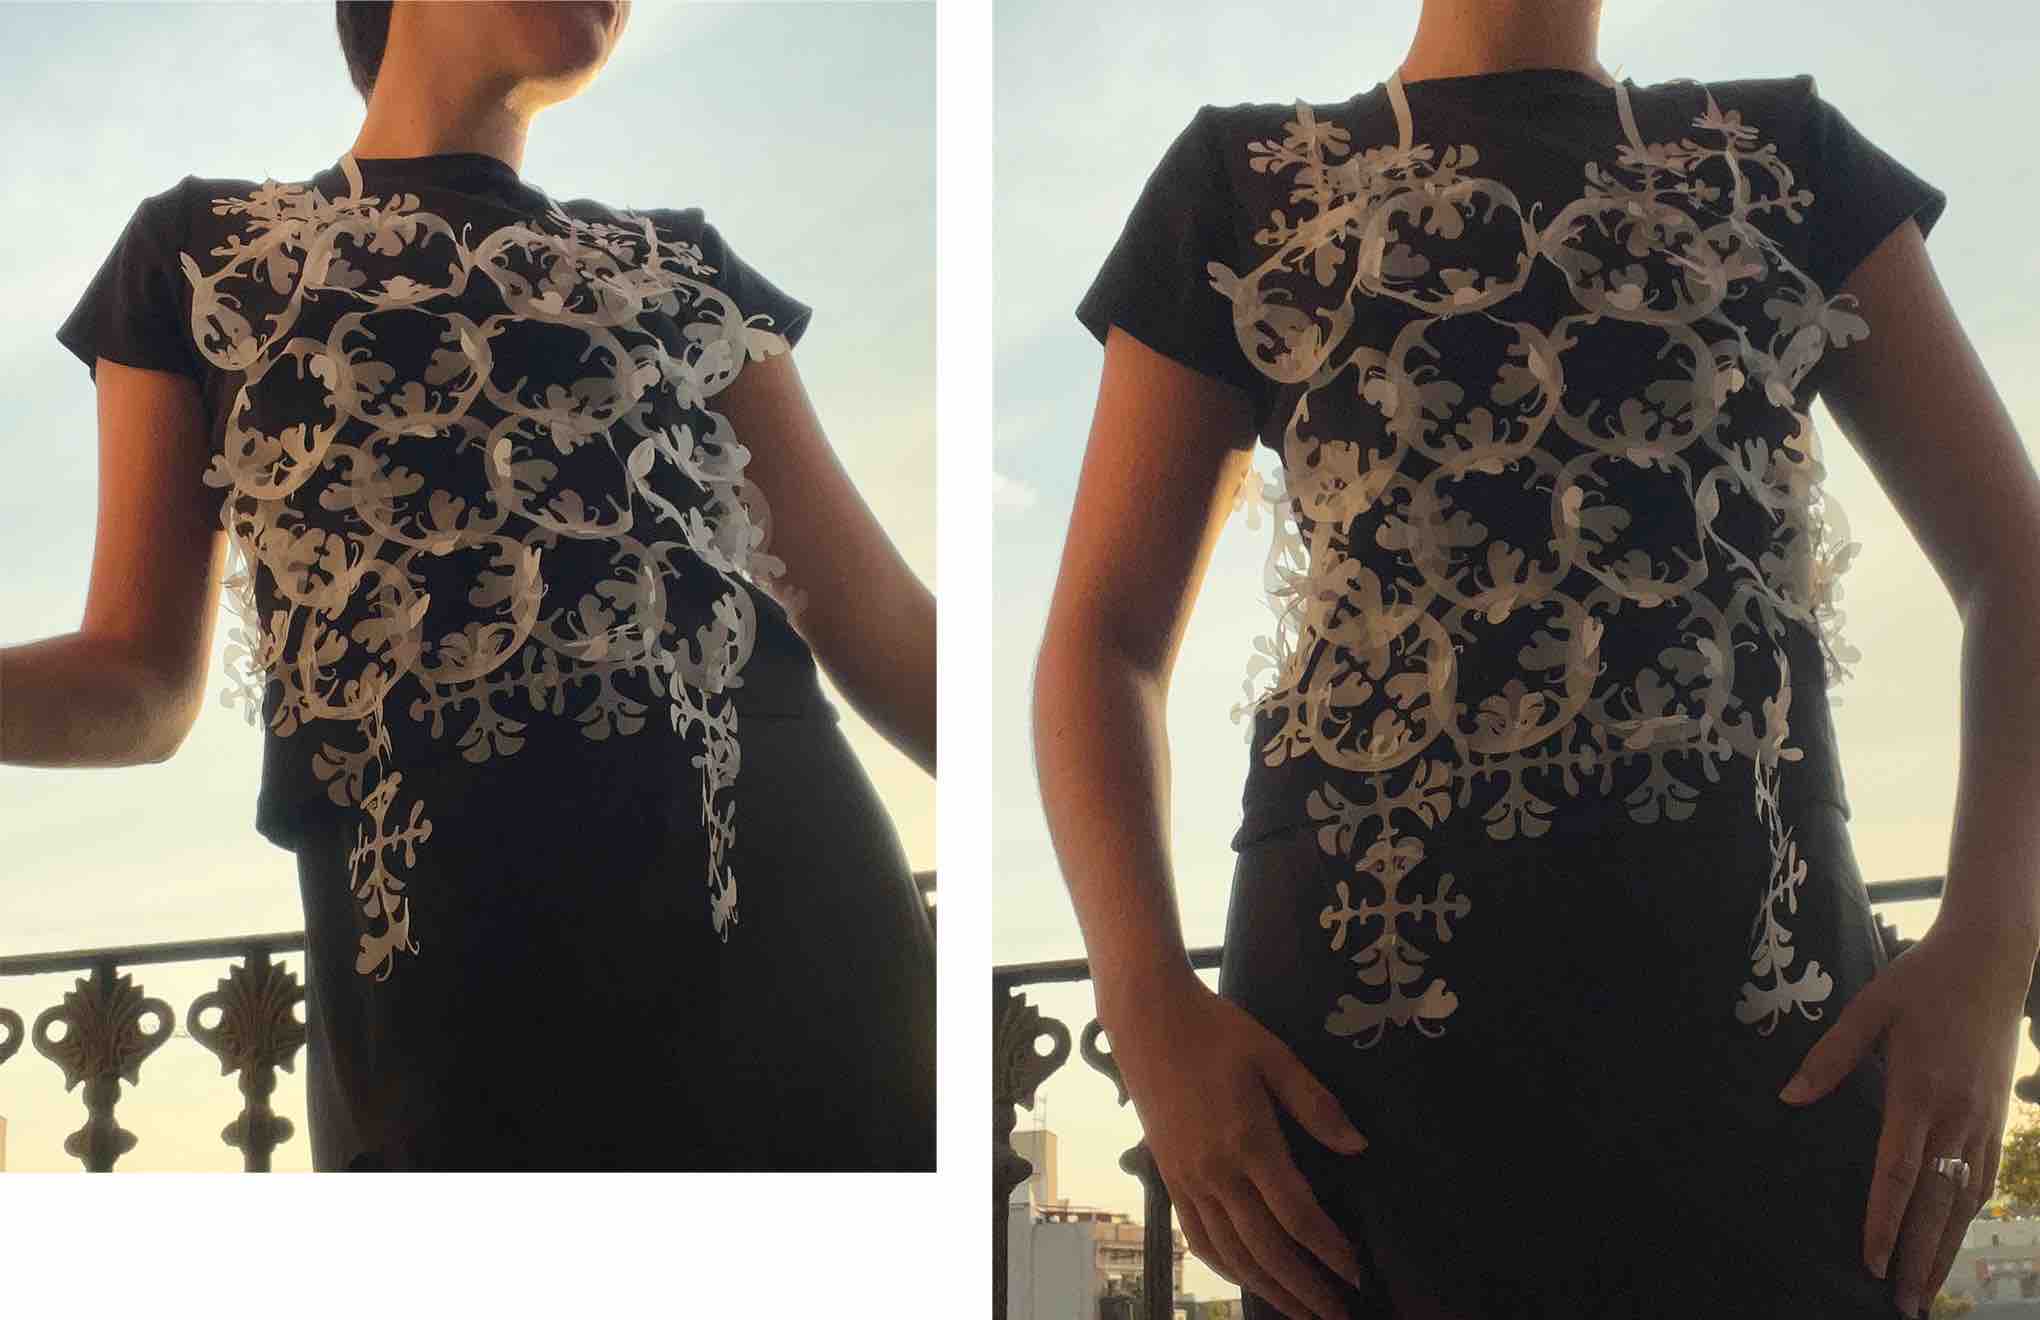
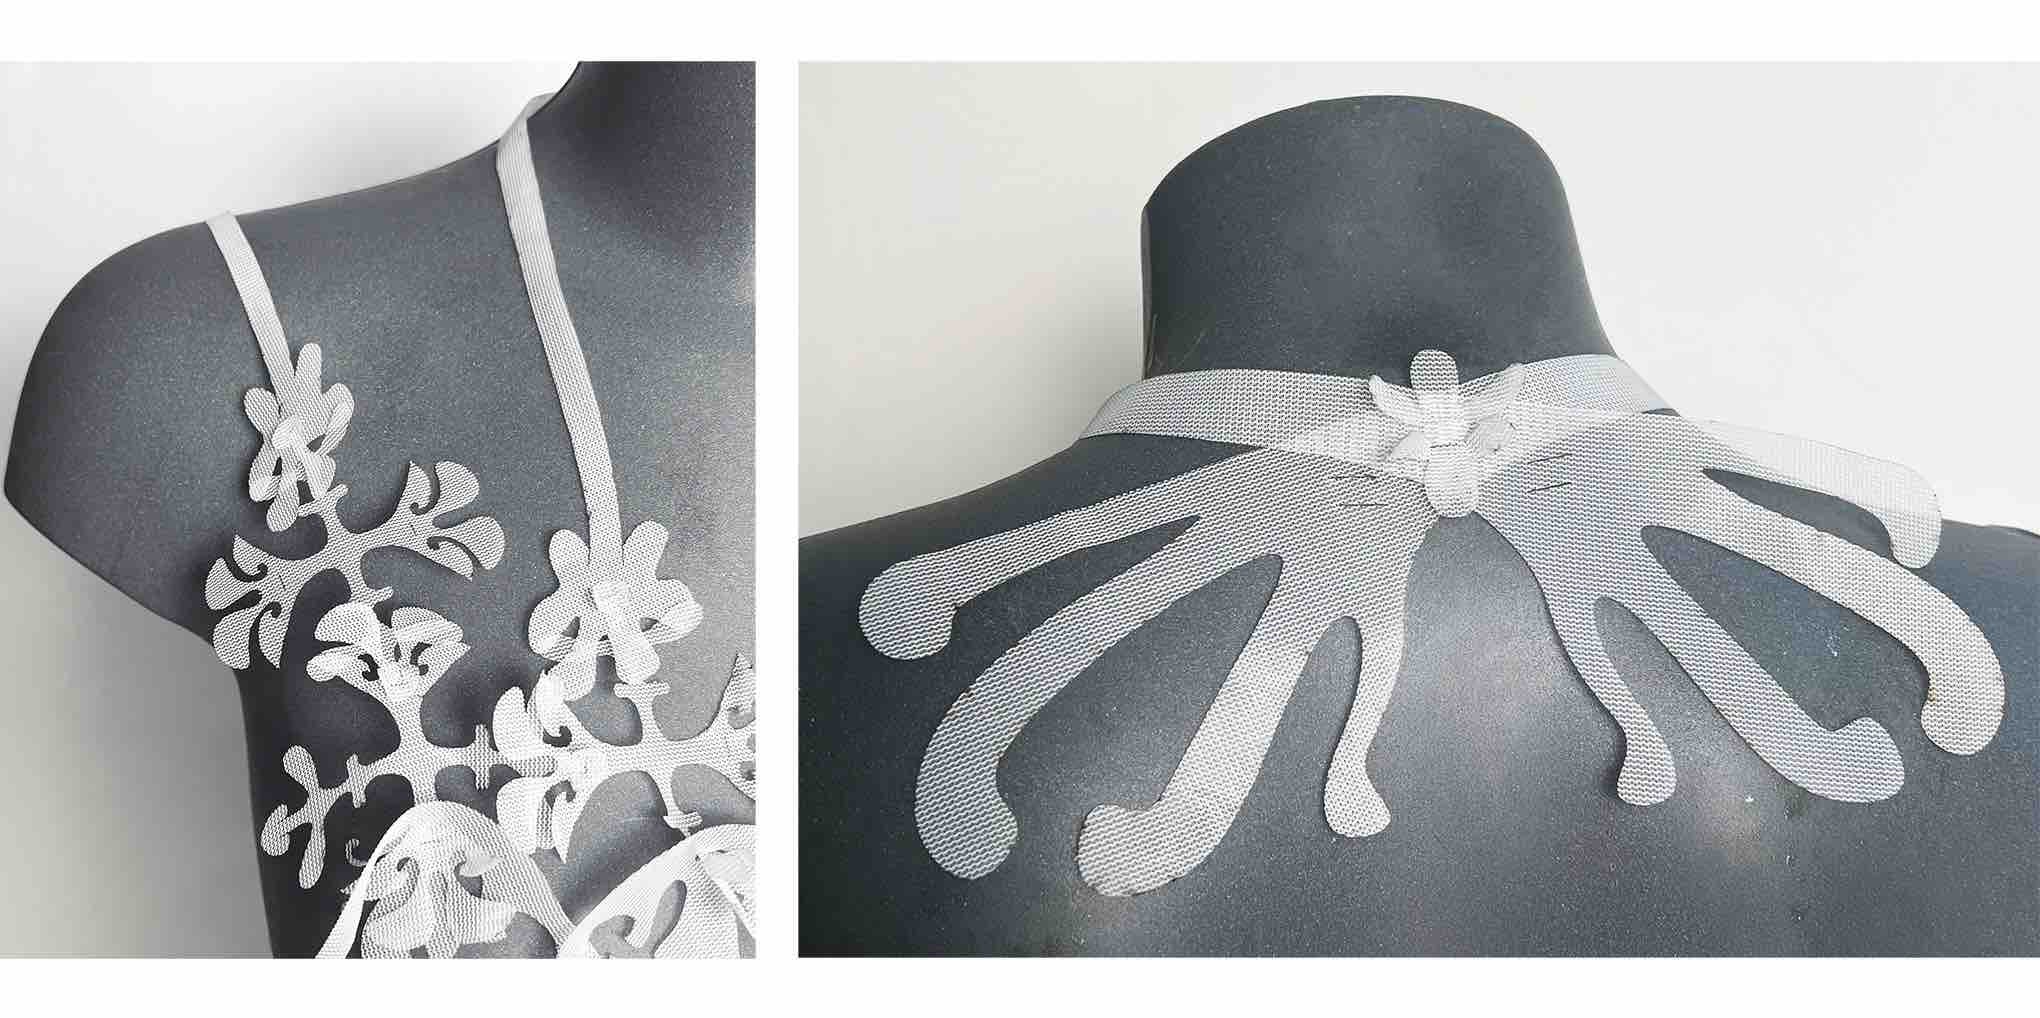
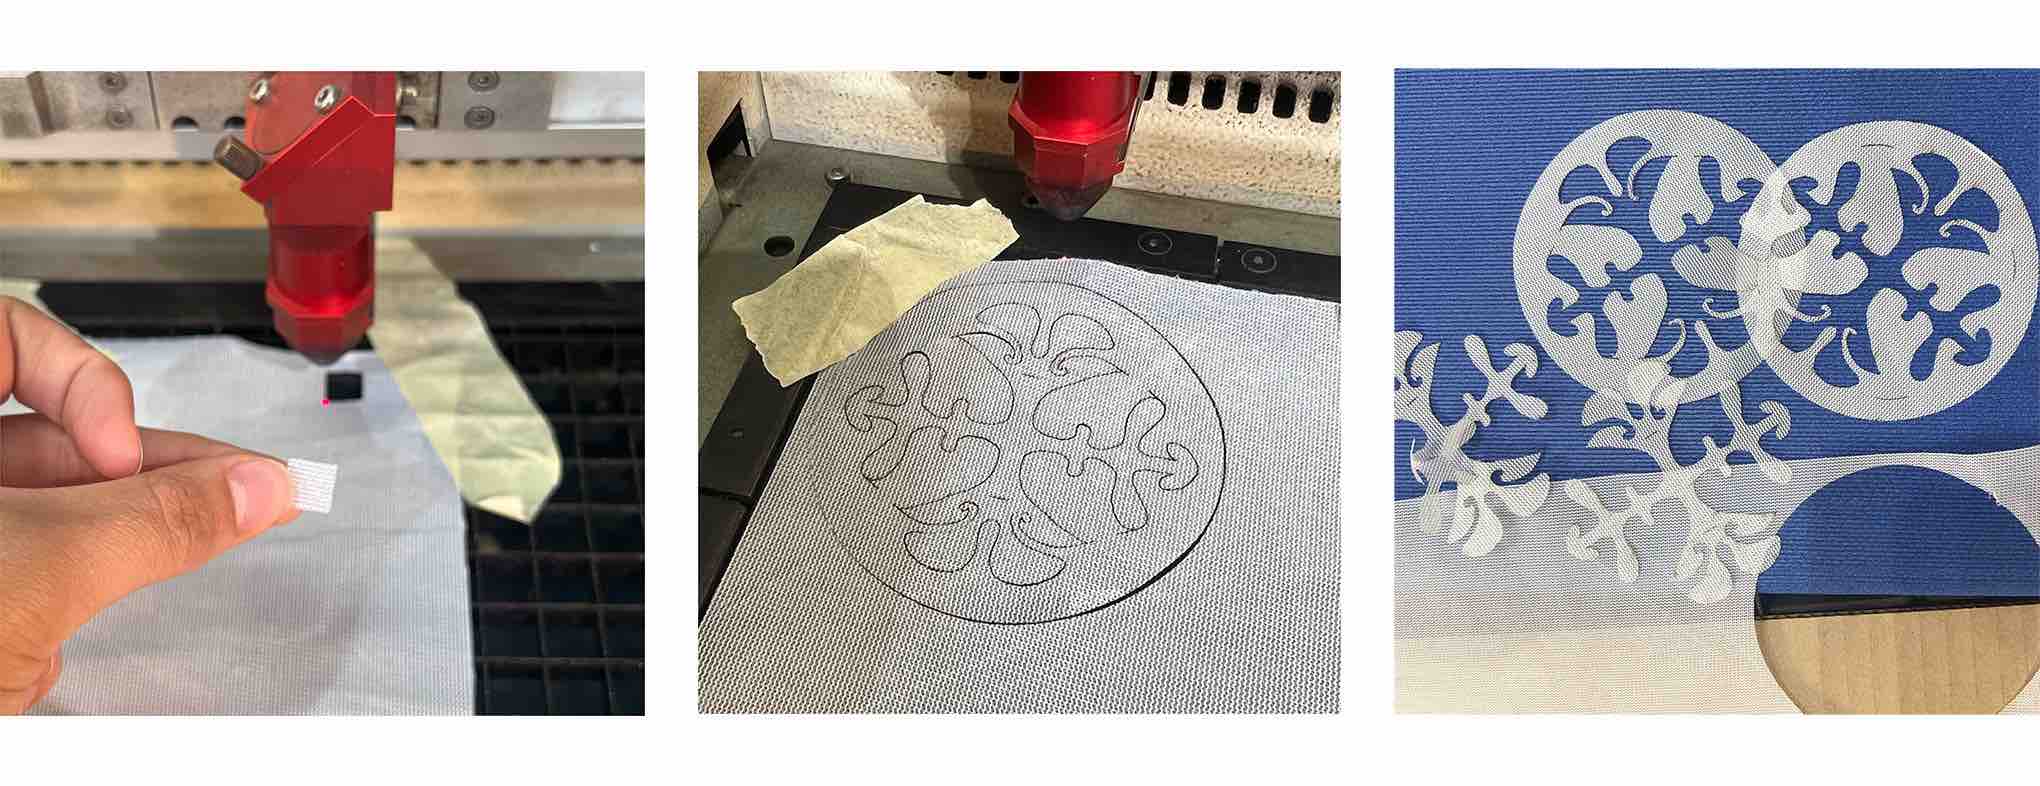 I then assembled a larger sheet of modules and cut that to start experimenting with the shapes they can make on a mannequin. It was hard for me to visualize a garment before this point because I'm best working hands-on. Here I am prototyping a top (of sorts) for the final garment.
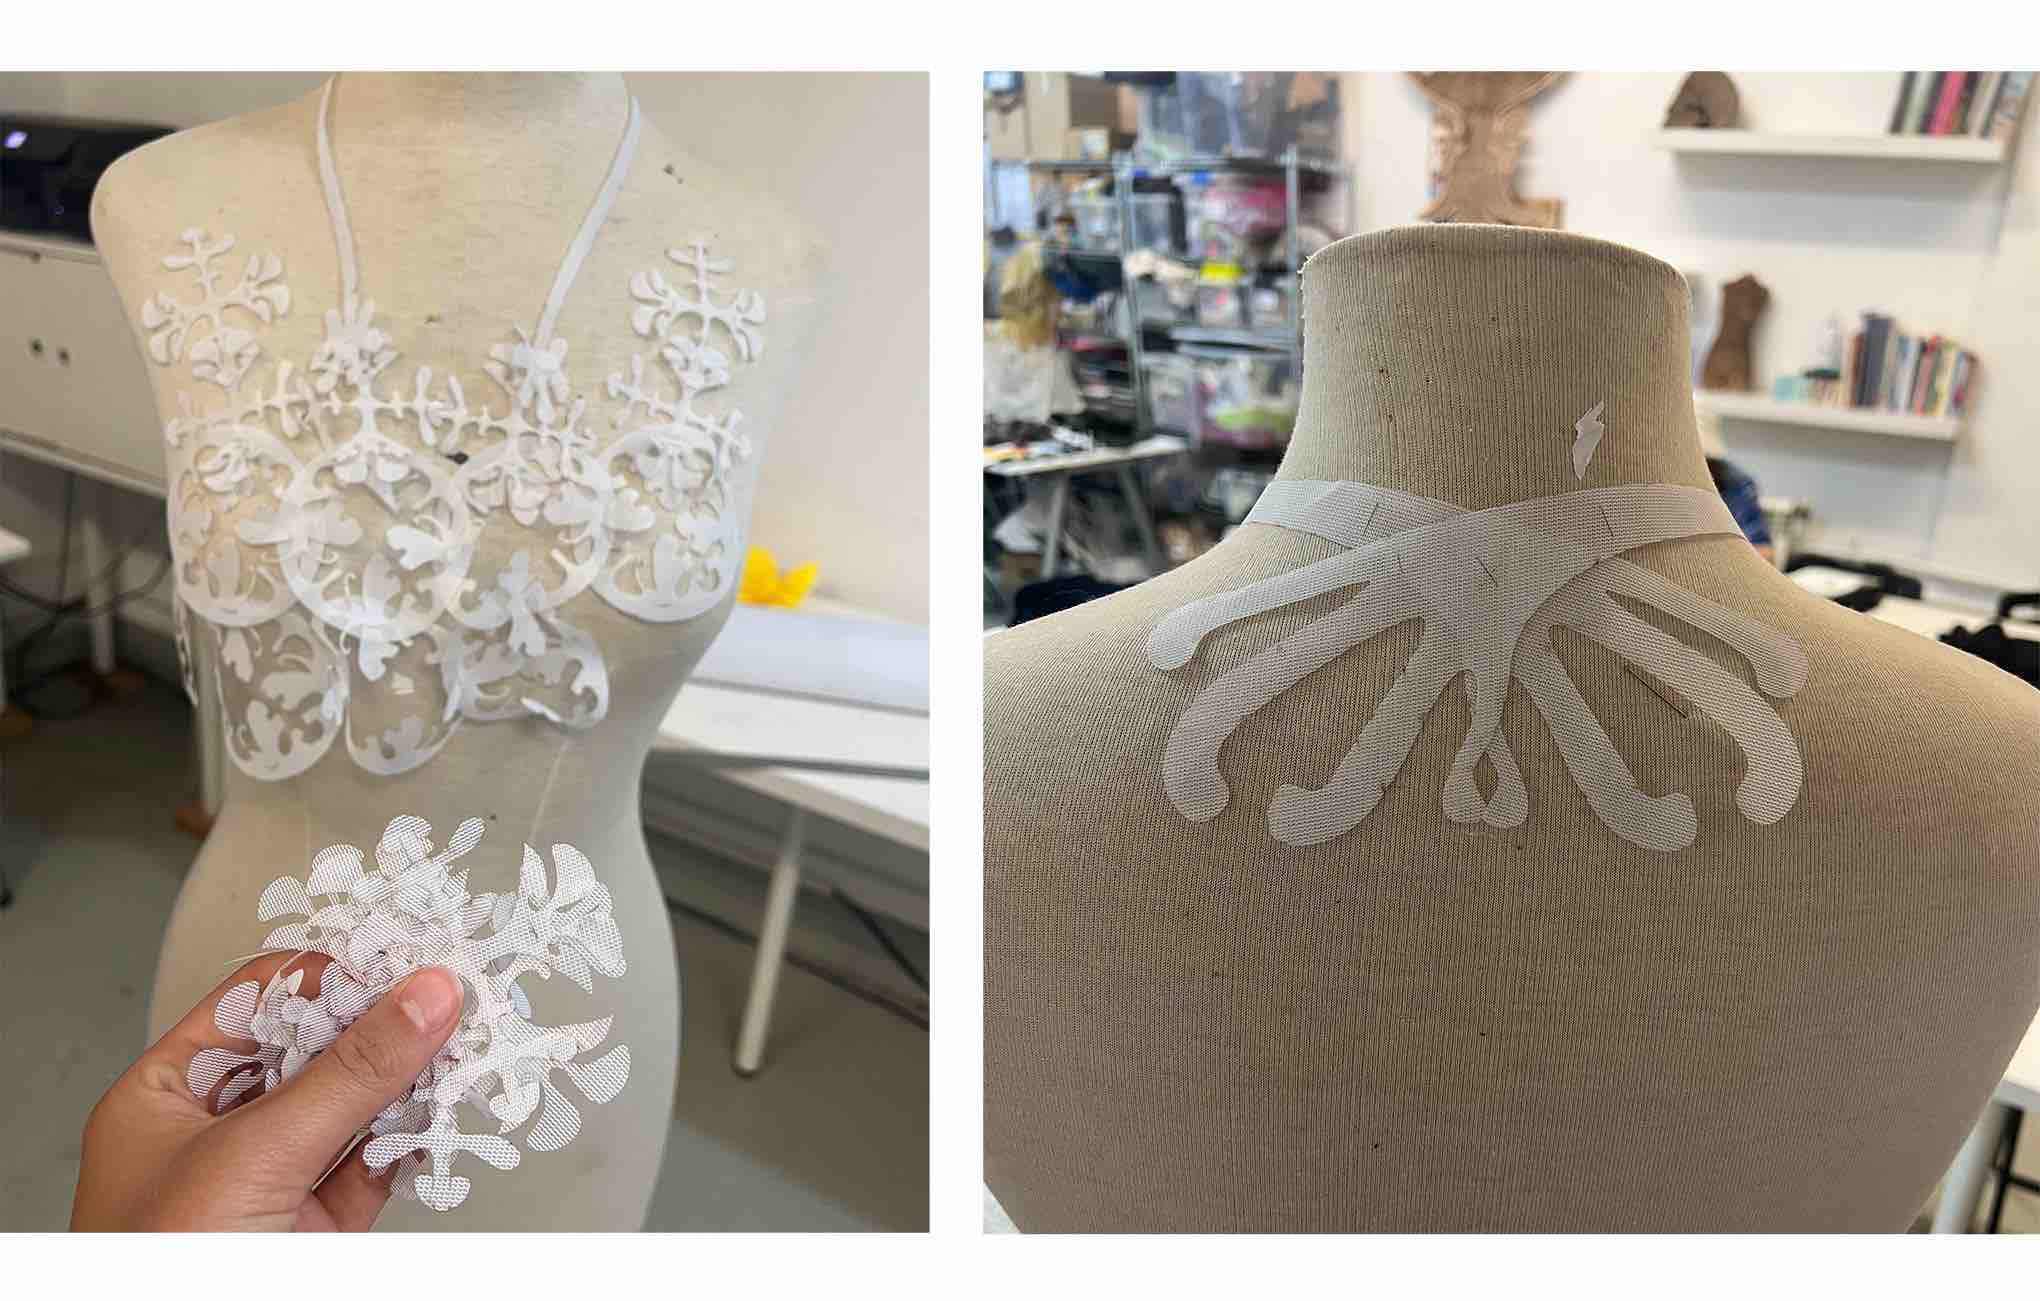
 Then I had a better idea of how many modules I need, what kind of straps are required and any extra pieces necessary. I had fun turning little connection modules into quirky shapes.
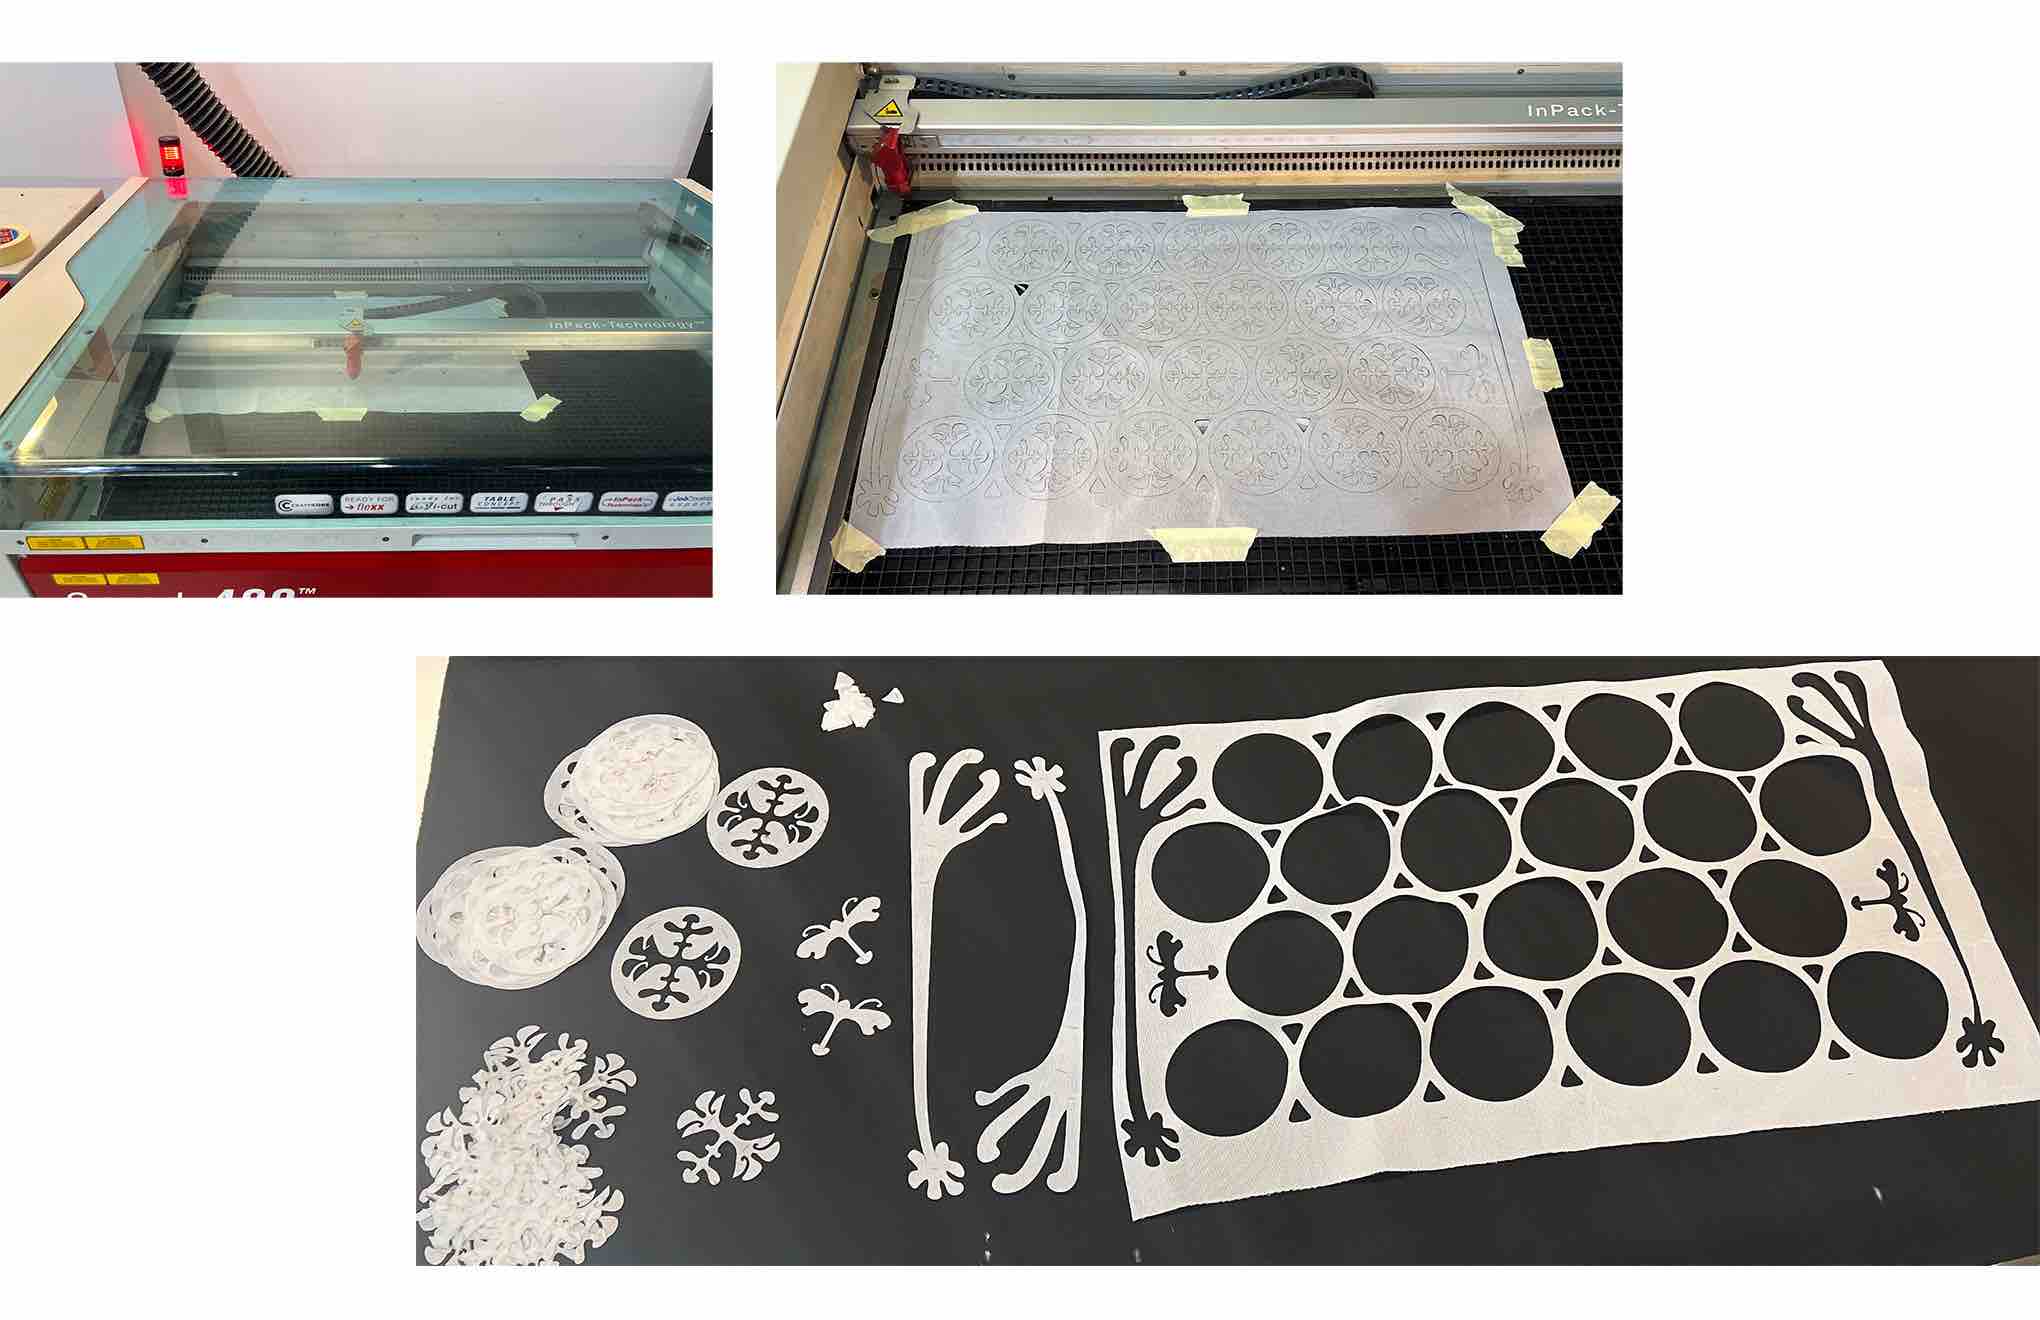
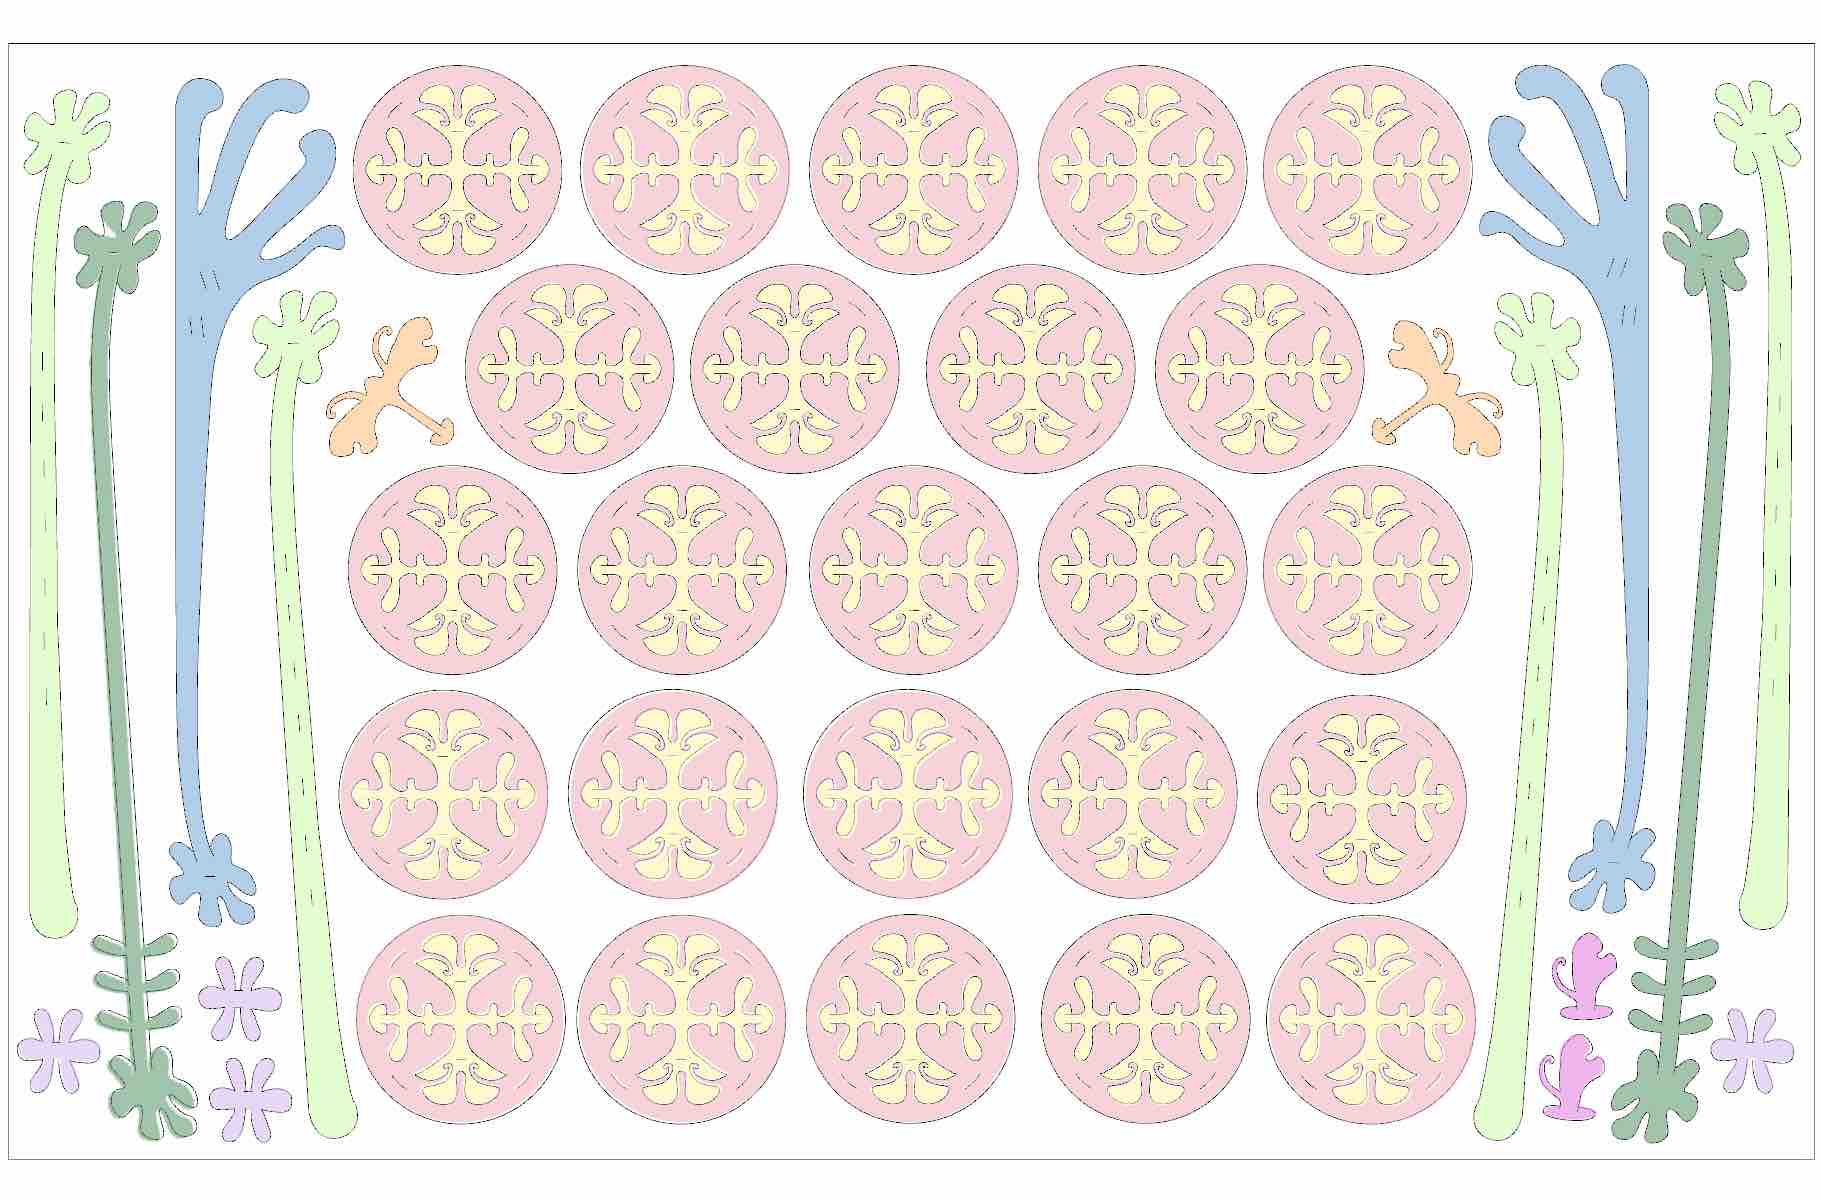
Here is the final sheet of modules I sent to the lasercutter 2
- 24 modules - resulting in 44 parts (the insides and outsides)
- 2 neck straps
- 2 shoulder straps
- 4 back straps
- 2 decorative butterflies
- 2 half wings
- 4 flower connectors
 Using the settings from the test (with different colors to decide the order of cutting), I cut the final piece.
PLASTIC MESH
Cut: Green P: 6 S: 1 F:1000
Cut: Red P: 6 S: 1 F:1000
Time ≈ 21 minutes
Lasercutting
- Remember to connect all your lines so the laser isn't bouncing around making little segment cuts to optimize the cutting time
- Use tape to pick up small pieces that may fall through the grid once removing the fabric after the cut
- If a piece of fabric starts to curl up during the cut, pause it and take it out because it may get in the way of the laser
Step 4 - Assembly
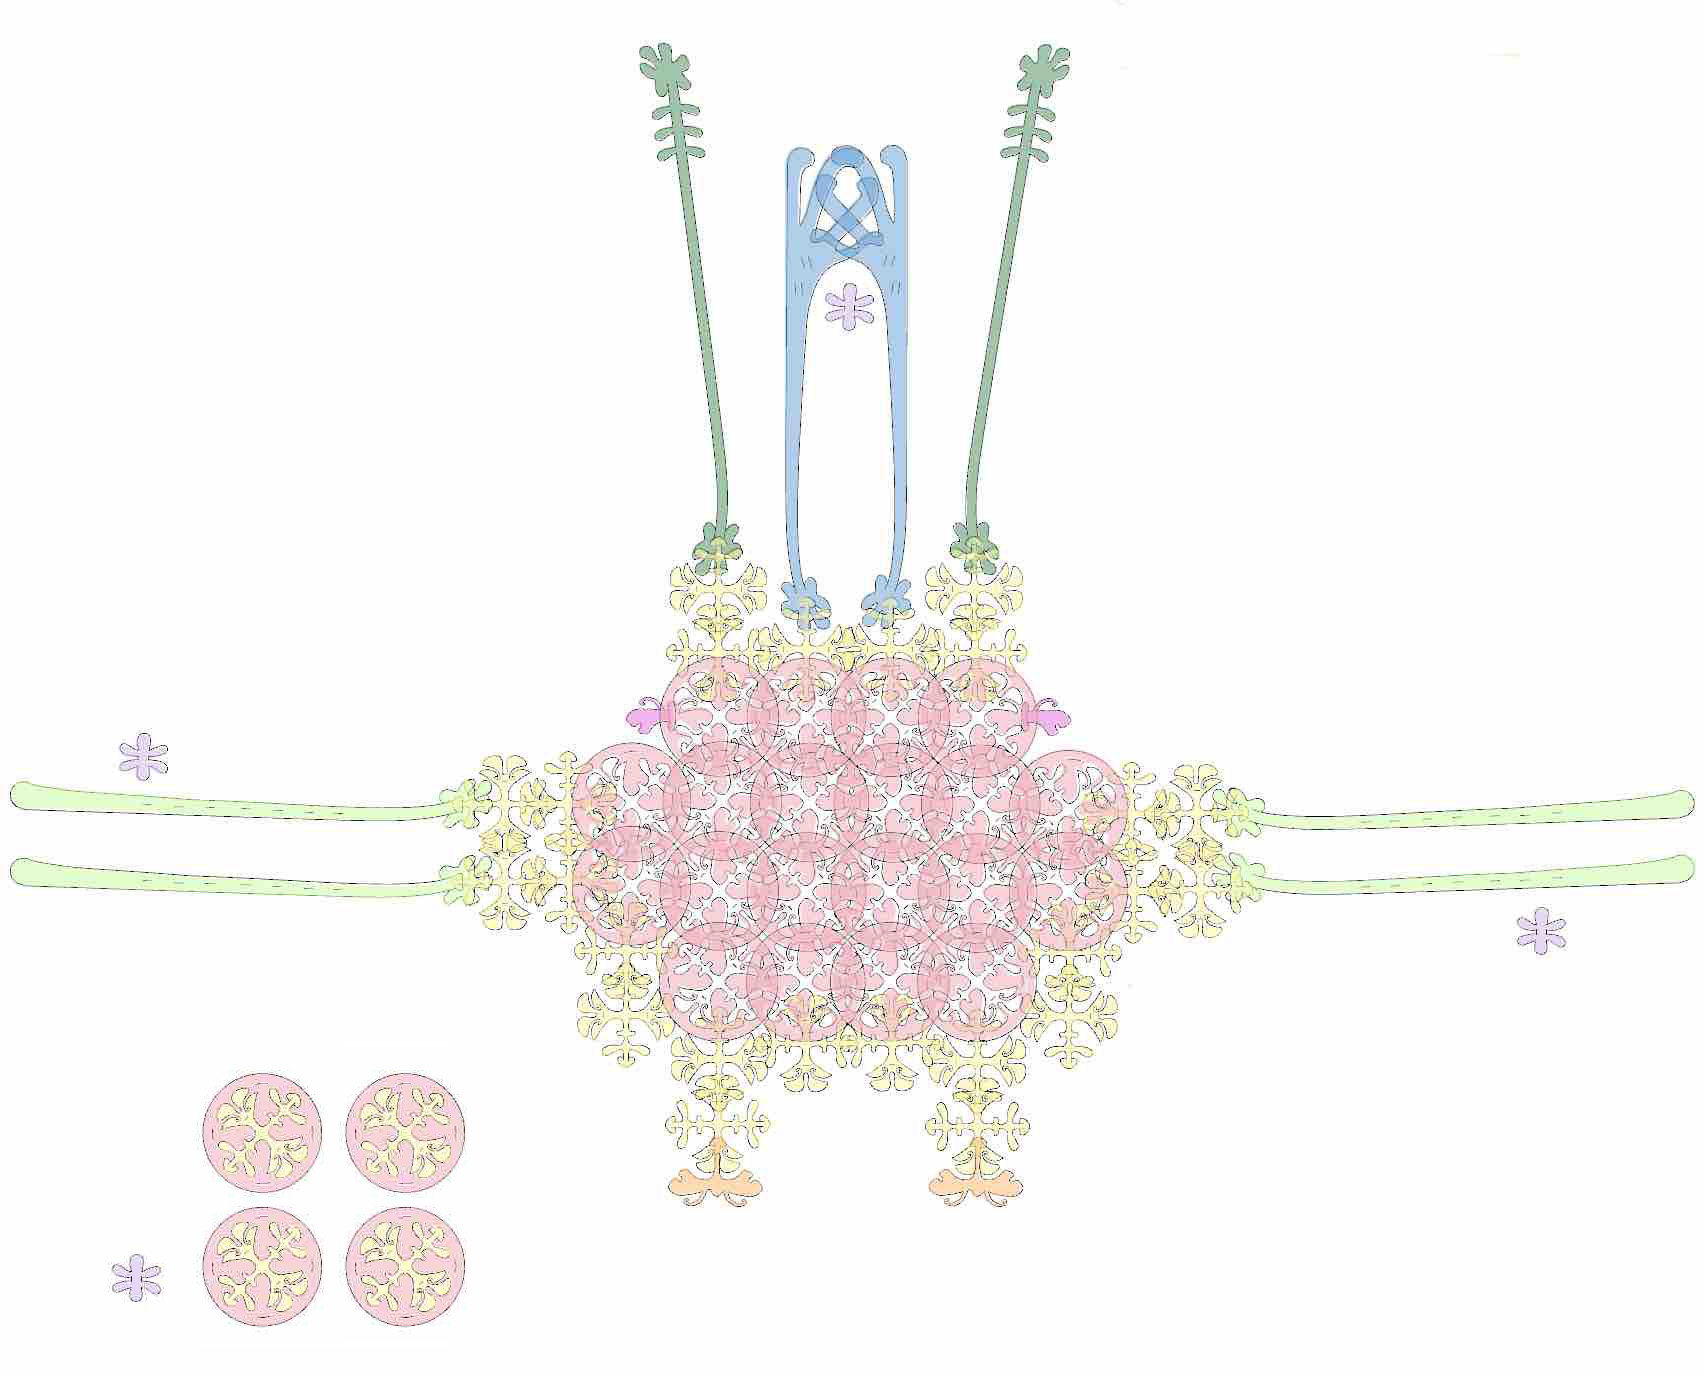
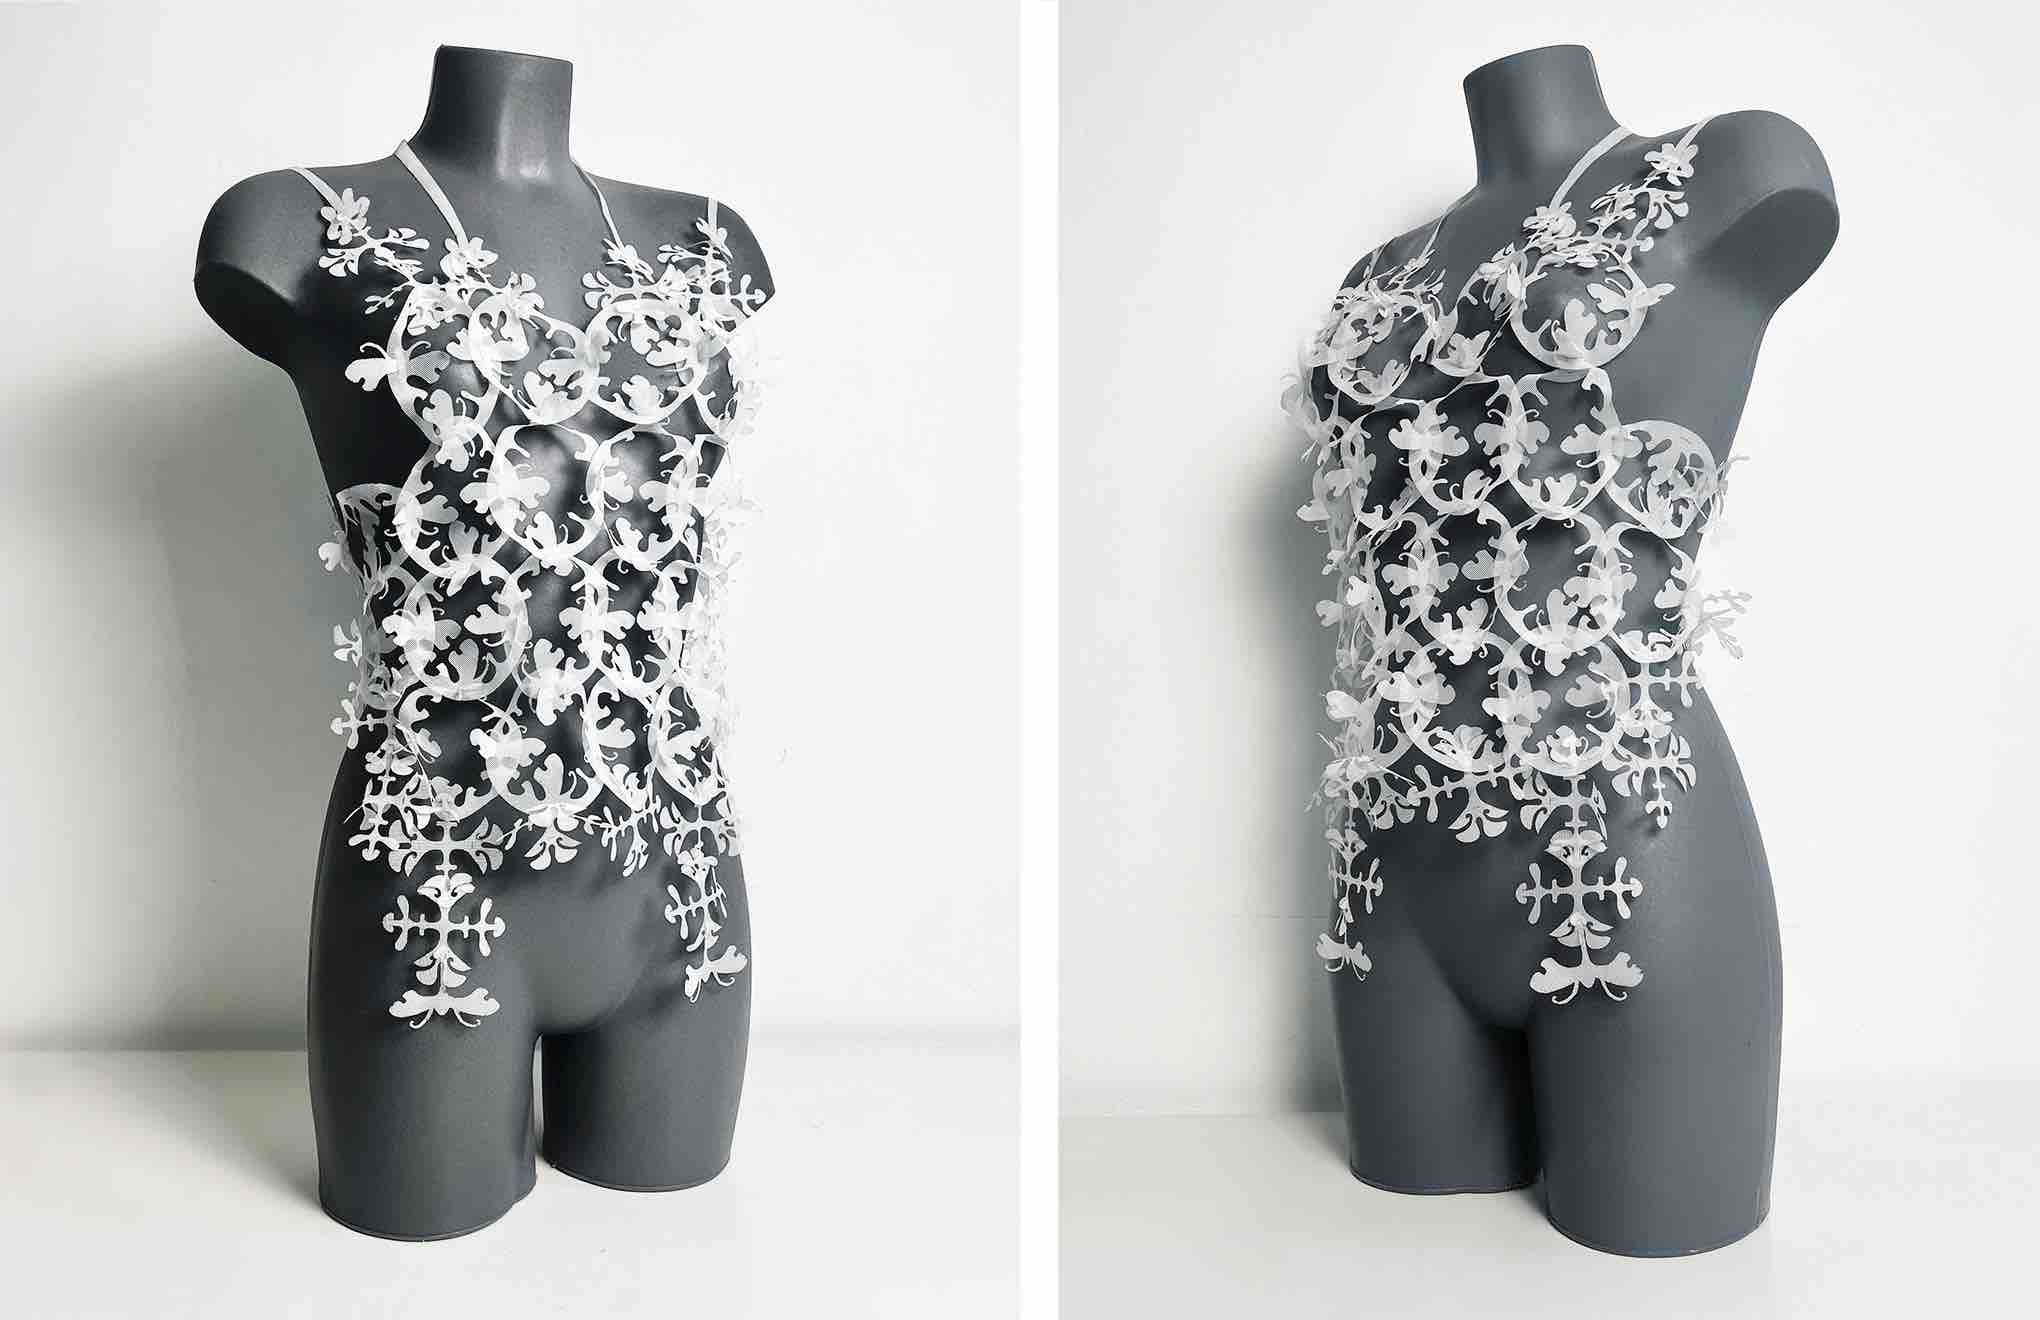
Here is the layout of how I assembled my design. I made another color-coded version because it is hard to tell what the pieces are at first.
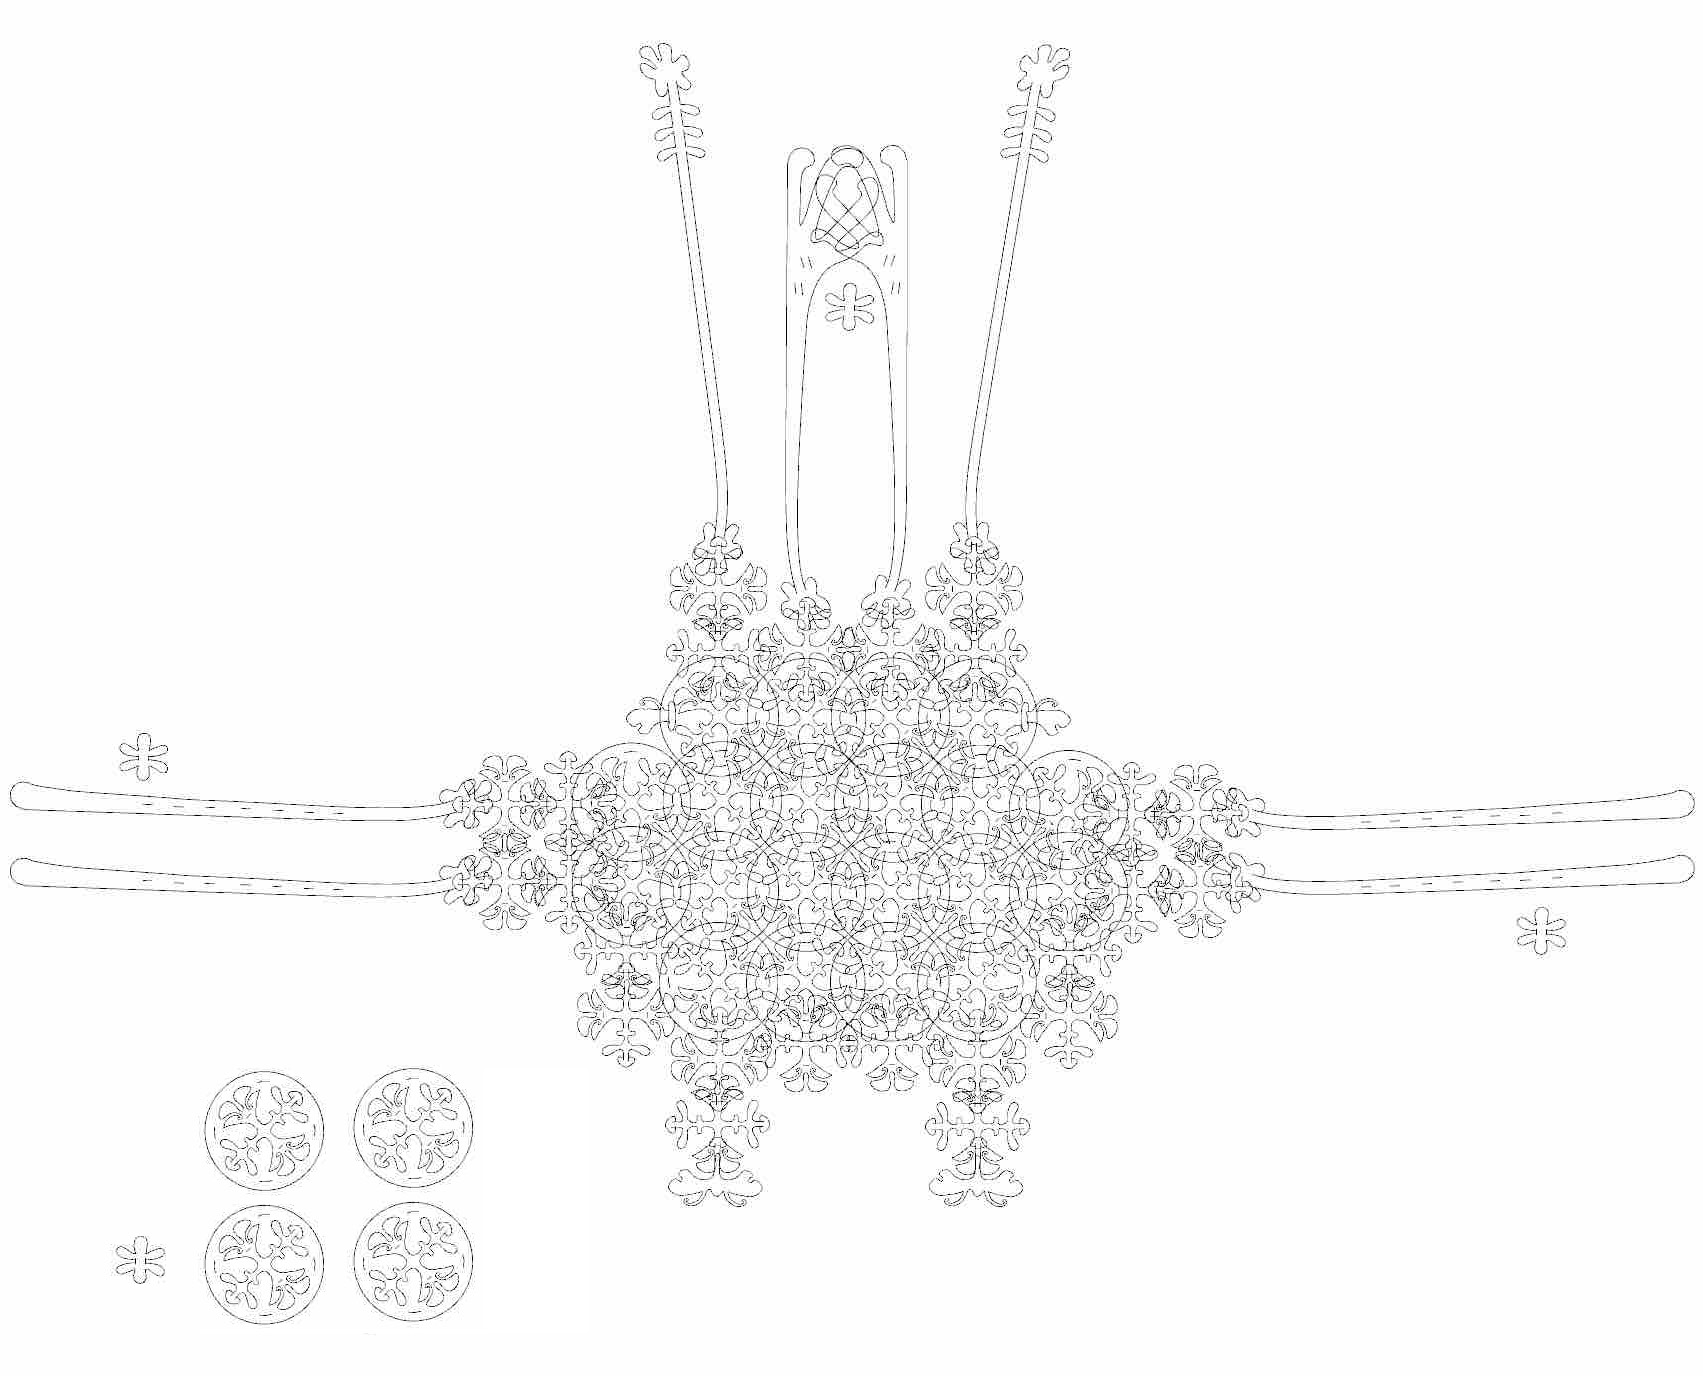
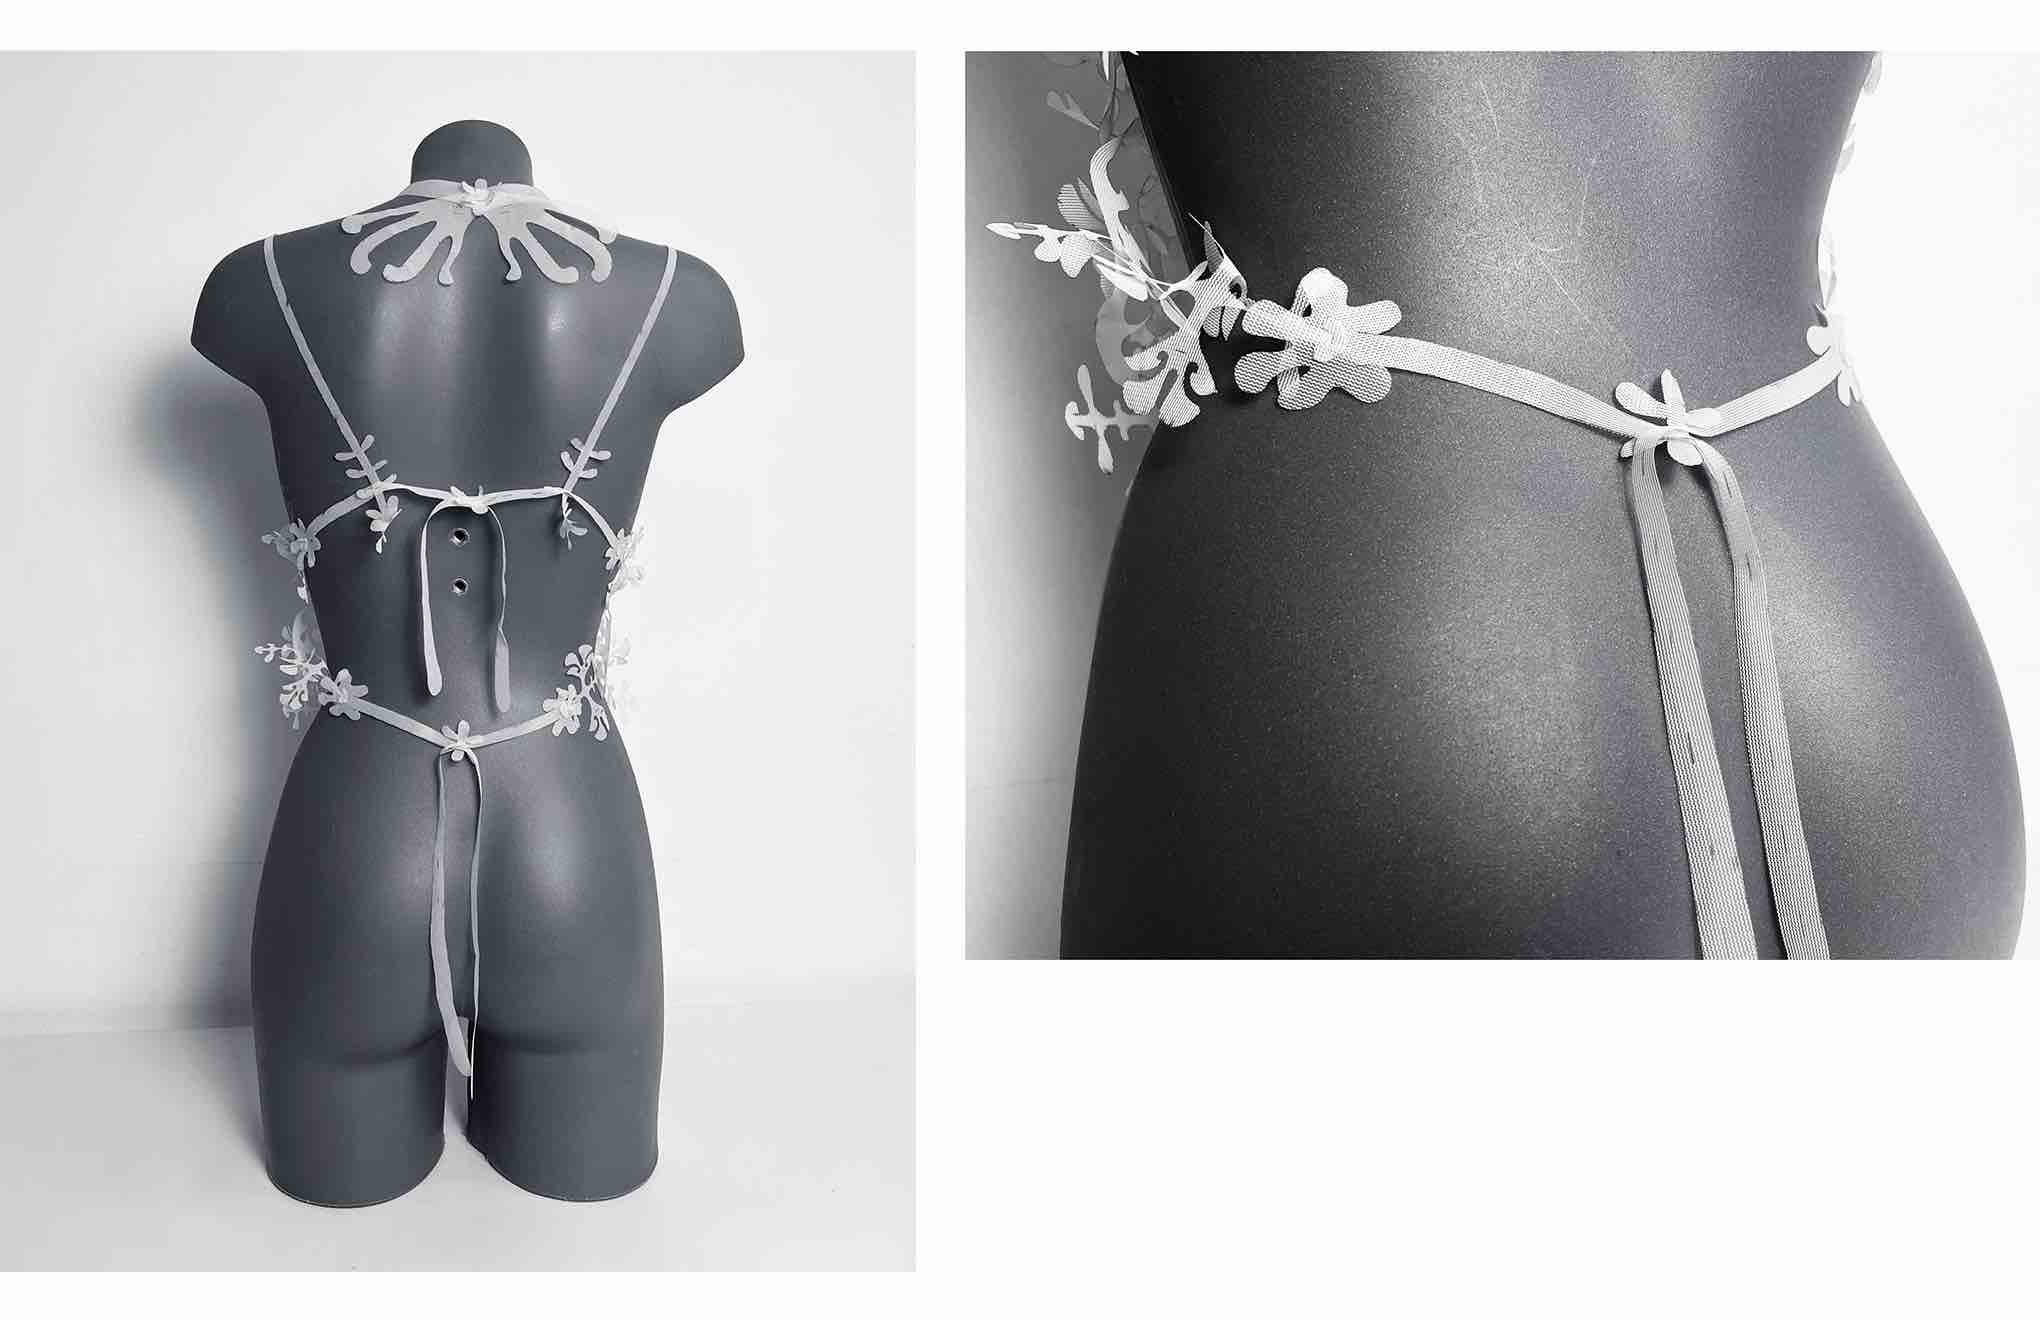
To make the piece fit more sizes there are 5 areas of adjustability:
- the straps around the neck have two settings
- the shoulder straps have 4 length settings
- the back straps can accomidate the shoulder straps in different places
- the back straps can meet eachother in different places
- there are 4 extra modules that can be added to the garment
Final Documentation
Here is the link to my project on the open source library.
Reflection:
After this project I am feling much more comfortable with 2d work in rhino and have a good understanding of no-sew connections. Having limited sewing skills, learning more about other kinds of fabric junctions was super helpful!
Of course I am still facing the issue of trying to make cut circles from rectandular fabric zero-waste. I would love to find a way to incorperate the remainder of the fabric into the design or as another object.