FELT Process
EXPERIMENTS
The Original Product
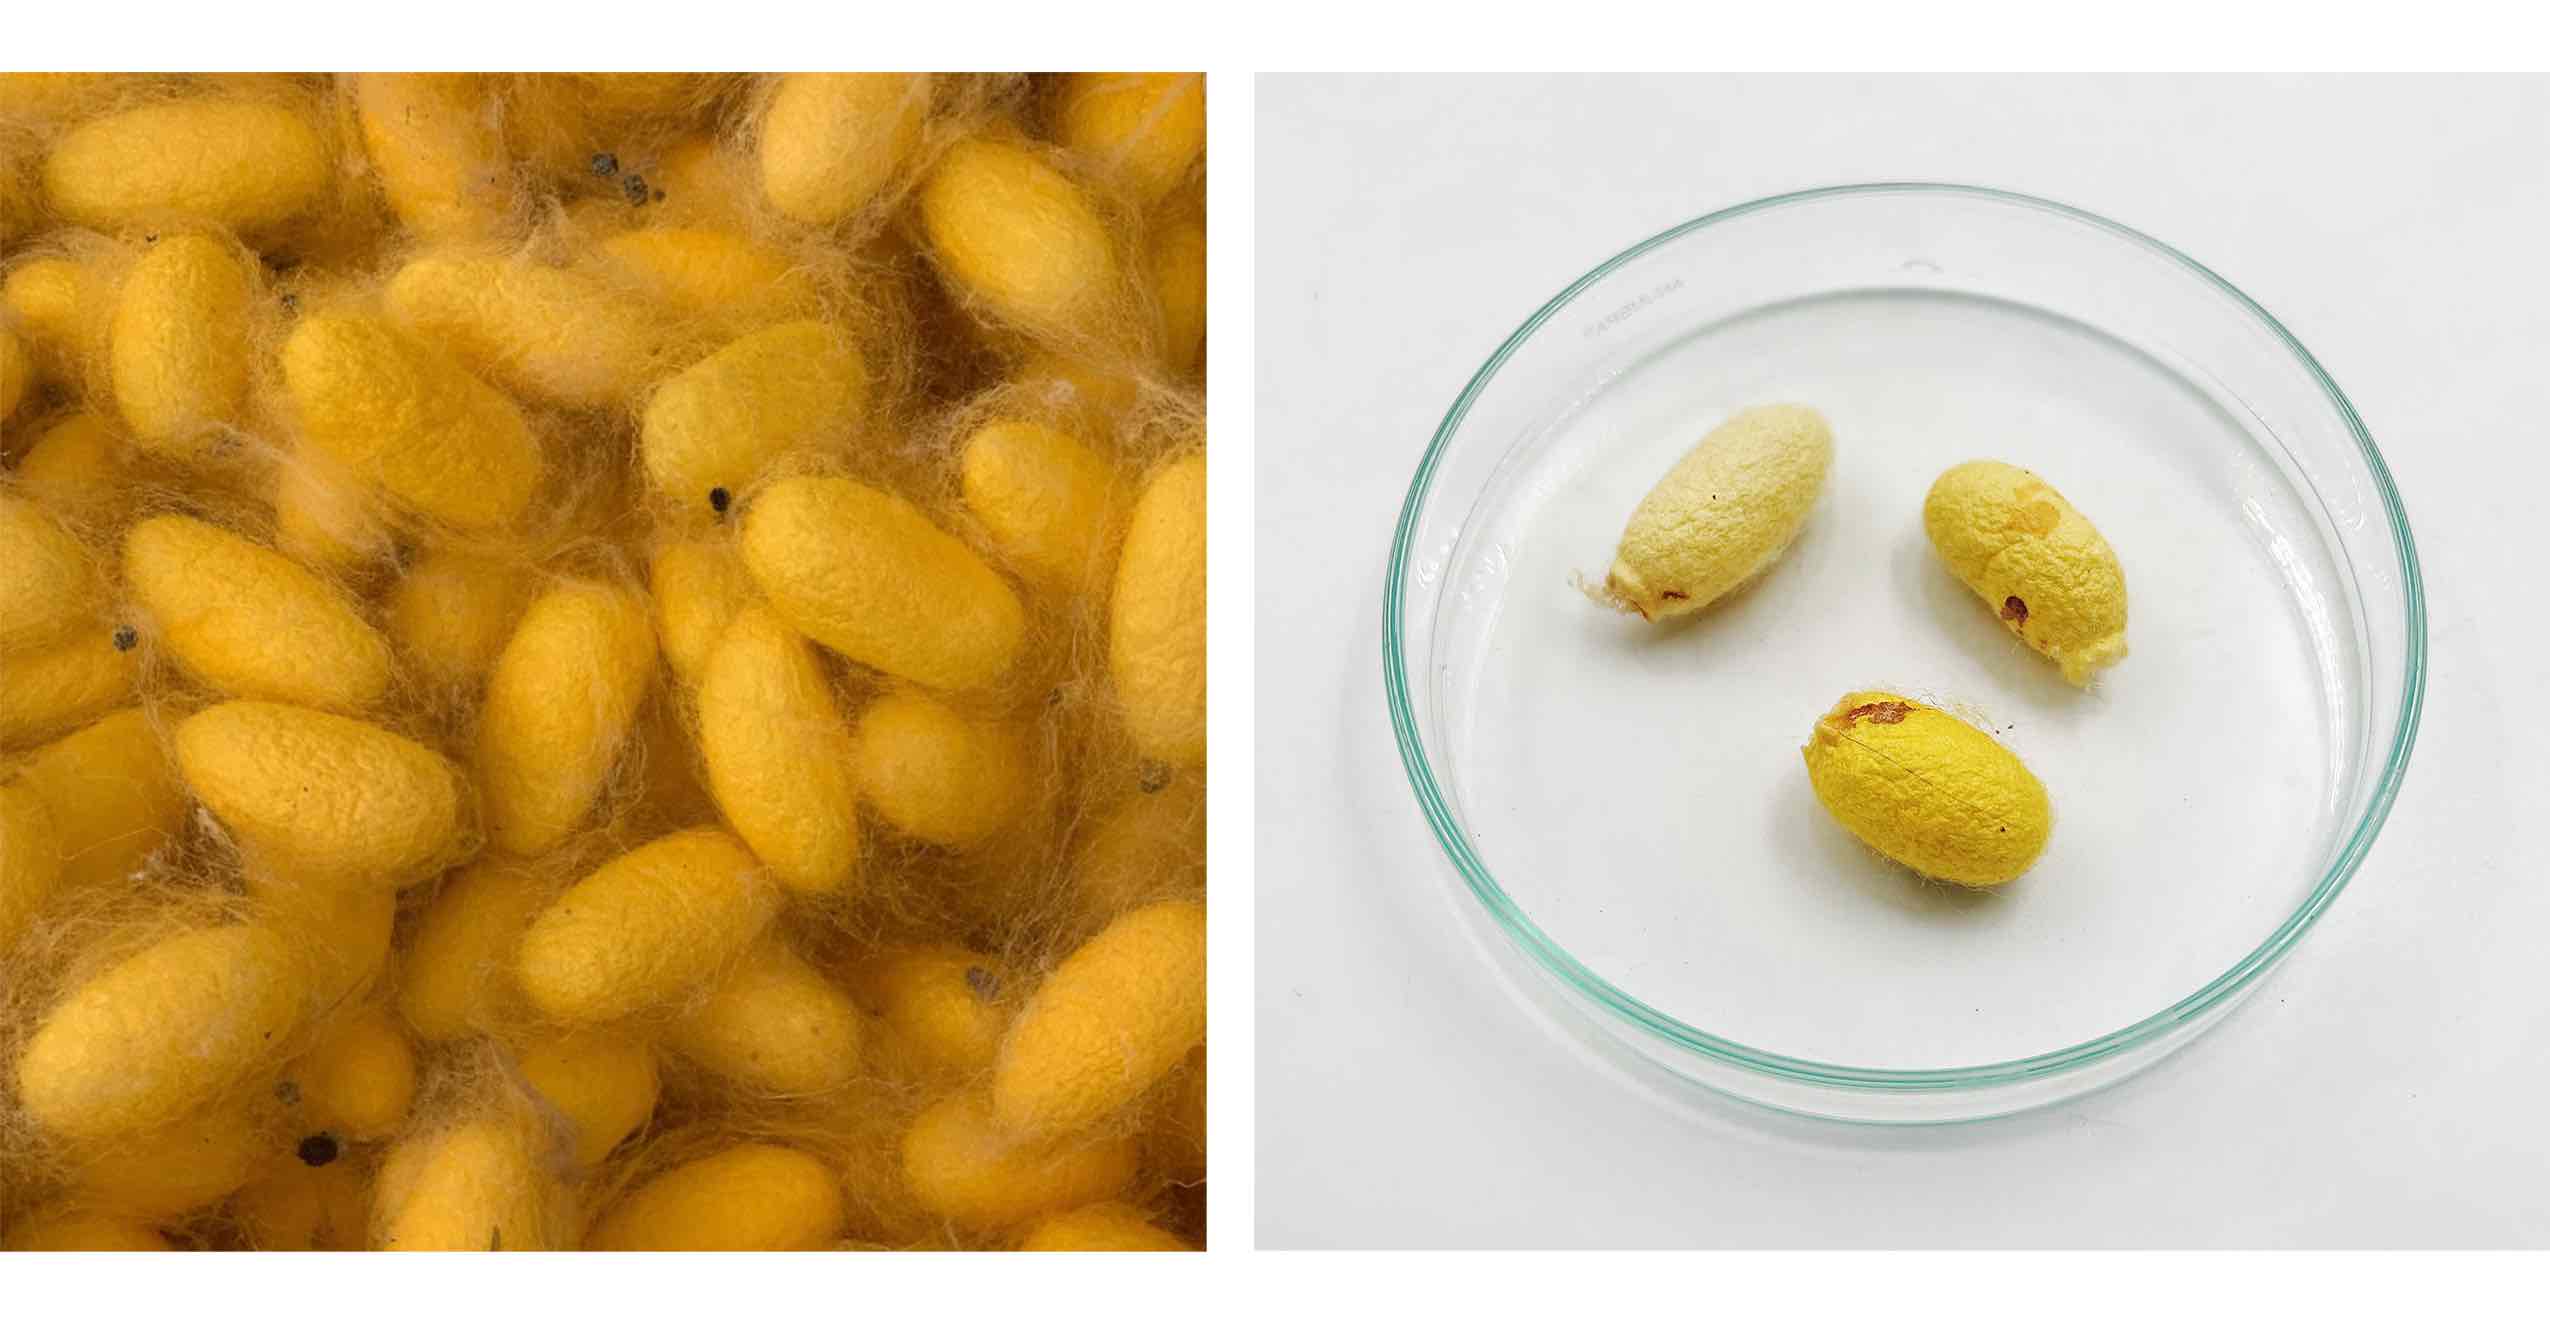 I ordered broken silkworm cocoons from a site in Spain. The larva has completed its lifecycle and emerged from the cocoon, leaving a perforated "damaged" cocoon. In this case, the single filament has been broken so the silk is harder to spin into thread for traditional processing. Cocoon color depends on the genetic type of the silkworm and the carotenoid content in the larva's body. The cocoons I ordered are a golden yellow color.
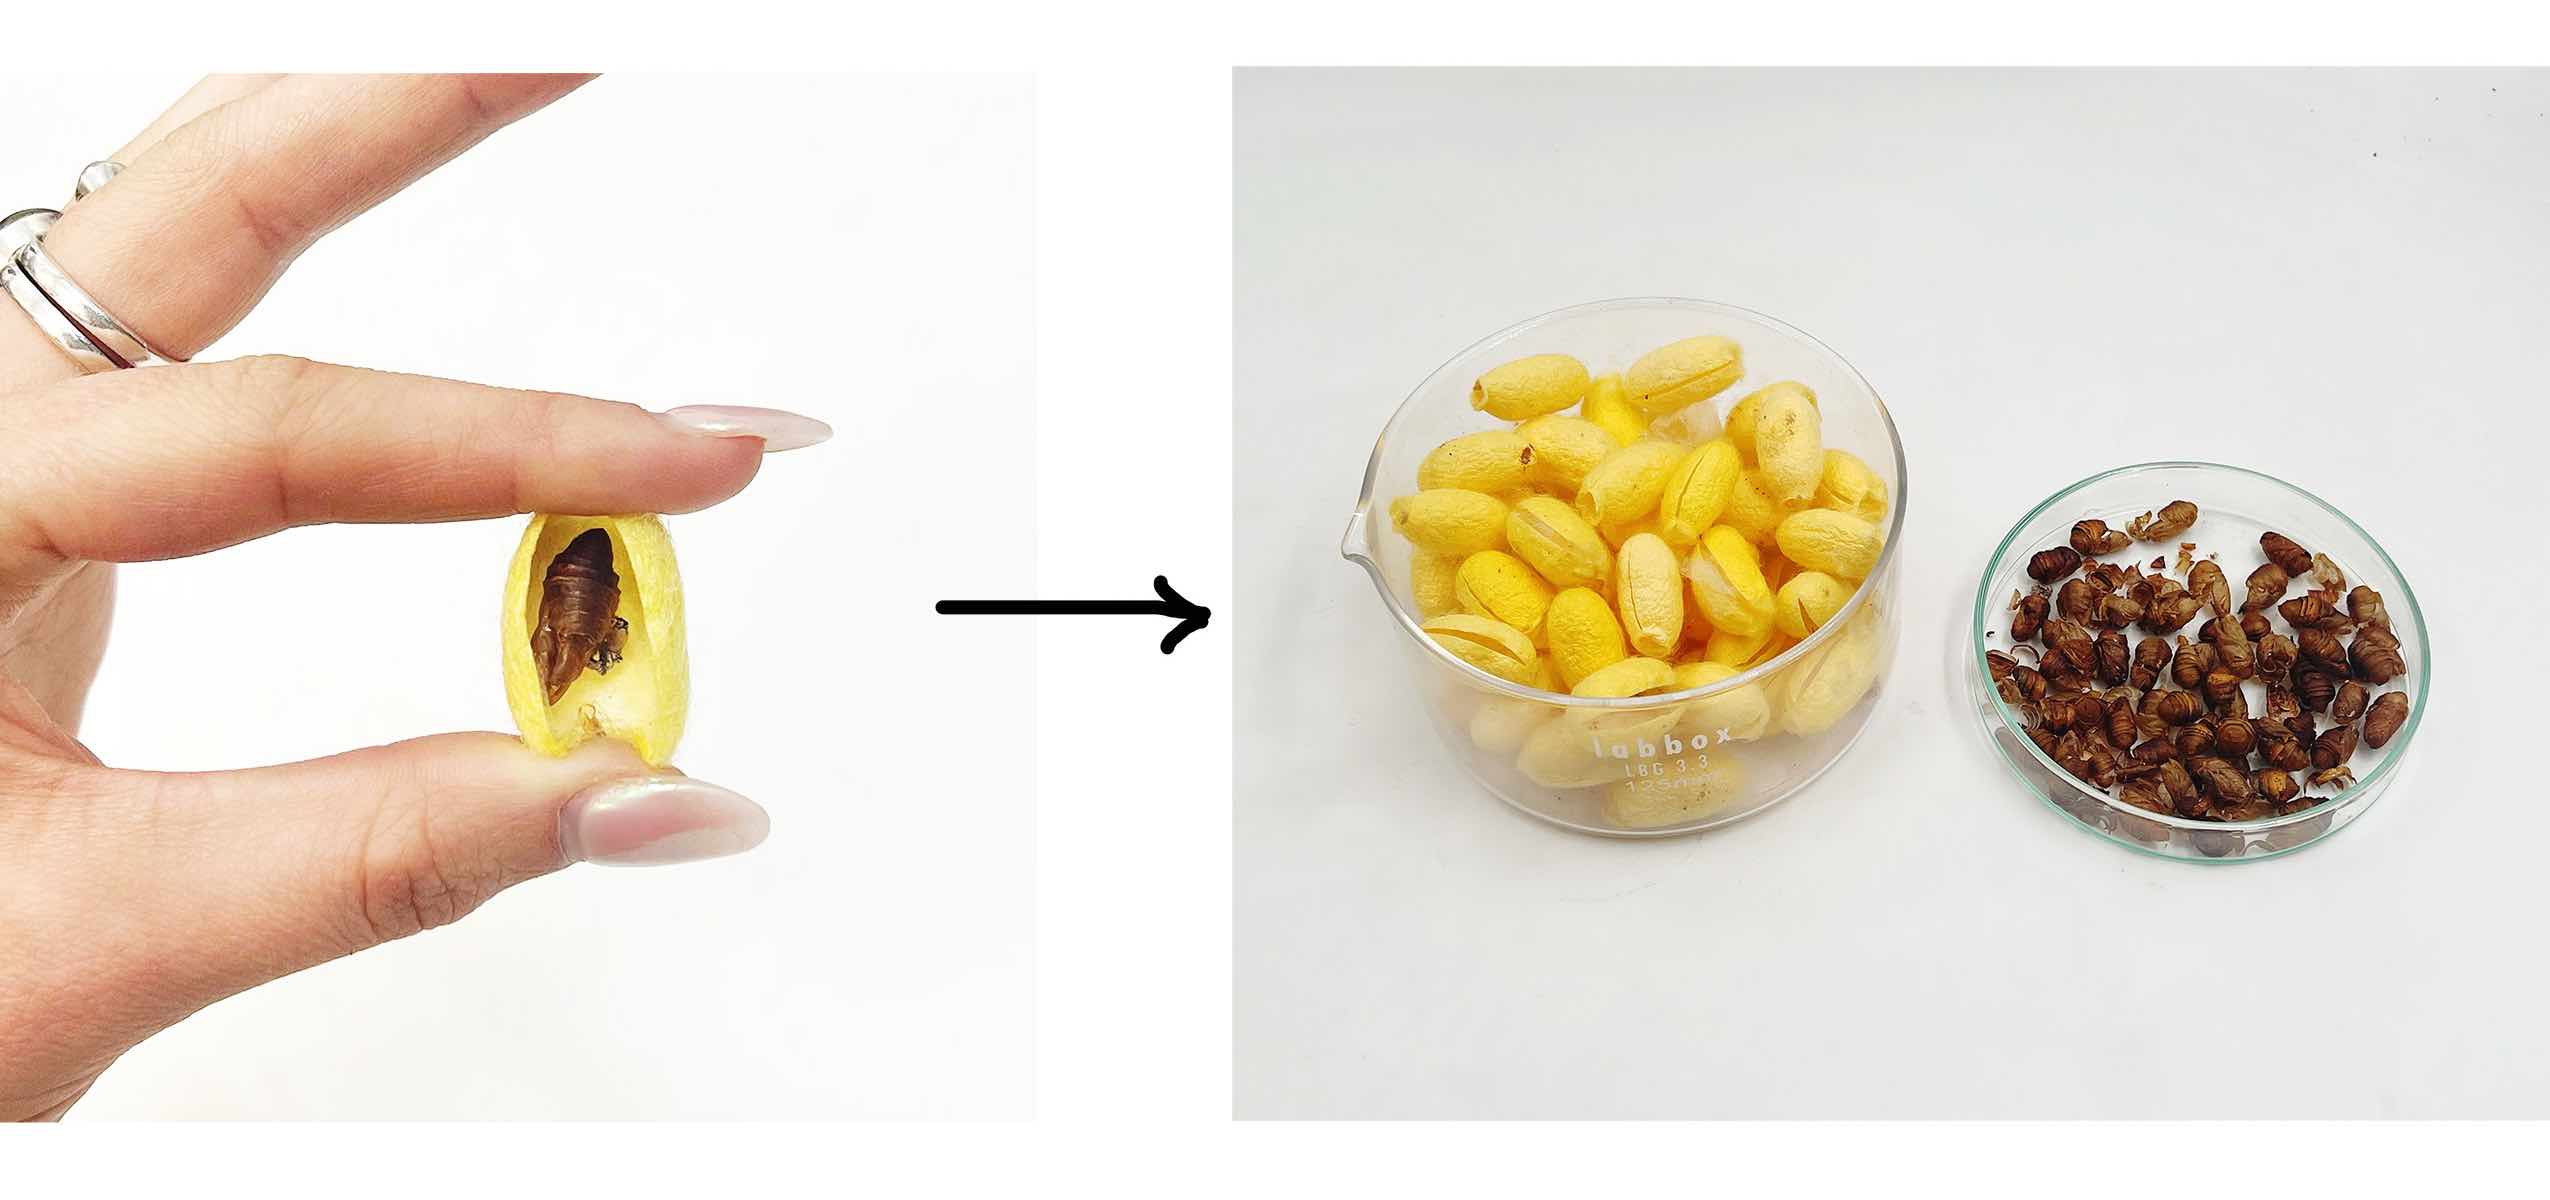
Separating out Pupa Shells
When the moth escapes from the cocoon they leave a flaky brown shell and little ball of shedded larval skin. You will want to remove these before degumming because they will become tangled in the silk and very hard to pick out later. I cut a slit in the cocoons, making sure to save the pupa shells for other biomaterial experiments.
Degumming Silk
I am going ahead with citric acid degumming because it does not require an expensive or harmful chemical and the process can be completed in one round of cooking (alkaline methods can take up to three rounds).
Materials
| Qty | Description | Price | Purchased |
|---|---|---|---|
| 1kg container | Citric Acid | 15 € | Amazon |
| 250 ml bottle | Coco Glucoside | 5,59 € | Arke Barcelona |
Citric acid HOC(CO2H)(CH2CO2H)2, is an organic compound that occurs naturally in citrus fruits and is produced in fermentation. It is often used as an acidifier and flavorant. Ph is between 3-6.
Coco Glucoside is a non-ionic surfactant derived from coconut oil and sugar and used often in cosmetics. Ph is 11.5–12.5
Recipe
I am following the process from this study which calls for a 30% citric acid solution at 98 °C for 30 min. They also use a nonionic detergent at 0.2% ( I will be using coco glycoside because it is biodegradable and can be purhased nearby). The material-to-liquid ratio is 1:20.
Protocol
With 14g of silk I will need 280ml of liquid which will require 84g citric acid and 5.6g coco glucoside.
- Measure the ingredients and combine except for the cocoons
- Bring the solution to 98°C
- Add the cocoons
- Leave this for 30 min
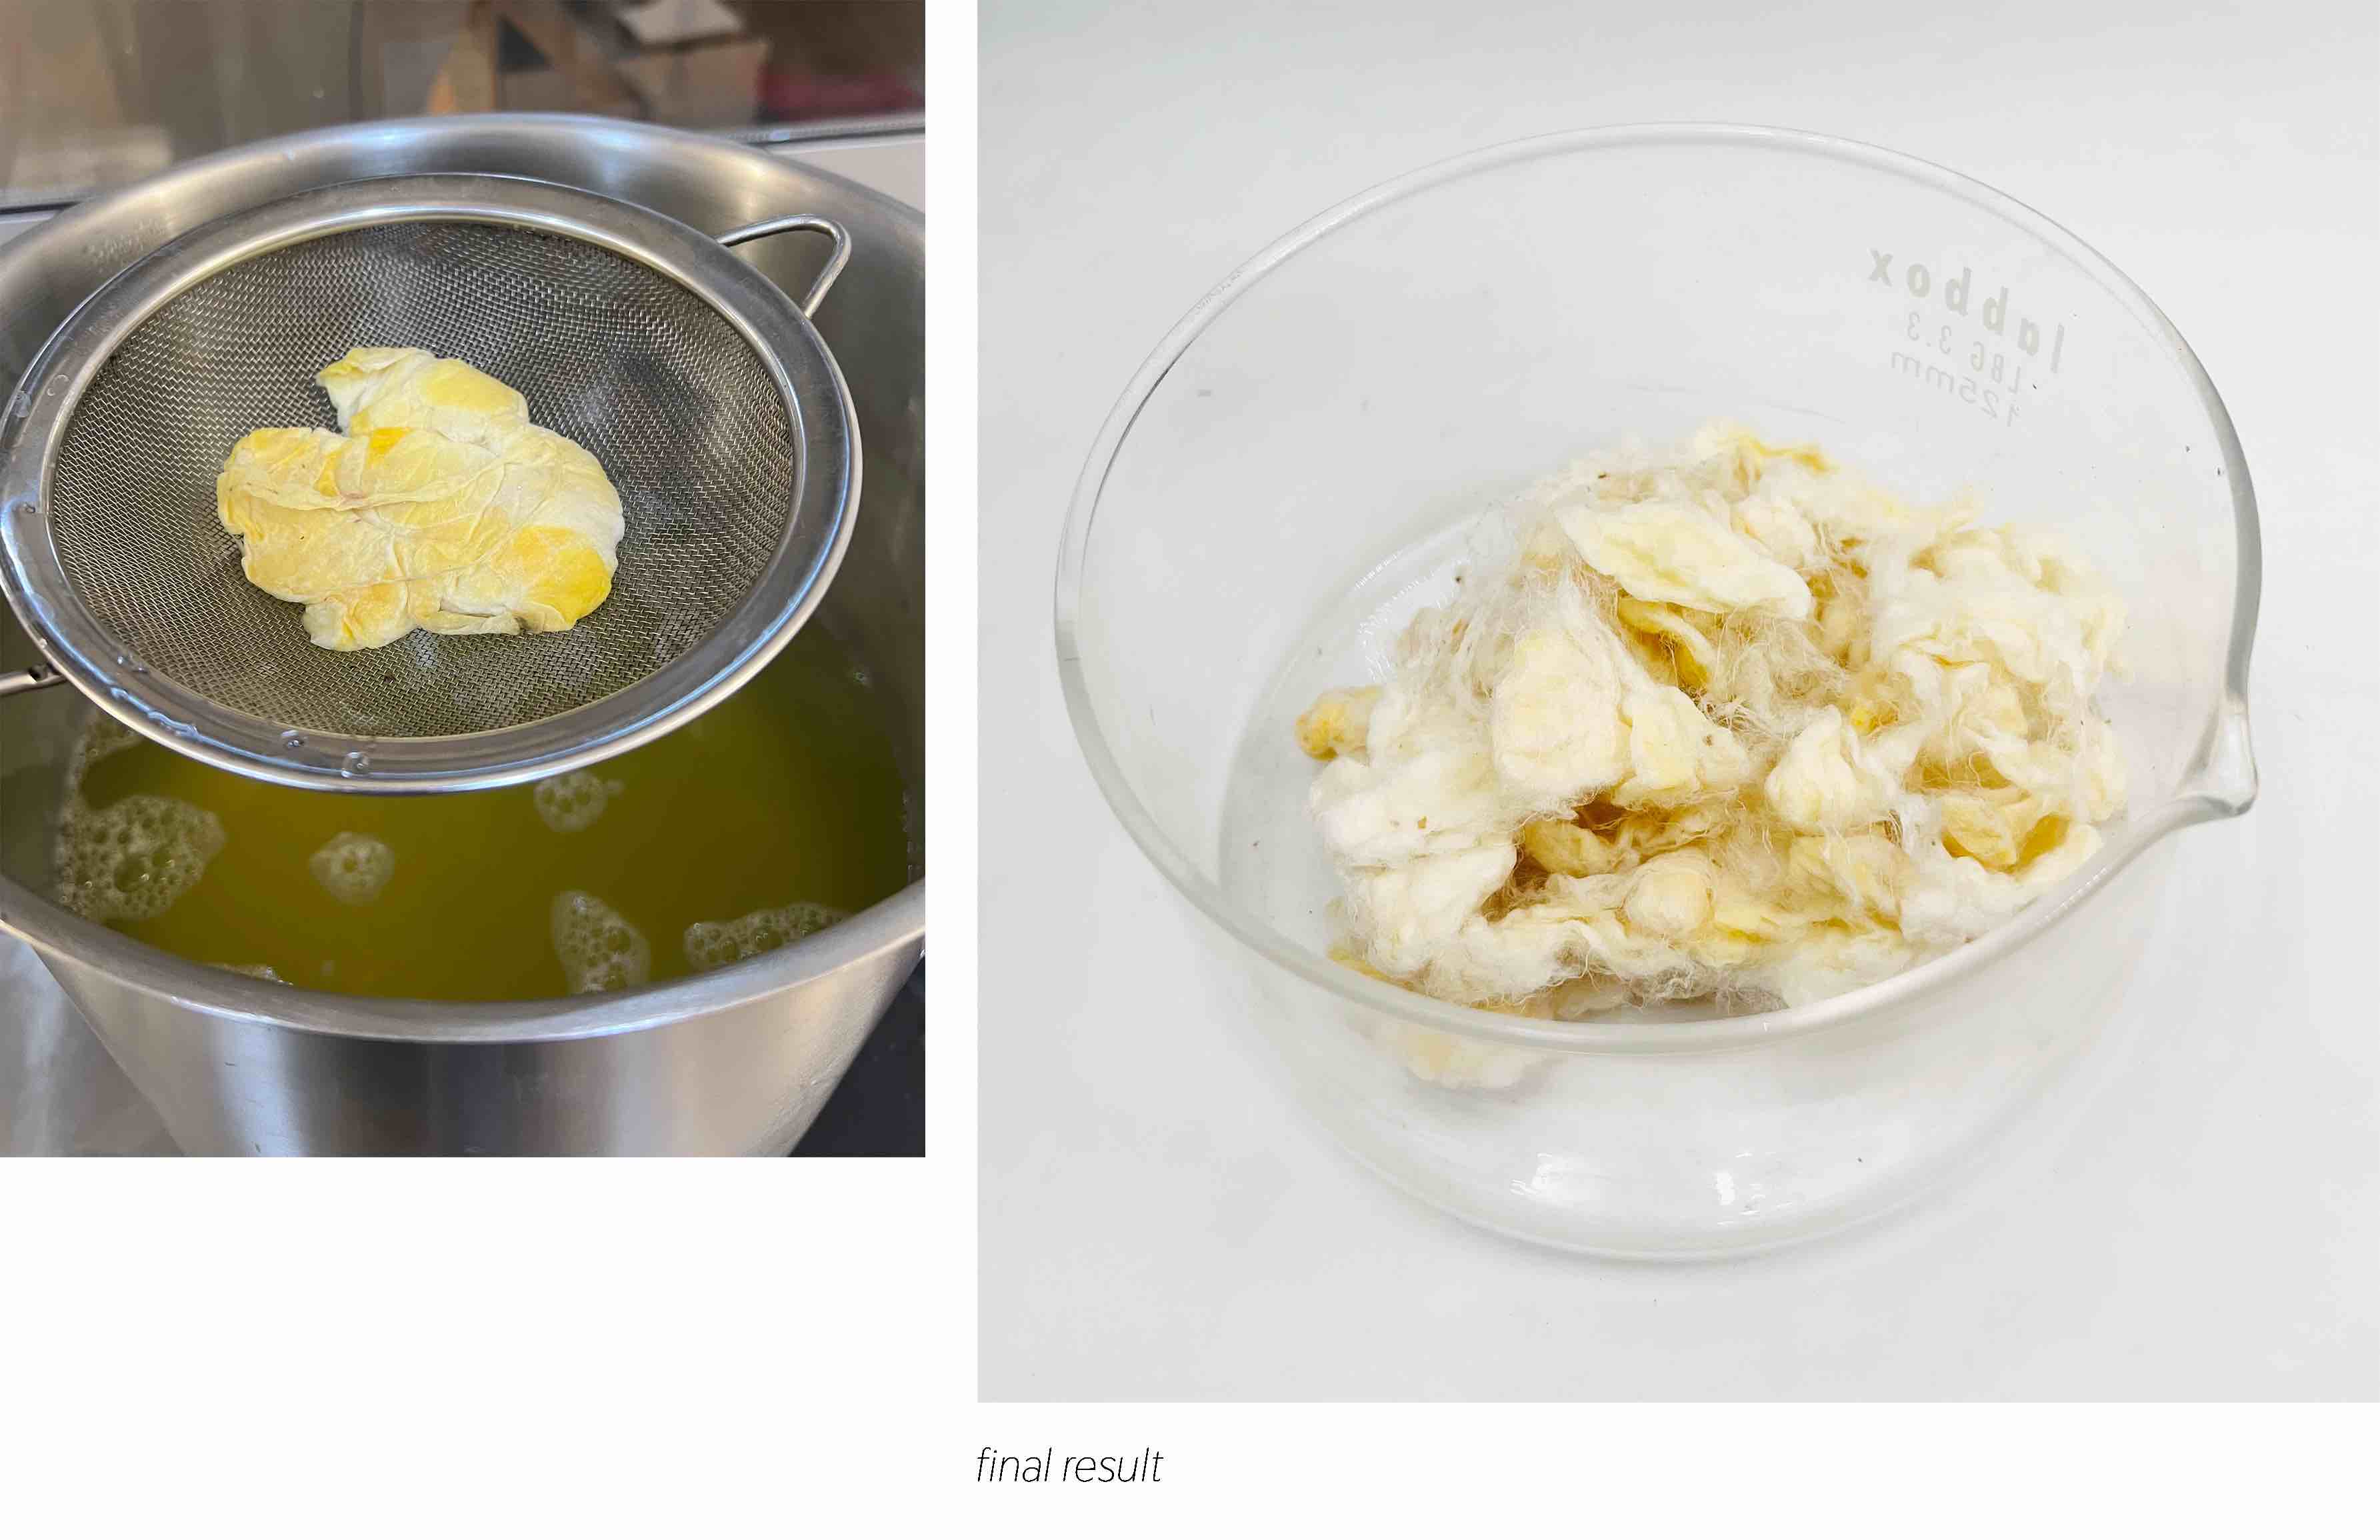
- Strain the cocoons and rinse in water
- Take the ph of the solution and add x then dispose
- Pull the cocoons to seperate the fibers a bit

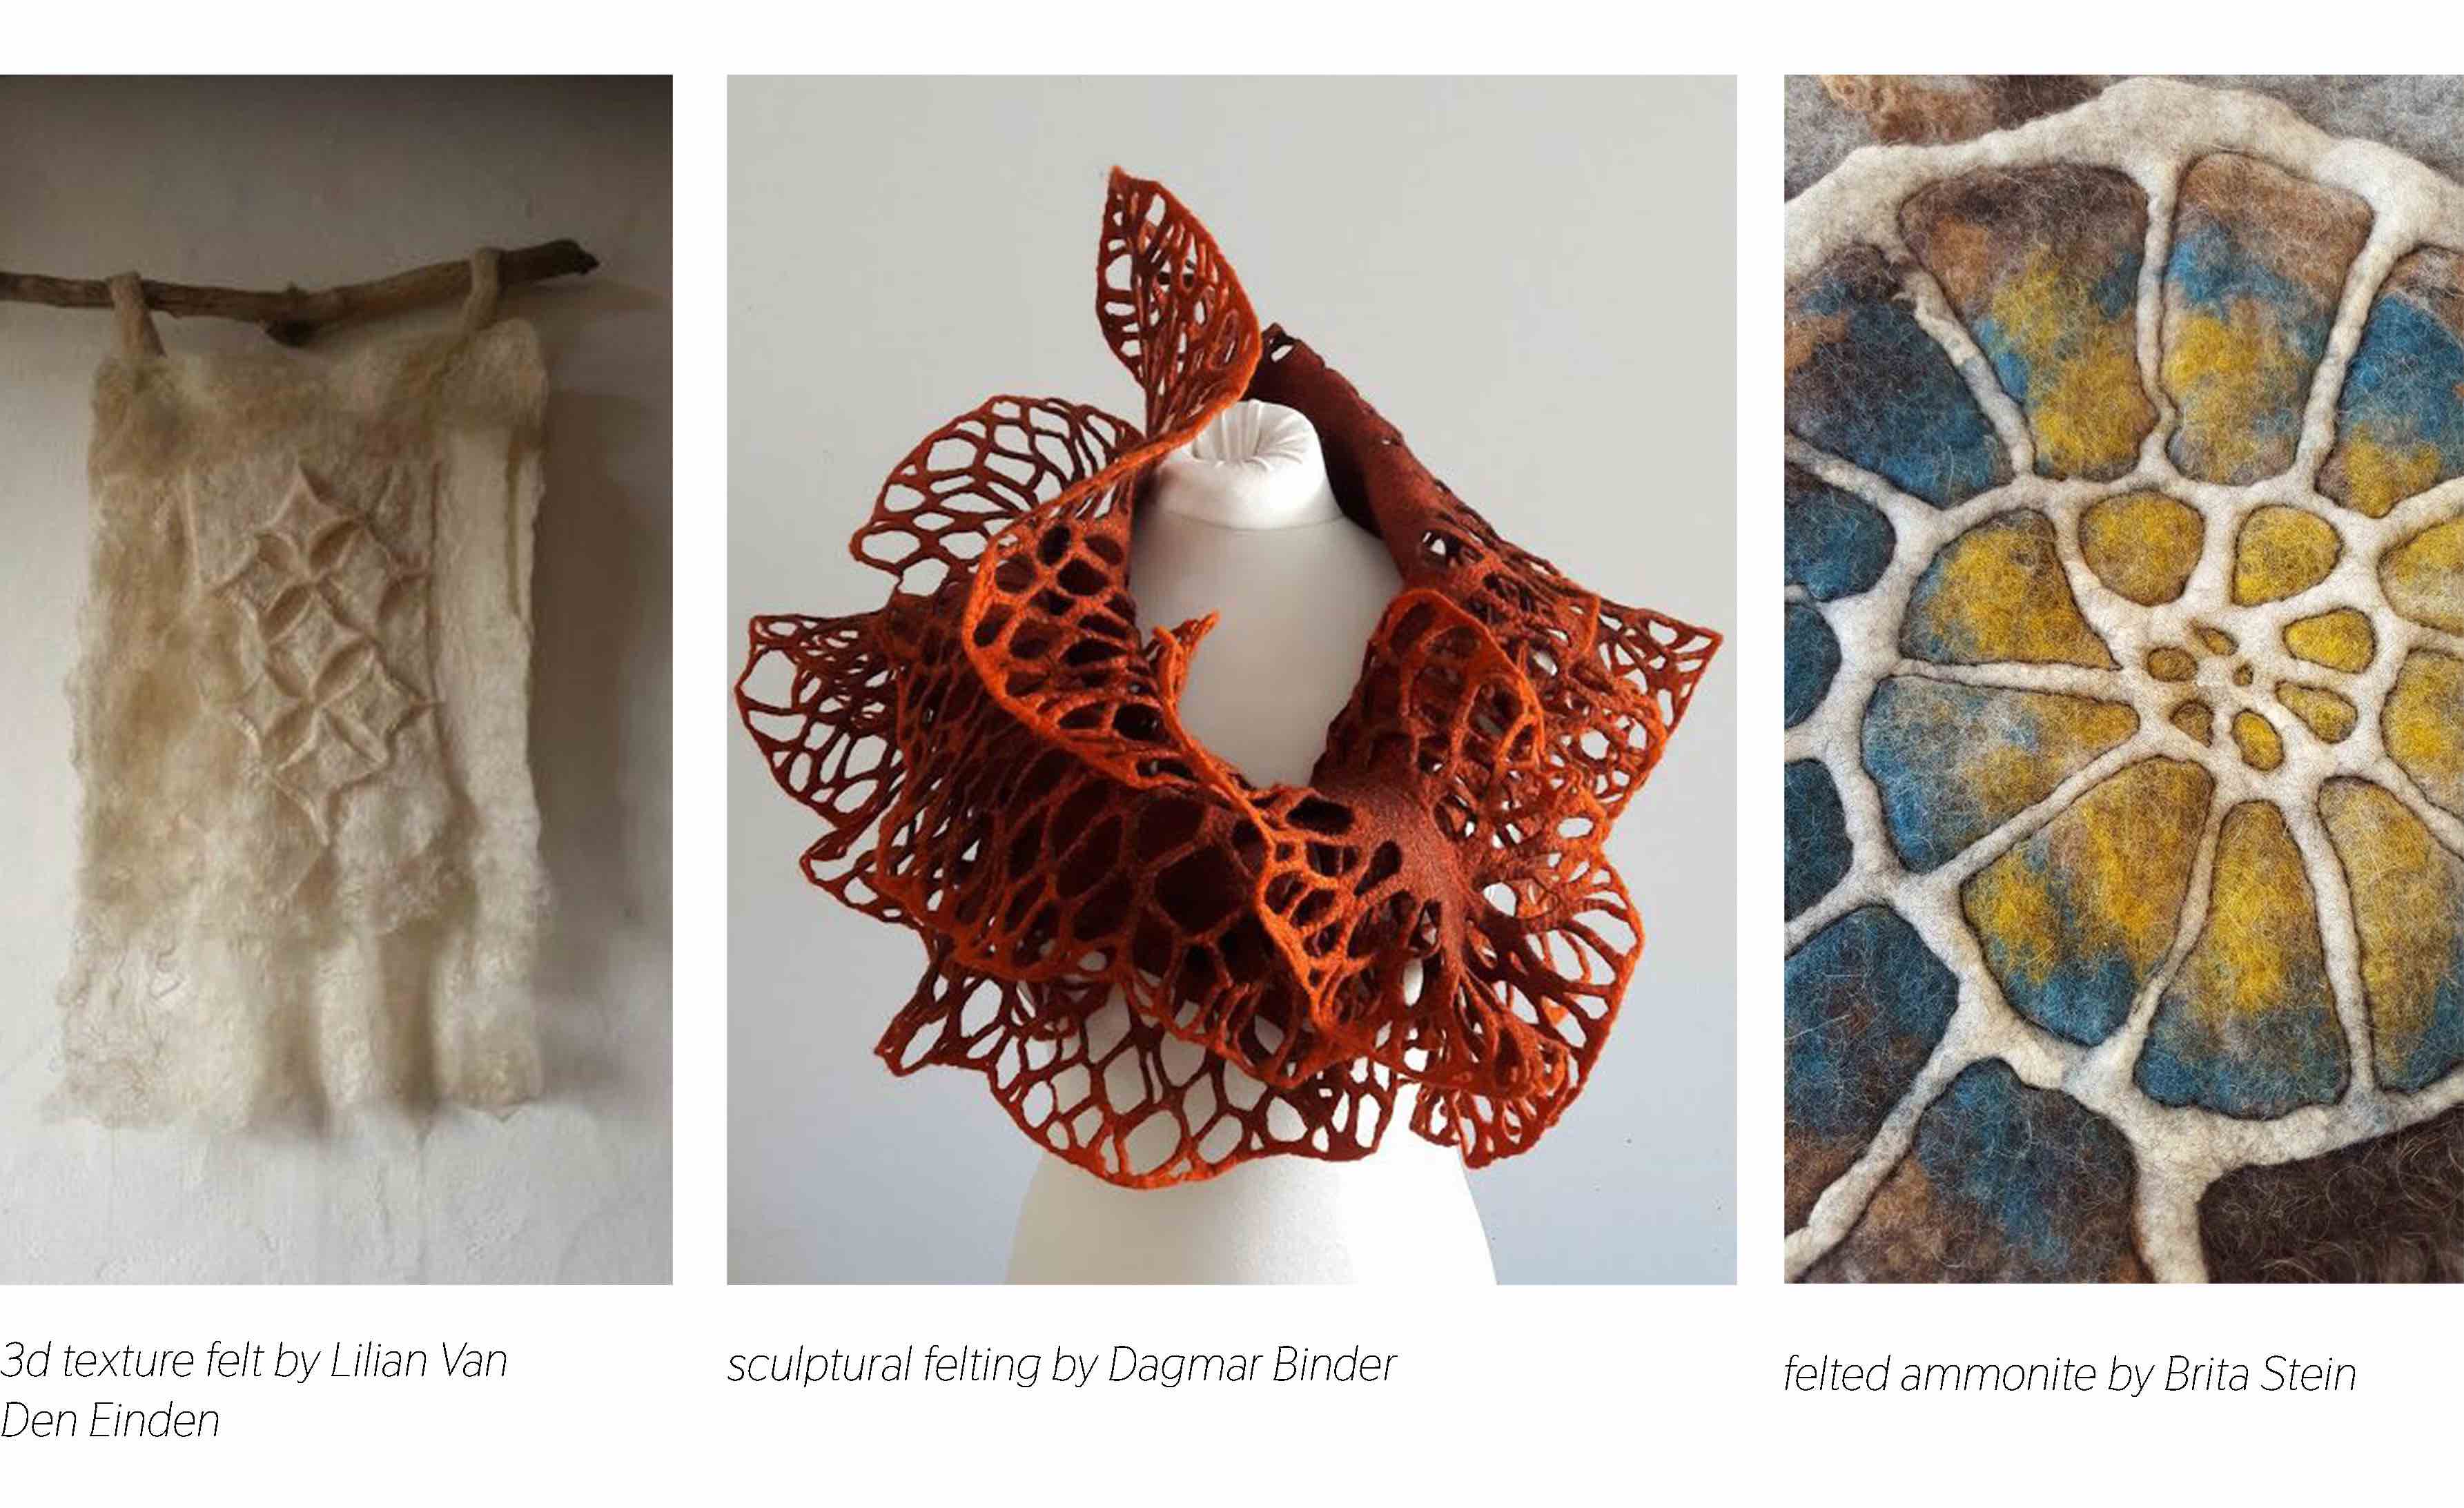
Inspiration
I am facinated with the design opportunities that come with felting. It can range in flexibility/softness and strength/hardness based on the amount of treatment and it can take on 3d forms or be combined with other materials in "no sew" ways.
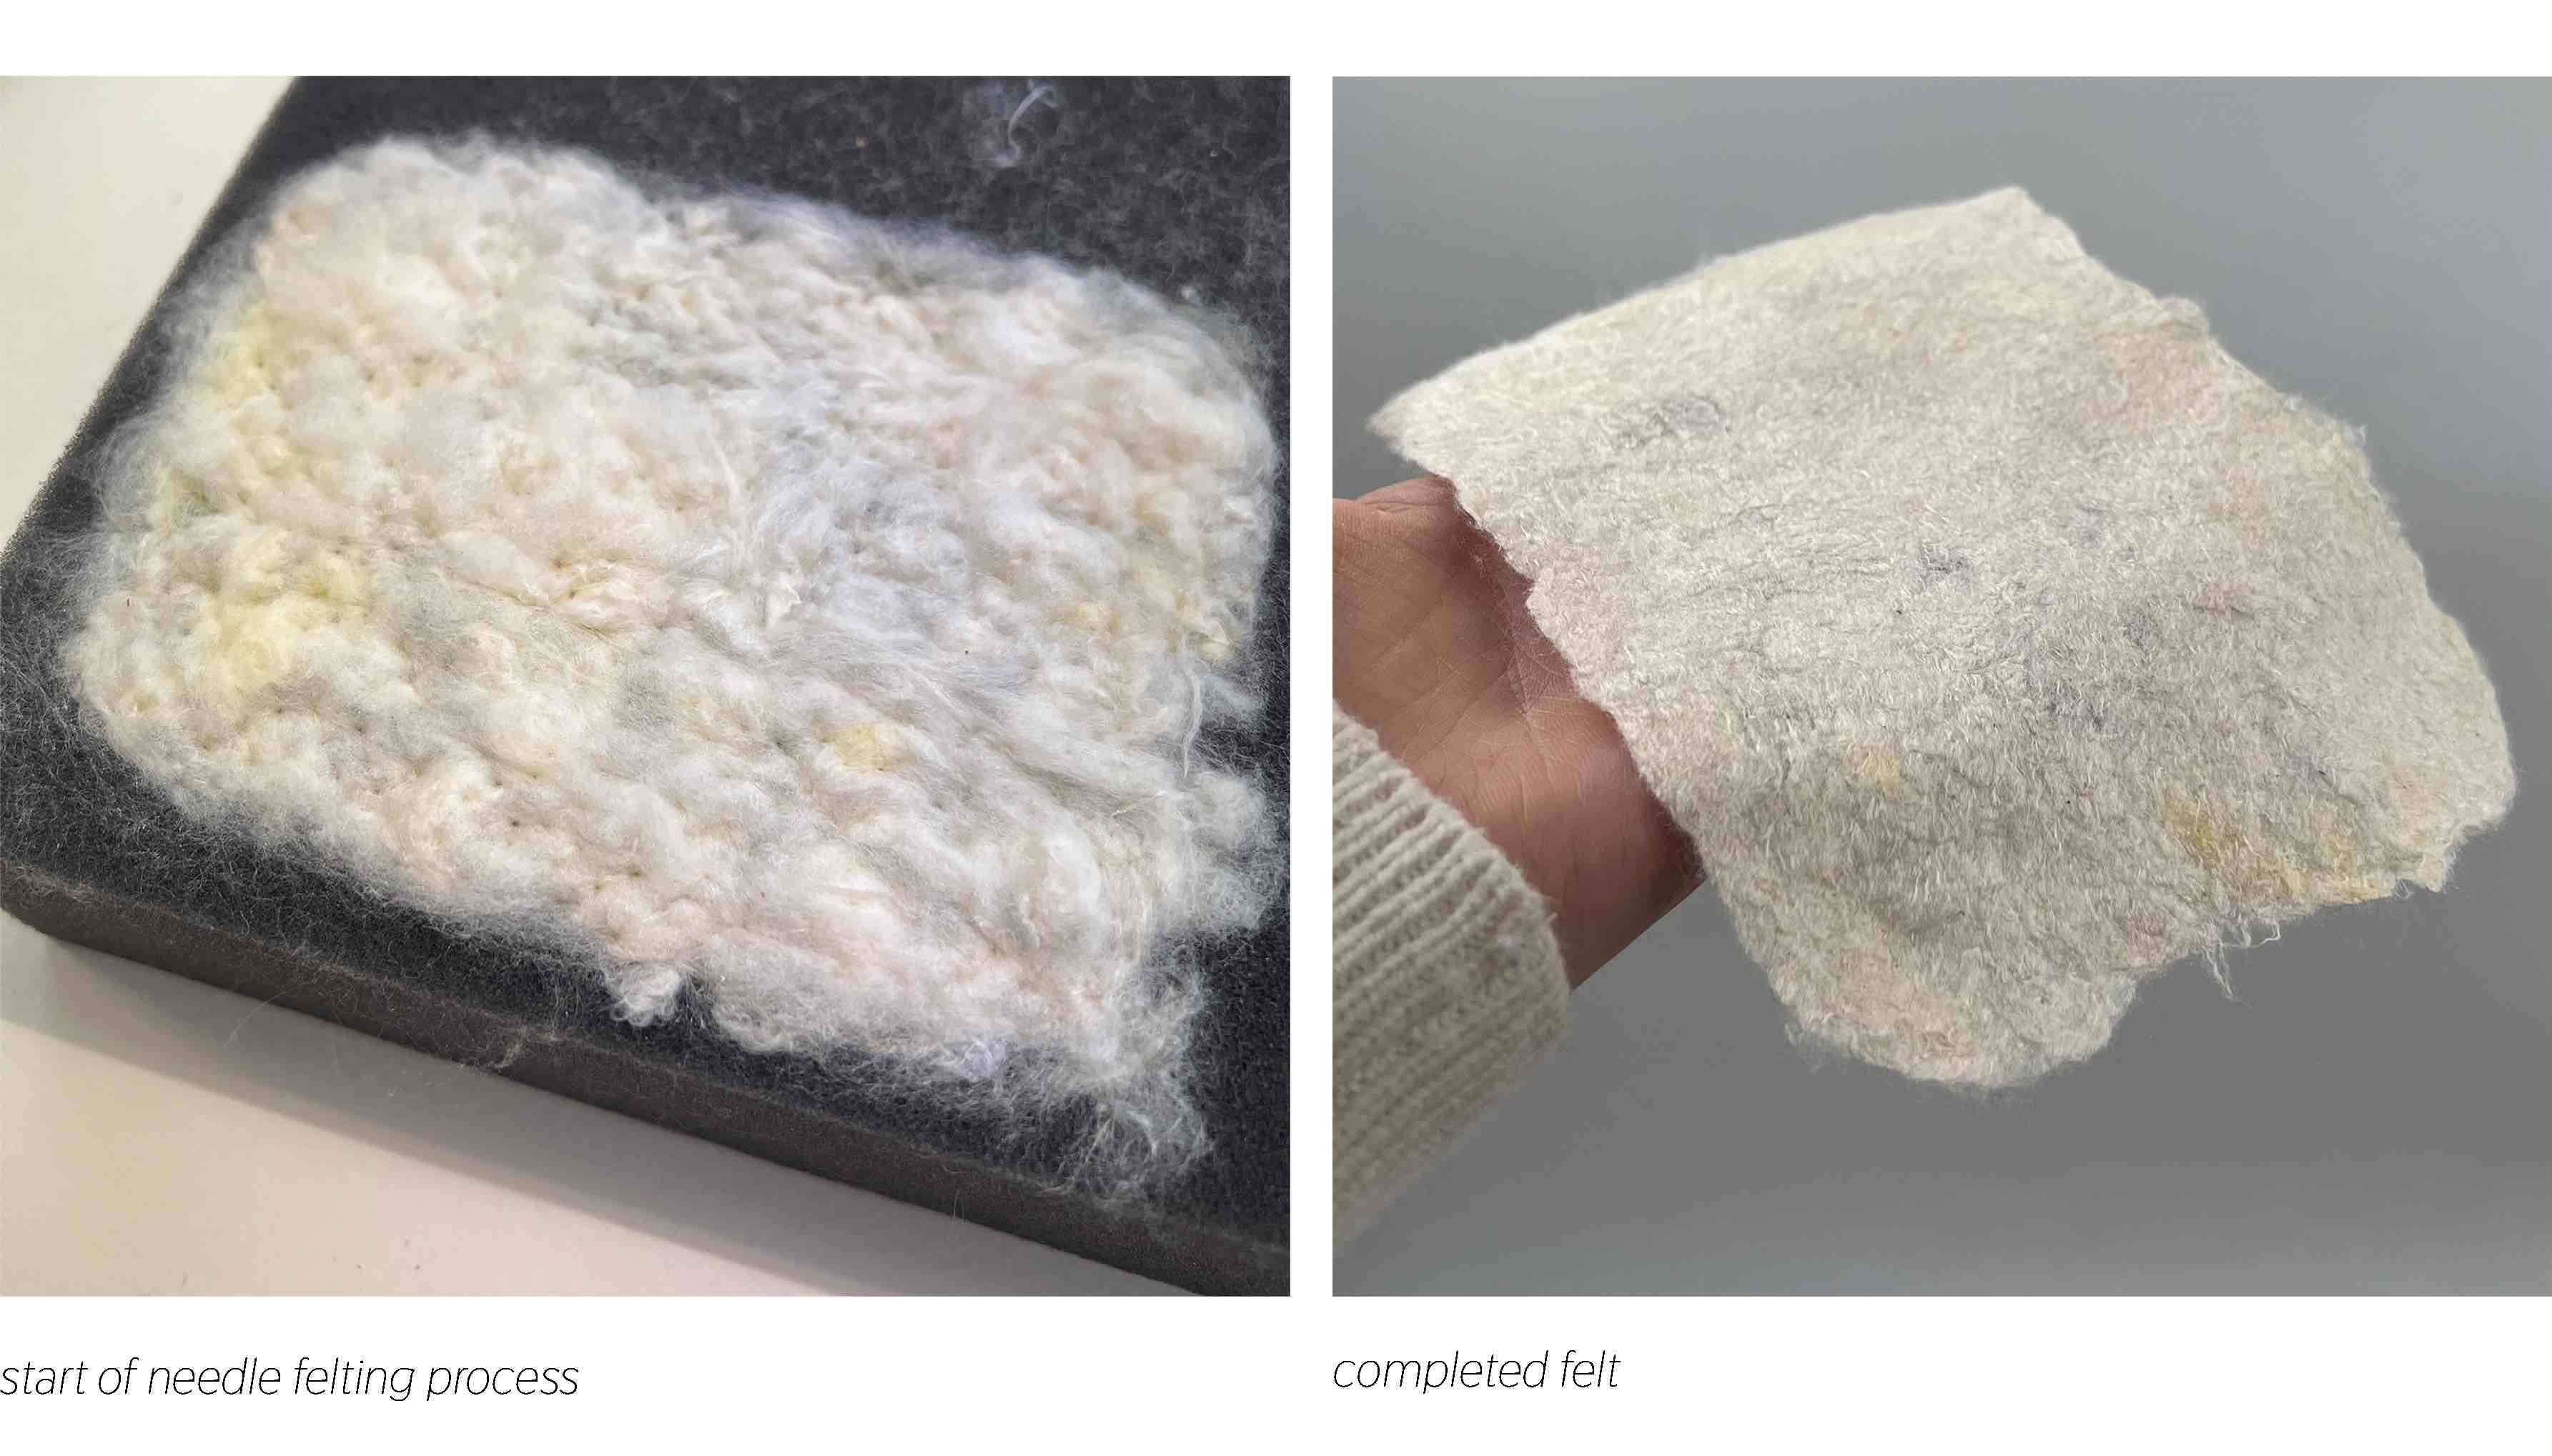
Basic Felt
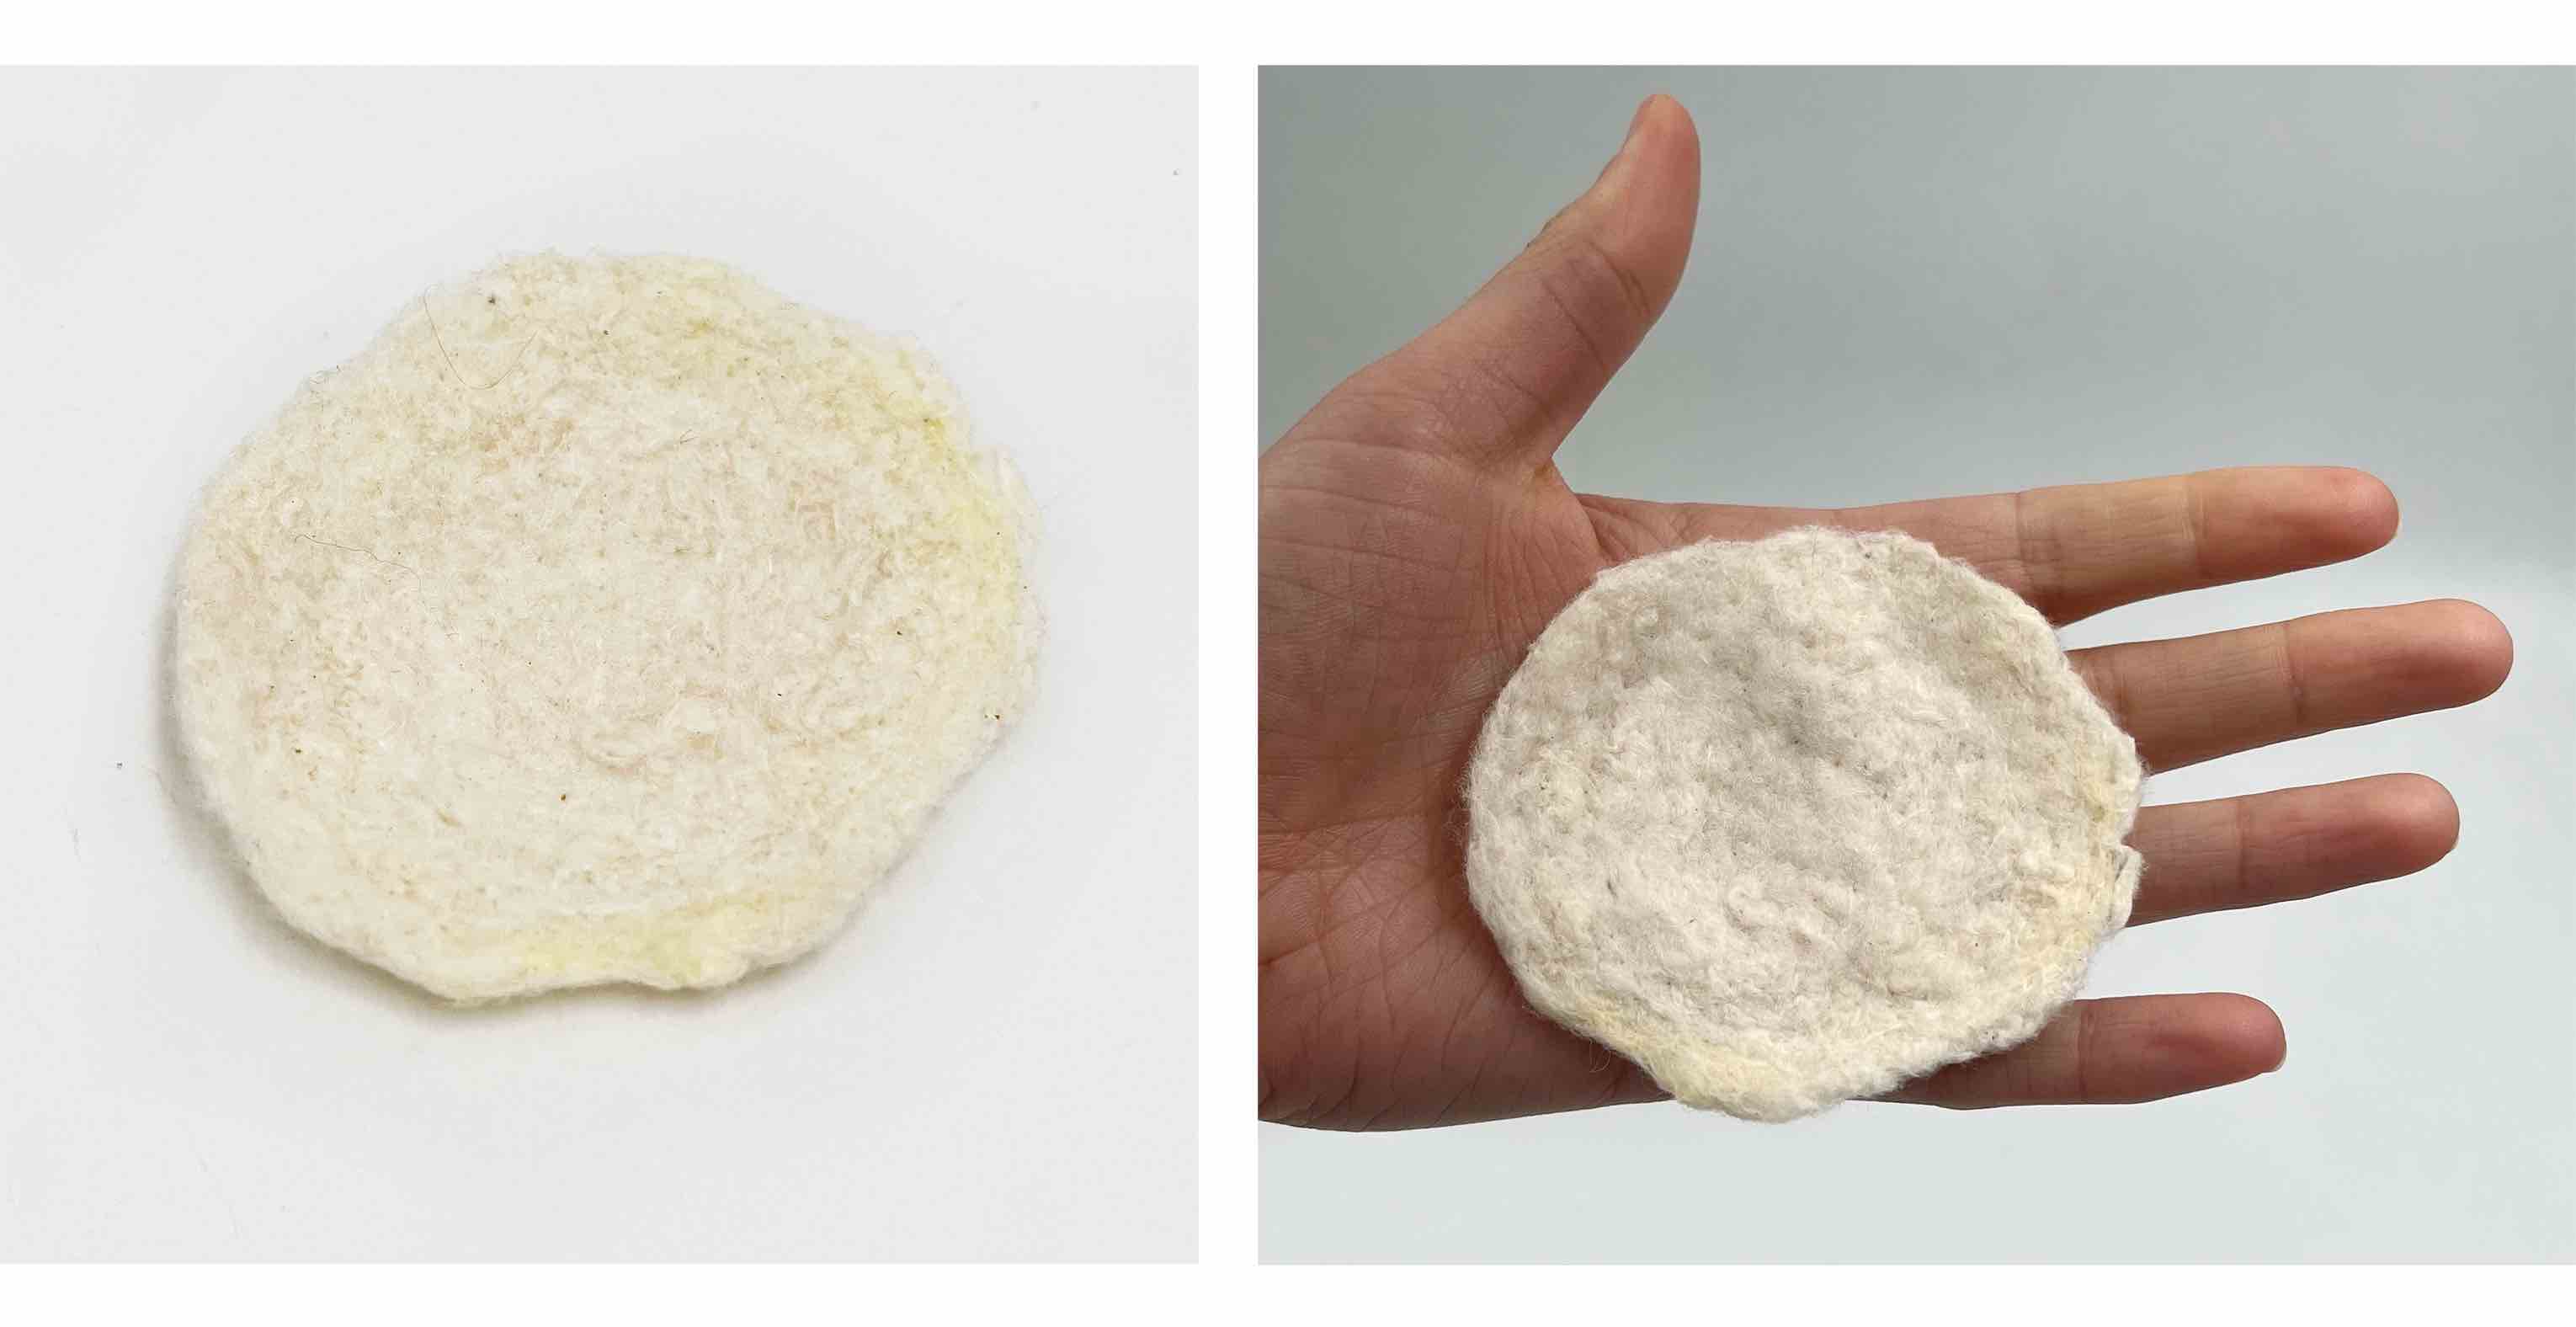 I am forming the basic felt using a felting needle from degummed and pulled silk cocoons. Then I will wet the silk with a bit of detergent and manually rub and flatten the fibers. I let it dry and use an iron to flaten it further. I originally was thinking I would need to mix the silk with wool for it to create a strong enough composite but it was holding up well on its own and has a nice shine and softness.
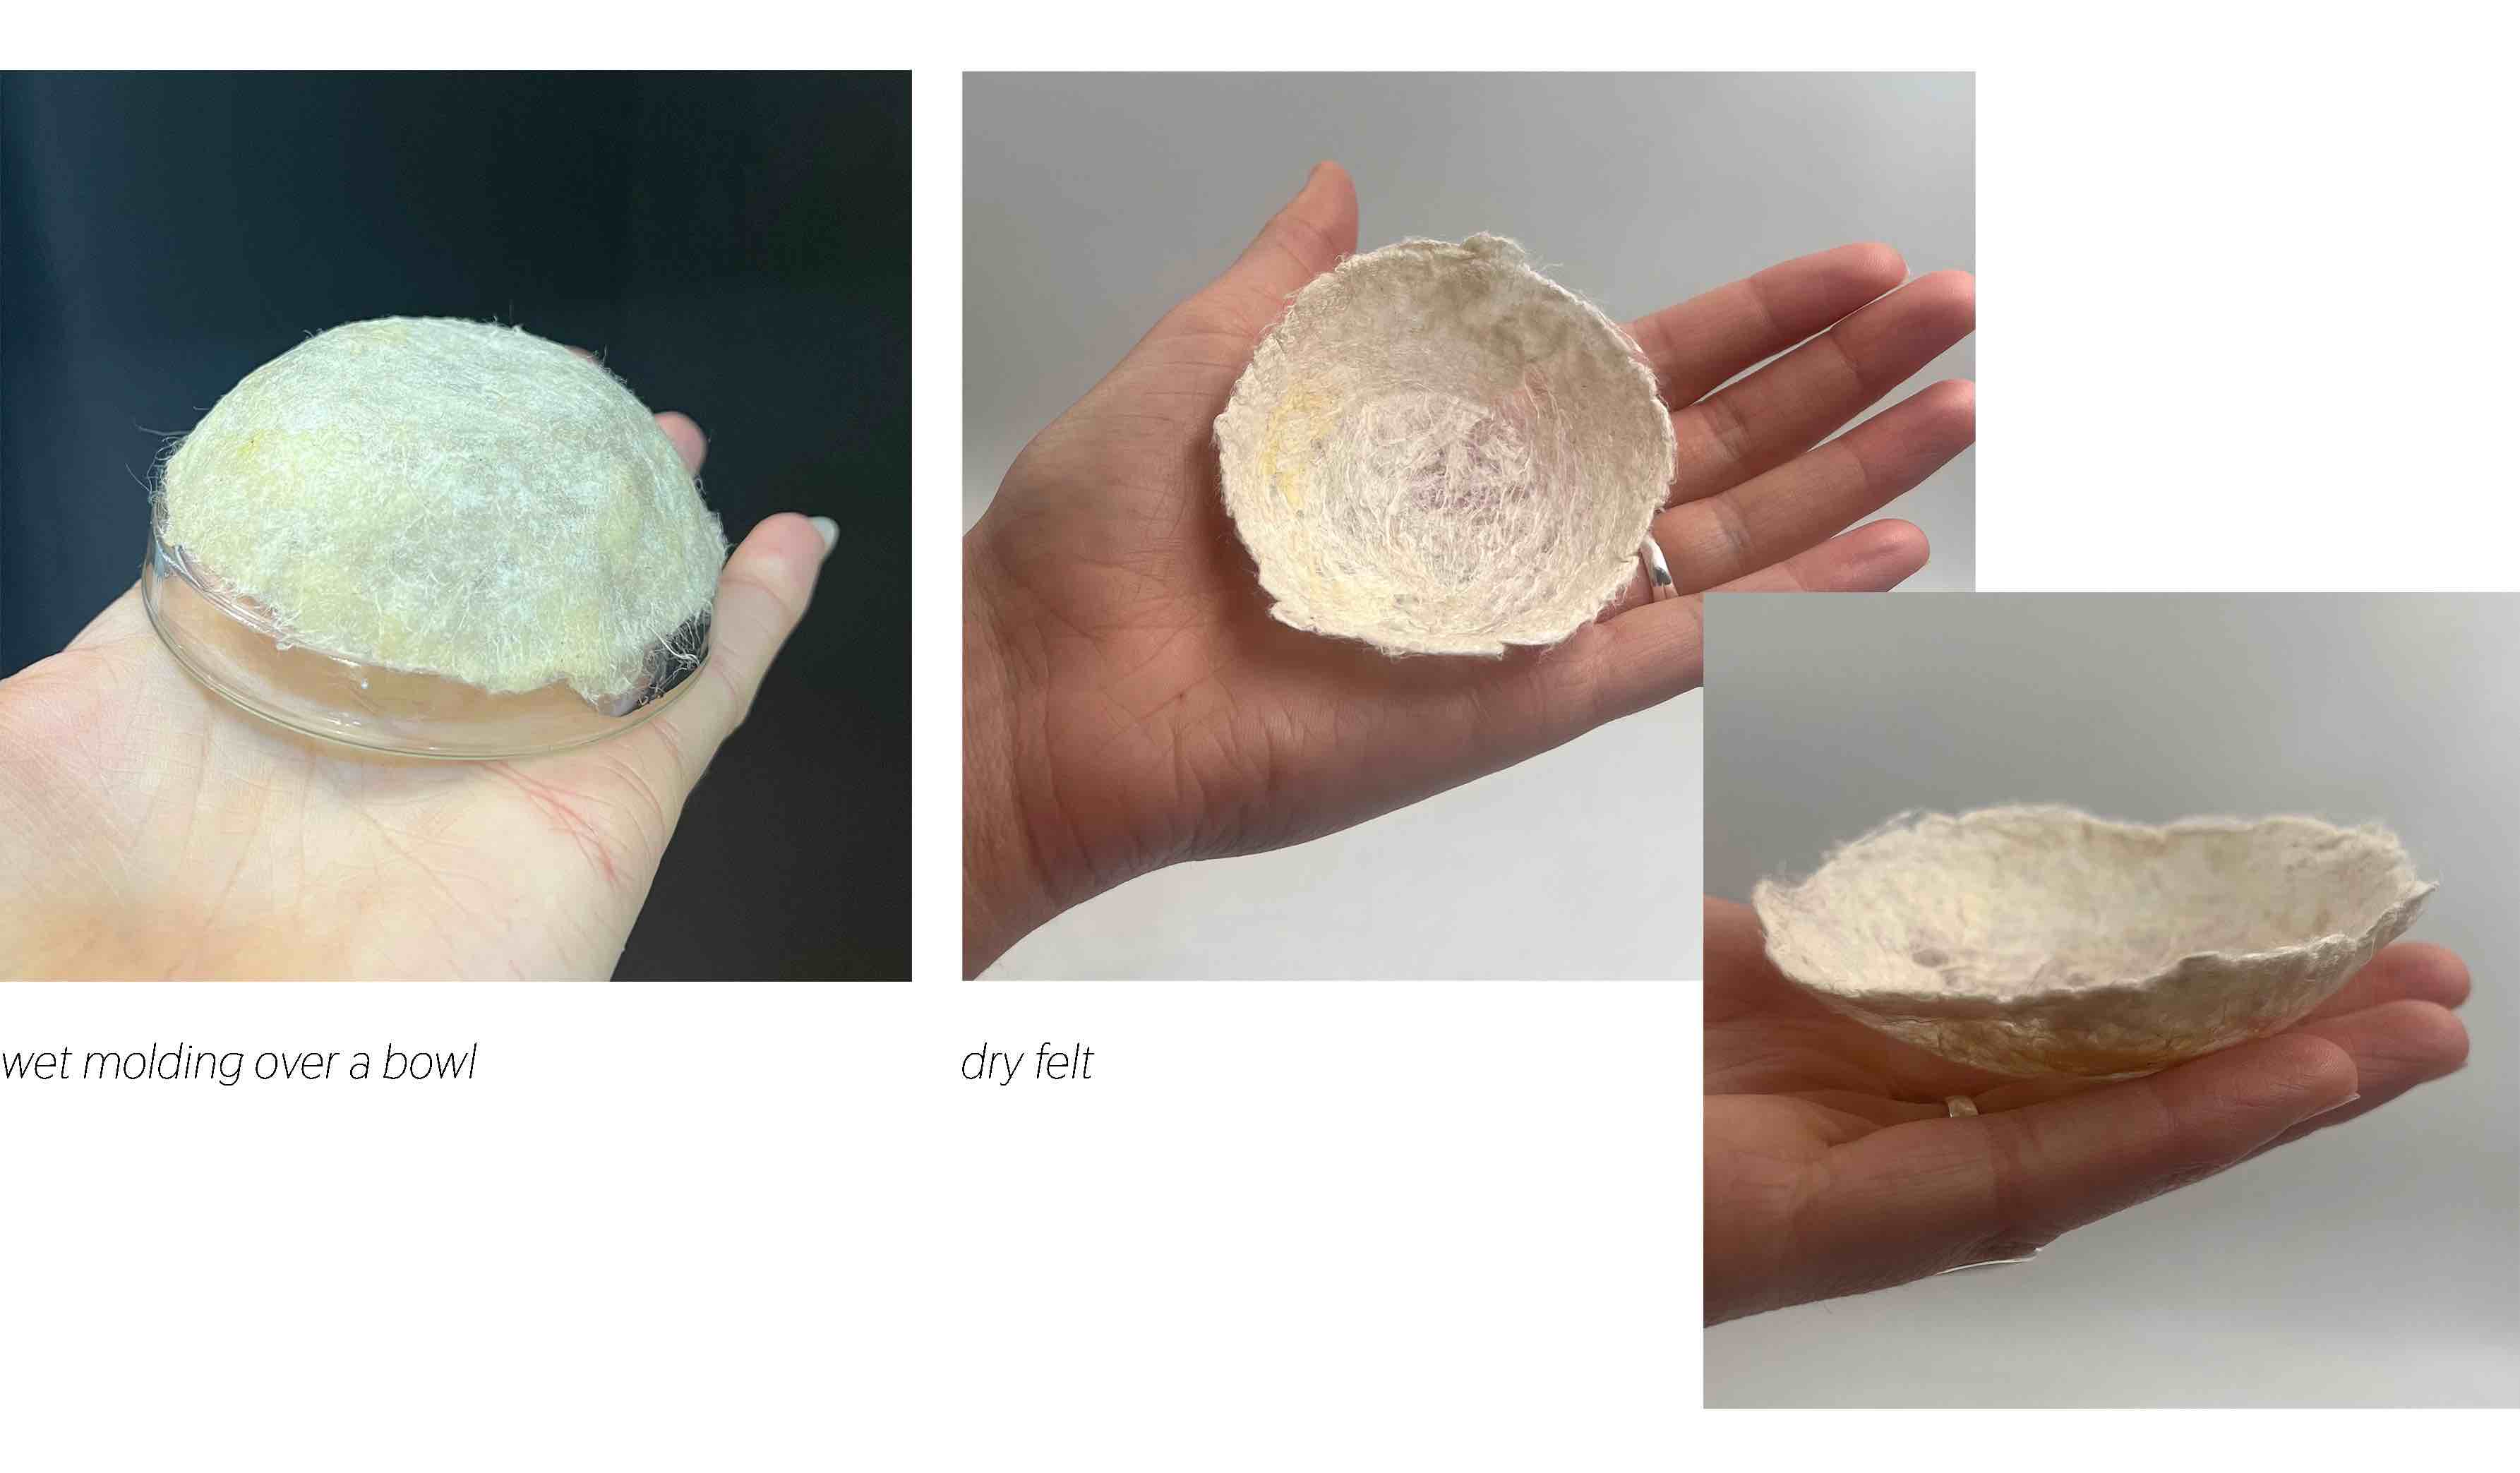
3d Molding
Here is my first test with getting the silk felt wet and pulling it over a 3d form. Then I let it dry over the heater.
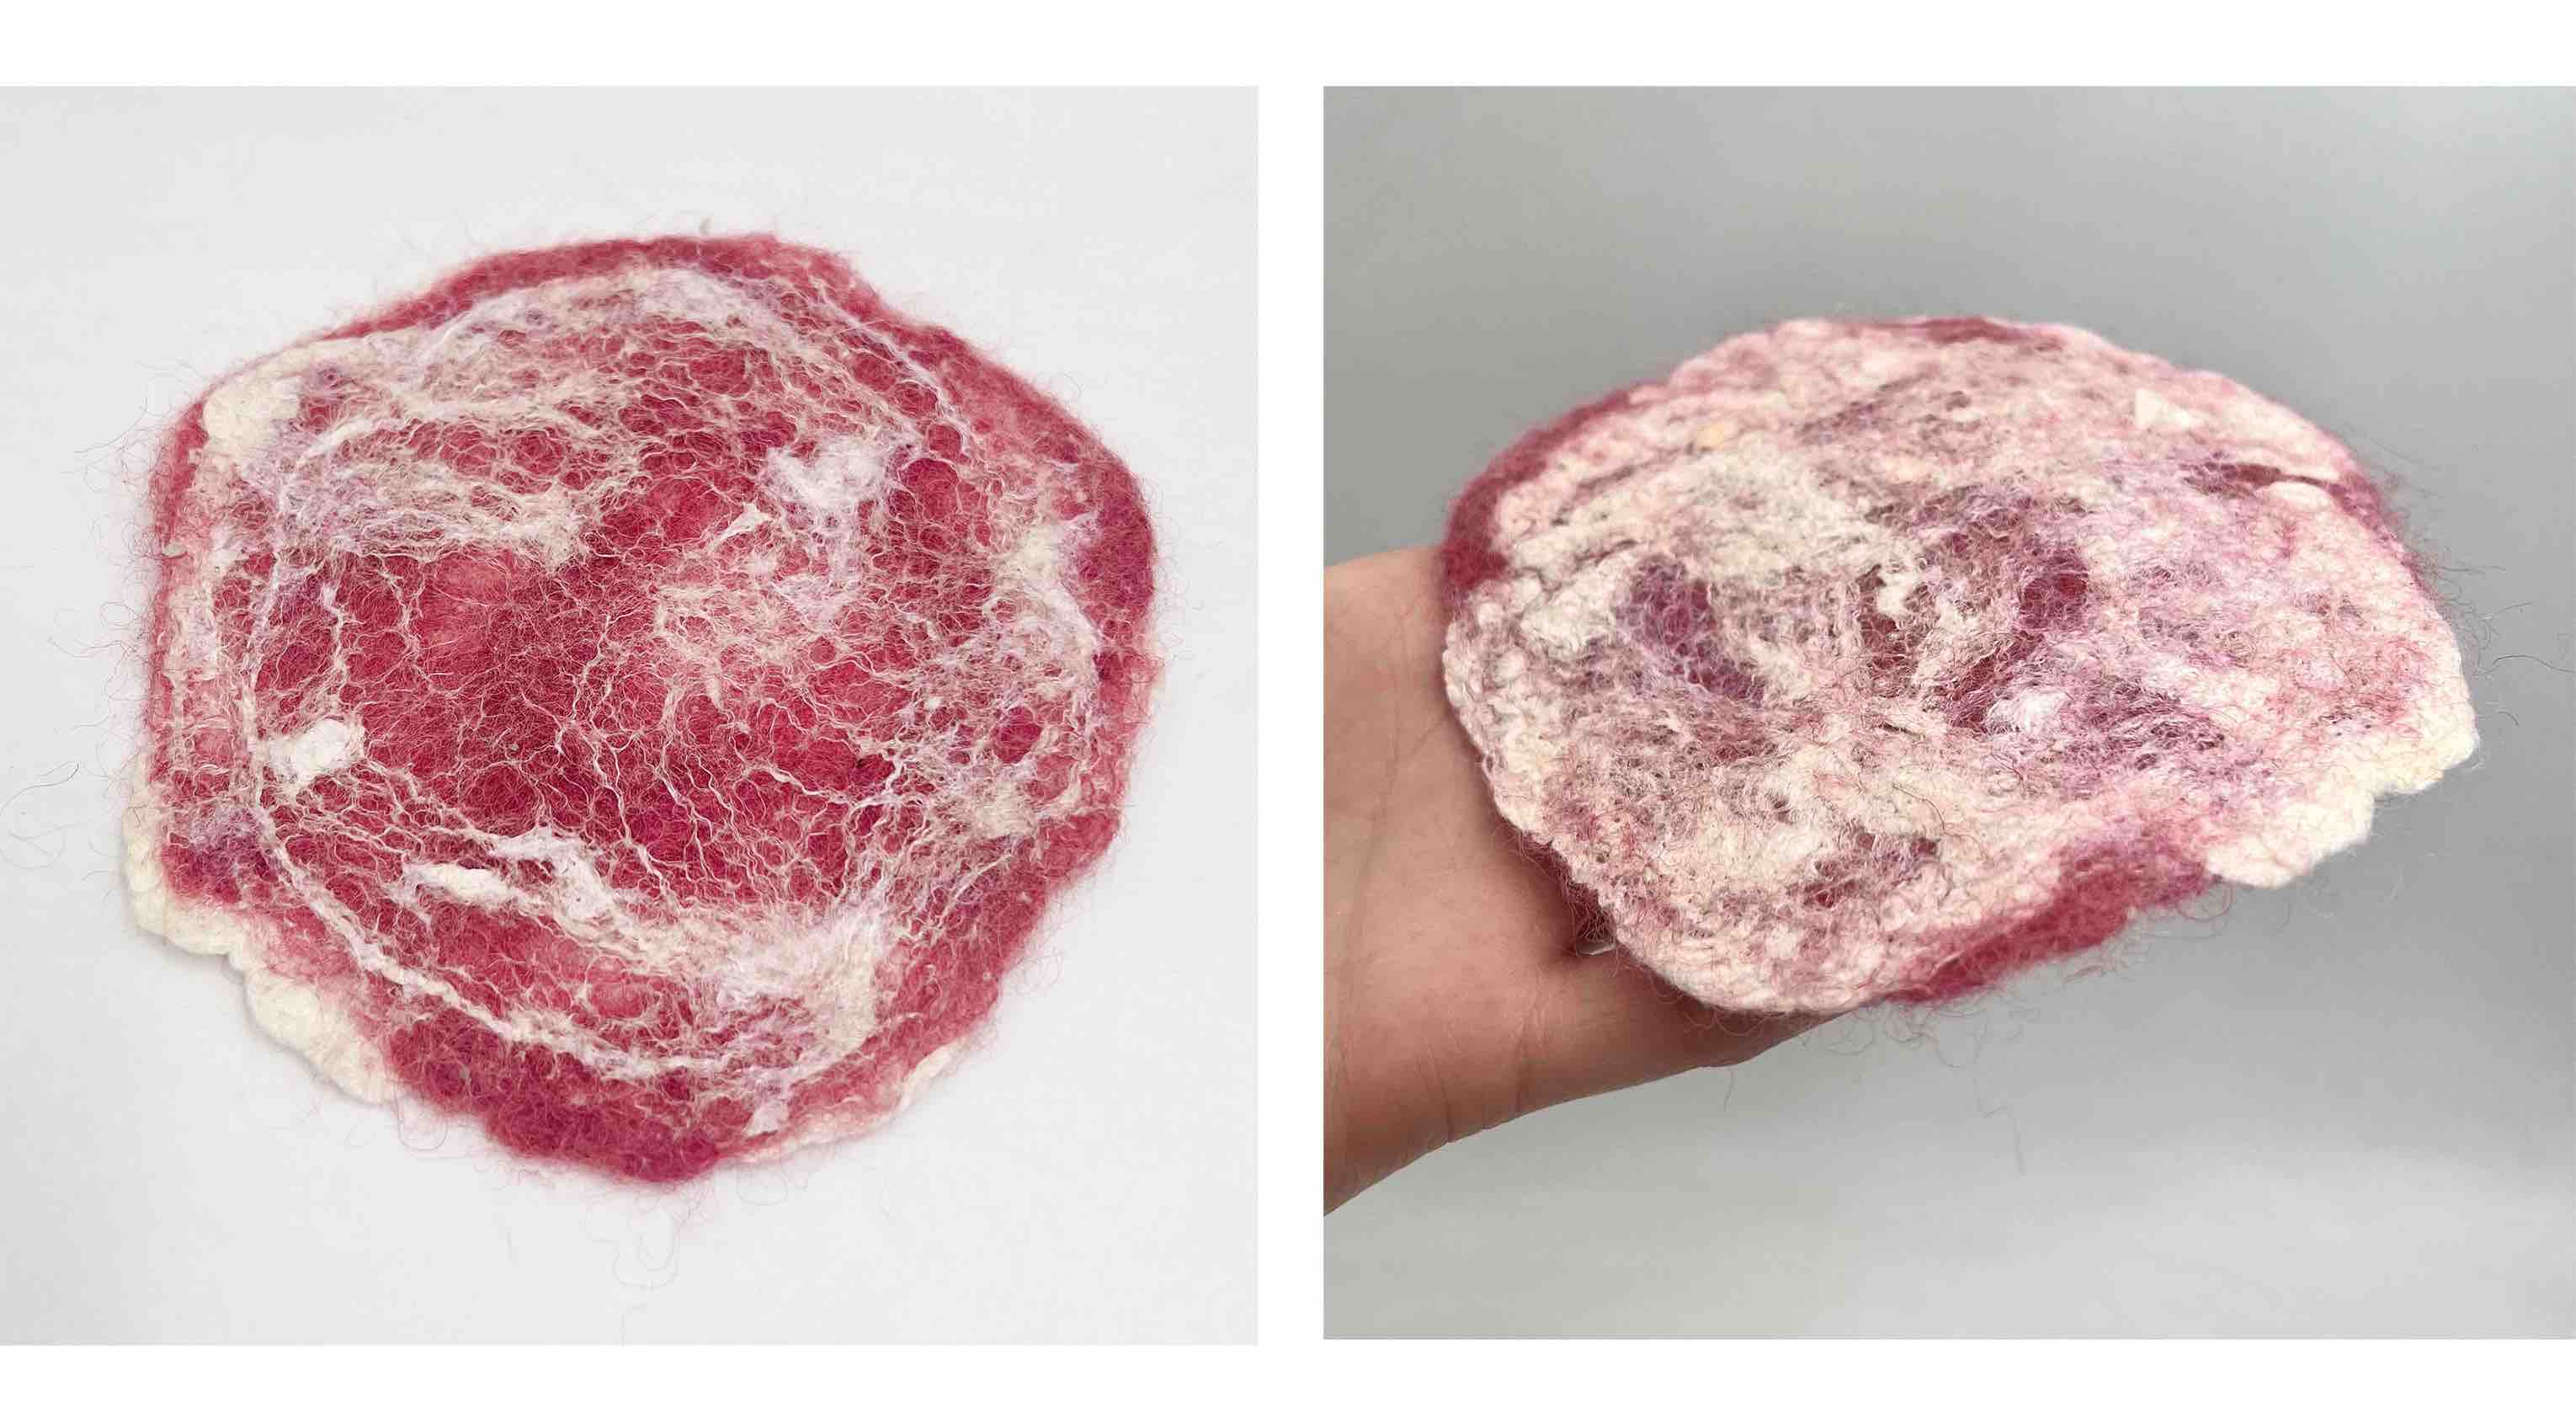
Mix with Wool
Here I felted 50% silk and 50% wool (dyed pink with cochineal to show the contrast). The wool adds strength to the material but reduces the softness and shine. The silk could be used to make delicate designs or paterns on top of a mat of wool.
Laser Cutting
Material: Felted and Ironed silk
P: 15
S: 2
F: 1000
Passes: 2
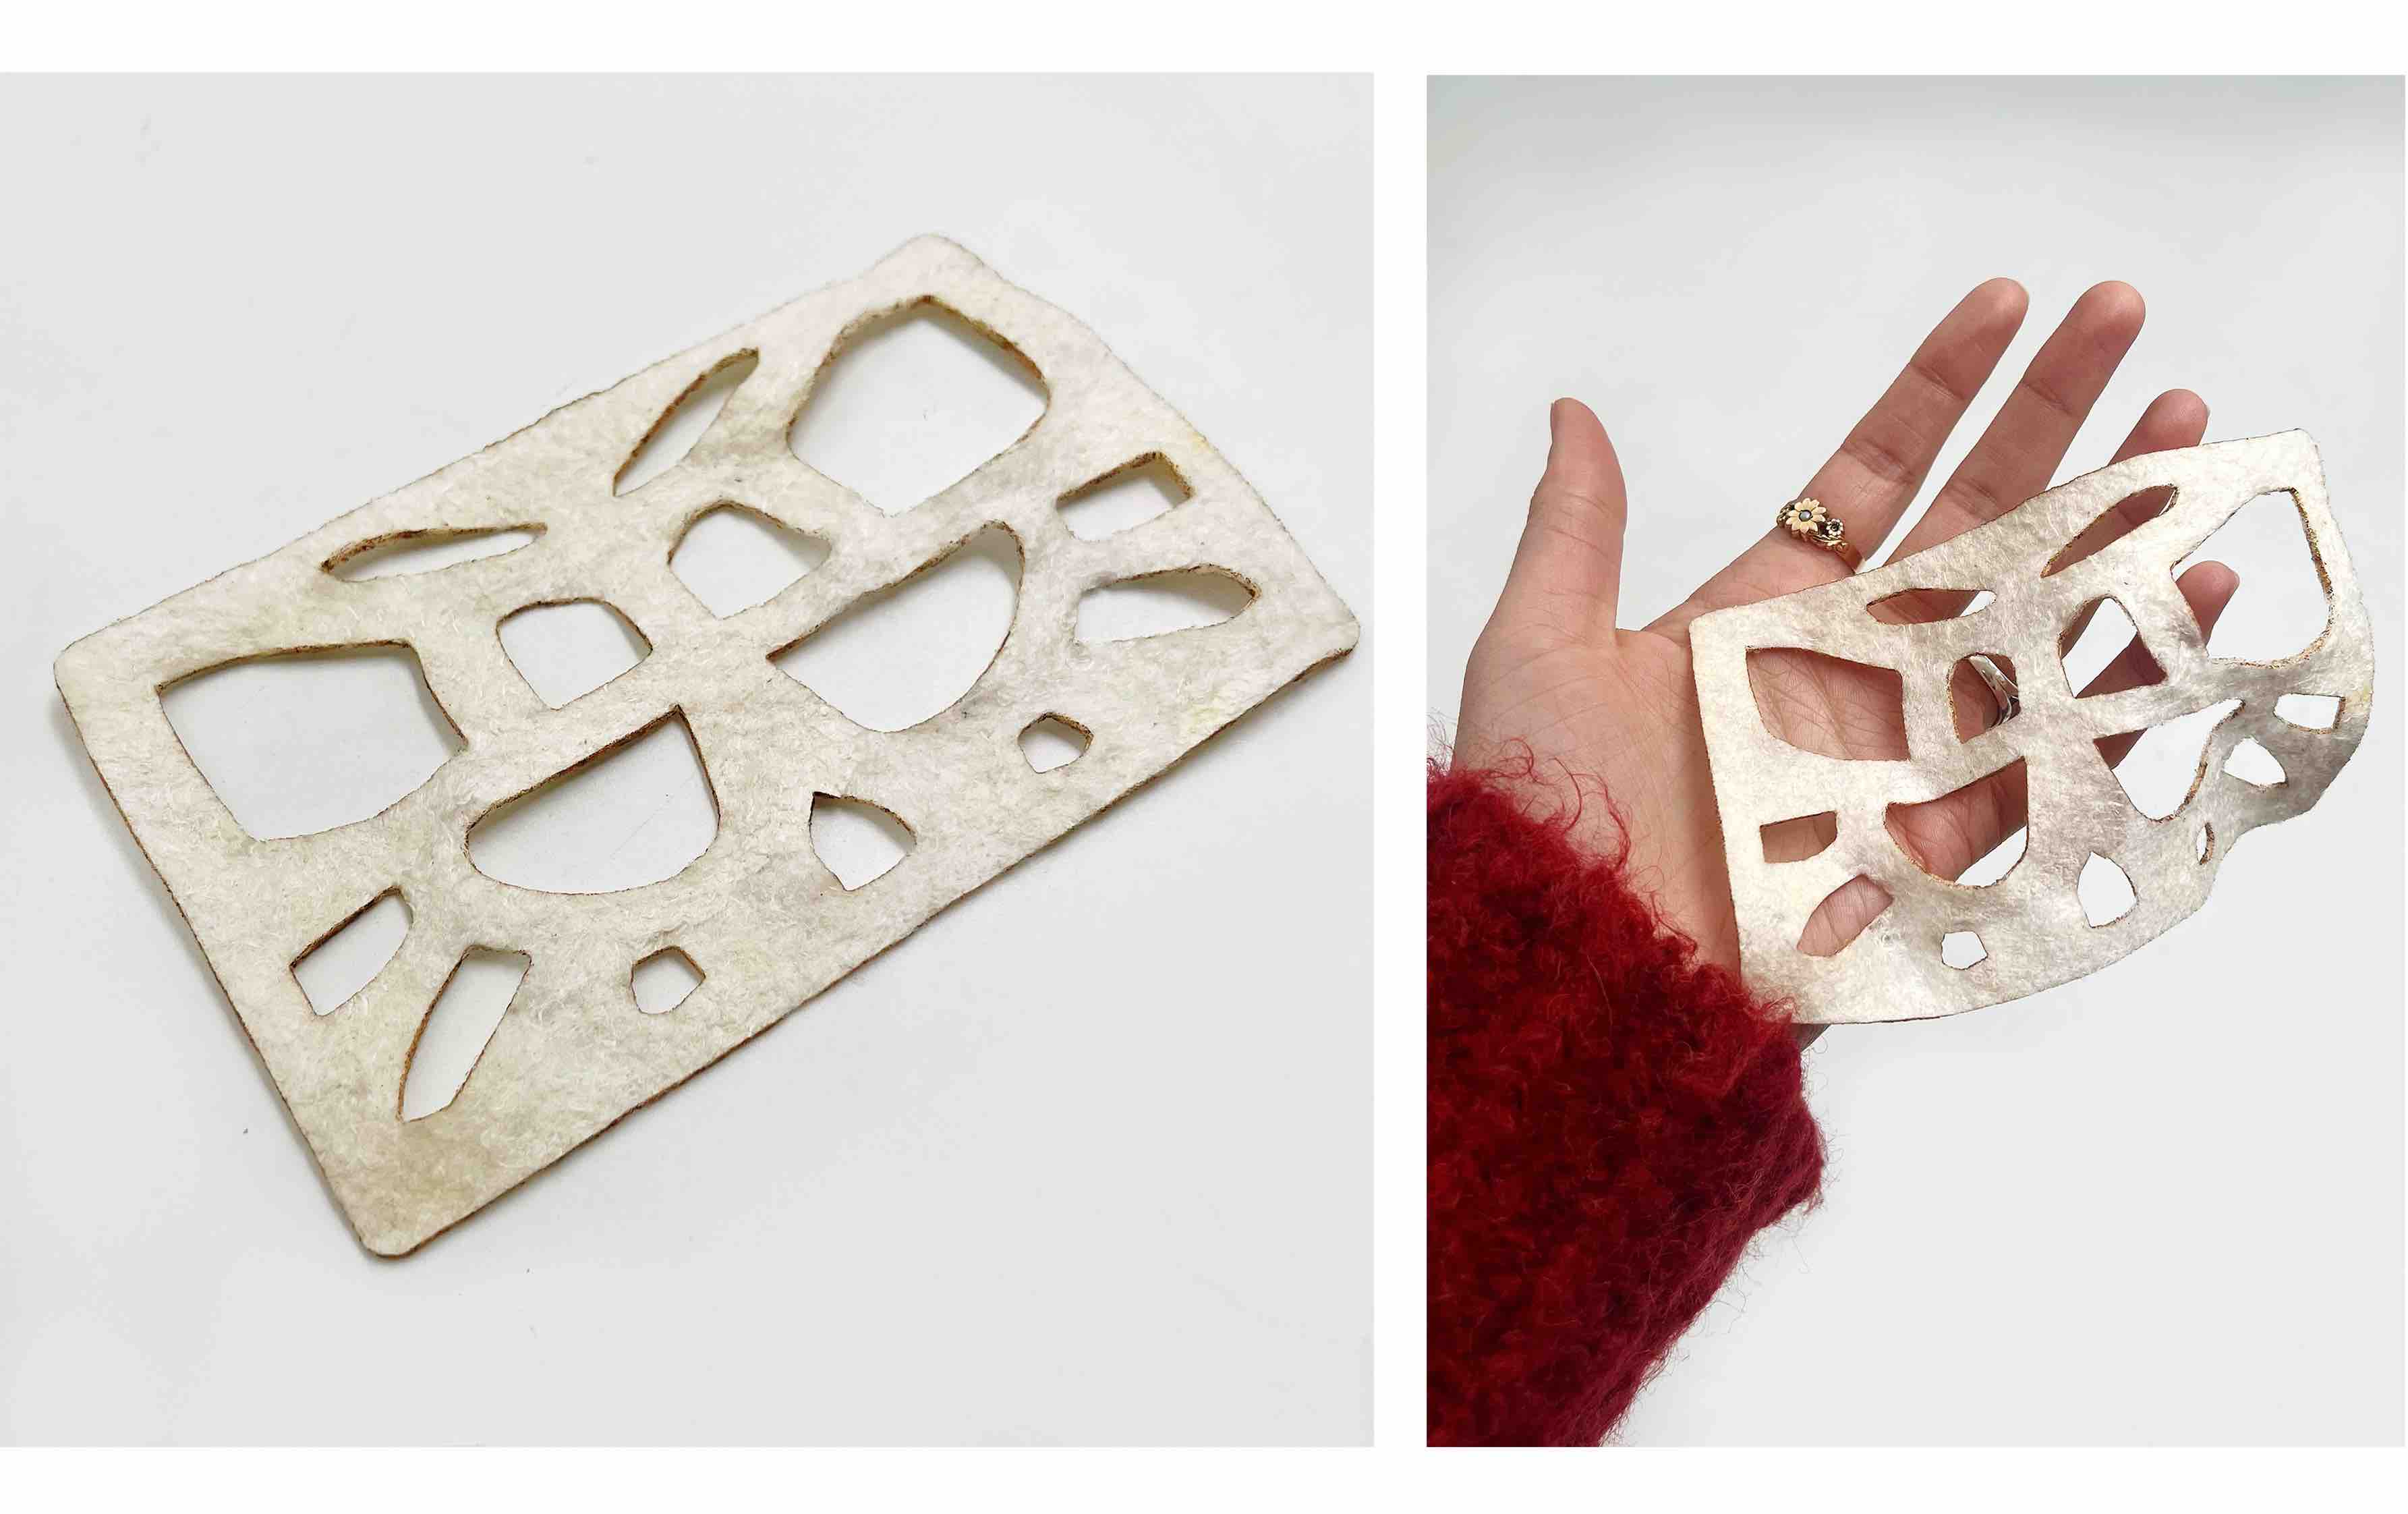
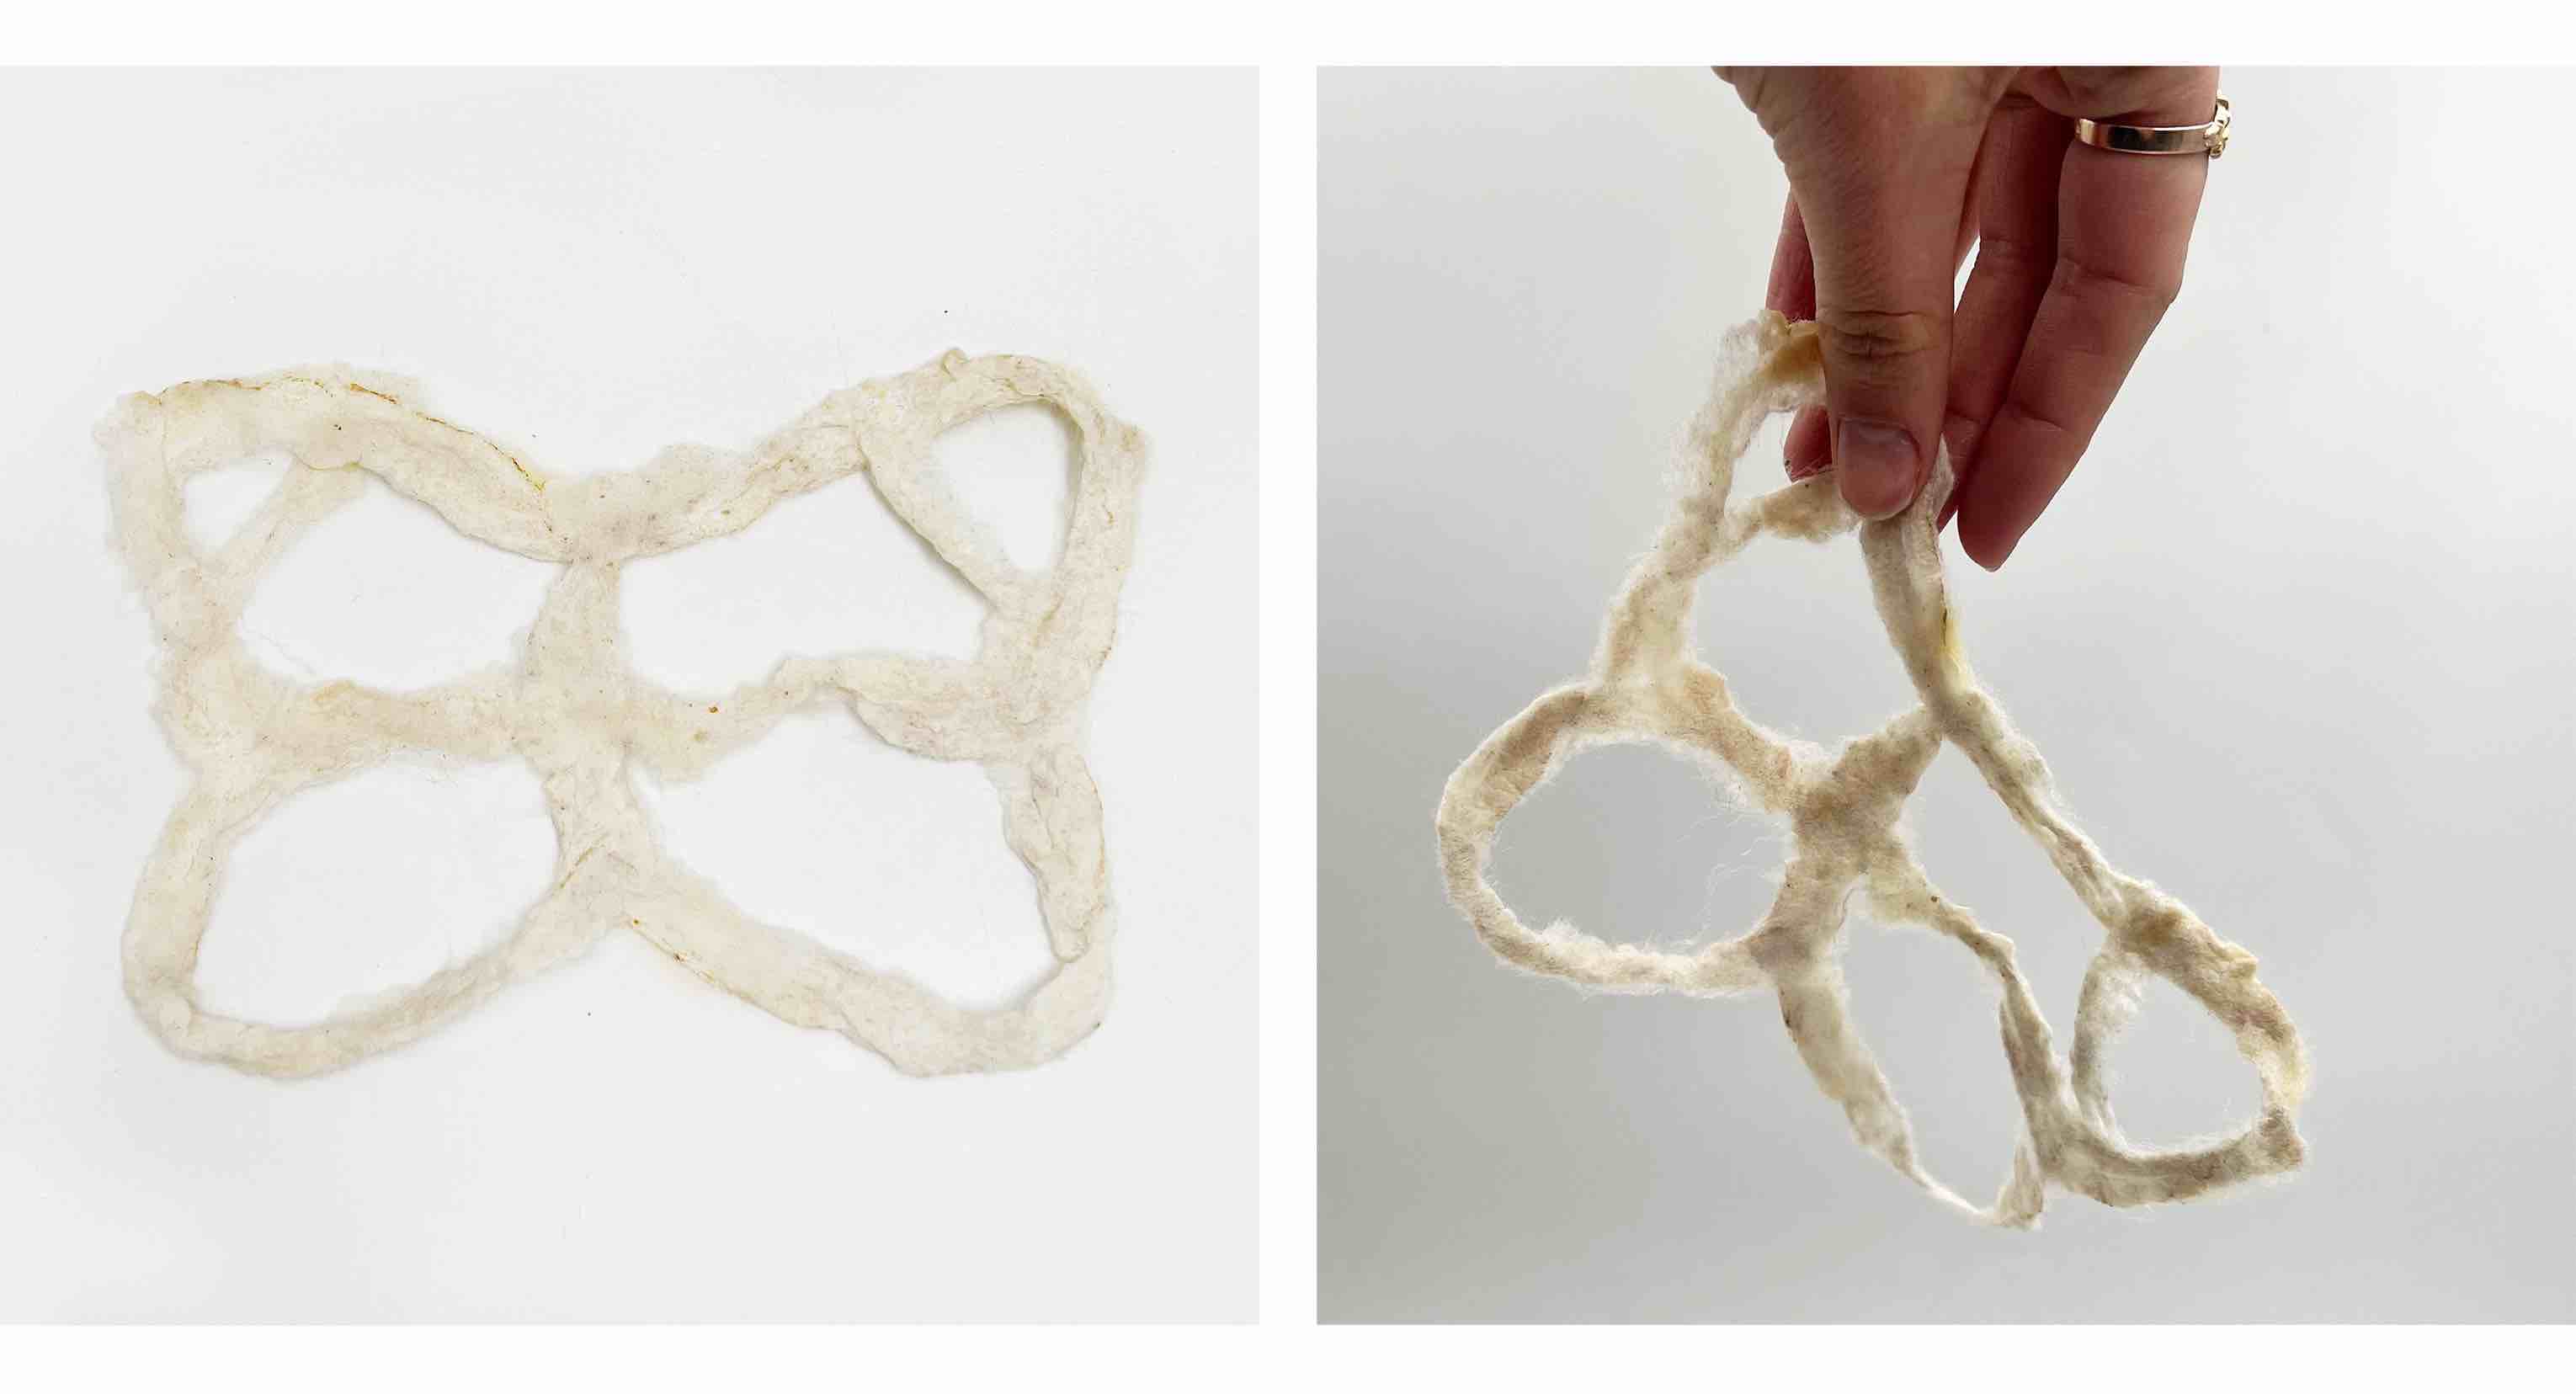
Regeneration of Scraps

Felting Cut Out - Pattern Directly
I also attempted to felt a pattern directly by laying out strips of the silk fluff and connecting them with the needle. This was difficult to create an even surface and create strong enough connections so I think laser cutting and regenerating the scraps is the best idea.
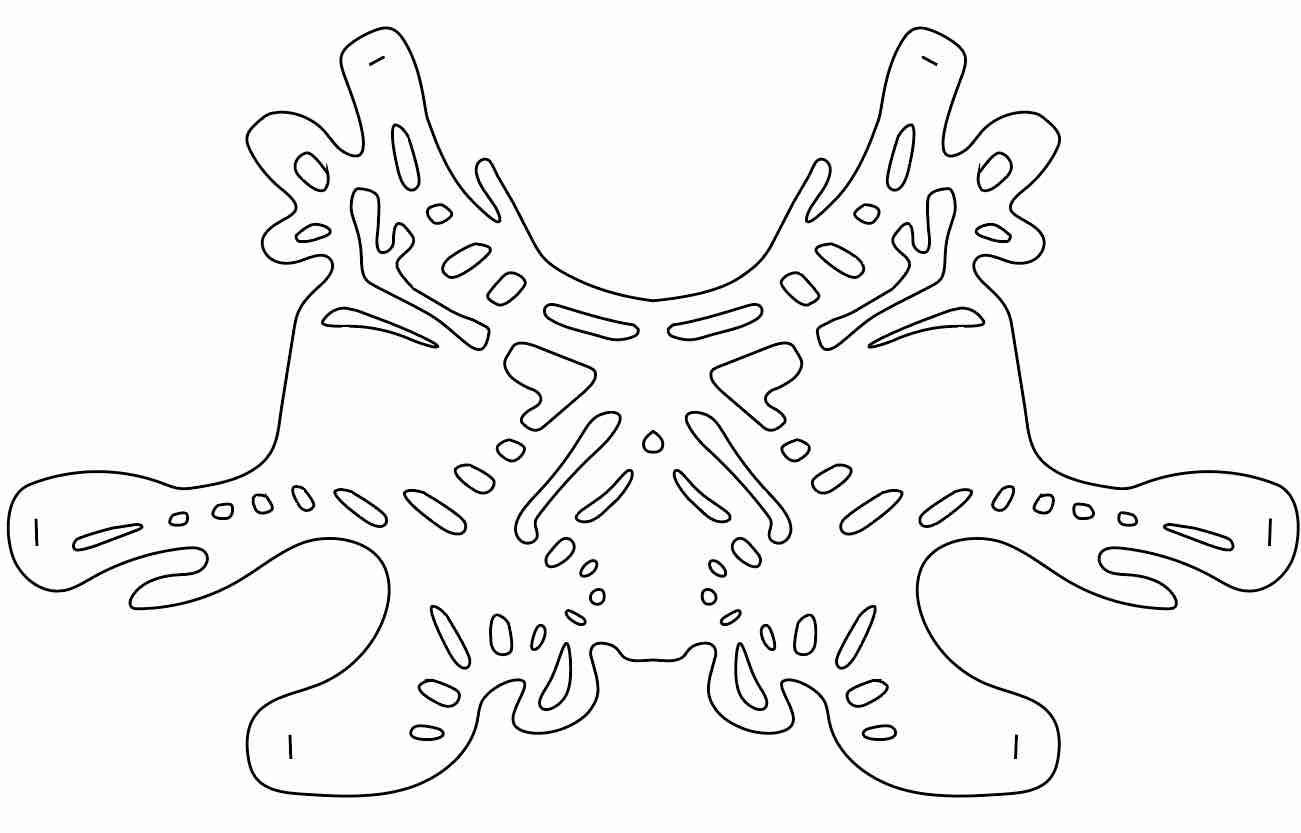
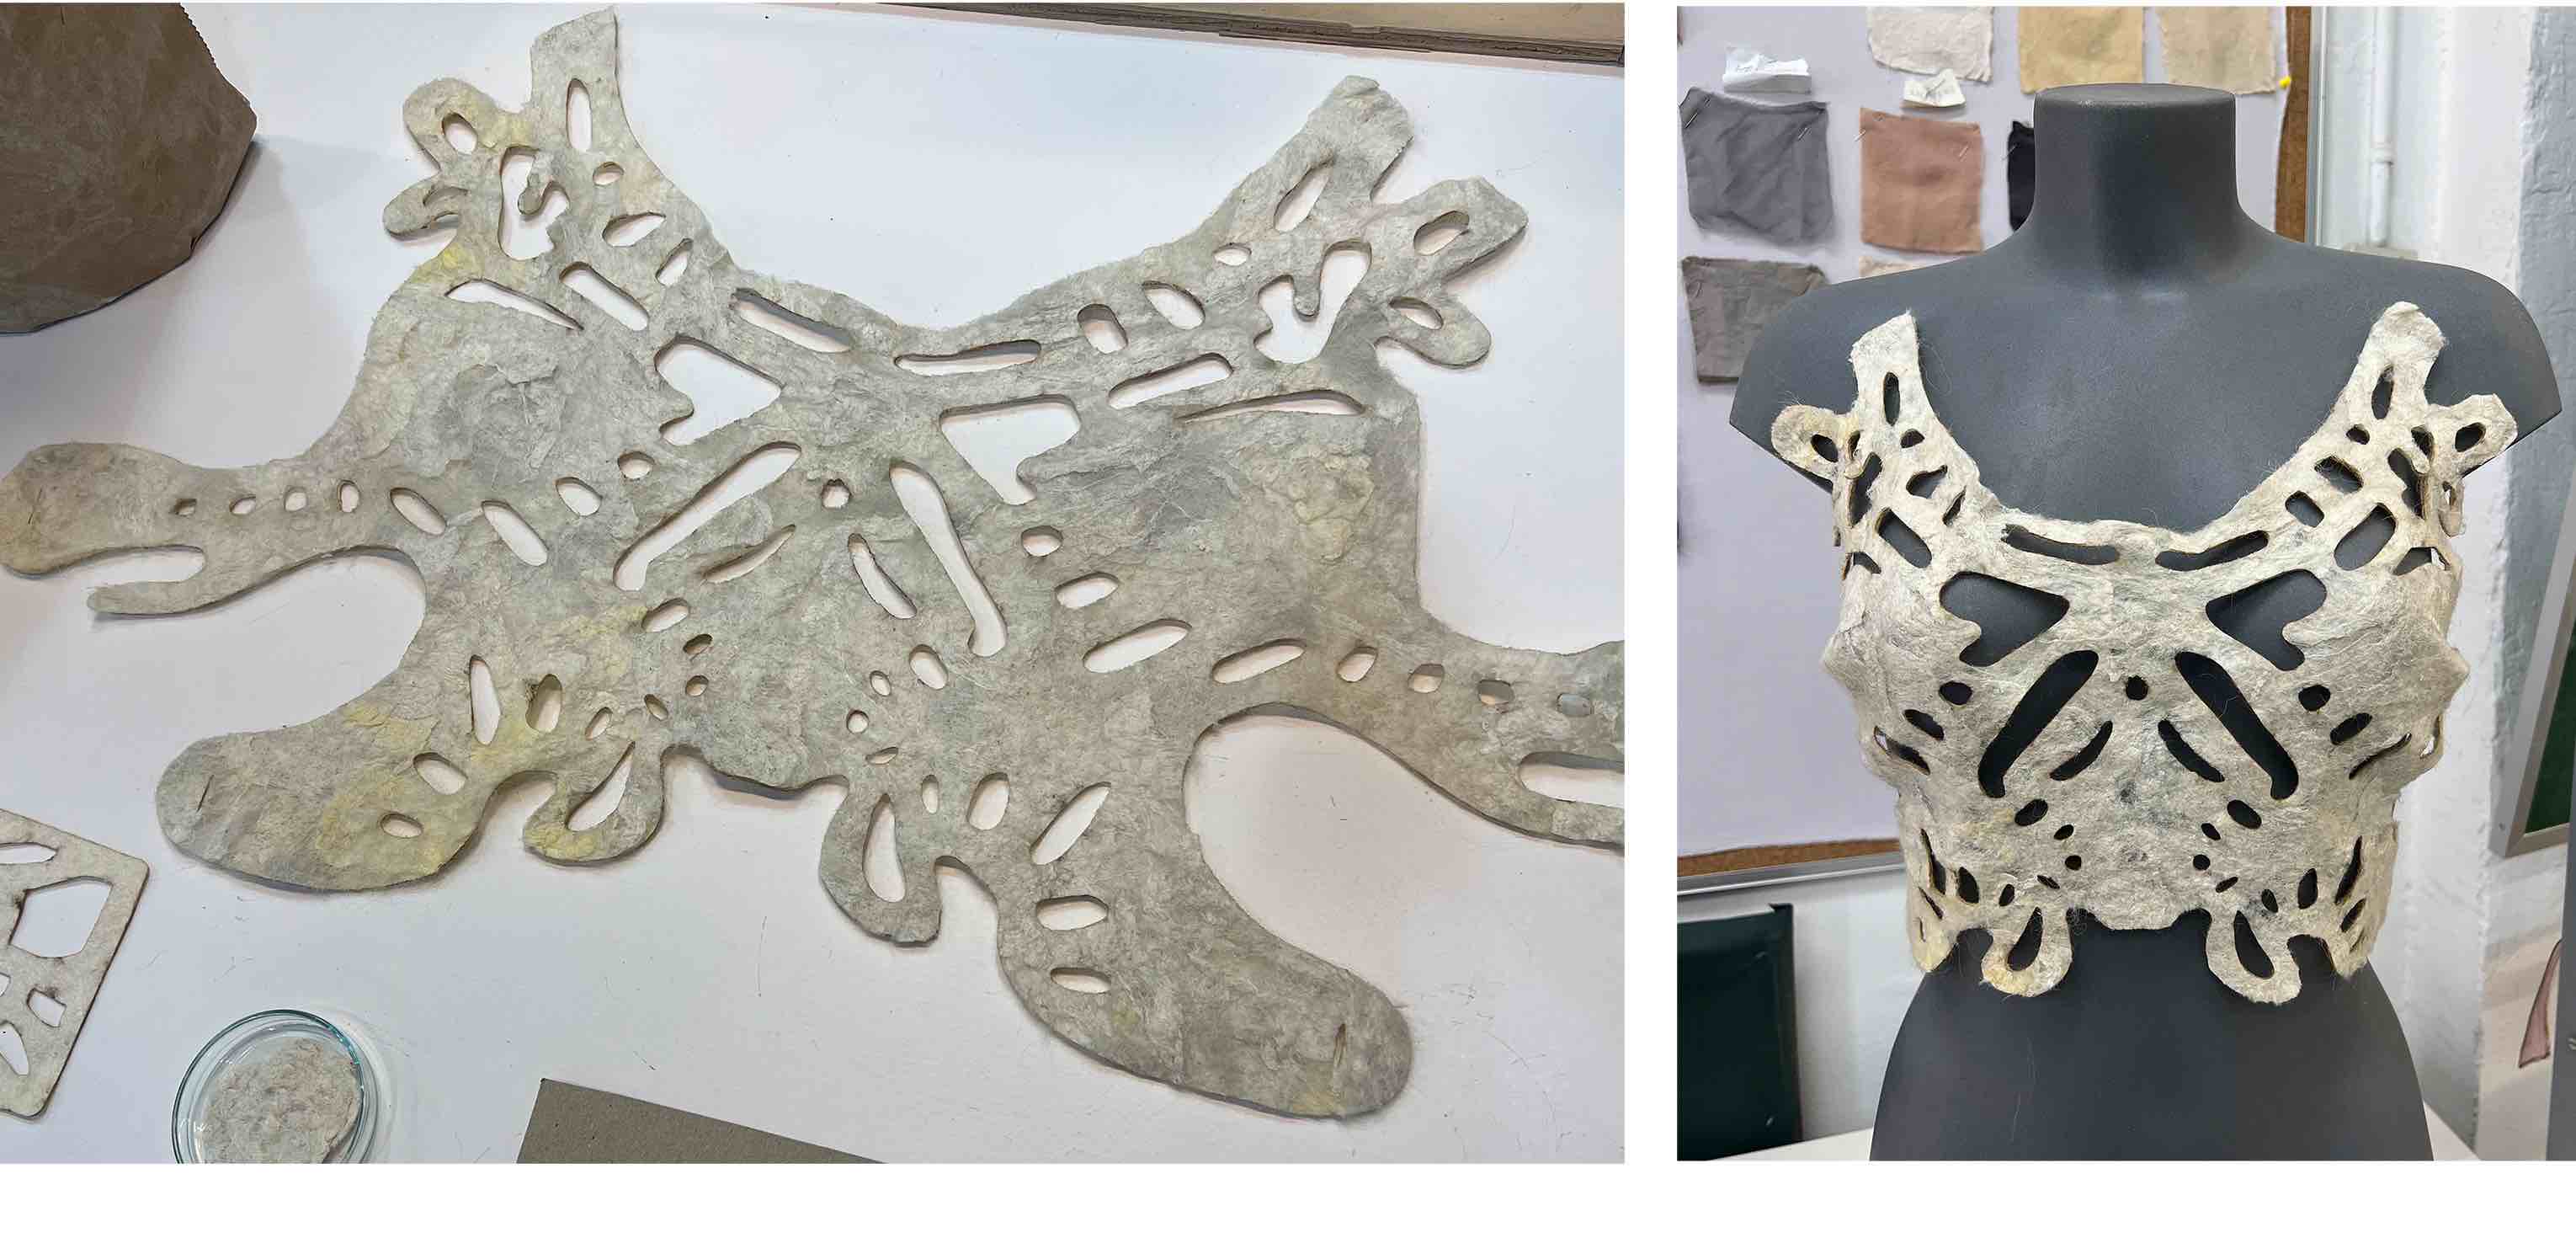
PROTOTYPE
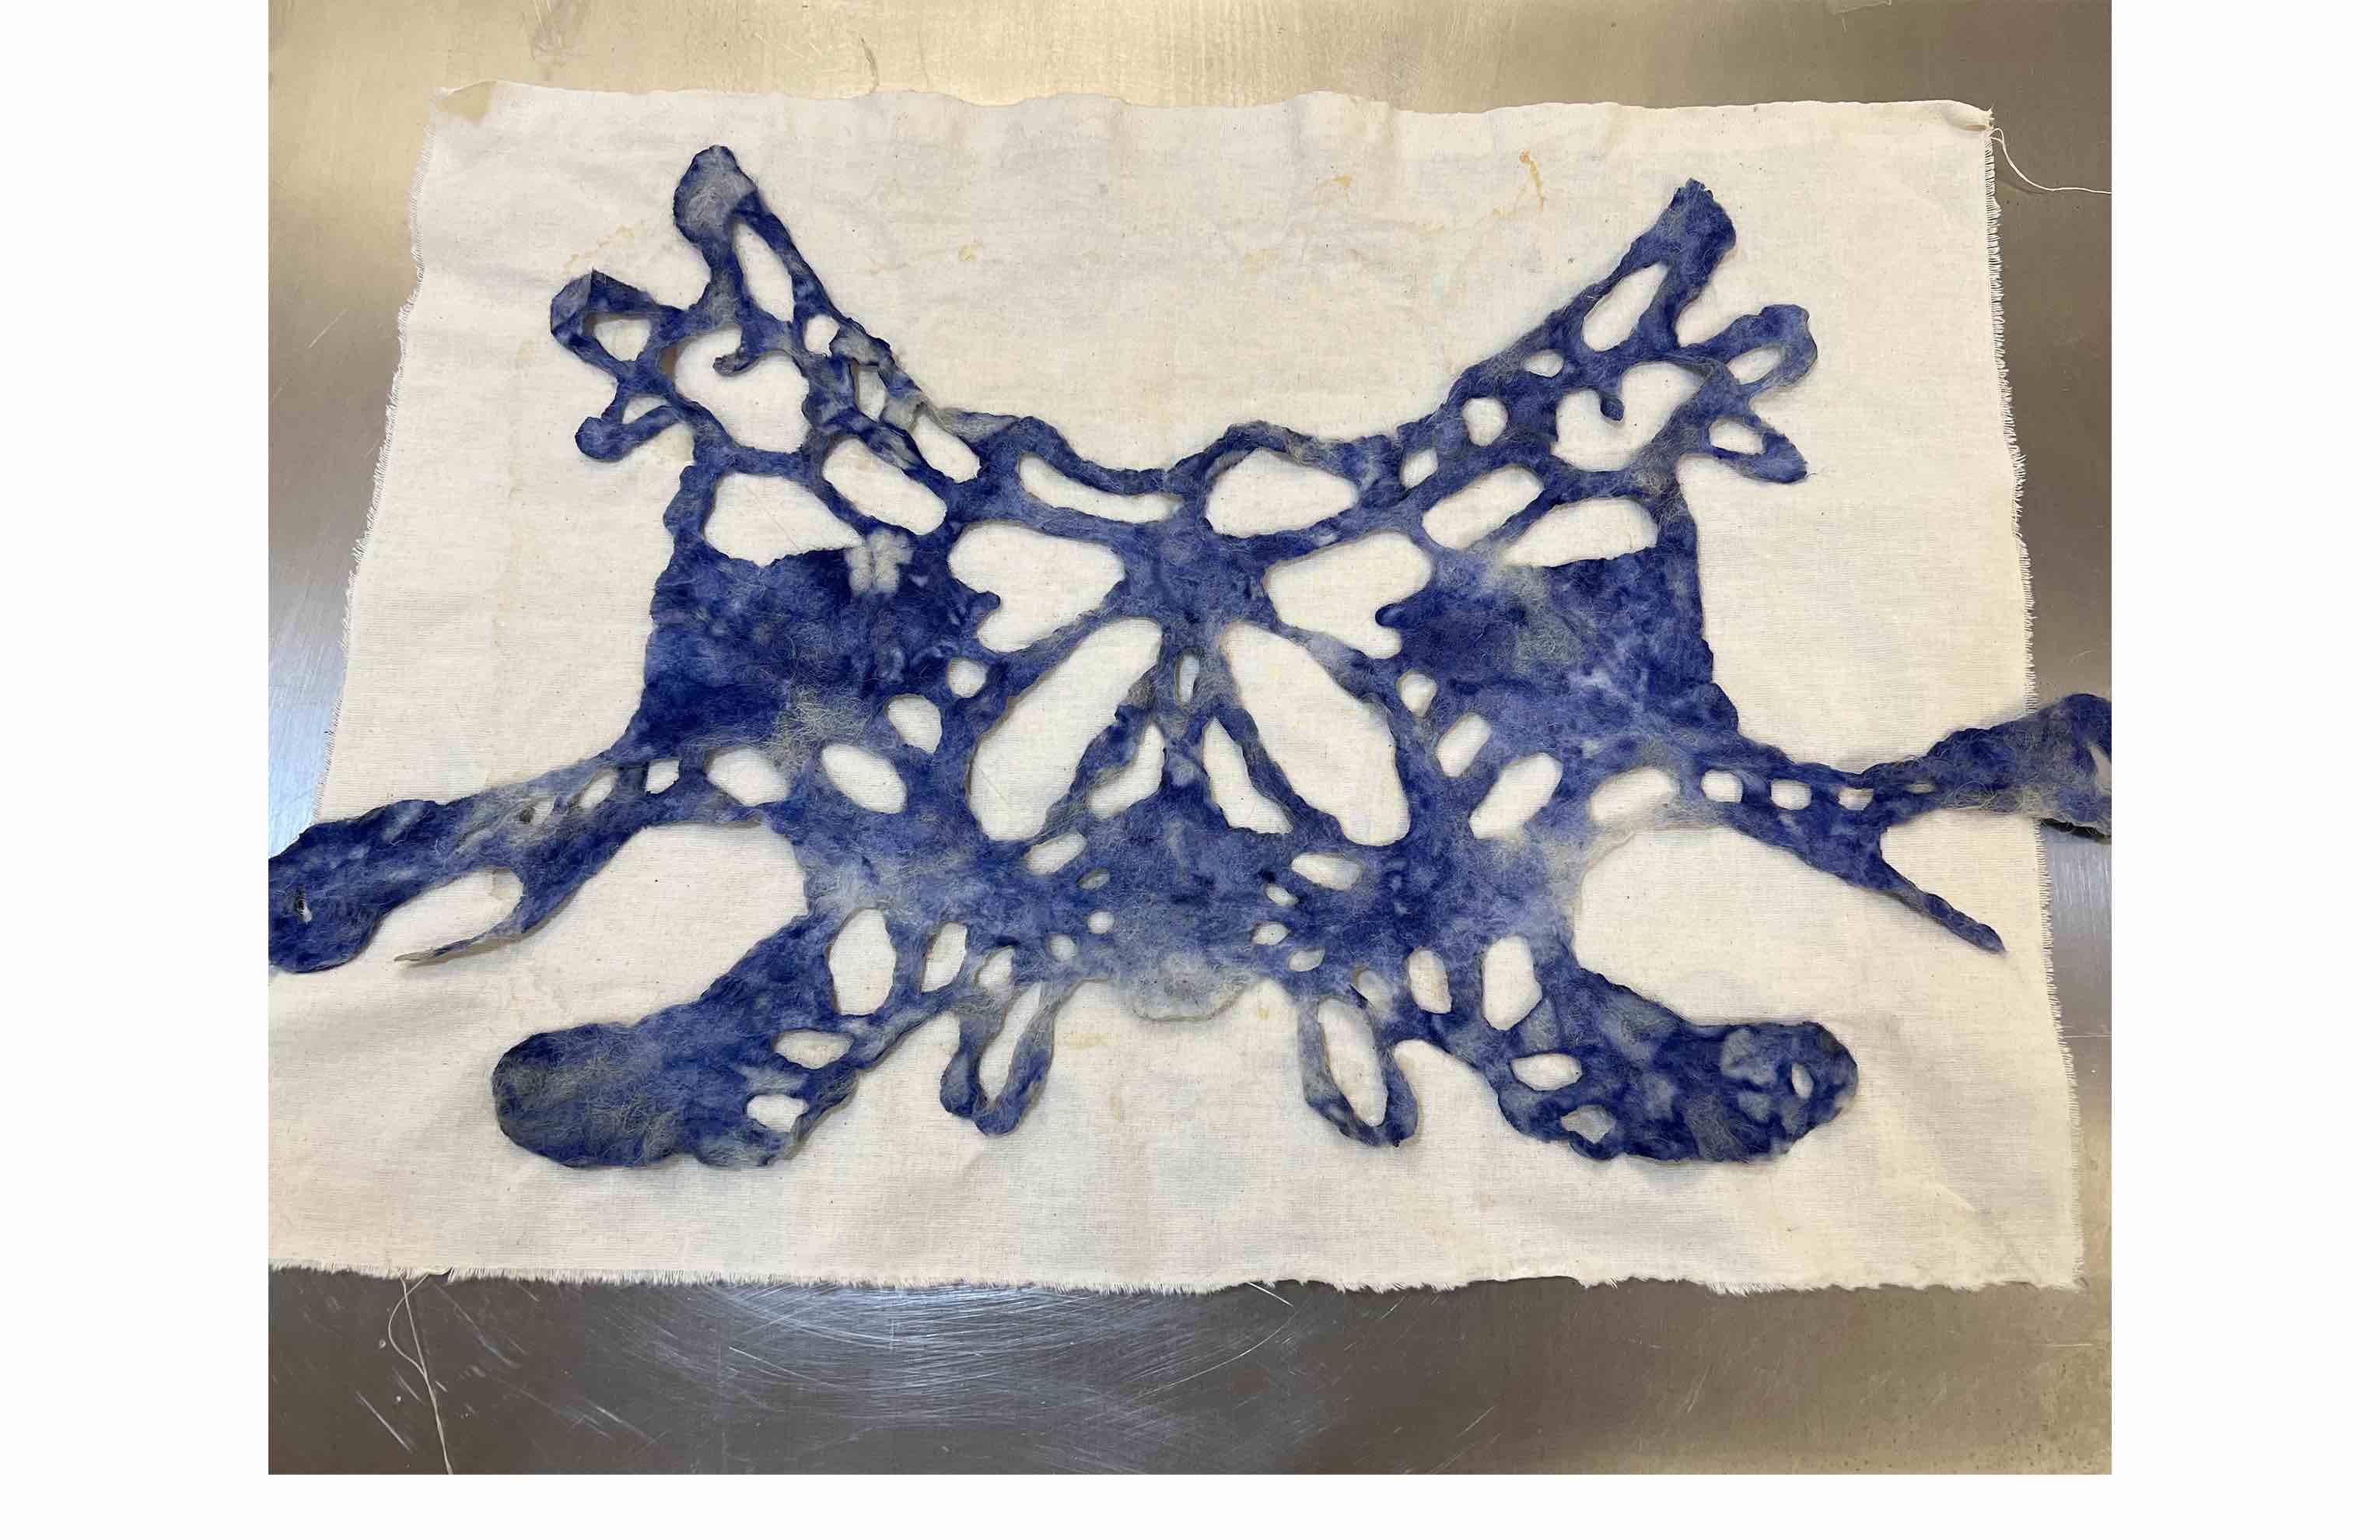
I want to explore making a patterned material using cut outs with the felt (since I cannot do that with the mesh material) and have a biomimicry kind of design. I can lasercut a decorative harness like this and then get it wet and mold it around a body. Then I can regenerate the scraps into a new felt or shred them to make biomaterials. I have about 22g of degummed silk cocoons, depending on how thick I want the felt it requires 0.5g or 1g of silk to get about 4 square inches so the design can be 1g thickness and under 88 square inches or 0.5g thickness and under 176 square inches. Also, adding wool into the mixture would increase strength and allow for a bigger piece.
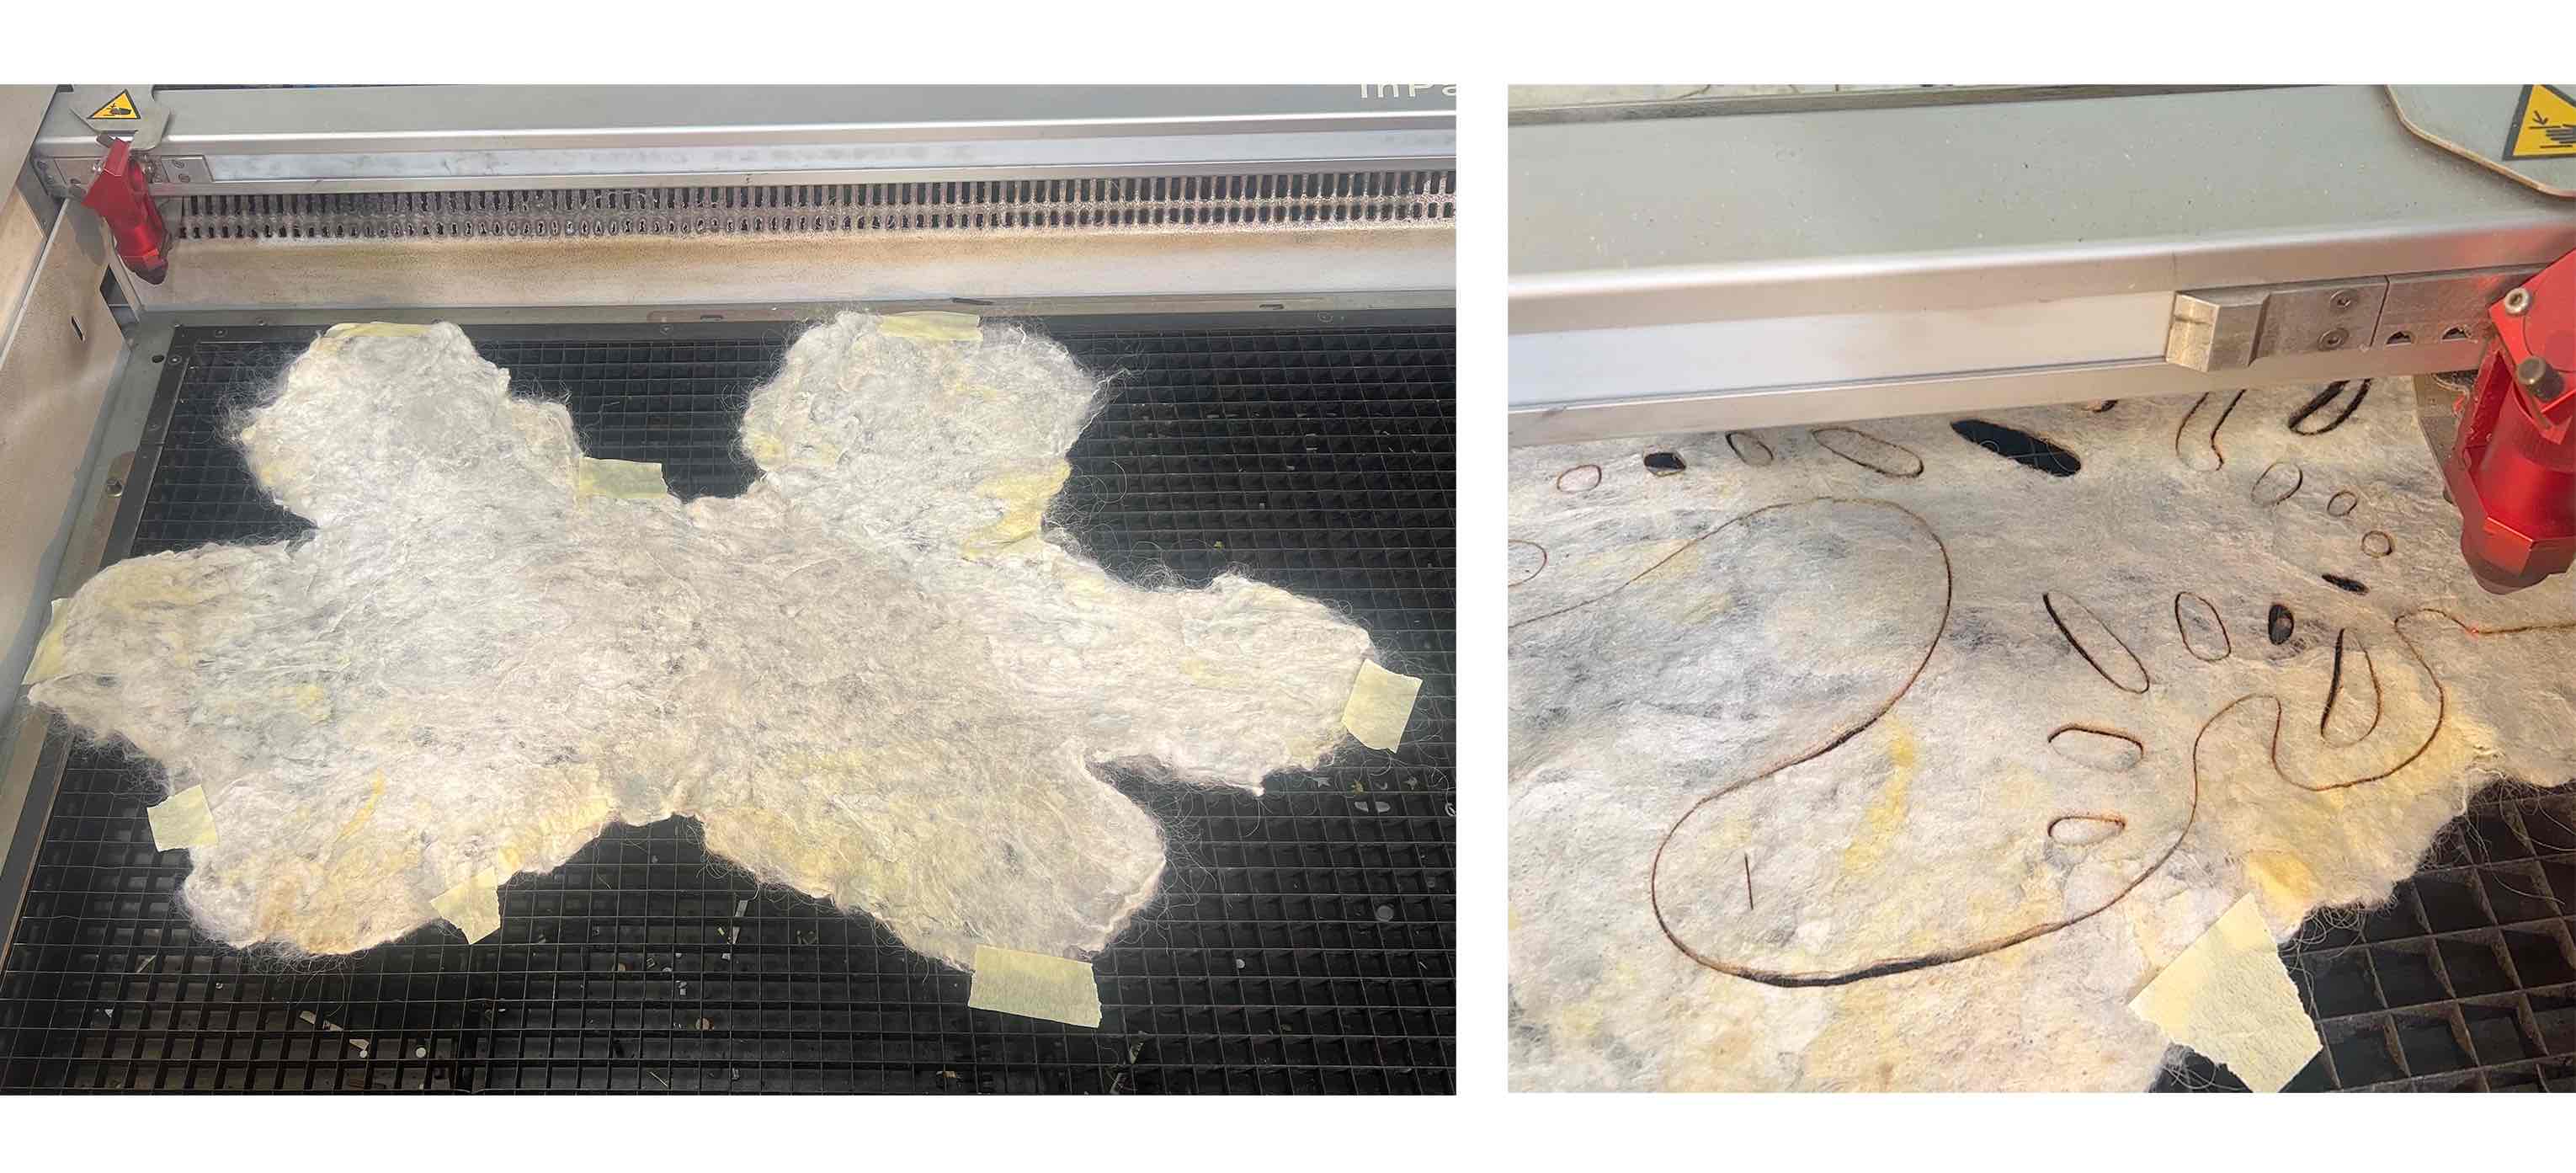
Needle Felting Large Sheet

Lasercutting
Material: Felted and Ironed silk
P: 15
S: 2
F: 1000
Passes: 2
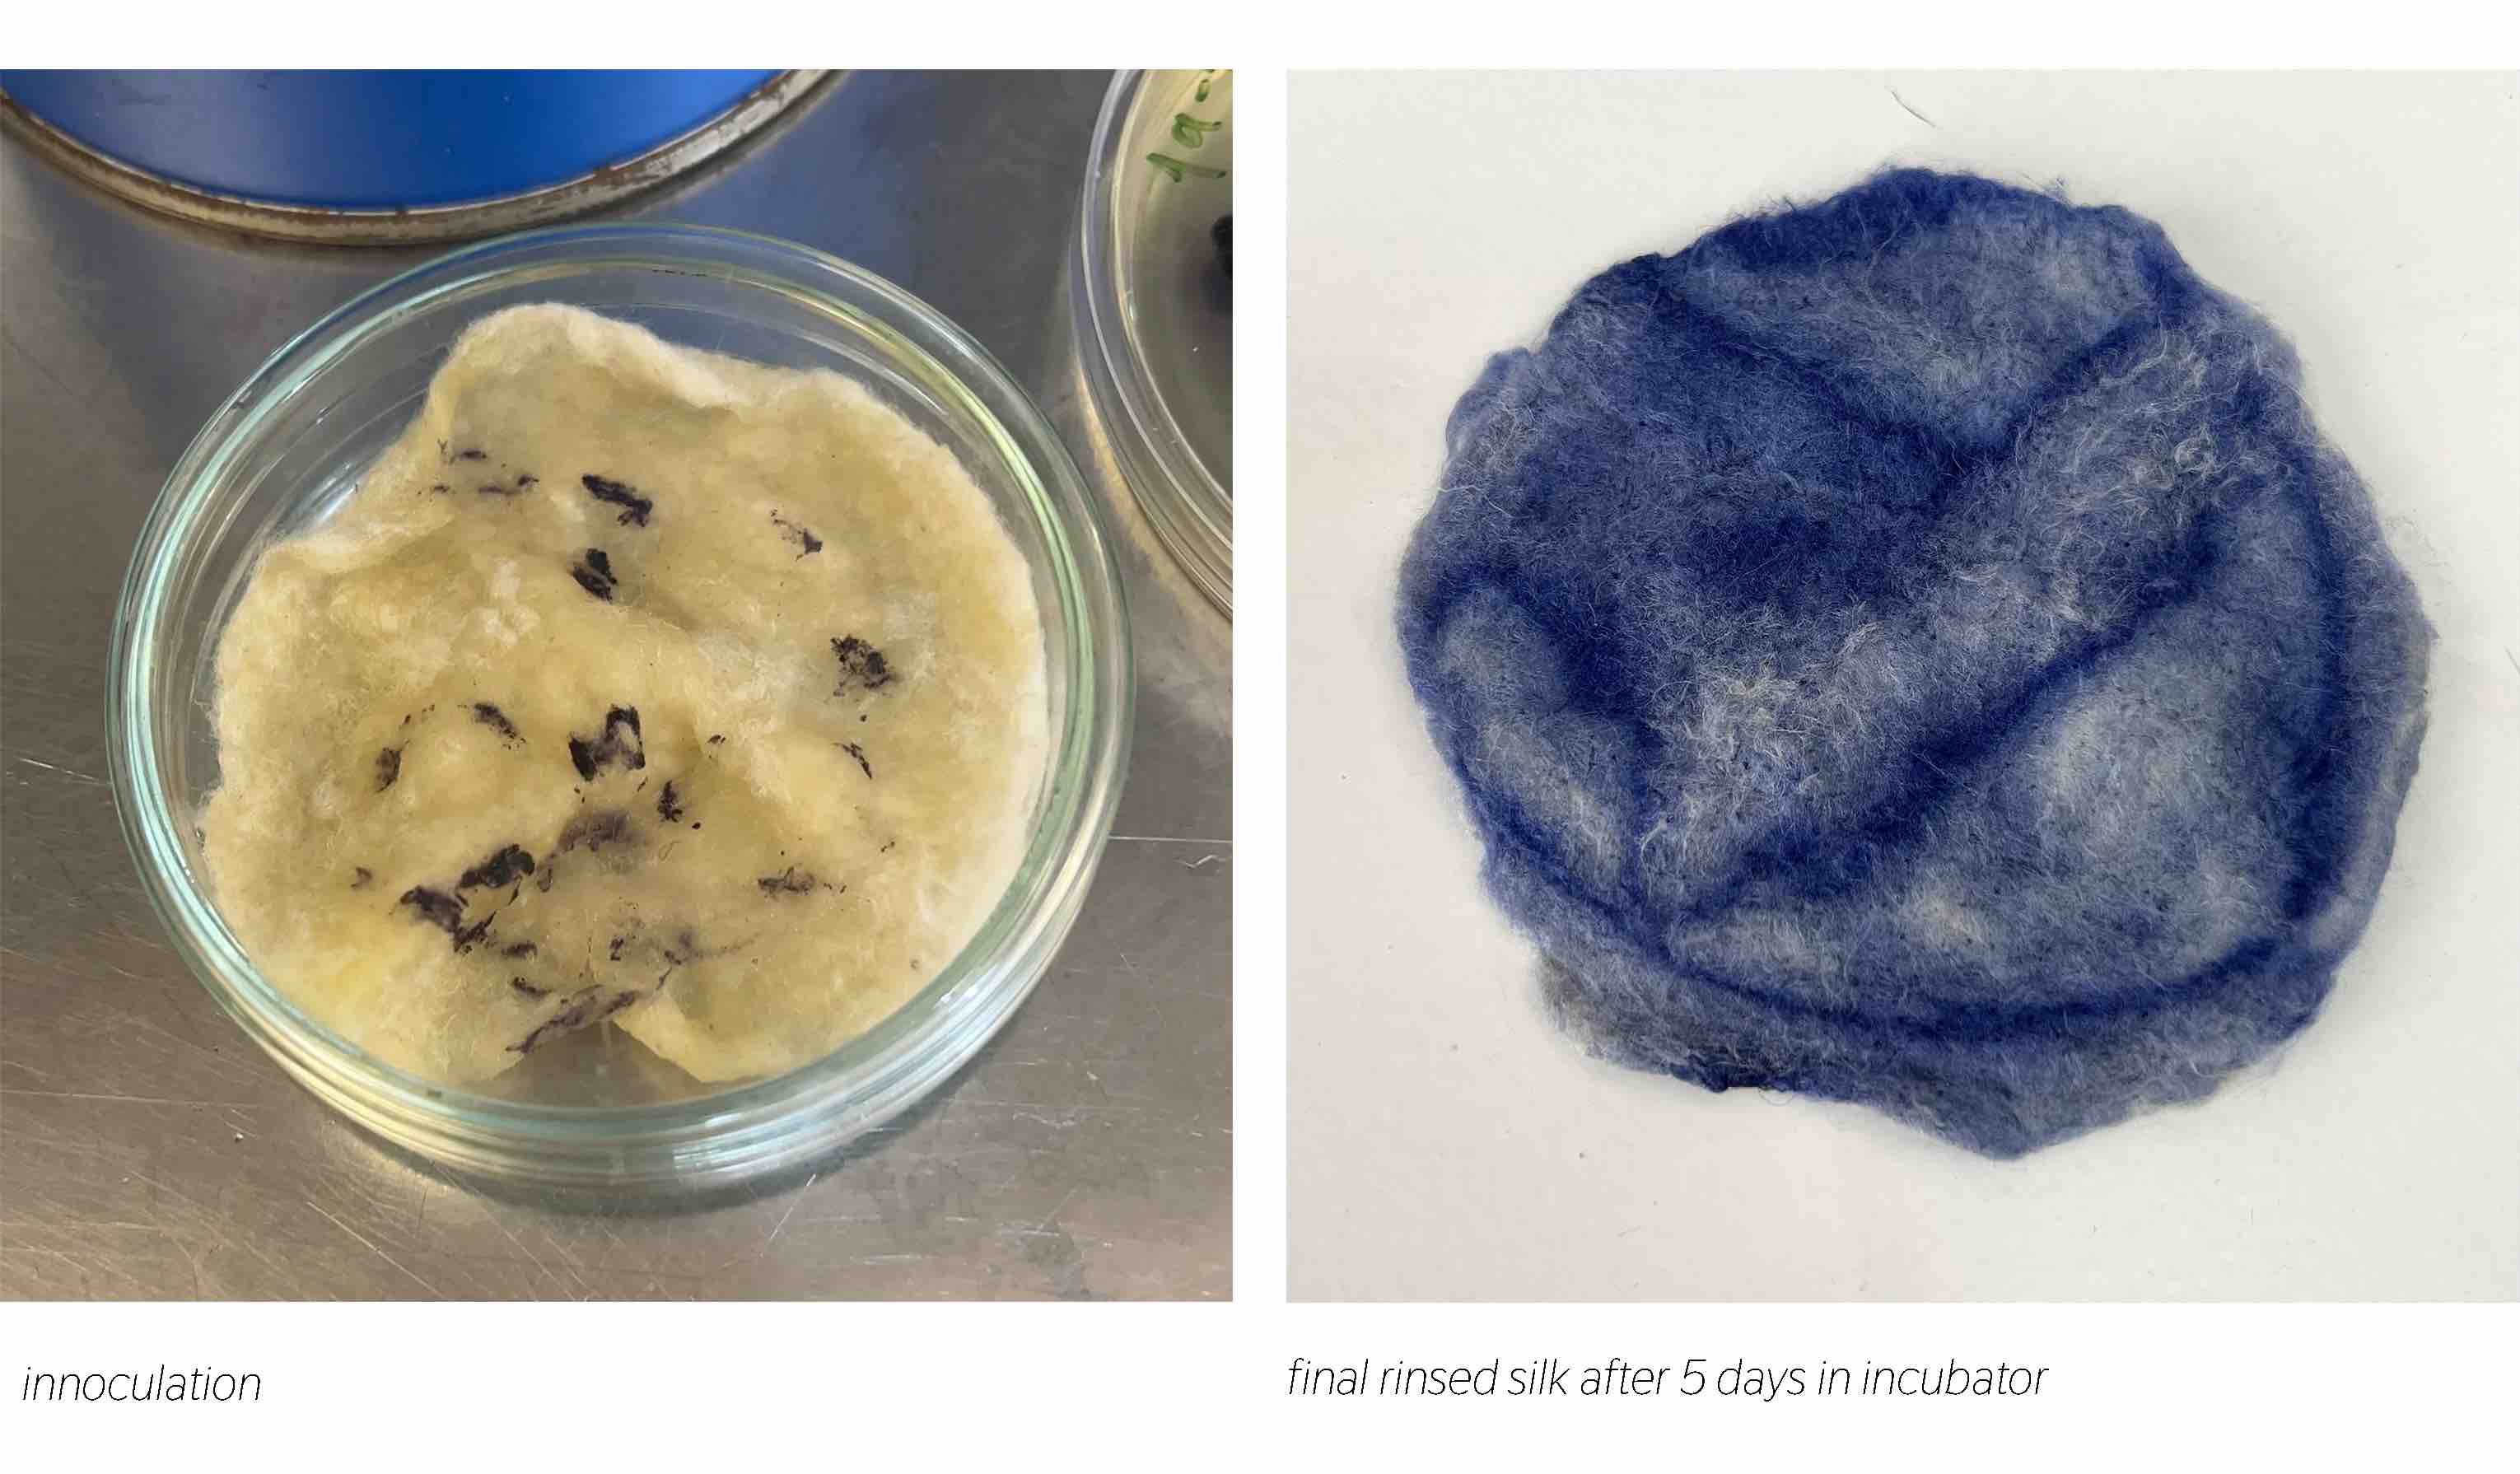
Bacterial Dye Test
I innoculated the silk felt with Janthinobacterium lividum to test how it responds to biochromes.
Other Biochrome Tests

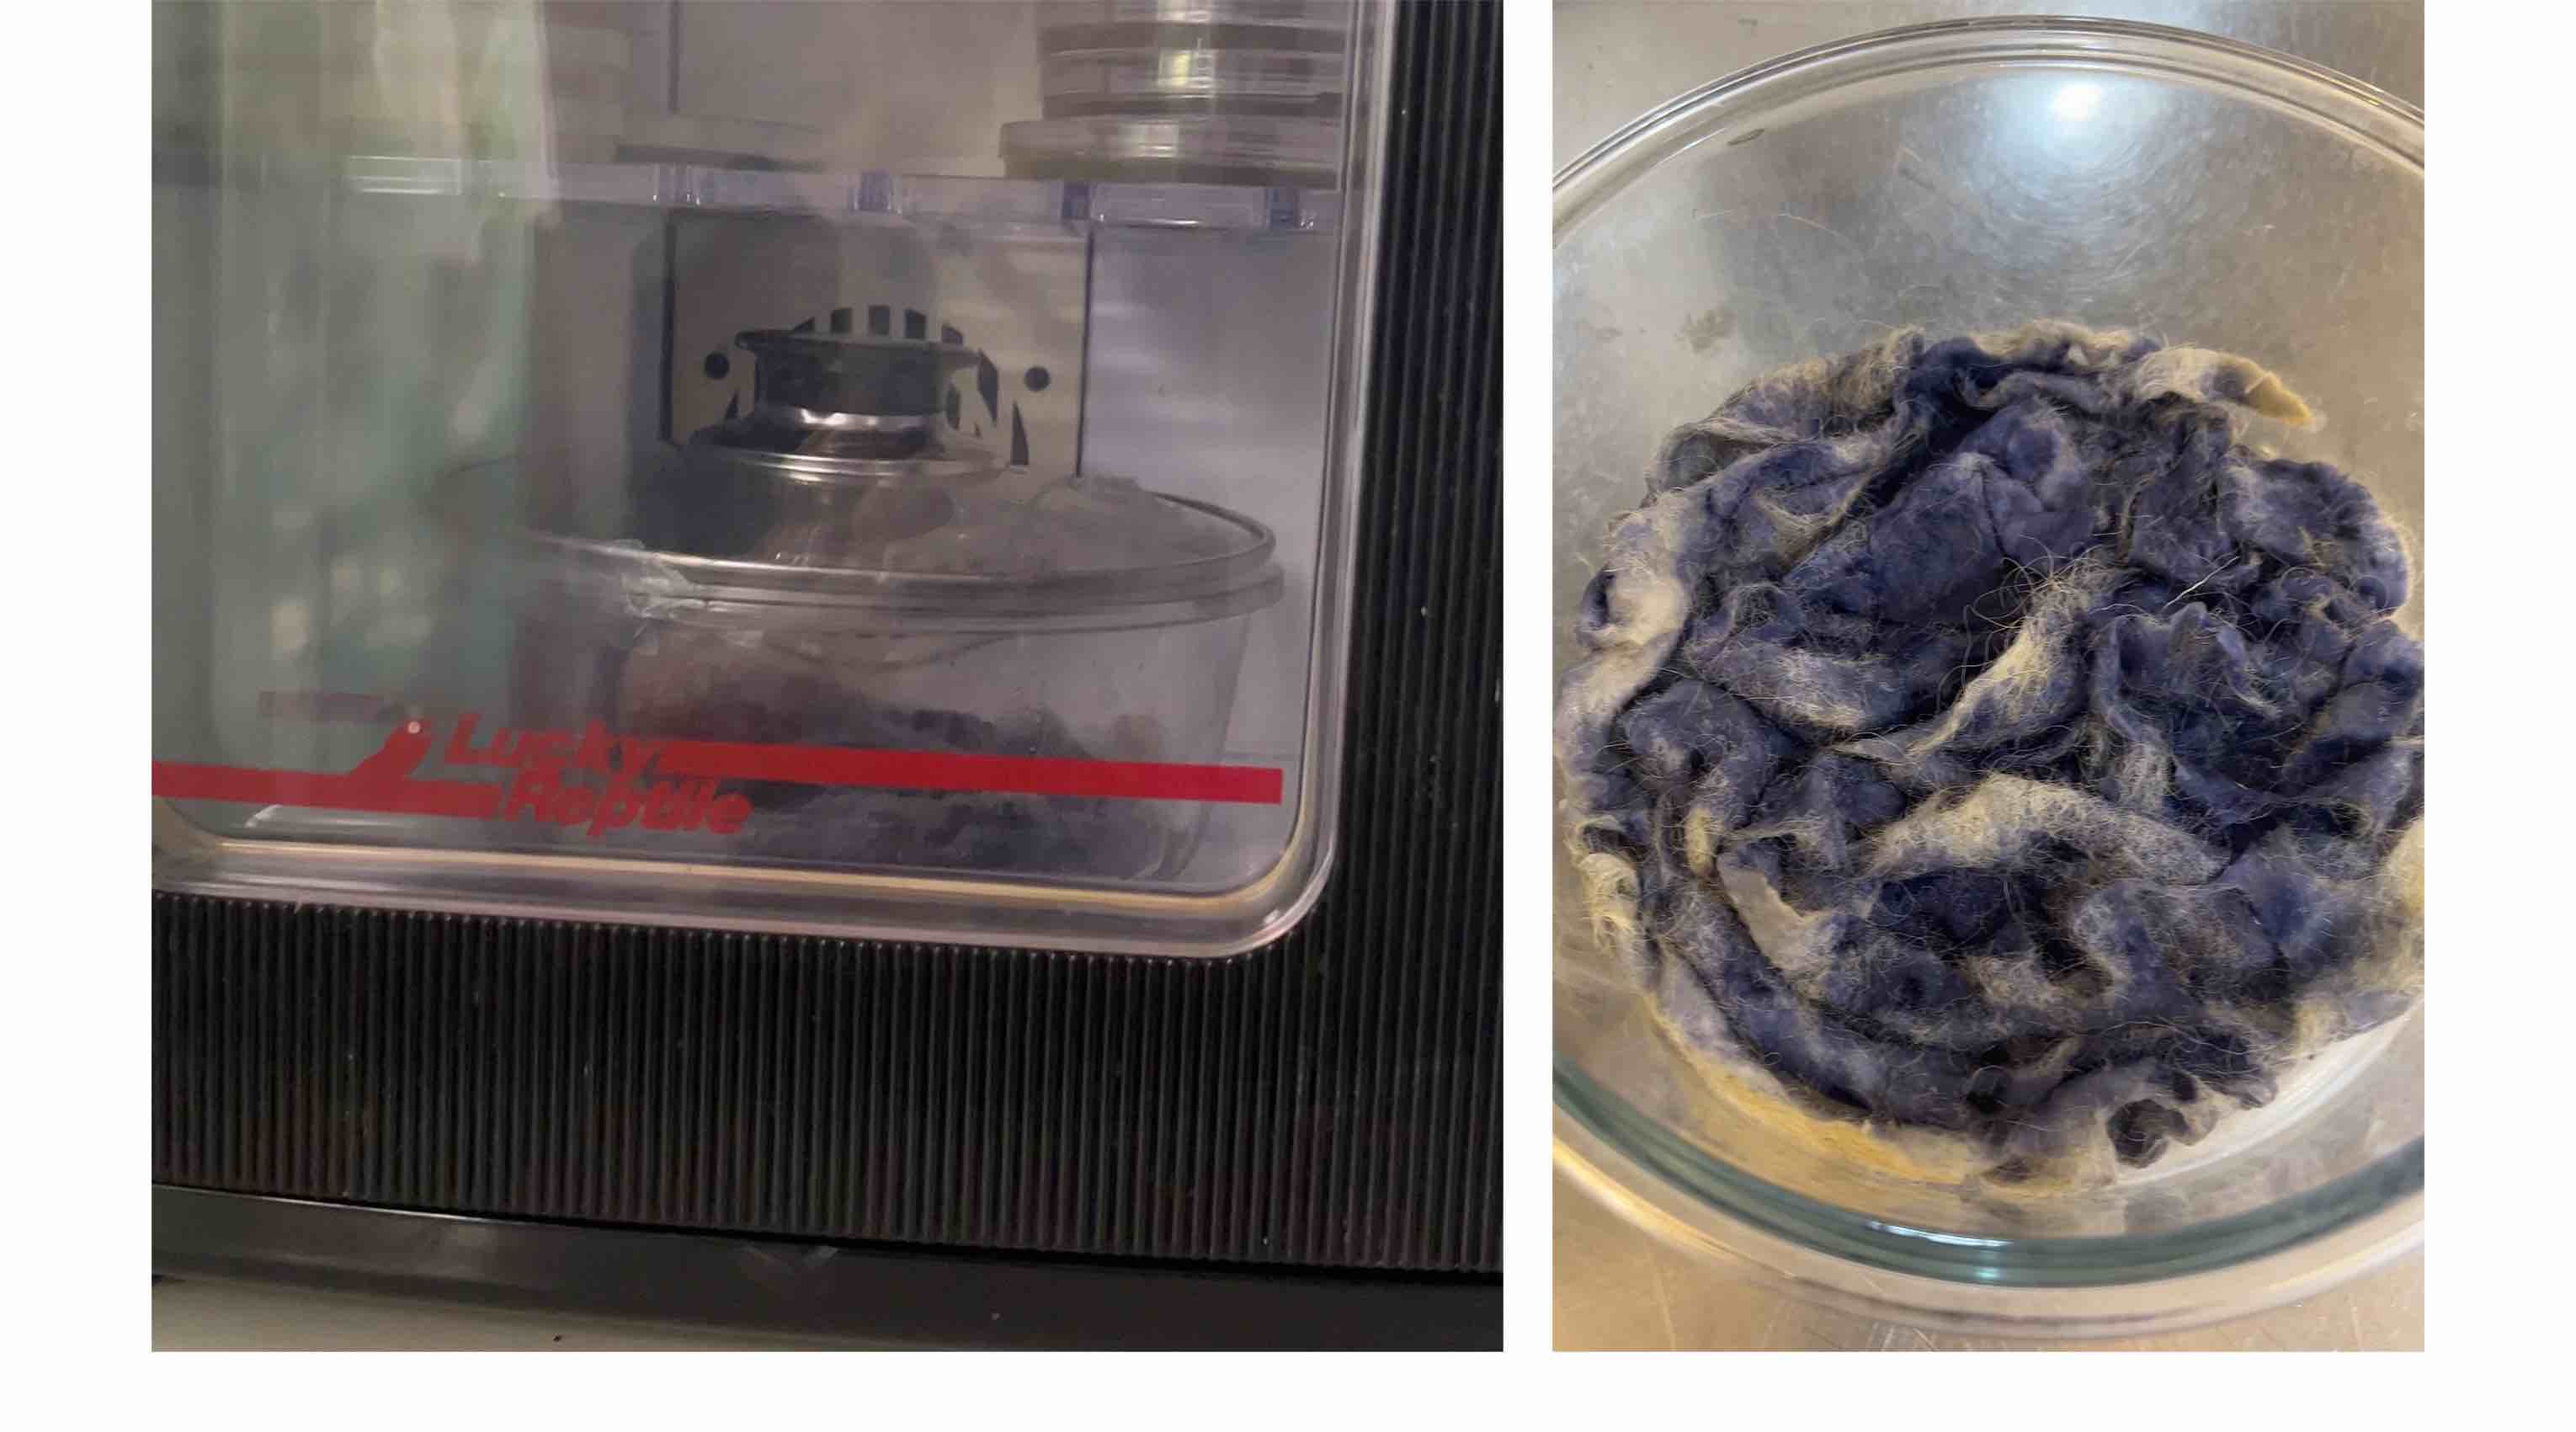
Large Scale Bacterial Dye
I scaled up the bacteria dye process of the sample with the larger felt piece and it worked pretty well! I used a sterilized pot and lid, added nutrient broth to the felt, innoculated it, parafilmed the edges and left it in the incubator for 2 days. Afterwards I sterilized it and washed it with detergent to remove the smell of nutrient broth. The hot steam seemed to shrink the felt a bit which is important to note. It feels stronger but the design is now smaller.
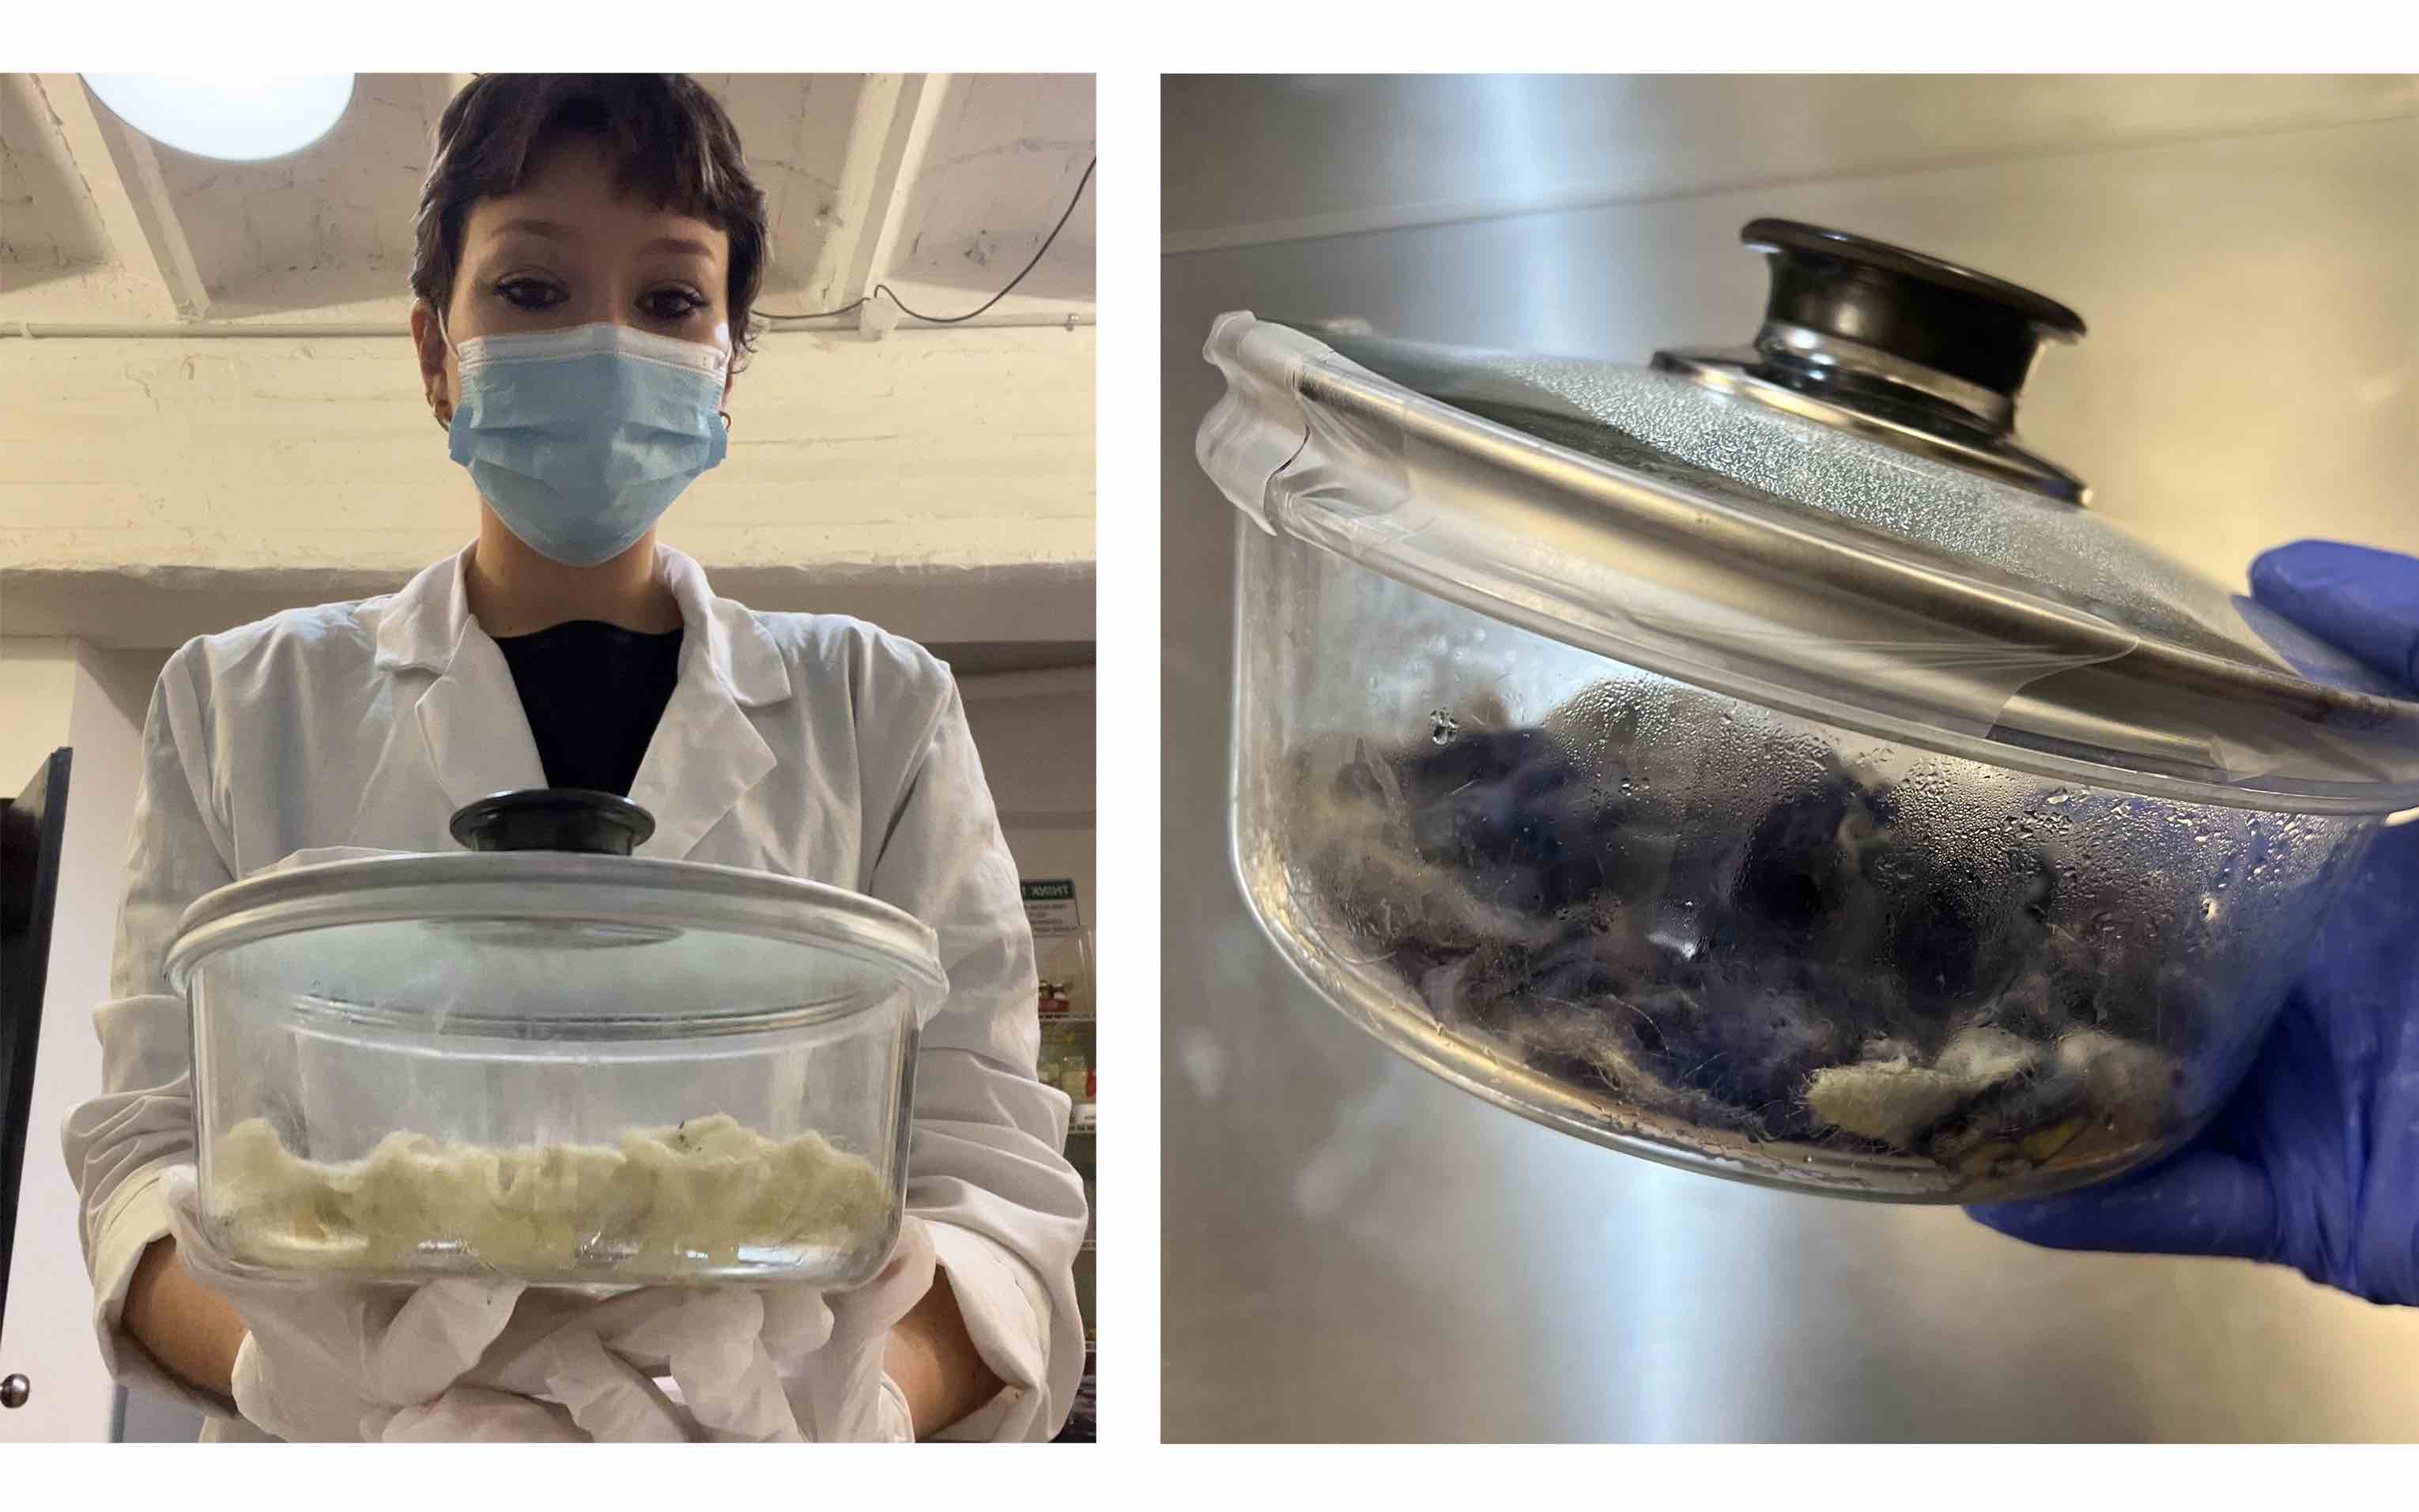
 Then I got it wet again and molded it over a mannequin, it still fits the body but I will remember to scale things up if I make another piece.
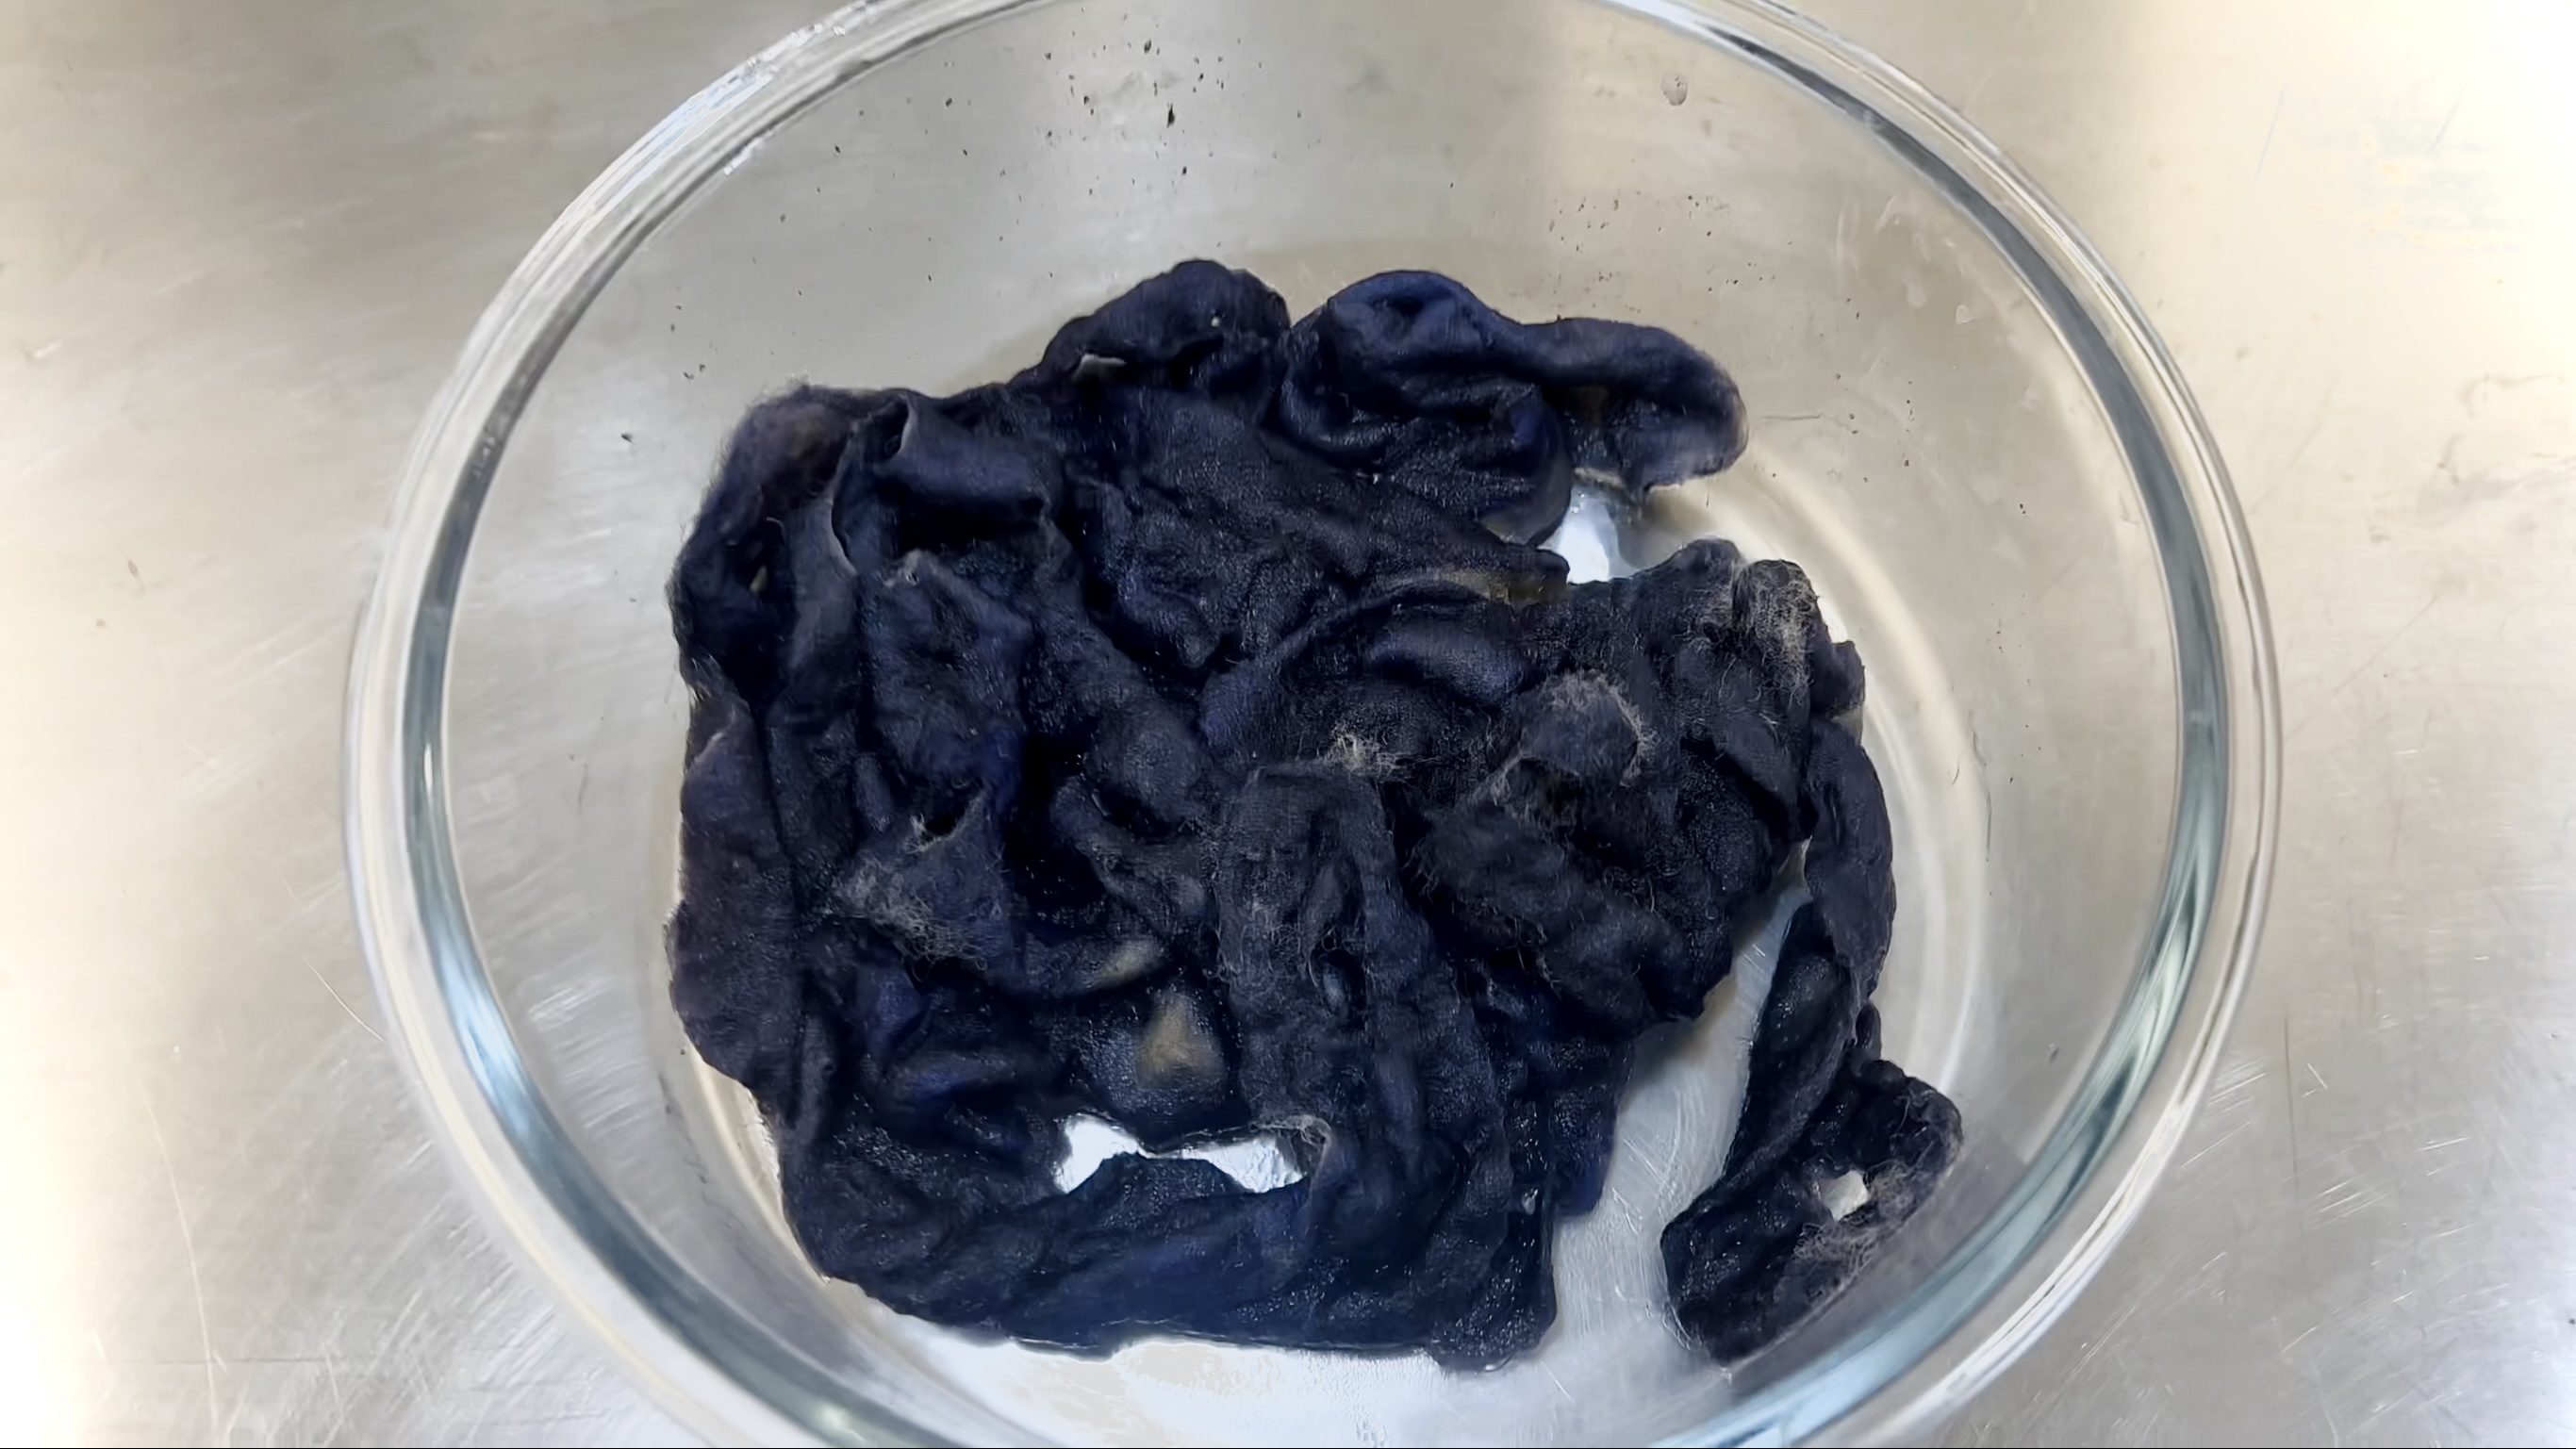
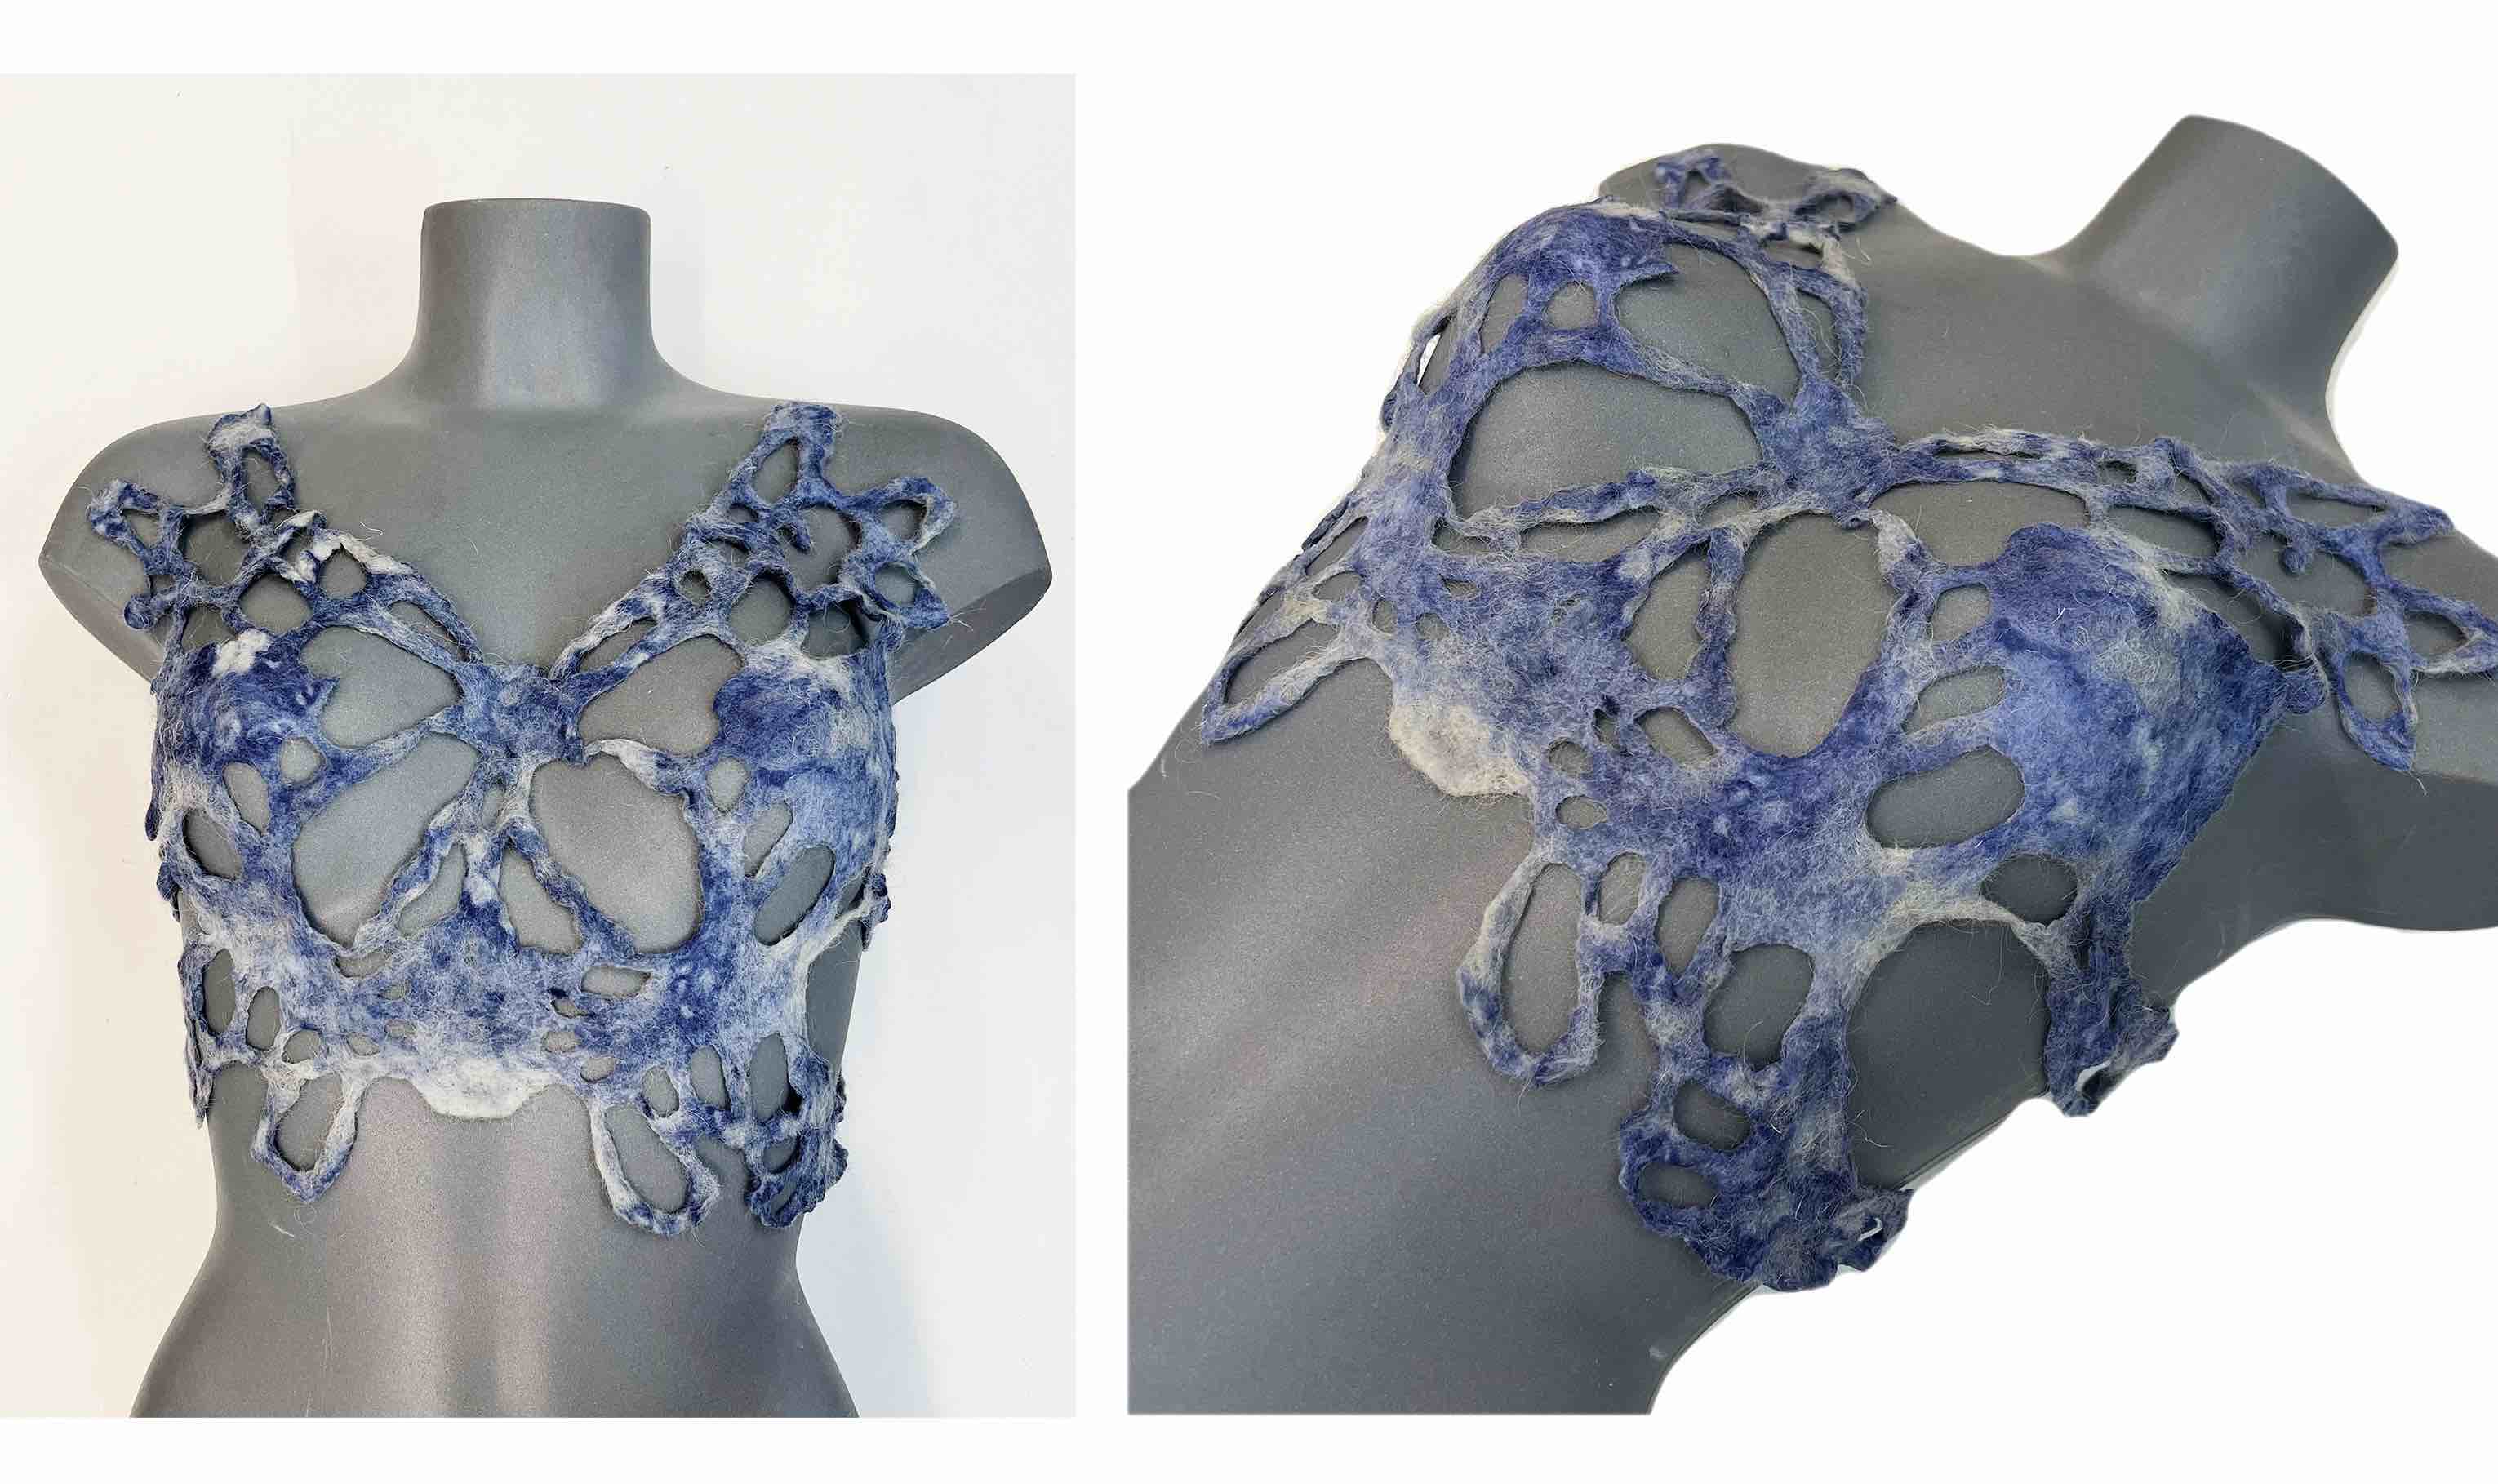 It has an interesting organic alien vibe which I really like. Maybe I can try to make another and dye it black to experiment with different styles.
FINAL
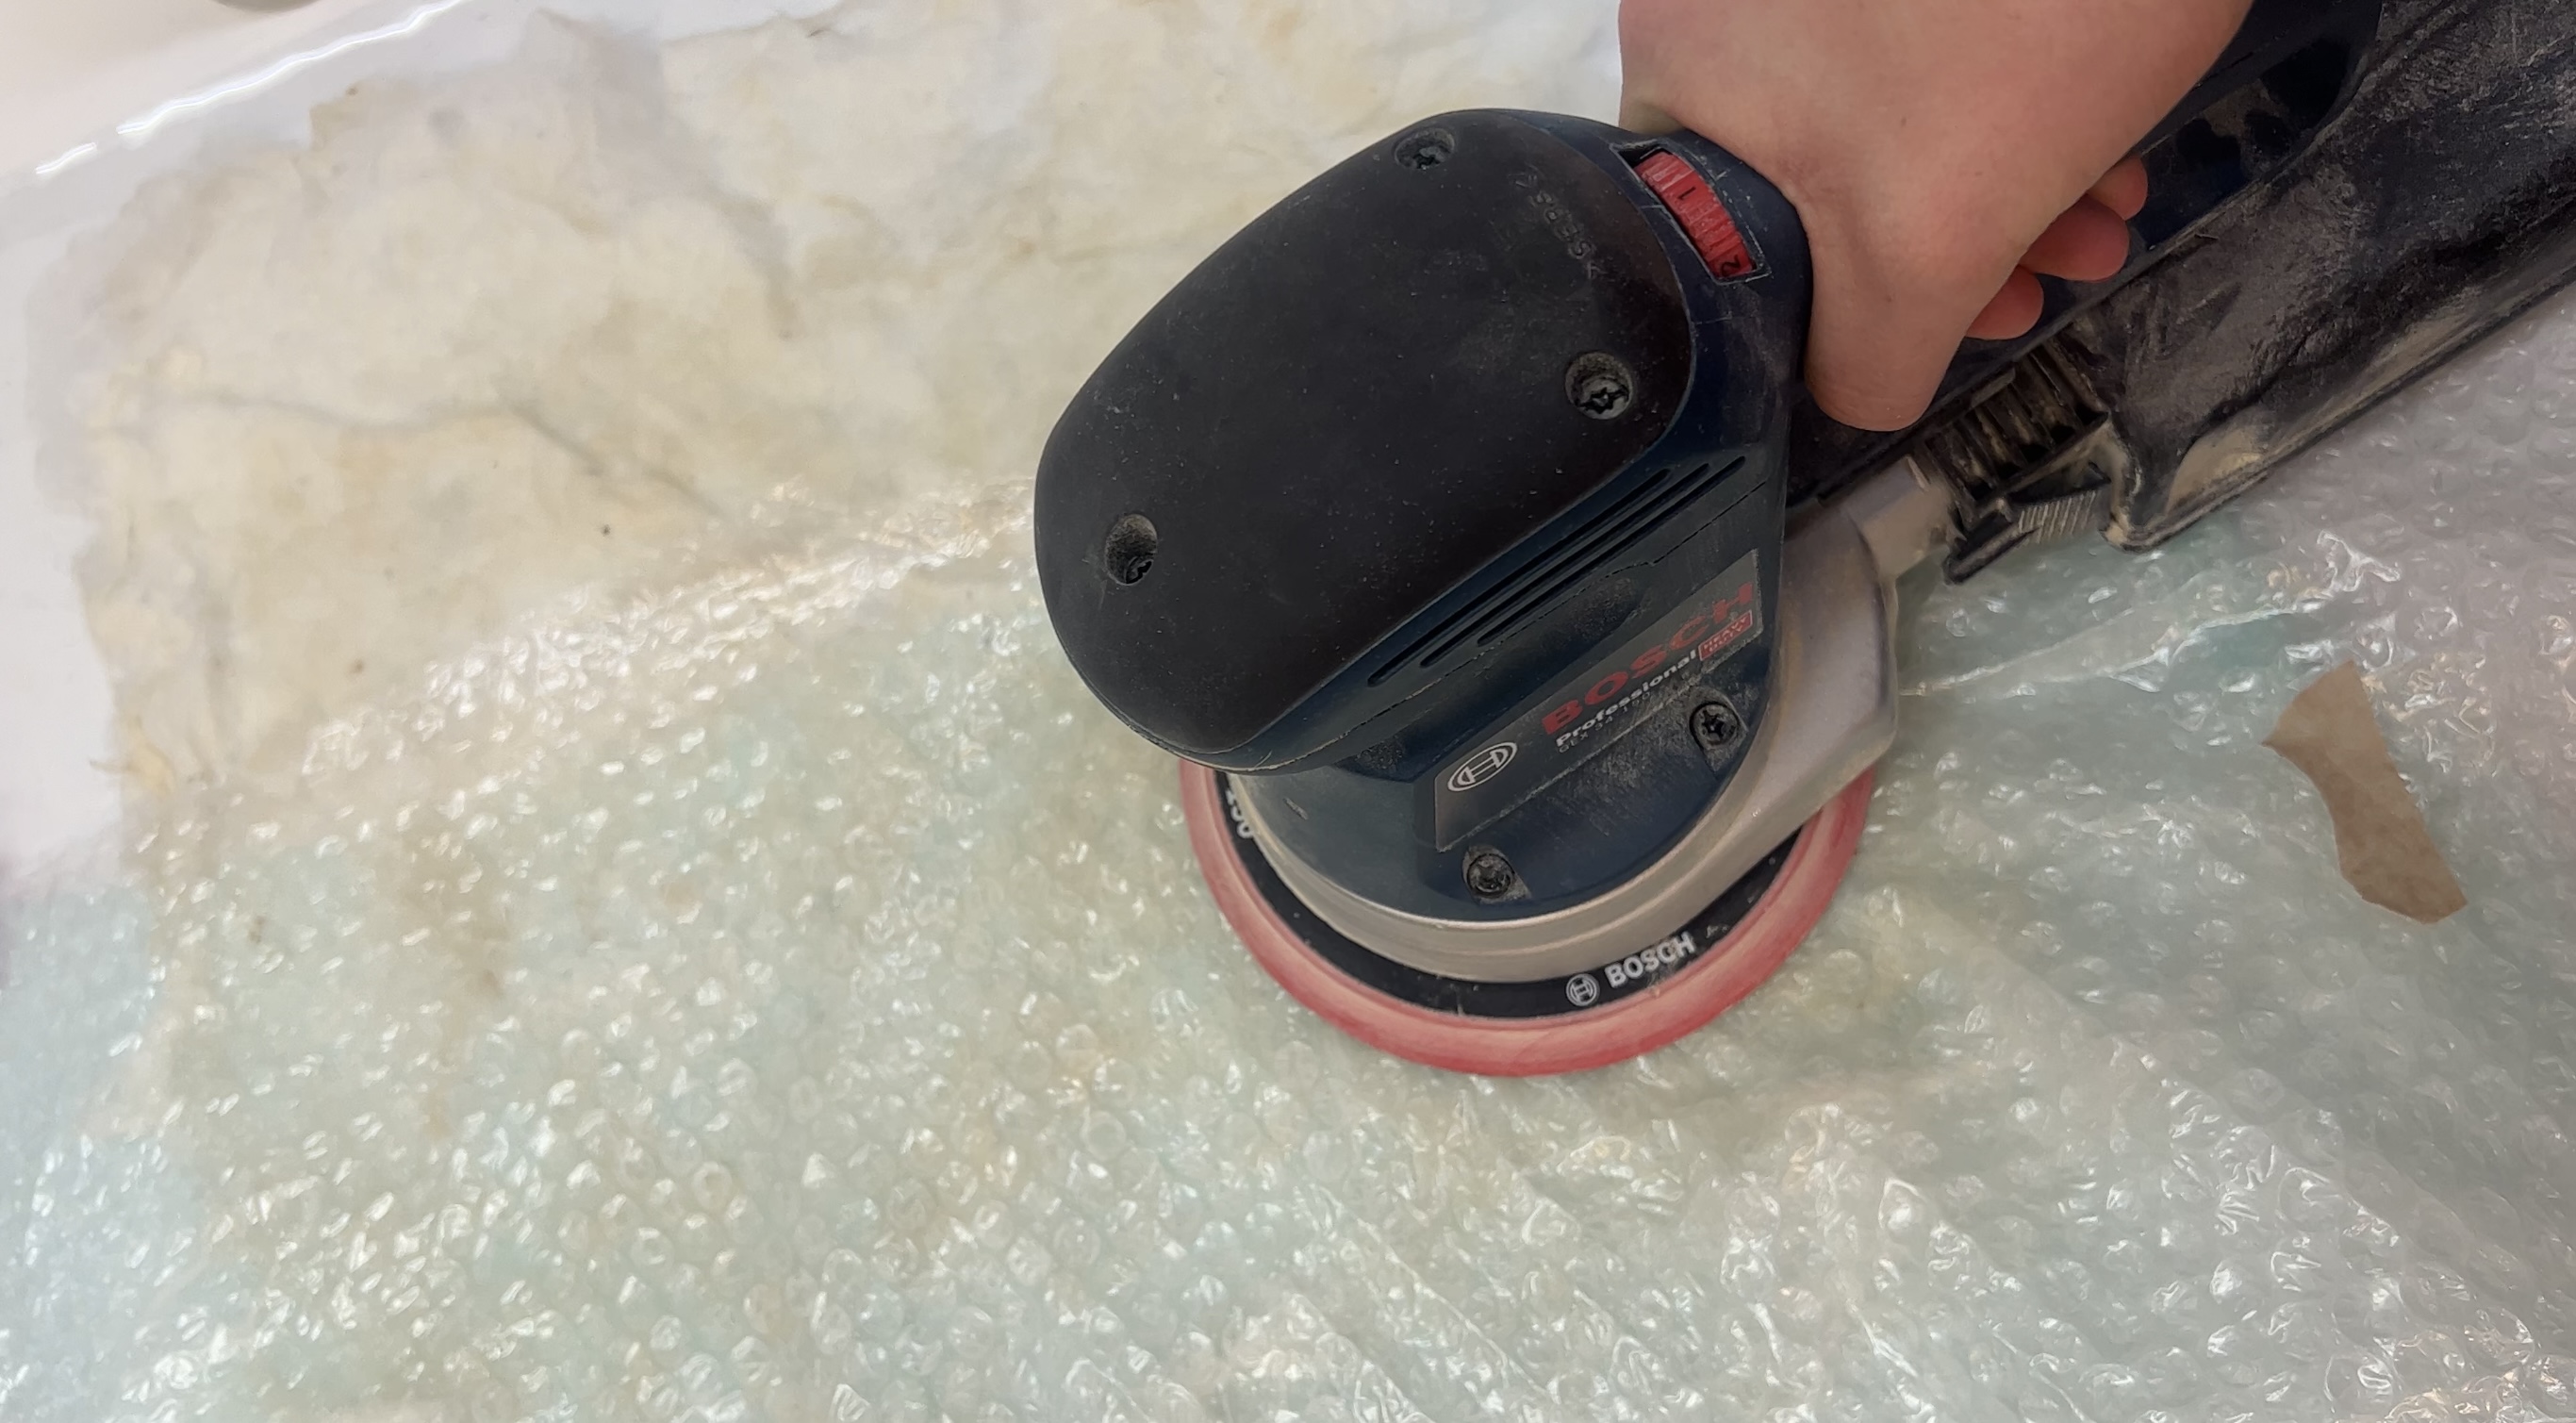
Electric Sander Felting
I used an electric sander to wet felt silk and wool mixtures. This went a lot faster and enabled me to make bigger pieces (a new version of the top and a matching skirt) I put the sander on the lowest setting with the material in between two layers of bubble wrap or other plastic.
Bacteria Dye
I used the same process to bacterial dye the textile. For the matching skirt I used a mix of logwood and carrot tops to make a matching blue-purple color. The logwood was coming out too warm so I added the green of the carrot tops to make a cooler purple tone.