3. Circular Open Source Fashion

Research and Inspiration
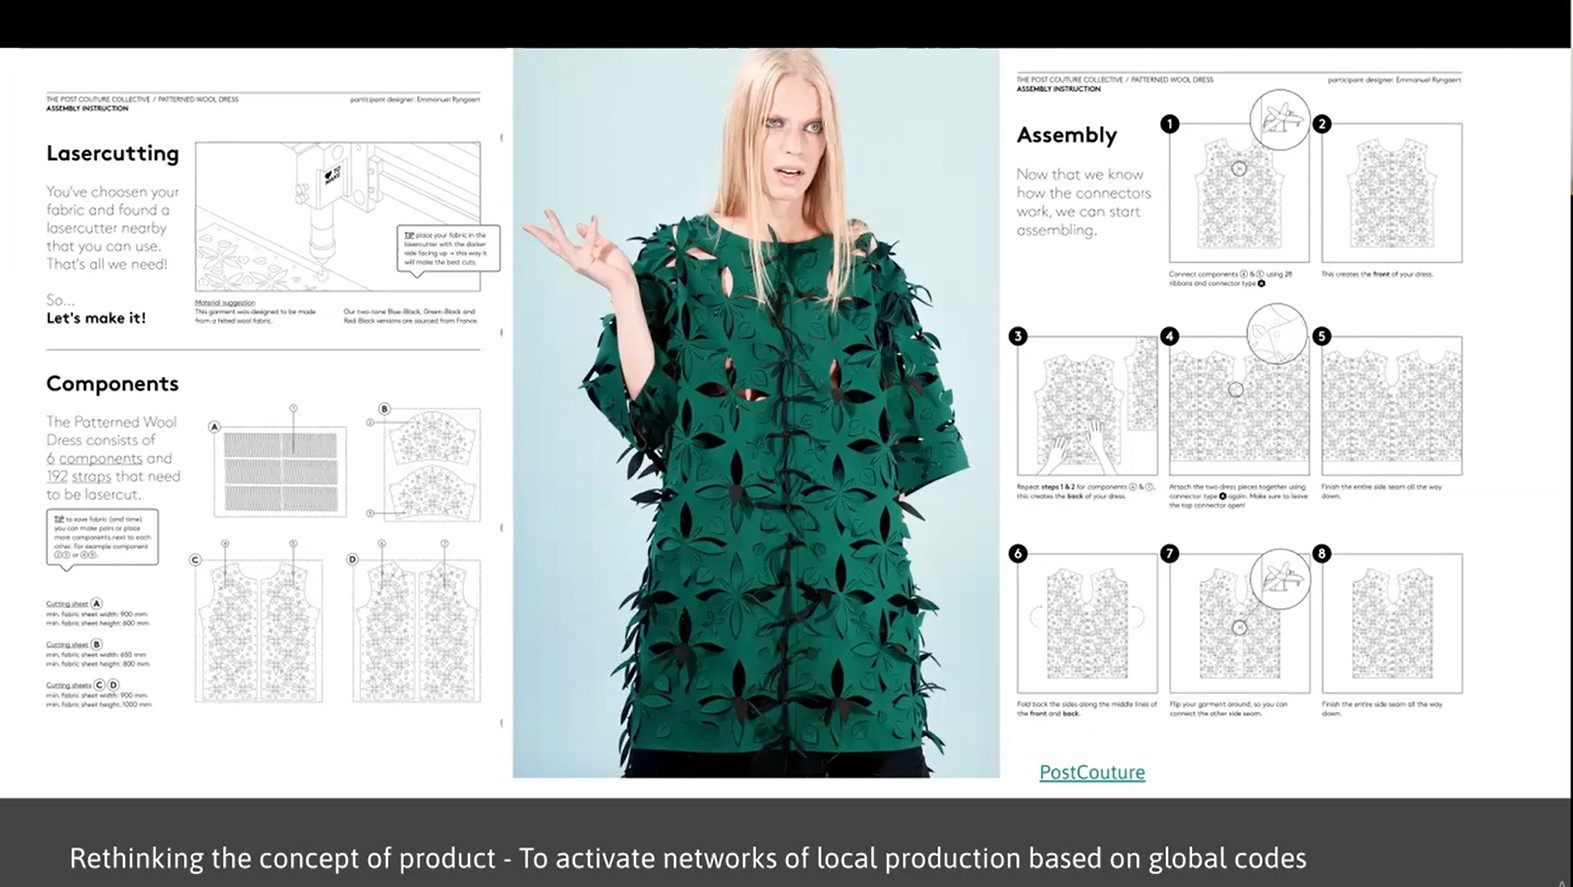
We started this week with a lecture on Circular Open Source Fashion held by Zoe Romano.
The objective was to design a modular element, which can interlock itself, in different ways to constitute the shape of a garment or everything else, without any seams.
 Slide from lecture presentation
One of the main inspiration was the work of Takehiro Ando, a 3D Artist/Product Designer/Product Planner, CEO at Takehiro Ando Design Room Inc..
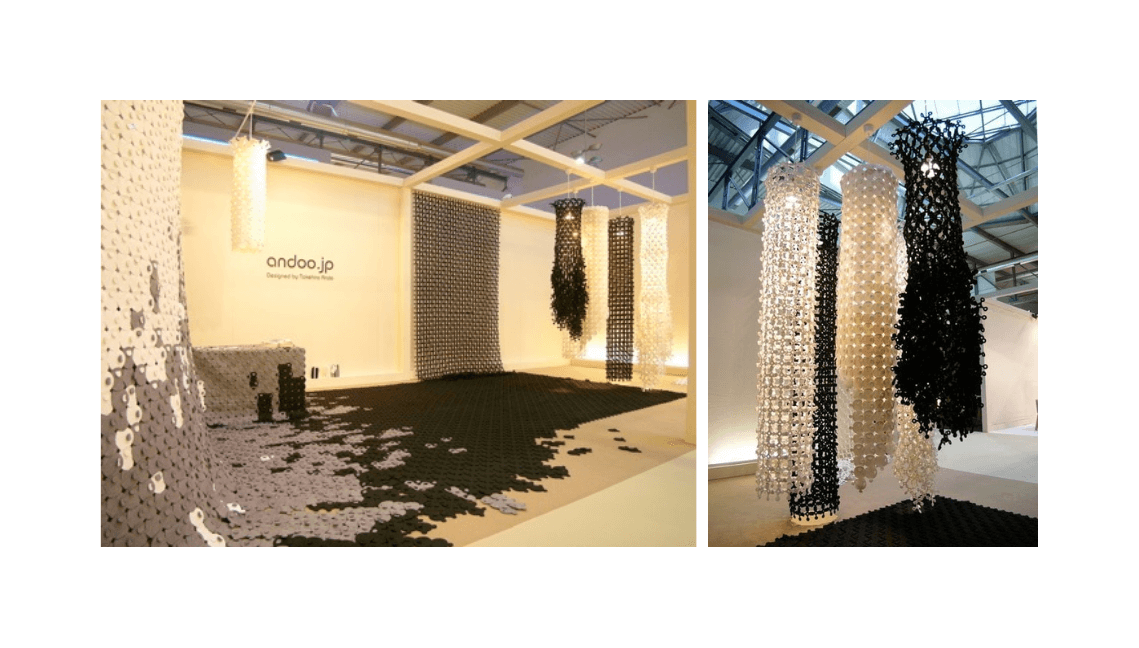 Ando exhibited the shapes linked to form wall hangings, lighting installations, table cloths, rugs and furniture covers.
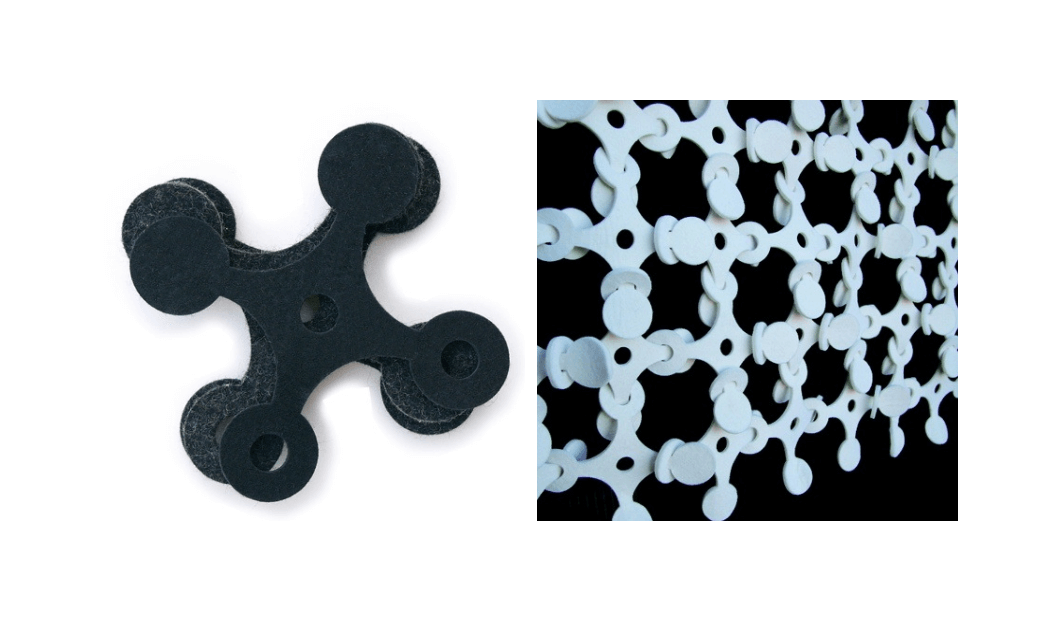
The singular piece [FELT UNIT CROSS] looks like this:
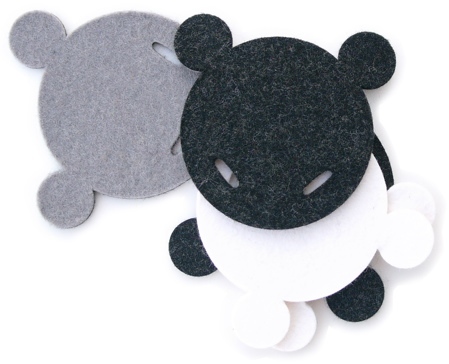
 The singular piece [FELT UNIT CUMA] looks like this:
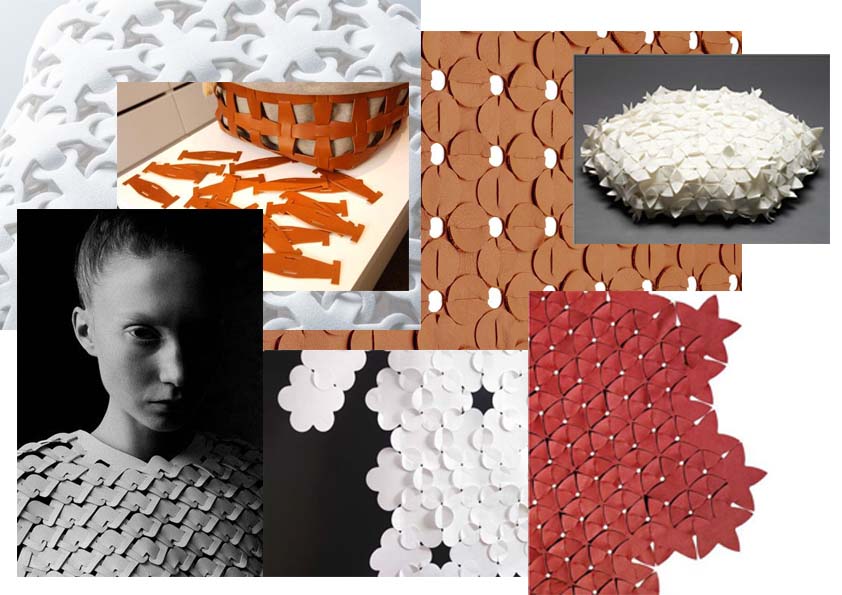
Here you can find a moodboard with my inspiration for this week and below - the links from the students of previous years:
* [Noemi Carrier](https://class.textile-academy.org/2021/noemie.carrier/) _EchoFab Montreal 2020-21_
* [Maite Sosa](https://class.textile-academy.org/2021/maite.methol/) _FabLab Montevideo 2020-21_
* [Jessica Stanley](http://class.textile-academy.org/2019/jessica.stanley/assignments/week03/)  _TextileLab Amsterdam 2018-19_
* [Irene Caretti](http://class.textile-academy.org/2019/irene.caretti/assignments/week03/) _TextileLab Amsterdam 2018-19_
Tools
- Adobe Illustrator
- Deepnest
- scissors
- paper
- felt
- pencil
- ruller
Process and workflow
First of all, I started by playing around the letter L (from Lena). But found out that some of my colleagues are also making this shape, of a boomerang, so I switched to experiment with other shapes.
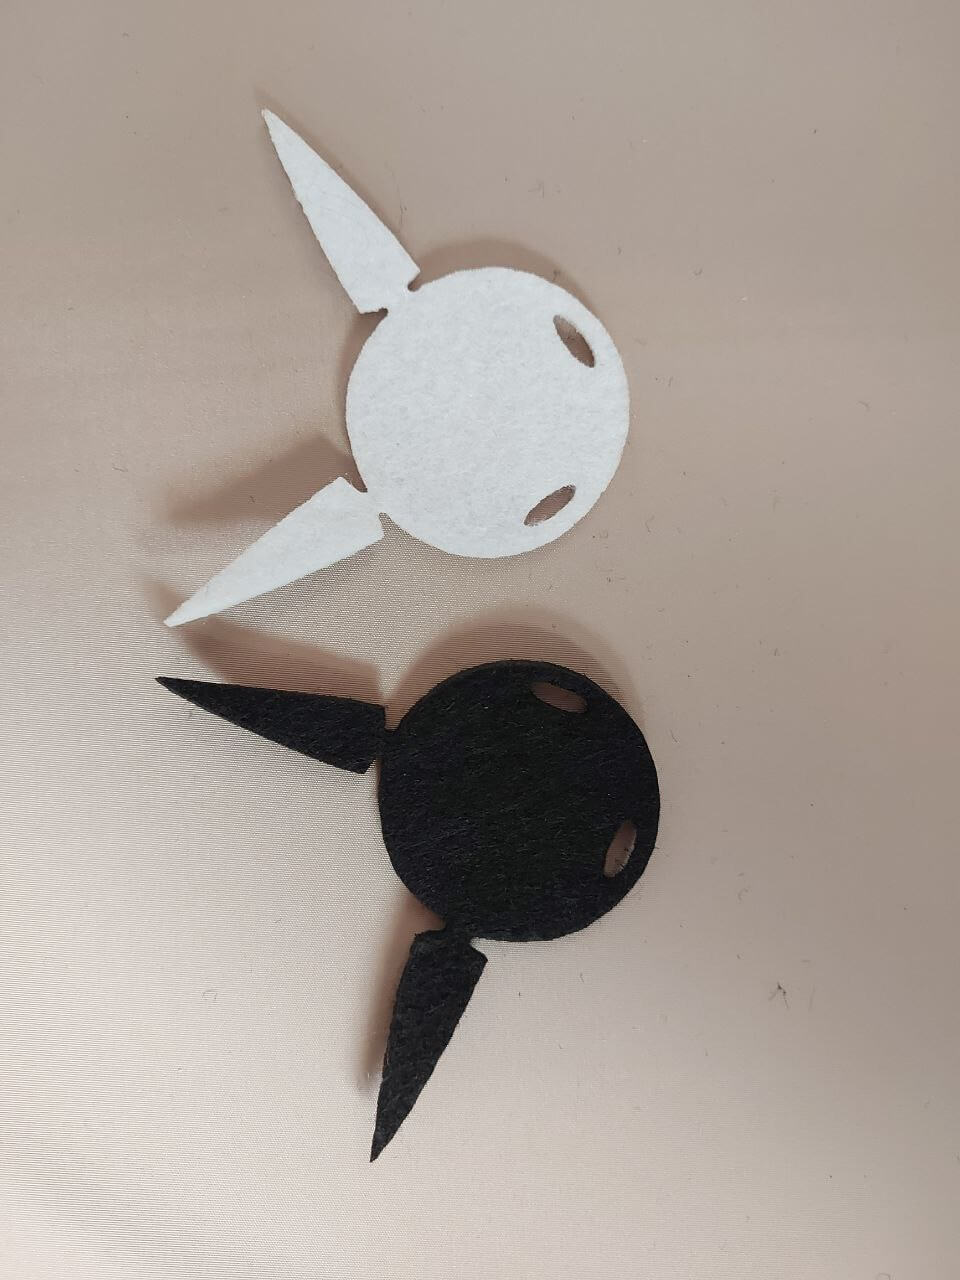
 I was willing to try cut and assemble something very fast, so I tried to update an existing shape. From the example the CUMA piese. I changed the shape of the ears by expanding them and forming cones.1
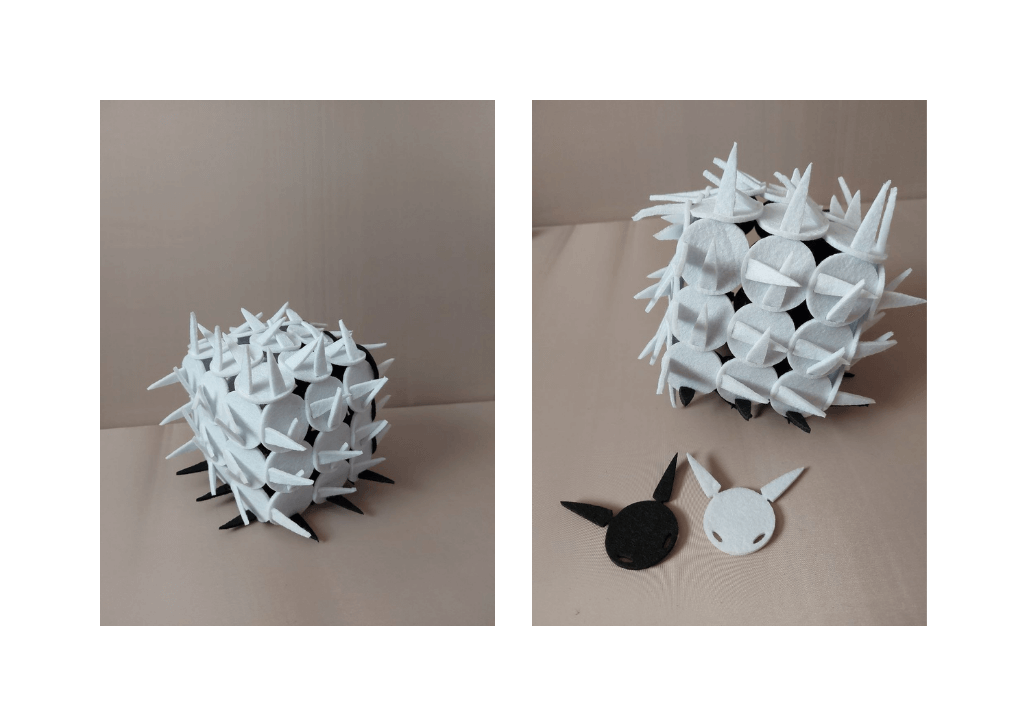
I was already anticipating the result and I wanted to receive a surface full of spikes.
I was willing to try cut and assemble something very fast, so I tried to update an existing shape. From the example the CUMA piese. I changed the shape of the ears by expanding them and forming cones.1
I was already anticipating the result and I wanted to receive a surface full of spikes.
Trying existing stuff helped me better understand and plan my own designs. I always tried to optimise the space I had to produce as less waste material as possible.
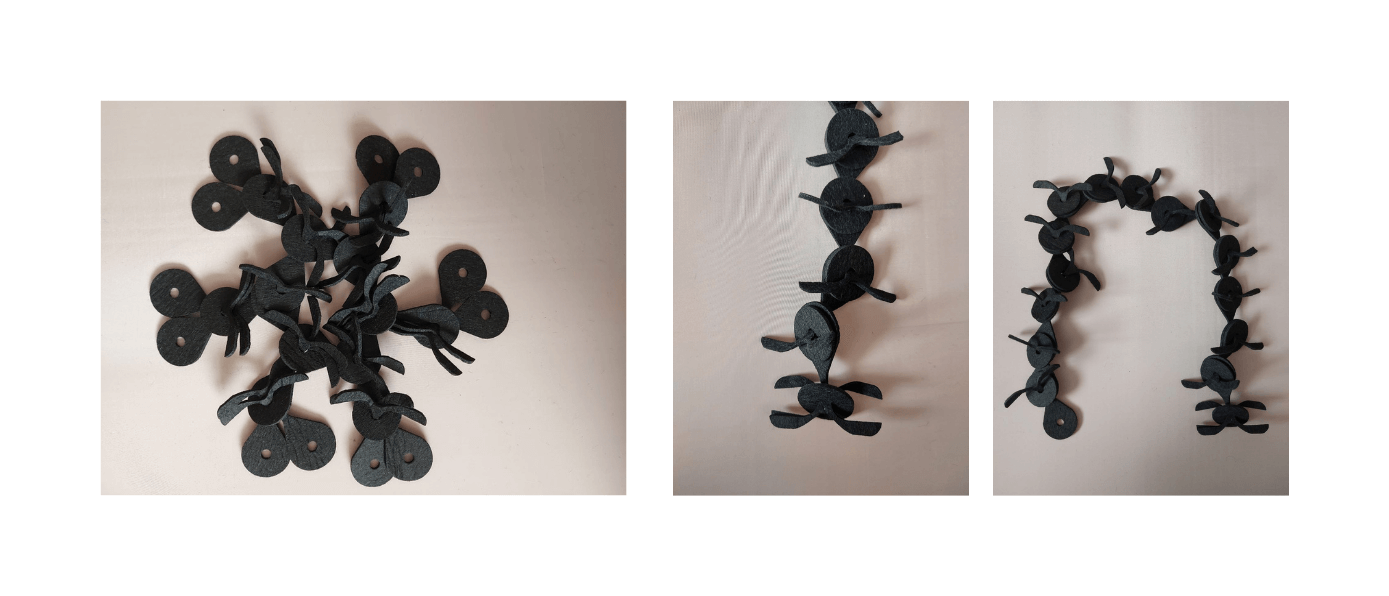
 But still, I was not satisfied with the result and wanted to try to assemble something that will create a very fluffy texture, but also will be a very personal pattern. My Instagram account is named lena.balena which means whale. (Don't ask me why)
So I made a quick sketch on how it can be related to that. And somehow I discovered the long tails that I wanted to have in order to get the fluffy texture.

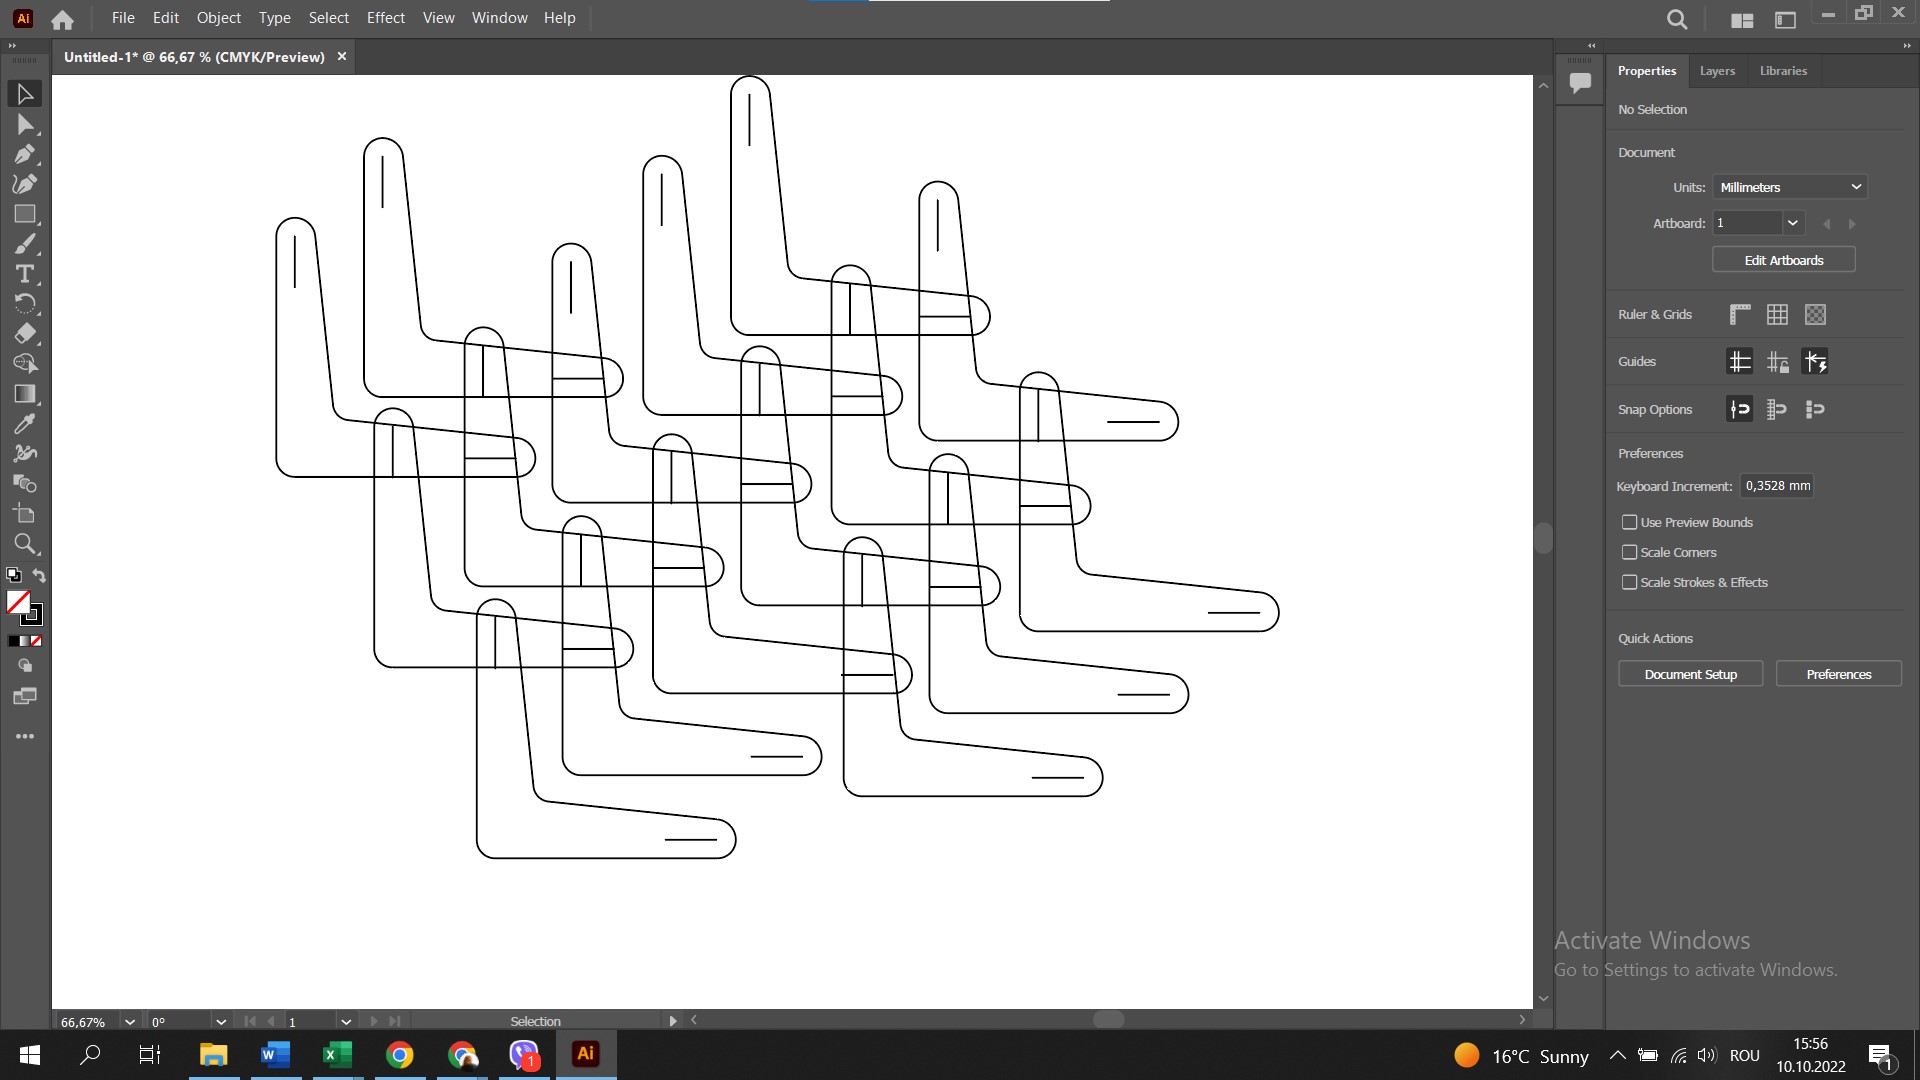
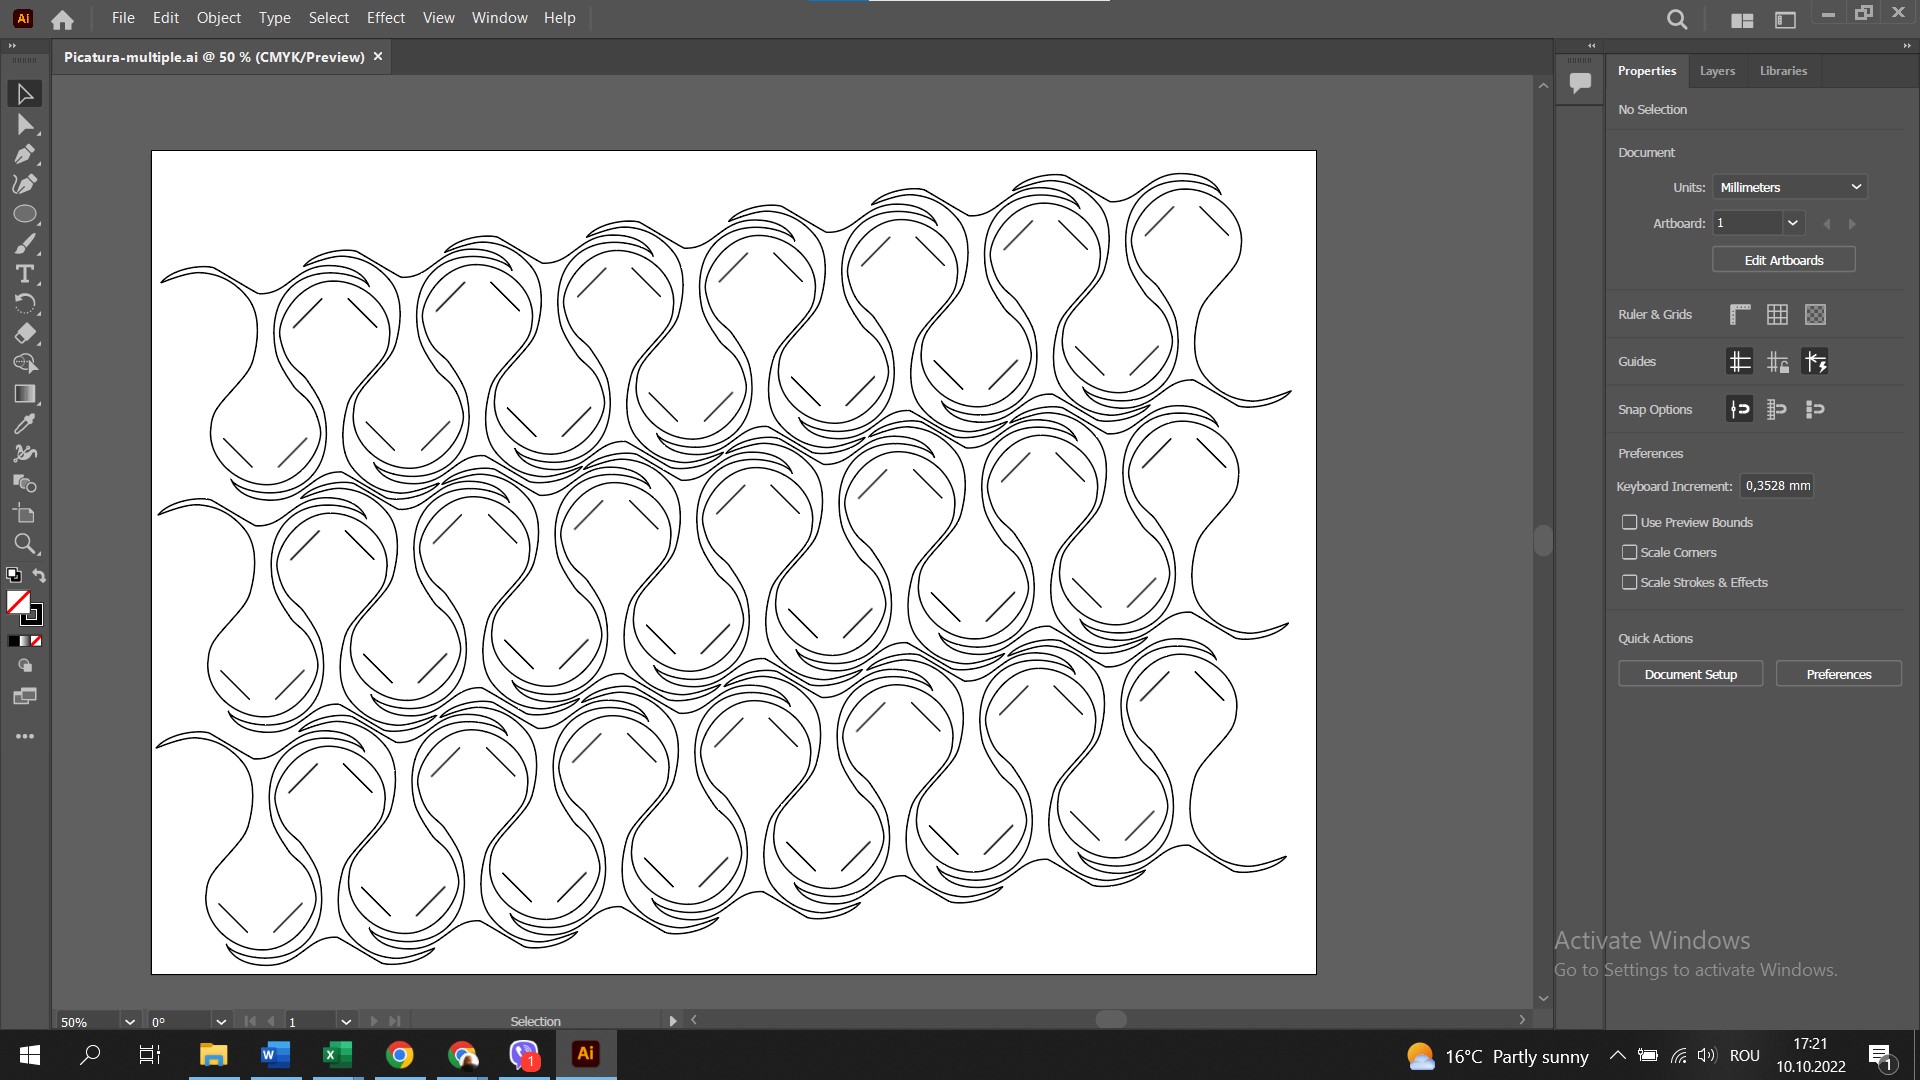
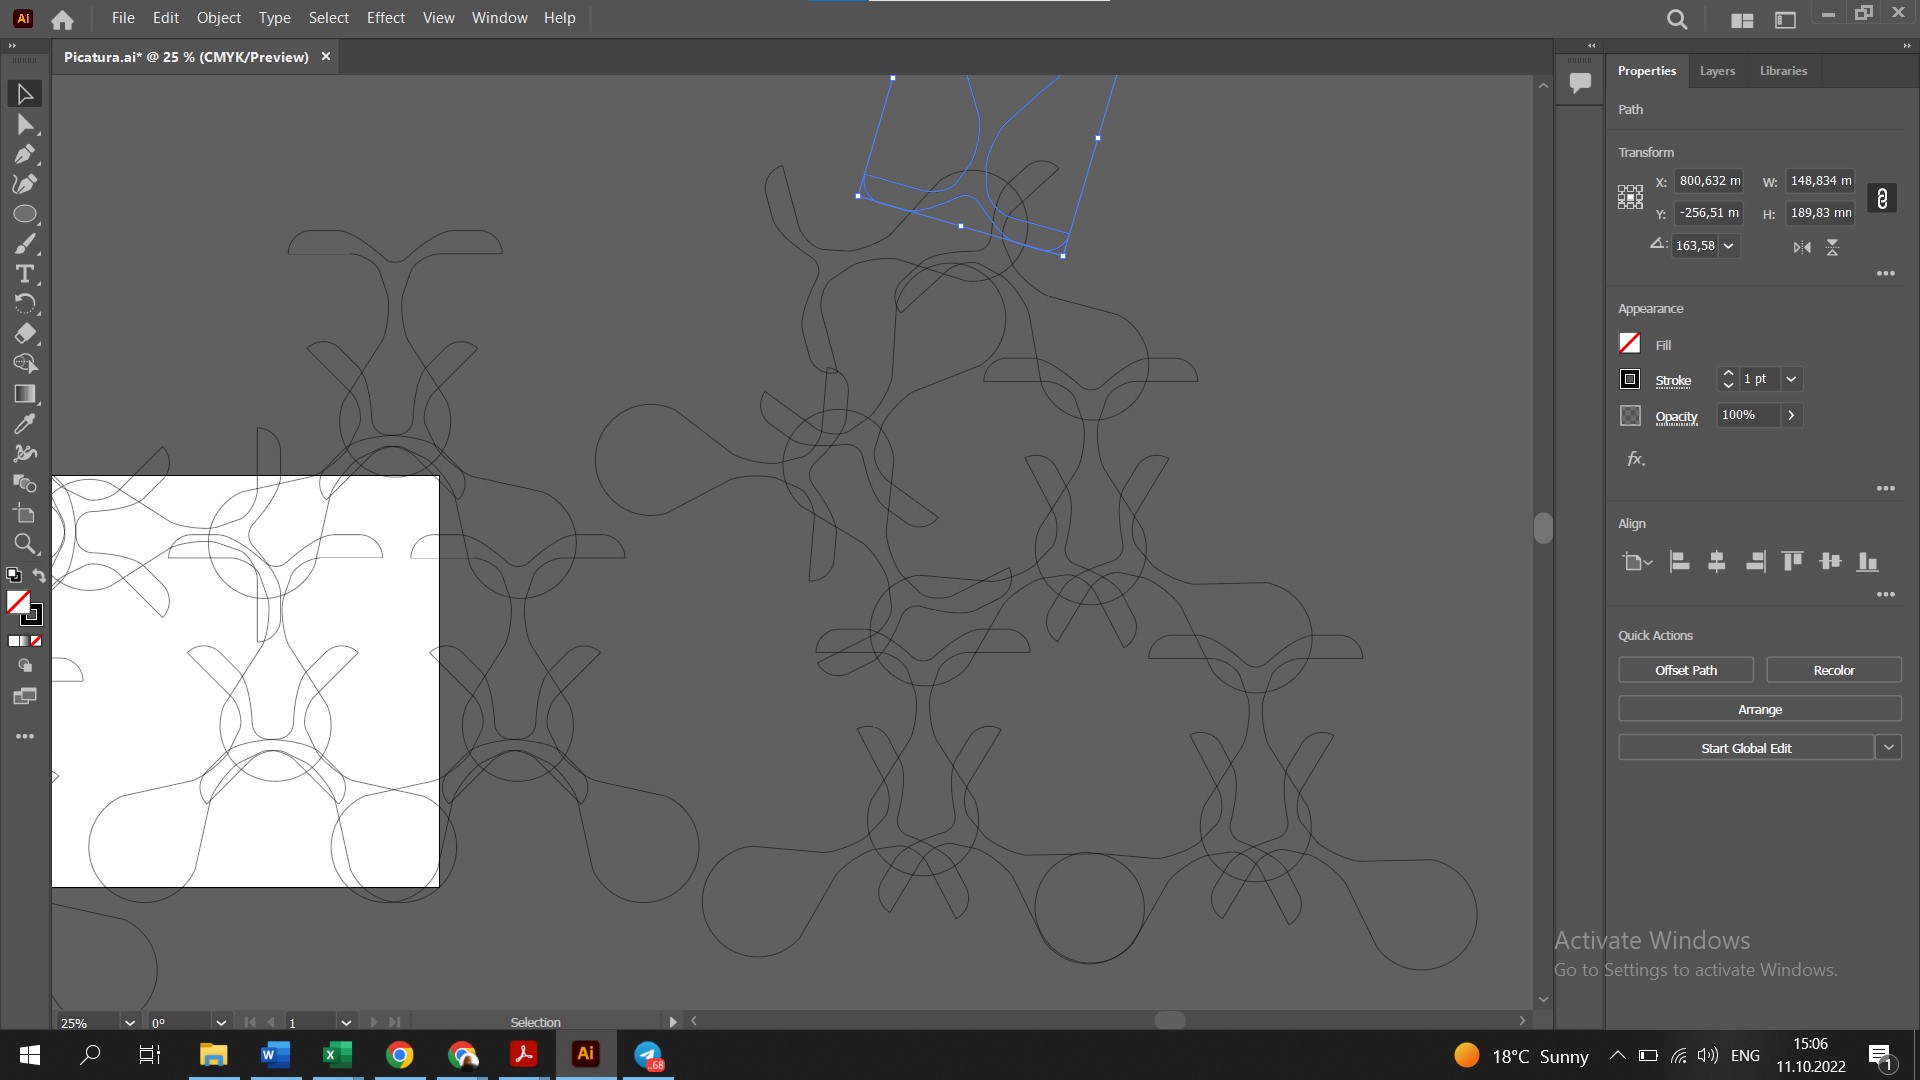
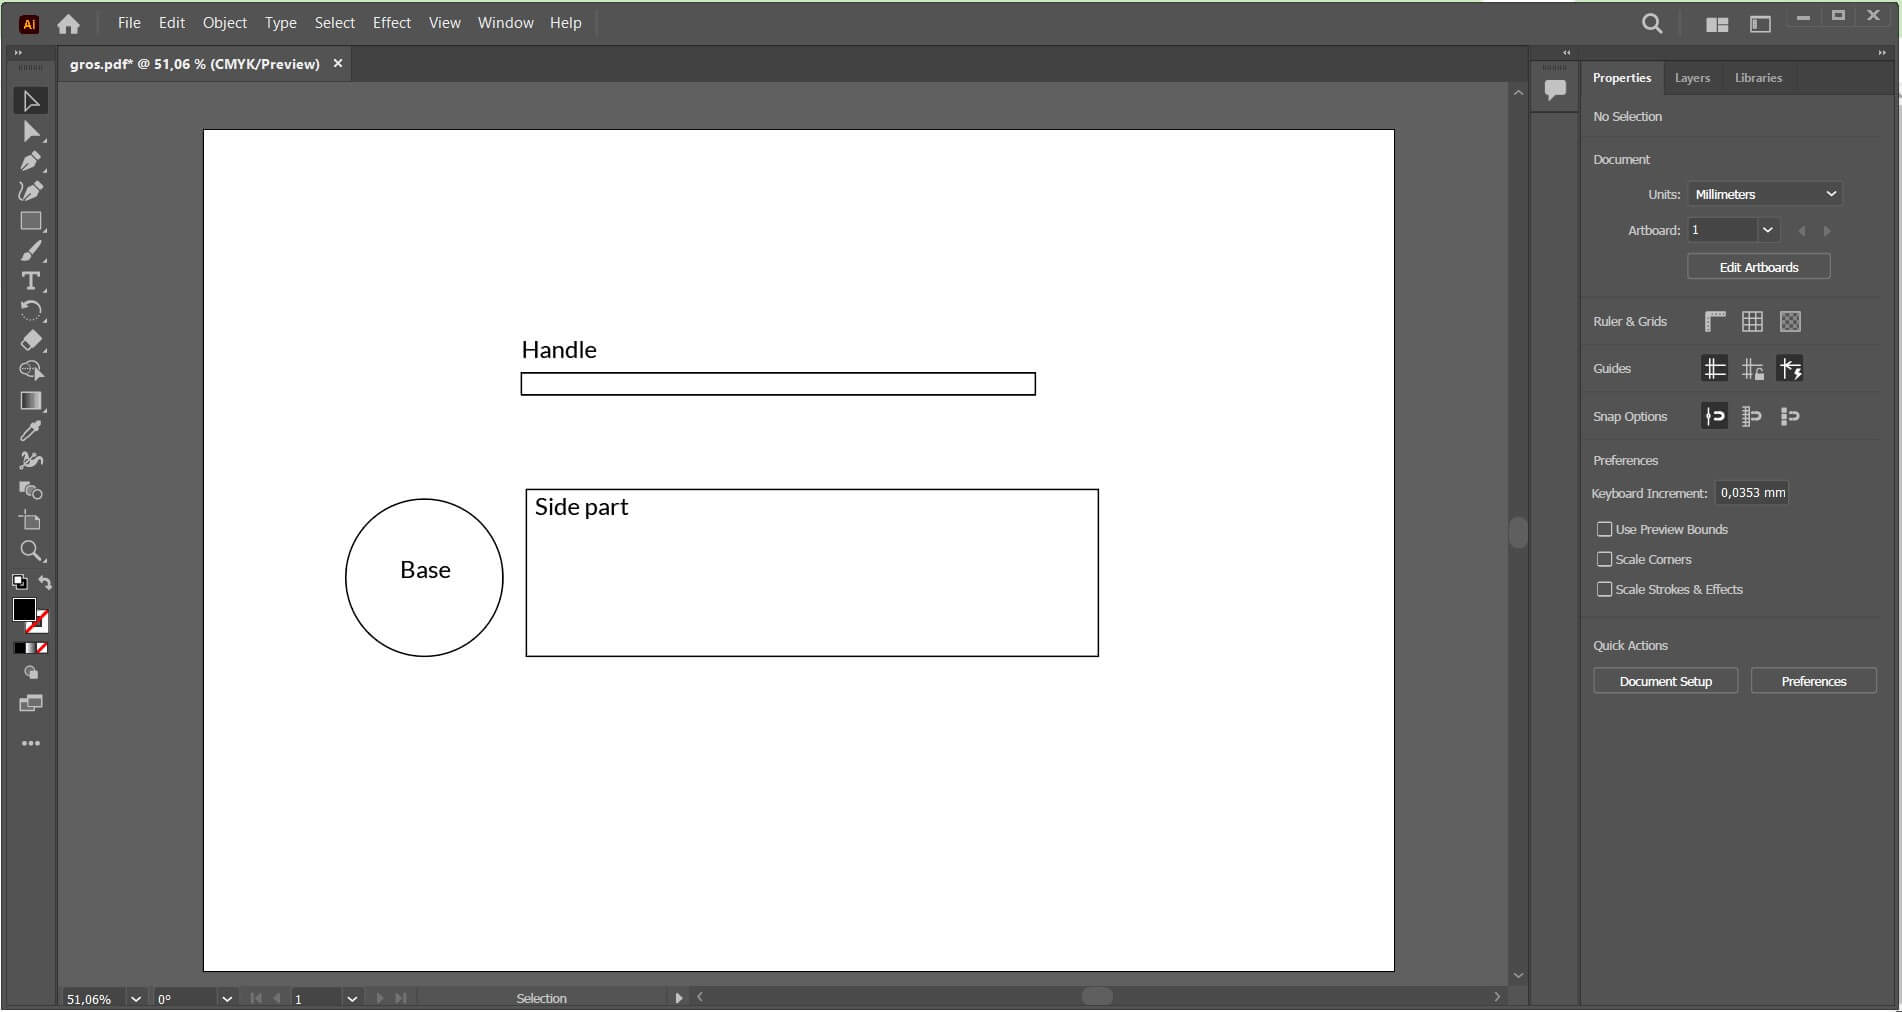
I played around in Illustrator just to understand that the shape is suitable for the wanted connection and also, to understand how many pieces do I need in order to create a modular piece of garment.
The Illustrator tools which were used for drawing the pattern, some of them being: Line, Rectangle Tool, Elipse Tool, Shape builder Tool, Move, Mirror, Copy, Rotate ...
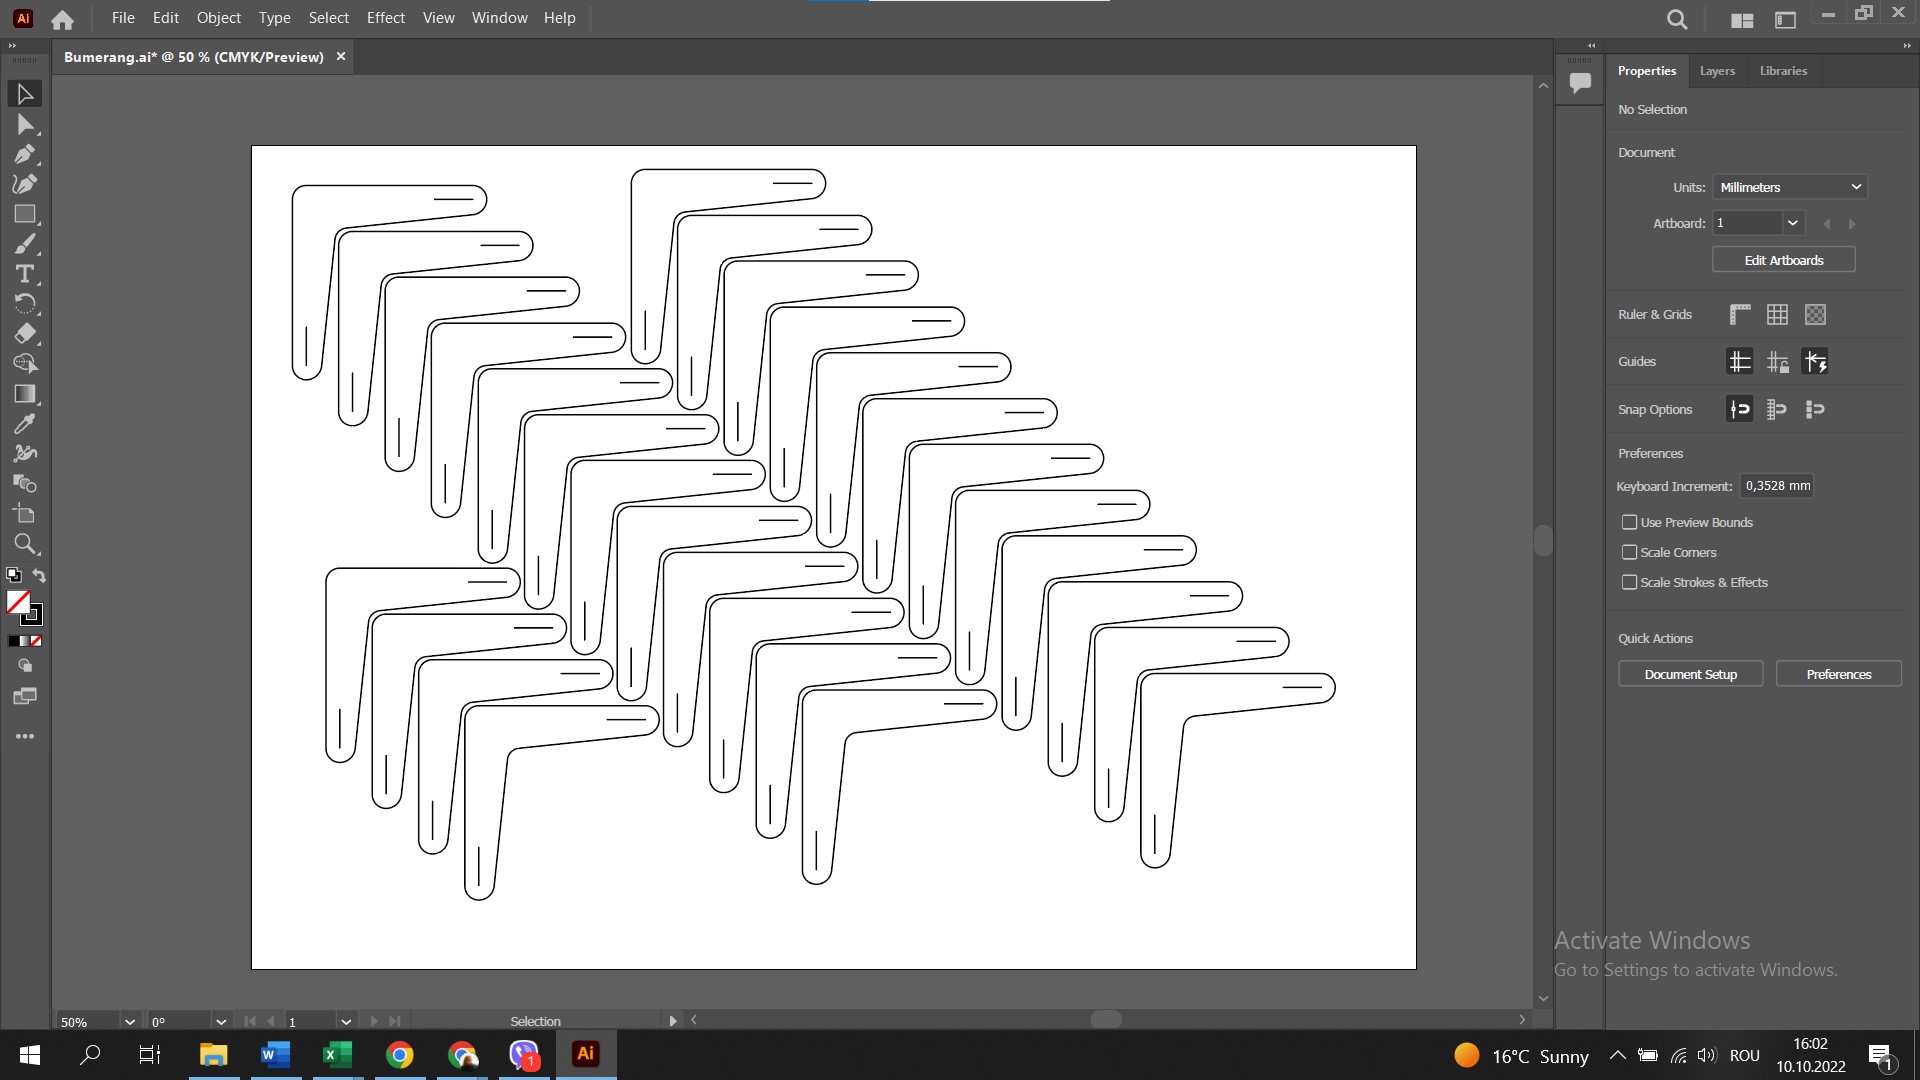
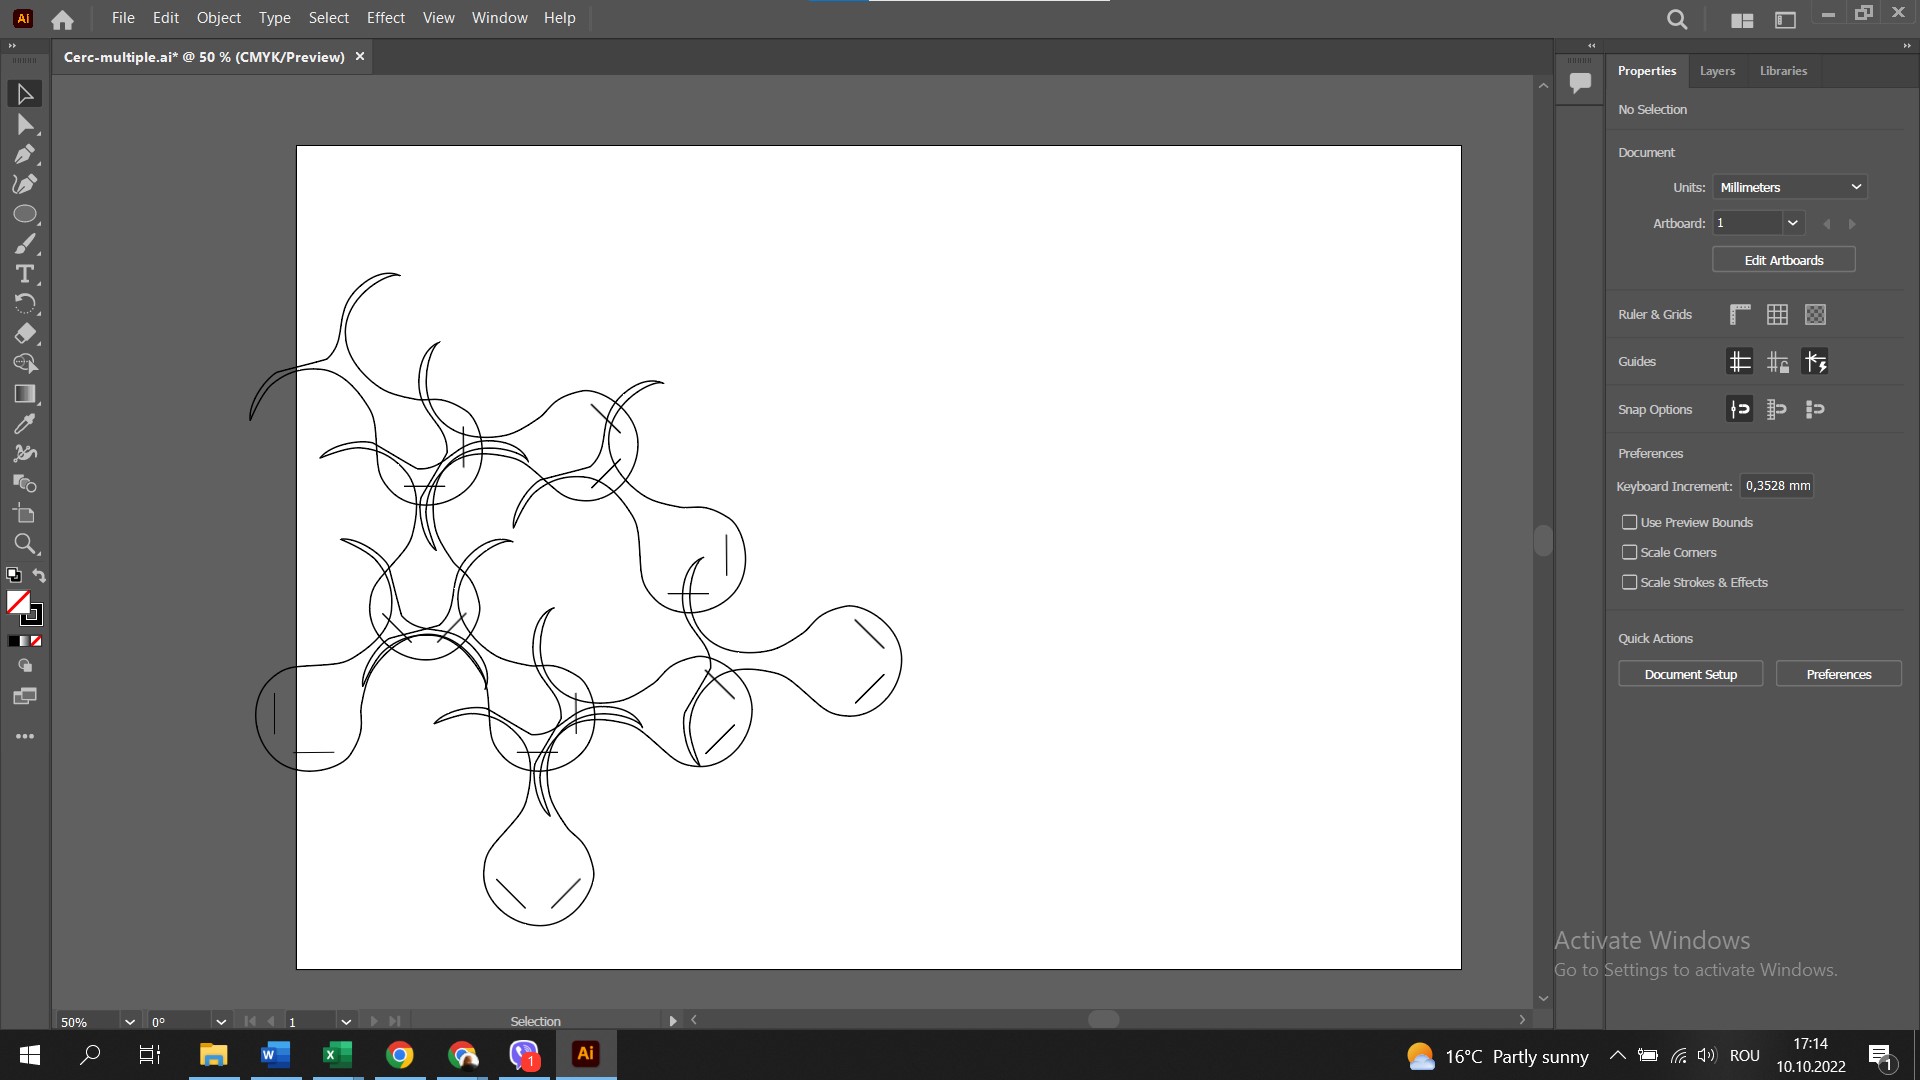 While testing the connection in Illustrator I understanded that it will be more apropriate to have only a centered hole instead of two. But also to make separate some circles and tails that will help assemble the final work. In my case a bag.
Also, I changed the shape of the tails for the reason that the textile from which I will laser cut it, is a 3-4 mm thick felt. And I need them to be more stable, so the connection won't break.
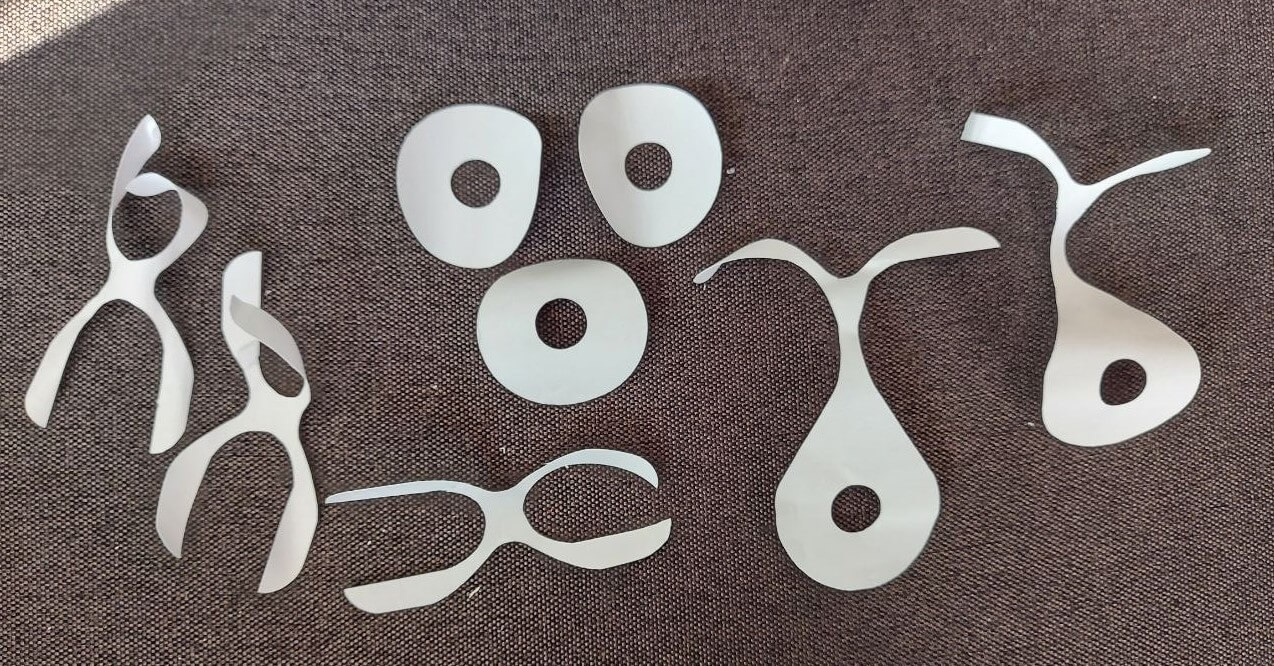
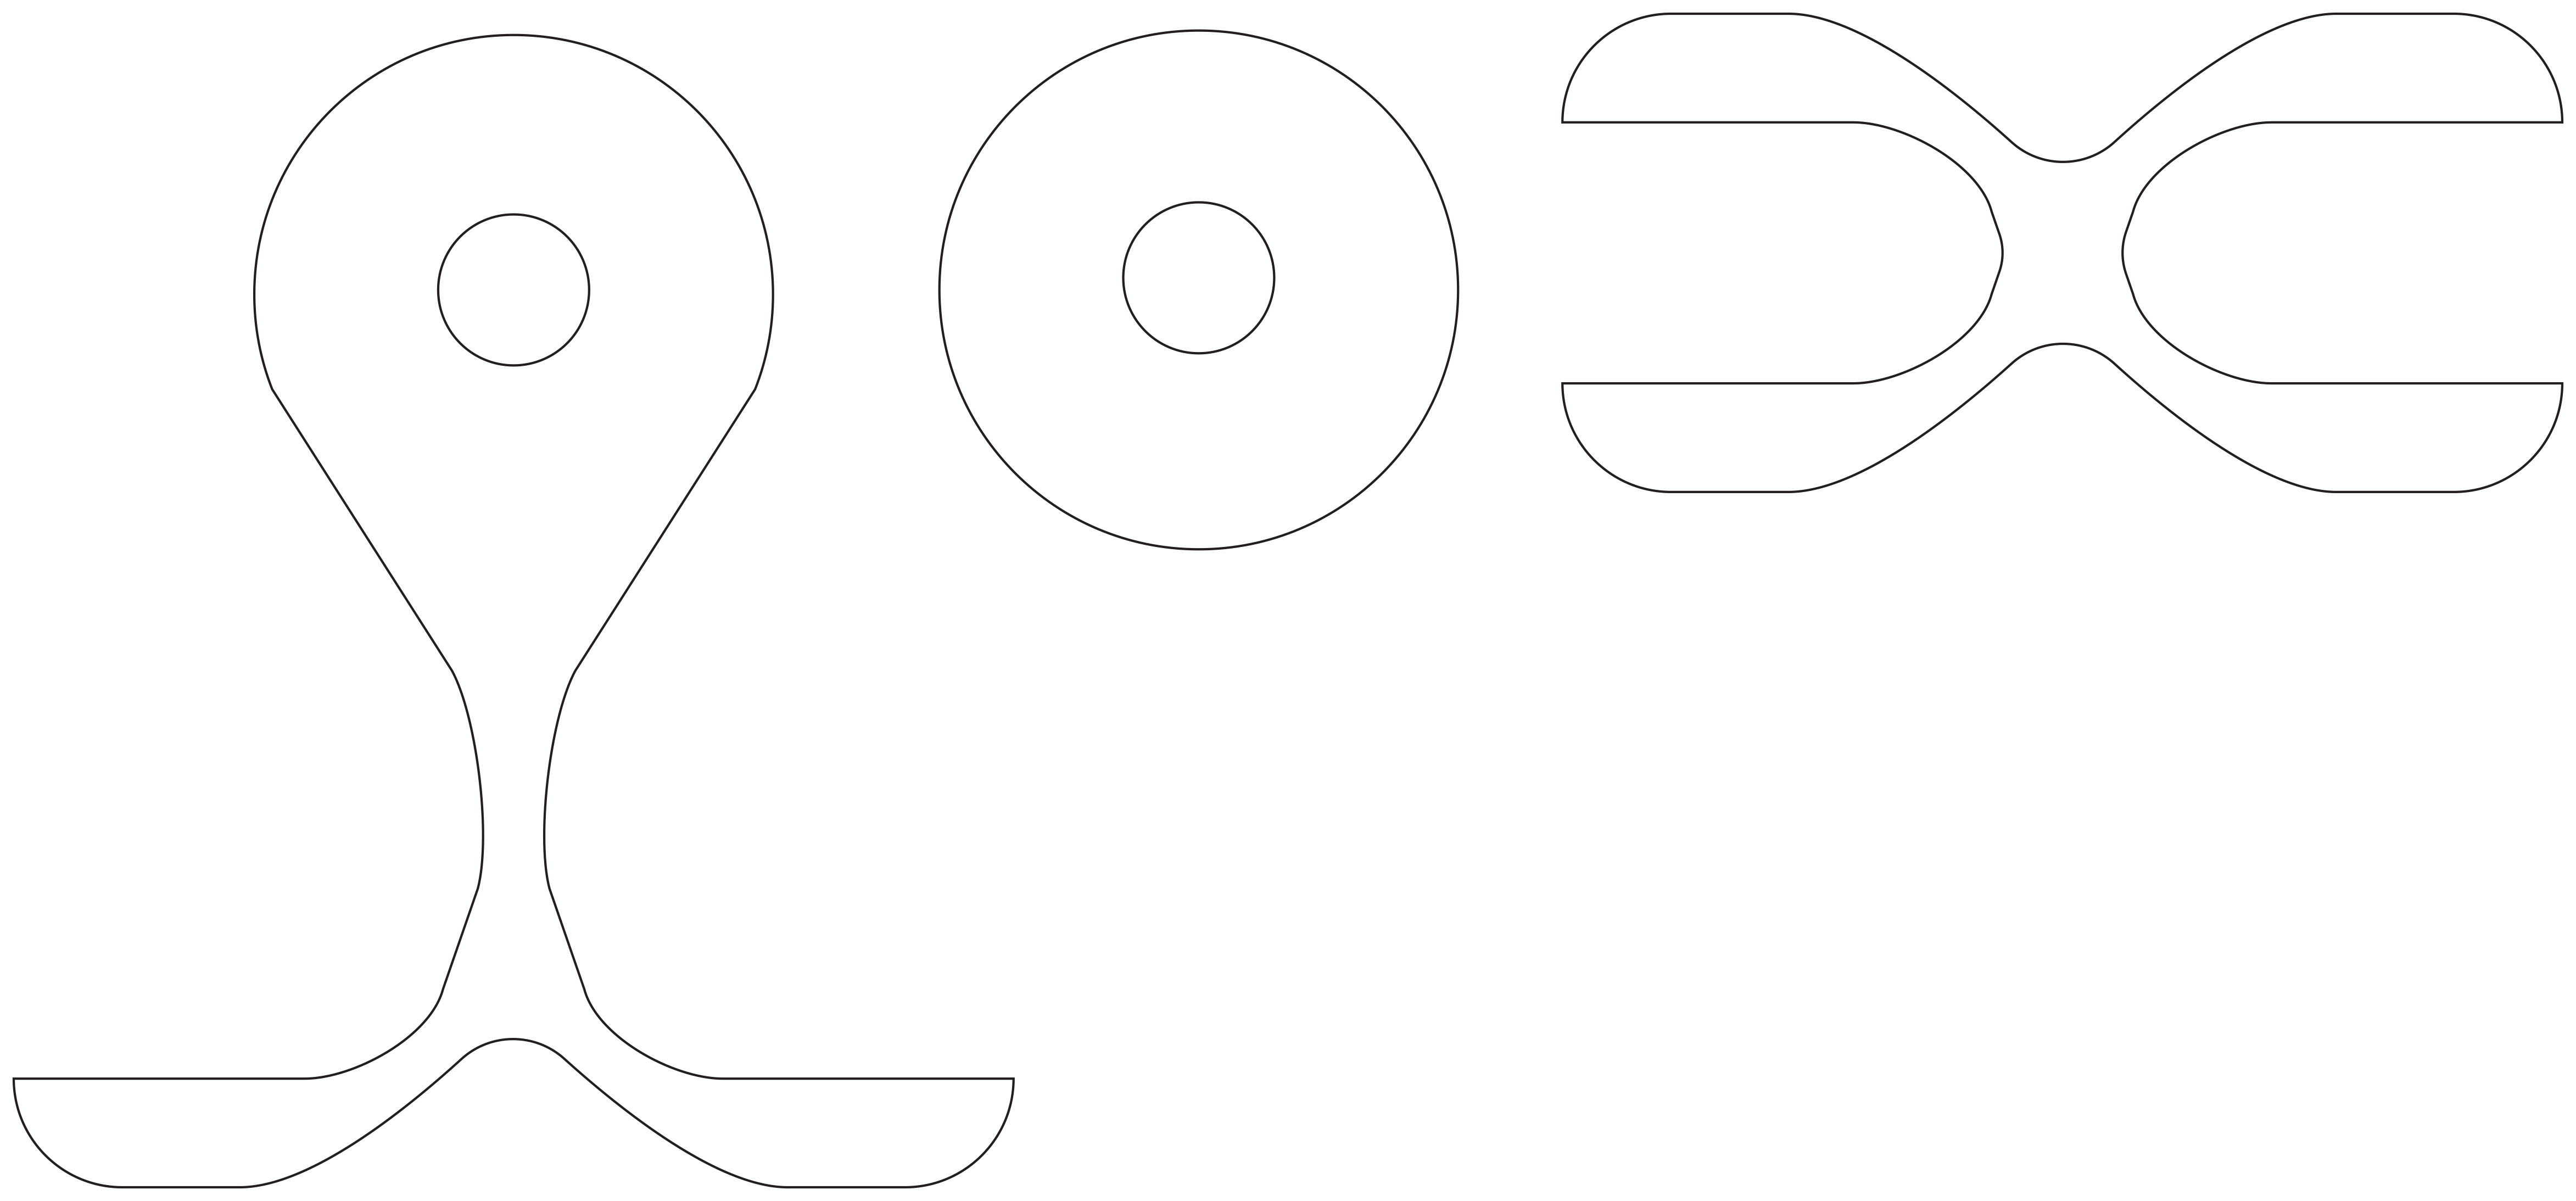 Before laser cutting the pattern2, I test it on paper. I exported the file in PNG to cut them with the help of Silhouette Cameo.

Now, I am ready to laser cutt the design from felt. I exported the file in DXF and went to Fablab.
Selecting the fabric.
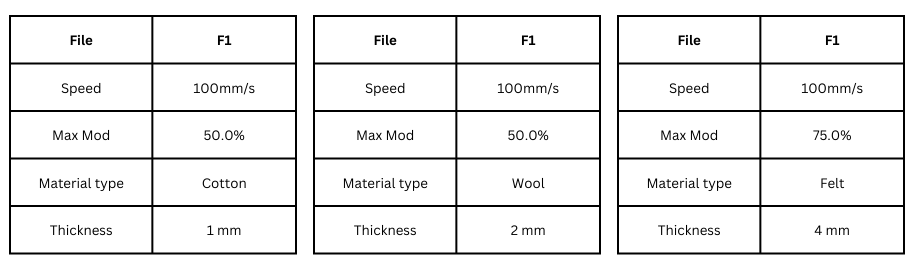
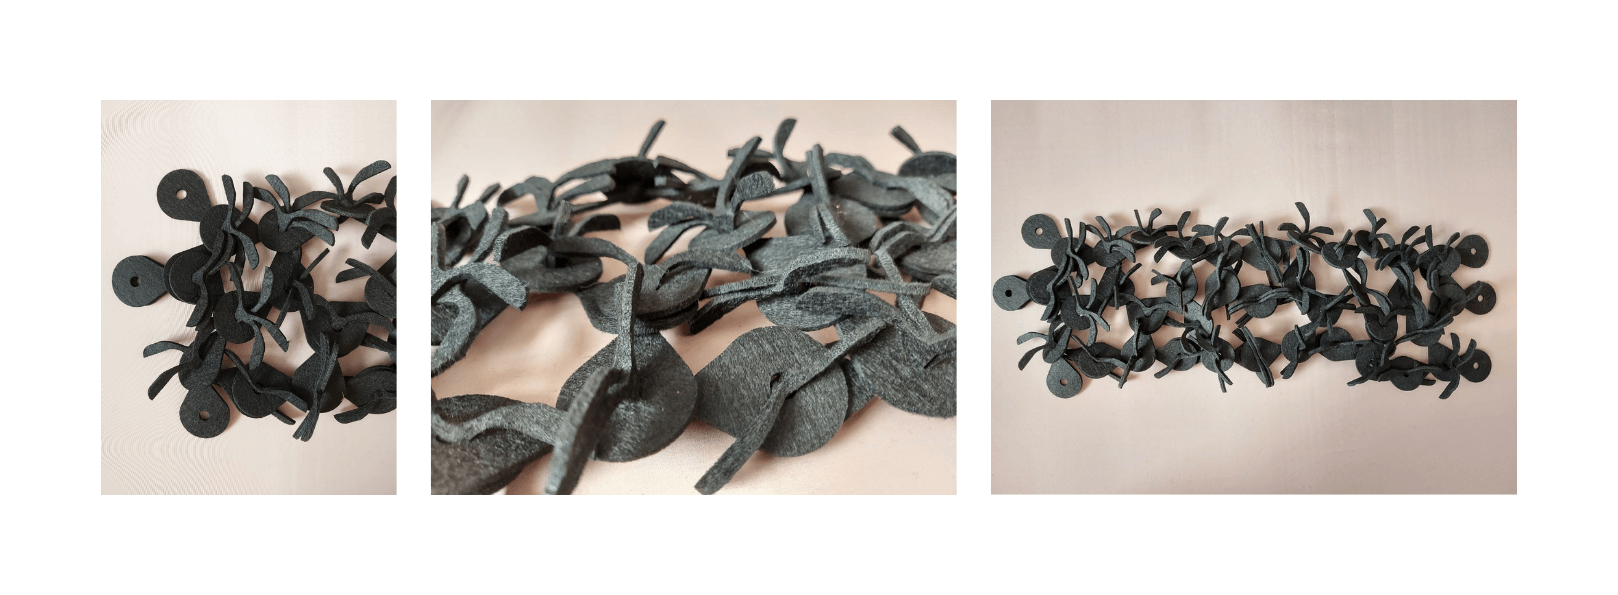
I started running tests at the laser machine, to see how every fabric reacted. I started with parameters similar to cardboard, and adjusted a bit the strength depending on the thickness of the fabirc. Every fabric has a different texture, and will react differently. I tried to cut only natural fibers liike: cotton, thin wool, thick felt.
Some still frayed, some metlted a bit at the corners and ended up beeing itchy on the skin. Thick, non-stretchy felt fabric was my favorite to cut, because it will mentain the conection between the modules.
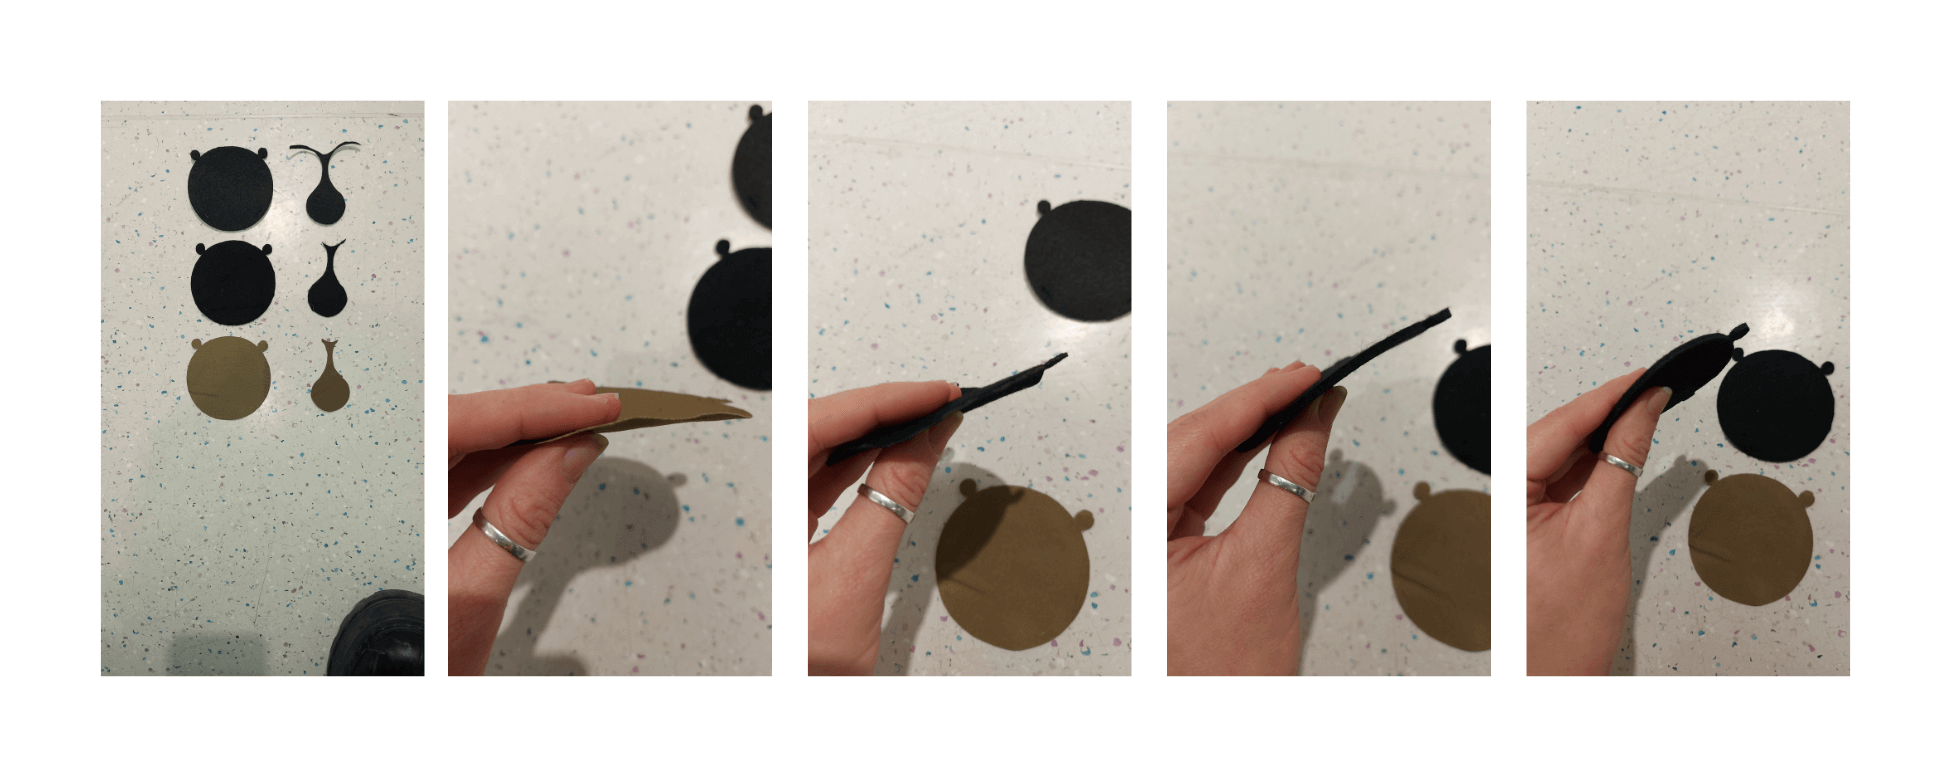 Different types of fabric, laser cutted: 1.cotton 2.thin wool 3-4. thick felt
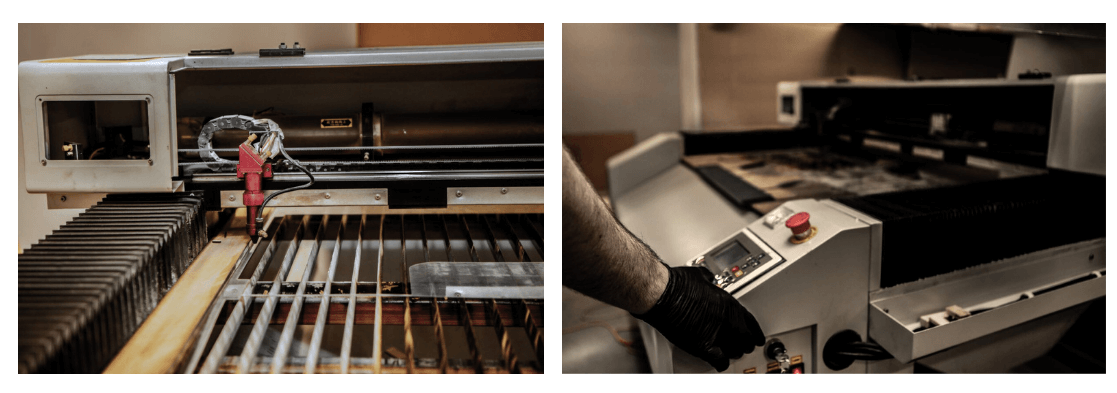
The laser cutting machine from Fablab is a big one. It can process a width of 120 cm and length of 2 meters.
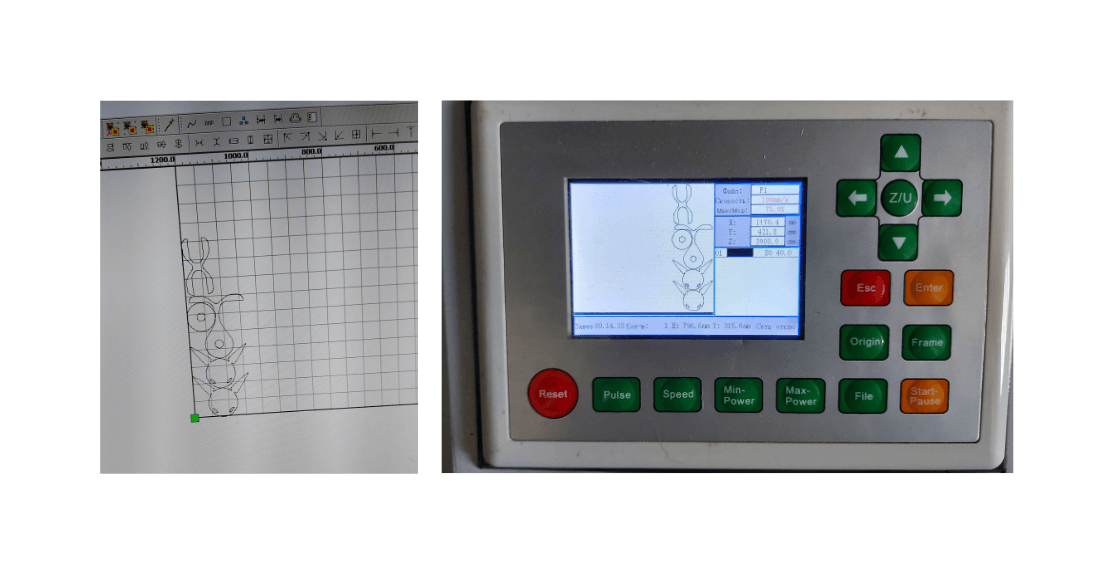
First, I tried to cut one piece at a time to understand if it fits me with the thickness of the selected felt. Because I already liked the connections tested on paper, it was just a matter of thickness to be sure that everything is strong when connected. Here you can see the settings for the laser cutting machine I used:

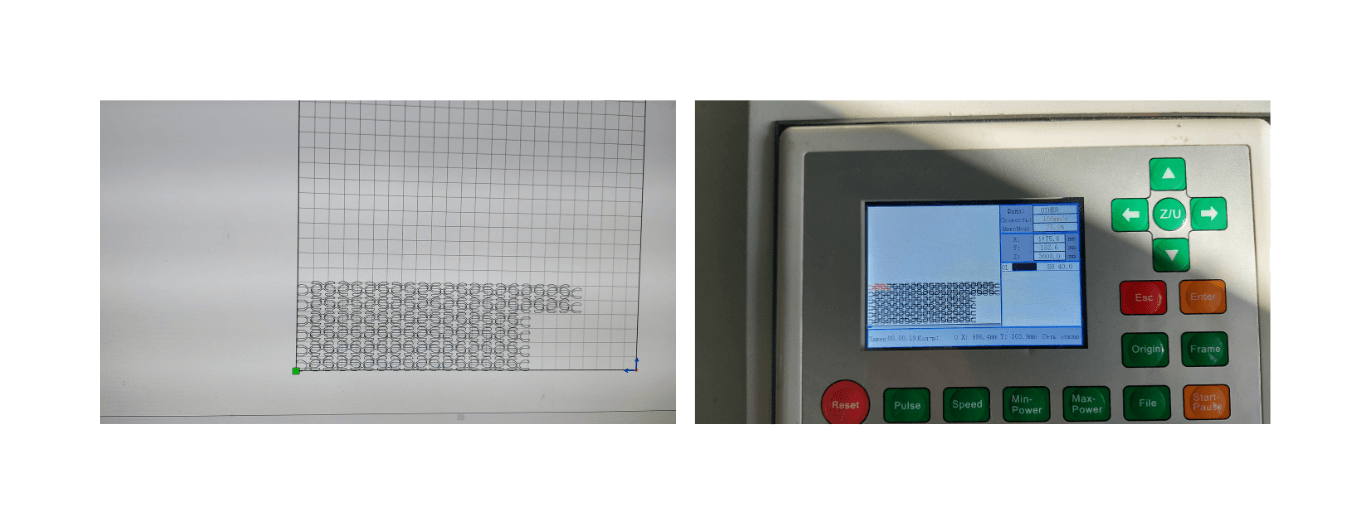

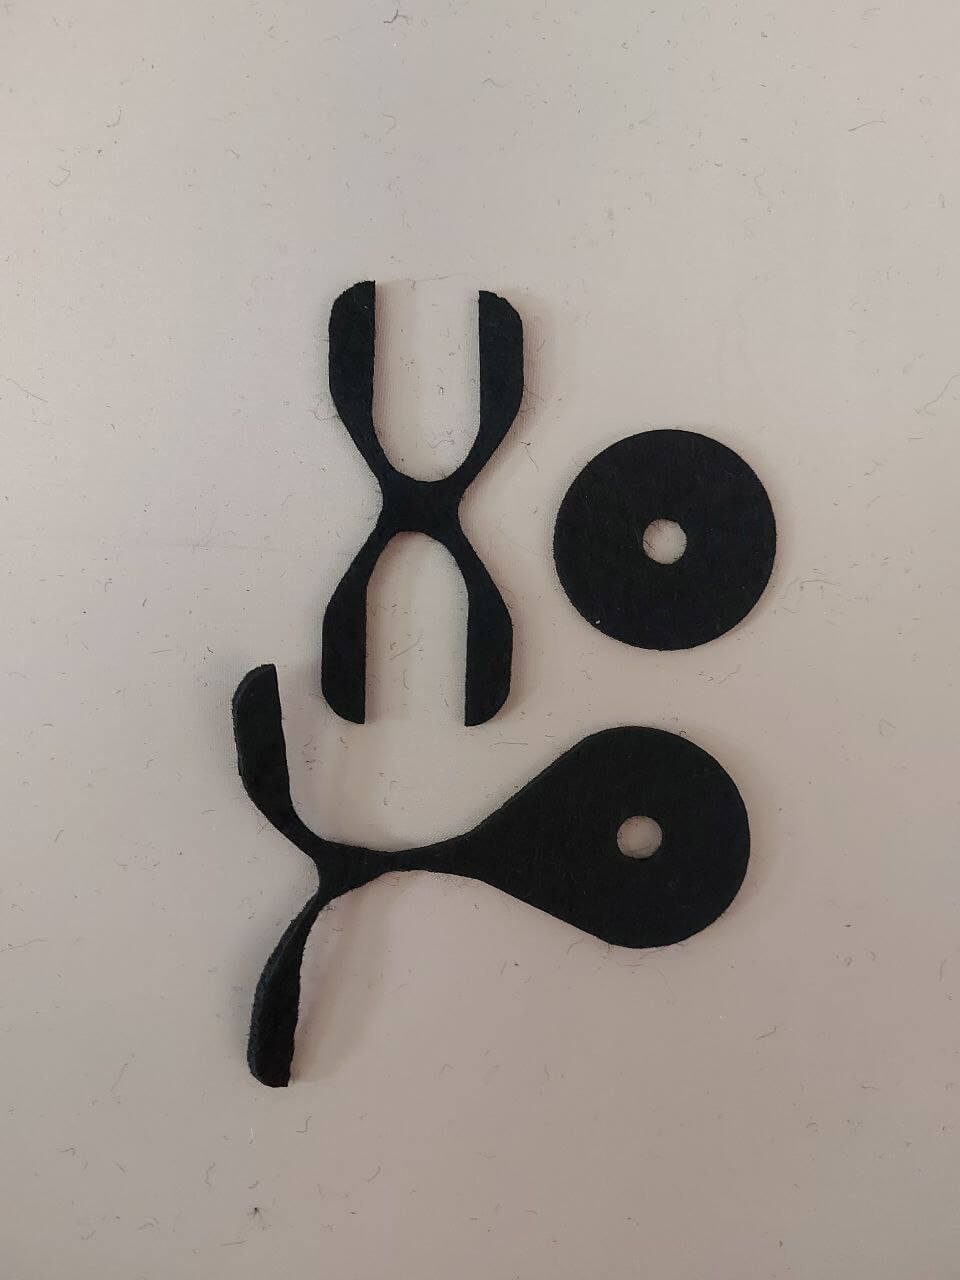 These are my main parts that I cut and used for assembling of my bag.
I needed to keep in mind that the connection of the elements need to form the following pattern in order to create the bag.
So, here is the side part of the bag.
 And the bottom and handle.
Assembly videos
I like that the bag is a mesh one and you can see through it what is hidden in it or what products you carry in it. I would like to keep it in this version, maybe to add a lining of a bright color to create a contrasting image.
You can find the downloading files also on OS Circular Fashion.
Fabrication files
-
File: CUMA piese modified ↩
-
File: Modular Mesh Bag ↩