6. BioFabricating Materials
Research
First time when I met this week's theme was back in this summer, thanks to the charming Adele Orcajada from Basque BioDesign Center, who visited our hub and held a masterclass on Biomaterials. This is when the story has began. It was very interesting because we explored the magical world of biomaterials. And even if we didnt manage to experiment with a lot of recipes, the seed of curiosity was planted. I guess after taking part in this masterclass I found it very relate to my values and wanted to enroll in this Fabricademy journey.
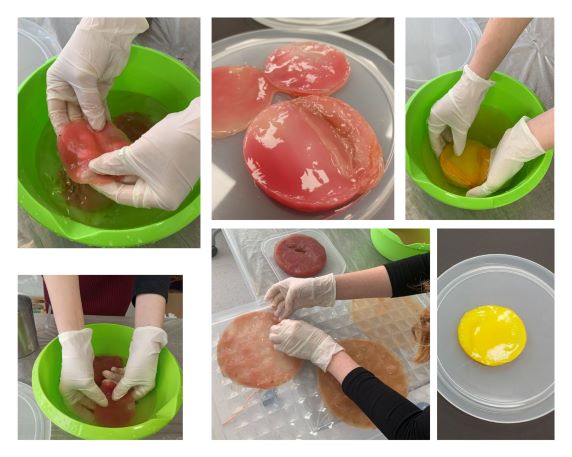
Since then I started taking care and feeding kombucha scoby in order to prepare in advance for Biofabricating week. This is why, this week started primarily with the experimentation with scoby. For a better color result, I decided to feed her (we named her Lola :D ) in advance of 24h with a hibiscus tea and a sweet turmeric tea.
The lecture on BioFabricating Materials held by Cecilia Raspanti and the tutorials were extrimely inspiring and guided our hub to do so many and diverse biomaterials. We started with understanding their different characteristics and biofabrication techniques of crafted and grown materials. Also the needed ingredients that make them up.
Inspiration
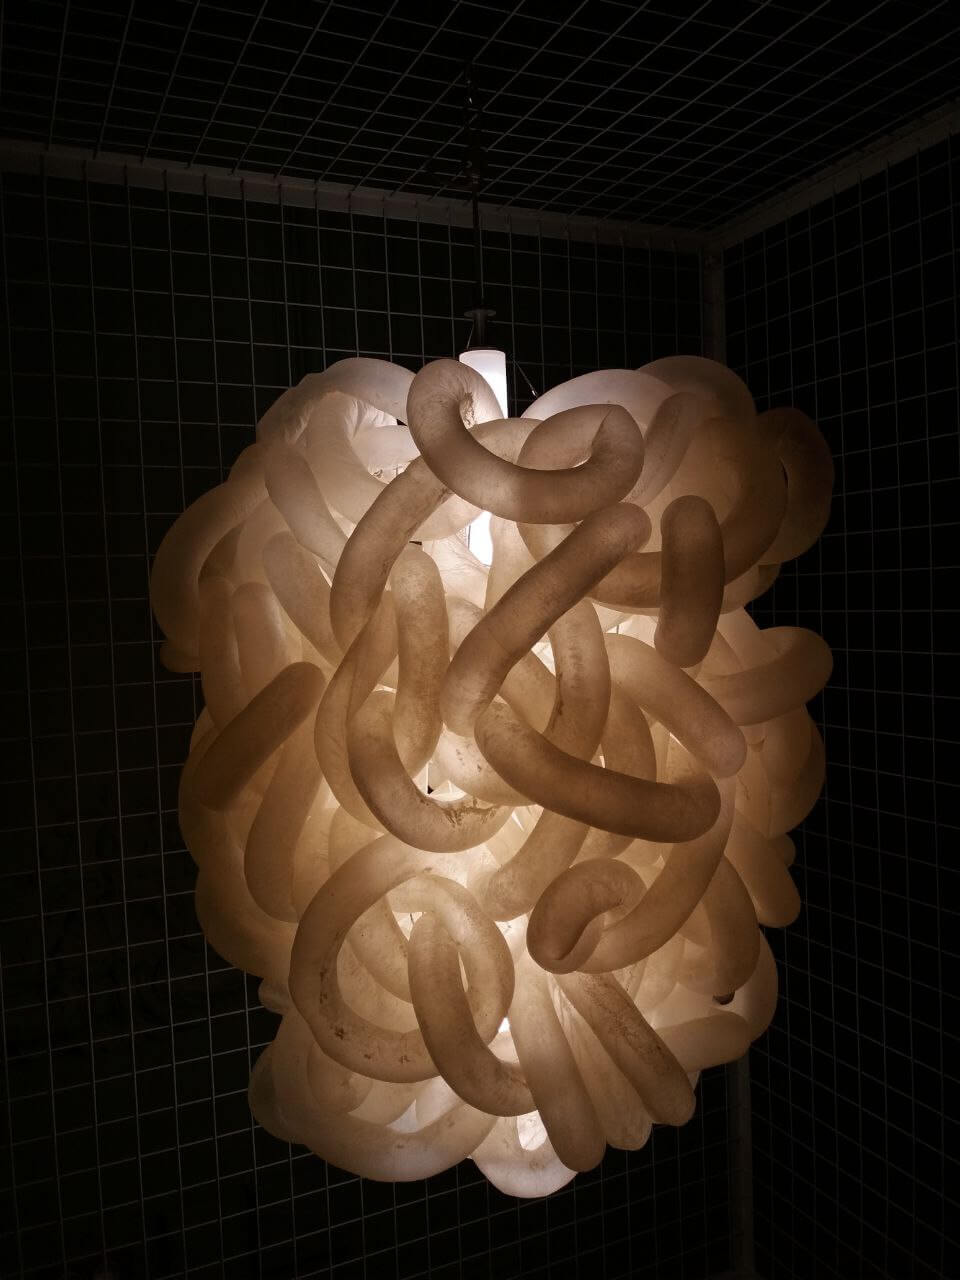
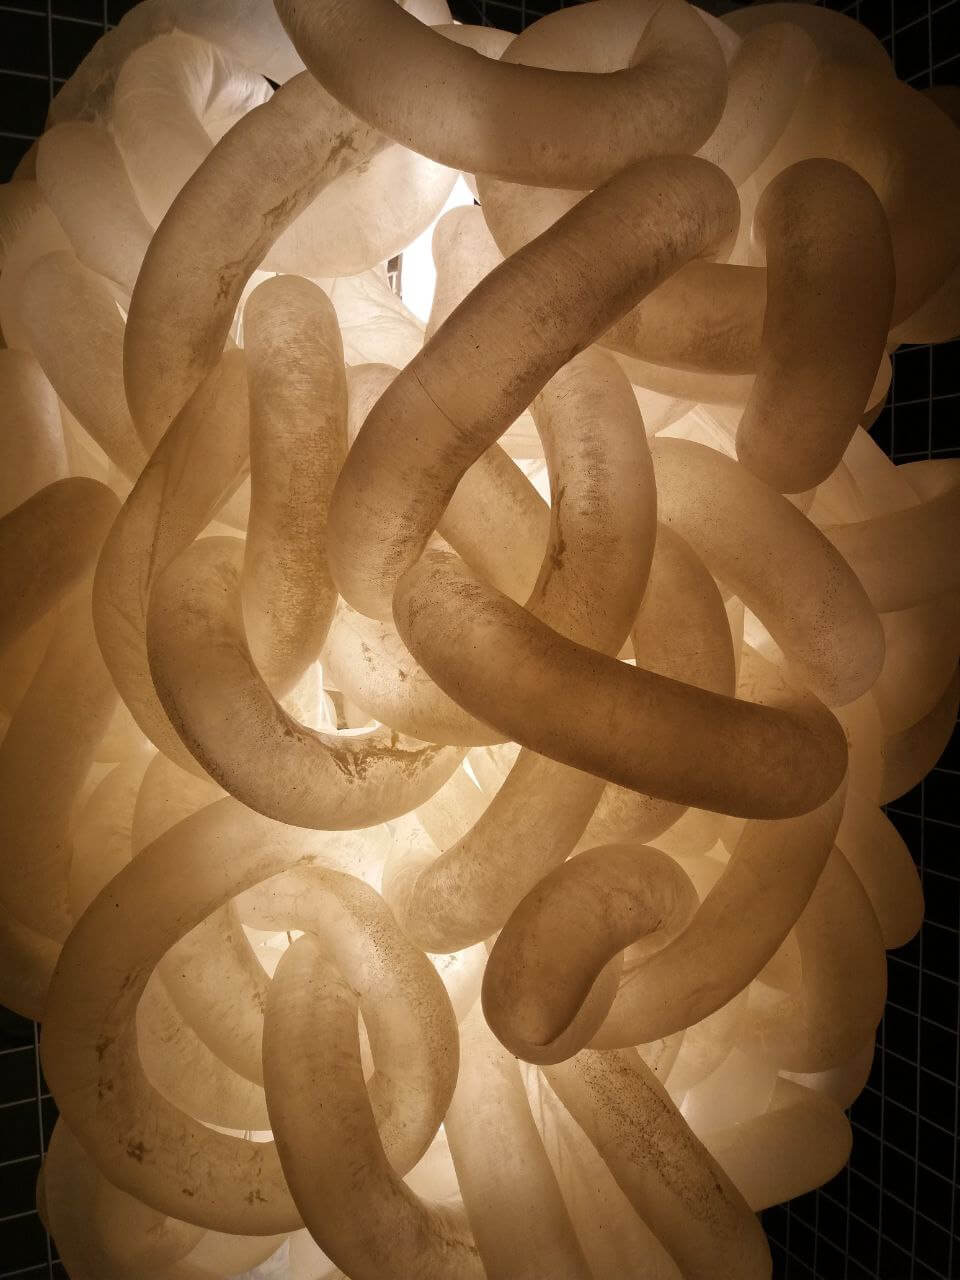
Being sustainable is about reducing waste, and this is the main ethos behind Danish designer Kathrine Barbro Bendixen, founder of Studio KKB, that was one of my biggest inspiration on experimenting with unexpected materials normally hidden from sight, that are seen as a waste. In this case, her use of discarded cow intestines to create lighting installations. Starting this unusual practice for her degree show for Eindhoven Design Academy a few years ago, Kathrine was initially inspired by sausage-making and decided to experiment to see what else she could make from this simple byproduct. By challenging our understanding of the value of these materials, her light sculptures bring new life to waste products and delivers delicate artistic pieces that are combined with functional, sustainable design.

In terms of Fabricademy graduates, the biggest inspiration for this week was the pages of Loes Bogers, Beatriz Sandini and Clara Davis

Overview material research outcomes
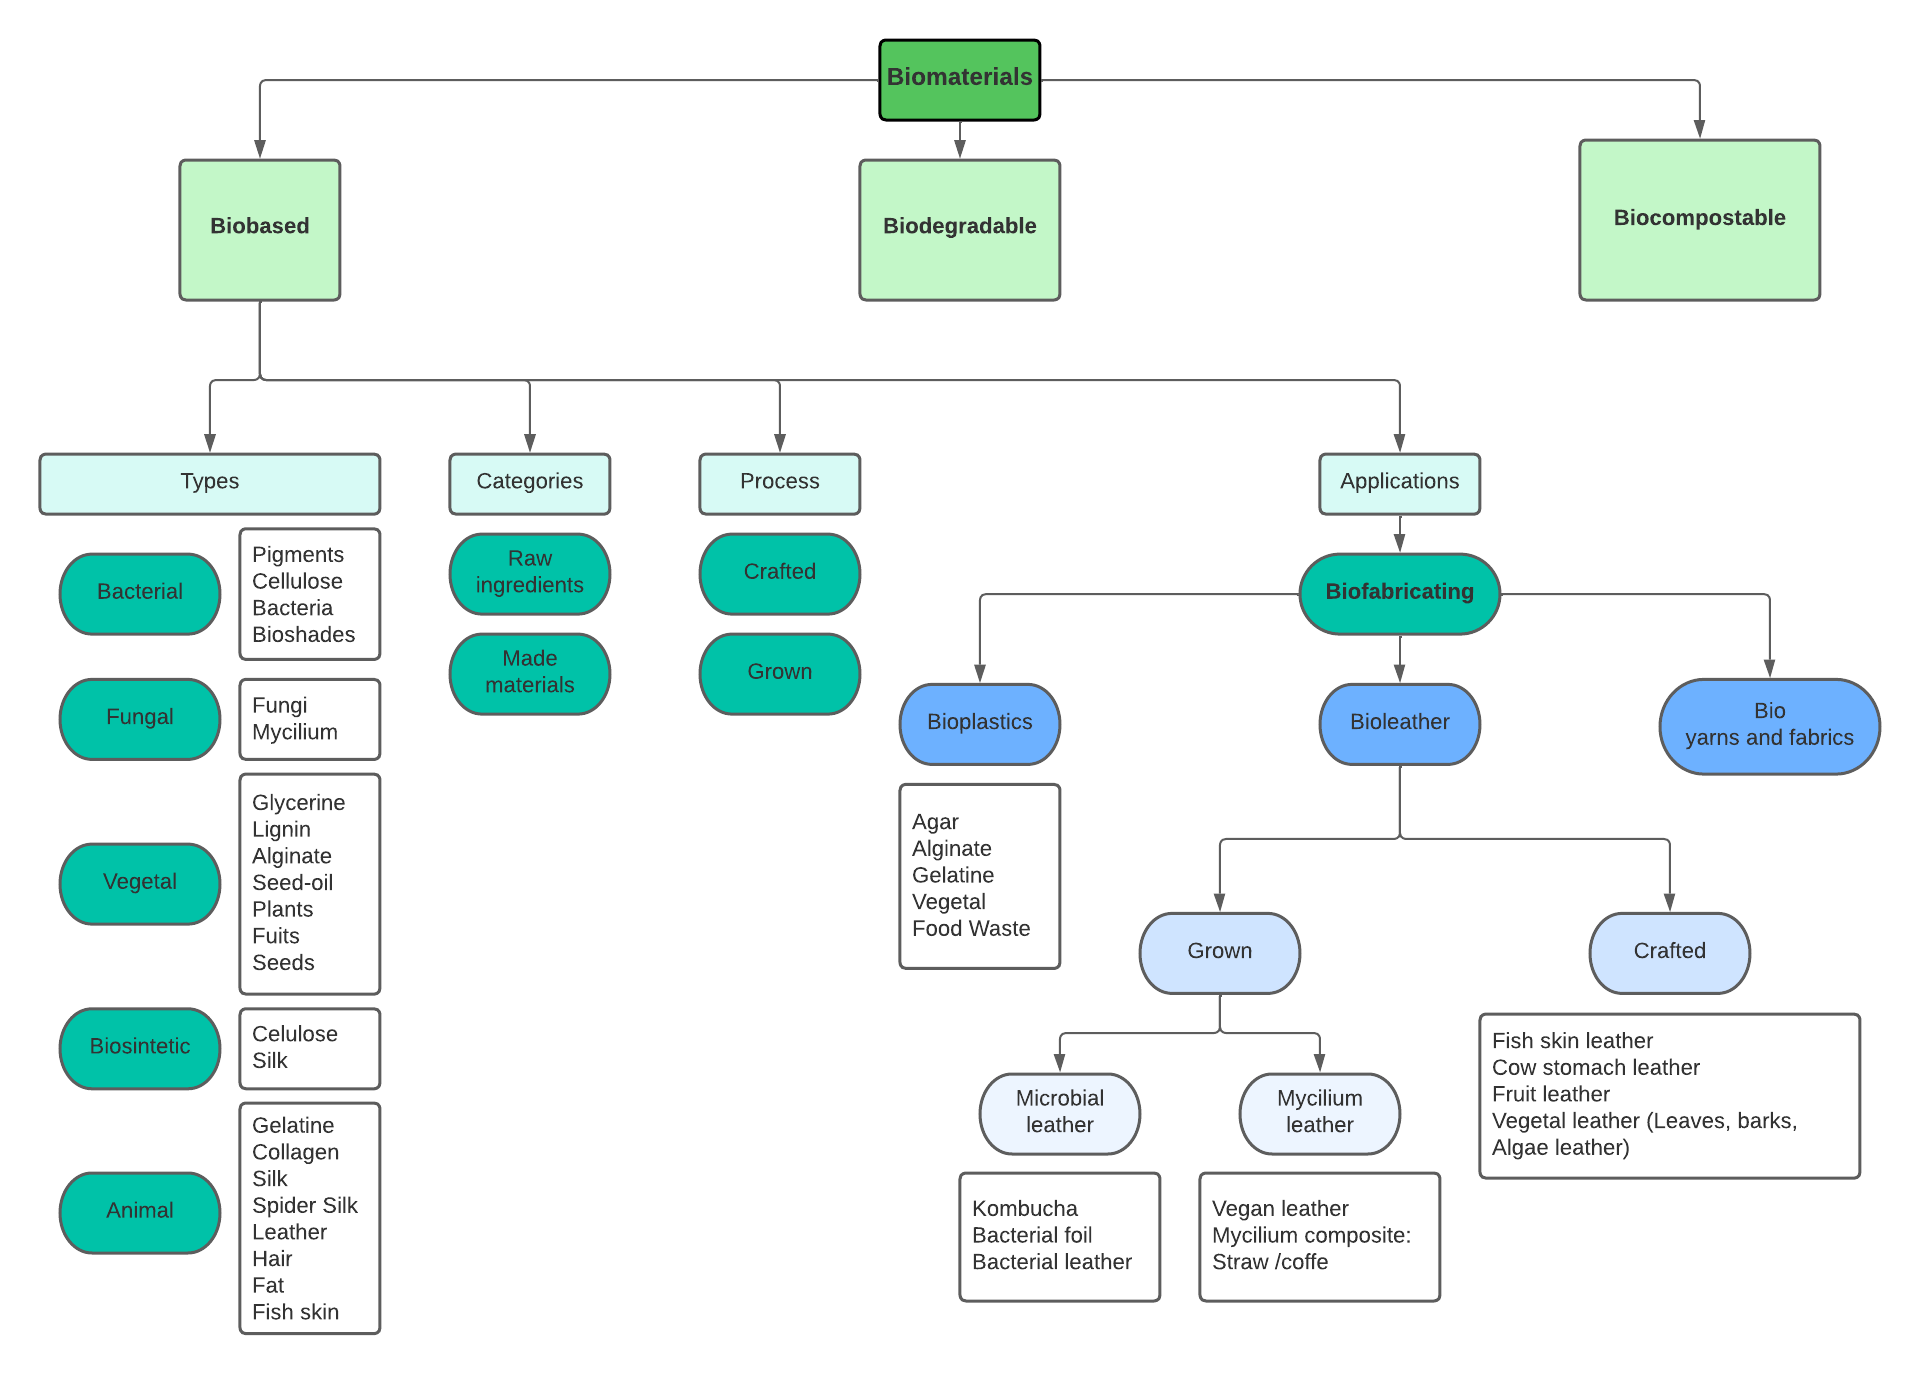
Biomaterials diagram by Emma Picanyol
At first, I got confused about the variety of biomaterials and the differences between them, so I added this scheme that helped me clarify the types of biomaterials.
So, basically plastic are POLYMERS. Some types of polymers for BioPlastic are : GELATINE, AGAR, ALGINATE, CASEIN, CELLULOSE, CHITINE, STARCH.
These polymers can vary based on different agents, such as:
Plasticizer : to create fexibility | Glycerin
Filler : to avoid shrinkage | Egg shells, Chalk, Fibers, Oils, etc.
Stiffening : to structure and reinforce | Fibers, Natural debri
Expanding : to creat foams | Green soap, Emulsifiers
To add color to the biomaterial, natural inks and pigments or food colorant can be used.
Also, plastic can be assembled, glued, stitched, casted, machine cutting, extrusted and injected.
This week, we cooked and cast gelatin-based bioresin, biofoil and biofoam, and agar-based biofoil. Using a variation of color additives and fillers (corn starch, tapioca, ground egg shells, coffee husks, onion skins, dried flowers, orange peels).
My favourites? The coffee husks/gelatine bioresin, banana leather and conductive gelatine bioplastic. And of course the process itself! I embraced the fact I did not need to control the output for this week, just play, explore, and document findings. It was hard to choose only a few recipes, so this is why we make some group tests and after this split to make some individual samples.
Process and workflow
Agar Bioplastic
 Here are some exemples of colorful agar biofoil made this summer at the masterclass on Biomaterials held by Adele Orcajada from Basque BioDesign Center.
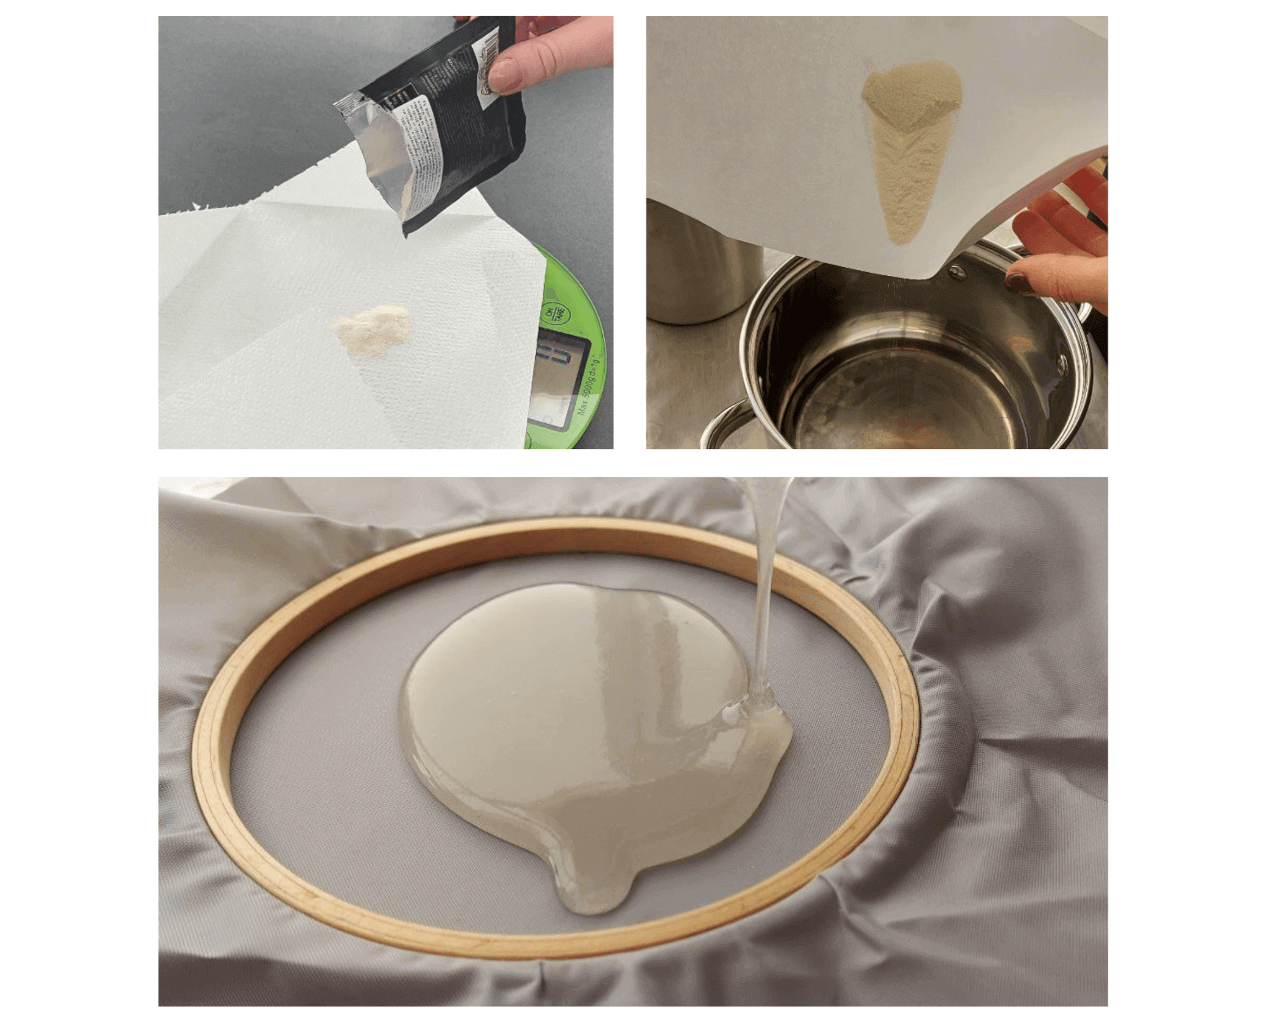
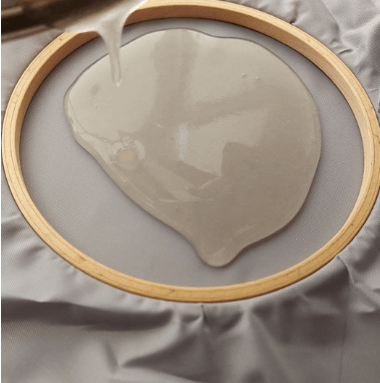
This week we started to work on the week's assignments together. We started with the crafting of bio-materials, more precisely with the agar bioplastic. Agar or agar-agar is a jelly like substance obtained from red algae. Agar bioplastic was made by mixing water, glycerine and agar-agar powder.1
* agar-agar powder - 4 g
* water - 100 ml
* glycerine
            - 0 g (brittle);
            - 5 g (semi-flexible);
            - 14 g (flexible).
* pigments 0-3 g
* cinnamon
* Cooker/stove/hotplate
* Measuring Cup
* Cooking pot
* Scale
* Stirring spoon
* Flat surface
* Molds
* Measure all the ingredients.
* In a cooking pot, off heat, mix the water with the glycerine.
* Add agar. Mix gently at 60 ºC so that Agar is dissolved with the Glycerine.
* Simmer more for 15-20 min at 80ºC.
* Prepare Molds.
* Prepare your colours in jars.
* Once it becomes thicker like a syrup, mix your colours on the jars and gently cast in moulds.
* Let it dry in a ventilated and dry room.
* Wait 4/5 days of drying before removing the bioplastic material from its molding surface.
| Photo | Material Name | Polimer | Plasticizer | Coloring | Filler |
|---|---|---|---|---|---|
 |
Biofoil brittle | Agar | None | None | None |
 |
Biofoil semi-flexible | Agar | Glycerine 5g | Green natural pigment 1g | None |
 |
Biofoil flexible | Agar | Glycerine 14g | Green natural pigment 3g | None |
Gelatine bioplastic
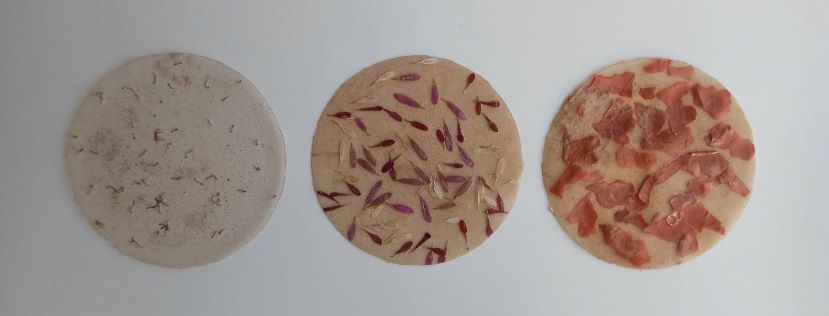
For the second experiment we used gelatin as the polimer. Gelatin is an ingredient of animal origin, made from the collagen present in animal parts. In the second experiment, the focus was not only on the level of elasticity, but also on the visual effect of the material. Biomaterial of medium elasticity mixed with various flowers, peels, leaves, coffee, eggshells were used.2
* gelatine powder - 48 gr
* water - 250 ml
* glycerine - 0 gr (brittle);
      - 24 gr (semi-flexible);
      - 48 gr (flexible).
* pigments
* flowers, peels, etc.
* cinnamon
* Cooker/stove/hotplate
* Measuring Cup
* Cooking pot
* Scale
* Stirring spoon
* Flat surface
* Molds
* Warm water in a pot on the stove.
* Add the Glycerine.
* Add the Gelatine.
* Mix the ingredients gently until a smooth mix.
* Boil for 15-20 min at 80-86ºC max whisking constantly.
* Prepare Moulds.
* If you are paling to use multiple colors, prepare them in jars.
* Once it becomes thicker like a syrup, mix your colours in the jars and gently cast in moulds.
* Let it dry in a ventilated and dry room
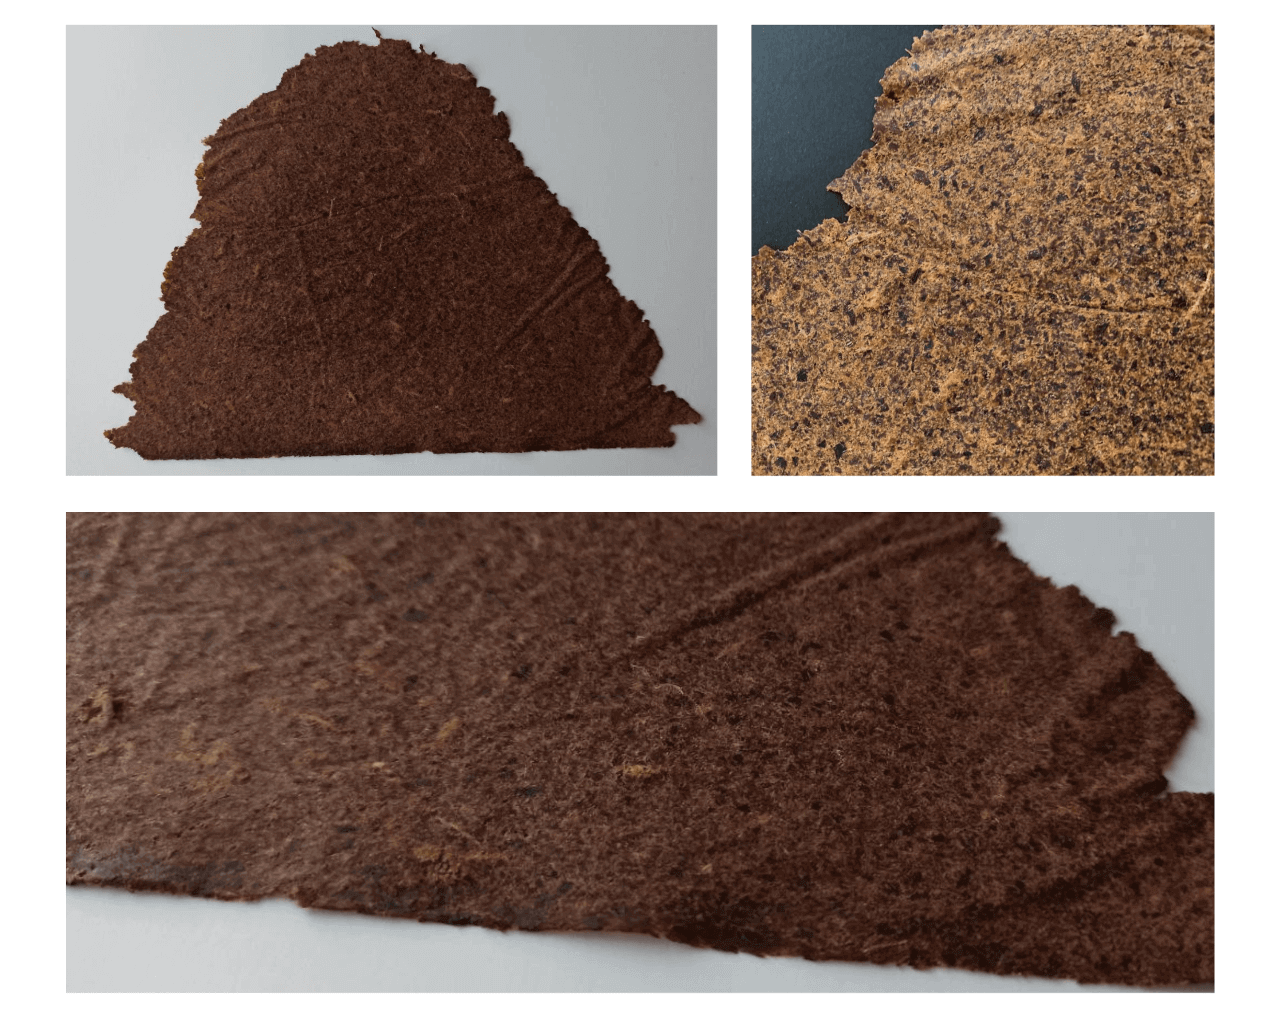
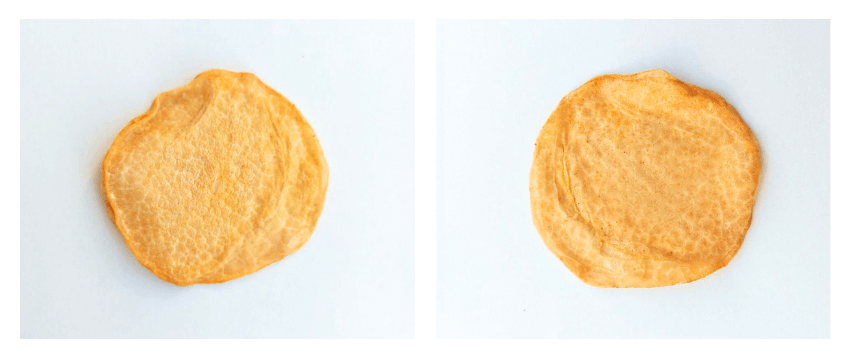
Fruit leather
 We also tried to make a fruit leather. The most common recipe is the Banana Leather. 3
It creates a beautiful brown, marble like effect material, that in our case become very thin and plyable. For this recipe you will need the following ingredients:
* Banana peels 60-70 gr
* Vinegar 25 ml
* Water 250 ml
* Cinnamon 1,5 gr
* Honey 5 gr
* Thyme 1 gr
* Cooker/stove/hotplate
* Measuring Cup
* Cooking pot
* Scale
* Blender
* Stirring spoon
* Flat surface
* Wooden roller
* Baking paper
* Sieve
* Measure all the ingredients.
* Cut banana peels into small pieces.
* Place the pieces into the blender, add 250 ml of water and blend everithing into a paste.
* In a cooking pot, heat and stir gently. Turn off the heat after boiling.
* Filter and remove the excess water, use a sponge to dry the residue.
* Scape everything into a bowl and add vinegar, thyme, cinnamon and honey. Mix everything well.
* Put the mixture inside the baking paper and roll it with the wooden roller gently, until the desired thickness. Leave it aside on a flat surface for about 2 days.
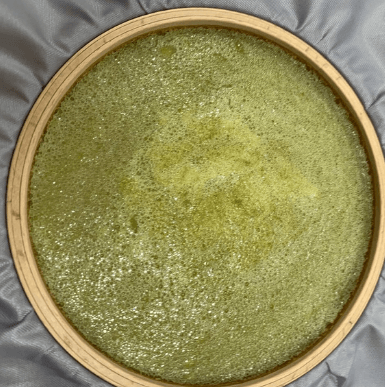
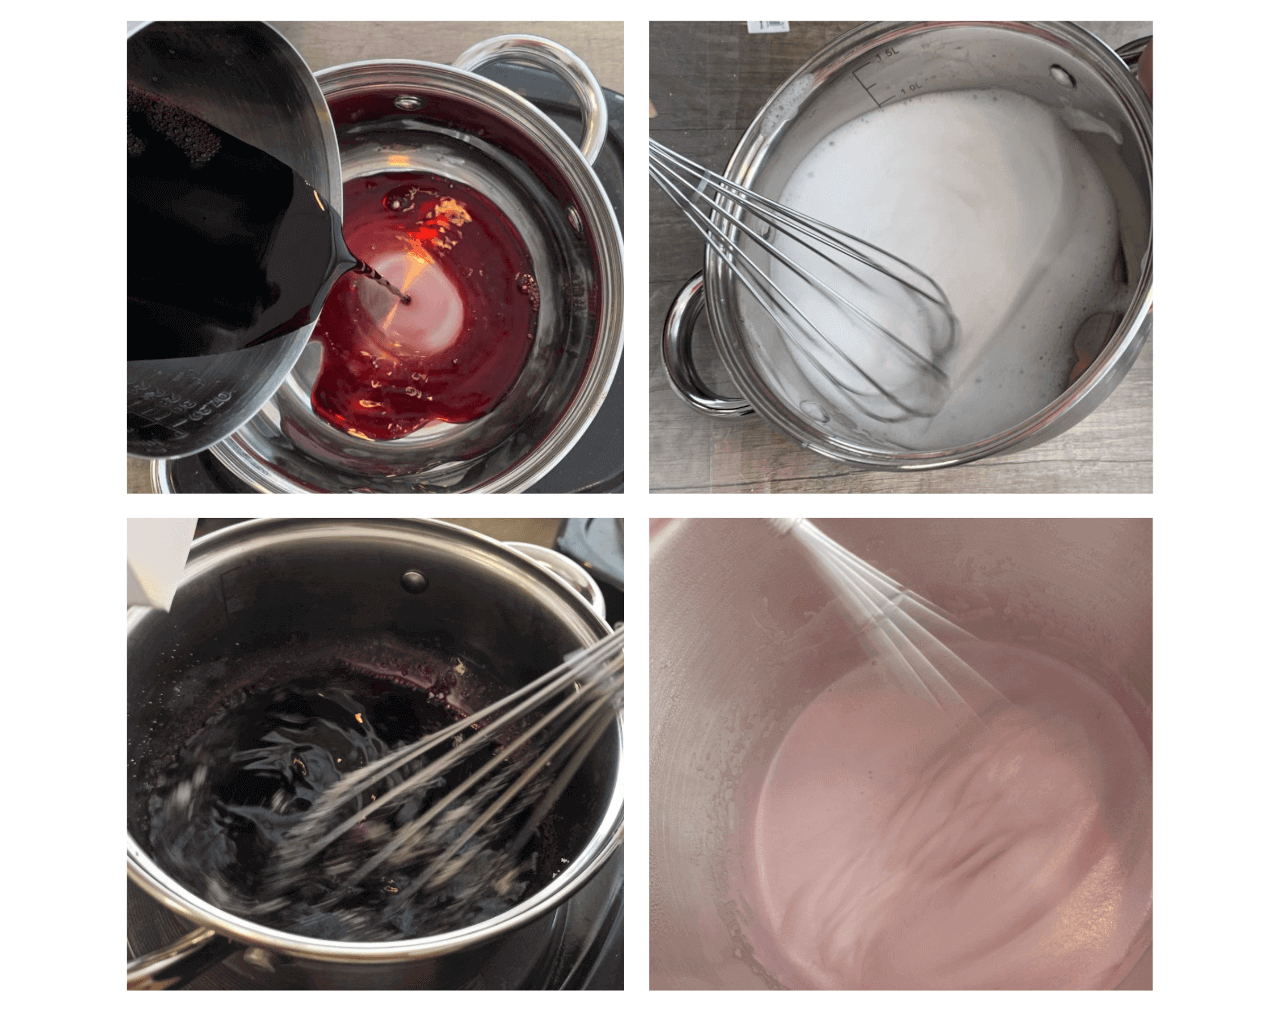
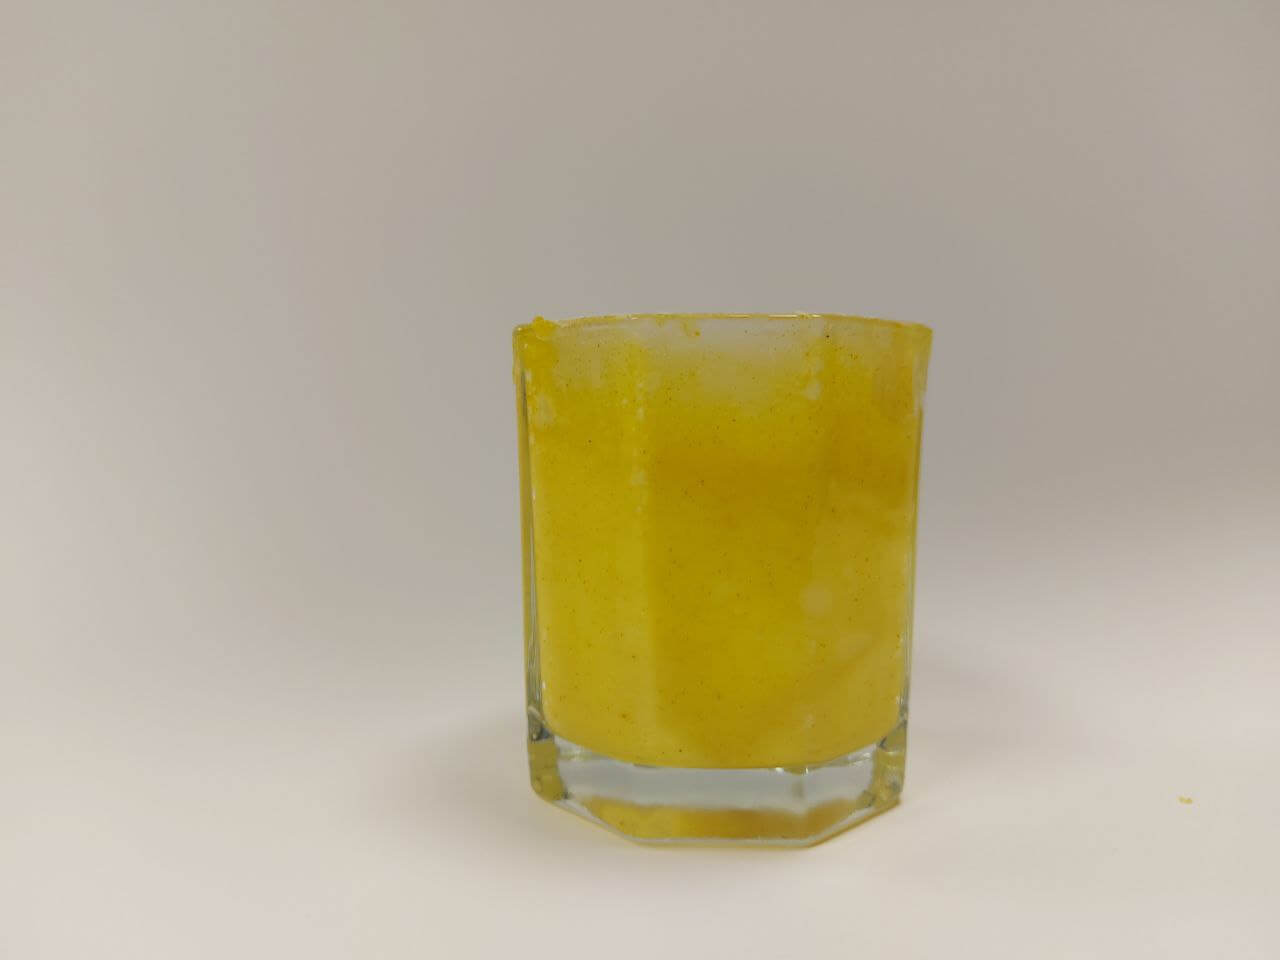
Bio Foam
I always wanted to learn how to make foam, I find it such an interesting and sensory material, moldable according to the pressure of your touch. Below are the ingredients to make a good bio foam:4
* gelatine powder - 48 gr
* water - 240 ml
* glycerine - 8 gr
* table spoon soap
* pigment
* cinnamon
* Cooker/stove/hotplate
* Measuring Cup
* Cooking pot
* Scale
* Wisk
* Stirring spoon
* Flat surface
* Molds
* As a first step, slightly heat your water in the pot.
* When it is slightly warm add your plasticiser, the Glycerine will bond with the Gelatine, the Polymeer.
* Add the Gelatine.
* Mix gently te ingredients until they form a smooth mix.
* Add a table spoon of dishwashing soap to the mixture.
* Boil for 15/20 minutes, turn constantly because as the water heats up the risk of your soap sticking to the pan is high. Turn with the whisk energetically.
* In the meantime you can think about your surfaces and molds to be filled.
* After 20 minutes your mixture is ready, I put it in the mixer, this way you get the best mixture, because with the mixer air enters the liquid and micro bubbles are created which are perfect for the final result.
* If you want to color your compound this is the perfect time. You can add food colors, pigments, whatever you like. I added pigment frim biochrome week.
* After this you can fill your surfaces.
* I let the bio foam dry in interior. This way it will take a little longer to dry but after two days the compound will be dry.
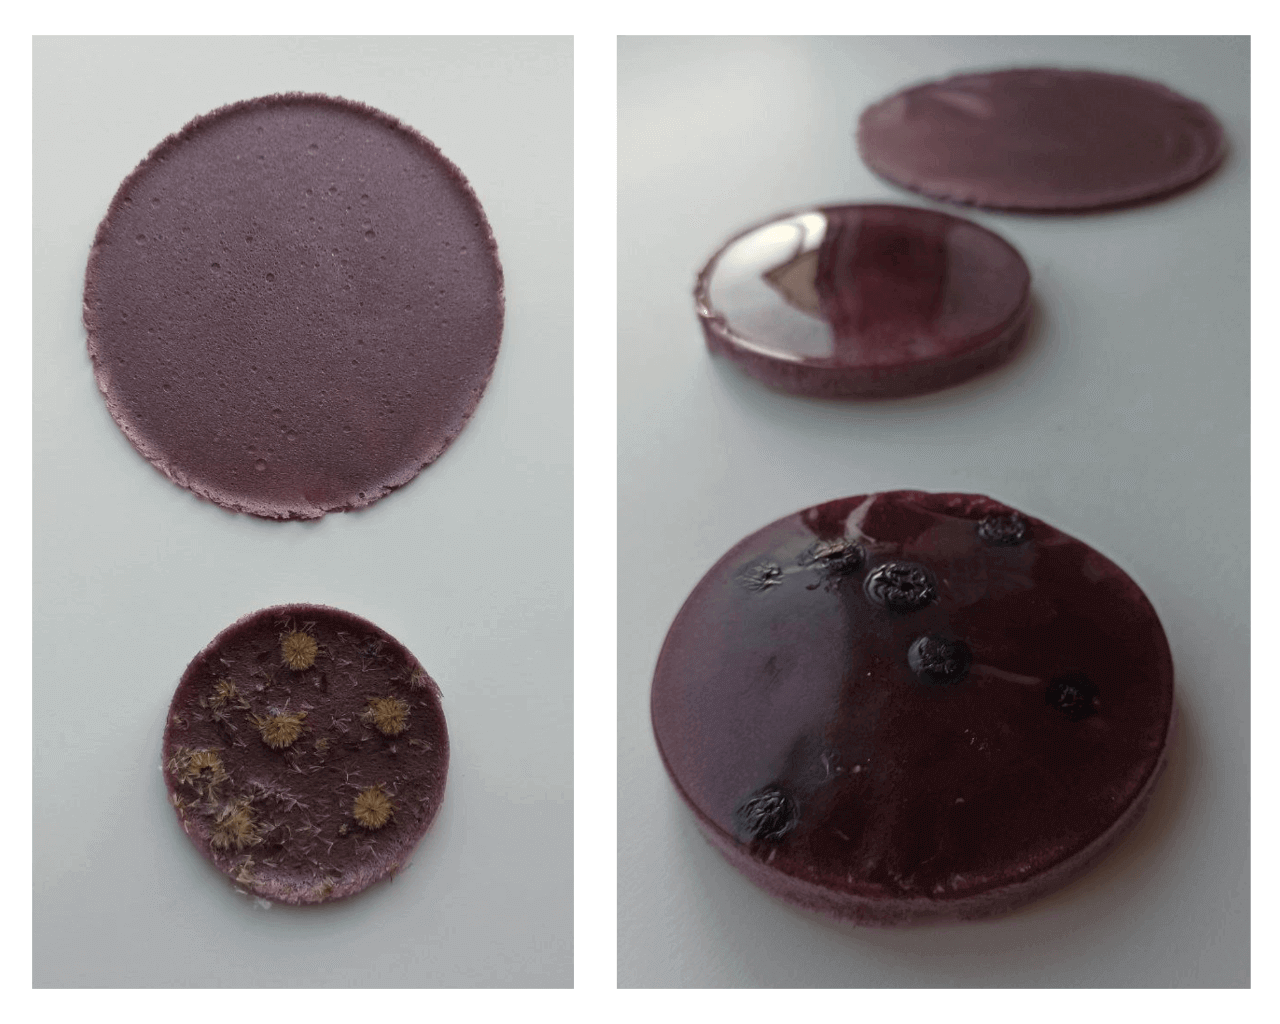
Here below you can see how was the drying progress of our bio foam:
 After drying the foam become quite brittle, so if you want to get a more elastic result, add more glycerine to the recipe.
Individual work
Ingredients & Recipes
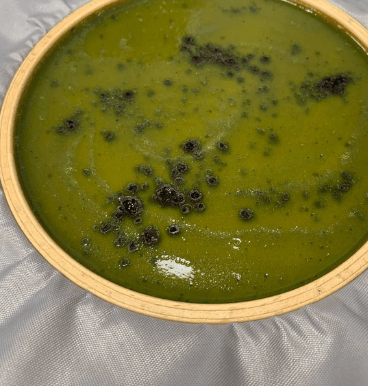
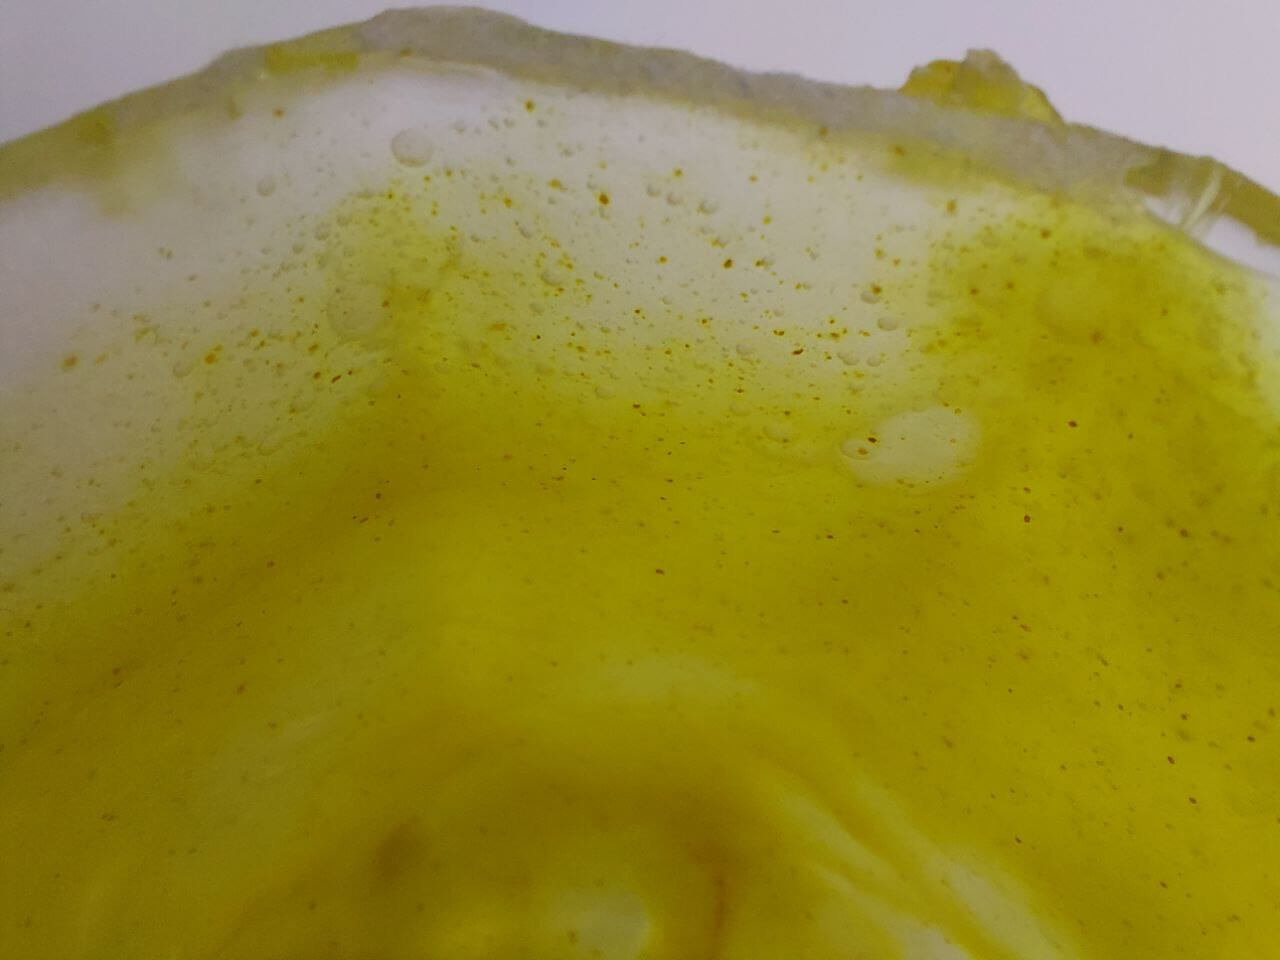
Conductive Gelatine Bioplastic
 One of my the most beloved recipes 5 is the
Conductive Gelatine Bioplastic by Clara Davis. It's a complete black material, that can be like thin and crunchy foil or strechy, depending by the thickness of the material. Start with collecting the ingredients from the list below:
One of my the most beloved recipes 5 is the
Conductive Gelatine Bioplastic by Clara Davis. It's a complete black material, that can be like thin and crunchy foil or strechy, depending by the thickness of the material. Start with collecting the ingredients from the list below:
* Gelatine 13 gr
* Glycerol 5 gr
* Water 50 ml
* Activated charcoal 5 gr
* Black natural pigment 3 gr
* Cooker/stove/hotplate
* Measuring Cup
* Cooking pot
* Scale
* Stirring spoon
* Flat surface
* Molds
* Measure all the ingredients.
* In a cooking pot, off heat, mix the gelatin powder and the water. Stir and wait until the mixture thickens like a glue.
* Start to heat the mixture on high heat. Stir time to time but not excessively to avoid additional foam. When the preparation become liquid again, add the glycerin.
* Lower the heat as soon as you start to see a white deposit appearing on the surface of the mixture. Remove gently the foam with a spoon. Add the activated charcoal and stir.
* Pour the preparation on a flat surface (in glass, silicone, plastic or varnished wood) with edges delimiting the desired shape.
* Wait 4/5 days of drying before removing the bioplastic material from its molding surface.
* Remove from the mold and take a conductive test.
RESULTS

I would also like to do a video recording of the whole colection of samples, just like Loes Bogers did.
Grown Materials
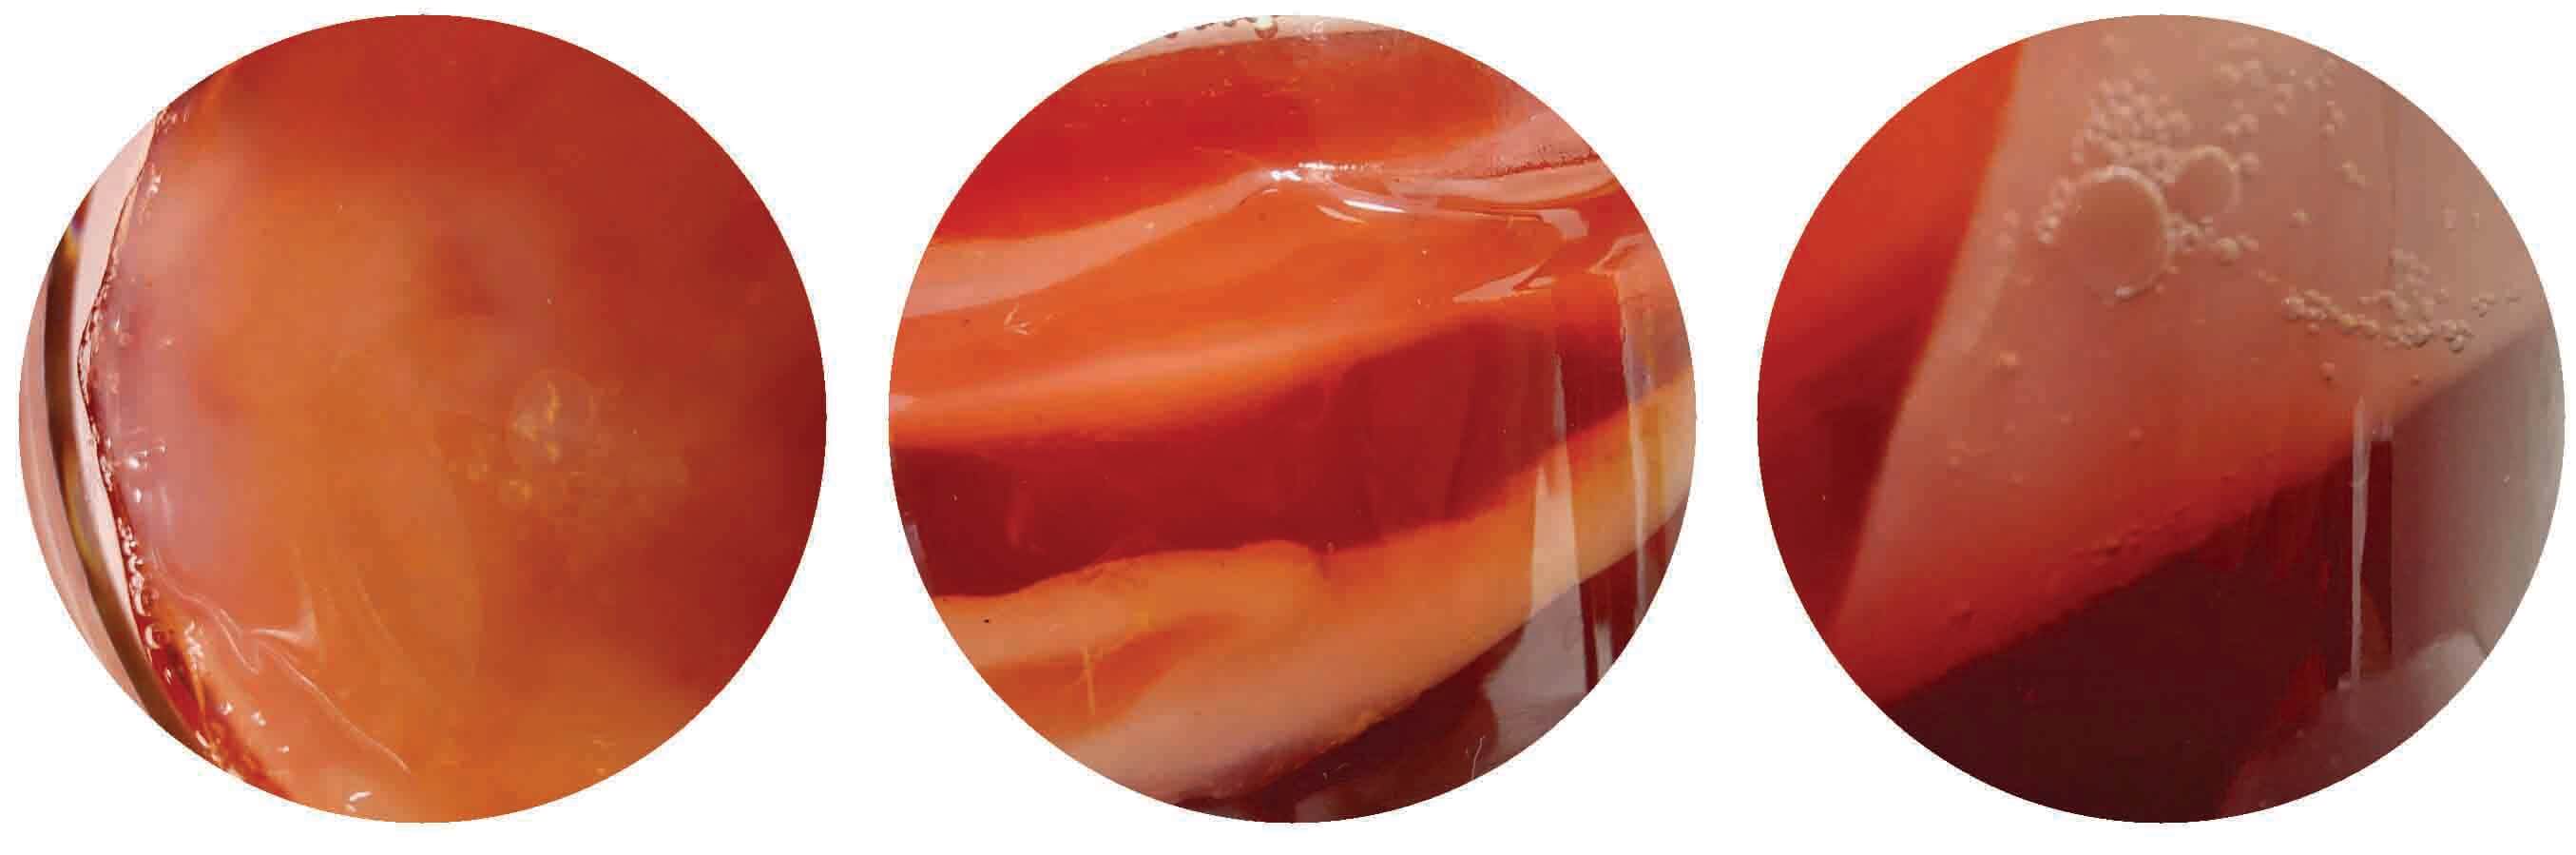
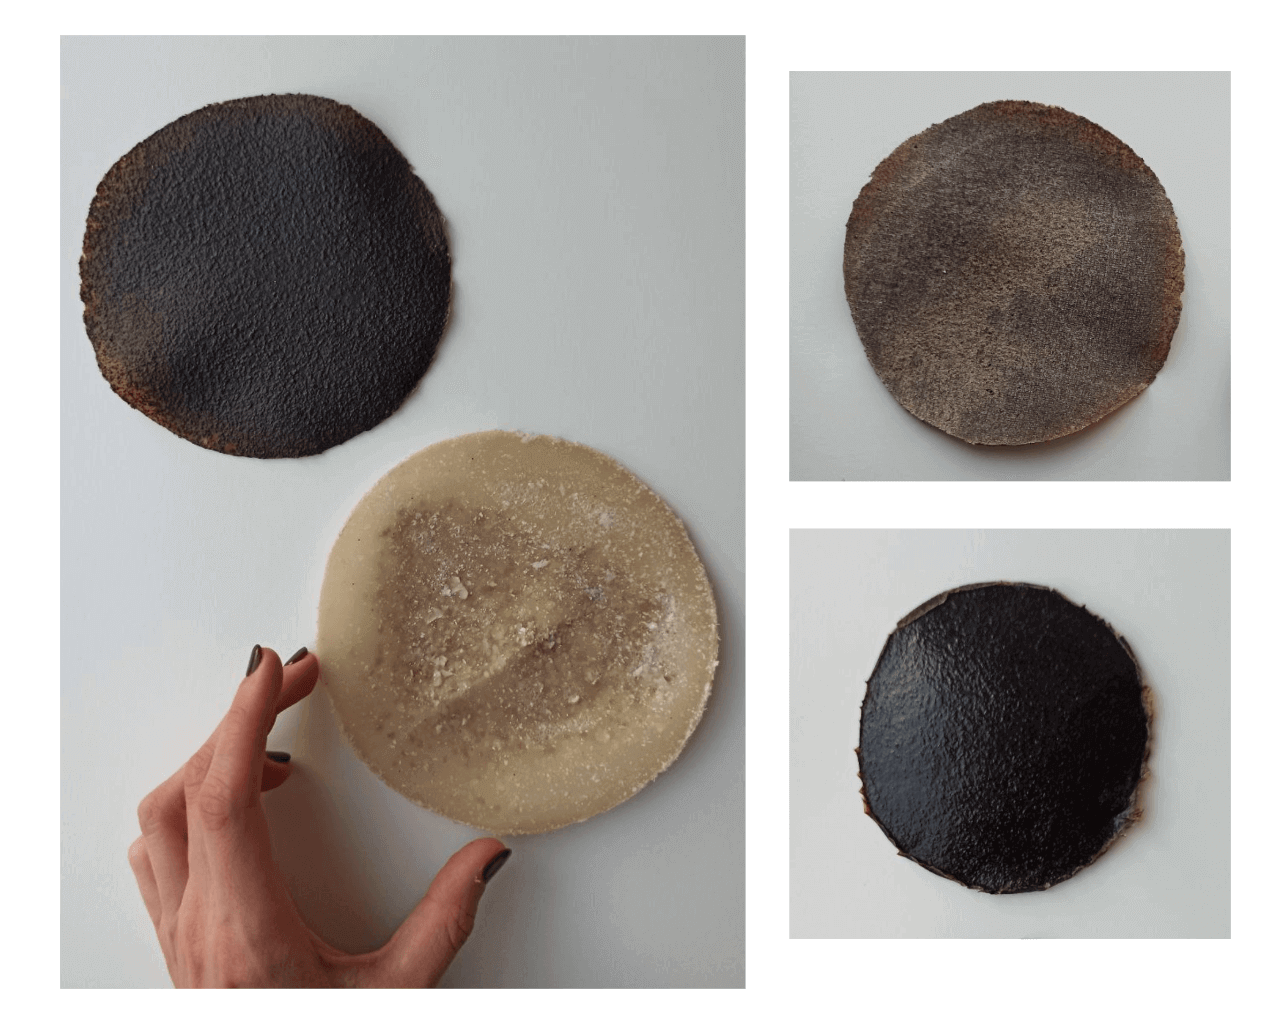
As I mentioned before, I started taking care and feeding kombucha scoby in order to prepare in advance for Biofabricating week. I was feeding it with green and black tea.
For a better color result, I decided to feed it in advance of 24h with a hibiscus tea and a sweet turmeric tea.
Kombucha is a fermented tea with a symbiotic colony of bacterial yeast (SCOBY). Bacteria feeding on a liquid medium of sugars and tea, start creating an acidic environment which allows them to thrive and spin cellulose layers. It grows between 25-30 degrees Celcius, at lower temperatures it will grow more slowly. Kombucha material is a layered cellulose, where the grown material is washed and then dried, either flat or in shape. To preserve the material, it must undergo a post-growth treatment to soften, make elastic or dry the Kombucha foil.
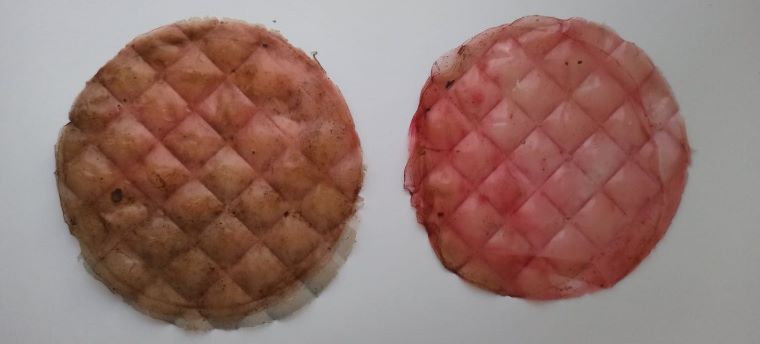
Kombucha is an interesting biomaterial that unlike the biomaterials described earlier takes a long time to grow. Unfortunately after drying, one piece was very thin and has become very brittle and fragile. Some of them were very sticky because of the sugar in them. The more thick is the kombucha skin the longer it will take time to dry and will have a more leather like appearance.
The ratio for the Kombucha6
- tea - 7 gr
- sugar - 70 g
- water - 1 l
Depending of the volume of the scoby the ammount of liters will be needed to be prepared. With this sweet tea we feed it for every 10 days.
Here is the video made by Valentina while I was washing a piece of scoby that has been kept in a turmeric tea for 24 hours.
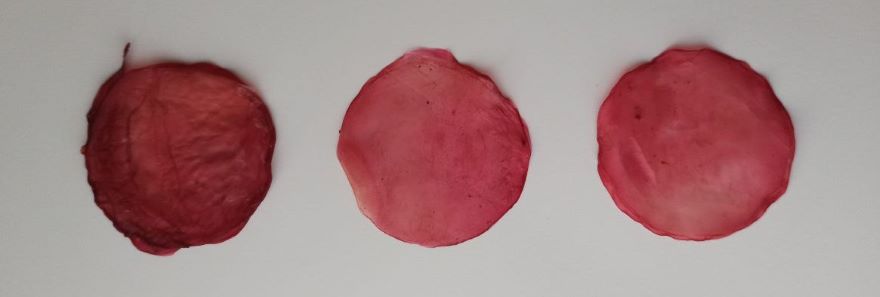
After drying, the results are different, depending on the thickness of the skin and how much time it was left to dry.
Tips for extra elasticity, soak the scoby in glycerine prior drying for 24 hours. It will become more rubber like.
Notes
Covering for the jar: Cheesecloth is not ideal because it's easy for small insects, like fruit flies, to wiggle through the layers. Use a few layers of tightly woven cloth (like clean napkins or tea towels), coffee filters, or paper towels, to cover the jar, and secure it tightly with rubber bands or twine.
Using Other Sugars: Scobys form best if you use plain, granulated table sugar. Organic sugar is fine, but avoid alternative sugars or honey.
Substituting Other Teas: Plain black tea is the best and most nutritious tea for scoby growth. For this step of growing a new kombucha, use black tea if at all possible; you can play around with other teas once you start making kombucha regularly.
Troubleshooting Your scoby is forming normally and is healthy if... You see bubbles, clear jelly-like masses, opaque jelly-like masses, stringy or gritty brown bits. Also if the tea smells fresh, tart, and slightly vinegary (this aroma will become more pronounced the further into the process you go).
Your finished scoby is normal and healthy if... It's about a quarter-inch thick and opaque. It's fine if the scoby is bubbled or nubbly or has a rough edge. It's also ok if it's thinner in some parts than others or if there's a hole. Your scoby will become smoother and more uniform as you brew more batches of kombucha.
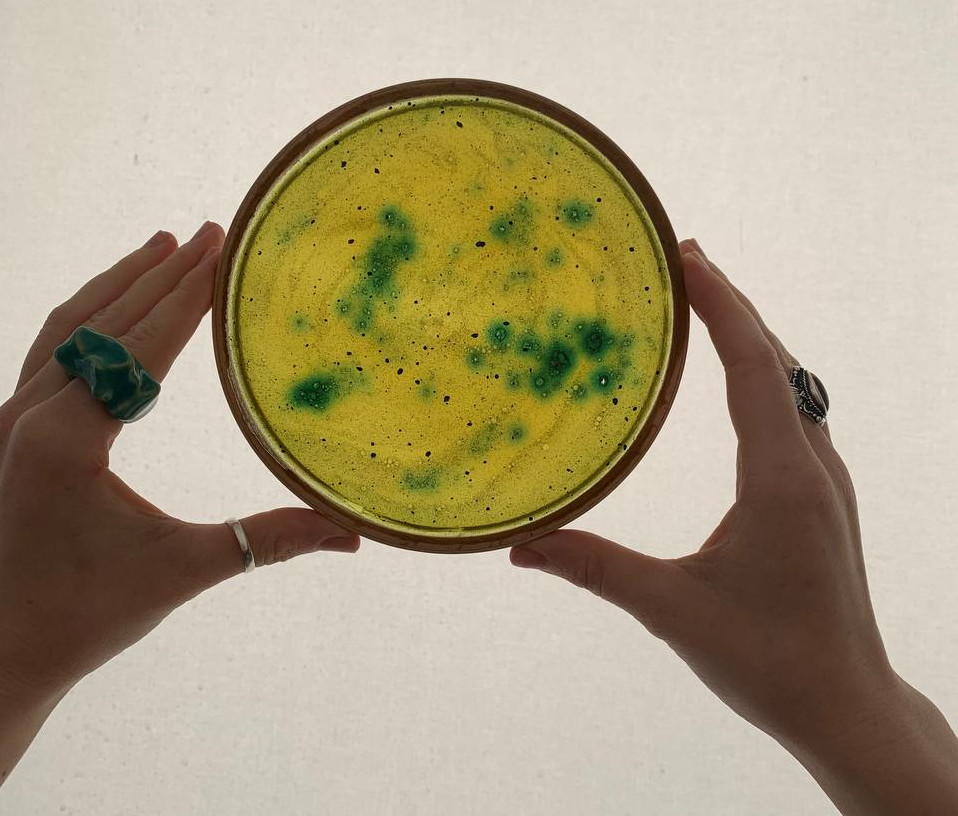
There is a problem if... You see fuzzy black or green mold growing on top of the forming scoby, or if your tea starts to smell cheesy, rancid, or otherwise unpleasant. In any of these cases, bad bacteria has taken hold of the tea; discard this batch and start again with a fresh batch.
If you can't tell if there's a problem... Continue to let the tea ferment and the scoby form. If it's a problem, it will get worse; if it's a normal part of the process, it should normalize (or at least not get any worse!).
Fails
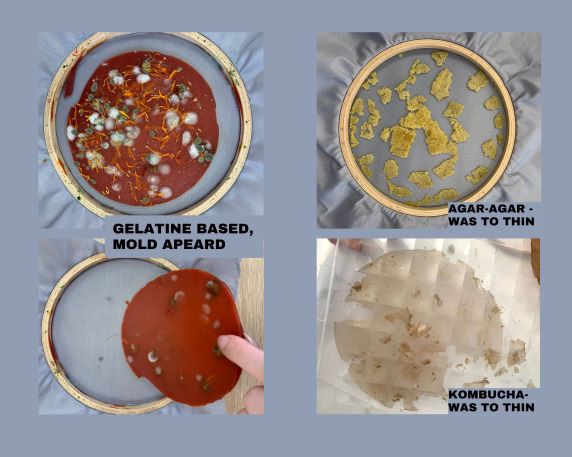 Fails documented by Valentina Frunze
| Photo | Material Name | Size/Thickness | Surface | Properties | Resistance |
|---|---|---|---|---|---|
|
Agar Biofoil | 10 cm/ 1 mm | smooth, opaque, shinny | rigid, lightweight, no strech | TBC |
|
Agar Biofoil semi-flexible | 10 cm/ 1 mm | smooth, opaque, shinny | medium flexible, lightweight, no strech | TBC |
|
Agar Biofoil flexible | 10 cm/ 1 mm | smooth, opaque, shinny | flexible, lightweight, strechy | TBC |
| --- |