7. Computational Couture
This week started with the lecture of Aldo Sollazzo, that was filled with different inspiring exemples, some of which I knew before, like in case of work of Iris Van Herpen and some of which were a revelation to me.
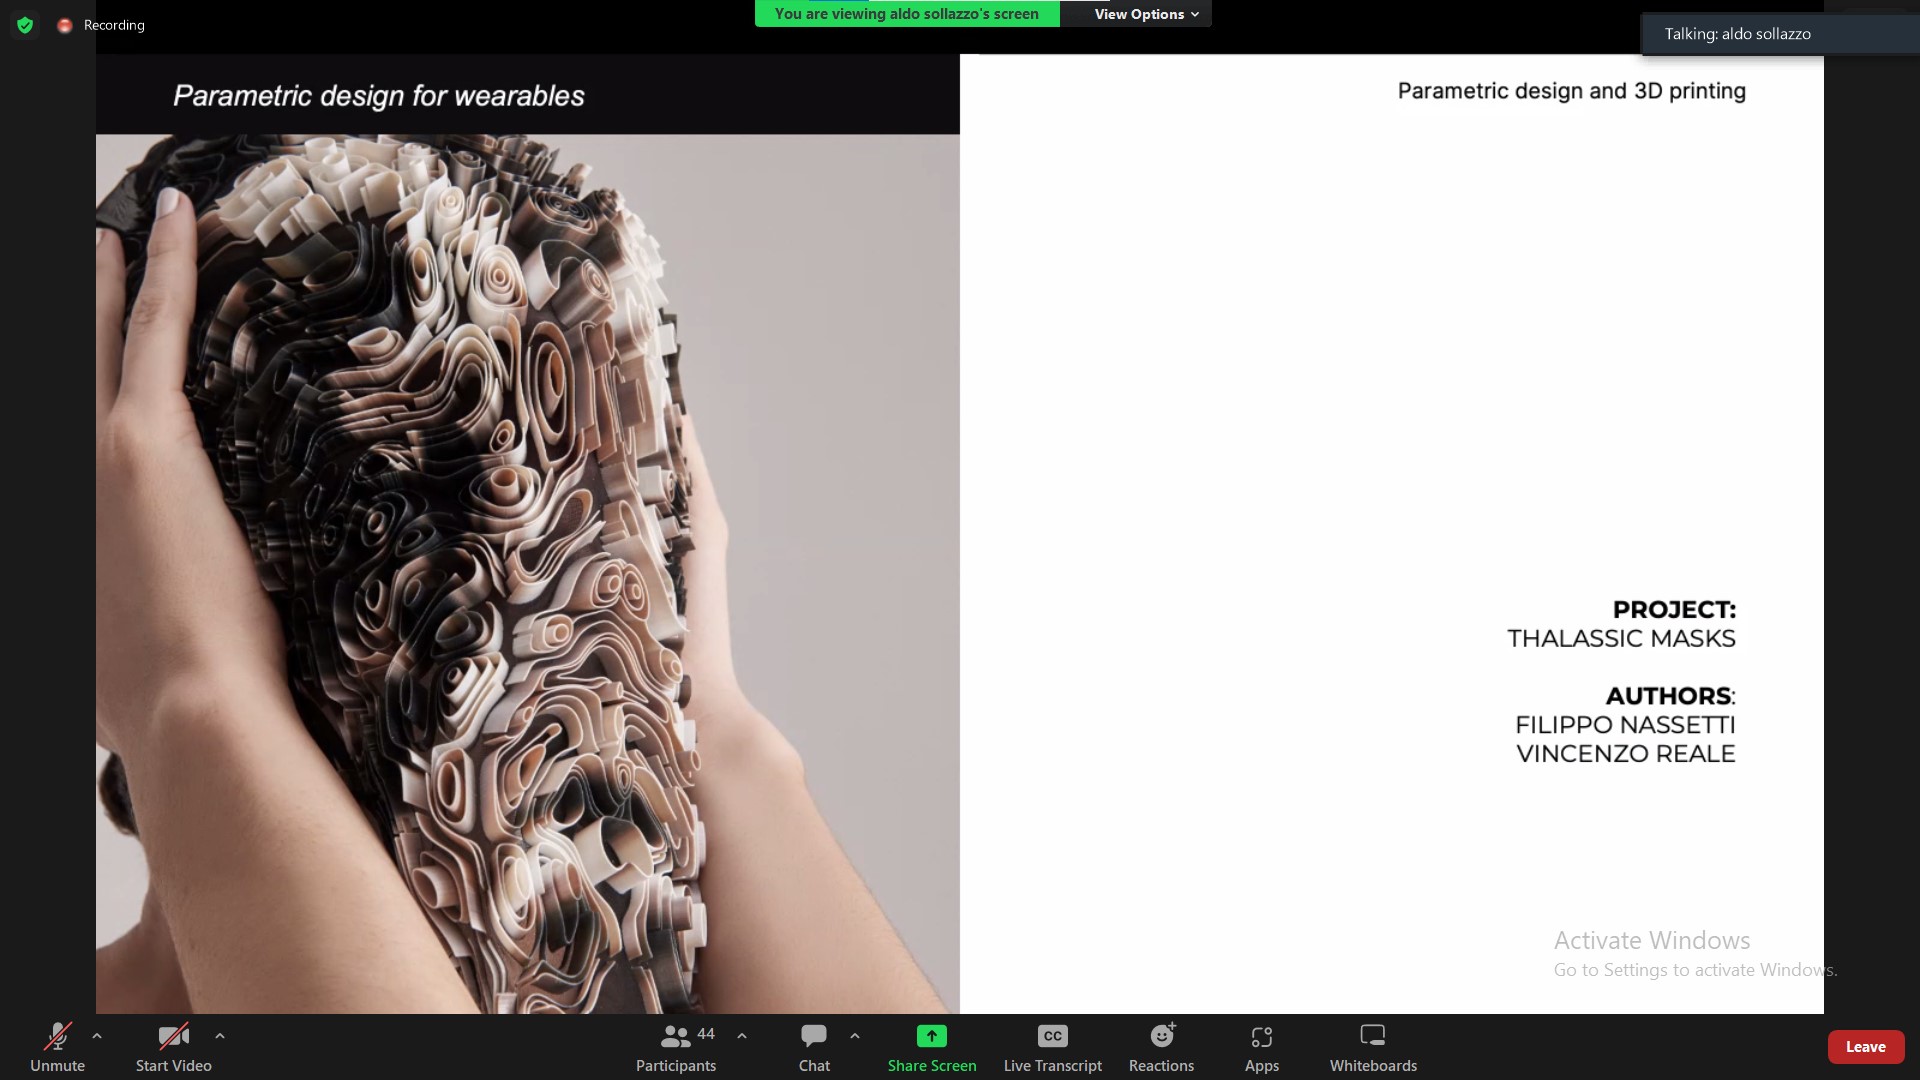
The process of 3D printing is mostly a repetitve action that doesn't fascinate so much, but the results that it creates are quite fascinating. Here is a video of the process behind the creation of a collection at Iris Van Herpen.
We continued to learn more in deapth the Rhynoceros and Grasshopper with the series of tutorials guided by Eugenio Bettucchi.
Rhino is a very complex software that is used in various fields. The use of this in the fashion field allows the creation and parameterized diversification of clothing, footwear, accessories, etc.
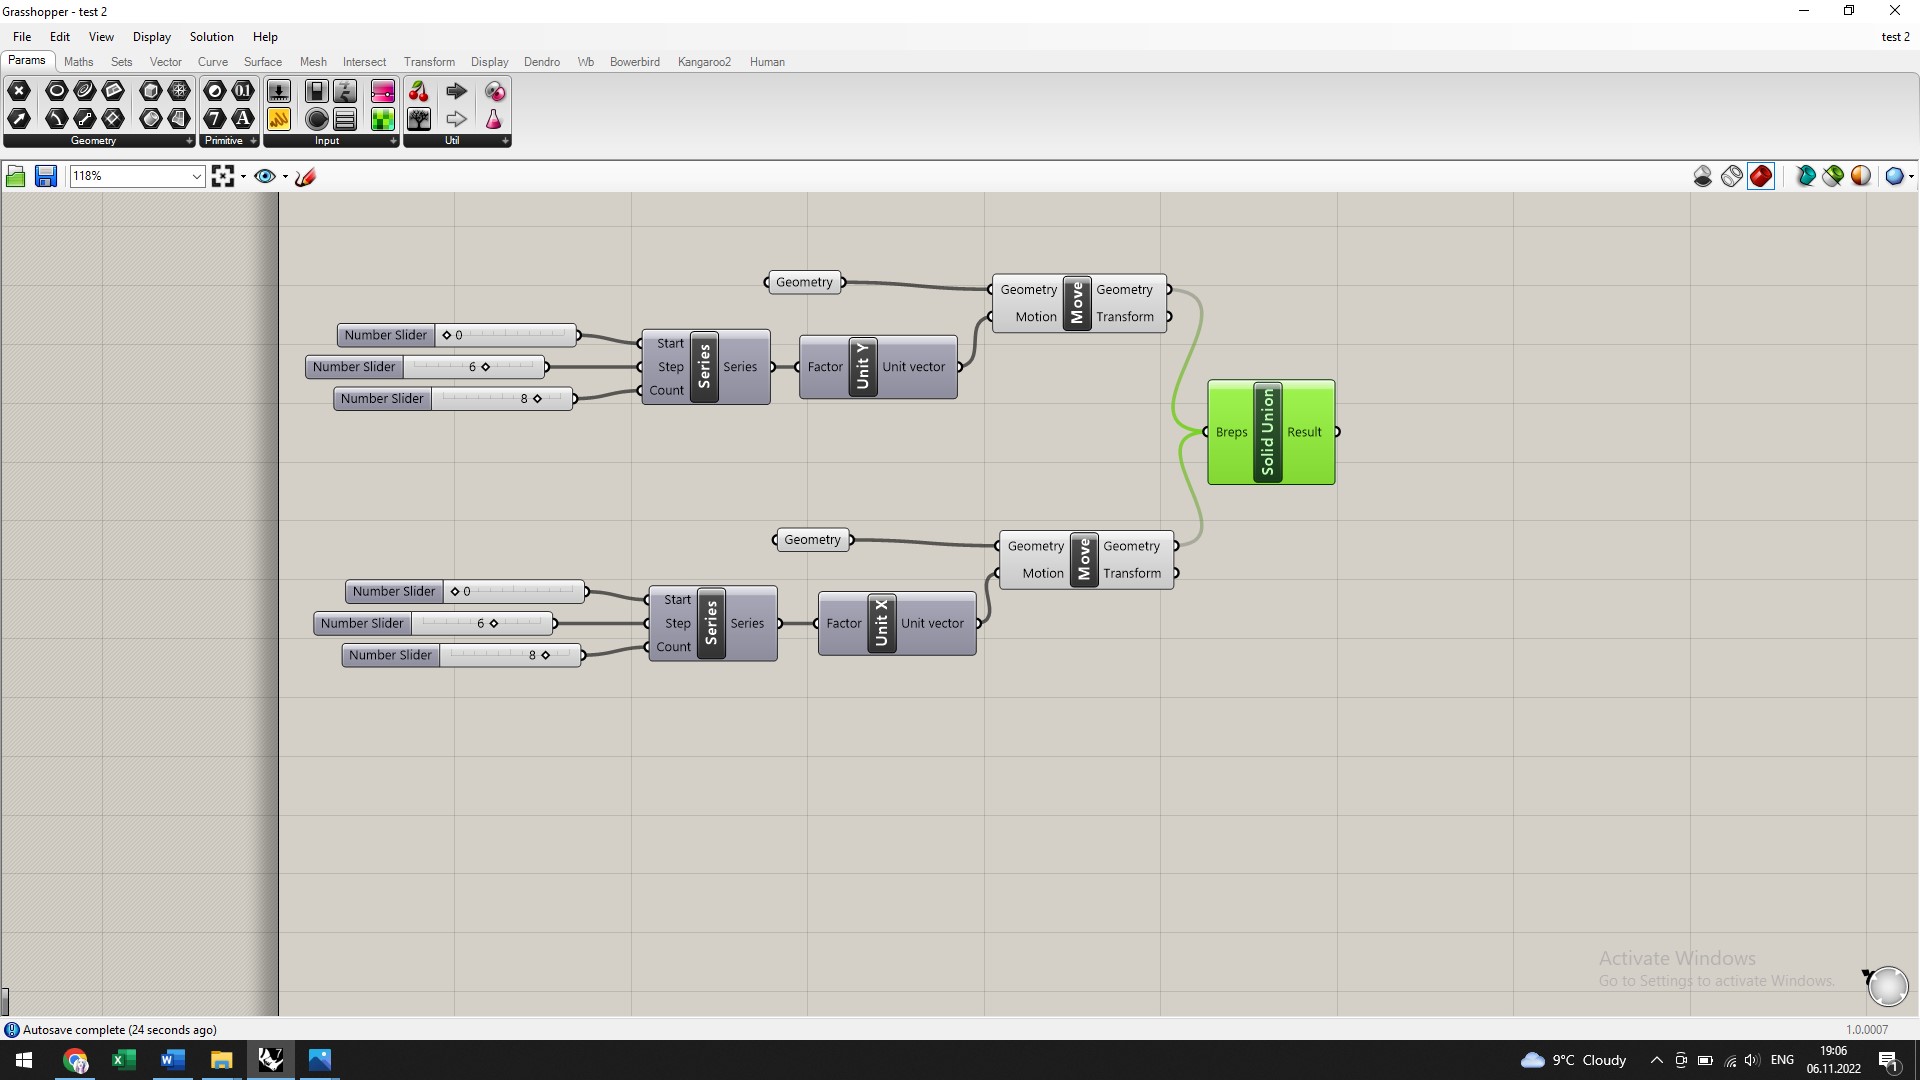
Grasshopper is a visual programming language and environment that runs within the Rhinoceros 3D CAD application. Programs are created by dragging components onto a canvas creating parametric model with endless opportunity for design and construction. Then the outcome is on the rhinoceros screen to the left on your screen. I think it is a great software to see connections and have the whole process in front of you.
All the new things realy scares me from the begining. And I easely get lost.
Howover, I got a basic understanding as to how Grasshopper works as a plugin for Rhino and the really cool things you can do with it. I look forward to understand it and to get more relaxed in playing around with this software. Hope one day to master it and to create files to interagrate 3D printing with bio materials or ceramics one day!
Research & Inspiration
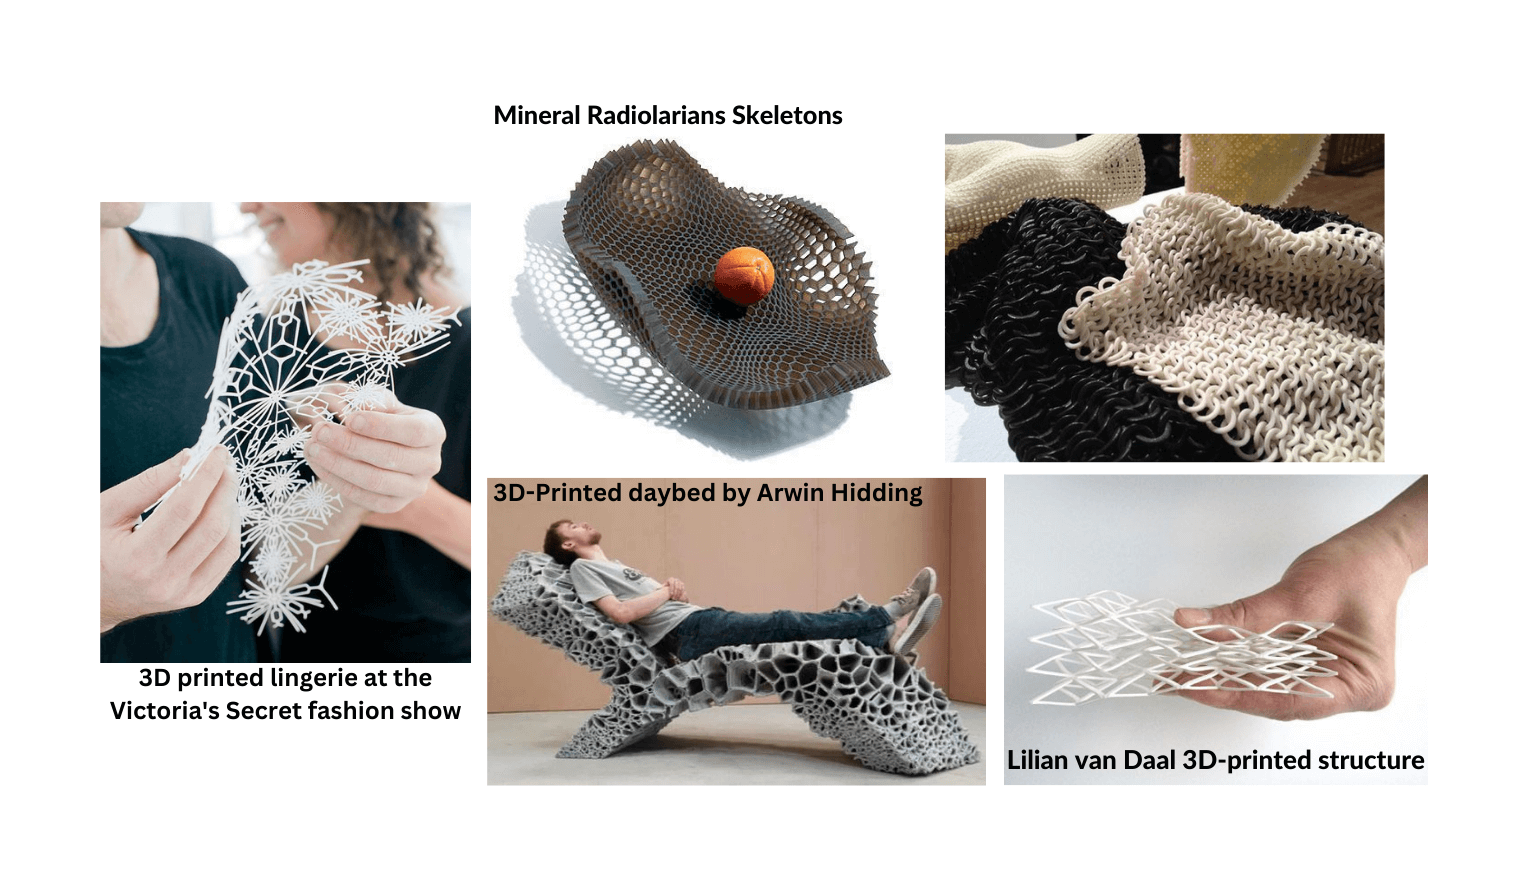
There is something very fascinating about seeing rigid structures that can be flexible through just one movement.
Tools
• Rhino3D
• 1.03 Grasshopper Fundamentals: Attractors
• Modelab
Process and workflow
I started the work just by playing around with Grasshopper and rewatching over and over again the tutorials. The problem was that I couldn't catch up while the tutorial session: I was indeed very quickly lost, not being able to reproduce the same thing simultaneously on my screen.
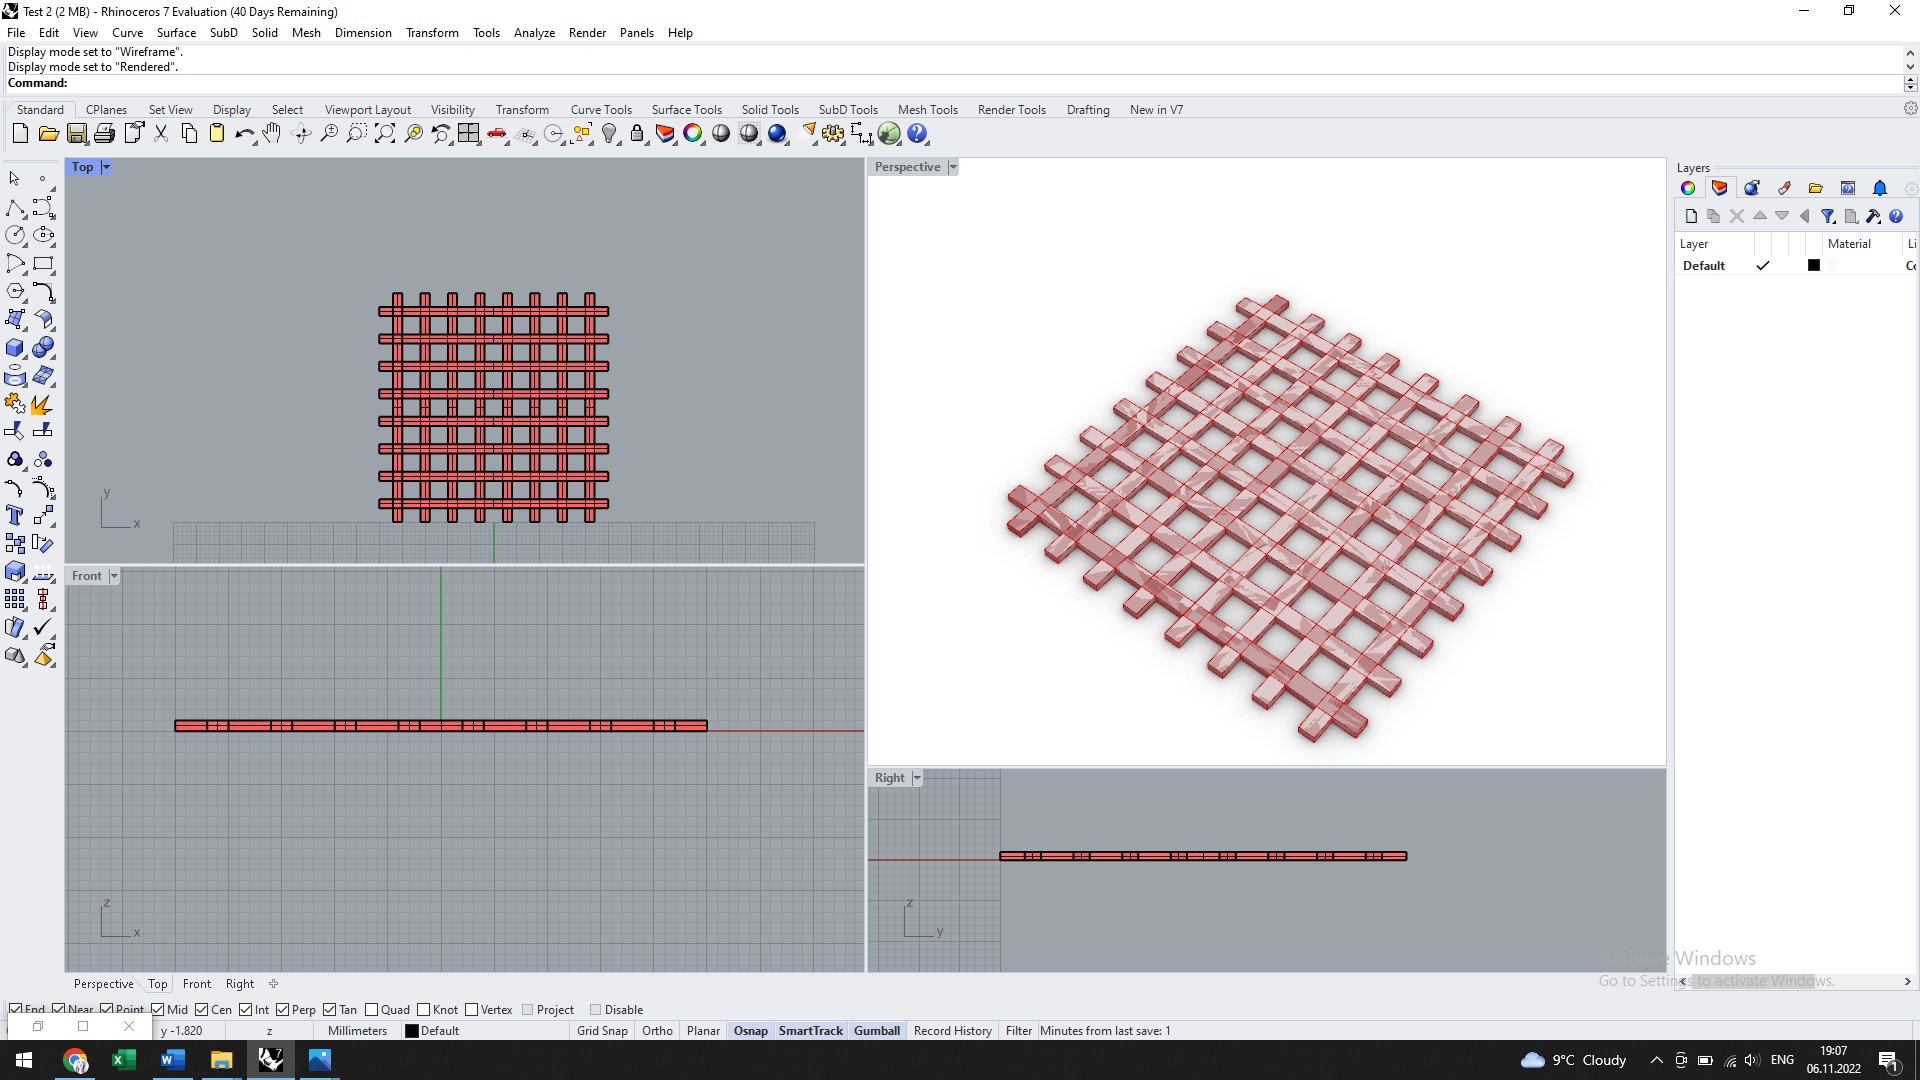
Here are some of the results1 obtaind from the learning process.2
And the Grasshopper screenshot.3
Before exporting the file in STL there are some tricks that will allow you to get a more smooth printing and detalization. I followed this tutorial:
Preparing the files to print
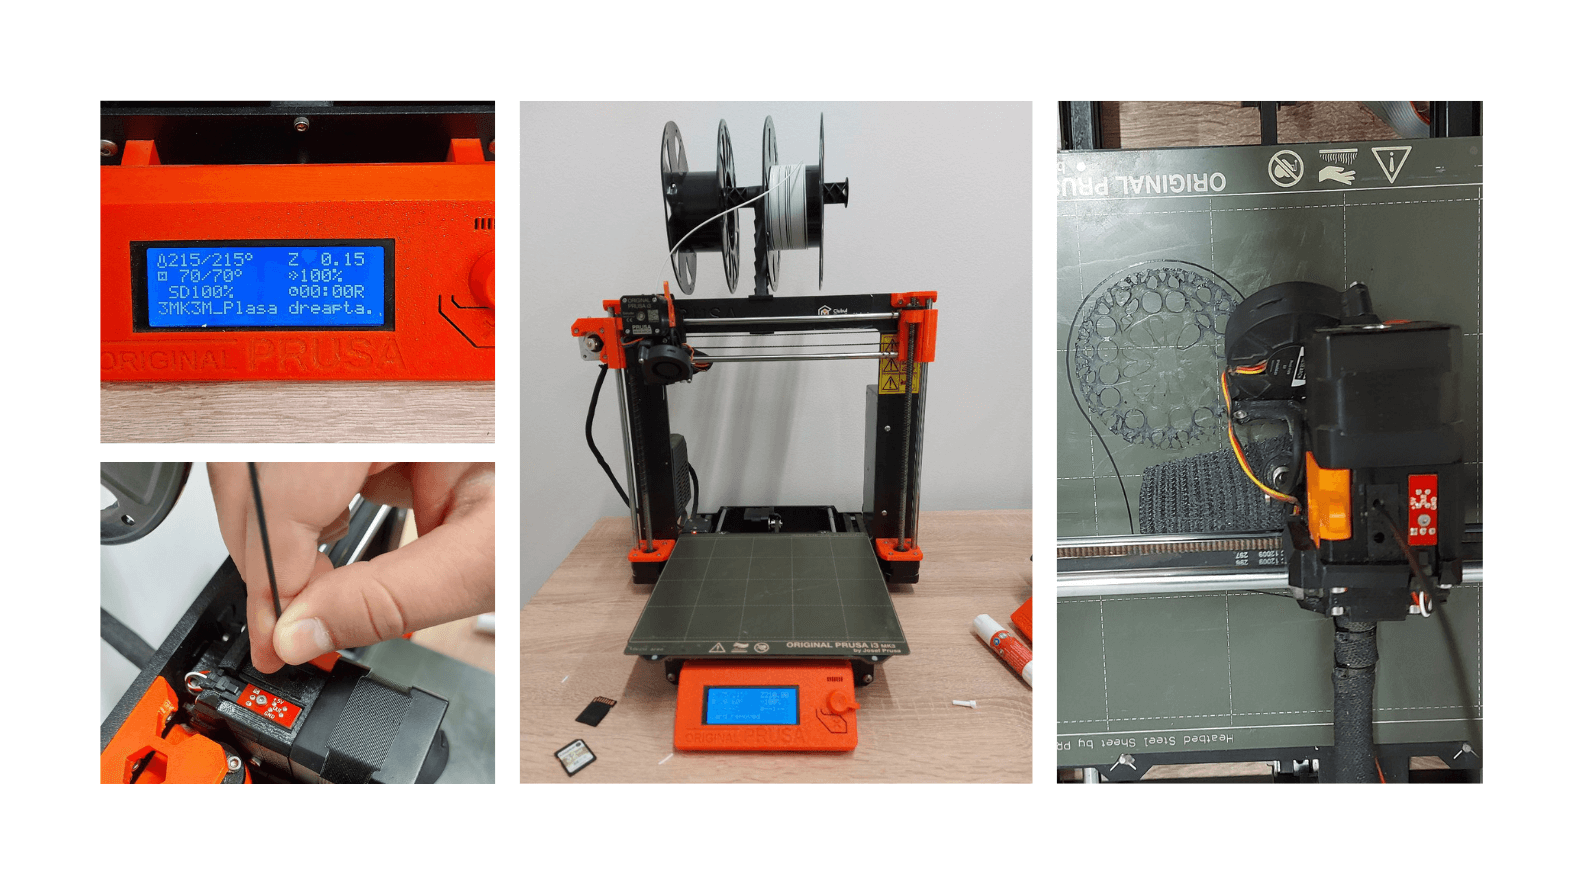
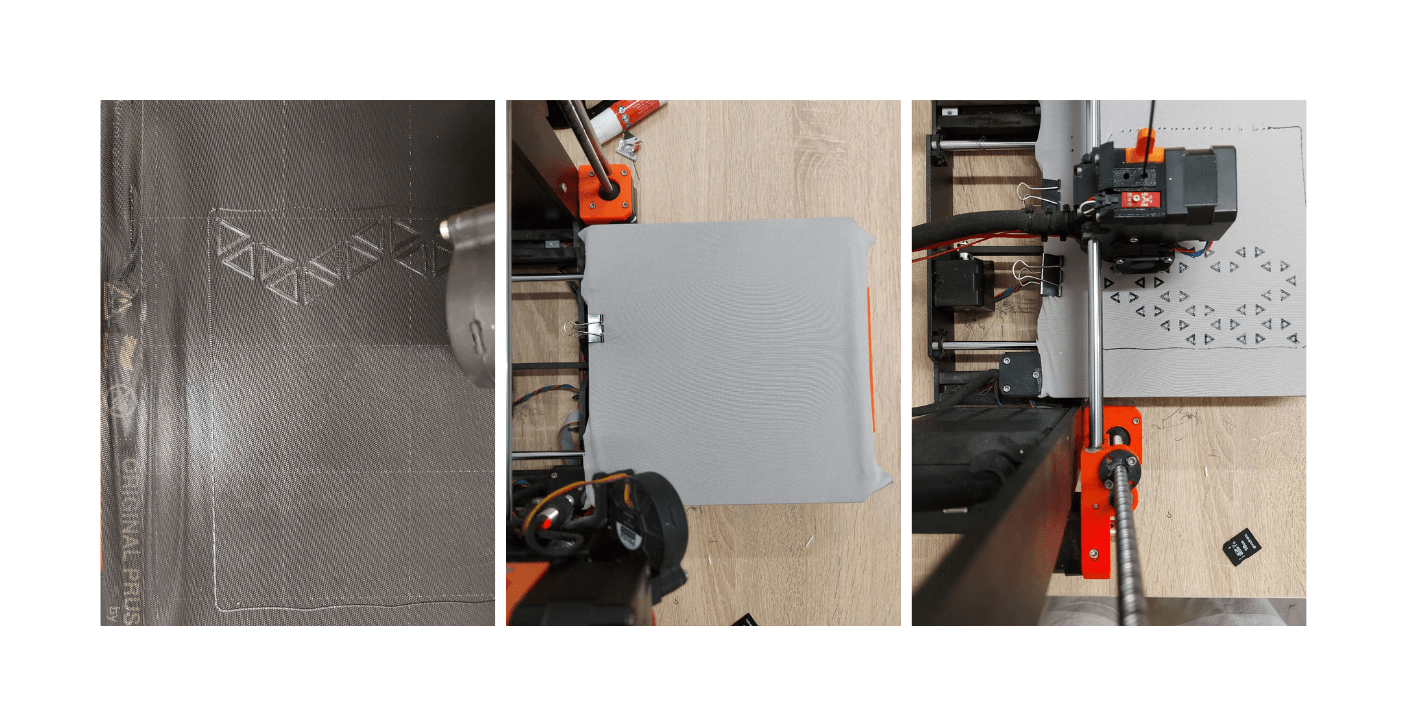
The printing phase has some tricks and it was something very new to me because I didn't have much experience using a 3D printer. Thanks to our local expert from the Fablab, Alexandru, we got to know the step by step process of how to set the 3D printer.
We used the 3D printer Prusa i3 mk3 s type.
- put in the 3D printer you are working with - in our case Prusa i3 mk3 s
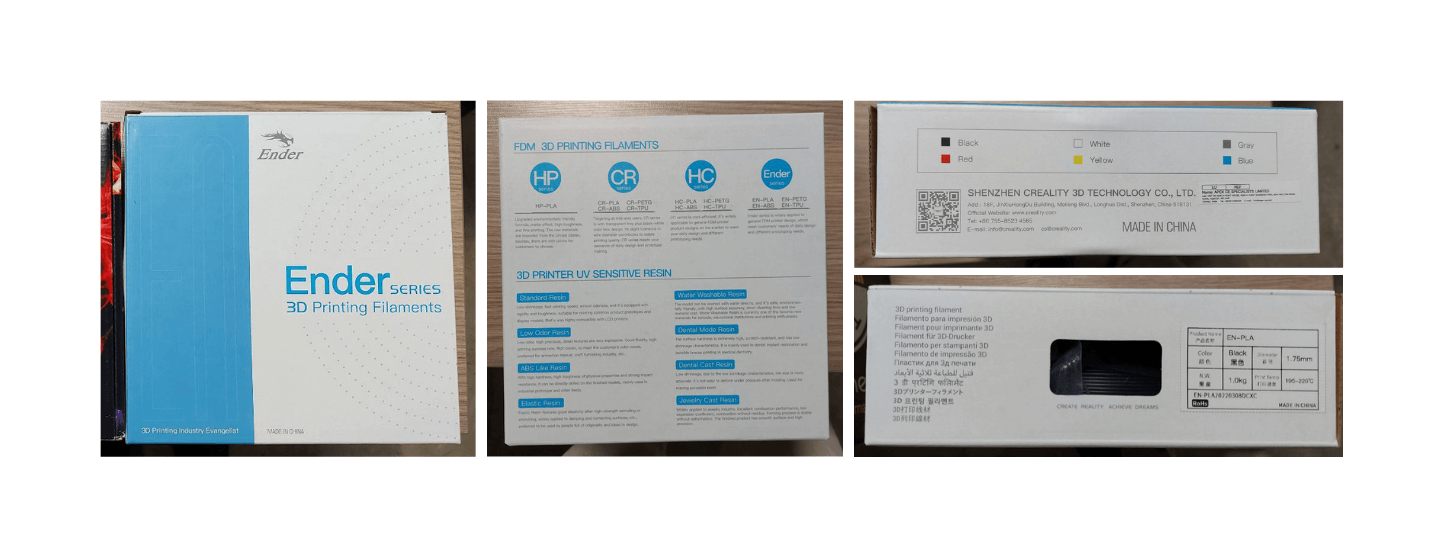
- find the fill you will print with - in our case PLA
- material: printing temperature from 230-250°c - build plate temperature from 0-60°C
- Check out gr, time, and meter of filling used to estimate material usage
- skirt: the outline of object printed
- support: used for curve or bridge
- save to disk for 3D printing - a Gcode
- copy from computer on SD card
- connect the SD card to the 3D printer
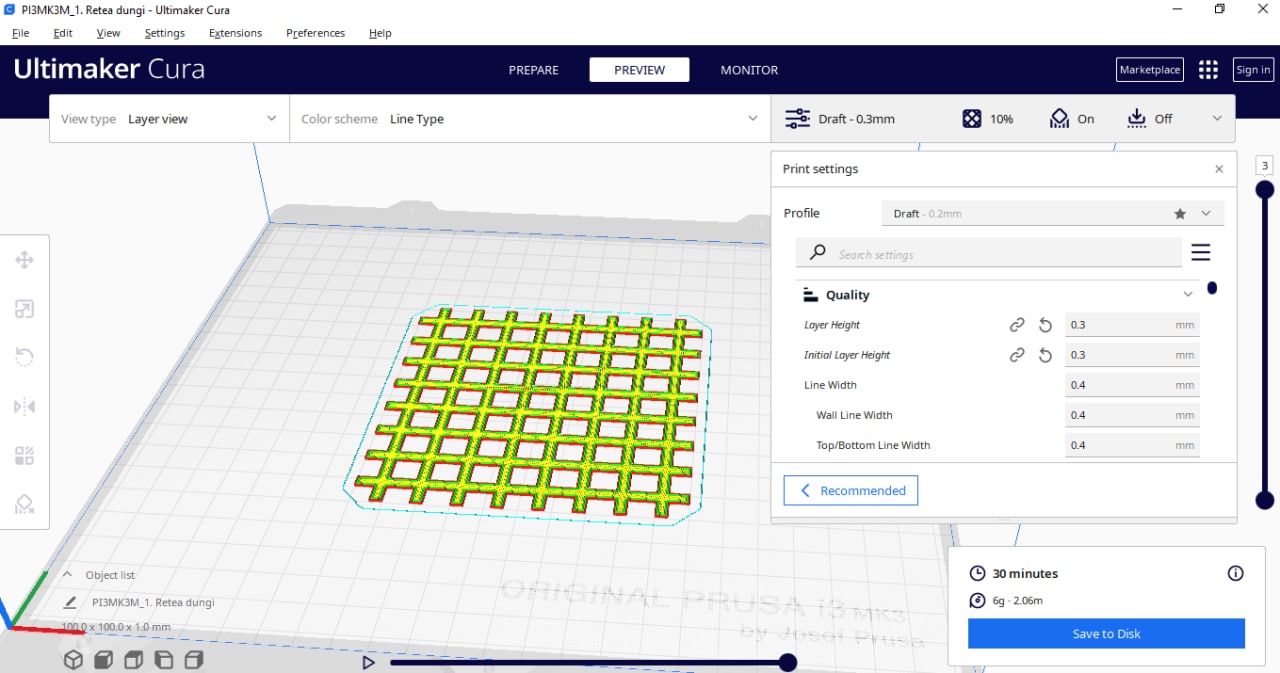
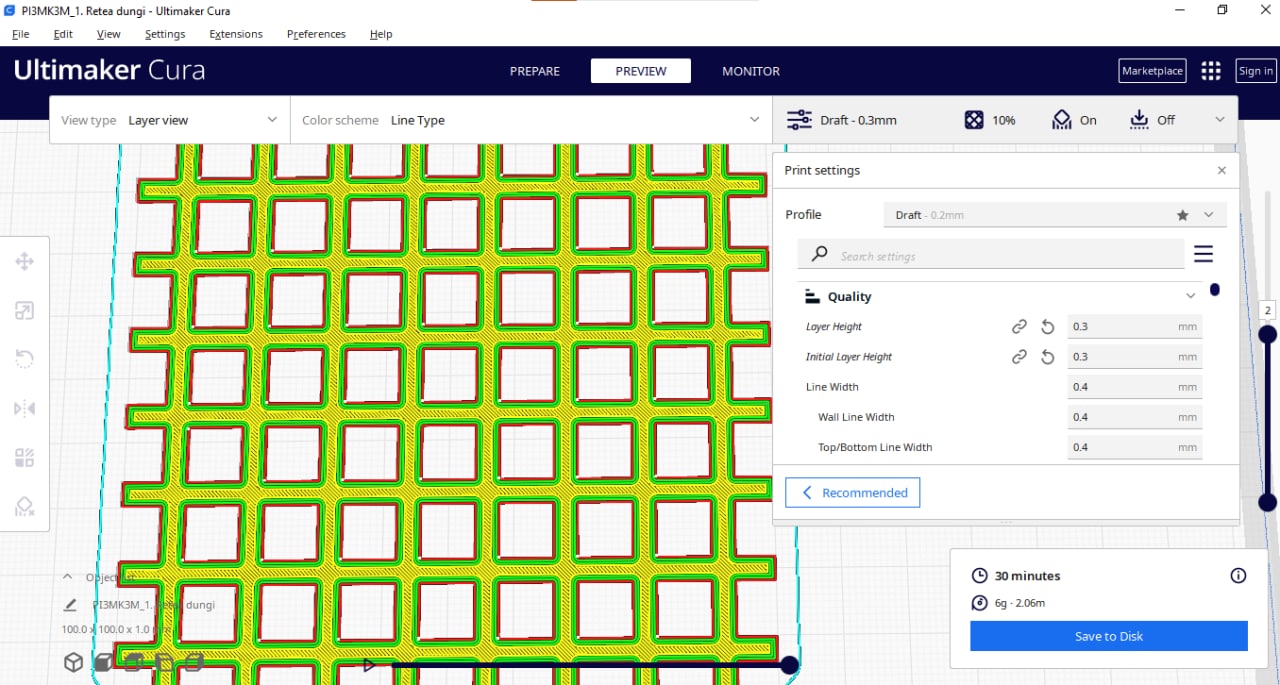
The Stl file we opened in Ultimaker Cura to convert it in a Gcode.

Choosing the filament
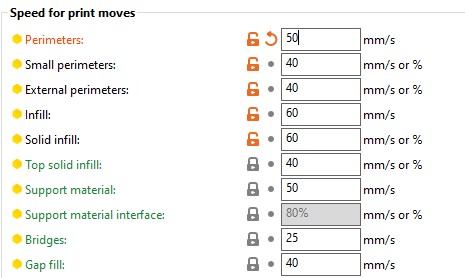
The PLA Filament
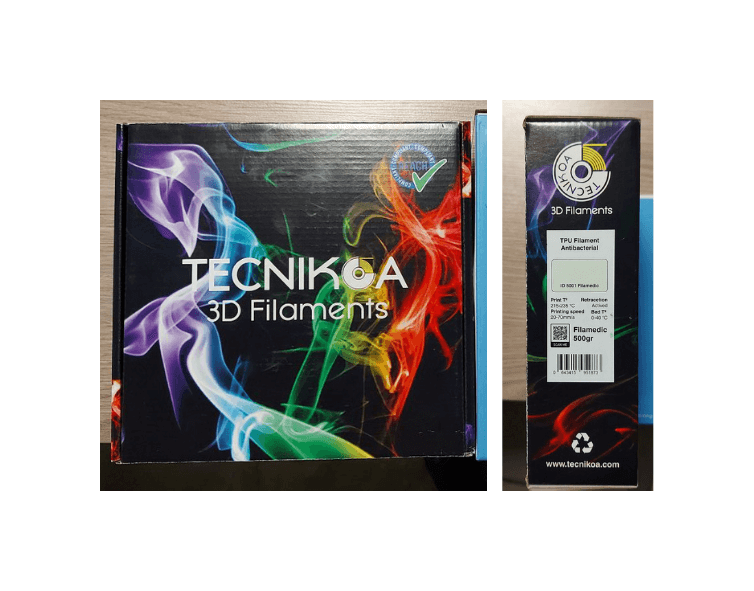
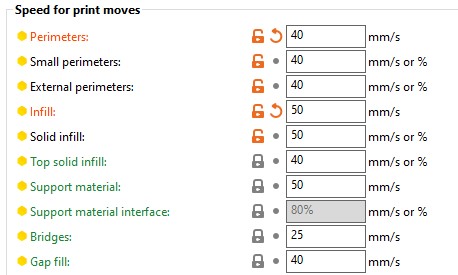
The TPU Flexible Filament
For starting printing, is needed to set the following parameters:
- Layer Height
- Temperature (nozzle and bed)
- Retraction
- Print Speed
- Upload the photos for the final 3D printed objects.
Slicer - the software used to prepare the model for printing. I used for printing Cura and Ultimaker Slicer.
- Layer Height: 0.2 mm
- Temperature: Nozzle: 210 о С Bed: 65 о С
- Retraction: Nop. (did not use retraction)
- Print Speed: 50 mm/s
- Layer Height: 0.2 mm
- Temperature: Nozzle: 240 о С Bed: 90 о С
- Retraction: Nop. (did not use retraction)
- Print Speed: 40 mm/s
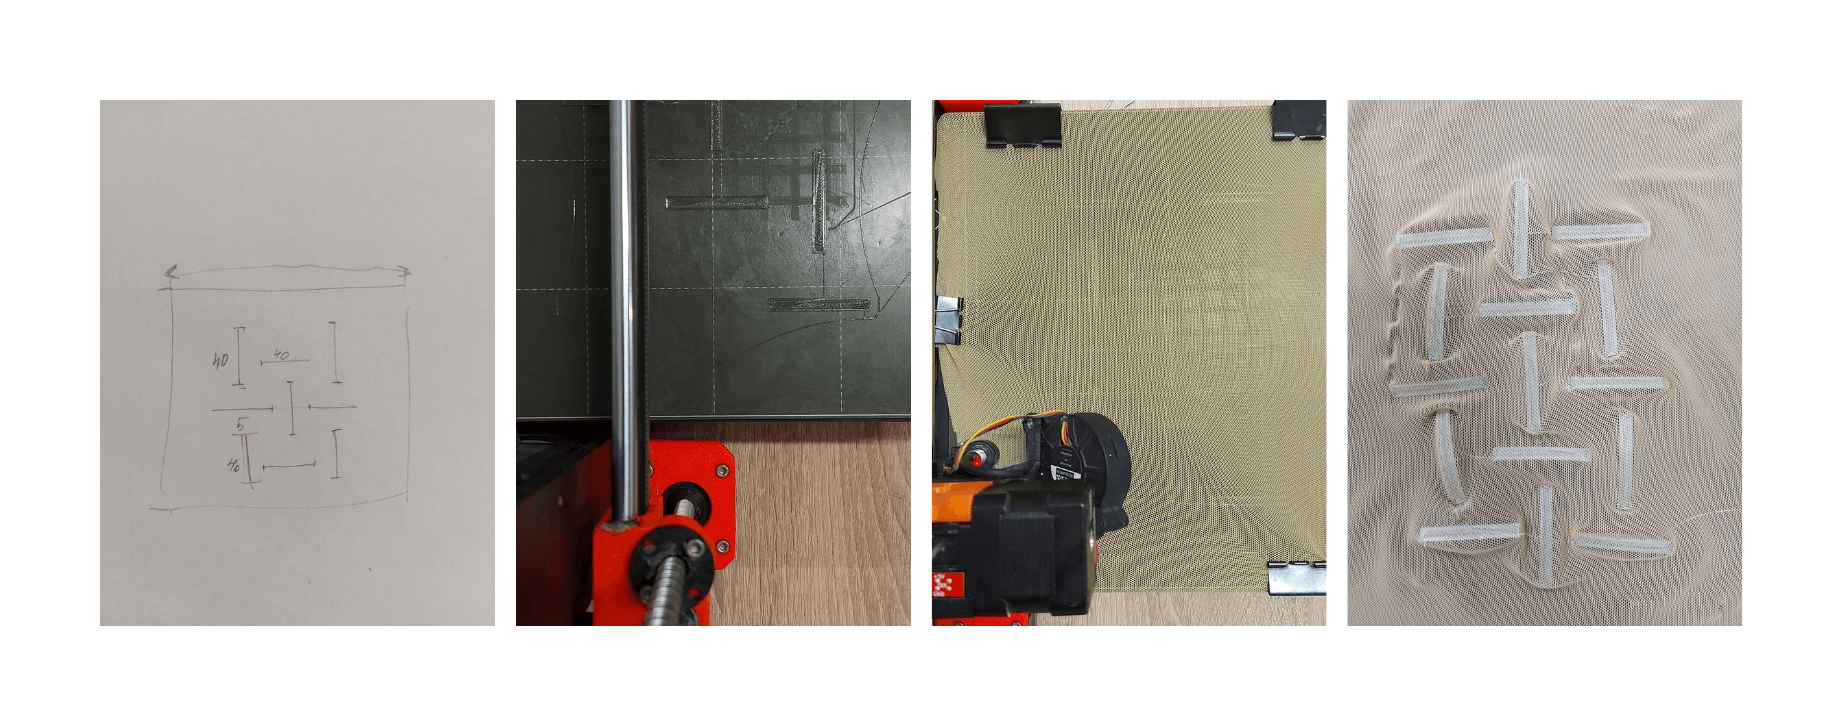
First try
The first printing attempts were made with tests 1 and 2. They were printed simultaneously on the bed, without fabric. It was a first try and we wanted to print it and then "glue" on the textile, by ironing it to fabric. The first attempt failed because of the incorrect height placed for printing. The second print was more successful.

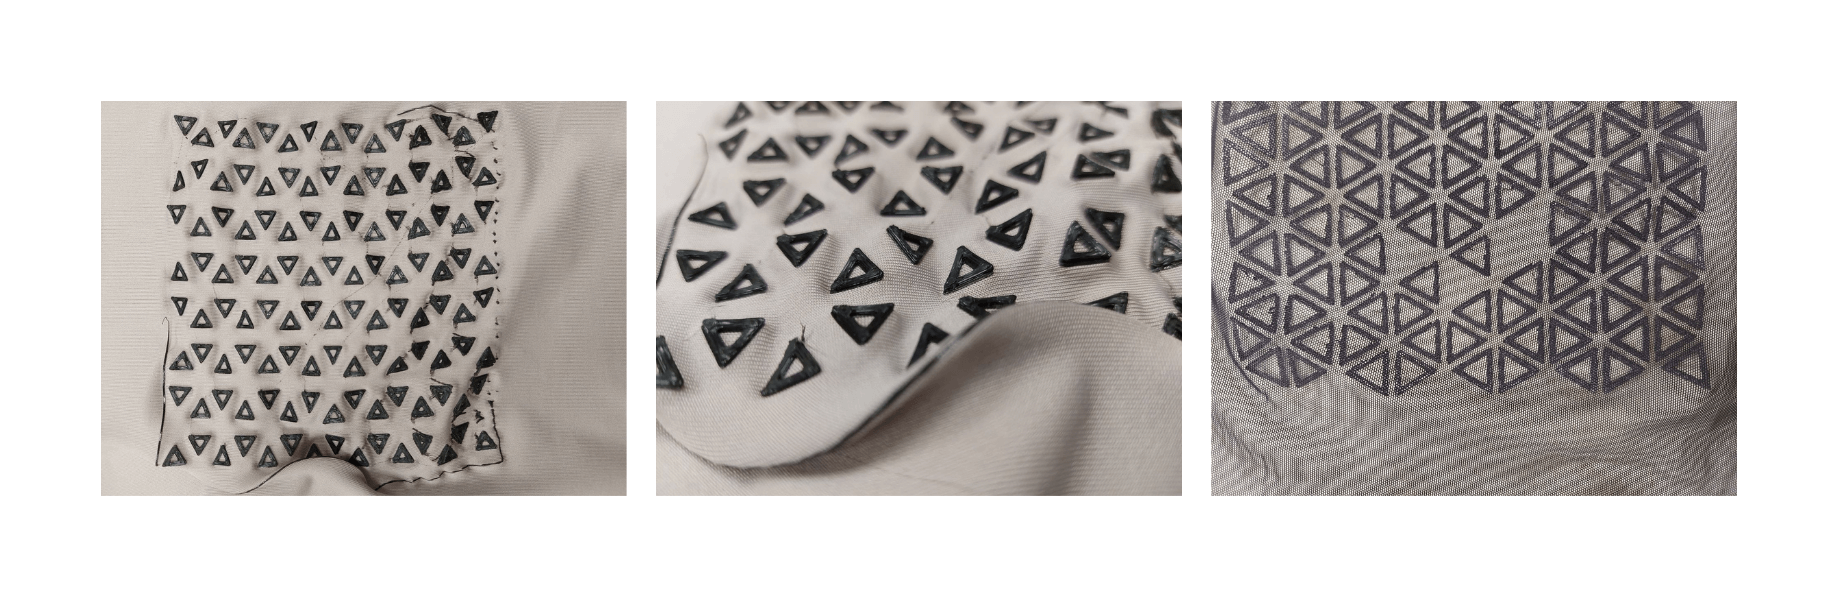
The following 3D printing tests were performed on an elastic and non-elastic fabric. I experimented with the 3d printing by printing directly on the non-elastic fabric. But in the end, it resulted in a not such a durable connection.
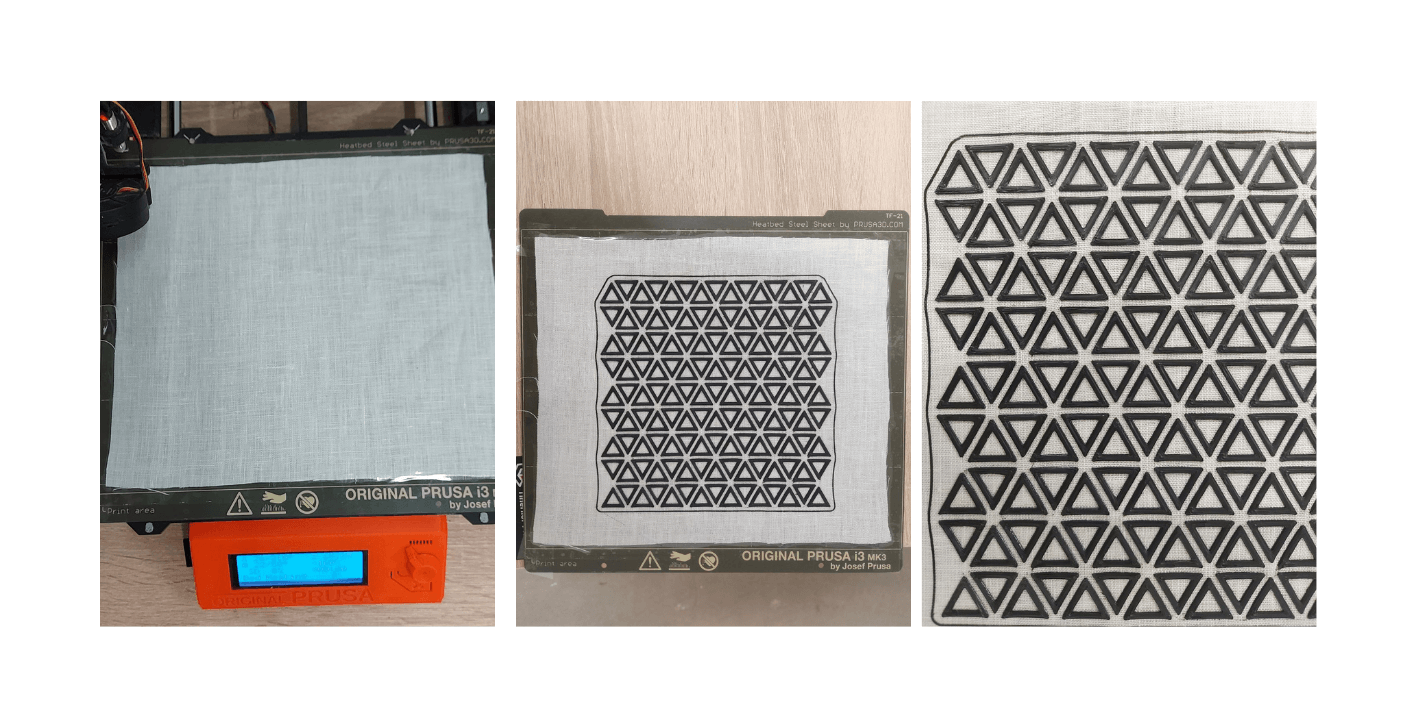
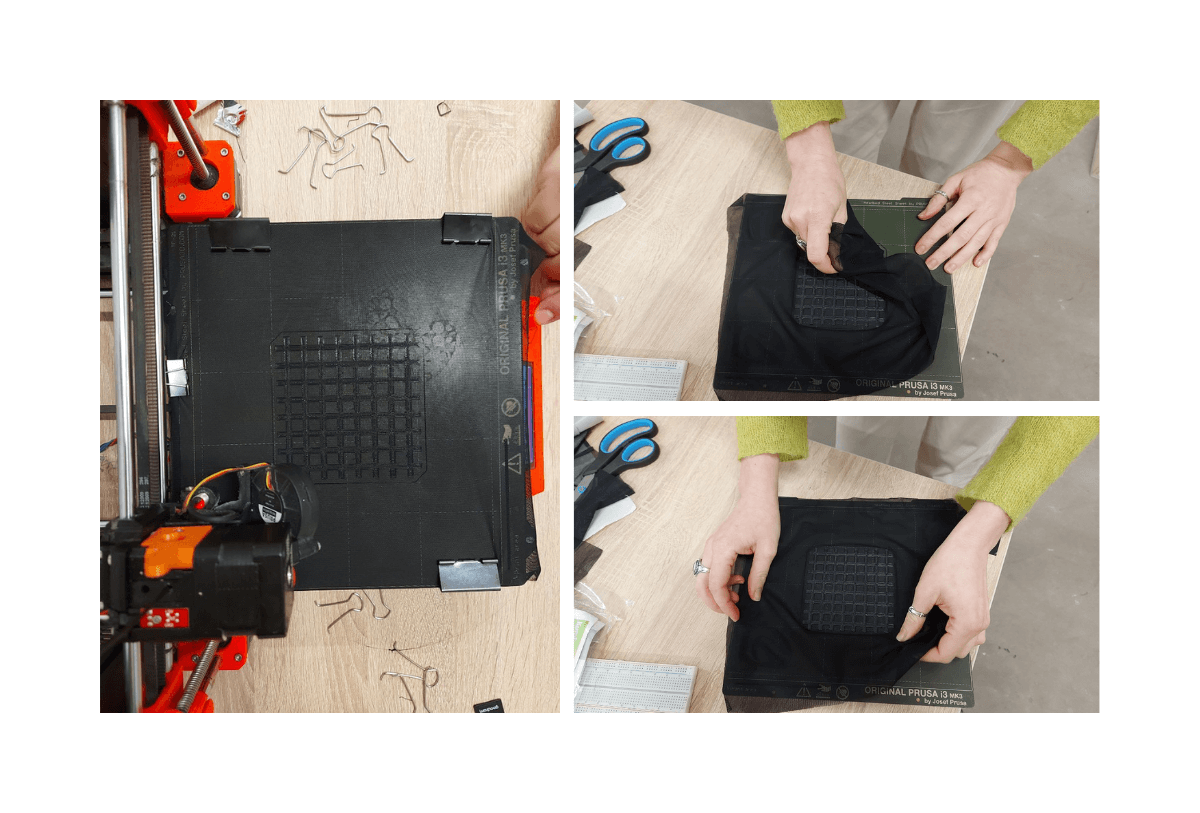
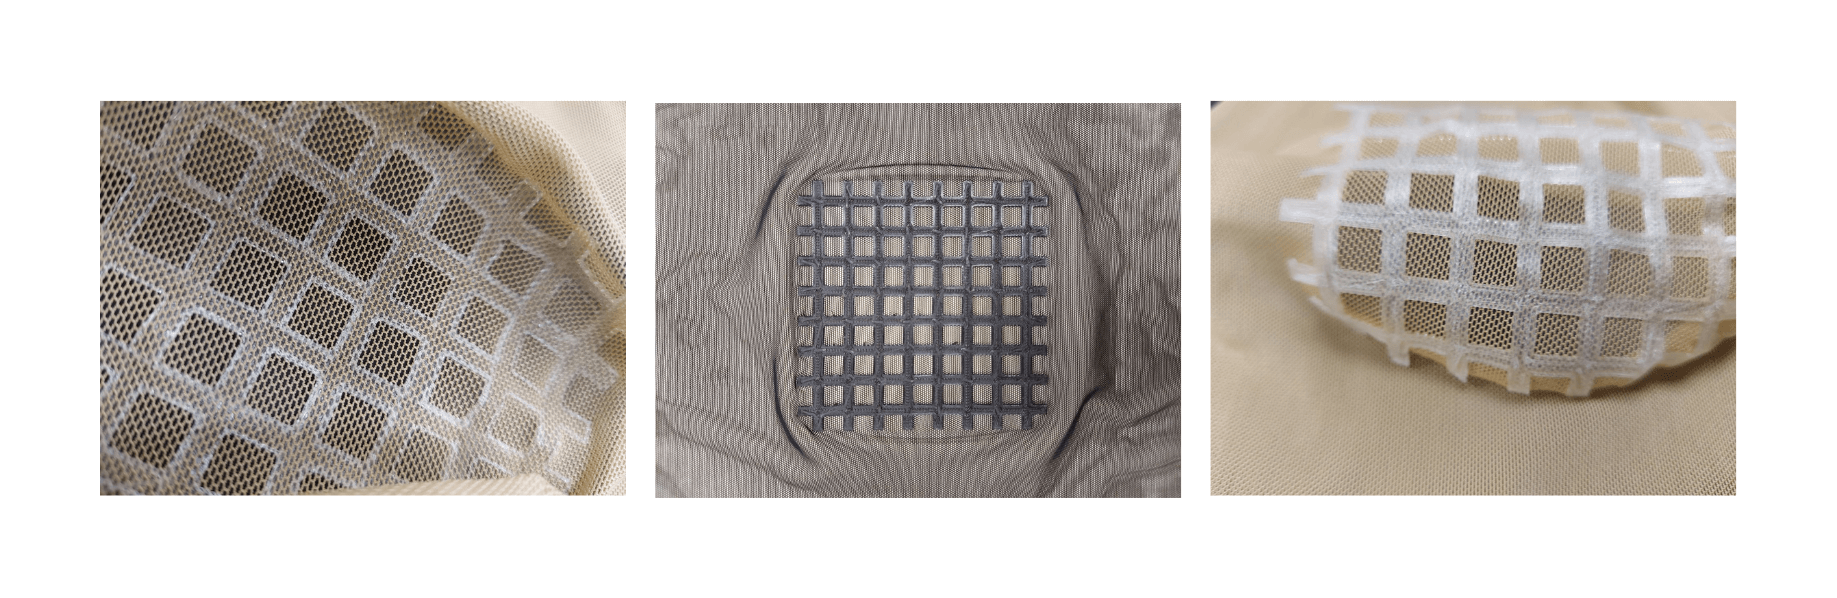
On the elastic fabric the relults look more interesting. I begin with printing a layer on the bed, then placing and fixing the fabric, then continuing printing the rest of the layers.
This method gave the strongest connection of the printed design to the fabric.
Usefull Links
Fabrication files
-
File: Mesh 3dm file ↩
-
File: Mesh 3dmbak file ↩
-
File: Mesh Grasshopper file ↩