13. Skin Electronics
Research & Inspiration
So here we are, the last week.
Can't believe that it's almost done with the weekly assignments.
This week we dived deeper in understanding what Skin Electronics means. With the lecture of Katia Vega I got to know different FX e-makeup applications and different conection of electronics that we can place close to skin.
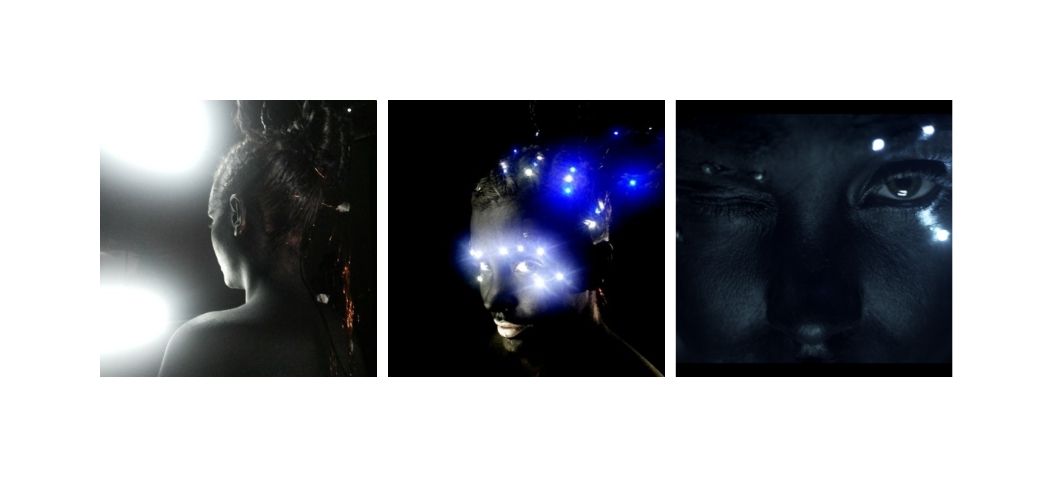
For exemple the Kinisi project, that tries to answer the question: "Could your skin act as an interface?"
Kinisi could change the world with a smile, a wink, raising her eyebrow or closing her lips. As you can see in the video, each of these muscle movements will trigger different light patterns. Larca Meicap, a special effects makeup artist, combined her FX materials with our Beauty Technology sensors for precisely applying them on specific muscles. LEDs were also hidden on the skin and hair. Digital signals collected by the sensors are sent to a microcontroller that activates a light sequence on Kisini's face and hair.
It is actually crazy that this project was made 8 years ago.
I spent a lot of time imagining and re-imagining what I could possibly do for this week. At first I thought about making a glove that will lighten up when you touch 2 fingers together and close the circuit.
After this, I also thought of casting some silicone pieces that can be aplied on face in order to get a more futuristic look. The inspiration came after watching The Second Skin photografic project by Zeng Wu.
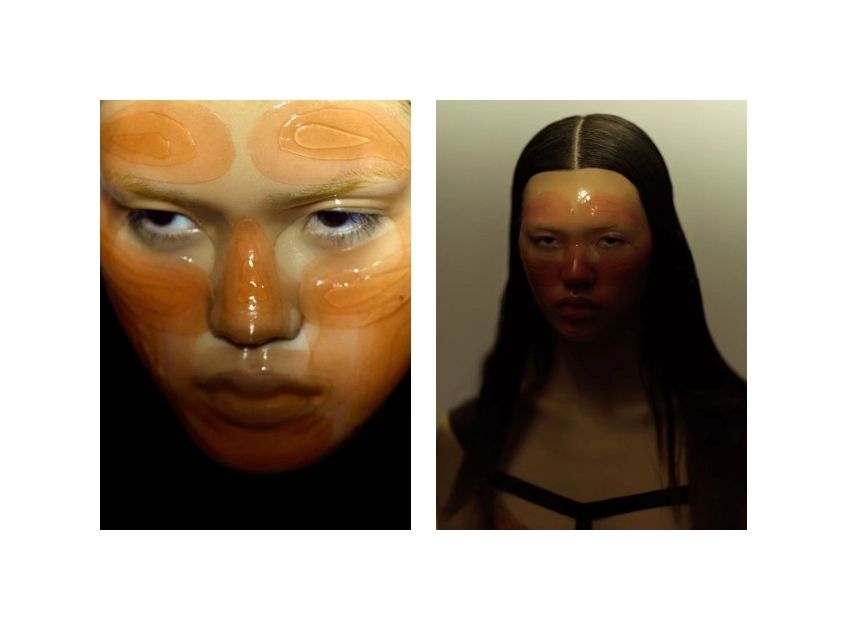 This exemple got me browsing for more mask typed projects.
Here you can find the works of Anastasia Pilepchuk.
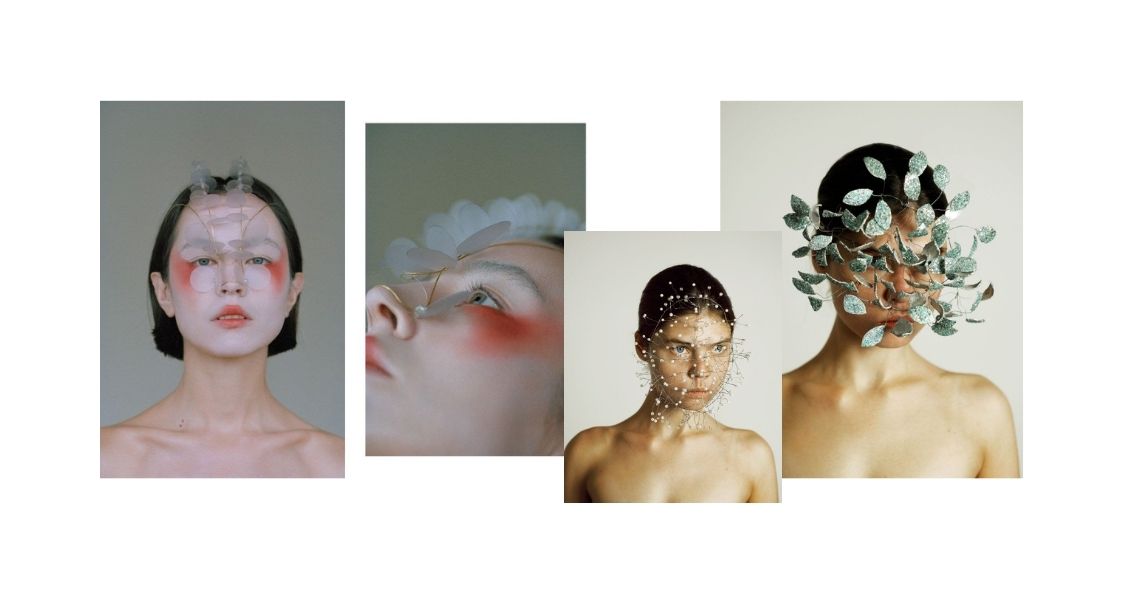 And the works of James Merry. He is a visual artist from the UK, now based in Iceland where he has worked with Björk since 2009 as a frequent collaborator and co-creative director on her visual output.

I guess this kind of collaboration set the beggining of era of AUGMENTED REALITY masks, that are so common right now.
This field can be really extreme – from romantic look to very alien and sci-fi or technological – but always a really nice palette of stuff to be inspired by.
Tools
- Arduino tools
- Sensing and Outputs part I
- Sensing and outputs part II
- Clap Sensor
- Wires
- Leds
- Transistors
- Soldering iron
Process and workflow
All this inspired me to develop a mask filled with many LEDs. And connect it so that I can turn it on with the help of a simple snapping of my fingers. I decided to base my work on the idea of using a clap sensor, not only to switch on and off the light, but also in order to activate the glowing of different parts of the mask. This was a really exciting challenge.
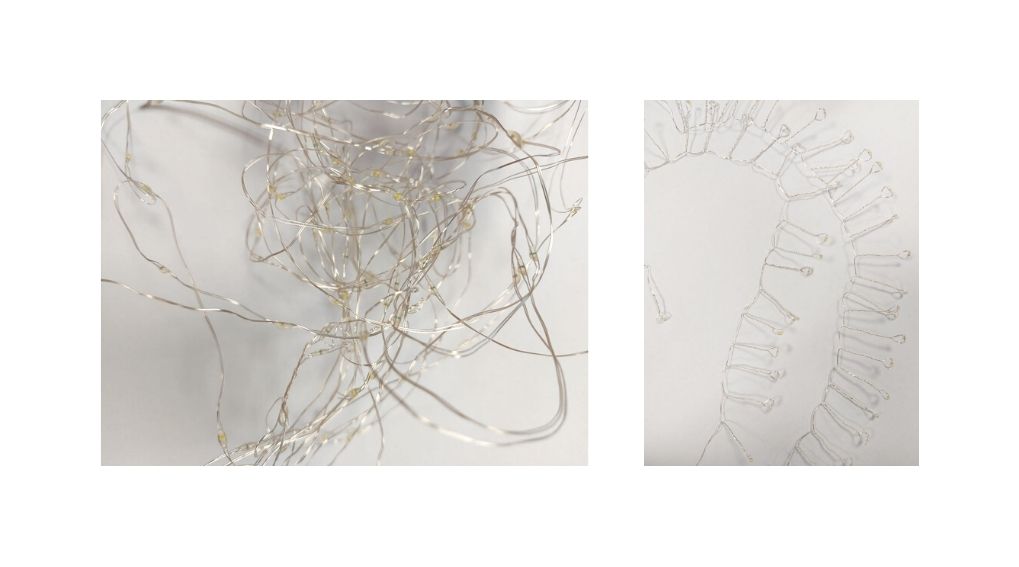
I started by disassembling an old Christmas garland, because it has a very thin wire and LEDs already conected in a seria.
The wire was coated, so it's safe to wear it on face.

I begin with twisting the wires to create pointed tips with LED on the end. The base of the mask was from the same wire with LEDs, only twisted in several times in order to create a more strong connection and to keep it fixed on face.
The endings of the each wire I conducted to the right ear. Therefore, here the wires will connect with the power supply and microcontroller.

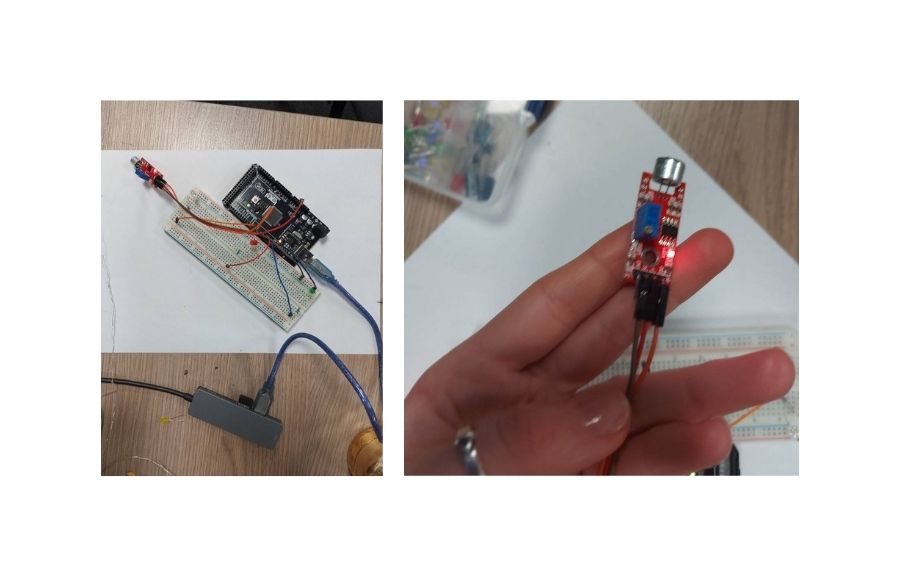
To test the connection and the whole idea, I used the following circuit with the 3 LEDs connected and a clap sensor.
| Photo | Element Name | Quantity needed |
|---|---|---|
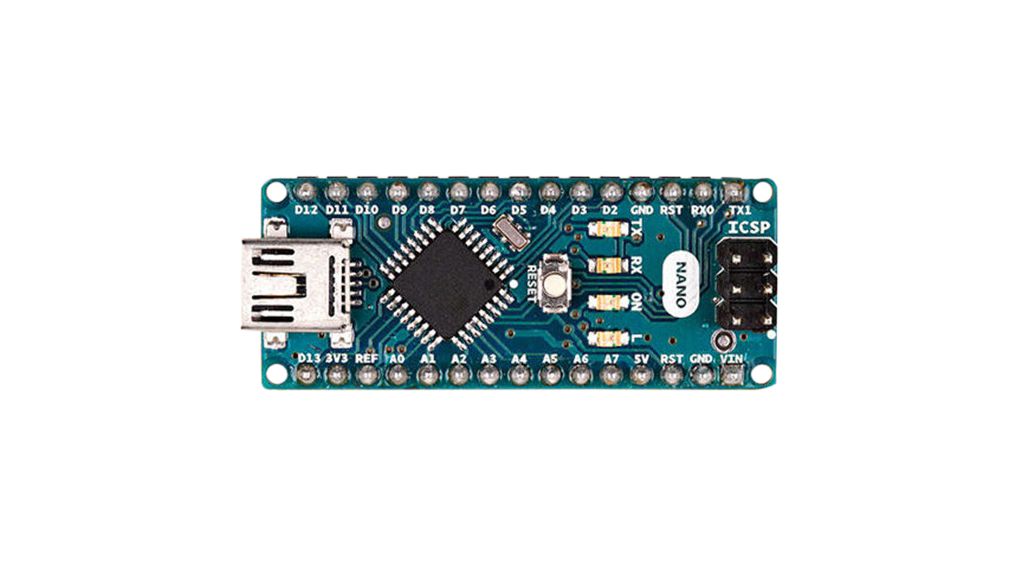 |
Arduino nano | 1 piece |
 |
Arduino uno | 1 piece |
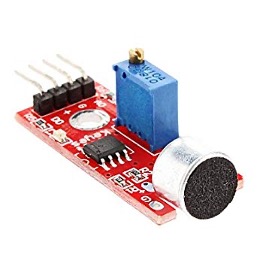 |
Clap sensor moodule | 1 piece |
 |
Battery 9V | 1 piece |
 |
Connector to the 9V battery | 1 piece |
 |
Wires | several |
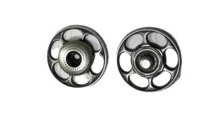 |
Snaps | 2 pairs |
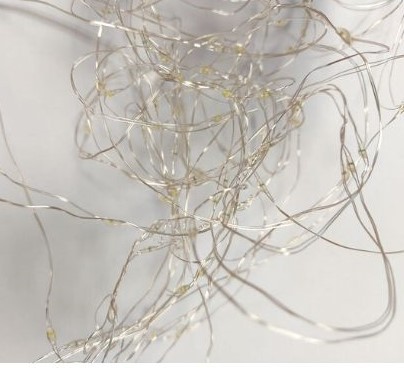 |
Christmas garland | 1 piece |
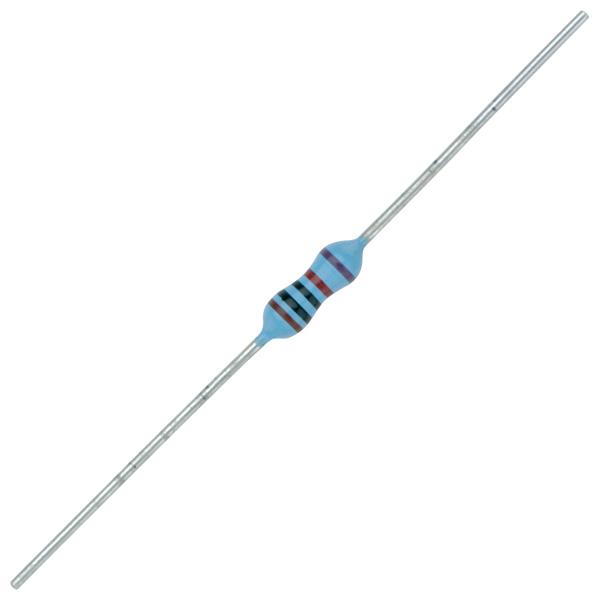 |
2.2K Ohm Resistor | the same amount as LEDs |
So, here is the prototype of the needed circuit. First I try to connect it using a breadboard and an Arduino Uno. For a more compact version I'll use the Arduino Nano, so it can be posibile to hide it in the hair elastic.
Code Example
For creating the efect of switching on, part by part of the whole mask, I created the following code:
#define VERT1 3
#define VERT2 8
#define VERT3 10
#define VERT4 11
#define BAZA 12       // connected to the base will be 2 pins
#define NUM_STRIPS 5 //change this if you want more strips

#define soundPin 5  // Microphone connected to analog pin A0

// Keep track of whether clap has been heard
bool clapHeard = false;

// Keep track of which LED to light up
int currentStrip = 0;

//This mask is formed of 4 vertical stripes and a base
int mask[5] = { VERT1, VERT2, VERT3, VERT4, BAZA };

void setup() {
  for (int i = 0; i < NUM_STRIPS; i++) {
    pinMode(mask[i], OUTPUT);
  }
  pinMode(soundPin, INPUT);
  Serial.begin(9600);
}

unsigned long previousMillis = 0;
long interval = 1000;

void loop() {
  // Check for a clap
  if (digitalRead(soundPin) == HIGH) {
    clapHeard = true;
    Serial.println("Clap heard");
    delay(50);
  }
  if (clapHeard) {
    digitalWrite(mask[currentStrip], HIGH);
    clapHeard = false;
    currentStrip++;
  }

  // Reset the Strip index if it reaches the end of the array
  if (currentStrip > NUM_STRIPS) {
    currentStrip = 0;


    // Turn off the MASK
    for (int i = 0; i < NUM_STRIPS; i++) {
      digitalWrite(mask[i], LOW);
    }
  }
}

void aprindeMasca() {
  for (int i = 0; i < NUM_STRIPS; i++) {
    digitalWrite(mask[i], HIGH);
  }
}
Video
Clap Sensor from Bannaia Elena on Vimeo.
This prototype shows that the code is running well and that now, all I need to do is to solder the wires from mask to these components and to cover with some fabric in order to hide them in a hair elastic.
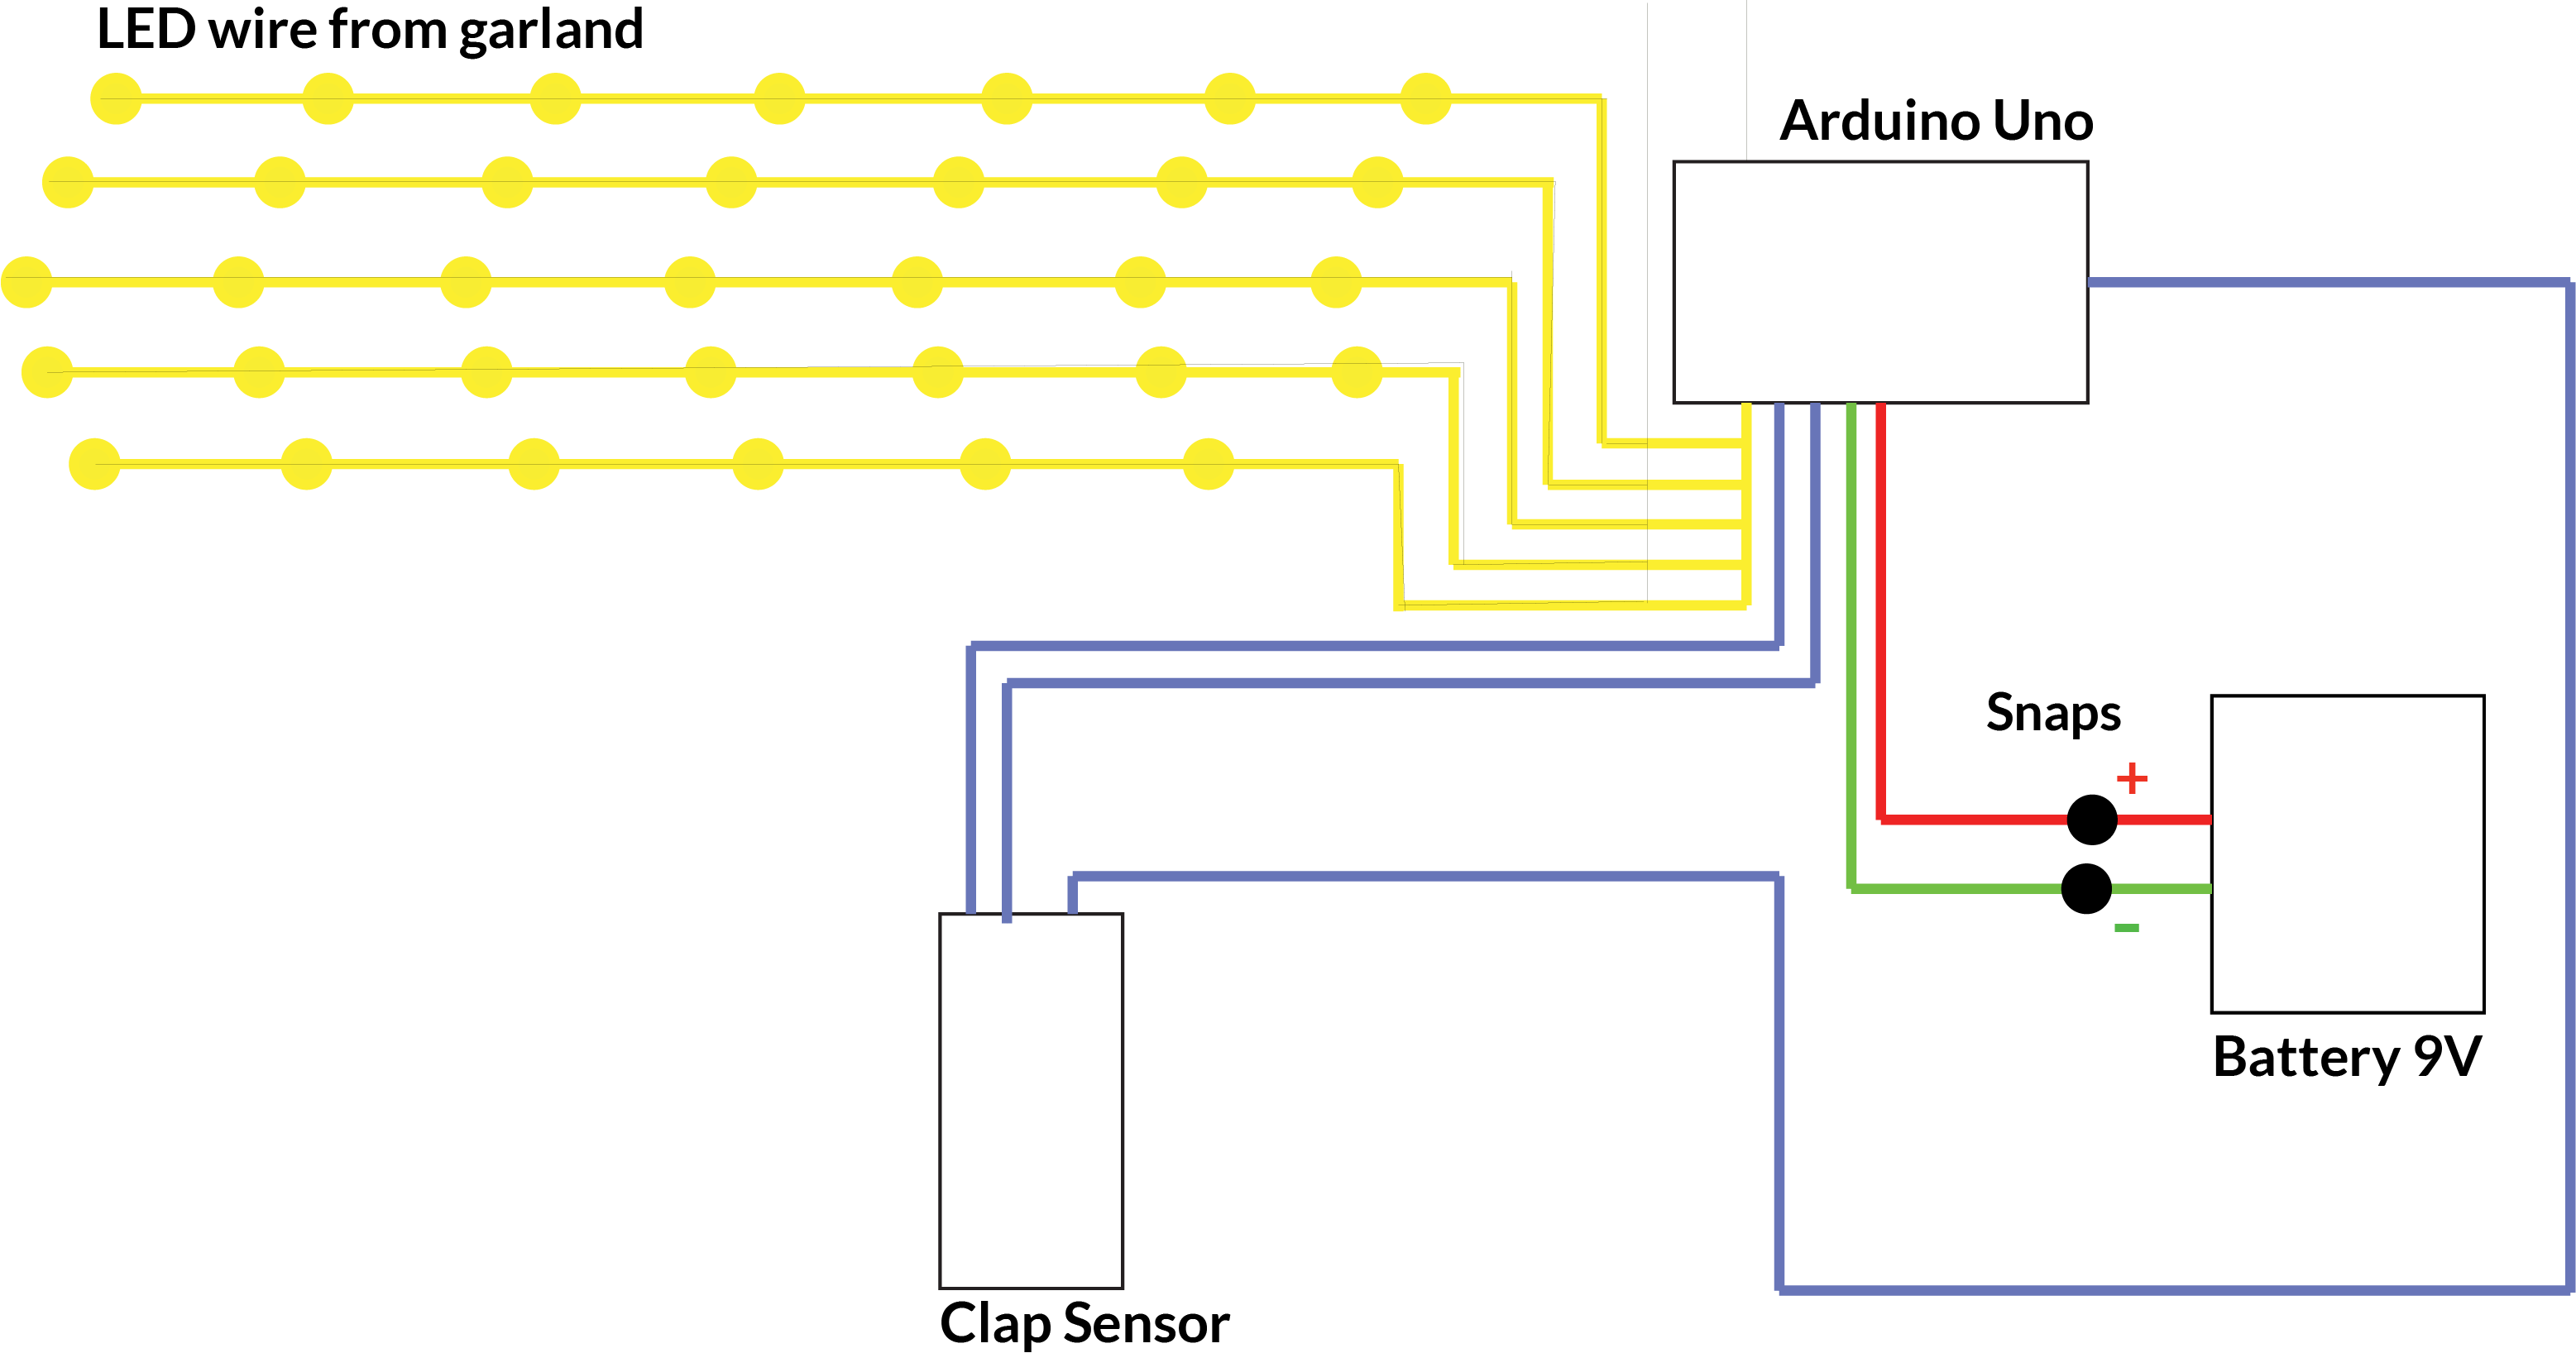
The schematic circuit looks like this:
So, this is the last week! I am not so satisfied with all the assignments, there are some I wish to improve or work forward on experimenting and developing them. Still, it was a big pleasure to be part of the Fabricademy 2022/23!
This is just the beggining of a new journey!
See you in January with my project development. 😊