2. Digital Bodies
WEEKLY PLANNING
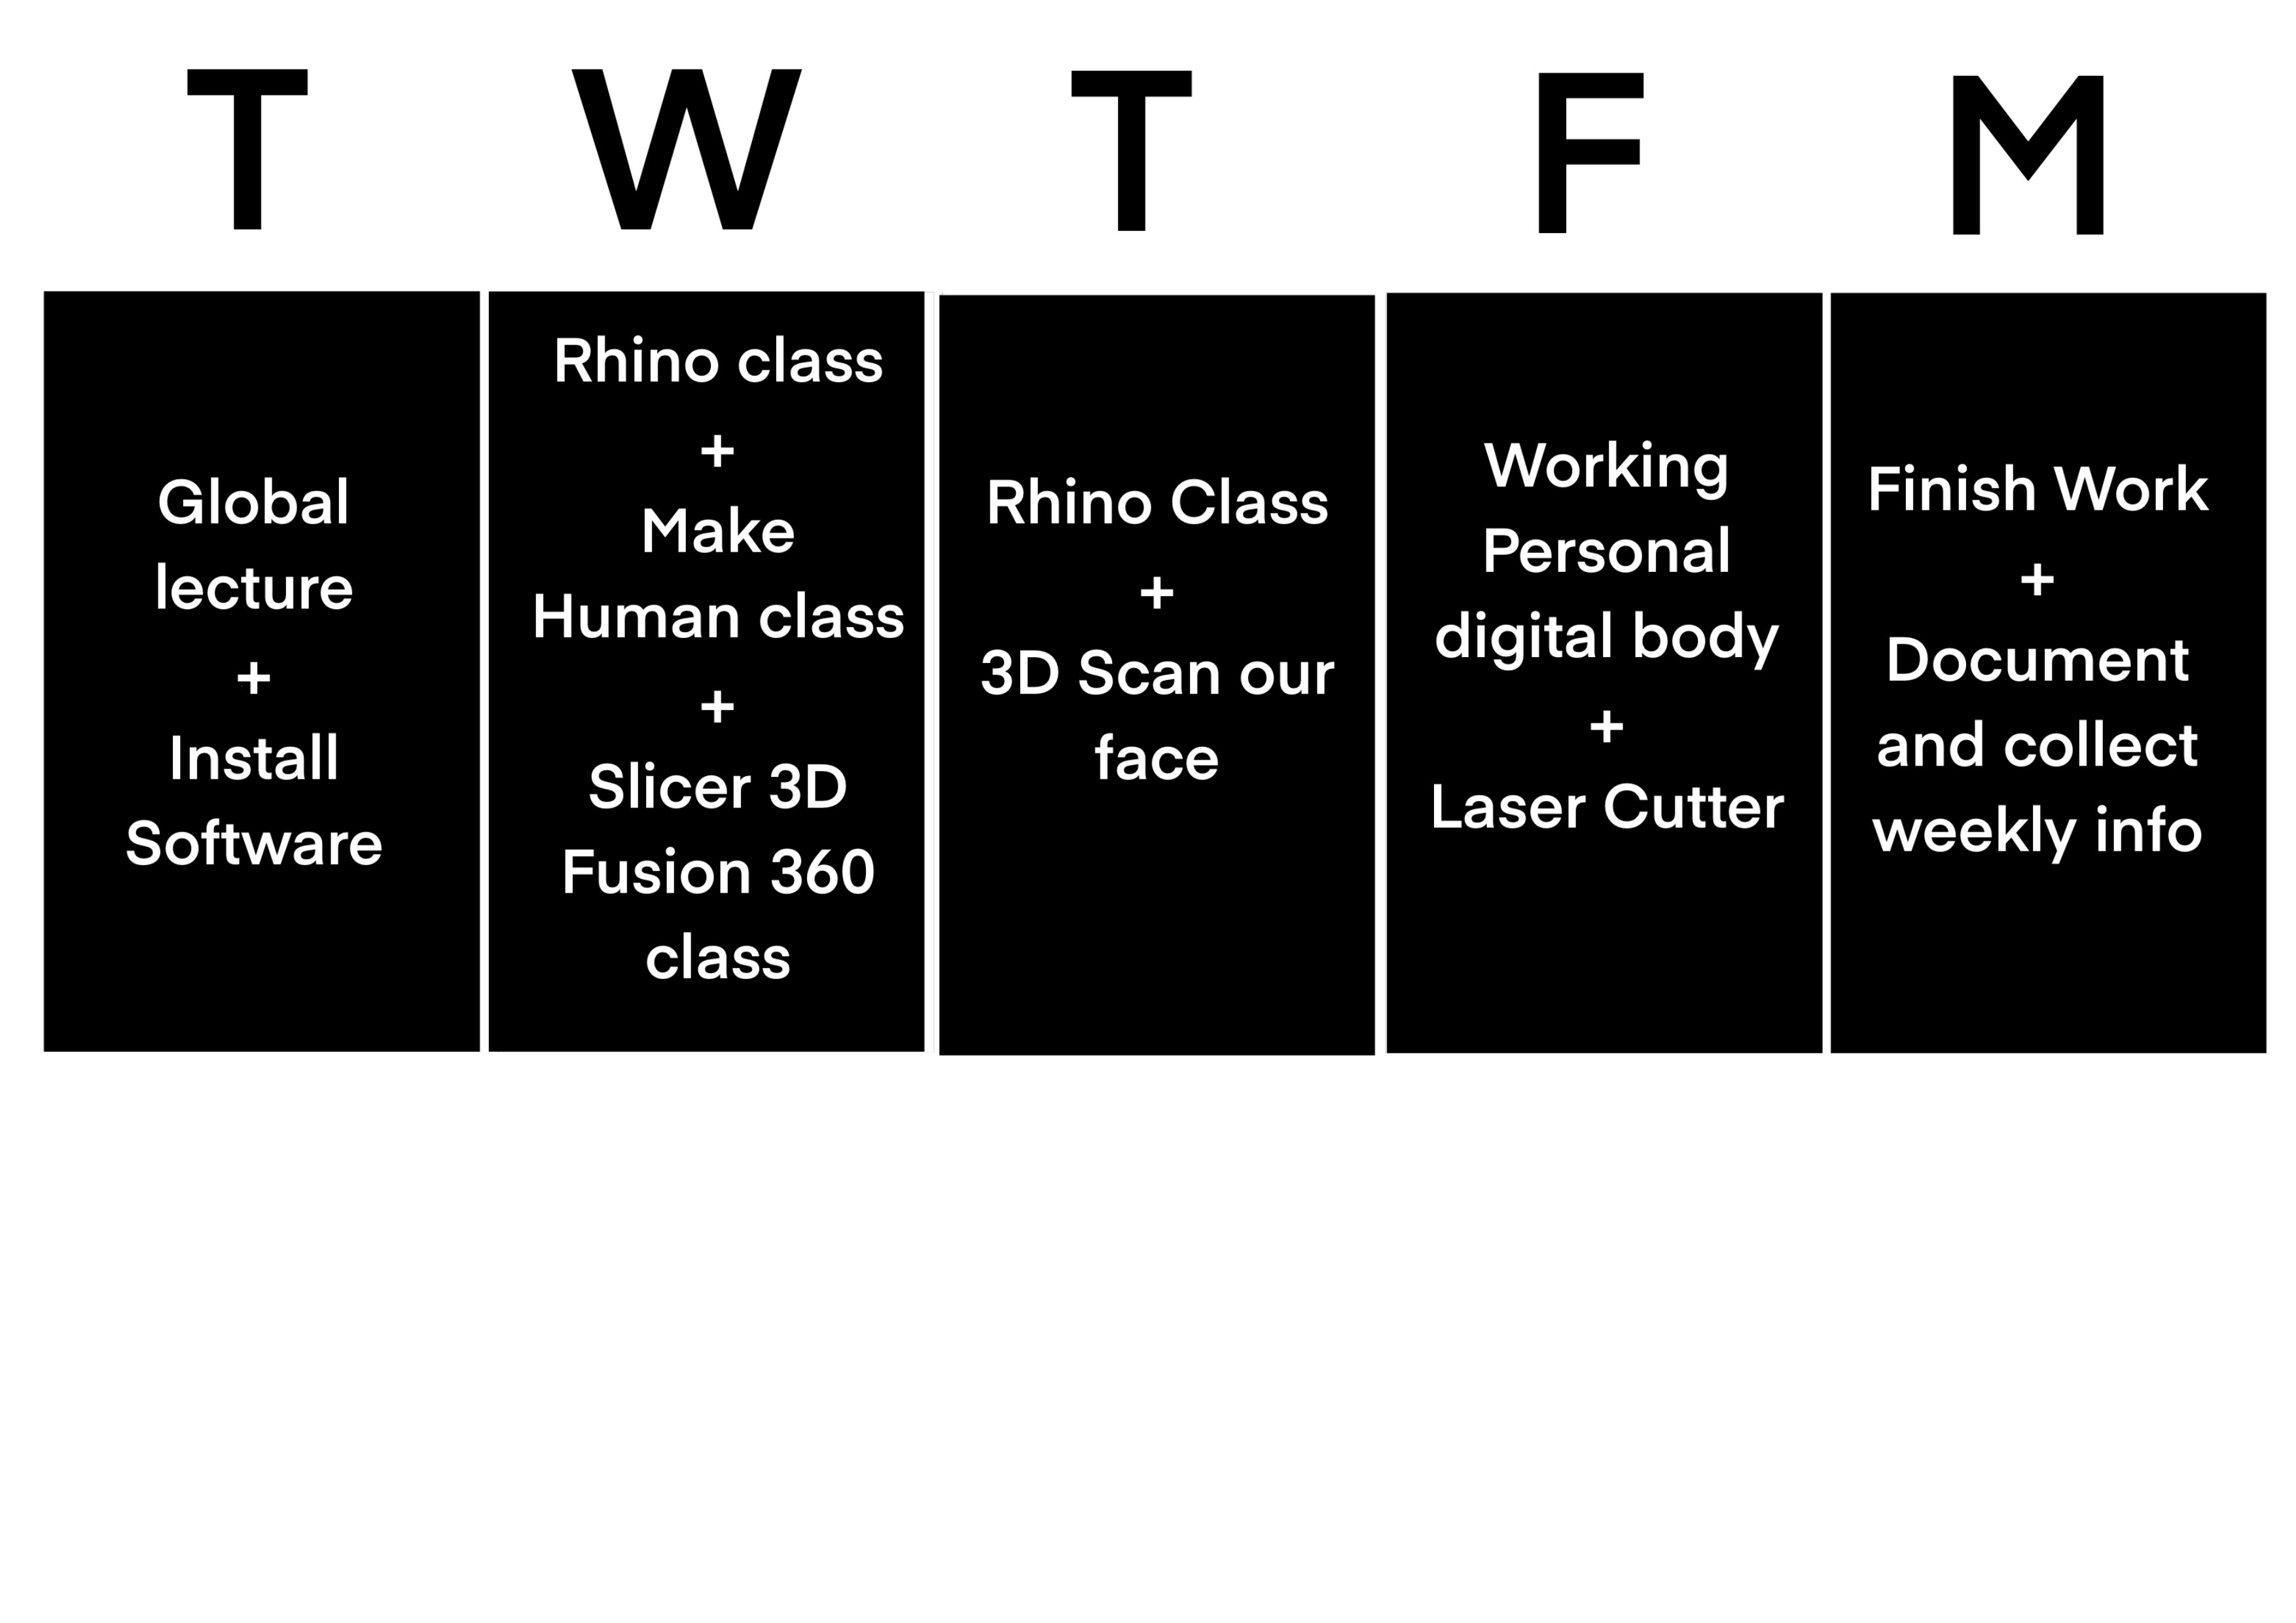 In this second week we have started experimenting with 3D scanning programs. First we start scanning our faces and getting a digital design for then merge two faces and create a new avatar.
3D SCAN
Here I show you how I worked: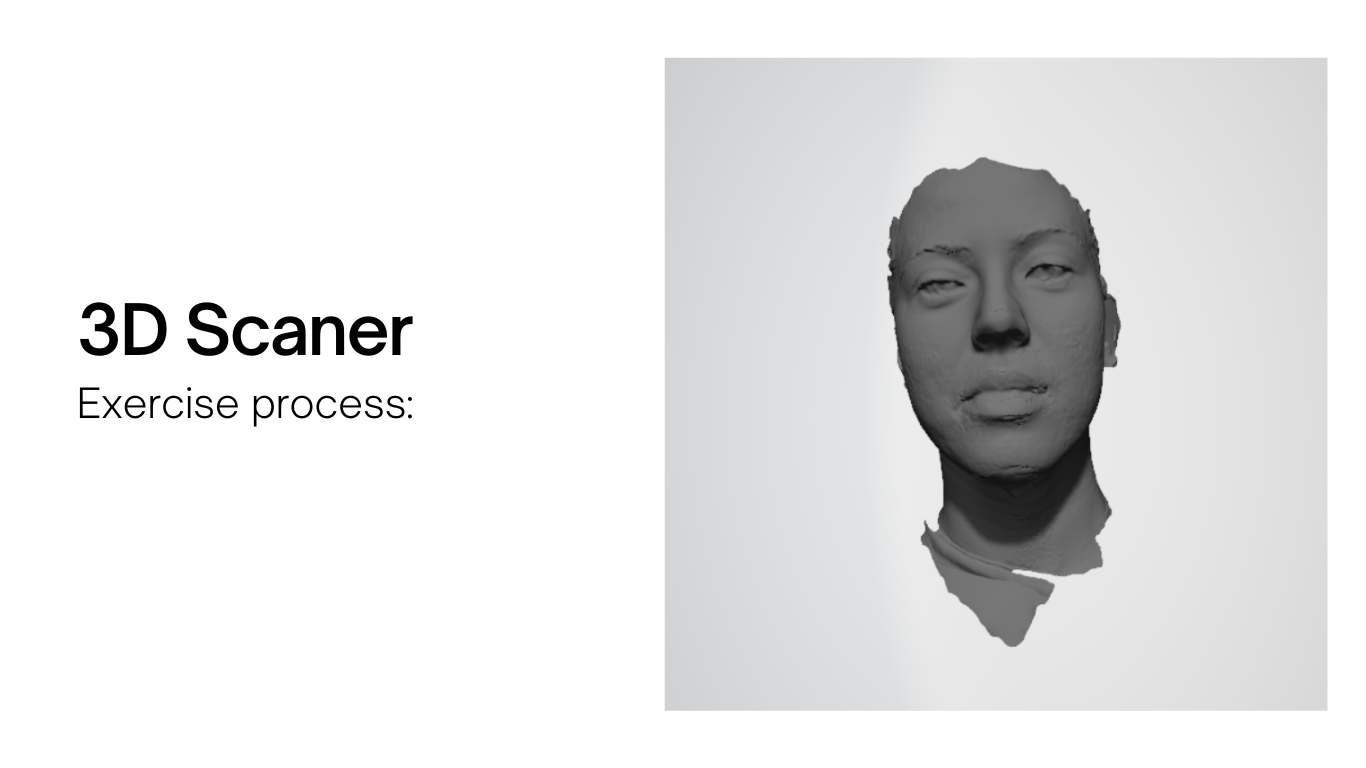
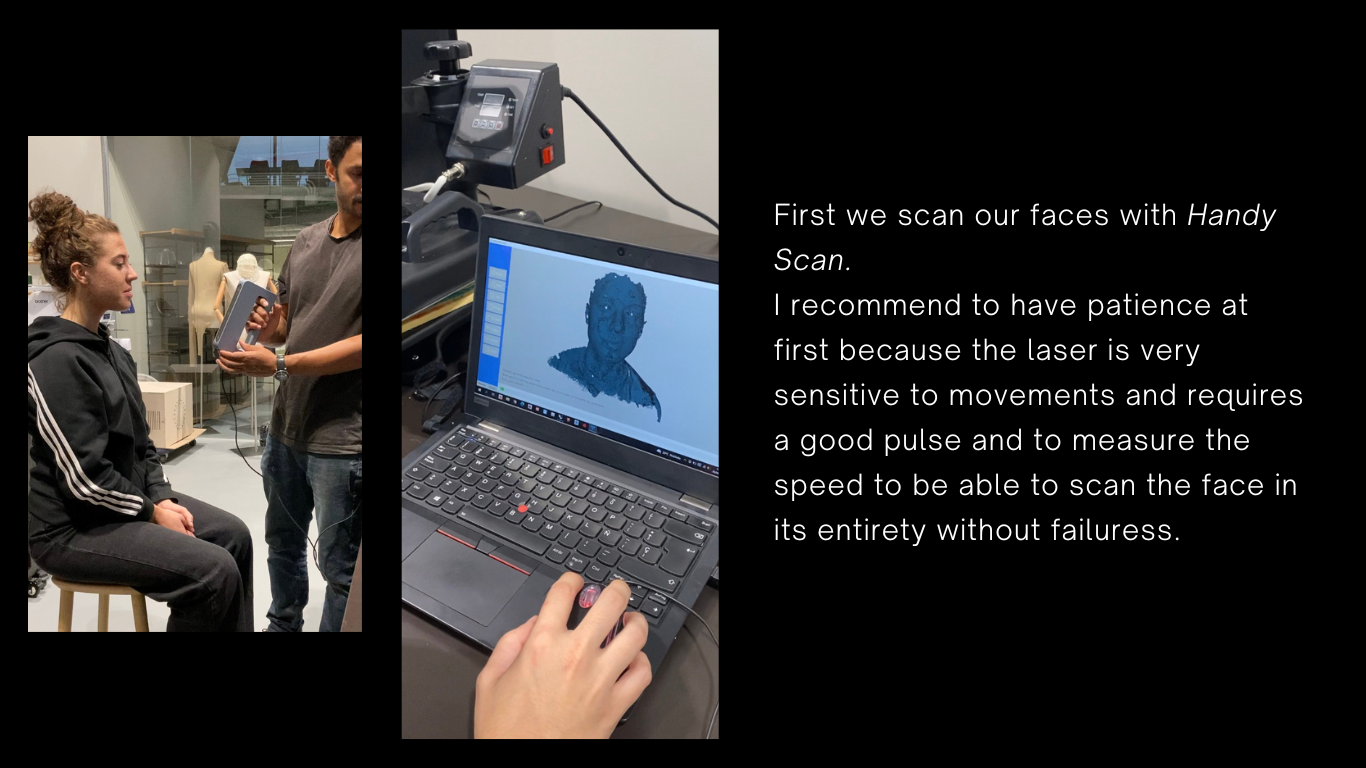

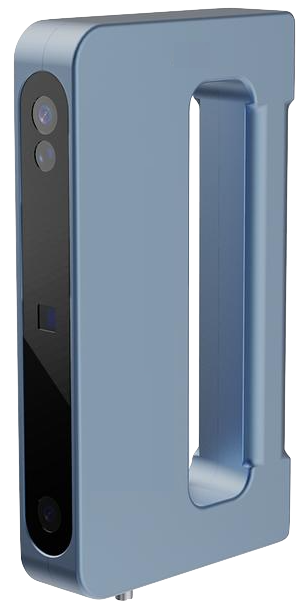
The ANET HANDY SENSE that we used, 3D scanning with 3D Systems from Intel, is a hand scanner with cable. It slowly takes pictures and measures depth so it can create a 3D file on teh SKANECT.
HOW TO USE IT
-
Open the HandyScan software on your computer
-
Specify what type of object you'll be scanning
-
Make sure that you press the "AUTO FUNCTION"
-
Press "Start" on the screen
-
Press "Play" in the scanner and scan your object carefully
-
Move around your object until you get the complete shape
-
Once you finished, the HandyScan automatically fills the hole of your design if you choose that option.
-
Wait untill the program fills the hole and you see the "Meshing completed" message
-
Then you need to export the model into an ".obj" file
REPRESENTATION & INSPIRATION OF THE HUMAN FIGURE
From the earliest civilizations to the present day we can appreciate the efforts to represent the human body, whether realistically or not, we can point out how notions about proportion, beauty, balance, harmony and movement were constantly evolving and changing. In art, the human figure has been represented by many sculptors, designers, painters etc. Working on this subject that fascinates me, is always a good example to let your imagination go!
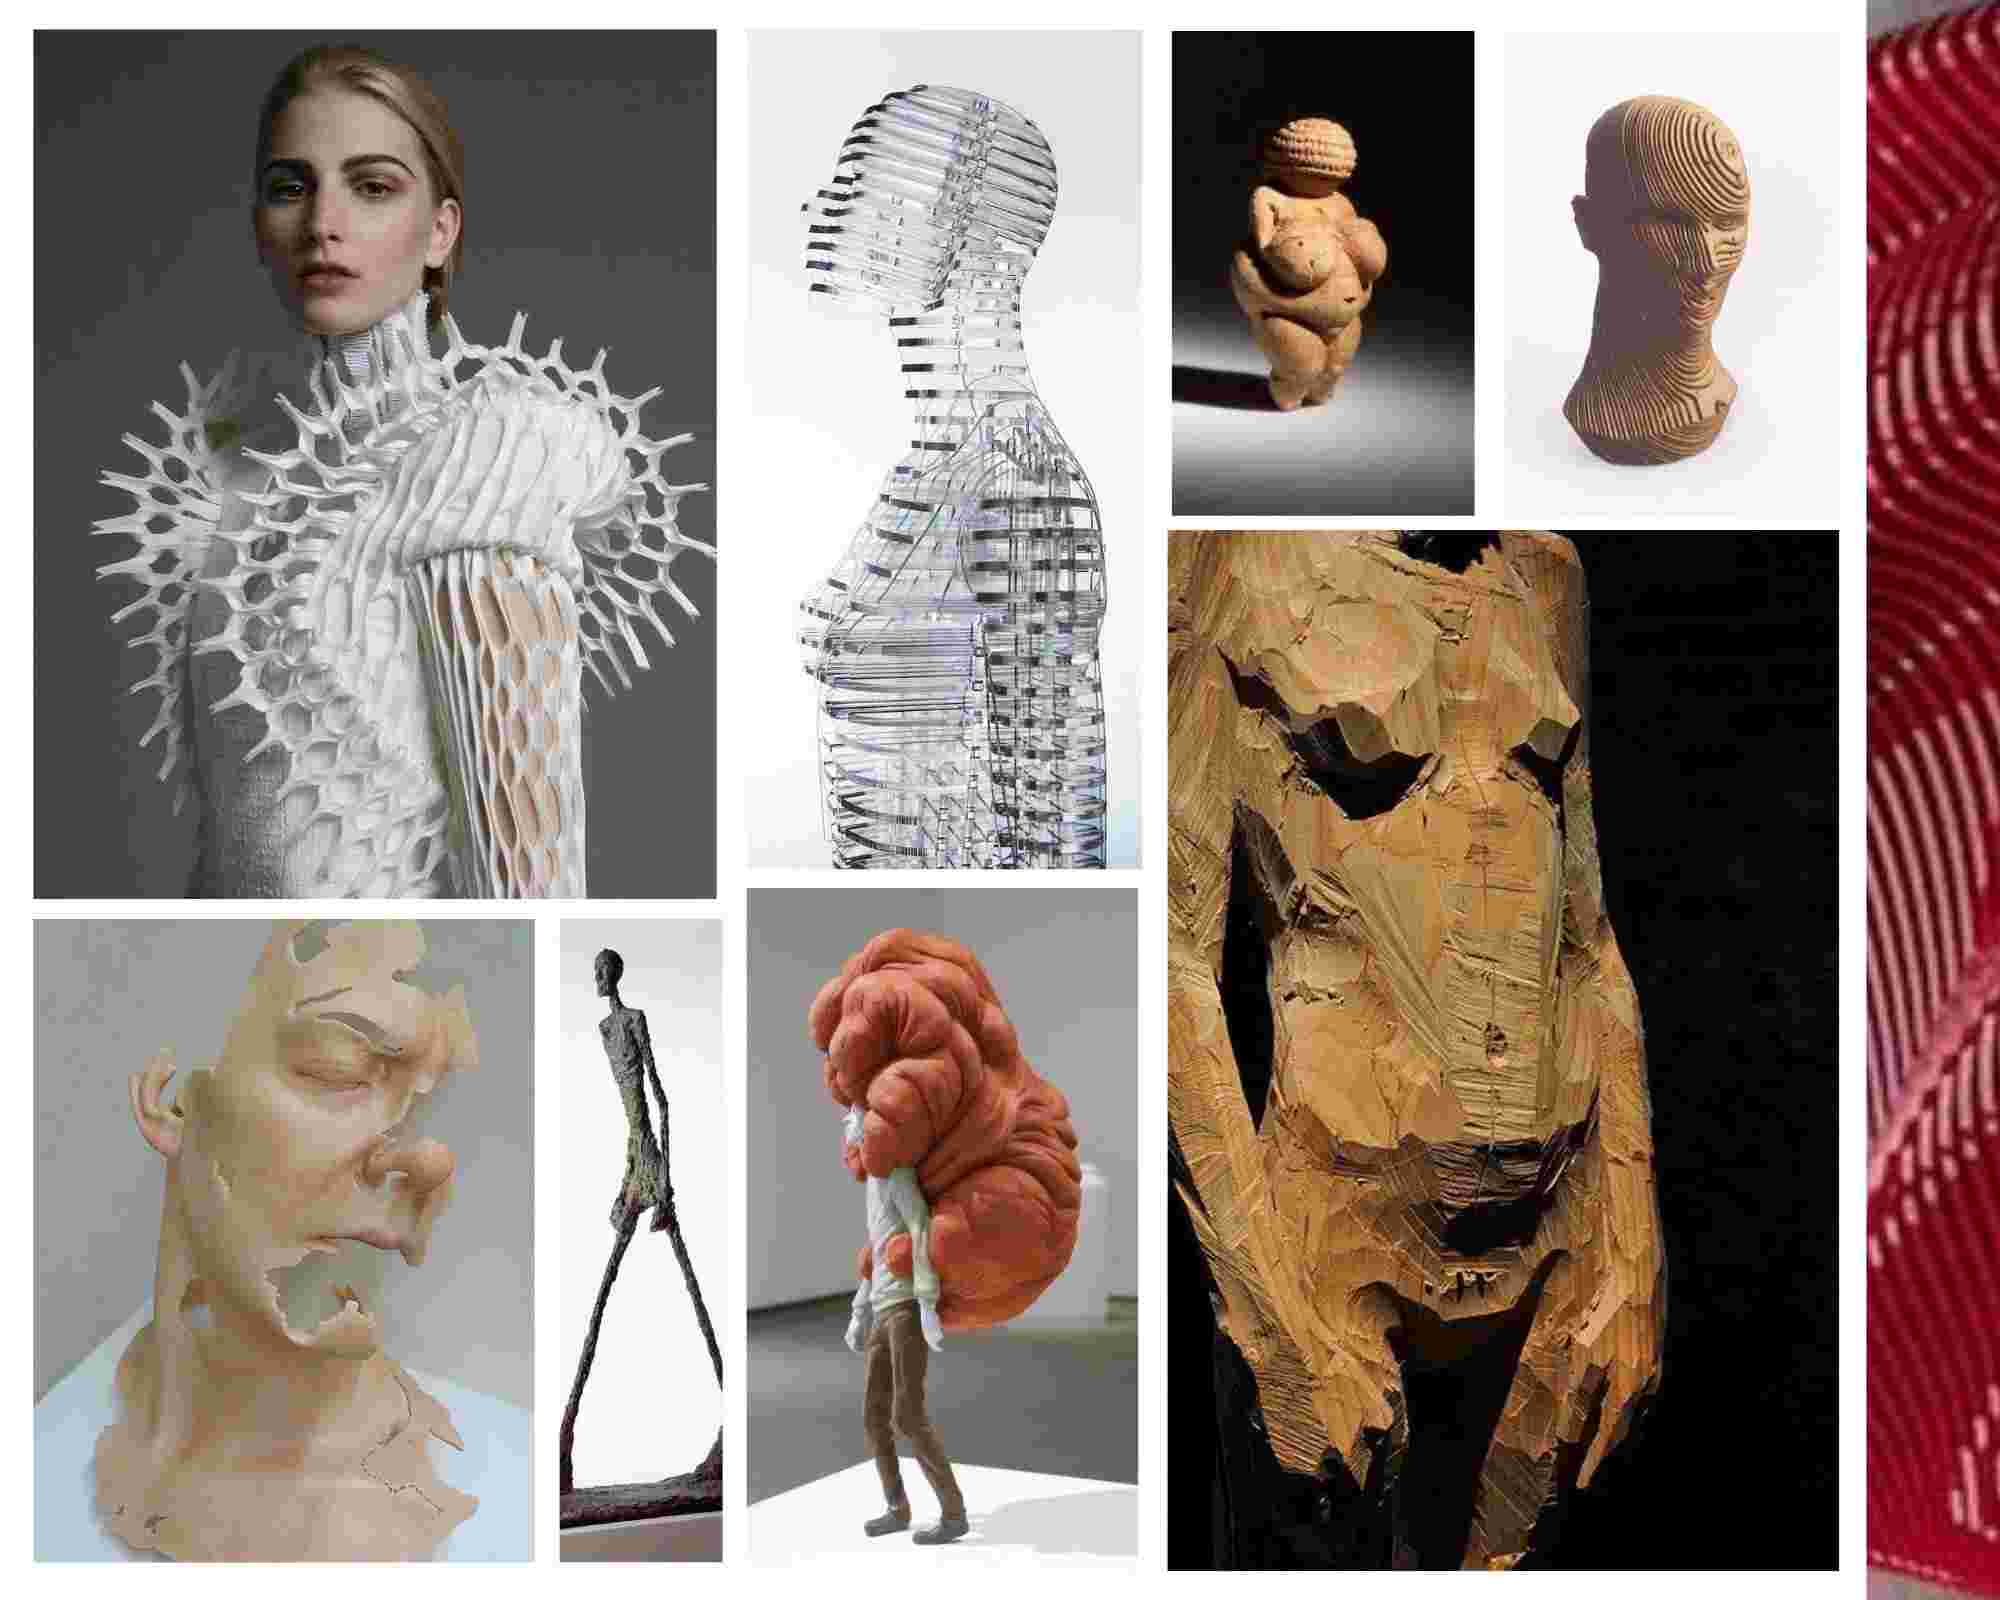
Venus of Willendorf / Sophie Kahn / Troy Coulterman / Albert Giacometti / Aron Demetz
Weekly inspo Folder
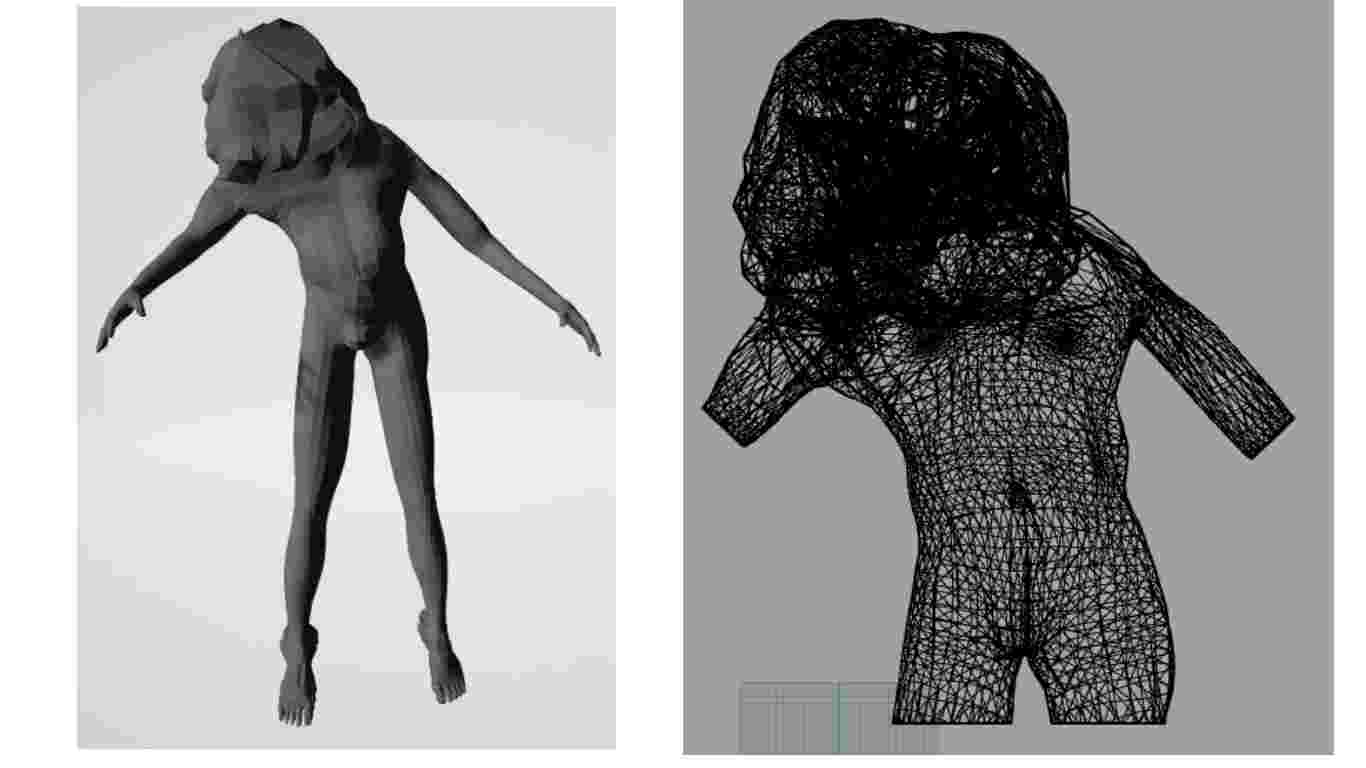
DIGITAL MODELING
3D has become one of the strongest trends in the field of design in recent years. Science and technology have experienced a breakthrough that has allowed us to get to the point where we are. It is a design area that has great versatility and infinite possibilities very rich in details

MAKE HUMAN
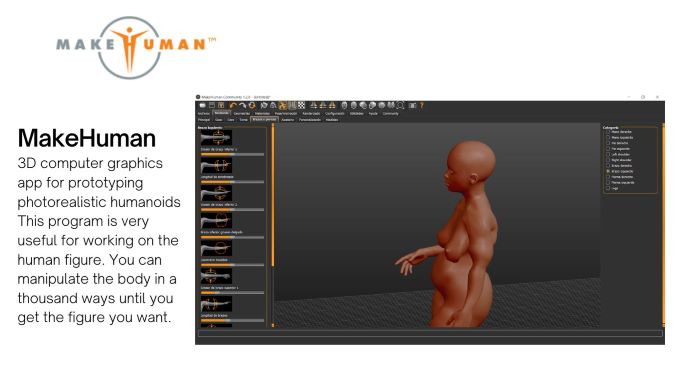
Testing the software, following the lecture tutorial, I've made a 3D of myself.
-
Modelling Menu: Main - Choose gender/ female; Put my age/ 17; Weight/ percentage 100%; Height / 80 (not accurate); also muscle, proportions and caucasian.
-
On gender, face, torso, arms and legs, I adapted to my body shapes
-
Geometries Menu: I don´t make any changes on the face, eyes, eyebrows and eyelashes
-
Materials Menu: I don´t make any changes on the materials, I just want to focus on the body so I don´t need any clothes
-
Pose Menu: I chose a stay position that I uploaded from main menu
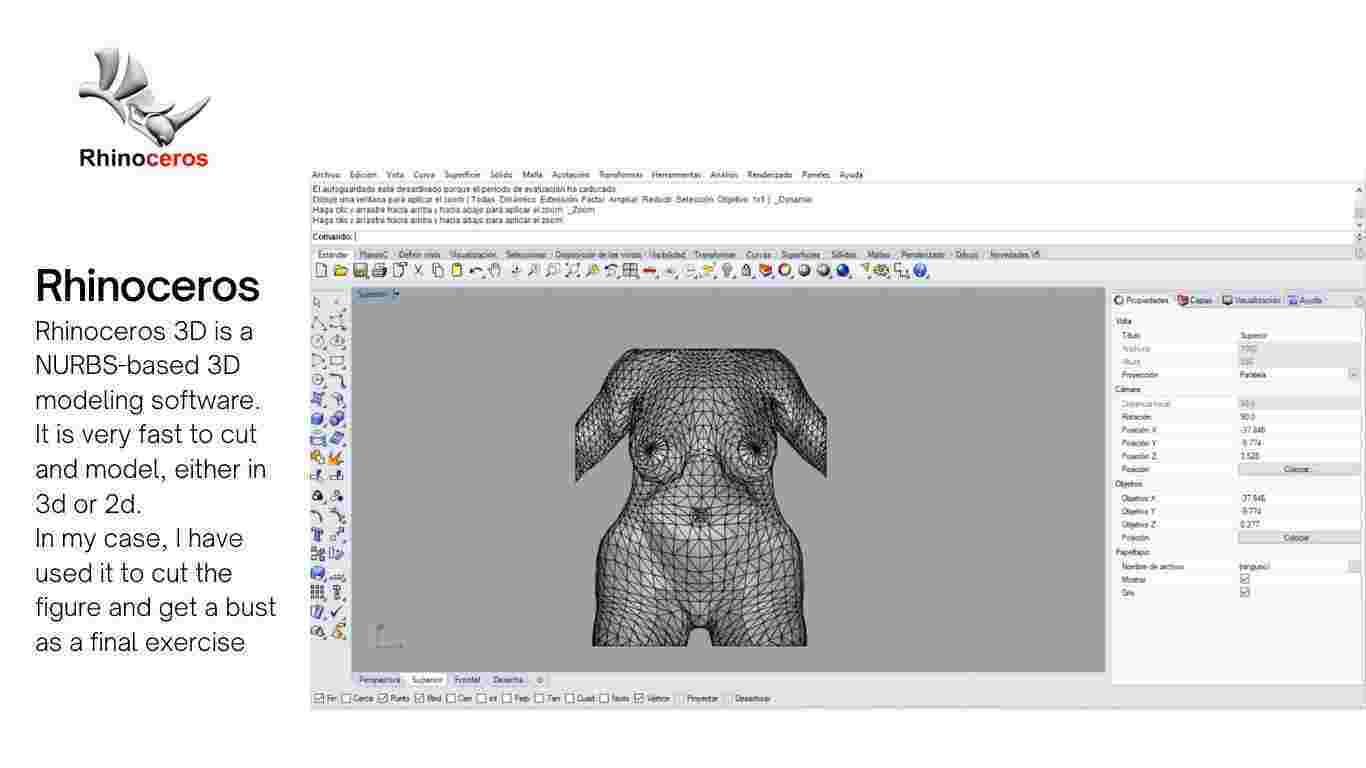
RHINOCEROS
-
Open Obj rested on Make Human. Confirm scale.
-
In this case was in cm so I Scaled to 10 times.
-
Select and Delete extra objects -head, arms and legs
-
MeshtoNurbs - transform the Material from Mesh to Nurbs polysurfaces.
-
It created two objects - select the Mesh and move ir from the place.
-
Select the Polysuface and center it.
-
Box - create a cutting object on center
-
BooleanDifference - select
-
Select final Polysurface - Save as .OBJ or .STL
SLICER 360
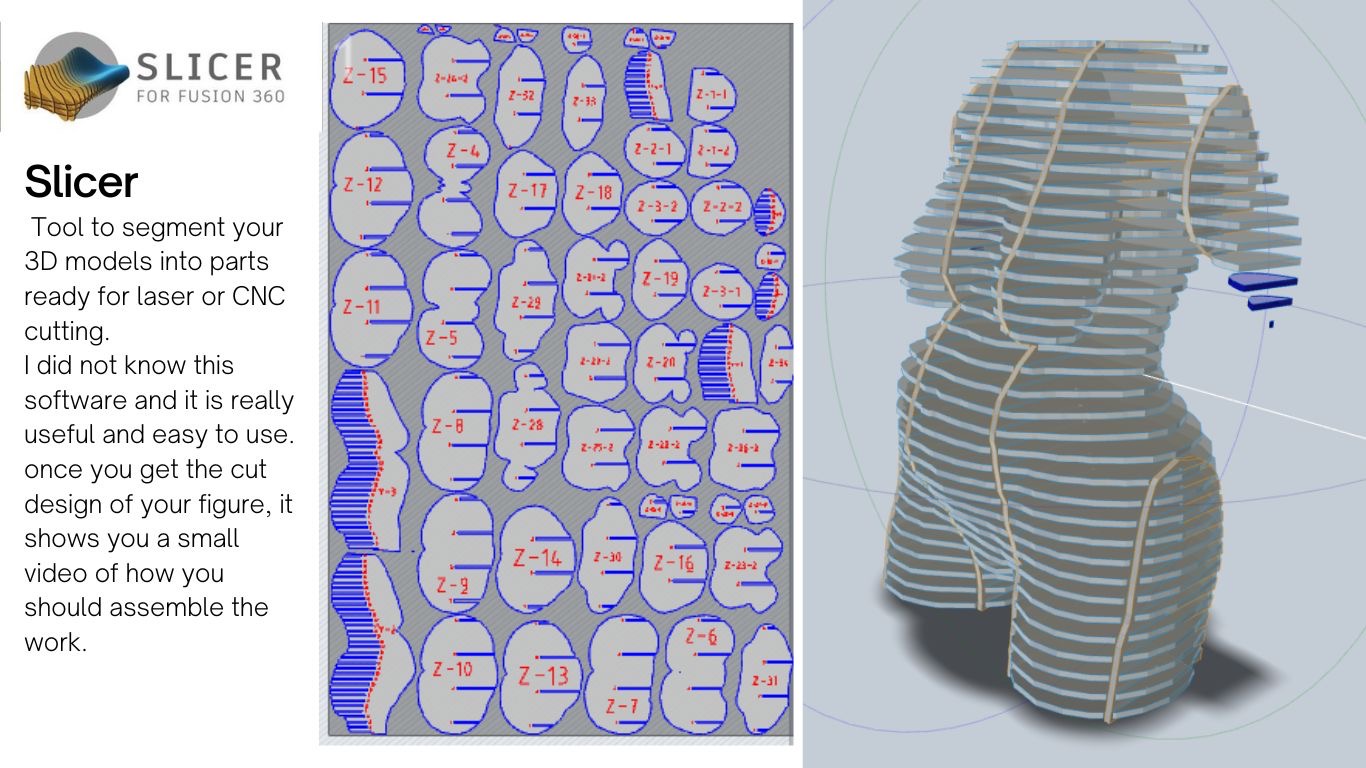
In my experience, I am satisfied with the final work. Working an object without too many difficulties and standard shapes, the software has been able to create a simple and visually attractive composition. It is important to play to see the different ways that the object can be interpreted, depending on which one you choose, the difficulty of preparation increases or not.
BLENDER
Second proposal and modeling experimentation.
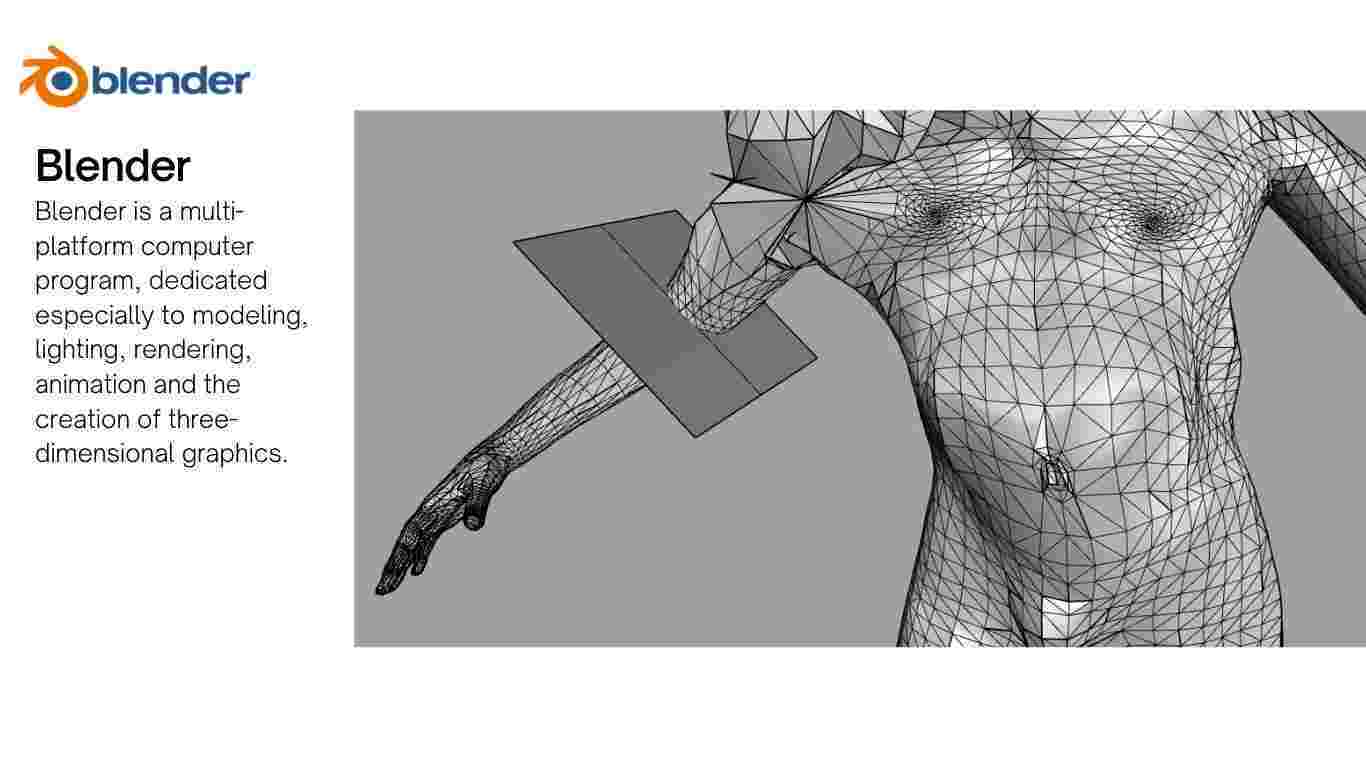
Blender is similar to Rhinos but it doesn´t work by commands. The object is transformated manually. In my opinion it is much simpler to work, it allows you more options and tools.
LASER CUTTING
The Laser Cutter we have in the BDC is FRAMUN FL1409.
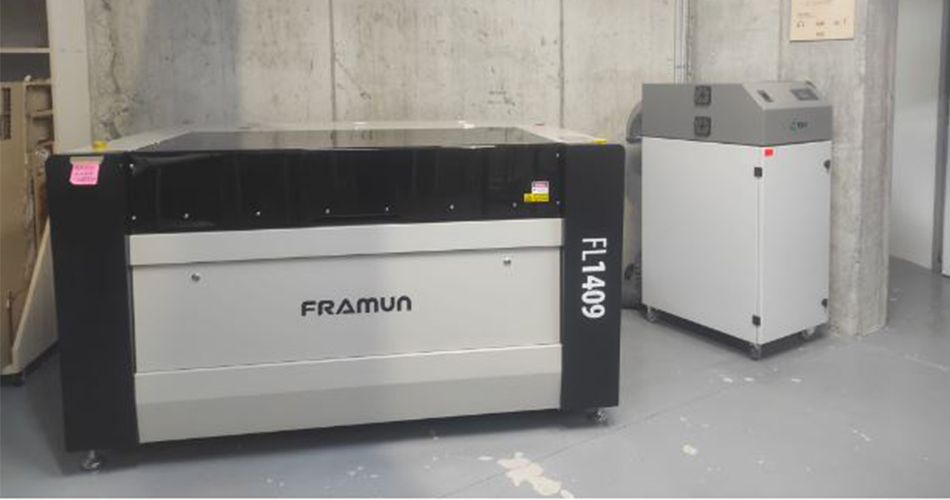
To use this Laser you must follow these steps: 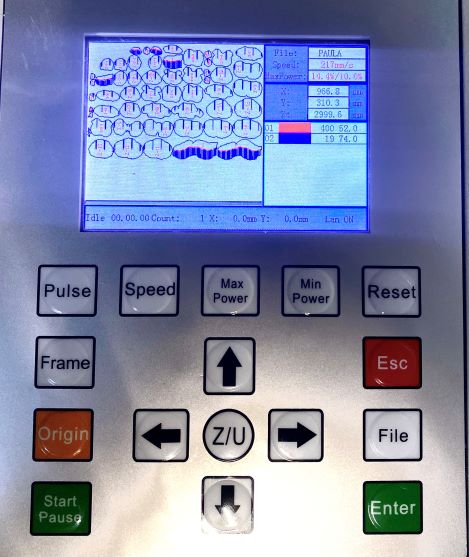
-
Import your ".dxf" into the software and select an order of cutting by colors (Select the parametters for each layer that you have)
-
Send the file to the laser cutter
-
Select your file from the list of files on the laser
-
Calibrate the Z axis
-
Choose the Origin Point (it is advisable to place it in the upper left)
-
"Frame" the working area
-
Turn on the extractor
-
Press the "START" button
The material and the seetings for the laser cutter:
-
Material: Type: Cardboard; Thickness: 3 mm
-
Machine Settings: Cut: Speed: 70 / Power: Min.:70, Max.:74; Engrave: Speed: 800 / Power: Min.:25, Max.:35
SAFETY RULES
FINAL WORK
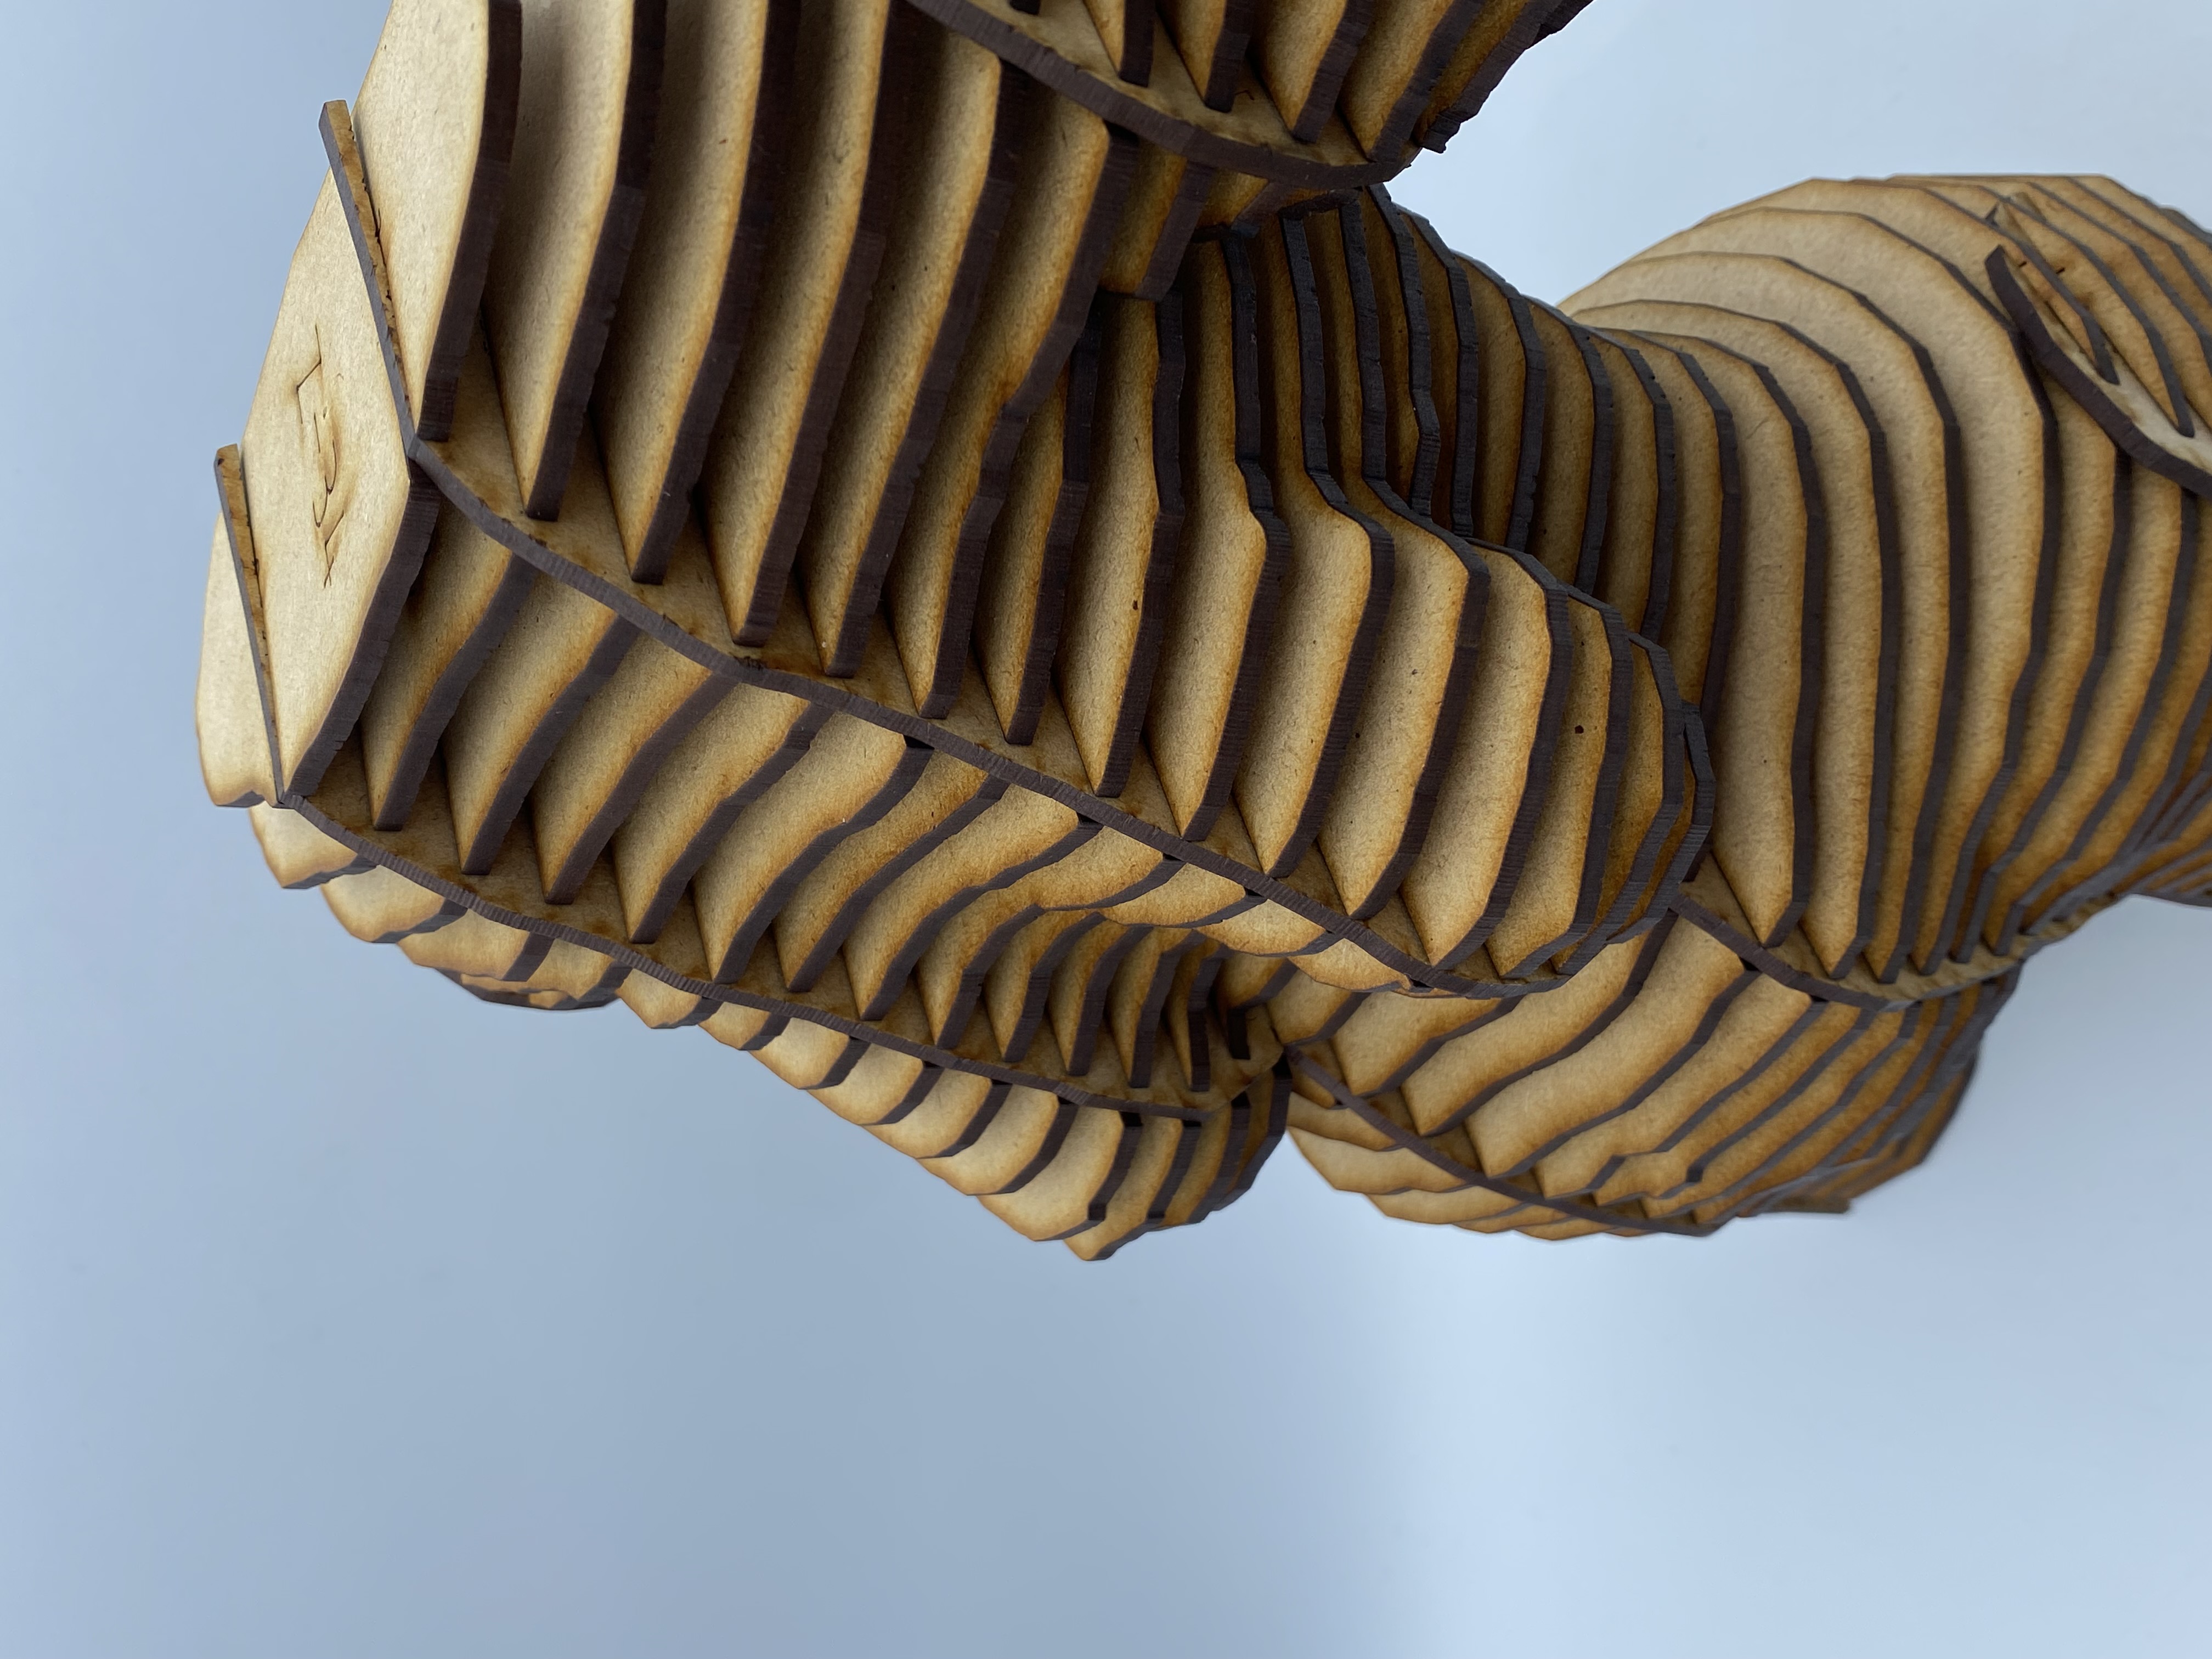
Once the pieces are cut, it's time to build the body. It has been really interesting and satisfying experience to see how all the pieces fit together perfectly. Remember that we save a lot of time using the laser cut, and of course the precision and perfection that we optain is incomparable to manual work.

3D MODELS IN SKETCFAB
Handle it yourself!
DOWNLOADABLE FILES
Here you can download my digital body and try yourself your own 3D avatar.