4. BioChromes
TEXTILE INDUSTRY AND ITS POLLUTION
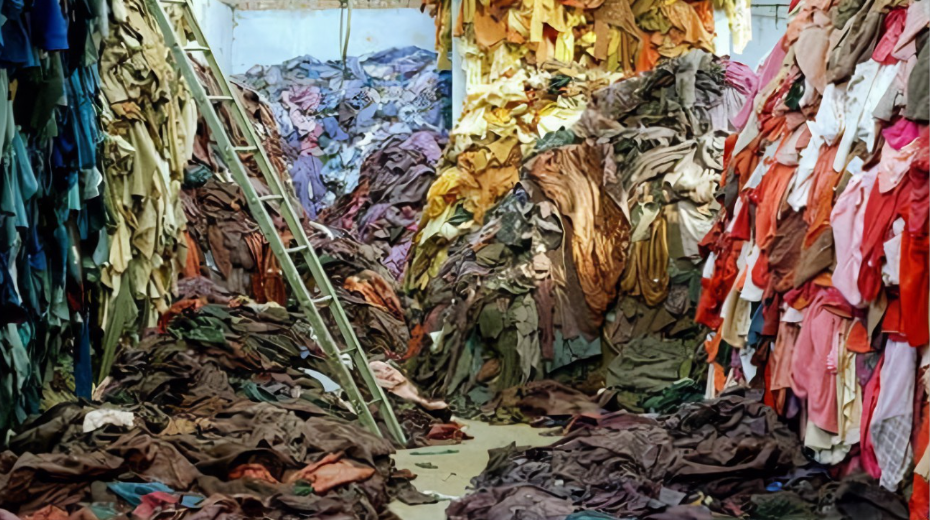
The textile industry is the second most polluting in the world after the oil compan. One of the most environmentally disastrous processes is the dyeing of fibers and textiles of the clothes we wear. Chemicals are released daily in rivers and nature destroying the environment around us to satisfy the colour demands that we create as designers, industry and consumers. Very few options are being explored.
In addition, even after all this waste, the "life times" of our garments are relatively short and up to 85% of textiles are discarded in landfills, or incinerated, causing even more pollution.
One more time, this week we analyze and think about what may be the possible changes for this big environmental and industrial problem. One of the solutions is to get dyed organically so as not to contaminate or damage. This week we have experimented with getting pigment from different foods and bacteria to dye the fabrics and get a very wide range of colors.
WHAT ARE BIOCHROMES
Any pigment produced by a Living Organism. Curcuma is the pigment I choose to develop my work, its a resinous yellow substance that is extracted from the root of turmeric. The main dye is yellow but we will see that with the different modifiers we can get browns and greens.
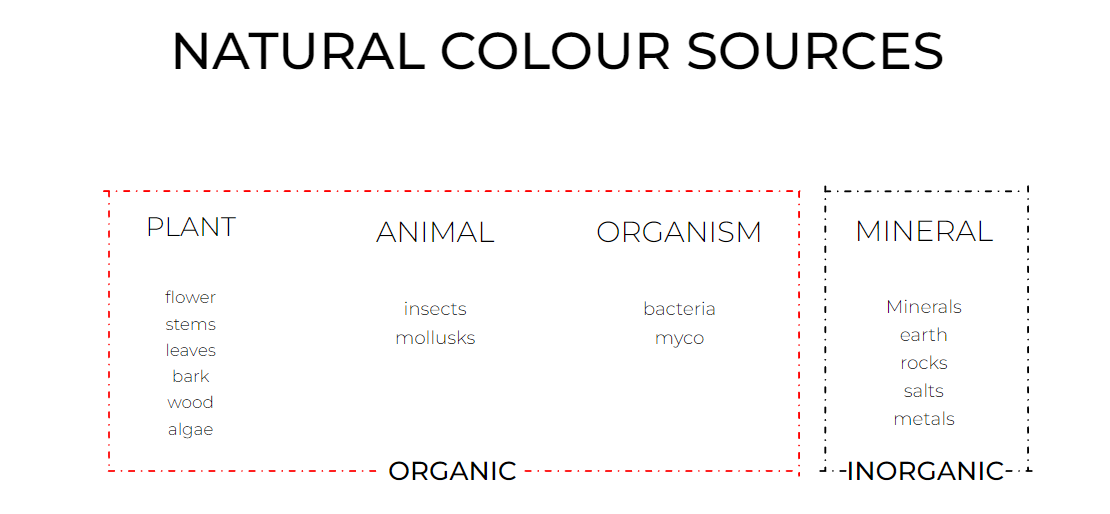 Image taken from the weekly reading
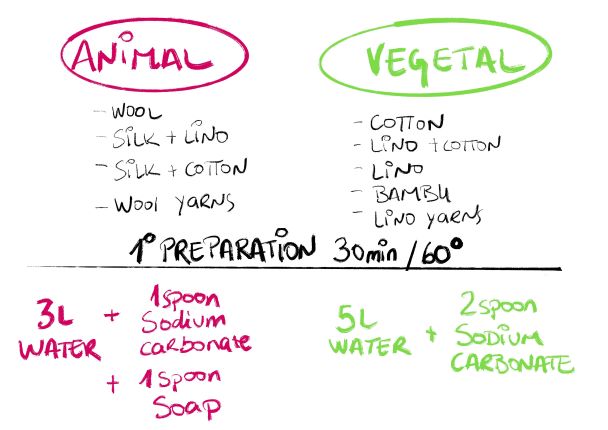
PREPARING THE FIBRES
SCOUR (First cleaning)
1- Cut fabric and yar, that will be used as dying material.
2- Divided in two batches; Animal Fibers / Vegetable Fibers.
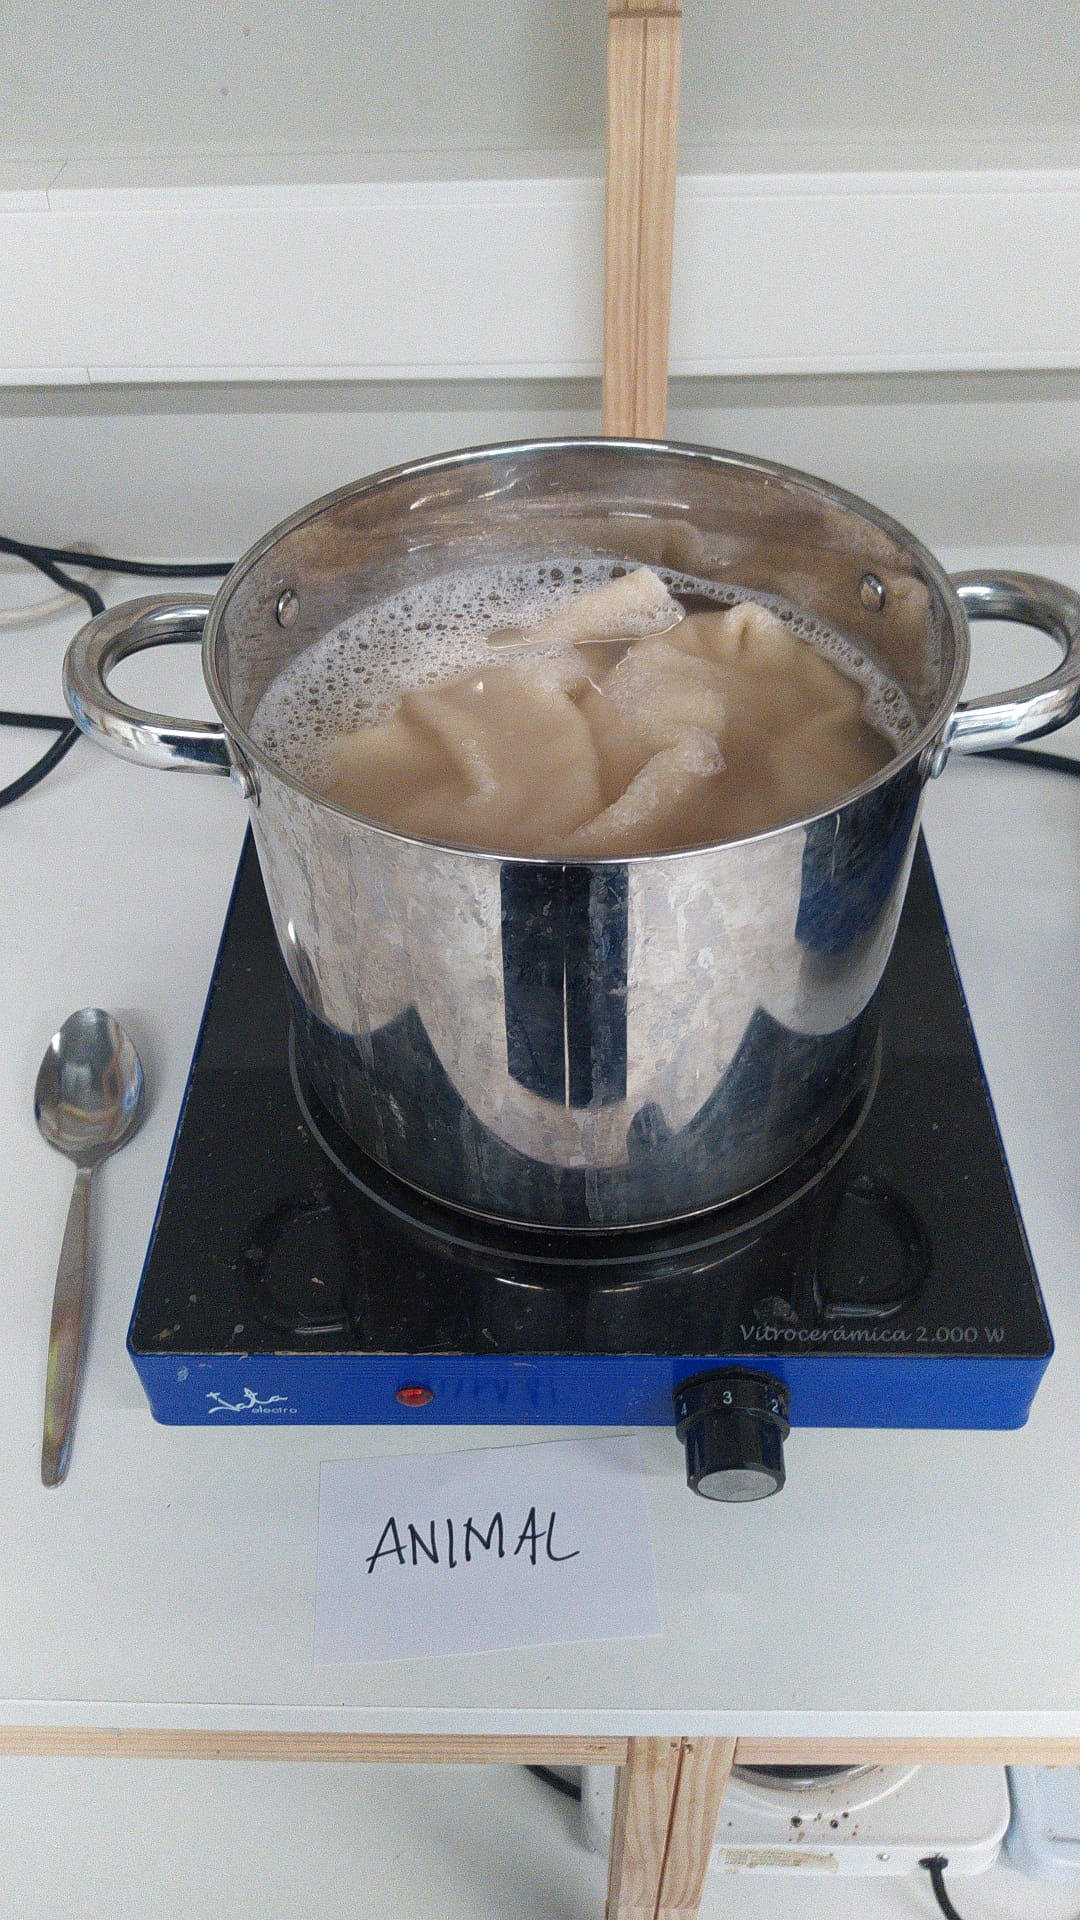
Animal fibres must be washed in lukewarm water with soap.
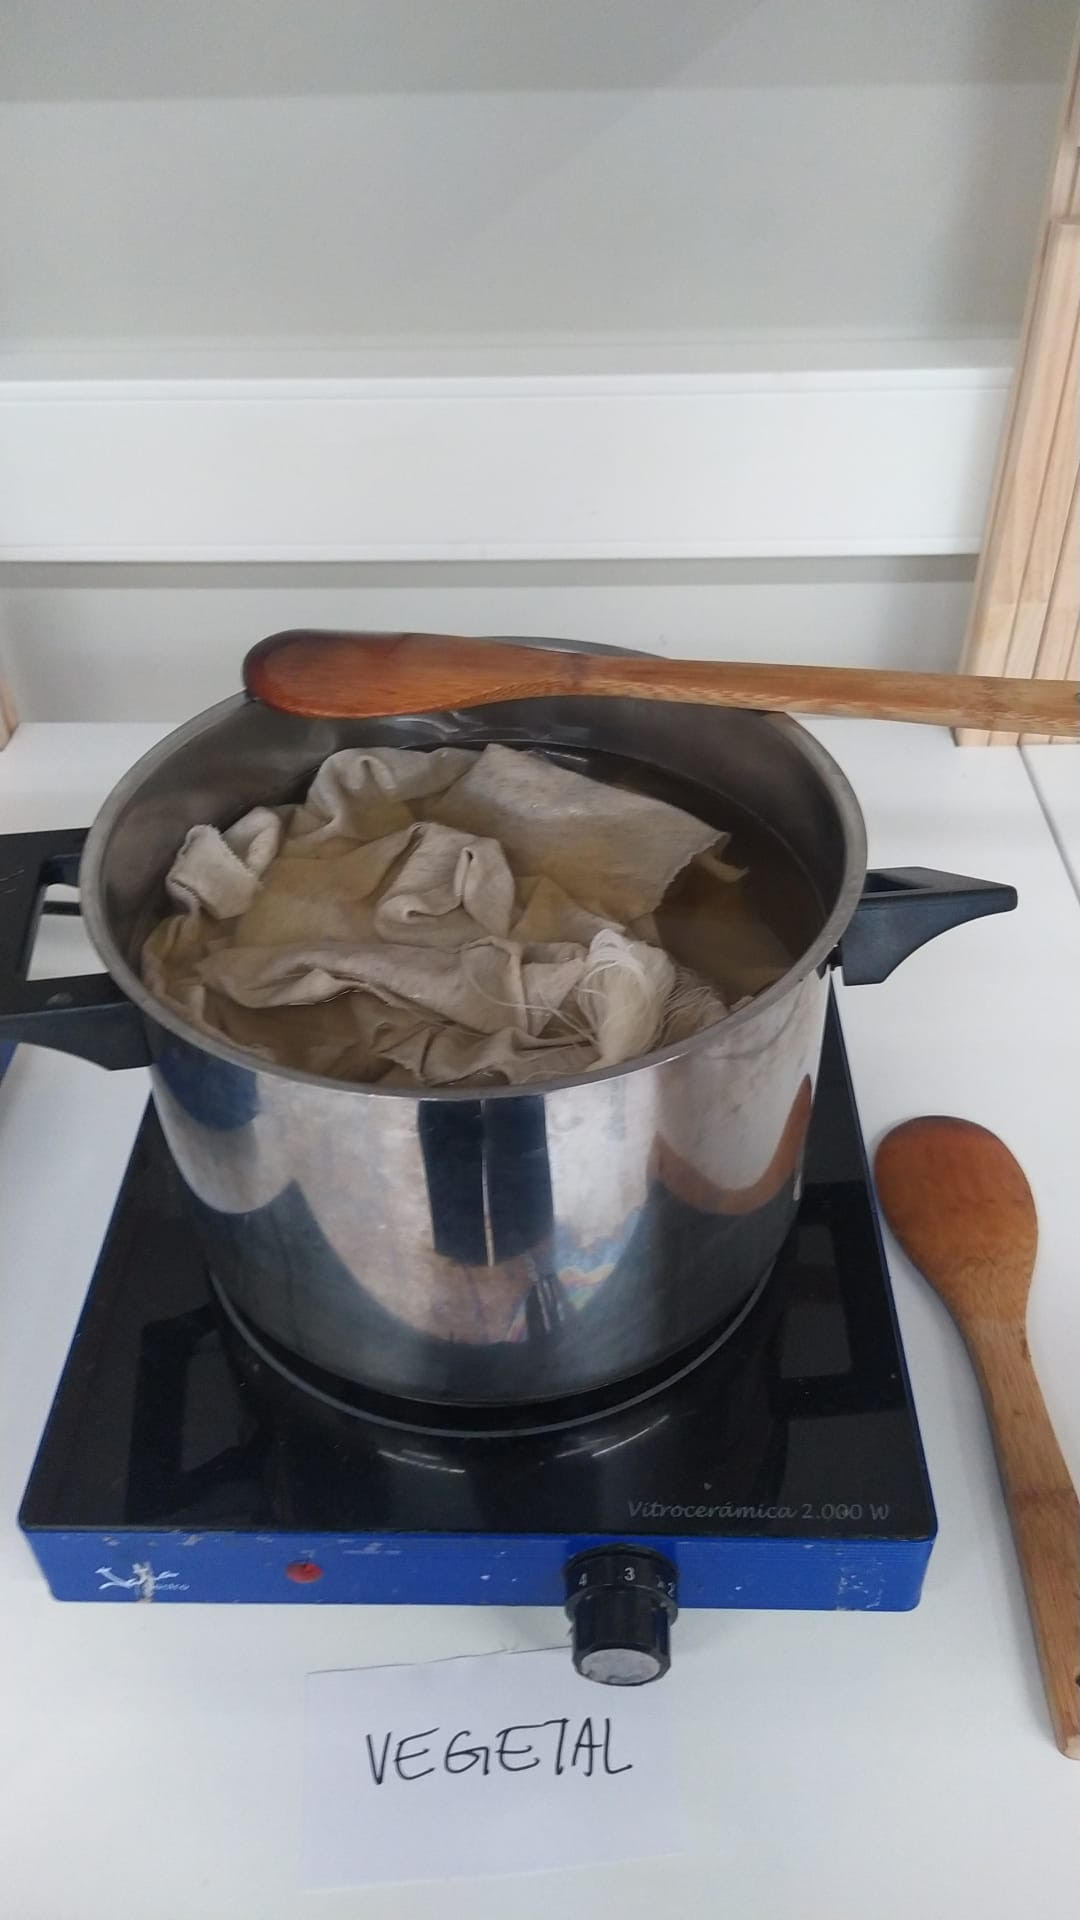
Vegetal fibres must be wahed in sodium carbonate.
3- Weight the fibres when it was still dry.
4- Wash and scoure them.
MORDANT (Second cleaning)
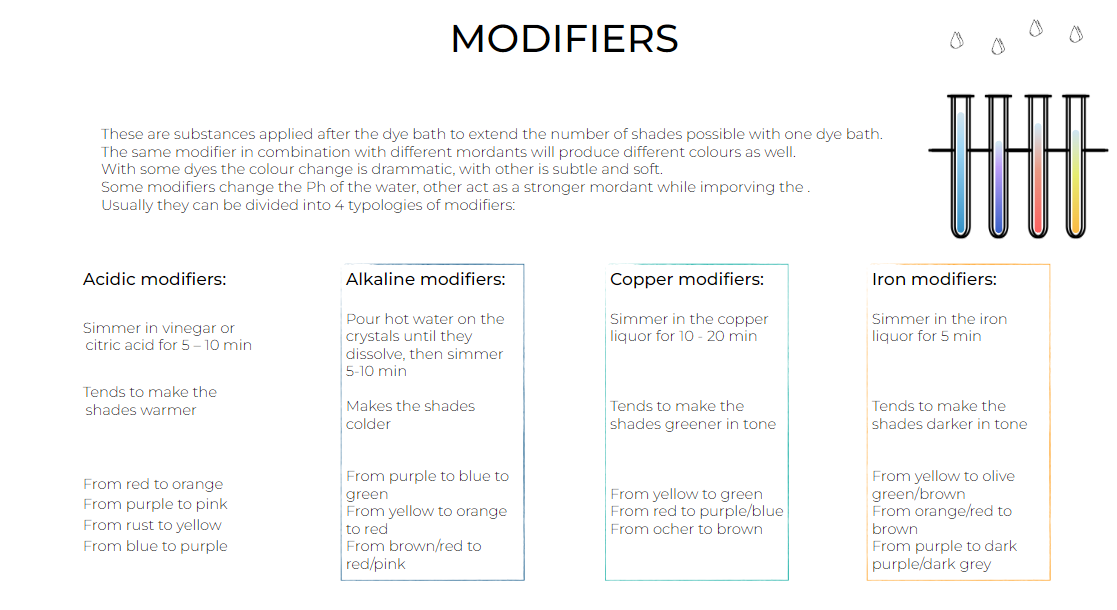
A substance to combined with a dye bath to prepare the fibres. It improves the fastening process of organic fibres. They also have an impact on the final colour. Alum - helps brighten the colours and assures a good light and wash fastness. Copper - has a greater effect on vegetable fibres than animal ones. While saddening the colours, it brings out greens and blues. Iron - often used as a modifier instead as of a mordant. Helps to darken and saddening the colours.
MODIFIERS
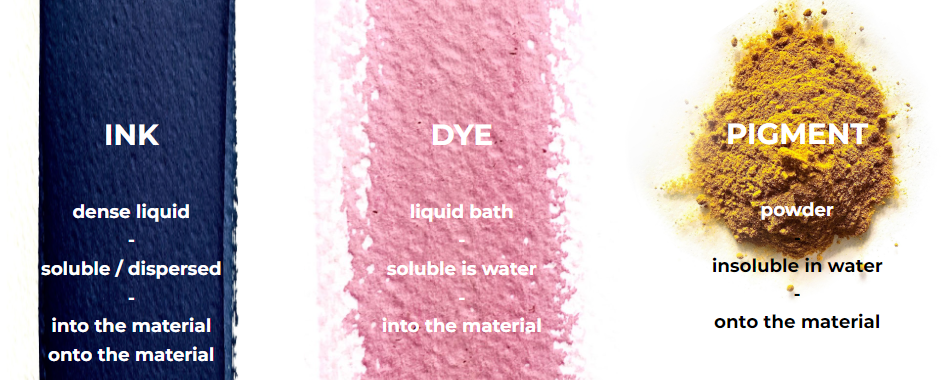
INK TYPES AND USES
PROCESS AND TEAM WORK
My first round of dyes was not all that exciting as I was learning to work with Curcuma but still had to learn more about modifiers. One I had gained some practice with natural dyes I wanted to test some more natural colorants.
INK
DYE
Each partner chose our natural pigment to have a wider range of colors. Depending on the aliment or plant based pigment, the dye was obtained differently:
COCHINILLA / ONION / CURCUMA / HIBISCUS
The peal of the avocado must be left in hot water for 40 minutes.
Cochinilla must be crushed until it becomes a red flour.
In case of Curcuma first create a paste with very little water and then go attacking more water.
The hibiscus must also be introduced in hot water and boiled for a few minutes until the water gets the pink dark color.
Onions peals leave them in water for a few hours and then remove the skin.
For better result its nessesary to strain all mixtures for a cleanner ink. Don´t throw the waste, that we will use for make a solid pigmant mixing with a bit of pure alchool and letting dry.
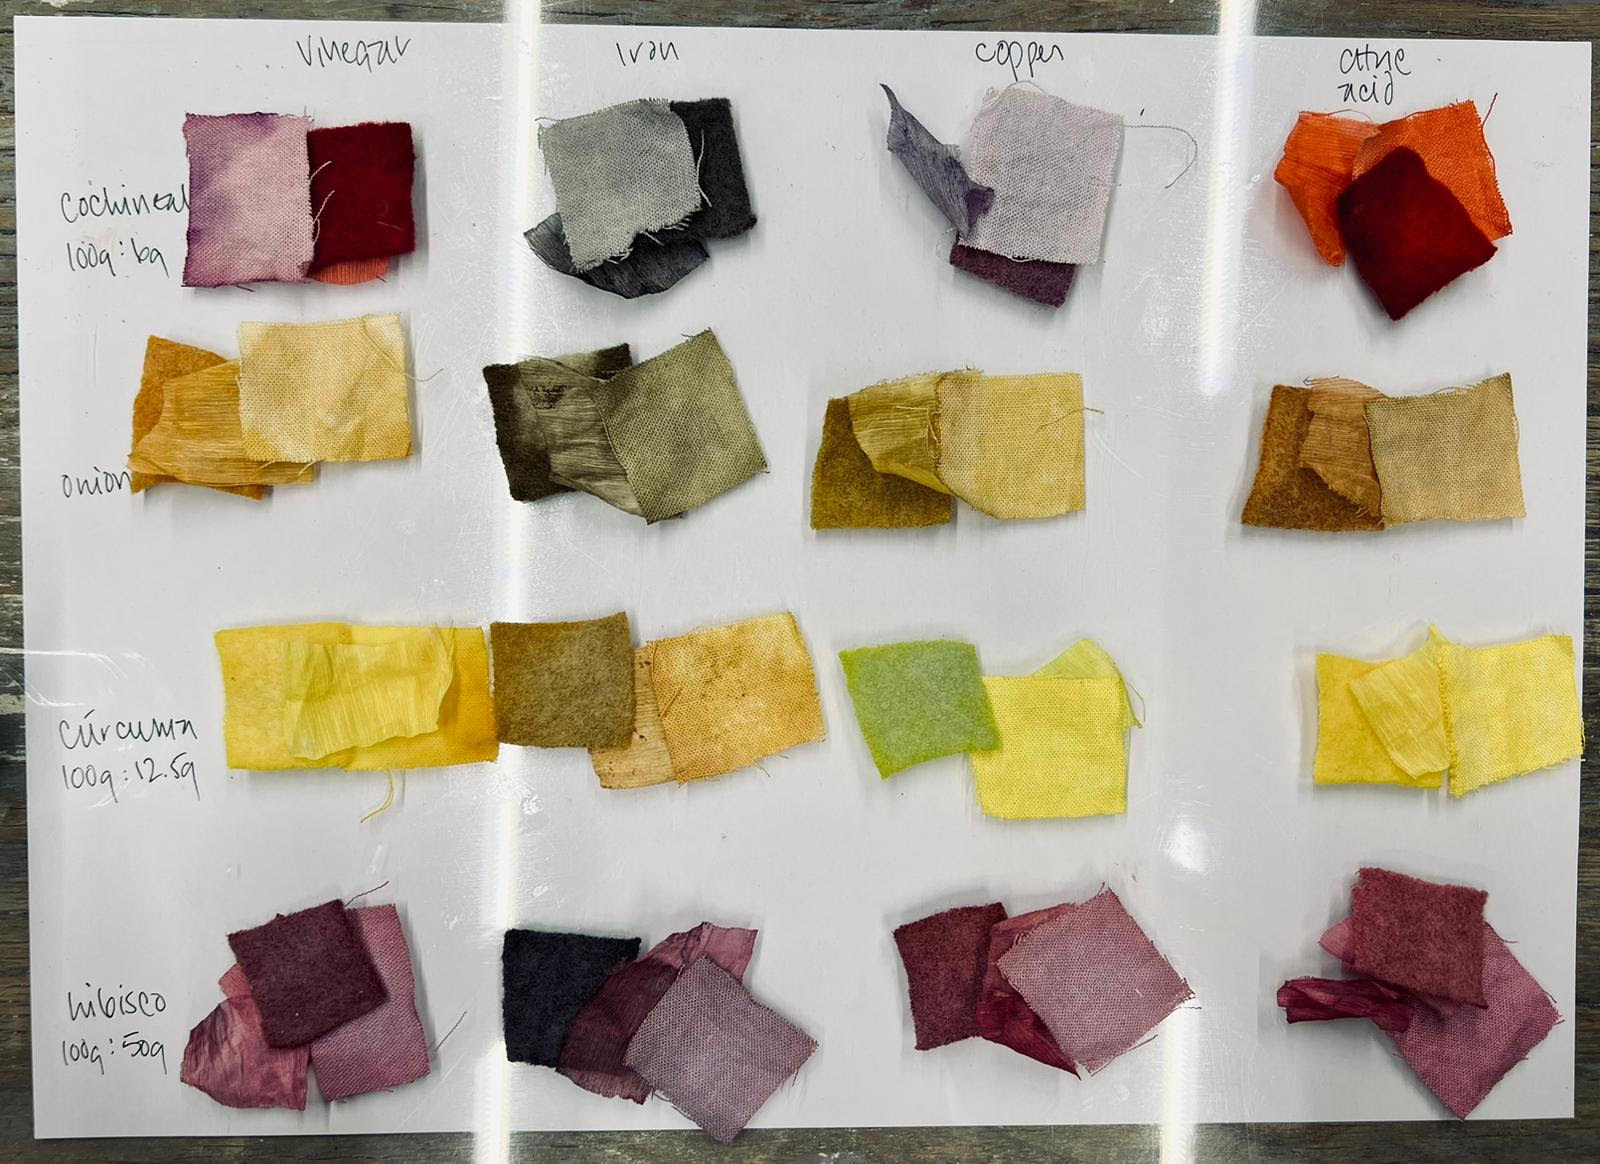
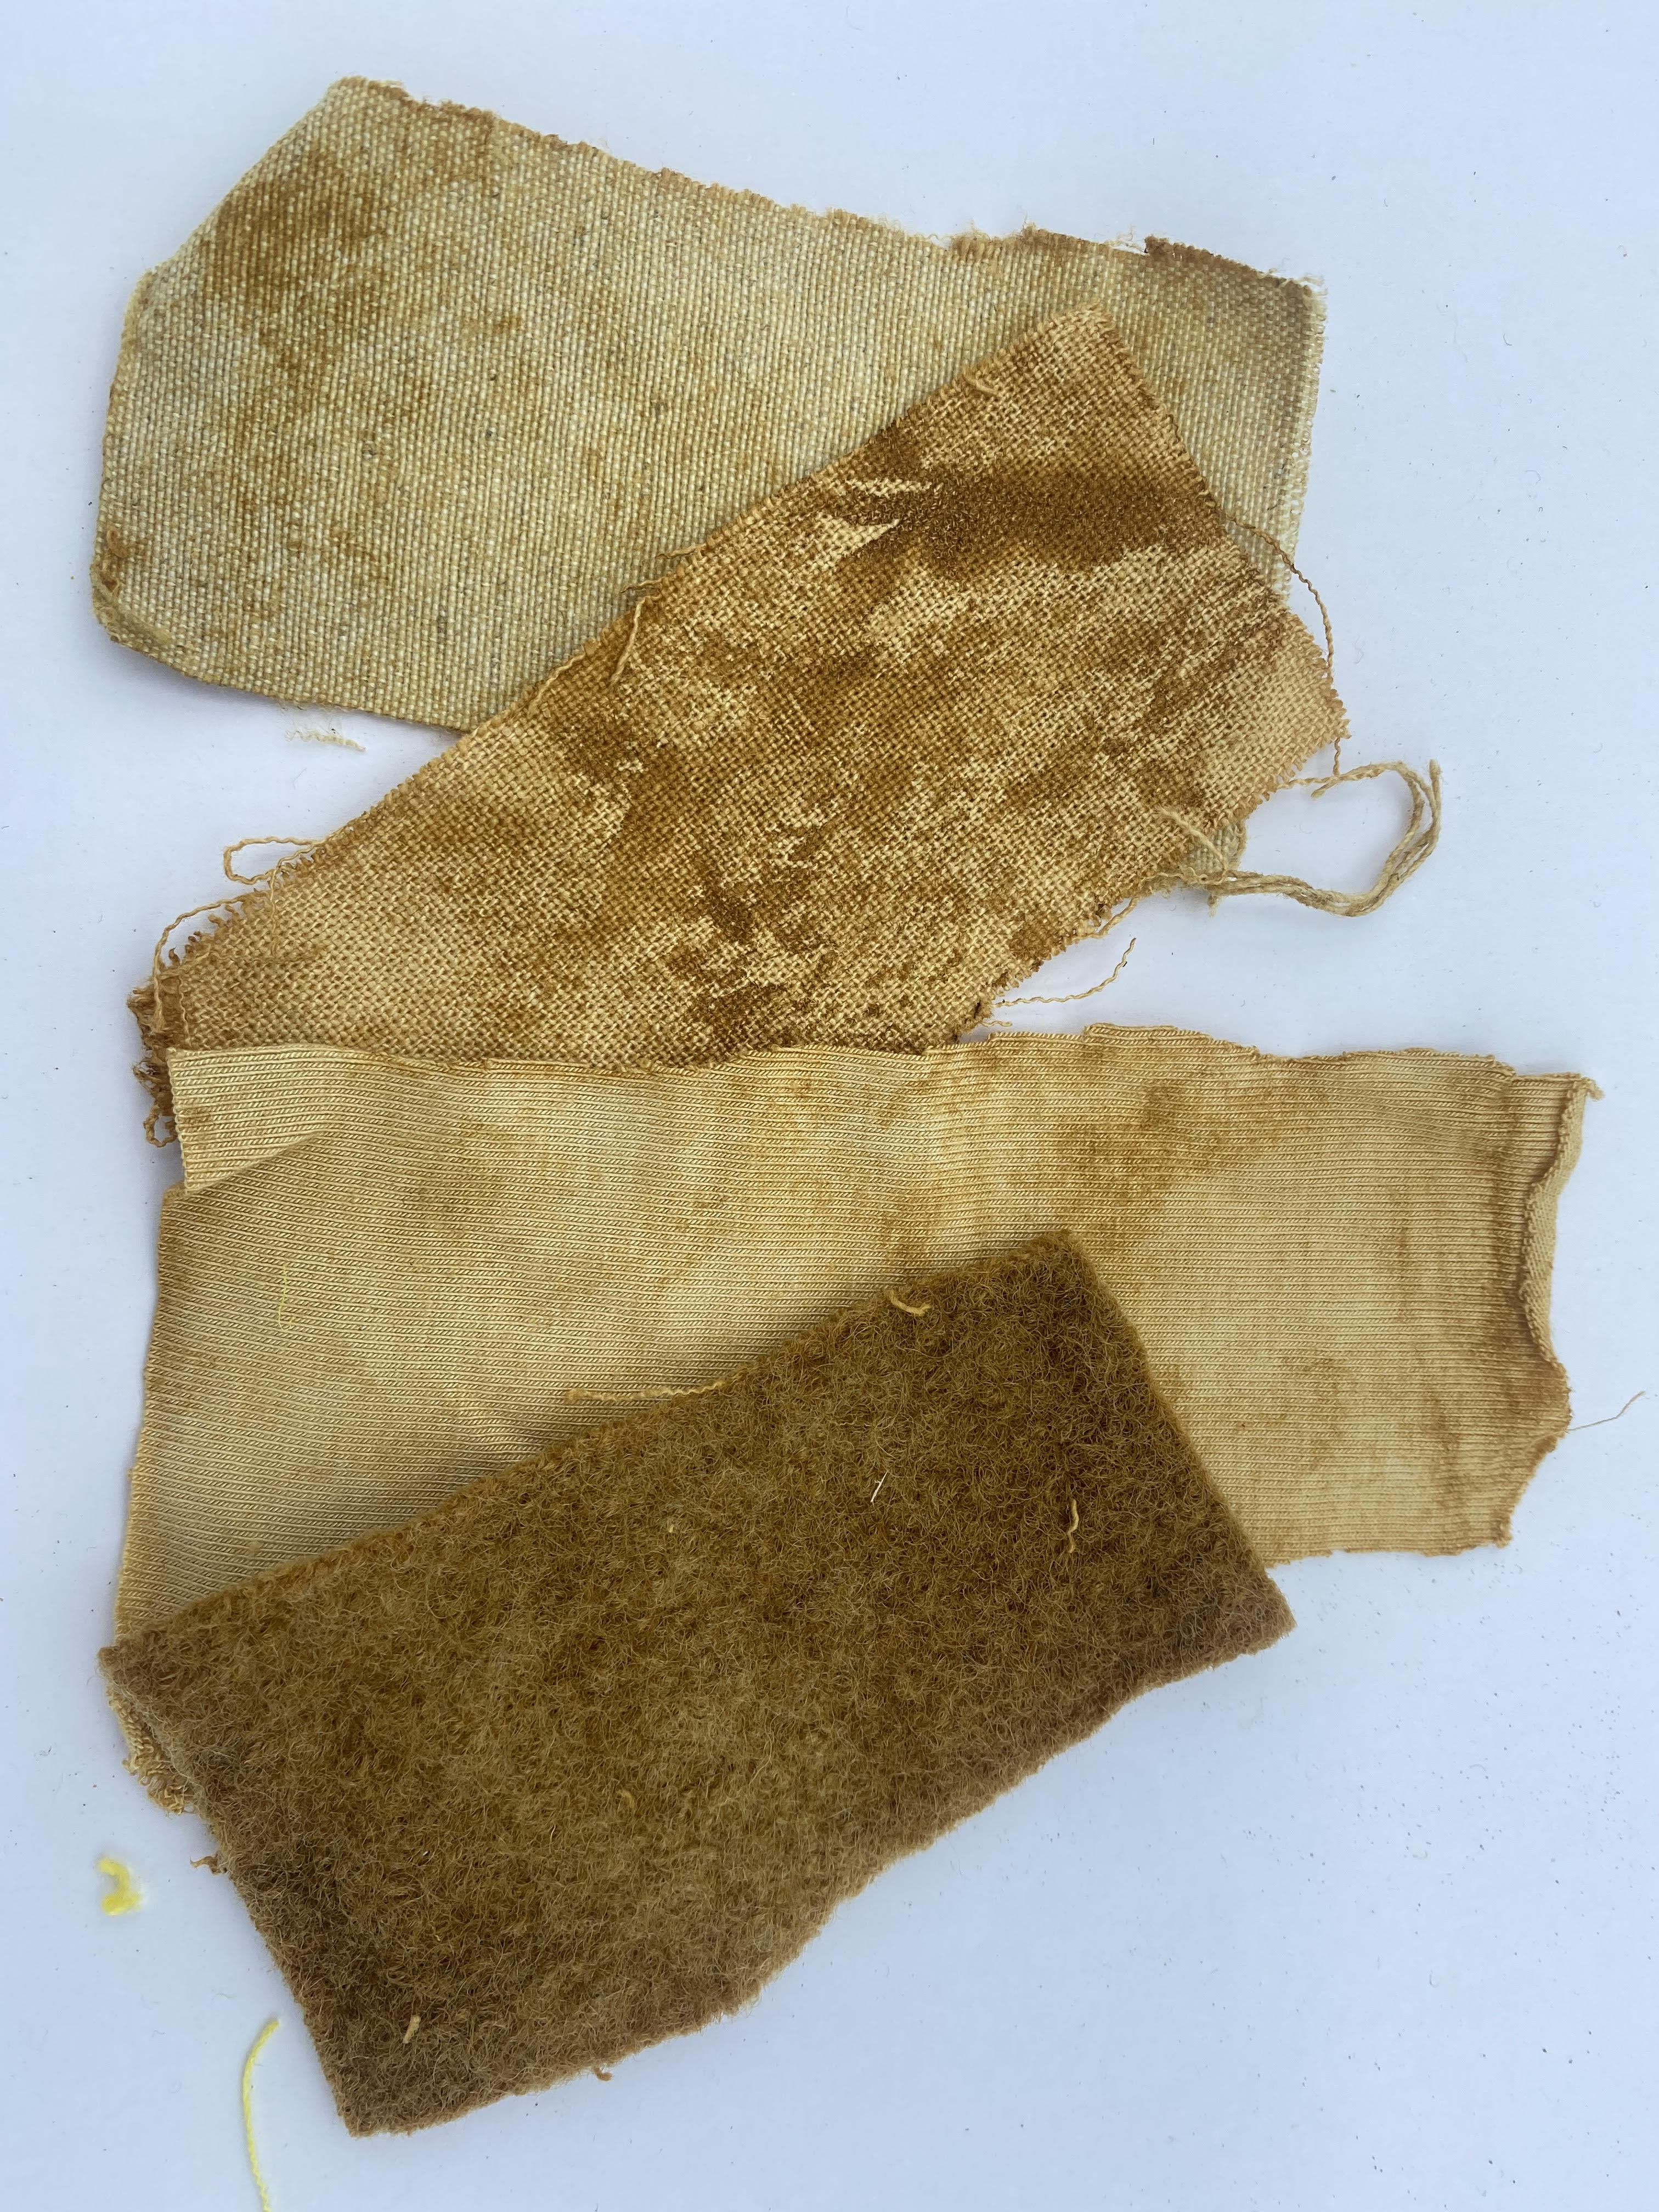
CURCUMA/TURMERIC DYE
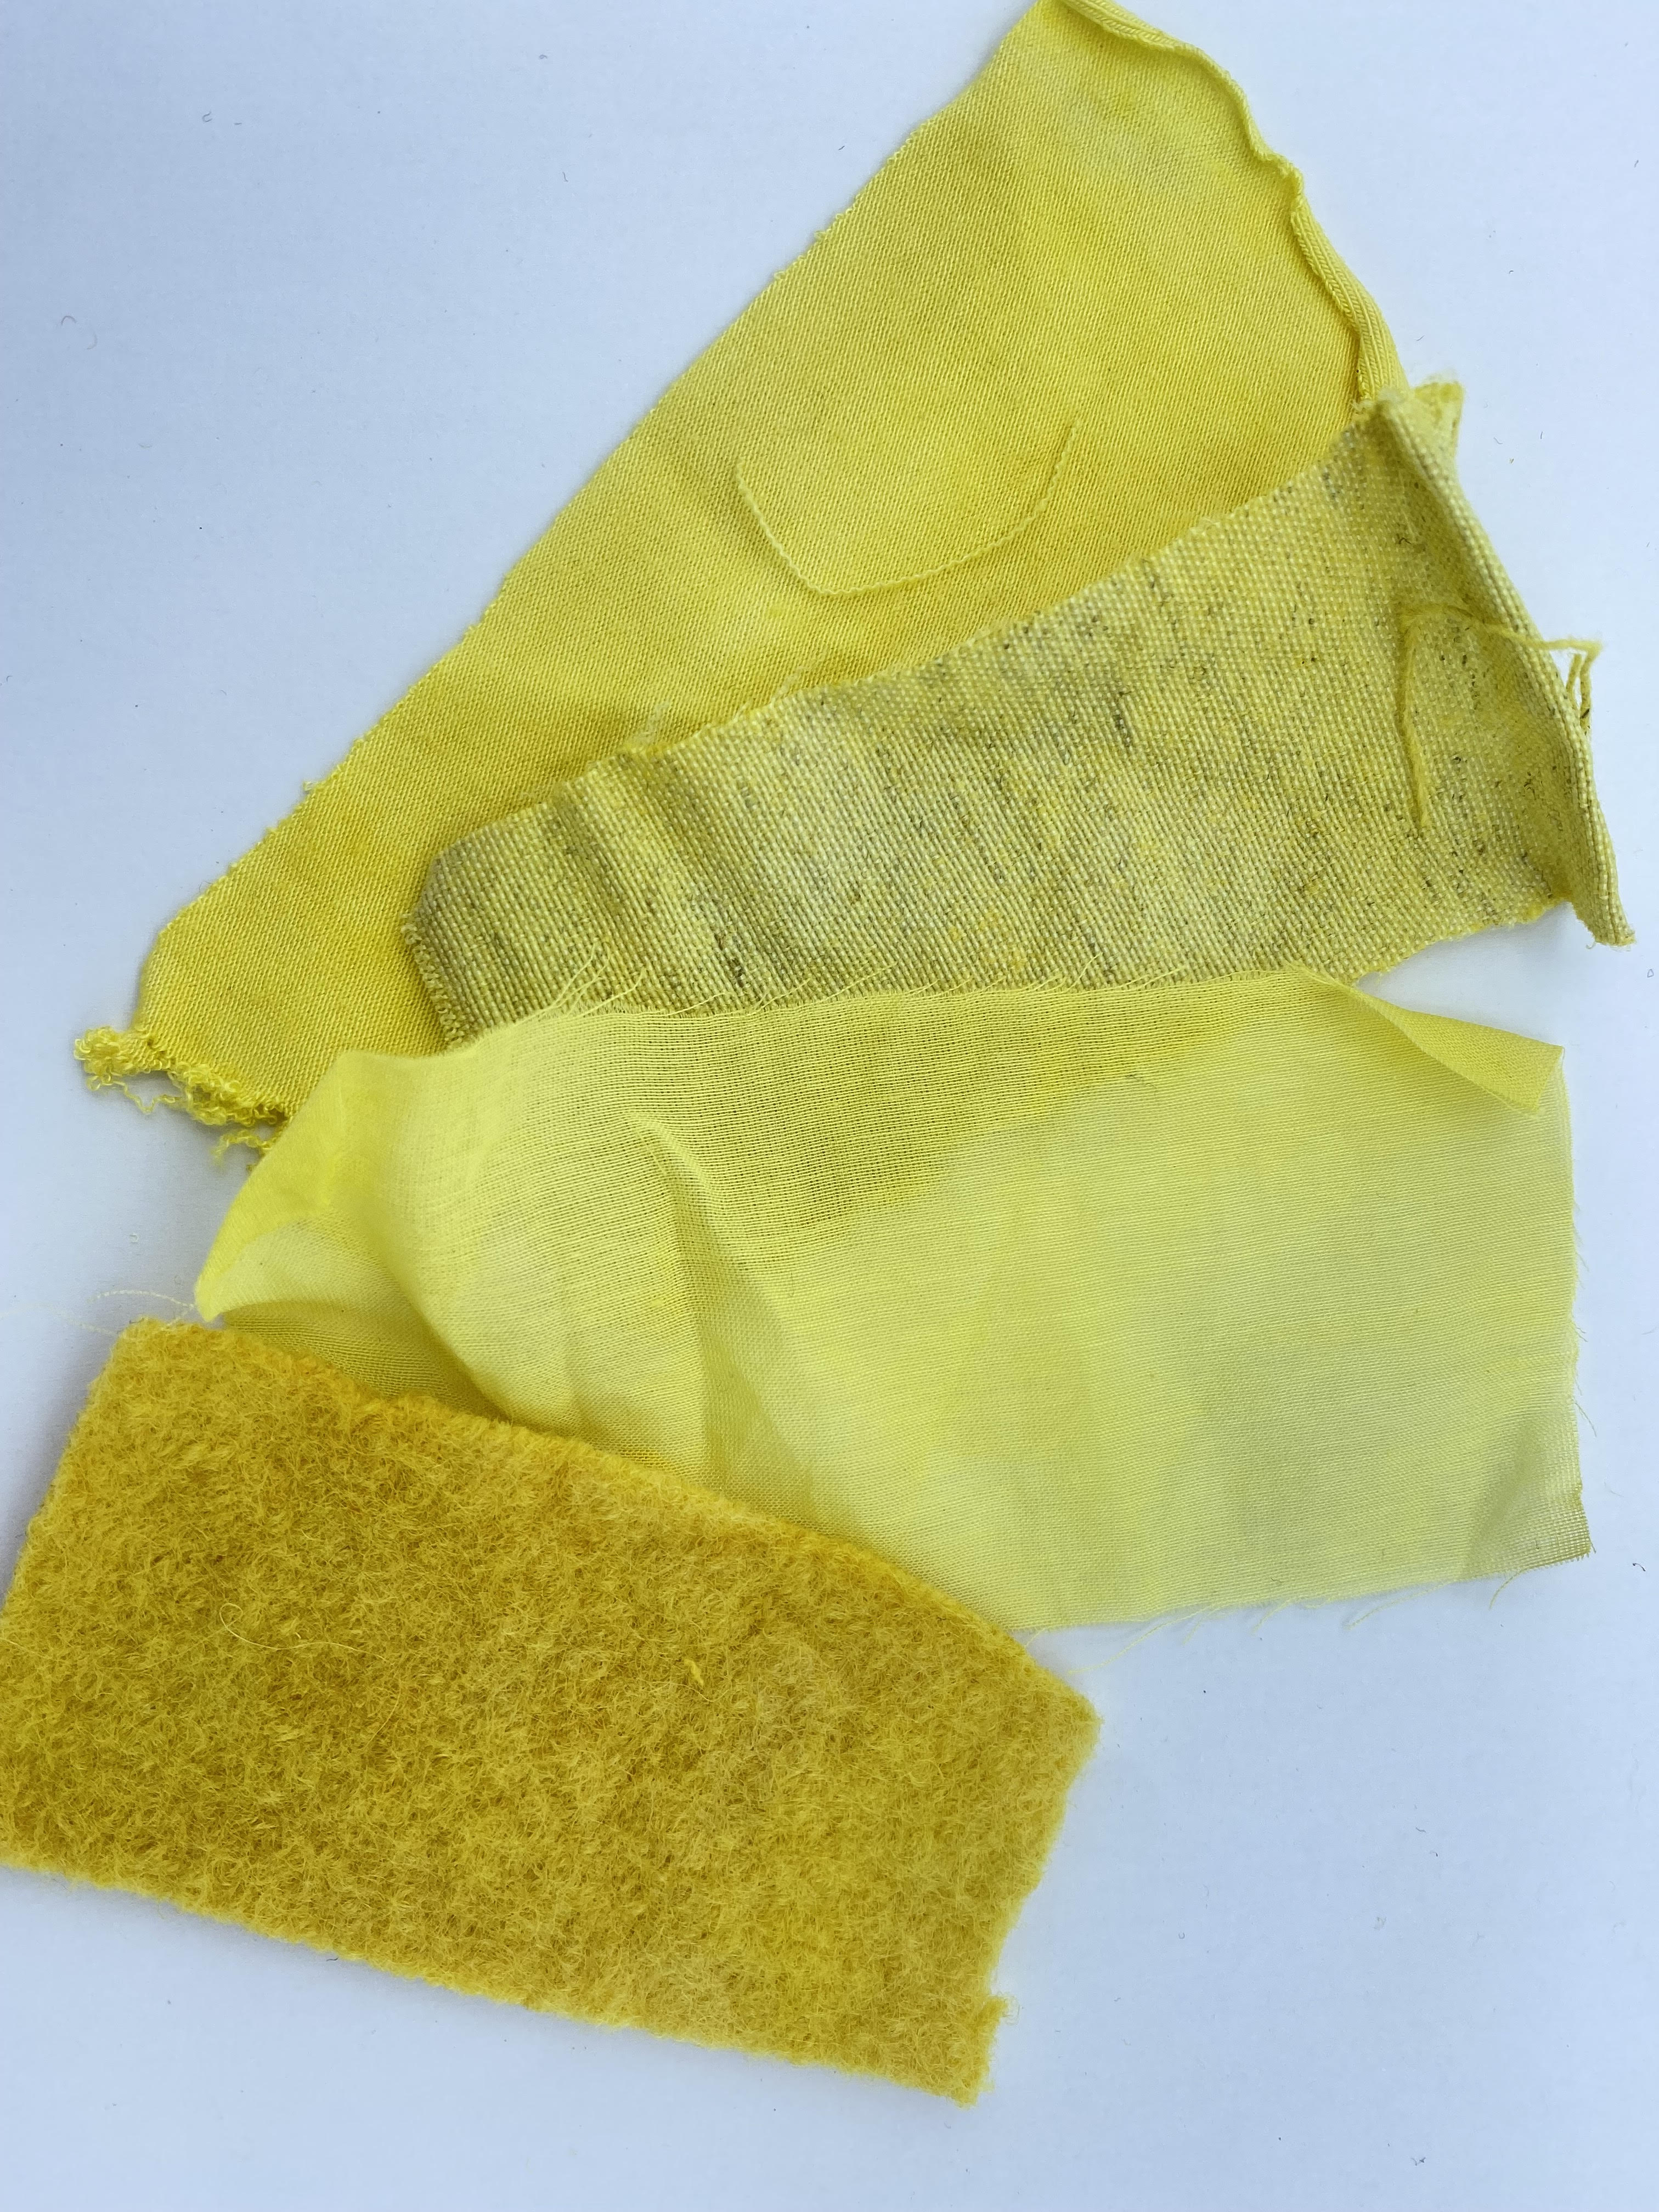
On the other hand, I wanted to go deeper with turmeric and experiment with different fibers. the result has been really colorful! With only one pigment I achieve 4 different shades (green, orange, yellow and brown)

| DYE | MODIFYER | COOKING | RESULTS |
|---|---|---|---|
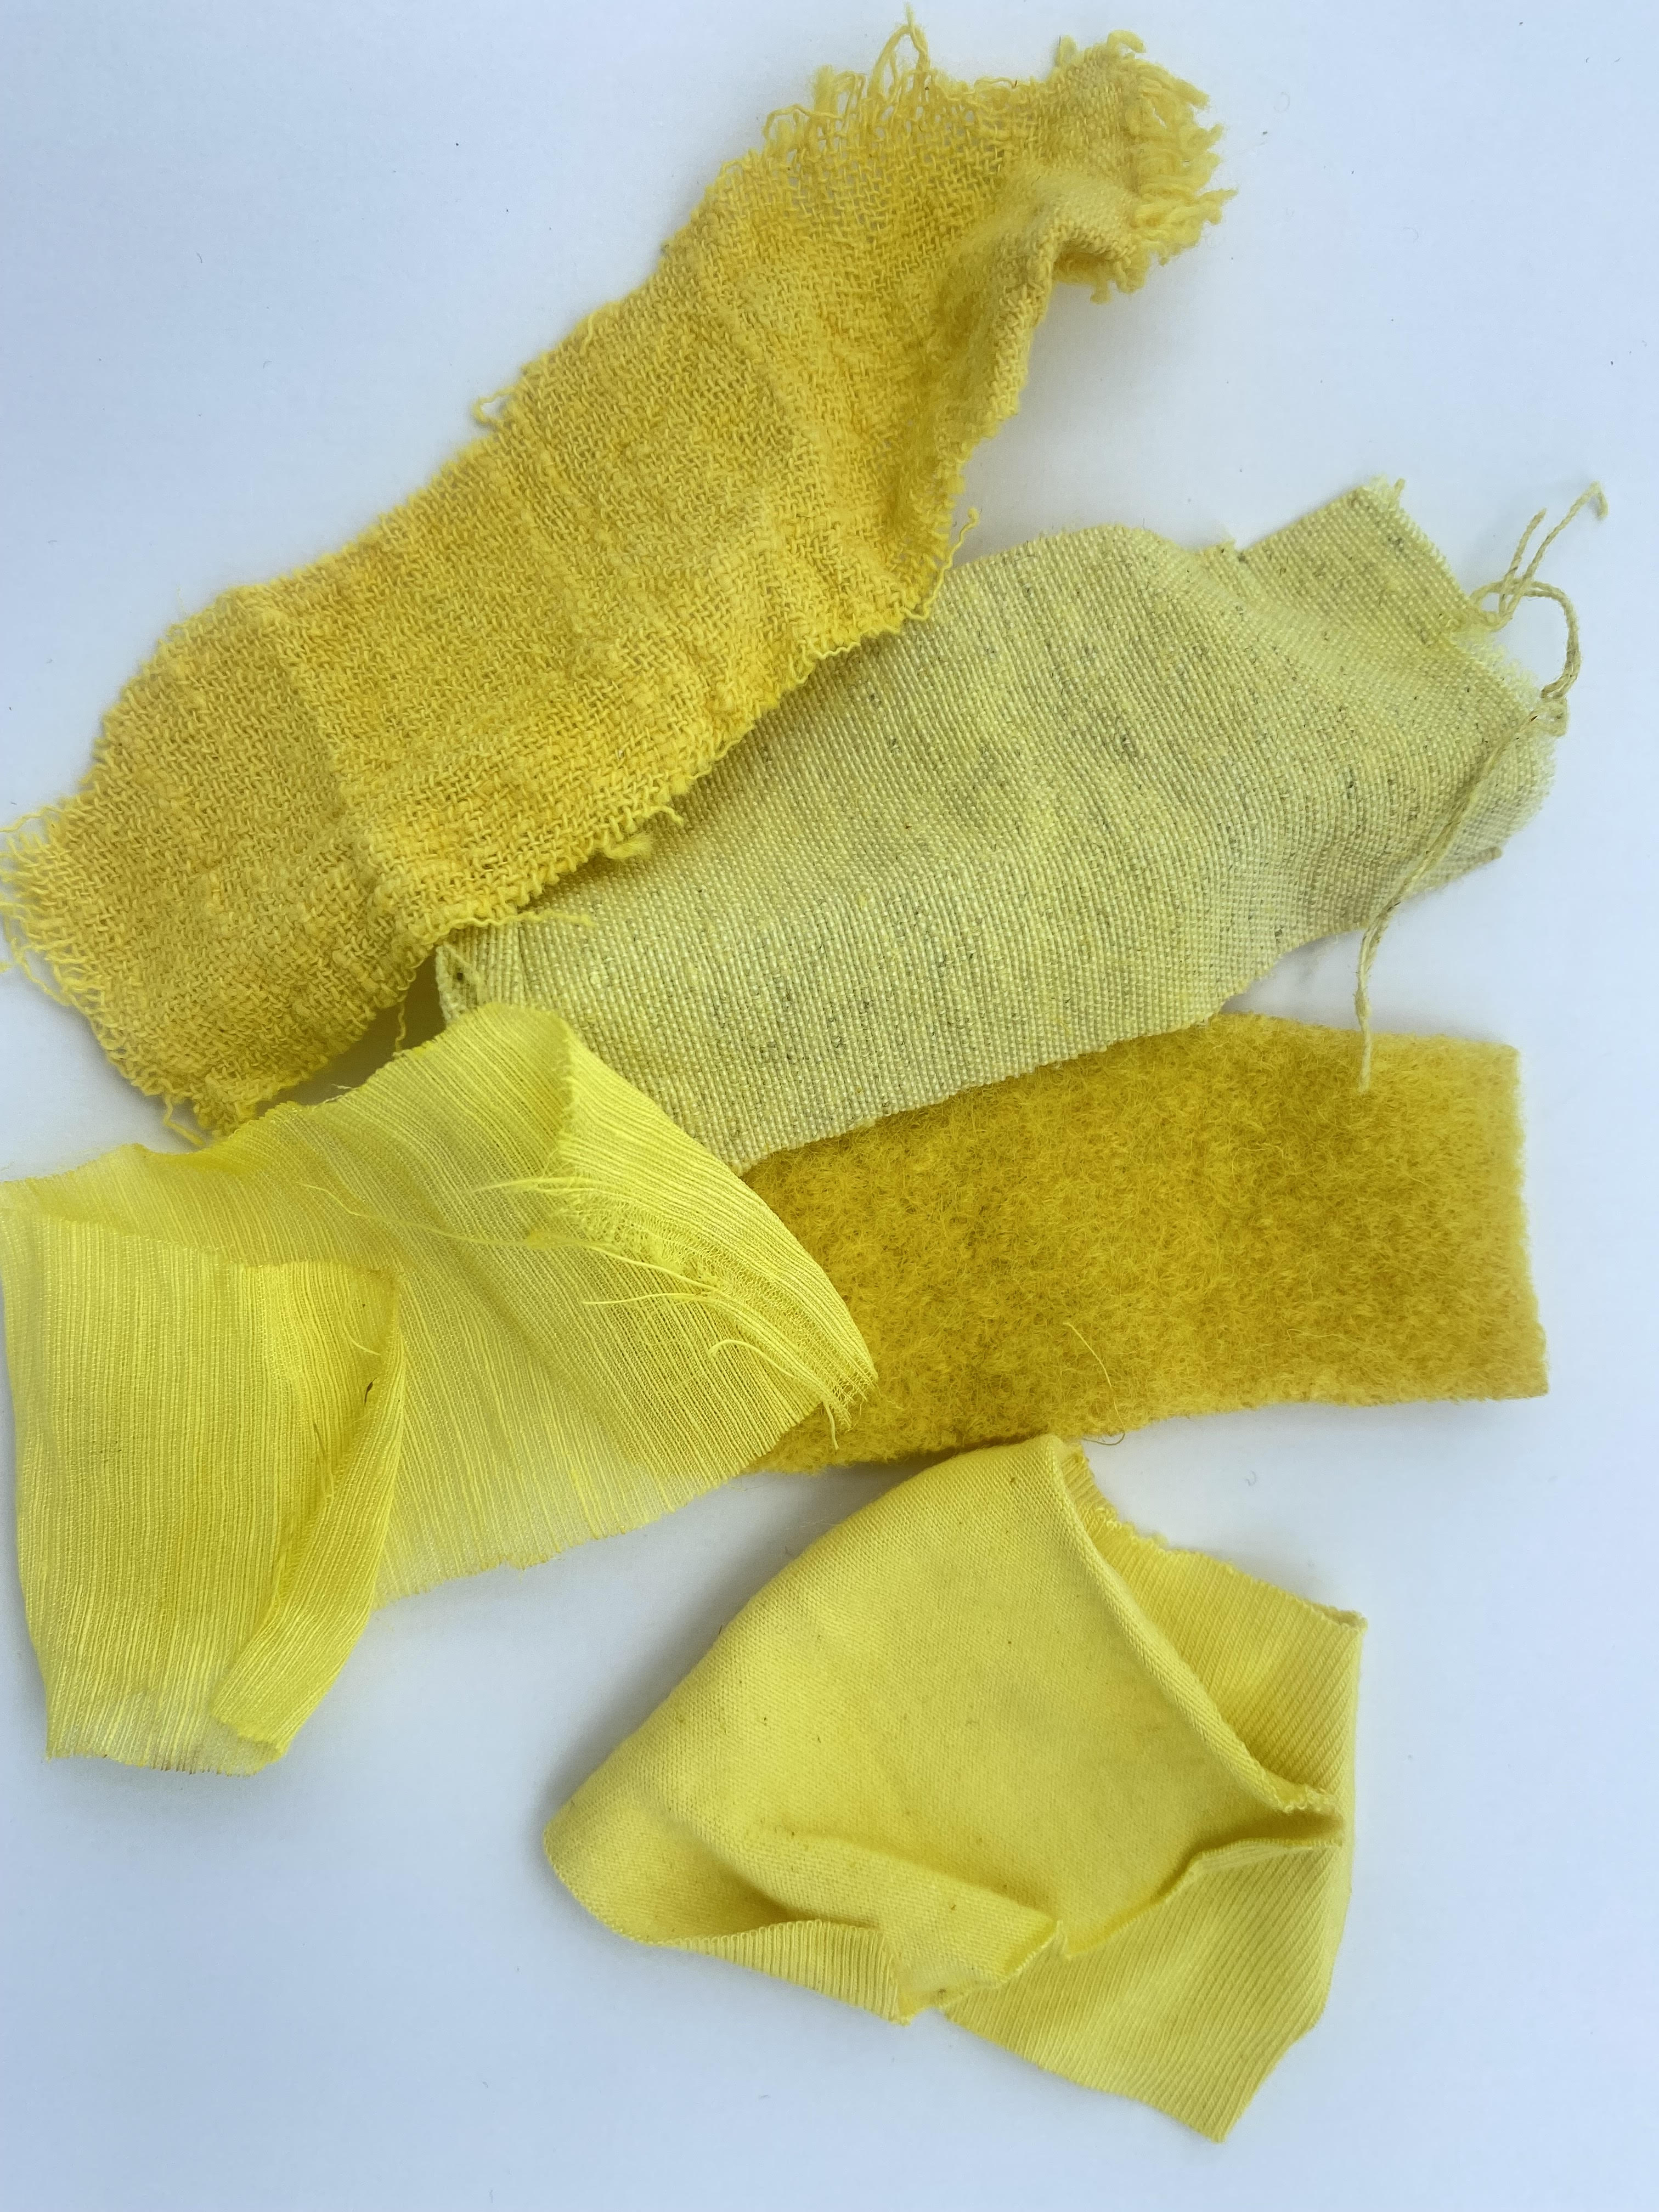 |
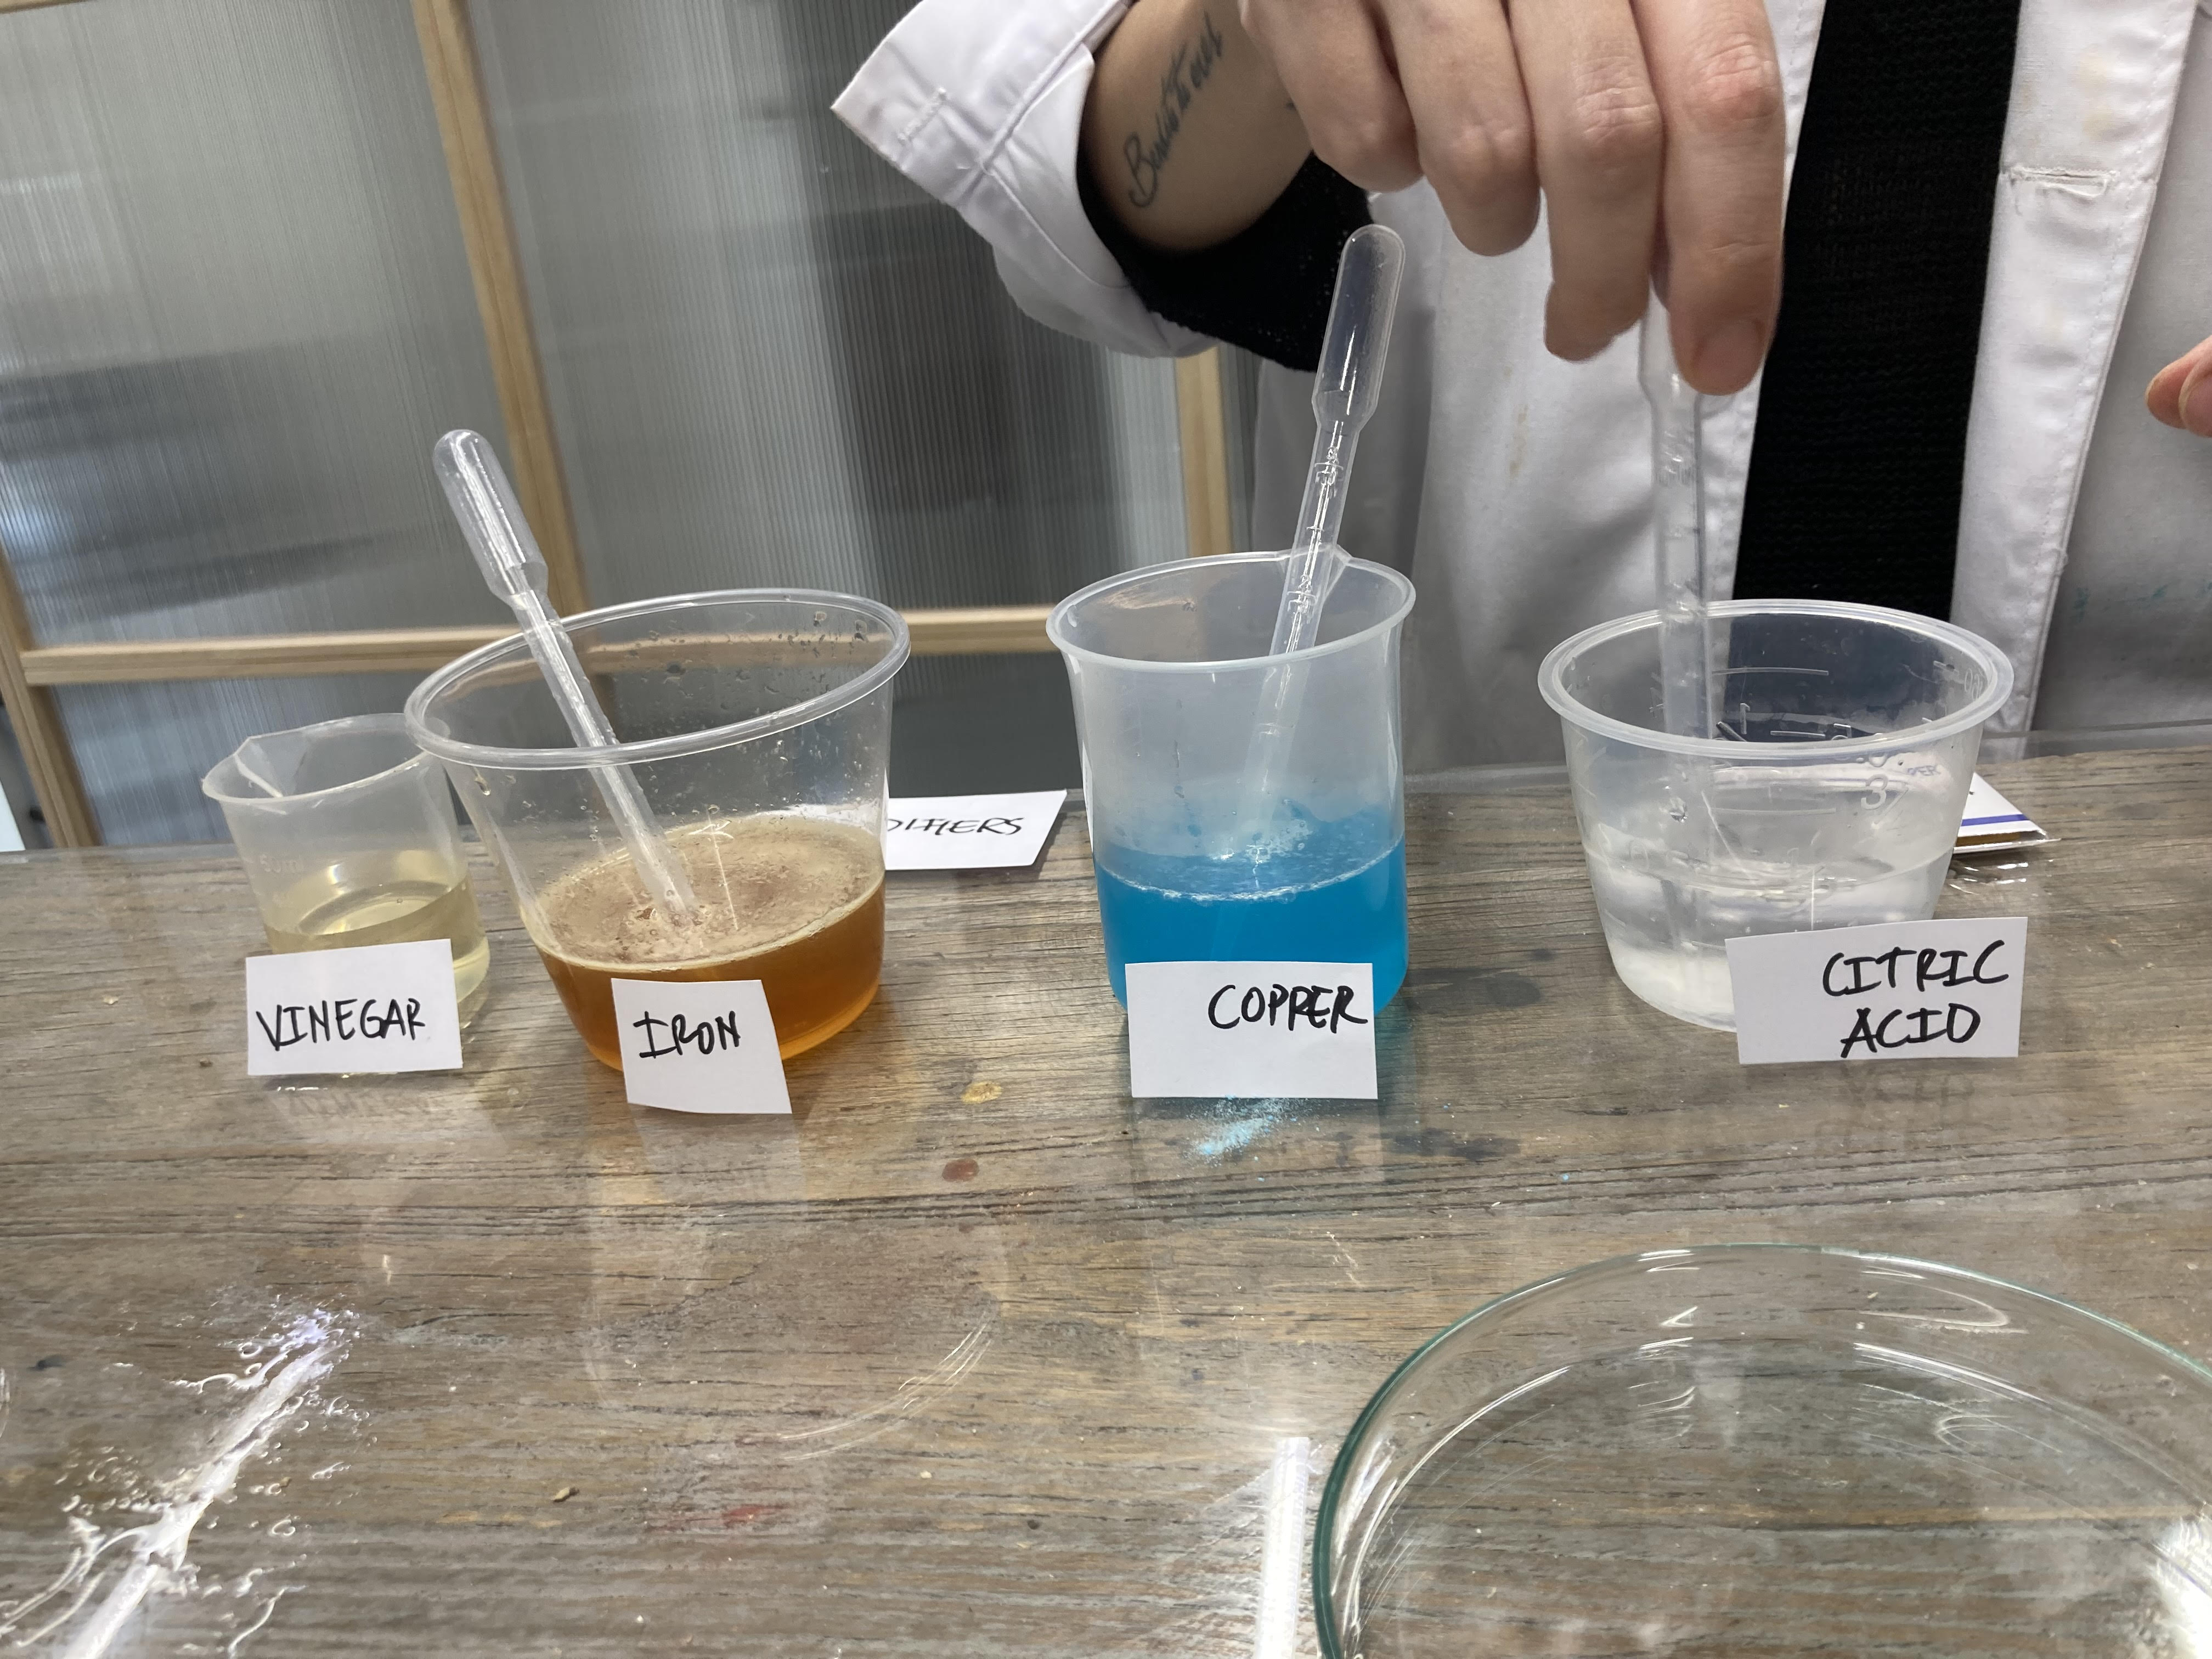
VINEGAR | 2g Curcuma/ 6 spoons of vinegar | Big difference in animal fibers. a stronger orange is achieved however the vegetable fibers have a bright yellow |
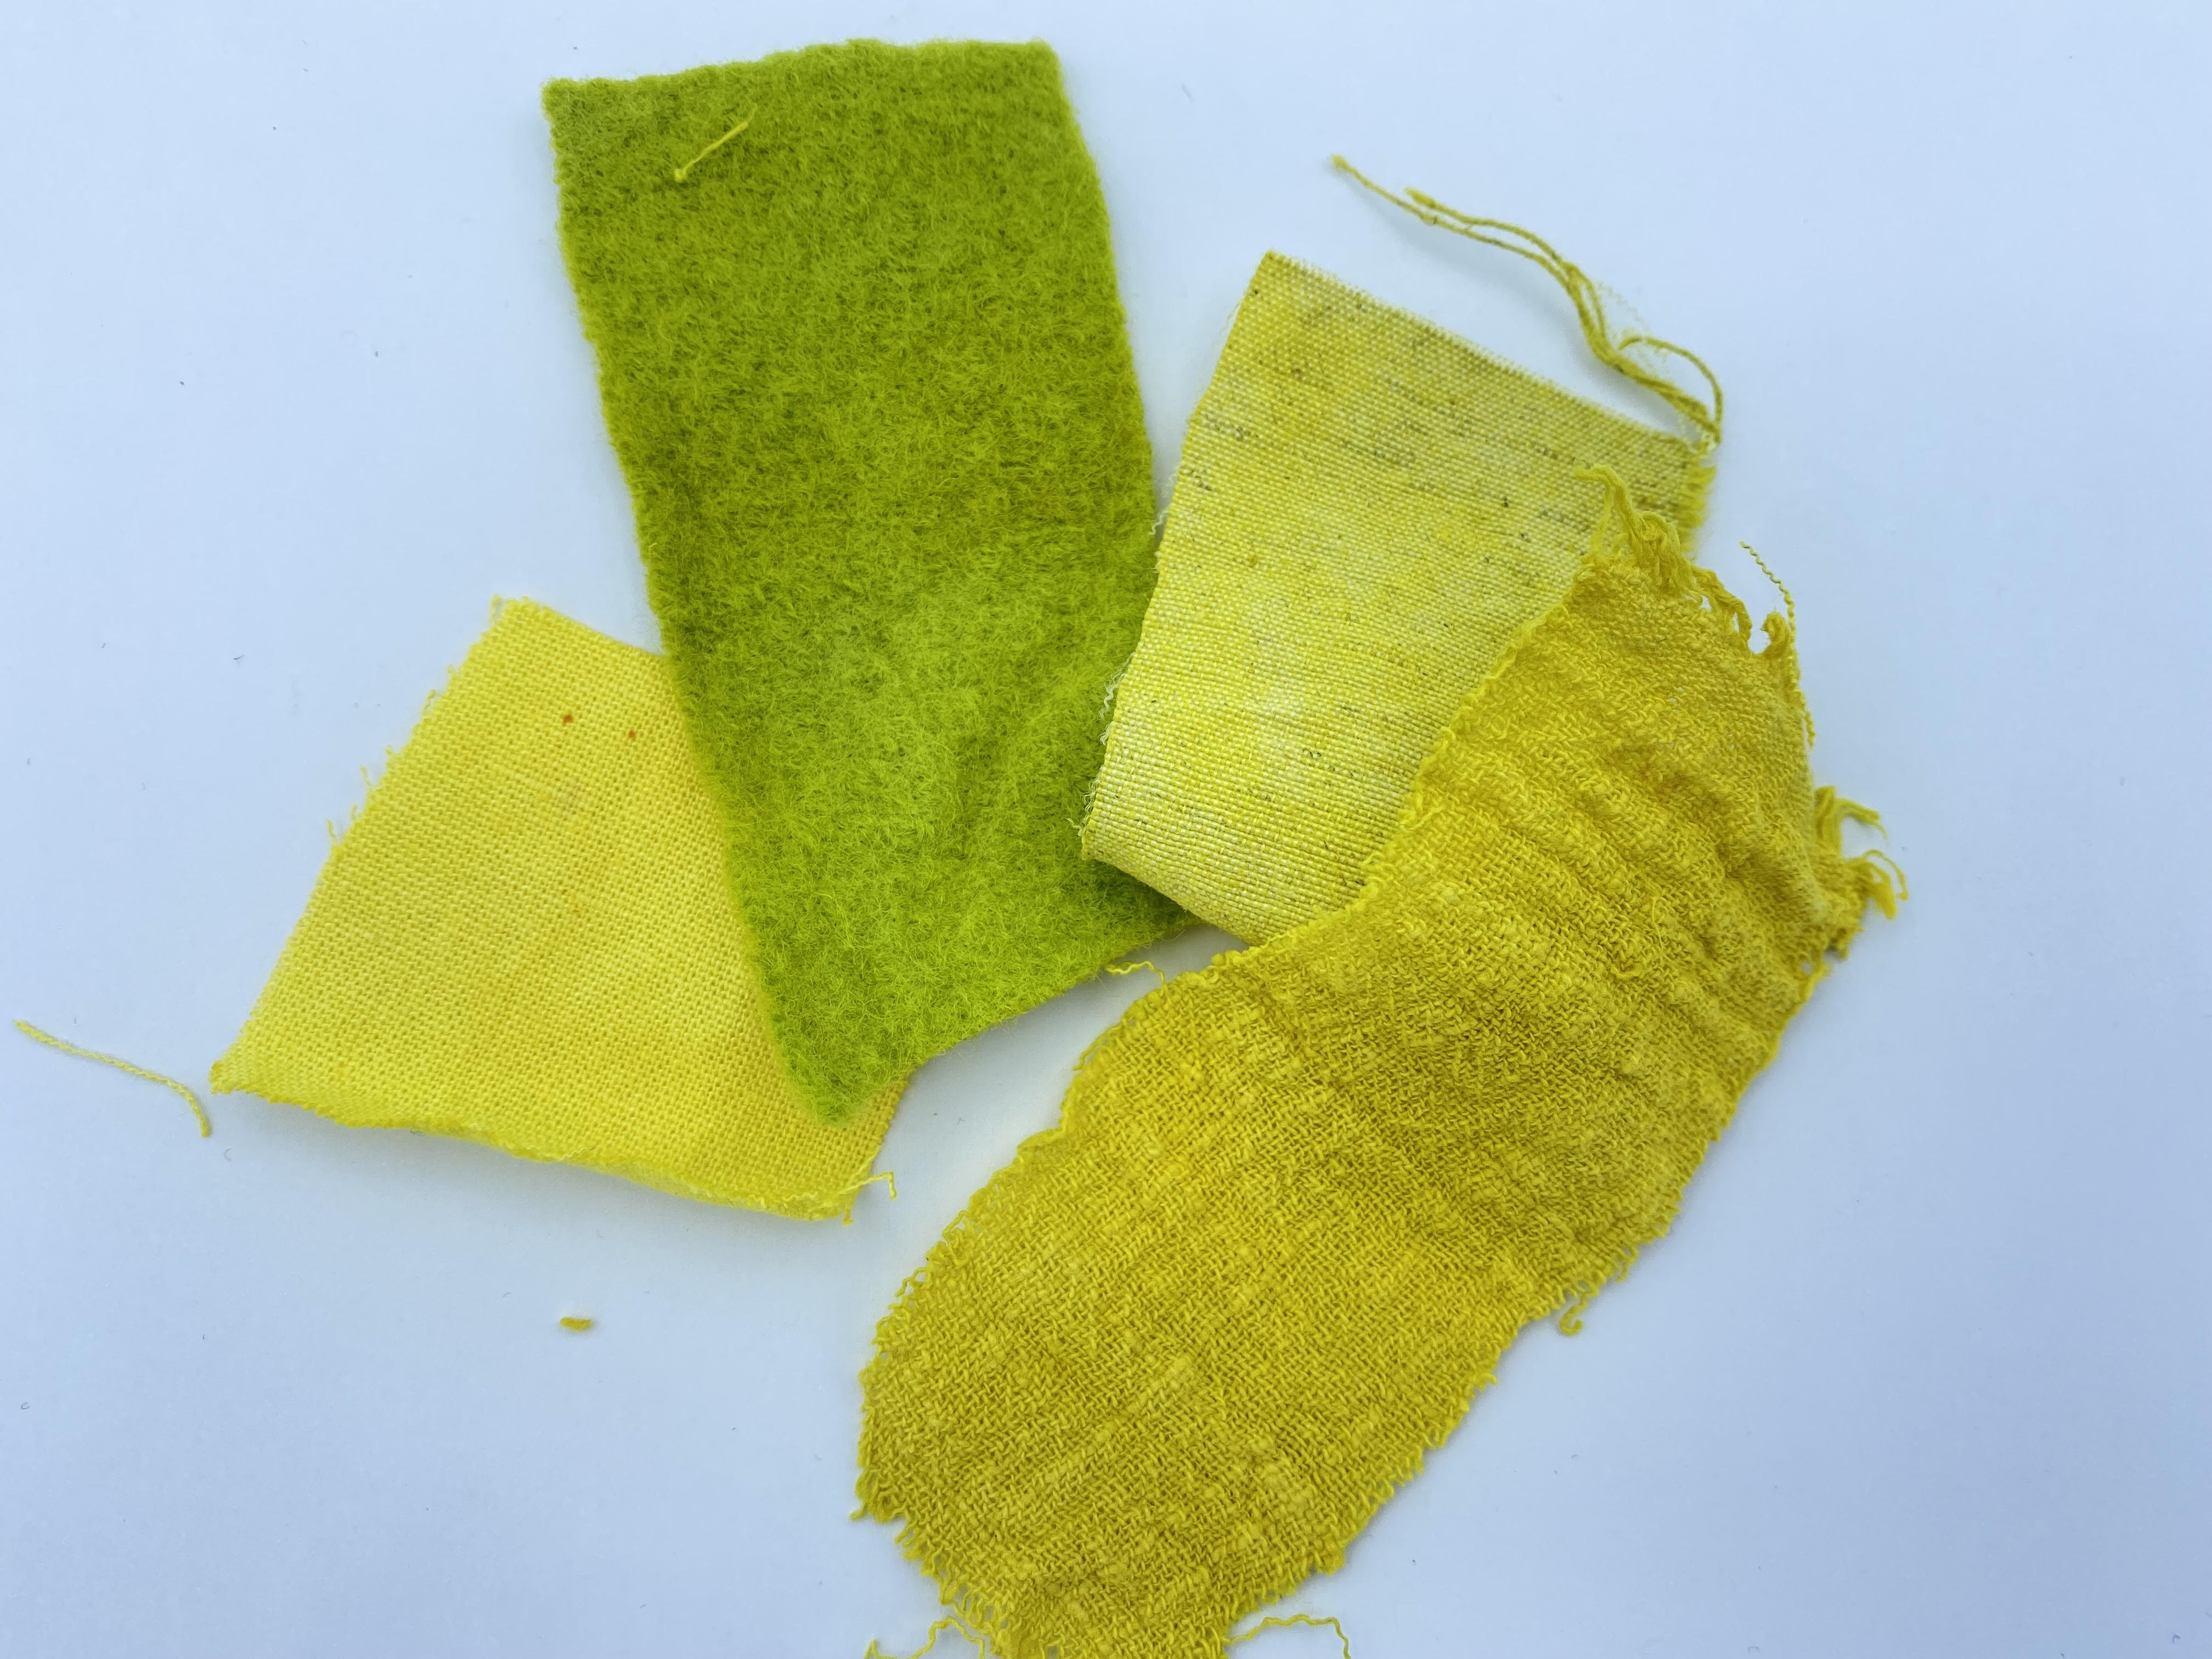 |
COOPER | 2g Curcuma/ 4g cooper | In general, the wool is the most different result, but in the case of the Cooper it has generated a green tone that no other modifier has obtained. |
 |
CITRIC ACID | 2g Curcuma/ 4g Citric | In general, the shades are very similar, this result is the one I liked the least, it is very similar to the color of curcuma. Another options can be to add a few drops of lemon if we do not have citric acid powders |
 |
IRON | 2G Curcuma/ 2g Iron | Definitely iron is the strongest modifier. has generated the darkest color. It does not have much difference between animal and vegetable fabrics. |
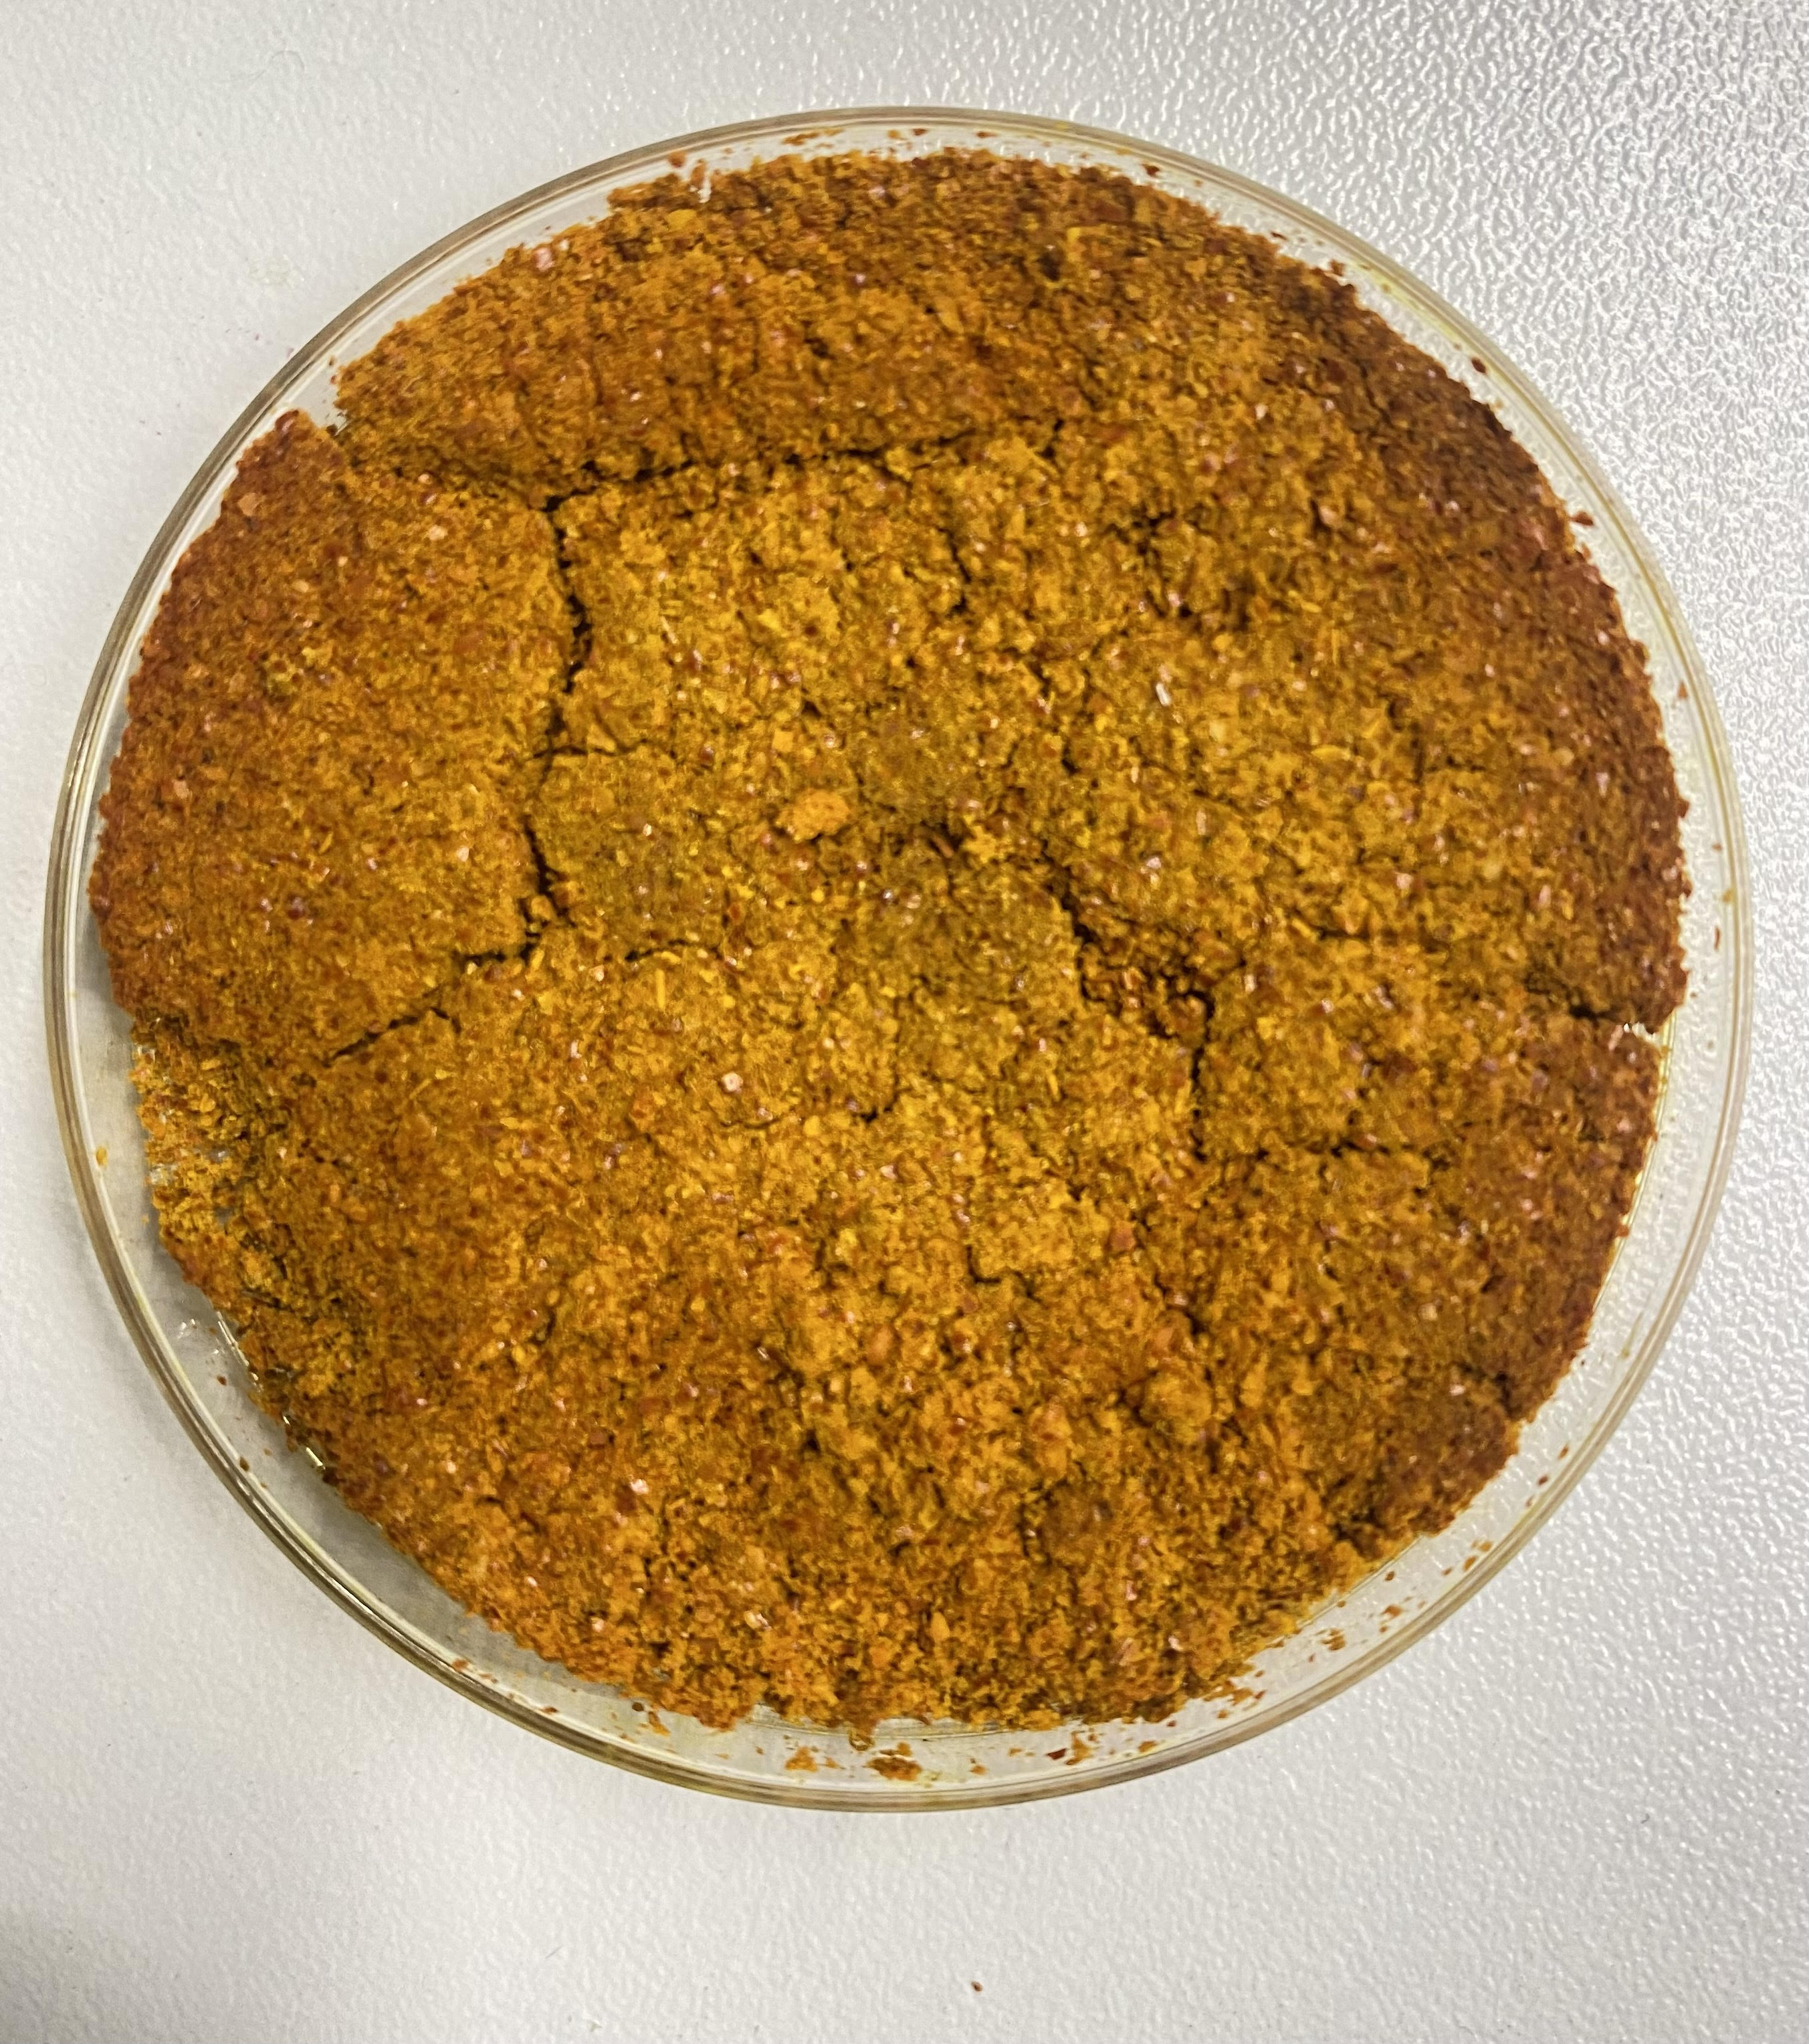
PIGMENTS
It is very easy to get a solid pigment. In the case of turmeric, when I am making a the dye liquid, I had to pass it through the strainer twice so I get completely clean dye.
At the moment we strain the turmeric we have the lumpy part which we will let dry for 24 hours between kitchen paper.
Once dry, introduce two small drops of alcohol and break the pgment to unify it and dry again.
BACTERIAL DYES
 picture taken from Marie Malcore web site
Bacteria is a single-celled organism that could find in everywhere on earth.
The Bacteria that we used for dyeing is calle Janthinobacterium Lividum, is an aerobic, Gram-negative, soil-dwelling bacterium that has a distinctive dark-violet (almost black) color, due to a compound called violacein, which is produced when glycerol is metabolized as a carbon source.
This workshop has been given by Jessica Dias @formalisedcuriosities or her website who is an expert in bacteria and mycelium, go to her website to see her incredible work.
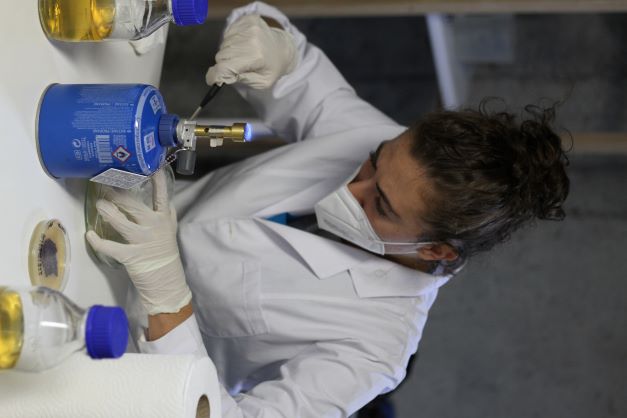
Next I show you the process in 7 steps:
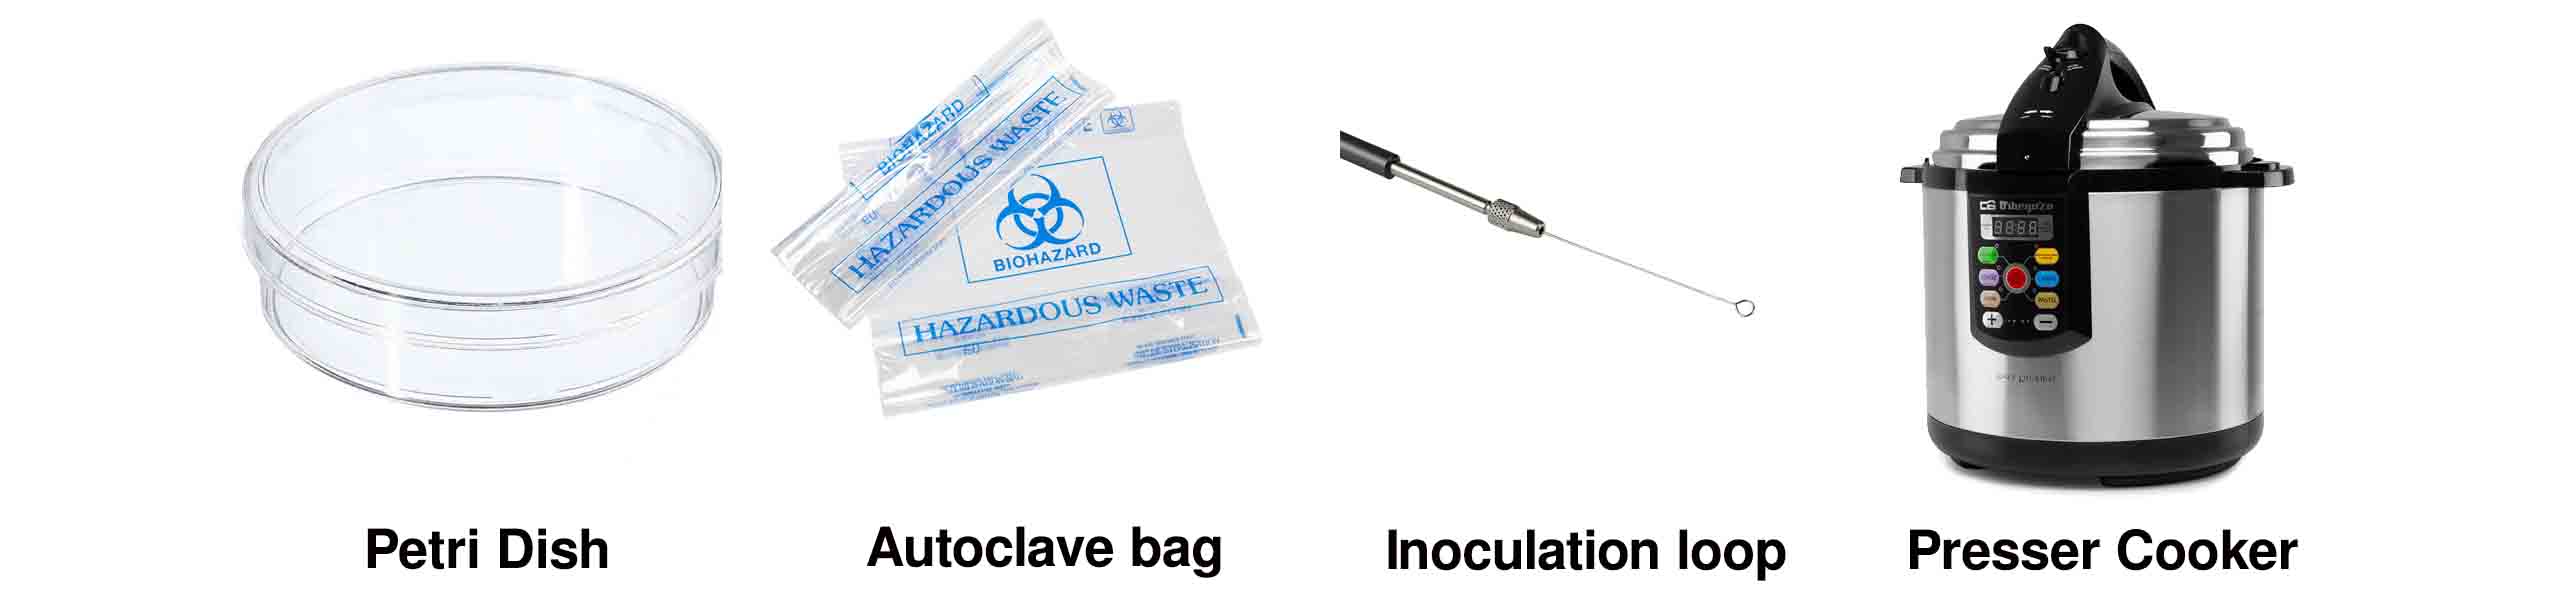
Required Tools:
-
Petri dish
-
Camping Gas
-
Gloves, Mask, Labcoat
-
Innoculation Loop
-
Presser Cooker
-
Incubator
STEP 1
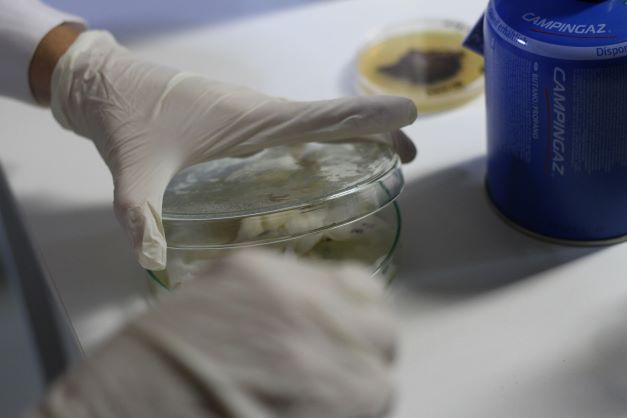
PURIFICATION
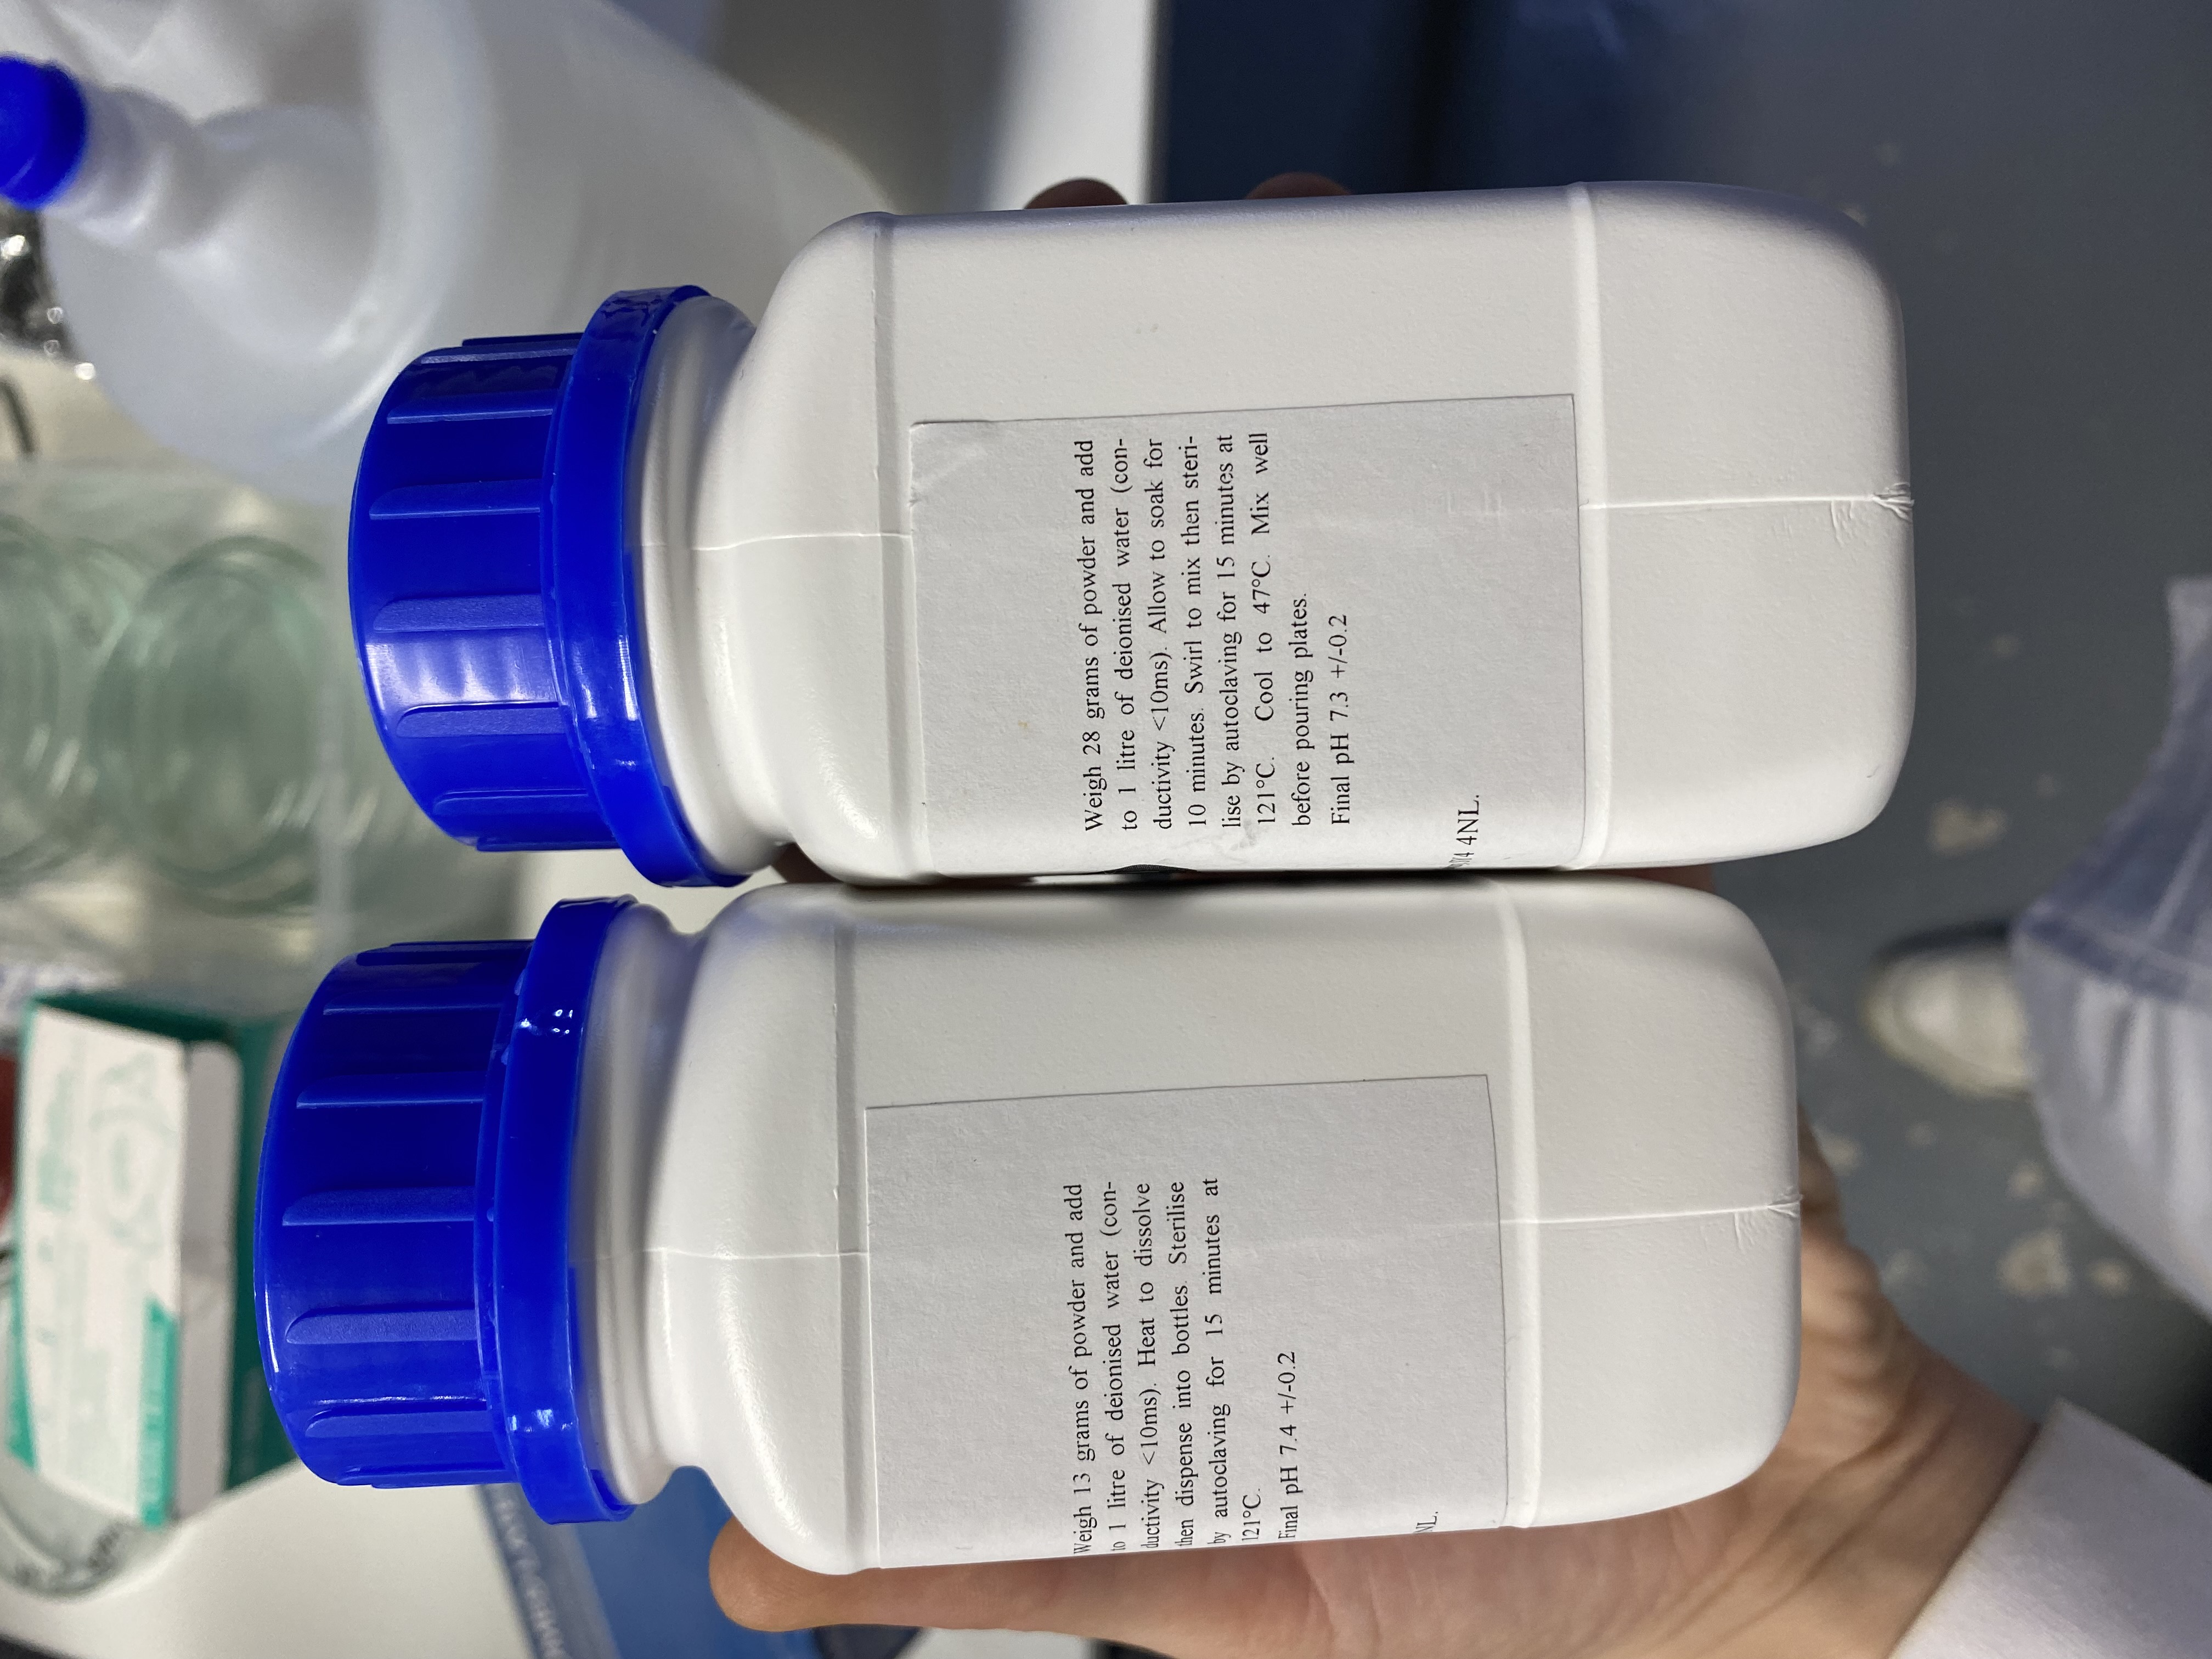
The first step is to prepare the materials required for purification. That is a Petri dish with washes textiles, and Food for bacteria to grow that is Bacteria Nutrient Agar / Bacteria LB Broth autoclave bag and cooker.
STEP 2
SAFETY
 Wear a lab coat, mask and gloves to avoid direct contact with bacteria, which is safe for both bacteria and us.
STEP 3
FEED THE BACTERIA
 |
 |
 |
-
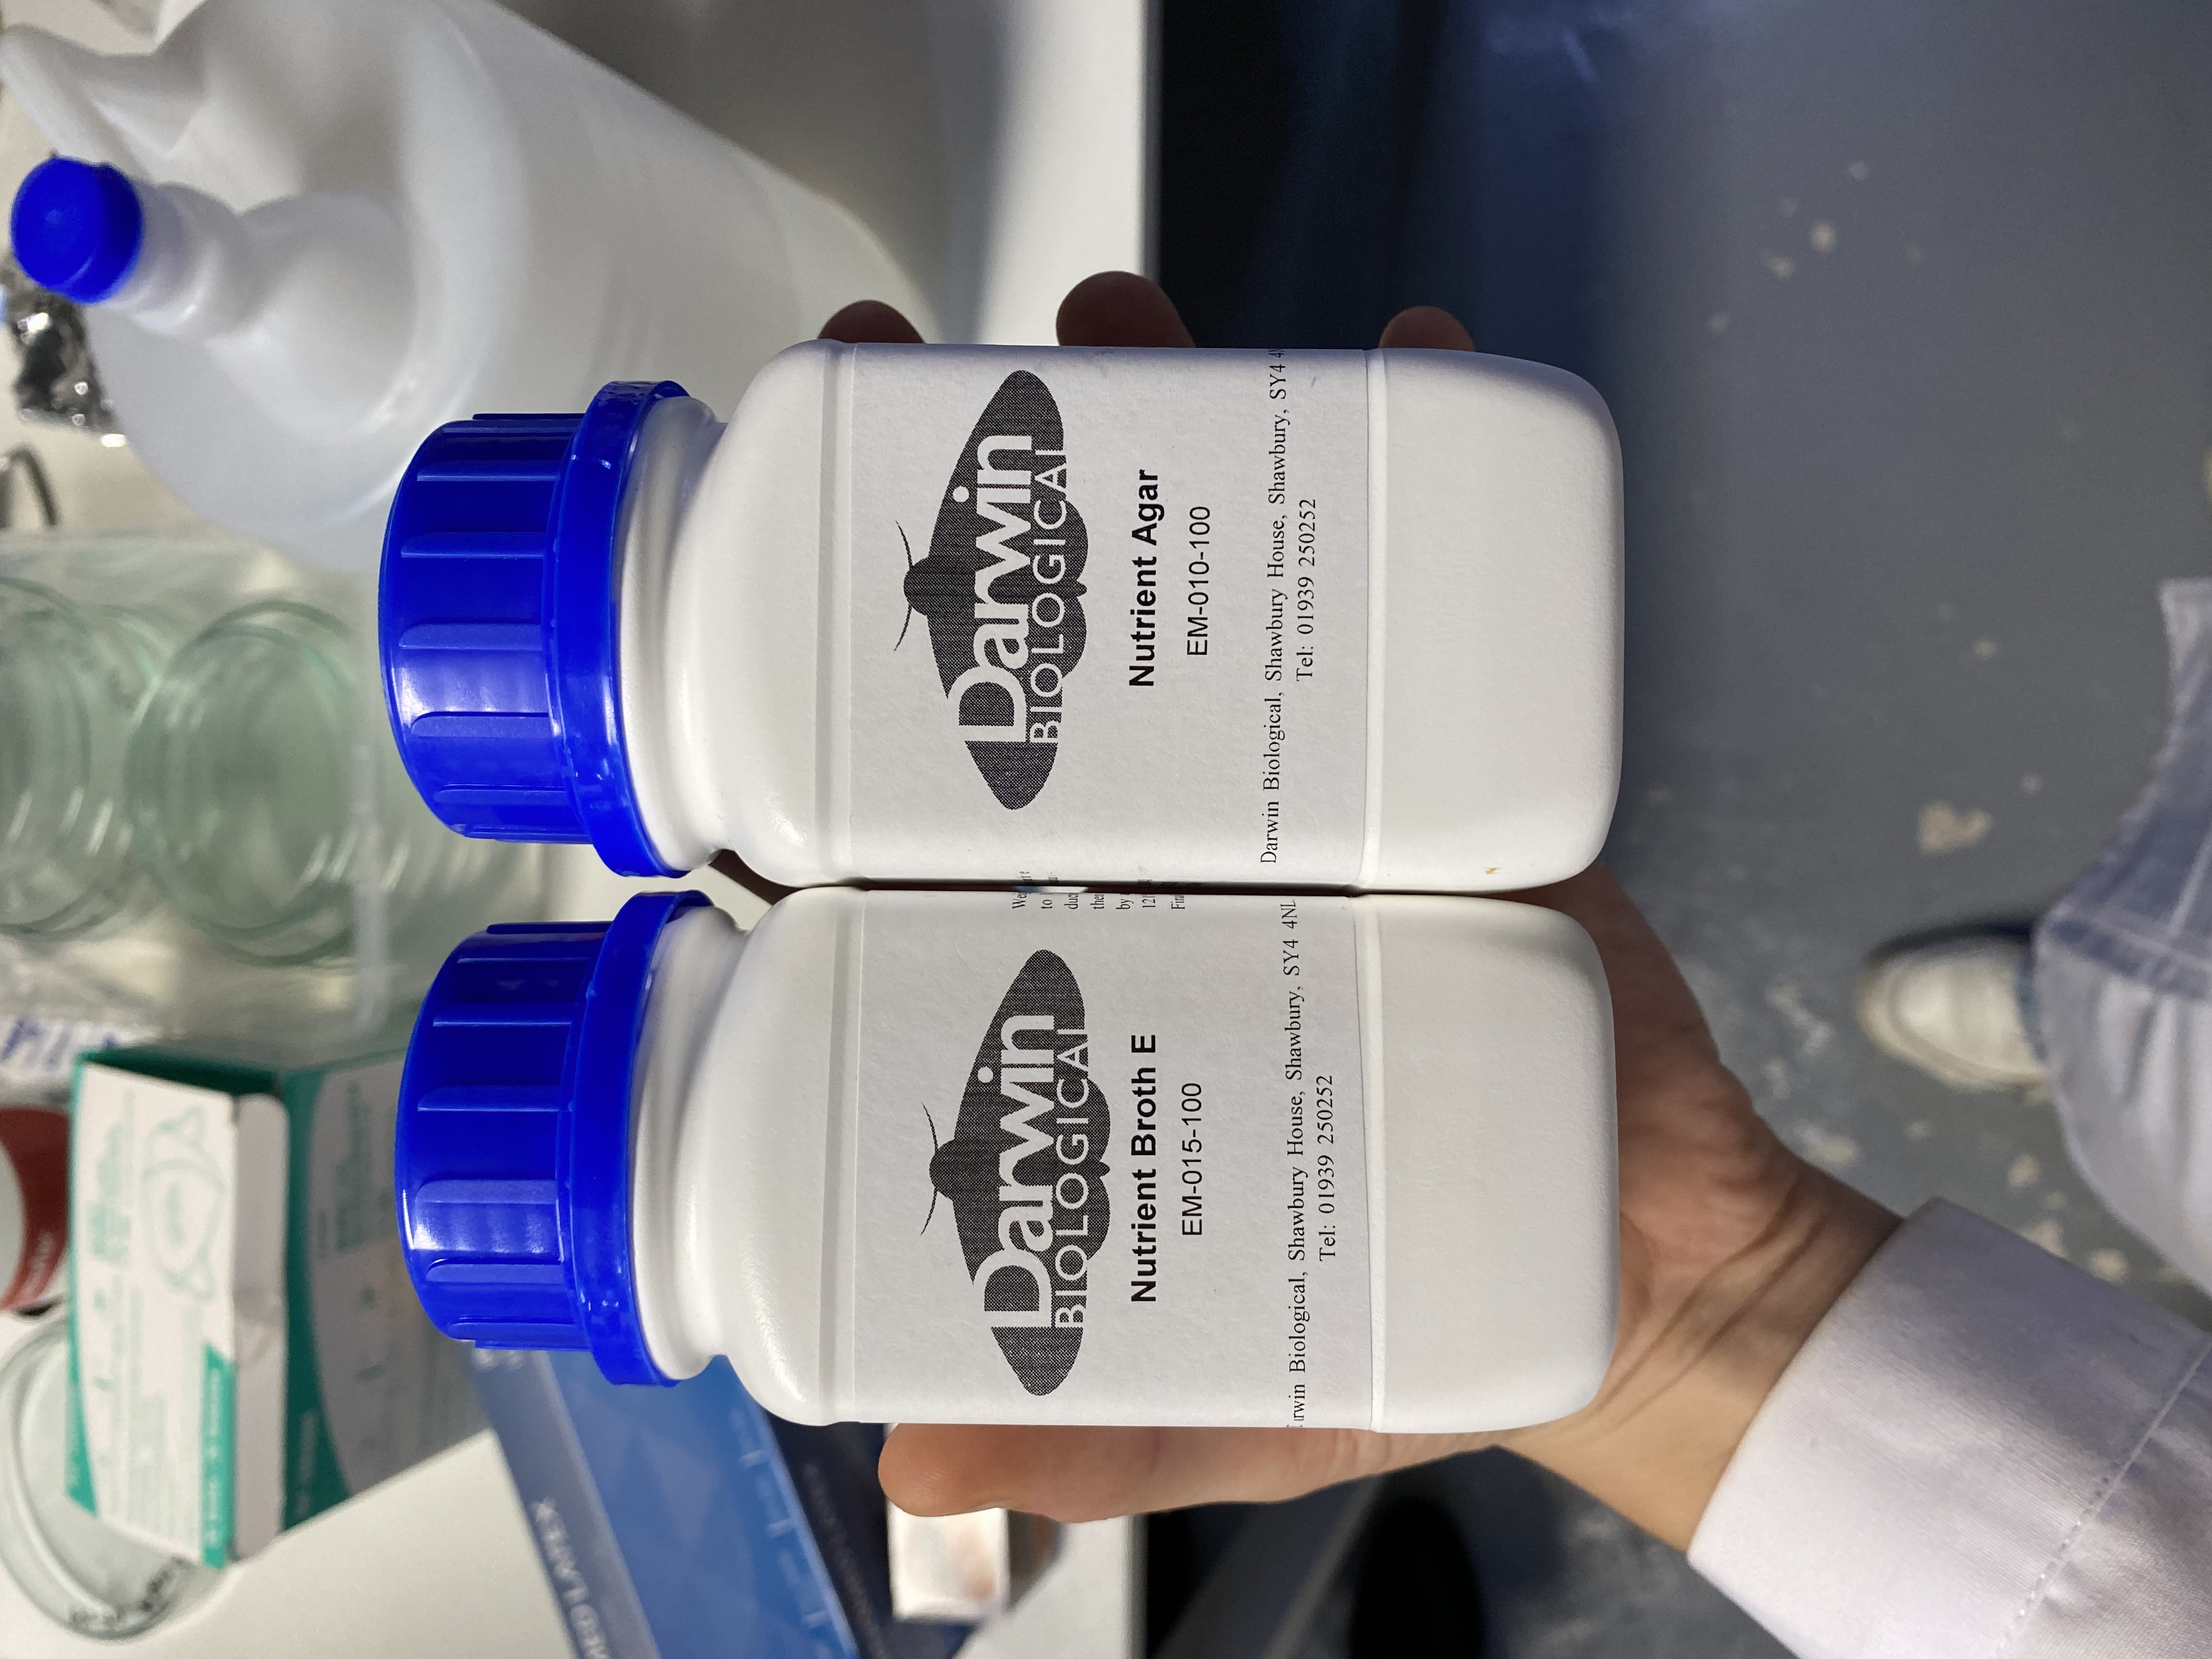
Prepare the LB Broth in the glass in a 500ml bottle of water, Nutrients and Glycerine.
-
To be able to grow the bacteria we would require a liquid medium which is LB Broth.
-
To reproduce the bacteria on several plates we require Medium agar that is Agar Agar
STEP 4
STERILIZE THE TEXTILE
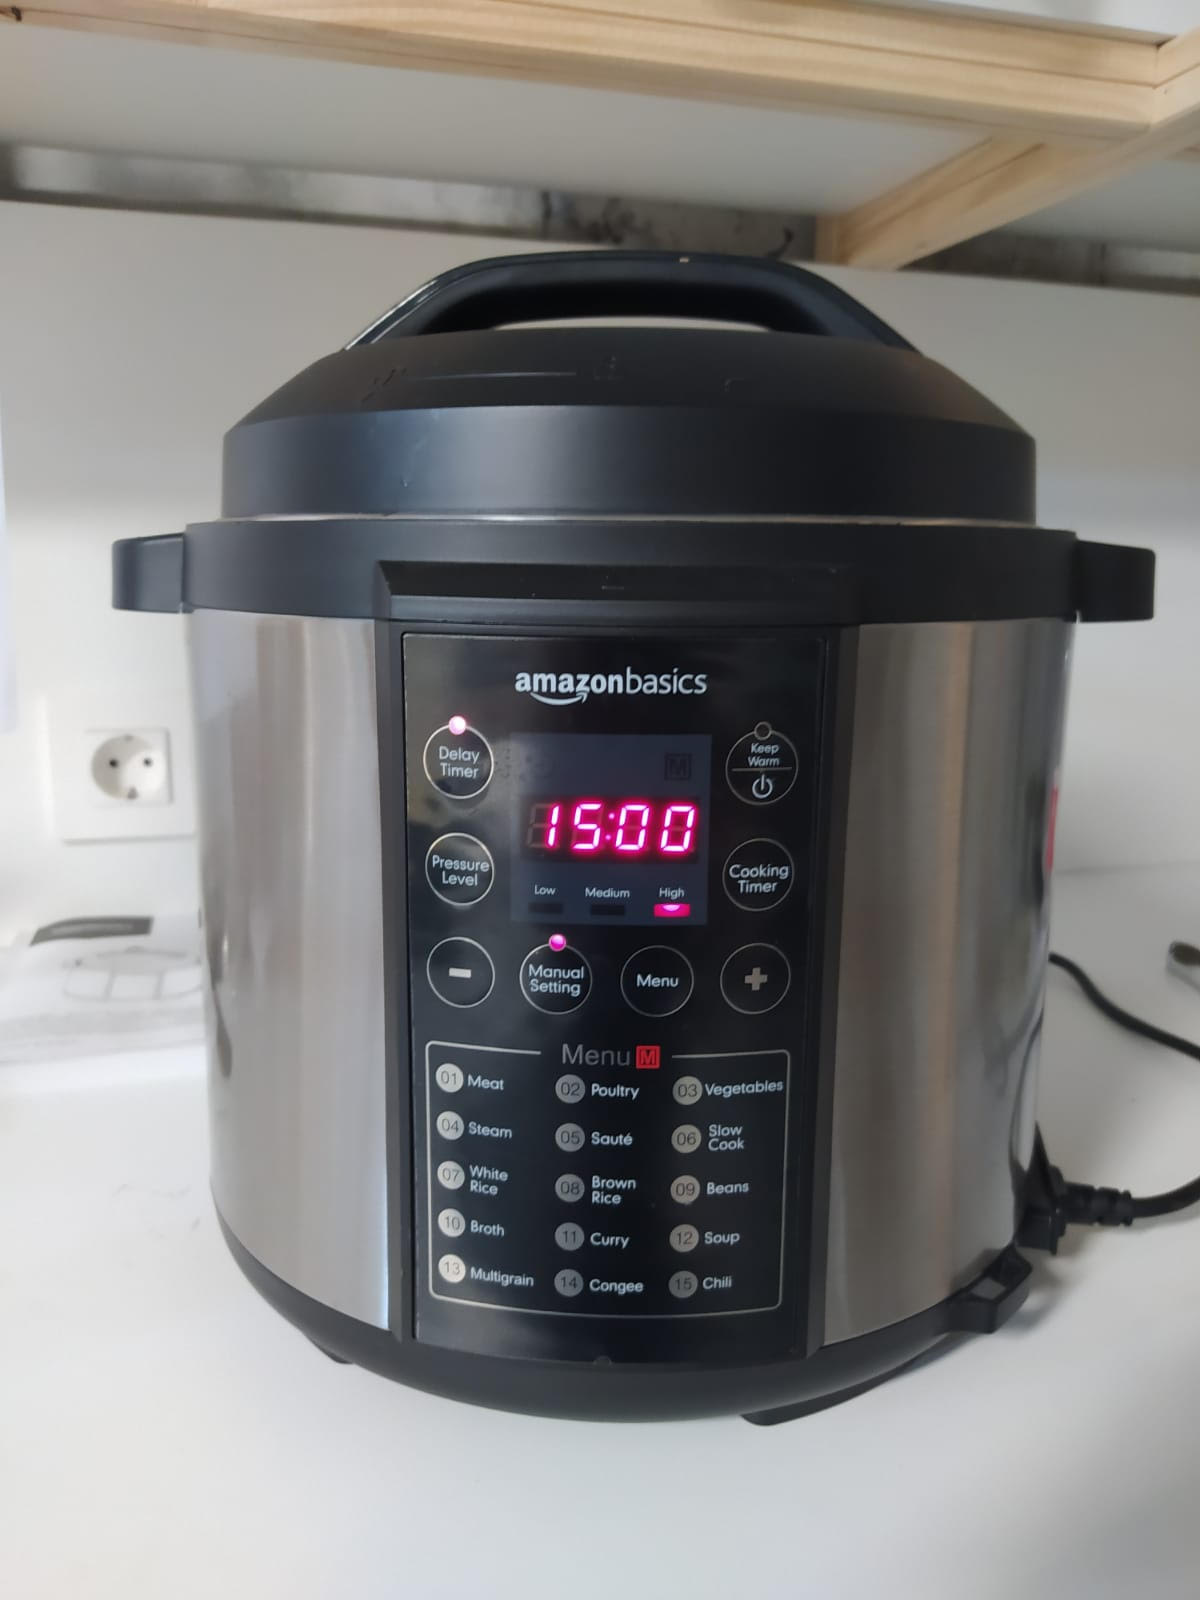
Use a presser cooker to sterilize the textile and bacteria food prepared to avoid any type of contamination
 |
|
STEP 5
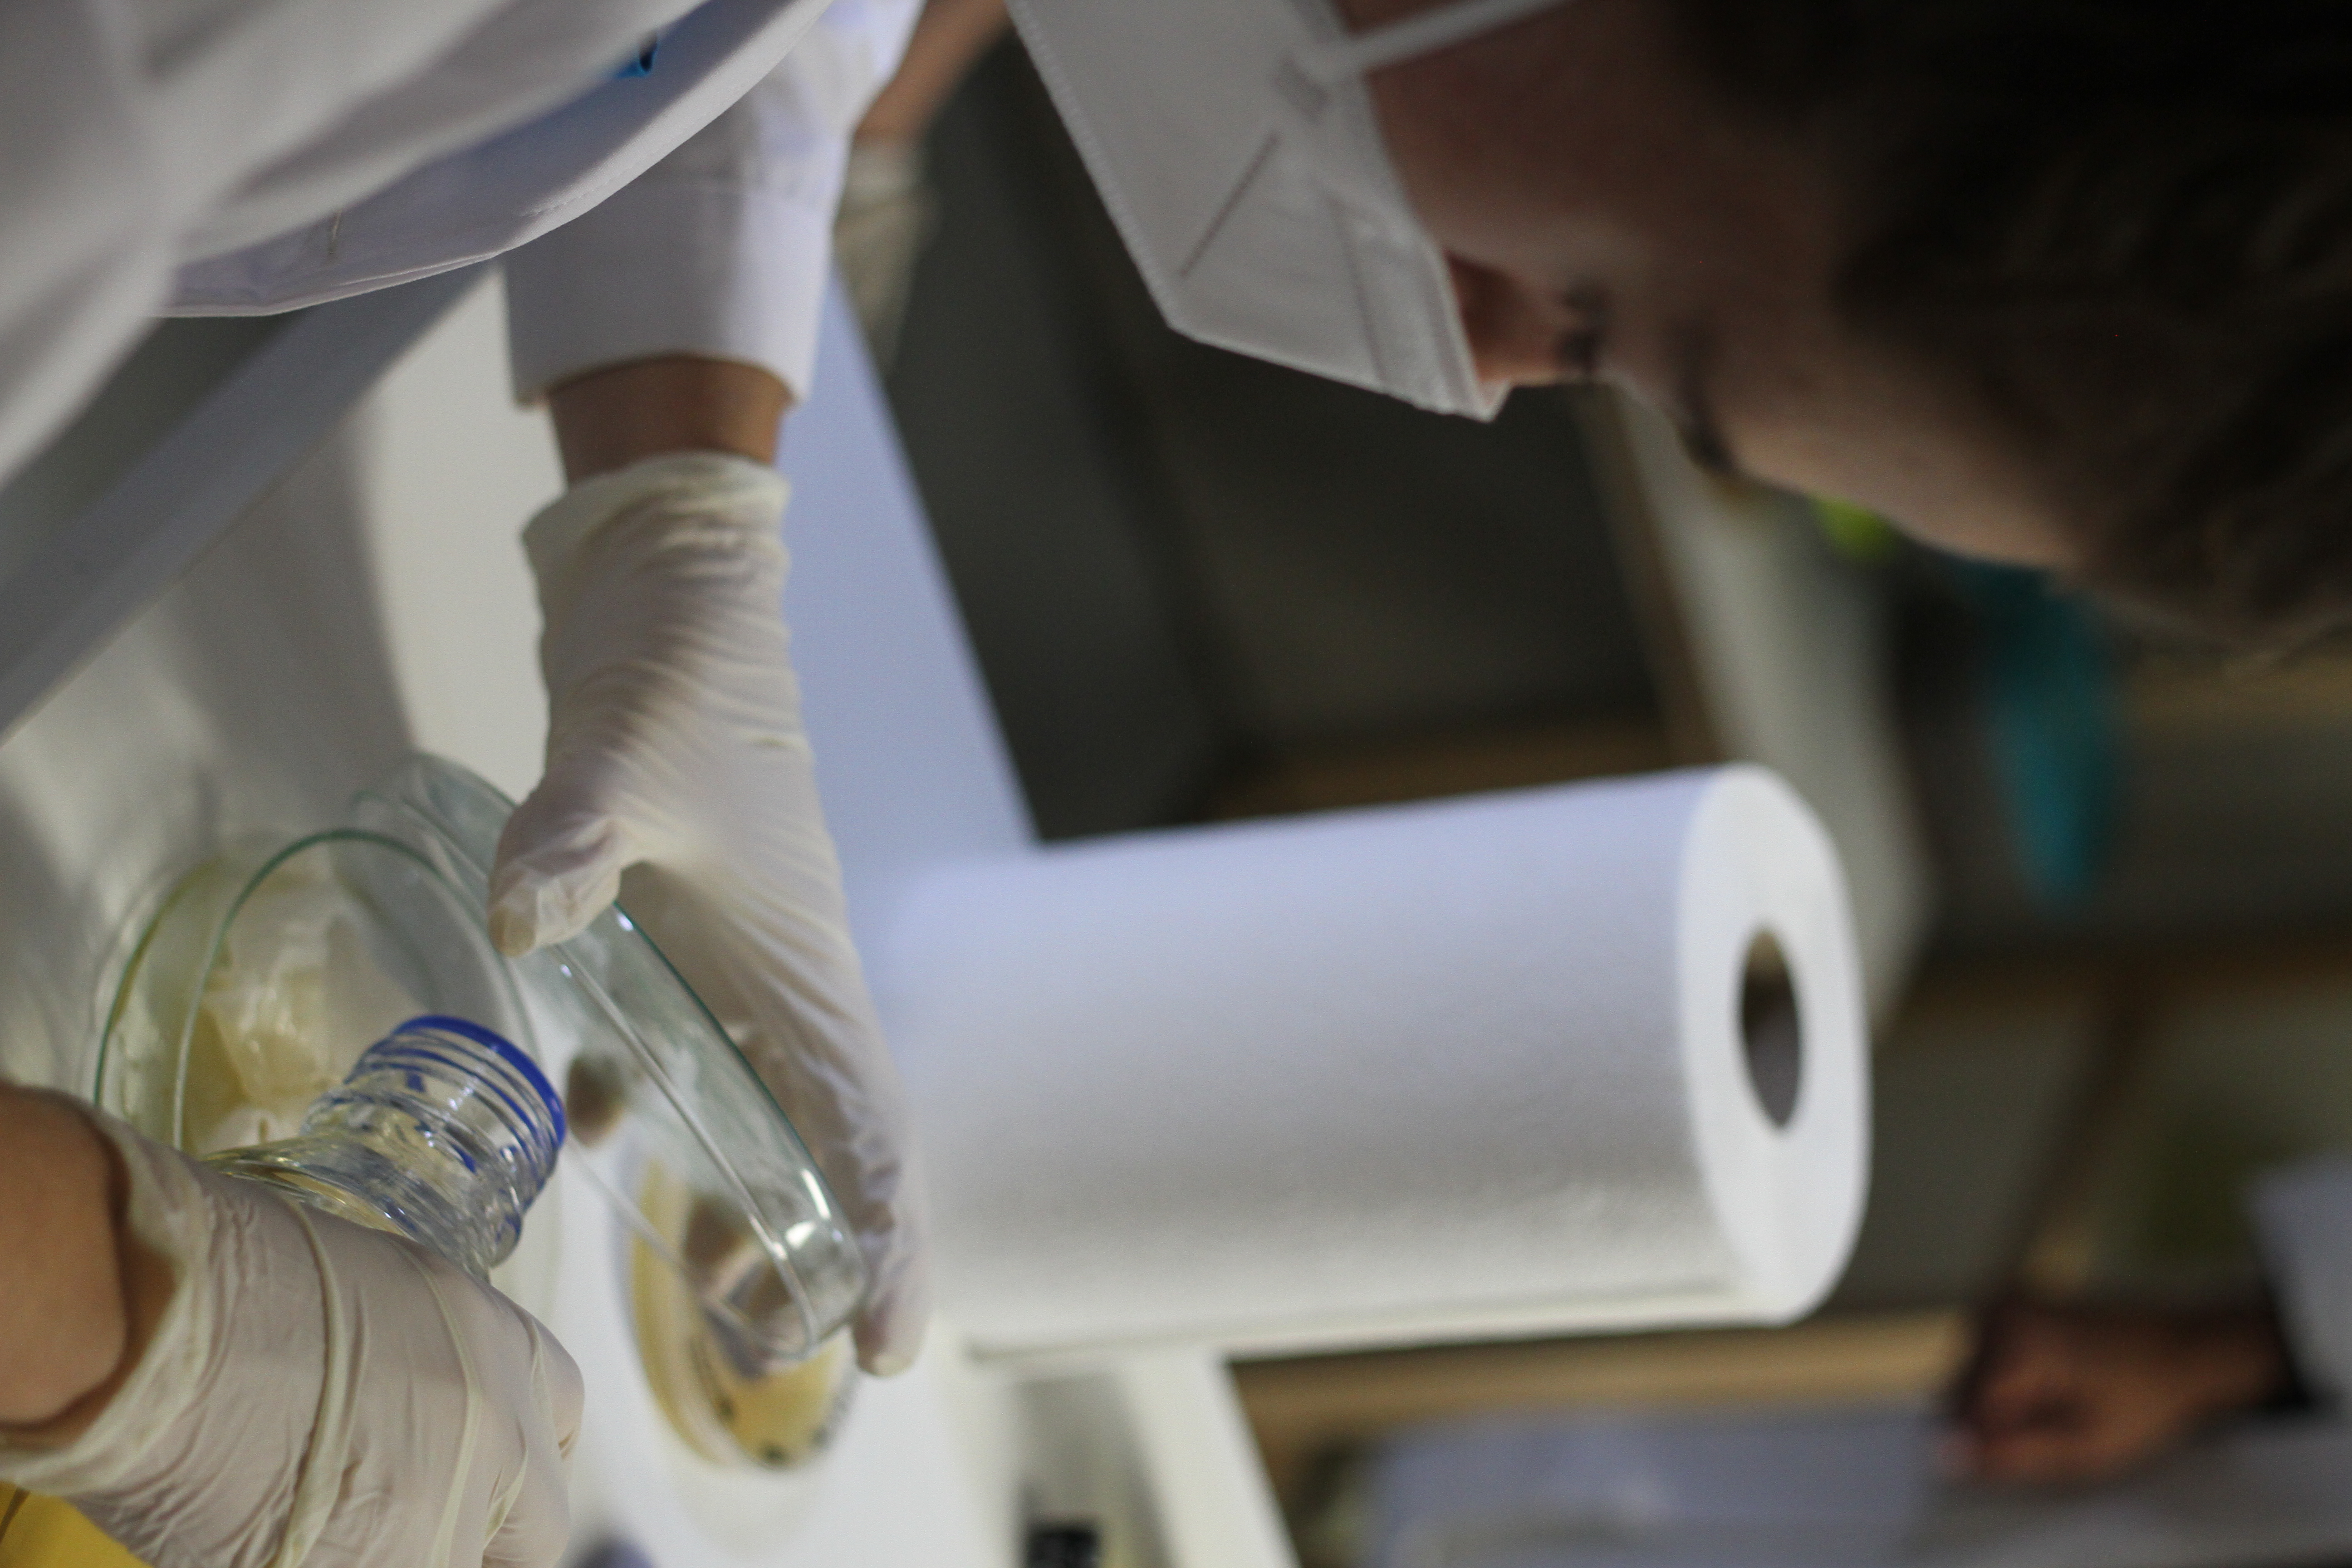
WORK PLACE PREPARATION
-
Use ethanol to clean the workspace first and place the stove.
-
Pour the alcohol around the stove again and light it, which will create a bubble around the workspace that will prevent any contamination.
-
Now keep all your materials and food closer to the stove for dyeing within the bubble.
STEP 6
BACTERIAL DYEING
-
In one hand take the glass of LB Broth and open it closely towards to the fire.
-
On the other hand, open the petri dish slightly and not fully, then pour the broth on the textile materials to spread all over the place.
-
Process needs to be very quick to avoid the risk of contamination
-
Now take the Inoculation loop and hold it under the fire till it gets hot red.
-
After that, use the inoculation loop to cool down the loop, and then apply the bacteria by spreading it gently on the textiles after taking them from the petri dish. do the part twice or thrice quickly.
-
After the bacteria are transferred onto the fabric make sure to heat the loop to kill the bacteria that are present on the loop.
STEP 7
BACTERIAL GROWTH
- Now keep the petri dish inside the Incubator and close it properly.
- Leave it for 2 days minimum for the bacteria to grow properly.

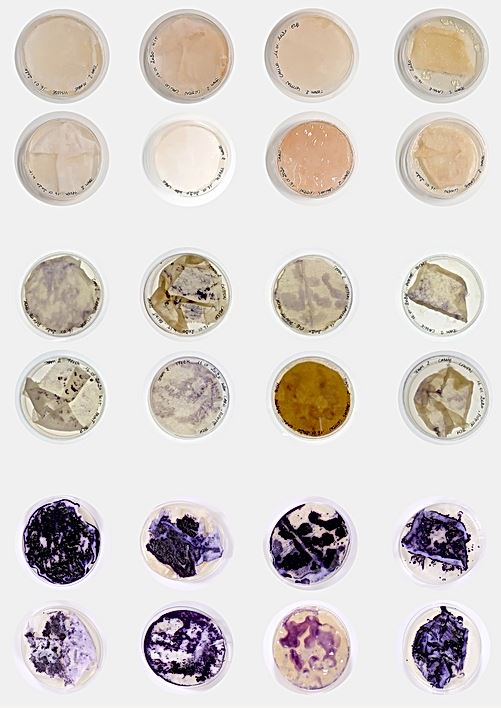
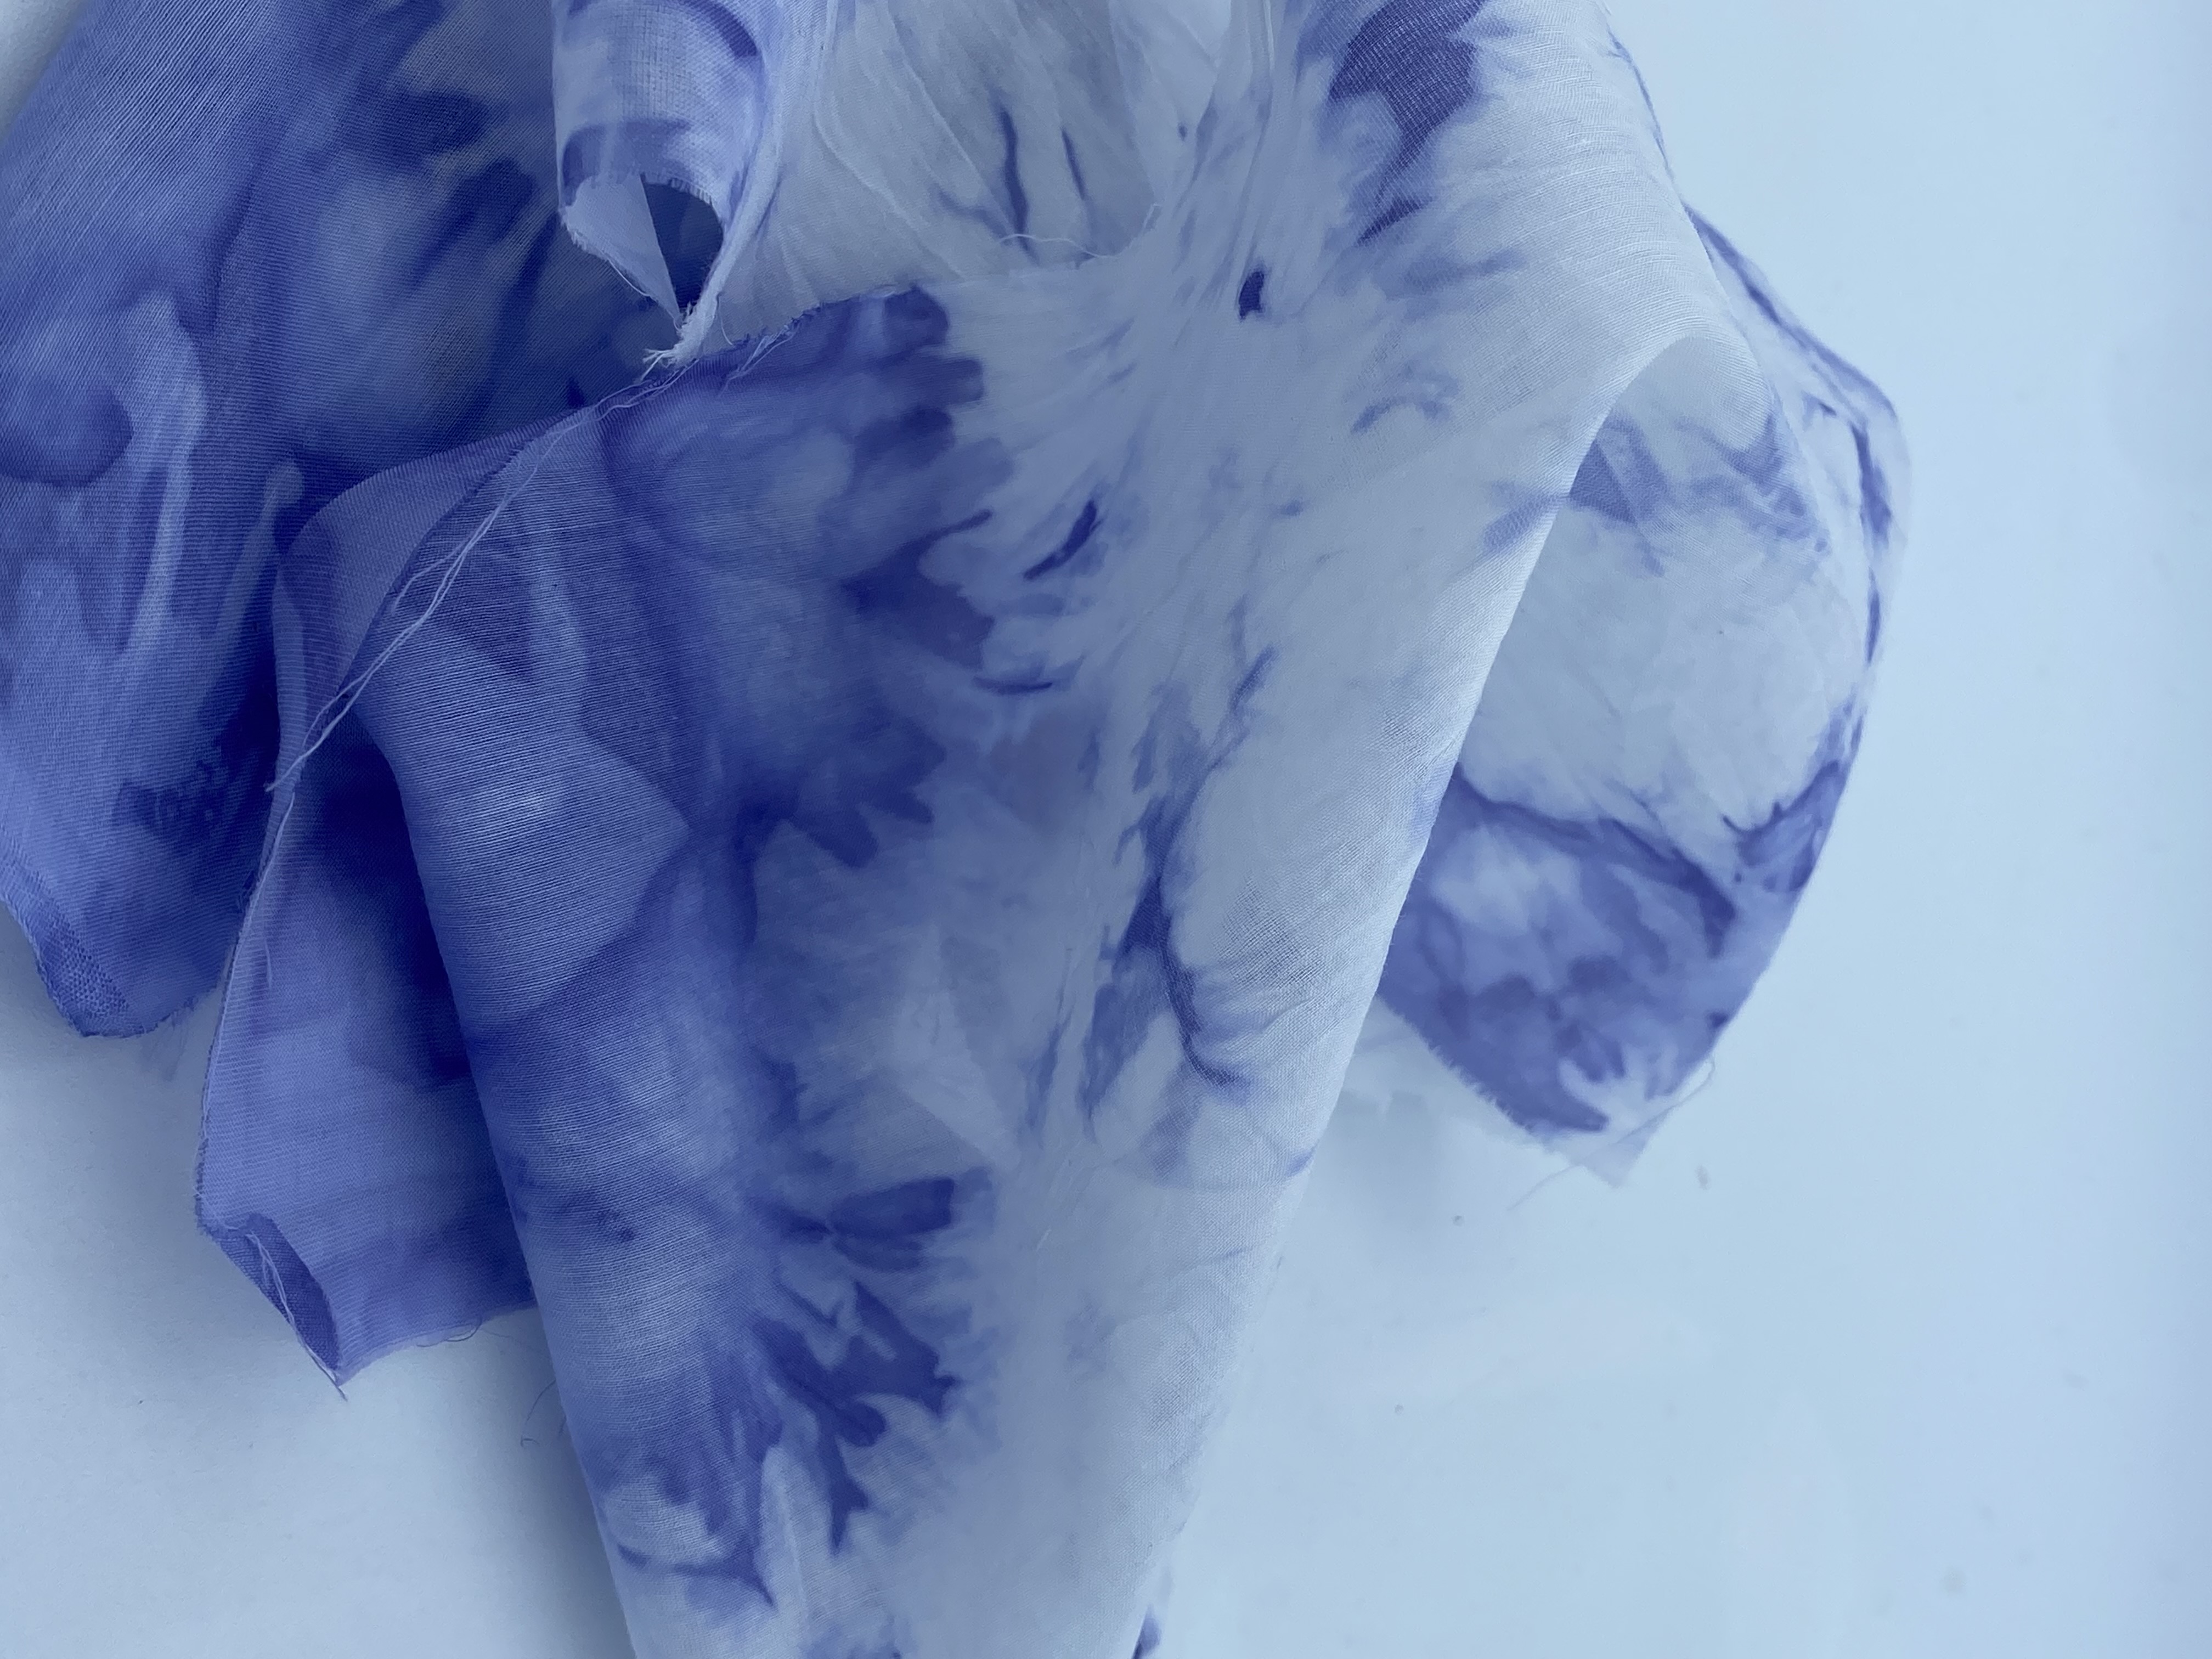
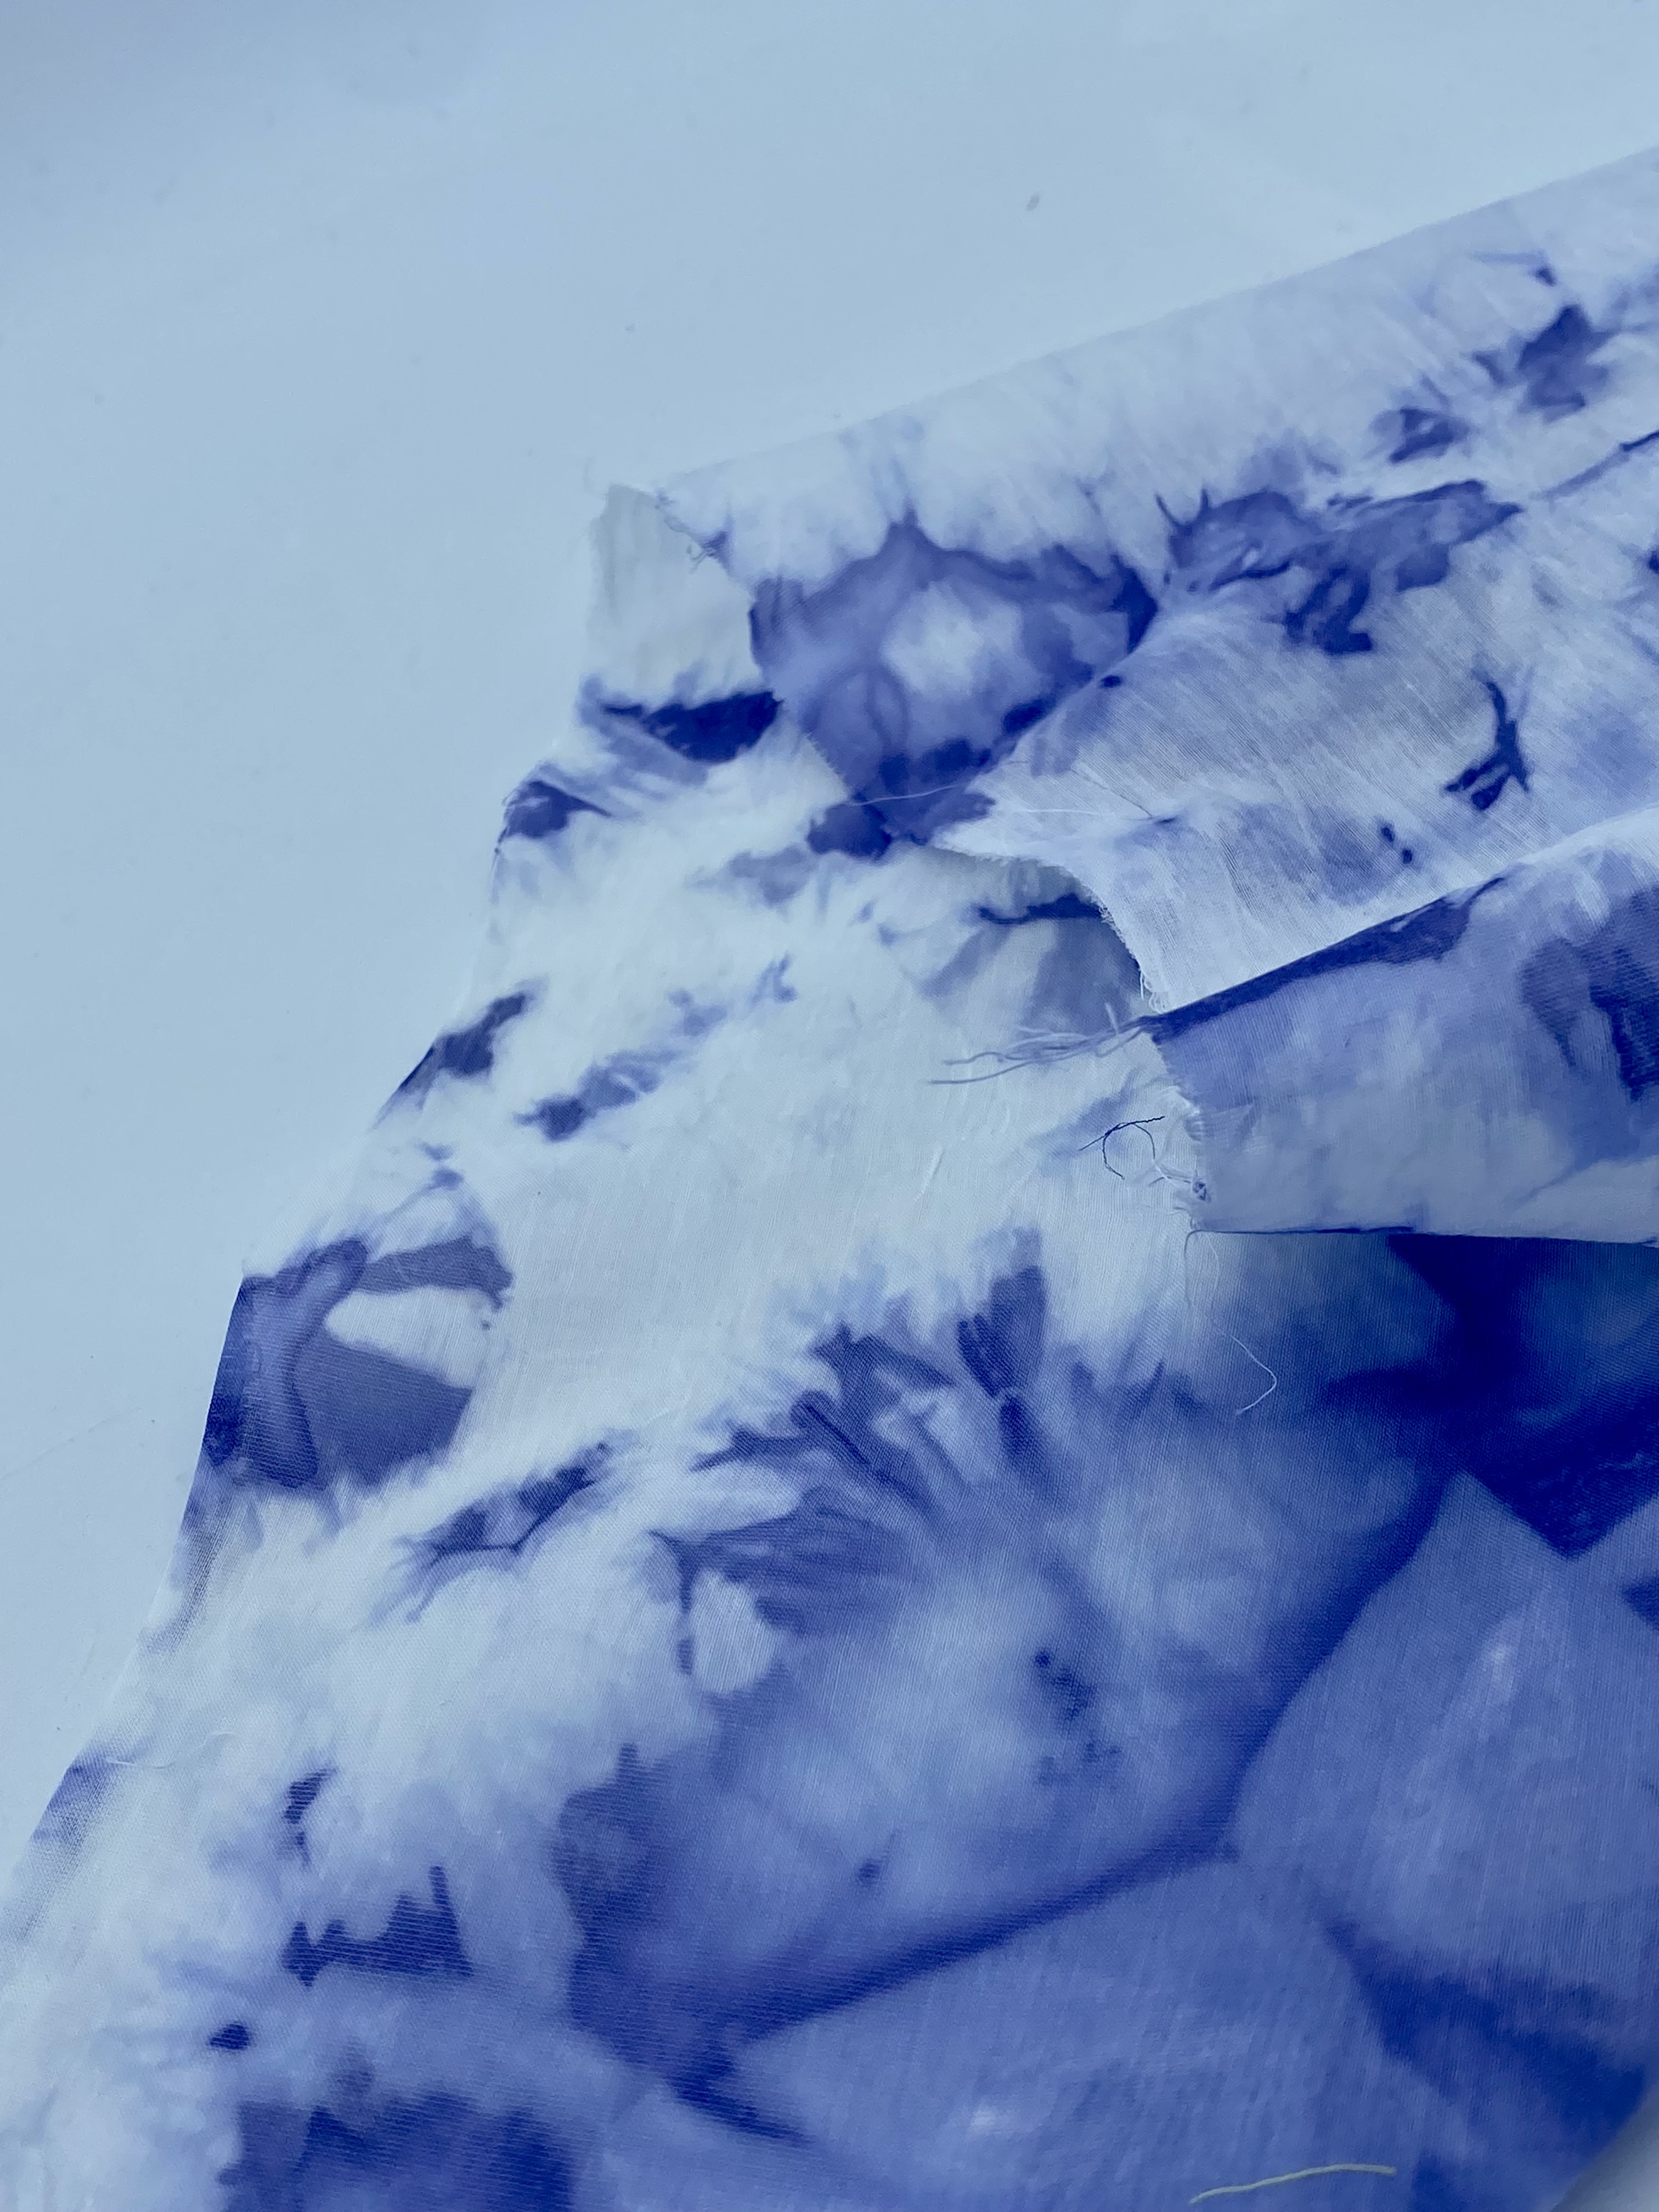
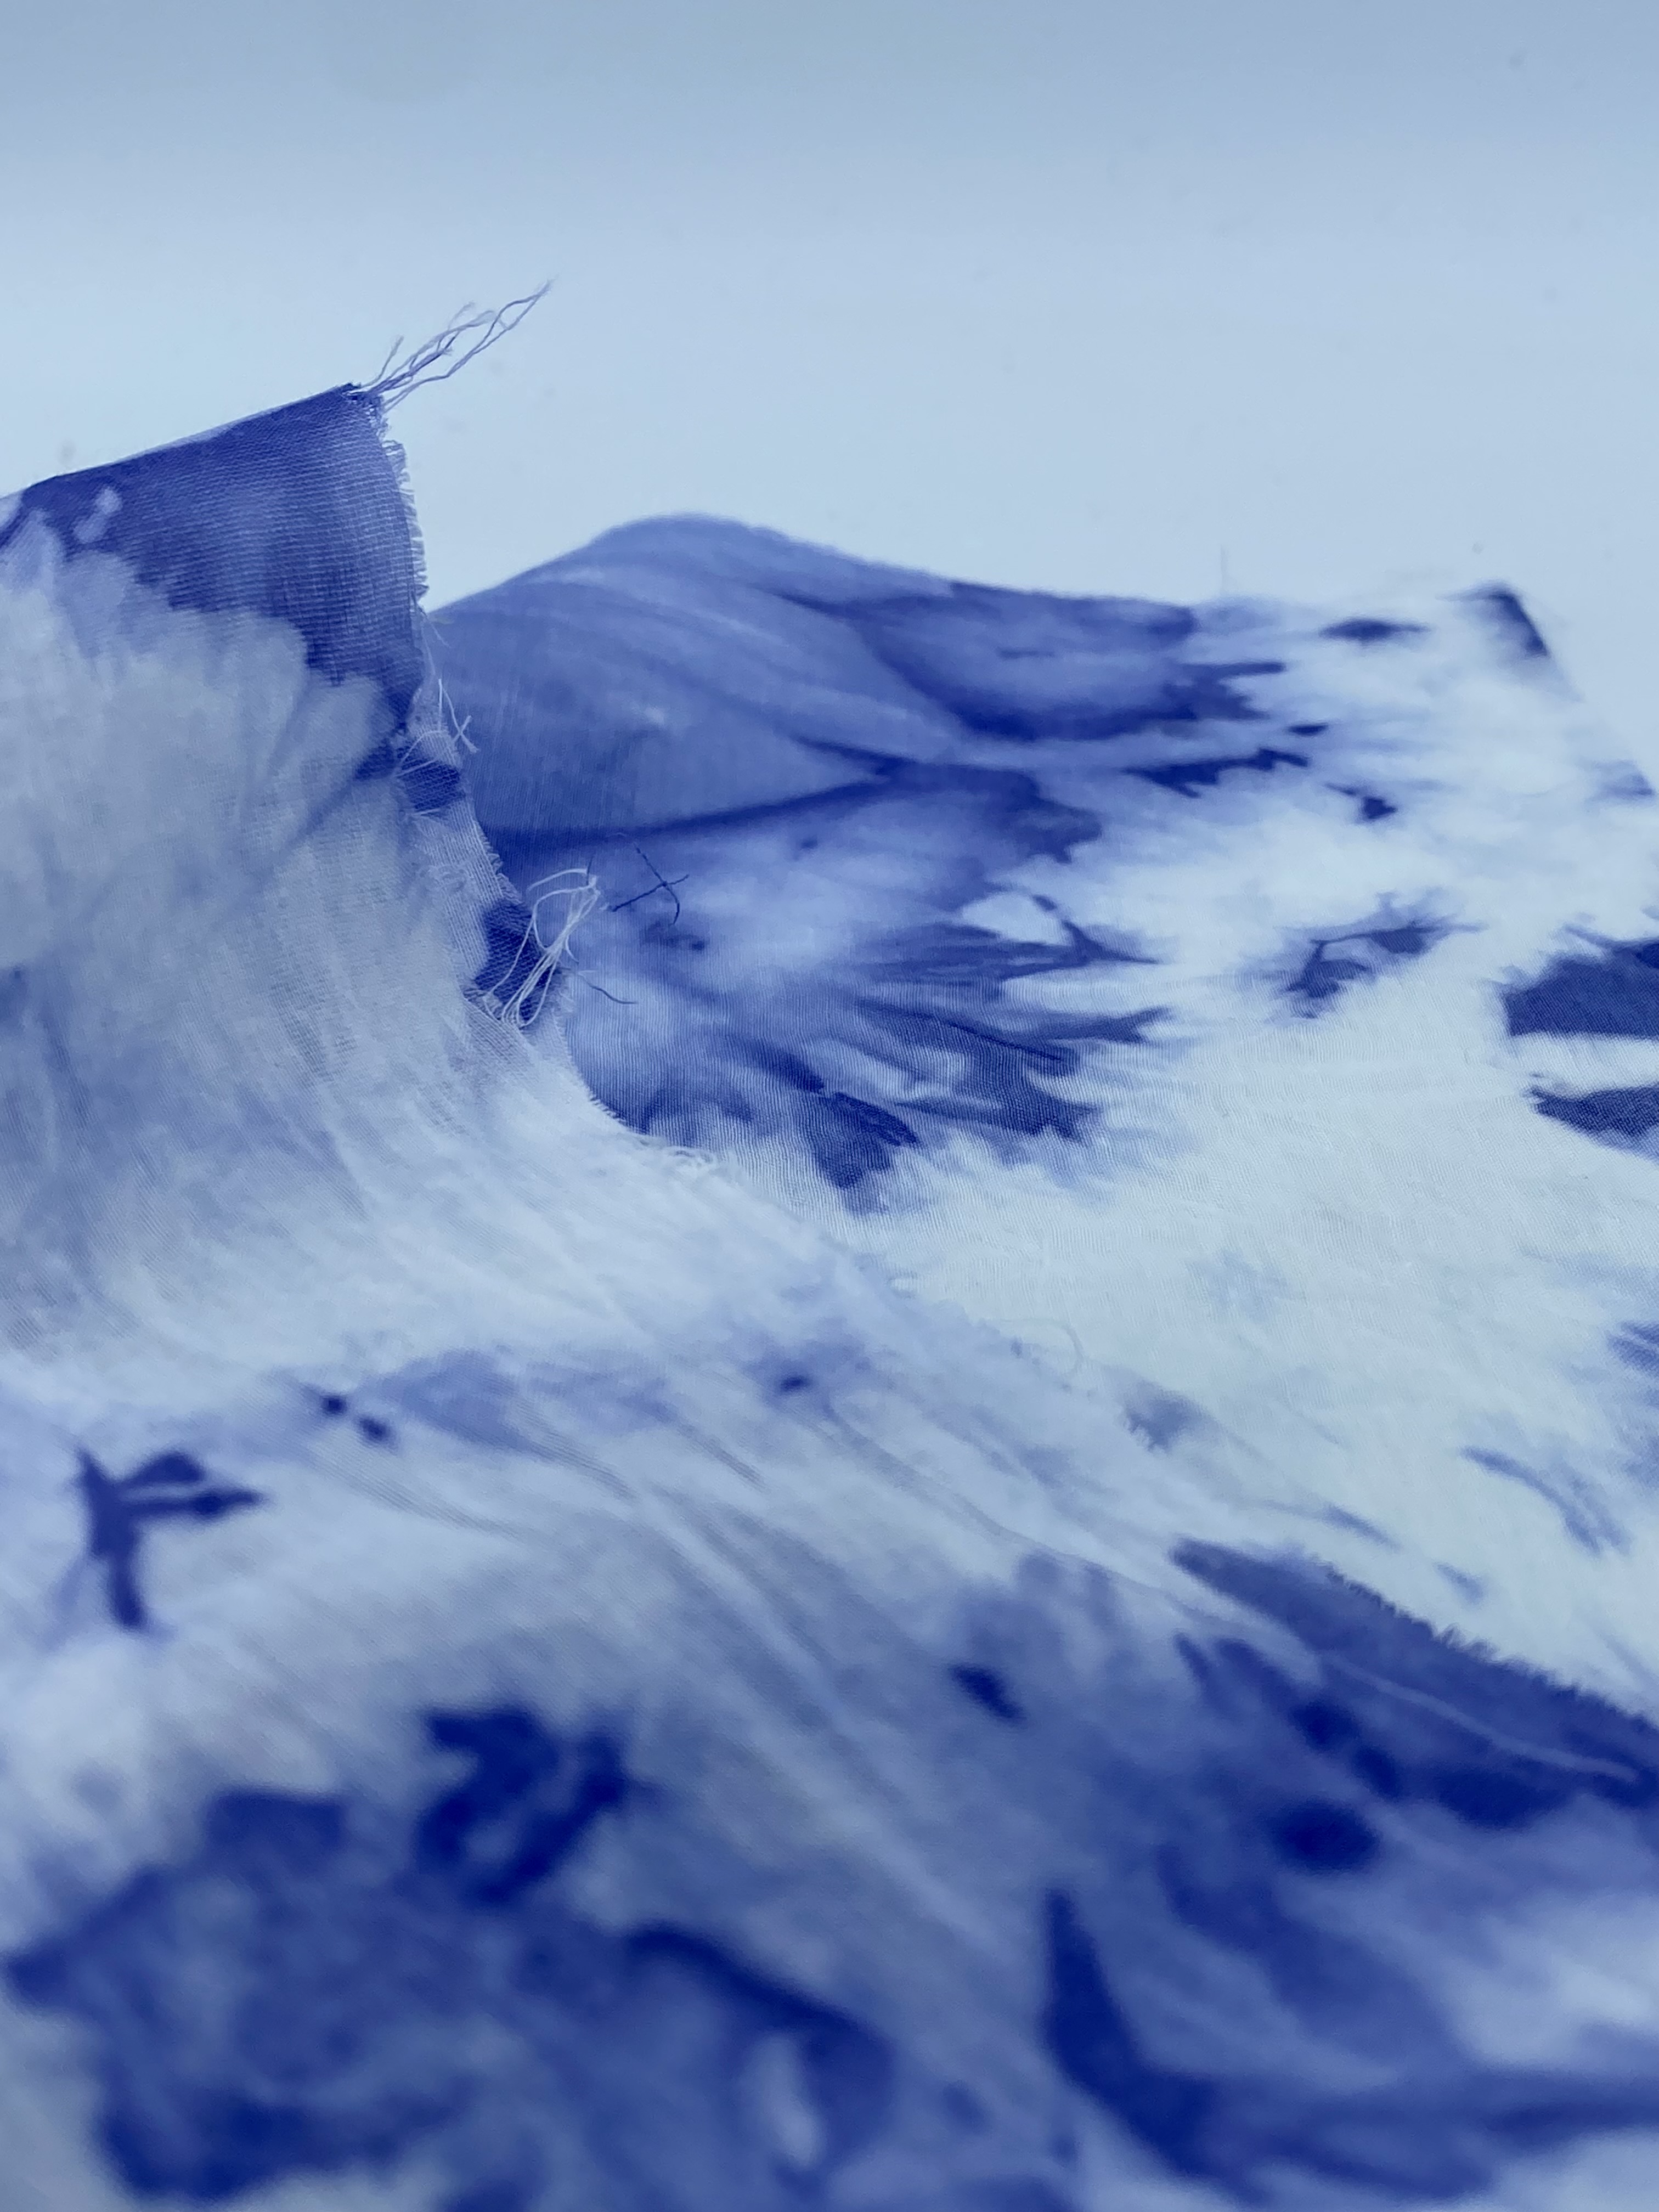
FINAL WORK
- The bacteria has been moving through silk for a week.
- I think the bacteria has not been so strong and has stamped with light violet color.
INSPIRATION
Luciana Paoletti Art with microorganism, How to make pigments on petries.
Laura Luchtman & Ilfa Siebenhaar
TEXTILE LAB AMSTERDAM
Micrographia by Leeuwenhoek
REFERENCES
Skin Infected with Janthinobacterium lividum