Structural Biocomposite Explorations
Intent
Since I had abandoned the bio-paste printer, I turned to casting the pieces in lasercut molds. This was from a suggestion left in the feedback sheet from an older presentation session, but it came back to me when I needed a different production process.
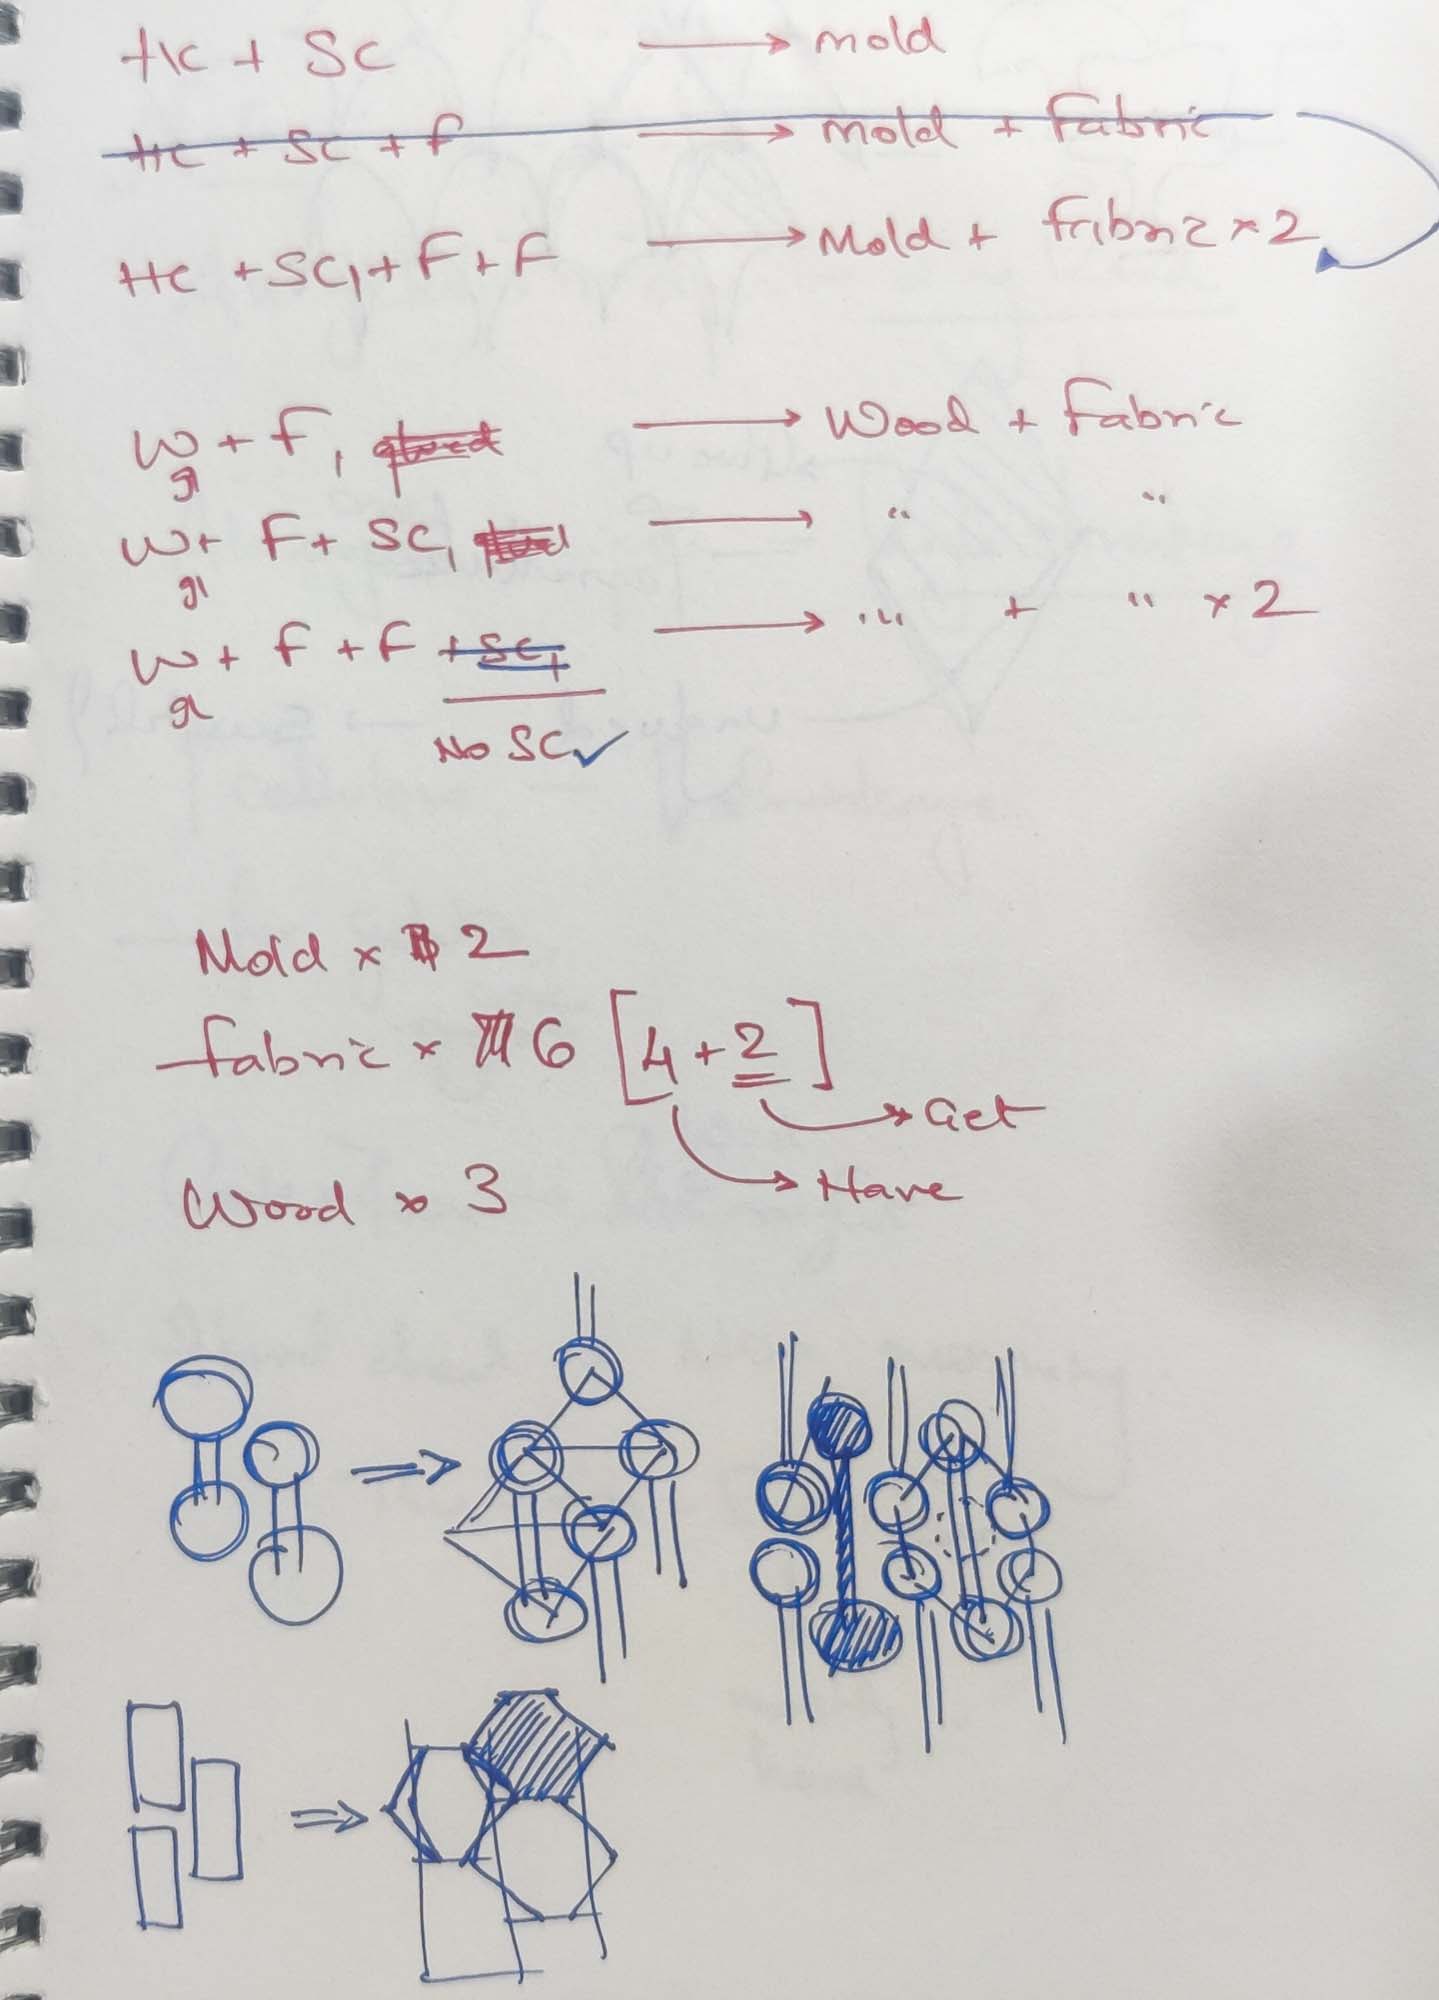
The idea was to cast the required pieces and geometric forms in hard biocomposites, and then - in a process similar to co-moulding or over-moulding for injection molding in plastics - cast a second round of softer, more pliant material to hold the harder pieces together.
Ideation
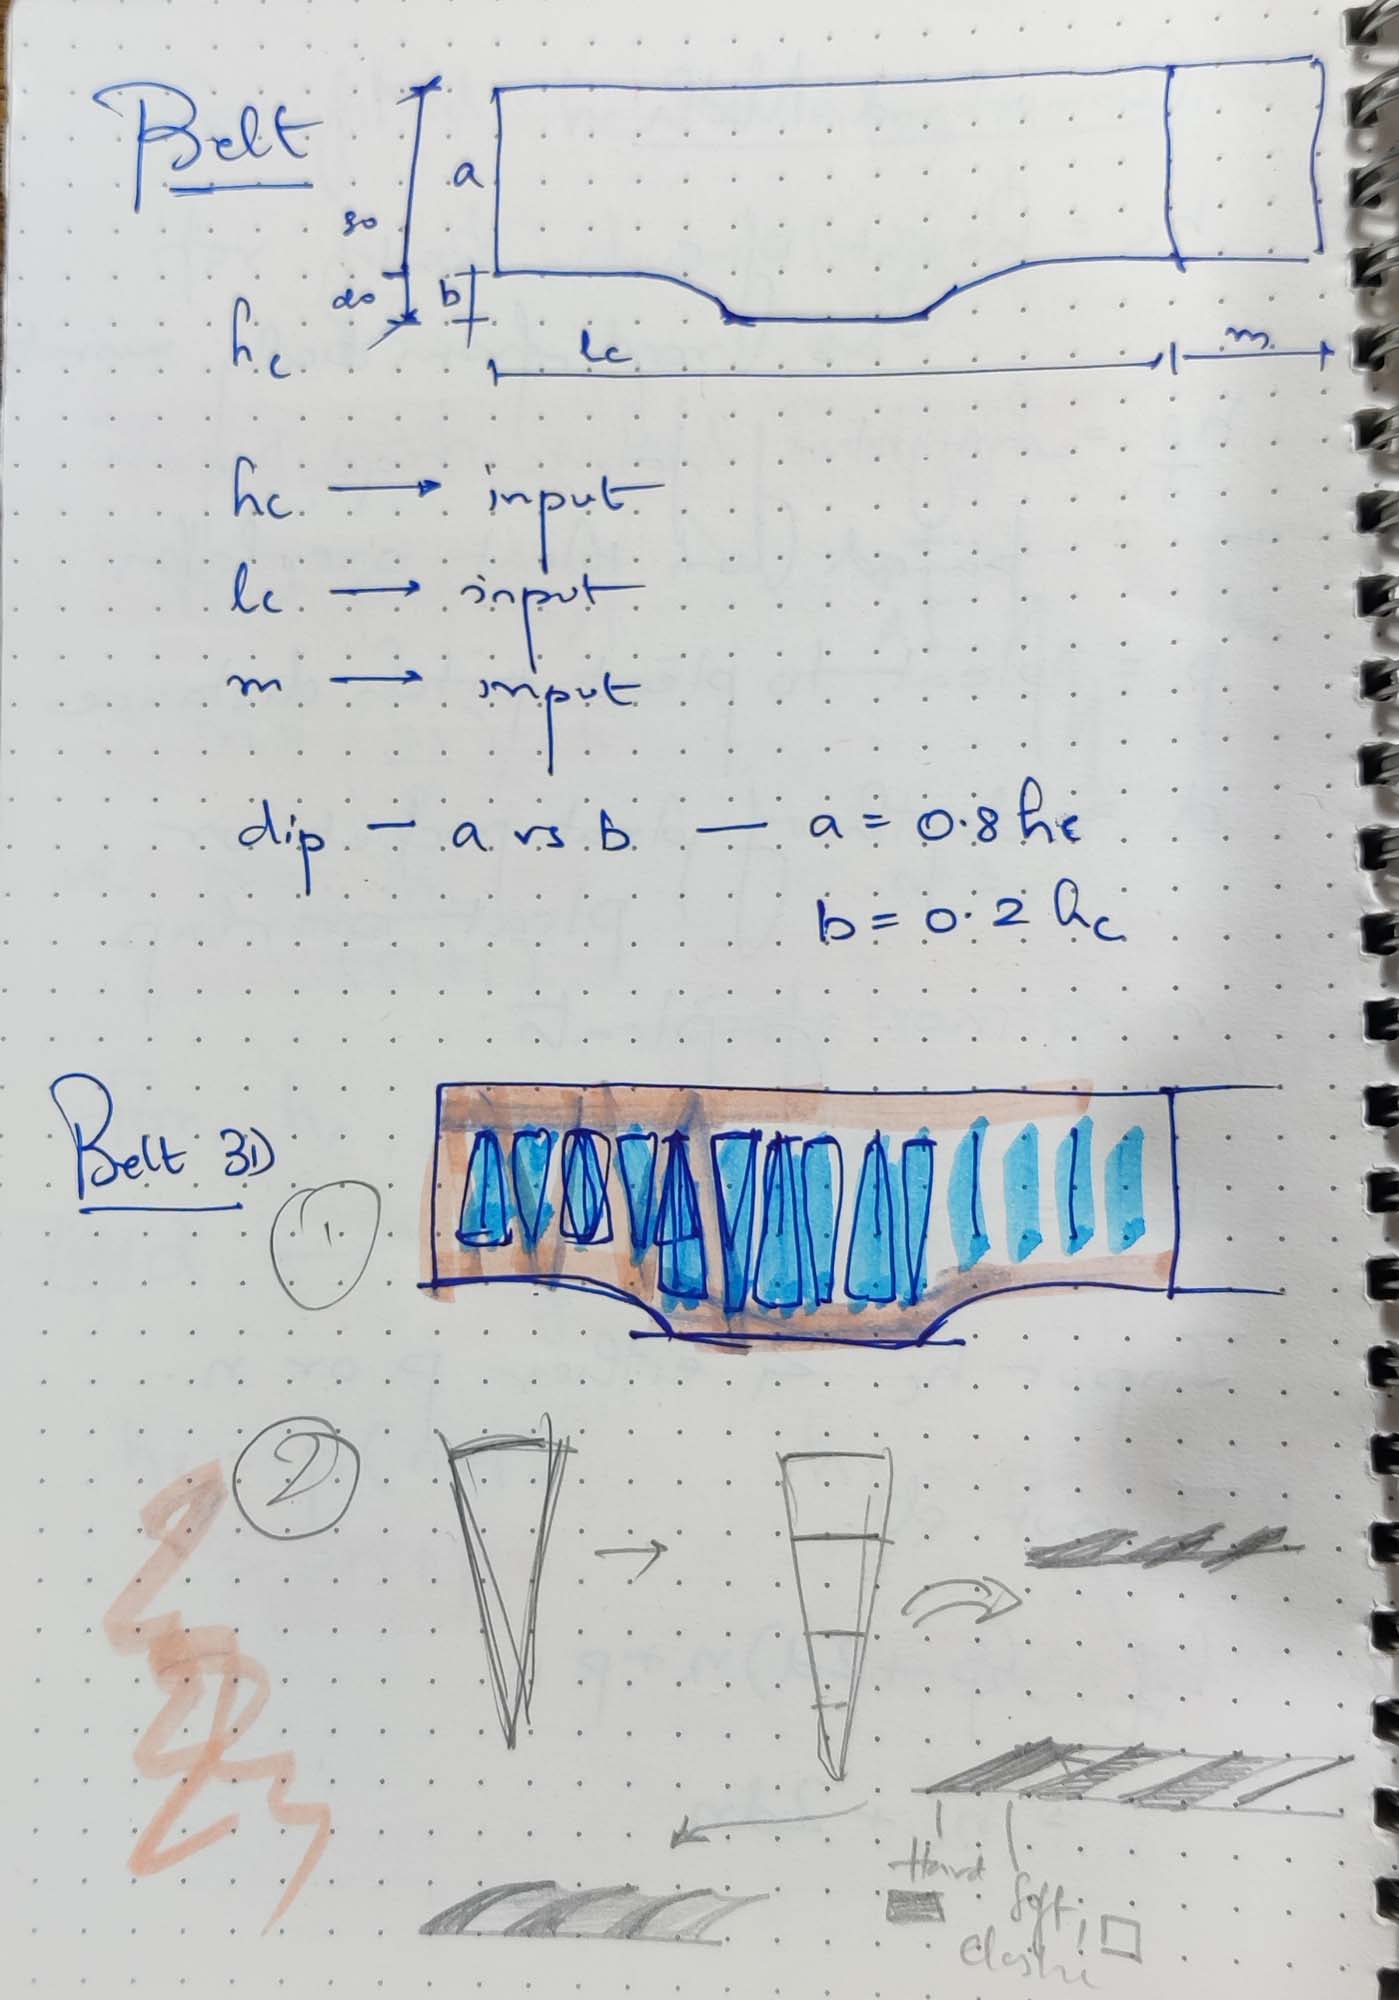
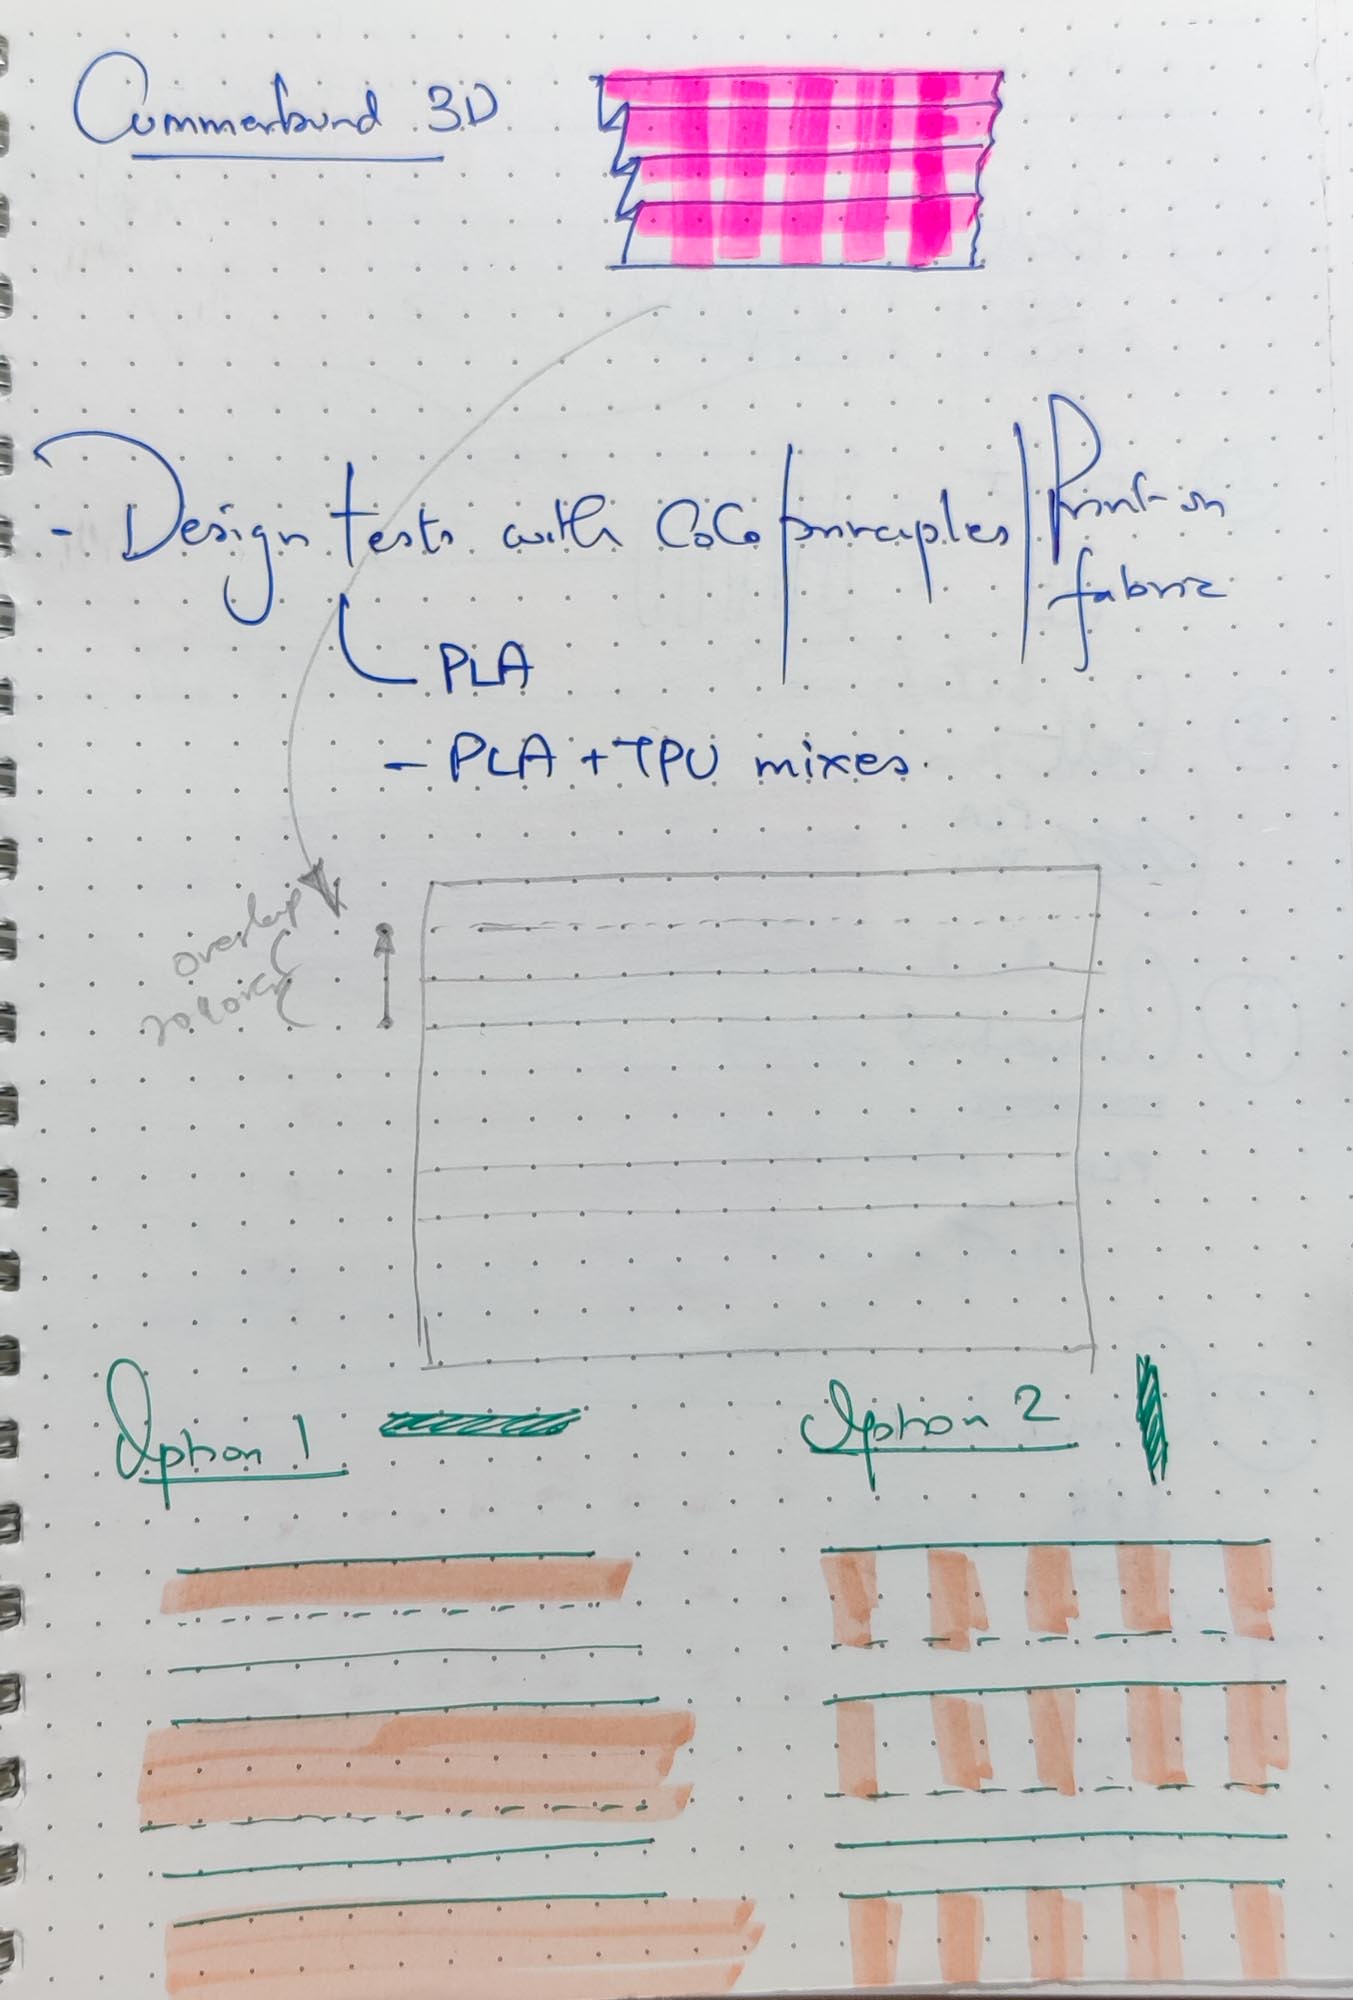
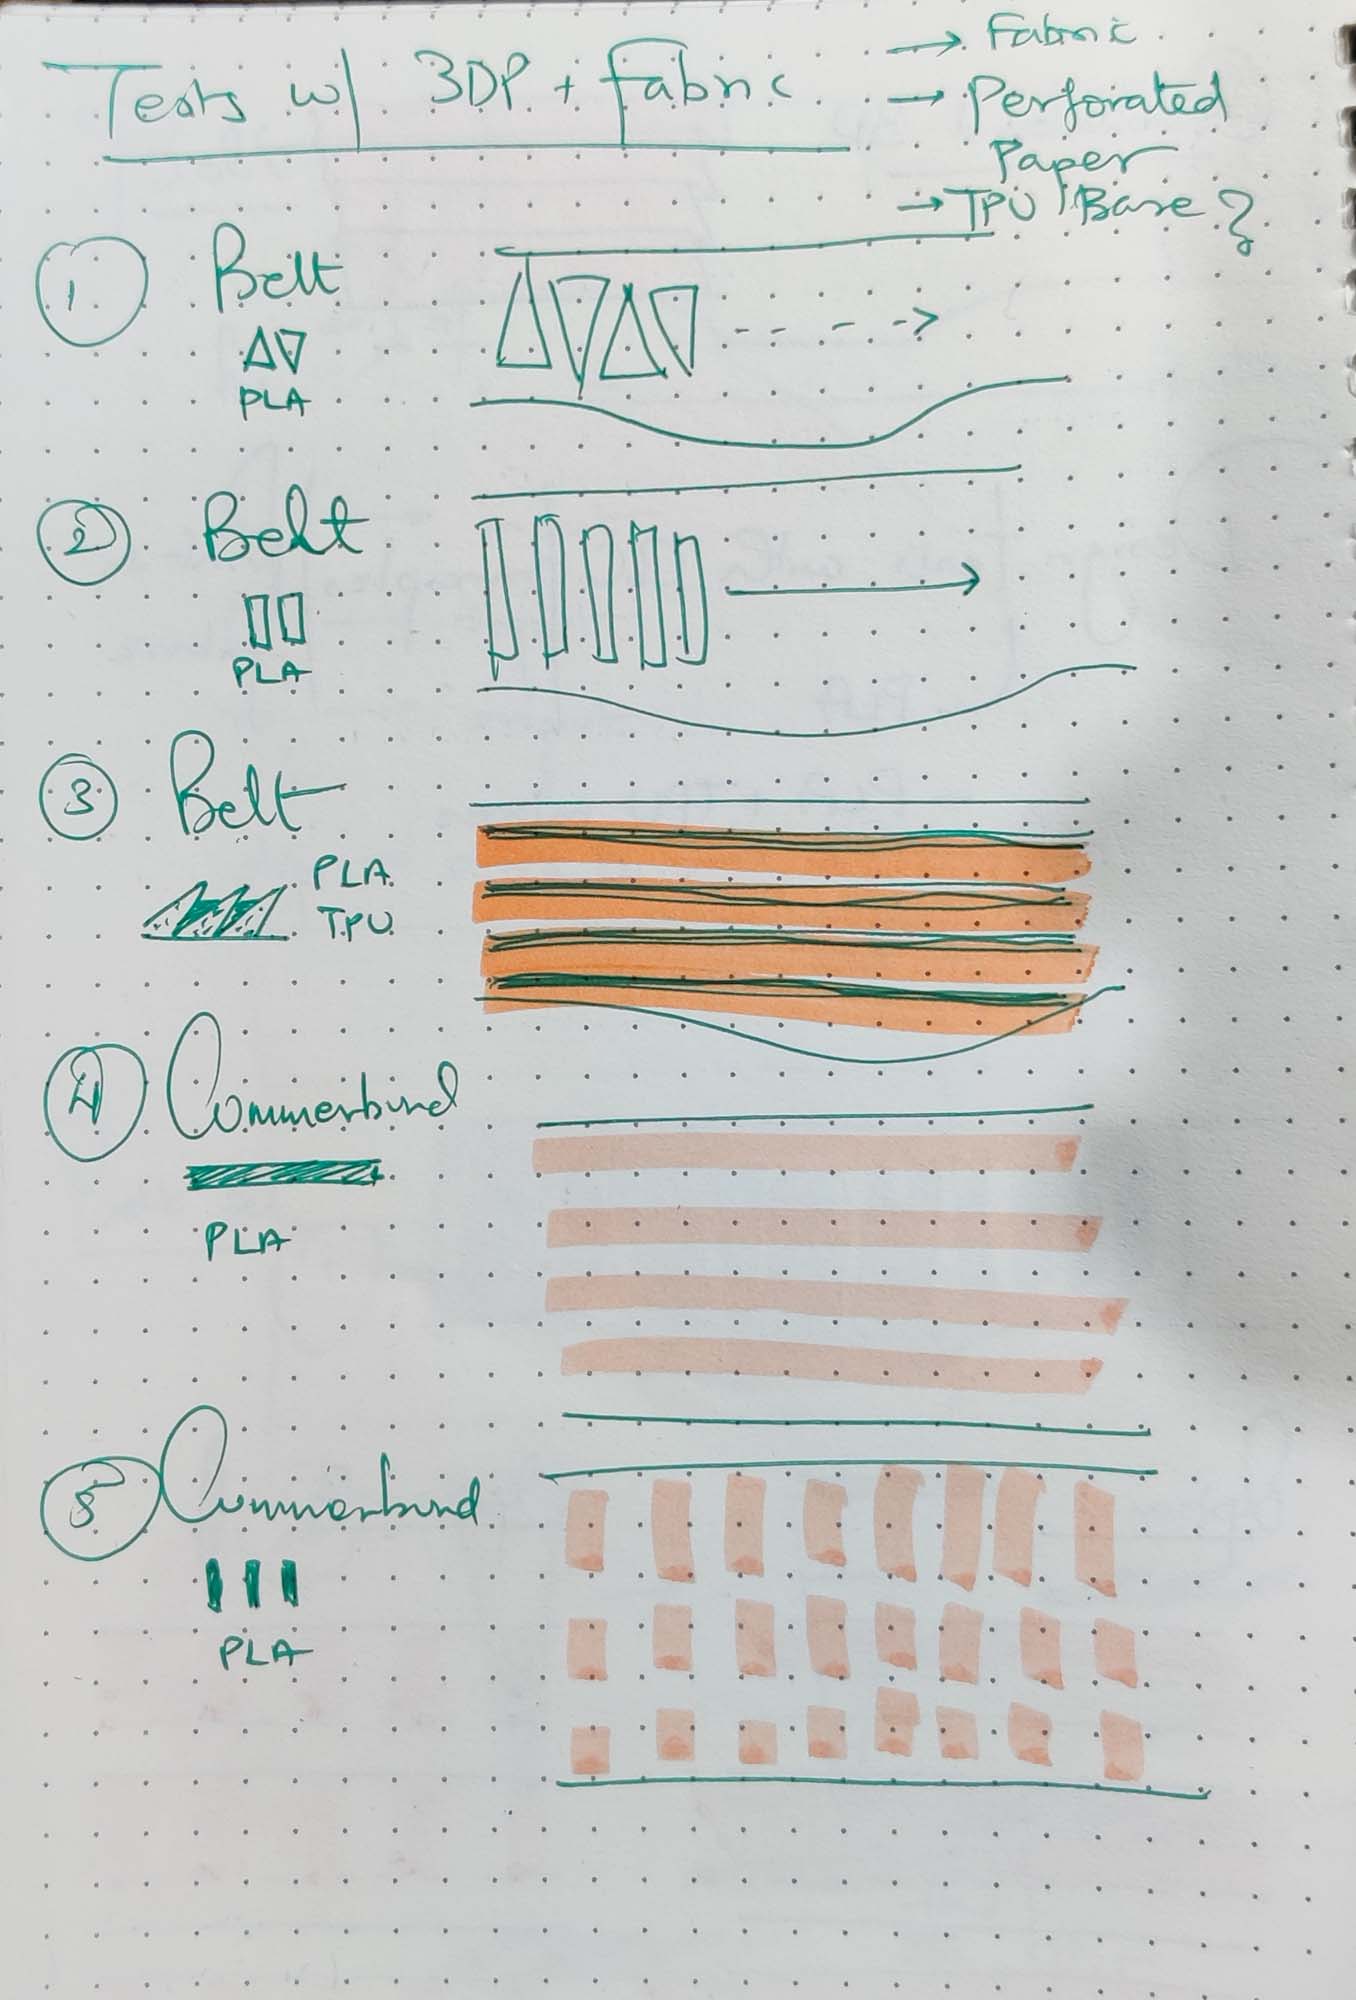
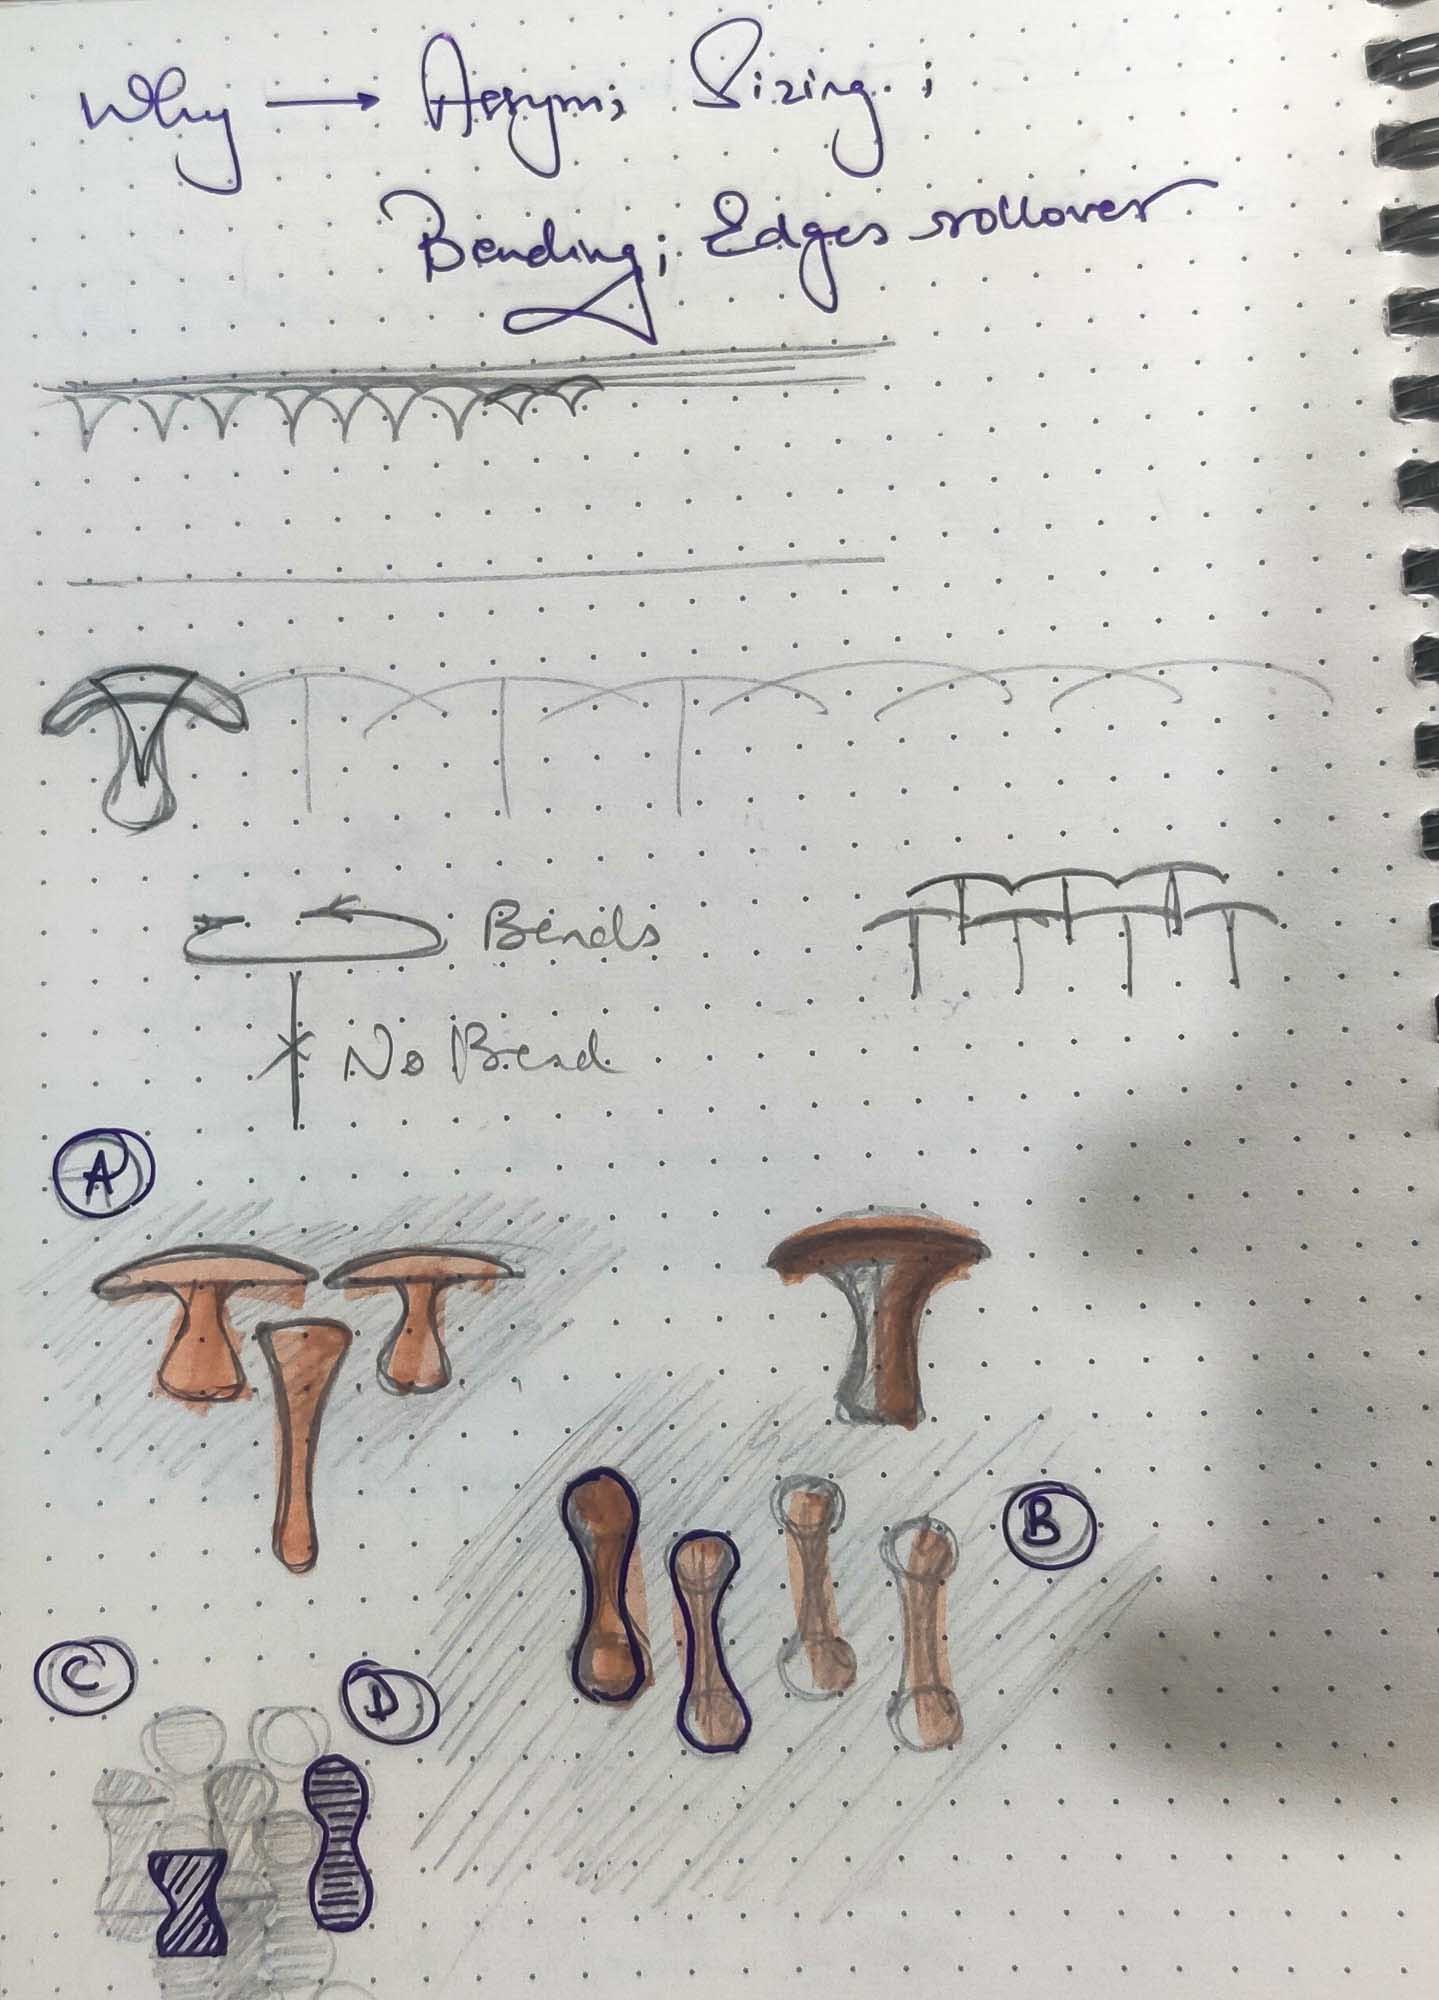
Since the primary requirement of the belt was a controlled bending - preventing bending and curling over in some directions, and allowing flexibility in others - I decided to test a series of shapes in a rigid-pliable combination.
Process
The process would involve multiple steps
- design the pieces
- design the mold for the pieces
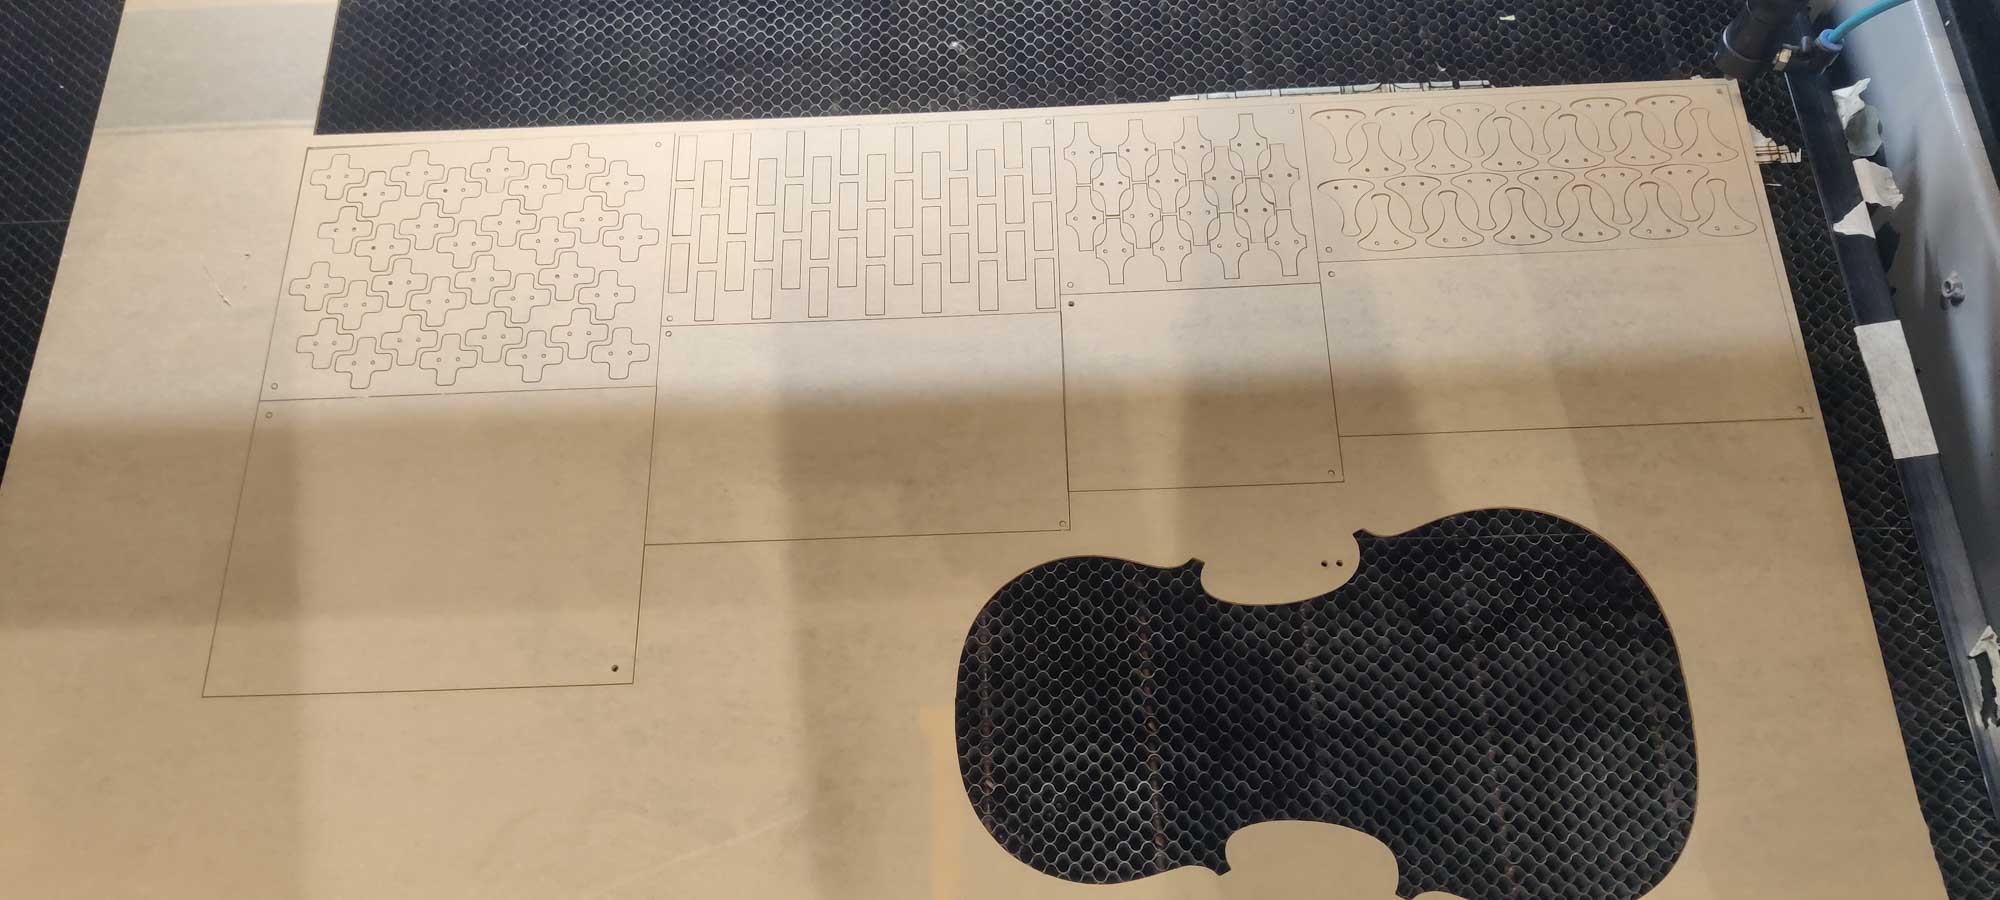
- lasercut the molds in acrylic
- cast the pieces in the mold
- demold and analyse
Recipe

This time I limited myself to Gelatin as binder and Bagasse cellulose as filler, since that was the most promising combination from the previous round of material testing. However, I tested various ratios of Gelatin to Filler to Glycerin to understand how the properties changed based on the proportions. This was done for both, a hard and rigid material as well as a softer, more flexible material.
For a standard batch using 100 ml water, the following measures of ingredients were used
| Sample | Water | Gelatin | Bagasse Cellulose | Glycerin | Colour | Expected Result |
|---|---|---|---|---|---|---|
| 1 | 100 ml | 20 | 10 | 1 | Blue | Hard |
| 2 | 100 ml | 20 | 10 | 3 | Green | Tough |
| 3 | 100 ml | 20 | 3.5 | 1 | Yellow | Tough |
| 4 | 100 ml | 20 | 3.5 | 3 | Burgundy | Pliant |
| 5 | 100 ml | 20 | 3.5 | 1 | Violet | Tough |
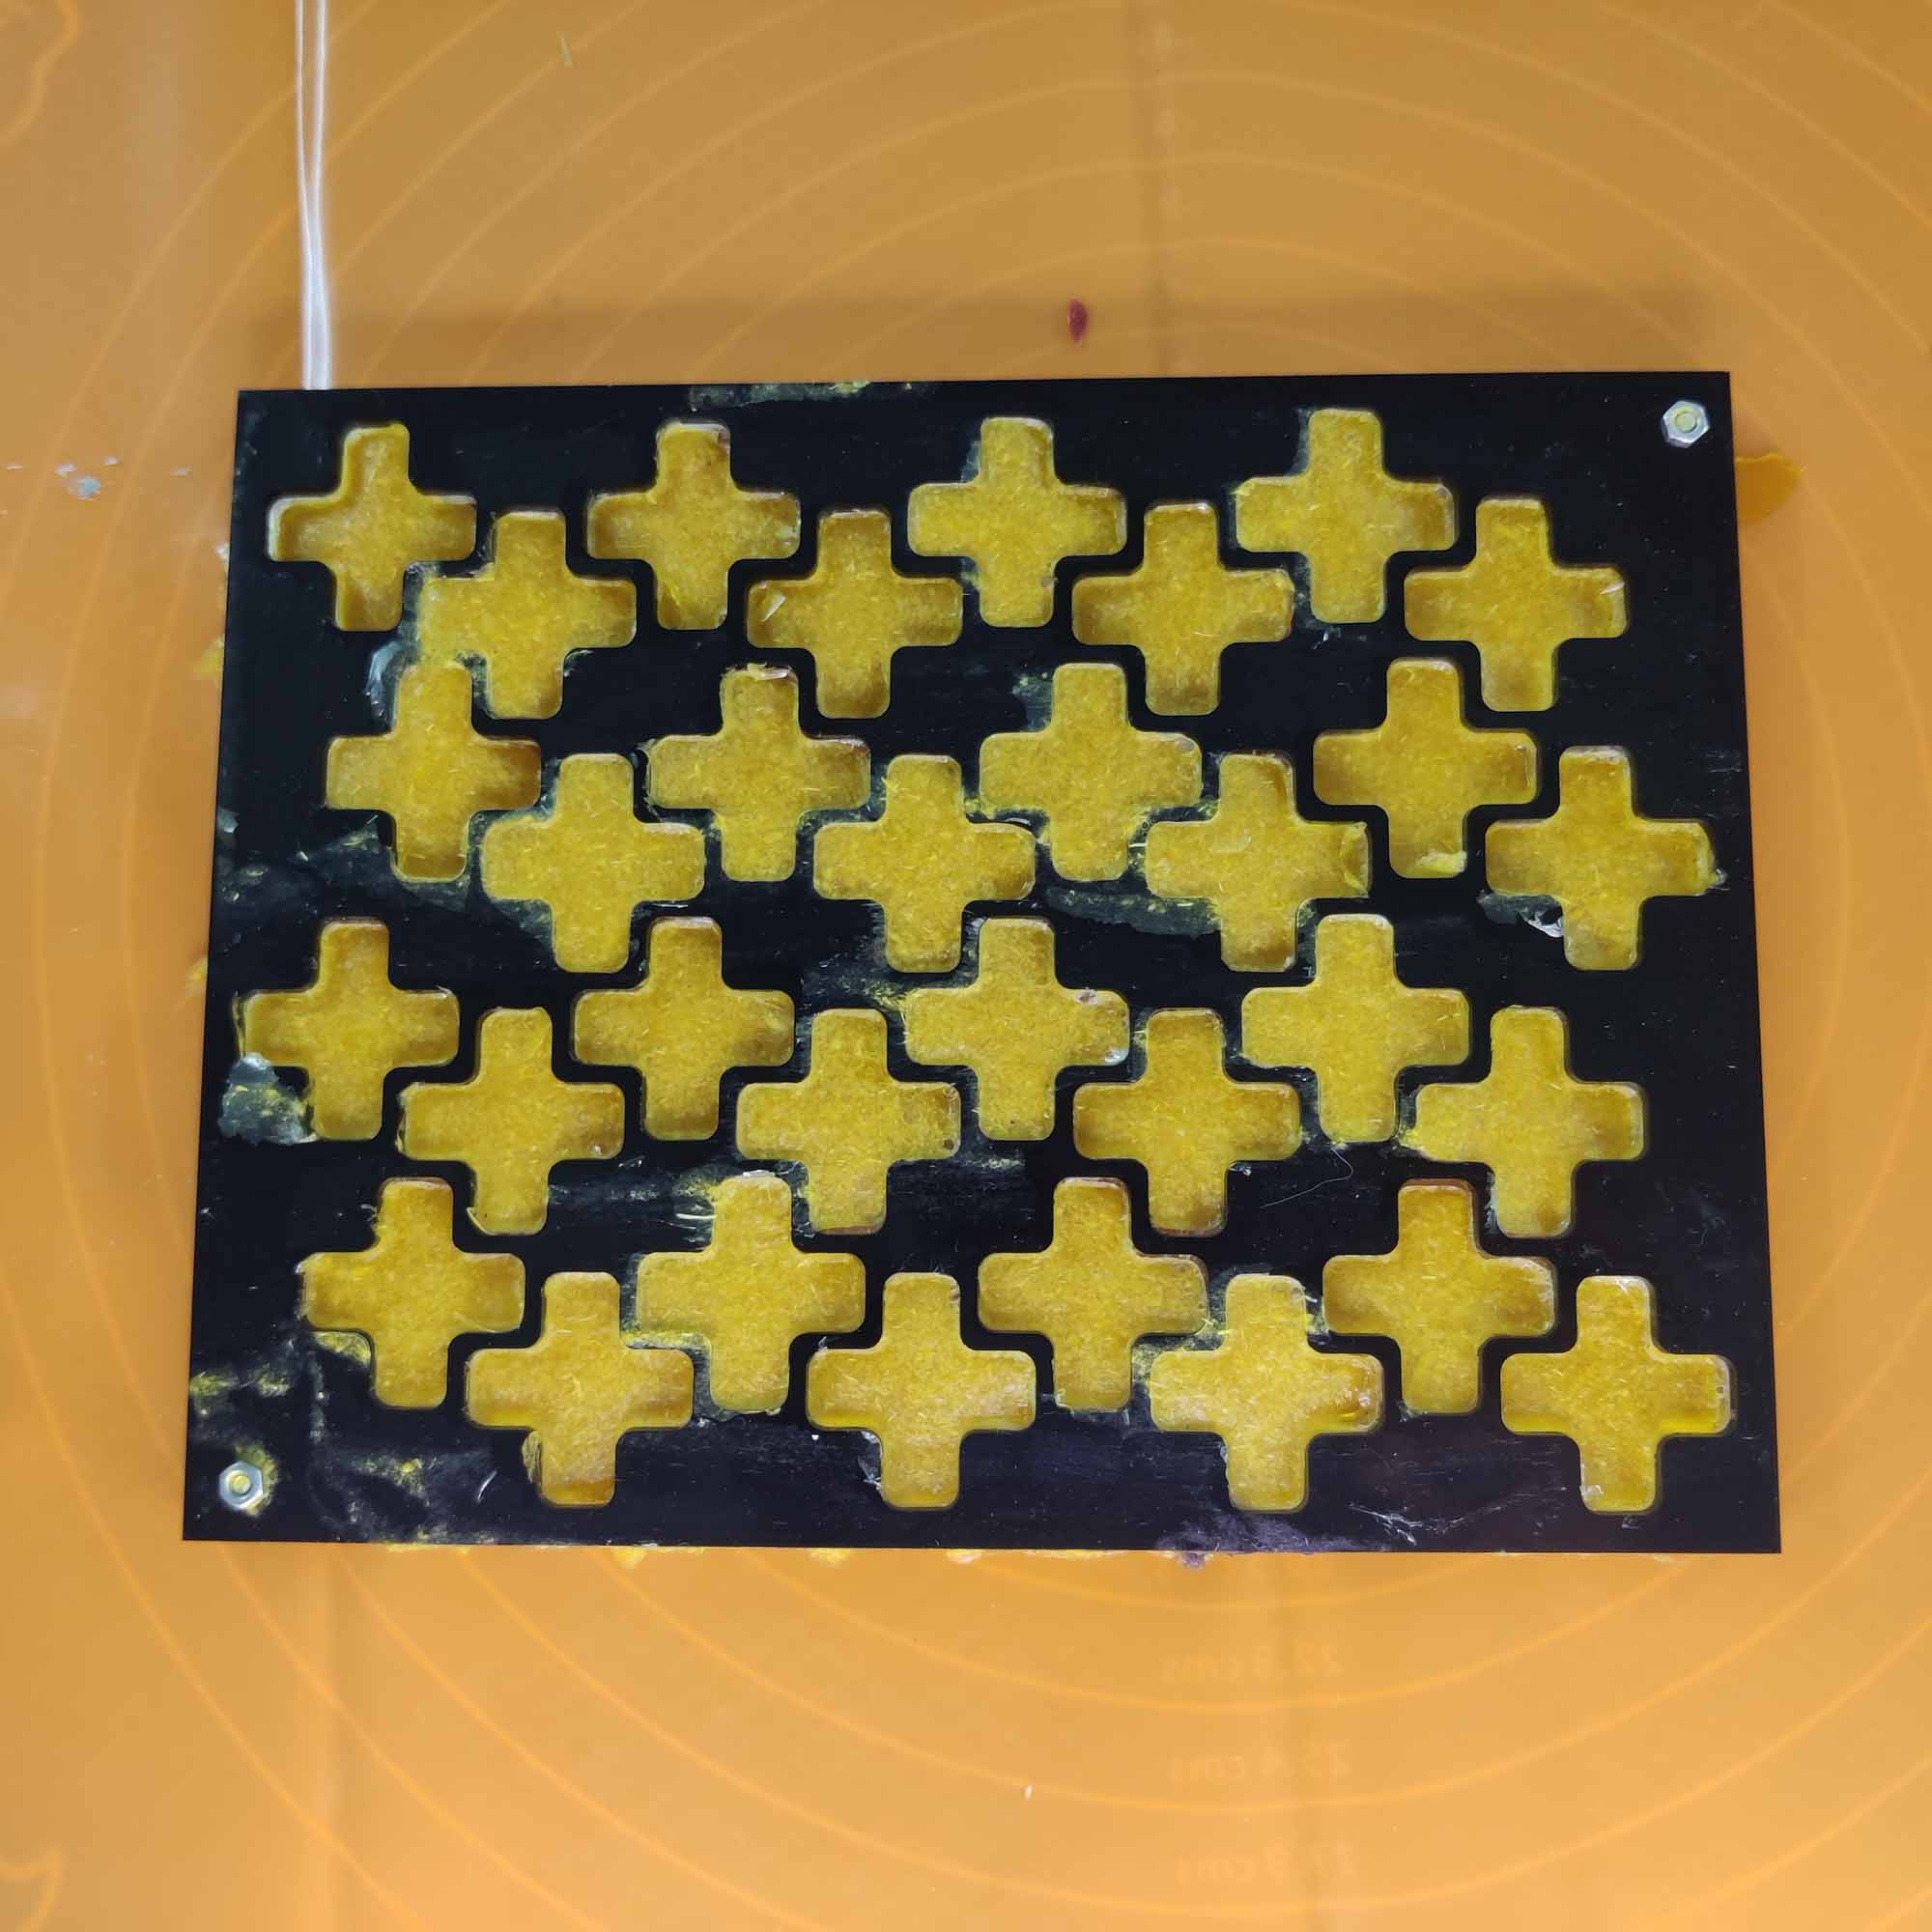
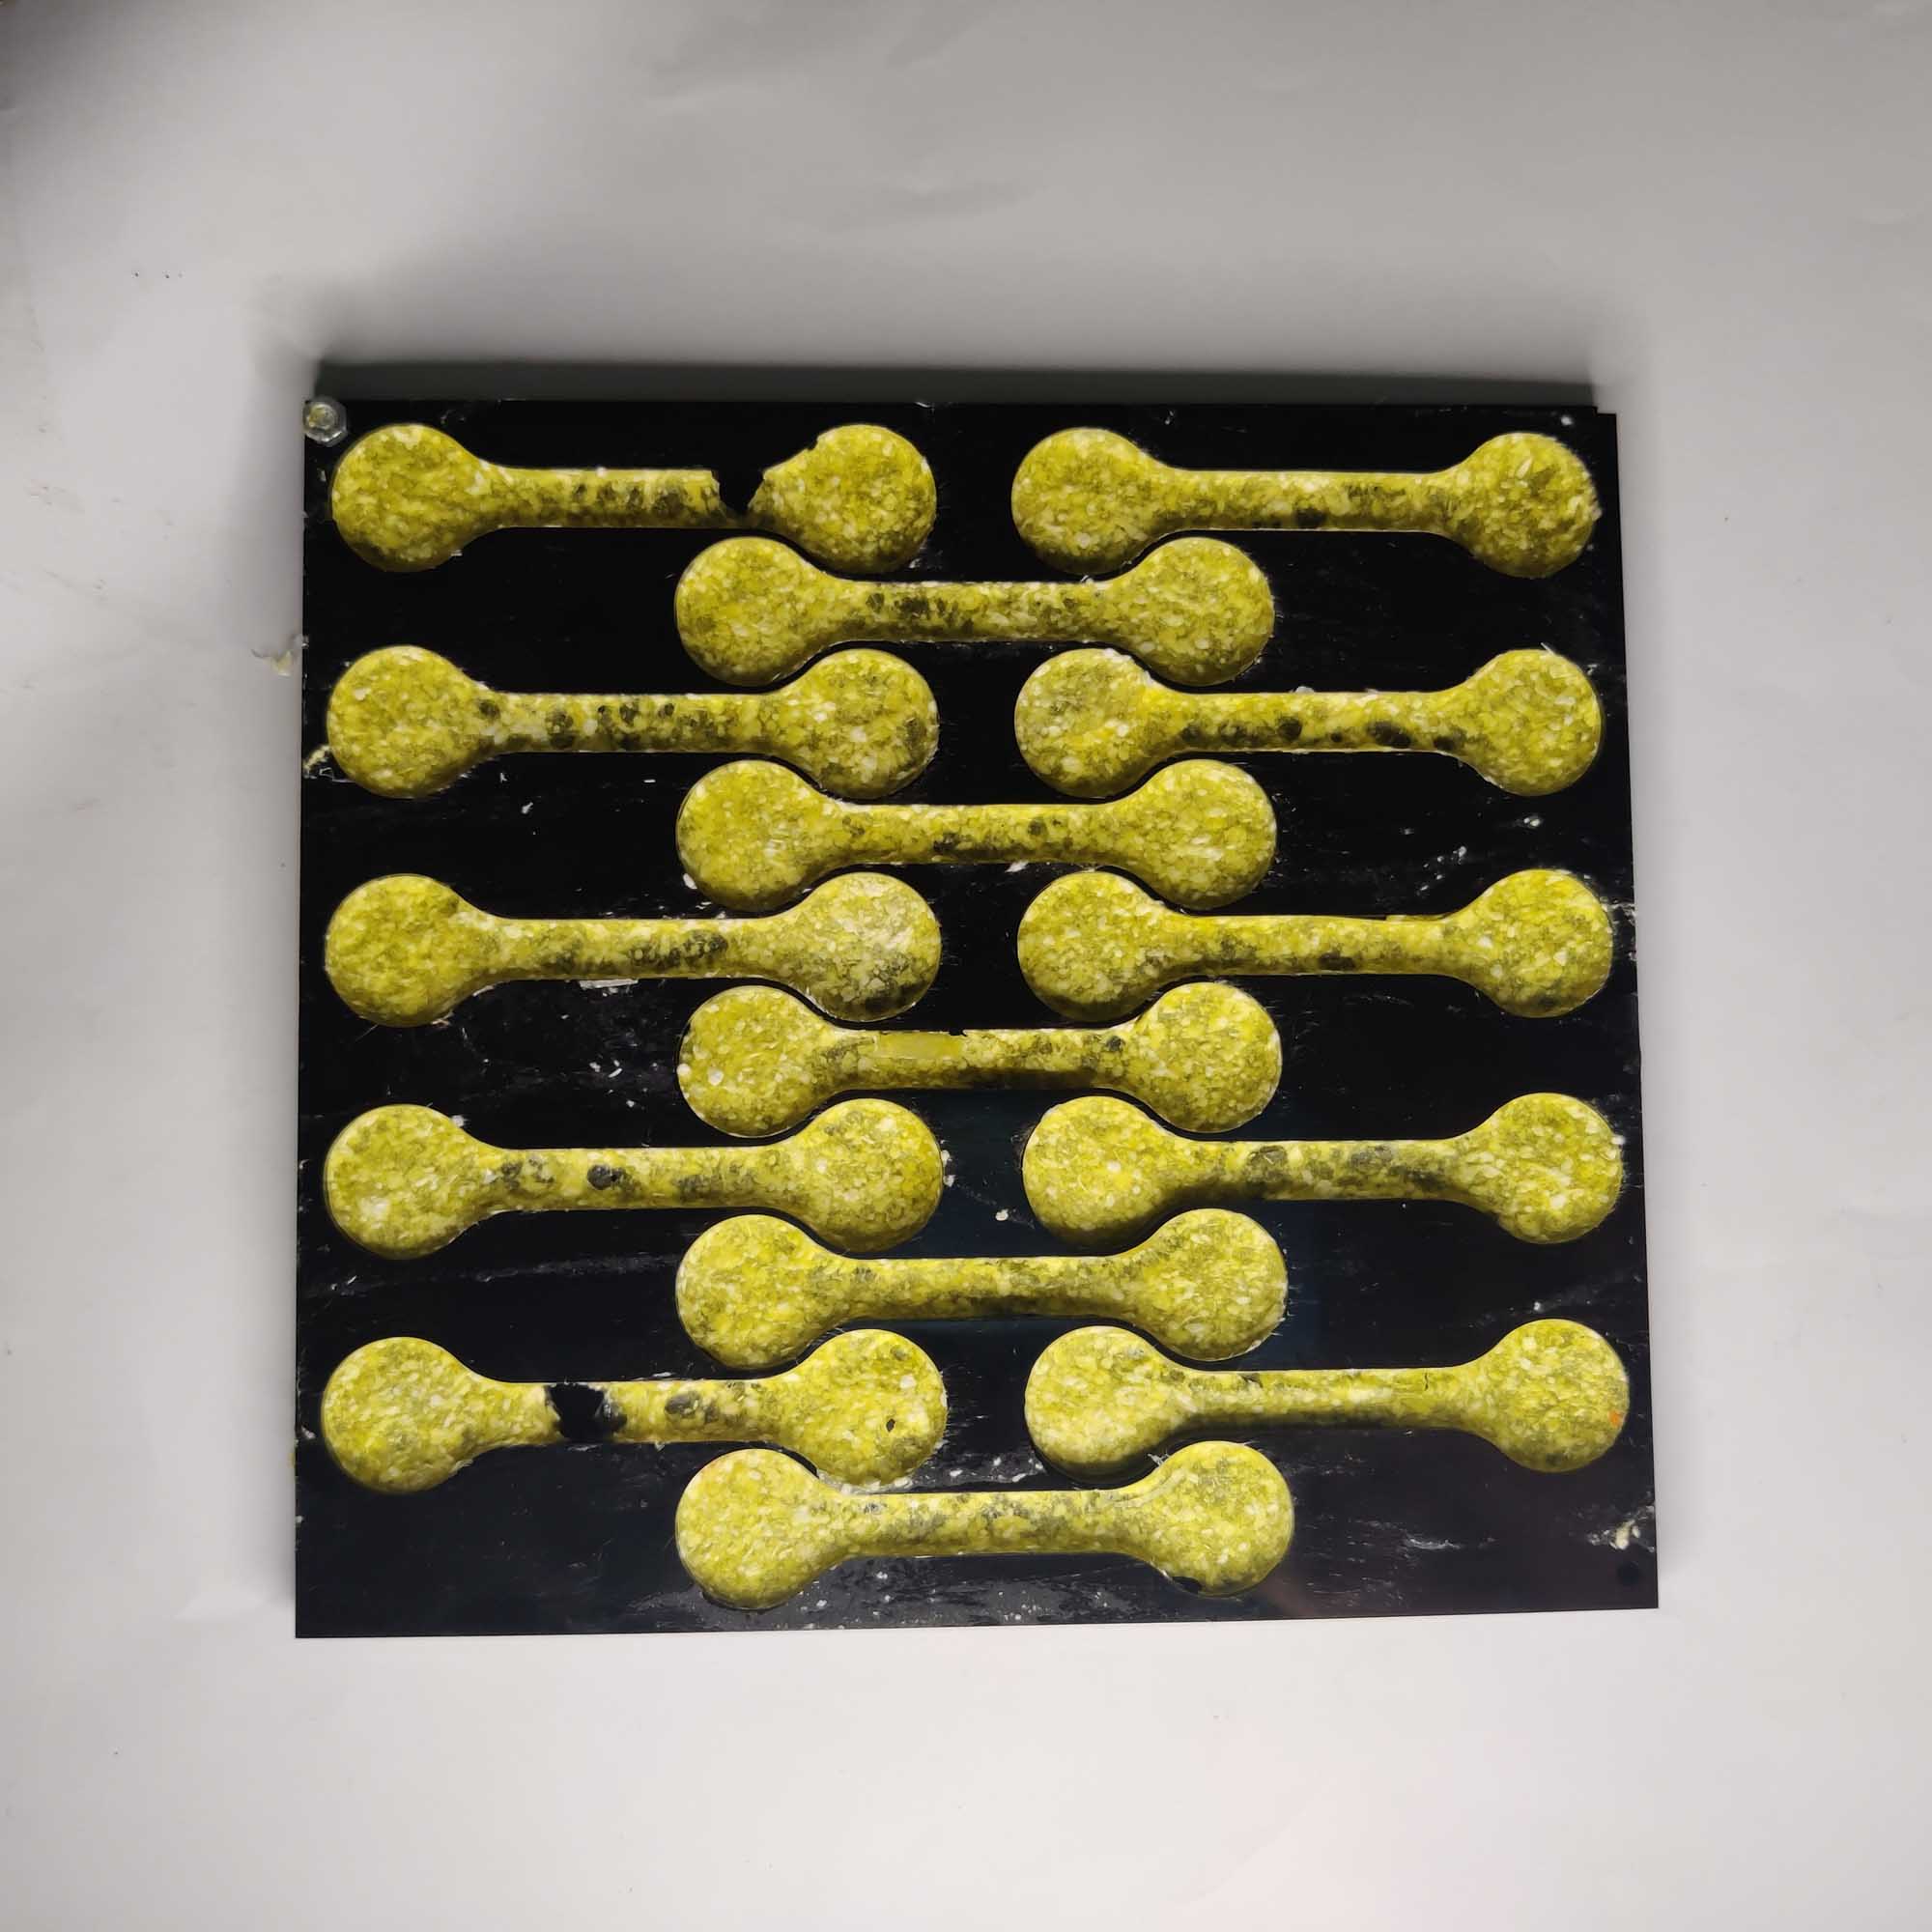
Mold making and casting
Drawings
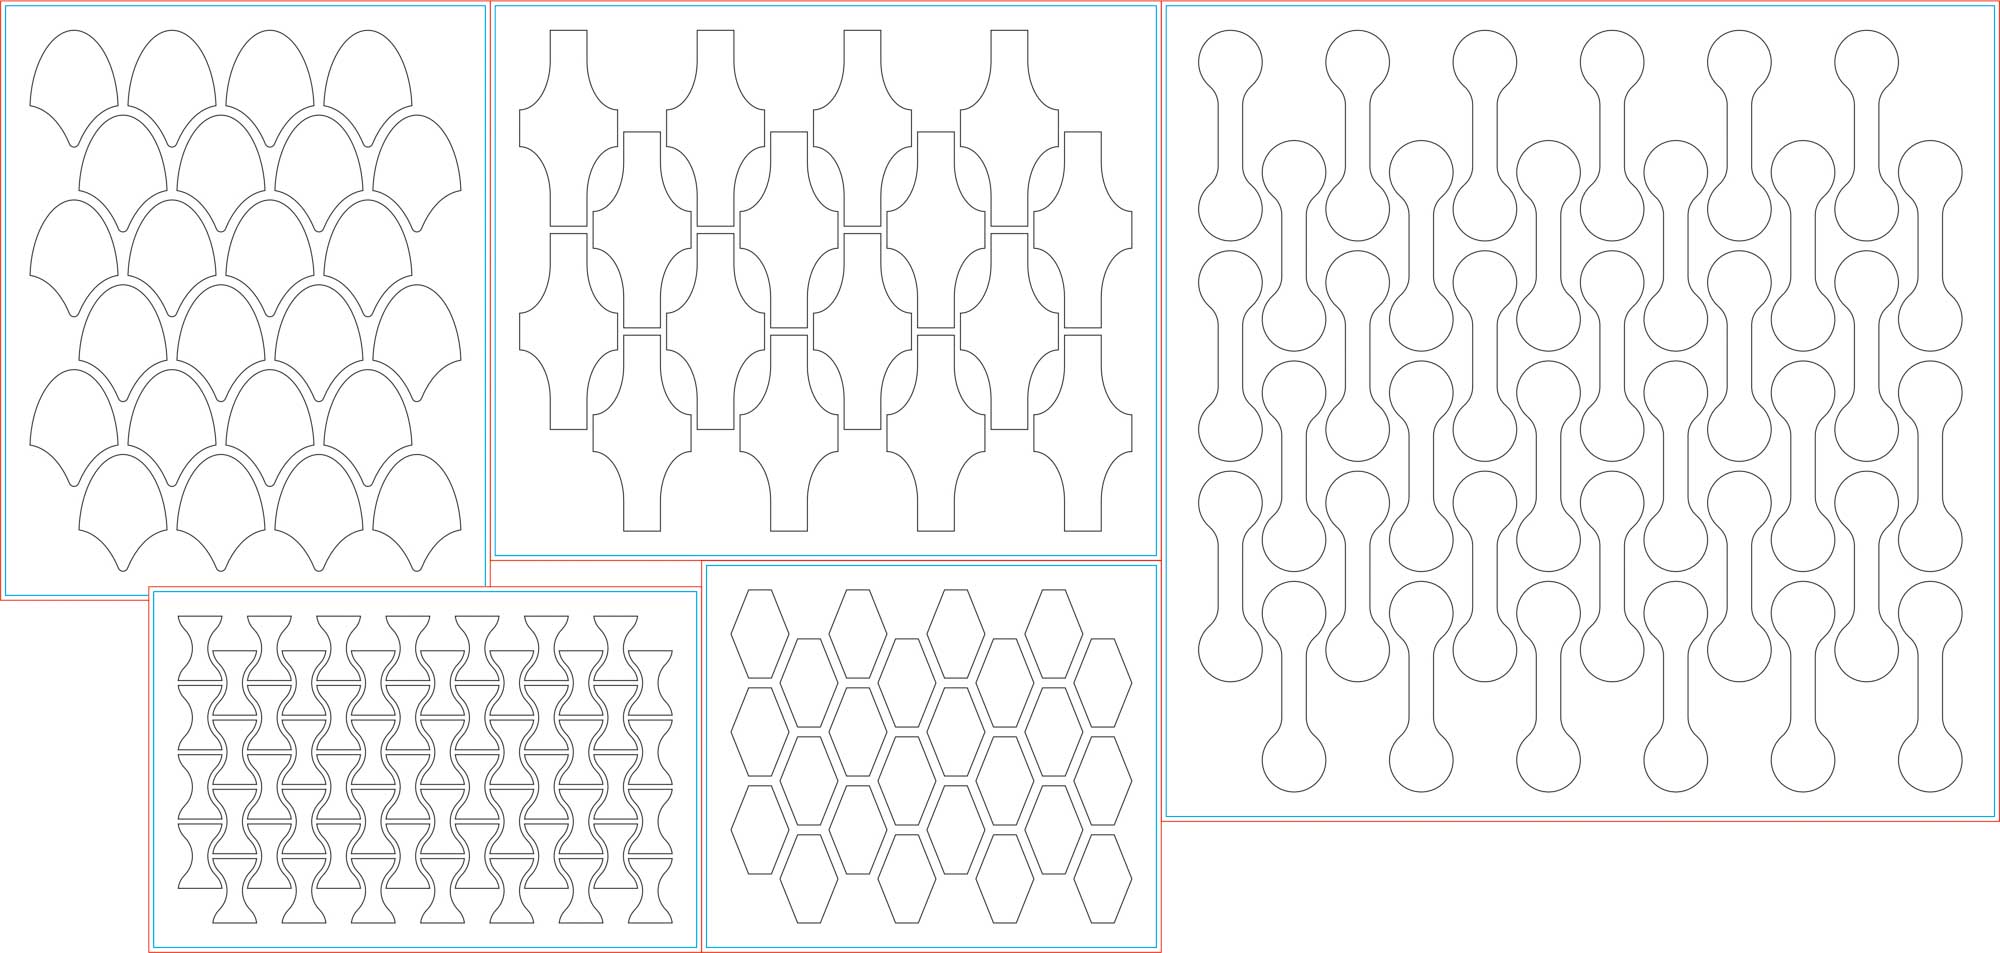
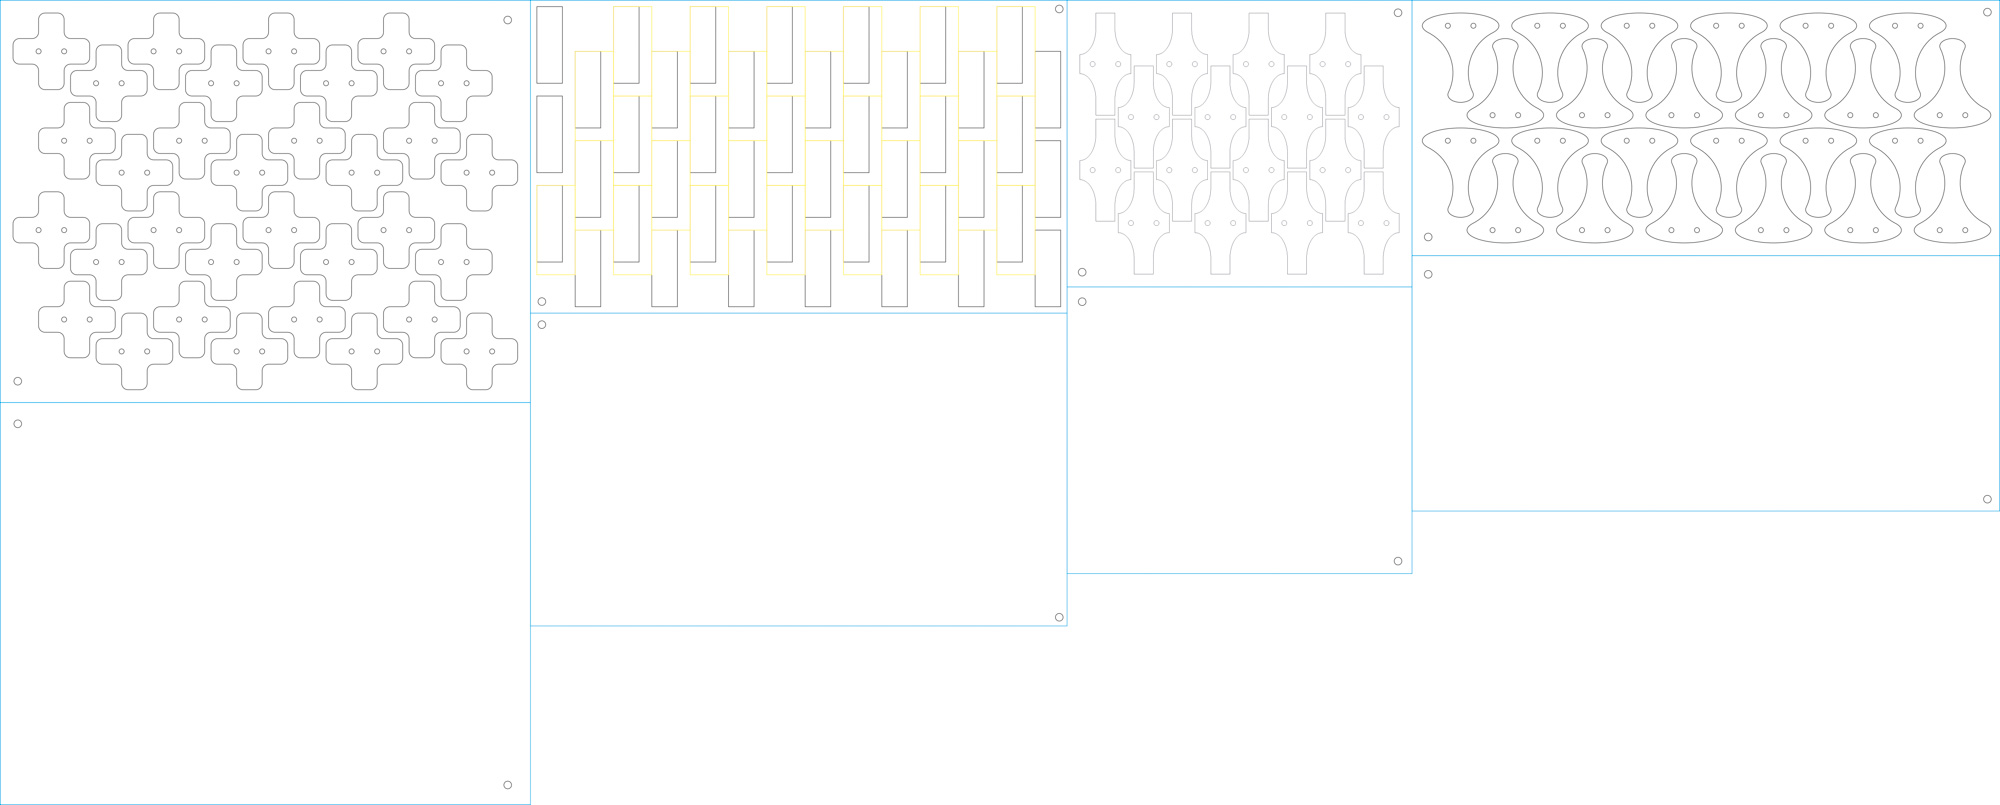
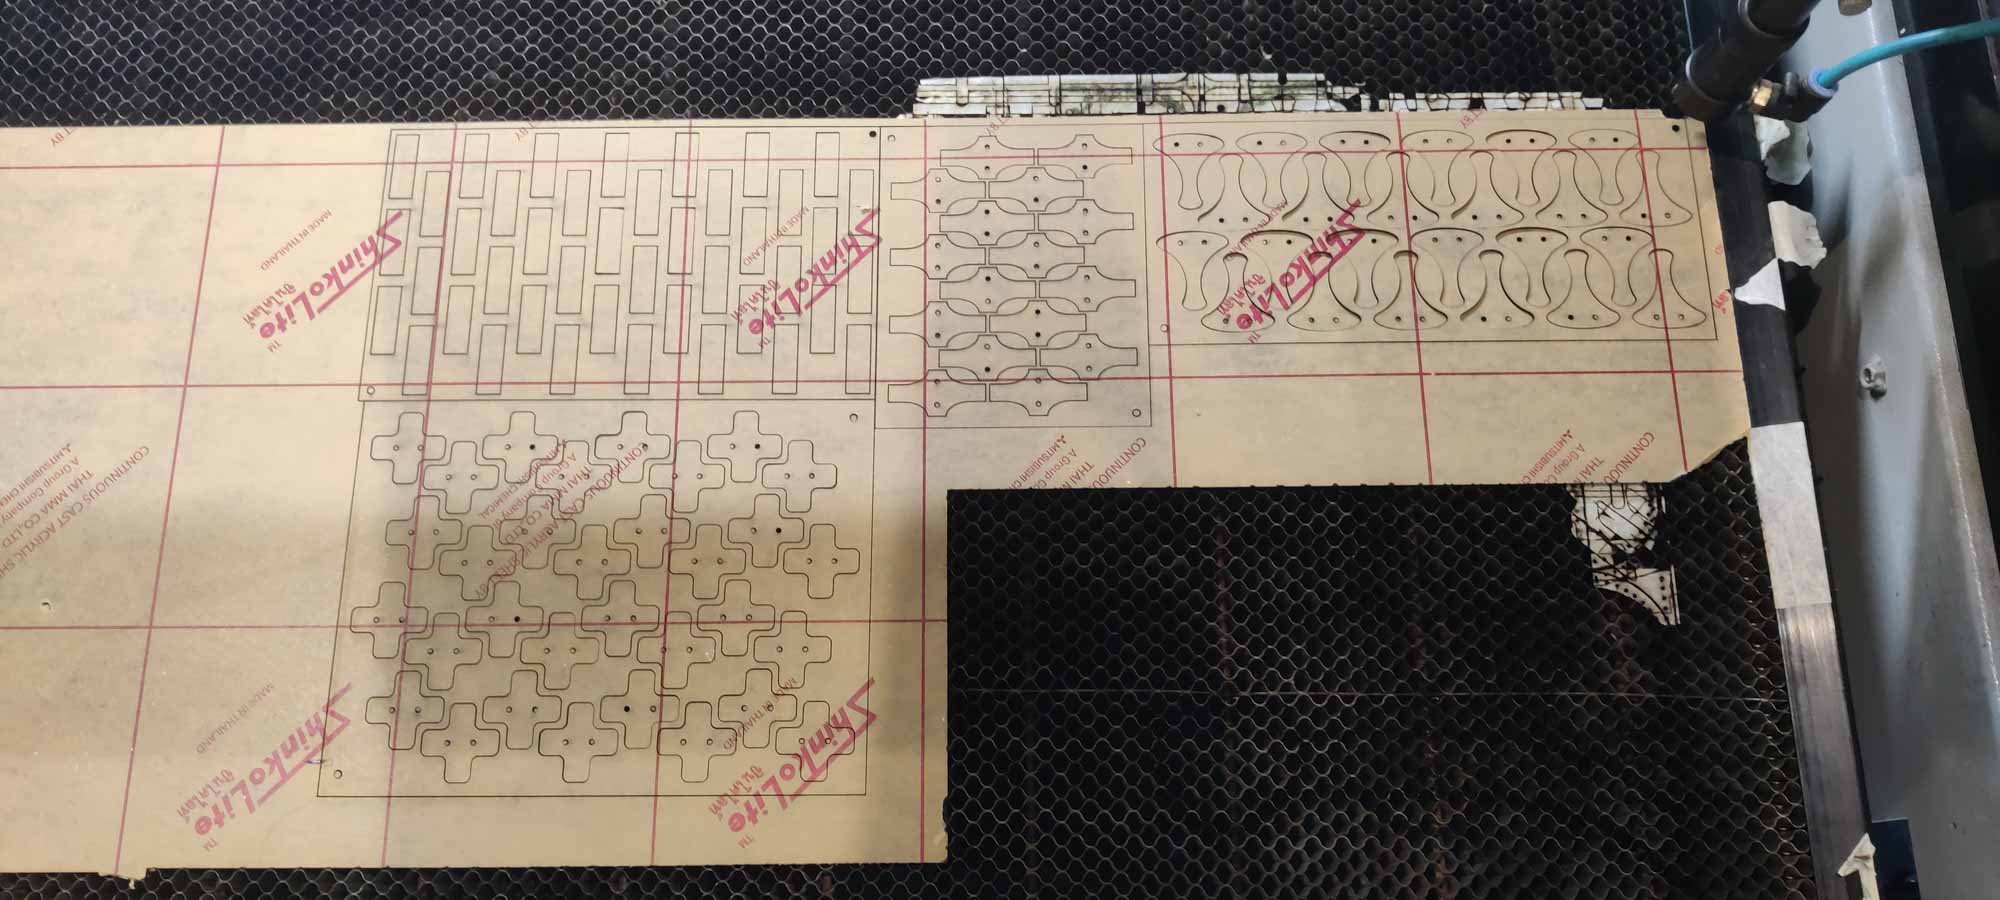
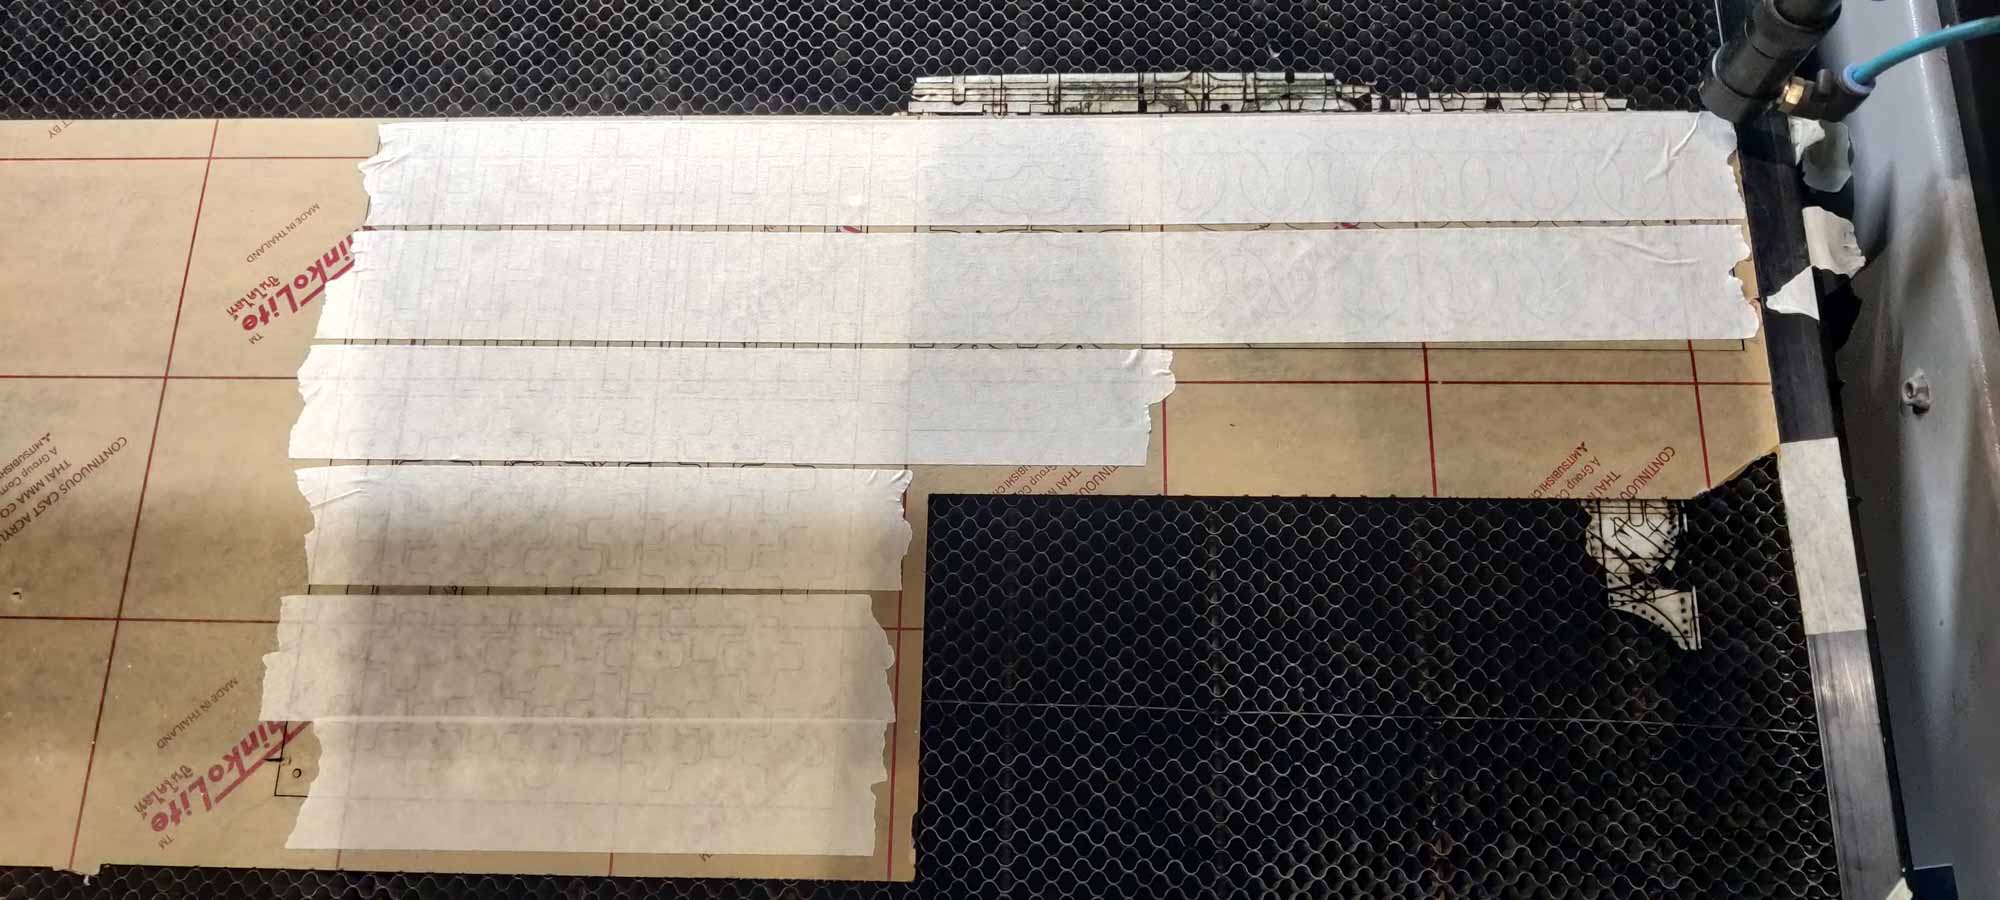
I drew out the patterns for the pieces and lasercut them into molds. This involved
- the main pieces with the cavities
- a base sheet of the same size to form the bottom
- corner holes for nuts and bolts to keep the bottom and wall pieces together
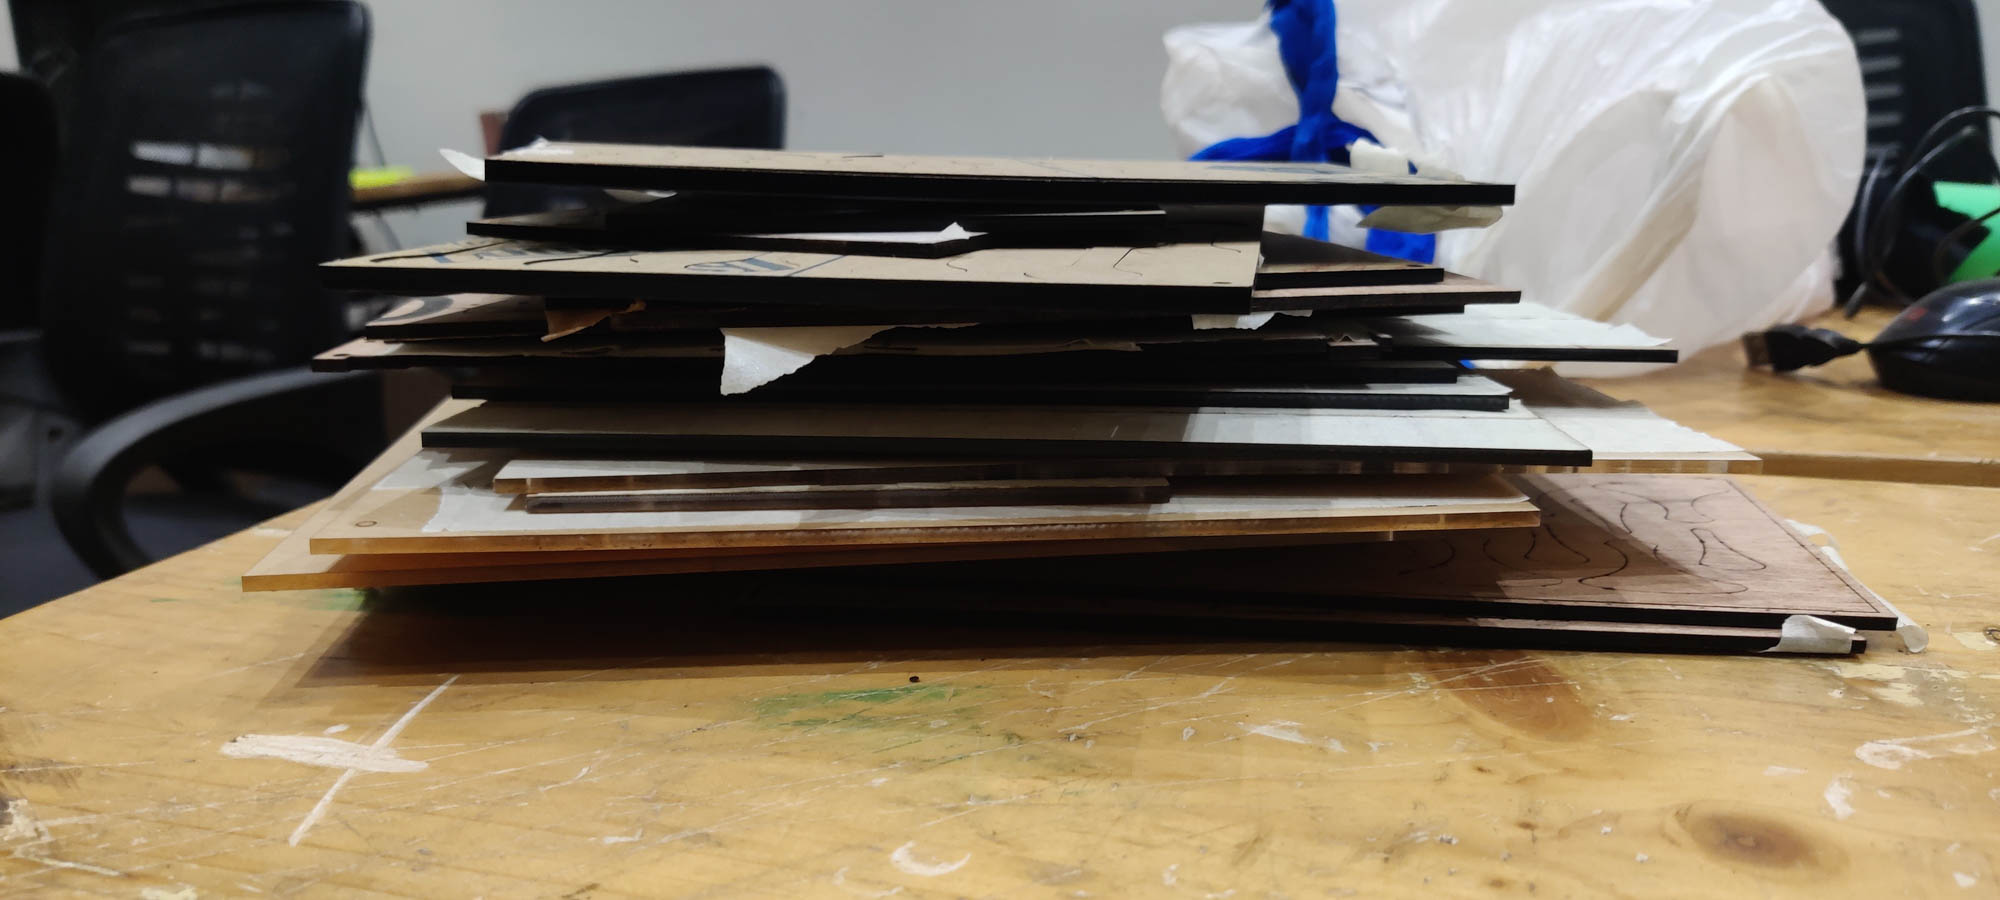
The benefit of this method is that
- you can change the number of stacked slices based on the height/thickness you want to achieve and the available material
- you can reuse the flat bottom pieces
- you can unscrew the corner bolts to separate the layers to help demolding if needed
Results
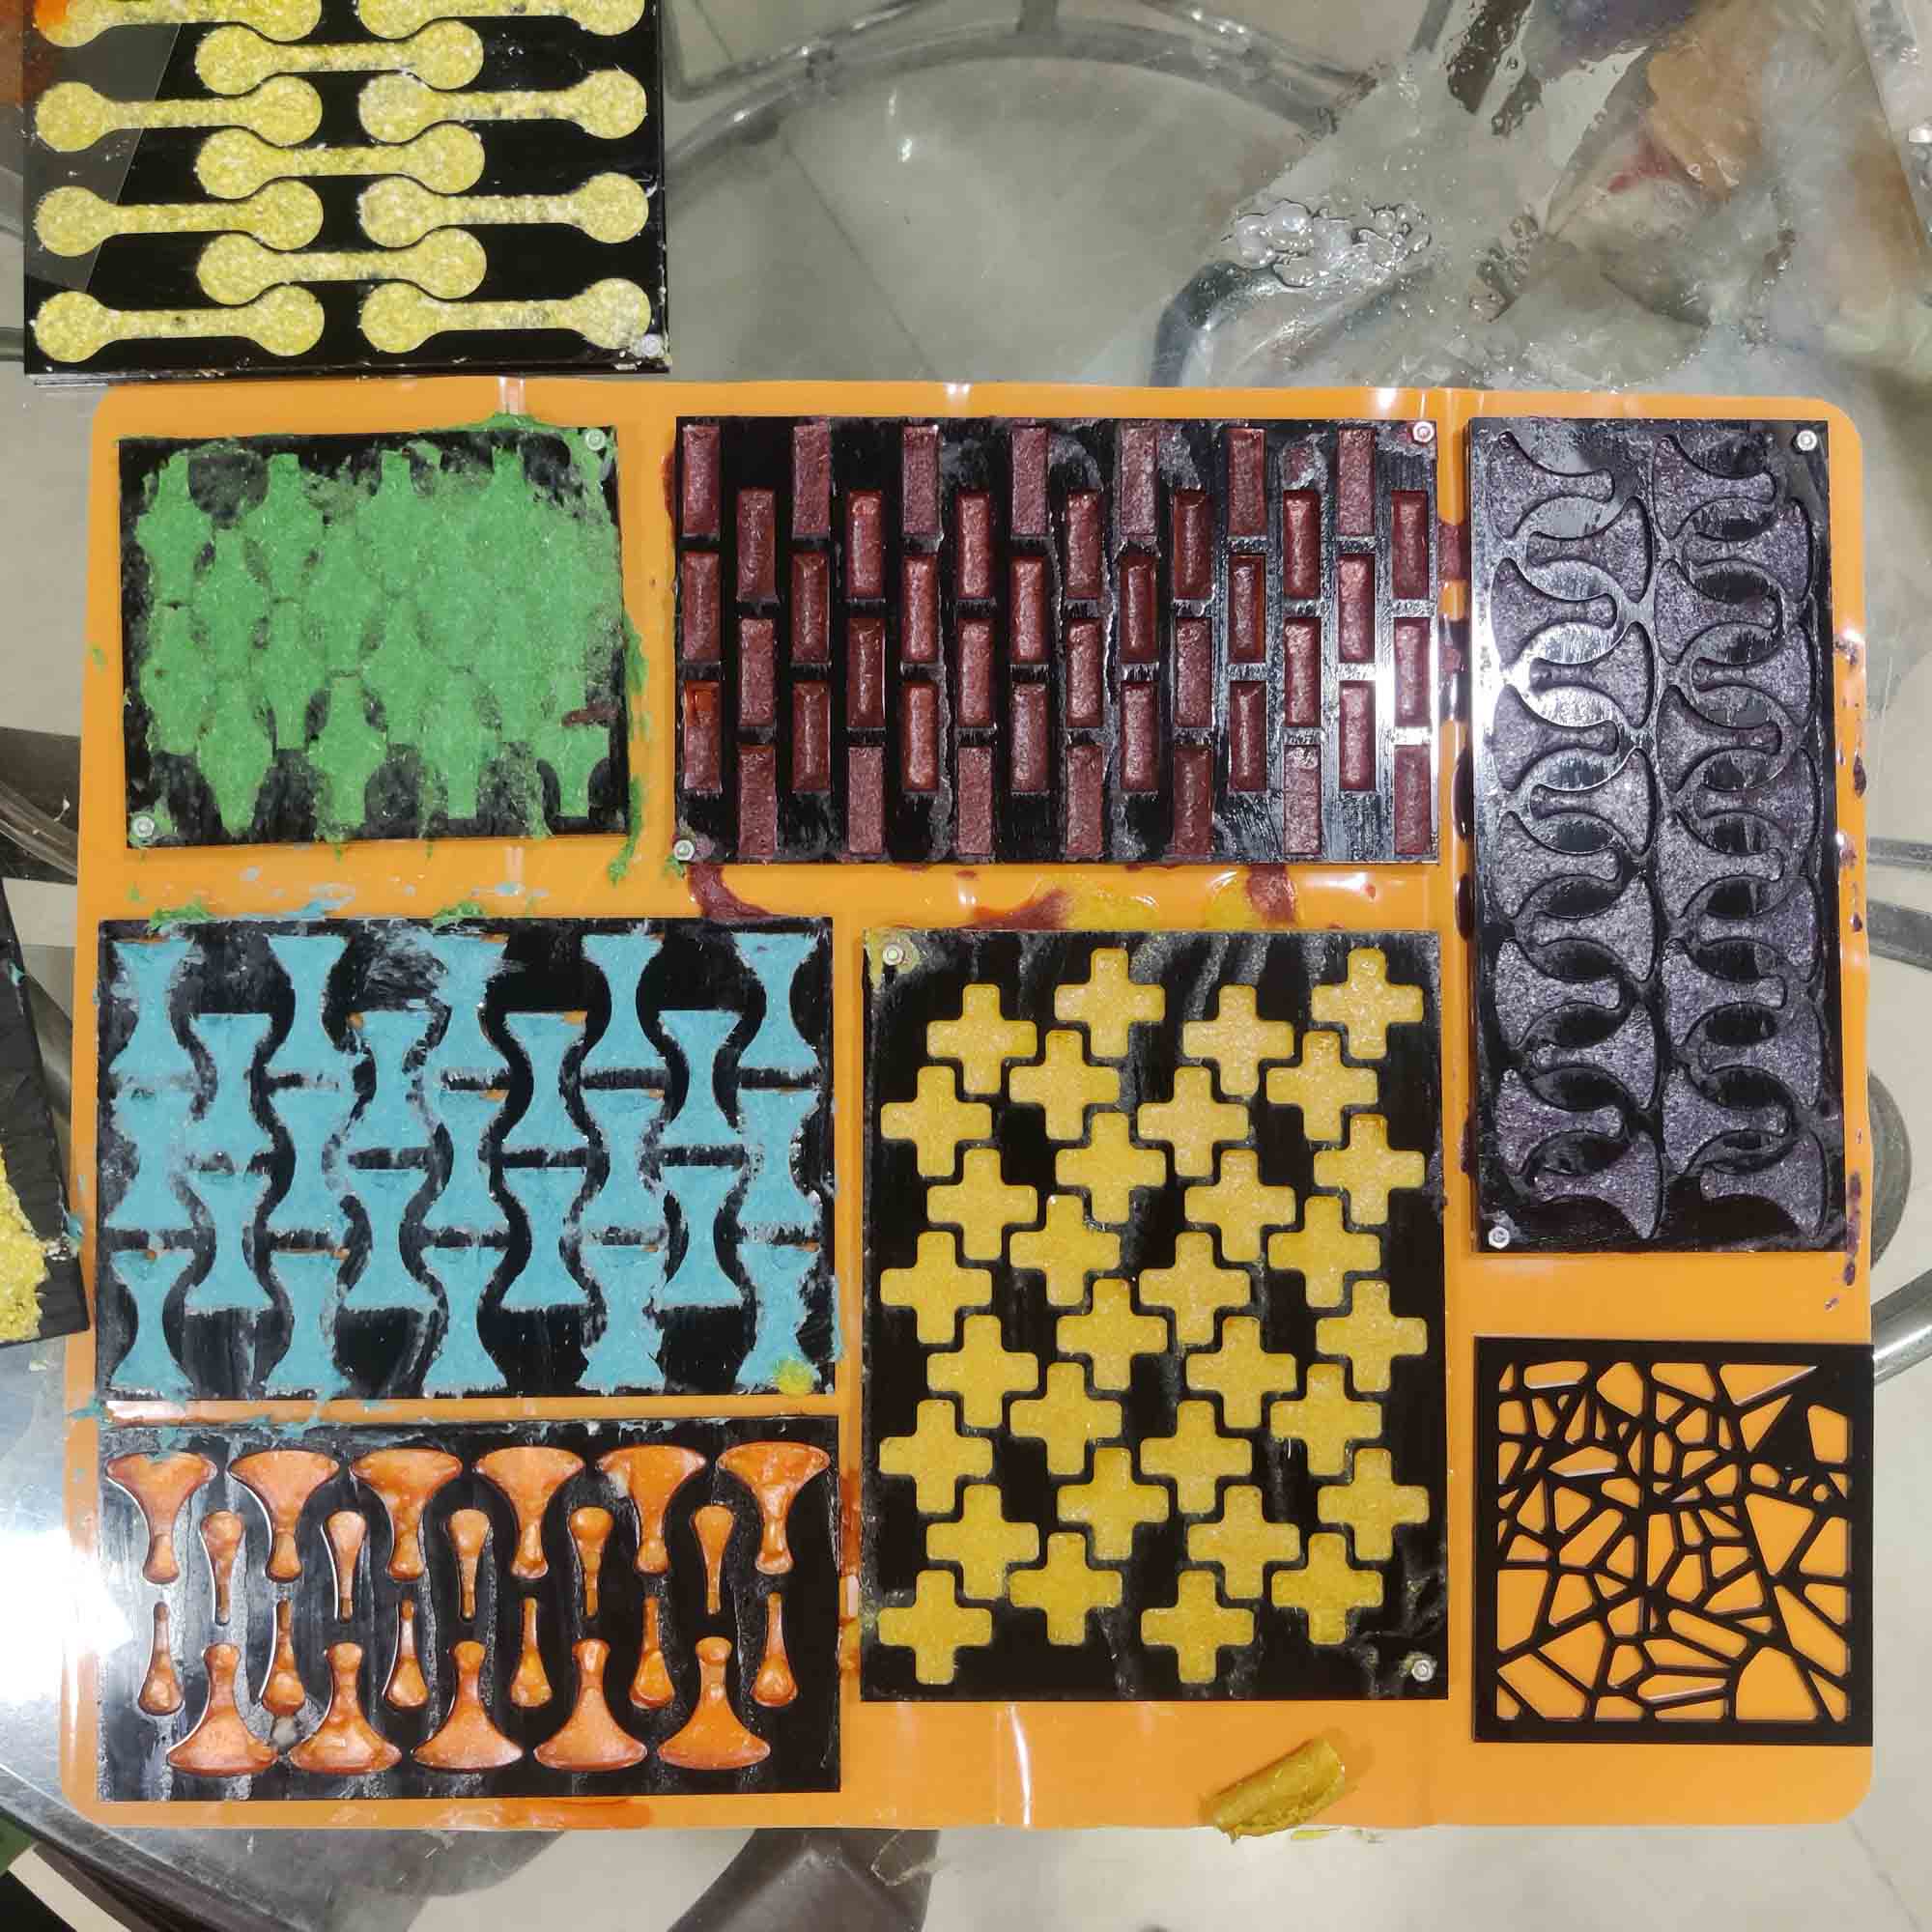
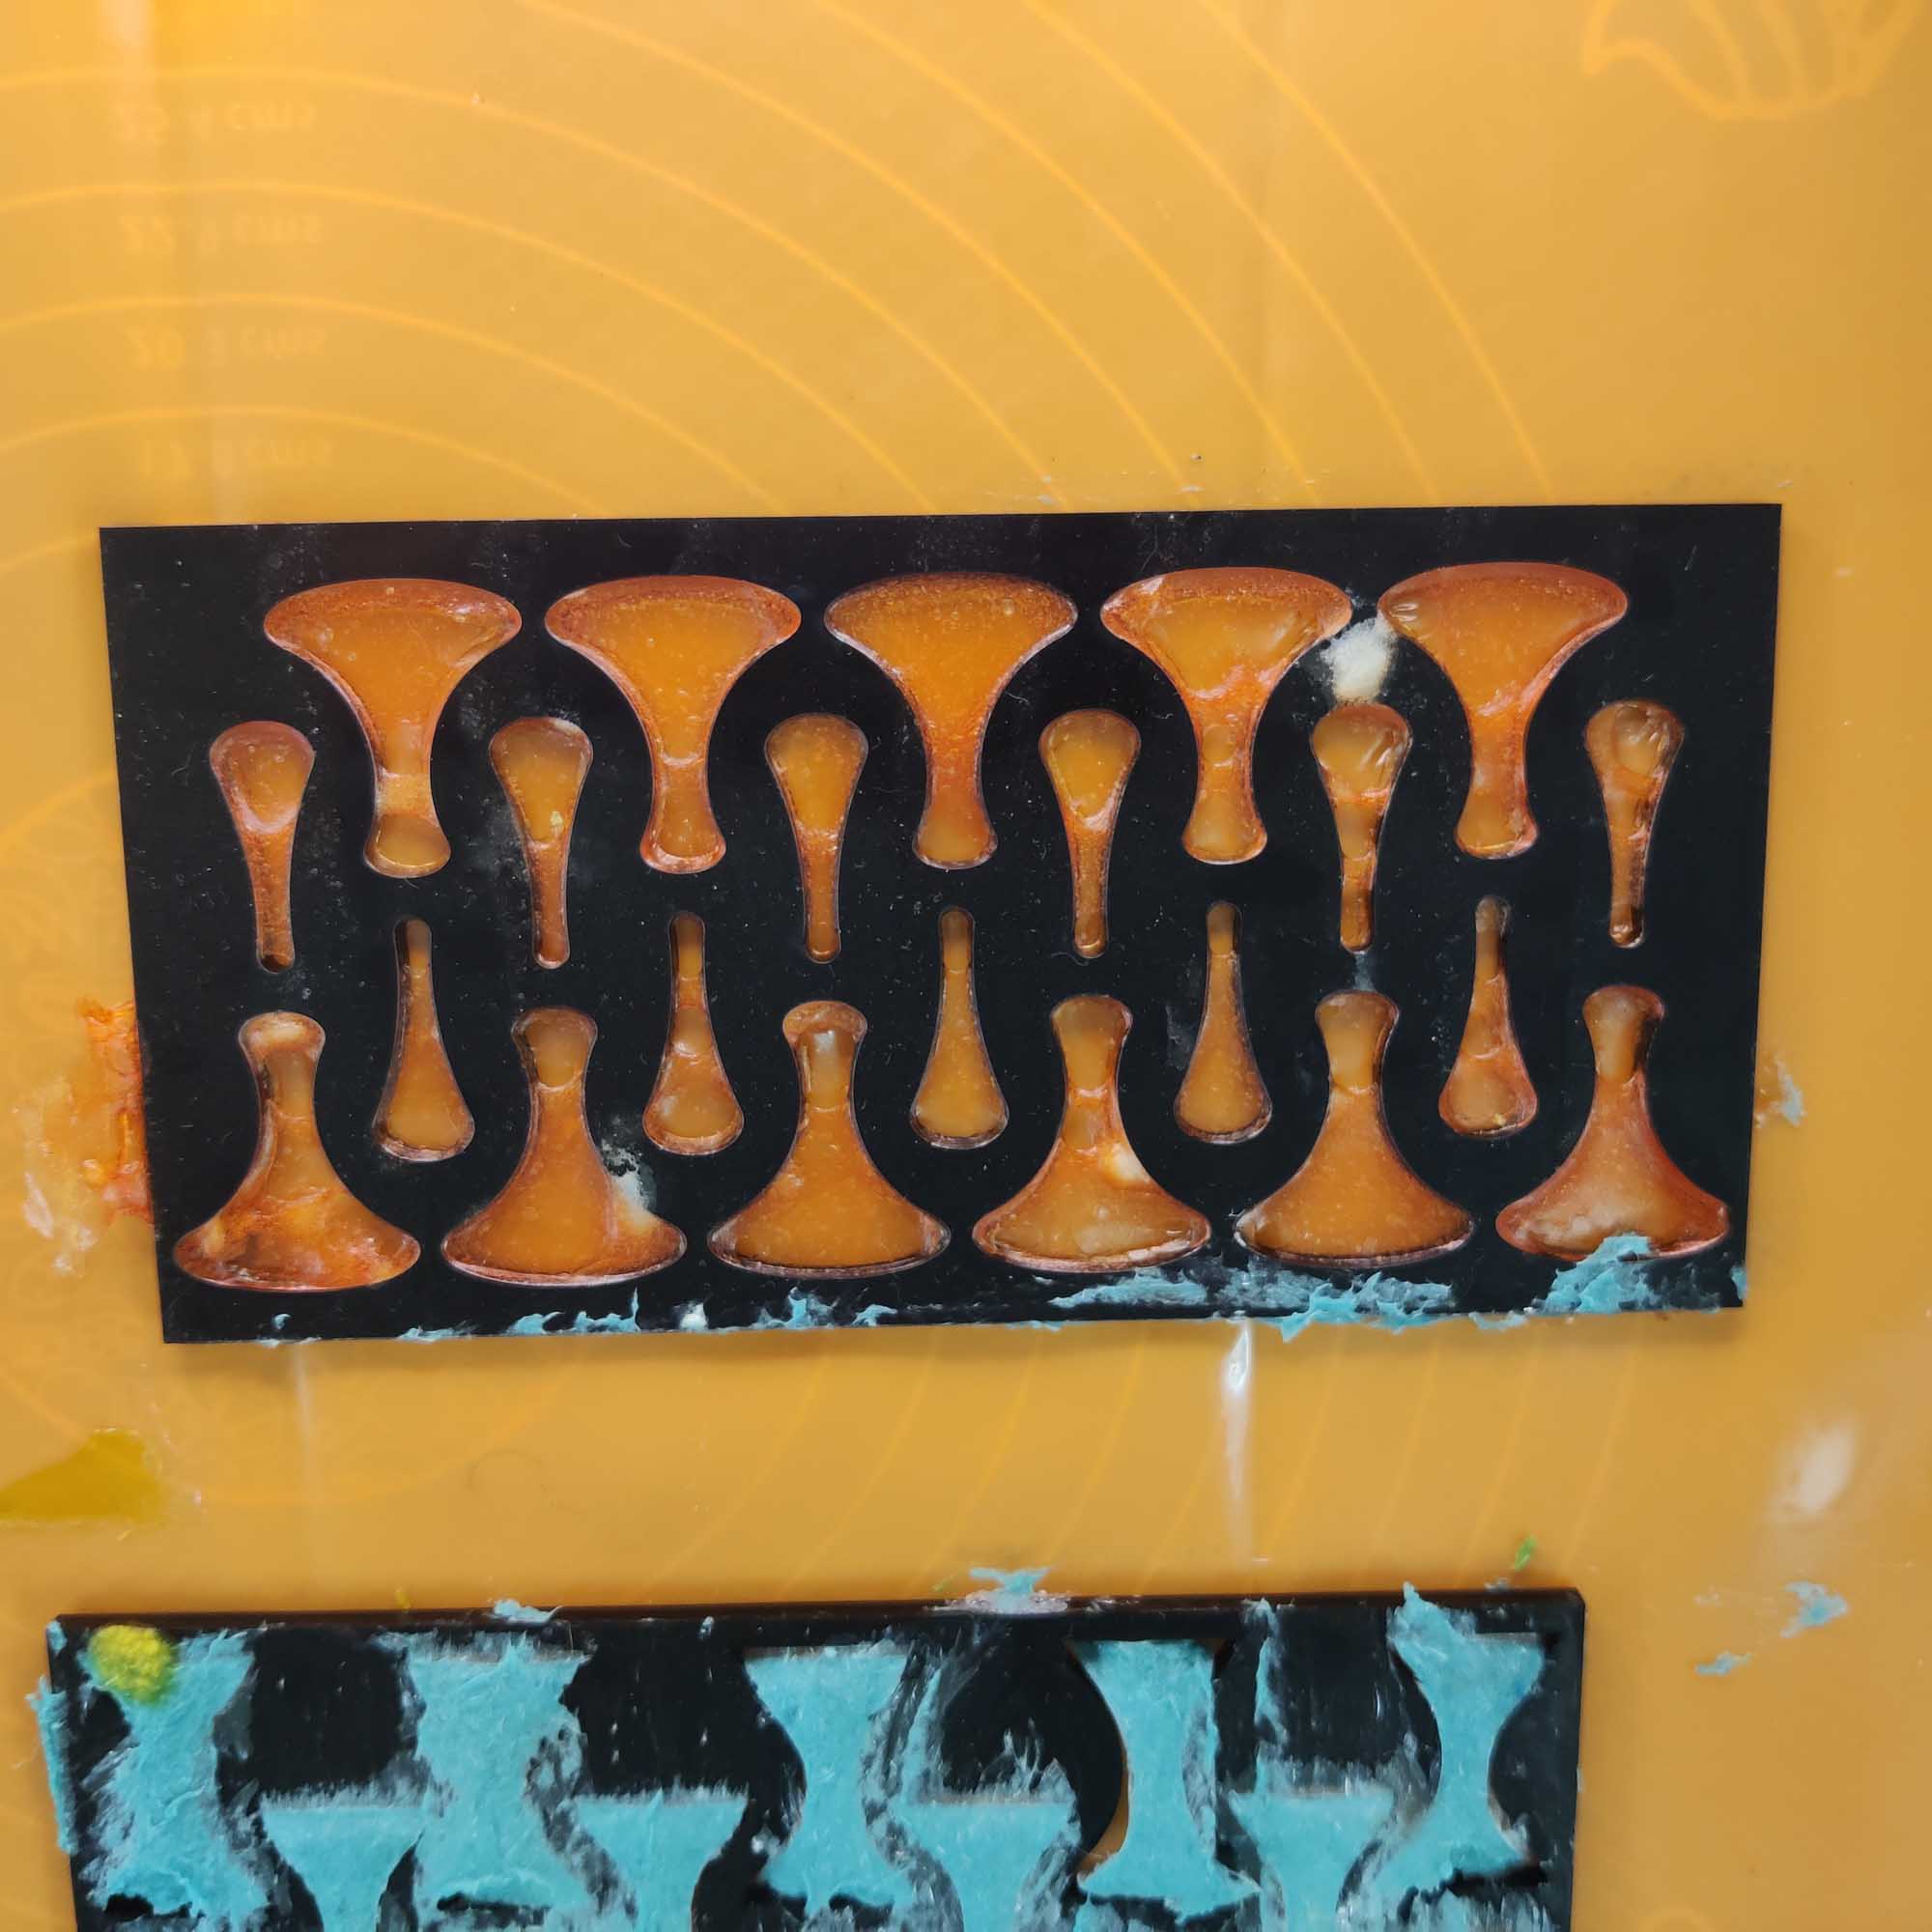
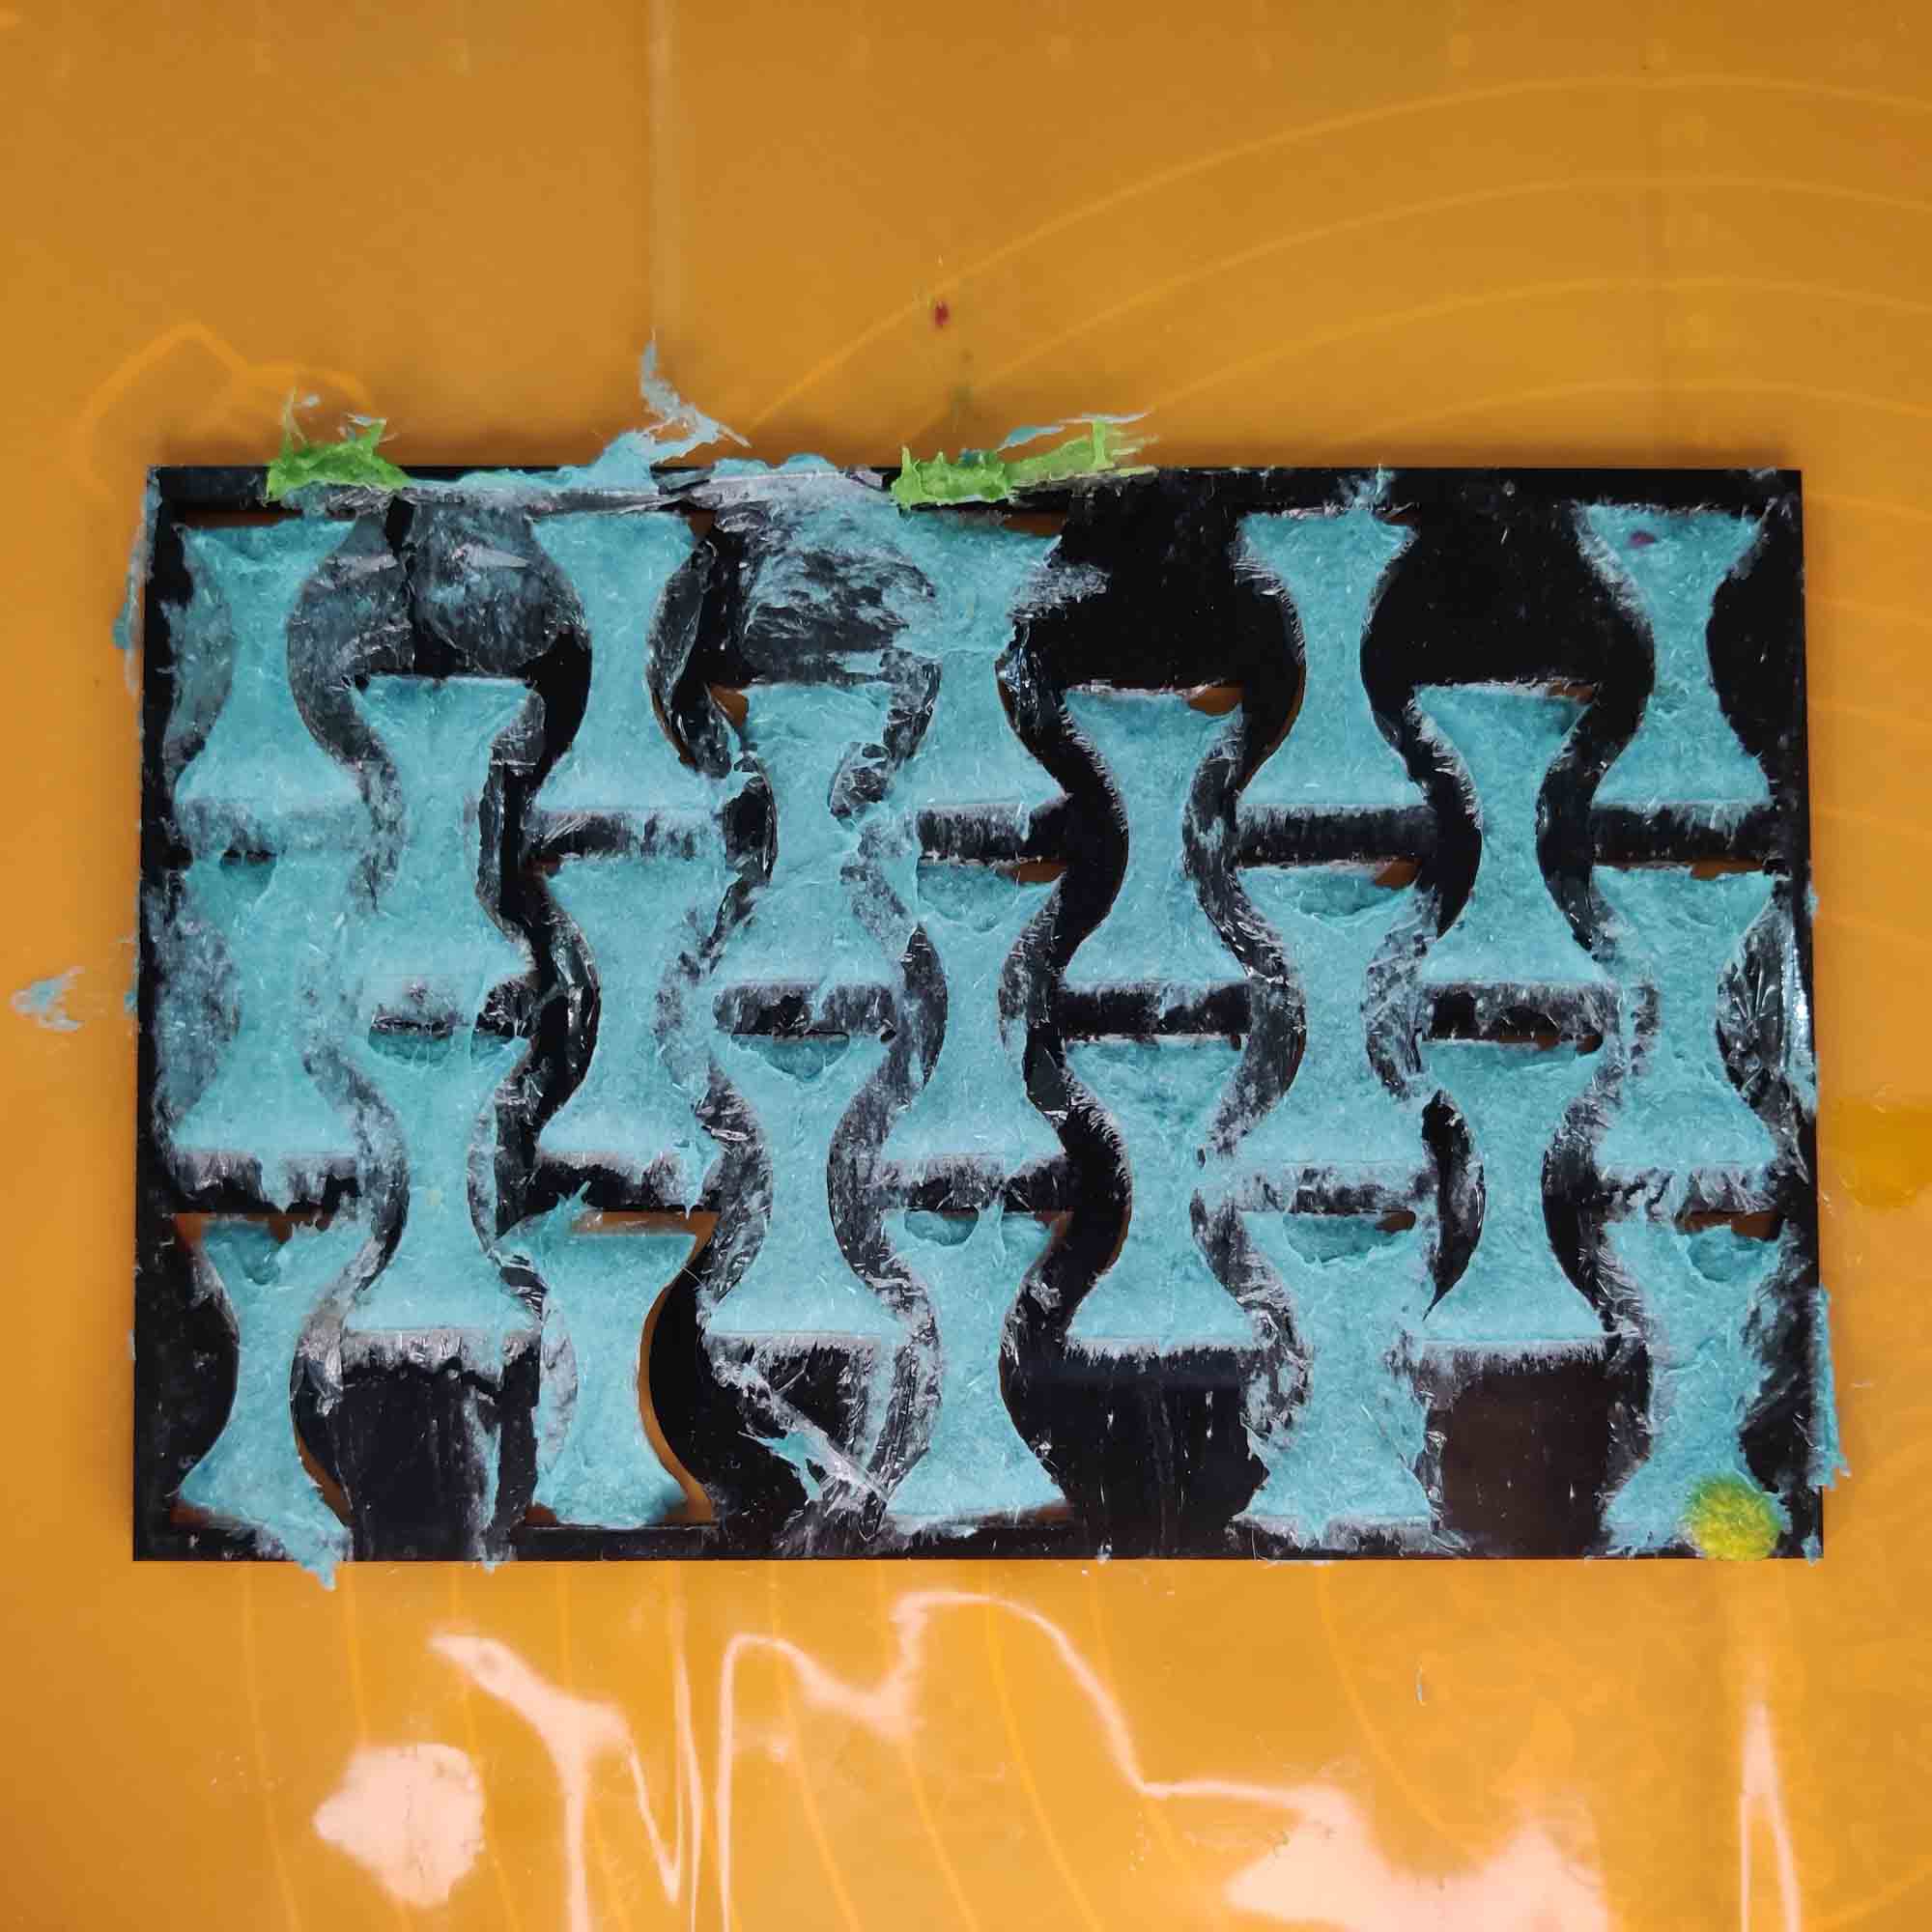

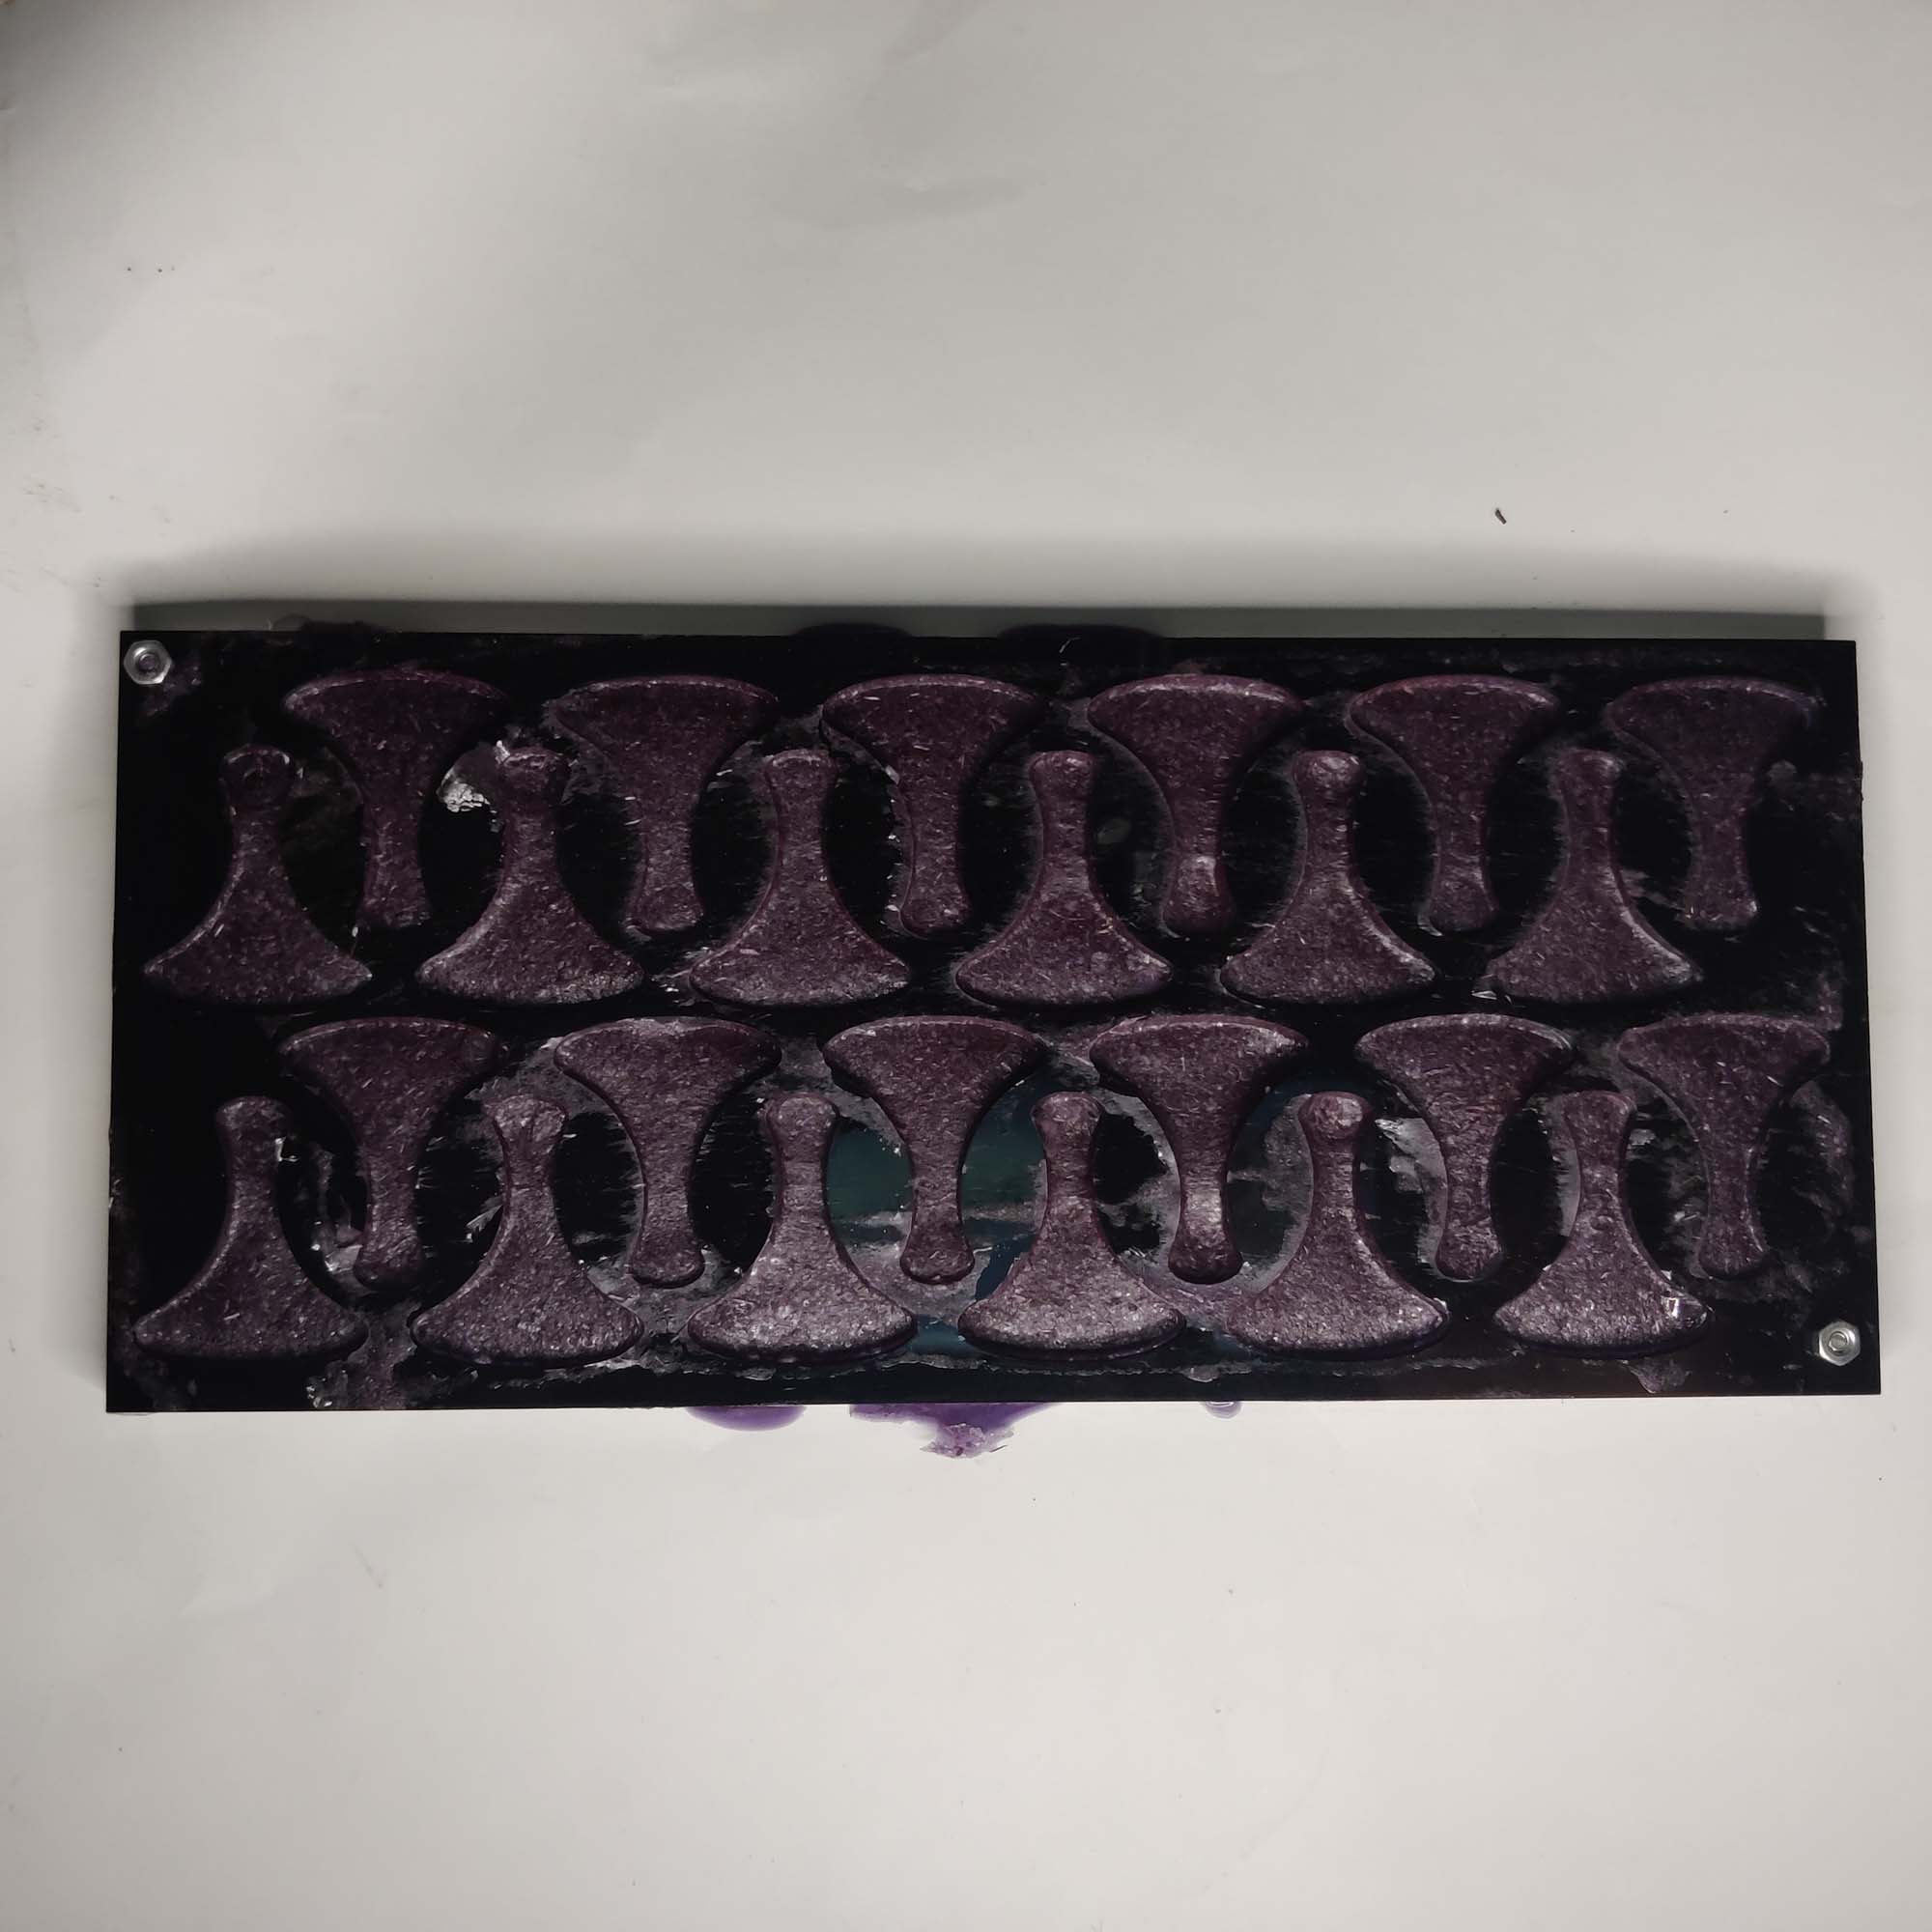
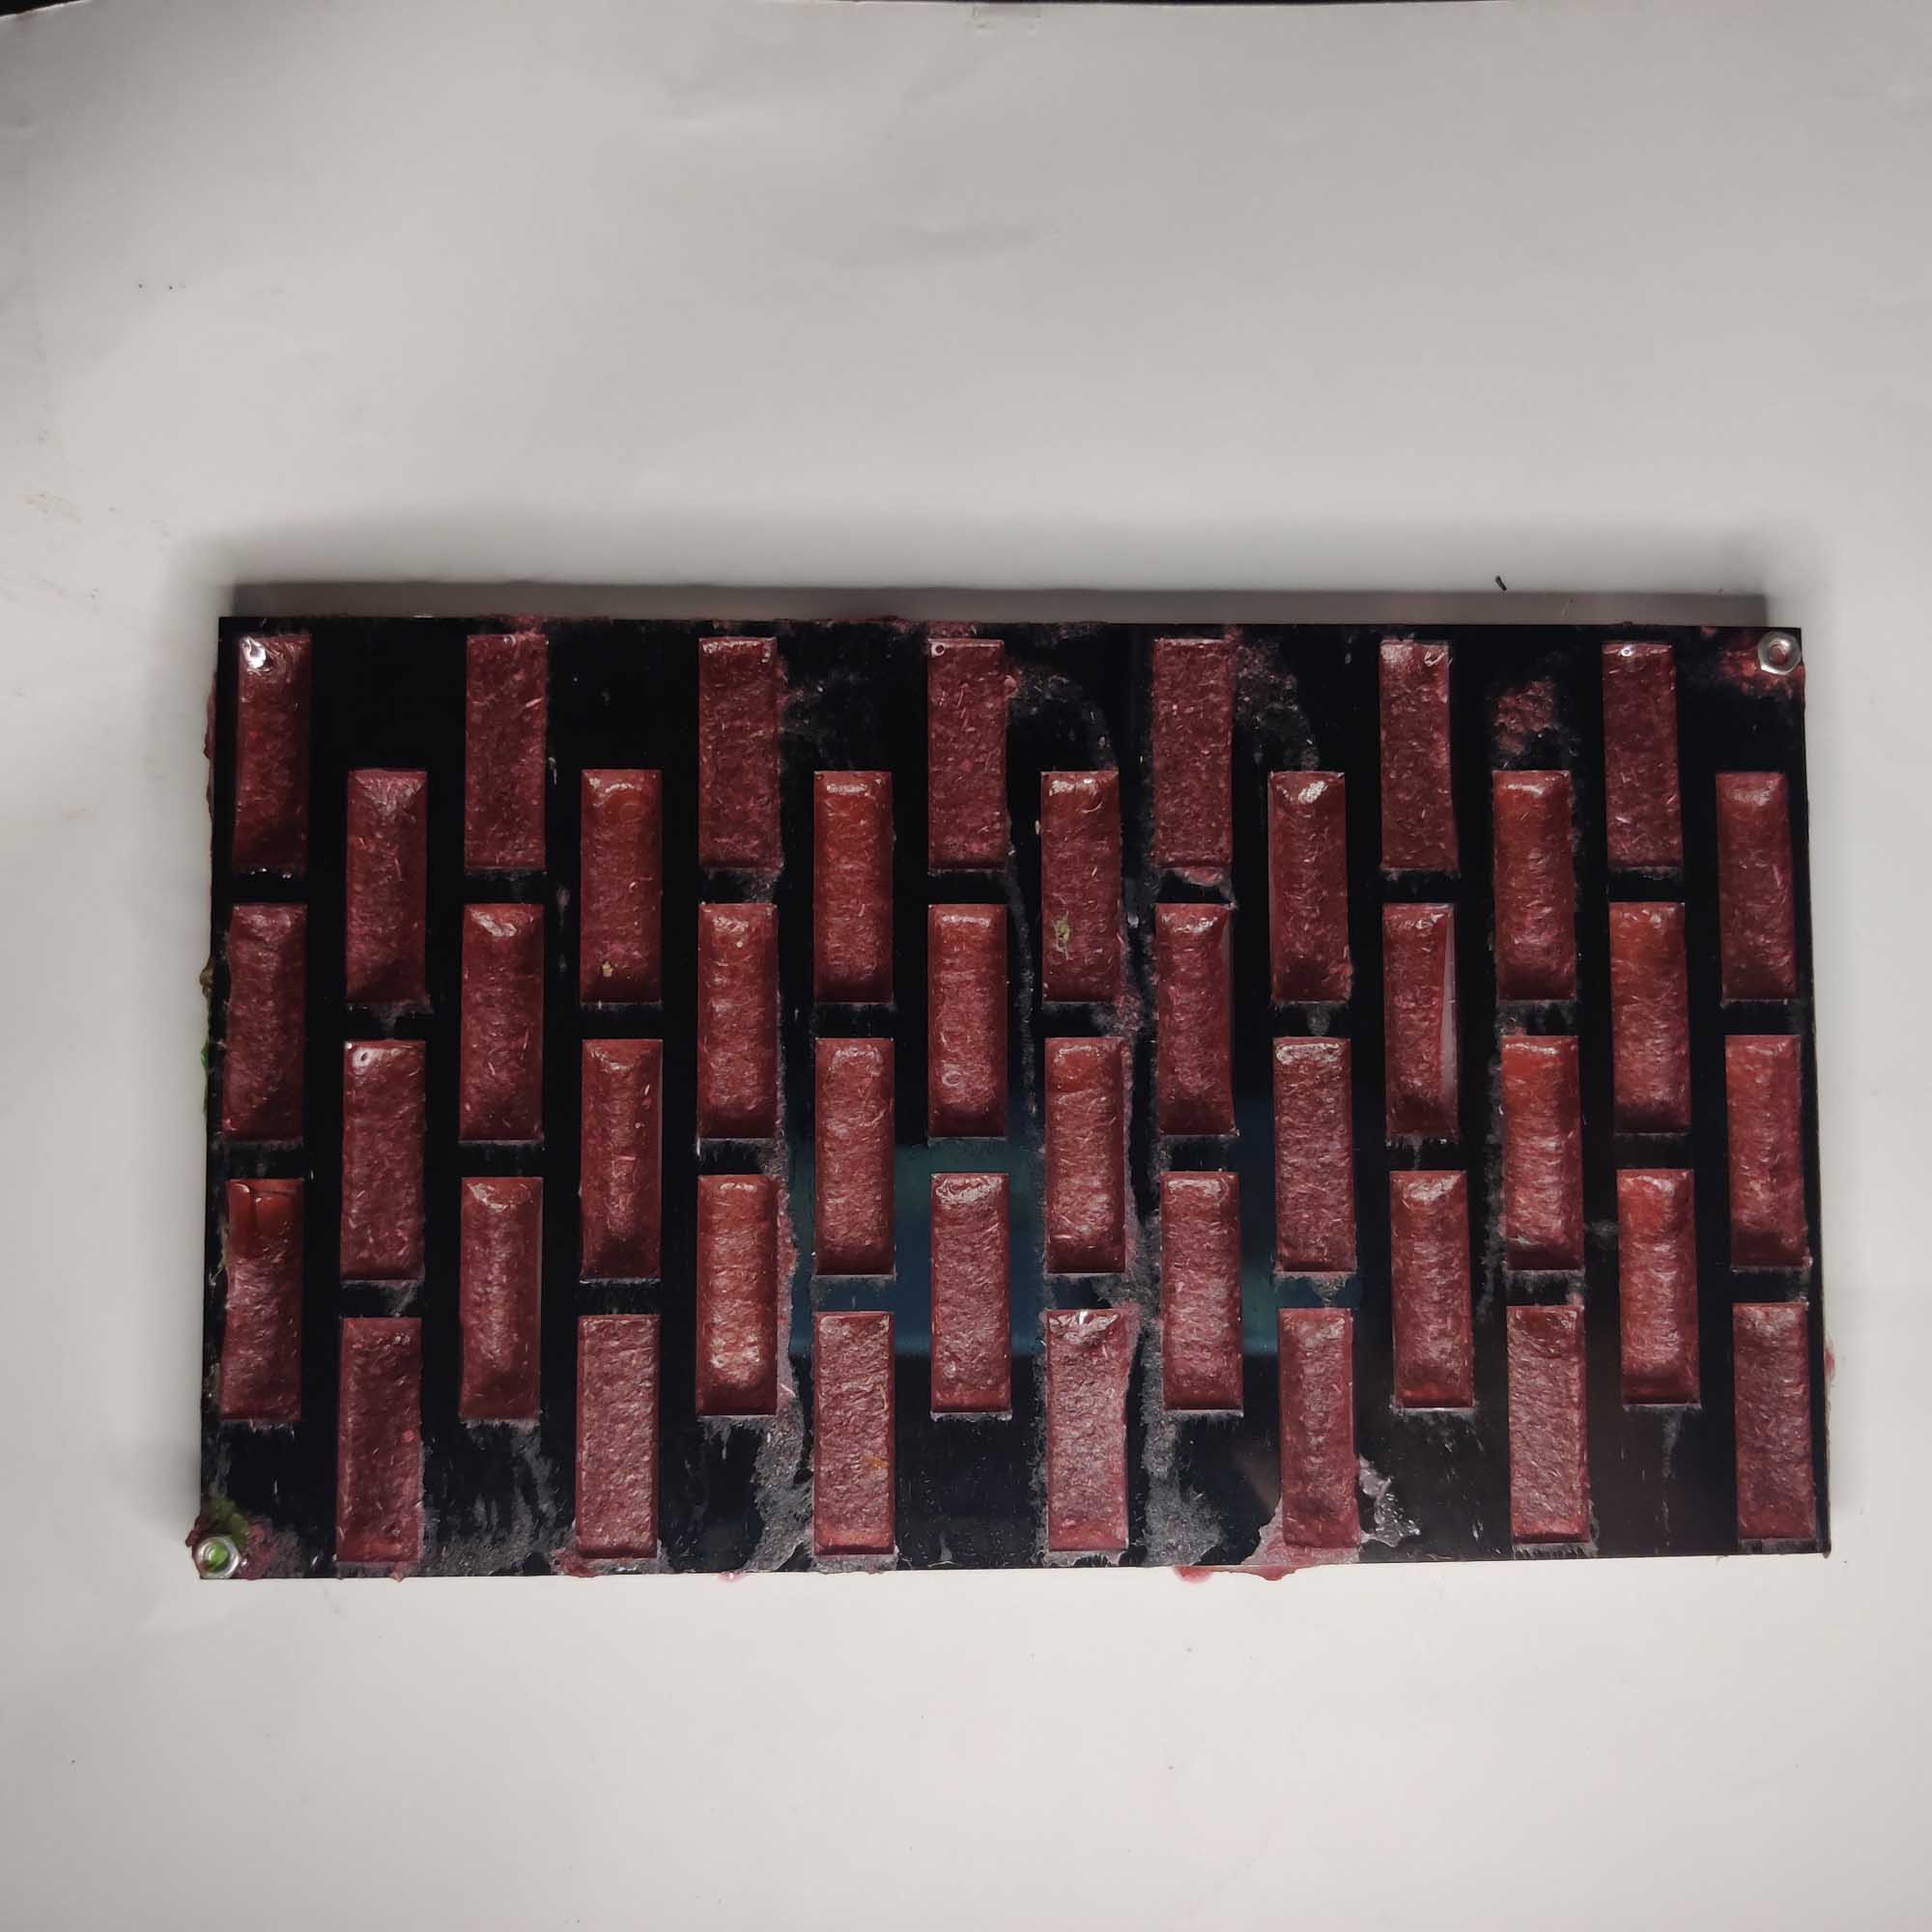
- The molds need to be deeper 4 mm is not viable, and 5 mm is minimum required thickness
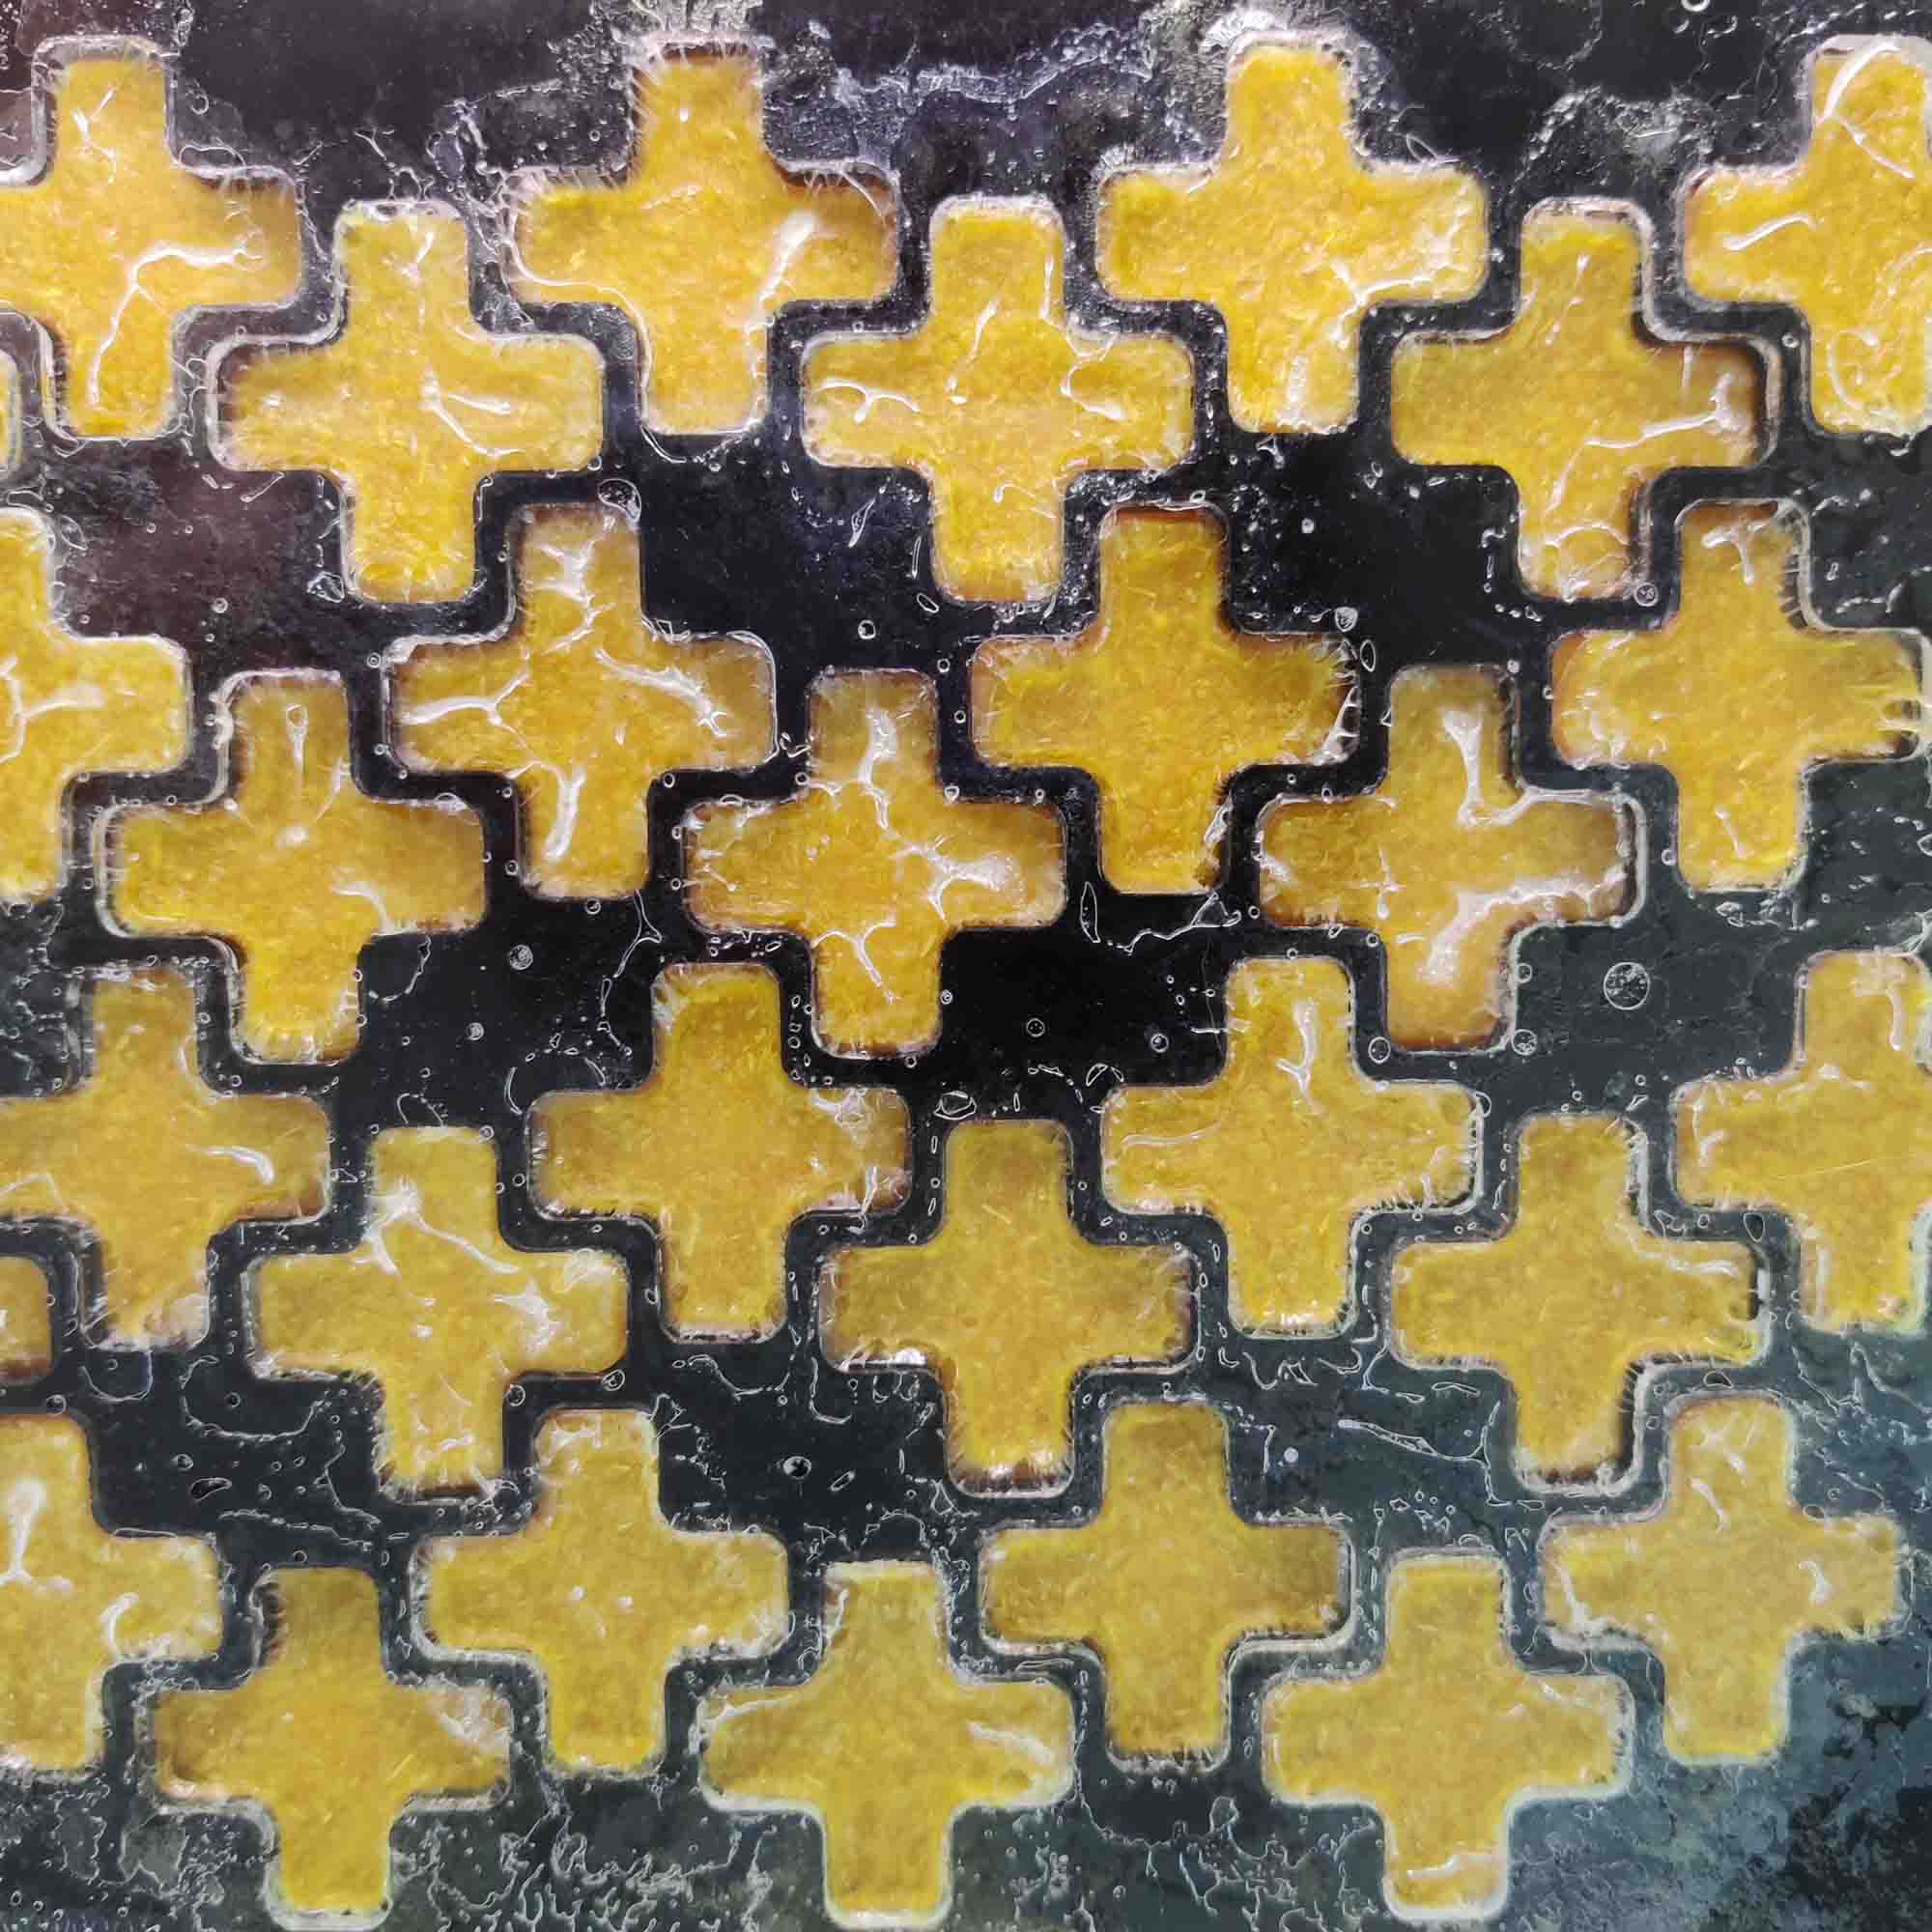
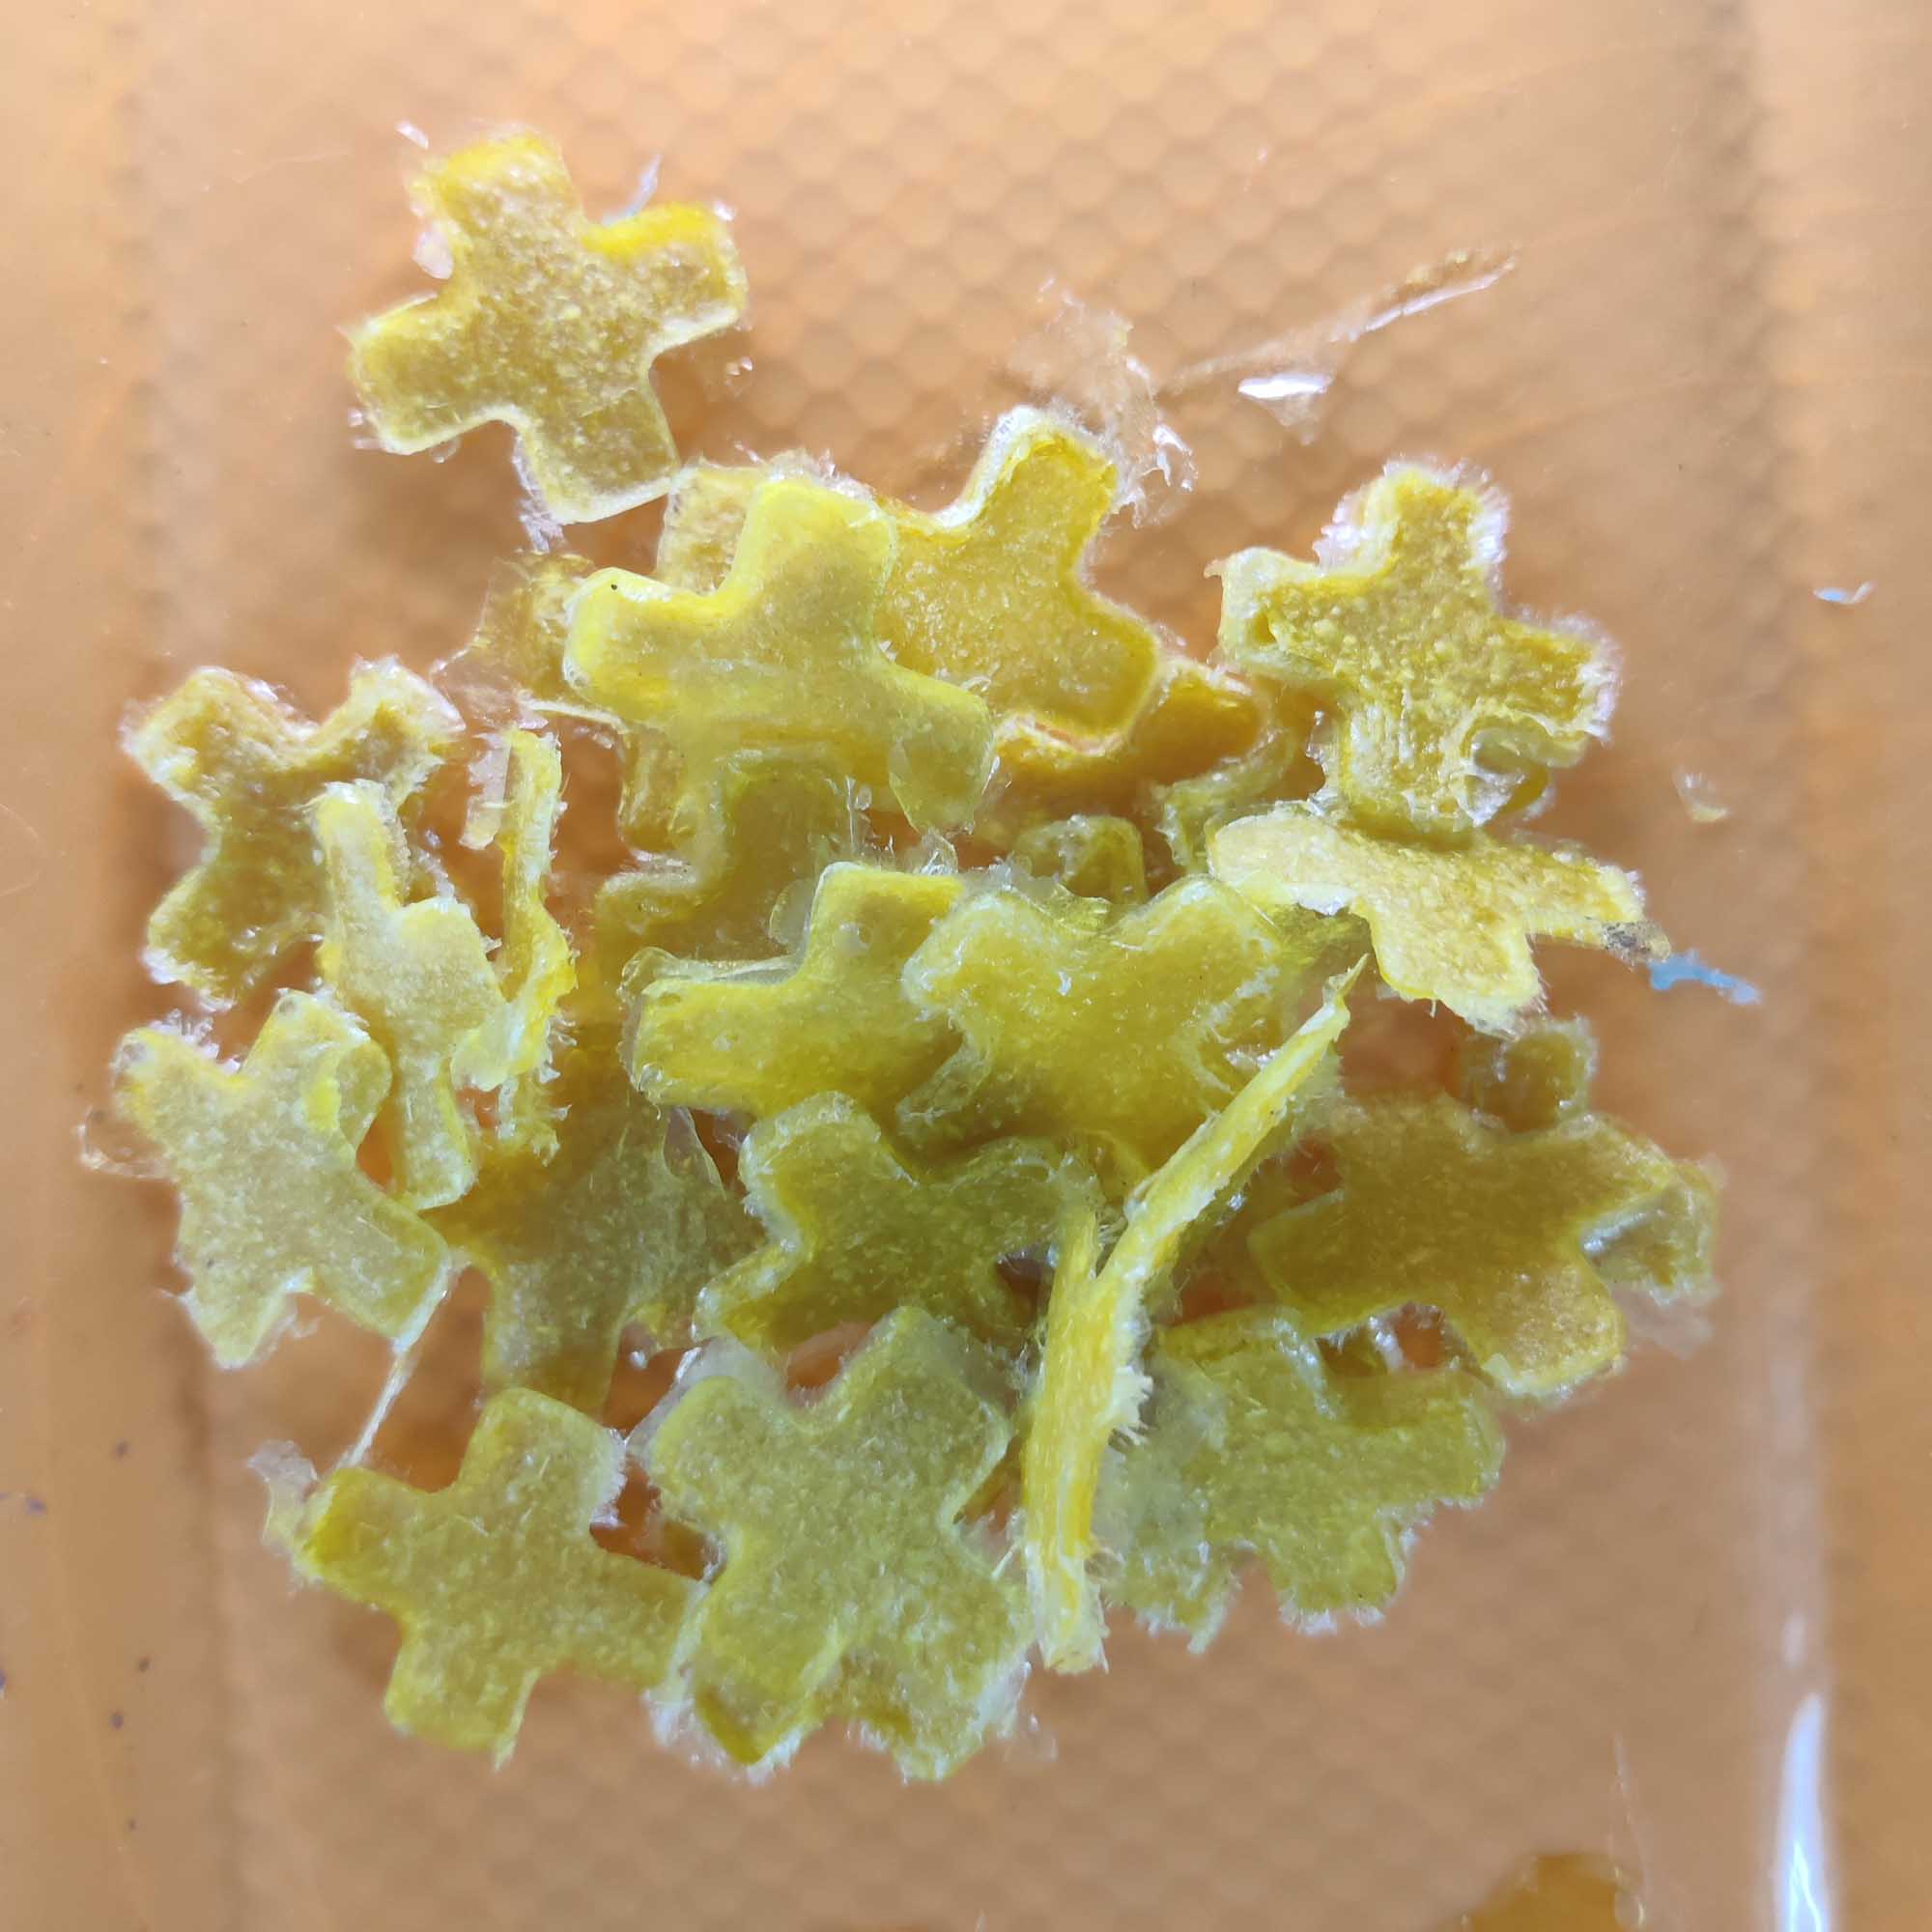
- The pieces came out more-or-less as expected, but were finally not viable
- Some of the low-cellulose recipes shrank very much and the pieces came out very thin, or broke in the demolding
Conclusion
This was an interesting exploration.
The process is viable with some tweaking, and keeping a high level of celluose to maintain volume after curing.